Tiny Rental Glow-Up: No-Drill Finds Under $25
Achieving a professional rental glow-up for under $25 is possible by utilizing damage-free adhesive strips, peel-and-stick contact paper, and tension-based storage systems. These temporary upgrades allow you to personalize your home without risking your security deposit, focusing on high-impact, low-cost modifications that are fully removable upon lease expiration.
Rethinking Your Rental Potential
Many renters assume that because they do not own the property, they cannot improve the aesthetic. This mindset is the biggest barrier to creating a home you truly love. When you approach your apartment with a strategy focused on tension, adhesion, and temporary overlays, you realize that your walls and floors are blank canvases waiting for your touch. The key to a successful tiny rental glow-up is focusing on high-impact, low-effort changes that can be removed in minutes when your lease is up. By curating a set of specialized tools, you ensure your deposit remains protected while your environment aligns with your personal style. Most designers recommend a 60/30/10 color rule even in rentals: 60% base wall color, 30% furniture/rugs, and 10% accent decor. This helps maintain cohesion without needing permanent changes like paint or wallpaper. Strategic use of removable items provides 100% of the visual satisfaction with 0% of the structural damage, allowing for complete customization of even the smallest square footage.
The Psychology of Rental Living
When your environment feels personalized, your mental well-being improves significantly. By using command strips, tension rods, and contact paper, you are not just decorating; you are reclaiming your space. These updates do not have to be expensive to be effective. In fact, most professional designers will tell you that the most dramatic transformations come from small, consistent changes that create a cohesive look across a room. Reducing visual clutter through vertical storage and ambient lighting helps lower cortisol levels, creating a genuine sanctuary atmosphere in a temporary space.
Lighting Hacks That Illuminate Style
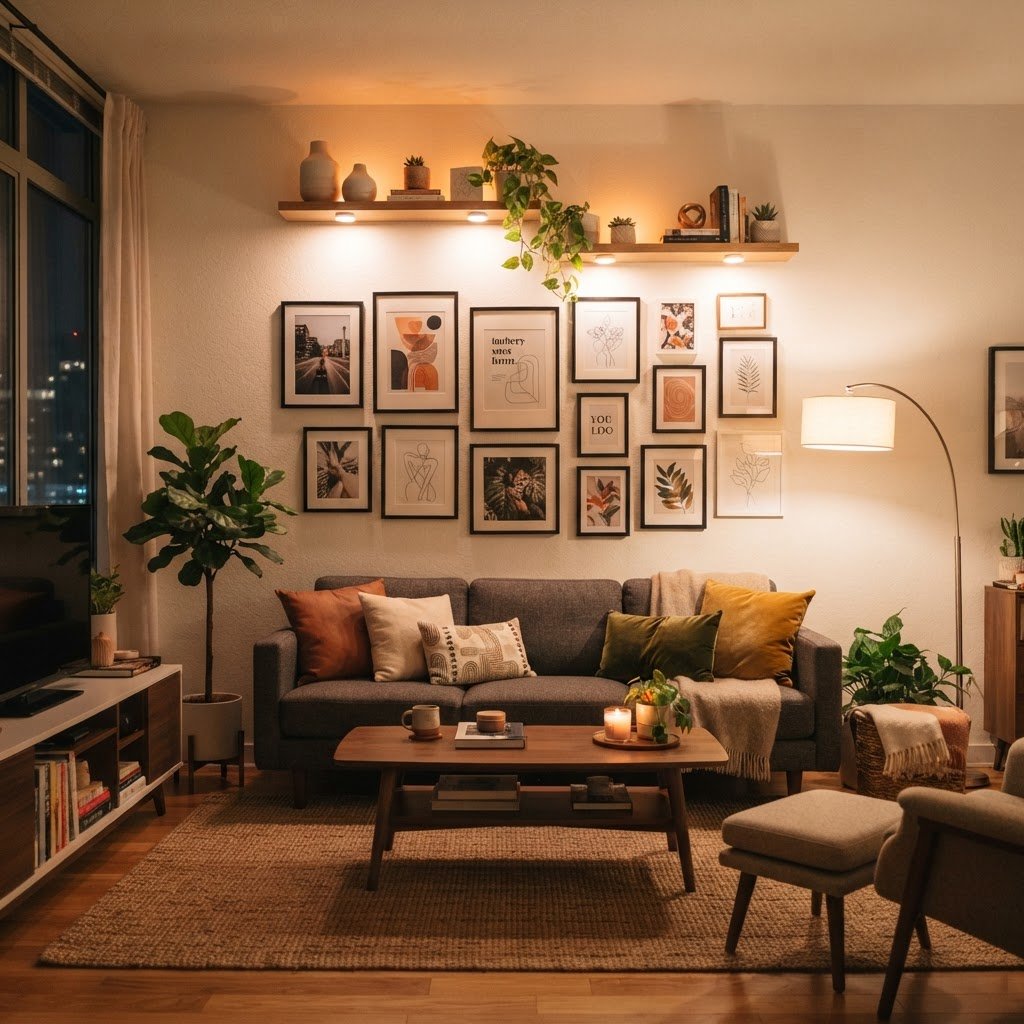
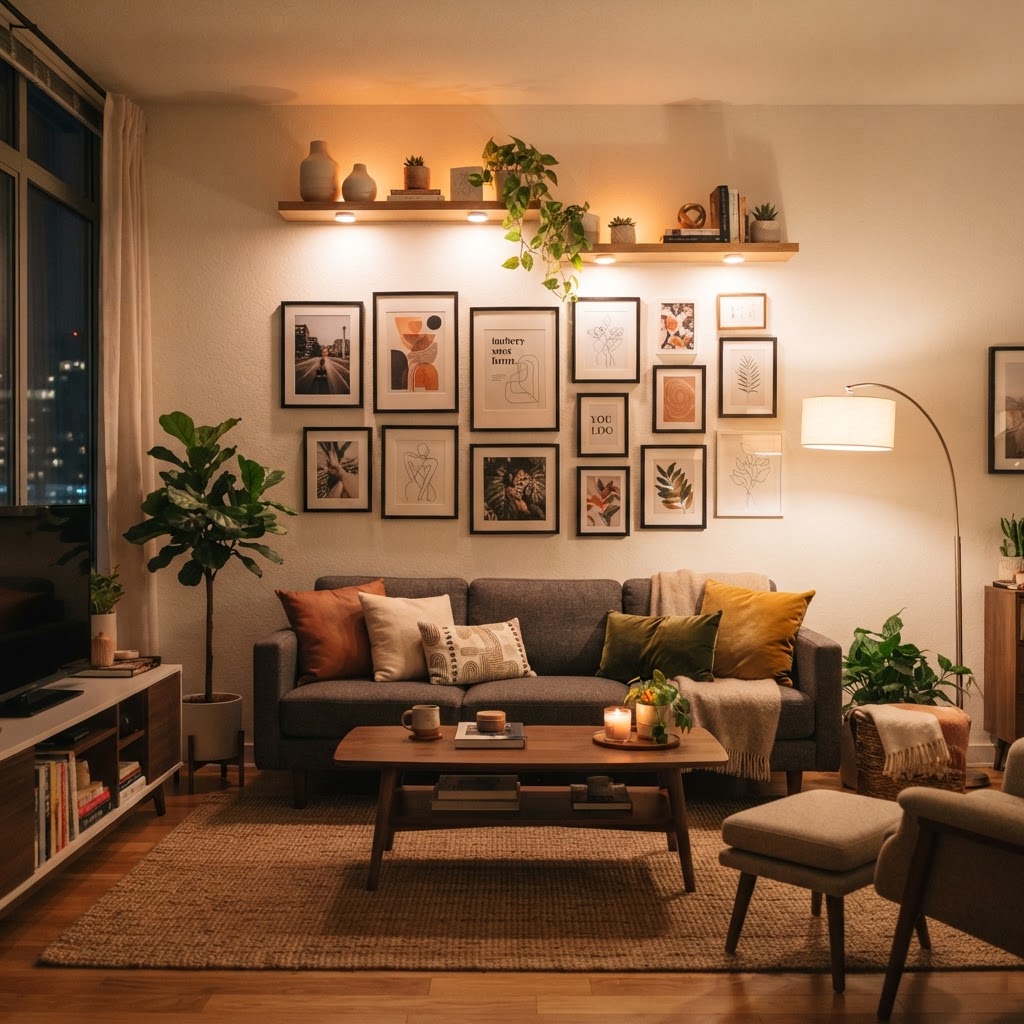
Lighting is the single most important factor in how a room feels, yet most rentals come with harsh, unattractive overhead fixtures. You cannot change the wiring, but you can certainly change the aesthetic appeal of your lighting without a drill. Plug-in wall sconces and puck lights are your best friends when searching for affordable upgrades. Layering your lighting—combining general, task, and accent lighting—is the industry standard for high-end interior design, even on a sub-$25 budget. By using wireless LED puck lights, you can illuminate dark corners, highlighting artwork or interior shelving without running a single wire or installing permanent brackets. Most high-quality LED sets now offer remote control capabilities, color temperature adjustments, and dimming features that mimic expensive hardwired architectural lighting.
Adhesive Puck Lights
For under $25, you can purchase a set of remote-controlled, battery-operated puck lights. These can be placed inside dark closets, under kitchen cabinets, or even attached to the ceiling of a bookshelf to create an instant high-end look. They attach using strong double-sided tape that is specifically designed to be removed without damaging paint. The result is a layered lighting scheme that makes your apartment look professionally designed.
Damage-Free Wall Decor Solutions
Blank walls are the hallmark of a temporary home, but you do not need to punch holes in the drywall to fix them. Adhesive strips have come a long way since their inception, and there are now specialized hooks and mounting kits designed for everything from heavy mirrors to gallery walls. These no-drill finds under $25 are the foundation of any serious rental glow-up. When mounting heavier items, always clean the surface with isopropyl alcohol before applying the adhesive to ensure a 90% stronger bond. This simple preparation step is the difference between a secure wall display and a failed project that could damage the surface upon removal. For a gallery wall, use a paper template on the floor first; this allows you to visualize the layout before moving to the wall, ensuring that you only apply the minimum number of adhesive strips required to support the weight of your frames.
The Gallery Wall Strategy
To create a gallery wall without damage, use heavy-duty adhesive strips rated for frames up to 10 pounds. Measure your space carefully with painter’s tape before applying the strips to ensure perfect alignment. By grouping art pieces with a consistent color theme, you can mask the “renter” feel of a small living room with a sophisticated focal point that draws the eye upward.
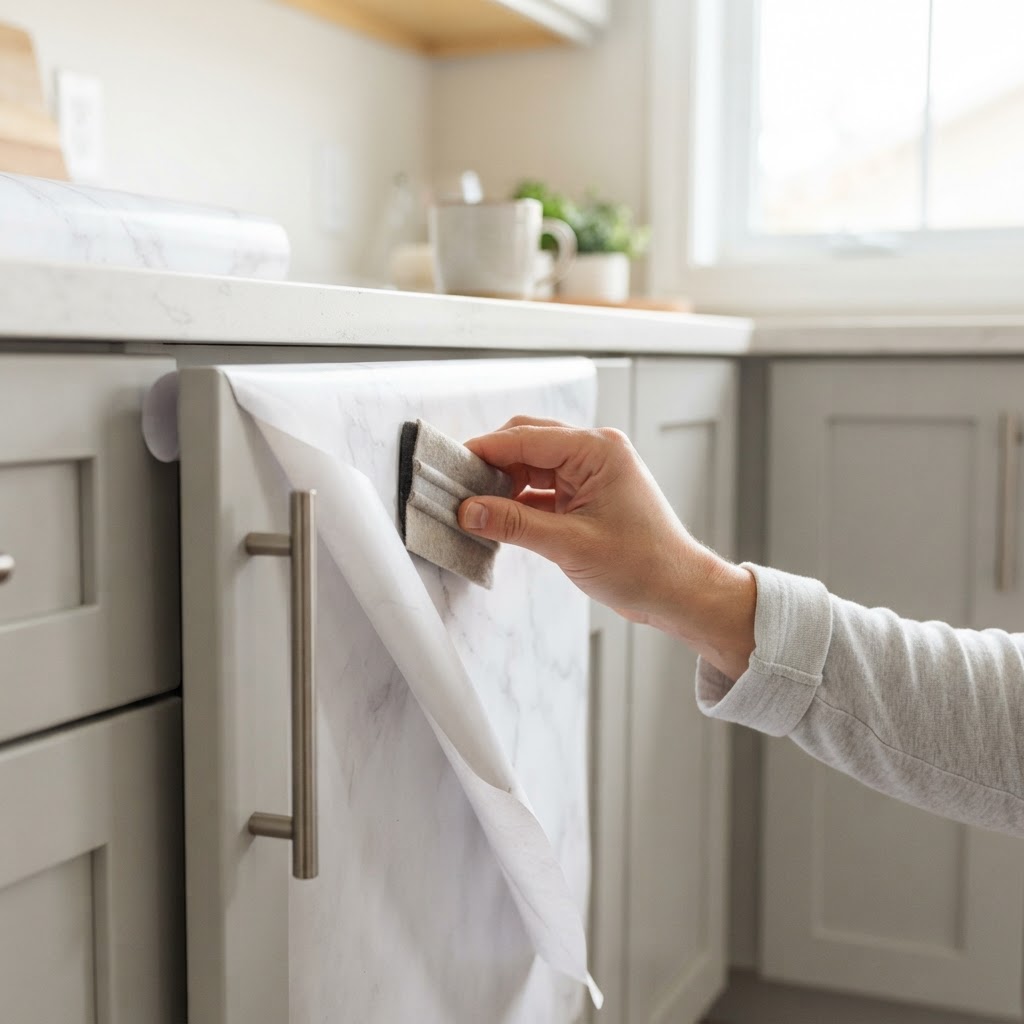
If you are stuck with ugly, outdated kitchen cabinets, you are not out of luck. Adhesive contact paper is a renter’s dream. For a fraction of the cost of new cabinetry, you can apply a matte black or light wood-grain film to your cabinet faces. It is durable, water-resistant, and entirely removable. Combined with new temporary hardware—which you can attach using clever adhesive mounting methods—your kitchen will undergo a complete transformation. Peel-and-stick solutions are highly versatile, covering everything from laminate countertops to tile backsplashes. When applying contact paper, use a plastic squeegee to eliminate air bubbles as you go, which provides a professional, smooth finish that rivals real wood or stone. Ensure you choose heat-resistant vinyl for surfaces near the stovetop to prevent bubbling or melting over time.
Temporary Backsplash Solutions
Peel-and-stick backsplash tiles are another game-changer. These are essentially stickers designed to look like subway tile, marble, or colorful mosaic. They are incredibly easy to install and create an immediate sense of luxury in a tiny kitchen. Since they come in packs that typically cost well under $25, you can cover a small prep area in an afternoon, creating the perfect backdrop for your morning coffee routine.
Smart Storage for Tiny Spaces
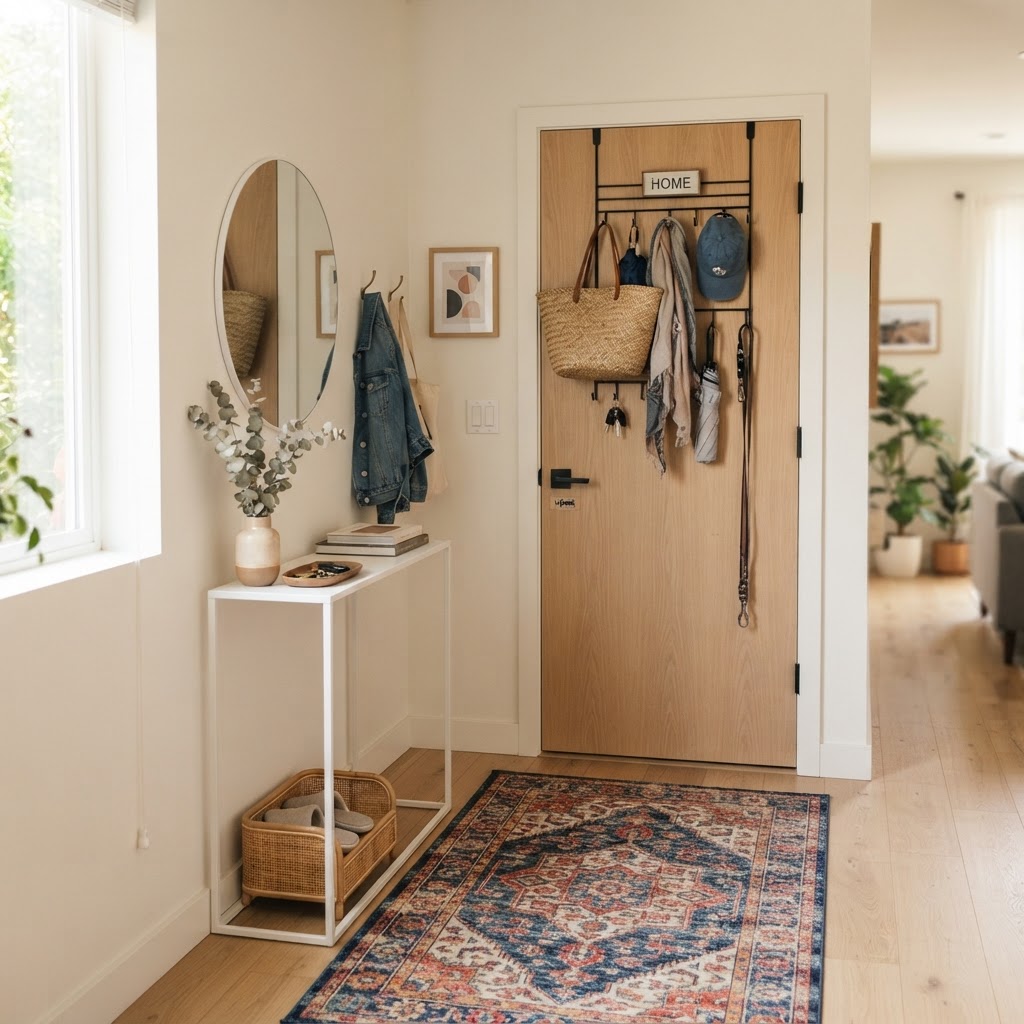
Clutter is the enemy of a peaceful home, but adding shelves usually requires hardware. The solution lies in tension-based storage systems and over-the-door organizers that require zero tools. These products rely on the existing geometry of your door frames and cabinets to provide stability, making them perfect for a tiny rental glow-up. By utilizing vertical space behind doors or inside cabinets, you can reclaim up to 20% of your usable square footage. Tension rods are particularly useful for creating “hidden” storage areas for items like cleaning supplies or spare kitchen linens that would otherwise clutter your countertops. Always measure the interior width of your cabinet or closet to within 1/8th of an inch to ensure the tension rod fits snugly and won’t slip under the weight of hanging items.
The Tension Rod Advantage
Never underestimate the power of a simple tension rod. You can use these in laundry rooms to hang cleaning supplies, in closets to maximize hanging space, or even inside cabinets to create vertical storage for cutting boards and baking sheets. They are cheap, sturdy, and completely invisible when installed correctly. They turn wasted vertical space into highly functional zones for your belongings.
Flooring and Surface Upgrades
If your floors are an eyesore, a large area rug is the most obvious solution, but there are other ways to cover up dated surfaces. Interlocking floor mats or high-quality vinyl floor stickers can be placed over existing linoleum or worn-out wood. These options are perfect for bathrooms or small entryways where a traditional rug might be difficult to maintain or clean. Vinyl decals designed for flooring are specifically engineered to withstand foot traffic and regular mopping, making them a superior long-term rental solution compared to standard contact paper. For smaller areas, such as a bathroom vanity area, interlocking foam tiles with a wood-grain finish can completely alter the room’s aesthetic for less than $25.