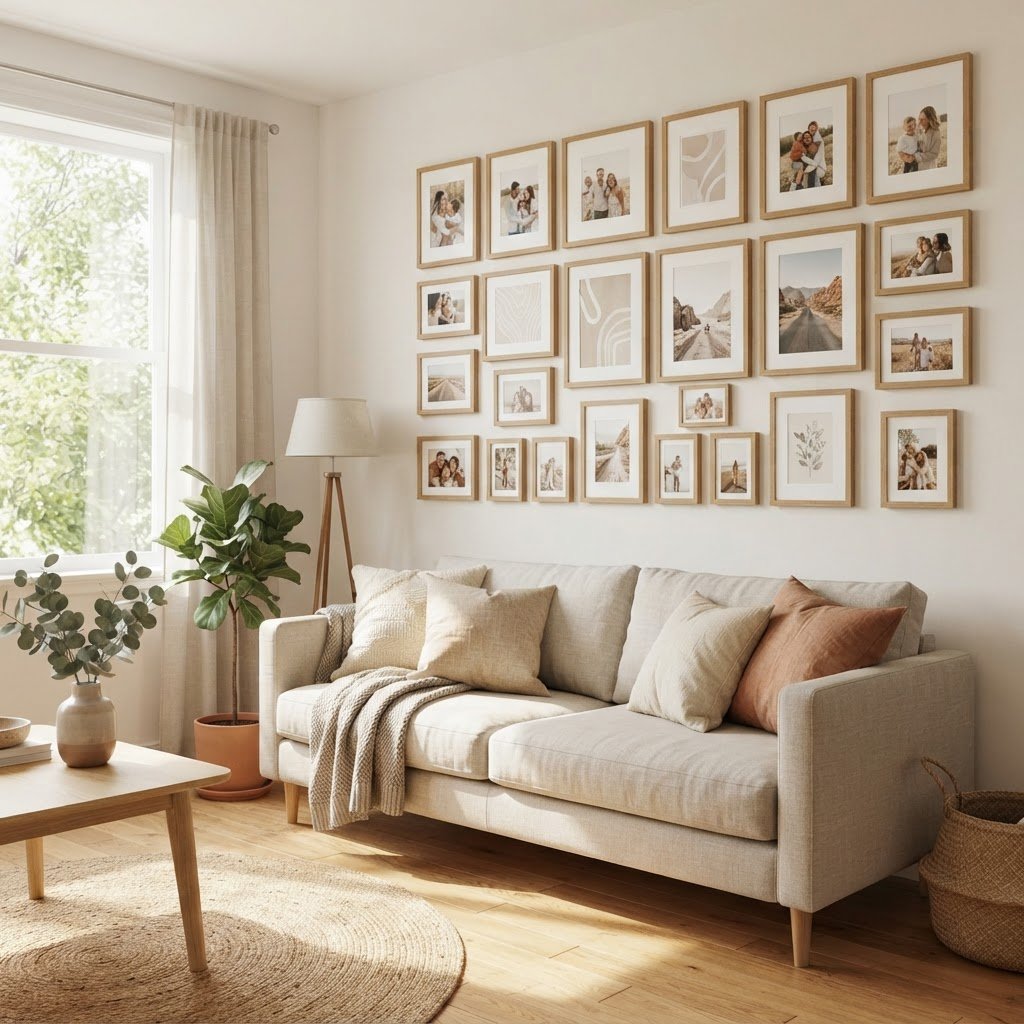
How to Create a Cozy Gallery Wall Without a Single Nail
You can create a stunning gallery wall without a single nail by using high-strength adhesive strips, picture ledges, or leaning decor to preserve your drywall. By selecting lightweight frames and prepping surfaces with rubbing alcohol, you can achieve a professional-grade, damage-free display that secures your full security deposit.
The Philosophy of Renter-Friendly Decor
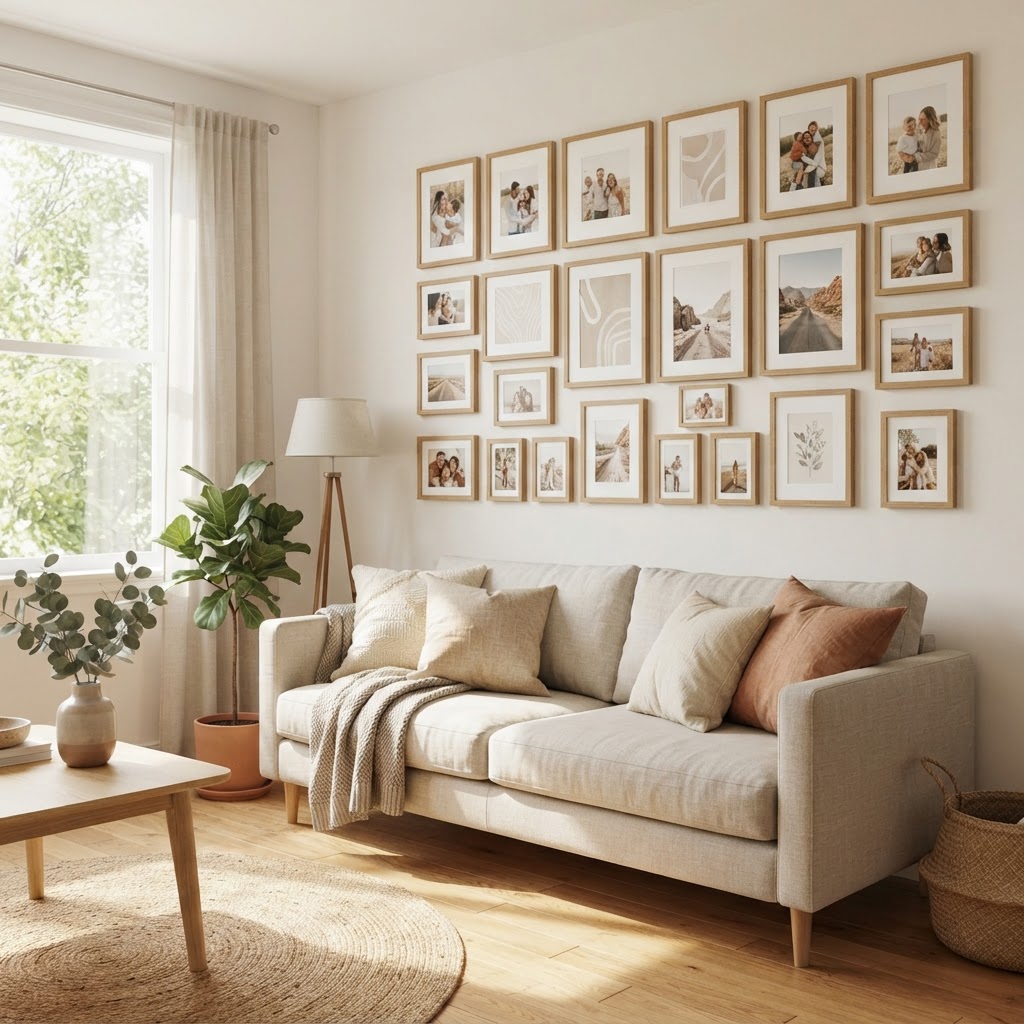
Personalizing a rental space allows you to transform sterile environments into a curated home without violating lease terms or causing permanent wall damage. Renter-friendly decor centers on the concept of ‘temporary permanence,’ where the aesthetic impact is maximized while the physical footprint is reduced to zero. This design philosophy empowers residents to treat their living quarters as a fluid canvas that evolves with changing seasons or personal tastes. By bypassing traditional hardware like nails, screws, and wall anchors, you avoid the tedious labor of spackling, sanding, and matching paint colors during move-out inspections. A successful gallery wall acts as the architectural heartbeat of a room, providing warmth, depth, and character to otherwise bland surfaces. Research indicates that personalized living spaces contribute significantly to psychological well-being, yet nearly 70% of renters report feeling restricted by ‘no-nail’ policies. Embracing this flexible approach allows you to experiment with high-impact layouts—such as floor-to-ceiling salon hangs or minimal grid displays—without the anxiety of losing your security deposit or facing landlord penalties.
Why Adhesive Technology Changes Everything
Modern adhesive technology utilizes advanced polymers that provide high shear strength while maintaining a clean release profile. The primary secret to success lies in proper surface preparation: the wall must be wiped with isopropyl alcohol to remove microscopic dust and oils that prevent a vacuum seal. Once cleaned, the adhesive bond is activated by firm pressure, typically held for 30 to 60 seconds per strip. Unlike traditional double-sided tapes, high-end command strips feature a proprietary ‘stretch-to-release’ pull-tab that elongates the internal adhesive foam, breaking the bond without pulling paint flakes or drywall fibers away from the substrate. When applying strips, always verify the weight capacity; a standard set of medium-sized strips generally supports up to 4 pounds, while large strips can handle 12 to 16 pounds depending on the manufacturer. By treating your walls as a clean gallery canvas, you unlock endless possibilities for creative expression while maintaining 100% surface integrity for future removal.
Essential Tools for Damage-Free Hanging
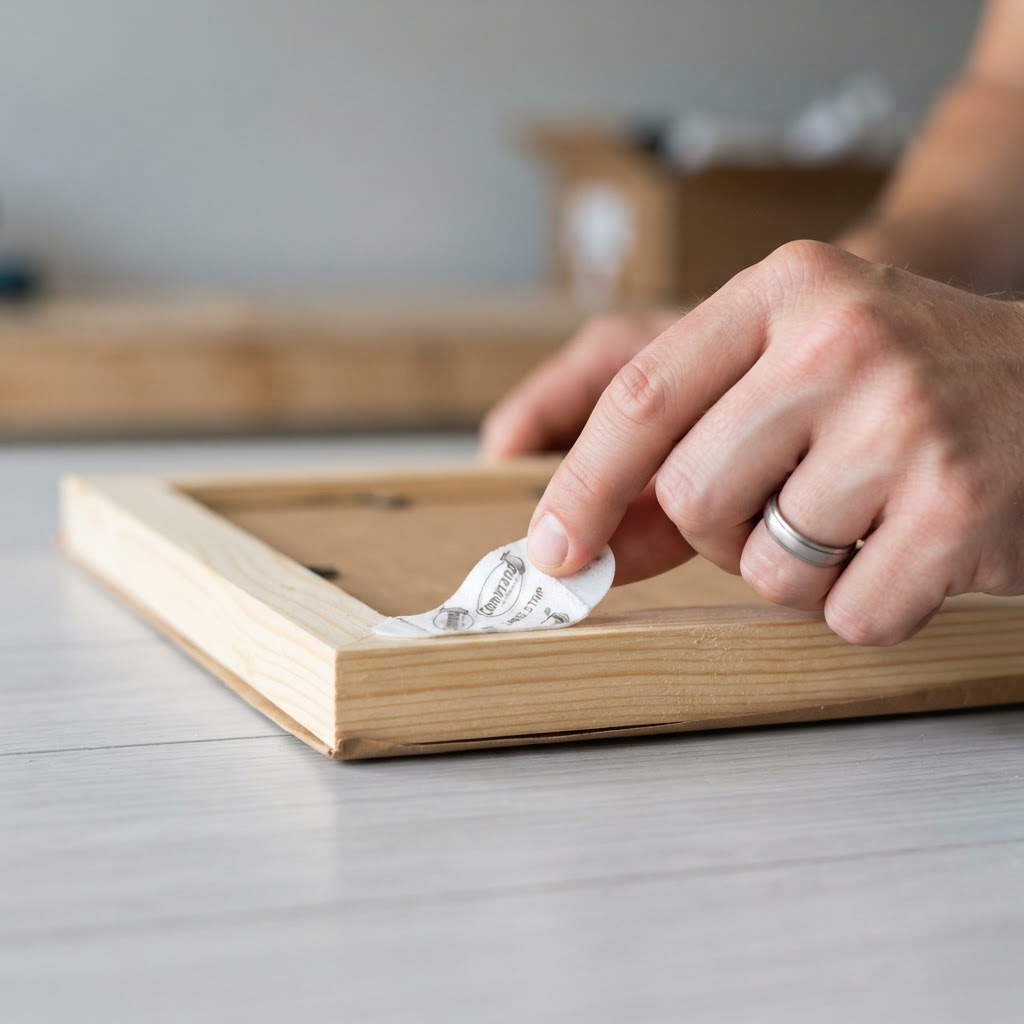
Selecting the right hardware is the most critical factor in ensuring your gallery wall remains secure and damage-free over time. Inferior adhesives often lose their grip in environments with high humidity, so always choose products specifically rated for your wall texture—whether smooth drywall, wood paneling, or glass. For heavy frames, opt for interlocking heavy-duty strips that provide a mechanical ‘click’ when secure. Using high-quality components ensures that your display can support frames up to 15 pounds per unit. Furthermore, lightweight frames made from expanded polystyrene or thin acrylic are superior to heavy wood-and-glass combinations for no-nail projects. Below is a comparison of common materials to help you choose the best hanging method for your specific decor items.
Preparing Your Frames for the Wall
Frame selection dictates the success of your project; prioritize materials that minimize physical load. Heavy, ornate wooden frames with thick glass often exceed the capacity of standard adhesives and increase the risk of the frame falling. Instead, look for frames with acrylic glazing, which is 50% lighter than glass and shatter-resistant. Before application, inspect the back of your frame; it must have a flat, smooth surface for the adhesive strips to bond. If the frame has a recessed back or a wire, use a flat-surfaced adapter board to provide a stable contact point. For larger frames, apply strips on all four corners to distribute the force evenly. When mounting, ensure you are pressing the frame against the wall for at least 30 seconds to allow the adhesive to reach full curing strength, which typically takes 60 minutes before the full weight can be safely supported.
Planning Your Layout Strategy
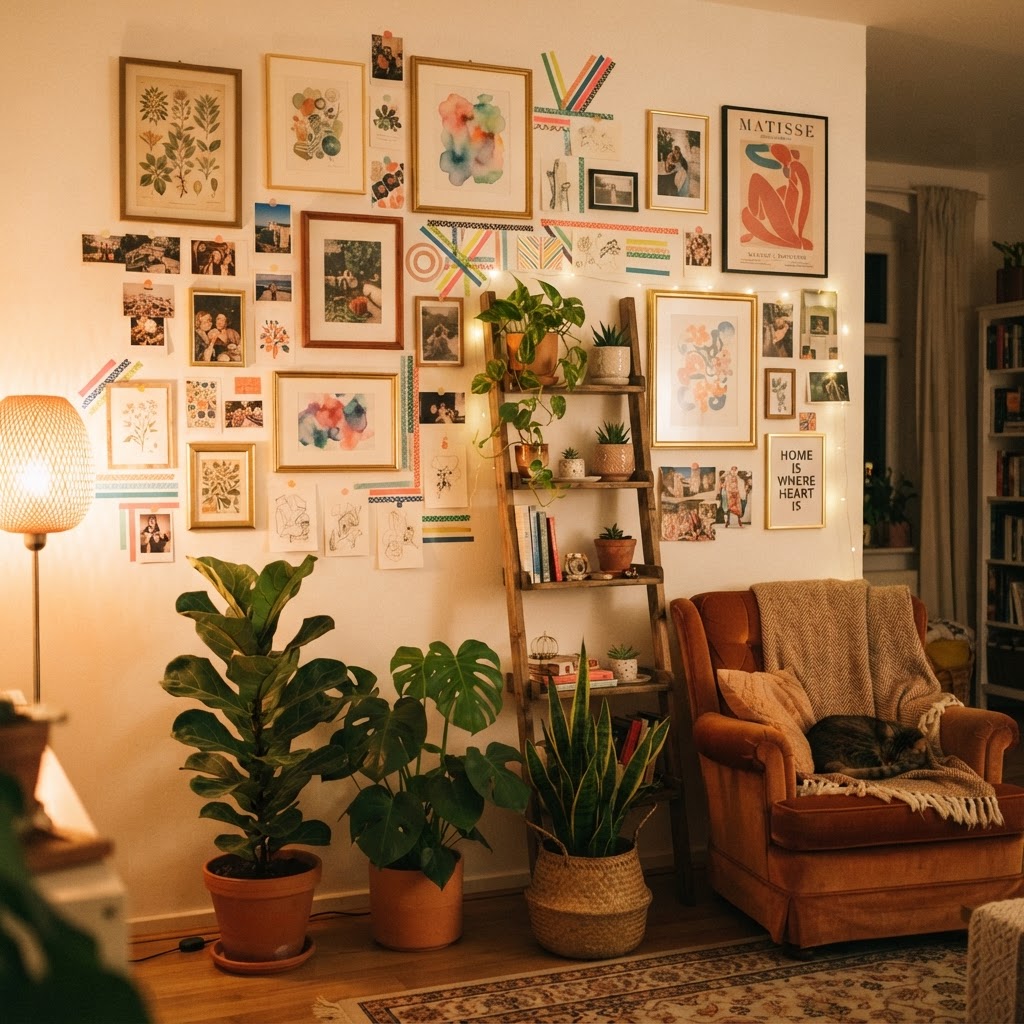
Perfecting your layout on the floor before applying any piece to the wall ensures visual balance and prevents the need for removing and reapplying strips. Start by gathering all your art, frames, and accents on a large area of floor space, arranging them until the composition feels harmonious. A useful trick is to use painter’s tape to outline the exact dimensions of your gallery area on the wall; this acts as a guide to prevent your arrangement from drifting as you work. When planning, aim to place the center of your gallery at eye level, roughly 57 to 60 inches from the floor, to create the most natural viewing experience. Consider the ‘negative space’—the gap between your frames—which should ideally remain consistent at 2 to 3 inches for a professional, cohesive look. By utilizing a floor-to-wall transfer method, you eliminate the guesswork and ensure your wall looks curated rather than randomly assembled.
Alternative Methods for No-Nail Display
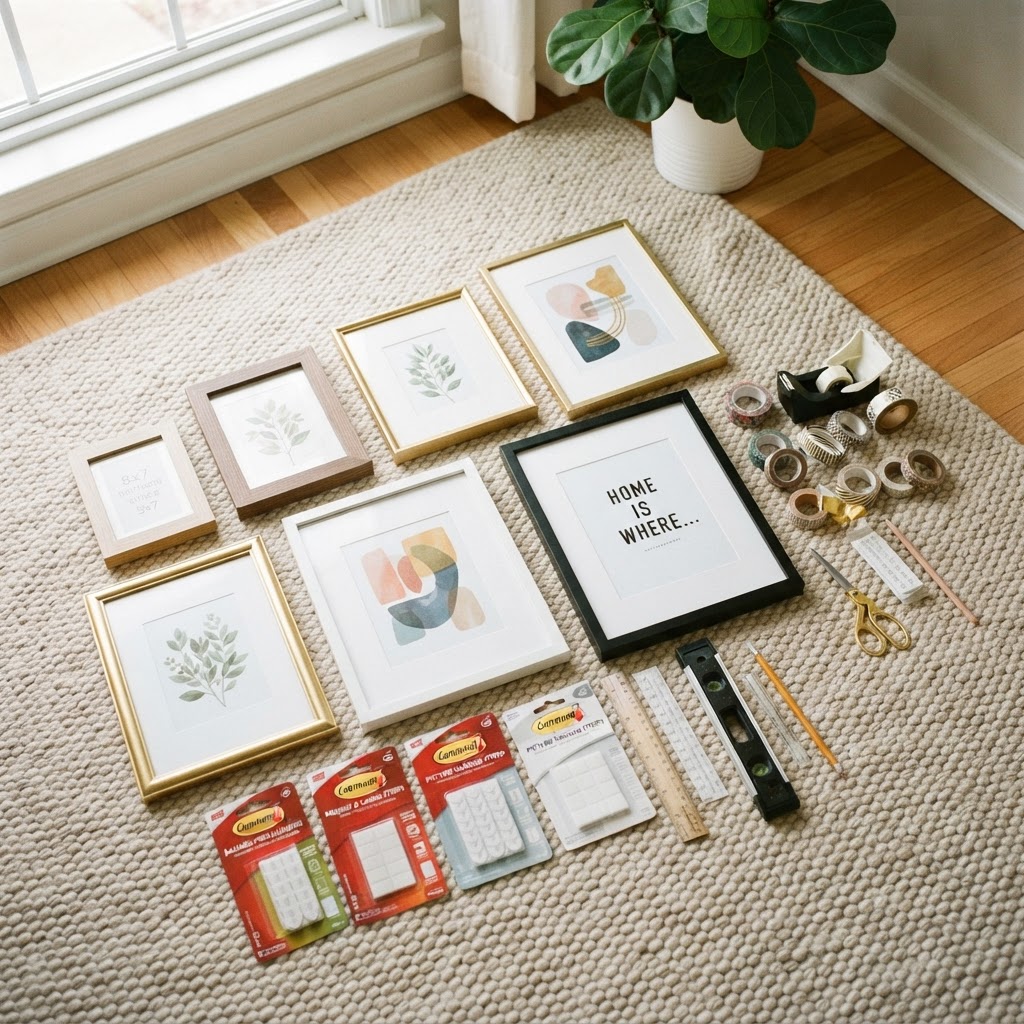
Leveraging architectural features and existing furniture offers a robust alternative to wall-mounted adhesives for those who prefer a layered, collected look. Picture ledges are exceptionally effective because they allow you to rotate art frequently without ever touching the wall surface again after the initial mounting. If drilling is strictly forbidden, consider using heavy-duty, leaning full-length mirrors or wooden ladders; these act as a structural base for resting frames at different heights, creating a cozy and intentional aesthetic. These methods also provide depth, as you can layer smaller frames in front of larger ones, creating a three-dimensional display that feels more dynamic than a flat wall-mounted arrangement. Additionally, tension rods installed inside door frames or between two parallel walls can serve as a display system for prints hung with clips, adding a industrial yet cozy texture to the space.
Using Washi Tape for a Casual Vibe
For a bohemian or relaxed aesthetic, washi tape acts as both a functional tool and a design element. This low-tack Japanese paper tape is specifically designed to adhere to paper and paint without leaving residue or tearing the wall finish when removed. Washi tape is ideal for lightweight paper art, postcards, or polaroids that don’t require the structural support of a frame. You can create geometric borders that ‘frame’ your artwork on the wall, or simply place a small strip at the top of each piece for a floating, minimal look. Because it is available in hundreds of colors and patterns, it allows you to customize the ‘frame’ to match your room’s color palette perfectly. The best part is the cost; a single roll typically costs less than $5 and can cover an entire wall, making it one of the most budget-friendly ways to curate a gallery wall.
Maintaining Your Gallery Wall
Gallery wall maintenance is a simple quarterly process that ensures the longevity and safety of your displays. Every three to six months, perform a quick ‘check-up’ by pressing firmly against your frames to verify that the adhesive bond is still flush against the wall surface. Avoid placing your gallery wall in high-humidity areas, such as bathrooms or near kitchen stovetops, as moisture can break down the adhesive polymers over time. If a frame feels slightly loose, do not attempt to ‘fix’ it with extra tape; instead, remove the frame, clean the surface with alcohol, and replace all strips with fresh ones. When it comes time to move or change your layout, remember to pull the strip’s tab slowly and parallel to the wall—not outward—to ensure the paint remains pristine. Following these simple steps will ensure that your gallery wall remains a beautiful, damage-free focal point for years to come.
Troubleshooting Common Issues
If you find your frames tilting or shifting over time, you are likely dealing with uneven wall texture or subtle vibrations from heavy traffic. A small dab of removable museum putty at the base of the frame provides an invisible ‘anchor’ that stops the frame from shifting without damaging the paint. If you find a strip has failed to hold, assume the adhesive has been compromised by dust and replace it entirely rather than trying to reuse it. For walls with heavy orange-peel texture, consider using a slightly larger adhesive strip than recommended to increase the contact surface area. If the wall is unusually cold, warm the surface with a hairdryer for 10 seconds before applying the adhesive; this ensures the glue is at the ideal temperature for maximum adhesion. Patience is your greatest tool, as the initial 30 seconds of firm pressure is what sets the bond strength for the life of the installation.
Styling Tips for Maximum Coziness
Cozy gallery walls rely on a balance of thematic consistency and tactile variety to feel intentional. Aim for a unified color palette—such as warm earth tones, monochromatic black-and-white, or soft pastels—to help disparate pieces of art feel like a single collection. Don’t be afraid to integrate textures into your layout; a small woven macrame piece, a lightweight metal sign, or a pressed flower frame adds dimension and prevents the wall from appearing flat. The ‘negative space’ between pieces is equally important; aim for a consistent gap of two to three inches to allow the eye to rest, preventing the wall from appearing cluttered. By mixing these different mediums, you create a home environment that feels personal, collected, and expertly styled.
FAQ
Q: Can adhesive strips remove paint?
Adhesive strips are designed to be paint-safe when removed properly by pulling the tab parallel to the wall. Pulling away from the wall at an angle can cause the adhesive to tear the paint, so always use a slow, consistent motion to break the bond without damaging your surface.
Q: How much weight can a command strip hold?
Standard medium adhesive strips typically hold up to 4 pounds per set, while large strips can support up to 16 pounds. Always check the specific weight rating on the packaging, and for heavier items, consider using multiple pairs or distributing the weight across several contact points.
Q: What is the best way to clean the wall before applying adhesives?
Use a clean, lint-free cloth dampened with isopropyl alcohol to wipe the wall surface. This removes microscopic dust, oils, and invisible debris that prevent the adhesive from forming a strong bond, ensuring the strips remain firmly in place for years.
Q: Are picture ledges considered damage-free?
Most traditional picture ledges require screws, which are not damage-free. However, you can use heavy-duty adhesive mounting hardware to attach small ledges to your wall, or opt for free-standing leaning ledges that require no installation at all, keeping your wall entirely free of holes.
Q: How do I keep frames level on a gallery wall?
Use a laser level or a standard bubble level to mark your desired positions before sticking the frames. If a frame tilts after installation, a small amount of museum putty behind the bottom corner will keep it perfectly aligned and prevent it from shifting due to vibrations.

Leave a Reply