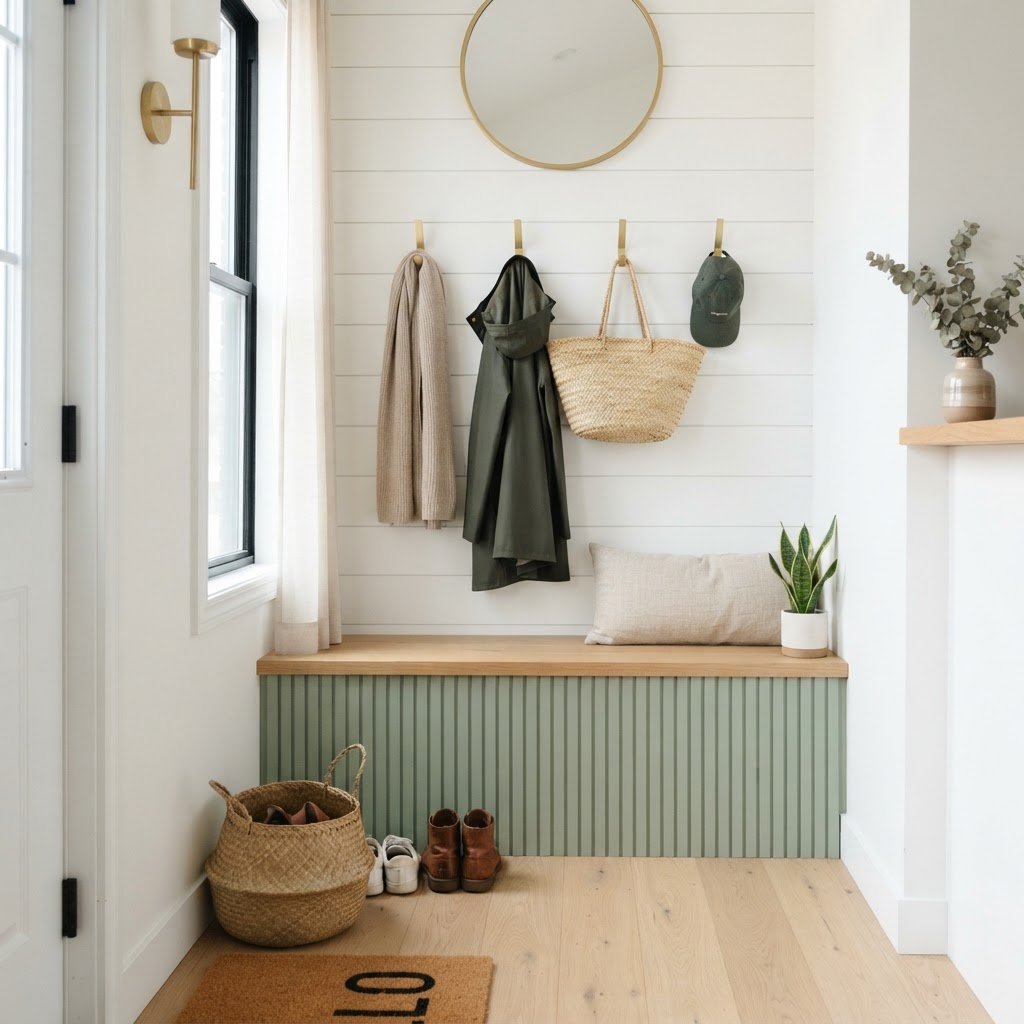
Creating an organized, inviting entryway when you are short on square footage can feel like a game of Tetris. Many homeowners struggle with the balance between functionality and aesthetics, especially when dealing with a cramped landing area. Fortunately, DIY fluted and storage bench hacks for tiny mudrooms offer the perfect solution to reclaim your space while adding a touch of custom designer flair. By utilizing vertical space and hidden compartments, you can turn a chaotic “drop zone” into a serene, organized sanctuary.
The Aesthetic Appeal of Fluted Details
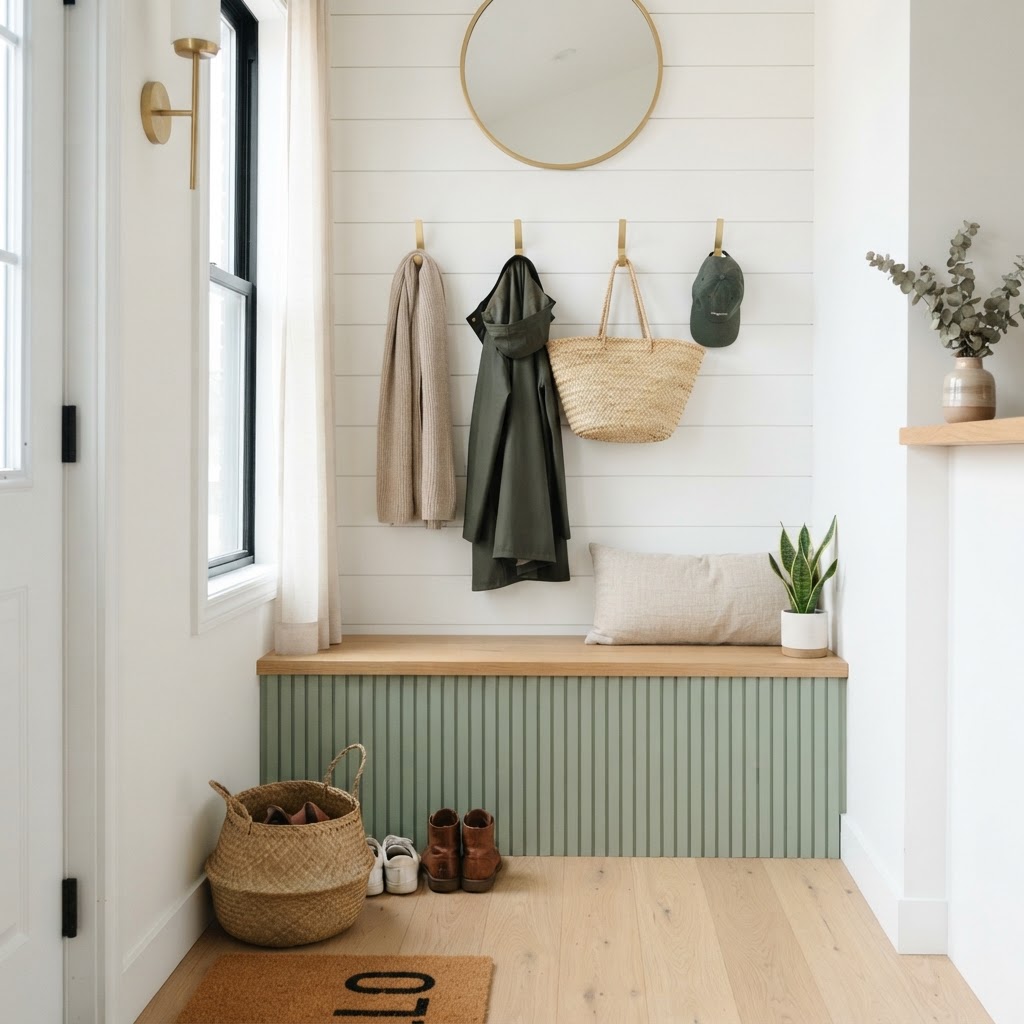
Fluted furniture has taken the interior design world by storm, and for good reason. The vertical lines add texture, depth, and a sophisticated visual rhythm to otherwise flat, boring surfaces. When you apply this technique to a DIY fluted mudroom bench, you are not just building a place to sit; you are creating a statement piece that draws the eye upward and makes the room feel taller and more refined.
Why Texture Matters in Small Spaces
In a tiny mudroom, you cannot rely on large furniture or bold wall art to make a statement. Instead, you must rely on tactile elements. The subtle shadow play created by fluted wood molding or dowels creates a sense of luxury that elevates a basic stock cabinet or a DIY plywood box. It provides a high-end, custom look at a fraction of the cost of store-bought designer benches.
Choosing the Right Materials for Your Bench
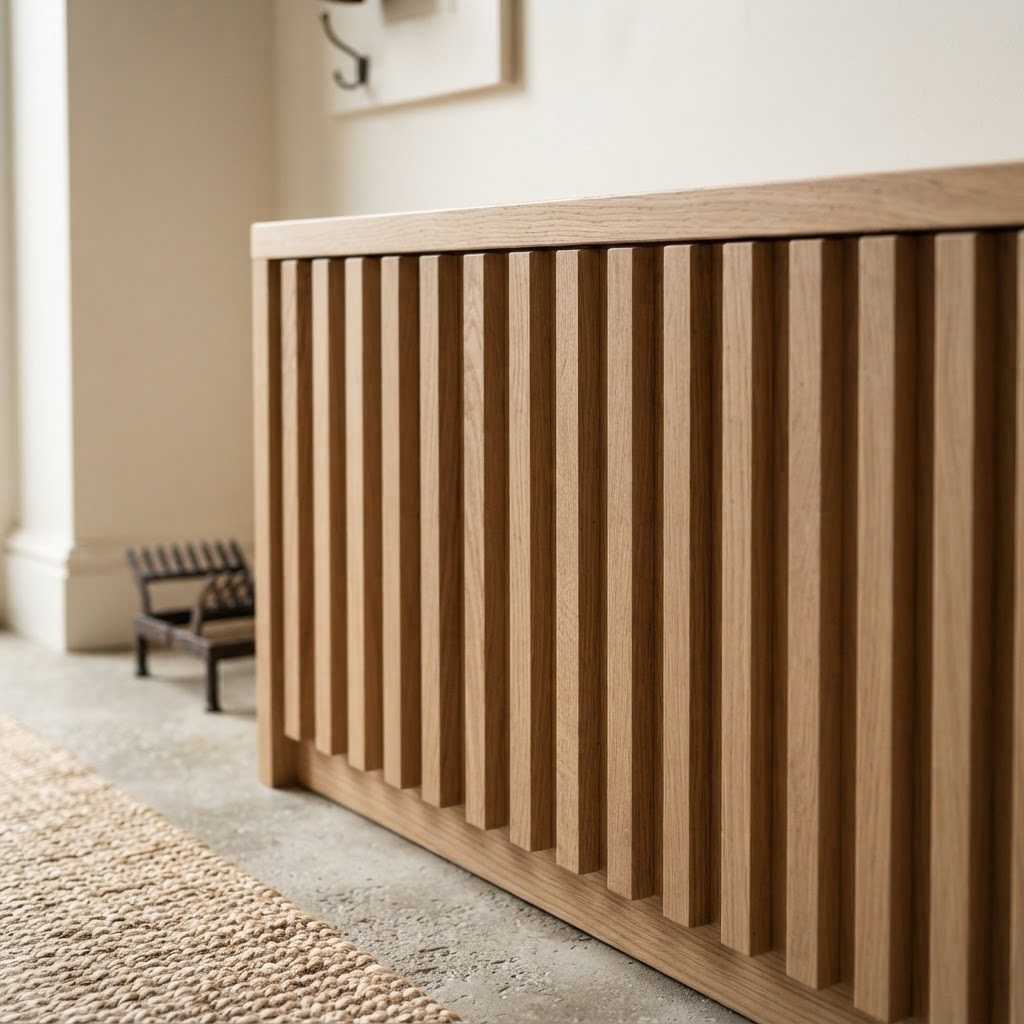
Before you start cutting wood, you need a plan that balances durability with weight. Since mudrooms are high-traffic areas, your bench needs to withstand muddy boots, heavy bags, and constant use. Plywood is an excellent choice for the base, while half-round wood trim or wooden dowels are the gold standard for creating that signature fluted effect.
Essential Tool Checklist
To ensure your project is a success, gather these supplies before you begin. You will want a miter saw for precise cuts, a brad nailer for attaching the trim, and a high-quality wood glue. Don’t forget your wood filler and a high-grade sander to achieve a seamless, professional finish before you apply paint or stain.
Step-by-Step: Constructing the Bench Base

Building the structural base is the most important part of your tiny mudroom storage project. Start by measuring your available wall space with precision. You want to ensure the bench fits snugly to maximize every inch, but remember to account for baseboards if you are building an “in-built” style piece.
Creating Hidden Storage Solutions
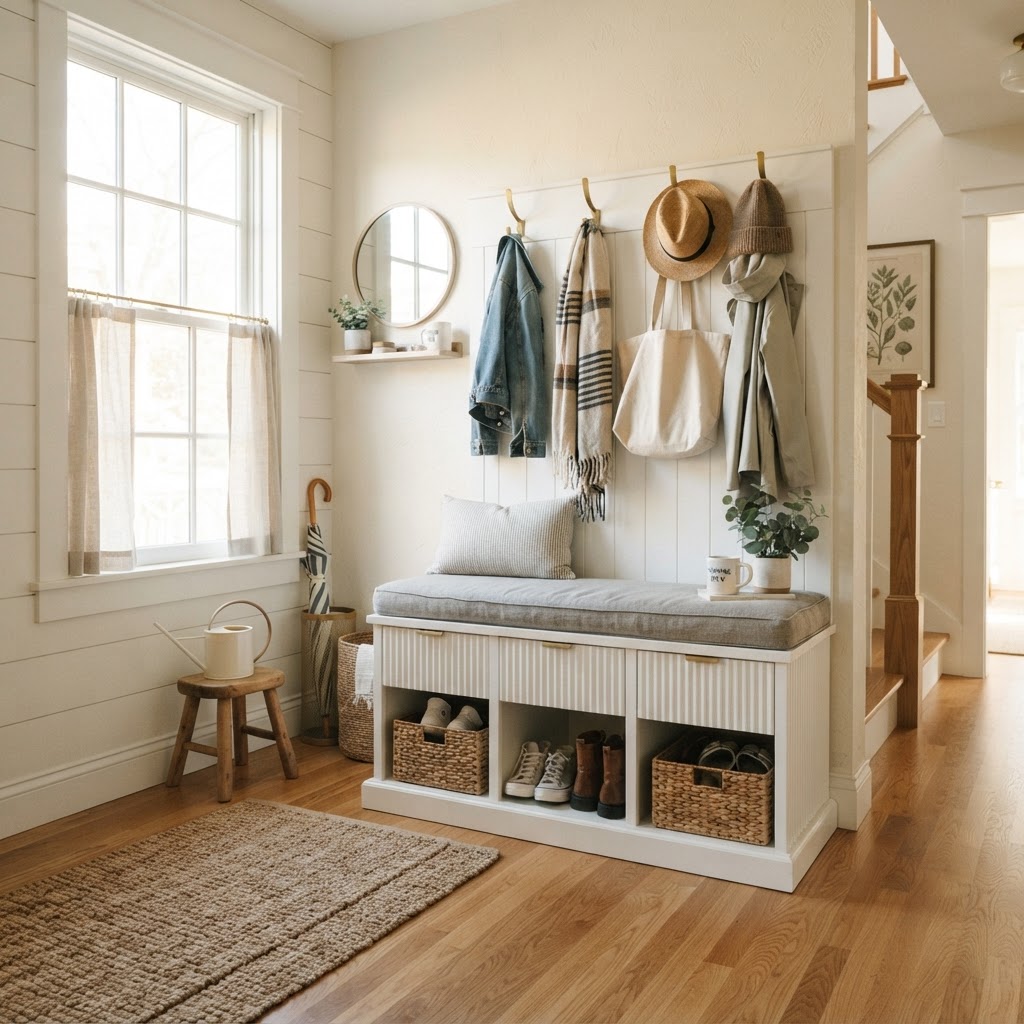
For a truly tiny mudroom, every cubic inch counts. Consider incorporating a “flip-top” lid or deep pull-out drawers beneath your bench seat. This is where you can store seasonal items like scarves, umbrellas, or extra shoes that you don’t use on a daily basis. The more you can keep off the floor, the larger your room will feel.
Applying the Fluted Detail
Once your box frame is complete, it is time for the fun part: adding the fluting. You can purchase pre-cut half-round trim in various sizes. The key is to keep your spacing consistent. Using a small spacer block while nailing each strip will save you from major alignment issues later on.
Pro Tips for a Flawless Finish
If you are painting your bench, use a primer that is compatible with wood filler to prevent the joints from showing through. If you are staining, be aware that different types of wood absorb stain differently. Always test your stain on a scrap piece of your fluted trim to ensure the color matches your main frame perfectly.
Maximizing Tiny Mudroom Storage Ideas
Beyond the bench itself, look at the vertical space directly above your seat. Adding coat hooks or a narrow ledge can double your storage capacity without requiring any extra floor space. Think about a “floating” shelf system that mirrors the fluted texture of your bench to create a cohesive, custom look that feels professionally designed.
Vertical Organization Hacks
Consider adding a row of shaker pegs above the bench. By mounting these directly to a piece of board that matches your bench’s finish, you create a unified look. You can even add small brass labels to each hook to give each family member their own dedicated spot for coats and hats, further reducing entryway clutter.
Paint vs. Stain: Which Style Suits You?
Choosing the finish is a critical decision that dictates the mood of your entry. A moody, deep green or charcoal paint can make a small room feel cozy and intentional, acting as a “jewel box” of an entryway. Conversely, a light oak stain or a crisp white paint can make a tiny space feel light, airy, and larger than it actually is.
Maintenance and Long-Term Durability
Because your mudroom is a high-traffic zone, you must treat your DIY bench for longevity. A high-quality polyurethane topcoat is non-negotiable. It protects the wood from scuffs, moisture from wet shoes, and the inevitable wear and tear of daily living. If you chose a light color, consider adding a rubber or brass kickplate at the bottom to protect the fluted trim from vacuum cleaners and muddy shoes.
Cleaning Made Easy
To clean fluted surfaces, use a soft-bristled brush or a microfiber cloth to get into the crevices where dust likes to hide. Regular maintenance keeps your DIY project looking new for years. Remember, a well-built storage bench is an investment in your home’s functionality and your daily stress levels.
Conclusion
Taking on DIY fluted and storage bench hacks for tiny mudrooms is one of the most rewarding home improvement projects you can complete. Not only do you get to exercise your creativity, but you also solve the age-old problem of the messy, cluttered front door area. By focusing on vertical storage, tactile design elements like fluting, and durable finishes, you can create an entryway that is as beautiful as it is practical. Start planning your design today, measure twice, and don’t be afraid to customize these ideas to fit your unique space. Your dream mudroom is just one weekend project away.
Ready to get started? Head to your local lumber yard, grab your tools, and tag us in your progress photos as you transform your tiny entry into a functional masterpiece!

Leave a Reply