6 Peel-and-Stick Ideas That Instantly Upgrade a Rental Kitchen
You can transform a rental kitchen using peel-and-stick upgrades like vinyl backsplash tiles, contact paper for cabinets, adhesive countertop laminate, appliance skins, peel-and-stick wallpaper, and durable floor decals. These non-permanent solutions allow you to customize your space for under $200 without damaging surfaces or risking your security deposit.
Refreshing Your Backsplash with Peel-and-Stick Tiles
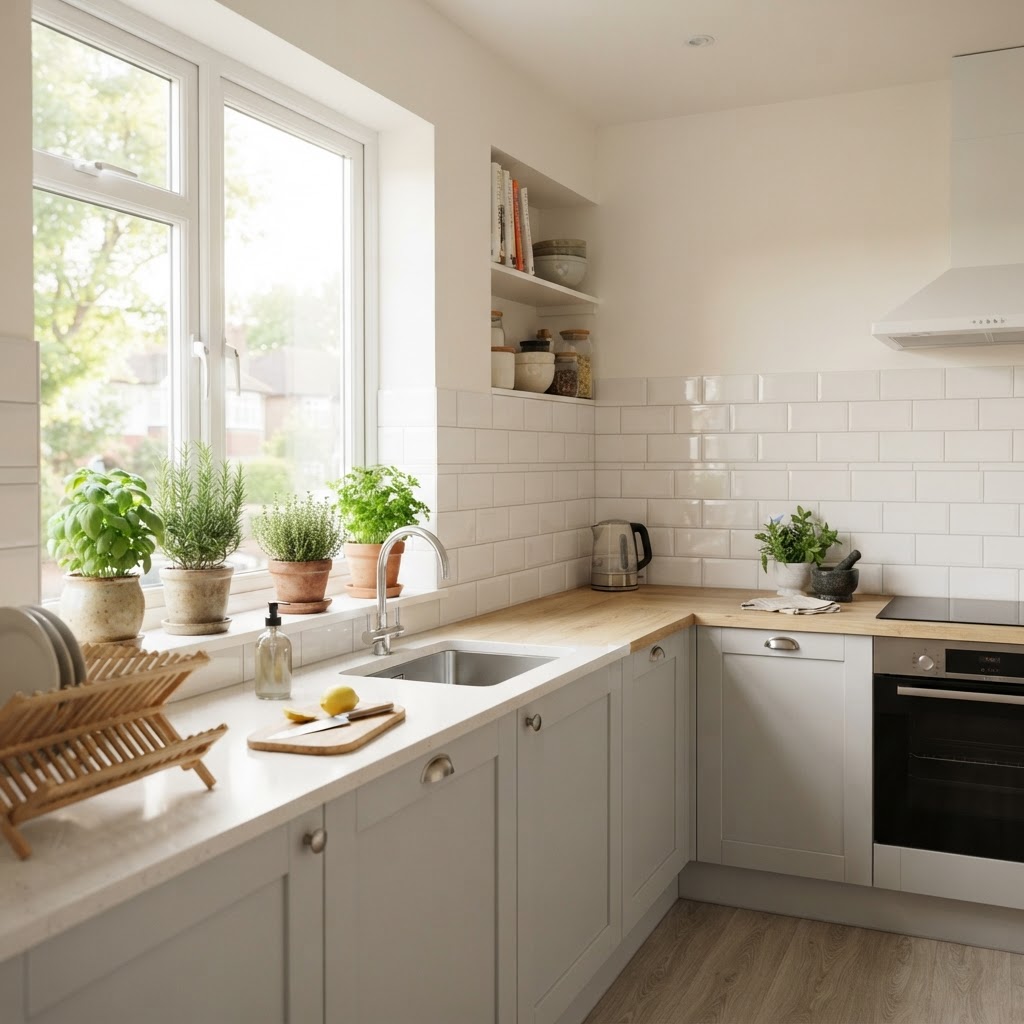
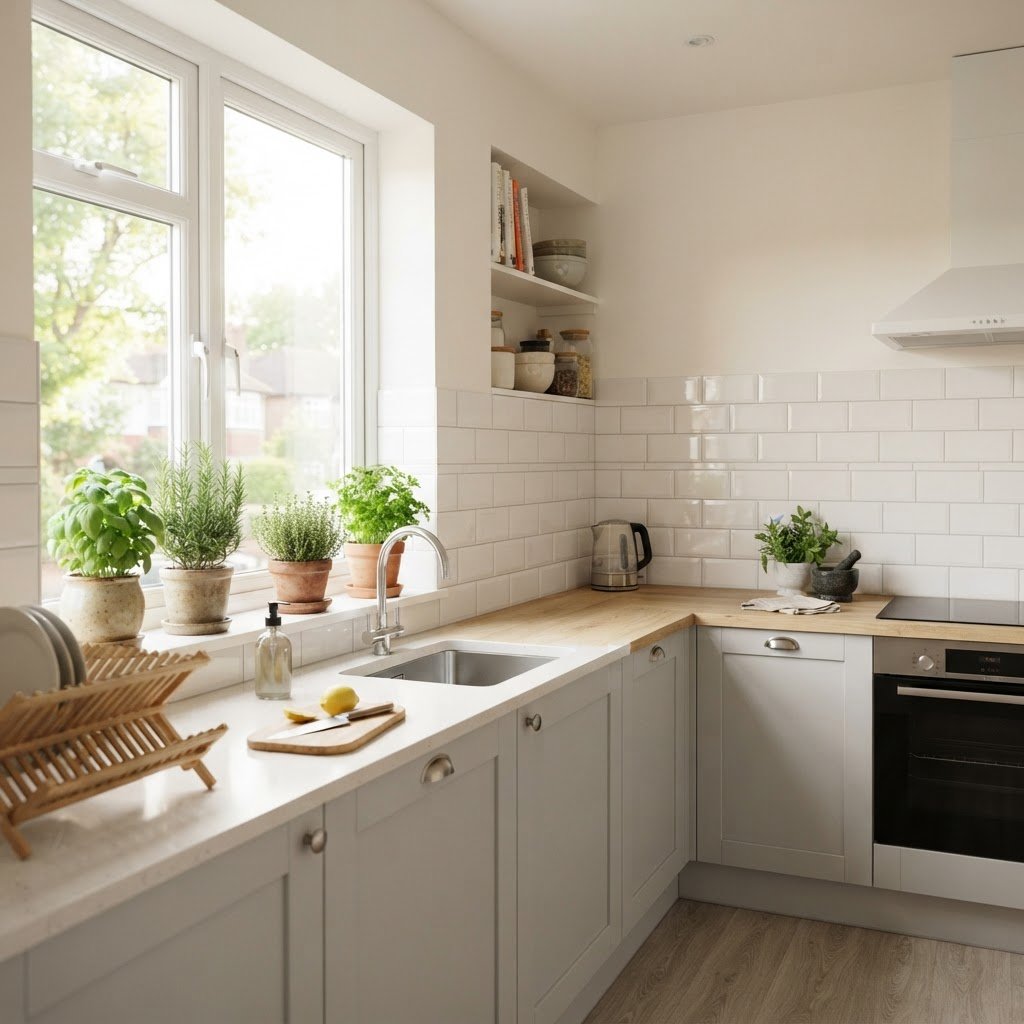
Peel-and-stick vinyl tiles provide the high-end look of ceramic or glass backsplashes at a fraction of the cost, usually ranging from $5 to $15 per square foot. These adhesive sheets are engineered to bond to flat, clean surfaces, allowing you to cover outdated textures or boring drywall without the mess of grout, saws, or specialized labor. Because they are thin and flexible, they are ideal for DIYers looking to achieve a custom look in a single weekend.
Choosing the Right Adhesive Tiles
When selecting tiles, prioritize products explicitly labeled as “heat-resistant” (up to 150°F) and “water-resistant” for safety near stoves and sinks. Opt for thicker, textured vinyl over paper-thin varieties to ensure they don’t look cheap or plastic-like. Thorough preparation is the secret to success; scrub your walls with a heavy-duty degreaser, as residual cooking oils from previous tenants will cause adhesive failure within weeks. Use a sharp utility knife and a metal straight edge to score tiles for precision cuts around electrical outlets. Investing time in accurate measurements and dry-fitting your layout before peeling the backing will yield professional, seamless results that mimic traditional subway or Moroccan tile work.
Transforming Cabinet Doors with Contact Paper
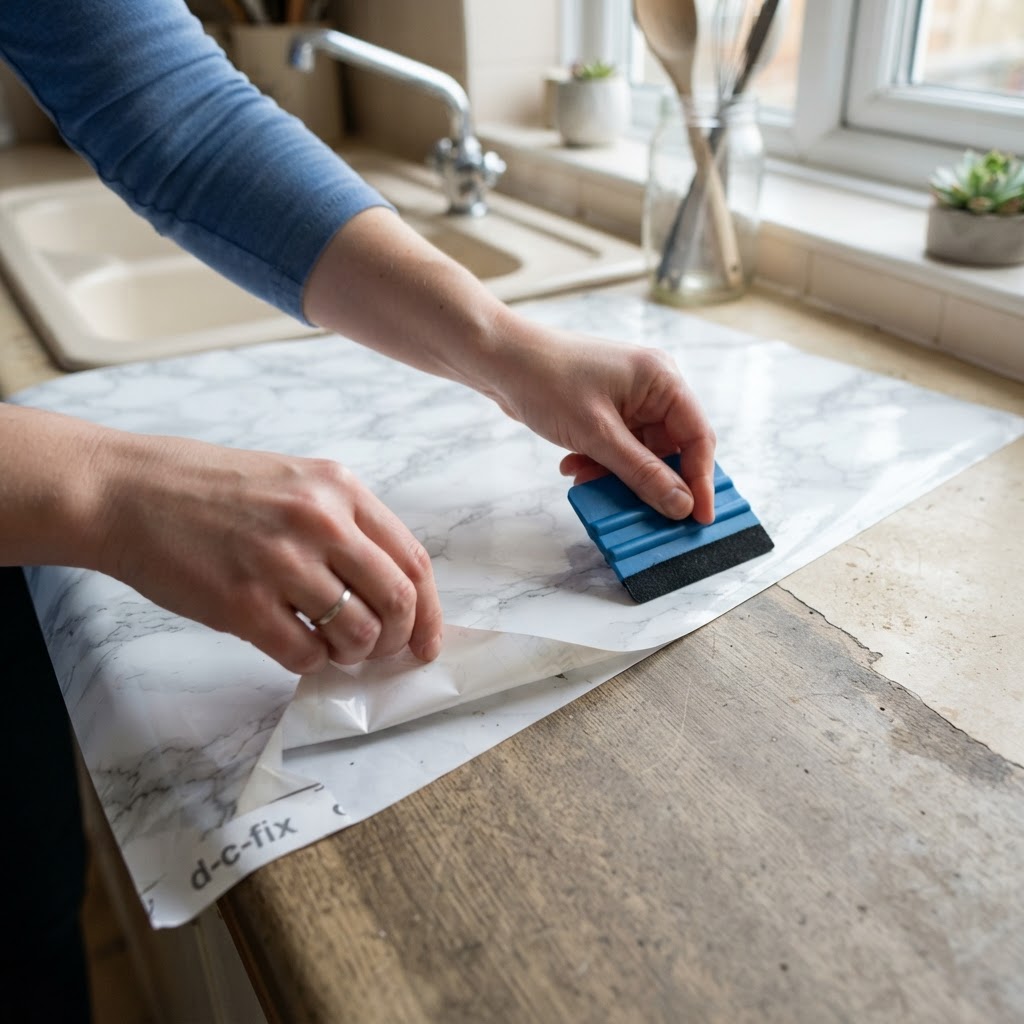
Applying high-quality adhesive contact paper to existing kitchen cabinets is the most effective way to modernize a dated room without permanent painting. Whether your goal is a contemporary matte finish or a warm wood-grain texture, this process covers old, yellowed, or damaged finishes while providing a durable, wipeable surface. The process is fully reversible, making it perfectly compliant with even the strictest lease agreements.
To achieve a factory-finish look, always remove the cabinet doors and hardware before application rather than trying to wrap them in place. Thoroughly clean the wood or laminate surfaces with isopropyl alcohol to ensure proper adhesion. Apply the paper slowly, using a plastic squeegee or felt-edged tool to eliminate air bubbles as you move from the center outward. For edges, use a hairdryer on a low heat setting to gently soften the vinyl, allowing it to stretch and fold around corners for a seamless, professional wrap. When you move out, the material peels away cleanly, leaving the original surface preserved exactly as you found it.
Enhancing Countertops with Adhesive Laminate
Adhesive laminate films, specifically designed for high-traffic countertops, offer a budget-friendly way to hide surface scratches, heat stains, or dated patterns. Look for “heavy-duty” or “thick-gauge” films, which typically measure at least 0.2mm in thickness, as these are engineered to withstand the daily friction of cutting boards and wet dishes. Because countertops are focal points, choosing a realistic stone or marble print can instantly increase the perceived value of your rental kitchen for a minimal financial investment.
Preparation for countertops must be meticulous, as any crumb or debris trapped under the film will create a permanent bump. After cleaning the counter, use a hairdryer to heat the laminate before wrapping it over edges, which prevents the material from cracking or creating wrinkles. It is important to note that while these films are water-resistant, they are not heat-proof; always use a trivet under hot pans to avoid melting the vinyl. With proper care, these films can last the duration of a standard 12-month lease without peeling or bubbling.
Updating Appliances with Magnetic or Adhesive Skins
Appliance skins provide an instant aesthetic update to outdated, scratched, or mismatched refrigerators and stoves by completely masking the original exterior face. These coverings come in various styles, including brushed stainless steel, matte black, and custom graphic patterns, allowing you to create a cohesive designer look. They are usually composed of heavy-duty magnetic sheets or low-tack adhesive vinyl that can be easily trimmed with scissors to fit any brand or model.
Using magnetic skins is the preferred method for renters, as they require absolutely no adhesive, eliminating any risk of residue or cleanup. If using adhesive skins, look for “bubble-free” vinyl technology which includes microscopic channels in the adhesive to allow trapped air to escape during installation. By unifying your appliances into one color palette, you effectively camouflage the age of the equipment. Always confirm your appliance surface is metal (for magnets) or smooth plastic (for adhesive) before purchasing; textured or high-gloss curved surfaces may require different application techniques or specific adhesive strengths to ensure the skin remains flat and secure.
Adding Accents with Removable Wallpaper
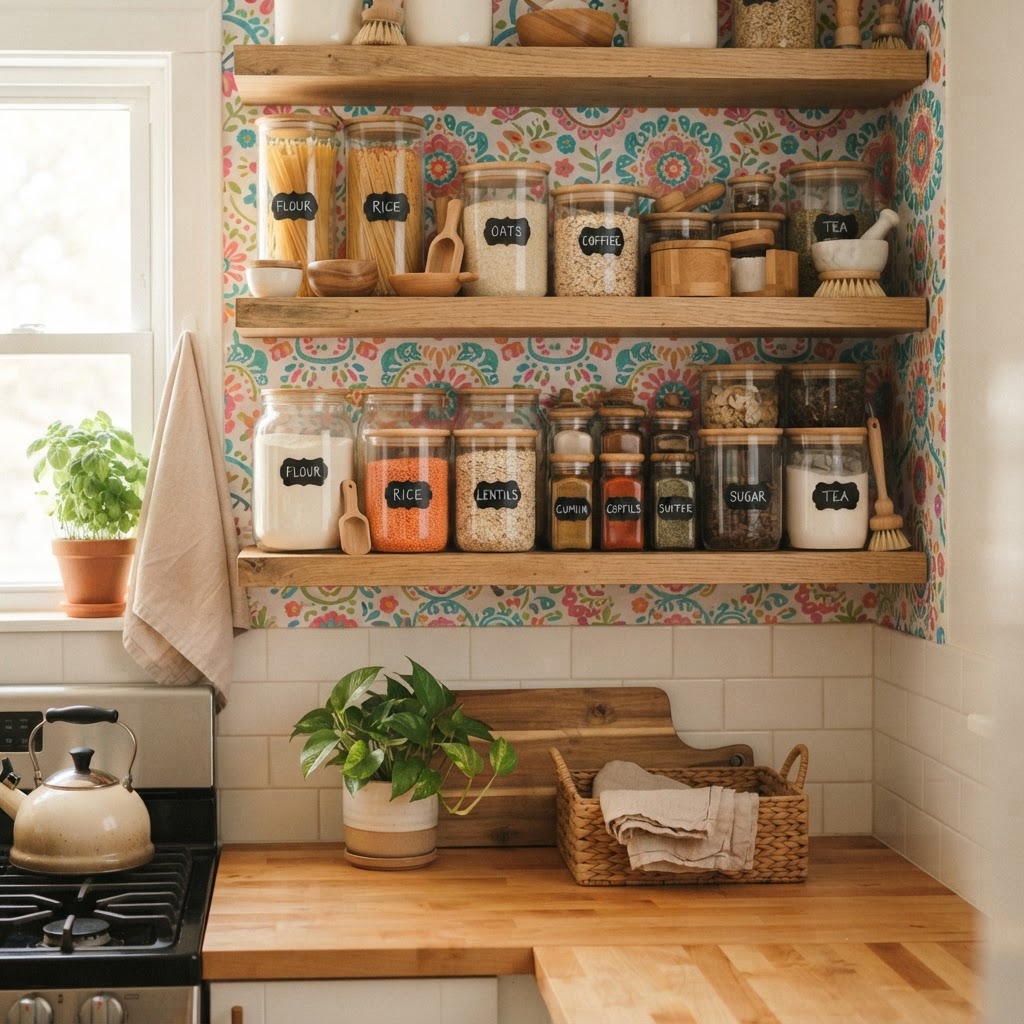
Removable wallpaper transforms sterile kitchen walls or open shelving into vibrant design elements with minimal commitment. Because modern peel-and-stick wallpaper is designed for easy removal, you can experiment with bold prints, botanical motifs, or geometric patterns that would be far too risky to commit to with paint. This is an ideal solution for small sections of wall above the counter or to add depth inside open-front cabinets, creating an unexpected pop of style that highlights your glassware and decor.
To ensure success, check the manufacturer’s instruction for “breathability” to ensure the paper won’t cause mold if moisture is present. Start at the top of the wall and use a level to ensure the first strip is perfectly vertical, as even a minor tilt will become obvious once you add subsequent panels. The forgiving nature of the repositionable adhesive allows you to adjust the alignment several times before the bond sets. When cleaning near wallpapered areas, use a slightly damp cloth rather than aggressive chemical sprays to keep the print vibrant and free from fading over time.
Customizing Floors with Vinyl Floor Stickers
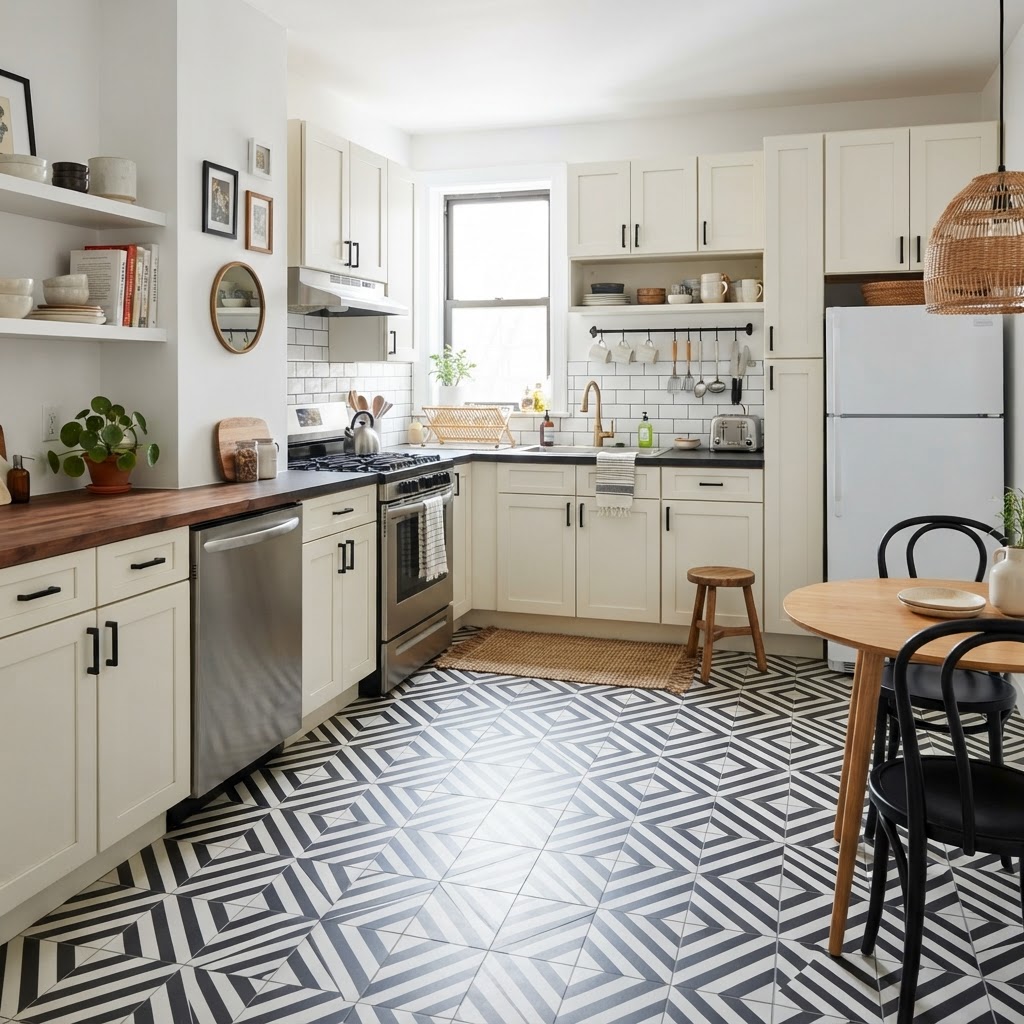
Peel-and-stick floor decals offer a clever solution for covering unsightly linoleum or damaged ceramic tile without the high cost of renovation. These floor-rated stickers are significantly more durable than wall-based vinyl, featuring a protective top layer that resists scuffs, household cleaners, and high-foot-traffic areas. By applying a classic pattern like black-and-white checkers or a vintage-inspired encaustic print, you can completely redirect the visual focus of your kitchen, effectively turning an ugly floor into an interior design feature.
For the best results, start from the exact center of the room and work outward toward the baseboards to ensure the pattern remains symmetrical. You must ensure the floor is perfectly level and free of any wax or oils; using a primer-like floor cleaner will maximize the adhesive bond. If you have a small galley-style kitchen, these decals are highly efficient and cost-effective, typically requiring less than 50 square feet of material to complete the entire floor area. Keep in mind that while these decals are water-resistant, it is wise to avoid using excessive amounts of water during mopping to prevent seepage at the seams.
Tips for Long-Term Success and Easy Removal
Maintaining the integrity of your rental kitchen requires balancing style with proactive preservation techniques. Always retain the manufacturer’s product packaging or specific instructions, as they contain the recommended heat-removal techniques for the adhesive. If you encounter sticky residue after removing decals, use a small amount of citrus-based adhesive remover or standard rubbing alcohol on a microfiber cloth to gently dissolve the remaining glue without damaging the original wall or floor finish beneath.
Checklist for a Renter-Friendly Renovation
- Check your lease agreement for specific restrictions on alterations.
- Clean all surfaces with a heavy-duty degreaser before application.
- Order 10-15% extra material to account for trimming and future repairs.
- Use a sharp utility knife for precise cutting around edges.
- Keep all original hardware in a labeled bag for easy reinstallation.
FAQ
Can peel-and-stick tiles withstand kitchen heat?
Yes, provided you purchase products specifically labeled as heat-resistant. These tiles are typically tested to handle temperatures up to 150°F, making them safe for installation behind a stove as long as they are at least 6 to 10 inches away from direct open flames or high-heat burners.
Will contact paper damage my rental cabinets?
High-quality, removable contact paper will not damage cabinets when applied to finished surfaces. To remove, use a hairdryer to warm the vinyl, which softens the adhesive and allows you to peel the film away in one piece without leaving any residue on the underlying wood or laminate.
Are floor decals safe for all types of kitchen flooring?
Floor decals are generally safe for smooth surfaces like linoleum, vinyl, or ceramic tile. They should not be used on porous surfaces like unfinished wood or natural stone, as the adhesive could penetrate the surface or strip the finish during removal.
How long does a peel-and-stick kitchen upgrade last?
With proper surface preparation, these upgrades are designed to last for the duration of a standard 12-month lease. If applied to clean, non-porous, and dry surfaces, many high-quality vinyl products can remain looking fresh and intact for up to 3 years before showing signs of wear.
Can I use wallpaper in high-moisture kitchen areas?
It is generally recommended to avoid using standard peel-and-stick wallpaper in areas prone to splashing, such as directly behind the kitchen sink. For areas with high moisture, opt for vinyl-coated peel-and-stick wallpaper or moisture-resistant adhesive tiles instead to prevent the paper from absorbing water and losing its adhesive bond.

Leave a Reply