Tiny Bedroom Aesthetic: Creating a Luxe Minimalist Haven

Designing a tiny bedroom aesthetic that feels both spacious and luxurious requires a departure from traditional clutter-filled decor. By focusing on intentional choices, you can transform a cramped footprint into a serene retreat that emphasizes quality over quantity. Whether you are working with a small apartment or a nook in a larger home, the right design principles can make any room feel like a high-end sanctuary.

The Power of a Monochrome Palette
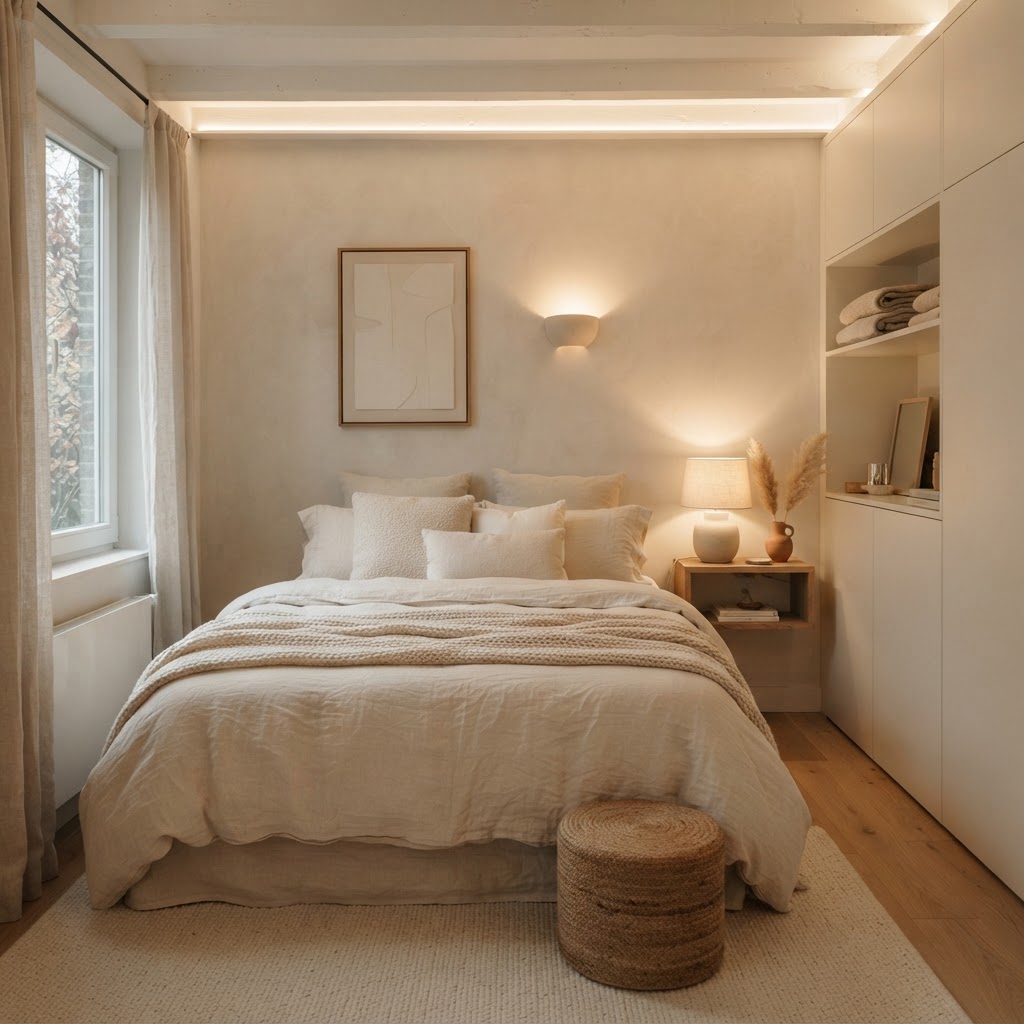
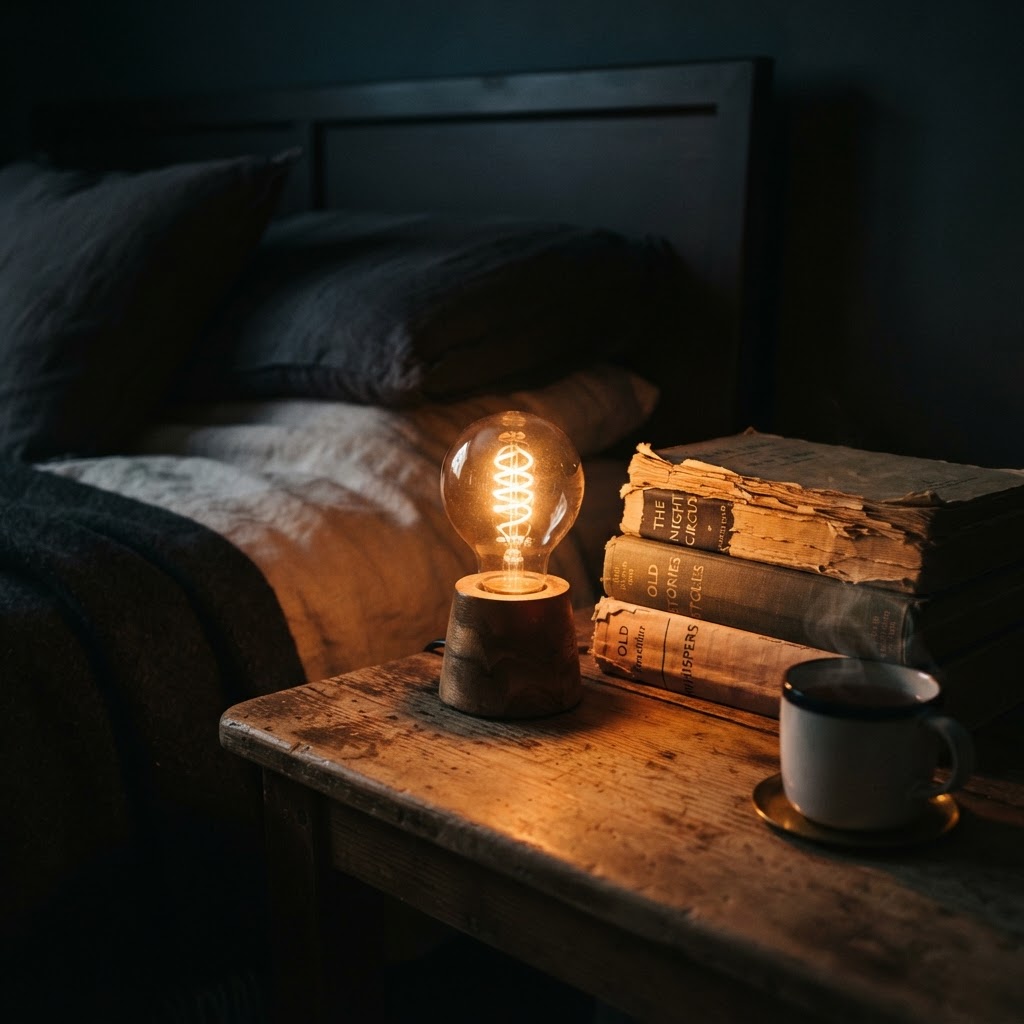
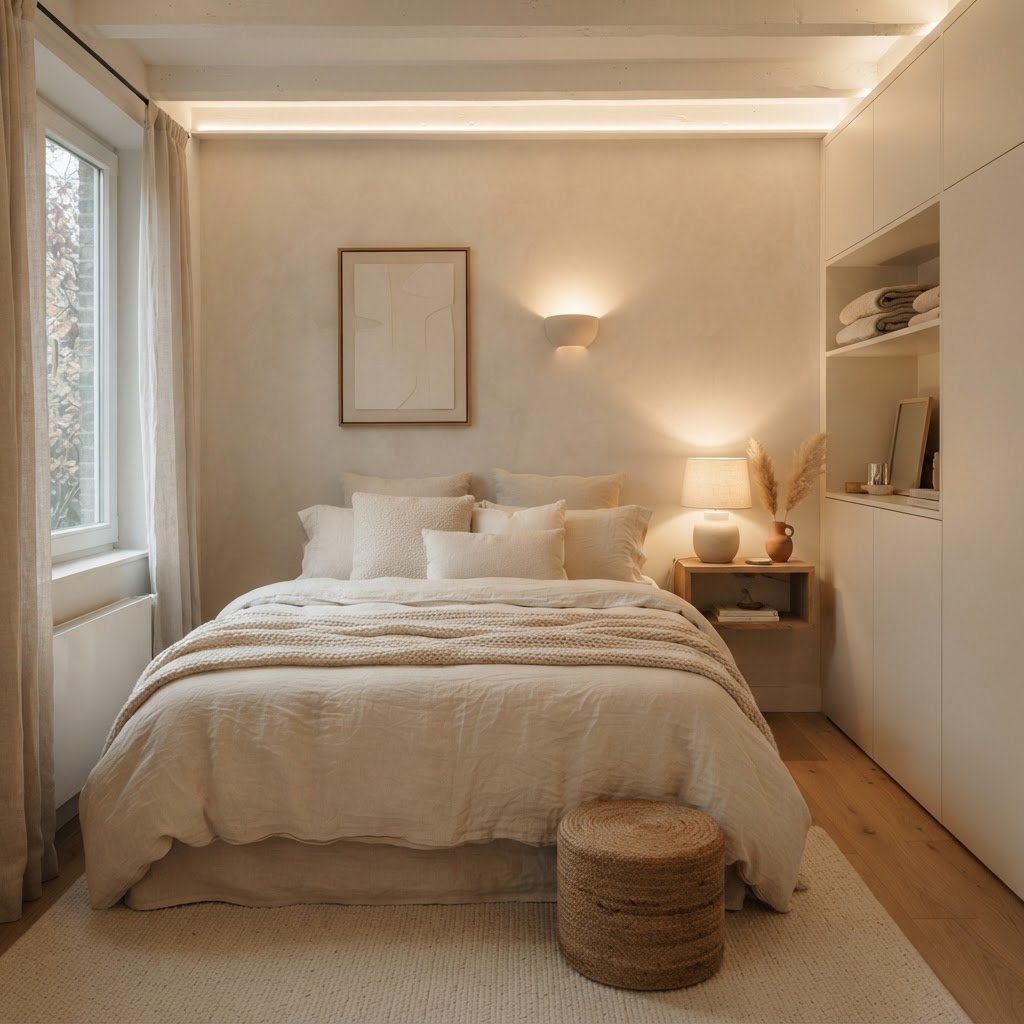
A bright and airy monochromatic bedroom design.

One of the most effective ways to master a tiny bedroom aesthetic is to embrace a monochromatic color scheme. By sticking to a single color family—whether it is crisp whites, soft greys, or moody charcoal tones—you effectively blur the boundaries of your walls. This creates a seamless visual flow that tricks the eye into perceiving more depth and space than is actually present.

To keep a monochromatic room from feeling sterile or flat, you must introduce a variety of textures. Incorporate chunky knit throws, linen bedding, velvet cushions, or even matte and glossy surfaces in the same hue. This tactile variety adds dimension and warmth, ensuring that your space feels cozy rather than clinical.

Luxe Minimalist Design Principles
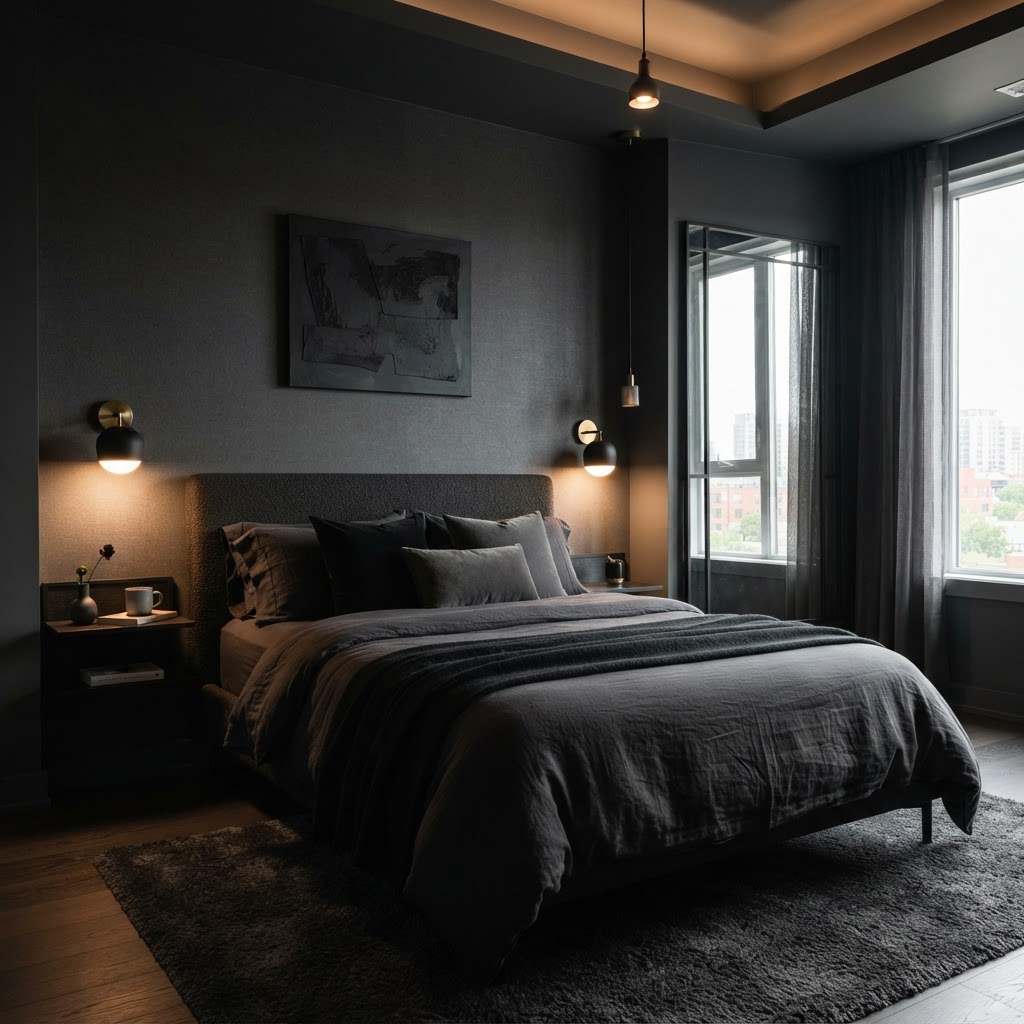
Moody charcoal tones creating a luxurious minimalist retreat.

Transitioning to a luxe minimalist bedroom does not mean stripping your room of personality; it means choosing pieces that serve both a functional and aesthetic purpose. In a small space, every item must earn its place. Look for furniture with clean lines, hidden storage compartments, and elevated materials like brushed brass, marble, or high-quality wood.

Prioritizing Quality Over Quantity

When your square footage is limited, the items you choose become the focal point of the entire room. Invest in one high-quality piece of art or a statement pendant light rather than filling your walls with multiple small frames or cluttered surfaces. A single, well-chosen item draws the eye and anchors the space, creating an intentional look that feels curated.

The Role of Hidden Storage

Clutter is the primary enemy of the minimalist small bedroom. To maintain your aesthetic, invest in under-bed storage bins, floating wall shelves that keep the floor clear, and bedside tables that incorporate drawers. By tucking away your daily necessities, you preserve the calm, open atmosphere essential to the minimalist look.

Creating Atmosphere Through Soft Lighting
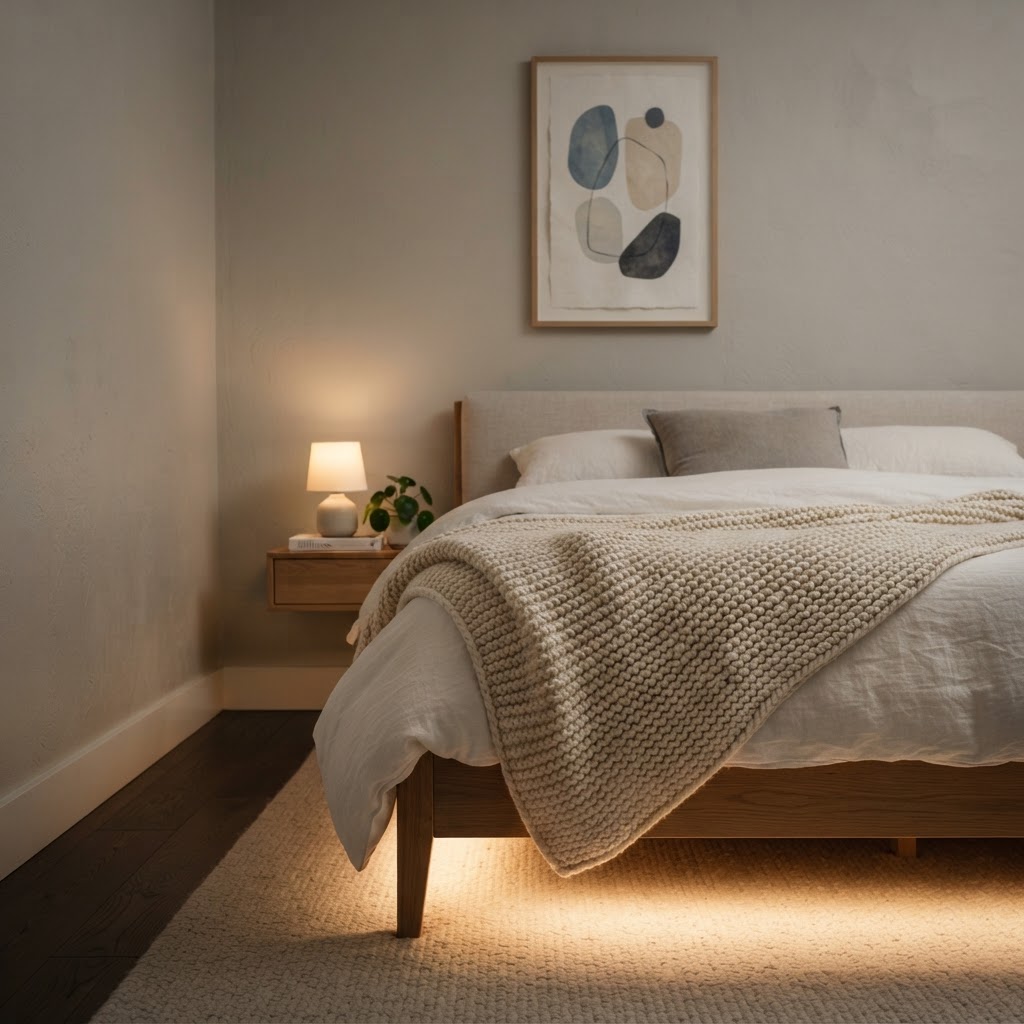
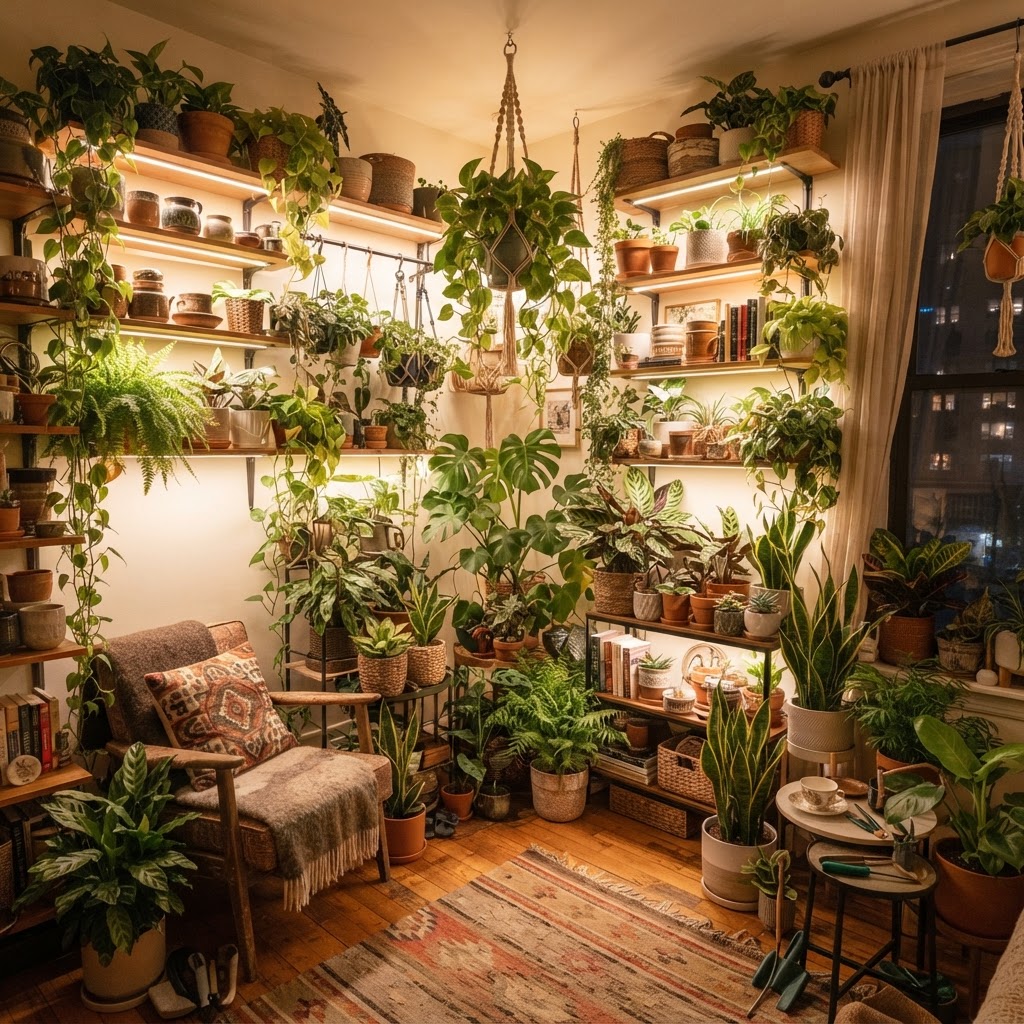
Carefully curated textures and lighting for a small space.

Lighting is perhaps the most important element in your tiny bedroom aesthetic, yet it is often the most overlooked. Harsh overhead lighting can make a small room feel boxed in, whereas layered, soft lighting adds warmth and luxury. To achieve this, aim to incorporate at least three different sources of light at varying heights.

Key Lighting Strategies:

  • Ambient lighting: A dimmable overhead fixture or flush mount to set the base tone.
  • Task lighting: Wall-mounted sconces on either side of the bed to free up surface space.
  • Accent lighting: LED strips under the bed frame or behind a headboard for a floating, high-end effect.

Maximizing Verticality and Mirrors

When horizontal floor space is at a premium, look up. Utilizing your walls is a foundational strategy for a luxe minimalist bedroom. Floor-to-ceiling curtains, for instance, draw the eye upward and make the ceiling feel higher, while tall, narrow shelving units add storage without eating into your floor footprint.

Mirrors are another essential tool in your design arsenal. Placing a large, floor-length mirror opposite a window reflects natural light back into the room, creating an illusion of doubling the space. Choose frames that match your monochromatic theme—like a slim black metal or a seamless glass edge—to keep the look sophisticated and modern.

Curating the Luxe Minimalist Bedding

Since the bed is the centerpiece of any bedroom, your bedding choices will either make or break your aesthetic. For a luxe feel, lean into high-thread-count cotton or silk blends in neutral tones. Keeping the bedding simple ensures that your small space feels restful rather than overwhelming.

Avoid busy patterns or loud colors. Instead, focus on layering pillows of different sizes and textures. A monochromatic base with subtle variations in fabric will make your bed look like it belongs in a boutique hotel, providing a visual anchor that is both inviting and incredibly chic.

Maintaining the Vision Over Time

Even the most carefully designed space can succumb to clutter. To maintain your tiny bedroom aesthetic, implement a ‘one-in, one-out’ rule for accessories and textiles. Because the aesthetic relies on minimalism, any new addition should be carefully considered to ensure it aligns with your established color palette and material choices.

Regularly dusting and cleaning surfaces is also vital. In a minimalist room, dust and smudges become more apparent, and keeping surfaces clear and polished is essential to sustaining the ‘luxe’ portion of your design. By viewing your room as a living, breathing design project rather than a static space, you ensure it remains your favorite part of the home.

Conclusion

Transforming your small bedroom into a luxe sanctuary is entirely achievable with the right strategy. By committing to a monochromatic color palette, prioritizing soft lighting, and embracing minimalist principles, you can create a room that feels spacious, sophisticated, and deeply personal. Start by decluttering your surfaces today and notice the immediate difference in the mood of your home. If you are ready to elevate your living space, choose one of these tips to implement this weekend and watch your tiny room transform.
10 Brilliant IKEA Entryway Hacks That Save Serious Space

Is your entryway a constant source of clutter, with shoes strewn about and nowhere to hang your coat? You are not alone, as many homes face the challenge of a cramped foyer that lacks functional storage. The good news is that you can easily transform this neglected area into a tidy, welcoming space using brilliant IKEA entryway hacks that save serious space without breaking your budget. By repurposing standard furniture pieces and adding clever storage solutions, you can create a foyer that is as beautiful as it is highly functional.

Rethinking Small Entryway Organization

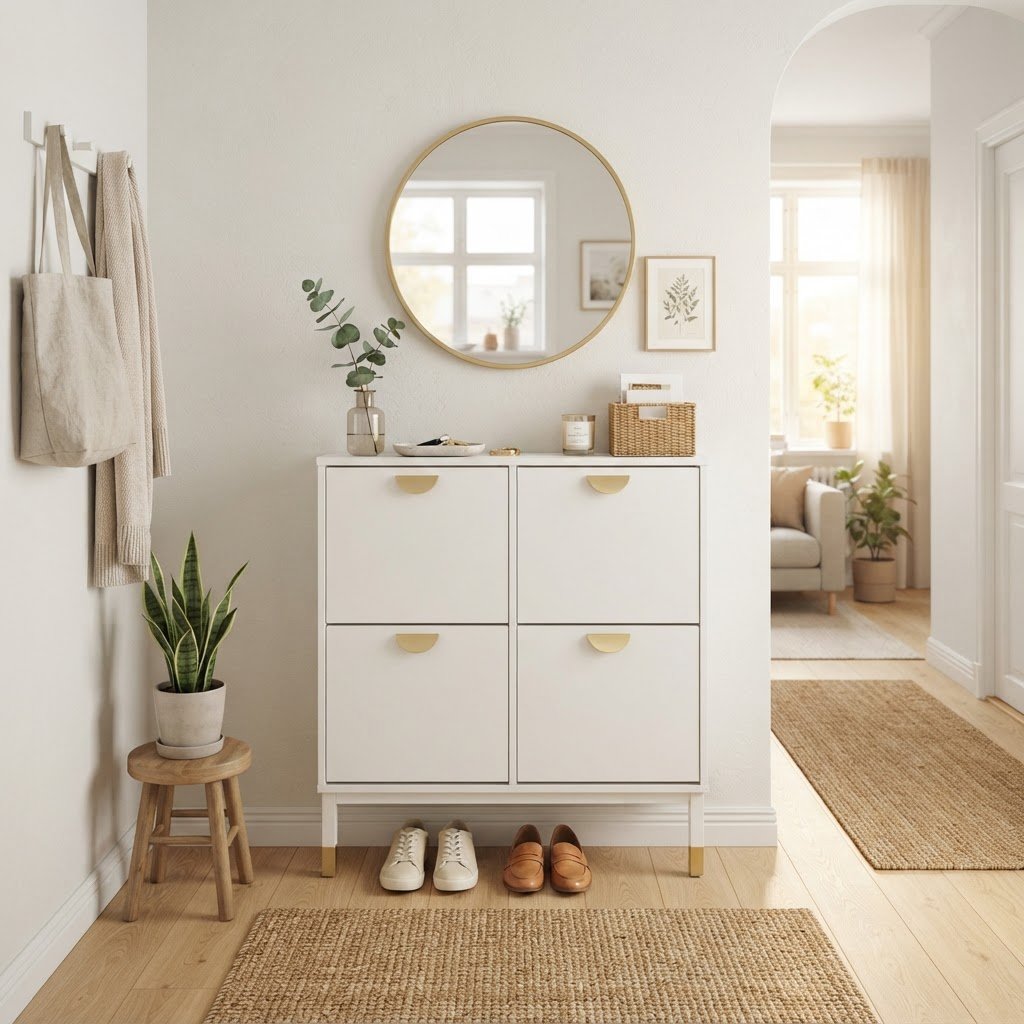
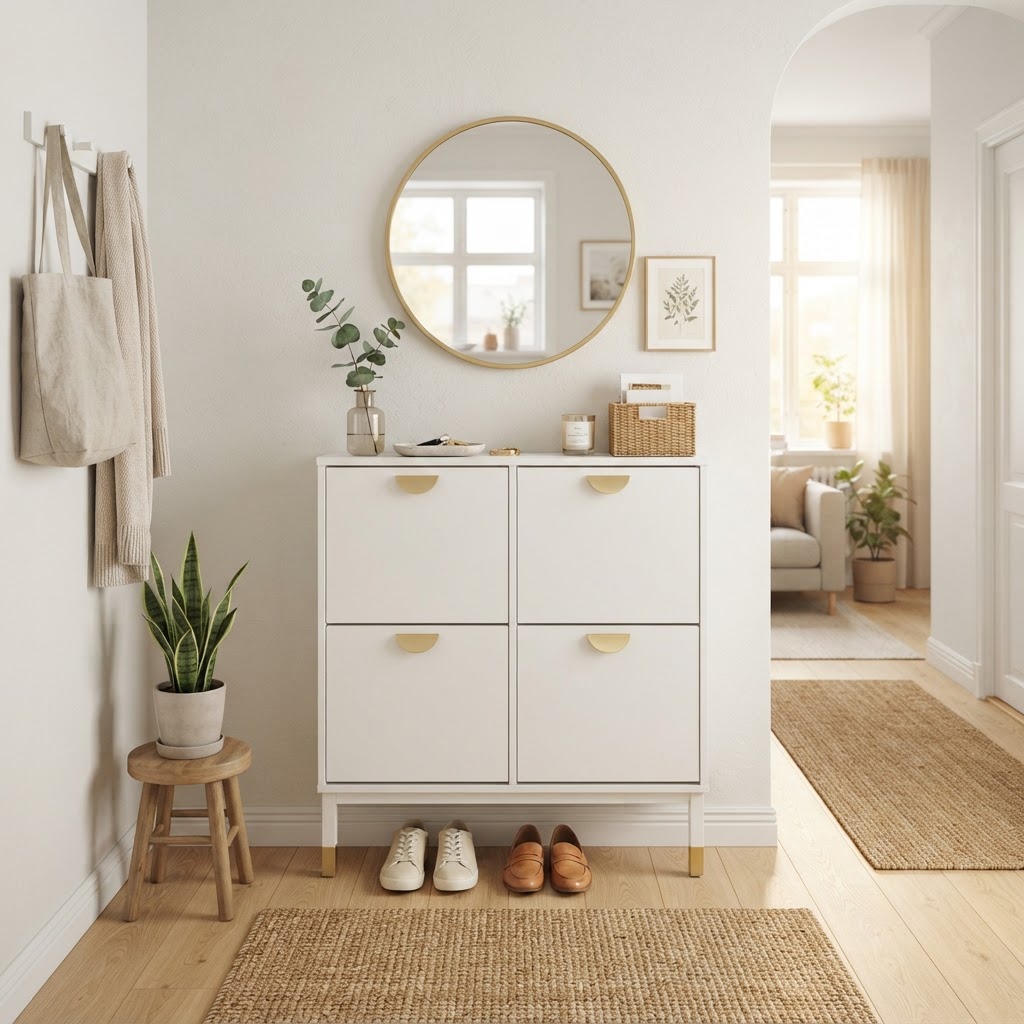
A slim shoe cabinet maximizes narrow hallway space.

Small spaces often suffer because they lack vertical storage. Most people focus on the floor, but the key to maximizing any small room is looking at the wall space you currently have. When you implement IKEA entryway hacks that save serious space, you are essentially creating a custom look for a fraction of the cost of built-in cabinetry.

Before you head to the store, take a moment to measure your space carefully. Consider how many pairs of shoes you actually need to store and how many coats are used daily. This will help you select the right IKEA units to transform into your dream organization station.

The Power of the HEMNES Shoe Cabinet

Horizontal KALLAX units serve as a perfect entry bench.

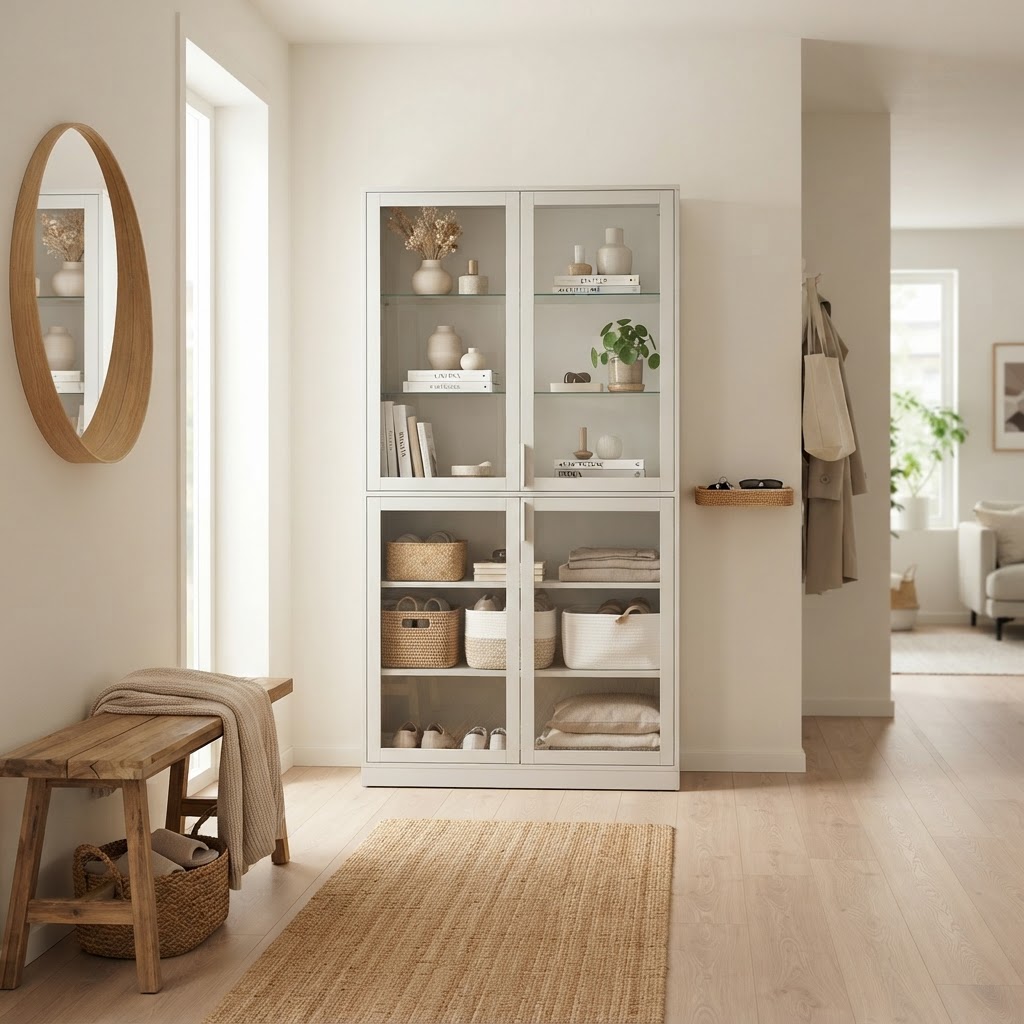
One of the most versatile pieces in the IKEA catalog for tight entryways is the HEMNES shoe cabinet. Its slim profile makes it perfect for narrow hallways where a traditional piece of furniture would obstruct traffic flow.

Customizing the HEMNES for Added Utility

Many DIY enthusiasts take this standard piece and elevate it with simple modifications. Adding decorative pulls, changing the finish, or adding a wooden top can make it look like a high-end designer piece. You can even mount it to the wall to create a floating effect, which instantly makes a small floor feel larger and more open.

Maximizing Tight Corners with BILLY Bookcases

Many people think BILLY bookcases belong in the living room or office, but they can be game-changers in an entryway. If you have a deep wall, you can place a BILLY unit there to create a custom-looking drop zone. By adding doors, you can hide all the items that look messy, like bulky winter jackets or sporting gear.

To make it look like a custom mudroom, you can install trim around the edges and paint the unit to match your wall color. This seamless look tricks the eye, making the storage feel like part of the architecture of the house rather than an add-on piece of furniture.

Bench and Hook Combinations

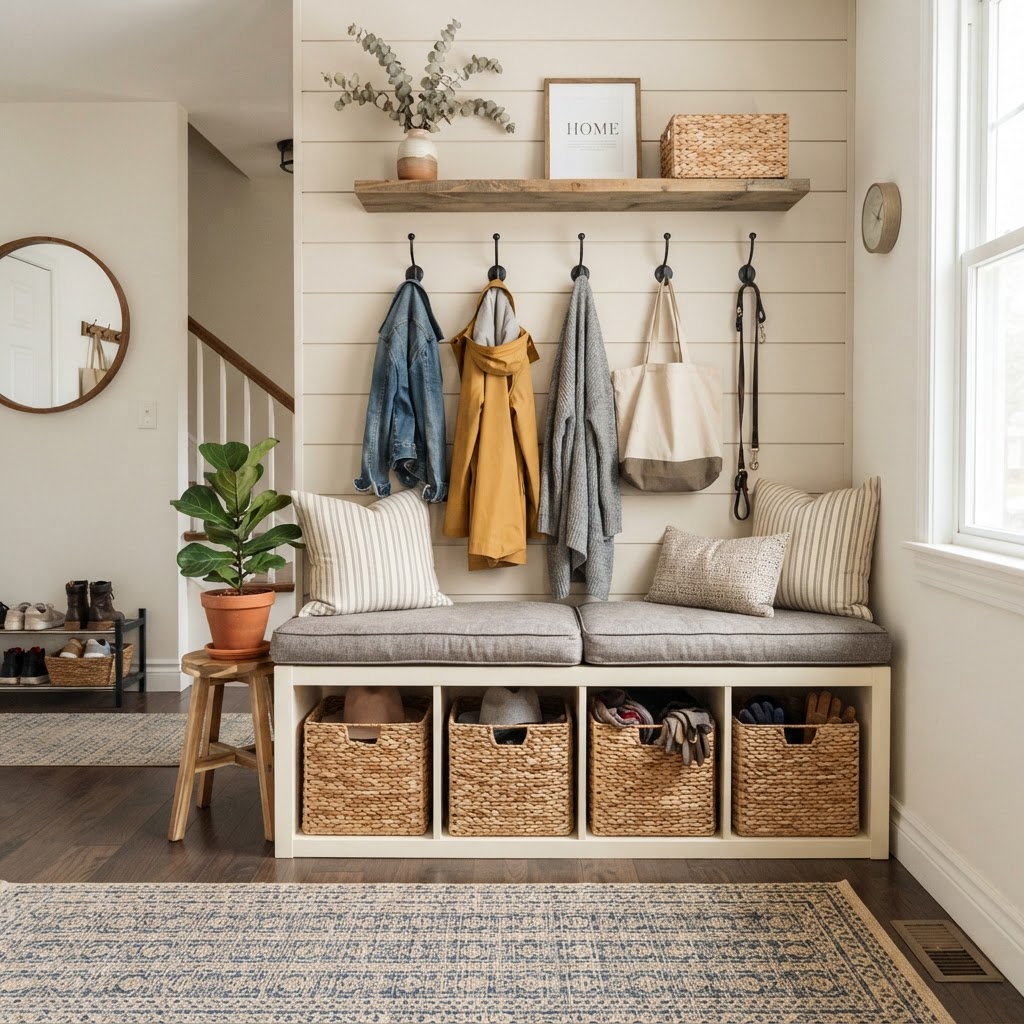
Combining a low bench with wall-mounted hooks is the gold standard for small entryways. Use an IKEA bench like the PINNIG to provide a place to sit while putting on shoes. Above it, mount a row of sturdy hooks. To take this to the next level, install a shelf directly above the hooks to hold baskets for smaller items like wallets and keys.

This vertical arrangement ensures that you utilize every inch of space efficiently. It clears the floor of shoes and takes the clutter off the consoles, creating a visually lighter environment.

Maintenance and Long-Term Success

Once you have implemented these IKEA entryway hacks that save serious space, the key to maintaining your sanity is consistency. A system is only as good as the habit you form around it. Set a rule that everything must be returned to its designated home as soon as you enter the house.

It is also helpful to do a seasonal audit of your entryway items. If you find yourself storing things you never use, donate them to free up valuable space for items that are actually part of your daily routine. Keeping your storage zones lean ensures they continue to function as intended.

Conclusion

Creating a functional, beautiful foyer does not require a massive renovation budget or custom woodworking skills. By utilizing these brilliant IKEA entryway hacks that save serious space, you can turn your cramped, cluttered hallway into an organized sanctuary. Start with one project this weekend, such as upgrading a shoe cabinet or installing a pegboard system, and experience the immediate relief that comes with having a place for everything. Your entryway should welcome you home, not stress you out; take charge of your organization today and reclaim your space!

Are you ready to transform your entryway? Start by measuring your space and picking the hack that fits your storage needs best—you will be amazed at the difference it makes in your daily life.

How to Create Soft Chaos Cozy Lighting in a Small Space

Creating a sanctuary within a tiny footprint requires more than just furniture arrangement; it demands a shift in atmosphere. When you learn how to create soft chaos cozy lighting in a small space, you are not just illuminating a room, you are curating an emotional experience that makes even the smallest corner feel expansive and deeply personal. This design aesthetic, often referred to as ‘soft chaos,’ celebrates the beauty of lived-in textures, unexpected light sources, and a lack of rigid symmetry, making it perfect for small living areas.

The Philosophy of Soft Chaos Lighting

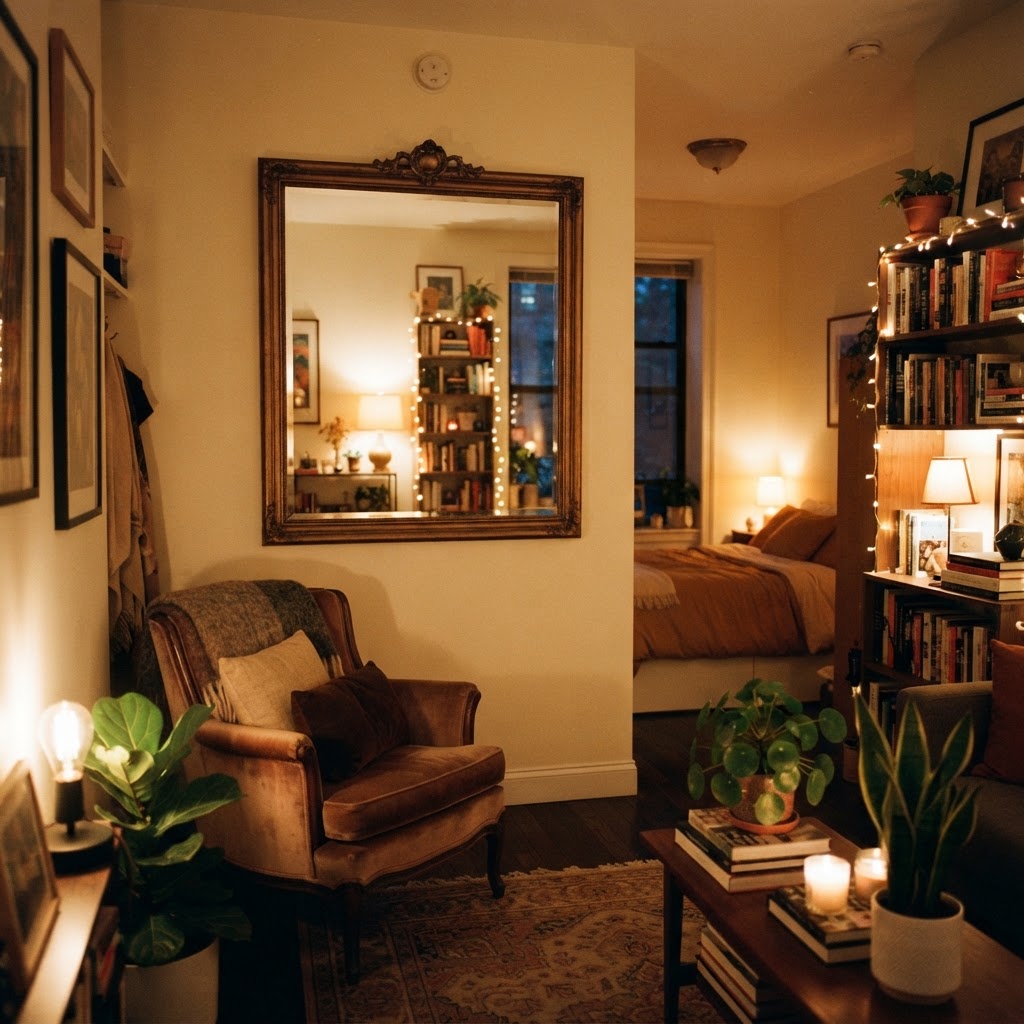
Layering different light sources creates an inviting soft chaos in any small space.

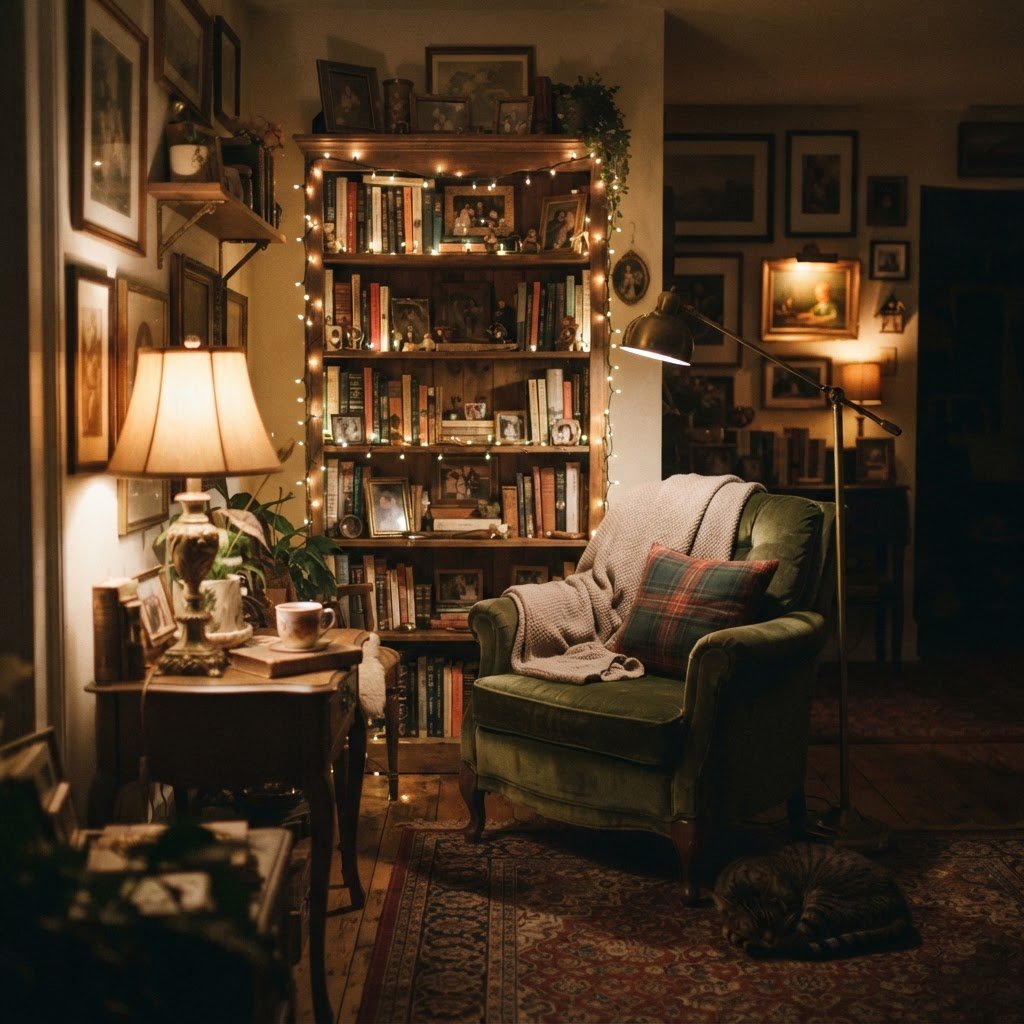
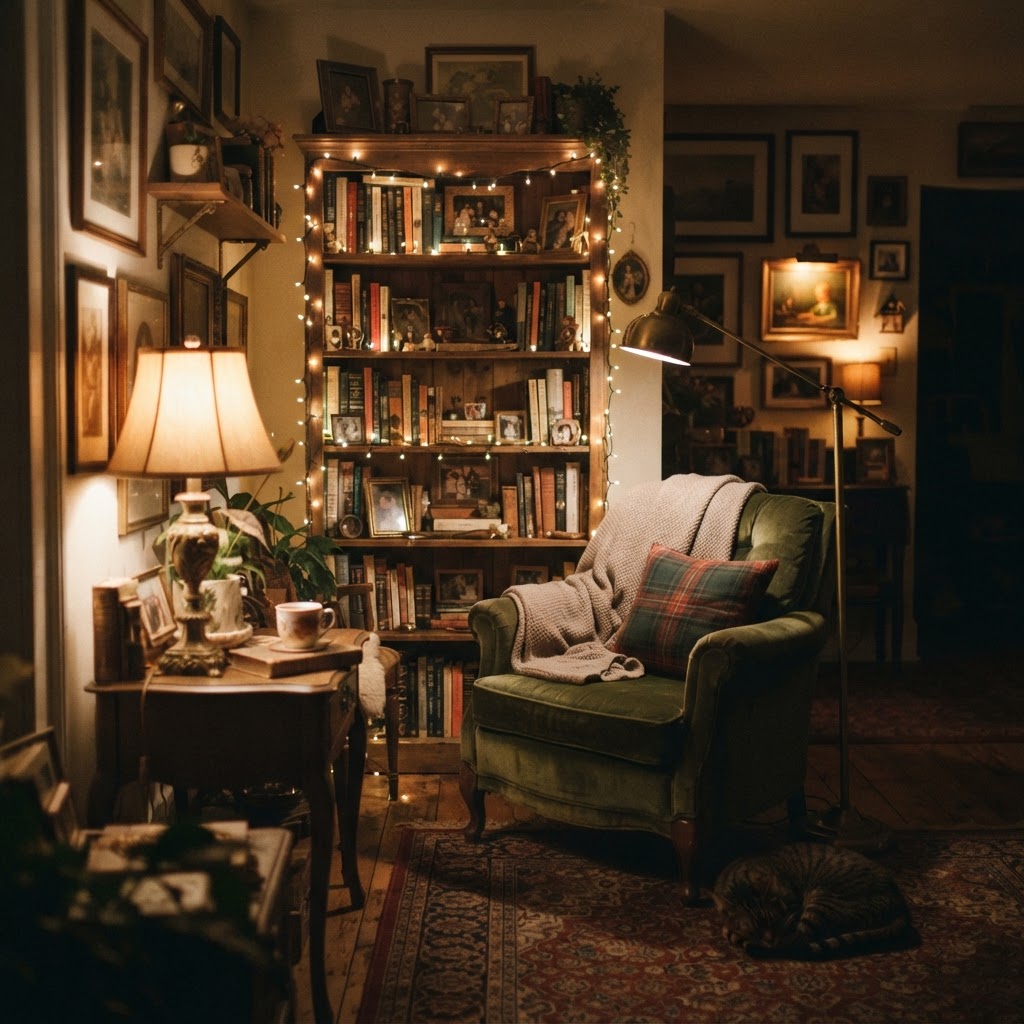
Soft chaos is about intentionally layering light to create an environment that feels collected rather than decorated. In a small apartment, overhead lighting often feels sterile and clinical, effectively shrinking the room’s visual boundaries. Instead, this approach favors a collection of low-level, warm-toned light sources that create pockets of brightness and shadow, softening the corners of the room.

By embracing this look, you move away from the ‘matchy-matchy’ aesthetic of catalog furniture. Instead, you create a space that feels organic and inviting. Think of it as a thoughtful gathering of lanterns, fairy lights, and vintage lamps, all working together to cast a gentle, diffused glow that makes your home feel like a warm hug after a long day.

Establishing Layers of Ambiance

Warm Edison bulbs provide the perfect golden hue for a cozy evening vibe.

To master this look, you must understand the three fundamental layers of lighting. Ambient lighting is your base, typically provided by your primary fixtures. Task lighting is focused, necessary for activities like reading or cooking. Accent lighting is where the magic happens—it highlights textures, corners, and art, adding the depth required for a cozy, small-room vibe.

Breaking the Symmetry Rules

One of the biggest mistakes in small-room design is trying to achieve perfect symmetry. Symmetry creates a sense of formality that often feels rigid and cold. Soft chaos thrives on asymmetry. Place a tall floor lamp in one corner and a table lamp on a low stack of books on the opposite side. This imbalance creates a dynamic visual flow that makes the eye wander across the room, effectively tricking the brain into perceiving more space.

Selecting the Right Bulbs and Color Temperatures

Using vertical space and plants allows for creative, layered lighting placements.

The secret to that iconic warm aesthetic lies almost entirely in the color temperature of your light bulbs. For a truly cozy atmosphere, you want to avoid anything labeled ‘cool white’ or ‘daylight.’ These hues are too harsh for small spaces and can make surfaces look blue and clinical.

Instead, seek out bulbs in the 2200K to 2700K range. These provide a soft, golden-yellow glow that mimics the warmth of sunset. When choosing your hardware, always look for dimmable options. Being able to drop the intensity of your lights allows you to adjust the room’s mood from a functional workspace during the day to a serene, candlelit retreat in the evening.

Creative Light Sources for Small Corners

Mirrors help amplify your light sources and visually expand your small living area.

When floor space is at a premium, look for creative ways to introduce light that doesn’t rely on bulky hardware. Use the verticality of your room to your advantage. Wall sconces that plug into existing outlets are a game changer for small spaces because they free up precious surface area on side tables and desks.

Here are some unconventional light sources to consider:

  • Warm LED fairy lights woven into houseplants or bookshelves.
  • Plug-in industrial wall sconces with Edison-style bulbs.
  • Battery-operated vintage lanterns for flexible placement.
  • Salt lamps to provide a soft, natural, and warm glow.
  • Projection lights that wash a ceiling or wall in soft colors.

The Impact of Textures and Reflective Surfaces

Lighting does not exist in a vacuum; it interacts with every surface it touches. In a small space, you can amplify the effectiveness of your soft chaos cozy lighting by utilizing materials that diffuse or reflect light in interesting ways. Velvet, wool, and linen curtains act as soft buffers, absorbing harsh light and creating a gentle, hazy aura around your lamps.

Conversely, strategic placement of mirrors can make a massive difference. If you place a mirror opposite a window or a cluster of string lights, you are effectively doubling the source of your illumination without adding any electrical clutter. This creates an optical illusion of depth, making your room feel far more spacious than the architectural blueprints would suggest.

Mastering Shadows and Depth

Many people are afraid of shadows in a small room, thinking they make the area feel cramped. However, when you learn how to create soft chaos cozy lighting in a small space, you realize that shadows are actually your best friends. A room that is perfectly lit everywhere is flat and boring. A room with ‘pockets’ of light is mysterious and inviting.

Focus on highlighting textures. Point a small accent light at a piece of textured artwork or a stack of books. By lighting specific objects rather than trying to illuminate the entire floor, you create a sense of intrigue. This contrast between light and dark is the defining characteristic of a professional, cozy interior.

Common Pitfalls to Avoid

One of the biggest mistakes is relying on a single ‘big’ light source. Relying on one ceiling-mounted fixture will make your walls feel closer together. Another error is neglecting the corners. Dark corners act like black holes that define the boundaries of your room, making it look smaller. Make sure every corner of your small space has some form of illumination, whether it’s a small floor lamp or a hidden LED strip behind a bookshelf.

Finally, avoid exposed bright bulbs. If you use decorative Edison bulbs, ensure they are placed in a location where they won’t be shining directly into your eyes when you are sitting on the couch or lying in bed. Always look for ways to diffuse the light through shades, frosted glass, or by bouncing it off a wall.

Conclusion

Creating a home that feels like a refuge is a process, not a destination. By experimenting with these lighting techniques, you can master the art of soft chaos and make your home feel intentional, warm, and deeply personal. Start by swapping your brightest bulbs for warmer, lower-wattage alternatives, and begin layering your light sources in a way that creates the cozy, inviting environment you deserve.

Are you ready to transform your living space? Start by picking up one warm-toned floor lamp or a set of fairy lights today, and watch how quickly your small room begins to transform into the cozy sanctuary of your dreams.

7 Renter-Friendly Ways to Hide Ugly Apartment Features

Finding the perfect apartment often involves a compromise between location, budget, and aesthetics. While the layout might be ideal, many tenants eventually find themselves staring at unsightly quirks like outdated linoleum floors, peeling cabinets, or exposed wiring. Fortunately, there are plenty of renter-friendly ways to hide ugly apartment features that allow you to personalize your home without risking your security deposit. With a bit of creativity and the right temporary materials, you can turn a dated space into a stylish sanctuary that feels uniquely yours.

The Power of Removable Wallpaper and Contact Paper

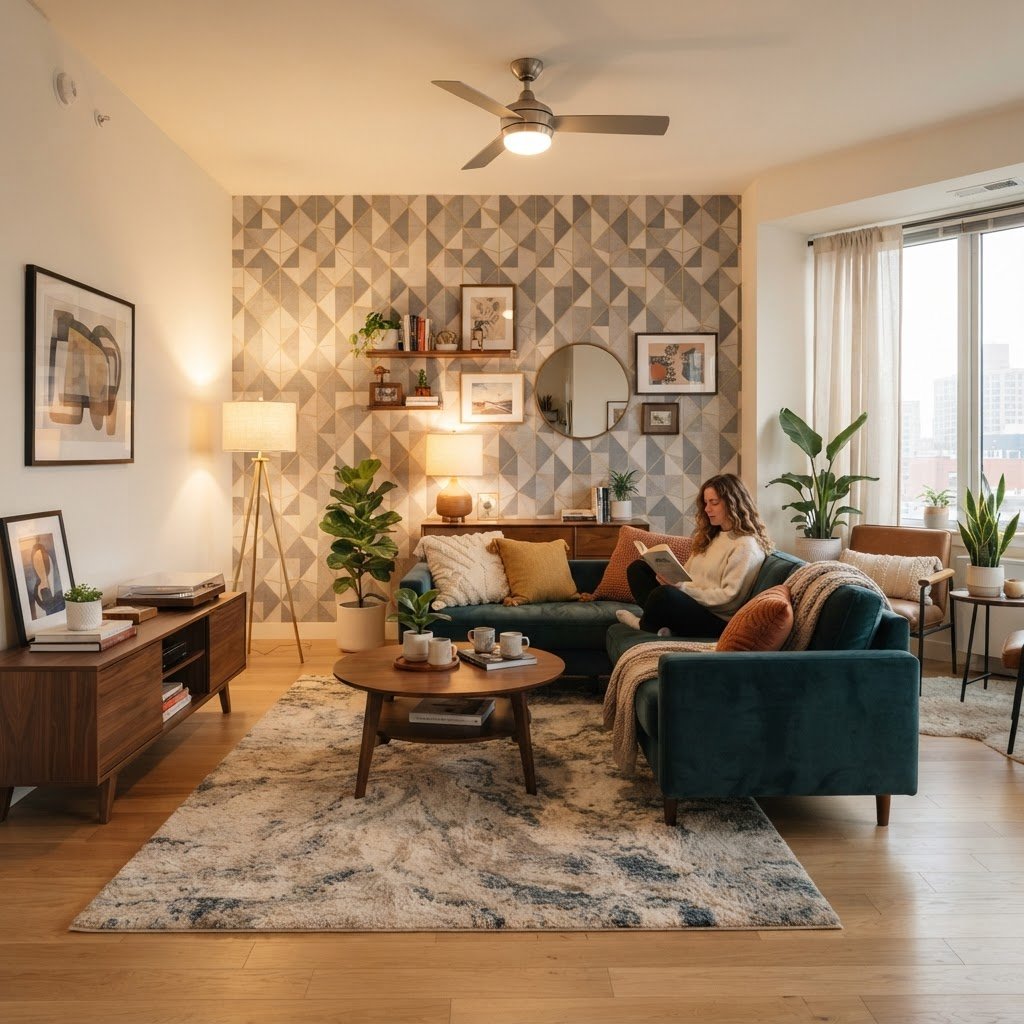
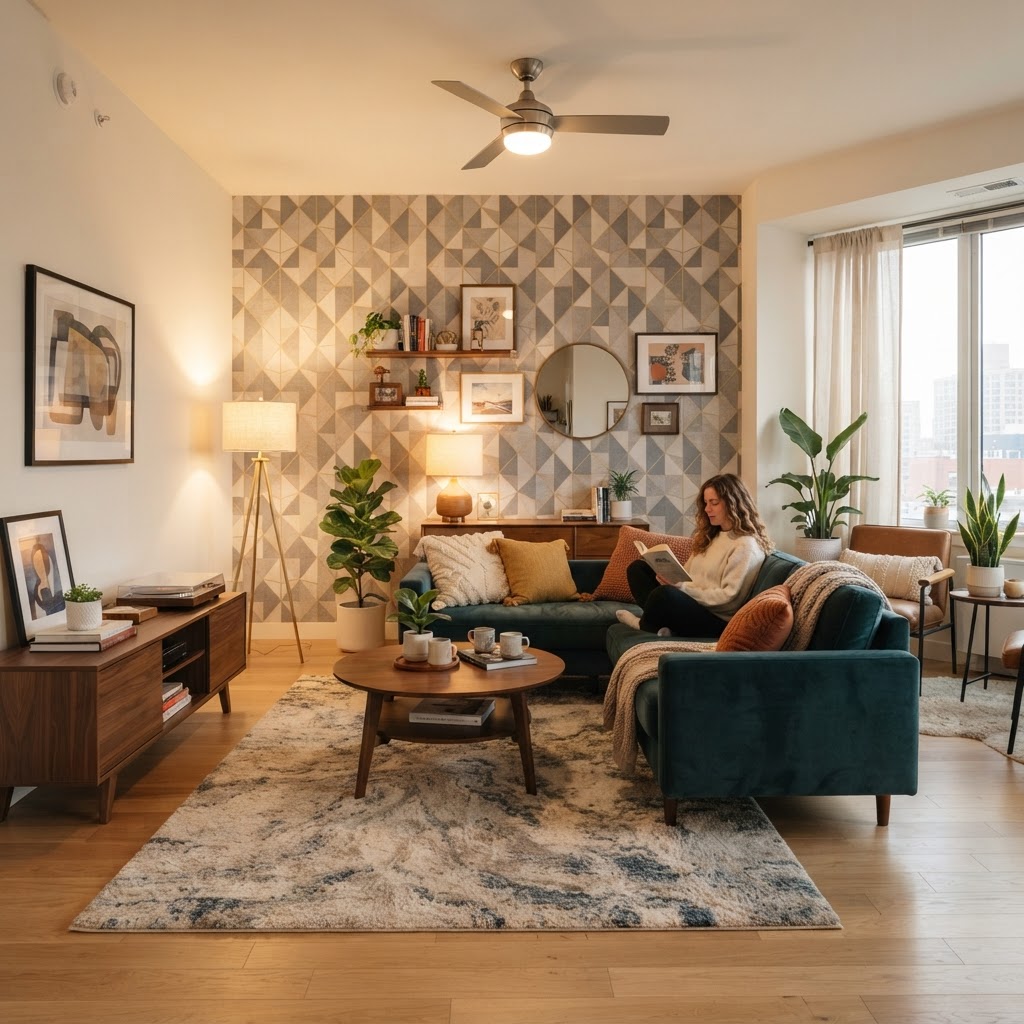
Removable wallpaper can turn a boring wall into a stunning focal point.

One of the most effective tools in any renter’s arsenal is removable wallpaper. Whether you are dealing with dated accent walls or damaged drywall, peel-and-stick wallpaper offers a massive visual impact that is easily reversed when your lease ends. It comes in an endless array of patterns, textures, and even faux-material designs like marble or shiplap, making it a versatile choice for any room in your apartment.

Transforming Surfaces with Contact Paper

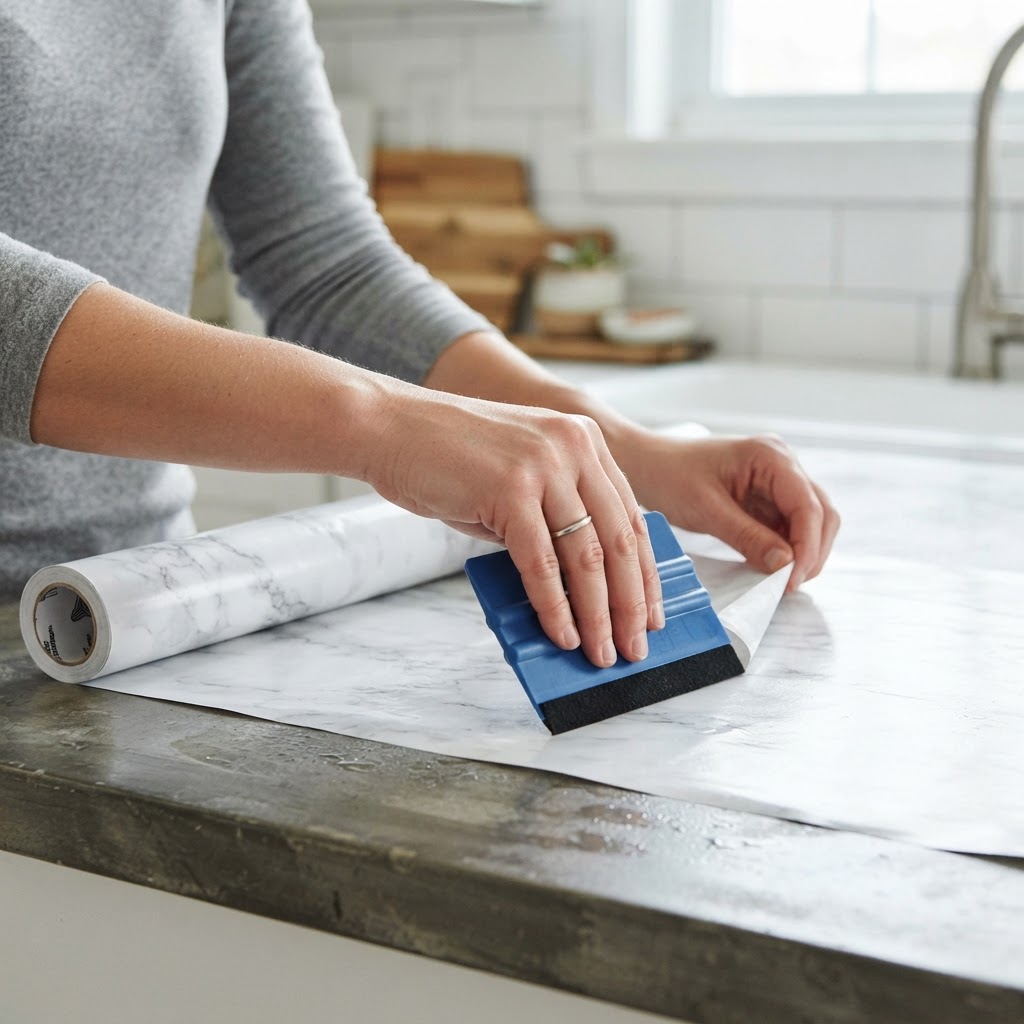
While wallpaper is great for walls, heavy-duty contact paper is the secret weapon for concealing ugly countertops and cabinetry. If your kitchen suffers from drab, stained laminate or chipped wood, a layer of high-quality adhesive vinyl can make the surfaces look brand new. Make sure to clean the surface thoroughly with degreaser before application to ensure the adhesive sticks properly.

Masking Ugly Floors with Rugs and Tiles

Use marble contact paper to give old laminate countertops a luxury makeover.

Flooring is perhaps the most difficult aspect to change in a rental because you cannot rip out carpet or hardwood. However, you can easily cover up dated or damaged flooring using large area rugs or peel-and-stick floor tiles. For high-traffic areas like the kitchen or entryway, durable vinyl stick-on tiles are an excellent way to hide unsightly linoleum without using permanent glue.

Layering for Depth and Style

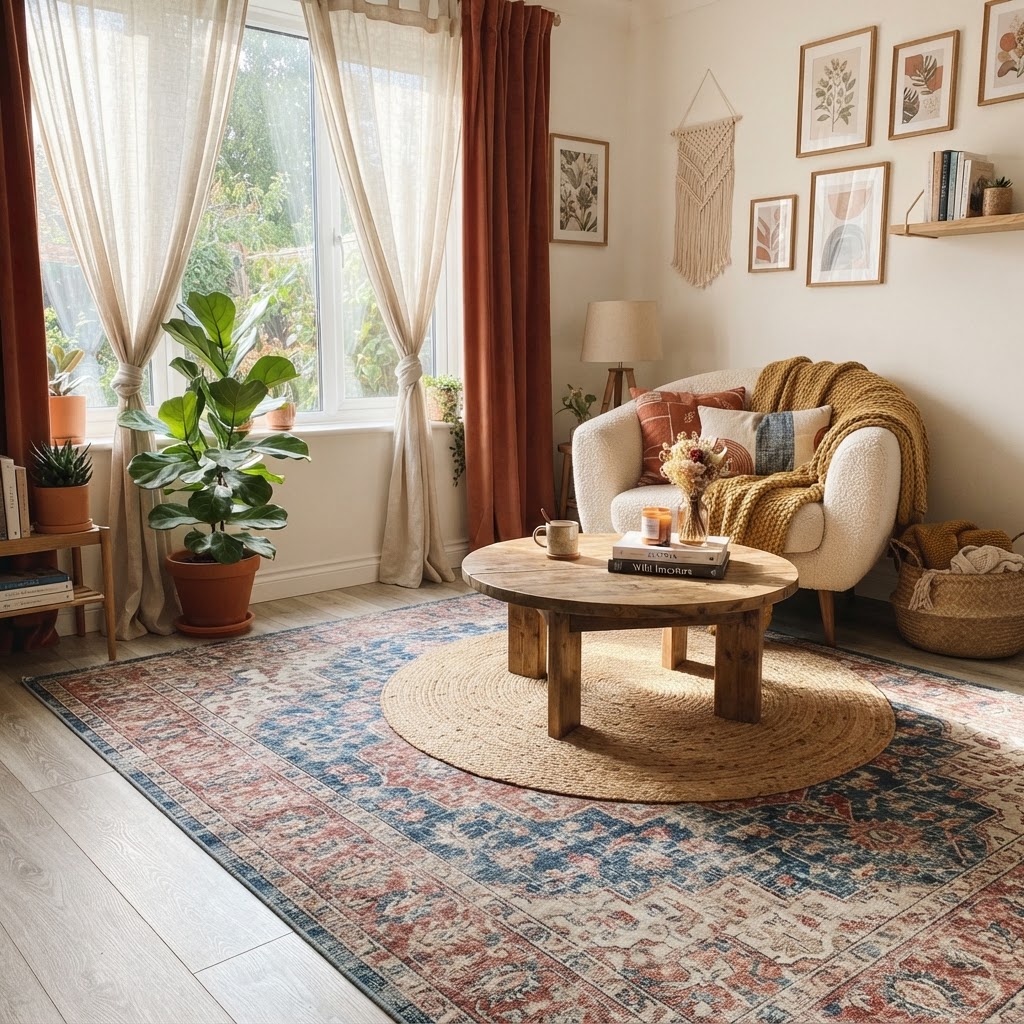
If you prefer to keep the base layer intact, use rugs to anchor your furniture and draw the eye away from the floor. Layering a smaller, decorative rug over a large, neutral jute rug can add texture and interest to a room. This technique not only conceals ugly patches of carpet or scratched wood but also adds sound insulation, which is a major bonus in multi-unit buildings.

Using Window Treatments to Hide View Issues

Layered rugs are perfect for covering up worn-out flooring in style.

Sometimes the problem isn’t inside your apartment, but what is visible through the window. Ugly brick walls, neighbor views, or harsh lighting can be distracting. Using floor-to-ceiling curtains is the best way to frame a window and draw attention away from the glass. By hanging curtains higher and wider than the actual window frame, you can make the entire wall feel more luxurious.

Choosing the Right Hardware

Since you likely cannot drill holes into the wall, look for tension rods that fit inside the window frame or use heavy-duty adhesive hooks to hold lightweight curtain rods. These options ensure that your window dressings are stable while remaining completely removable. Choosing light-filtering fabrics can also soften the incoming daylight, making your room feel warmer and more inviting.

Camouflaging Exposed Wiring and Ugly Hardware

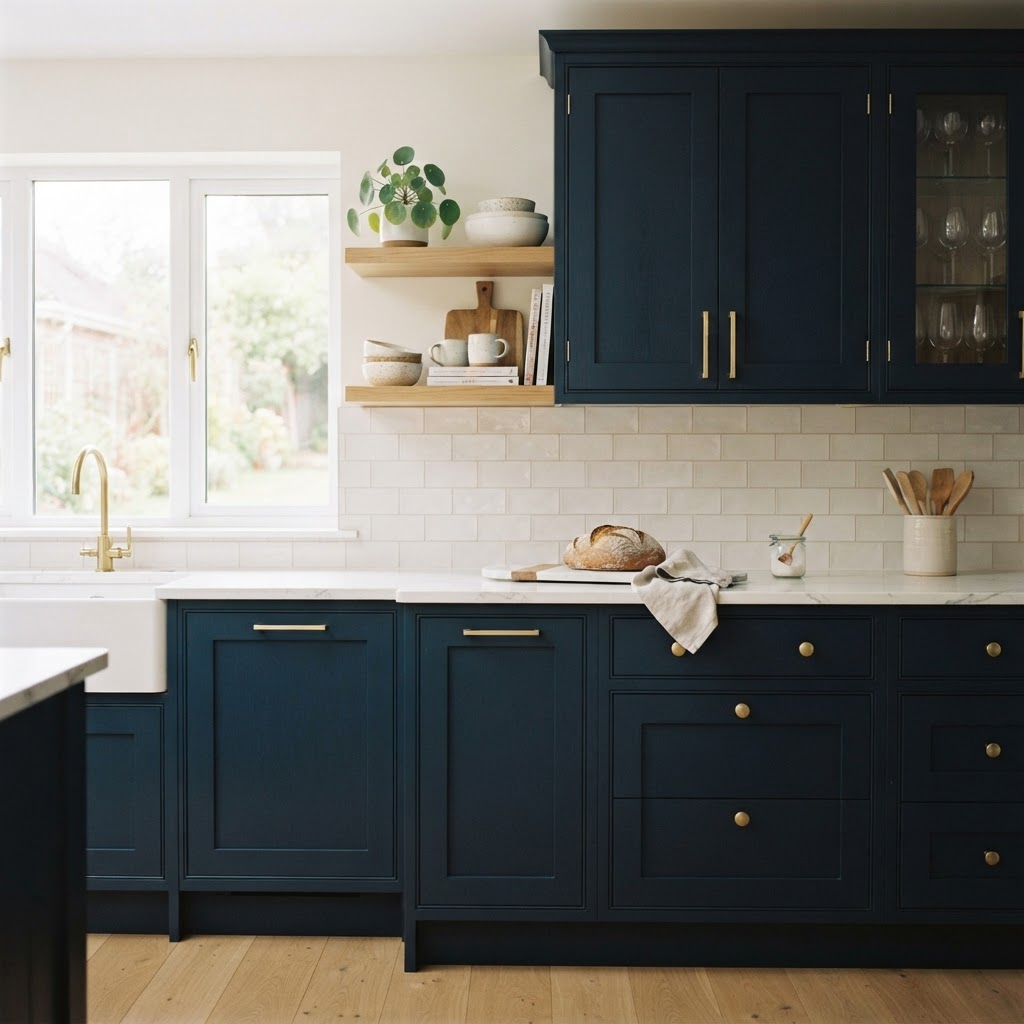
Swapping hardware is an easy, reversible way to modernize cabinets.

Apartments often have awkward placement of electrical outlets, exposed cords, or dated light fixtures. To hide ugly apartment features like these, you have to think about visual distraction. Use cord covers that match your wall color, or create a ‘gallery wall’ around the eyesore to shift focus toward art, photos, and decorative frames instead of the mess.

Refreshing Outdated Cabinets and Drawers

If you are stuck with hideous, dated kitchen cabinets, you don’t have to live with them. Swapping out the hardware is the single fastest way to modernize a kitchen. Keep the original handles in a labeled plastic bag, and replace them with sleek, modern pulls or knobs. This minor change, combined with contact paper on the doors, can completely alter the aesthetic of your cooking space.

The Magic of Cabinet Decals

If the cabinet faces themselves are in bad condition, consider temporary cabinet decals. These are essentially stickers designed for high-wear areas that mimic wood grains or solid matte colors. They are inexpensive and can be removed with a hairdryer and some patience when moving day arrives.

Creating Focal Points with Large Art and Mirrors

When a specific wall or corner of your apartment is an eyesore, the best strategy is to cover it up entirely. Large, lightweight mirrors are perfect for this because they reflect light and make the space feel bigger while physically obscuring the wall behind them. You can also use large canvases or hanging tapestries to cover up damaged paint or awkward wall cutouts.

Managing Light and Ambiance

Lighting plays a huge role in how we perceive the ‘ugliness’ of a room. Harsh, overhead ‘boob lights’ or clinical-looking fluorescent tubes can make even a well-decorated room look cheap. Investing in floor lamps, table lamps, and smart bulbs allows you to control the mood and hide dark, unappealing corners that gather dust.

Vertical Solutions: Maximizing Wall Height

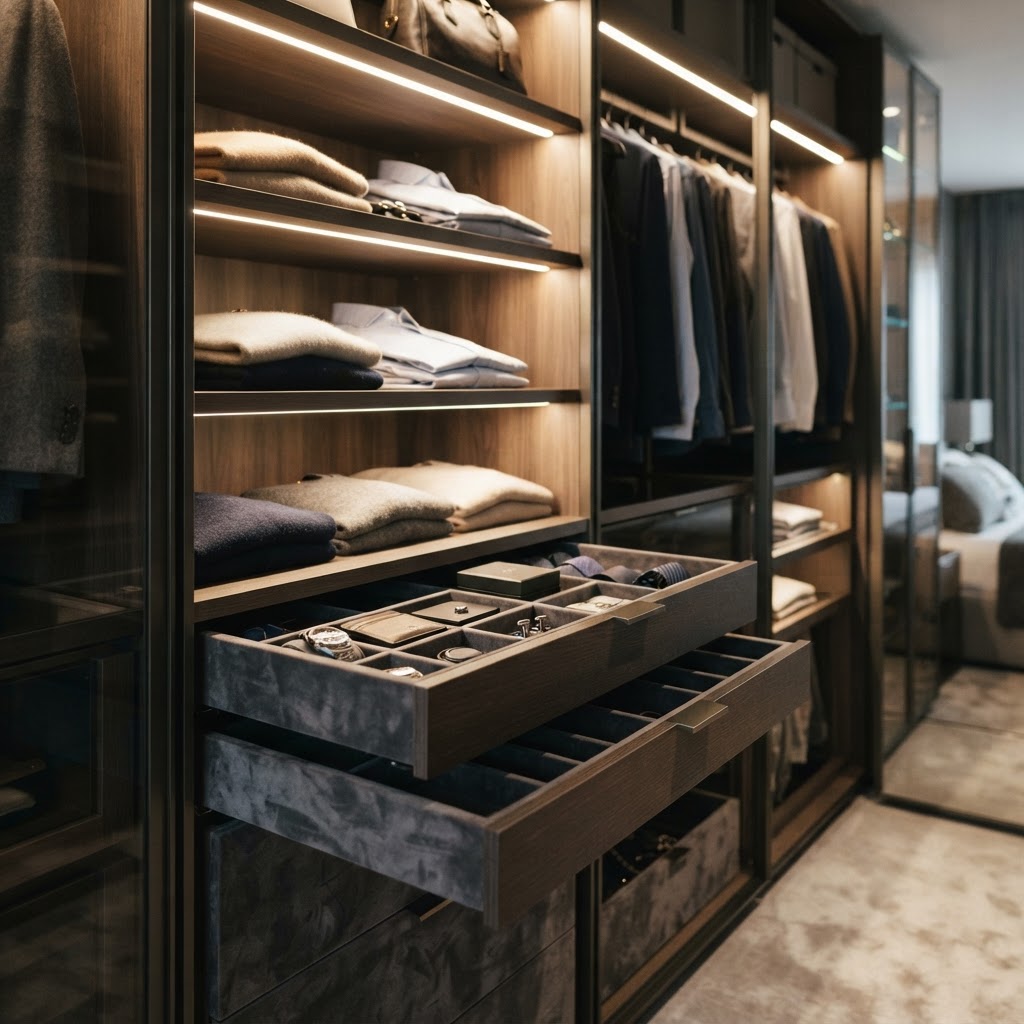
Smart lighting improves visibility in closet interiors.

One of the most effective modern small bedroom ideas involves looking upward. In many older homes, the area above the closet door or the top shelves of a wardrobe are rarely utilized. By installing floor-to-ceiling wardrobes, you capture that vertical space that usually sits gathering dust.

Why High Storage Works

Using the full height of your walls draws the eye upward, which adds a sense of vertical volume to the bedroom. It creates a seamless look, especially when using recessed cabinetry that matches your wall color. This is essentially creating a “hidden” wall of storage that keeps the rest of the bedroom floor clear and accessible.

When designing these units, prioritize adjustable shelving. You might need high shelves for seasonal items like winter blankets or suitcases, while lower drawers provide easy access to daily necessities. This flexibility is the hallmark of truly smart wardrobe storage.

Multifunctional Furniture and Hidden Compartments

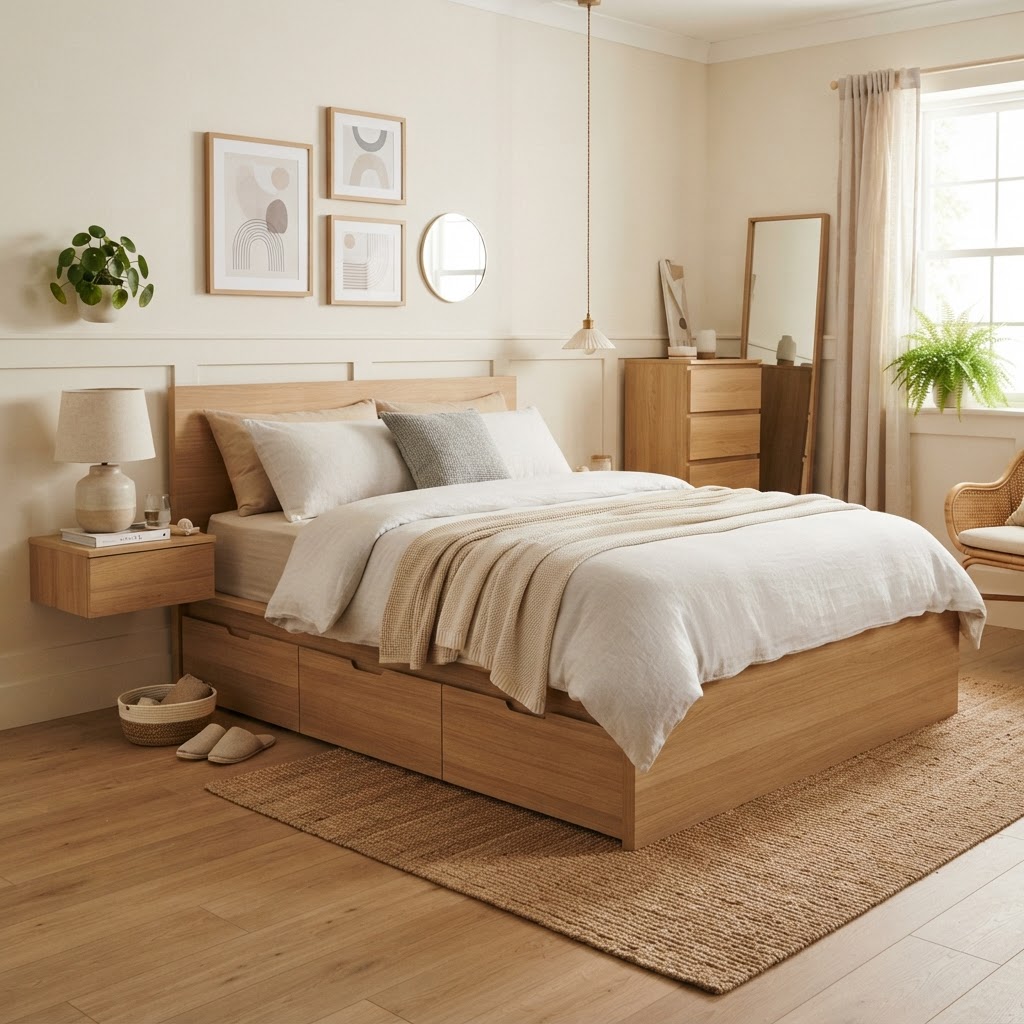
Platform beds with drawers optimize small room layouts.

If you don’t have the space for a massive wardrobe unit, you need to rely on furniture that performs double duty. Your bed is usually the largest piece of furniture in the room, so it should be the hardest working piece of furniture in the room as well. Choosing a bed frame with integrated drawers is a classic storage hack, but you can go further.

Modern Bed Base Storage Ideas

  • Hydraulic lift-up bases that provide full under-mattress storage.
  • Platform beds with drawers on three sides for easy access.
  • Custom built-in headboards with integrated shelving and charging ports.
  • Slim benches at the foot of the bed that double as blanket chests.

By keeping your bed elevated and storage-centric, you eliminate the need for bulky dressers that take up precious floor space. This is a core component of modern small bedroom ideas that emphasize clean lines and unobstructed walking paths, which are vital for a sense of comfort.

Customizing Your Closet Interior

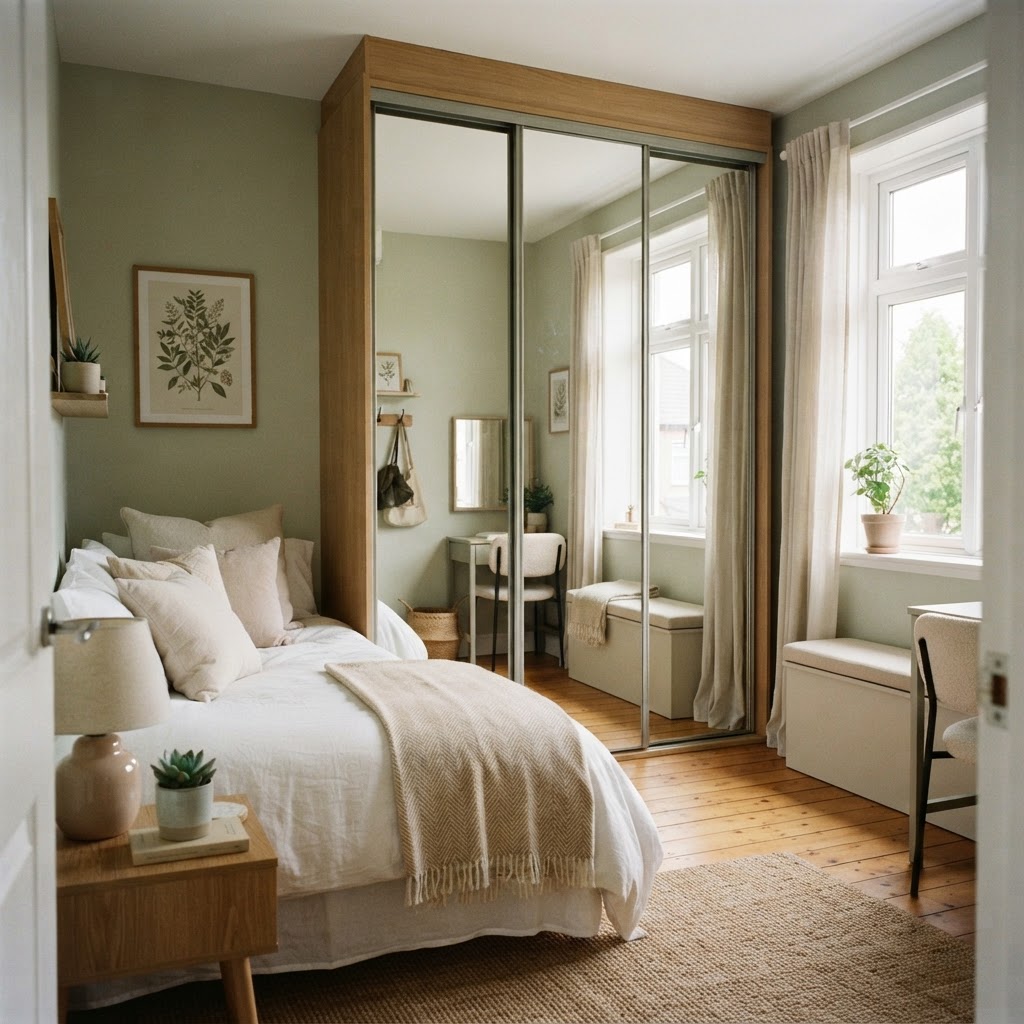
Mirrored wardrobe doors make small bedrooms appear larger.

Even a small closet can feel like a boutique walk-in if you optimize the interior design. The key is to stop relying on generic rods and start investing in modular organizers. Smart wardrobe storage is characterized by its adaptability, meaning you should be able to swap out drawers for pull-out racks based on your current wardrobe.

Key Organizational Components

  1. Double hanging rods: Instantly double your hanging capacity.
  2. Slim velvet hangers: They take up half the space of wooden hangers.
  3. Pull-out velvet jewelry trays: Keep accessories organized without a dresser.
  4. Over-the-door organizers: Use these for shoes, scarves, or belts.

These additions don’t cost a fortune, yet they significantly improve your daily workflow. The more efficient your closet system is, the less likely you are to let your clothes overflow onto the bedroom chairs or floor.

Mirror Magic and Visual Deception

Incorporating mirrors into your wardrobe design is a classic trick, but modern interpretations elevate it to an art form. Using smoked, bronze, or antique mirror finishes on wardrobe doors adds depth to a room without the harshness of a plain silver mirror. This creates the illusion of a deeper, more expansive space.
The Role of Lighting in Storage Design

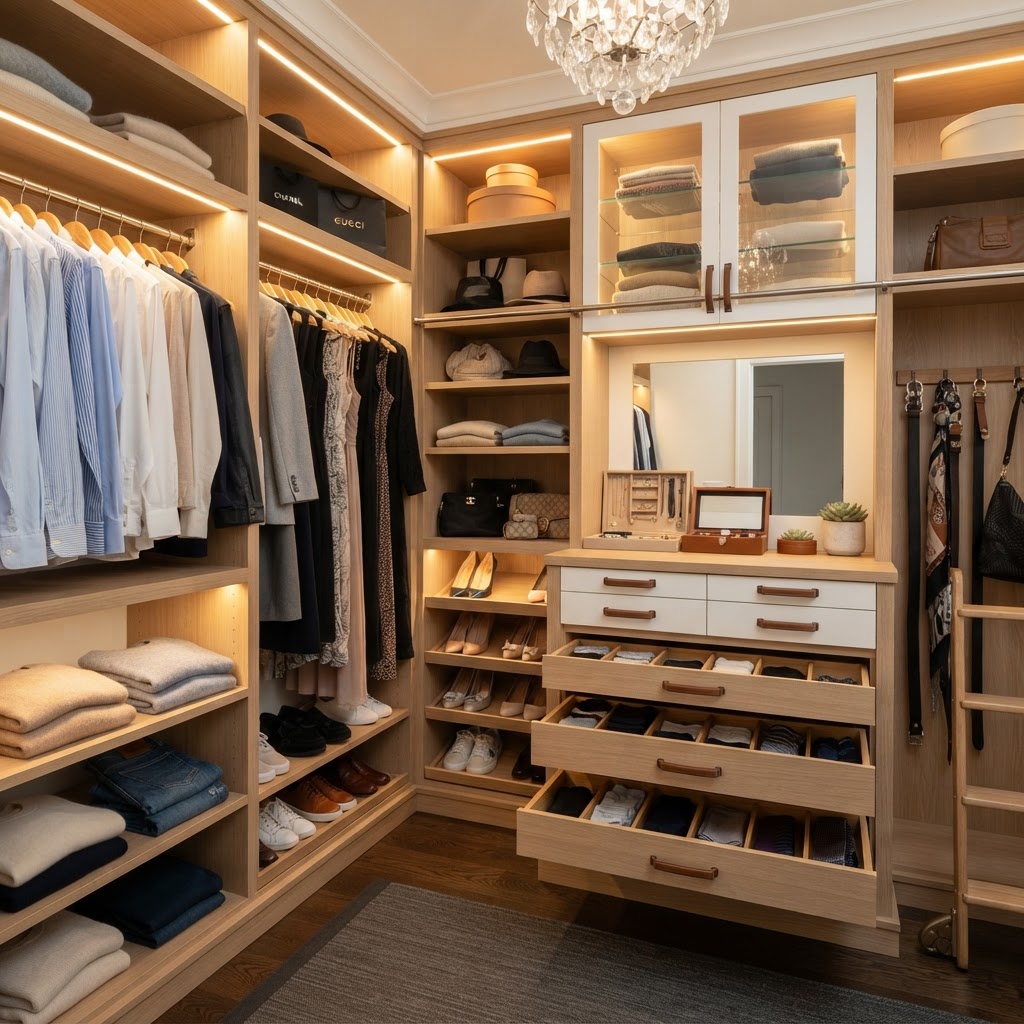
Lighting is often an afterthought in bedroom design, but it is critical when you have small, dark storage areas. LED strip lights are a game-changer for modern small bedroom ideas. By installing motion-activated sensors inside your wardrobe or under your shelves, you ensure that you can find what you need without turning on harsh overhead lights.

Why Lighting Matters

  • It reduces the time spent searching for items in the morning.
  • It highlights your personal style and makes the wardrobe feel high-end.
  • It creates a warm ambiance that avoids the “dark cave” effect often found in deep closets.

Maintaining Order With Smart Systems

Design is only half the battle; maintaining your organized space is the other half. Even the most advanced smart wardrobe storage system will fail if it’s overstuffed. Implement a “one-in, one-out” policy to keep your space under control. Spend five minutes each week decluttering to ensure your smart storage is doing its job correctly.

Conclusion

Achieving a beautiful, modern bedroom in a small footprint is entirely possible with the right mindset and strategic planning. By utilizing these modern small bedroom ideas with smart wardrobe storage, you can transform your environment into a functional sanctuary. Remember to prioritize vertical space, invest in modular organizers, and use lighting to your advantage. Start with one area of your bedroom today—perhaps that overflowing closet—and watch how quickly your space improves. Which of these storage hacks will you implement first in your bedroom redesign?

Orange Sunset Lamp Ideas: Elevate Your Living Room Decor

Creating the perfect ambiance in your living room often comes down to lighting, and nothing achieves a warm, nostalgic glow quite like orange sunset lamp ideas. These trendy lighting solutions have captured the hearts of interior design enthusiasts by mimicking the golden hour light that makes everything look softer and more inviting. By choosing the right sunset projection lamp or ambient lighting fixture, you can turn a plain, stark living space into a sanctuary of relaxation and golden-hued comfort. Understanding how to integrate this warm light is key to upgrading your home aesthetic.

The Rising Popularity of Sunset Lighting

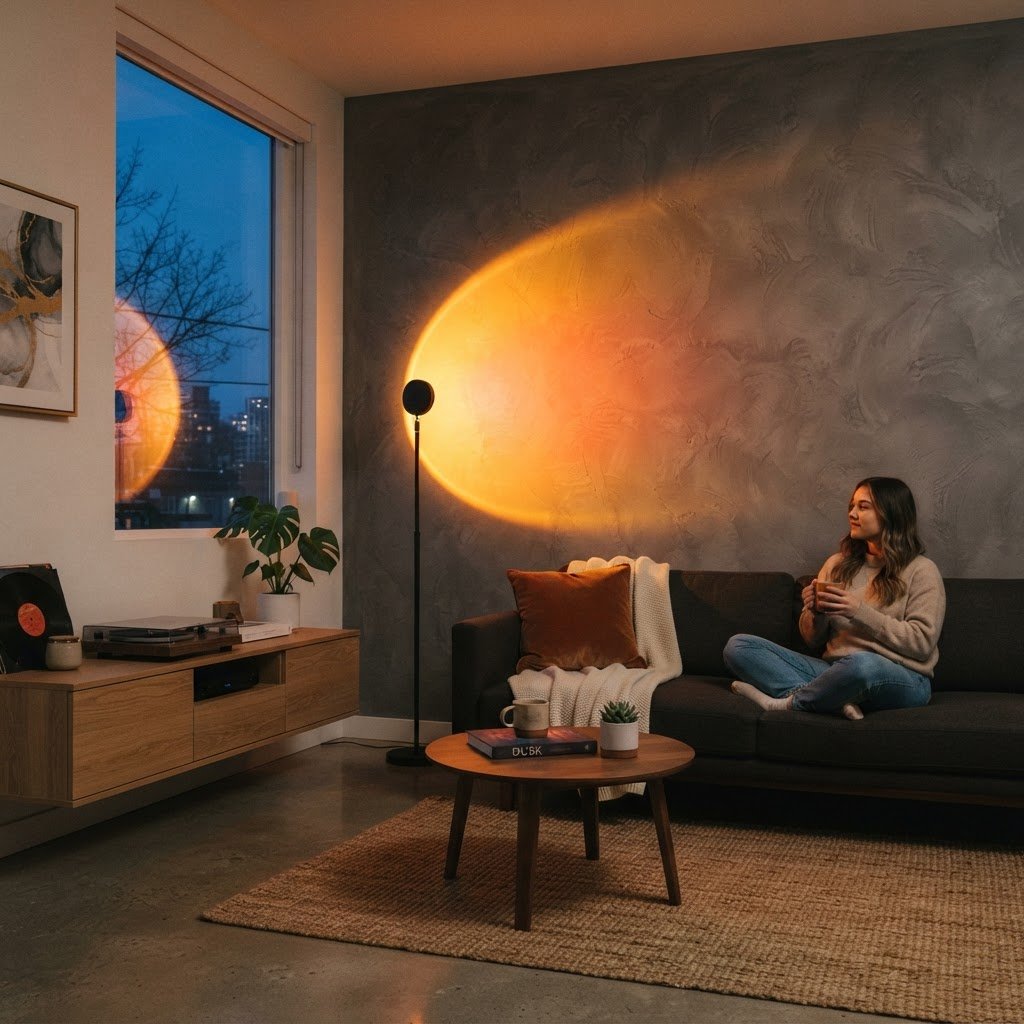
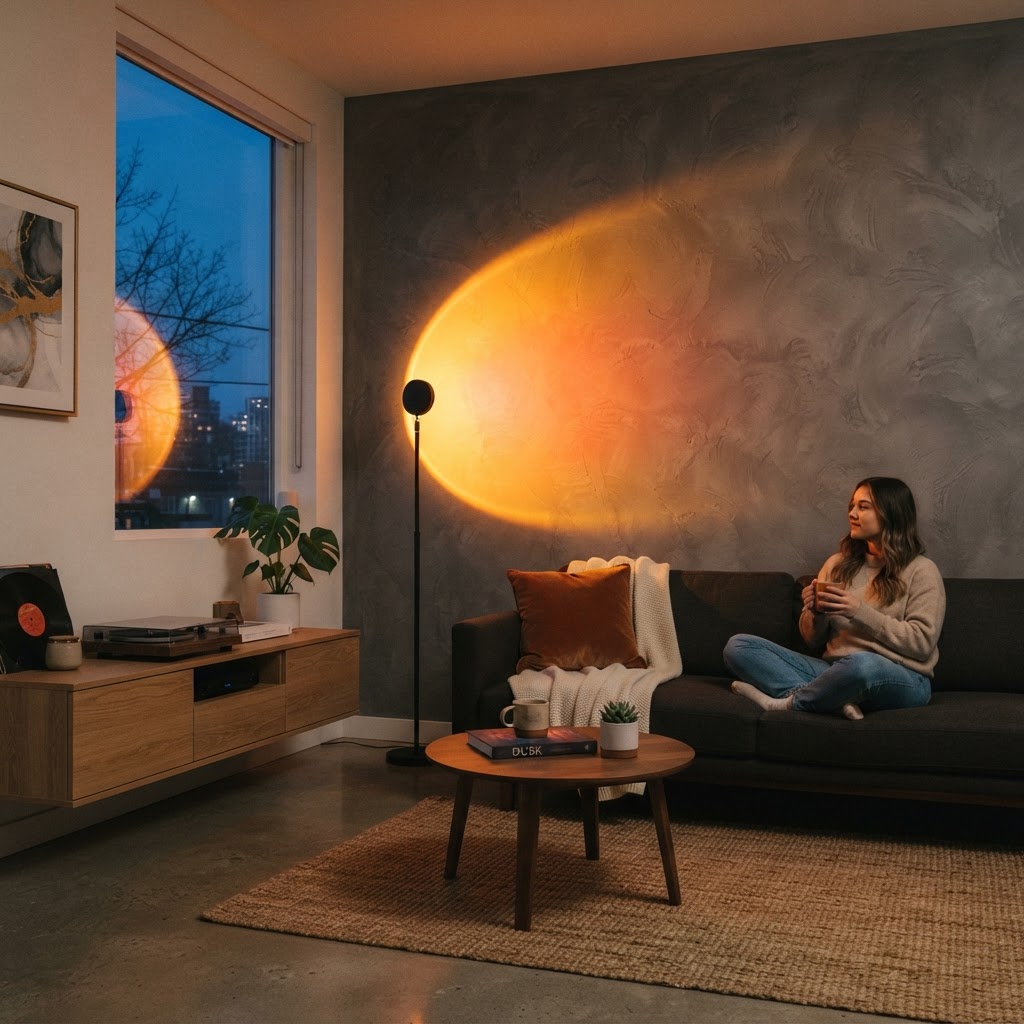
A sunset lamp creates a warm, inviting glow on a living room wall.

The obsession with sunset lamps started as a social media phenomenon, but it has quickly transitioned into a staple of modern interior design. Homeowners are moving away from harsh, clinical overhead lights in favor of layered ambient lighting that mimics natural cycles. Orange sunset lamps provide a focused, saturated color palette that shifts the mood of an entire room within seconds.

Why the Golden Hour Aesthetic Matters

Psychologically, the colors of a sunset trigger a sense of calm and transition, signaling to our brains that it is time to unwind. When you incorporate these lamps into your living area, you are essentially creating an artificial ‘golden hour’ that persists regardless of the weather outside. This is particularly effective during winter months when daylight is scarce and the need for warmth is at its peak.

Choosing the Right Sunset Lamp for Your Space

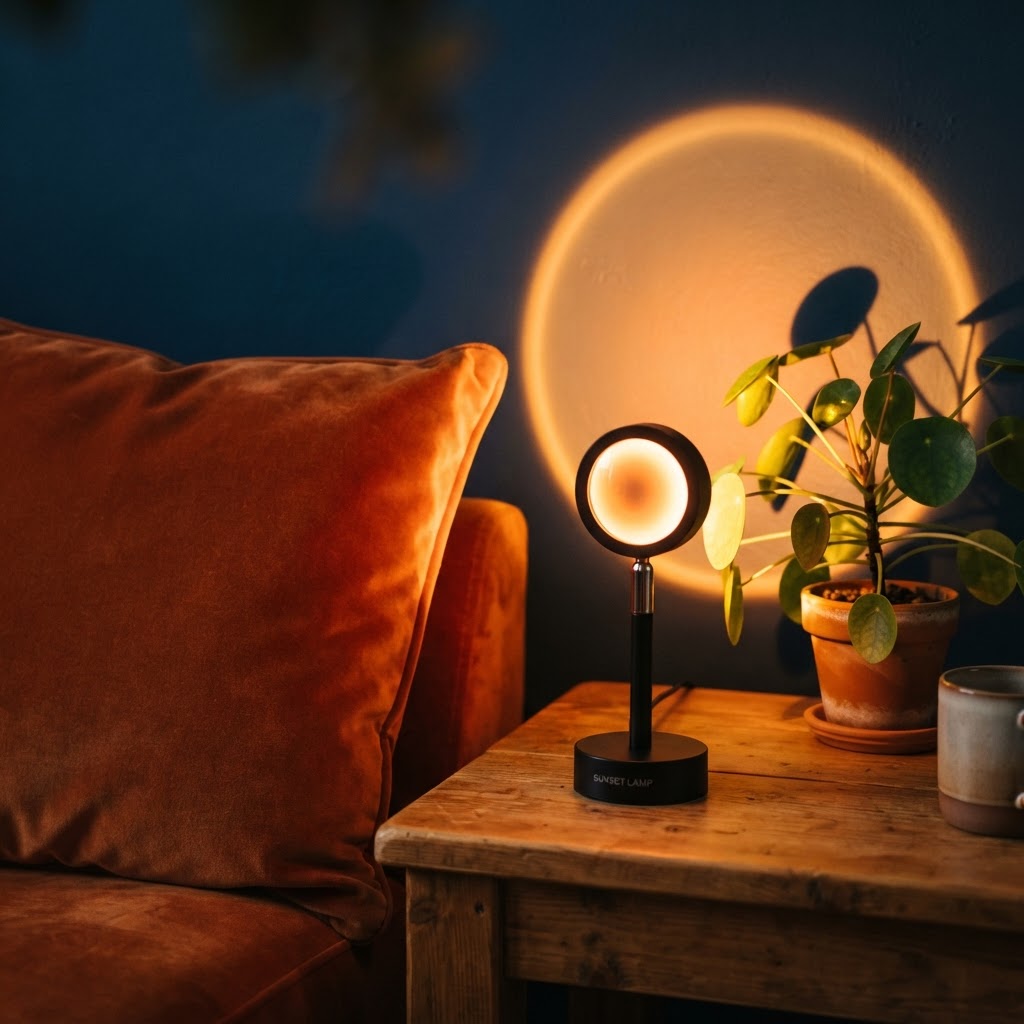
Soft orange light from a sunset lamp highlights home decor textures.

Before you dive into styling, you need to select the right device for your living room’s specific dimensions. Not all projection lamps offer the same intensity or color spectrum, so being selective is vital to achieving the high-end look you desire. You want a lamp that offers adjustable brightness and, ideally, a variety of color filters to suit different moods.

Key Features to Consider

  • Adjustable projection angle for flexibility
  • Dimmable light settings for evening relaxation
  • RGB color range for custom sunset variations
  • Sturdy base for safety on various surfaces

Styling Tips for Maximum Impact

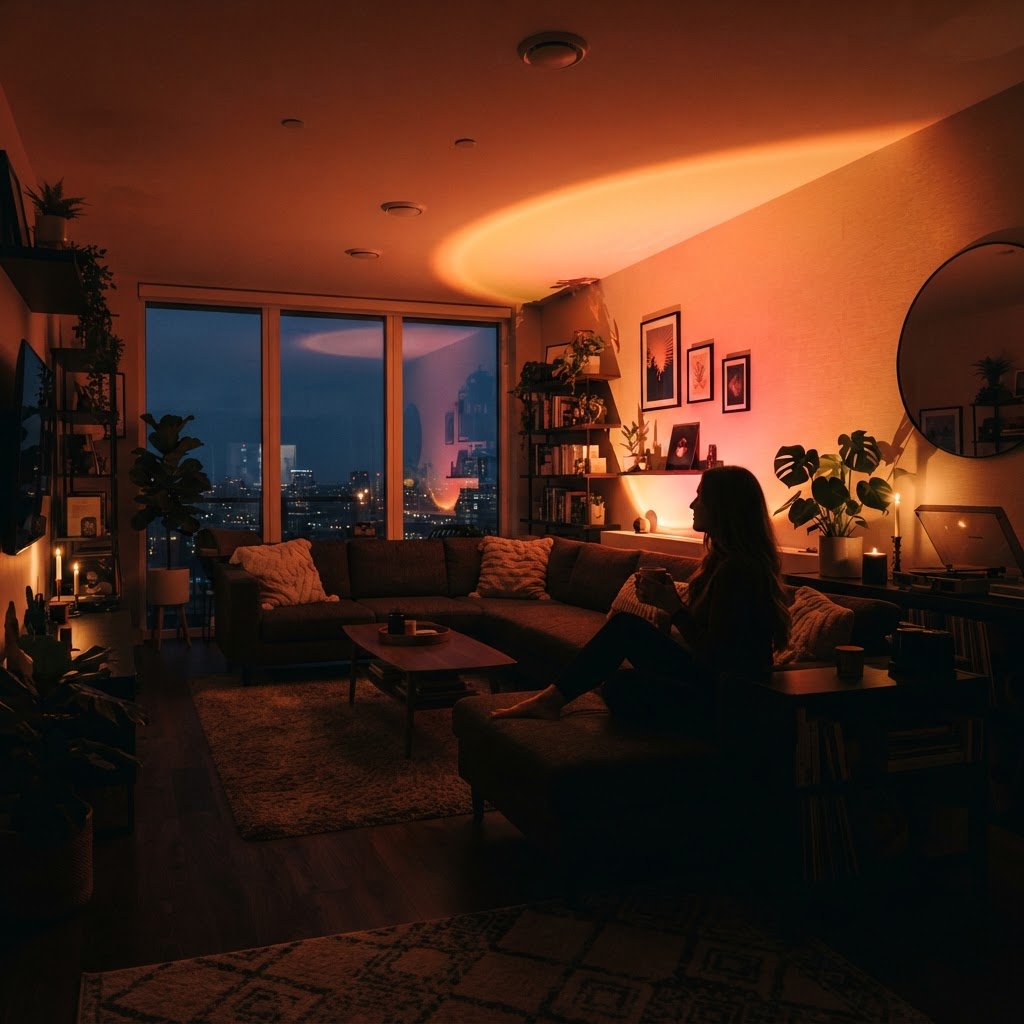
Transforming a living room with layered ambient sunset lighting.

Integration is where most people struggle, but the secret lies in placement. You should never place a sunset lamp in the center of the room where it will compete with other light sources. Instead, aim to treat it as a secondary accent light that paints one specific wall or a cluster of decor items in a warm glow.

Creating a Focal Point

Try aiming the light toward a neutral-colored wall behind your sofa. This turns your wall into a canvas of color, adding depth and dimension without cluttering the floor space. If you have artwork or plants, positioning the orange glow to catch these items creates a dramatic silhouette that feels professional and curated.

Combining Sunset Lamps with Other Light Sources

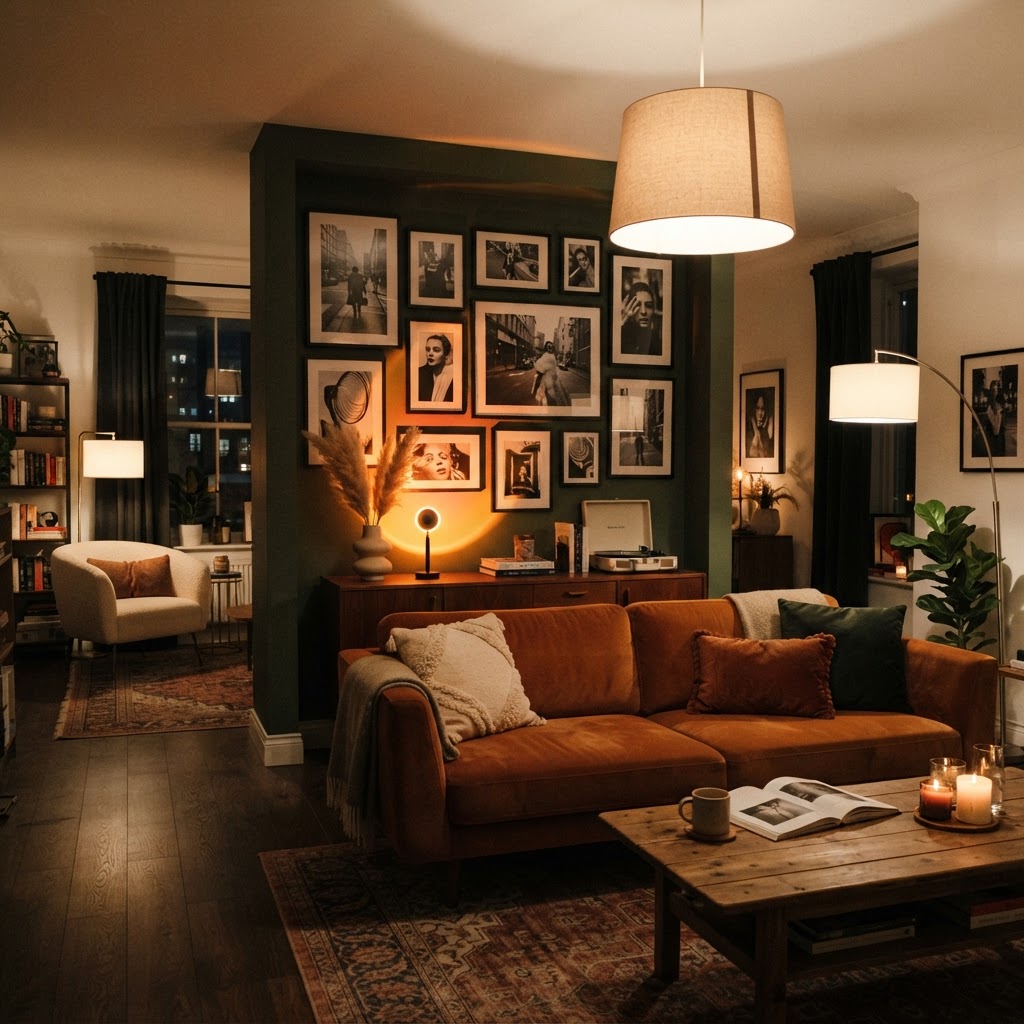
Using a sunset lamp to create a dramatic, artistic focal point.

To truly elevate your living room, you must master the art of lighting layers. An orange sunset lamp should serve as the ‘mood’ layer, while task lighting and general lamps handle the functional requirements. By mixing cool-toned lamps with the warmth of a sunset projection, you create a dynamic contrast that keeps the room feeling balanced.

Balancing Warmth and Functionality

For a truly sophisticated look, use a combination of floor lamps with warm white bulbs alongside your sunset projector. This prevents the orange light from becoming overwhelming while ensuring the corners of your room remain illuminated. Think of the sunset lamp as the sunset itself, and the other lights as the ambient twilight filling in the remaining gaps.

Sunset Lamp Placement Strategies

Placement isn’t just about where the light lands; it is about how it interacts with the textures in your home. Velvet cushions, wooden furniture, and indoor plants react beautifully to the warm hues of an orange sunset lamp. Experiment with placing the lamp at different heights to see how it changes the shadows in your room.

High vs. Low Positioning

Low positioning, such as placing the lamp on a bookshelf or the floor, creates long, dramatic shadows that feel cozy and intimate. High positioning, perhaps placed on a mantel or high shelf, creates a more expansive wash of color that feels like a sunset descending upon the whole room. Both methods offer unique ways to enjoy your orange sunset lamp ideas.

Common Mistakes to Avoid

While sunset lamps are versatile, there are common pitfalls that can diminish their effect. Overloading a room with too much color can make a space feel frantic rather than relaxing. Additionally, choosing a lamp with a weak projector can result in a blurry mess instead of a crisp, beautiful sunset effect.

Tips for Long-Term Success

Ensure your lamp is compatible with your room’s layout. If you have a small living room, choose a compact model that can be easily tucked away. Keep the lens clean from dust, as this will significantly impact the sharpness of the light projection over time.

Embracing the Sunset Trend Long-Term

As interior design trends shift, the desire for ‘warmth’ in our living environments remains constant. Using orange sunset lamps is a low-cost, high-impact way to keep your home feeling modern. Whether you use them for reading, hosting intimate gatherings, or simply relaxing after work, these devices provide a transformative experience that standard overhead bulbs simply cannot match.

Conclusion

Integrating orange sunset lamp ideas into your home is one of the easiest ways to refresh your living space with minimal effort. By carefully selecting your equipment, mastering placement, and balancing the light with existing decor, you can turn your living room into an oasis of warmth and relaxation. Start small, experiment with different angles and colors, and see how much the right light can change your daily mood. Ready to transform your living space? Browse our top recommended lamp models today and bring the golden hour home.

The No-Drill Trick to Make Your Living Room Feel Inviting

Creating an inviting living room shouldn’t require a toolbox full of heavy equipment or the fear of damaging your rental apartment walls. Many homeowners and renters alike struggle with the cold, sterile feeling of a space that lacks personal touch, often assuming that hanging art or shelving is the only solution. However, there is a simple no-drill trick that makes any living room feel inviting, and it relies entirely on the strategic use of vertical tension and adhesive-free layering to bring warmth to your home without leaving a single mark behind.

The Power of Verticality Without Holes

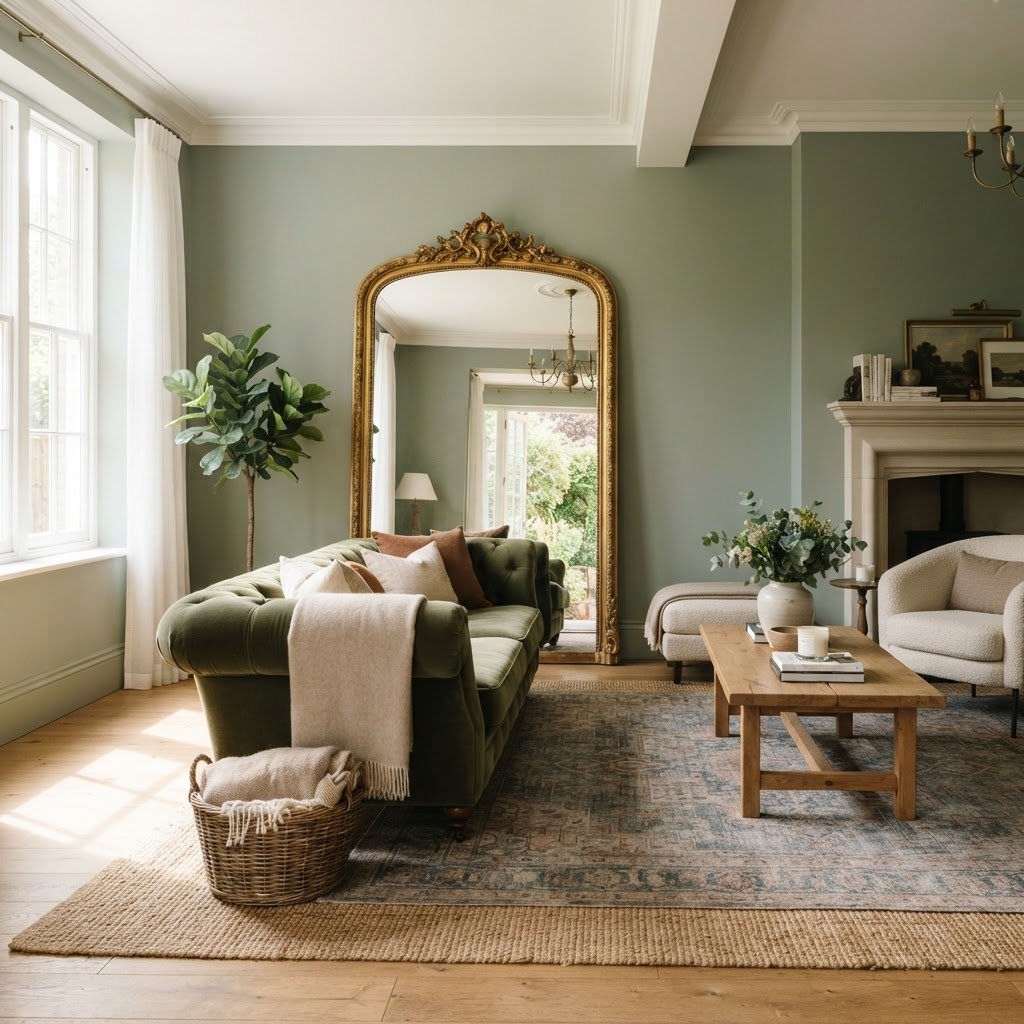
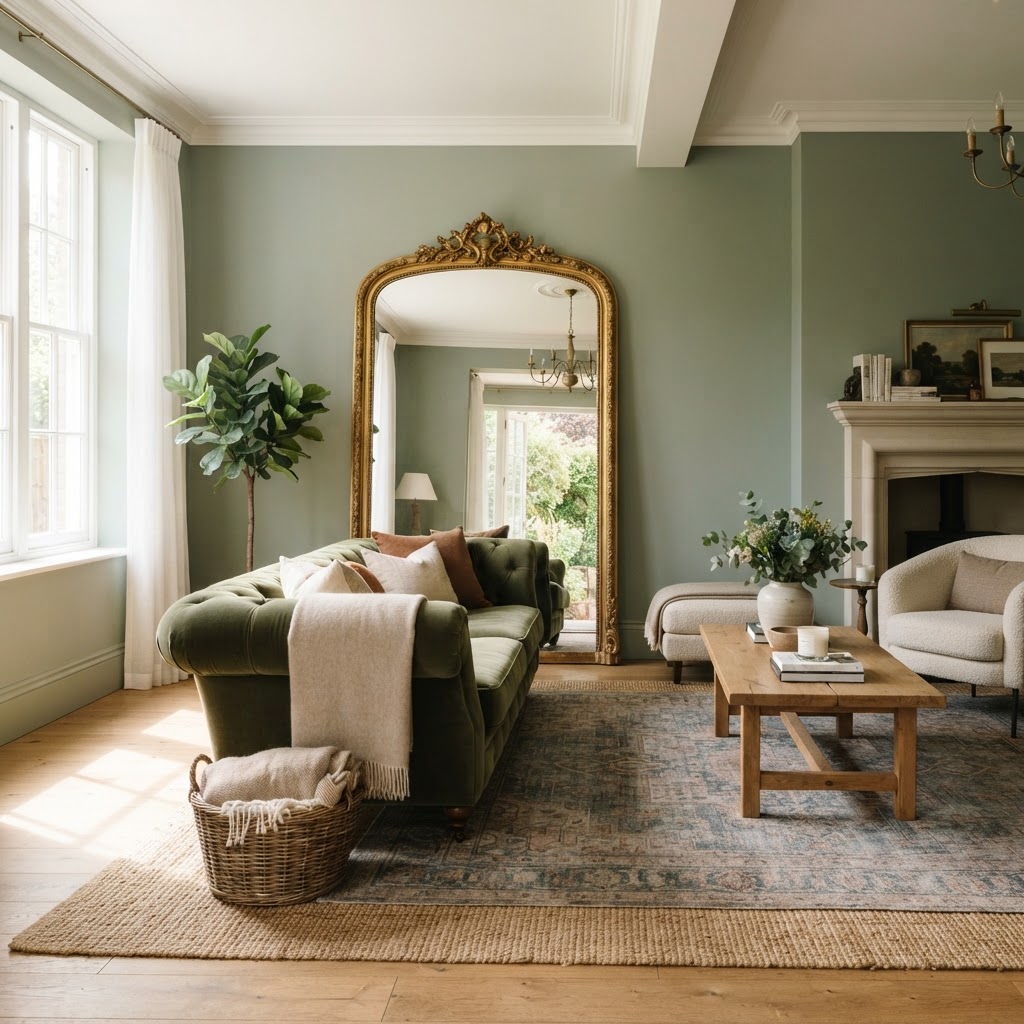
A leaning floor mirror adds instant depth and light to your living room.

When we think of adding personality to a room, our brains often default to hanging pictures or installing floating shelves. These tasks traditionally require drills, anchors, and a commitment to a permanent layout. By shifting your perspective toward verticality that relies on gravity and tension rather than screws, you can create the same visual impact. This approach is the cornerstone of the simple no-drill trick that makes any living room feel inviting, allowing you to cycle through decor styles as your tastes evolve.

Utilizing Leaning Decor

The most effective way to utilize height without drilling is through leaning decor. Large-scale artwork, leaning mirrors, and even tall floor lamps act as vertical anchors. When you lean a oversized mirror against a wall, it not only creates an illusion of depth but also reflects light, instantly brightening the room. This technique draws the eye upward, mimicking the effect of wall-mounted shelves or art without a single hole.

Why Leaning Works for Depth

Leaning pieces adds a casual, sophisticated aesthetic that feels curated rather than forced. It breaks the monotony of “perfectly centered” decor and introduces an organic flow to your living room. By varying the sizes of your leaning pieces, you create a layered look that feels like a professional designer was involved.

Rethinking Your Furniture Placement

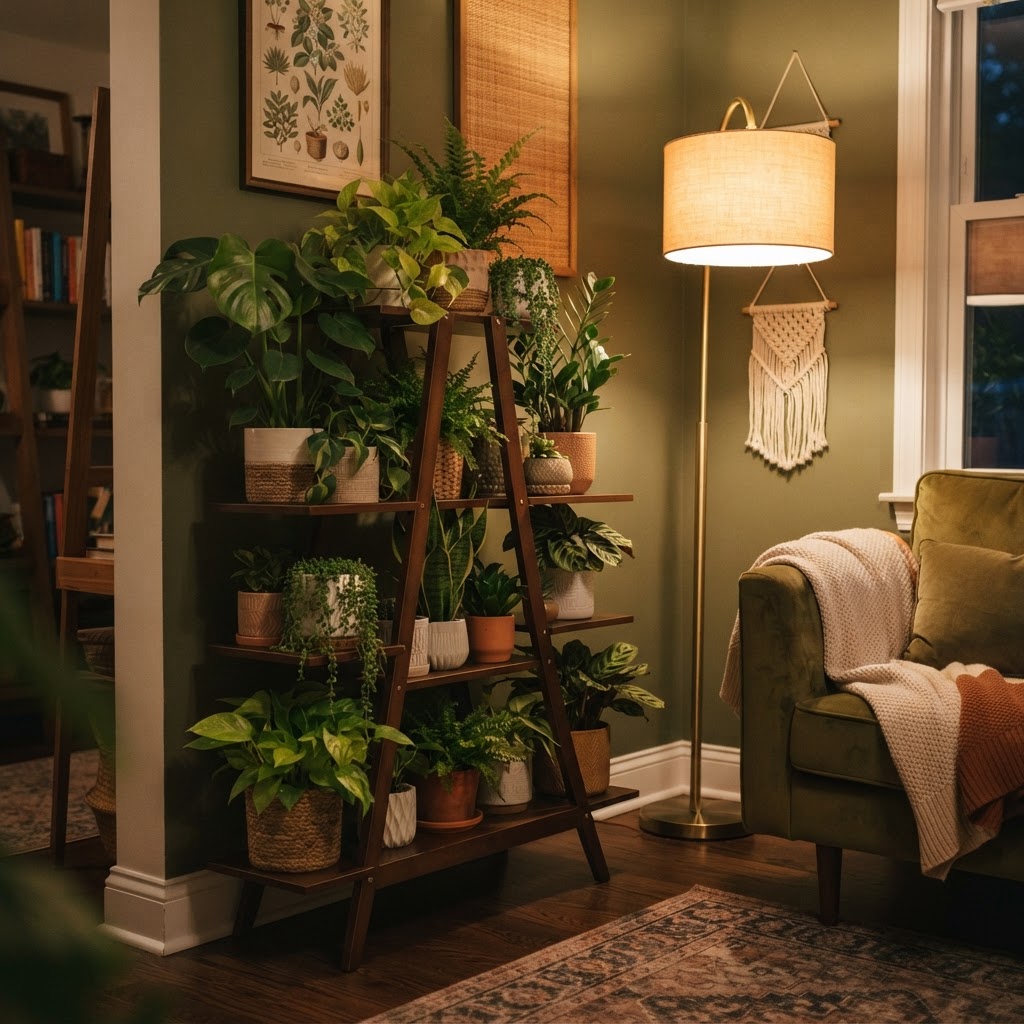
Tiered plant stands offer height and natural color without needing wall mounts.

Sometimes, the secret to an inviting atmosphere isn’t what you hang, but how you arrange what sits on the floor. Furniture placement dictates the flow of conversation and the “coziness factor” of your space. Most people push all their furniture against the walls to make the room feel larger, but this actually creates a dead zone in the center that feels hollow.

Instead, try pulling your sofa a few inches away from the wall to create a sense of floating. If you have an open floor plan, use your furniture to create distinct “zones.” This simple adjustment helps define the living area as a distinct space, making it feel more intimate and purposefully designed. It is a fundamental part of the simple no-drill trick that makes any living room feel inviting by ensuring the furniture works for the occupants, not just the perimeter of the room.

The Layering Technique: Textiles and Texture

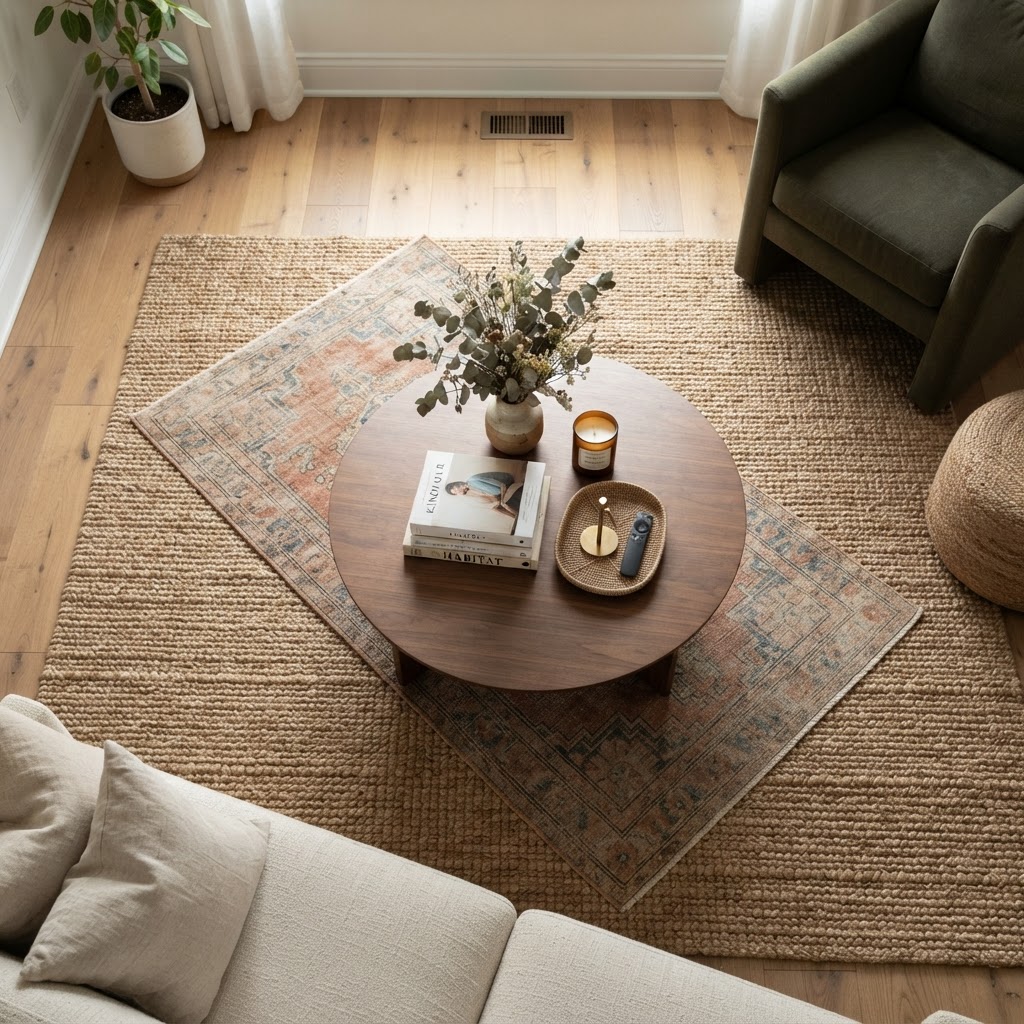
Layering rugs is a perfect way to add texture and define your living space.

Texture is the unsung hero of a welcoming home. You can transform a plain room into an inviting sanctuary by layering rugs, throws, and cushions. Layering is entirely wall-damage-free and relies on comfort to make the room feel lived-in and warm. Start with a neutral base rug, then add a smaller, patterned rug on top to create visual interest underfoot.
The Role of Soft Furnishings

Soft furnishings like oversized knit blankets and plush velvet pillows invite people to sit, stay, and relax. When a room looks too clean or too rigid, it feels unapproachable. By introducing soft, tactile elements, you soften the hard edges of your room and create a sensory experience that feels deeply personal and safe.

Lighting Without Electrical Upgrades

Lighting is perhaps the most important element for setting the mood. If your living room feels stark or cold, it is often due to harsh overhead lighting. The no-drill approach to lighting involves using floor lamps and portable table lamps to create pools of light throughout the room. By placing light sources at varying heights, you draw attention away from bare walls and toward the cozy pockets of your living space.
Warmth Through Ambient Glow

Look for lamps with warm-toned bulbs and fabric shades that diffuse light softly. You can even use smart light strips tucked behind media consoles or bookshelves to create an ambient glow that makes the room feel high-end. This is an essential aspect of the simple no-drill trick that makes any living room feel inviting because it completely alters the atmosphere of the room the moment the sun goes down.

Greenery and Natural Elements

Bringing nature indoors is an age-old design secret, but you don’t need wall-mounted planters to make it happen. Use tiered plant stands or tall fiddle-leaf figs to fill corners and add vertical interest. Large plants act as “living sculptures” that add height and color to your room without needing to be attached to the architecture.

Selecting Plants for Every Corner

  1. Snake plants for low-light corners
  2. Monstera deliciosa for a dramatic, large-scale leaf look
  3. Hanging pothos placed on high bookshelves (gravity-based)
  4. Fiddle-leaf figs for high-ceiling impact

These plants provide a calming influence that naturally lowers stress levels, making your home feel like a retreat from the outside world. Plus, the organic shapes of plants contrast beautifully with the linear nature of sofas and coffee tables, adding a necessary softness to the environment.

Creating Cozy Vignettes

Vignettes are small, intentional groupings of objects that tell a story. You can create these on side tables, mantels (if you have one), or even directly on the floor. Grouping items in odd numbers—three is usually the magic number—creates a balanced, pleasing aesthetic that feels intentional rather than cluttered. This method is perfect for showcasing your personality.

Balancing Personal and Aesthetic Items

Your vignettes should include a mix of items: something tall (like a vase or candle), something medium (like a stack of books), and something small (like a decorative object or a small plant). This variety keeps the eye moving and makes your space feel curated and sophisticated without requiring you to drill holes for shelving or heavy wall decor.

Conclusion: Your Home, Your Rules

Transforming your living space into a sanctuary doesn’t have to be a major construction project. By focusing on the simple no-drill trick that makes any living room feel inviting—layering textures, utilizing vertical floor-based decor, and optimizing your lighting—you can achieve a beautiful space that feels like ‘you.’ The beauty of this approach is its flexibility; if you get bored of a look, you can rearrange it in an afternoon without patching a single hole.

Take the first step today by pulling your sofa away from the wall or leaning that piece of art you’ve been nervous to hang. You will be amazed at how quickly your room transforms from a house into a home. Share your results with us or let us know which of these tips helped you the most in the comments below!

Small Entryway Makeovers: Transform Your Space Under $200

The entryway is the handshake of your home, the very first impression guests receive when they step through your door. Unfortunately, many of us live with cramped, sterile spaces that feel more like a storage locker than a warm welcome. If you are looking to revitalize your home, small entryway makeovers under $200 can yield dramatic results that breathe personality into your transition space. With a little creativity and strategic spending, you can turn a cold, neglected area into a functional and inviting hub.

The Psychology of the Entryway

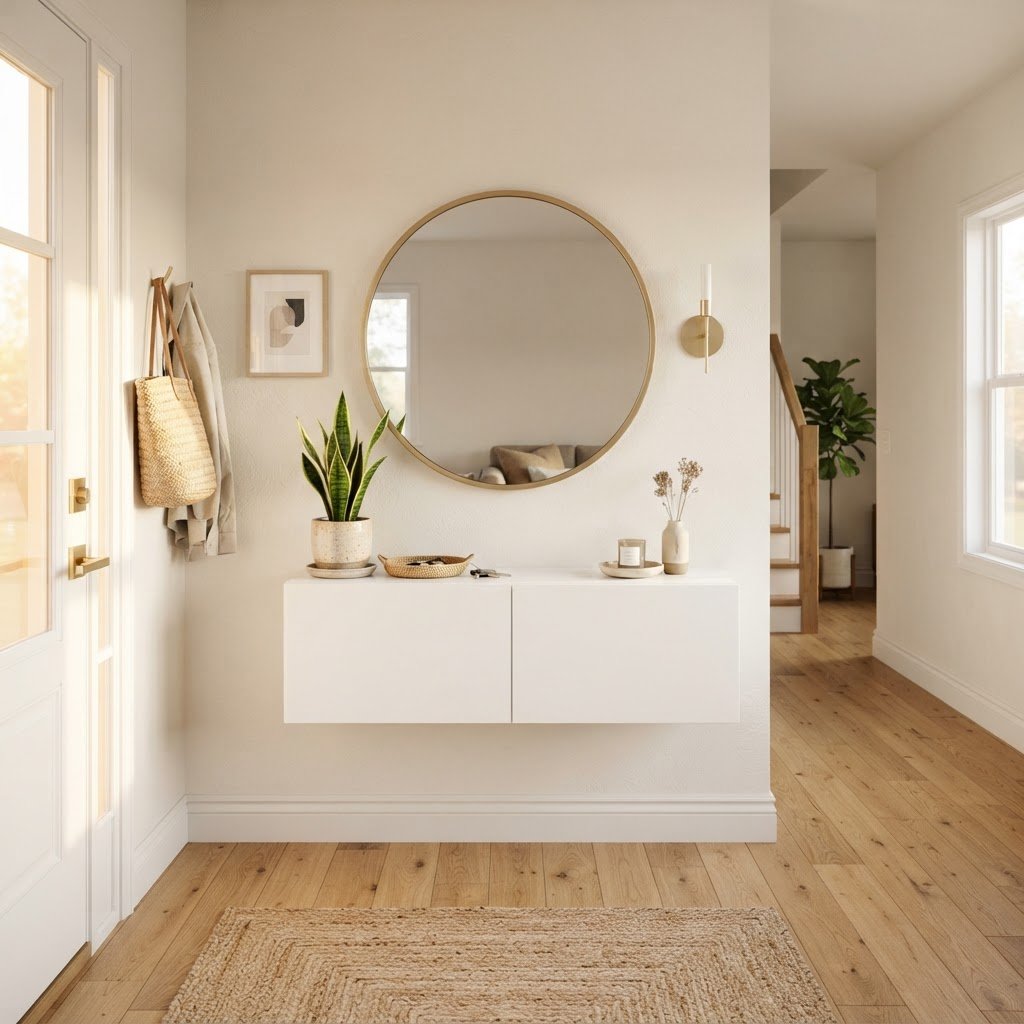
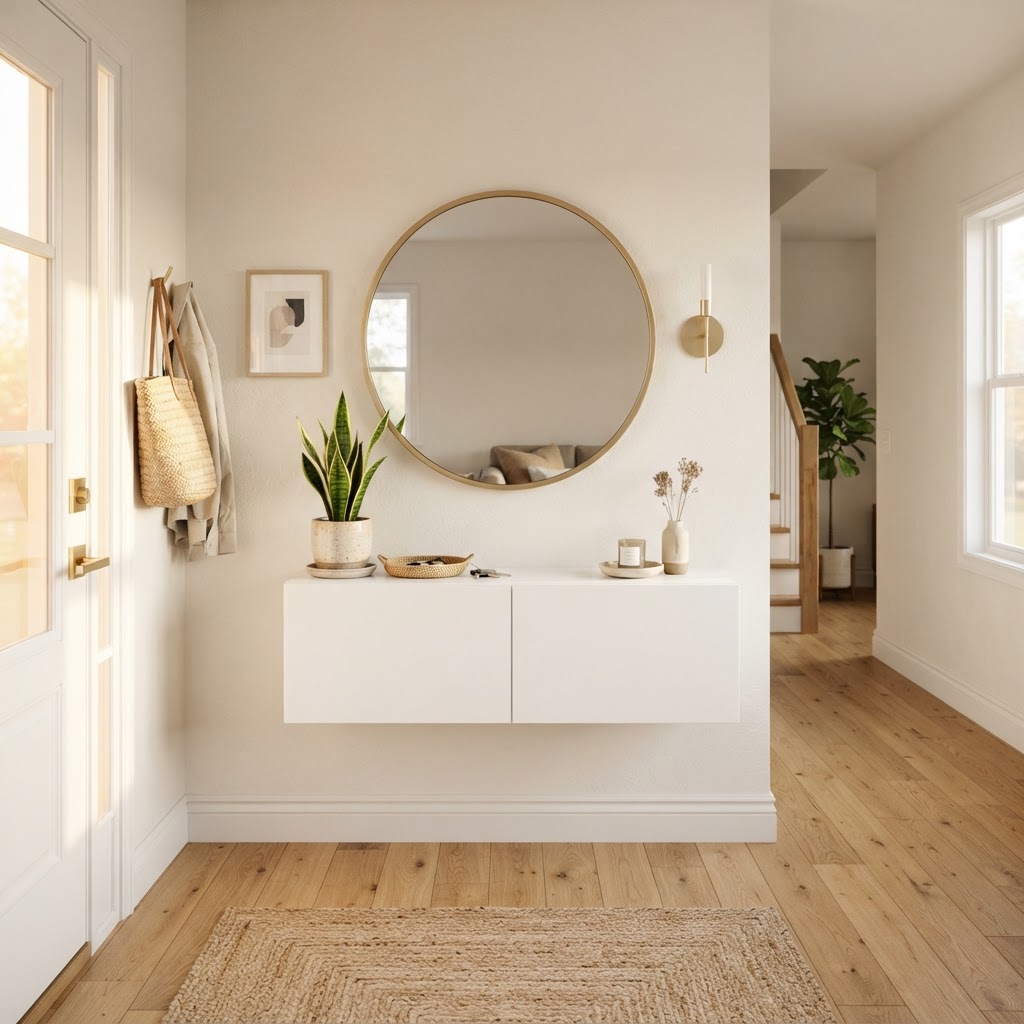
A floating console keeps the floor clear while a large mirror expands the sense of space.

Your entryway sets the tone for your entire living environment. A disorganized or sterile foyer can induce subconscious stress, making the act of entering your home feel like a chore rather than a relief. By implementing small entryway makeovers under $200, you aren’t just decorating; you are creating a mental bridge that helps you transition from the chaos of the outside world into the serenity of your personal sanctuary.

Why First Impressions Matter

Design experts often refer to the entryway as the “foyer of flow.” When the space is cluttered or lacks a focal point, the energy of the home feels stagnant. Conversely, a well-curated entryway uses lighting, color, and purposeful storage to guide the eye and create a sense of order. Even in tiny apartments, a thoughtful approach can make the square footage feel twice as large.

Establishing a Functional Layout

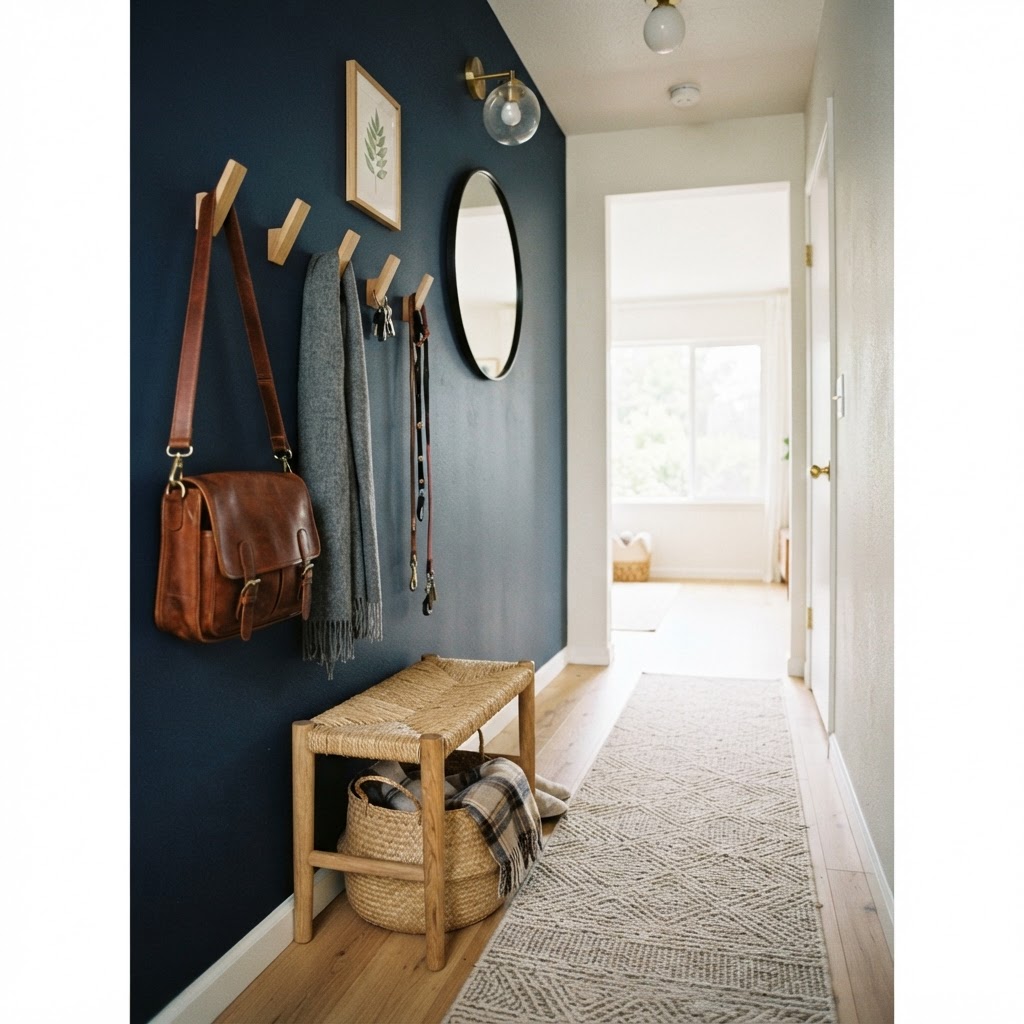
Utilize vertical wall space with modern hooks and a woven basket to hide clutter.

Before you spend a single dollar, you must assess the utility of your space. Most small entryways suffer from a lack of designated drop-zones, leading to piles of shoes and scattered mail. The key to a successful renovation is identifying exactly what your household needs every single day. Do you need a place for keys, a spot for damp umbrellas, or a dedicated bench for putting on boots?

The “Drop-Zone” Concept

Every great entryway requires a drop-zone. This is a specific area where items from the outside transition to the inside. By installing a wall-mounted console or a floating shelf, you can reclaim floor space while providing a landing pad for daily essentials. Floating furniture is particularly effective in tiny entryways because it keeps the floor clear, creating the illusion of more square footage.

Budget-Friendly Paint and Lighting Upgrades

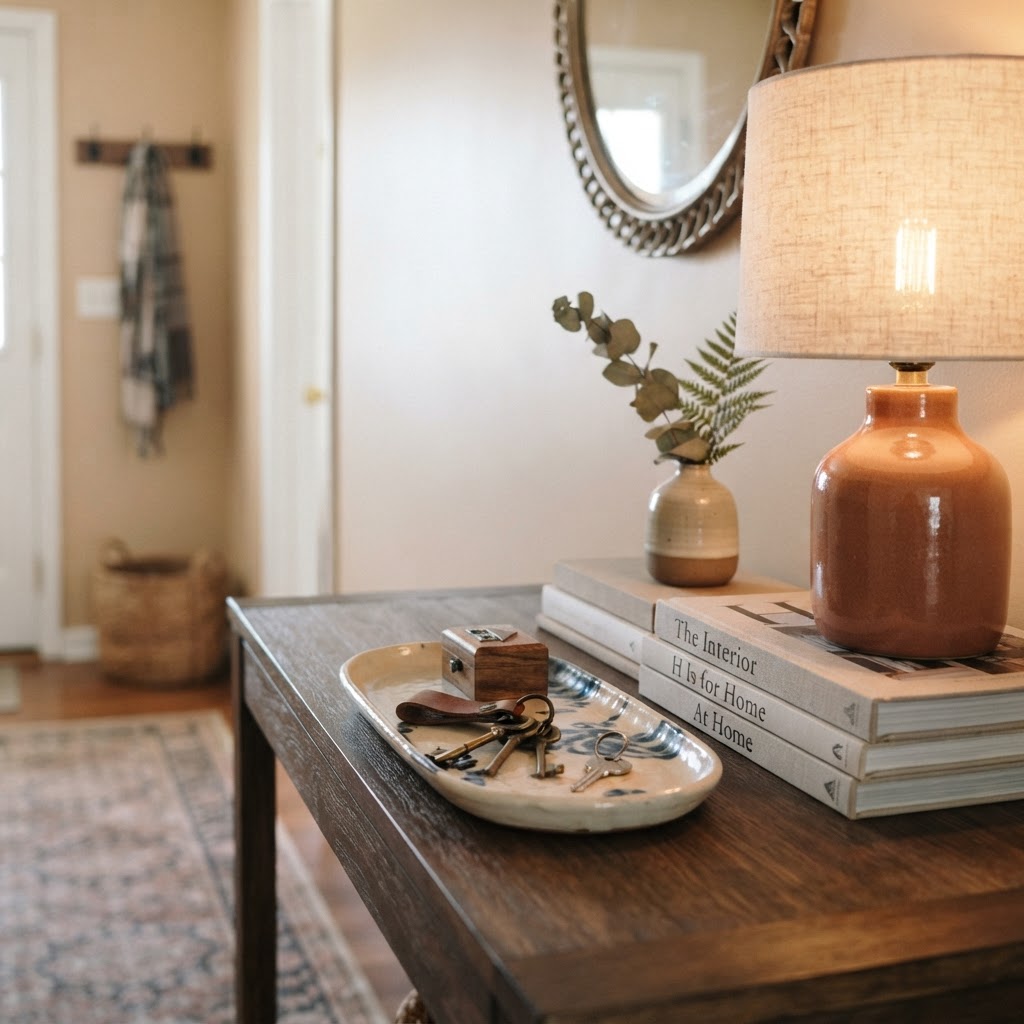
Curate your entryway with a few intentional, beautiful items to create a warm welcome.

Paint is the most powerful tool in your renovation arsenal. For under $50, you can completely shift the mood of a room. Sterile white walls can feel institutional, but a warm greige or a bold navy accent wall adds depth and character. If you are feeling adventurous, consider painting the front door a contrasting color like sage green or matte black to create an immediate focal point.

Illuminating Your Space

Lighting is often the most overlooked element in foyer decor. If your entrance relies on a single harsh ceiling fixture, it is time to upgrade. A modern flush-mount light or even a small table lamp on a console can make a world of difference. Lighting temperature is key; opt for warm white bulbs, which measure around 2700K to 3000K, to ensure the space feels cozy instead of clinical.

Creative Storage Solutions Under $200

Storage is the backbone of any successful small entryway makeover. When you are on a tight budget, look for multi-functional pieces that serve two purposes. An ottoman with interior storage acts as both seating and a hidden bin for seasonal scarves or winter hats. Vertical space is your best friend in a narrow hallway; utilize wall hooks to clear floor space.

Vertical Organization Strategies

Using the wall effectively can double your storage capacity. Consider installing a “peg rail” or a series of individual modern hooks. If you have extra room, a small vertical shoe rack can keep footwear neatly stacked rather than spread across the floor. By keeping the floor clear of clutter, the entryway will immediately feel larger and more professional.

The Power of Decor and Personality

Once the furniture and lighting are in place, it is time to add the personality that makes your home yours. Small entryway makeovers under $200 should allow for at least $30 to $50 to be spent on decorative accents. A mirror is an essential addition for small spaces, as it reflects light and creates a visual extension of the hallway.

Selecting the Right Accessories

Keep your decor meaningful but minimal. A small plant brings life to the space, while a piece of art or a decorative tray for keys keeps the area from feeling like an office. Remember, less is often more in a confined hallway. A single, large statement piece is usually more effective at drawing the eye than a dozen small, cluttered items.

| Item Category | Estimated Cost | Impact Level |

| :— | :— | :— |

| Wall Paint | $35 | High |

| Wall Hooks | $25 | Medium |

| Mirror | $60 | High |

| Small Bench/Ottoman | $80 | Medium |

| Decorative Tray | $15 | Low |

Maintenance and Long-Term Care

Now that you have completed your transformation, the goal is to maintain that welcoming atmosphere. Small entryways have a habit of accumulating clutter, so make it a habit to clear the surface of your console at the end of every week. A “one in, one out” policy for shoes and coats can also help prevent the area from returning to its original state of disarray.

Seasonal Updates

One of the best parts about a small entryway is that it is easy to update seasonally without spending a fortune. Swap out a fall-colored runner for a lighter, textured rug in the spring. Change the scent of your entryway diffuser or candle to match the season. These small touches keep the home feeling fresh and show that you care about the small details of your living environment.

Conclusion

Executing small entryway makeovers under $200 is entirely possible when you focus on high-impact changes like paint, lighting, and vertical storage. You do not need a massive budget to transform a sterile foyer into a welcoming transition space that reflects your personality and hospitality. Start with one of these projects this weekend, and experience the immediate boost in your home’s curb appeal from the inside out. Which part of your entryway will you transform first? Let us know in the comments below!

Built-In Storage Ideas for Small Bedrooms & Attic Rooms

Living in a home with limited square footage often feels like a constant battle against clutter. When your sleeping quarters are extremely small or located in the tight confines of an attic, finding effective built-in storage ideas becomes essential rather than just a luxury. A well-organized room isn’t just about aesthetics; it is about reclaiming your peace of mind and creating a functional environment where you can truly rest. By thinking vertically and utilizing custom cabinetry, you can turn even the most challenging architectural oddities into assets that serve your lifestyle.

The Philosophy of Custom Built-In Storage

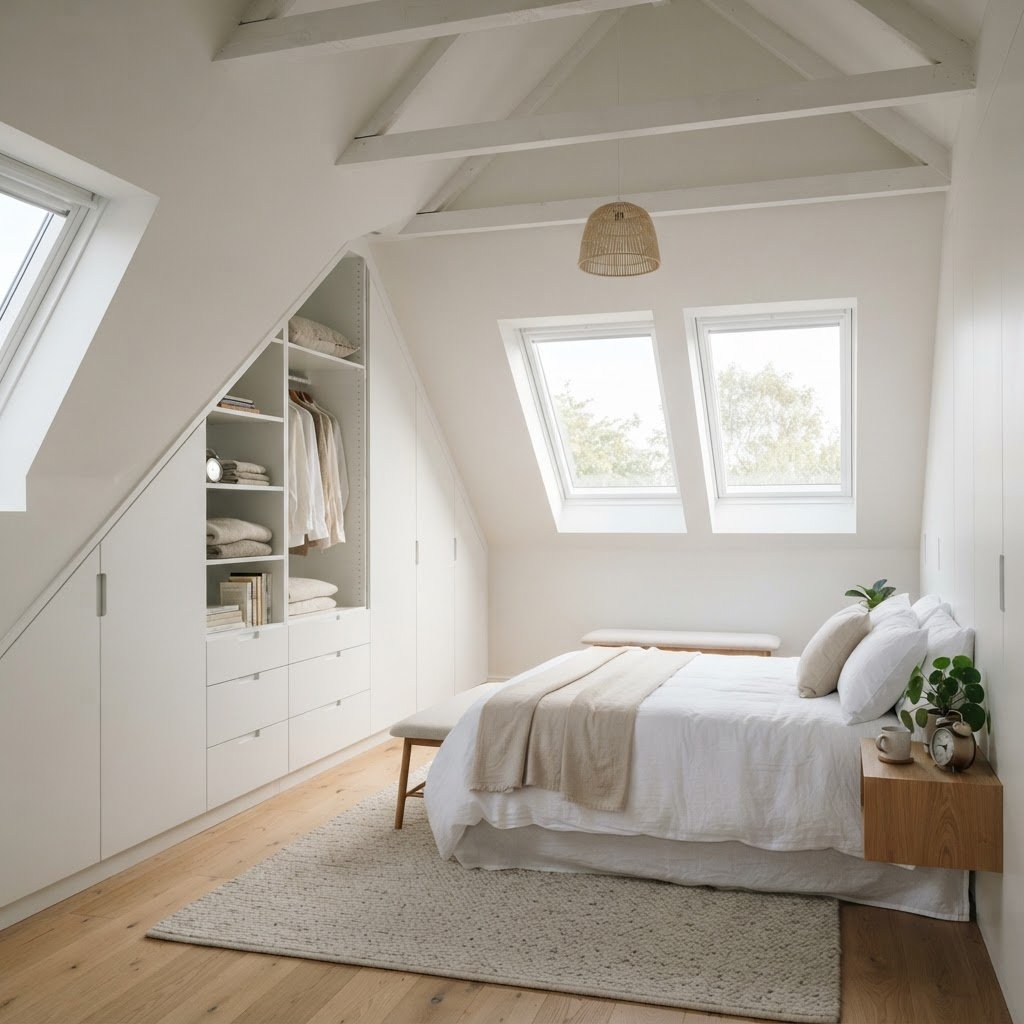
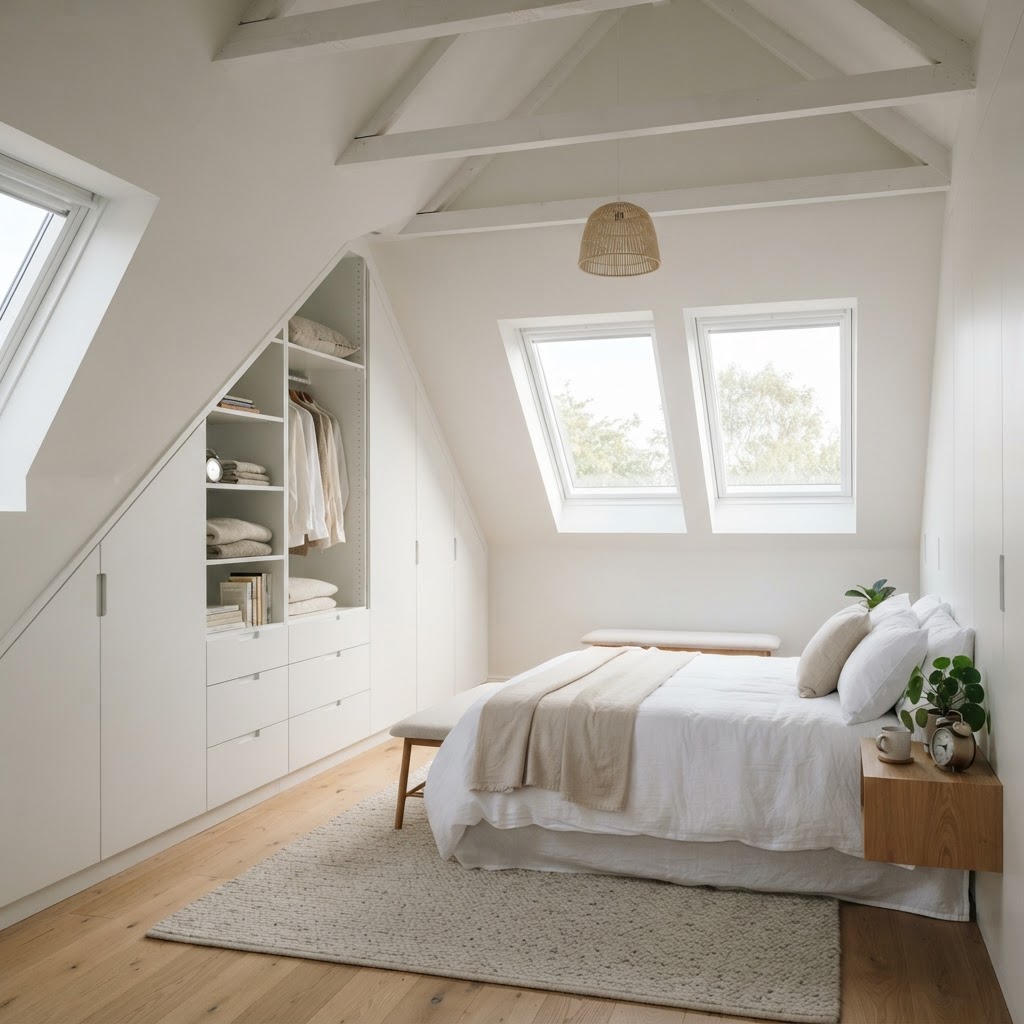
Custom built-in storage under the eaves maximizes attic floor space.

When standard furniture fails to fit the unique geometry of your home, custom built-in storage solutions become the ultimate hero. Unlike freestanding wardrobes or chests of drawers that eat up precious floor space, built-ins are designed to blend seamlessly into the walls. This creates a cohesive look that makes small rooms feel significantly larger by removing visual noise. Whether you are dealing with sloped ceilings in an attic or narrow walls in a box bedroom, custom carpentry allows you to capture every square inch of usable volume that would otherwise be lost to “dead space.”

Why Built-Ins Outperform Freestanding Furniture

Freestanding furniture creates gaps between pieces and walls, which inevitably turn into dust traps or useless voids. In contrast, built-ins provide a continuous, clean appearance that visually expands the room. By extending cabinetry from floor to ceiling, you draw the eye upward, making the ceiling feel higher. This is particularly vital in attic rooms where the height is often compromised by rafters and angles. Furthermore, built-ins offer superior stability and are tailored to hold exactly what you need, from hanging space for long coats to shallow drawers for accessories.

Maximizing Attic Slopes with Clever Cabinetry

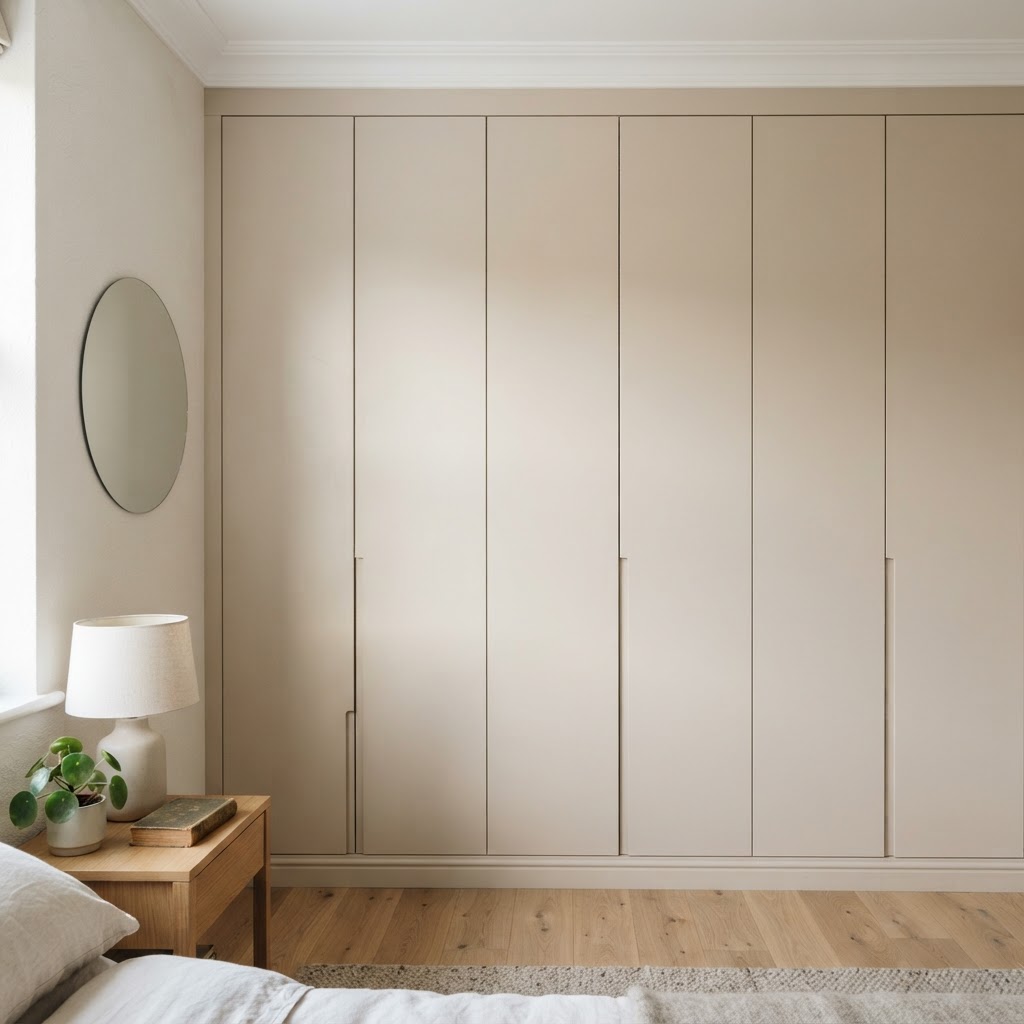
Sleek, handle-free floor-to-ceiling wardrobes minimize visual clutter.

Attic rooms are notorious for their awkward angles and knee walls. These spaces are often left empty because people struggle to find furniture that fits underneath the incline. However, these low-height areas are perfect for shallow cupboards or deep drawers. By installing custom joinery that follows the pitch of the roof, you transform an inaccessible corner into an ideal storage hub for seasonal clothing, bedding, or hobby supplies.

Creating Integrated Drawer Systems

Deep drawers are far more efficient than shelves when placed under a low slope. You don’t have to crawl into the back of a cabinet to see what you have; instead, the entire contents of the drawer slide out to greet you. Consider installing a “push-to-open” mechanism to maintain a sleek, handle-free facade that keeps the room feeling minimal. This approach effectively hides your belongings while keeping the visual profile of the room as clean as possible.

Vertical Thinking for Small Bedrooms

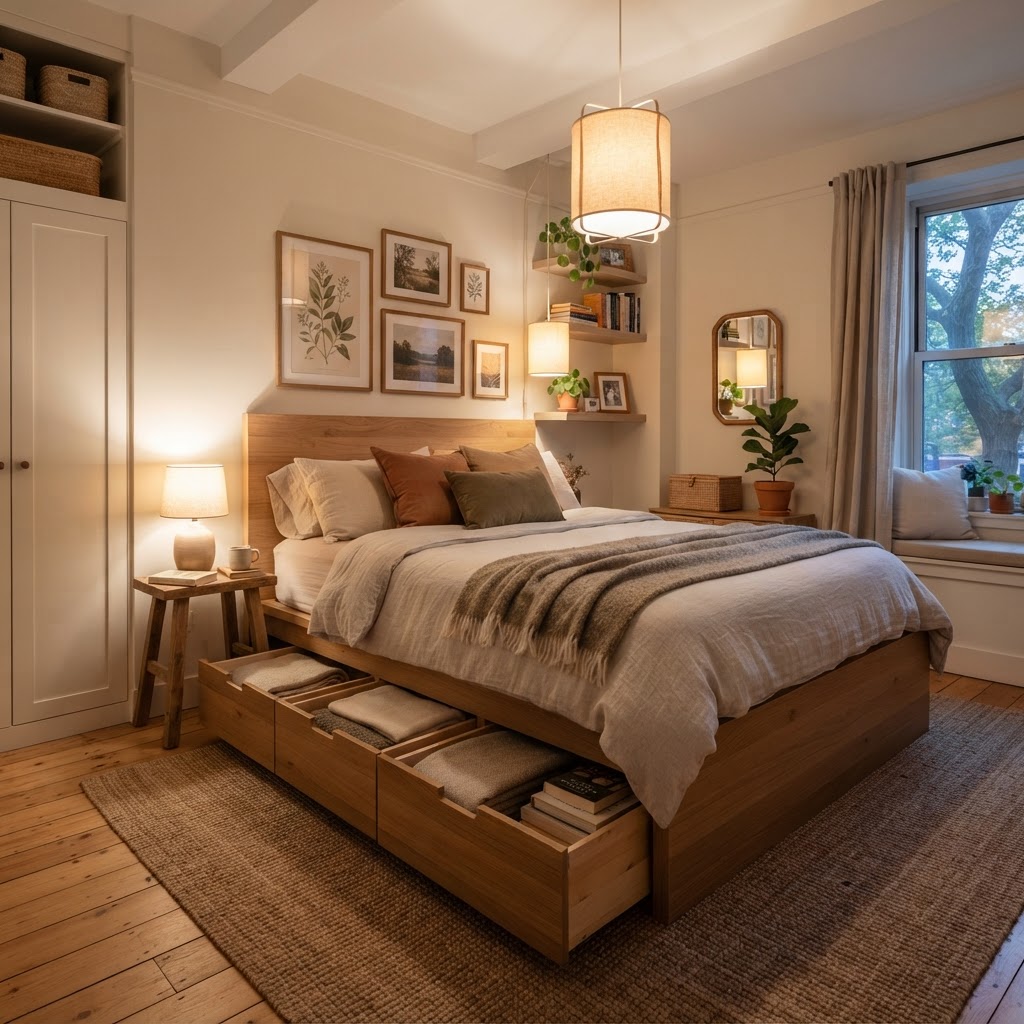
Multi-functional bed frames with storage help declutter tiny bedrooms.

If you lack floor space, the only way is up. The walls of your small bedroom are your most valuable real estate. Floor-to-ceiling closets are the gold standard for small bedroom organization because they maximize the storage capacity of a single footprint. By treating the entire wall as a storage unit, you eliminate the need for secondary storage pieces like nightstands or tallboys, which can clutter up the narrow walking paths around your bed.

Utilizing Recessed Shelving and Nooks

Sometimes, structural elements like chimney breasts or awkward corners provide an opportunity to create recessed shelving. Instead of building out into the room, you build into the wall itself. This is a brilliant way to incorporate open storage for books, decorative items, or daily essentials. Using light colors inside these recesses can add depth to the room, preventing the storage from feeling like a heavy, encroaching block.

Multi-Functional Furniture Design

Proper internal organization is key to small bedroom efficiency.

In a tiny bedroom, every piece of furniture must work twice as hard. Built-in storage should ideally be integrated with other functions, such as your bed frame or vanity. For example, a captain’s bed with deep, built-in under-bed drawers eliminates the need for a separate dresser. By combining your bed frame with storage, you essentially “delete” a large piece of furniture from the room’s layout, making it feel airy and spacious.

Assessing Your Storage Needs

Before you start designing your built-ins, you must perform a strict audit of what you actually own. Small bedrooms cannot afford to house clutter. Follow this hierarchy of organization:

  1. Active Storage: Items you use daily (hangers for current season clothes, nightstand essentials).
  2. Passive Storage: Items used weekly (bedding, towels, gym gear).
  3. Long-term Storage: Items used annually (winter coats, holiday décor, keepsakes).

Focus your built-in storage ideas on the active and passive categories, and utilize the “hard-to-reach” areas of the attic for long-term items. This ensures your most accessible cabinet space is dedicated to the items that improve your day-to-day efficiency.

Choosing the Right Materials and Finishes

For small, tight spaces, the finish of your cabinets is just as important as the design. High-gloss finishes are excellent for reflecting light, which helps bounce natural rays around a small room and makes it feel brighter. Conversely, matching the paint color of the cabinetry exactly to the wall color creates a “monochromatic” effect. This tricks the eye into thinking the cabinets are part of the wall architecture, making them effectively disappear.

Lighting and Internal Organization

Storage is only useful if it is accessible. In deep or dark built-in wardrobes, consider installing motion-activated LED strips. These are inexpensive, battery-operated, and make a massive difference in attic spaces where natural light might be limited. Inside your cabinets, use drawer dividers and specialized pull-out racks. The more organized the interior, the less likely you are to over-buy and accumulate extra “stuff” that your small room simply cannot accommodate.

Practical Organization Tips for Tiny Rooms

  • Use double hanging rails to double your clothing capacity.
  • Install pull-out mirrors behind cabinet doors to save wall space.
  • Use vertical dividers for scarves, belts, or ties inside shallow drawers.
  • Keep floor space clear of boxes; if it can’t go on a shelf or in a drawer, it shouldn’t be there.

Conclusion

Mastering built-in storage in an extremely small bedroom or attic space requires a shift in perspective. You are not losing space; you are simply refining how you use it. By opting for custom solutions, embracing vertical storage, and keeping your design clean and monochromatic, you can create a bedroom that feels like a peaceful retreat rather than a cramped box. Don’t let your room size dictate your comfort. Start planning your custom storage project today, and watch as your small space transforms into an organized, beautiful, and highly functional sanctuary. Ready to take the next step? Start by measuring your available wall space and sketching out your dream storage layout this weekend!

7 Easy IKEA FADO Lamp Hacks for Instant Cozy Vibes

The IKEA FADO lamp has long been a favorite among interior design enthusiasts for its minimalist, orb-like silhouette and soft, diffused glow. While its simplicity is part of its charm, many homeowners are looking for ways to personalize this affordable fixture to better suit their unique aesthetic. Fortunately, the world of IKEA FADO lamp hacks is vast, offering endless opportunities to turn a standard piece into a custom statement light that radiates cozy vibes throughout your space.

Whether you are a seasoned DIYer or a beginner looking for a weekend project, the FADO lamp’s glass globe acts as the perfect blank canvas. From rustic textures to modern metallic accents, these transformations require little more than basic craft supplies and a bit of creativity. Let’s dive into how you can elevate your lighting game without breaking the bank.

Why Choose the FADO Lamp for DIY Projects?

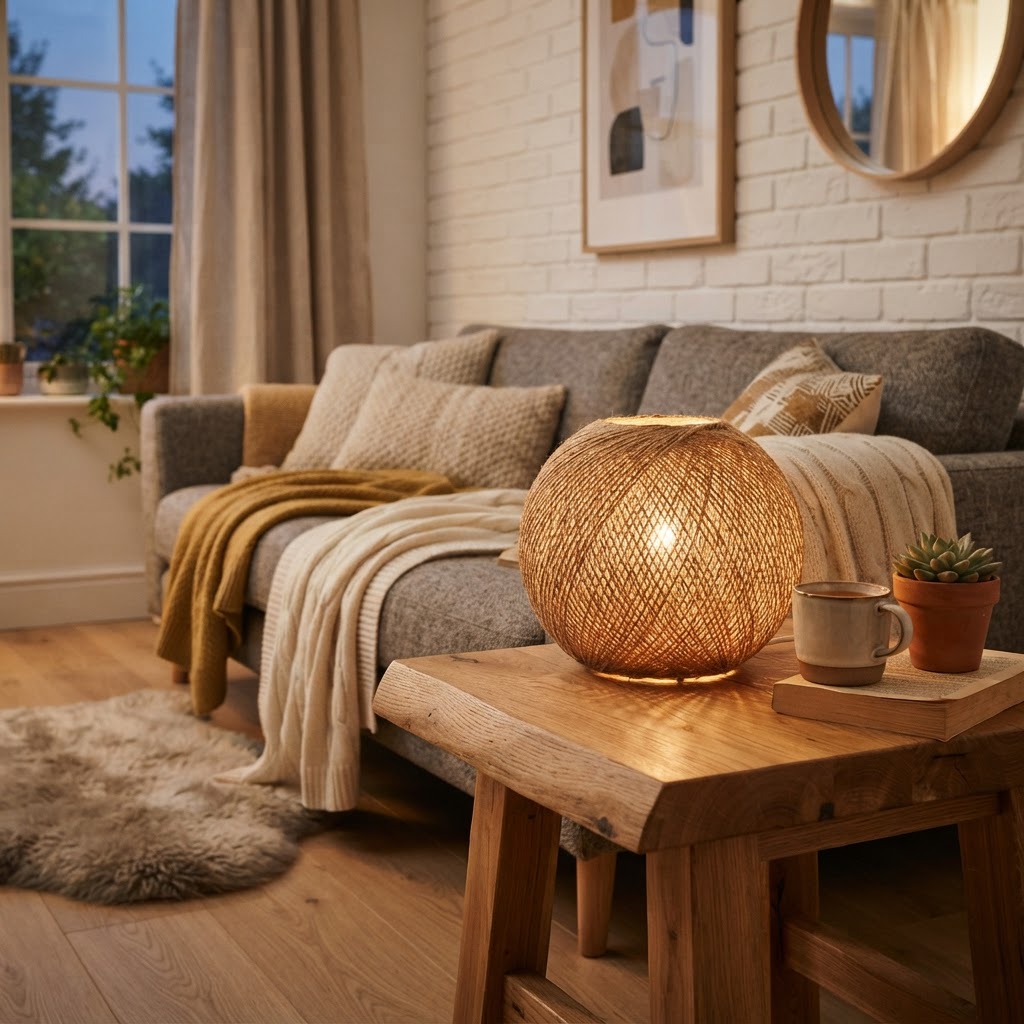
The rattan-wrapped FADO lamp creates a rustic, organic glow.

The primary appeal of the FADO lamp lies in its timeless, spherical shape. Because it is made of smooth, white glass, it provides an even light distribution that creates an inviting atmosphere in any room. It is essentially a high-quality light source available at a fraction of the price of boutique designer lamps.

Durability and Versatility

Unlike plastic fixtures that can yellow or become brittle over time, the glass construction of the FADO ensures it will last for years. The shape is also incredibly versatile, fitting into Scandinavian, mid-century modern, or even eclectic bohemian styles with just a few small changes. This durability makes it the perfect candidate for permanent modifications like painting, gluing, or wrapping.

Because the lamp is quite sturdy, you don’t have to worry about the heat from a standard LED bulb damaging your DIY handiwork, provided you follow basic safety precautions. This confidence allows you to get bold with your materials, knowing your custom creation will remain both safe and functional.

The Classic Bohemian Rattan Wrap

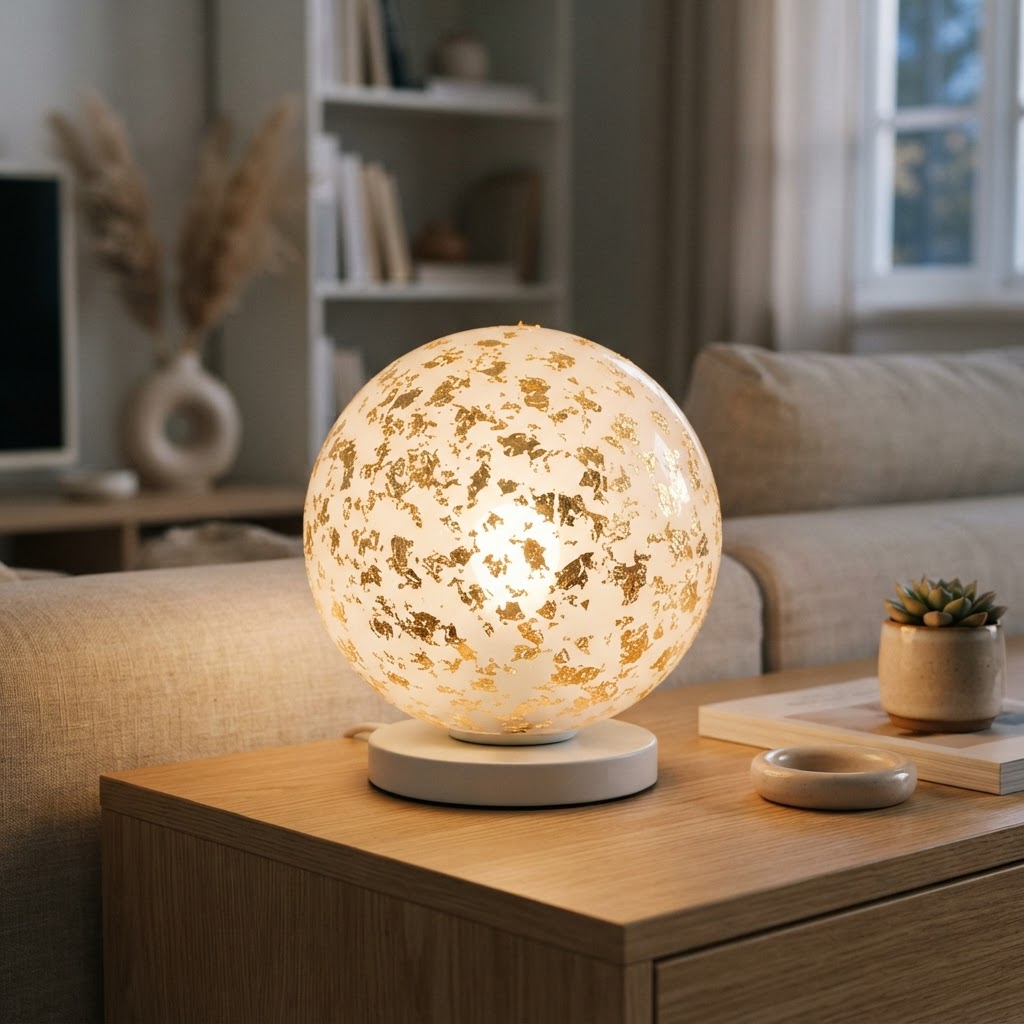
Gold leaf accents add a touch of high-end sophistication to the lamp.

One of the most popular ways to add warmth to a room is by introducing natural materials. A rattan or jute wrap is a fantastic way to break up the sterile white of the glass and introduce a touch of organic texture that instantly signals ‘cozy.’

To achieve this look, you will need a long spool of thin rattan reed or natural jute twine, a reliable clear-drying adhesive, and a steady hand. Start at the base of the lamp and slowly wind your chosen material around the glass globe, securing it with small dots of glue as you go. You can choose to cover the entire globe for a fully textured look or create patterns by leaving intentional gaps.

Why This Works for Mood Lighting

When the light shines through the gaps in your weaving, it casts beautiful, intricate shadows on your walls. This creates a secondary layer of visual interest that a plain lamp simply cannot provide, effectively turning your lighting fixture into an art installation.

Adding Geometric Patterns with Washi Tape

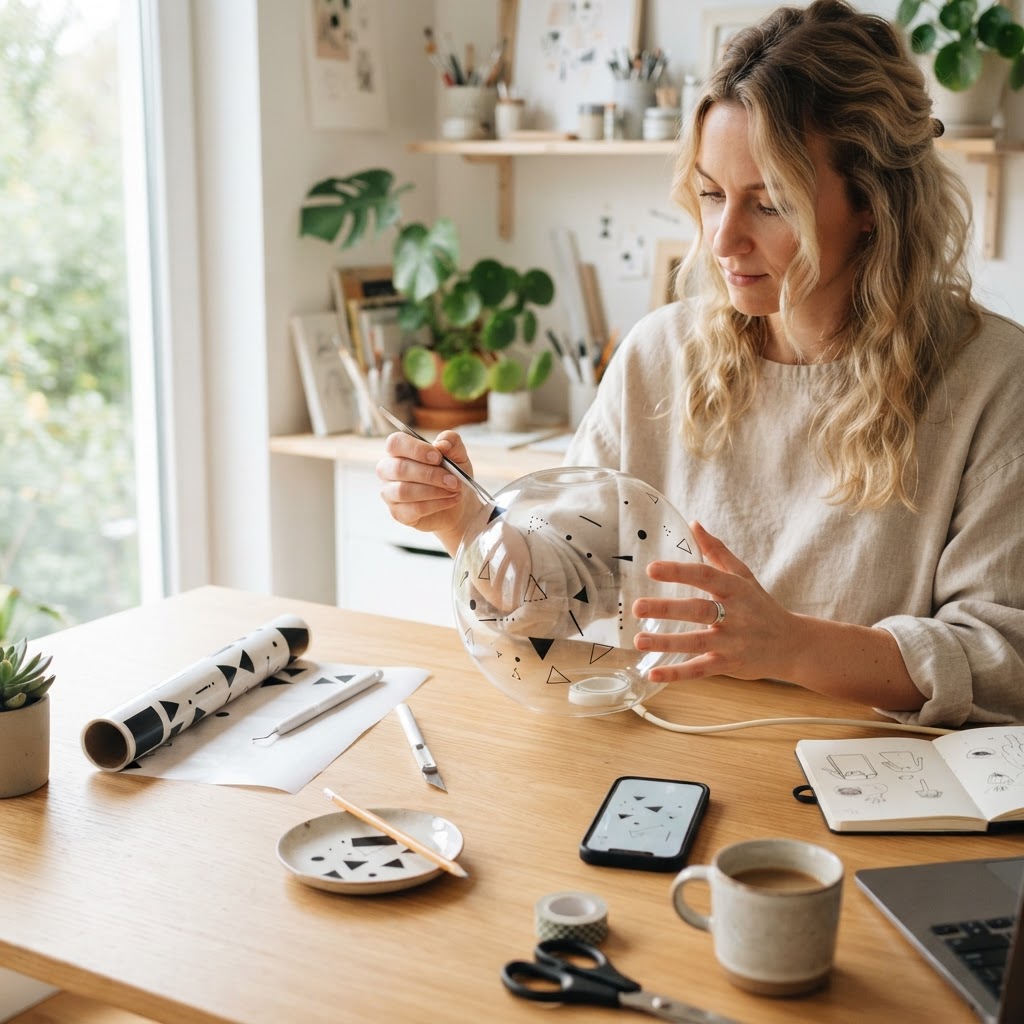
Vinyl decals offer a clean and modern way to customize your lamp.

If you prefer a clean, graphic look, washi tape is your best friend. It is inexpensive, comes in thousands of patterns, and is fully removable if you decide to change up your decor later on. This is perhaps the easiest of all IKEA FADO lamp hacks for those who want a quick update.

Step-by-Step Tape Application

  1. Thoroughly clean the glass surface with alcohol to remove any fingerprints or dust.
  2. Cut strips of washi tape into various lengths or geometric shapes like triangles and diamonds.
  3. Apply the tape directly to the globe, pressing down firmly to ensure no air bubbles are trapped.
  4. If you want a more permanent look, you can seal the tape with a light spray of matte clear acrylic sealer.

This method allows you to experiment with ‘color blocking’ or ‘constellation’ themes without any long-term commitment. It is a fantastic way to involve children in a craft project, as it is mess-free and safe.

The ‘Cloud’ Look with Textured Sprays

For those who love the look of expensive, organic-shaped paper lamps, textured spray paint is a secret weapon. By using a ‘stone’ or ‘granite’ finish spray paint, you can disguise the smooth glass and give your lamp an earthy, monolithic appearance that looks like it came from a high-end design gallery.

When applying textured spray, ensure you are in a well-ventilated area. Hold the can about 12 inches away from the lamp and use light, overlapping strokes. Do not try to get full coverage in one coat; instead, layer the texture gradually until you reach the desired ‘cloudy’ or ‘stone’ effect.

Applying Gold Leaf for Subtle Glamour

If your home decor leans toward the luxurious, adding metallic accents to your FADO is an excellent strategy. Gold or copper leaf provides a refined touch that turns the simple globe into a sophisticated statement piece, perfect for a bedside table or a reading nook.

The Gilding Process

Start by applying a very thin layer of adhesive ‘size’ to specific areas of the globe. Once the size becomes tacky, carefully apply the gold leaf sheets using a soft brush. Don’t worry about perfect coverage; sometimes, an imperfect, distressed finish looks more expensive and intentional.

Once the leaf is applied, you can burnish it gently with a dry brush to remove the excess. The result is a lamp that glitters softly even when the light is turned off, and glows with a warm, metallic hue once switched on.

Creating a ‘Space Age’ Look with Vinyl Decals

Vinyl decals are perfect for those who want a sharp, professional finish. You can use a cutting machine to create custom vinyl stickers, such as planetary rings, minimalist faces, or abstract line art, and apply them to the lamp.

This is one of the most effective IKEA FADO lamp hacks for creating a ‘designer’ aesthetic. Because vinyl is durable and heat-resistant, it holds up beautifully against the lamp’s surface, allowing for intricate designs that would be impossible to paint by hand.

Final Tips for Success

Before you embark on your DIY journey, consider the following checklist to ensure your project goes smoothly:

  • Always use LED bulbs: They emit significantly less heat, making them much safer for lamps that have been modified with adhesives or paper materials.
  • Clean the base: Don’t forget that the base of the FADO is also customizable! A quick spray paint in matte black or brushed nickel can make the entire lamp look brand new.
  • Mind the cord: If the white plastic cord clashes with your design, consider wrapping it in yarn or using a fabric cord cover to blend it into your wall.
  • Test your adhesive: Always try your glue on a small, hidden spot on the underside of the lamp to ensure it doesn’t cloud or melt the surface material.

Conclusion

The IKEA FADO lamp is more than just a budget lighting solution; it is a platform for your creativity. By utilizing these simple IKEA FADO lamp hacks, you can breathe new life into an ordinary object and curate a home that feels uniquely yours. From the tactile warmth of a rattan wrap to the modern edge of vinyl decals, the possibilities are limited only by your imagination.

Don’t let your lighting be an afterthought. Pick a project from this list, gather your materials, and start crafting today. Once you see how a simple DIY can transform the mood of your living room or bedroom, you will never look at a standard store-bought lamp the same way again. Happy crafting!