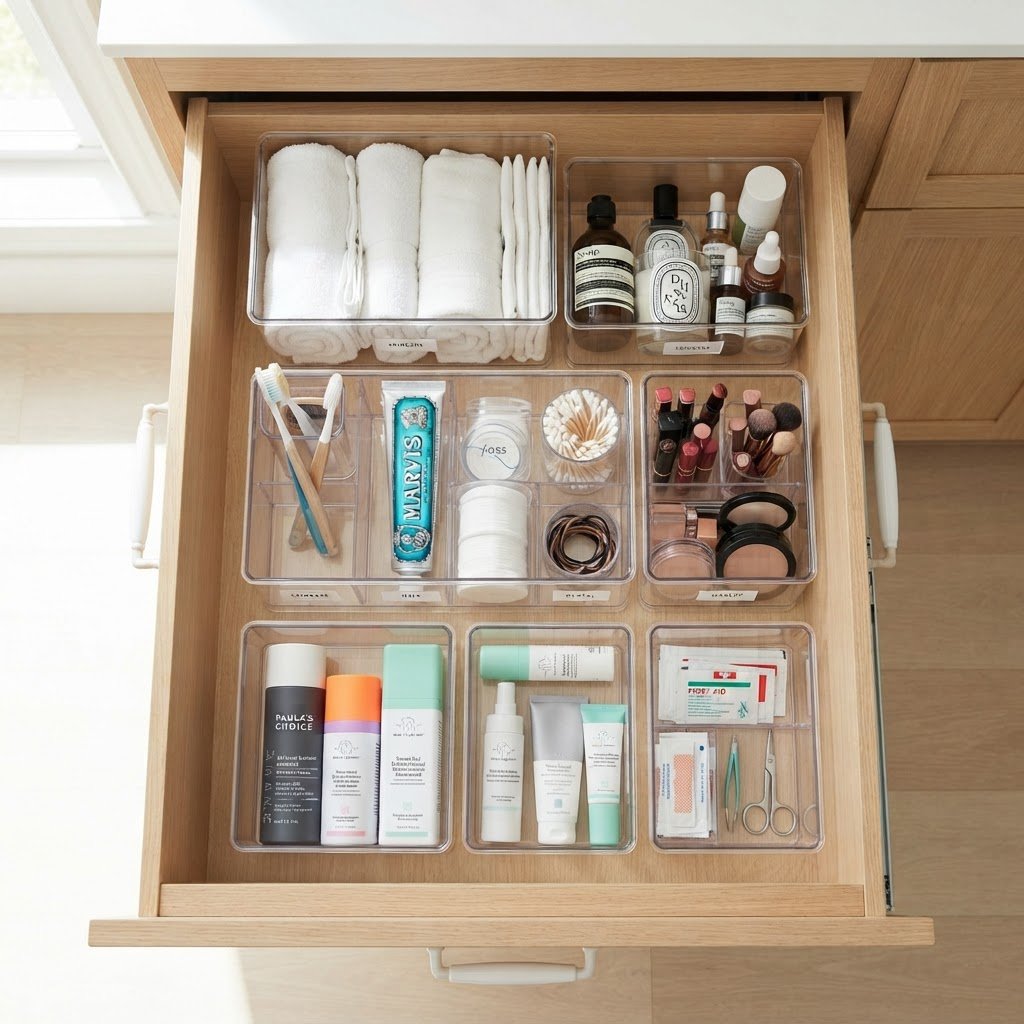
Transforming a cramped under-sink area into an efficient storage hub requires utilizing vertical space with stackable acrylic bins, installing sliding pull-out organizers, and leveraging cabinet doors for hanging storage. By applying these strategic organization methods, you can reclaim lost square footage and maintain a clutter-free, accessible bathroom vanity regardless of cabinet size.
The Psychology of Bathroom Clutter
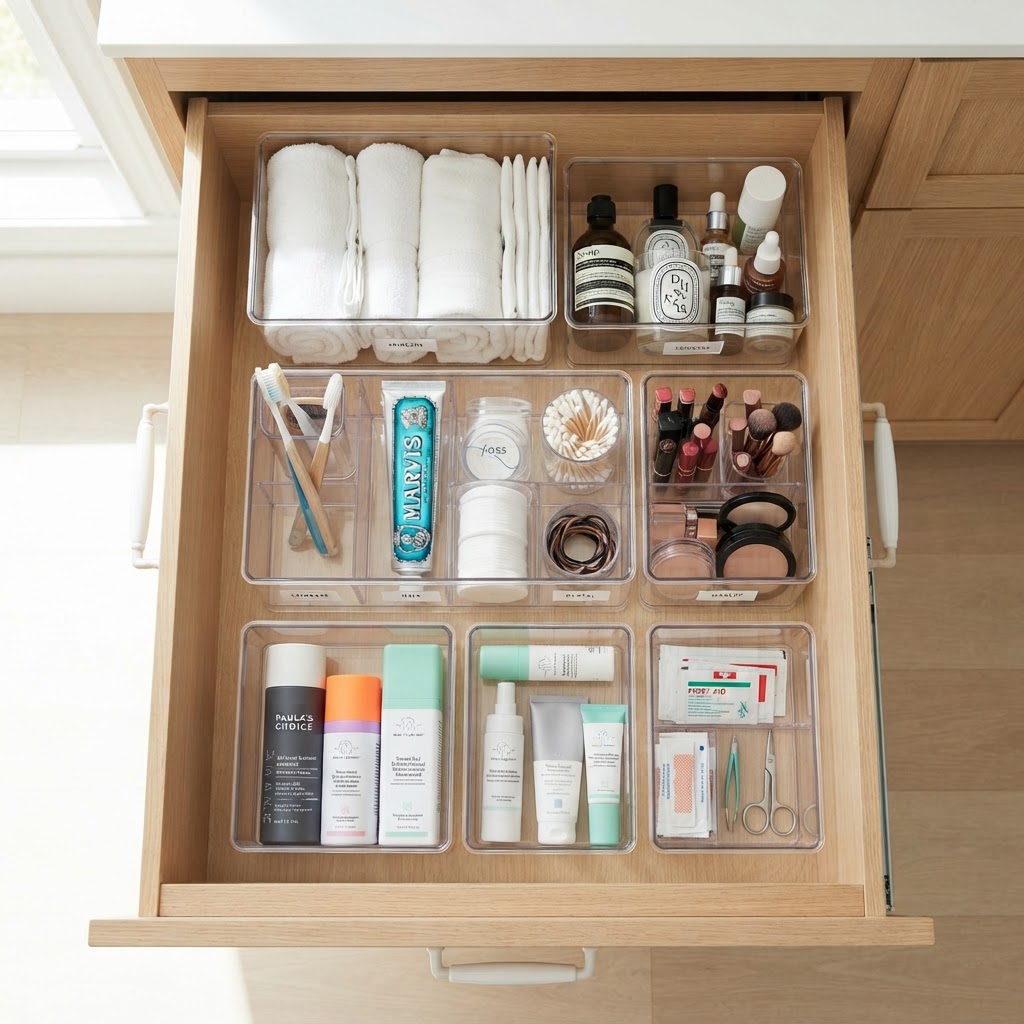
Clutter in a small bathroom acts as a visual stressor, significantly increasing your daily mental load and creating a chaotic environment. When items are shoved into a cabinet without a defined system, you inevitably purchase duplicates, often spending an average of 15-20% more on vanity supplies than necessary. The psychological benefit of an organized under-sink space is profound, moving your routine from a frantic search to a streamlined experience. Reclaiming your vanity requires a shift in perspective, moving from a “stuff it in” mentality to a “design it out” strategy. By treating the space under your sink as a curated, intentional storage unit rather than a junk drawer, you create a sense of calm that ripples through your entire living space. Using organizational systems reduces decision fatigue, ensuring you start your day with efficiency rather than disorder. When everything has a “home,” you save approximately 5 minutes of search time every single morning. This transformation applies the same principles used to <a href=”https://smallapartmentdecorating.com/small-bathroom-smart-storage/”>make a small bathroom feel bigger</a>, proving that order and aesthetics are directly linked to your overall home satisfaction. Maintaining this order keeps the space functional and ensures that your bathroom remains a true sanctuary for self-care.
Utilizing Vertical Space with Stackable Bins
Maximizing the full height of your vanity cabinet is the single most effective way to triple your available storage surface area. Most bathroom cabinets leave 12 to 18 inches of empty air beneath the sink basin, which serves as a magnet for loose, misplaced items. By integrating stackable, clear acrylic bins, you reclaim this vertical gap, transforming “dead air” into organized shelving. These bins should be selected based on your specific cabinet height; standard acrylic containers typically range from 4 to 10 inches in height, allowing for custom stacking configurations. Transparent containers are crucial because they maintain visual inventory control, ensuring you see exactly how much toothpaste or soap you have remaining. This visual cue acts as a natural deterrent against over-buying, which is a key tenet of efficient small apartment storage. By grouping items by frequency of use—placing daily essentials in top-tier bins and overflow supplies at the base—you create a logical workflow. Using clear plastic also allows light to pass through the cabinet, making the space feel less claustrophobic and dark. For optimal results, measure the interior width and depth of your cabinet before purchasing, as 80% of organization failures result from bins that are either too tall for the P-trap or too wide to allow door closure.
Storage Material Comparison
Rolling Carts for Deep Vanities
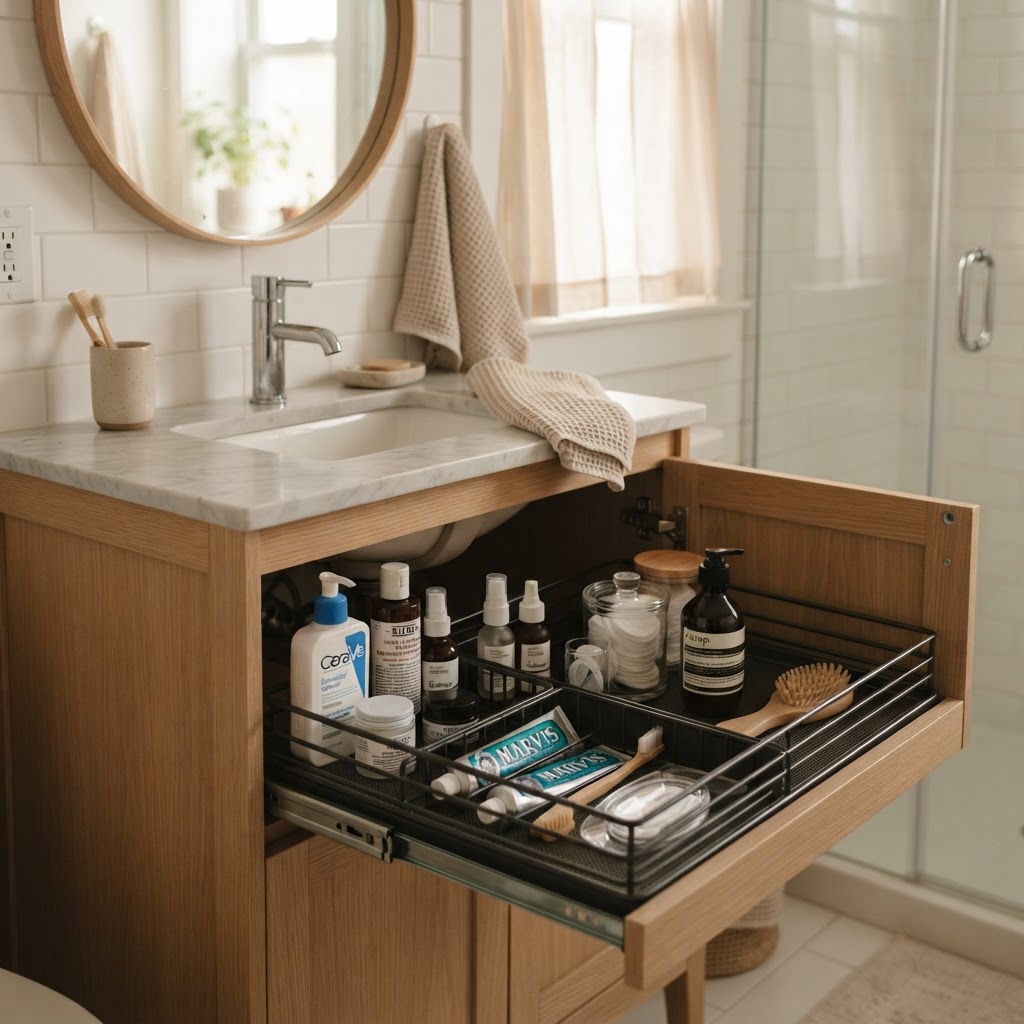
Deep vanities often become “product graveyards” where items tucked into the far corners remain untouched for years. A sliding or rolling pull-out organizer effectively brings the back of the cabinet to your fingertips, eliminating the need to crouch and rummage. These metal or plastic tracks allow the entire unit to glide out into the light, providing instant accessibility to hair dryers, cleaning sprays, and bulky bulk-buy bottles. Most commercial under-sink sliders are adjustable, fitting cabinets ranging from 12 to 24 inches deep. To maximize this, assign one drawer exclusively to cleaning agents and another to hair styling tools. By ensuring that your most frequently used items are on top-sliding tracks, you decrease the physical effort required for your daily routine. Additionally, these organizers prevent bottles from tipping over, which is a common source of leaks and spills in small bathrooms. Investing in a quality dual-tier pull-out organizer typically costs between $30 and $60, but it pays for itself by preventing the loss of expired products hidden in the dark. Always measure the clearance around your P-trap and supply lines, as 50% of deep cabinet organizers require a specific offset to clear plumbing. Utilizing these sliding solutions turns a deep, unreachable void into a functional inventory system that keeps your supplies neatly organized and always visible.
Maximizing the Cabinet Doors
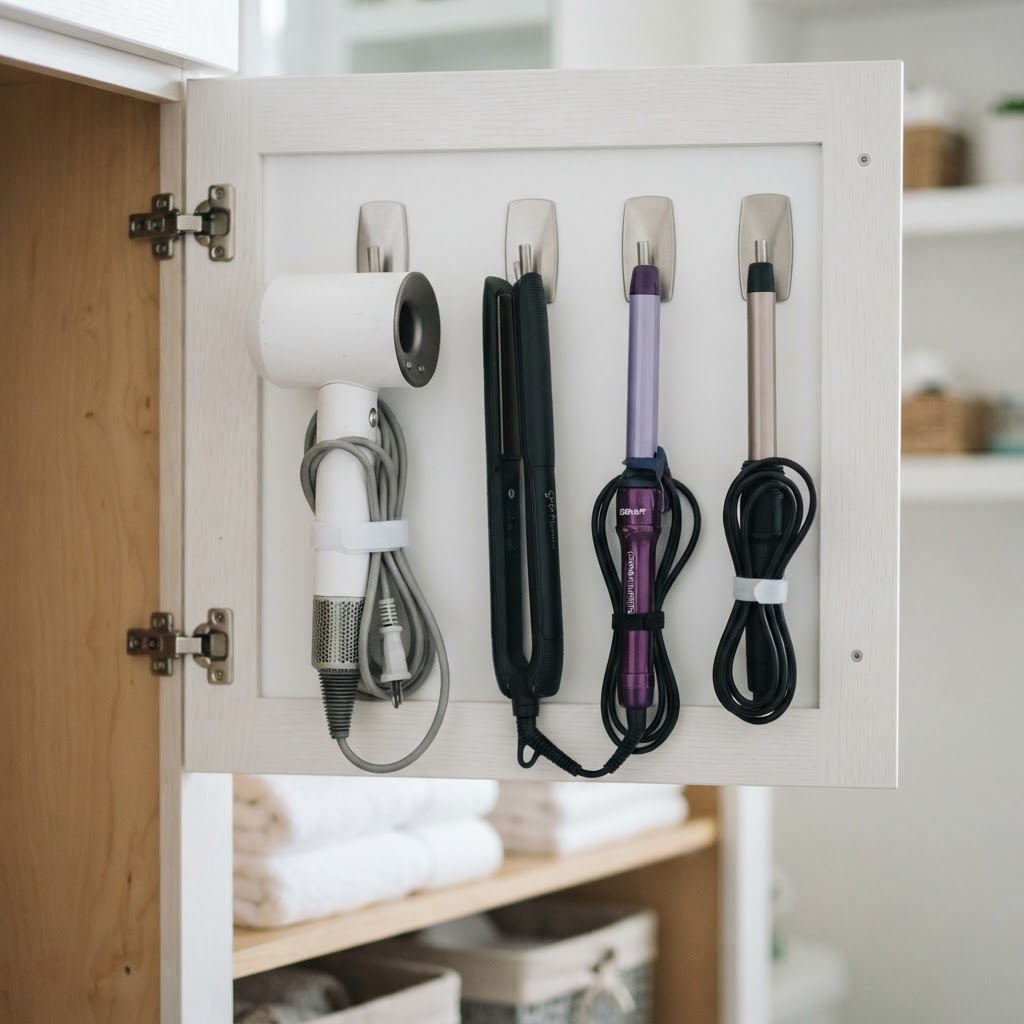
The interior of your cabinet doors represents prime real estate that is almost universally ignored in bathroom design. By installing adhesive hooks, magnetic strips, or over-the-door pockets, you can store frequently grabbed items without sacrificing precious shelf space. This area is the perfect home for hot styling tools like straighteners or curling irons, which can be stored in heat-resistant, door-mounted holsters to keep them safely away from water and cluttering your countertop. Magnetic strips are particularly effective for small metal items like tweezers, nail clippers, or bobby pins, preventing them from disappearing into the depths of a drawer. For larger items, use adhesive-backed bins or mesh pockets that can accommodate items up to 2 pounds securely. Installing these features takes less than 10 minutes and requires only basic adhesive strips, meaning no tools or damage to your cabinets. This strategy is essential for tiny bathrooms because it effectively turns 100% of your cabinet interior into storage space. By moving items off the base of the cabinet and onto the doors, you open up the floor space for larger containers. If you are renting, look for damage-free, heavy-duty Command hooks that hold up well in humid bathroom environments without failing. Ultimately, the doors function as your “quick access” zone for high-frequency tools and grooming accessories, leaving your main shelves free for long-term supply storage.
Managing Plumbing Obstructions
Under-sink areas are rarely simple, empty boxes; they are usually filled with bulky P-traps, water lines, and supply valves. Instead of fighting these obstructions, work around them with flexible shelving solutions designed to accommodate irregular plumbing. Look for adjustable shelves that feature split-panel designs, which allow you to move specific shelf segments to avoid hitting those pesky pipes. Customizing your fit does not require a carpenter; modular tension-rod shelving can be adjusted to fit almost any width between 15 and 30 inches. By utilizing tension rods, you can also create a clever hanging rail for spray bottles, allowing them to hang mid-air and leaving the floor of the cabinet free for larger storage bins or bulk items. Another effective strategy is to use small, stackable units that sit on either side of the drain pipe, effectively using the “lost” space beneath the sink basin. Avoid trying to force oversized containers into tight spaces, as this can press against pipes and cause long-term vibration damage. Instead, use several smaller, modular organizers that can be arranged in a puzzle-like configuration around the central plumbing. This flexible approach maximizes your storage volume by roughly 30-40% compared to using a single, large stationary shelf. By embracing the unique geometry of your plumbing, you create a tailored system that maximizes every square inch while keeping your essential pipes and valves safely accessible for maintenance. When you work with the layout rather than against it, you ensure the long-term integrity of your vanity while maintaining a high level of organizational efficiency.
Categorizing Your Supplies
Effective bathroom organization relies on strict, logical grouping of similar items to eliminate the frustration of hunting for products. If you store your makeup, cleaning supplies, and hair care items in one jumbled pile, you are creating a recipe for daily stress. Dedicate specific zones within your under-sink space for different tasks. One zone should be for daily hygiene, one for hair care, and a third for cleaning products. By assigning “homes” to specific categories, you reduce the time required for cleaning and restocking by up to 50%. This method allows you to pull out one singular “cleaning caddy” when you need to wipe down the shower, rather than searching through your vanity. Use label makers or simple tag systems to ensure every family member knows where items belong. This categorization is especially helpful in small shared bathrooms where multiple people may be accessing the same cabinet. According to professional organizers, keeping items within their dedicated categories prevents over-buying because you can clearly see the status of each zone at a glance. Even in a tiny 20-inch wide vanity, you can achieve this by using narrow divider bins that act as physical borders for your supplies. Keeping these zones maintained prevents “inventory creep,” where one category begins to overflow into another. When your items are strictly categorized, you gain a sense of control over your environment, transforming the vanity from a chaotic space into a highly efficient part of your daily routine.
Creating a Spa-Like Experience
Even in a tiny bathroom, you can inject a bit of luxury by focusing on visual cohesion and intention. Use matching baskets or woven bins to hide miscellaneous items like extra towels, toilet paper, or bulk soaps. When the storage looks intentional and aesthetically unified, the entire room feels larger and significantly less cluttered. It is the visual equivalent of a breath of fresh air. Choose a consistent color palette—such as neutral creams, whites, or soft textures—to make the small space feel high-end rather than cramped. Avoiding mismatched plastic containers creates a clean, calm aesthetic that mimics the environment of a luxury hotel. Even if the inside of your cabinet isn’t visible to guests, the act of creating a cohesive storage system helps you feel more relaxed in your own home. Using natural materials like seagrass or bamboo for towels, paired with clear acrylic for liquids, creates a pleasing contrast that feels sophisticated. This visual organization also prevents “clutter blindness,” where you stop noticing that a space is messy over time. A spa-like experience is as much about how your things are contained as it is about the products themselves. By upgrading your storage aesthetics, you make the maintenance of your small bathroom feel like a treat rather than a chore. Keep the surfaces around the sink clear, and use your under-sink storage to hide the “work” of the bathroom, leaving only the essentials on display.
Maintaining Your New System
The biggest challenge with any storage strategy is keeping it up, as even the best systems can collapse within 3-6 months without a maintenance plan. Every three months, schedule a fifteen-minute “vanity audit” where you pull everything out, wipe down the cabinet floor with a mild disinfectant, and discard any expired products or empty bottles. This maintenance routine ensures that your under-sink storage remains functional and does not revert to its previous chaotic state. Adopt the “one-in, one-out” rule: every time you bring a new product into your bathroom, one old or finished item must leave. This keeps your inventory lean and prevents your storage solutions from working overtime to hold unnecessary items. On average, people hold onto 30% more beauty products than they actually use, many of which are past their expiration date. An audit is the perfect time to check expiration dates on skincare products, which typically last 6 to 12 months. By keeping your inventory current, you free up space for items you truly love. If you find yourself consistently over-buying, keep a small inventory list on the inside of the cabinet door to track what you already have. This simple habit prevents the double-purchasing that leads to cabinet overflow. Maintaining the system is not about perfection; it is about consistency. By treating your vanity like a professional inventory, you ensure your space stays functional for years.
Addressing the Pedestal Sink Challenge
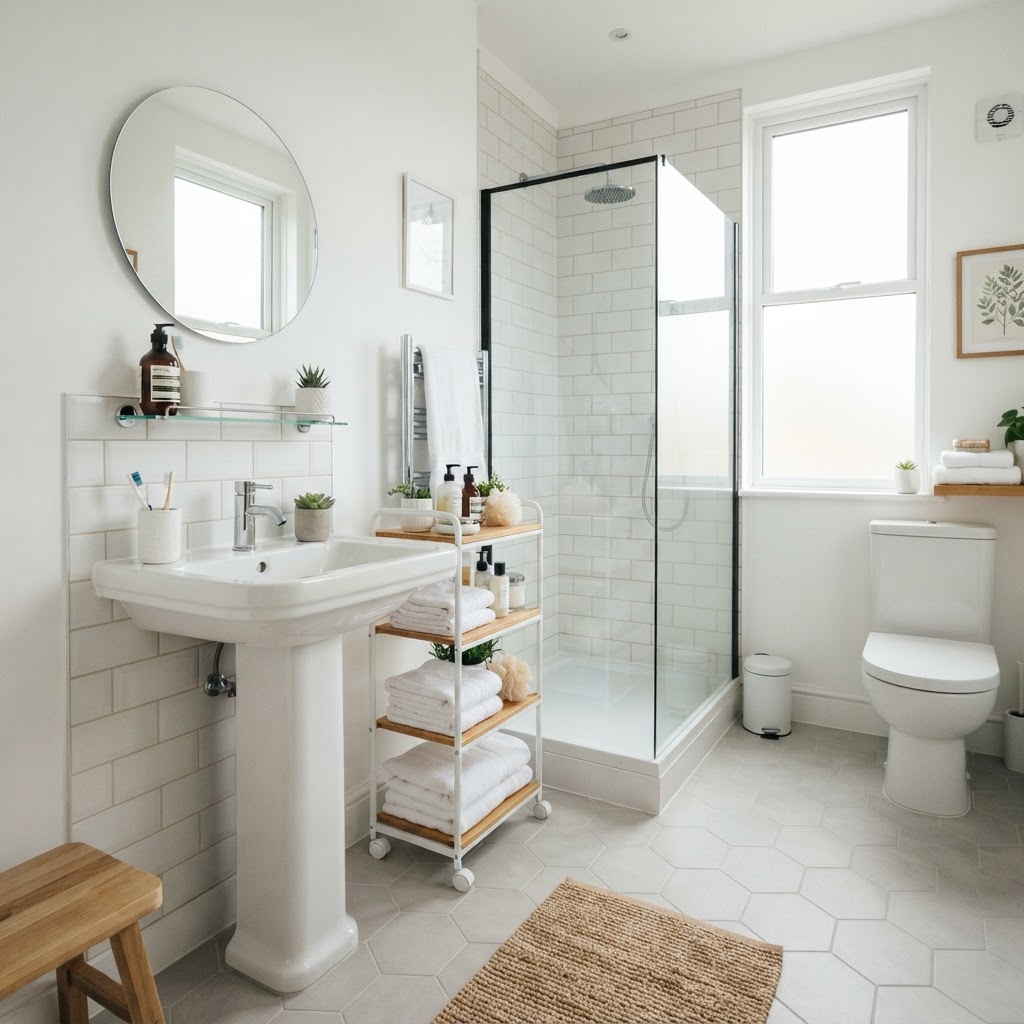
If you have a pedestal sink without a cabinet, you are likely feeling the pain of zero hidden storage, but this does not mean you are without options. Utilize a small, narrow rolling cart that fits right next to the pedestal, providing 3-4 levels of storage that can be tucked away when not in use. Alternatively, consider a “pedestal vanity” sleeve that wraps around the base, offering a small shelf or bin without obstructing the plumbing lines. Another creative solution is to install a “sink skirt” using tension rods and fabric, which hides small crates or baskets placed directly on the floor beneath the basin. This can effectively provide 2-3 square feet of hidden storage that was previously unavailable. For a more modern look, look for wall-mounted “over-the-sink” organizers or slim floating shelves that can be positioned on the wall adjacent to the sink. By utilizing these perimeter solutions, you can store everything from hand towels to toiletries without needing a cabinet at all. The key to pedestal sink organization is to verticalize your storage in the surrounding wall space. Many people successfully use magnetic wall mounts for metal grooming tools, which clears off the sink rim entirely. Despite the lack of built-in space, a pedestal sink area can be just as efficient as a large vanity if you utilize the floor, the walls, and specialized slim furniture to maximize your storage capacity.
Choosing the Right Materials
When selecting bins and organizers, prioritize materials that are easy to clean and resistant to the high-humidity environment of a bathroom. Bathrooms are damp by nature, and spills are inevitable; therefore, acrylic, plastic, and stainless steel are superior to wood or fabric, which can trap moisture and harbor mold in the damp under-sink environment. Acrylic is the gold standard for visibility, while high-density polyethylene (HDPE) plastic is ideal for heavier items because it is resistant to cracking and easy to wipe down. If you prefer the look of woven materials, choose synthetic “resin wicker” instead of real grass or rattan, as it mimics the aesthetic but is completely waterproof. Stainless steel or powder-coated metal organizers are excellent for durability, especially for holding heavy liquid soaps or cleaning sprays that could stress plastic shelves. Avoid corrugated cardboard or untreated fiberboard, as these will warp within weeks due to the moisture typical of under-sink plumbing areas. By selecting the right materials, you ensure your storage system survives for years without requiring replacement. Investing in moisture-resistant materials is a one-time cost that prevents the need for constant updates and repairs.
Comparison Table: Organizer Materials
FAQ
Q: What is the most efficient way to organize under a sink with pipes?
Use adjustable, split-panel shelf organizers that allow you to customize the layout around your specific P-trap and supply lines. These modular systems permit you to maximize storage volume by working around the plumbing instead of being blocked by it.
Q: How can I prevent clutter from returning to my vanity?
Implement a quarterly “vanity audit” to clear out expired products and adhere to the “one-in, one-out” rule. Taking 15 minutes every three months to discard empties ensures your storage system remains functional and lean.
Q: Which materials are best for bathroom storage containers?
Choose moisture-resistant materials like acrylic, plastic, or powder-coated metal to avoid mold and warping. Avoid wood or natural fiber materials, which absorb humidity and are difficult to sanitize in a damp bathroom environment.
Q: How do I store items if I have a pedestal sink?
Utilize vertical space by installing slim floating shelves on the walls or by adding a narrow rolling cart that slides beside the sink base. You can also use a custom-made sink skirt or a pedestal vanity sleeve to create hidden storage for baskets.
Q: What should I do with hot styling tools?
Install heat-resistant, door-mounted holsters on the inside of your cabinet doors to store tools safely and save counter space. This keeps your straighteners and curling irons accessible while ensuring they are properly ventilated after use.

Leave a Reply