Archives 2026

20 Cozy Home Bedroom Refresh Ideas: Minimalist Style on a Budget

Creating a sanctuary that feels both tranquil and stylish doesn’t require a massive bank account. If you are looking for cozy home bedroom refresh ideas that emphasize minimalist style on a real budget, you are in the right place. Minimalist design is not about having nothing; it is about having exactly what you need to create a sense of calm and clarity. By focusing on intentional choices and simple aesthetic shifts, you can turn a cluttered space into a peaceful retreat.

The Philosophy of Minimalist Design
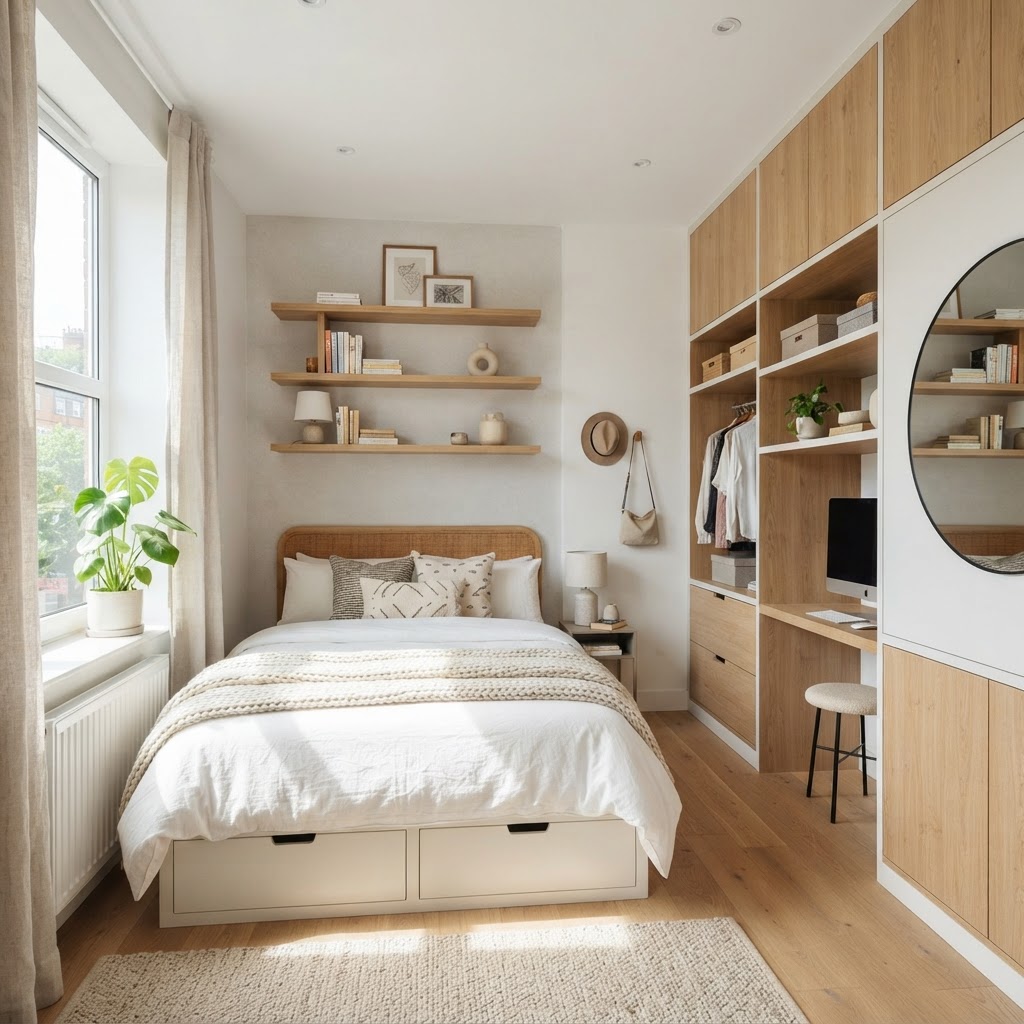
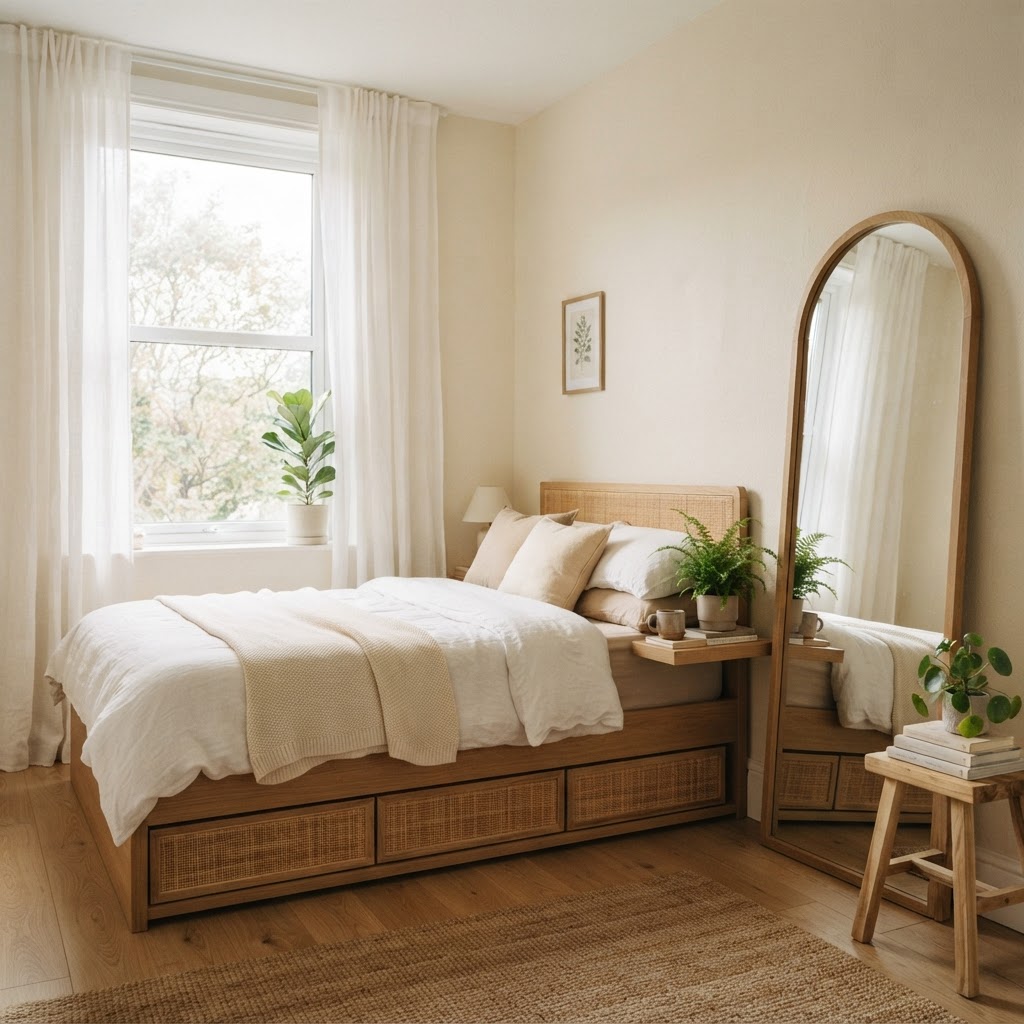
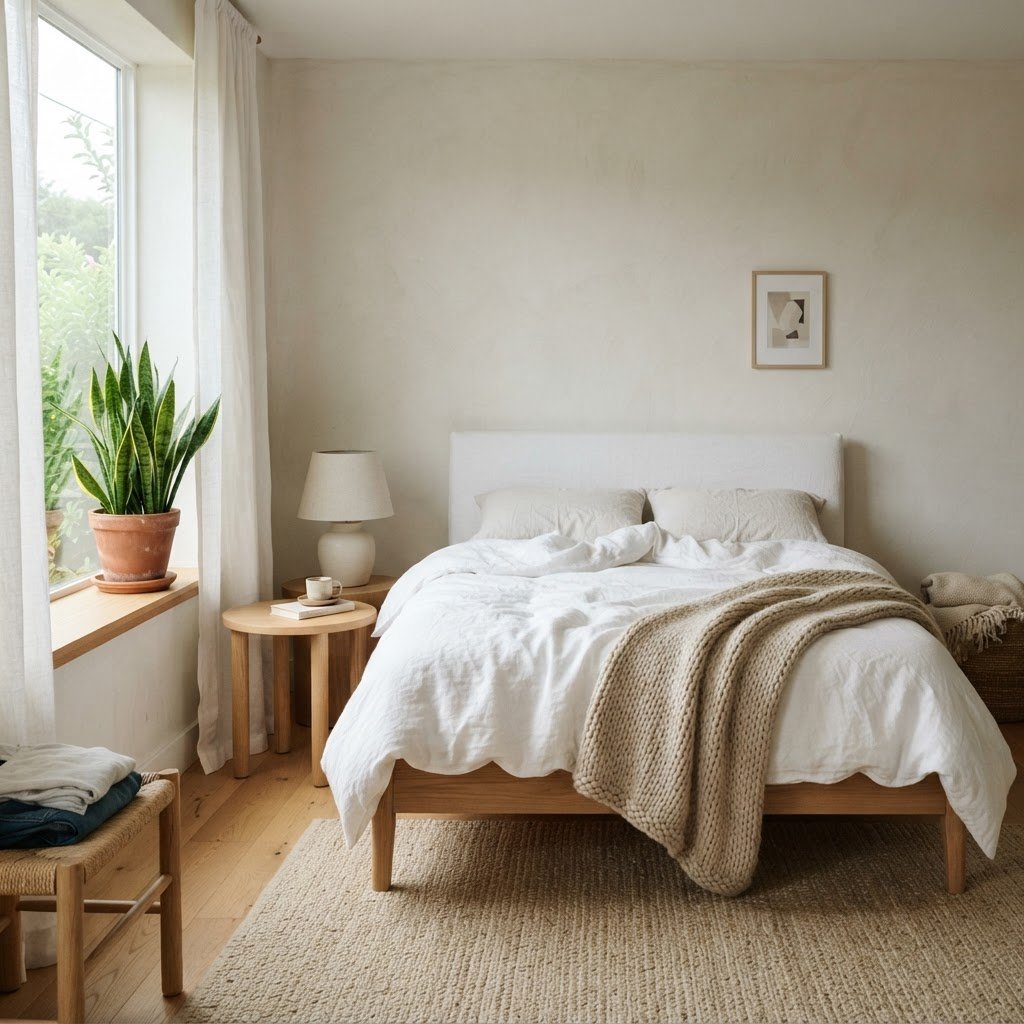
Minimalist bedrooms thrive on neutral tones and intentional plant placements.

Minimalism is often misunderstood as being cold or stark, but when applied correctly, it can be incredibly cozy and inviting. The core goal is to reduce visual noise, allowing the elements that remain to stand out and feel intentional. In the bedroom, this means prioritizing comfort, light, and texture over excessive ornamentation.

By decluttering your surfaces and selecting a neutral color palette, you establish a foundation of peace. The key to a minimalist bedroom on a budget is working with what you have while strategically adding pieces that serve both a functional and aesthetic purpose. When every item has a “home,” the room naturally feels more spacious and serene.

Decluttering as the First Step
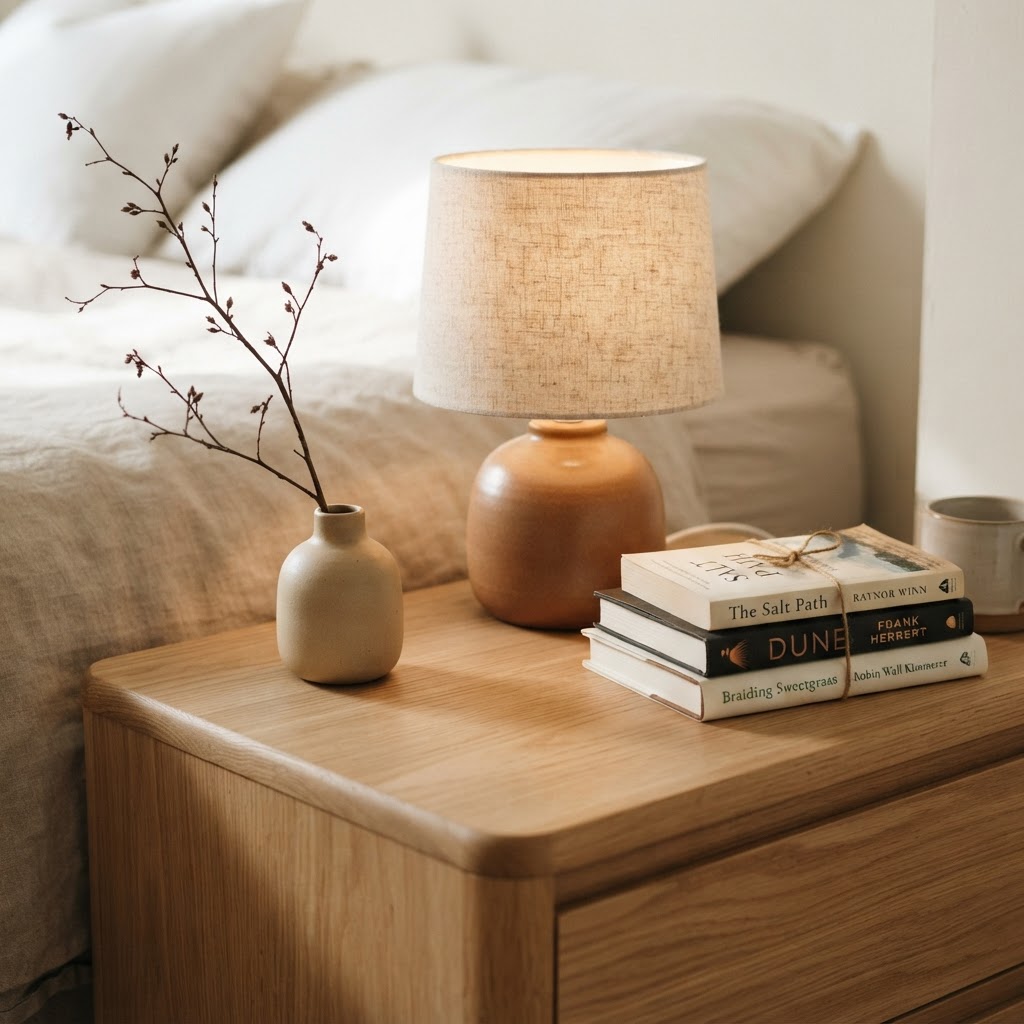
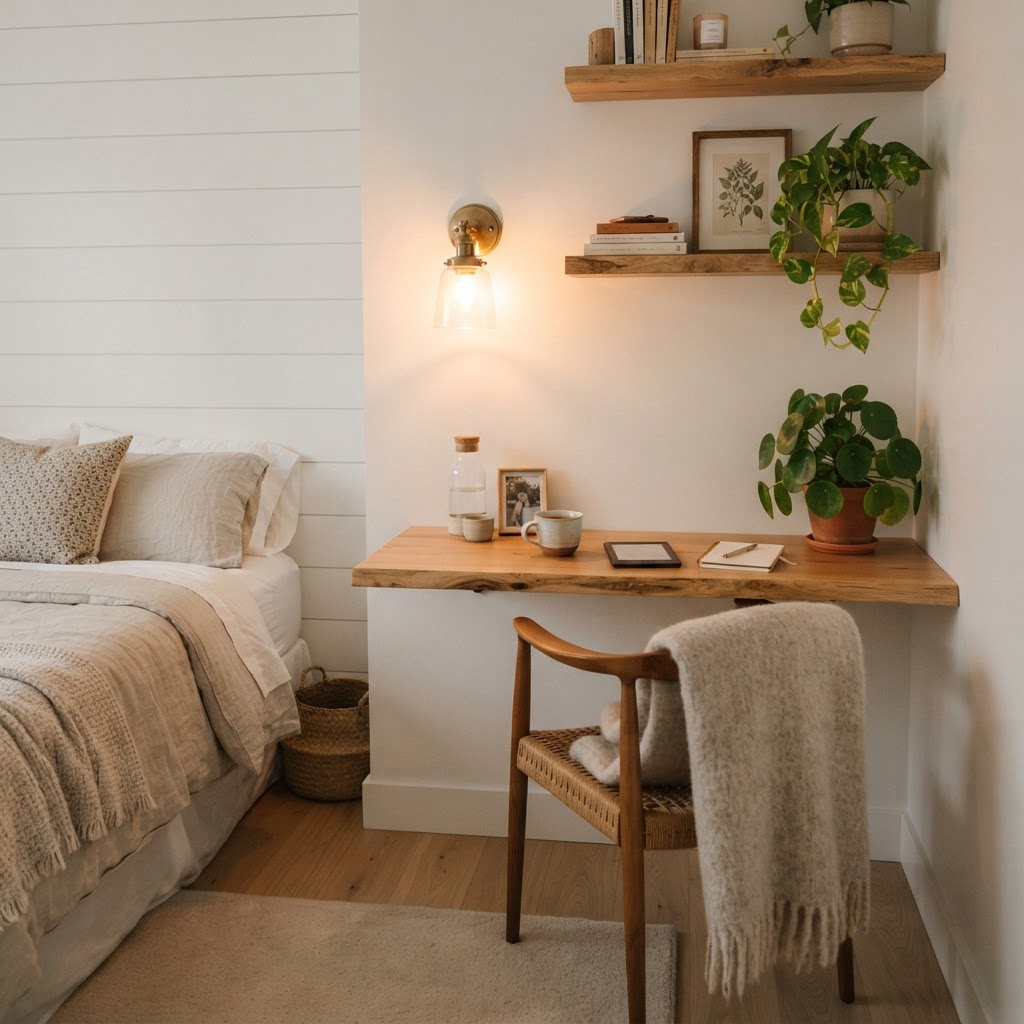
Keep nightstands clear and functional with only essential, aesthetic items.

Before you buy anything new, you must clear the slate. A bedroom refresh should always start with a deep decluttering session to remove items that disrupt your rest. If an item doesn’t serve a purpose or bring you genuine joy, it shouldn’t be in your sanctuary.

Consider the “one-in, one-out” rule moving forward. Clear your nightstands and dresser tops of anything that isn’t essential. This simple act of clearing visual clutter can immediately make a room feel larger, cleaner, and significantly more “minimalist” without costing a single penny.

Softening Your Space with Textiles
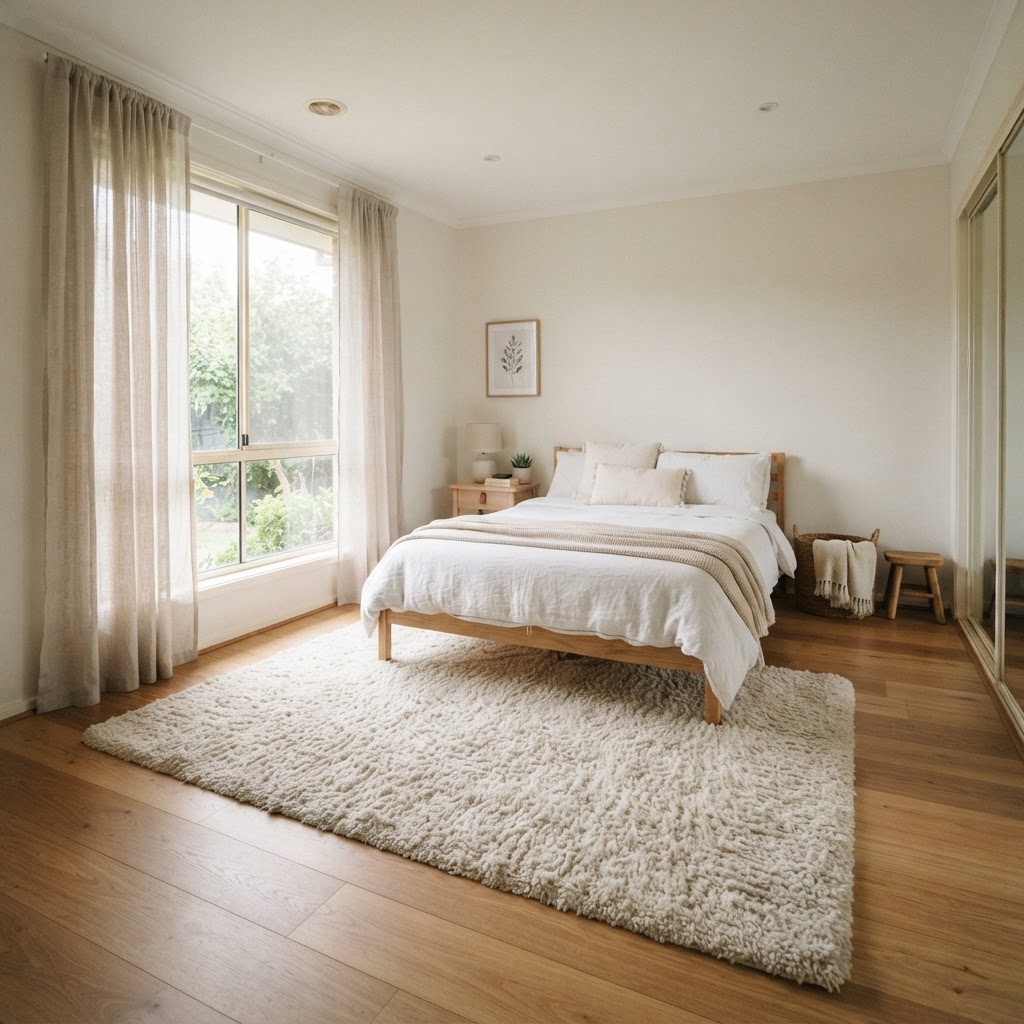
Soft, layered textures and natural light create an inviting, cozy sanctuary.

One of the best cozy home bedroom refresh ideas involves upgrading your textiles. Because a minimalist space has fewer decorative items, your bedding, rugs, and curtains become the focal points. Opt for high-quality, natural materials like cotton or linen in soft, neutral tones to maximize the “cozy” factor.

Layering for Depth and Texture

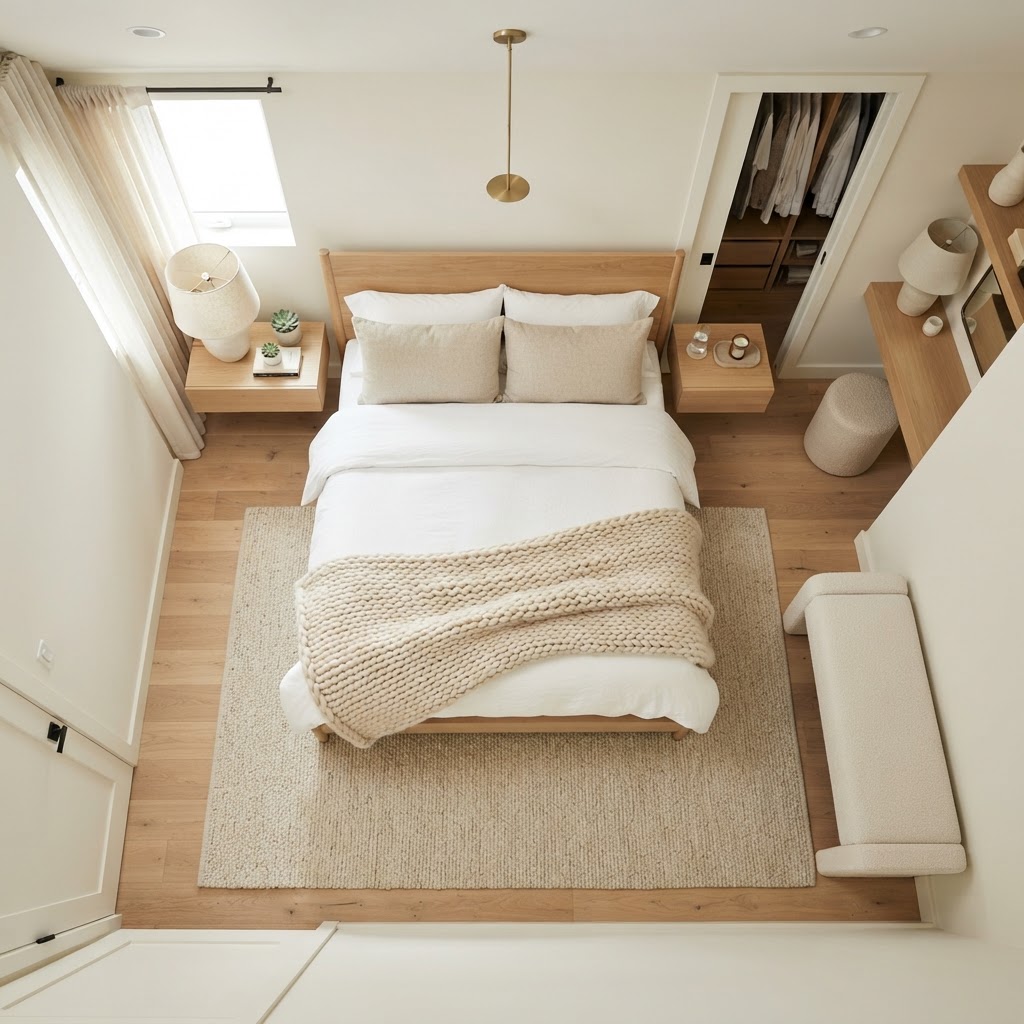
Don’t be afraid to layer different shades of white, cream, or beige to create interest without using bright colors. A chunky knit throw draped over the foot of the bed adds immediate texture and comfort. Consider swapping your heavy, outdated duvet cover for something lightweight and textured.

Investing in a quality, neutral rug can also ground the entire room. A soft, high-pile rug provides warmth underfoot, which is essential for that cozy morning feeling. Keep the pattern minimal or non-existent to stay true to your budget-friendly minimalist style.

Lighting to Set the Mood
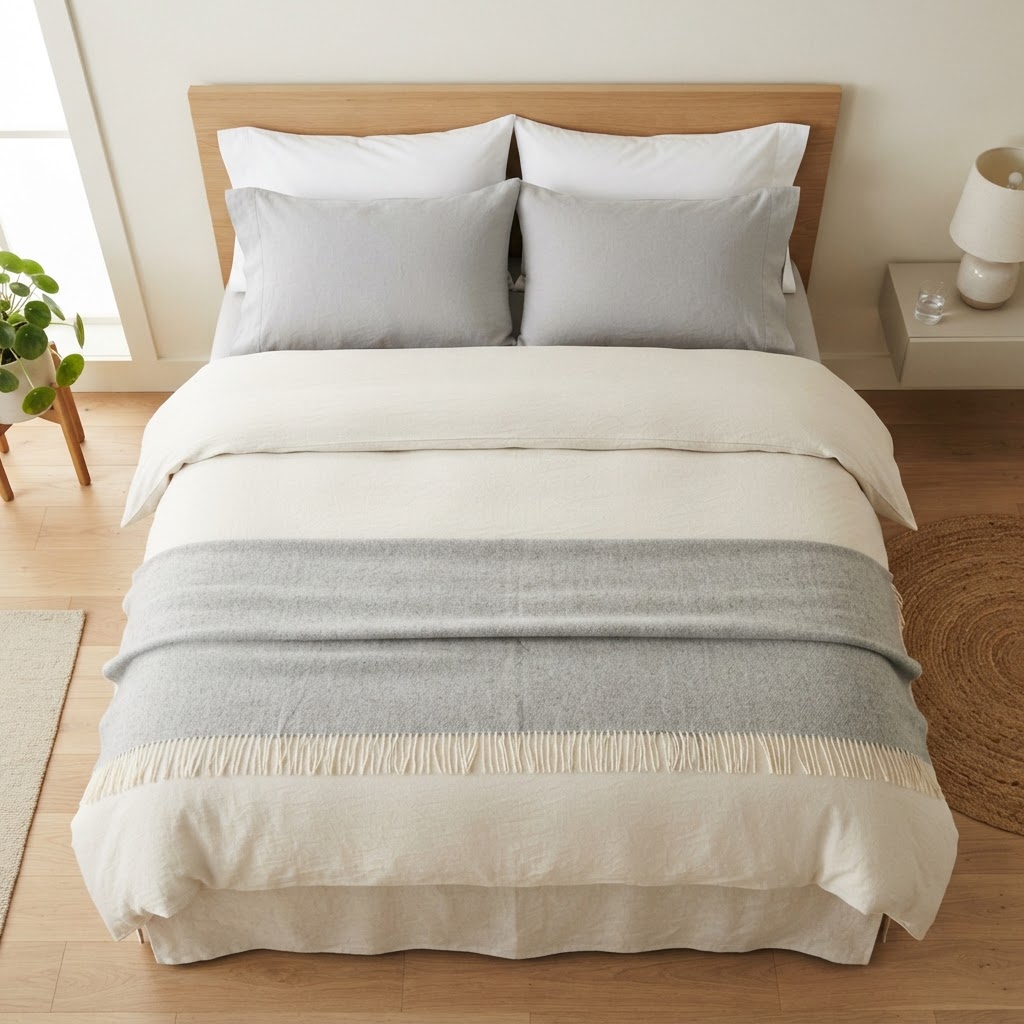
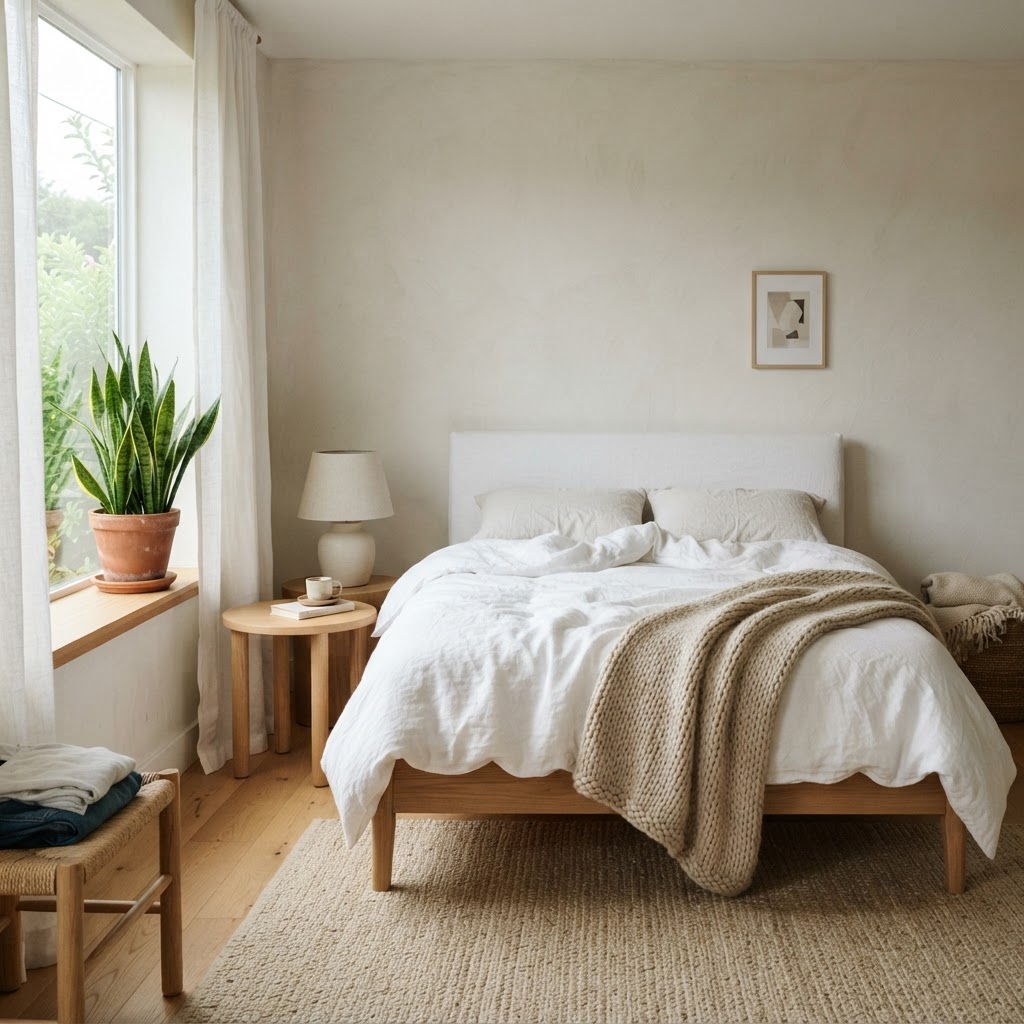
A clean, well-made bed is the centerpiece of a serene minimalist room.

Lighting is perhaps the most underrated aspect of interior design. In a bedroom, you want to avoid harsh overhead lights whenever possible. Instead, focus on creating multiple points of soft, warm light that can be adjusted based on the time of day.

  1. Use warm-toned LED bulbs in all existing lamps.
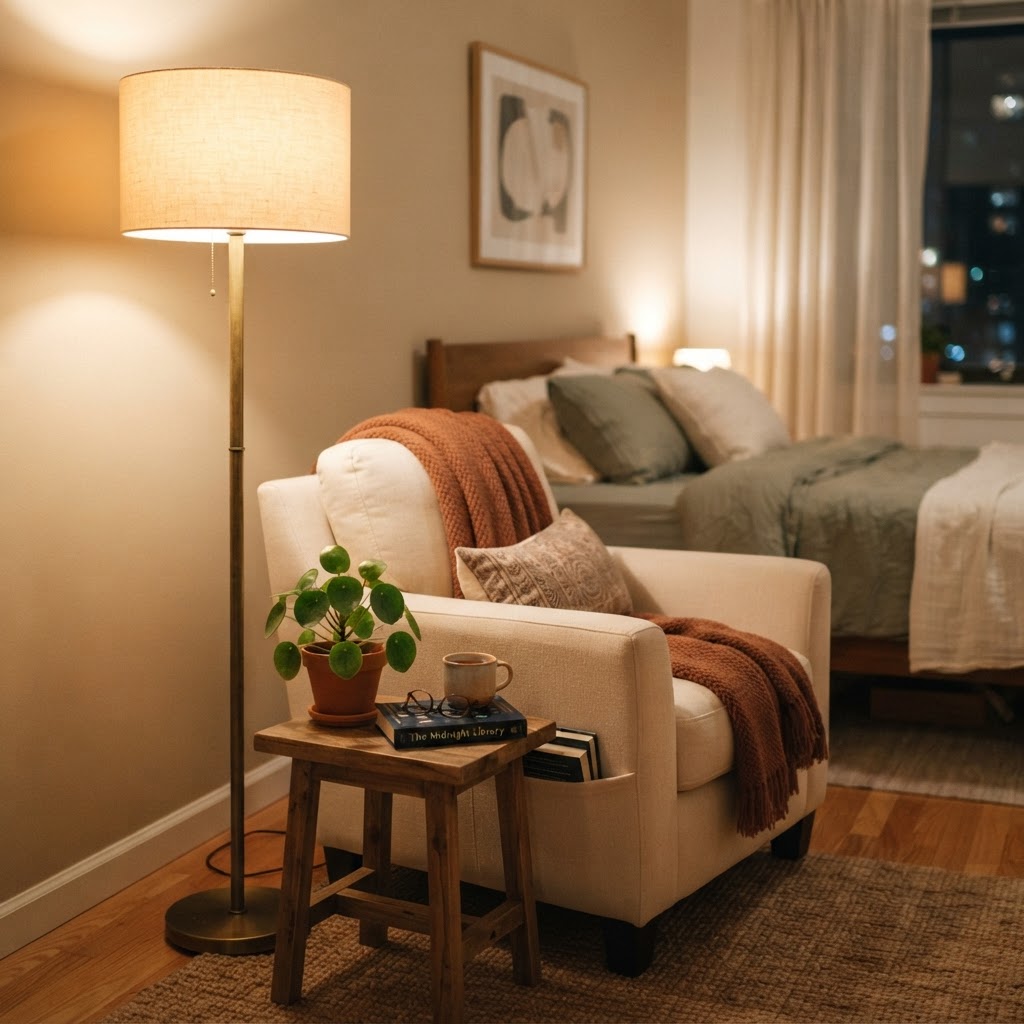
  2. Add a small floor lamp with a linen shade for reading.
  3. Utilize plug-in wall sconces if you have limited nightstand space.
  4. Incorporate fairy lights inside a clear glass jar for a subtle, budget-friendly glow.

Incorporating Nature and Greenery

Minimalist design often draws inspiration from nature, so adding a touch of greenery is a perfect way to refresh your room. Plants not only improve air quality but also bring life and organic shape to a room that might otherwise feel too geometric.

Choose plants that are easy to care for, such as snake plants or pothos, which can thrive in various light conditions. Place a single, large plant in a corner or a smaller succulent on your dresser. The pot itself can serve as a decorative element—think natural terracotta or simple woven baskets.

Strategic Wall Decor Choices

In a minimalist home, walls should not be busy. Avoid cluttering your wall space with too many photos or mismatched art. Instead, choose one large-scale piece that anchors the room, or keep the walls clean and simple for a truly airy feel.

If you want to add art, select prints with simple lines or abstract shapes in a muted color palette. Often, a single, high-quality photograph or a simple DIY canvas painting is more impactful than a dozen small, disjointed frames. Remember, empty space on a wall is a design choice in itself.

The Power of a Uniform Color Palette

Color consistency is the secret sauce for a cohesive look. When searching for cozy home bedroom refresh ideas, focus on a “monochromatic” approach. By choosing a primary color—usually a neutral like white, grey, or soft earth tones—and using different shades and textures of that color, you create a sense of harmony.

This makes the room feel much larger and more relaxing. When everything matches or coordinates, the eye isn’t drawn to “visual noise,” allowing your brain to enter a state of rest more easily. This is a highly effective way to achieve a high-end look without needing expensive furniture.

Furniture Placement and Functional Flow

Sometimes, a room feels cramped not because you have too much furniture, but because it is arranged incorrectly. Try moving your bed to a different wall to see if it opens up the floor plan. In a minimalist bedroom, maximizing empty floor space is key.

Consider if any furniture can be removed entirely. Do you really need that extra chair that just collects clothes, or the bulky dresser that takes up too much space? If you need storage, look for “hidden” options like under-bed storage bins that are tucked out of sight.

Conclusion

Achieving a minimalist bedroom on a budget is entirely about making intentional, thoughtful decisions. By focusing on decluttering, layering soft textiles, prioritizing warm lighting, and maintaining a cohesive color palette, you can transform your sleeping space into a true sanctuary. Remember, the goal is not perfection, but rather a space that supports your rest and happiness. Start with one of these 20 cozy home bedroom refresh ideas today and watch your room transform. Which change are you going to implement first? Share your progress or ask questions in the comments below!
Projector Living Room Ideas for Small Apartments

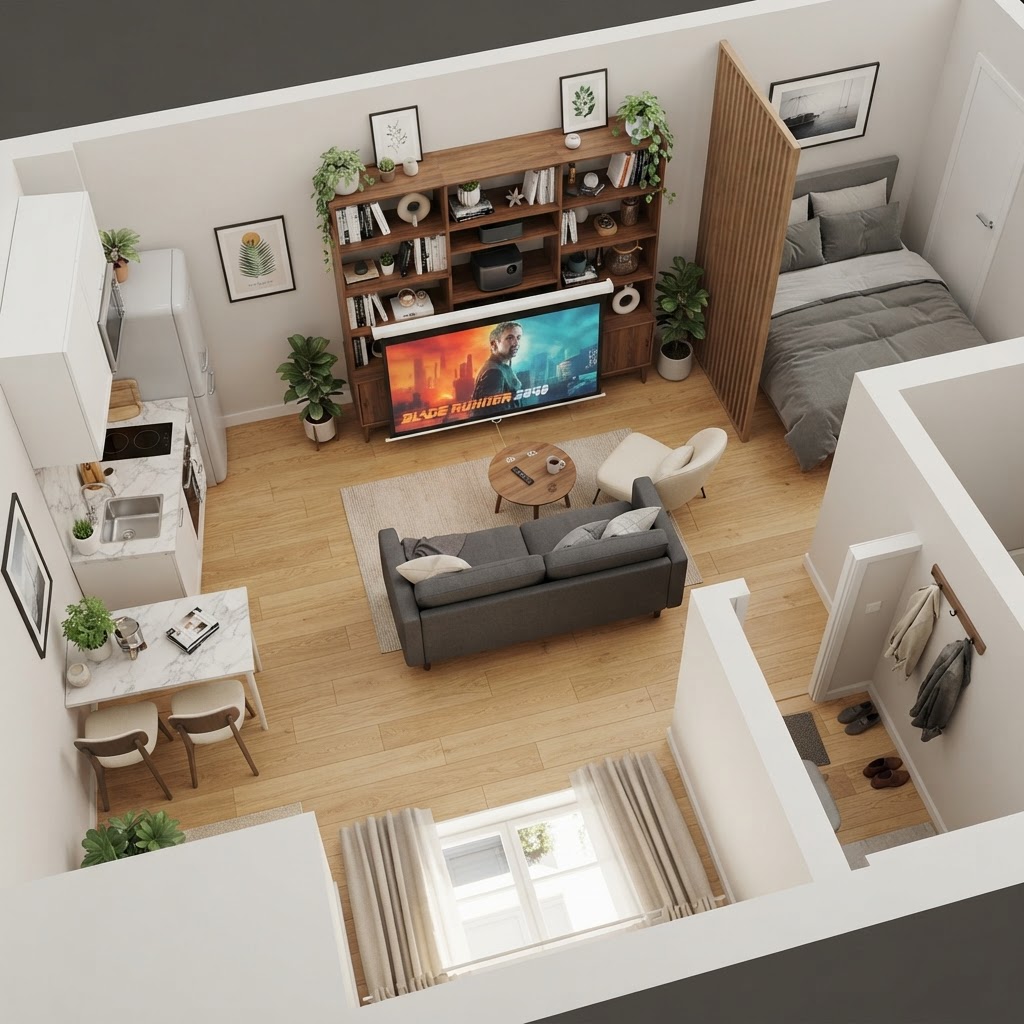
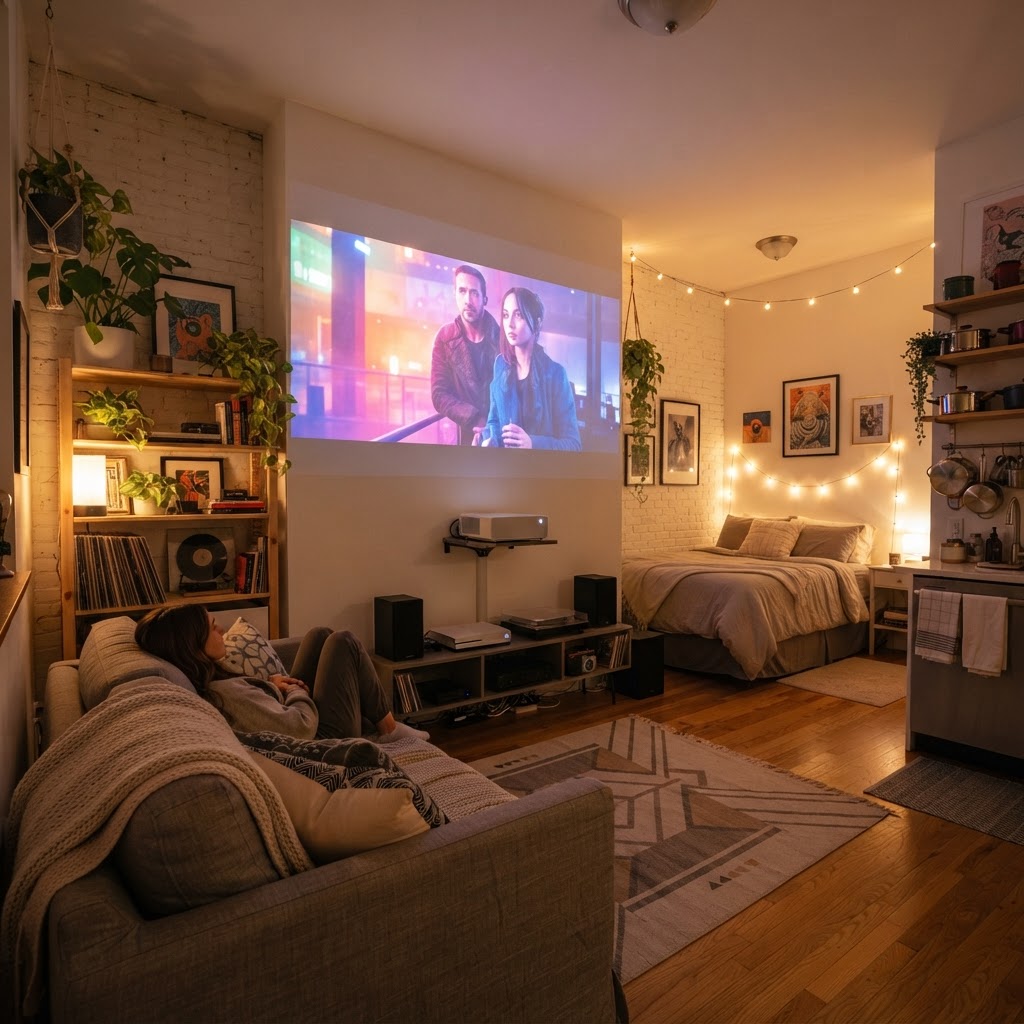
Living in a small apartment often means making compromises, but your entertainment setup doesn’t have to be one of them. While massive flat-screen televisions can dominate a tiny wall and make a room feel claustrophobic, projector living room ideas offer a flexible, low-profile alternative that transforms any blank surface into a cinematic escape. Whether you are dealing with a studio apartment or a cramped living area, a projector setup provides the ultimate big-screen experience without the permanent footprint of traditional bulky electronics. This guide will show you how to master the art of the small apartment home theater.

The Benefits of Choosing a Projector Over a TV

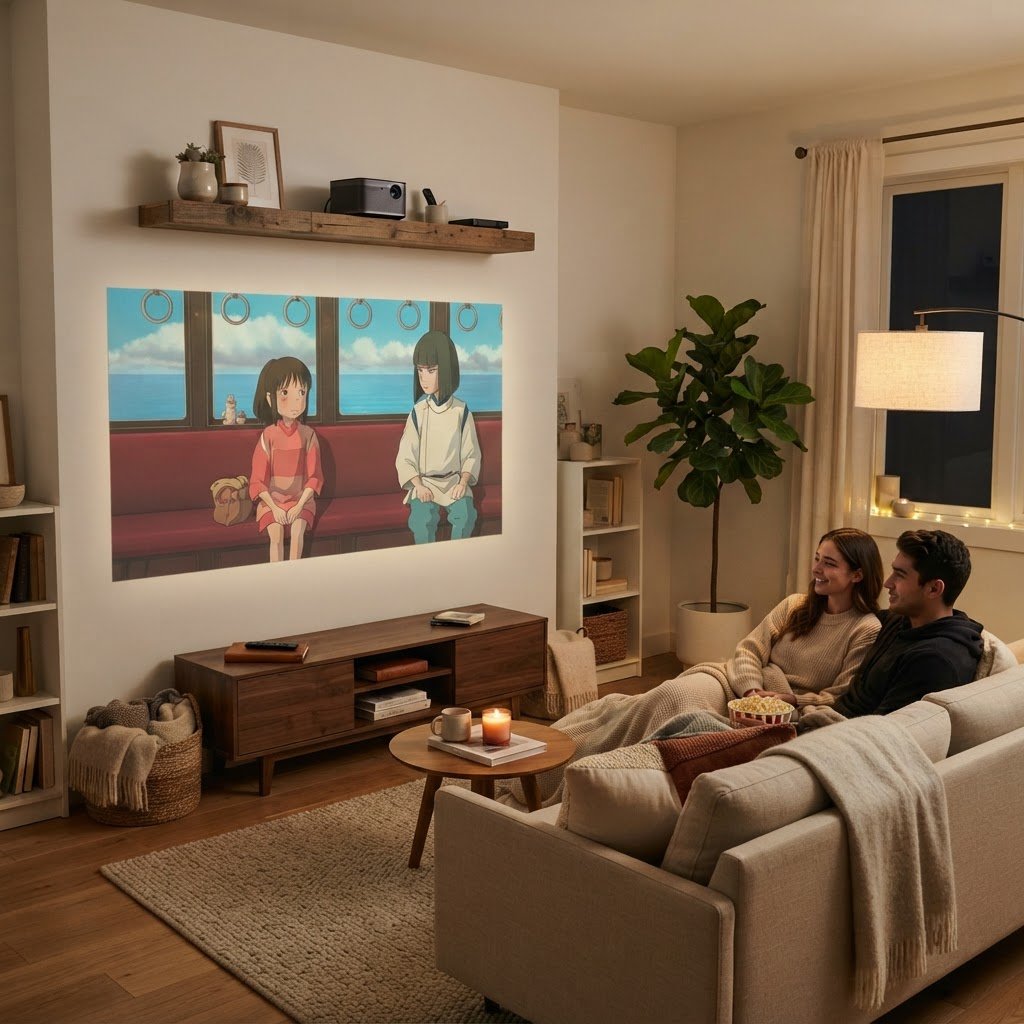
A minimalist setup using a floating shelf for the projector to save floor space.

When planning your space, the primary advantage of a projector is its physical footprint. A television requires a dedicated stand or a wall mount that permanently claims a large portion of your visual real estate. In contrast, projectors can be placed on a small bookshelf, tucked into a cabinet, or even ceiling-mounted, leaving your wall space free for decor or storage when the device is not in use.

Versatility and Portability

Modern portable projectors are incredibly compact. Many models are no larger than a stack of coasters, making them perfect for renters who move frequently. You can easily transition from a “movie night” setup to a clean, minimalist living room in seconds. This flexibility is the cornerstone of successful projector living room ideas, as it allows your room to serve multiple functions throughout the day.

Maximizing Limited Wall Space

Floor-based projector screens offer versatility for small studio layouts.

If you have limited wall space, you might worry that a 100-inch screen is impossible. However, the secret lies in choosing the right surface. You do not necessarily need a bulky, retractable screen housing. A high-quality projector paint or a tension-mounted fabric screen can be applied directly to a wall, effectively disappearing when the projection is turned off.

Choosing the Right Projection Surface

If you prefer not to paint your walls, consider a pull-up screen that sits on the floor. These can be hidden behind a sofa or under a bed when not in use. Another creative solution involves using a plain white blackout curtain as a screen. It is lightweight, cheap, and can be hung from a simple tension rod, making it a landlord-friendly option for your small apartment home theater.

Lighting and Environment Control

Warm lighting and comfortable seating turn any corner into a theater.

One of the biggest challenges in projector setups is ambient light. Small apartments often have large windows, which can wash out the projected image. To achieve the best picture quality, you must manage the light levels in your living area effectively.

Light Blocking Solutions

Blackout curtains are an essential investment for anyone interested in projector living room ideas. They effectively seal the room from streetlights and daytime sun, allowing your projector to output a deep, rich contrast. If curtains don’t fit your aesthetic, consider smart light bulbs that can dim or turn off completely when you initiate your ‘movie mode’ scene.

Cable Management for Clean Aesthetics

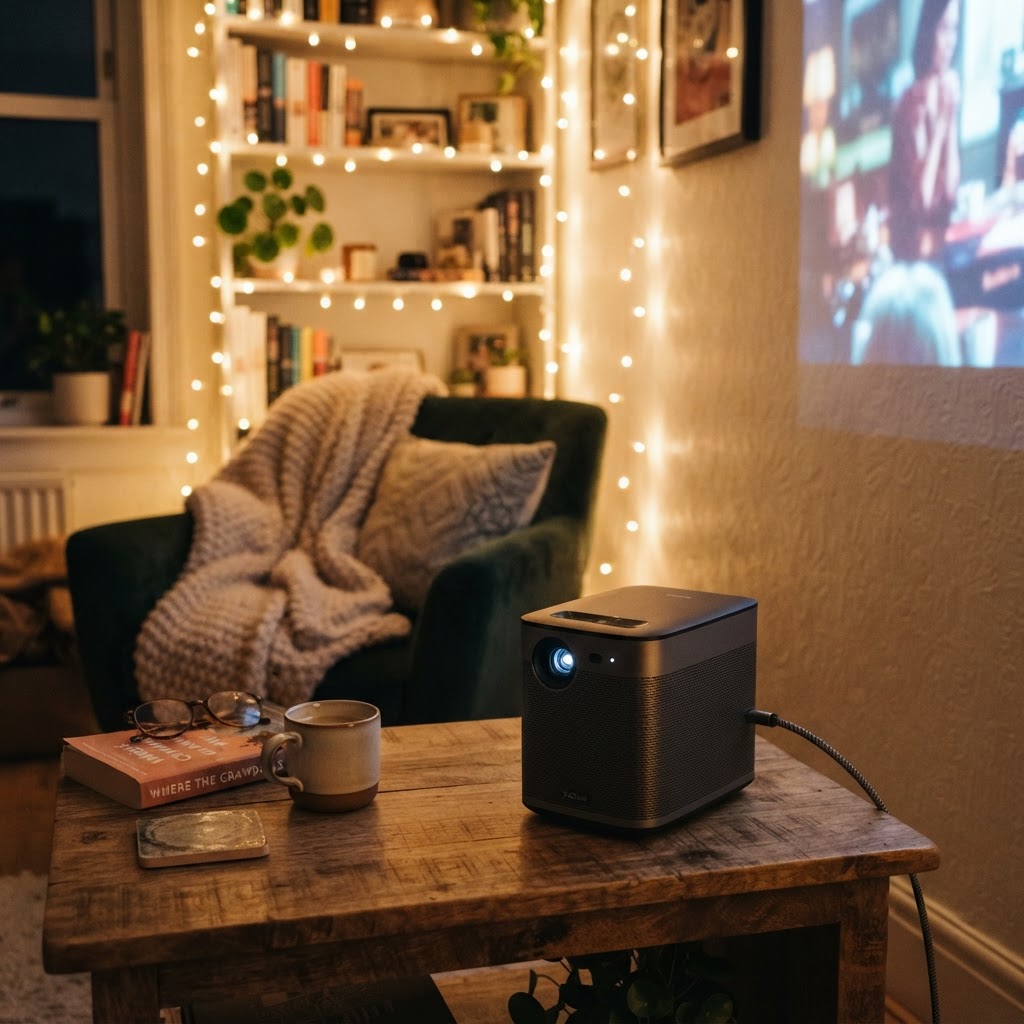
Clean cable management makes the projector setup look intentional and elegant.

In a small apartment, cable clutter is the enemy of interior design. When you have a projector, the cables running to the power outlet and audio source can easily become an eyesore. A minimalist approach is necessary to keep your living room looking intentional rather than chaotic.

Hidden Wiring Techniques

Use adhesive cable clips along the baseboards to route your HDMI and power cables out of sight. If your projector is on a shelf, use a cable management box to hide the power strip and excess cord slack. By keeping the lines clean, you maintain the visual calm that is so important for small, multifunctional living spaces.

Audio Solutions for Compact Spaces

Good sound is half the experience, but large surround sound systems are rarely practical in small apartments. Instead of bulky speakers, look into soundbars that can be mounted beneath your projection surface or wireless Bluetooth speakers that can be placed strategically around the seating area.

Wireless Connectivity

Wireless audio is a game-changer. Modern projectors often support Bluetooth, allowing you to connect a high-quality portable speaker or a set of wireless headphones. This eliminates the need for long speaker wires running across your floor, which is essential for maintaining safety and style in a cramped layout.

Decorating Around Your Setup

Integrating your technology into your decor makes your small apartment feel like a cohesive home. Use floating shelves to house your projector, which doubles as display space for books or plants when the device is inactive. Think of your projector setup as a piece of furniture that contributes to the room’s atmosphere.

Creating a Cozy Ambiance

Don’t let the technical aspects overshadow the comfort. Add floor cushions, a soft area rug, and layered throw blankets to create a cozy nook. Since projectors create a soft, cinematic light rather than the harsh glare of a backlit screen, they actually enhance the ‘nesting’ feeling of a small apartment, making it feel more like a private theater than a sterile tech hub.

Essential Setup Checklist for Renters

To ensure your project succeeds, follow this simple checklist:

  1. Measure your throw distance to ensure the projector fits the space.
  2. Choose a projector with keystone correction for off-angle placement.
  3. Invest in blackout curtains to control ambient light.
  4. Prioritize a portable or wall-mounted screen system.
  5. Use cable management accessories to hide all wires.
  6. Opt for wireless sound systems to save floor space.

Conclusion

Implementing these projector living room ideas proves that you do not need a massive square footage to enjoy a high-end cinematic experience. By prioritizing portability, hidden cable management, and effective light control, you can create a small apartment home theater that is both functional and beautiful. It is time to reclaim your walls and start enjoying movies the way they were meant to be seen. Are you ready to upgrade your living room? Start by measuring your wall space today and see which projector model fits your vision!

Space-Saving Furniture Placement Tricks for Tiny Bedrooms

Living in a small apartment or a home with a compact floor plan often presents a unique challenge when it comes to interior design. One of the most common obstacles is discovering effective space-saving furniture placement tricks for tiny bedrooms that do not compromise on style or comfort. Whether you are dealing with a cramped studio or a secondary room that serves as a multi-purpose zone, the way you position your furniture can make or break the functionality of the environment. By rethinking traditional layouts and embracing unconventional storage solutions, you can turn your cramped sleeping area into a spacious-feeling sanctuary.

The Psychology of Small Space Design

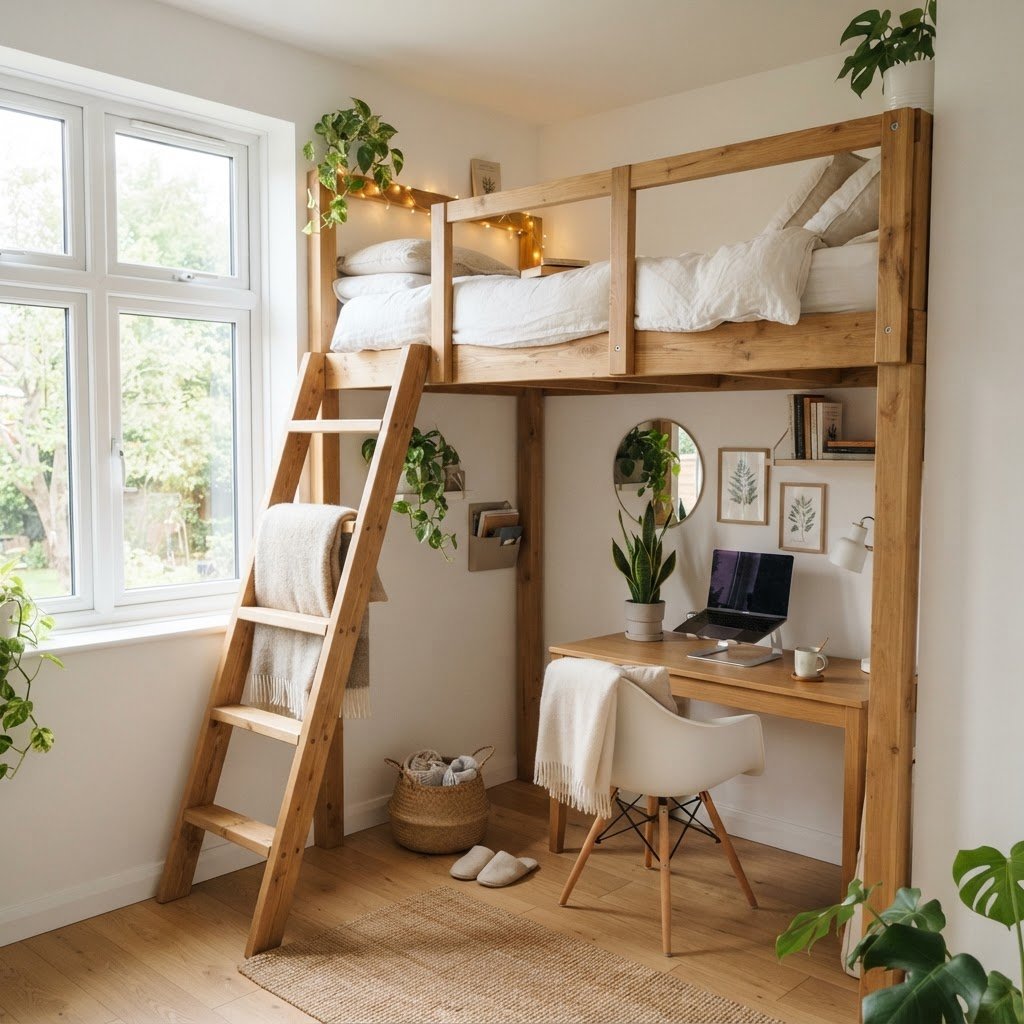
Maximize vertical space with a lofted bed design.

When you are working with limited square footage, the psychological impact of your layout is just as important as the physical dimensions of your furniture. A cluttered room often leads to a cluttered mind, which is the last thing you want in your personal space. The primary goal of any small bedroom design strategy is to create a visual flow that allows your eyes to travel across the room without being interrupted by large, bulky pieces of decor.

Prioritizing Traffic Flow

One of the most essential space-saving furniture placement tricks for tiny bedrooms involves prioritizing the path of movement. You should avoid placing furniture in a way that obstructs the natural walkways from the door to the bed or the closet. Keeping the center of the room as open as possible can provide an immediate sense of relief, making the bedroom feel much airier than it actually is.

The Importance of Floor Visibility

If your flooring is visible, your brain perceives the room as larger. Consider choosing bed frames with legs rather than box-style platform beds that sit flush against the floor. By seeing the expanse of the floor underneath the furniture, you effectively extend the visual boundaries of the room, which is a classic design trick used by professionals.

Maximizing Vertical Storage Potential

Use floor-to-ceiling shelving to keep the room organized.

When the floor space is at a premium, the only direction you can move is up. Installing floor-to-ceiling shelving or utilizing high-wall real estate for storage units allows you to clear the floor of smaller, unnecessary items that otherwise accumulate. This approach ensures that your floor remains clear, which is the cornerstone of effective small bedroom layout ideas.

Choosing Multi-Functional Furniture

Investing in pieces that serve two purposes is a game changer. Think about ottomans that double as storage chests, or bedside tables that contain deep drawers for linens and books. By consolidating your furniture needs, you reduce the overall count of items in the room, which directly contributes to a cleaner, more organized aesthetic.

Strategic Bed Placement Techniques

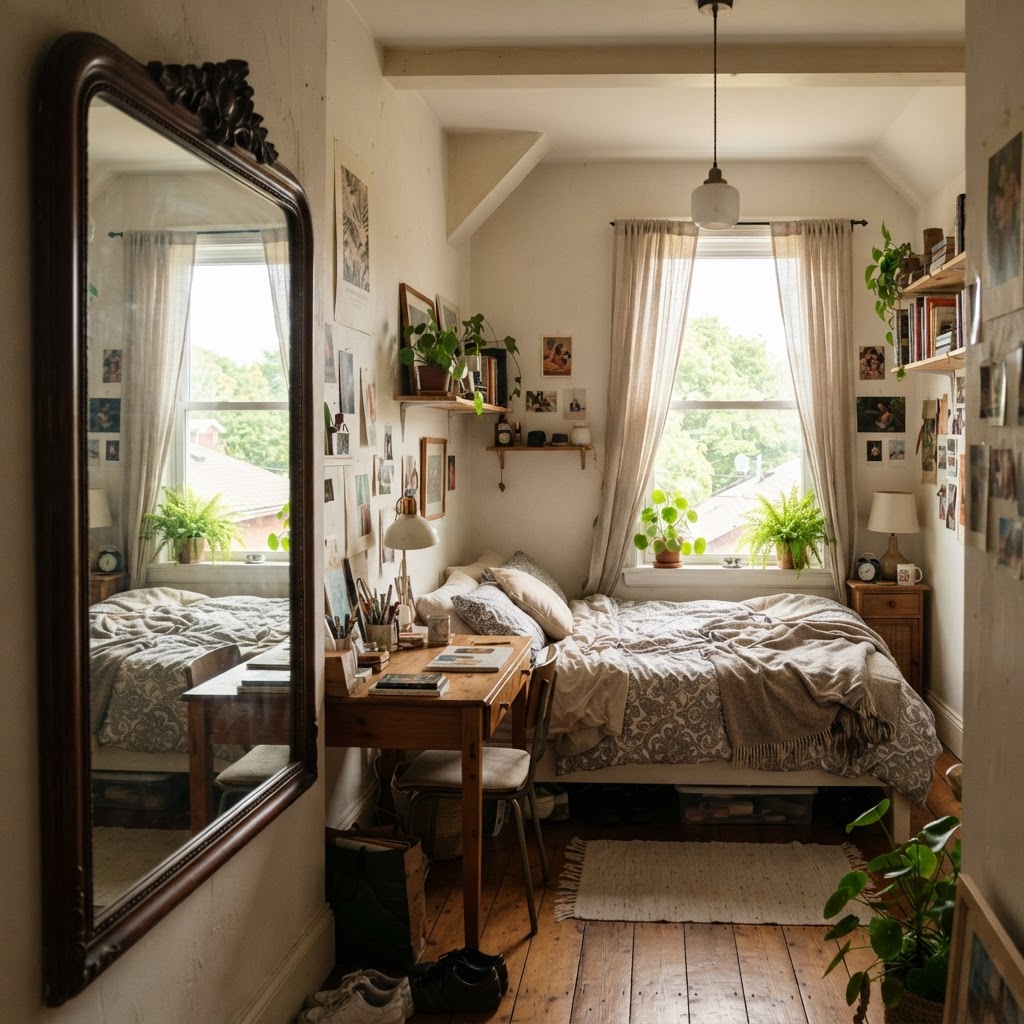
Mirrors can make a small room feel twice as large.

The bed is almost always the largest piece of furniture in the bedroom. In a tiny space, placing it correctly can feel like a game of Tetris. While many people believe the bed must be centered on the main wall, this isn’t always the most efficient choice for cramped rooms.

The Corner Bed Approach

In extremely tight rooms, pushing your bed into a corner can liberate a significant amount of floor space. While it might seem less conventional, this layout creates a cozy, nest-like atmosphere that works perfectly for tiny bedrooms. You can use large, plush pillows to turn the headboard and side wall into a comfortable backrest for reading or lounging during the day.

Lighting and Mirror Illusions

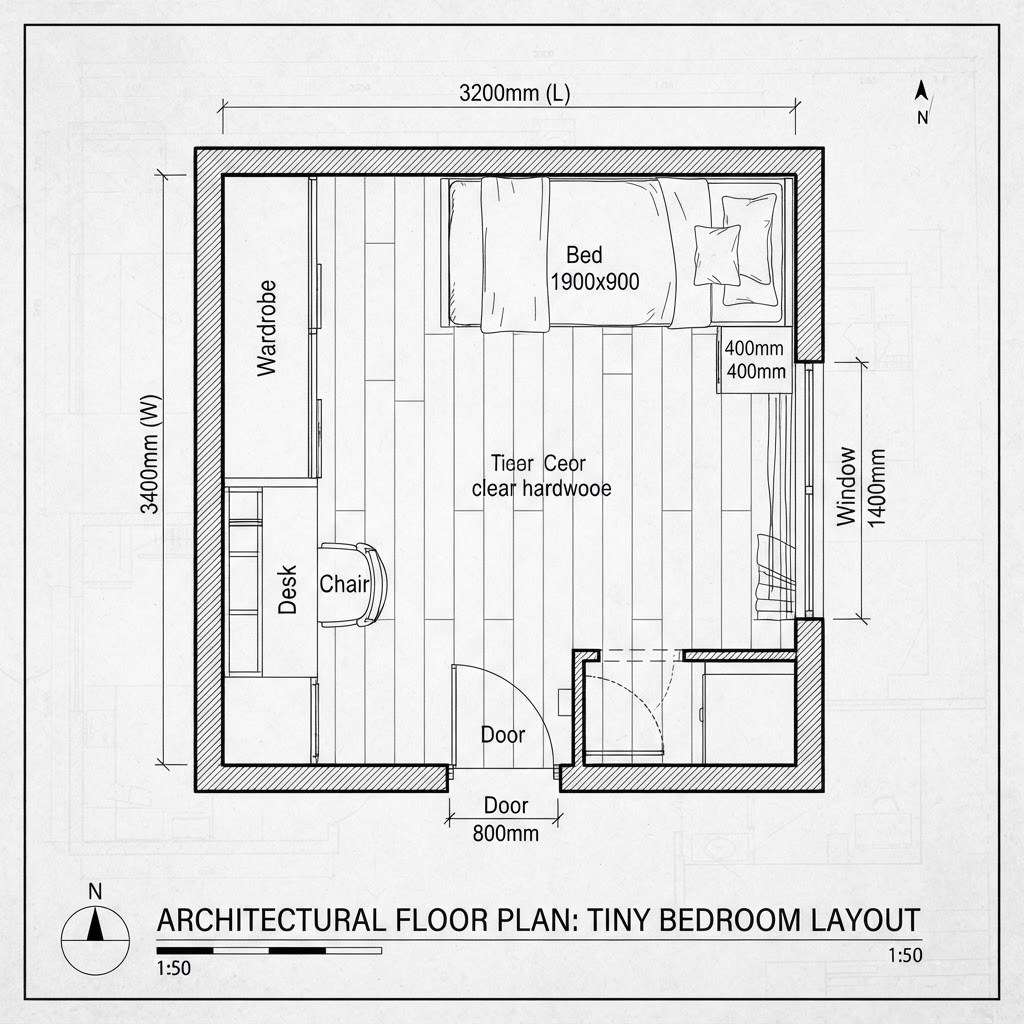
Strategic layout planning is the key to small room success.

How you illuminate your space can change your perception of size. Using floor lamps instead of table lamps can free up precious surface area on your nightstands. Furthermore, installing wall-mounted sconces can provide focused light for reading while eliminating the need for bulky side tables entirely.

Using Mirrors to Expand Depth

Mirrors are among the best tools for anyone trying to maximize space in small bedrooms. By placing a large, full-length mirror opposite a window, you can double the amount of natural light that flows into the room. This bounce effect tricks the human eye into perceiving a much larger expanse, adding depth to areas that would otherwise feel claustrophobic.

Dealing with Clutter and Hidden Storage

Clutter is the enemy of the tiny bedroom. Without a strict organization system, even the best-laid furniture plan will eventually fail. The key is to find hidden storage opportunities where you least expect them.

Utilizing Under-Bed Real Estate

If your bed does not have built-in drawers, you can easily purchase risers to increase the clearance beneath the frame. Using slim, rolling containers, you can store seasonal clothing, extra bedding, or travel gear out of sight. This hidden storage is one of the most effective ways to maintain a minimalist look while retaining your essential items.

Selecting the Right Furniture Scale

One of the most frequent mistakes people make is choosing oversized furniture that overwhelms the room. Even if you love a massive, ornate headboard, it may not be appropriate for a small bedroom. Always measure your space carefully and opt for slim-profile designs that are proportionate to the dimensions of the room.

The Benefits of Transparent Pieces

Acrylic or glass furniture—such as side tables or desk chairs—can be invisible to the eye. They provide necessary utility without adding visual weight to the room. This is a subtle way to include everything you need while keeping the room feeling light and airy.

Maintaining Flexibility in Your Layout

Life changes, and your room layout should be able to adapt. If you have a small space, prioritize modular furniture that can be easily rearranged. If you decide to host a guest or need to clear space for a workout, having furniture on casters or modular shelves can make the transition quick and painless.

Conclusion

Mastering space-saving furniture placement tricks for tiny bedrooms is an ongoing process of refining, editing, and optimizing your environment. By focusing on vertical storage, multi-functional pieces, and clever lighting, you can create a beautiful room that serves all your needs without feeling cramped. Remember that the goal is not to fill every inch, but to create a space that breathes and promotes rest. If you are ready to transform your living situation, start by clearing the clutter and reassessing your furniture layout today. You will be amazed at how much potential your small bedroom truly holds when you approach it with a strategic, creative mindset.

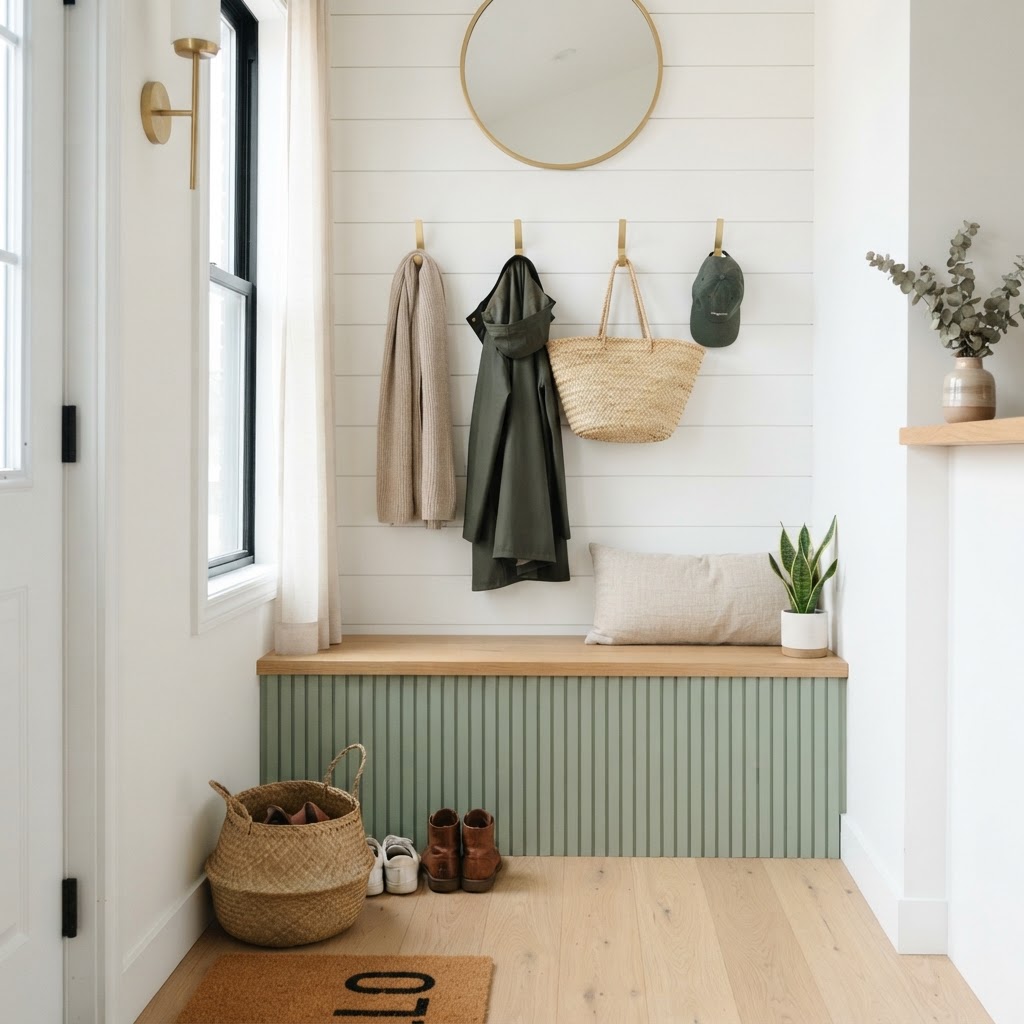
DIY Fluted and Storage Bench Hacks for Tiny Mudrooms

Creating an organized, inviting entryway when you are short on square footage can feel like a game of Tetris. Many homeowners struggle with the balance between functionality and aesthetics, especially when dealing with a cramped landing area. Fortunately, DIY fluted and storage bench hacks for tiny mudrooms offer the perfect solution to reclaim your space while adding a touch of custom designer flair. By utilizing vertical space and hidden compartments, you can turn a chaotic “drop zone” into a serene, organized sanctuary.

The Aesthetic Appeal of Fluted Details

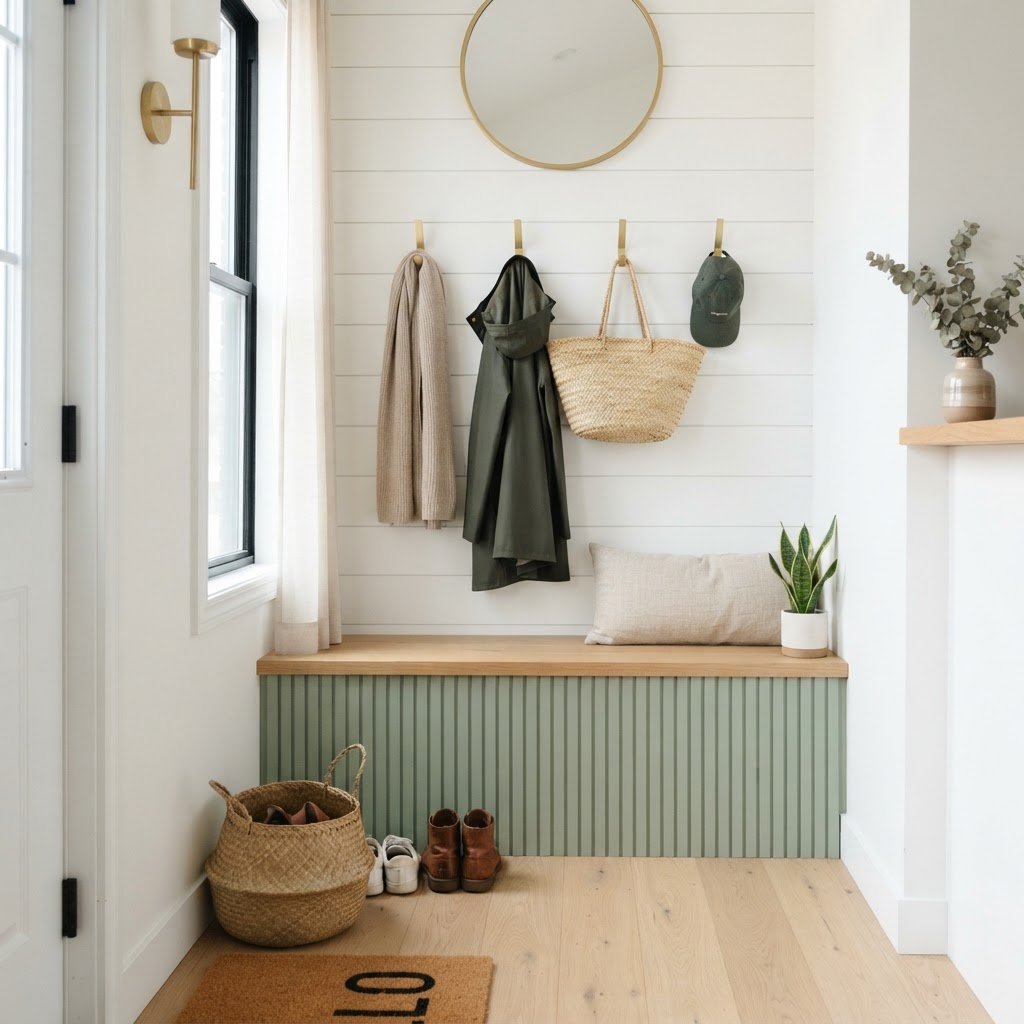
Transforming a small space with a sage green fluted bench.

Fluted furniture has taken the interior design world by storm, and for good reason. The vertical lines add texture, depth, and a sophisticated visual rhythm to otherwise flat, boring surfaces. When you apply this technique to a DIY fluted mudroom bench, you are not just building a place to sit; you are creating a statement piece that draws the eye upward and makes the room feel taller and more refined.

Why Texture Matters in Small Spaces

In a tiny mudroom, you cannot rely on large furniture or bold wall art to make a statement. Instead, you must rely on tactile elements. The subtle shadow play created by fluted wood molding or dowels creates a sense of luxury that elevates a basic stock cabinet or a DIY plywood box. It provides a high-end, custom look at a fraction of the cost of store-bought designer benches.

Choosing the Right Materials for Your Bench

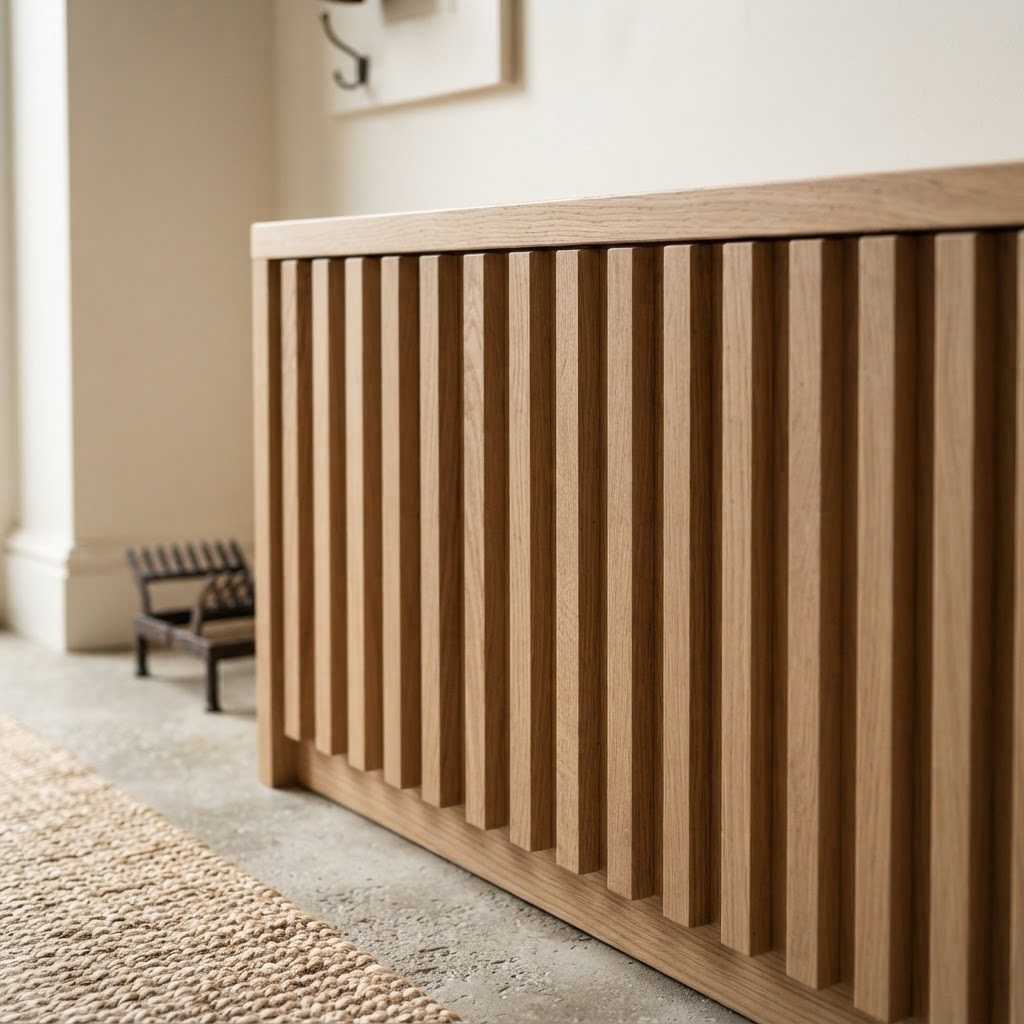
The elegant texture of vertical fluting adds depth to furniture.

Before you start cutting wood, you need a plan that balances durability with weight. Since mudrooms are high-traffic areas, your bench needs to withstand muddy boots, heavy bags, and constant use. Plywood is an excellent choice for the base, while half-round wood trim or wooden dowels are the gold standard for creating that signature fluted effect.

Essential Tool Checklist

To ensure your project is a success, gather these supplies before you begin. You will want a miter saw for precise cuts, a brad nailer for attaching the trim, and a high-quality wood glue. Don’t forget your wood filler and a high-grade sander to achieve a seamless, professional finish before you apply paint or stain.

Step-by-Step: Constructing the Bench Base

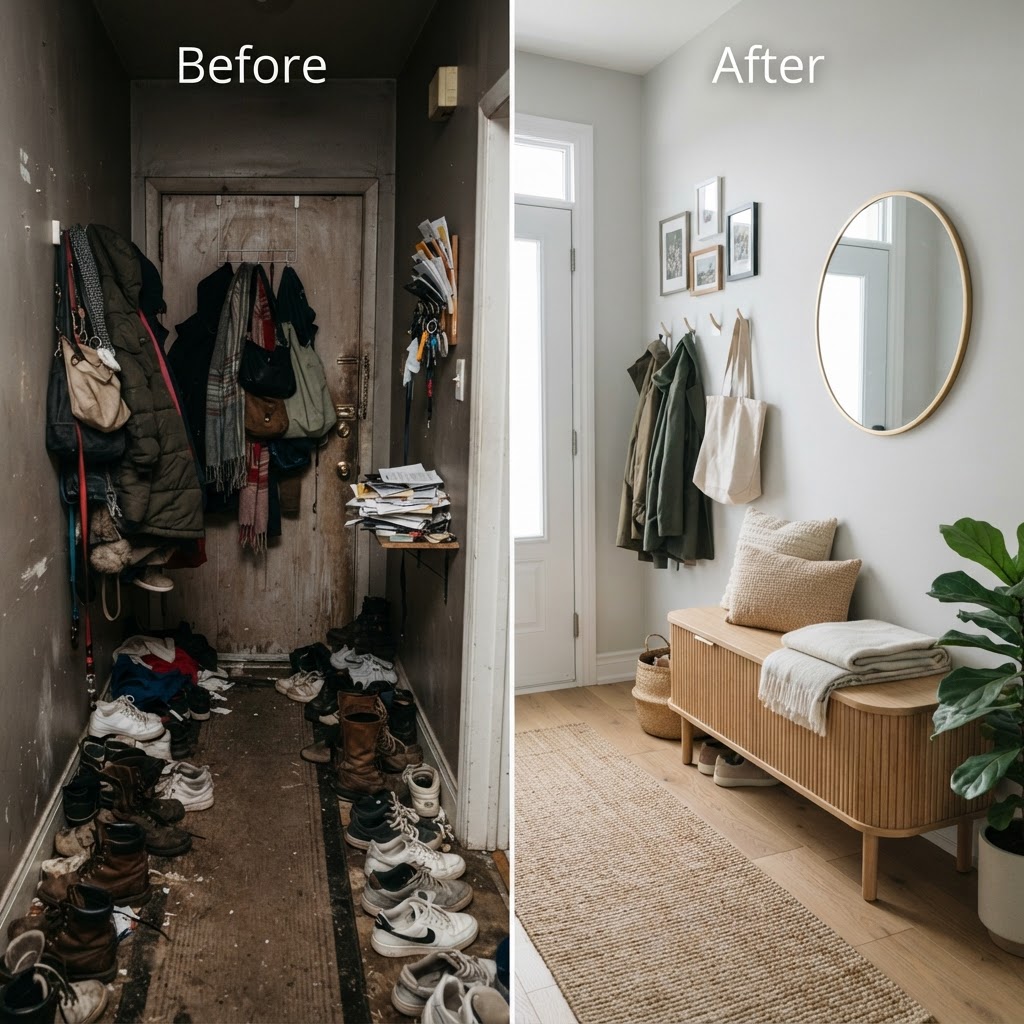
See how a simple storage bench clears the chaos.

Building the structural base is the most important part of your tiny mudroom storage project. Start by measuring your available wall space with precision. You want to ensure the bench fits snugly to maximize every inch, but remember to account for baseboards if you are building an “in-built” style piece.

Creating Hidden Storage Solutions

For a truly tiny mudroom, every cubic inch counts. Consider incorporating a “flip-top” lid or deep pull-out drawers beneath your bench seat. This is where you can store seasonal items like scarves, umbrellas, or extra shoes that you don’t use on a daily basis. The more you can keep off the floor, the larger your room will feel.

Applying the Fluted Detail

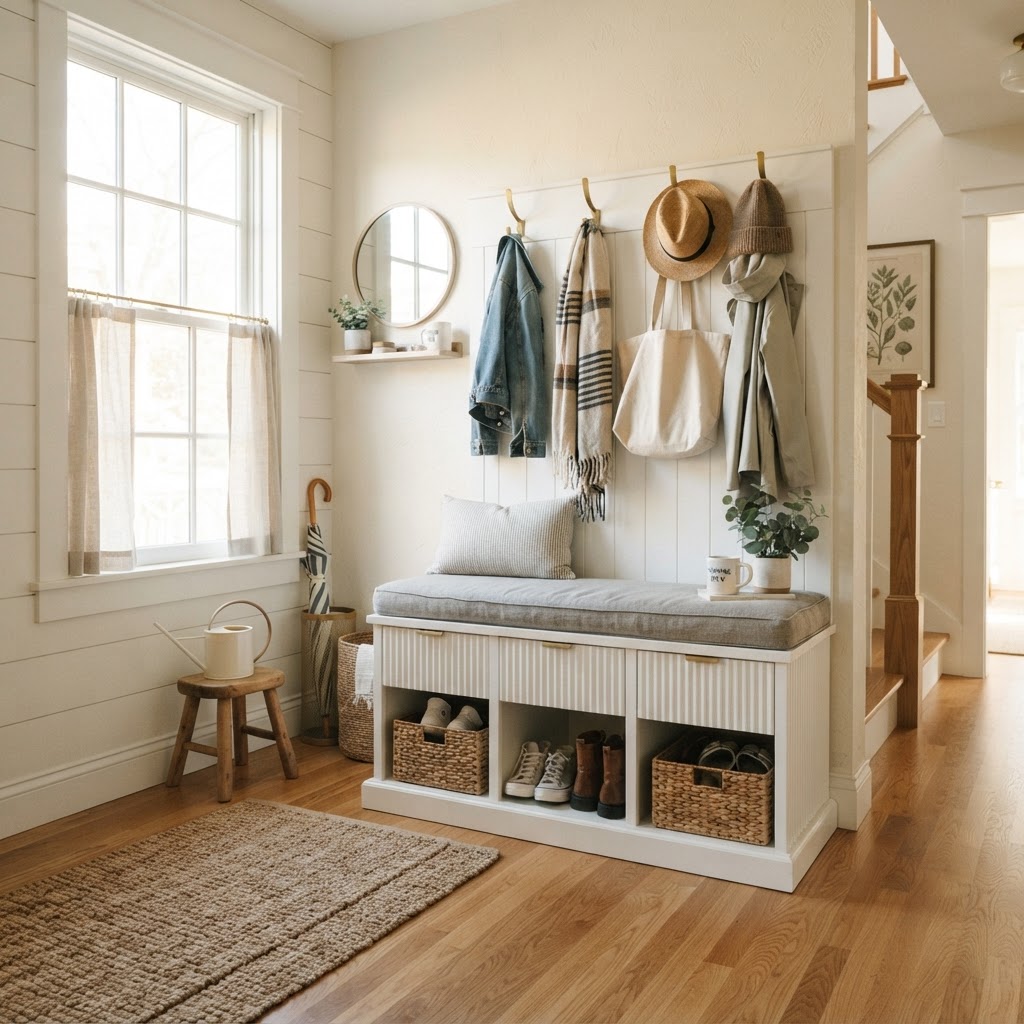
Light and airy organization for a tiny entryway.

Once your box frame is complete, it is time for the fun part: adding the fluting. You can purchase pre-cut half-round trim in various sizes. The key is to keep your spacing consistent. Using a small spacer block while nailing each strip will save you from major alignment issues later on.

Pro Tips for a Flawless Finish

If you are painting your bench, use a primer that is compatible with wood filler to prevent the joints from showing through. If you are staining, be aware that different types of wood absorb stain differently. Always test your stain on a scrap piece of your fluted trim to ensure the color matches your main frame perfectly.

Maximizing Tiny Mudroom Storage Ideas

Beyond the bench itself, look at the vertical space directly above your seat. Adding coat hooks or a narrow ledge can double your storage capacity without requiring any extra floor space. Think about a “floating” shelf system that mirrors the fluted texture of your bench to create a cohesive, custom look that feels professionally designed.

Vertical Organization Hacks

Consider adding a row of shaker pegs above the bench. By mounting these directly to a piece of board that matches your bench’s finish, you create a unified look. You can even add small brass labels to each hook to give each family member their own dedicated spot for coats and hats, further reducing entryway clutter.

Paint vs. Stain: Which Style Suits You?

Choosing the finish is a critical decision that dictates the mood of your entry. A moody, deep green or charcoal paint can make a small room feel cozy and intentional, acting as a “jewel box” of an entryway. Conversely, a light oak stain or a crisp white paint can make a tiny space feel light, airy, and larger than it actually is.

Maintenance and Long-Term Durability

Because your mudroom is a high-traffic zone, you must treat your DIY bench for longevity. A high-quality polyurethane topcoat is non-negotiable. It protects the wood from scuffs, moisture from wet shoes, and the inevitable wear and tear of daily living. If you chose a light color, consider adding a rubber or brass kickplate at the bottom to protect the fluted trim from vacuum cleaners and muddy shoes.

Cleaning Made Easy

To clean fluted surfaces, use a soft-bristled brush or a microfiber cloth to get into the crevices where dust likes to hide. Regular maintenance keeps your DIY project looking new for years. Remember, a well-built storage bench is an investment in your home’s functionality and your daily stress levels.

Conclusion

Taking on DIY fluted and storage bench hacks for tiny mudrooms is one of the most rewarding home improvement projects you can complete. Not only do you get to exercise your creativity, but you also solve the age-old problem of the messy, cluttered front door area. By focusing on vertical storage, tactile design elements like fluting, and durable finishes, you can create an entryway that is as beautiful as it is practical. Start planning your design today, measure twice, and don’t be afraid to customize these ideas to fit your unique space. Your dream mudroom is just one weekend project away.

Ready to get started? Head to your local lumber yard, grab your tools, and tag us in your progress photos as you transform your tiny entry into a functional masterpiece!

Warm White vs Orange Glow: Best Lighting for Cozy Homes

The quest for the perfect home environment often starts with a single light switch. Choosing between warm white vs orange glow can completely alter the way your living room, bedroom, or kitchen feels at the end of a long day. While cool lights are functional for tasks, the secret to a truly inviting home lies in the embrace of warmer color temperatures that mimic the soft, flickering light of a sunset or a crackling fire.

The Psychology of Home Lighting

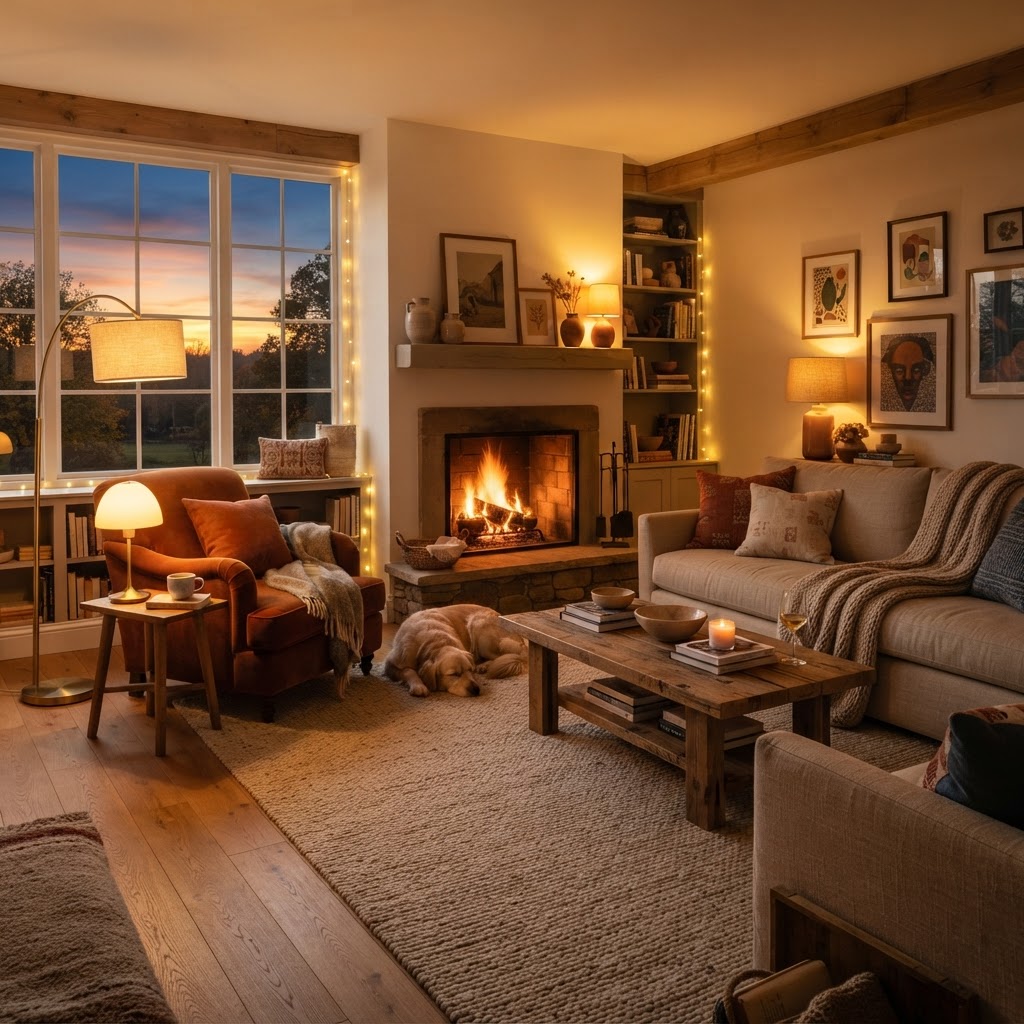
Warm lighting turns any living room into a relaxing retreat.

Light is more than just visibility; it is a biological signal that dictates our mood and energy levels. When you compare warm white vs orange glow, you are essentially choosing between productivity and relaxation. Warm white light, typically found in the 2700K to 3000K range, provides a soft, yellow-toned illumination that feels welcoming and natural to the human eye. It softens the sharp edges of your furniture and adds depth to your interior design.

Orange-toned light, which dips closer to 2000K or 2400K, leans into the nostalgia of candlelight and fireside evenings. This type of light is deeply associated with rest because it signals to our brains that it is time to wind down. By choosing the right spectrum, you can turn a cold, sterile house into a sanctuary of peace. Understanding this psychology is the first step toward mastering your home aesthetic.

Understanding Color Temperature (Kelvins)

Selecting the right LED filament is key to that cozy glow.

To become an expert at selecting bulbs, you must understand the Kelvin (K) scale. The higher the number, the ‘cooler’ or bluer the light appears, whereas lower numbers represent warmer, ‘cozier’ light. For a cozy home, you want to stay in the lower end of this spectrum to maintain that soothing ambiance.

Why 2700K is the Sweet Spot

Most interior designers agree that 2700K is the gold standard for residential spaces. It is warm enough to feel comfortable, yet bright enough to read by without straining your eyes. It is the perfect balance for most households looking to avoid the overly clinical look of standard office lighting.

The Allure of 2200K for Mood Lighting

If you are looking to create a true ‘orange glow’ effect, look for bulbs rated around 2200K. These bulbs provide a deep, golden light that is perfect for accent lamps or wall sconces. They are not meant to light an entire room for cleaning, but they are unmatched for creating an intimate atmosphere during a movie night or a romantic dinner.

Warm White vs Orange Glow: A Side-by-Side Comparison

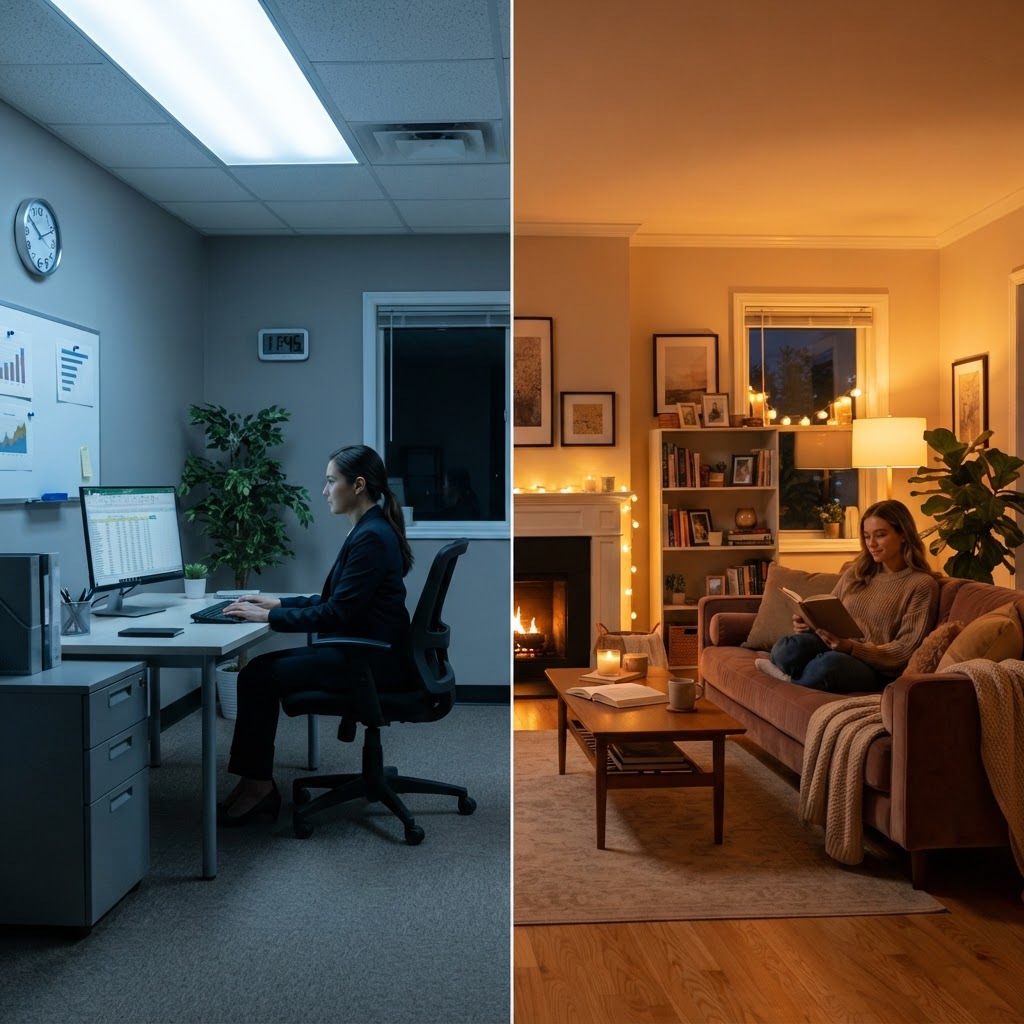
The visual difference between cool lighting and warm, cozy lighting.

Choosing the right lighting is often about deciding on the function of the room. Warm white is versatile, while orange glow is purely atmospheric. Consider the following table to help you decide which is better for your specific needs.

| Feature | Warm White (2700K-3000K) | Orange Glow (2000K-2400K) |

| :— | :— | :— |

| Primary Vibe | Cozy and welcoming | Intimate and nostalgic |

| Best Use | Living rooms, hallways, kitchens | Bedroom, accent lamps, evening lounge |

| Brightness | Sufficient for general tasks | Best for ambient glow |

| Mood Impact | Promotes comfort and safety | Encourages rest and relaxation |

How to Layer Your Lighting Like a Pro

One of the biggest mistakes homeowners make is relying on a single, harsh ceiling light. To master the art of cozy interiors, you must layer your lighting. This means combining ambient, task, and accent lighting to create depth. By mixing light sources, you can easily shift from a productive afternoon to a cozy, dimly lit evening.

Ambient Lighting Basics

Ambient light acts as the foundation of your room. Using warm white LED bulbs in your overhead fixtures ensures that the entire space feels unified and warm. However, you should never have this as your only source of light. It should act as the ‘base coat’ upon which you build more specialized lighting choices.

The Power of Task Lighting

Task lighting is meant for specific activities like reading or cooking. While you might want an orange glow in your living room, you may prefer a slightly crisper warm white in your kitchen to see what you are chopping. Always ensure your task lights are positioned to avoid glare, keeping them directed toward your workspace rather than your eyes.

Choosing the Right Fixtures for Your Glow

Once you have selected your bulbs, the fixtures themselves play a massive role in how that light is diffused. A glass shade will allow for a bright, clean output, while a fabric lamp shade will soften the light, making even a white bulb feel more like an orange glow. Consider the material of your light fixtures as a filter for the color temperature.

The Role of Dimmer Switches

Installing dimmer switches is perhaps the most important tip for achieving a cozy home. Dimmers allow you to control the intensity of your warm white lighting, effectively letting you slide down into that ‘orange glow’ territory at the end of the night. It gives you total control over the atmosphere without needing to swap out your light bulbs.

Troubleshooting Common Lighting Mistakes

Many people struggle with lights that look ‘off’ even when they choose warm bulbs. This is often due to mixing color temperatures in the same space. If you have one bulb that is 2700K and another that is 5000K, the clashing light will make your home look messy. Always try to keep your bulbs within the same 500-Kelvin range for consistency.

Avoiding the ‘Clinical’ Look

If your home feels like a hospital, it is time to audit your bulbs. Look at the packaging on your existing LEDs; anything labeled ‘Daylight’ or 5000K+ should be reserved for garages or workbenches. Switch these to 2700K bulbs, and you will notice an immediate change in how your home ‘feels.’

Embracing Shadows

Cozy lighting is not just about where the light hits; it is also about where the shadows fall. Do not be afraid of dark corners. Shadows create mystery and depth, making a room feel more intimate. Place lamps in specific areas to create ‘puddles of light’ rather than lighting the room evenly from wall to wall.

Frequently Asked Questions About Home Lighting

  1. Can I use smart bulbs to manage color temperature? Yes, smart bulbs allow you to adjust the Kelvin temperature via an app, which is the perfect solution for those who want both warm white and an orange glow.
  2. Do LEDs get hot like old incandescent bulbs? No, LEDs remain cool to the touch, making them safer for use in fabric shades or near furniture.
  3. Should I change my lights based on the season? Many people enjoy switching to warmer, lower-Kelvin bulbs during the winter months to compensate for the lack of natural sunlight.

Conclusion: Start Your Lighting Transformation

Creating a cozy home is a journey of intentionality. By choosing between warm white vs orange glow based on your specific needs, you can curate an environment that supports your mental well-being and enhances the comfort of your living space. Start small by updating your bedside lamps or adding a dimmer to your main living room fixture. You will be amazed at how such a small change can completely redefine your home experience. Ready to make the switch? Check your current bulb temperatures today and see how much more inviting your home can feel tonight.

How to Make a Small Bathroom Feel Organized and Aesthetic

Designing a functional yet beautiful room can be a challenge, but learning how to make a small bathroom feel organized and aesthetic is entirely possible with the right approach. Whether you are dealing with a cramped apartment washroom or a tiny guest bath, the key lies in balancing clever storage solutions with thoughtful design choices. By maximizing vertical space and keeping surfaces clear, you can transform a chaotic room into a serene, spa-like sanctuary that feels much larger than it actually is.

The Philosophy of Small Space Design

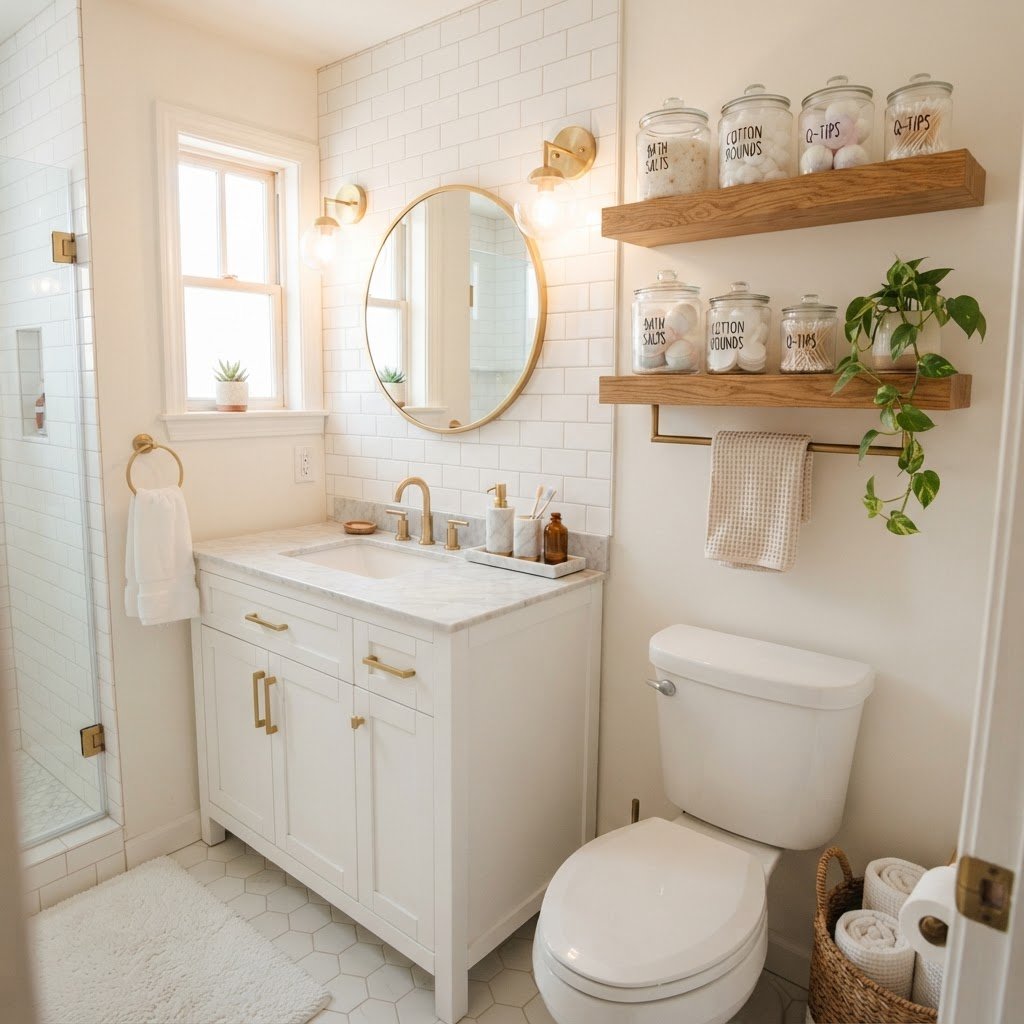
Maximize vertical space with floating shelves and uniform containers.

When you are working with limited square footage, every inch counts. The primary goal of small bathroom organization is to ensure that everything has a home, preventing the countertop clutter that makes a room feel suffocating. Minimalism is your best friend here; the less “visual noise” you have, the more expansive the room will feel.

Focus on a cohesive color palette, preferably light and neutral tones, to reflect light and create an airy atmosphere. A monochromatic look helps the eye move seamlessly around the space without hitting harsh interruptions, which is a classic trick used by professional interior designers to maximize the perceived size of a room.

Maximizing Your Vertical Storage Potential

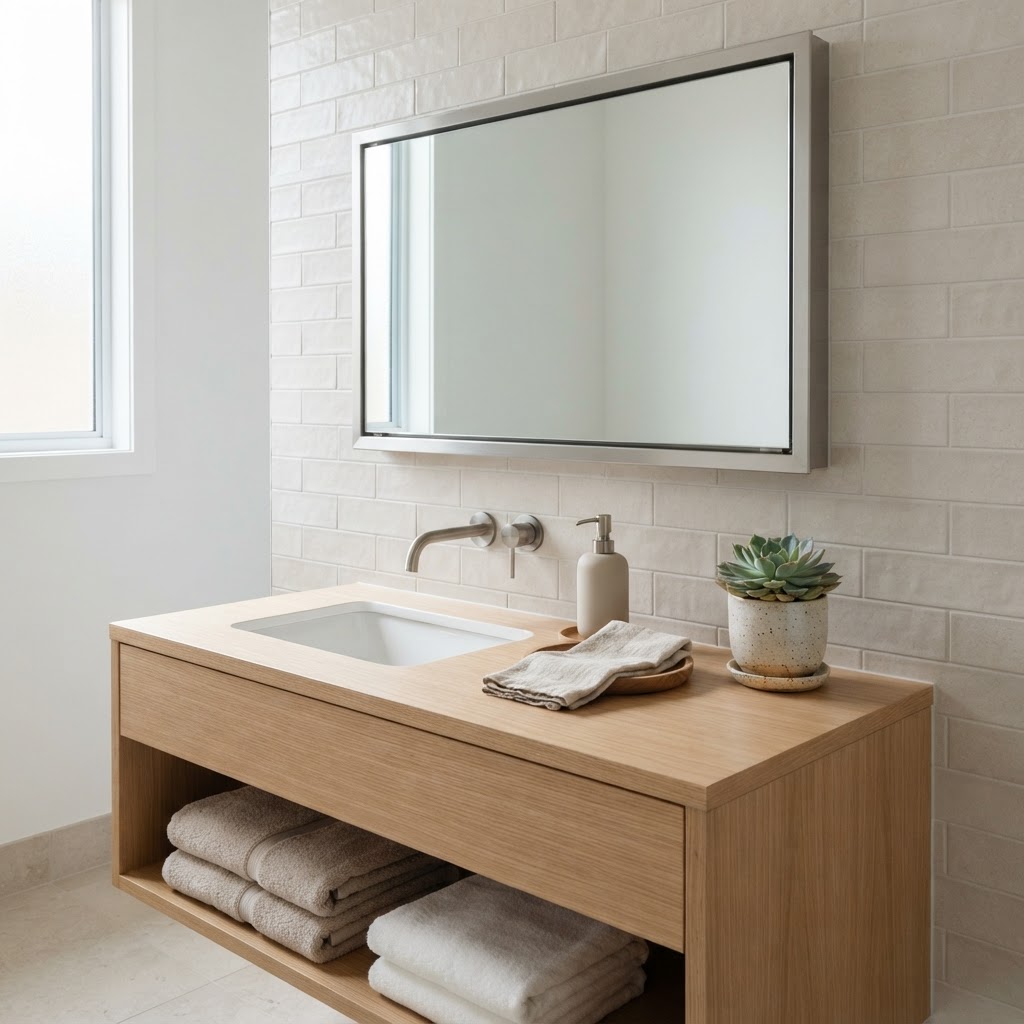
Recessed cabinets and light colors make small spaces feel bigger.

One of the most effective ways to reclaim floor space is to look up. If you aren’t utilizing your walls, you are losing valuable storage opportunities. Installing floating shelves above the toilet or vanity is a simple yet impactful way to store essentials like rolled towels, plants, or decorative apothecary jars.

Choosing the Right Shelving

When selecting shelves, aim for materials that blend with your wall color to make them feel integrated rather than stuck on. Glass or acrylic shelves are excellent for this because they offer storage without adding visual weight to the room, keeping the aesthetic light and open.

Hooks and Rails

Don’t forget the back of the door or unused wall space for towel hooks or a slim rail system. These are far more efficient than bulky towel bars, which take up significant wall space and often lead to damp towels being piled on the floor. Adding a set of matte black or brushed gold hooks can also serve as an aesthetic detail that elevates the overall look of the room.

Clever Hidden Storage Solutions

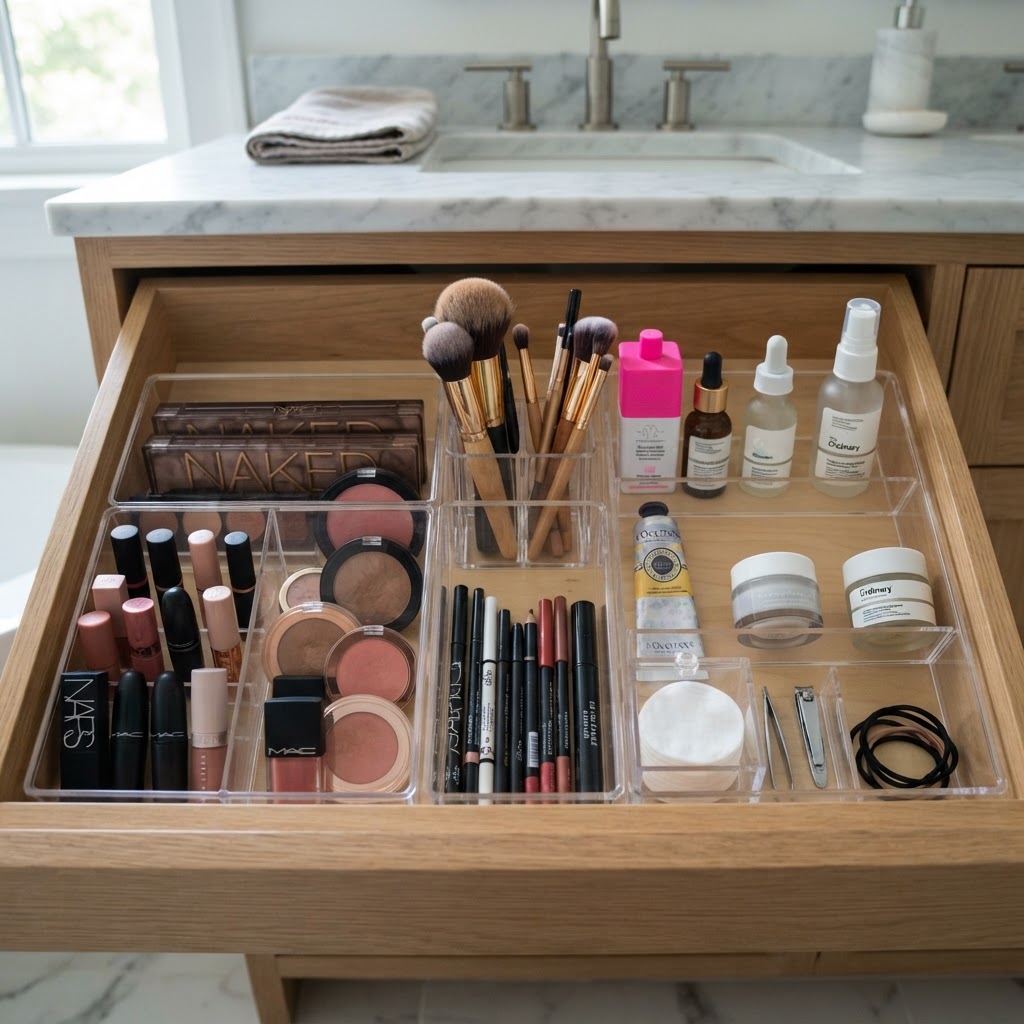
Drawer dividers are essential for keeping small items from cluttering surfaces.

If you want your room to look truly curated, hidden storage is essential. The best small bathroom organization is the kind that keeps personal items out of sight. A recessed medicine cabinet is a superior choice over a surface-mounted mirror because it sits flush with the wall, providing hidden depth for toiletries while maintaining a clean, modern aesthetic.

Under-sink storage is often underutilized or misused. Instead of tossing bottles into a deep, dark cabinet, invest in clear acrylic pull-out drawers or lazy Susans. These tools allow you to see exactly what you have at a glance, preventing the accumulation of expired products that often clutter cabinets.

Creating an Aesthetic Through Cohesion

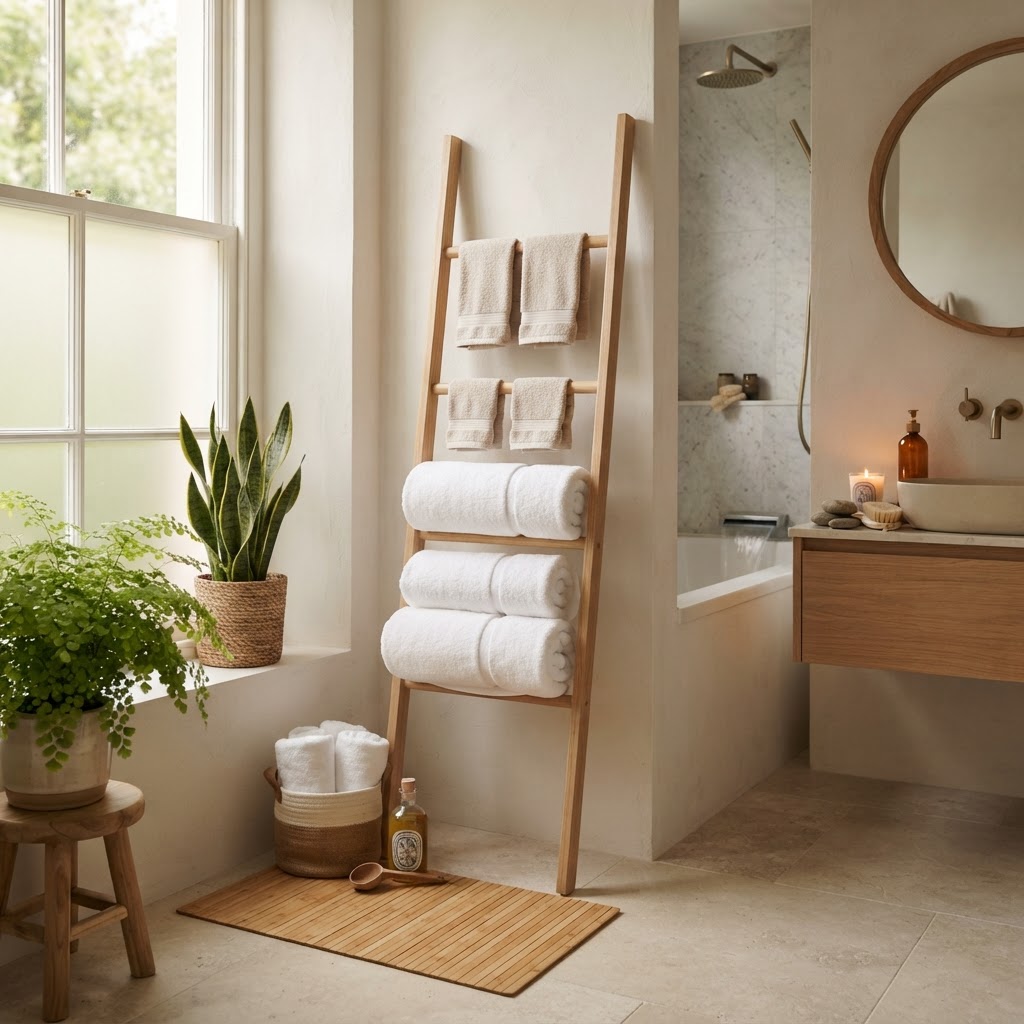
Add warmth and texture with bamboo and plush textiles to enhance the aesthetic.

To make a small bathroom feel aesthetic, you need to curate your accessories. Replace mismatched plastic soap dispensers and cluttered toiletry packaging with uniform containers. Glass pump bottles, bamboo organizers, and ceramic trays create a high-end, hotel-like vibe that instantly makes a small space look more expensive and intentional.

The Power of Textiles

Your choice of textiles can either make or break the design. Opt for plush, high-quality towels in a single color that complements your scheme. A high-quality bath mat not only provides comfort but also acts as a visual anchor, grounding the room. When everything is coordinated, the room feels organized, even if it is physically small.

Lighting and Mirrors as Tools of Illusion

Lighting plays a massive role in how we perceive space. In a small bathroom, you should aim for layers of light rather than a single harsh overhead fixture. Wall sconces placed at eye level on either side of the mirror provide flattering illumination and help expand the space by drawing the eye horizontally.

Mirrors are the oldest trick in the book, but they remain the most effective. A large mirror—or even a wall of mirrors—doubles the light in the room and creates a sense of infinite depth. Choosing a frame that reflects your style, whether it is a thin gold rim or a rustic wood frame, can add a significant decorative touch without sacrificing space.

Routine Decluttering and Maintenance

Even the best storage system will fail if it isn’t maintained. Make it a habit to audit your bathroom cabinets every season. Throw away empty bottles, expired medicine, and products you no longer use. The more you keep, the harder it will be to keep the space organized.

The ‘One In, One Out’ Rule

To prevent clutter from creeping back in, adopt a simple rule: every time you bring a new product into the bathroom, one old product must leave. This keeps your inventory manageable and ensures your small bathroom organization remains functional year-round.

Essential Bathroom Organization Checklist

To keep yourself on track, use this checklist for maintaining your small space:

  • Clear off the countertops daily for a ‘fresh start’ feeling.
  • Use labels on baskets to keep items categorized.
  • Utilize drawer dividers for small tools like makeup brushes or grooming kits.
  • Keep cleaning supplies in a designated, easily accessible bin.
  • Rotate seasonal decor to keep the aesthetic feeling fresh.

Why Less Really Is More

Ultimately, learning how to make a small bathroom feel organized and aesthetic is about making conscious choices about what you keep and how you display it. By investing in multi-functional furniture, utilizing vertical space, and committing to regular decluttering, you can turn your cramped room into a beautiful, functional retreat. A small space does not mean you have to sacrifice style or comfort; it simply requires a more disciplined and creative design approach.

Conclusion

Designing a bathroom that is both organized and aesthetic is a journey of refinement. By prioritizing clean lines, smart storage, and cohesive decor, you can transform your small bathroom into a room you genuinely enjoy spending time in. Remember, the goal isn’t just to hide clutter, but to create a space that inspires peace and relaxation. Start small by tackling one drawer or shelf today and notice how much lighter your space feels once you eliminate the excess. Do you have a favorite storage hack for your own home? Share it with us in the comments below and start your bathroom makeover this weekend!

Small Cozy Bedroom Ideas for Brighter, Bigger Spaces

Living in a compact home doesn’t mean you have to sacrifice style or comfort. Implementing the right small cozy bedroom ideas can turn a cramped, dark corner into a serene sanctuary that feels both airy and incredibly inviting. By leveraging light, multi-functional furniture, and smart organizational habits, you can easily trick the eye into perceiving a more expansive space while maintaining that coveted intimate vibe.

The Power of Color and Lighting

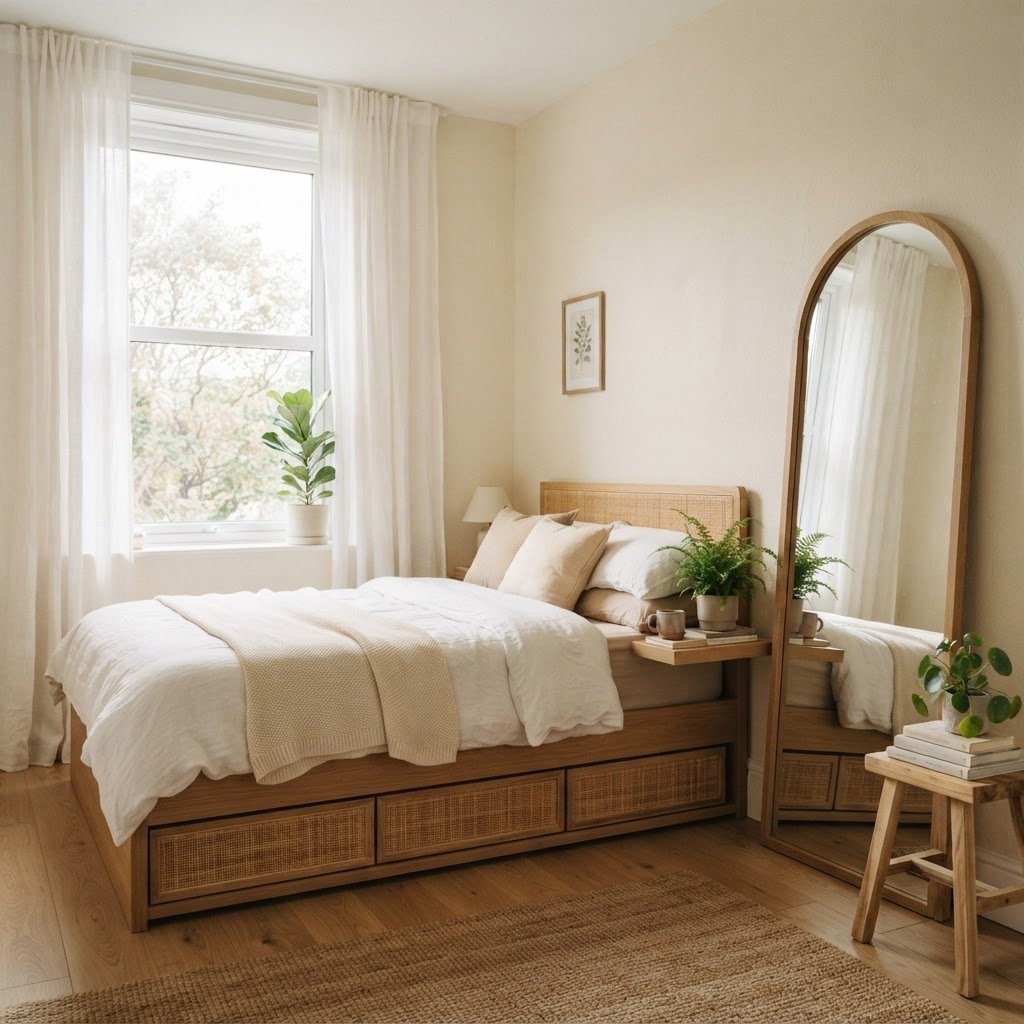
Use mirrors and sheer curtains to maximize light and space.

One of the most effective strategies for opening up a room is a thoughtful approach to color. Light, neutral colors are essential for reflecting natural light, making the walls appear as if they are receding. Think beyond stark white; soft creams, pale grays, and warm pastels can add character without darkening the room.

Lighting is equally critical. In a small bedroom, a single central overhead light often creates harsh shadows that shrink the room. Instead, layer your lighting. Combine a bedside lamp, an adjustable wall sconce, and perhaps a small floor lamp to eliminate dark corners and create a warm, layered glow.

Maximize Natural Light

If you have a window, don’t hide it behind heavy, dark drapery. Opt for sheer curtains that offer privacy while allowing sunlight to stream inside. If you need room-darkening shades for sleeping, consider sleek roller blinds that disappear entirely when rolled up, keeping the window frame clean and unobstructed.

Multi-Functional Furniture Solutions

Floating shelves save floor space while adding personal charm.

In a restricted footprint, every piece of furniture must earn its keep. Investing in items that serve double duty is a hallmark of intelligent small space interior design. A bed frame with built-in drawers underneath is a game-changer for storing seasonal clothing or extra linens.

Consider replacing a bulky vanity with a wall-mounted floating desk. It provides a dedicated surface for work or makeup without occupying precious floor space. When selecting nightstands, look for pieces with open shelving or a single slim drawer to keep the floor visible, which helps the eye perceive more square footage.

Strategic Use of Mirrors

A clear, monochromatic color palette keeps small rooms looking peaceful and large.

Mirrors are the oldest trick in the designer’s handbook, but they remain the most effective for a reason. By placing a large mirror opposite a window, you instantly double the amount of natural light flooding the room. A floor-length leaning mirror or a custom mirrored closet door can add significant depth to the walls.

Choosing the Right Frame

When choosing mirrors, consider the frame style carefully. A thin, metallic frame adds a touch of modern luxury, while a frameless mirror keeps the look seamless and minimalist. For a more traditional “cozy” feel, a wooden frame can add warmth. Always ensure the mirror reflects an attractive area of the room to avoid cluttering the visual space.

Vertical Storage and Organization

When you run out of floor space, the only way to go is up. Vertical storage is vital for keeping surfaces clear and preventing that claustrophobic feeling that comes from clutter. Install floating shelves above the bed or along an empty wall to store books, plants, and decor items.

Consider tall, narrow bookshelves that draw the eye upward, making the ceilings feel higher than they actually are. By keeping the floor clear of stray items, you ensure that the room feels intentional rather than crowded. Remember, the goal is to keep as much “negative space” as possible.

Decluttering for Maximum Impact

Physical clutter is the enemy of a peaceful, small bedroom. Perform an honest audit of your belongings. If an item doesn’t serve a clear purpose or spark genuine joy, it is likely taking up space that could be used for something you truly value. Use decorative boxes that match your decor to hide small items on shelves.

Textiles and Textures for Comfort

Just because a space is small doesn’t mean it shouldn’t feel luxurious. In fact, compact spaces are the perfect environment for tactile, cozy textures. Use high-quality bedding, chunky knit blankets, and plush rugs to create a sense of deep comfort.

However, avoid overdoing it with bold, chaotic patterns that can make the room feel busy. Stick to a monochromatic palette and introduce interest through varied textures—such as a linen duvet paired with a velvet throw pillow or a shaggy faux-fur rug. This adds depth without the visual noise that makes a room feel smaller.

The Minimalism Approach

Adopting a minimalist mindset is perhaps the most liberating choice you can make for a compact bedroom. Minimalism isn’t just about white walls; it is about intentionality. By choosing fewer, better-quality pieces, you allow the room to breathe.

Focus on one “hero” piece of furniture, like a beautiful bed frame, and keep everything else secondary. When every object in the room has a reason for being there, you transform a cramped space into a curated, boutique-style retreat.

Creating Visual Flow

Finally, ensure that there is a clear path of movement through the room. If you have to navigate around obstacles to get to your bed, the room will immediately feel smaller. Keep walkways clear and use furniture with rounded edges to make the room feel softer and more accessible. By creating a smooth transition from the door to the bed, you enhance the overall feeling of spaciousness.

Conclusion

Creating a sanctuary in a limited area is entirely possible when you prioritize light, verticality, and organization. Whether you choose to add a statement mirror, invest in multifunctional storage, or simply declutter your bedside table, these small cozy bedroom ideas provide the blueprint for a home that feels open, airy, and uniquely yours. Start by making one or two of these changes today—you will be surprised at how quickly your room transforms into the peaceful escape you deserve. What project will you tackle first? Share your progress or questions in the comments below!
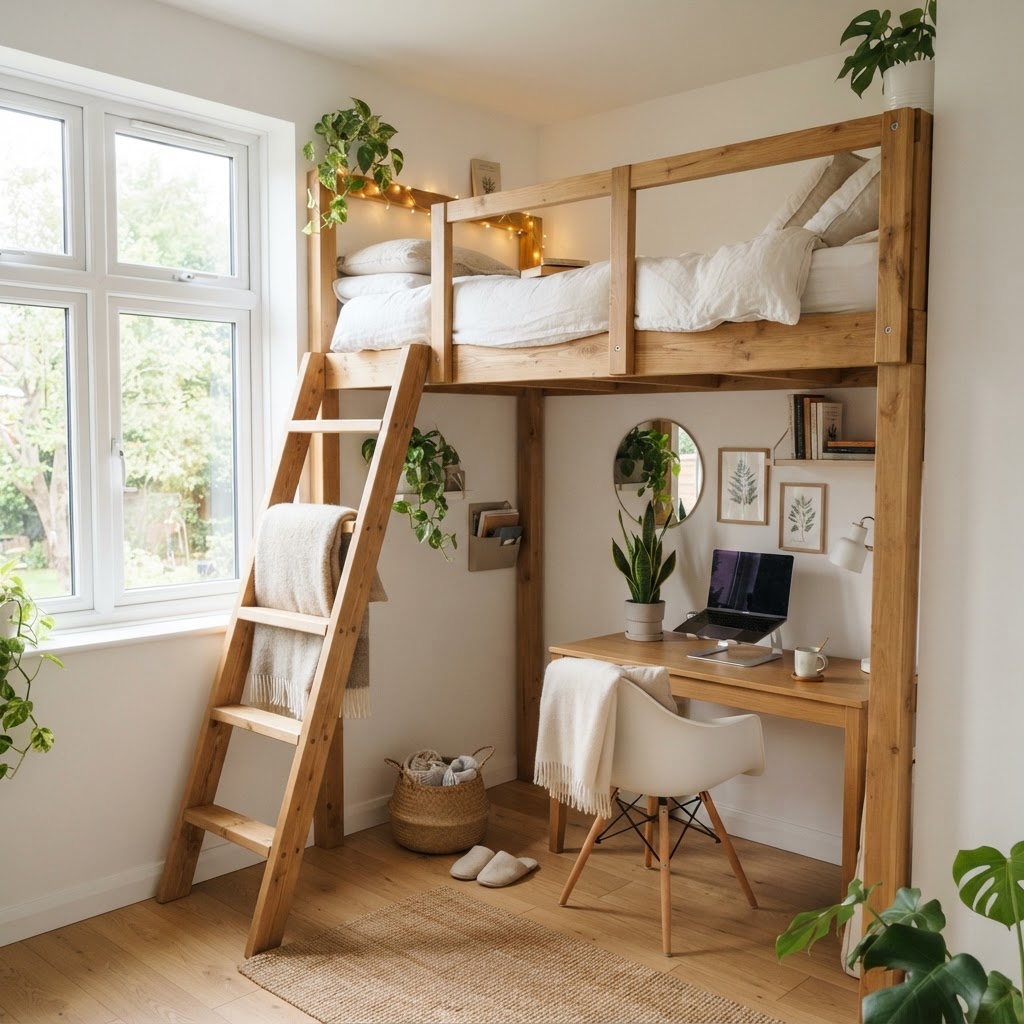
10 Budget-Friendly Small Entryway Ideas for a Stylish Home

First impressions matter, yet the foyer is often the most neglected area of the home. Implementing budget-friendly small entryway ideas can completely transform your living space from a cluttered mess into a welcoming retreat without requiring an expensive renovation. By focusing on smart organization and functional aesthetics, even the tiniest vestibule can become a highly efficient and stylish transition zone. Whether you live in a sprawling home or a compact apartment, the secret to a great entryway lies in clever use of vertical space and purposeful decor choices. Let us dive into how you can elevate your space today.

Assess Your Entryway Needs

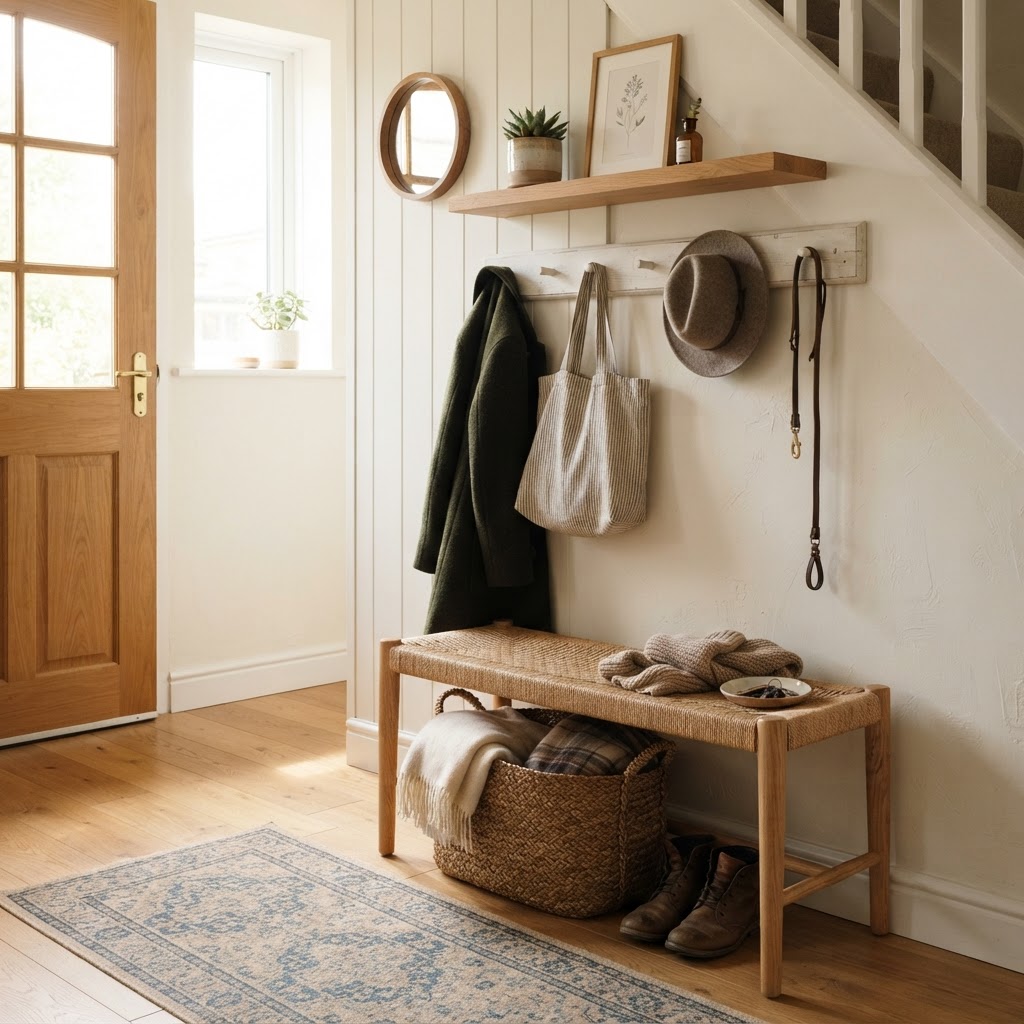
A clean, functional entryway using wall-mounted storage to save space.

Before you pick up a paintbrush or buy new furniture, you must evaluate what your household actually needs from an entryway. Is it a drop zone for mail and keys? Do you have an overflow of shoes that needs concealing? Or is it simply a visual transition between the outside world and your living room?

The Audit Process

Take fifteen minutes to observe your current habits. Track where coats end up when they are not hung, and note if items like umbrellas or dog leashes are currently cluttering your kitchen counters. Once you identify these “pain points,” you can prioritize your spending to solve these functional problems first.

Maximize Vertical Storage Potential

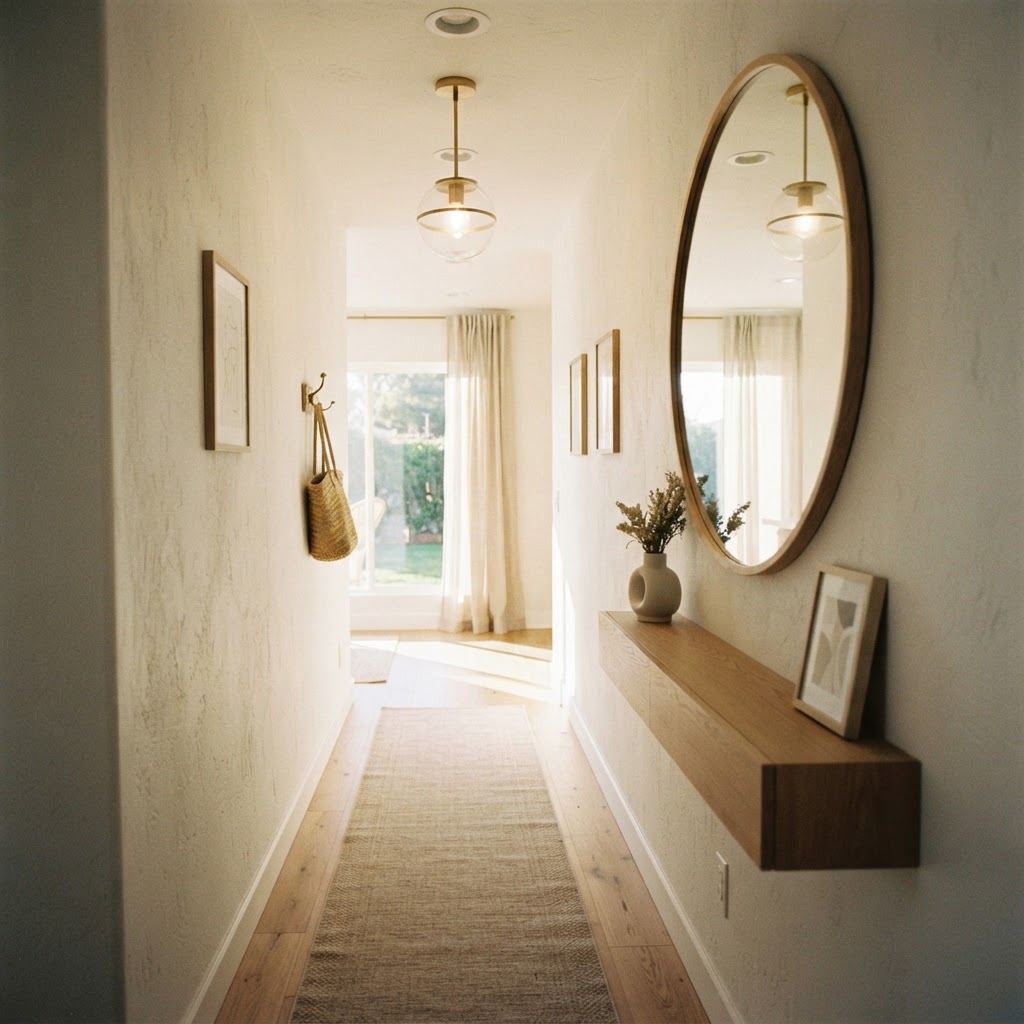
Use mirrors to make a small entryway feel twice as large.

When floor space is limited, the only way to go is up. Utilizing your walls is one of the most effective budget-friendly small entryway ideas available to modern homeowners. Installing wall-mounted solutions clears the floor, making the entire room feel larger and less chaotic.

Floating Shelves and Peg Rails

Floating shelves are incredibly affordable and provide the perfect surface for small baskets or a decorative tray. Pair these with shaker-style peg rails, which are classic, inexpensive, and incredibly versatile. You can paint these the same color as your walls to help them blend in and minimize visual clutter.

Lighting Tweaks for Instant Atmosphere

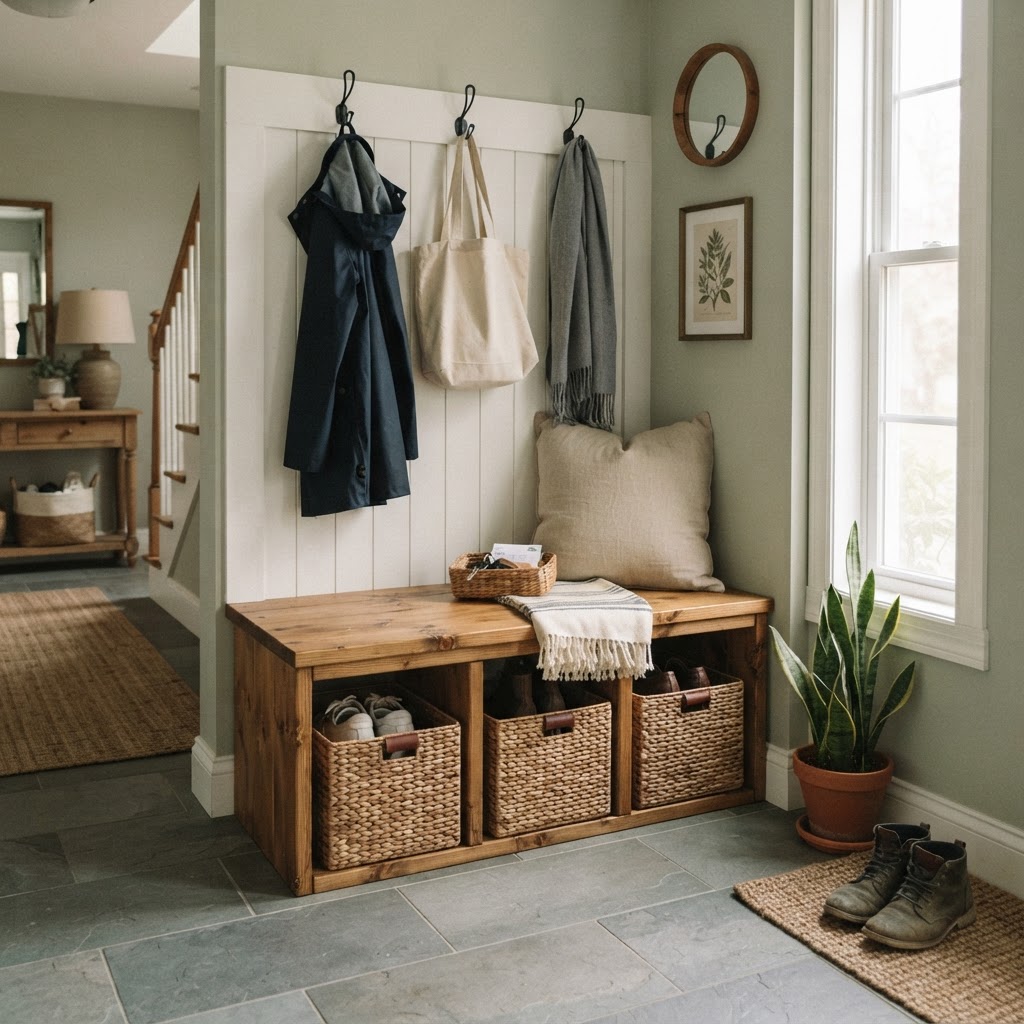
A simple DIY bench provides both seating and hidden shoe storage.

Lighting is the “jewelry” of interior design. A dim or poorly lit entryway can feel cramped and unwelcoming. You do not need to rewire your entire home to improve the light; many cost-effective solutions exist to brighten up your foyer.

Layer Your Light Sources

If you have a ceiling outlet, swap the existing builder-grade fixture for a budget-friendly statement pendant or flush mount. If you lack hardwired lighting, consider using a rechargeable motion-sensor wall sconce. These are easily installed with adhesive or small screws and provide a high-end look without any electrical work.

Creative DIY Shoe Storage

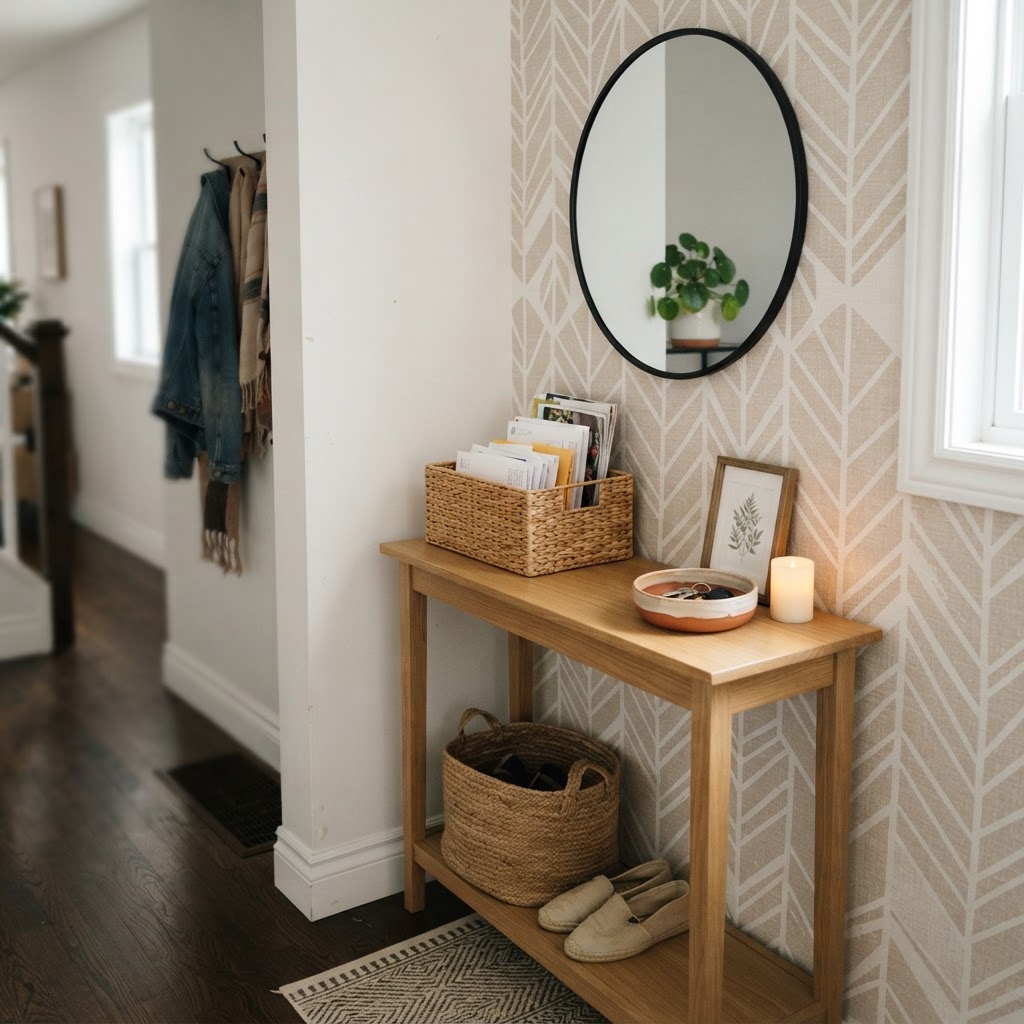
Styling your console table keeps essentials organized and accessible.

Shoes are usually the primary culprit behind entryway clutter. Finding the right storage that fits a tight hallway can be difficult with standard furniture. This is where DIY solutions shine, offering custom fits for a fraction of the cost of luxury cabinetry.

Bench and Basket Systems

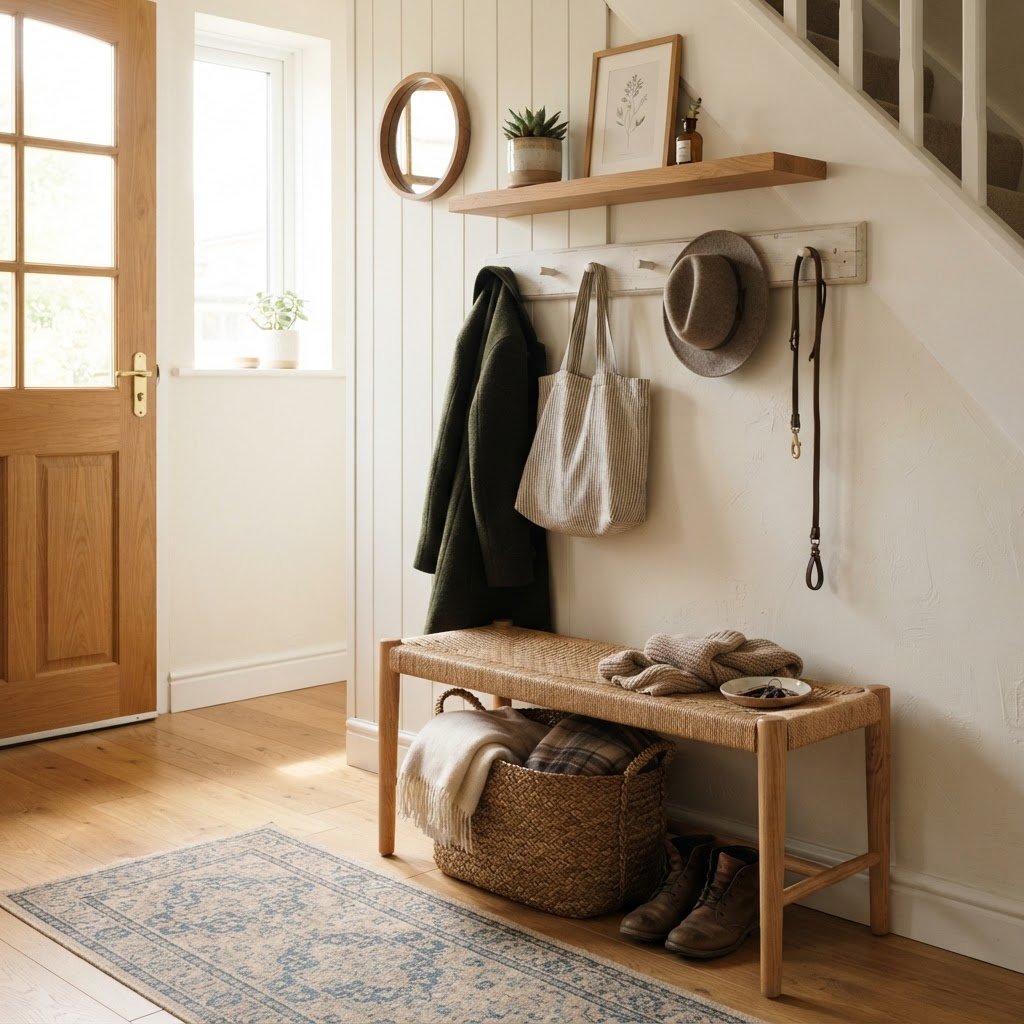
Building a simple bench out of wood planks and placing woven baskets underneath is a timeless, budget-friendly small entryway idea. The bench provides a place to sit, while the baskets offer an “out-of-sight, out-of-mind” solution for sneakers and boots. Use uniform baskets to maintain a cohesive, clean appearance throughout the space.

Mirrors as Architectural Tools

Mirrors are a designer’s favorite trick for small spaces. They create the illusion of depth and reflect light, effectively doubling the visual square footage of a tiny foyer. You can find beautiful, vintage-style mirrors at thrift stores for a fraction of retail prices.

Where to Place Your Mirror

Ideally, place your mirror across from your doorway or a light source to maximize reflection. A full-length mirror is also practical for last-minute outfit checks before leaving the house. If your space is extremely narrow, consider a console-mounted mirror rather than a floor-standing one to keep the traffic path clear.

Curating a Mini Gallery or Statement Wall

Even if your entryway is just a sliver of wall, you can make it a focal point with a little creativity. A gallery wall of family photos or a bold wallpaper accent can turn a boring transition area into an intentional design feature.

Budget-Friendly Wallpaper Hacks

If you are renting or afraid of commitment, peel-and-stick wallpaper is your best friend. It is affordable, easy to install, and entirely removable. Choose a pattern that adds character without overwhelming the small footprint of your entryway.

Maintenance and Seasonal Rotation

Maintaining a small entryway requires discipline. Because you have less storage space, you cannot allow unnecessary items to accumulate. Implement a seasonal rotation system to keep your foyer lean and functional.

The Seasonal Swap List

  • Winter: Store umbrellas and heavy winter coats in an upstairs closet to make room for boots.
  • Spring: Move heavier gear out and place a decorative umbrella stand near the door.
  • Summer: Clear out the space for lightweight sandals and sun hats.
  • Autumn: Prepare the transition area for back-to-school bags and light jackets.

This cyclical process ensures your entryway remains a helpful assistant to your daily life rather than a source of stress.

Conclusion

Creating a beautiful space does not require a massive budget or square footage. By focusing on these budget-friendly small entryway ideas, you can ensure that your home starts on the right note the moment you walk through the door. Remember that every item in your foyer should either serve a purpose or bring you joy. Start by decluttering today, and then choose one DIY project from this guide to kick off your transformation. Your home deserves a foyer that feels just as inviting as the rest of your space. Are you ready to get started on your entryway upgrade? Grab your measuring tape and share your progress in the comments below!
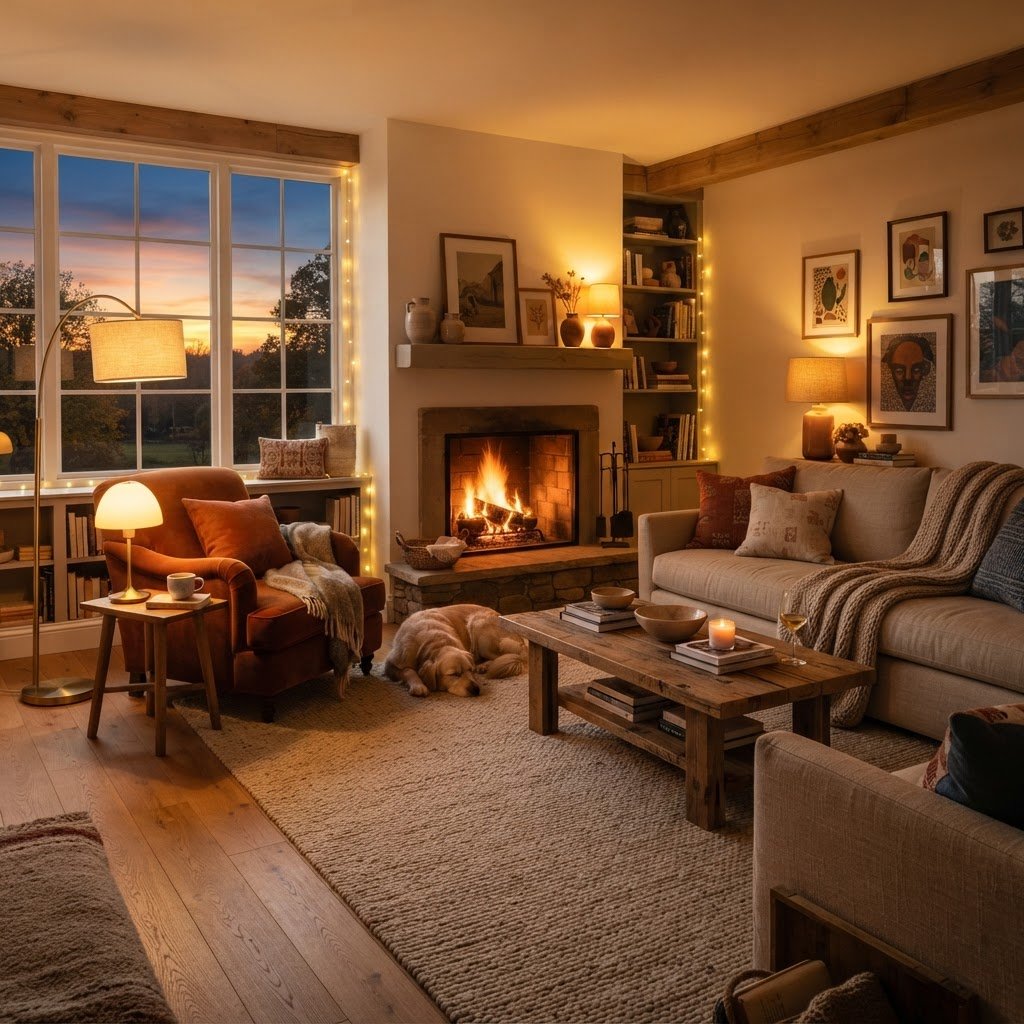
Aesthetic Mood Lighting Ideas for Modern Apartment Living Rooms

Transforming your home into a sanctuary requires more than just furniture and decor; it requires the right ambiance. Aesthetic mood lighting ideas for modern apartment living rooms are essential for turning a standard rental or condo into a personalized retreat. Lighting dictates how we feel in a space, shifting a room from a cold, sterile box to a warm, inviting haven after a long workday.

The Philosophy of Layering Light

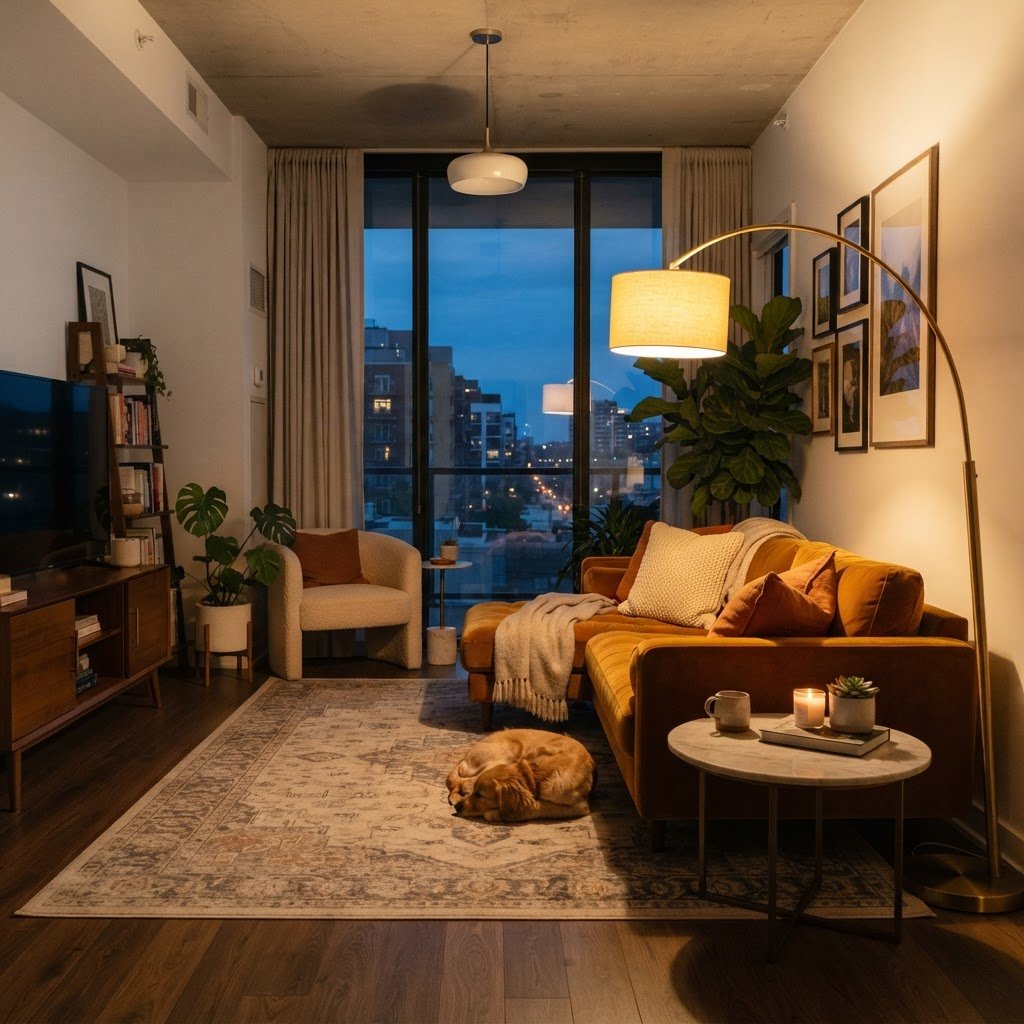
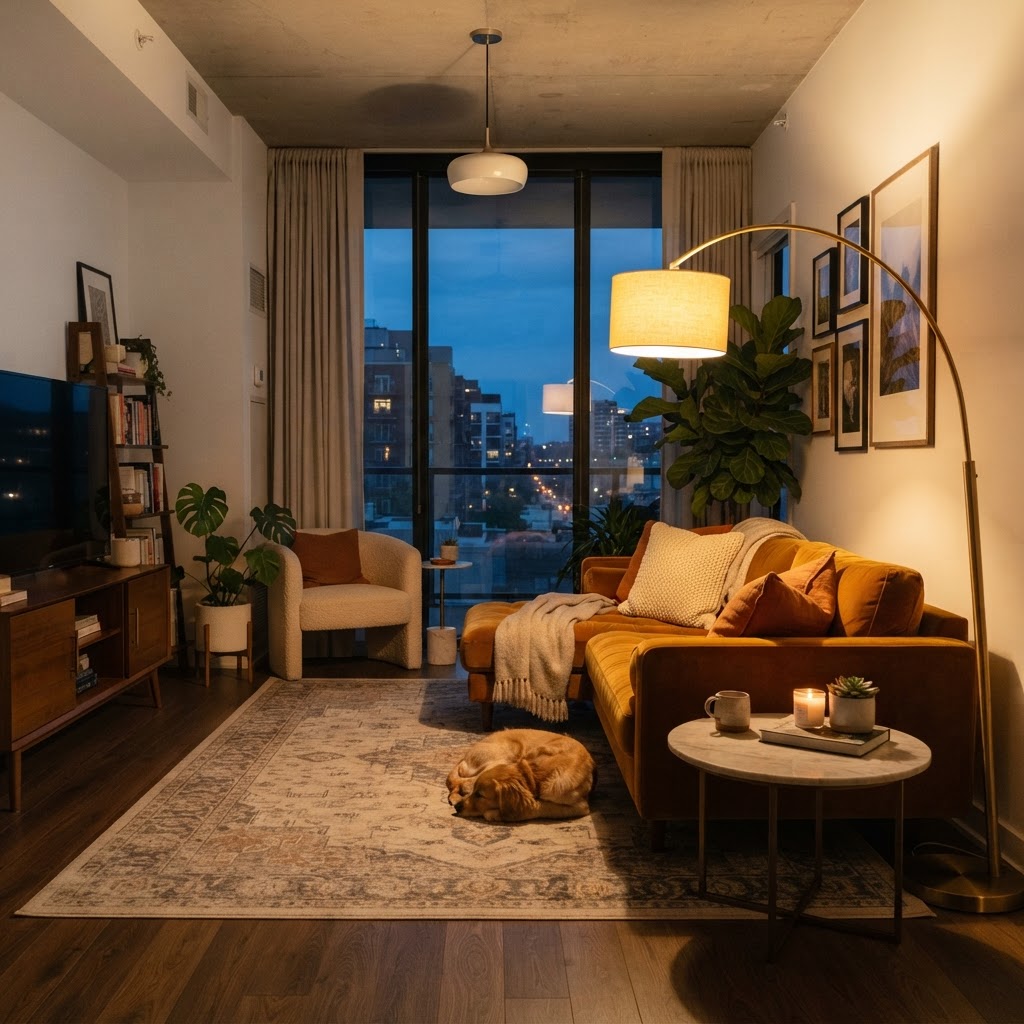
Warm floor lamps create an instant sense of home in modern apartments.

To master your lighting, you must first understand the three layers of light: ambient, task, and accent. Ambient lighting provides general illumination, while task lighting helps you focus on specific activities like reading or working. Accent lighting adds character, highlighting architectural features or artwork to create a more sophisticated aesthetic mood in your modern apartment living room.

Most apartment dwellers rely solely on a single overhead “boob light,” which is the enemy of ambiance. By turning off the main ceiling fixture and utilizing smaller, localized light sources, you create depth and shadow. This creates an immediate feeling of luxury and comfort, regardless of your square footage.

Incorporating Warmth with Floor Lamps

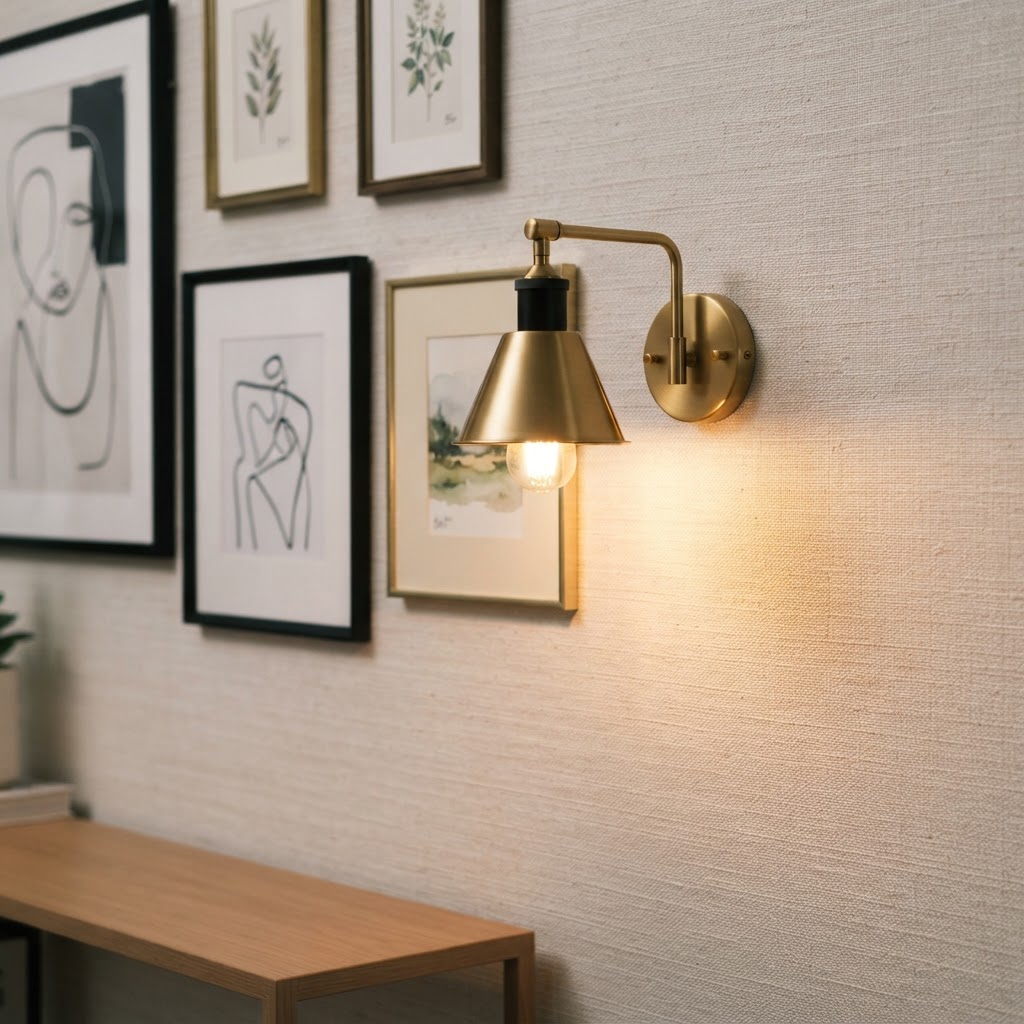
Wall sconces add a sophisticated, hotel-like touch to any wall.

Floor lamps are the workhorses of mood lighting. For small spaces, opt for slim profiles or tripod-style lamps that take up minimal floor space while providing significant height. Placing a floor lamp in a dark corner of your living room can instantly pull that corner into the main layout, making the room feel larger and more connected.

Choose lamps with fabric shades to soften the glow, or look for brass and matte black finishes that reflect current interior design trends. If your ceiling height allows, an arched floor lamp is a perfect way to bring light over a sofa without requiring complex electrical installation, which is a major benefit for apartment renters.

The Magic of Table Lamps and Accent Pieces

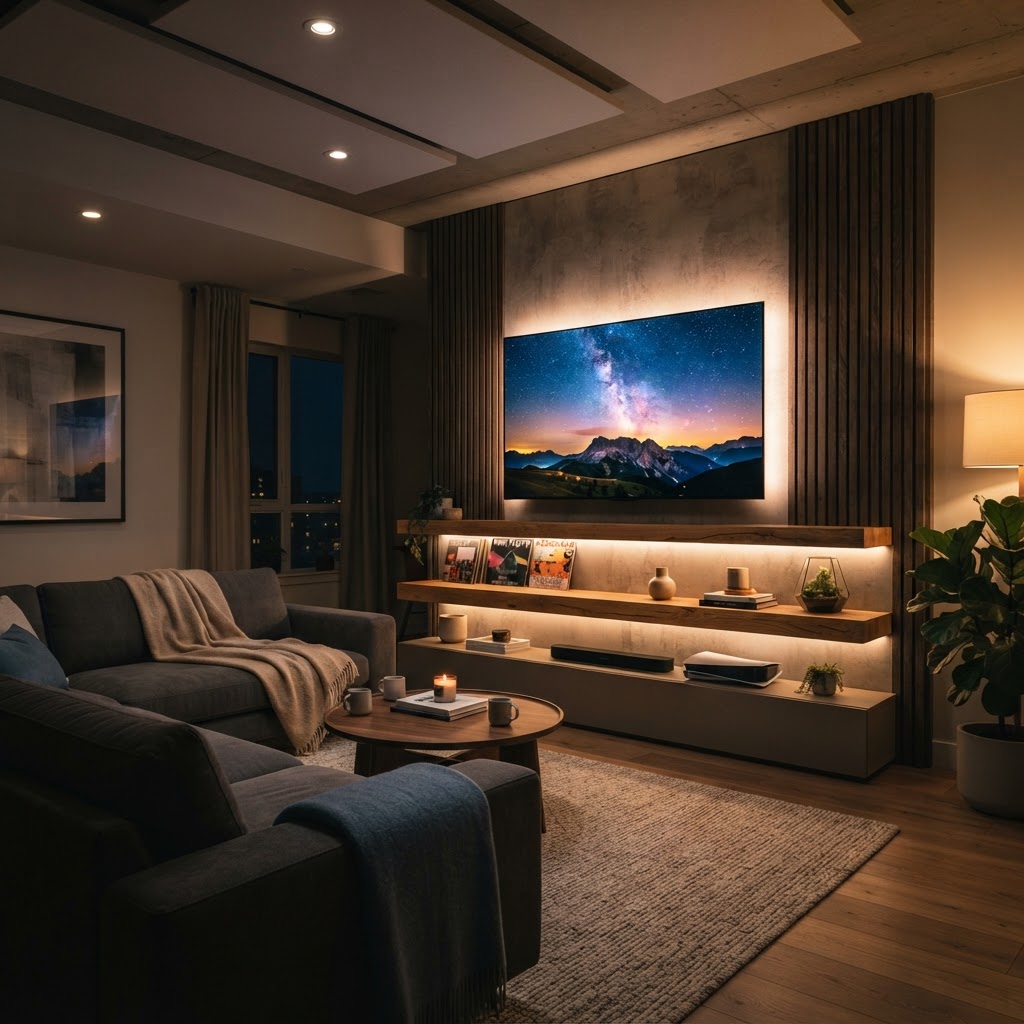
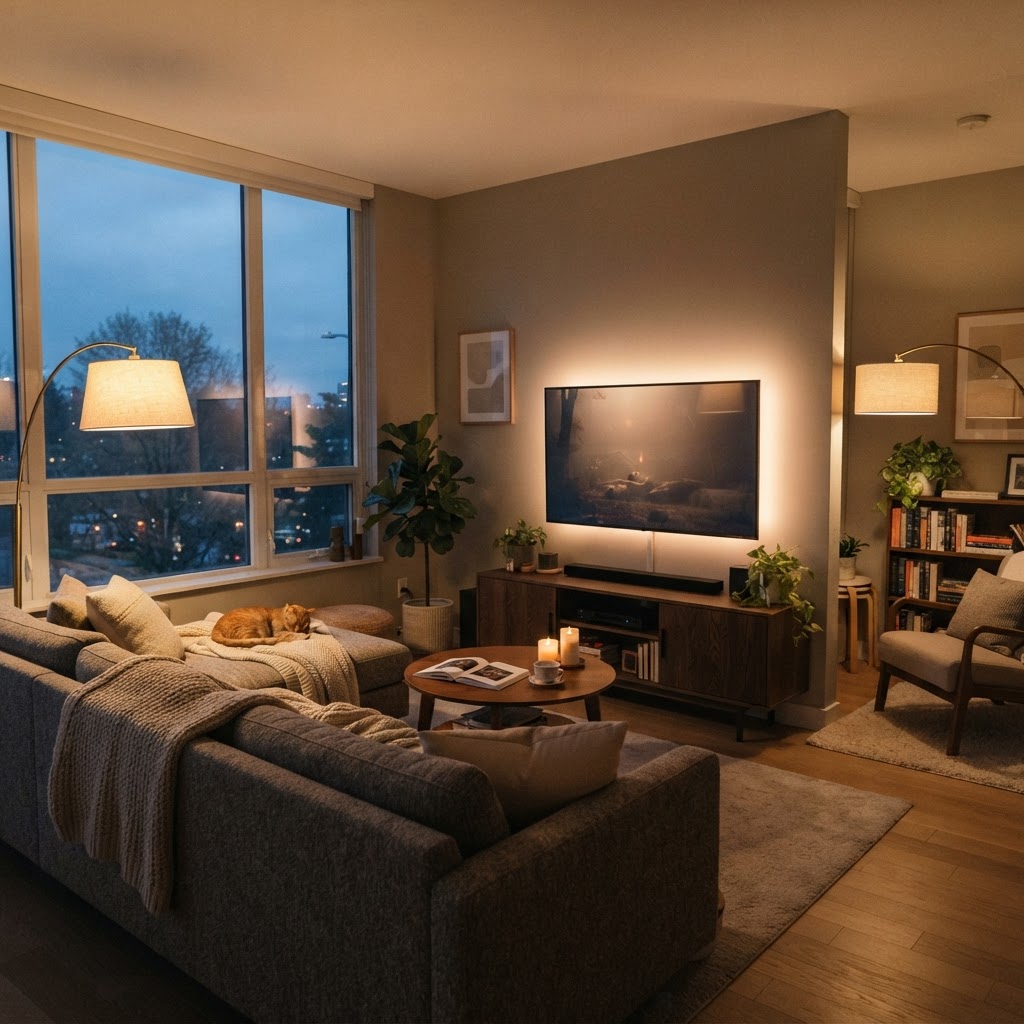
Indirect LED lighting creates a cinematic and modern atmosphere.

Table lamps are the jewelry of your living room. They act as sculptural elements during the day and provide intimate pockets of light at night. For the best aesthetic mood lighting ideas, aim for symmetry by placing matching lamps on side tables flanking your sofa.

Alternatively, use decorative accent lamps on open shelving or console tables. These lower-level lights draw the eye down, creating a sense of intimacy that is perfect for movie nights or quiet evenings. Consider using vintage-style Edison bulbs to introduce a warm, nostalgic glow that adds texture to your walls.

Embracing Smart Lighting Solutions

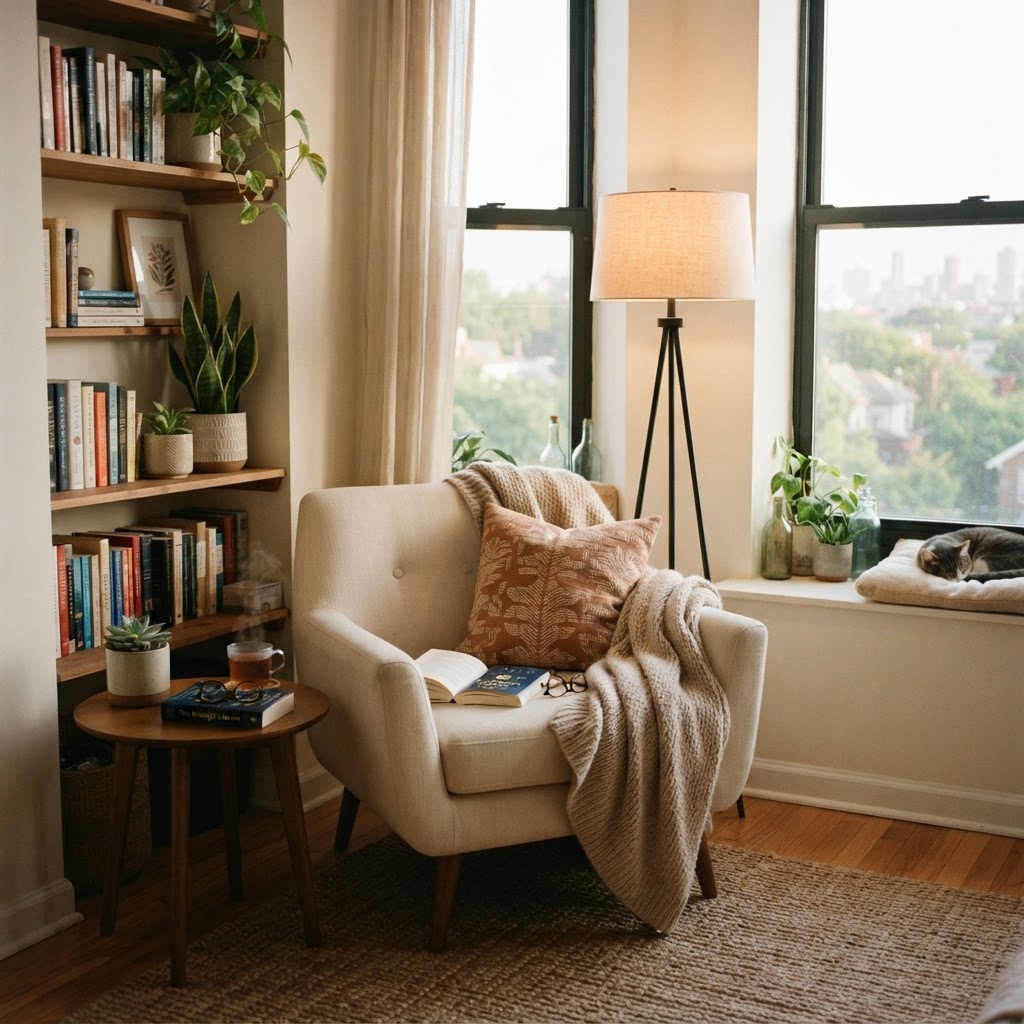
Create a dedicated reading nook with focused, warm accent lighting.

Smart lighting has revolutionized modern apartment living. With smart bulbs or light strips, you can control the color temperature and brightness of your space via a smartphone app or voice command. This is particularly useful for renters who want to change the mood of their room instantly without changing fixtures.

Install LED light strips behind your television or under floating shelves to create a “floating” effect. This indirect light is soft on the eyes and provides a high-end, cinematic feel. Many smart systems also allow for scheduling, meaning your apartment can automatically transition to a warmer, dimmer setting as the evening progresses.

Vertical Light and Wall Accents

Wall sconces are often overlooked, but plug-in wall sconces are a game-changer for renters. They provide a high-end look without needing to call an electrician. Mounting these on either side of a piece of artwork or a mirror serves double duty by highlighting your decor while contributing to the overall ambient glow.

If you prefer not to drill holes, look for rechargeable magnetic sconces that attach to metallic surfaces. Using light to wash walls in color or soft white light makes the perimeter of the room feel more expansive. This technique is often used by designers to make tiny apartments feel significantly more open.

Benefits of Vertical Lighting

  1. It draws the eye upward, making ceilings look higher.
  2. It highlights wall textures like brick or gallery art.
  3. It reduces glare compared to traditional downlighting.
  4. It creates a soft bounce-back light that is very flattering.

Choosing the Right Bulb Temperature

Bulb temperature is measured in Kelvins (K). For a cozy, inviting atmosphere, you should stick to “warm white” bulbs, usually falling in the 2700K to 3000K range. Avoid “daylight” bulbs or anything above 4000K, as these create a blue, clinical light that mimics office buildings or hospitals.

When testing lighting, buy a few different types of bulbs and swap them out throughout the evening. You will notice that the right color temperature can make wood tones in your furniture look richer and wall colors appear more intentional. Consistency in color temperature across your lamps is key to a cohesive, professional look.

Curating Your Cozy Nook

Every apartment living room benefits from a dedicated “nook.” This might be a reading chair in a corner or a window seat. By focusing your mood lighting specifically on this area, you create a “room within a room.” Use a dedicated task lamp here that is slightly brighter than the rest of the living room lighting.

Pair this with a dimmable light source nearby to balance the brightness. The goal is to ensure that your eyes don’t struggle to adjust when you look away from your task. A well-lit nook is the ultimate way to utilize your space for relaxation during the evening hours.

Conclusion

Mastering aesthetic mood lighting ideas for your modern apartment living room is all about experimentation and intentionality. By layering your light sources, focusing on warm color temperatures, and integrating smart technology, you can elevate your space into a stunning, cozy environment. Don’t be afraid to mix styles and heights to see what works best for your specific floor plan.

Start your lighting transformation today by replacing one overhead bulb with a warm-toned option or adding a simple floor lamp to your darkest corner. Share your progress and show us how you’ve brightened your space!
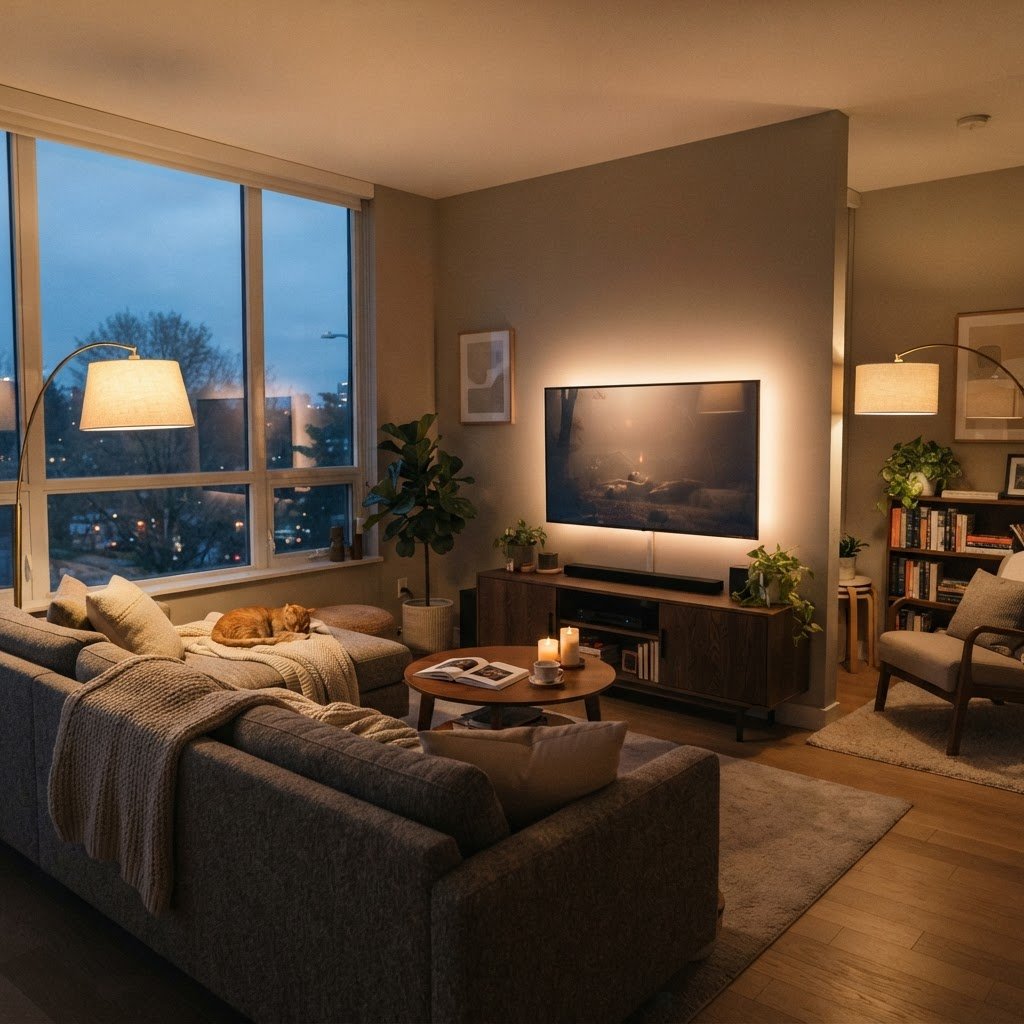
8 Affordable Lighting Upgrades That Transform a Rental

Living in a rental property often means dealing with sterile, generic overhead lighting that does little to create a cozy atmosphere. Fortunately, you do not need to perform major electrical work to change the look and feel of your home. By implementing a few affordable lighting upgrades that transform a rental, you can add personality, warmth, and function to your space while ensuring everything remains completely reversible for when you eventually move out.

The Power of Layered Lighting

Layering floor lamps creates a cozy atmosphere.

Most rentals suffer from a lack of light layering, which results in a harsh, flat environment. To change this, you need to incorporate three types of illumination: ambient, task, and accent lighting. Ambient lighting provides general illumination, task lighting helps you focus on specific activities, and accent lighting highlights decor or architectural features.

Focusing on these layers allows you to control the mood of each room independently. Even without hardwiring new fixtures, you can achieve this by plugging in multiple sources throughout the room. Start by assessing where your current light falls short and prioritize those dark corners first.

Swapping Out Basic Light Bulbs

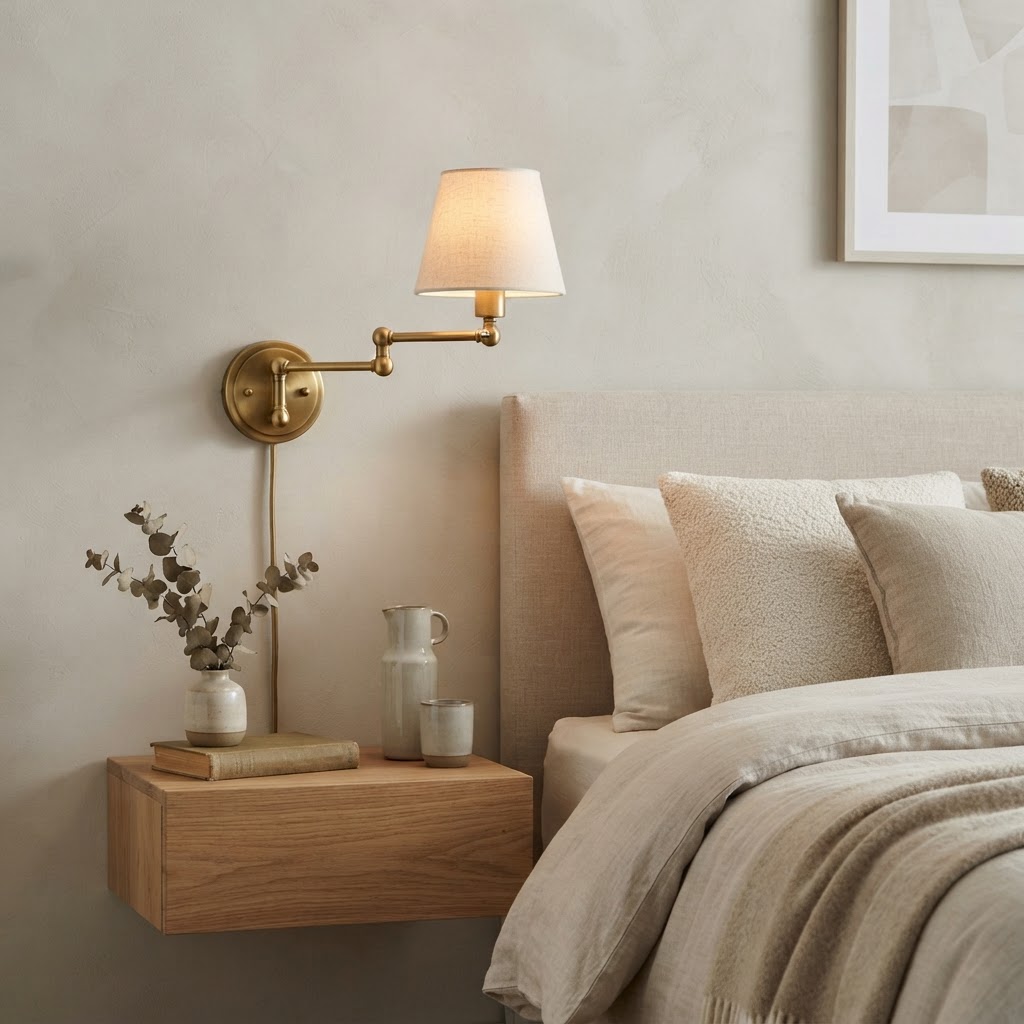
Plug-in sconces add sophistication to any bedroom.

The quickest and most cost-effective way to change your space is to replace the standard, cool-toned bulbs provided by your landlord. Many rentals come with harsh 5000K daylight bulbs that can make a living room feel like a sterile office. Switching to warm white bulbs, typically in the 2700K to 3000K range, immediately creates a softer, more inviting glow that mimics candlelight.

Why Color Temperature Matters

Color temperature is measured in Kelvin, and it dictates the “vibe” of the light. Lower numbers yield warmer, yellow-orange light, while higher numbers produce cooler, blueish light. By standardizing your bulbs throughout your apartment, you create a cohesive visual flow that makes smaller spaces feel larger and more intentional.

Utilizing Plug-In Sconces

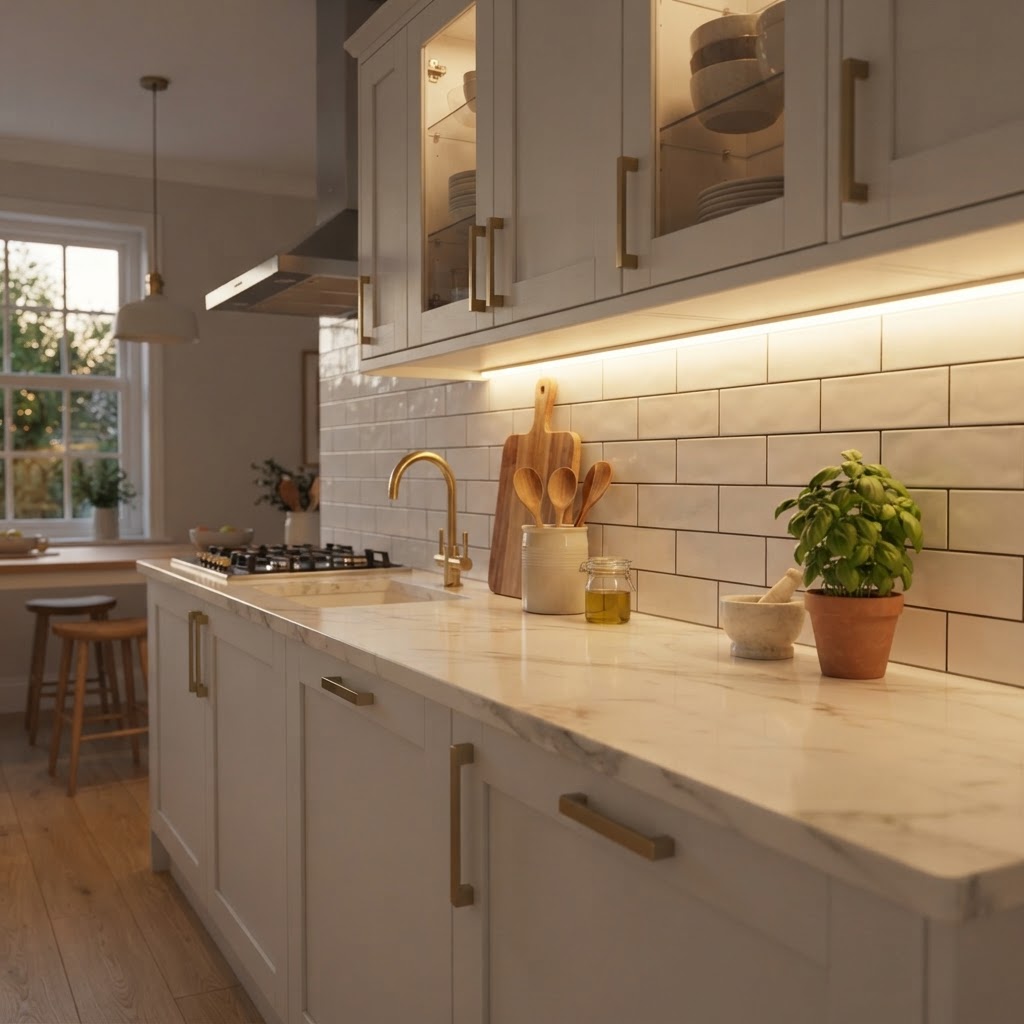
Under-cabinet LED strips make cooking easier.

Wall sconces add an instant sense of sophistication to any bedroom or living room, but hardwiring is usually out of the question for renters. Fortunately, plug-in wall sconces have become a staple in the design world, offering a high-end look without needing to touch existing electrical boxes. These fixtures attach to your wall using simple screws or even heavy-duty adhesive hooks, and their cords can be easily hidden with cable covers.

Choose models that feature adjustable arms or swing-out mechanics to provide directed task lighting over a reading nook or bedside table. These pieces serve as functional art, elevating the aesthetic of your walls while providing essential illumination exactly where you need it most.

Incorporating Smart Lighting Systems

A well-placed floor lamp defines your reading nook.

Smart bulbs and light strips are among the most versatile affordable lighting upgrades that transform a rental apartment because they do not require any physical installation changes. With systems like Philips Hue or Govee, you can change the color, intensity, and schedule of your lights using just your smartphone or voice commands.

Why Smart Lighting Wins

Smart bulbs allow you to create “scenes,” such as “Movie Night” or “Morning Routine,” by adjusting the color temperature and brightness of individual fixtures simultaneously. This technology is a game-changer for multi-purpose rooms where you need bright task lighting during the day and dim, relaxing light in the evening.

Maximizing Floor and Table Lamps

When overhead lighting is non-negotiable or outdated, floor lamps and table lamps become your best friends. They provide a “grounding” effect in a room, drawing the eye downward and making ceilings feel higher. Look for lamps with sculptural bases or unique shades that match your personal interior design style.

Strategic Lamp Placement

To make the most of your lamps, place them in the corners of your room to bounce light off the walls. This technique fills in dark voids and creates a soft, diffused ambient glow that makes a room feel more spacious and well-lit. Consider placing a lamp behind a large plant or beside a bookshelf to add depth to your decor.

Installing LED Strip Lighting

LED light strips are perfect for renters because they come with peel-and-stick adhesive backings that are easy to remove later. You can install these behind your television to create a cinematic bias lighting effect or underneath kitchen cabinets to serve as under-cabinet task lighting for cooking.

Because these strips are low-profile, they remain hidden from view, providing a clean, professional finish. They are particularly effective in kitchens where the lack of under-cabinet lighting makes counter work difficult and frustrating. You can find options that are battery-operated or plug-in, making them suitable for any area of your rental.

Adding Decorative Fairy Lights

For a whimsical or bohemian touch, consider adding high-quality fairy lights or string lights to your living space. While they are often associated with dorm rooms, when used tastefully, they can add a romantic and cozy ambiance to a bedroom or balcony.

Choose lights with copper wire or warm white bulbs for a clean, minimalist look. You can drape them over curtain rods, weave them through a headboard, or place them inside a large glass jar to create a portable, decorative light feature that brings warmth to your home.

Using Cord Management Solutions

One of the main aesthetic drawbacks of adding extra lighting to a rental is the mess of visible electrical cords. Managing these cables is crucial to ensuring your lighting upgrades look professional rather than cluttered. Use adhesive cord clips, paintable raceways, or decorative cord covers that match your wall color to keep everything tidy.

Hiding Cords Creatively

You can also camouflage cords by running them behind heavy furniture, through a hollow curtain rod, or by wrapping them in decorative rope to turn the cord itself into a design element. By tidying up the wiring, your lighting upgrades will feel like integrated design choices rather than temporary additions.

Conclusion

Transforming your rental does not require expensive renovations or landlord approval. By focusing on these eight affordable lighting upgrades that transform a rental, you can create a beautiful, custom space that feels like a true home. Remember to start with warm-toned bulbs, layer your lighting with lamps, and use smart technology to get the most out of your setup. Your home should be a reflection of your personality—start experimenting with these simple light solutions today and see the difference it makes in your daily life. If you found these tips helpful, subscribe to our newsletter for more renter-friendly home decor inspiration!