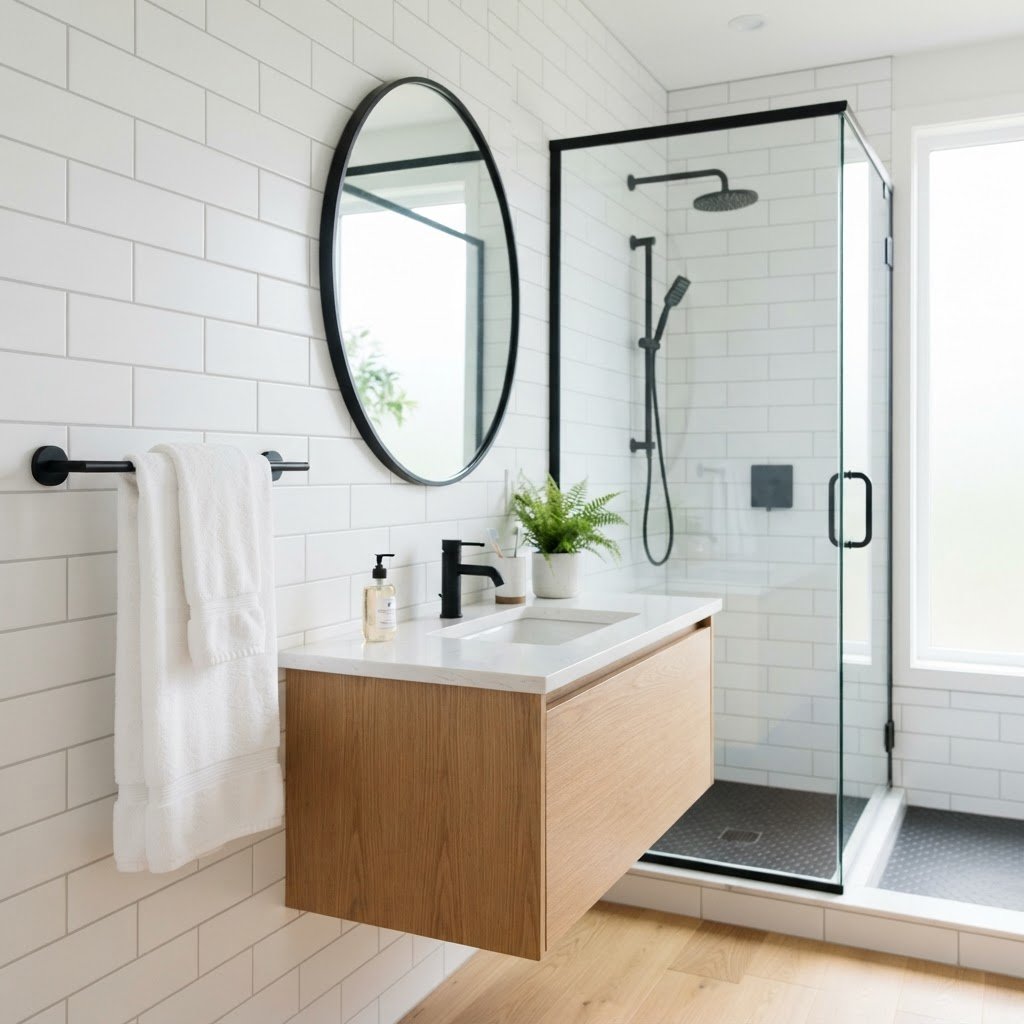
5 No-Drill Bathroom Upgrades That Look Expensive
To achieve a luxury bathroom look without drilling, focus on swapping builder-grade hardware for matte black or brushed brass adhesive fixtures, installing peel-and-stick tile decals, using warm LED lighting, incorporating natural stone storage, and layering hotel-quality textiles. These five non-permanent upgrades deliver a high-end, boutique aesthetic without damaging walls or requiring tools.
The Power of Non-Permanent Decor
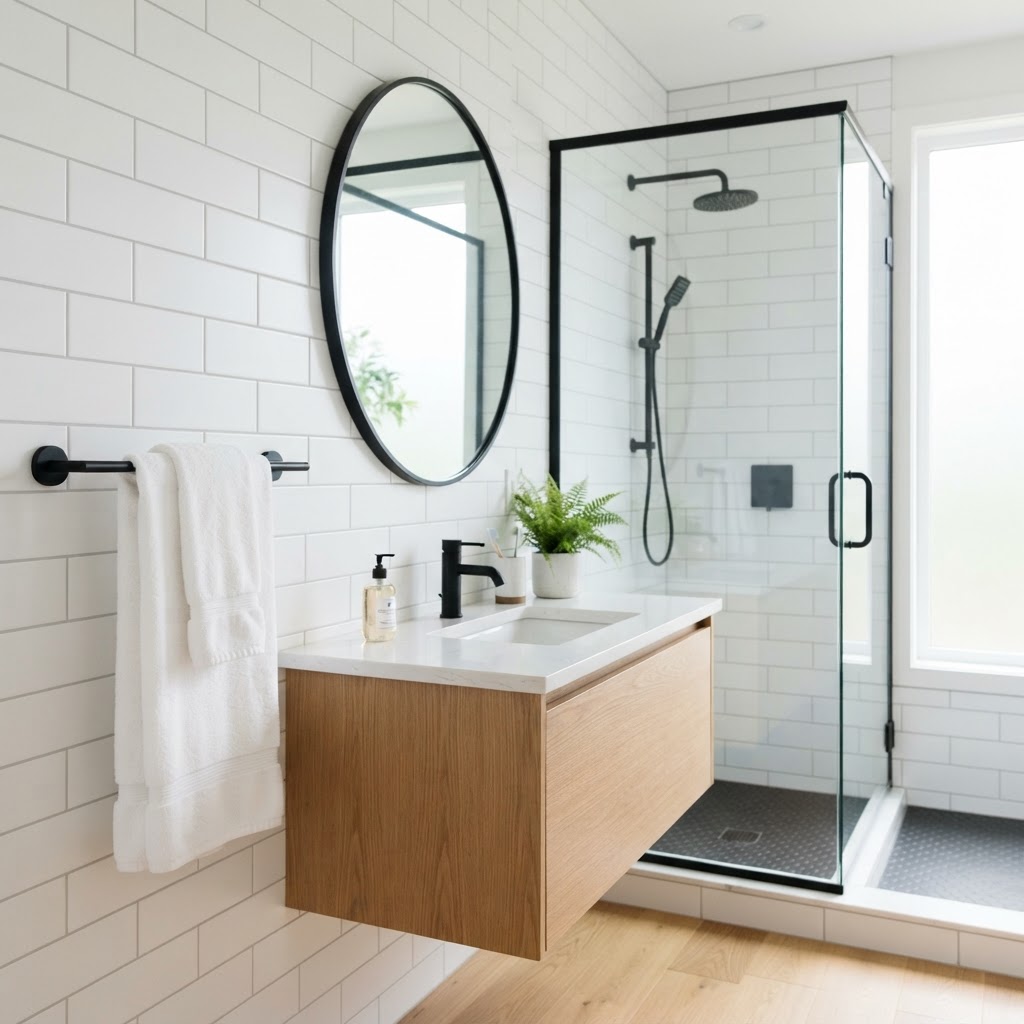
Modern engineering now offers high-strength adhesive and tension-based systems that provide a secure, reliable hold for bathroom accessories without the need for a drill. The secret to ensuring these temporary upgrades look expensive lies in the intentional selection of materials; prioritize premium finishes like matte black, brushed brass, or materials like resin and bamboo over plastic alternatives. By utilizing high-quality materials, you create a sophisticated atmosphere that feels permanent, providing the aesthetic benefits of a renovation without the long-term commitment or lease-violating damage. This approach allows you to achieve a boutique hotel style that is easily reversible or modifiable as your design preferences shift over time, making it the ideal solution for both savvy renters and homeowners seeking weekend efficiency.
Upgrade 1: Swapping Out Builder-Grade Hardware
Replacing standard, shiny chrome builder-grade hardware with cohesive, industrial-strength adhesive fixtures instantly elevates the perceived value of your bathroom. Towel bars, robe hooks, and toilet paper holders featuring advanced adhesive backings are engineered to bond securely to non-porous surfaces like polished tile, glass, or marble vanity backsplashes.
The Art of Selecting Finishes
Consistency in metal finishes is the hallmark of a professional interior design scheme, so choose one finish, such as matte black, and repeat it across all hardware to create a unified design language. Avoid mixing metals, as excessive variation creates visual clutter that cheapens the room’s impact; instead, ensure your faucet, soap dispenser, and towel rack share a common metallic tone.
Installation Tips for Success
Proper surface preparation is mandatory for a 20lb+ weight-bearing capacity; scrub the installation area with 70% isopropyl alcohol to remove hidden soap scum or silicone residue. Once clean, apply the adhesive fixture with firm pressure for a full 60 seconds and strictly adhere to a 24-hour curing period before placing weight on the unit to ensure the chemical bond is fully set.
Upgrade 2: The Magic of Boutique-Style Lighting
Lighting functions as the jewelry of the bathroom, and you can achieve a soft, ambient glow by integrating battery-operated, motion-sensor LED wall sconces that mimic the look of hardwired fixtures. These wireless units often include aesthetic mounts that hide the battery compartment, allowing you to place “wall-mounted” lighting anywhere without hiring an electrician or punching holes in drywall.
Warmth vs. Cool Tones
For a luxury aesthetic, strictly control your color temperature by selecting bulbs or LED strips in the 2700K to 3000K range, which eliminates the sterile, clinical appearance of standard 5000K daylight-toned bathroom bulbs. Additionally, installing a thin, adhesive-backed LED strip under the vanity edge creates a sophisticated “floating” effect, providing soft, indirect illumination that adds depth to the floor area and enhances the room’s overall high-end ambiance.
Upgrade 3: Elevating the Vanity with Decorative Storage
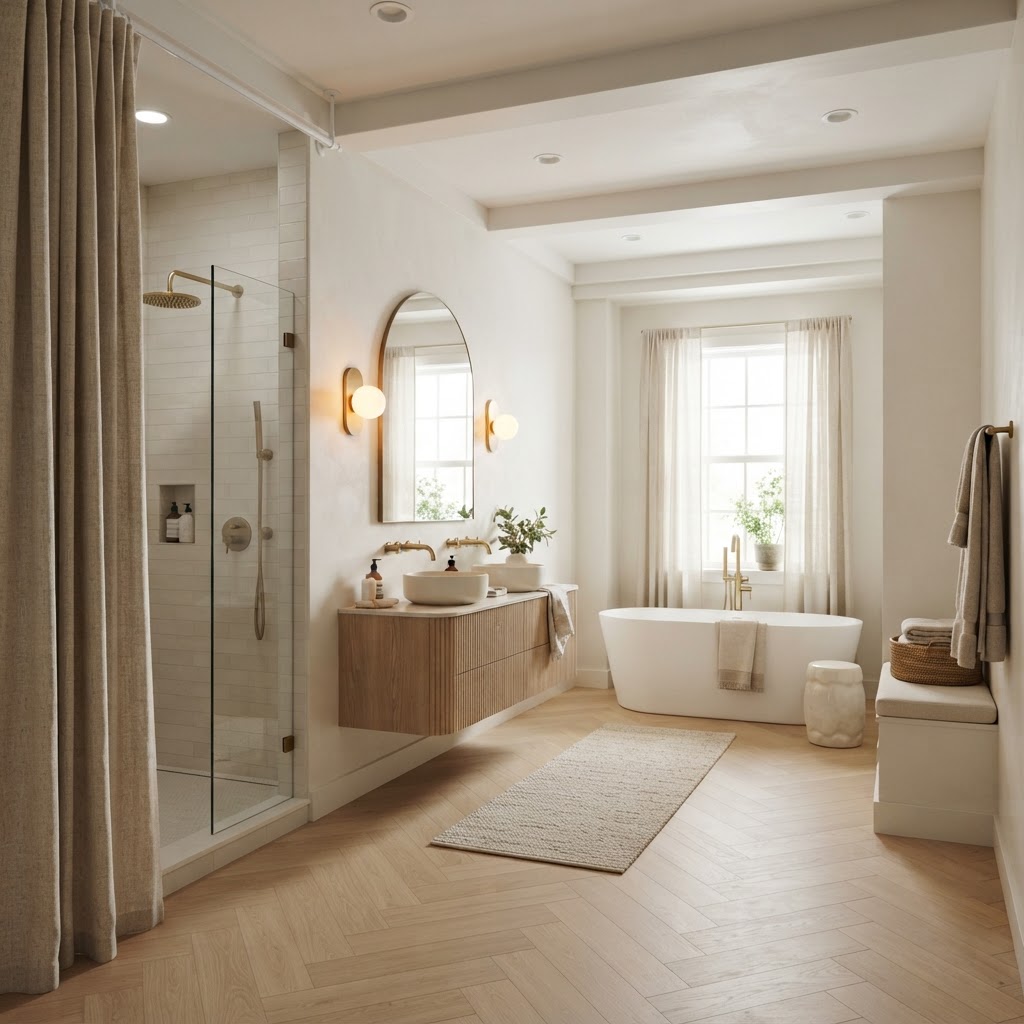
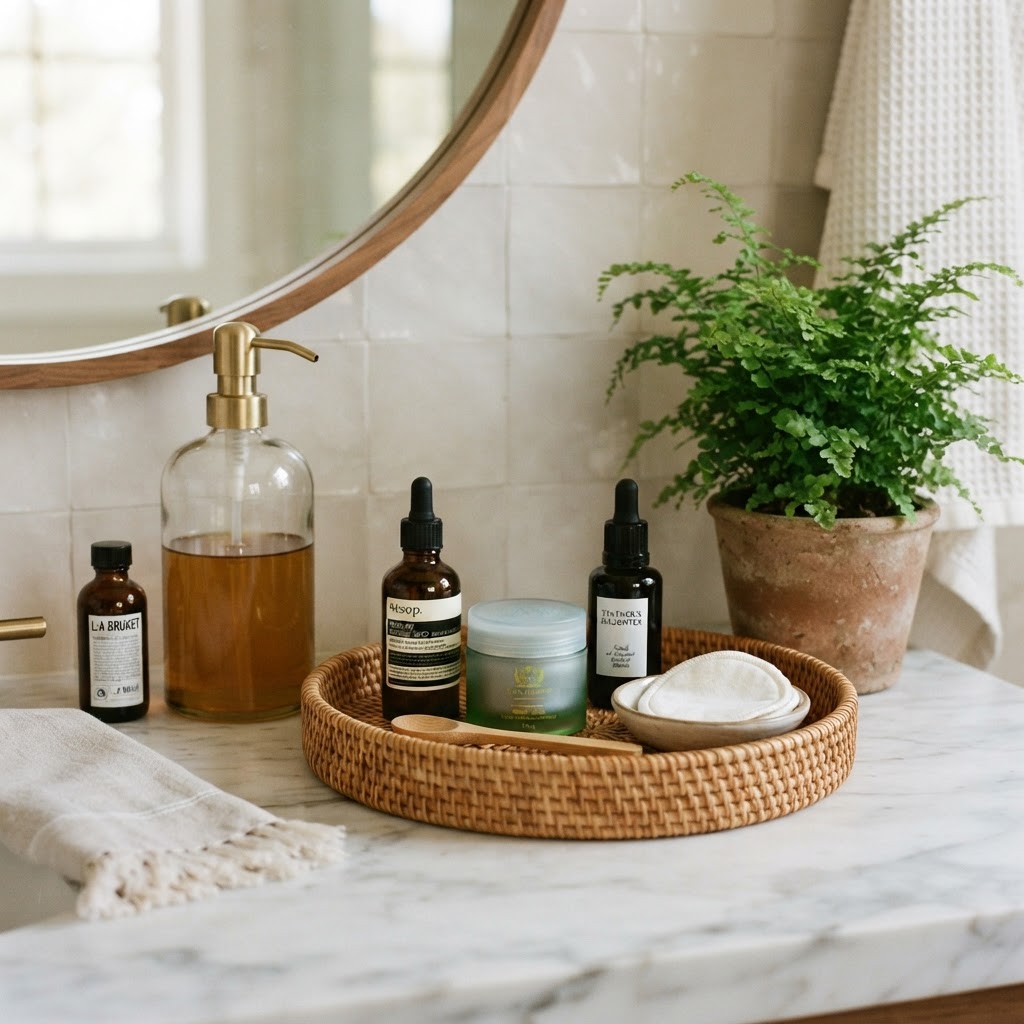
Clutter is the primary enemy of a luxury bathroom; you can reclaim your space by using high-end, no-drill storage solutions like natural stone trays, woven rattan baskets, or minimalist glass canisters. By consolidating miscellaneous personal care items into organized vessels, you transform a disorganized counter into a curated, boutique-style display that feels intentional and clean.
For the shower area, skip the over-the-shower-head plastic racks and invest in a high-tension corner pole caddy finished in brushed nickel or matte black. These units use a spring-loaded tension system to bridge floor-to-ceiling gaps, providing stable, multi-tier storage that keeps the shower floor clear of bottles, maintaining a minimalist, upscale silhouette.
Upgrade 4: Peel-and-Stick Tile Decals
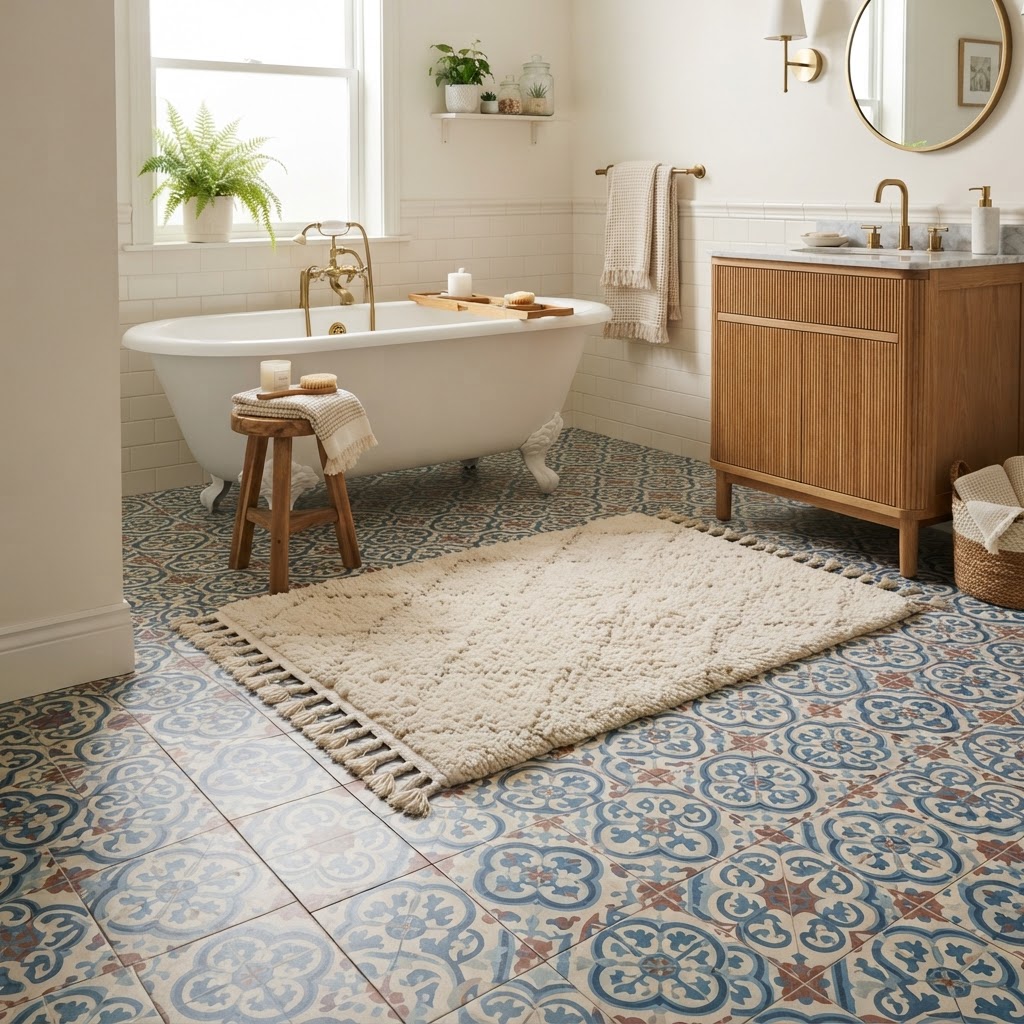
Peel-and-stick vinyl tiles or floor decals offer a dramatic, reversible transformation that covers dated or stained flooring with professional-looking patterns like encaustic cement or marble. These high-grade vinyl products are specifically treated to be waterproof and heat-resistant, making them capable of withstanding the high-humidity environment of a bathroom while providing the look of an expensive tile installation at a fraction of the cost.
Why Decals Work for Renters
Decals are the ultimate low-risk upgrade because they are entirely non-destructive; when you are ready to move, you can use a standard hairdryer on a medium heat setting to soften the adhesive, allowing the sheets to peel away cleanly without leaving residue or damaging the original floor. When selecting decals, prioritize thick, textured vinyl (typically 0.3mm or higher) to ensure the seams remain invisible and the finish looks authentic rather than sticker-like.
Upgrade 5: Textiles and the Spa Factor
Luxury is defined by the tactile experience, meaning the softness of your towels and the weight of your rugs determine the perceived comfort level of the room. Upgrade your collection to plush, hotel-quality cotton towels with a GSM (Grams per Square Meter) count of at least 600, sticking to a cohesive, neutral color palette such as slate gray, cream, or crisp white to foster a high-end spa aesthetic.
The Layering Technique
Incorporate a grounding element like a genuine teak wood mat or a heavy-duty cotton rug to add texture and warmth to cold tile surfaces. Further enhance the height of the room by using a ceiling-mounted tension rod that holds your shower curtain at the highest point of the ceiling, which creates a vertical visual line that makes even small bathrooms appear taller and more spacious.
A Quick Reference Guide for No-Drill Upgrades
Common Mistakes to Avoid
Even when you are not drilling, you can still fall into design traps. The most common mistake is failing to declutter before installing new items; adding expensive organizers is counterproductive if they are overflowing, so always curate your product collection down to the essentials. Another mistake is choosing items that are too trendy or neon-colored; instead, opt for timeless colors and matte metallic finishes to ensure your bathroom retains its elegant, expensive appearance for years rather than needing a redesign next season.
Furthermore, never overlook the impact of small, curated accents; replacing a plastic soap pump with a heavy glass dispenser or placing a low-maintenance Pothos plant on a shelf breathes life into a stale space. These minor touches require zero installation effort but significantly enhance the sensory experience of the room, effectively bridging the gap between a standard bathroom and a luxury sanctuary.
FAQ
Q: Do adhesive bathroom fixtures actually stay on tile?
Yes, modern high-strength adhesive backings are designed to hold over 20 pounds on non-porous surfaces like tile or glass. The key is proper surface prep using isopropyl alcohol to remove all residue and allowing the adhesive to cure for at least 24 hours before hanging items.
Q: Will peel-and-stick floor decals damage my existing tiles?
No, high-quality vinyl floor decals are designed to be removable without damaging underlying surfaces. By using a standard hairdryer to warm the vinyl before peeling, you soften the adhesive, which prevents it from pulling up the finish of the original tile or leaving sticky residue behind.
Q: How do I make wireless lighting look expensive?
To achieve a high-end look, choose motion-sensor LED fixtures that feature minimalist, metallic housings rather than visible plastic battery packs. Always pair them with warm-toned bulbs (2700K–3000K) to avoid the clinical blue glow typical of cheap vanity lighting, as warm light creates an inviting, premium aesthetic.
Q: What is the best way to hide clutter in a small bathroom?
Use vertical tension-pole shelving systems or countertop organizers made of natural materials like wood, stone, or resin to keep surfaces clear. The secret is to limit the number of items left on the counter, as hiding products behind cabinet doors or inside decorative vessels maintains a clean, minimalist silhouette.
Q: Should I mix different metal finishes in my bathroom?
For the most “expensive” look, avoid mixing metal finishes, as doing so often creates visual chaos that detracts from a cohesive design. Stick to one finish, such as matte black or brushed gold, for every element—from towel hooks and faucet handles to light fixtures and soap dispensers.

Leave a Reply