
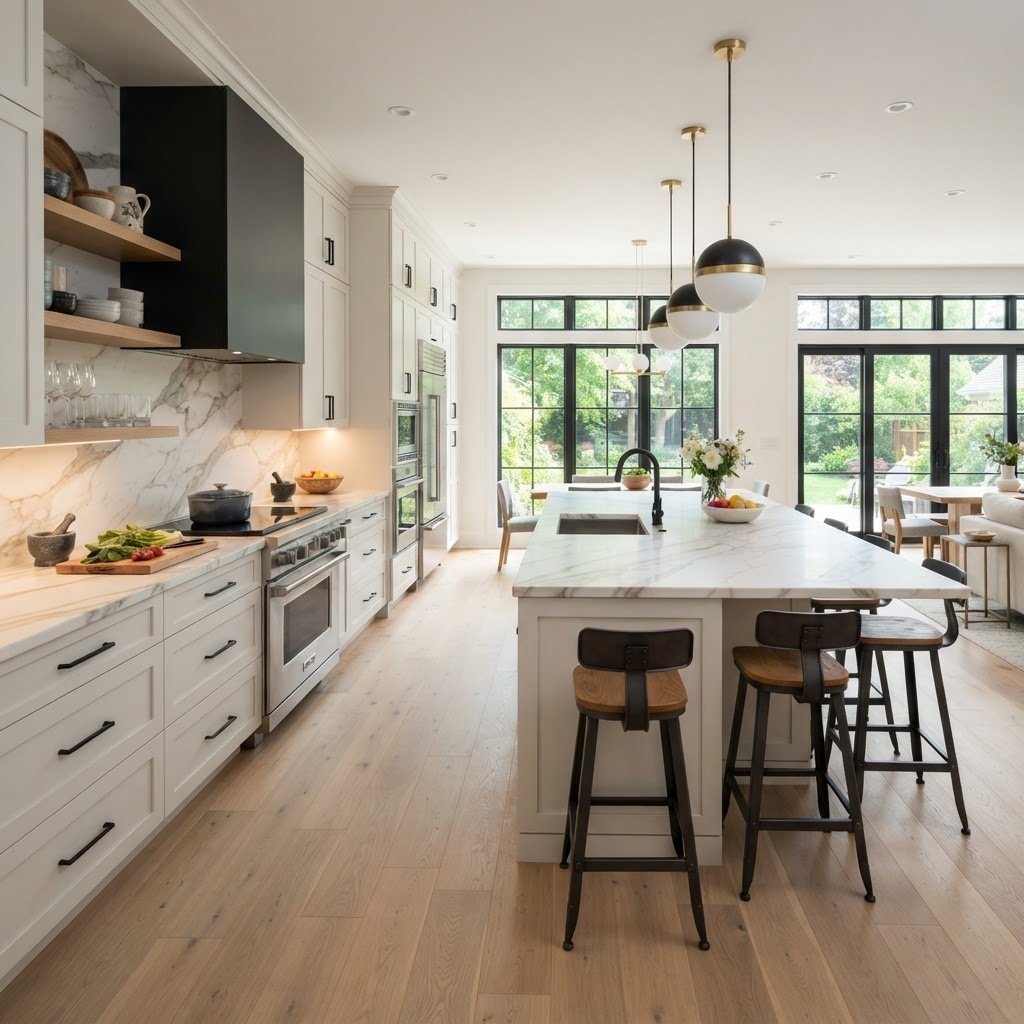
You can achieve a high-end, luxury interior without drilling by focusing on tactile upgrades like solid metal cabinet hardware, layered warm-toned lighting, peel-and-stick wall treatments, and floor-to-ceiling curtain styling. These non-permanent, budget-friendly transformations prioritize weight, scale, and material quality to create a curated designer aesthetic in any home or rental.
The Power of Hardware Upgrades
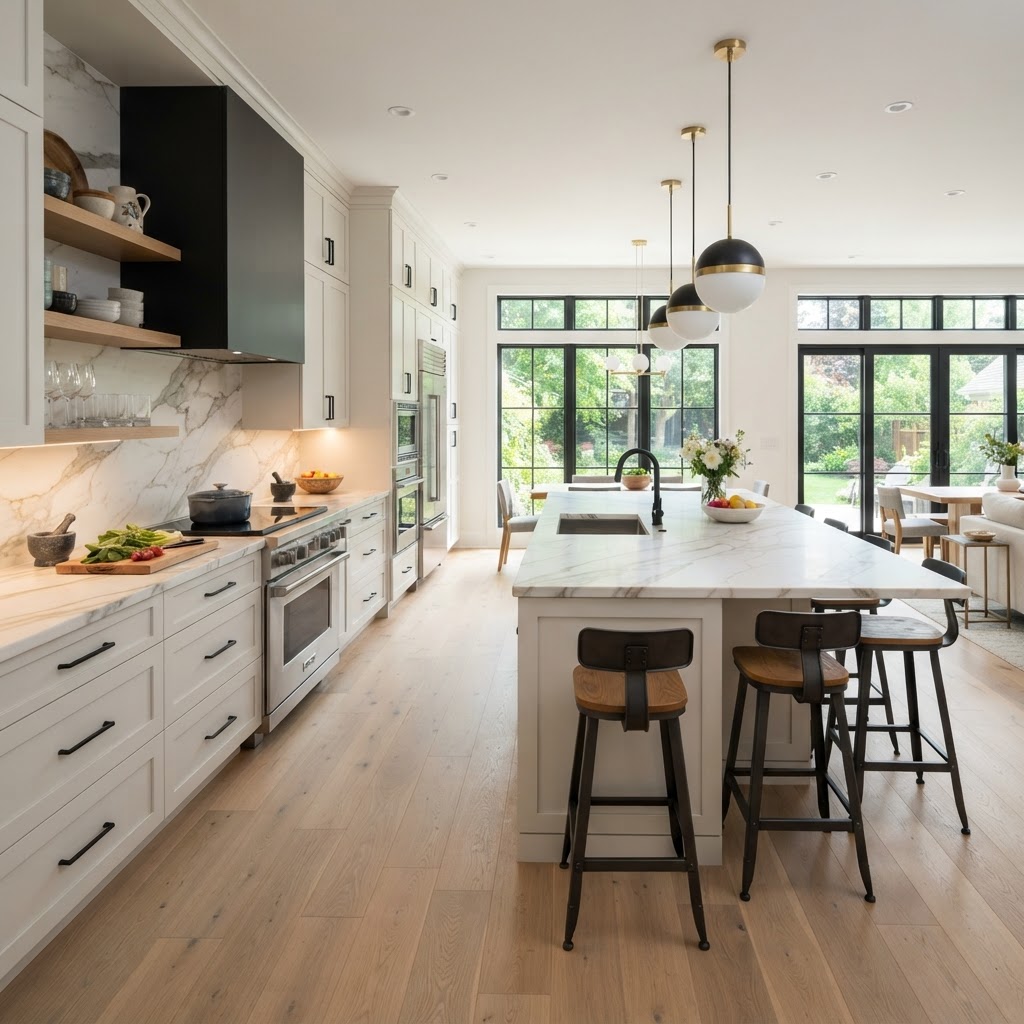
Swapping out standard builder-grade hardware is the most efficient method to add perceived value to cabinetry and doors for under $50. By selecting solid brass, stainless steel, or zinc alloy hardware, you replace lightweight plastic or hollow chrome with materials that offer significant tactile feedback. To ensure a no-drill installation, measure your current screw-hole center-to-center distance; most standard pulls follow 3-inch or 128mm increments. Replacing a generic knob with a heavy, matte black or brushed brass pull instantly updates the room’s “hand-feel,” a critical metric designers use to distinguish premium spaces from builder-grade projects. When shopping, prioritize solid-core metals over hollow, as the increased density communicates luxury to any visitor. Additionally, selecting finishes that provide a high contrast against existing cabinet colors creates a professional, designer-curated look. By simply unscrewing old hardware and reusing existing holes with new bolts, you achieve a permanent-looking upgrade that is completely reversible for renters.
Choosing the Right Finishes
When selecting new hardware, opt for finishes like brushed brass, matte black, or polished nickel. These materials reflect light differently and add a sense of weight and quality that plastic or cheap chrome lacks. A simple set of heavy-duty, solid metal pulls can make even the most basic flat-front cabinetry look like a custom high-end installation.
Why Weight Matters
Designers often talk about the “hand-feel” of a room. When you touch a cabinet pull, your brain instantly registers the quality of the material. By avoiding hollow, lightweight hardware and choosing solid brass or steel, you subconsciously tell everyone who enters your home that you value luxury and durability.
Elevating Walls with Removable Finishes
Removable wall treatments provide a high-impact solution for renters who cannot paint, offering the ability to mimic premium textures like grasscloth, limewash, or marble for roughly $1.50 to $3.00 per square foot. Modern peel-and-stick vinyl or fabric wallpapers feature advanced adhesive backings that are designed to be removed cleanly without damaging drywall or leaving residue, provided the surface is cleaned thoroughly with isopropyl alcohol beforehand. Instead of attempting a full-room installation, focus on a single “accent wall” or the area behind a headboard to create a focal point. Using these materials allows you to introduce sophisticated patterns or organic textures into a space that would otherwise be limited by neutral, flat-painted walls. When applying, use a felt-edged squeegee to prevent air bubbles and ensure the seams overlap correctly for a seamless look. By selecting matte finishes rather than glossy ones, you ensure the faux texture remains convincing under various indoor lighting conditions, effectively masking the temporary nature of the product.
Creating Focal Points
Instead of covering an entire room, try creating an accent wall behind your bed or behind a piece of statement furniture. This technique provides a pop of interest without overwhelming the space. Because these products are designed to be temporary, they remain some of the best cheap no-drill changes that look high-end for those living in rentals or who prefer to switch up their style frequently.
Lighting Transformations Without Wiring
Lighting is the jewelry of the home, yet most people rely solely on the harsh overhead fixtures provided by their builder. You can instantly shift the mood of a room by adding layered lighting. Look for plug-in wall sconces that feature decorative cords or sleek arm designs. These units simply mount to the wall using heavy-duty adhesive strips or small finishing nails that leave almost invisible holes.
Choosing the Right Frames
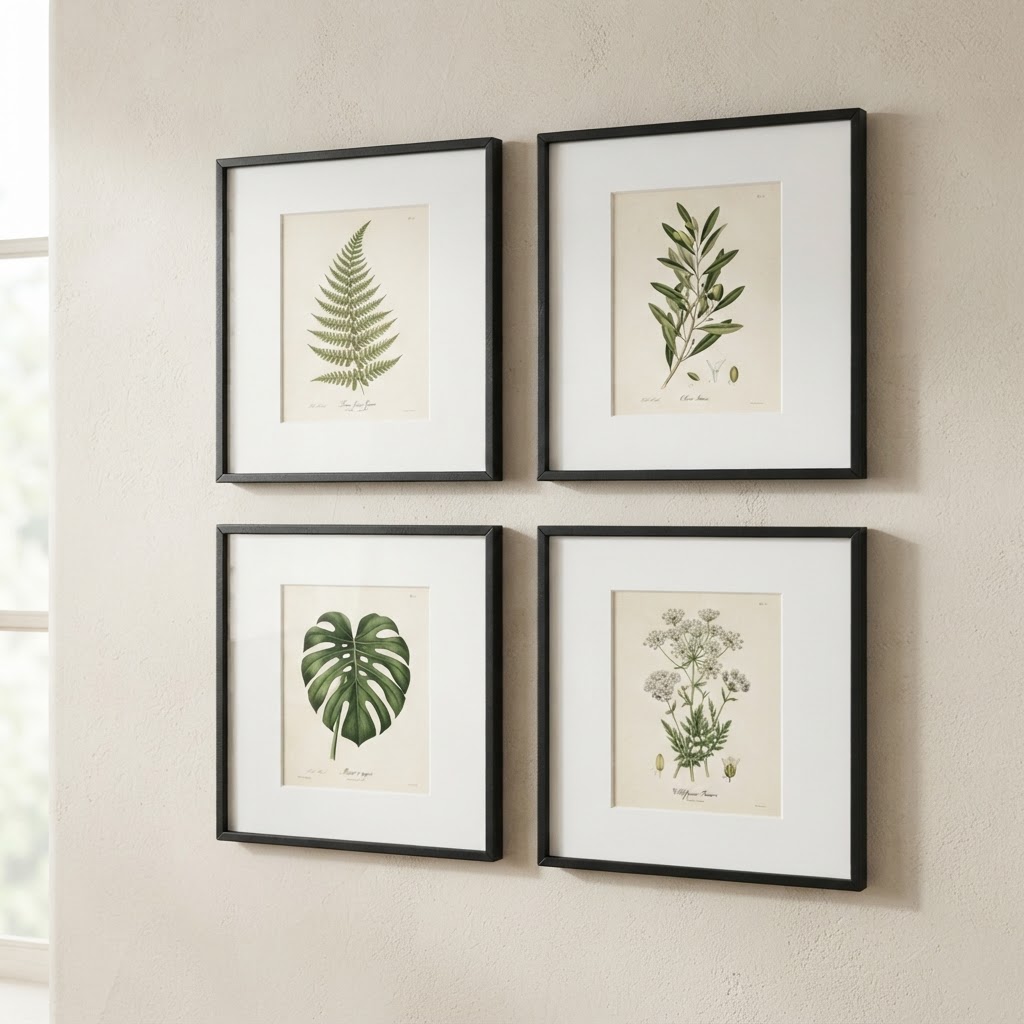
When creating a gallery wall, consistency is key. While eclectic styles are fun, a uniform set of frames—such as all gold, all black, or all wooden—will instantly make the wall feel professional and unified. Matching the frames ensures that the focal point is the art, not the clutter of the wall.
Mirrors as Architectural Features
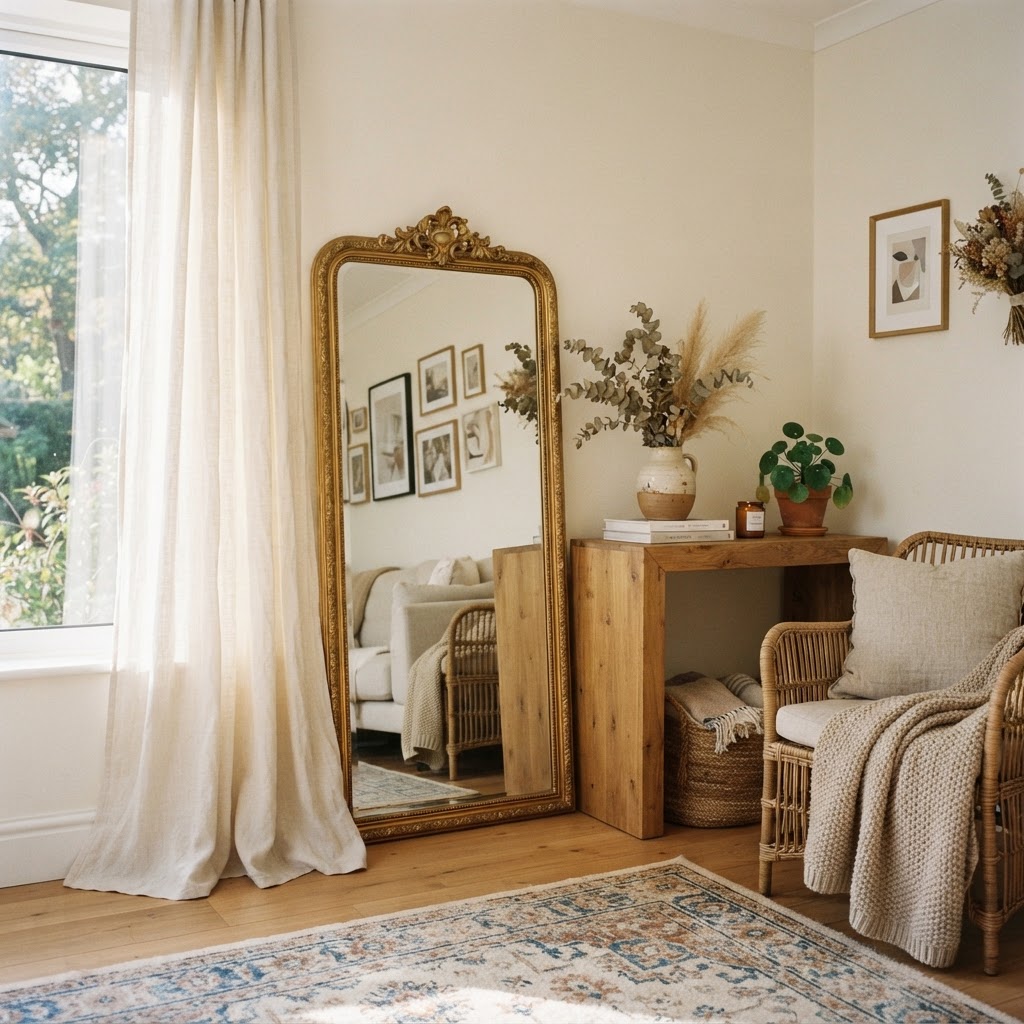
Mirrors are perhaps the best tools for making a small space feel expensive. By using floor-length leaning mirrors instead of wall-mounted ones, you avoid the need for hardware entirely while instantly doubling the visual light and depth of a room. A large, ornate mirror with an antique finish can act as a massive statement piece that anchors an entire room, providing a sense of grandeur without any labor-intensive installation.
FAQ
Q: What is the most effective no-drill way to make cabinets look expensive?
A: Replacing standard knobs with high-quality, solid-metal pulls is the most effective change. Ensure the new hardware matches existing hole centers and prioritize heavy materials like solid brass or matte black zinc to improve the tactile quality of your kitchen or bathroom.
Q: Can peel-and-stick wallpaper really look like professional installation?
A: Yes, provided you choose high-quality textured vinyl or fabric-based papers. Applying them with a felt squeegee on clean, dust-free walls creates a seamless, professional finish that mimics traditional high-end wallpapers without the need for permanent adhesive.
Q: How do you hang curtains without drilling holes in walls?
A: Use high-tension tension rods or heavy-duty adhesive drapery brackets designed for non-permanent use. Mounting these at ceiling height, rather than directly above the window frame, creates the illusion of increased height and a custom, tailored look.
Q: What color temperature bulbs should I use for a luxury feel?
A: Aim for warm white bulbs ranging between 2700K and 3000K to mimic the soft, inviting glow found in boutique hotels. Avoid anything above 4000K, as cool-toned lighting can make interior spaces feel institutional and diminish the appearance of high-quality furniture.


Leave a Reply