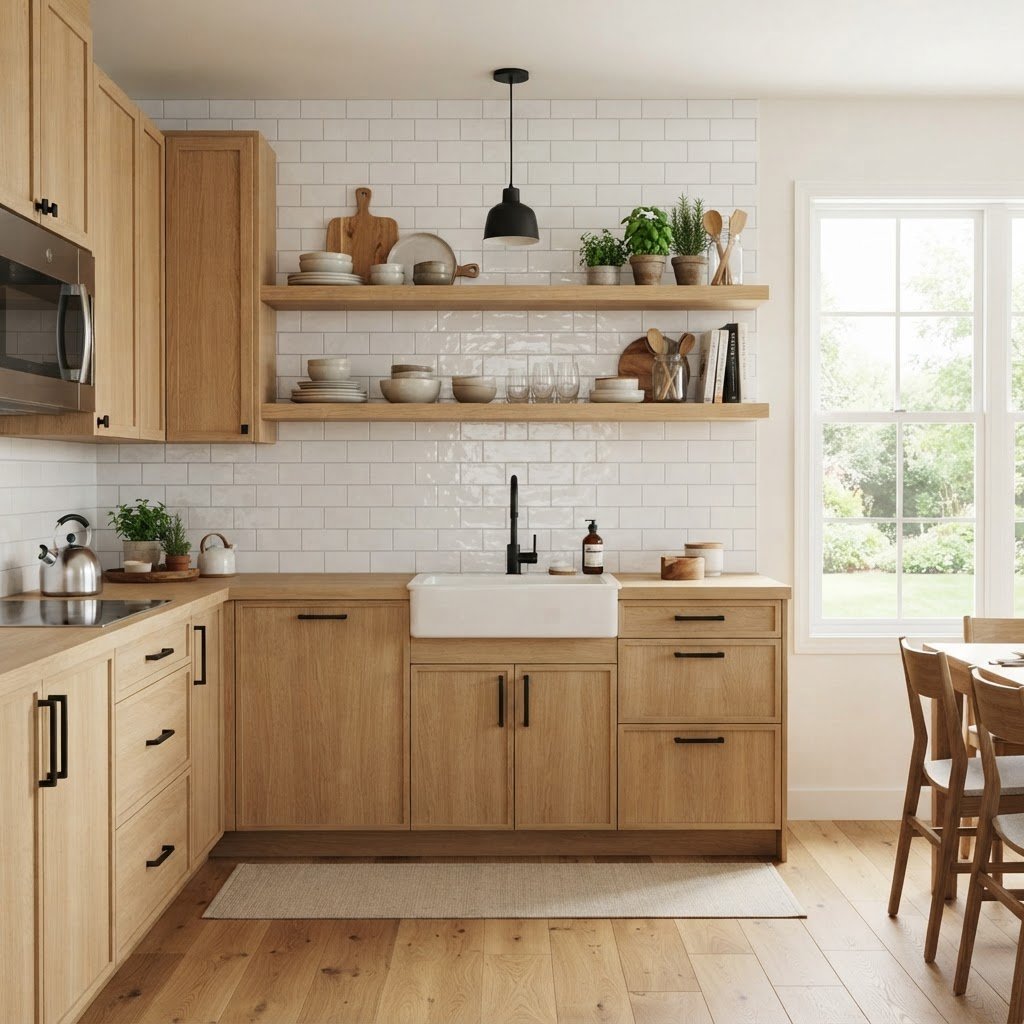
Peel-and-stick backsplashes provide an affordable, reversible way to upgrade a rental kitchen by applying high-quality, adhesive-backed tiles directly over existing surfaces. By choosing 3D gel-coated materials, thoroughly degreasing your walls, and adding 15% extra material for cuts, you can achieve a professional, custom look that peels off easily without damaging the original drywall when your lease ends.
Why Peel-and-Stick Backsplashes Are Perfect for Renters
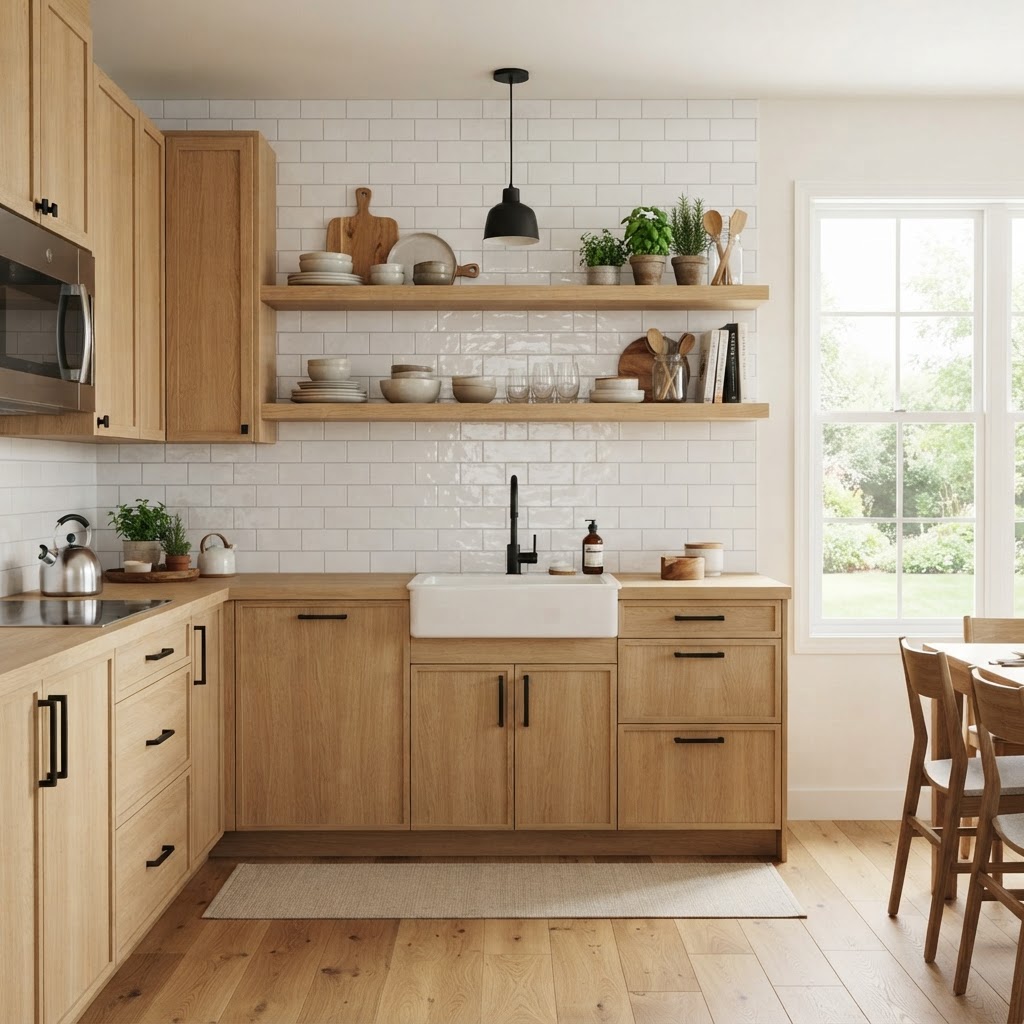
Peel-and-stick backsplashes serve as the ideal renter-friendly renovation because they eliminate the need for mortar, grout, or heavy construction tools. Unlike permanent tile installations that cost upwards of $15–$50 per square foot for materials and professional labor, adhesive tiles typically range from $5 to $12 per square foot and require only basic hand tools like a utility knife and a level. These products are engineered to adhere to smooth, sealed surfaces including painted drywall, glass, or existing laminate backsplashes, providing a high-impact visual update that can be completed in a single afternoon. Because these tiles are lightweight and thin, they do not add significant bulk to your wall depth, ensuring they fit seamlessly behind existing outlet covers and light switches without needing to extend electrical boxes.
For many renters, the kitchen is often the least inspired room in the home, featuring outdated linoleum or plain white walls that lack character. The primary advantage is the low barrier to entry. You do not need a saw, a wet tile cutter, or a professional contractor to get started. Most renters find that they can complete an entire kitchen wall in just one weekend. Furthermore, because these products are thin and lightweight, they don’t compromise the existing structure, making them the gold standard for temporary kitchen upgrades that don’t look temporary.
Choosing the Right Style for Your Kitchen Aesthetic
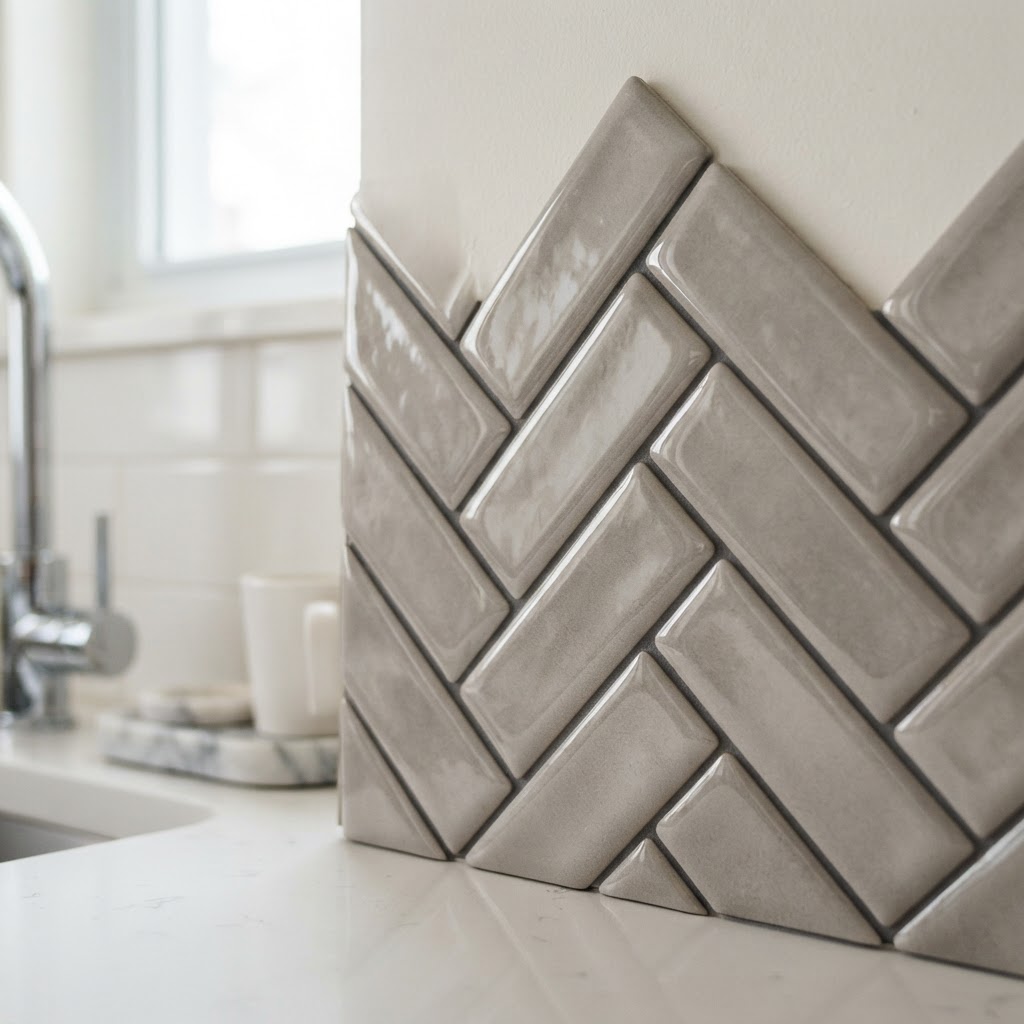
Selecting the right style requires balancing your personal design preferences with the existing constraints of your rental kitchen’s countertops and cabinetry. To avoid a “cheap” plastic appearance, prioritize tiles with a matte or satin finish, as high-gloss vinyl often reflects light in a way that exposes the synthetic nature of the material. When selecting a pattern, consider the scale of your kitchen; large-format subway tiles can make a compact galley kitchen appear more spacious, while intricate geometric patterns act as a bold focal point in larger, neutral-colored kitchens. By opting for products that feature realistic grout lines and depth, you ensure the backsplash acts as a bridge that ties your kitchen elements together rather than looking like an added sticker.
Popular Trends in Adhesive Decor
Subway tile remains a classic choice for a reason. It is timeless, clean, and pairs well with almost every design style from industrial to farmhouse. If you want something more modern, consider geometric patterns or herringbone layouts. For a moody, high-end feel, matte black or deep navy tiles can turn a generic rental kitchen into a sophisticated culinary space that feels professionally designed.
The Importance of Texture
Texture is the difference between a “cheap-looking sticker” and a “custom tile job.” When shopping, search for 3D gel-coated tiles rather than flat 2D wallpaper prints. The gel coating adds physical depth, allowing light to hit the surface naturally, which tricks the eye into thinking you have installed real glass or ceramic tiles.
Preparing Your Surface for Success
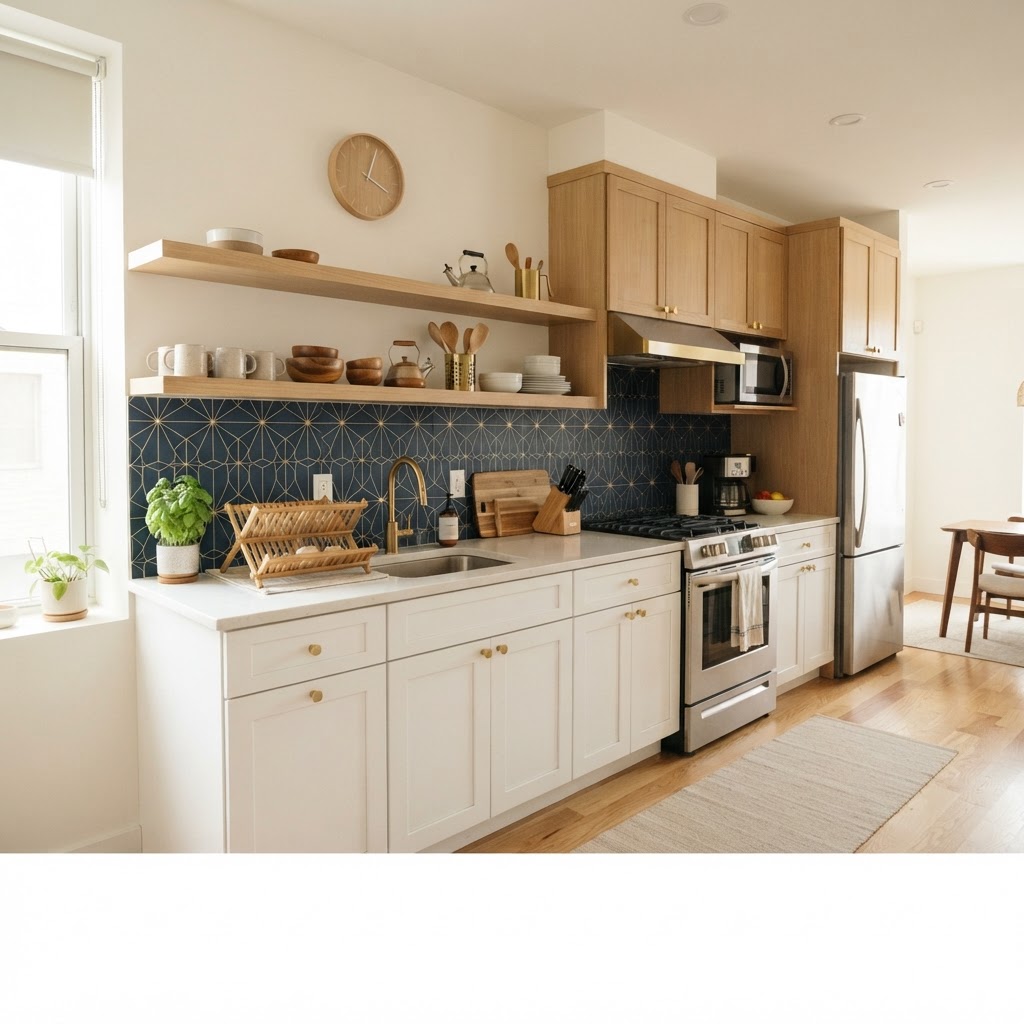
Surface preparation is the single most critical factor in preventing premature peeling, edge curling, or sagging in high-humidity kitchen environments. Because kitchen walls accumulate microscopic layers of grease from cooking, a standard dusting is insufficient; you must use a heavy-duty degreaser such as TSP (Trisodium Phosphate) or a concentrated vinegar-and-dish-soap solution to ensure the substrate is completely sterile. Once cleaned, allow the wall to dry for a minimum of 12 to 24 hours to ensure no moisture remains trapped in the pores of the paint, as trapped humidity can break the bond of the pressure-sensitive adhesive. If your walls are porous or heavily textured, consider applying a thin layer of primer first to create a smooth surface that allows for a permanent grip during your lease term.
The Cleaning Protocol
Use a degreasing cleaner to wipe down your walls thoroughly. Kitchens are prone to microscopic grease splatters that are invisible to the naked eye but catastrophic for adhesives. After degreasing, wipe the wall with a damp cloth to remove any soap residue and let the surface dry completely. This step is critical; moisture trapped behind the adhesive can lead to mold or structural failure of the bond.
Measuring and Planning Your Layout
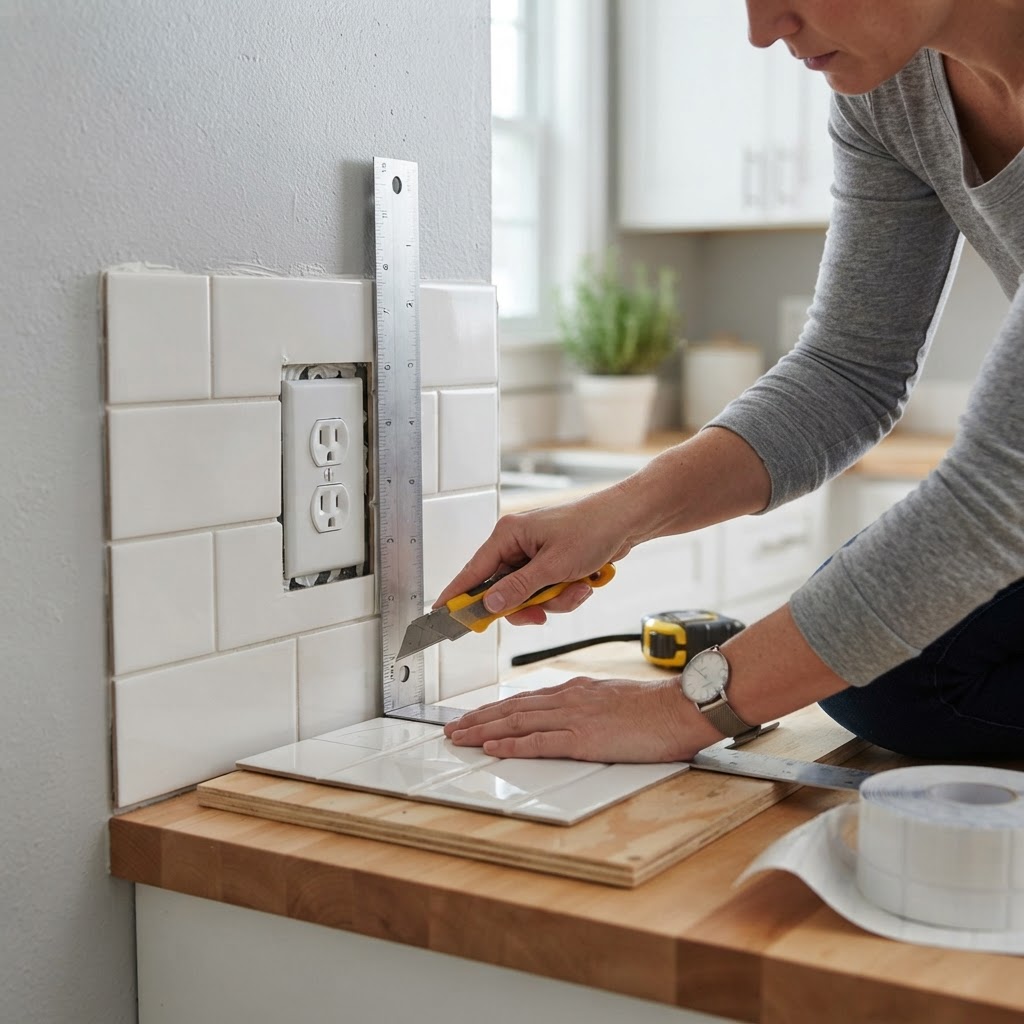
Accuracy in your initial measurement phase prevents the common error of running out of tiles from the same “dye lot,” where color variations between manufacturing batches can create visible seams in your project. To calculate your needs, measure the width and height of the wall space to be covered, multiply them to get total square footage, and then add a 15% buffer to account for awkward corners, outlet cutouts, and edge trimming. When planning the layout, start your first tile in a prominent, eye-level location or centered above the stove to ensure the pattern looks balanced, working outward toward the edges of the cabinets. Always check the manufacturer’s batch number on each package; installing tiles from different lots is the most common cause of mismatched aesthetic results in DIY projects.
Tips for Precision Cutting
Use a sharp utility knife and a metal straight edge to make your cuts. Peel-and-stick sheets are relatively easy to trim, but take your time around outlets and switches. For the best result, remove your outlet covers before starting and replace them once the tile is installed to ensure a seamless, built-in appearance that hides all your edges perfectly.
Styling Your New Kitchen for a Custom Look
Once your new backsplash is installed, the rest of the kitchen needs to harmonize with it. A new backsplash is a focal point, but it should be supported by your accessories. Consider swapping out cheap, builder-grade cabinet hardware for something more substantial in a finish that matches your new tile aesthetic, such as brushed brass or matte black pulls. By upgrading hardware (which can be swapped back before moving out), you amplify the high-end feel of the new tile work.
Balancing Function and Design
Display a few curated items on your counters, such as a wooden cutting board, a marble fruit bowl, or high-quality glass storage jars. By limiting the clutter on your counters, you allow the beautiful texture of your new backsplash to take center stage. Remember, the goal of a custom kitchen is intentionality; every item on your counter should look like it was placed there for a specific reason.
Maintenance and Removal Tips
Maintaining the longevity of your peel-and-stick backsplash involves daily habits that prevent adhesive degradation, primarily by keeping the surface away from direct, high-heat sources like open flames. If the backsplash is behind a gas range, ensure there is at least 15 inches of clearance between the burner and the tile to prevent the adhesive from melting or the edges from lifting over time. When it is time to move, the removal process is straightforward: use a hair dryer on a medium-heat setting to warm the tiles, which softens the adhesive and allows them to be pulled away gently. If any sticky residue remains on the wall, a simple citrus-based adhesive remover will clear the surface, leaving it in its original condition so you can secure your full rental deposit return.
FAQ
Q: Do peel-and-stick tiles damage rental walls?
High-quality peel-and-stick tiles are designed to be removable and typically do not damage standard painted drywall if removed correctly. By using a hair dryer to heat the adhesive before peeling, you soften the bond, which prevents the tile from pulling off pieces of the underlying paint or plaster.
Q: Can I put peel-and-stick tiles over existing backsplash tiles?
Yes, you can install peel-and-stick tiles over existing smooth ceramic tiles provided the surface is clean, dry, and flat. However, you must fill the existing grout lines with a thin layer of spackle or a leveling compound first; otherwise, the grout indentations will show through the adhesive tiles.
Q: How long do peel-and-stick backsplashes typically last?
With proper preparation and cleaning, most quality adhesive backsplashes can last between 3 to 5 years in a kitchen environment. Factors such as proximity to intense heat sources and exposure to moisture will determine if the tiles maintain their bond over the long term.
Q: Can these tiles be installed behind a gas stove?
Most manufacturers recommend at least 15 inches of clearance between a gas range and the adhesive tile to prevent heat damage. Always check the specific heat-resistance rating provided by the manufacturer, as some premium gel-tiles are specifically fire-rated for closer proximity to cooktops.
Q: How much extra material should I buy for a project?
You should purchase at least 10–15% more material than your measured square footage to account for trimming errors and complex cutouts around outlets. Buying the extra material in the same order ensures that all tiles come from the same production lot, preventing noticeable color shifts in your final layout.

Leave a Reply