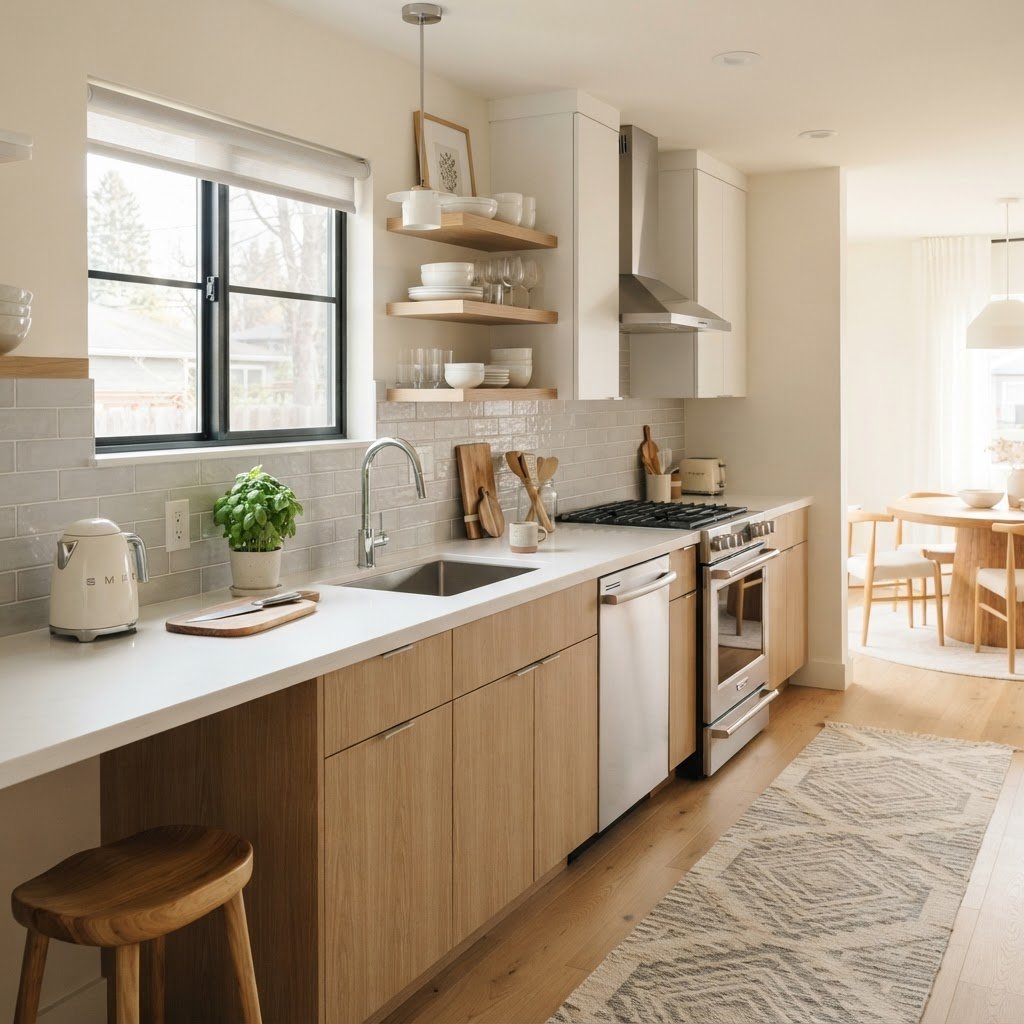
6 Peel-and-Stick Ideas That Instantly Upgrade a Rental Kitchen
You can transform a rental kitchen into a high-end space without permanent renovations by utilizing peel-and-stick backsplash tiles, vinyl cabinet wraps, and removable countertop films. These budget-friendly solutions offer a professional aesthetic that is entirely temporary, allowing renters to secure their security deposit while achieving a personalized, modern culinary environment.
The Power of Temporary Upgrades
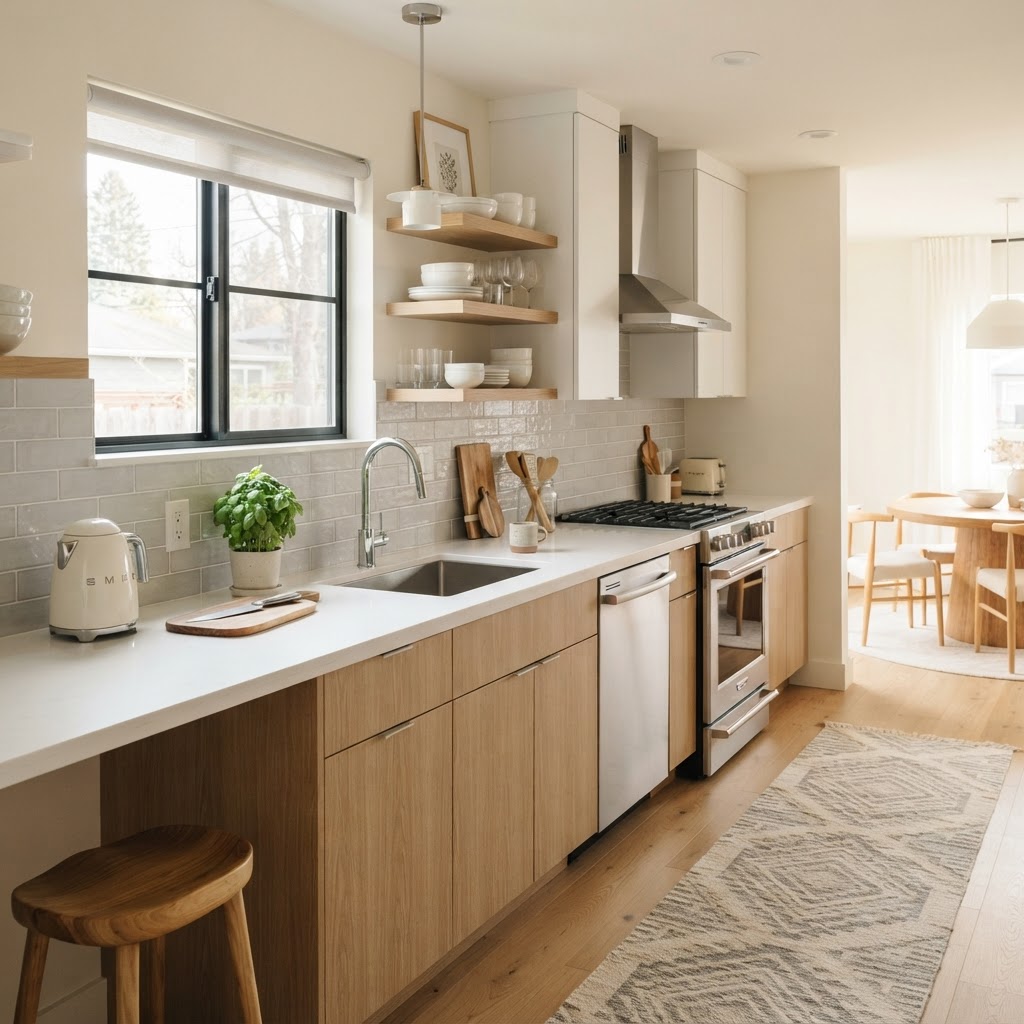
Many renters feel stuck with outdated cabinets, dull backsplashes, and worn countertops. Fortunately, the market for adhesive home decor has exploded in recent years, offering durable and realistic alternatives to permanent materials. Whether you are dealing with ugly tiling or lackluster laminate, there is a peel-and-stick product designed to mask these imperfections effectively. Data indicates that simple cosmetic upgrades, such as cabinet resurfacing or backsplashes, can increase perceived rental value by up to 15% in tenant satisfaction surveys. Choosing the right materials is the first step toward success. Look for high-quality, water-resistant vinyl specifically designed for high-heat environments like kitchens. When installed correctly, these temporary upgrades can last for years while remaining easy to remove with a simple hairdryer, which softens the adhesive for a clean pull. When budget planning, expect to spend between $50 and $200 for a standard-sized rental kitchen refresh. Always check the adhesion strength on a test patch to ensure no residue is left behind on original cabinetry or wall surfaces before committing to the full project.
1. Transforming Backsplashes with Adhesive Tiles
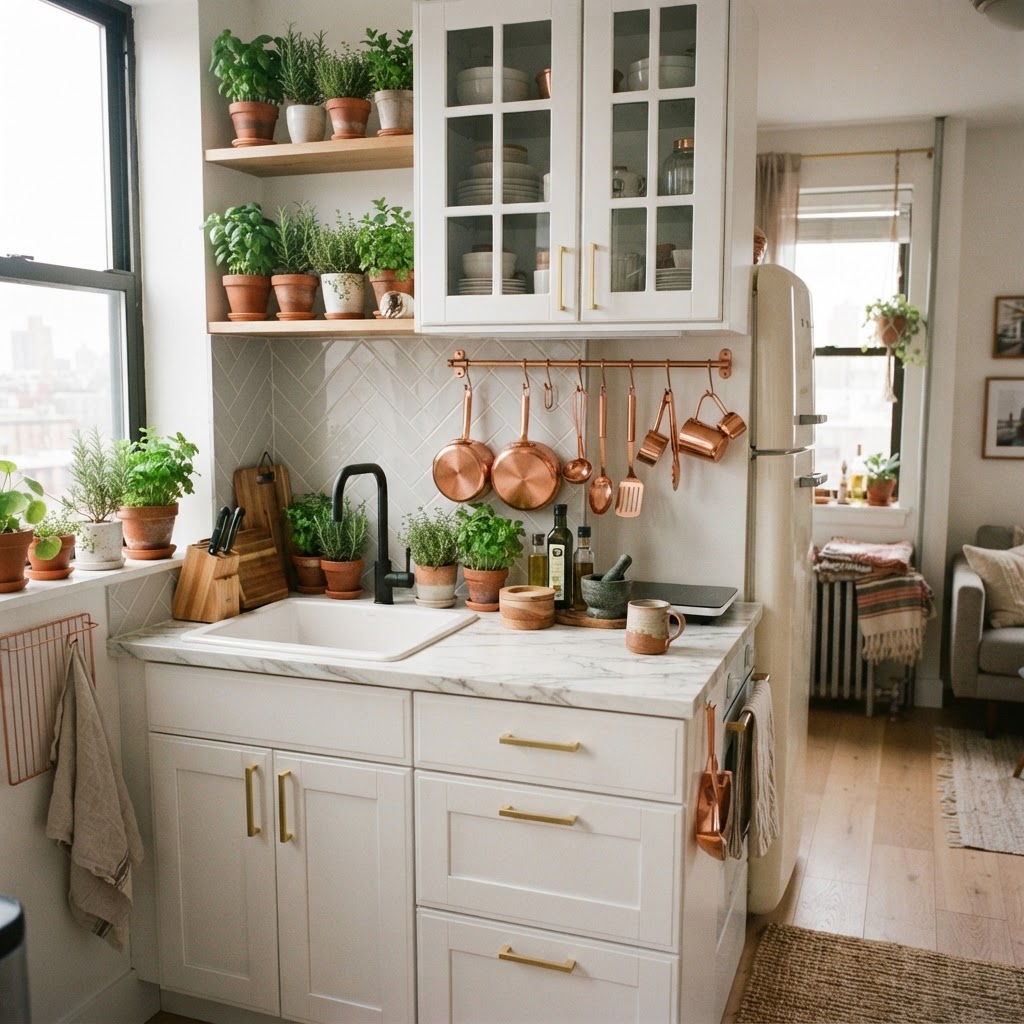
Peel-and-stick backsplash tiles represent the most effective way to change the visual character of a rental kitchen by covering outdated, stained, or boring tile with realistic textures. These tiles often feature 3D depth, mimicking premium materials like Carrara marble, slate, or classic subway ceramic without the need for grout or heavy mortar. Preparation is key; you must ensure the surface is thoroughly cleaned with a degreaser to remove lingering cooking oils, as the adhesive will not bond to greasy surfaces. Once clean, measure your space accurately and use a professional-grade utility knife or a metal straight edge to trim tiles for a seamless fit around electrical outlets and switches. When applying, start from a bottom corner and work upward, overlapping the seams by approximately 1/16th of an inch to prevent water seepage. If you live in a high-humidity climate, consider adding a thin bead of clear silicone caulk along the bottom edge where the backsplash meets the countertop to ensure complete protection against moisture buildup. Investing in high-heat-resistant tiles is non-negotiable if your stove is near the backsplash area, as cheaper plastic versions can warp or discolor when exposed to heat consistently. By following these steps, you can complete an average kitchen backsplash in under four hours, significantly upgrading the room’s aesthetic with minimal investment and zero risk to the property structure.
2. Revitalizing Cabinets with Vinyl Wraps
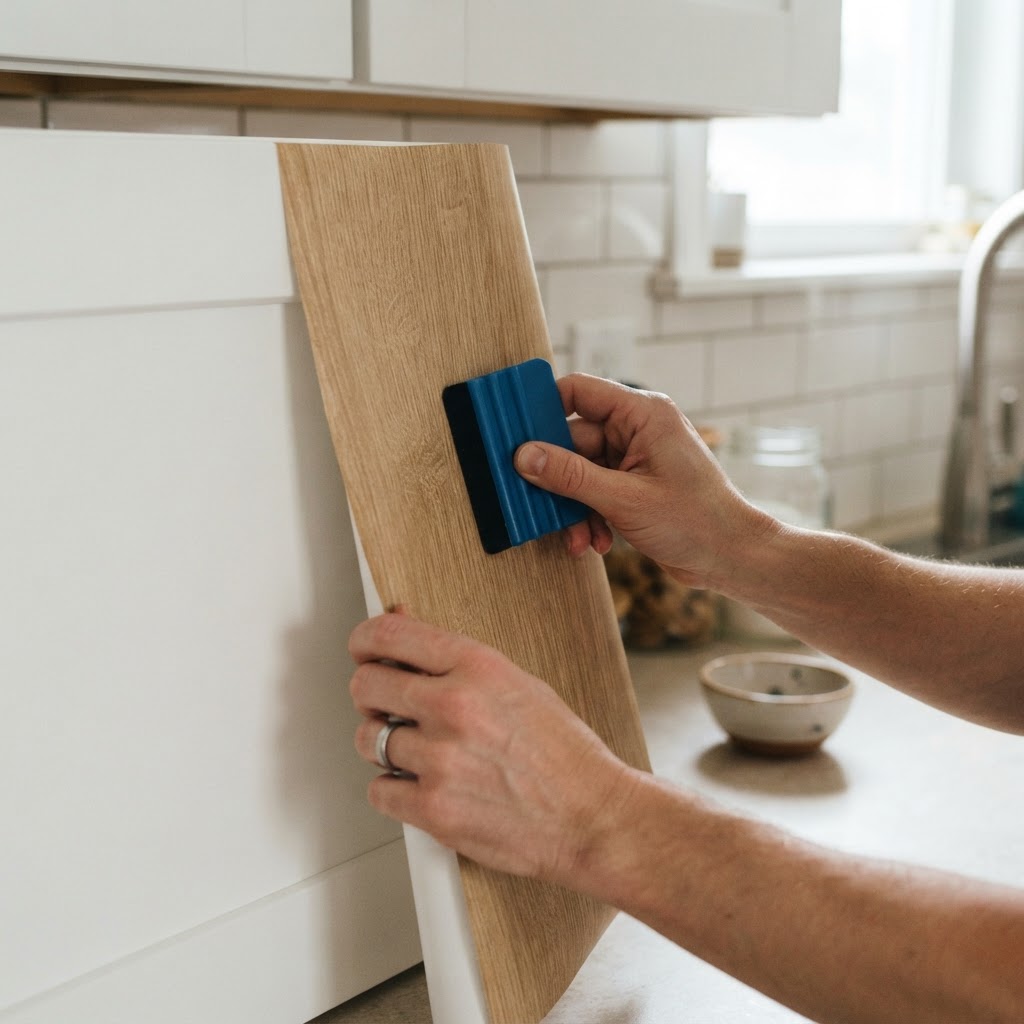
Vinyl cabinet wraps serve as a total game-changer for renters looking to hide dark, dingy, or outdated cabinets without the commitment or mess of traditional paint. Unlike paint, which can be difficult to reverse and often requires sanding or priming, vinyl contact paper provides a crisp, professional finish that remains entirely removable. You can choose from solid matte colors, realistic wood grain textures, or high-gloss finishes to suit your design preference. To achieve a bubble-free, factory-like finish, always use a dedicated squeegee tool during application to press out air. Start from the center of the door panel and work your way toward the edges, applying firm, even pressure. For cabinet corners and rounded edges, a hair dryer or heat gun set on low is essential; applying gentle heat makes the vinyl pliable enough to wrap smoothly around those difficult spots without bunching or wrinkling. If you are a beginner, try wrapping the smaller drawer fronts first before tackling large pantry doors to build confidence. Experts recommend removing cabinet hardware—like knobs and pulls—before installation to ensure clean lines. You can easily upgrade the look further by installing temporary, stylish hardware that uses the existing screw holes, allowing you to swap back to the original knobs before you move out. This project is ideal for those seeking a high-impact, low-cost renovation.
3. Refreshing Countertops with Faux Stone Film
Countertops take the most abuse in a kitchen, often showing deep scratches, heat marks, and stubborn stains that cannot be removed by cleaning. Heavy-duty, high-grade adhesive vinyl films act as a protective barrier that can cover these imperfections completely while adding a layer of sophistication. Look for “marble,” “granite,” or “butcher block” patterns that feature a textured finish, as these are better at hiding minor installation bubbles than high-gloss options. These materials are generally water-resistant and easy to wipe down, though you should strictly use cutting boards to prevent damage to the film. When installing, clean the countertop with 70% isopropyl alcohol to remove all residue. Overlap the film at the seams by roughly half an inch to prevent water ingress. If you are covering a laminate countertop that has a rounded bullnose edge, apply extra heat to the material as you wrap it around the curve to ensure a permanent bond. While these films are quite durable, they are not intended to replace granite or quartz; they are specifically designed for cosmetic enhancement. With proper care, these films can remain intact for several years. For the best result, avoid using harsh scouring pads or heavy chemicals for daily maintenance, opting instead for a damp microfiber cloth to keep the surface pristine. This is the fastest way to modernize a kitchen for under $50.
4. Using Removable Wallpaper for Accents
Removable wallpaper is a versatile tool for renters, allowing you to create a high-impact focal point without the permanence of standard wall coverings. You can easily add visual interest by wallpapering a single feature wall or the space between upper and lower cabinets. Choose bold geometric patterns to make a modern statement, or soft, botanical prints to foster a cozy, farmhouse atmosphere. When working with patterned wallpaper, always calculate the “repeat”—the distance between identical elements in the design—to ensure you order at least 15-20% extra material to account for waste and pattern matching. Before applying, use a level to draw a light pencil line on the wall as a guide for your first panel to ensure the entire wall remains perfectly straight. Align the edges meticulously, as even a 1/8th-inch gap can become noticeable across a large surface. If you accidentally stretch the wallpaper during installation, let it rest for 24 hours to see if it shrinks back to its original shape before trimming the excess. This technique transforms a sterile, white rental kitchen into a designer-inspired space in just a few hours. It is easily removed by peeling slowly from a top corner, leaving the original paint beneath perfectly intact for your landlord’s next inspection.
5. Covering Appliances with Decorative Vinyl
If your rental comes with dated or mismatched appliances, you can achieve a modern, cohesive look by covering the fronts with specialized appliance-grade vinyl. Stainless steel look-alike wraps or matte black finishes are particularly popular, as they instantly modernize a room without the significant expense of buying new machines. Before wrapping your fridge, dishwasher, or microwave, consult the manufacturer’s manual or sticker guidelines to confirm that the surface is compatible with adhesive vinyl. Some newer fingerprint-resistant or textured coatings can be difficult for standard adhesives to grip, so testing a small, inconspicuous patch behind the appliance is a crucial step for any renter. To apply, remove handles if possible, spray a light mist of soapy water on the appliance surface to allow for repositioning, and squeegee the water out from beneath the film as you go. This method virtually eliminates the risk of air bubbles. Always ensure that air vents on the sides or top of your appliances remain unobstructed by the vinyl to prevent overheating. With the right care, an appliance wrap can look professional for up to five years, making it an excellent investment for long-term renters who want to personalize their space while avoiding the massive costs of hardware replacement.
6. Creating Custom Drawer Liners and Accents
Small details often make the biggest impact in a rental kitchen, and custom drawer liners provide a hidden luxury that is both functional and aesthetic. Use colorful or patterned contact paper to line the interior of your drawers or the back of open shelving to add a personal touch that is incredibly easy to swap out whenever your style changes. This keeps your cutlery and kitchen tools organized while protecting the original wood or metal of the drawers from scratches. When selecting patterns, consider the scale of your kitchen; in a small, galley-style layout, oversized prints can feel overwhelming, whereas a tiny, busy pattern in a large, open kitchen might disappear. Balance is essential for a design that feels intentional rather than cluttered. For a cohesive look, choose a color palette that matches the vinyl you used for your cabinets or backsplashes. You can also use remnant scraps from your larger projects to create a unified design scheme throughout the entire room. This is a “no-stakes” project that takes less than an hour and costs pennies per drawer, yet it adds a high-end, custom-built feeling to your rental kitchen every time you open a cabinet. It is the perfect entry-level project for those nervous about larger installations.
Maintaining Your Upgraded Kitchen
Even though these adhesive products are durable, they require specific care to remain in top condition throughout your lease. Avoid using harsh chemical cleaners, bleach, or abrasive scouring pads, which can easily scratch, melt, or discolor the surface of your vinyl or wallpaper. A simple mixture of mild dish soap and warm water is generally sufficient to keep your upgrades looking fresh and clean. If a stain is stubborn, use a soft microfiber cloth and a gentle touch, rather than scrubbing forcefully, to avoid peeling the edges of your film. If you notice an edge starting to lift due to steam or heat, you can often re-adhere it using a touch of clear vinyl cement or a quick application of heat from a hair dryer to reactivate the original adhesive. Regularly checking your installations—especially after high-moisture cooking sessions—will ensure your upgrades stay pristine. By following these basic maintenance rules, you ensure that your rental modifications remain in excellent condition for years, protecting your investment and ensuring you get your full security deposit back at the end of your rental term.
FAQ
Q: Does peel-and-stick vinyl damage rental cabinets?
Generally, no. High-quality vinyl is designed to be removed with heat (a hair dryer), which softens the adhesive and prevents damage to the factory finish underneath, provided the original cabinets are in good, sound condition.
Q: Can I use peel-and-stick tiles behind a gas stove?
It is not recommended. Most standard peel-and-stick tiles are made of plastic or vinyl and will melt or deform when exposed to direct heat from a gas flame, so always check the product’s heat-resistance rating before installation.
Q: How do I remove residue if it stays on the surface?
If any adhesive residue remains after you peel off your vinyl, use a citrus-based cleaner or a small amount of rubbing alcohol on a soft cloth to gently dissolve the remaining bond without damaging the underlying surface.
Q: Are these upgrades actually renter-friendly?
Yes, they are considered reversible modifications. Because they do not require drilling, nailing, or permanent adhesive, they comply with most standard rental agreements that prohibit permanent renovations like painting cabinets or tiling walls.
Q: How much should I budget for a full kitchen upgrade?
For a standard 10×10 kitchen, you can expect to spend between $150 and $300 to cover your backsplashes, countertops, and appliances with high-quality adhesive films, depending on the brand and material complexity chosen.

Leave a Reply