6 Quick Kitchen Upgrades Renters Can Do in Under an Hour
Renters can upgrade their kitchens in under an hour by installing peel-and-stick backsplashes, swapping cabinet hardware, adding battery-operated LED lighting, or applying removable contact paper. These high-impact, non-permanent modifications require minimal tools like a screwdriver or utility knife, allowing tenants to personalize their space without risking their security deposit.
1. Swap Out Cabinet Hardware
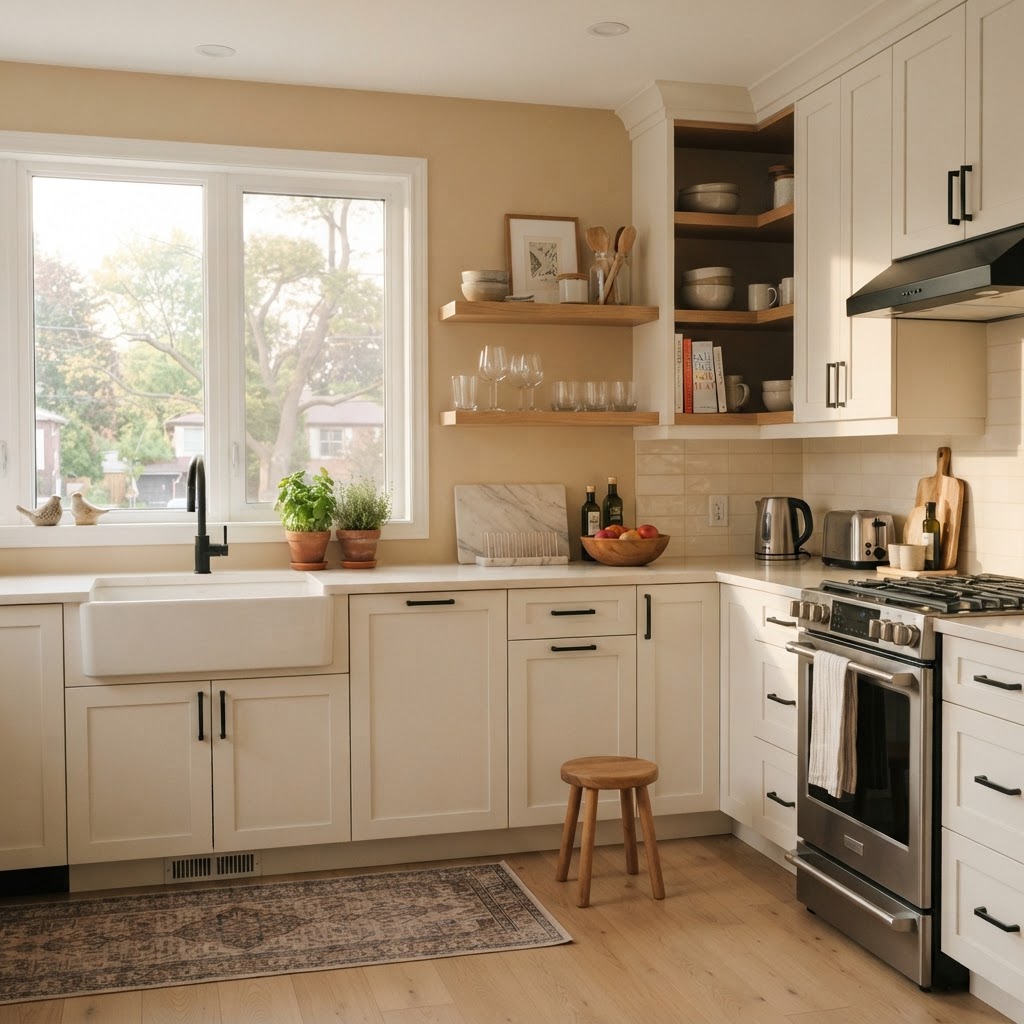
Replacing existing cabinet hardware is the single most effective way to modernize a rental kitchen in under 60 minutes. Standard builder-grade knobs often look dated, but switching them for matte black pulls, polished brass, or brushed nickel handles instantly elevates the room’s aesthetic. Because this project usually involves only two screws per cabinet, it is arguably the lowest-risk modification a renter can perform.
Comparison: Hardware Material Impacts
The Installation Process
Begin by unscrewing the current hardware and placing the original pieces into a clearly labeled Ziploc bag, which you should store in a kitchen drawer or utility closet. When buying replacements, measure the ‘center-to-center’ distance between existing screw holes precisely (typically 3 inches or 96mm) to ensure your new hardware fits without needing to drill new holes. This ensures the upgrade remains entirely reversible. Simply tighten your new handles with a manual screwdriver—avoid power drills to prevent stripping the wood—and enjoy a custom look that feels permanent but can be returned to its original state in minutes.
2. Utilize Peel-and-Stick Backsplash Tiles
Peel-and-stick backsplash tiles offer a professional, high-end appearance for stained or outdated kitchen walls without the need for thin-set mortar or grout. These vinyl-based tiles are designed specifically for rental environments, utilizing adhesives that are strong enough to hold through humidity but gentle enough to peel away cleanly when your lease term ends. Modern variations now include 3D textures that mimic authentic stone, ceramic, or glass finishes.
Before you begin the installation, you must degrease the wall surface thoroughly using a dish soap solution or specialized degreaser, as residual kitchen oils will cause the adhesive to fail prematurely. Measure the height of the space beneath your upper cabinets and the stove backsplash, then use a sharp utility knife or heavy-duty scissors to trim your sheets for a perfect seam. For corners, overlap the tiles slightly to maintain a waterproof barrier against sink splashes. This project typically takes 45 to 60 minutes for a standard galley kitchen, transforming a dull wall into a textured, high-impact focal point.
3. Install Under-Cabinet LED Lighting
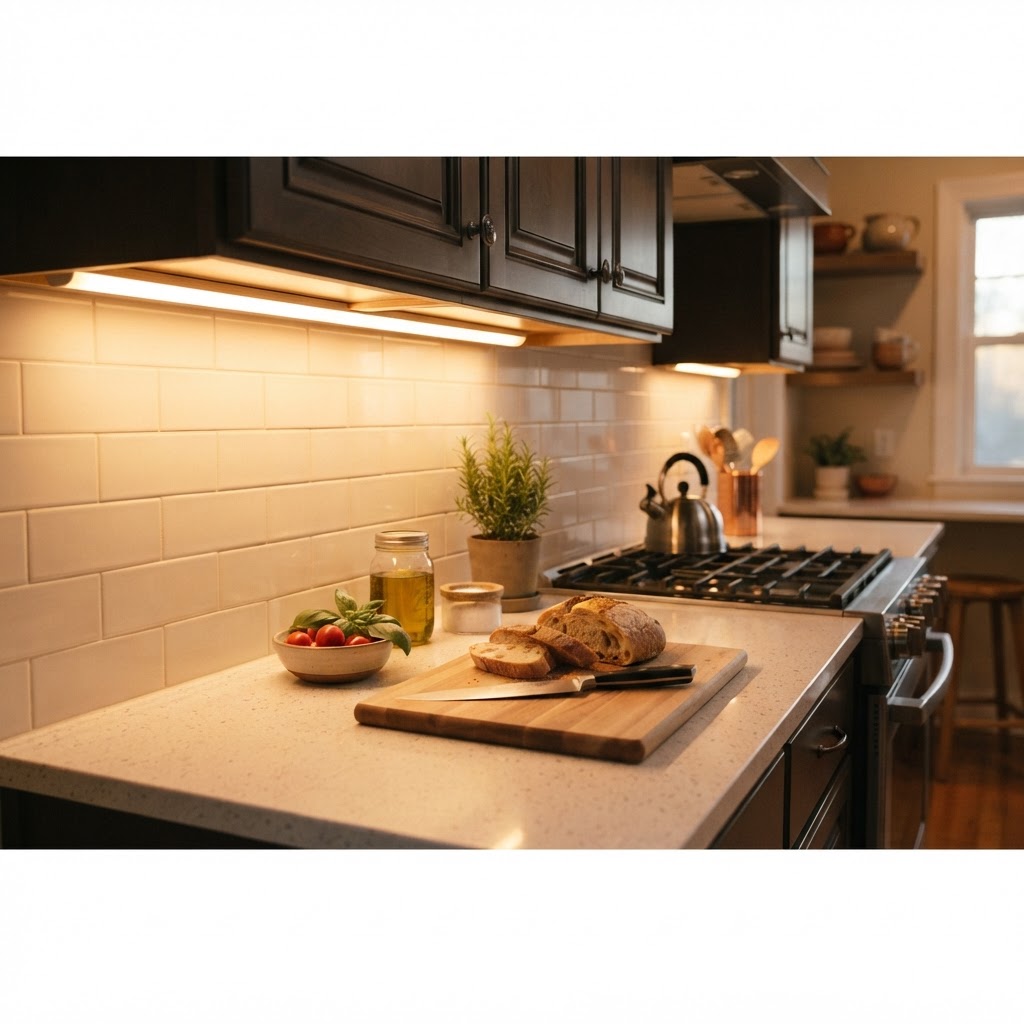
Under-cabinet LED lighting dramatically improves both the utility and mood of a kitchen by eliminating shadows on dark countertops. Because rental properties often rely on single, centrally located overhead fixtures that cast unflattering light, battery-operated or rechargeable USB-powered LED strips serve as the perfect solution for illuminating your workspace without any electrical hardwiring or permanent drilling.
Choosing Your Lighting
When shopping for lights, prioritize units with motion sensors or remote-controlled dimming capabilities to maximize battery life. Many modern kits include magnetic mounting plates or 3M adhesive strips, allowing for a ‘peel-and-stick’ installation that takes less than 15 minutes. Select a ‘warm white’ color temperature (around 3000K) to create a cozy, residential feel, or ‘cool white’ (5000K) if you prioritize high visibility for precise food preparation tasks. By placing these lights toward the front edge of the underside of your cabinets, you achieve maximum light spread across your entire prep area. This small addition not only improves function but also adds a high-end designer glow that makes a rental kitchen feel significantly more expensive than it is.
4. Upgrade Your Faucet with a Modern Sprayer
Replacing a clunky, basic faucet with a sleek, modern pull-down sprayer provides a significant boost in both performance and style for your kitchen sink area. Although it may seem daunting, replacing a kitchen faucet is a standard “swap” project that requires only an adjustable wrench and about 45 minutes of work. Modern universal faucets are designed to fit most standard sink configurations (1-hole or 3-hole setups), making this a highly accessible DIY task for most tenants.
To perform the upgrade, first turn off the water supply valves located under the sink. Use your wrench to disconnect the existing supply lines, then unscrew the nuts securing the old faucet to the countertop. Once removed, drop your new faucet into the pre-existing holes and secure it according to the manufacturer’s instructions. Be sure to keep the original faucet and all its mounting hardware in a sealed container under the sink; you will need these parts to revert the kitchen to its original state when you eventually move out. This simple swap significantly reduces dishwashing time and provides a high-arc professional look that serves as the centerpiece of your rental kitchen.
5. Add Removable Contact Paper to Countertops
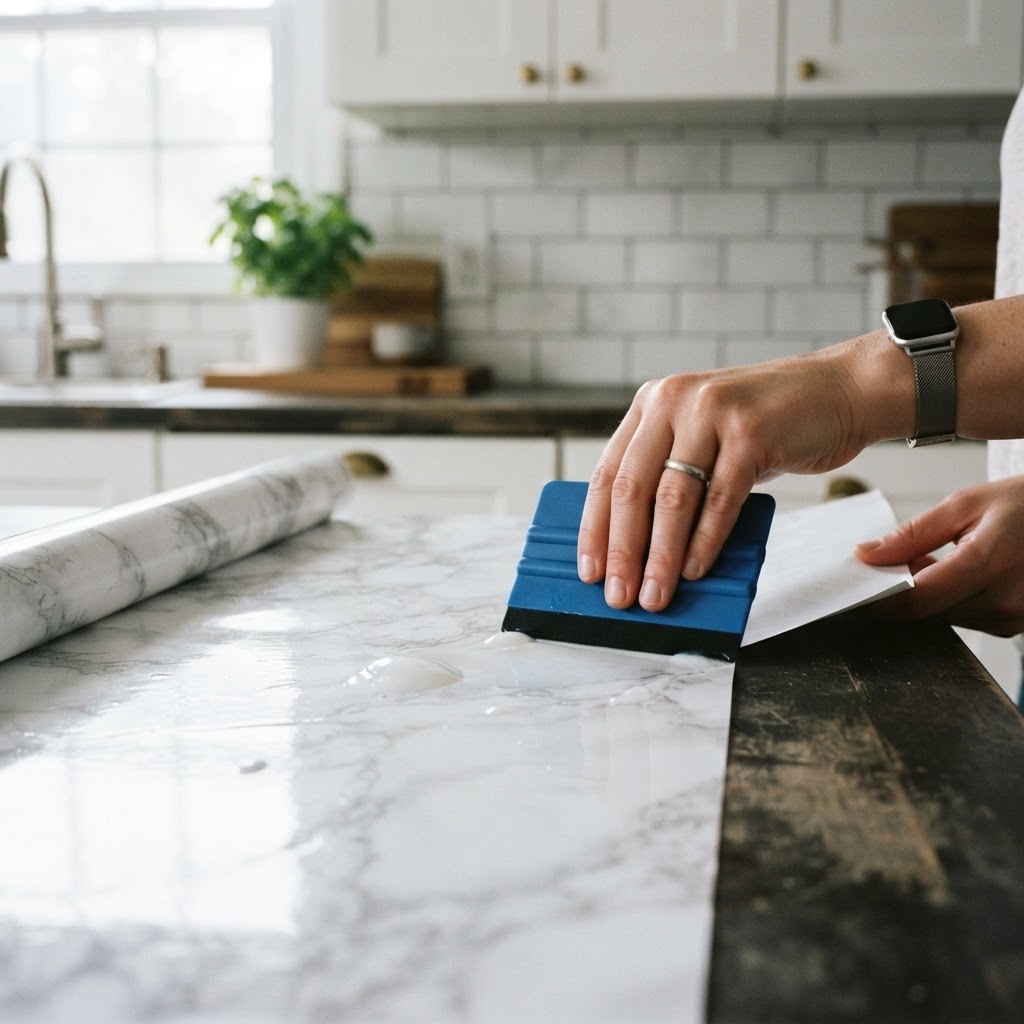
Countertops often suffer from the most severe wear and tear in older rental apartments, but they can be completely camouflaged using high-quality, heat-resistant contact paper. These adhesive vinyl sheets come in a wide variety of finishes, including faux marble, butcher block, and concrete, providing a brand-new look for a fraction of the cost of real stone or laminate replacement.
Application Tips for Success
Success with contact paper relies entirely on surface preparation and patience. First, ensure the countertop is perfectly clean and dry, removing all dust, grease, and grime that could cause bubbling. Measure your area with an extra two-inch margin on all sides. As you apply the paper, use a plastic squeegee to smooth out air bubbles from the center outward. For edges and corners, apply low-level heat from a standard hair dryer to soften the vinyl, allowing it to stretch and wrap around rounded corners for a seamless, professional finish. When moving out, simply apply heat again to loosen the adhesive and peel the paper away without damaging the underlying countertop.
6. Create a Stylish Vertical Storage System
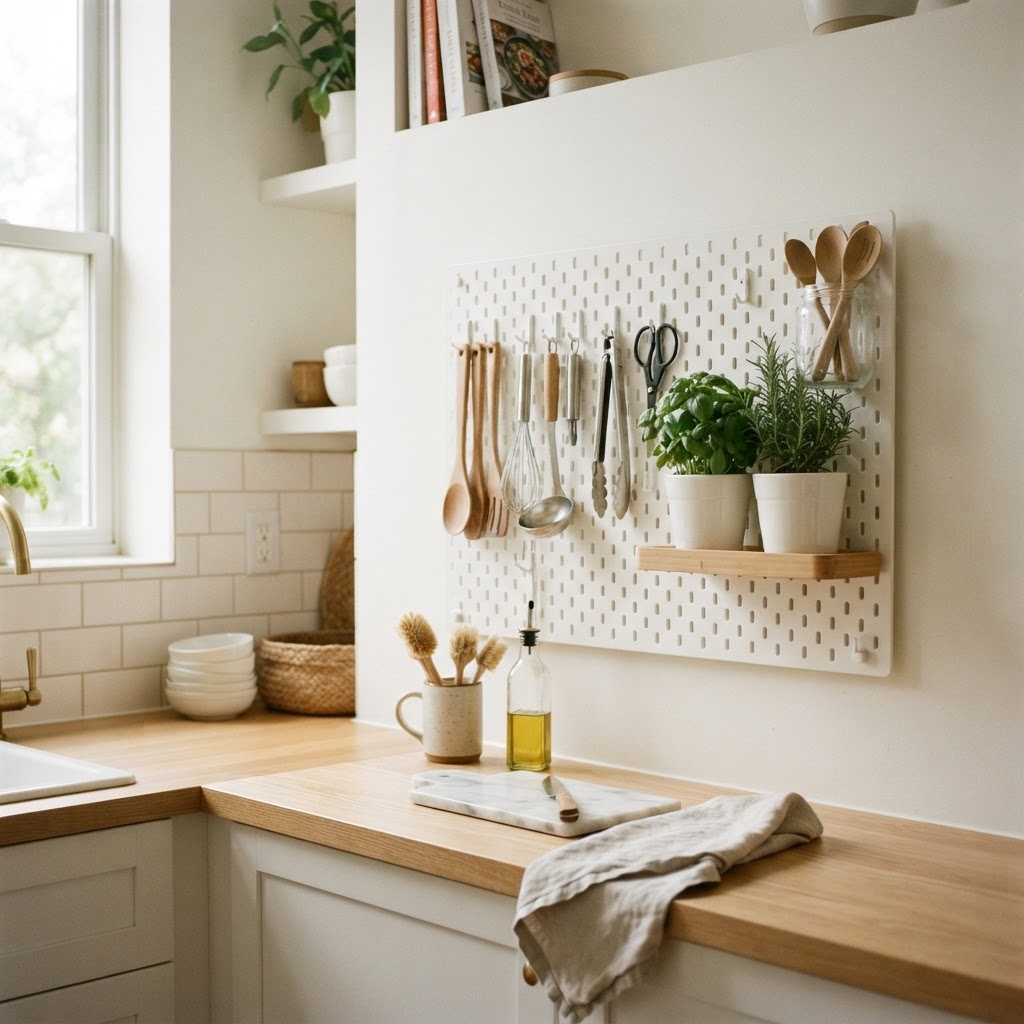
Vertical storage is the secret weapon of small rental kitchens, allowing you to maximize limited cabinet space without installing permanent shelving. By utilizing the sides of cabinets or the area above the sink, you can keep clutter off your counters and create a more organized cooking environment. Options include magnetic strips for knife storage, adhesive hooks for utensils, and tension rods tucked under the sink for cleaning supplies.
Installing a pegboard is another highly effective method to store heavy pots and pans. You can mount these using heavy-duty command strips or adhesive mounts that are weight-rated for the items you plan to hang. This modular approach allows you to customize the configuration to suit your specific cooking tools, ensuring that your most frequently used items are always within arm’s reach. By utilizing vertical wall space, you effectively increase your kitchen’s square footage, making a cramped rental kitchen feel significantly more spacious and efficient.
Expert Tips for Rental Success
Always prioritize the principle of “reversibility” when performing any rental kitchen project. The primary goal is to enhance your daily living experience while ensuring the property can be returned to its exact original condition. Before beginning any project, review your lease for specific restrictions regarding drilling, adhesives, or appliance replacement, and store all original hardware in a dedicated, clearly labeled box to prevent loss.
Maintain an Inventory
Organizing your original parts is crucial for a successful move-out. Use resealable plastic bags for screws, nuts, and small brackets, and place them inside the original box or tape them to the underside of the replaced items. By maintaining this inventory, you can complete the restoration process efficiently in just a few hours, protecting your security deposit while enjoying your personalized space in the meantime.
FAQ
Q: Do I need special tools for these projects?
Most of these upgrades require only basic household tools like a screwdriver, a utility knife, and a measuring tape. You will rarely need power tools, and most hardware can be installed manually without the risk of damaging the underlying cabinetry.
Q: Can I get my security deposit back?
Yes, you will likely receive your full security deposit back as long as you remove the modifications before moving out. Ensure that you retain all original items—like handles and faucets—and reinstall them before the final move-out inspection.
Q: Is peel-and-stick backsplash safe for walls?
Most high-quality peel-and-stick tiles are safe for standard, painted drywall when applied correctly. To ensure no damage occurs, peel the tiles off slowly at a sharp 45-degree angle when moving out, and use a little heat from a hair dryer to soften the adhesive if it feels difficult to remove.
Q: How long do these upgrades usually take?
Each of the projects mentioned can be completed in under one hour. Swapping hardware or installing under-cabinet lighting generally takes 20 to 30 minutes, while applying contact paper or backsplashes may take closer to an hour depending on the size of your kitchen area.

Leave a Reply