Archives August 2026

How to Organize a Small Kitchen With Limited Cabinets

How to Organize a Small Kitchen With Limited Cabinets

To organize a small kitchen with limited cabinets, prioritize vertical storage by installing magnetic strips, pegboards, and under-shelf baskets, then declutter your inventory using a ‘one-in, one-out’ policy. By utilizing dead space above cabinets and on door interiors, you can maximize every square inch of your kitchen without structural modifications.

Assessing Your Current Kitchen Footprint
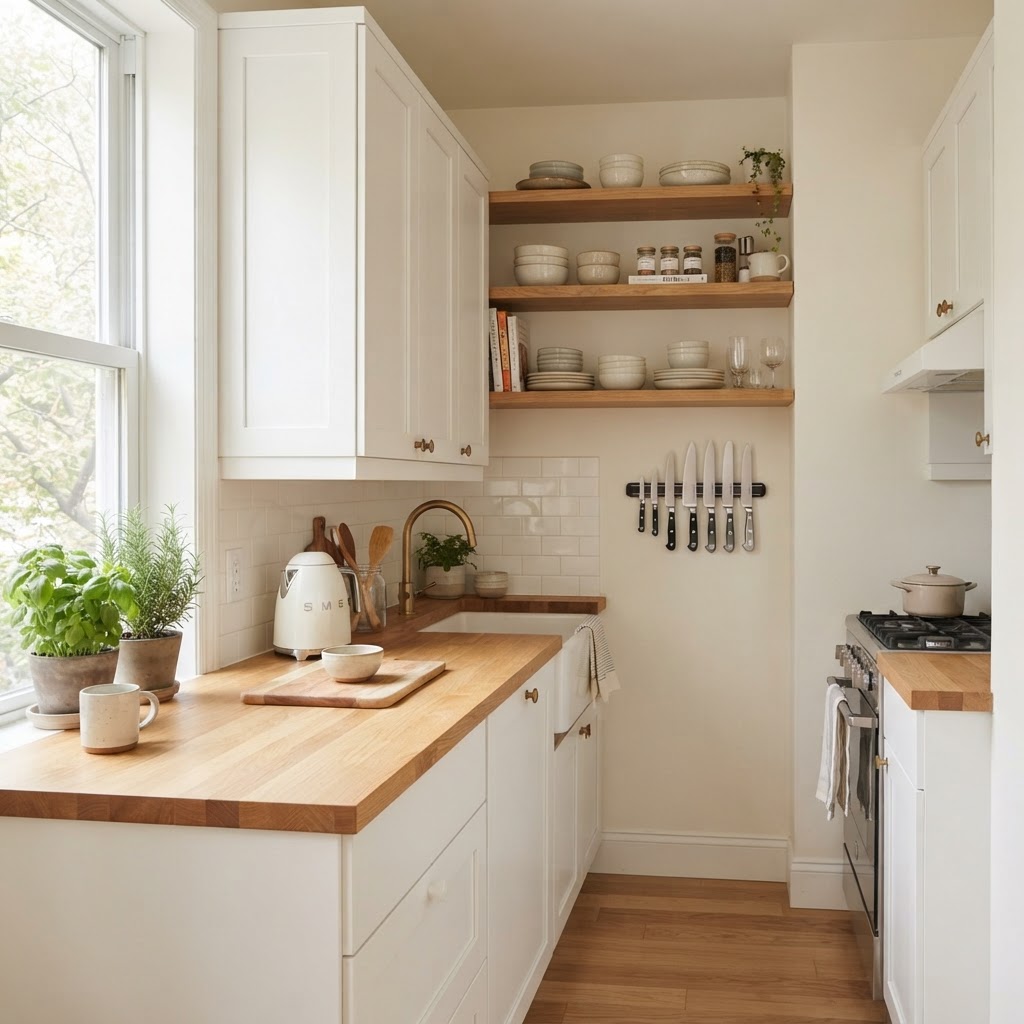
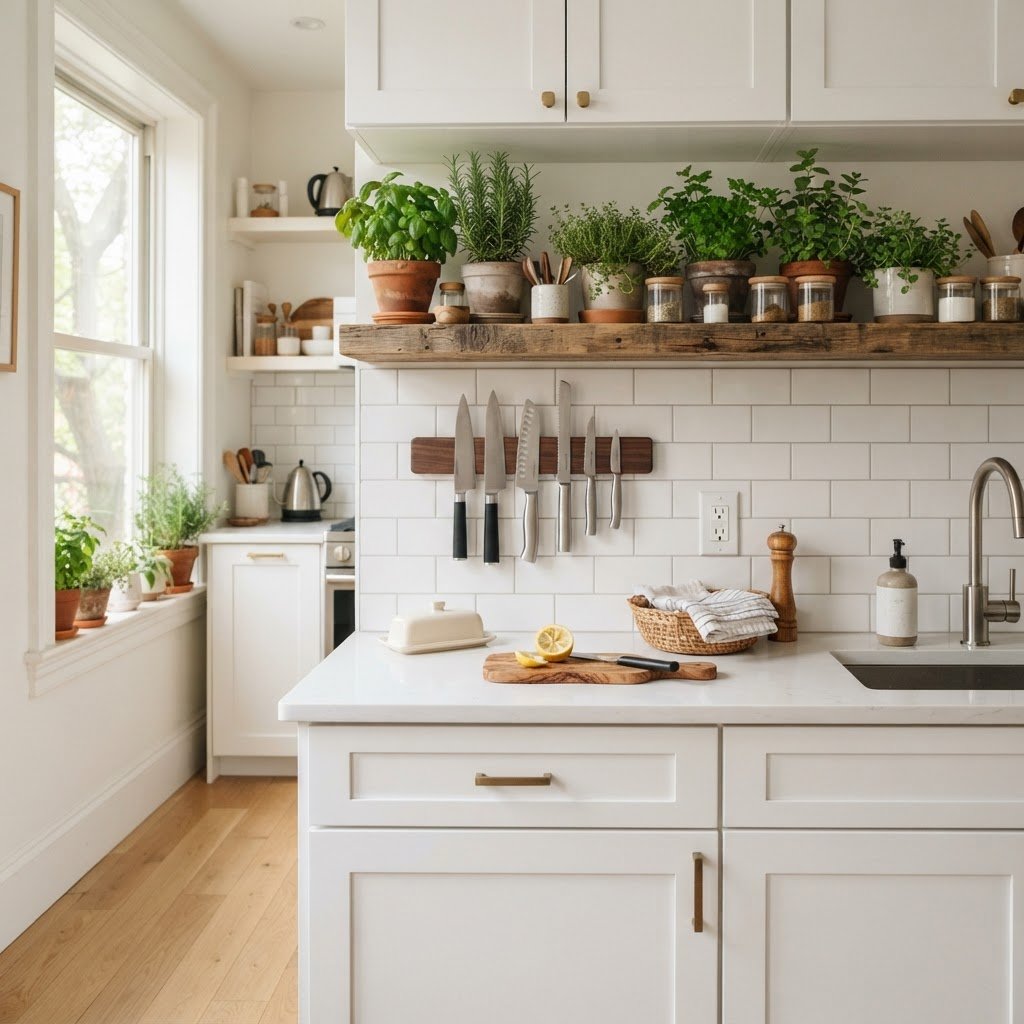
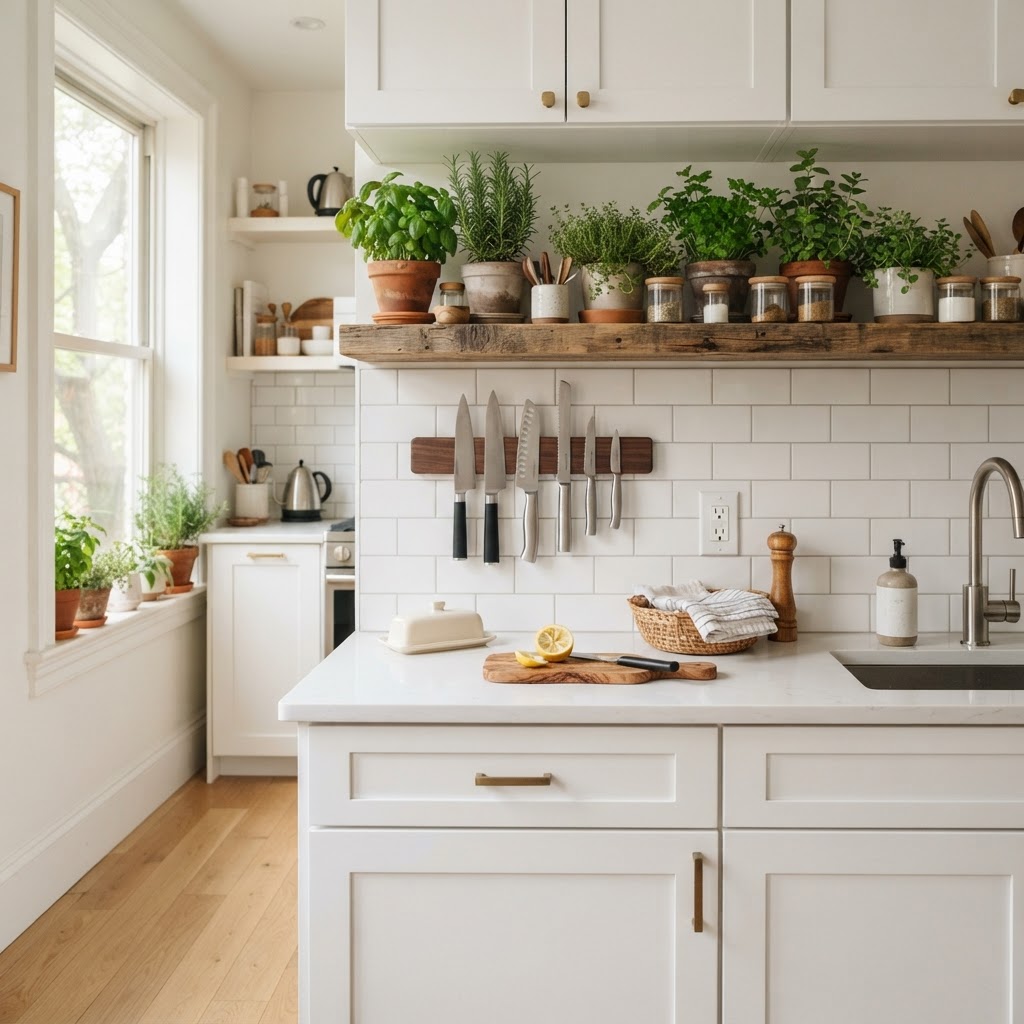
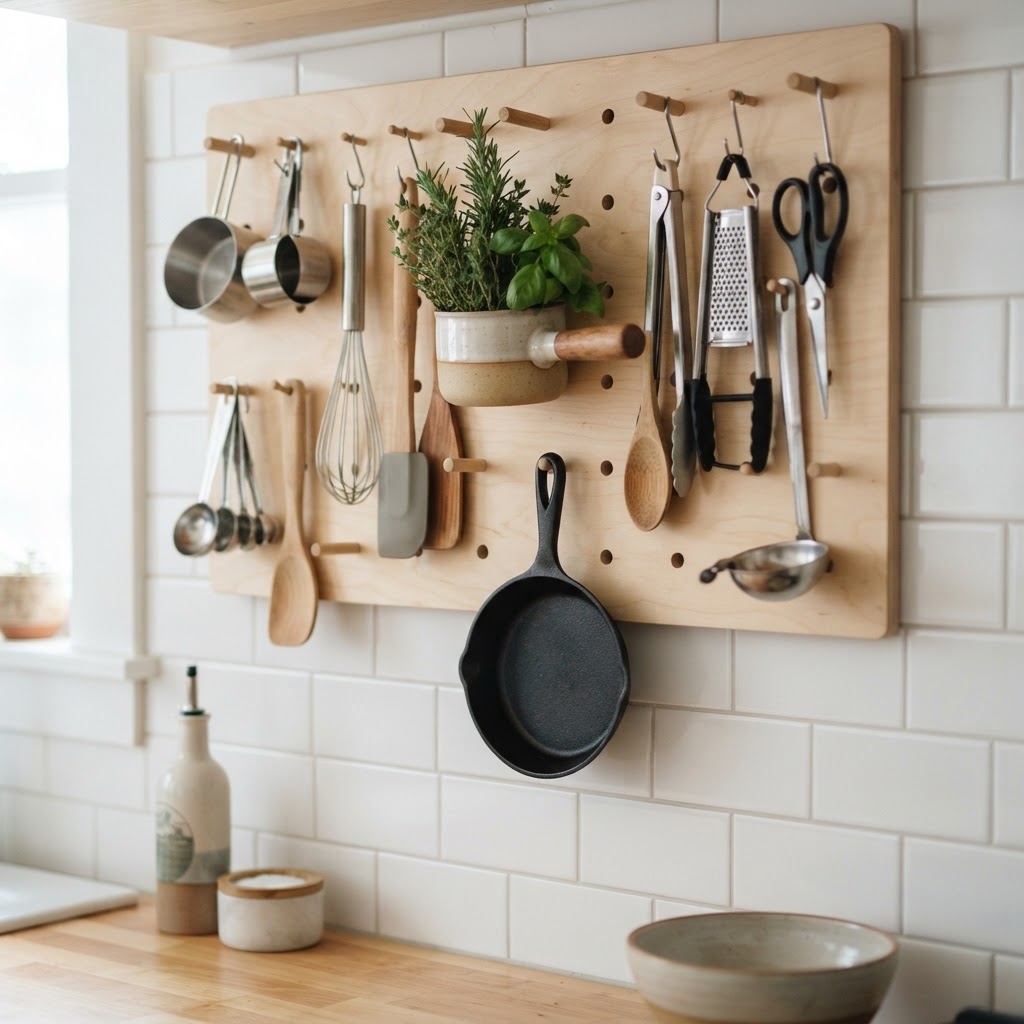
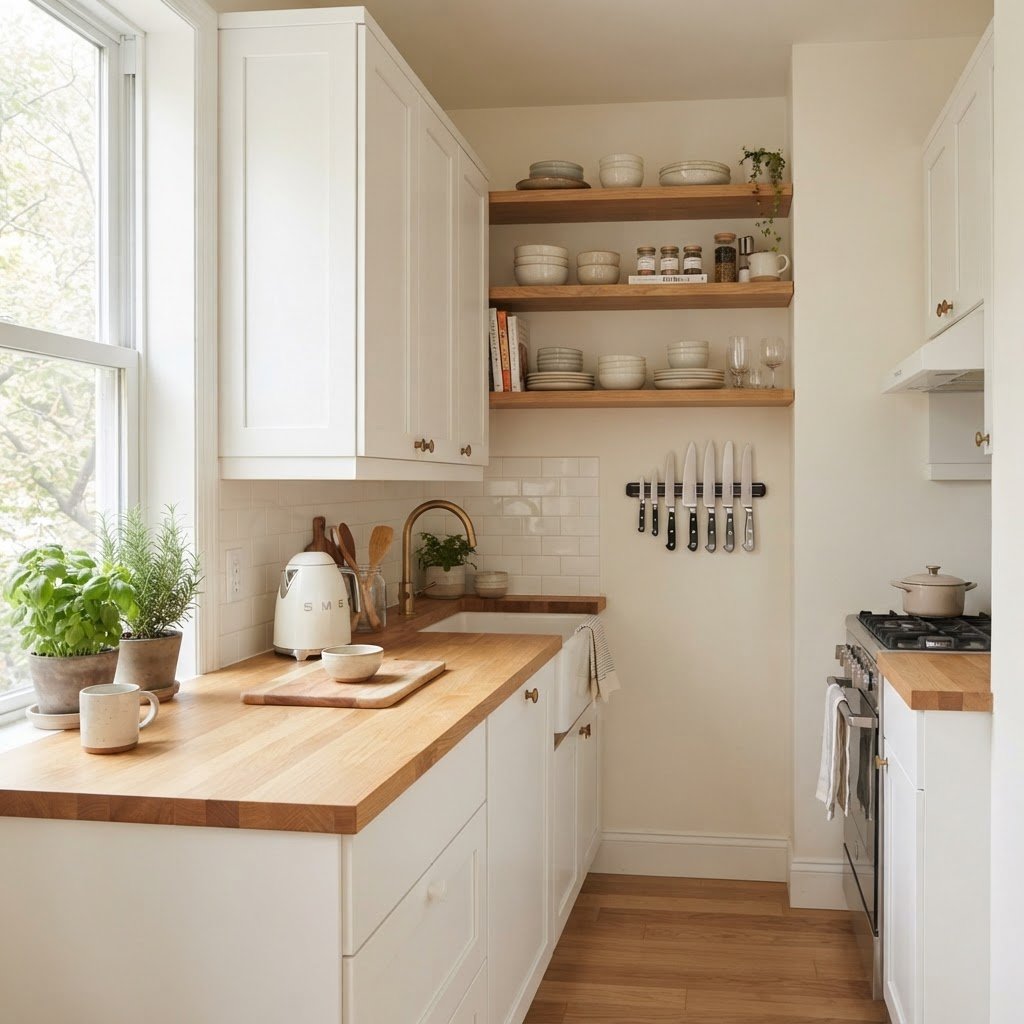
Utilizing vertical wall space keeps your counters clear and functional.

Conducting a thorough audit of your kitchen inventory is the most effective way to reclaim space without spending money on storage organizers. Start by emptying every cabinet and drawer to identify redundant items or expired goods that occupy valuable real estate. Research shows that the average kitchen user utilizes less than 30% of their gadgets on a regular basis; identifying these non-essential items allows for immediate downsizing. Categorize your remaining items by frequency of use: keep daily tools within arm’s reach and store seasonal equipment, such as holiday platters or rarely used appliances, in secondary storage areas. This process minimizes daily friction and ensures your primary cabinet space remains dedicated to high-impact items. To help you decide what to keep, use the following comparison guide for storage prioritization.

Item Category Storage Location Frequency Handling Strategy
Daily Essentials Counter/Lower Shelves 5-10 times/day Open access
Weekly Tools Middle Cabinets 2-3 times/week Stackable bins
Occasional Items Top of Cabinets 1-2 times/month Labeled baskets
Seasonal Gear Off-site or Deep Storage 1-2 times/year Vacuum-seal bags

The Rule of Frequency

Once your items are laid out, categorize them by frequency of use. Keep daily essentials—like your favorite spatula, a few plates, and your main mugs—at eye level or within easy arm’s reach. Move seasonal items or specialty equipment like holiday cookie cutters to higher or lower shelves. This logic minimizes friction in your daily routine and makes your limited cabinet space feel intentional rather than chaotic.

Vertical Storage Strategies for Renters
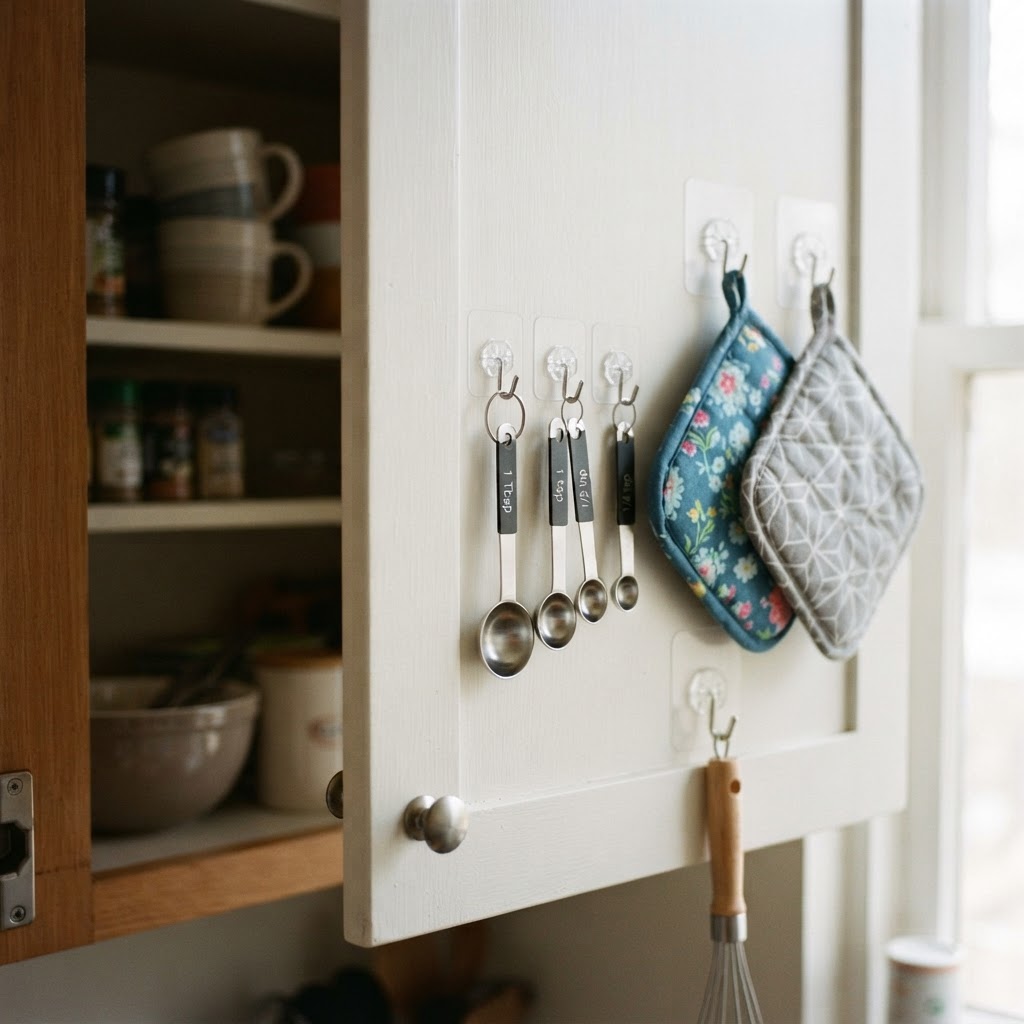
Adhesive hooks are a renter's best friend for maximizing cabinet door space.

Vertical space is your most valuable asset when horizontal surfaces like countertops are limited in a small rental kitchen. Since permanent modifications are often prohibited, utilize renter-friendly hardware such as adhesive-backed hooks, high-strength magnetic strips, and tension rods to convert empty walls into functional storage zones. A standard magnetic knife strip typically measures 12 to 18 inches and can save up to 0.5 square feet of counter space by removing the need for a bulky wooden knife block. By elevating your tools, you create a professional-grade workflow where your most-used items are visible and accessible. Furthermore, wall-mounted systems prevent the ‘countertop drift’ that occurs when mail, keys, and miscellaneous items compete with your food preparation area for space. Consider the following breakdown of temporary storage tools vs. traditional storage methods.

Tool Type Installation Best For Typical Capacity
Magnetic Strip Adhesive/Command Knives/Metal Tools 6-10 items
Pegboard Removable Tape/Hooks Pots/Measuring Cups 15-20 lbs
Tension Rod Pressure-fit Lids/Trays 5-8 items

Creative Wall Solutions

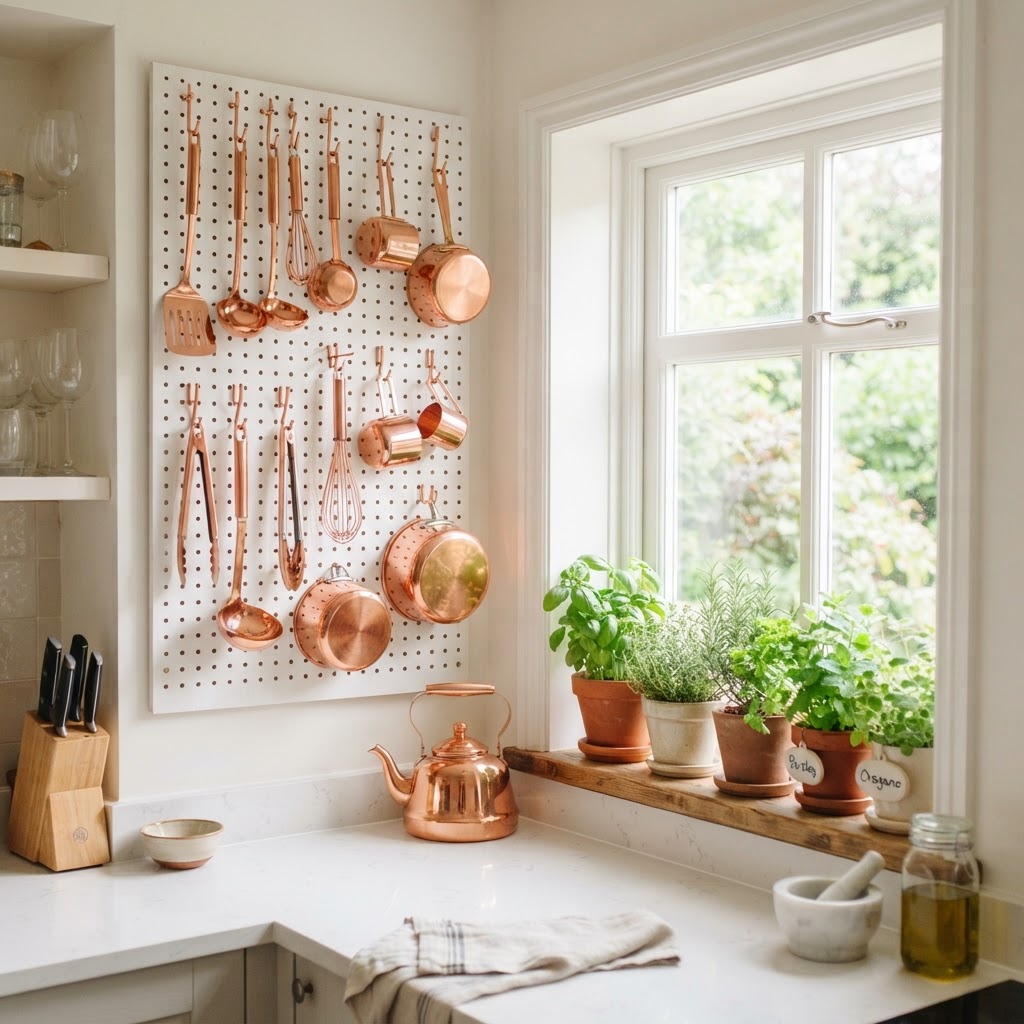
Consider installing a pegboard on a blank wall near your prep area. A pegboard allows you to hang pots, pans, measuring cups, and even small baskets for kitchen towels. Because it is modular, you can rearrange your setup as your needs change. If you have a small patch of unused wall, a simple decorative shelf can hold your cookbooks or frequently used oils, turning clutter into display-worthy decor.

Utilizing Dead Space Around Cabinets
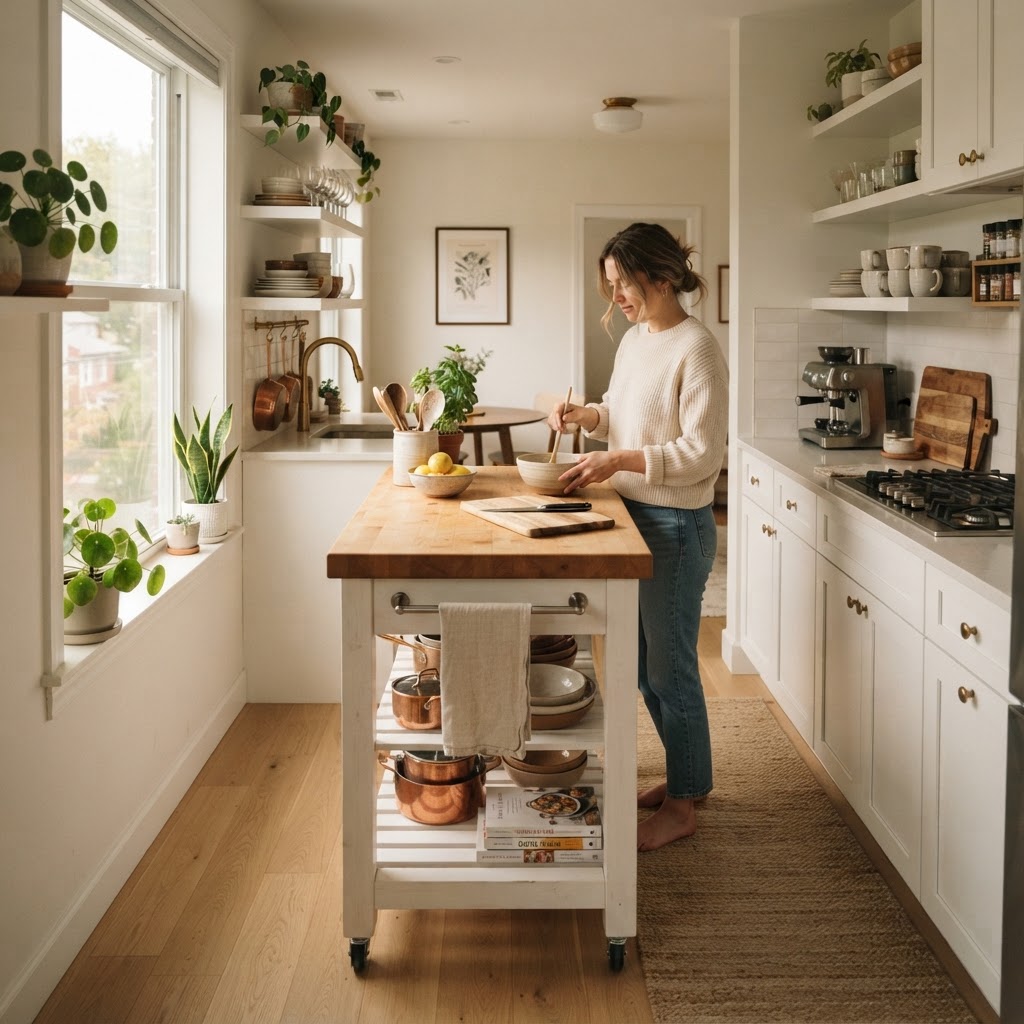
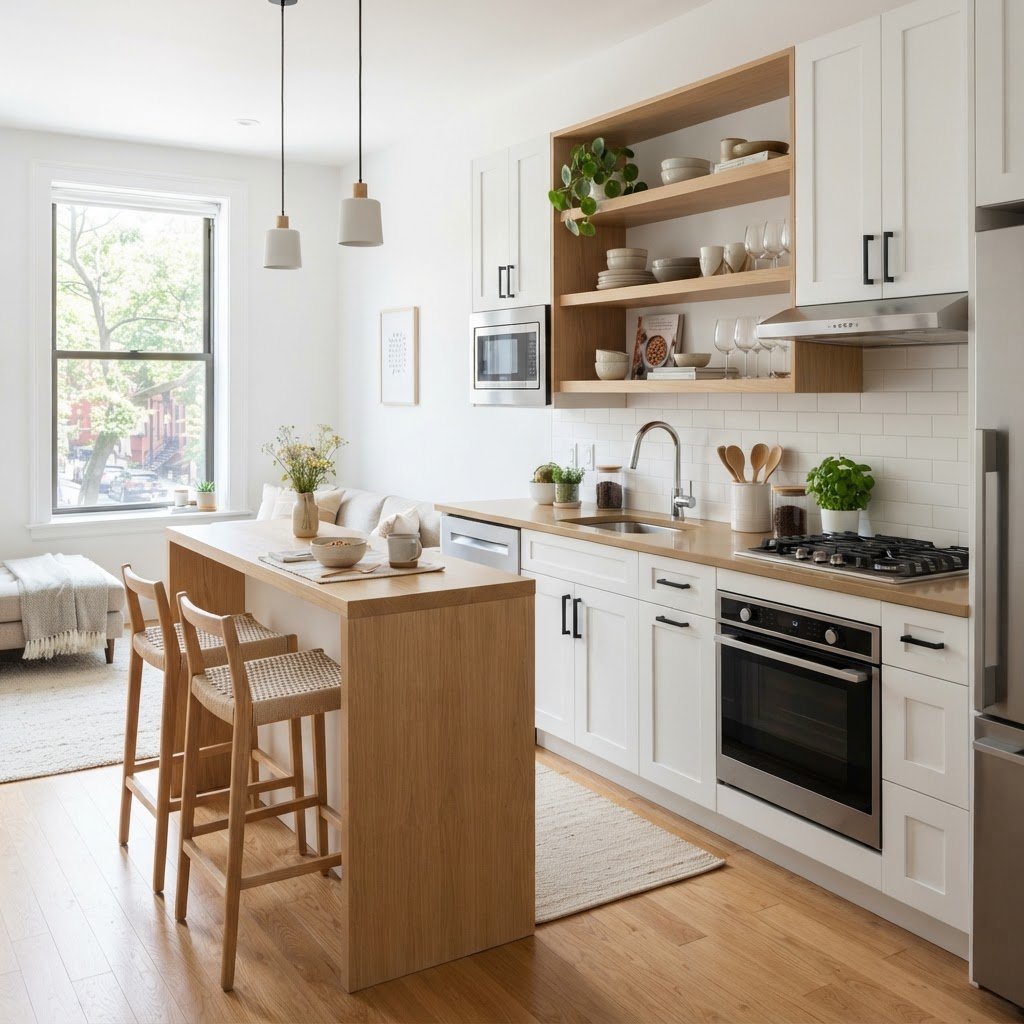
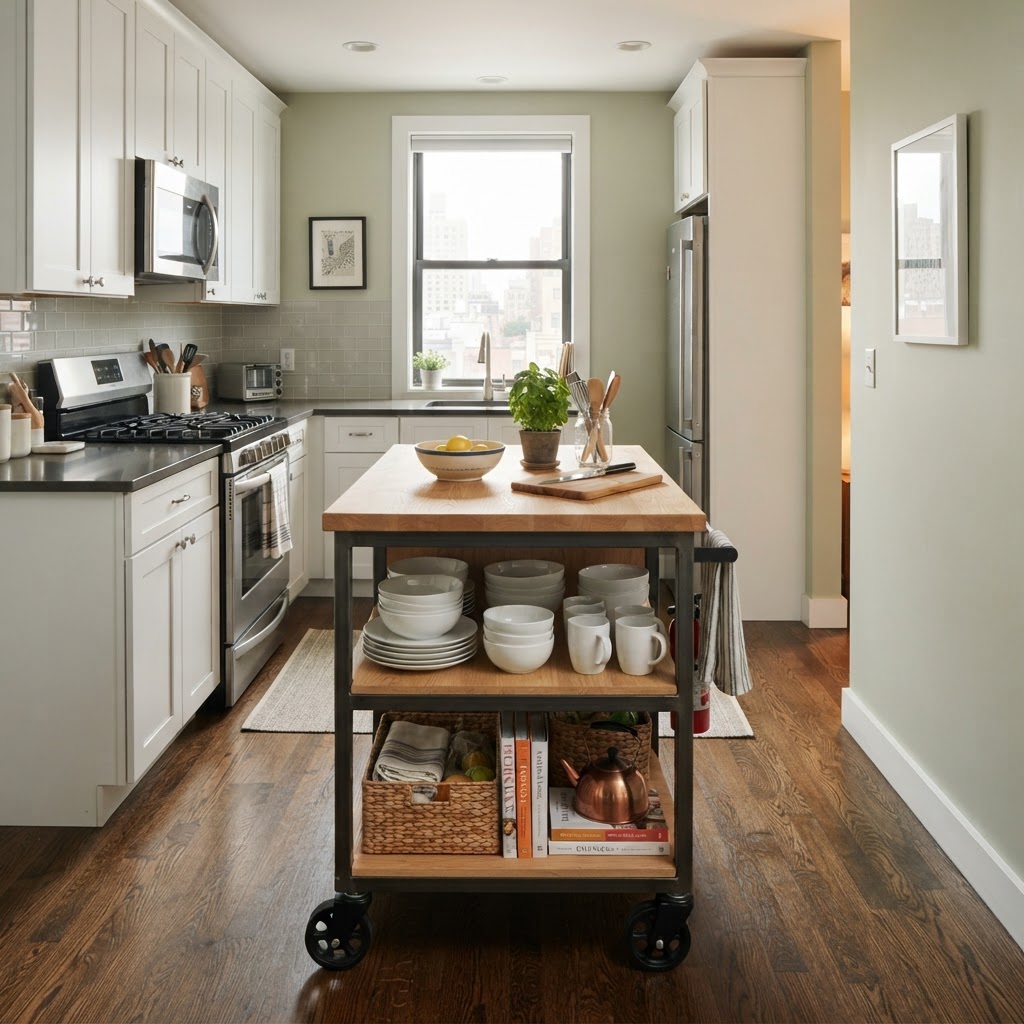
A mobile island adds extra prep space where you need it most.

Maximizing the ‘dead space’ found above upper cabinets or between shelves is a critical step in professional-level kitchen organization. Many apartments feature a 12-to-18-inch gap between the top of the cabinet and the ceiling, which often accumulates dust instead of serving a storage function. By utilizing uniform, opaque baskets or bins, you can store bulky items like stockpots or seasonal platters in this area while maintaining a tidy, cohesive visual aesthetic. Inside the cabinets, the vertical gap between shelves is frequently under-utilized by 40% or more, resulting in wasted air space. Installing under-shelf wire baskets creates a ‘floating’ second tier, ideal for stacking lightweight mugs or napkins, effectively doubling your storage density. Pair these with rigid shelf risers to prevent the dangerous, unstable stacks that often lead to chipped plates or broken glass in small kitchens.

The Under-Shelf Advantage

Inside your cabinets, the space between your stacked items is often wasted. Use under-shelf wire baskets that slide onto your existing shelves to create a “second level” for mugs or napkins. This simple addition can double your storage capacity for lightweight items. Combine this with stacking shelf risers, and you will find that you can fit twice as much dishware in the same footprint without the risk of a wobbly, unstable stack.

The Power of Command Hooks and Tension Rods
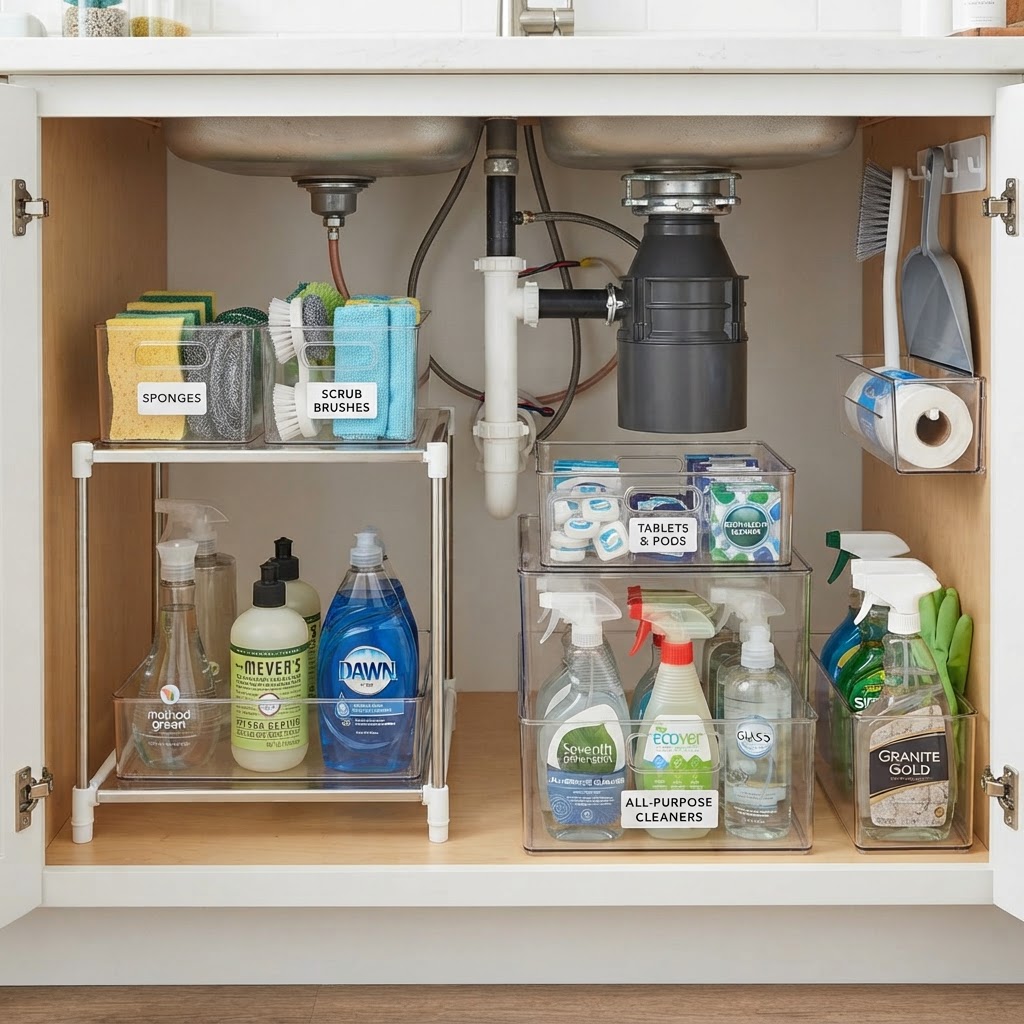
Clear bins and shelf risers turn a messy under-sink area into an organized storage zone.

Adhesive hooks and tension rods are the most cost-effective tools for transforming small cabinet doors and deep drawers into high-efficiency storage hubs. For less than $20, you can outfit the inside of every kitchen cabinet door with adhesive hooks to store pot holders, measuring spoons, and vegetable brushes, which removes these items from your precious counter space. Additionally, placing tension rods vertically inside deep drawers creates instant customized dividers for flat items like baking sheets and cooling racks. This method prevents the ‘stacking struggle’ where you must lift five heavy pans to reach the one at the bottom. By standing these items vertically, you improve access speed and reduce the risk of scratching your cookware. Data suggests that implementing drawer dividers can reduce the time spent searching for specific items by up to 30% during your daily cooking sessions.

Tension Rods as Drawer Organizers

Tension rods aren’t just for curtains. Place them vertically inside a deep drawer or cupboard to create dividers for baking sheets, cutting boards, or cooling racks. This keeps these flat items standing upright, so you can pull one out without having to lift an entire stack of heavy metal sheets. It is an incredibly satisfying and inexpensive way to organize a small kitchen with limited cabinets.

Optimizing the Kitchen Sink Area

The area under the sink is a high-utility zone often rendered chaotic by plumbing obstructions and disorganized cleaning supplies. To regain control, replace loose bottles with an expandable tiered shelf rack that fits specifically around P-trap pipes, which can increase usable storage capacity in this zone by nearly 50%. Incorporate over-the-door caddies on the inside of the sink cabinet to hold sponges, gloves, and scrub brushes, keeping them away from the moisture of the sink itself to prevent mildew. Organize your cleaning supplies in a clear, labeled bin that can be pulled out easily, ensuring that you never have to blindly reach for a product in the dark corners of the cupboard. Maintaining this area not only clears clutter but also makes leak detection faster and protects your cabinetry from water damage by ensuring all cleaning products are properly contained.

Creating Auxiliary Prep Surfaces

Auxiliary prep space is essential in small kitchens where counter space is limited to just a few inches. Investing in a mobile kitchen island or a drop-leaf cart allows you to extend your workspace only when necessary, providing a dedicated area for chopping and prep work. Many of these units are priced between $80 and $200 and include integrated drawers or shelving that offer secondary storage, effectively acting as an external cabinet. By moving appliances like toasters or blenders onto these surfaces—or storing them in a dedicated ‘appliance garage’—you reclaim the main counter for cooking. Adopting the ‘mise en place’ philosophy, where every ingredient is prepared before the heat is turned on, will ensure that your kitchen remains functional regardless of the limited footprint, preventing the frustration of working in a crowded, disorganized environment.

Think Like a Professional Chef

Professional kitchens are designed for efficiency, not for excess. Adopt a “mise en place” mentality, where every tool has a specific home and every ingredient is ready before you start cooking. When you limit your surface clutter to only what is necessary for the current meal, the entire kitchen feels larger and more functional. Remove all small appliances—like the toaster or blender—from the counter unless you use them every single day.
SMALL KITCHEN ORGANIZATION ON A BUDGET 2024 / Clean, Declutter & Organize / Realistic Organization

Maintaining Your Organized Kitchen

Organization in a small space is a dynamic maintenance process rather than a one-time project. Implement a strict ‘one-in, one-out’ policy, where you must donate or recycle one old item for every new tool you bring into the kitchen to prevent inventory creep. Perform a deep-reset check every 90 days to evaluate which storage systems are holding up and which need modification based on your seasonal usage habits. By keeping a running list of your kitchen inventory on a shared family app or a simple notepad, you can avoid the common mistake of buying duplicates for items you already own. Consistency is the key to preventing the gradual accumulation of clutter that typically shrinks a small kitchen’s utility over time.

FAQ

Q: What is the best way to store large pots in a small kitchen?

Using vertical dividers or tension rods inside a deep drawer allows you to stand pots on their sides, making them easy to access without unstacking them. Alternatively, install a wall-mounted pot rack to move them off the floor and into your vertical wall space.

Q: How can I hide ugly pipes under my kitchen sink?

Install an expandable under-sink shelving unit that sits around the plumbing, providing a clean, flat surface for bins. This hides the pipes from view while simultaneously organizing your cleaning supplies into labeled, accessible containers.

Q: Are tension rods safe for kitchen cabinets?

Yes, tension rods are safe for most cabinets as they rely on friction rather than adhesives or screws. They are ideal for creating dividers in deep drawers or cupboards, but ensure the cabinet walls are sturdy enough to handle the spring pressure before installing.

Q: How do I declutter a kitchen with zero cabinet space?

Focus on vertical storage and auxiliary furniture like mobile carts or wall-mounted shelving units. Prioritize the ‘one-in, one-out’ rule to strictly limit your inventory to essential tools that you use at least once a week, keeping only the bare minimum of items on display.

Q: What is the most effective renter-friendly storage tool?

Adhesive command hooks are the most effective tool because they can be used on almost any surface, including cabinet doors, walls, and side panels. They allow for customizable, modular storage for lightweight items without leaving damage when it is time to move.
20 Genius Tiny Kitchen Ideas for Small Apartments

20 Genius Tiny Kitchen Ideas for Small Apartments

Maximize your small kitchen by utilizing vertical wall space, installing multi-functional workstation accessories like over-sink cutting boards, and adopting a strict ‘one-in, one-out’ inventory policy. These 20 actionable strategies transform compact culinary zones into efficient, high-functioning spaces by prioritizing hidden storage, reflective surfaces, and minimalist appliance choices.

Rethinking Your Vertical Storage Potential

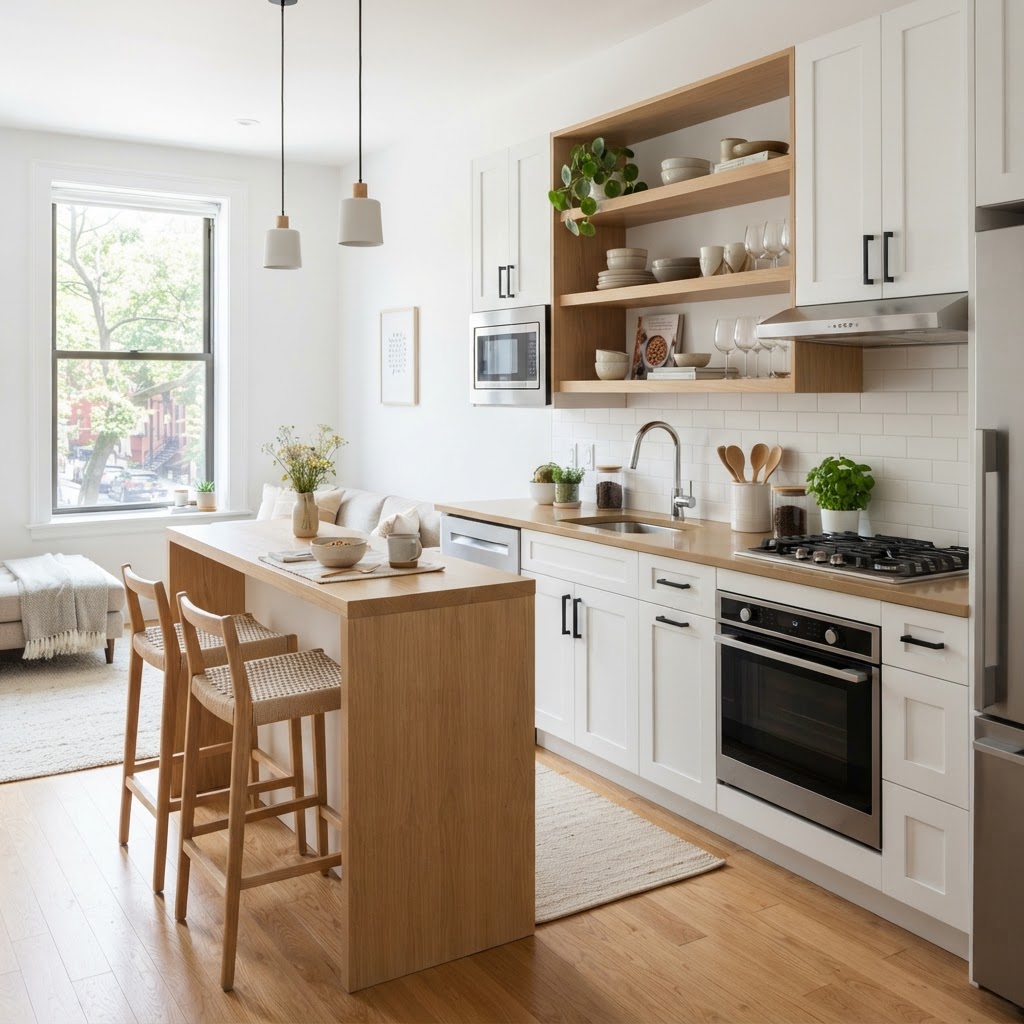
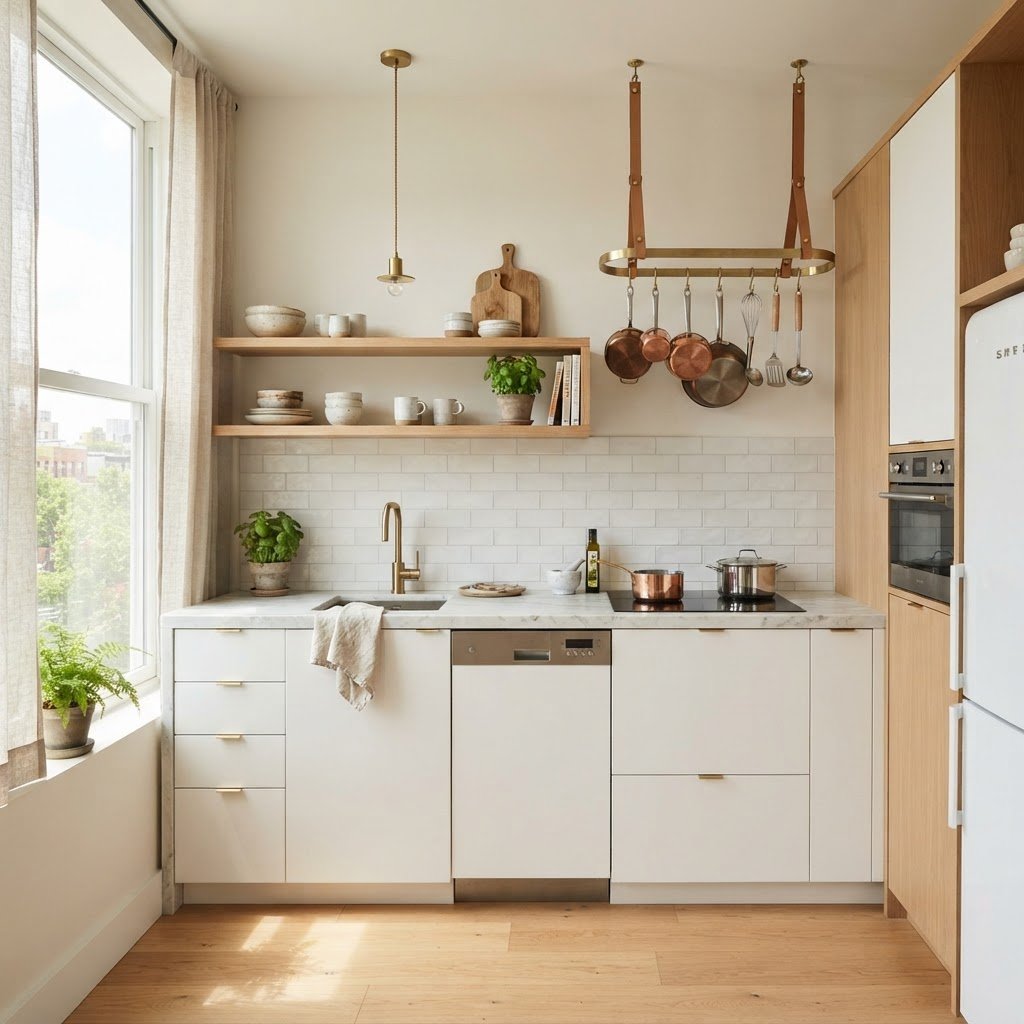
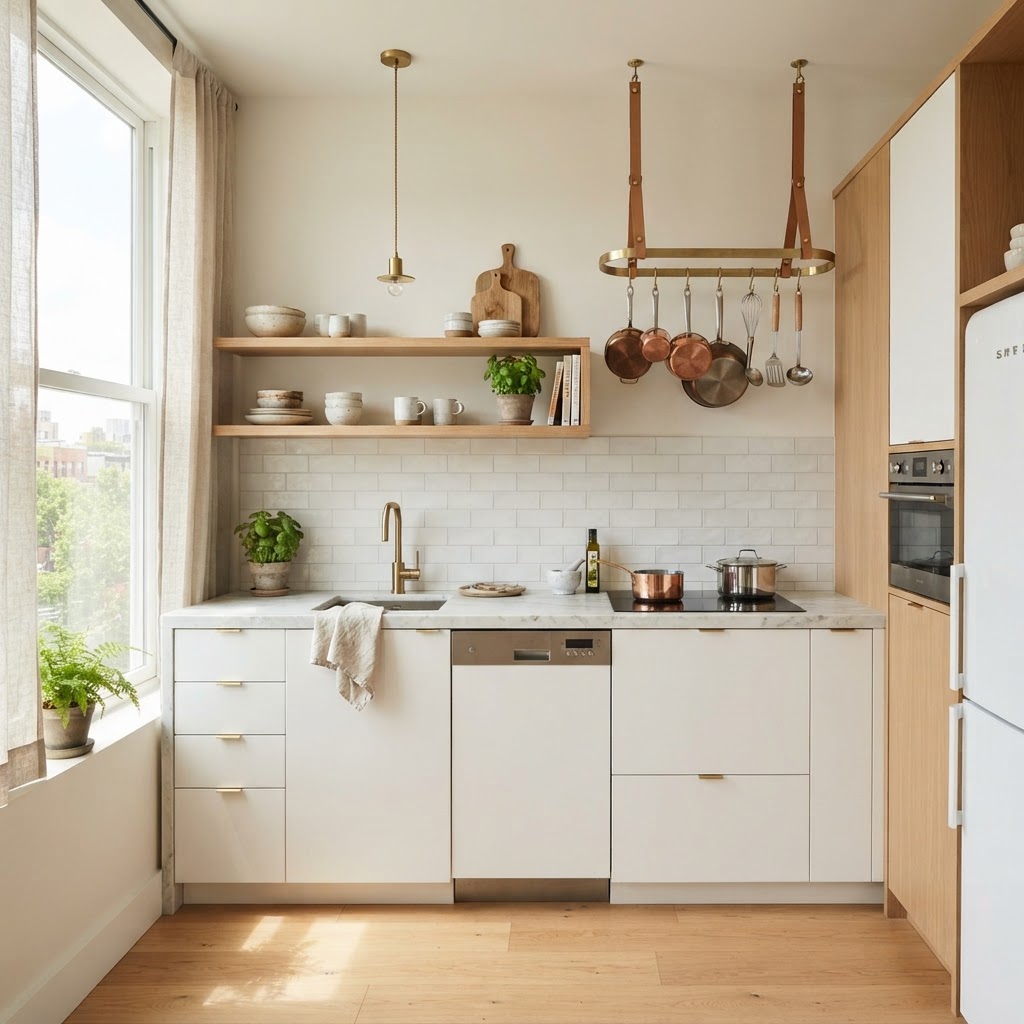
Open shelving and light colors create a sense of openness.

When floor space is at a premium, the most effective strategy is to leverage vertical wall surfaces to clear valuable countertop real estate. Most homeowners ignore the 24 to 36 inches of wall space between the countertop and the ceiling. Installing open shelving is a superior alternative to closed cabinetry; it reduces visual “heavy weight” that often makes a small room feel boxed in. By using open shelves, you keep daily essentials like spice jars and mugs accessible while adding a decorative layer to your kitchen.

Maximize Wall-Mounted Organization

Pegboards have evolved far beyond the garage workshop. In a tiny kitchen, a stylish, monochromatic pegboard can hold everything from cast-iron pans to measuring cups, saving approximately 3-5 square feet of cabinet space. This keeps your essential tools within arm’s reach while doubling as a functional piece of wall art that requires zero floor footprint.

The Power of Magnetic Strips

Another genius solution involves magnetic knife strips. By moving your knives and metal utensils from a bulky countertop block to the wall, you instantly reclaim up to 6 inches of precious prep space. It is a simple, sub-$20 swap that clears visual clutter significantly while preventing knife blade dulling caused by traditional storage blocks.

Optimizing Countertops and Prep Zones

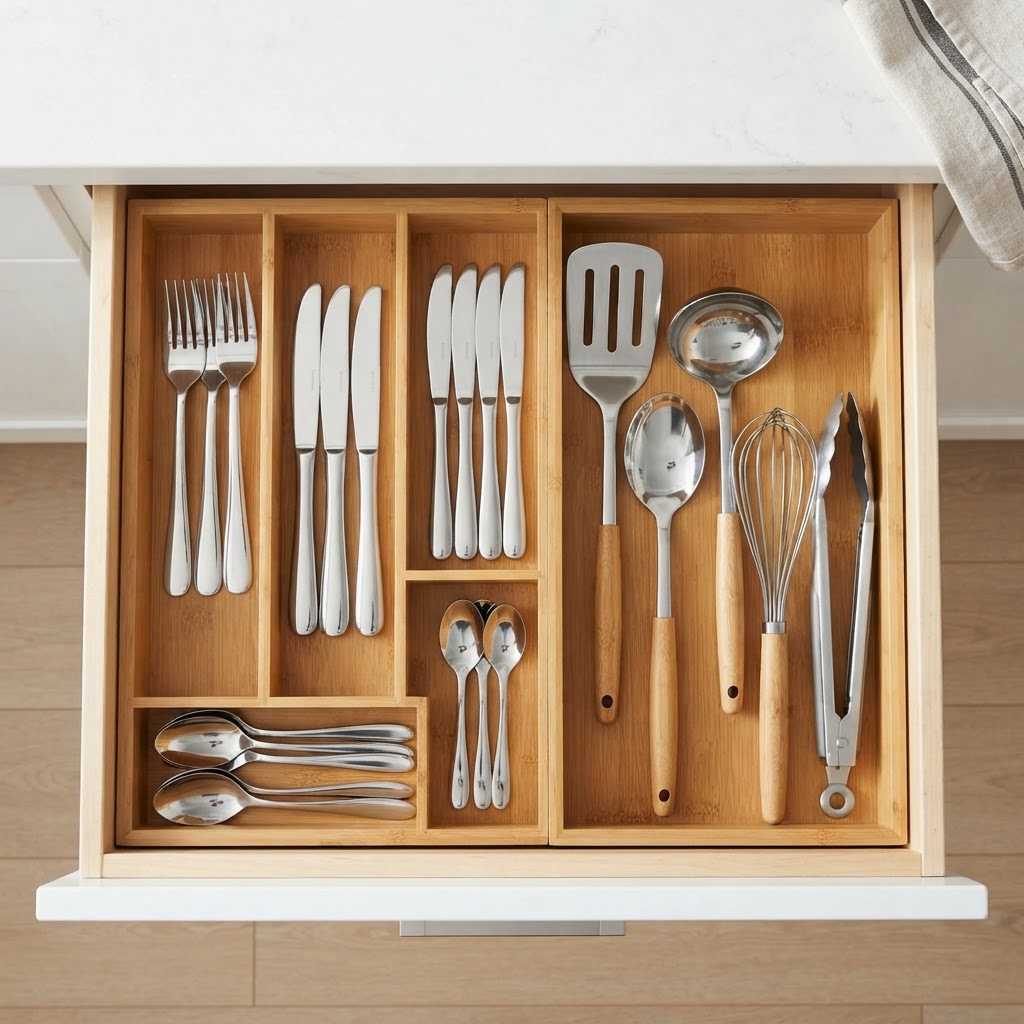
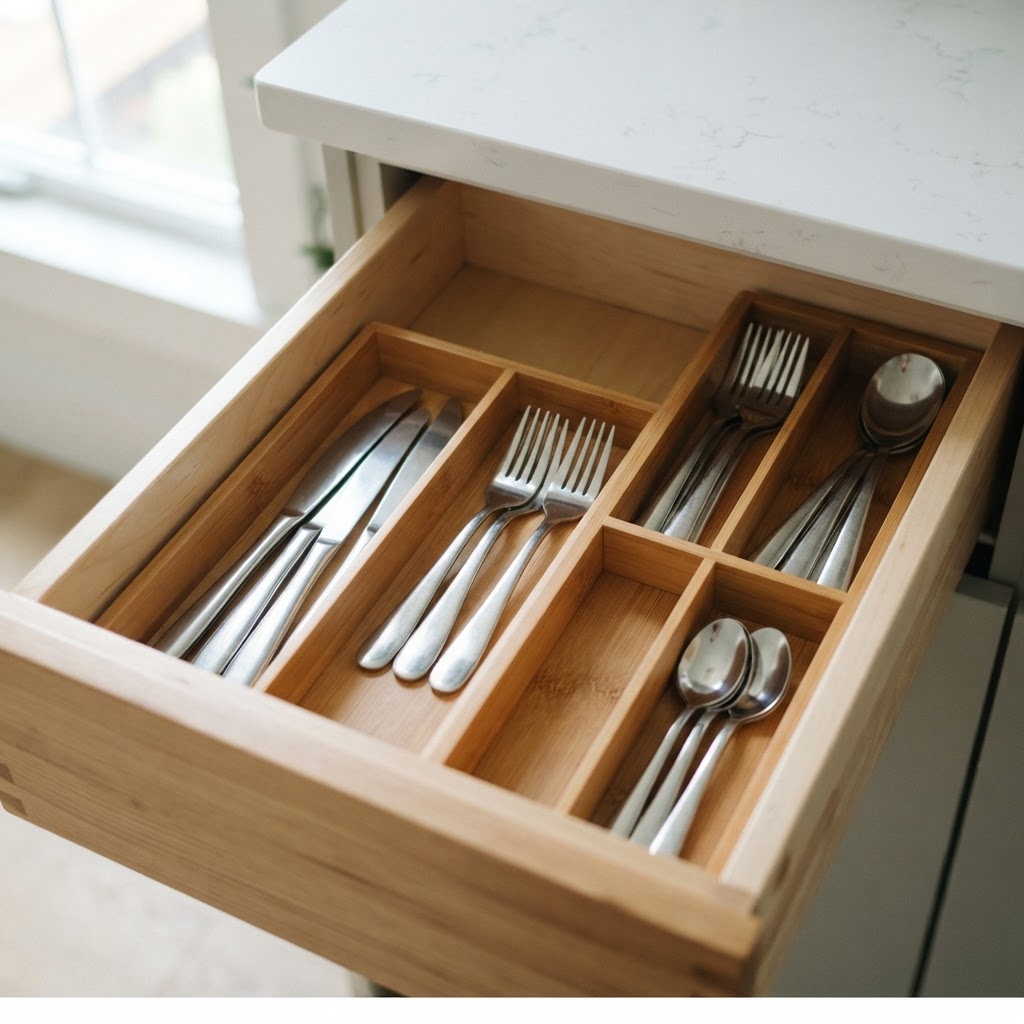
Custom drawer dividers make every inch of storage count.

Lack of surface area for chopping and mixing is the most common pain point in urban apartment kitchens, but it can be solved by converting dead zones into functional prep space. You should aim to create ‘floating’ or ‘hidden’ workspaces that integrate into your existing structure. Adding an over-sink cutting board or a custom-fit cover for your stove turns stagnant zones into active work stations, effectively increasing your effective prep area by 40-50% during meal times.

Multi-Functional Kitchen Accessories

Feature Conventional Method Space-Saving Method Benefit
Prep Area Large Cutting Board Over-sink Board Reclaims counter space
Table Space Fixed Table Fold-Down Extension Increases room flow
Storage Drawer Stacking Tiered Organizers Improves vertical access

Investing in a high-quality wood cutting board that fits perfectly over your sink can instantly turn a ‘wasted’ area into a sturdy, hygienic prep station. This is one of those small apartment storage solutions that makes a dramatic difference in how you interact with your space. You are essentially expanding your kitchen footprint by utilizing the space you already have in a smarter way.

Fold-Down Tables and Extensions

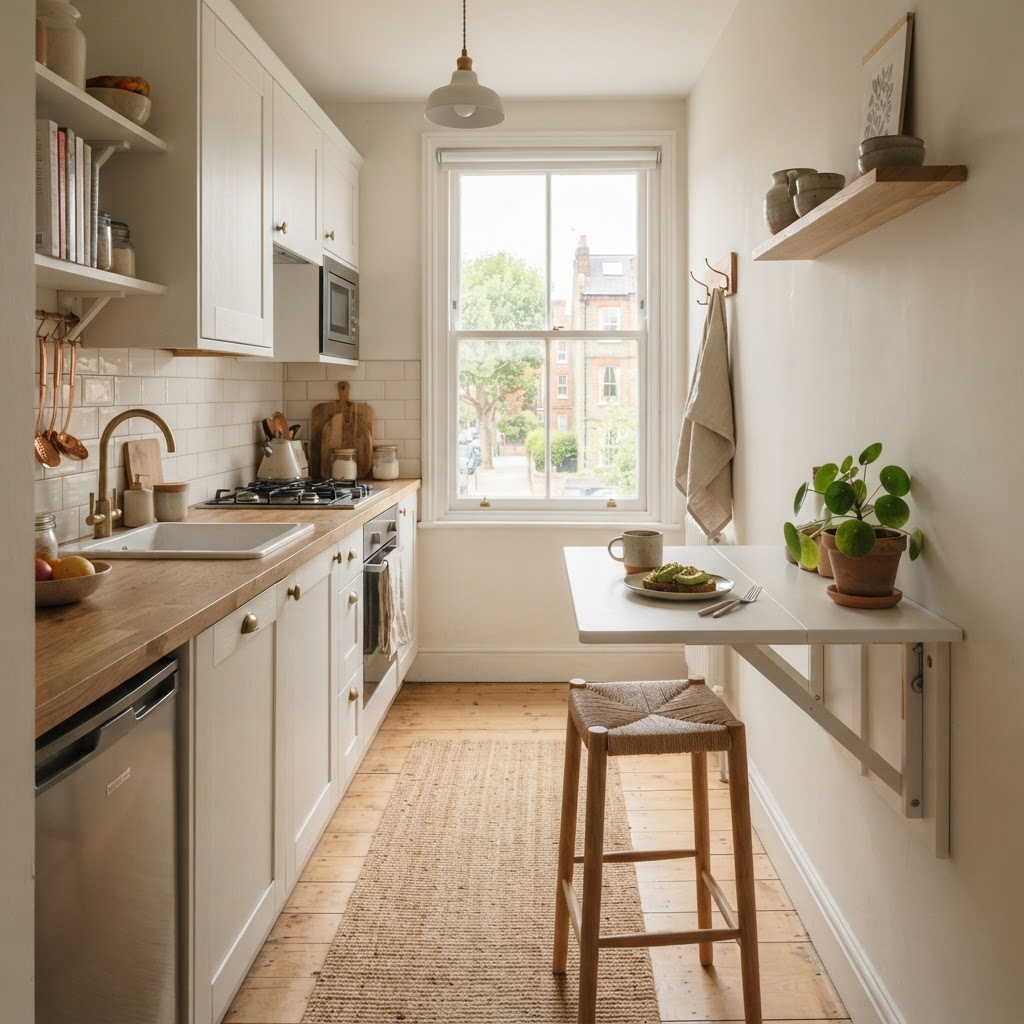
For those who lack any counter space at all, consider a wall-mounted drop-leaf table. When you are cooking, it acts as your island or workstation. When it is time to eat or entertain, it can be folded down, returning the floor area to your living room or studio footprint, which is essential for studios under 400 square feet.

Lighting and Color Palette Secrets

Fold-down tables are perfect for tight apartment layouts.

Decorating choices significantly impact the perception of scale, and in small kitchens, high-contrast, dark colors can make the walls feel like they are closing in. By sticking to a light, reflective palette, you trick the eye into perceiving the room as 15-20% larger than its actual dimensions. Light colors reflect both natural and artificial light, which reduces shadows in the corners of the room that otherwise define the “tiny” feel.

The All-White or Soft Neutral Approach

White walls, white cabinetry, and light-colored countertops create a seamless transition that helps the boundaries of the room blur. If you worry about the space looking too sterile, add warmth through natural wood textures, brass hardware, or a collection of vibrant indoor plants. Lighting is equally critical in this endeavor; under-cabinet LED strips, which cost roughly $30 to $50, provide direct task lighting that makes the space feel professional rather than cramped.

Essential Small Kitchen Organization Hacks

A well-organized pegboard keeps tools accessible and stylish.

Organization is the bedrock of a functioning compact kitchen, and without a dedicated place for every item, your kitchen will naturally drift toward chaos. The secret lies in decluttering regularly and using modular, clear acrylic organizers that fit the exact dimensions of your drawers and cabinets. By eliminating visual “noise”—the chaos of mismatched food packaging—you make a small room feel intentionally designed rather than cluttered.

Clear Containers for Pantry Staples

By transferring dry goods like flour, sugar, and grains into uniform, clear containers, you reduce visual noise and improve inventory management. Using rectangular, stackable canisters allows you to utilize 100% of your shelf height, compared to round containers which often leave up to 30% of space unusable due to gaps between jars.

Drawer Dividers and Tiered Shelves

Take a look inside your cabinets. Is there a large gap of dead air between your stacks of plates? Use tiered shelf inserts to double your vertical storage capacity. This allows you to stack items safely without creating a precarious pile that you have to dismantle just to reach a single saucer.

Integrating Appliances into Tiny Spaces

Traditional full-sized appliances are often the culprits behind a feeling of constriction. If you are renovating or moving, prioritize compact, high-efficiency appliances designed specifically for city dwellers. Smaller, 24-inch wide fridges or narrow dishwashers often provide the same internal volume as older models while consuming 30% less floor space. Combination microwave-convection ovens also serve as high-utility replacements for bulky ovens.

Go Minimalist with Countertop Appliances

If you have a toaster, a blender, an air fryer, and a coffee maker all taking up permanent residence on your counter, your workspace is effectively zero. Try to stick to multi-purpose gadgets. For example, a high-quality blender can often replace a food processor. Keep only the items you use daily on the counter, and store the rest inside cabinets or even in a ‘utility cart’ that can be rolled into a closet.

Creative Flooring and Ceiling Tricks

We often focus so much on the eye-level area that we forget about the floor and ceiling. Utilizing large-format floor tiles can make a kitchen floor feel less fragmented, as there are fewer grout lines to break up the space. Similarly, painting your ceiling a slightly lighter shade than your walls can draw the eye upward, giving the illusion of a higher ceiling.

Strategic Mirror Placement

While less common in kitchens than in living rooms, a mirrored backsplash can effectively double the depth of your kitchen visually. It reflects light and movement, making the area feel like it opens up into another room. Just be sure to choose a mirror that is easy to wipe down to handle the inevitable kitchen splashes.

Maintaining the Order for Long-Term Success

Having the right systems in place is only half the battle. The other half is maintaining them. In a small kitchen, a single sink full of dirty dishes can make the whole apartment feel messy. Adopt a “clean as you go” policy to ensure your workspace is ready for your next culinary experiment.

The One-In, One-Out Rule

To prevent your collection of gadgets from growing out of control, implement the one-in, one-out rule. Every time you buy a new piece of kitchenware, you must donate or recycle an old one. This keeps your inventory lean and focused on the items you actually use, preventing the accumulation of redundant tools that clutter your cabinets.

FAQ

Q: How can I make a tiny kitchen look bigger?

Using a monochromatic light color palette (white or soft grey) and installing mirrored backsplashes are the most effective ways to make a kitchen feel bigger. These techniques reflect light and eliminate visual boundaries, tricking the eye into seeing more space than physically exists.

Q: What is the best way to store pots and pans in a small kitchen?

Utilize vertical wall space by installing a heavy-duty pegboard or a hanging pot rack. This strategy removes bulky items from cabinets, freeing up precious lower storage for daily ingredients and small appliances that you prefer to keep hidden.

Q: How do I organize a kitchen with no counter space?

Invest in multi-functional accessories like over-sink cutting boards or foldable, wall-mounted prep tables. These tools create usable work surfaces on demand that can be removed or tucked away when you are not actively preparing a meal, keeping the floor and counter clear.

Q: Should I use open shelving in a small kitchen?

Open shelving is highly recommended for small kitchens because it removes the visual bulk of heavy cabinet doors. By keeping your shelves organized with matching dishware, you create a sense of openness and accessibility without the “closed-in” feeling associated with traditional upper cupboards.

Q: How do I decide what to keep in a small kitchen?

Follow the “one-in, one-out” rule and prioritize multi-purpose gadgets. If a tool hasn’t been used in the last 6 months or if it performs a single task that a multi-tool can already handle, it should be removed to free up valuable storage space.

19 Single-Wall Kitchen Layouts for Rental Properties

19 Single-Wall Kitchen Layouts for Rental Properties

Single-wall kitchens maximize rental property value by consolidating appliances, plumbing, and storage into a linear footprint that creates an open-concept feel. This layout minimizes renovation costs by concentrating utilities on one plane while boosting rental appeal for studio apartments and urban units through streamlined, space-saving design efficiency.

The Strategic Advantage of Single-Wall Kitchens

Bright and airy single-wall kitchen layout with smart storage.

Single-wall kitchens, or linear kitchens, serve as the ultimate space-saving solution for landlords, allowing you to maximize leasable square footage in small properties. By aligning the stove, sink, and refrigerator along a single wall, you liberate the remainder of the floor plan for living or dining, which is highly preferred by modern tenants. According to real estate trends, properties with open-concept living areas command a rental premium of 5-10% over partitioned layouts.

Beyond marketability, the renovation cost-to-value ratio is superior. Consolidating plumbing and electrical hookups on one wall significantly reduces labor costs—often by 15-20%—compared to L-shaped or U-shaped kitchens. By minimizing structural modifications, you protect your return on investment (ROI) while achieving a high-end, uncluttered look that photographs well for listing sites.

Feature Single-Wall Kitchen L-Shaped Kitchen U-Shaped Kitchen
Space Efficiency Very High Moderate Low
Installation Cost Lowest Medium Highest
Renovation Time 1-2 Weeks 3-4 Weeks 4-6 Weeks
Tenant Appeal High (Studio/1BR) High (Family) High (Family)

Maximizing Vertical Space and Storage

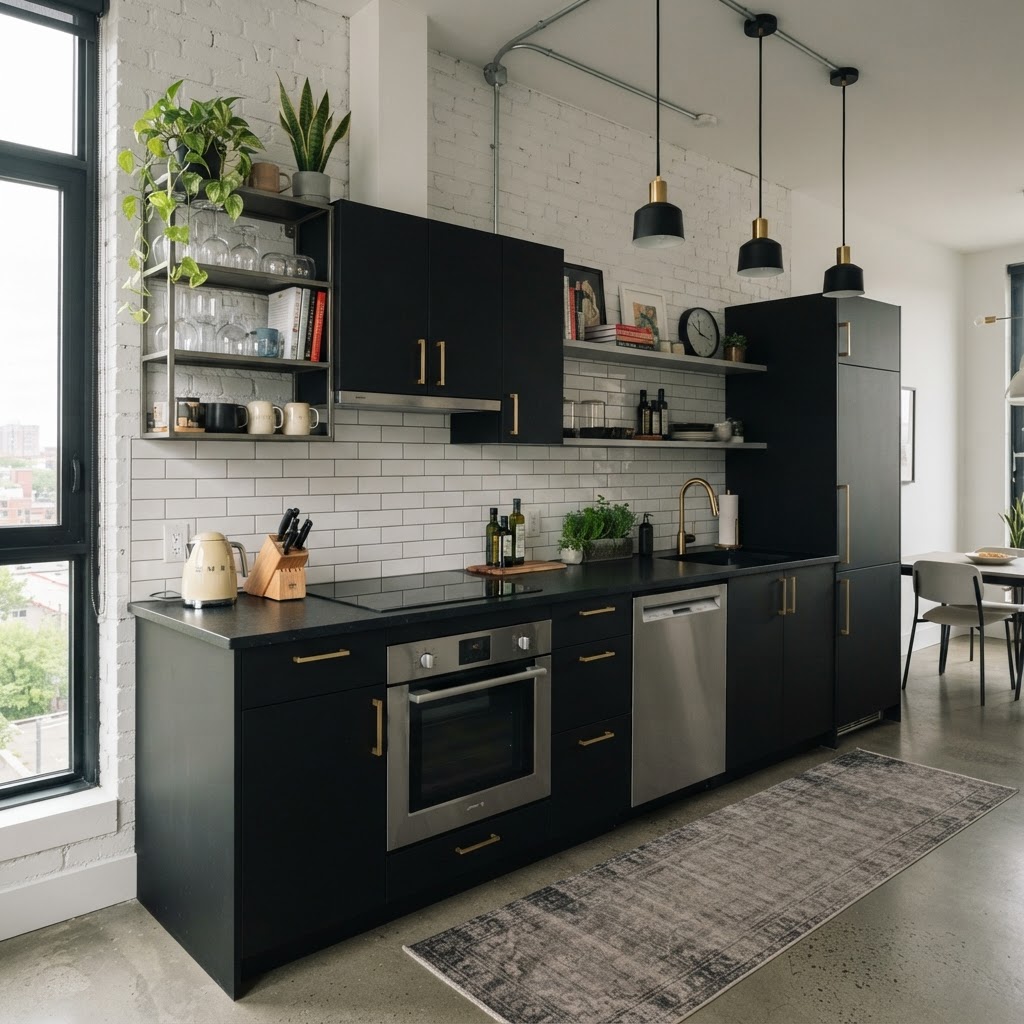
Industrial-style kitchen perfect for modern urban rentals.

In a single-wall configuration, the vertical plane is your primary asset for storage; failing to utilize the space above eye level results in cluttered countertops. Installing floor-to-ceiling cabinetry creates a seamless, built-in aesthetic that makes small units feel taller and more luxurious. To maximize utility, include dedicated pantry cabinets or appliance garages that conceal toasters, blenders, and coffee machines.

Integrating Smart Appliance Placement

For a truly functional kitchen, the “work triangle” concept—traditionally a U or L shape—must be adapted for a linear layout. Place the refrigerator at one end, the sink in the middle, and the stove at the other. This sequence minimizes unnecessary movement while cooking. Ensure that the dishwasher is placed adjacent to the sink to simplify plumbing connections and keep the workflow logical.

Consider utilizing slim-line or apartment-sized appliances. Many brands now manufacture 24-inch wide dishwashers and refrigerators that are perfect for smaller footprints without sacrificing the capacity needed by a single occupant or a couple. This approach keeps the kitchen looking proportional to the room size.

Aesthetics That Increase Rental Value

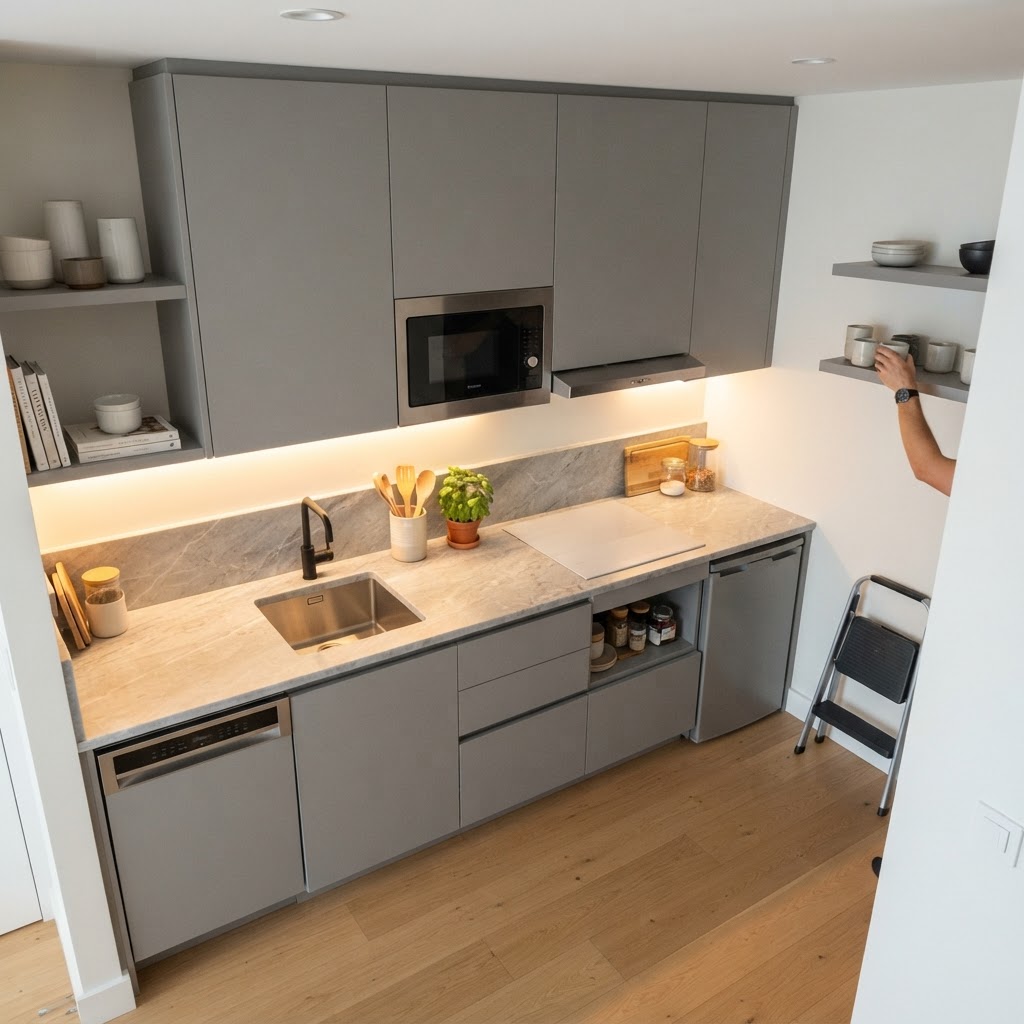
Minimalist kitchen design highlighting space-saving features.

High-end aesthetic choices are the difference between a standard rental and one that justifies a premium monthly rate. Instead of basic builder-grade finishes, invest in durable quartz countertops and glass subway tile backsplashes, which are easier to clean and visually elevate the space. A high-quality backsplash costs roughly $500-$800 but can increase perceived value by thousands.

Lighting is an equally critical, low-cost differentiator. Under-cabinet LED strips, which cost under $100 for a DIY kit, provide task-oriented lighting that makes the space feel custom-designed. For a touch of sophistication, install two or three pendant lights above a portable kitchen island or a drop-leaf table. These features serve to visually zone the kitchen area from the living room, creating a sophisticated boundary that appeals to professional tenants looking for a “home office”-ready environment.

Designing for Durability in Rentals

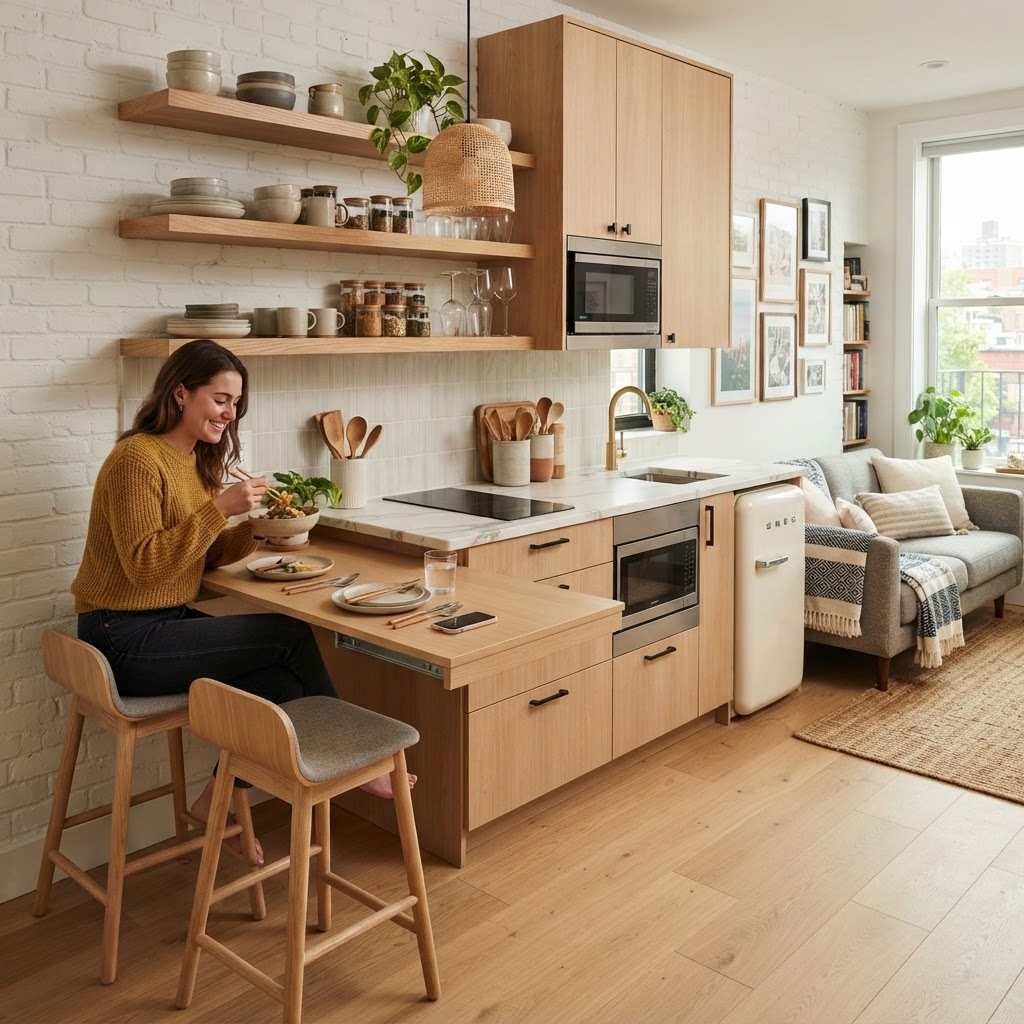
Efficient, compact kitchen design with integrated dining space.

Investment properties require materials engineered for high turnover, specifically targeting resistance to moisture, heat, and physical impact. For cabinetry, avoid solid wood which can warp; instead, select high-pressure laminates or thermofoil. These finishes are essentially non-porous, making them resistant to the inevitable nicks and spills that occur during tenant transitions.

Regarding countertops, durability must supersede luxury finishes like marble, which is highly porous and prone to staining in rental settings. Opt for quartz, which is 99% non-porous and resists heat up to 300°F. If quartz exceeds your current capital expenditure budget, choose a premium solid-surface laminate with a beveled edge. These modern materials mimic the look of natural stone while requiring zero sealing and lasting 7-10 years under heavy use, ensuring the kitchen remains in top condition for multiple lease cycles.

Incorporating Versatile Furniture

Integrating multifunctional furniture is the best way to compensate for limited square footage in small rental units. A pull-out breakfast bar or a wall-mounted drop-leaf table can serve as a dual-purpose dining area and workstation, which is a major draw for remote workers. Research shows that units with dedicated workspace areas receive 30% more inquiries from prospective tenants.

Another innovative solution is the inclusion of “hideaway” furniture integrated into the cabinetry. Some modern design systems allow a dining table or an extra prep surface to slide directly into the kitchen wall panels. For micro-units under 400 square feet, this flexibility is non-negotiable. By providing these space-saving pieces, you convert a narrow, single-wall strip into a comprehensive living zone that feels much larger than its actual dimensions, effectively justifying higher rent.

Safety and Legal Considerations for Landlords

Compliance with safety codes is non-negotiable, as illegal configurations create massive liability and insurance risks. You must adhere to the National Electrical Code (NEC) regarding outlet placement near water sources; all outlets near the kitchen sink must be Ground Fault Circuit Interrupter (GFCI) protected to prevent shock hazards.

Best return for kitchens, bathrooms on home investments

Furthermore, fire safety and ventilation are paramount for rental safety. Most local building codes require a minimum of 18-30 inches of clearance between the stove and the lower edge of an overhead cabinet or range hood. If you are installing an oven, ensure you use a range hood with at least 300 CFM (cubic feet per minute) of air movement. Vented hoods are superior for removing cooking odors, which prevents residual smells from lingering in soft furnishings and reducing the overall property appeal. Regularly inspect these systems as part of your annual preventative maintenance check.

Planning Your Project for ROI

Successful kitchen renovations rely on rigorous budgeting and the use of modular, off-the-shelf components. To maximize ROI, categorize your spending into ‘Structural Musts’ (plumbing, electrical, cabinets) and ‘Aesthetic Wins’ (hardware, lighting, backsplash). By using standard-sized cabinets—typically available in 3-inch increments—you avoid the 50-70% markup associated with custom cabinetry.

Use a spreadsheet to monitor your cost-per-square-foot. Prioritize high-wear items; a heavy-duty, deep stainless steel sink is significantly more durable and easier to clean than an enamel-coated one. By allocating savings from standard cabinetry toward durable, high-impact finishes, you create a kitchen that feels premium while remaining within a tight investment budget. This calculated approach ensures that your capital improvements directly reflect in your property’s increased valuation and monthly rental income.

FAQ

What is the ideal length for a single-wall kitchen?

The ideal length for a functional single-wall kitchen is between 8 and 12 feet. This length provides enough linear space to arrange the refrigerator, sink, and stove in the proper ergonomic sequence without making the kitchen feel cramped or overcrowded.

Are single-wall kitchens good for rental ROI?

Yes, single-wall kitchens provide a high ROI because they require less plumbing and electrical work than other configurations. By saving on labor and using standard cabinet sizes, landlords can achieve a modern, sleek appearance that attracts tenants and supports a higher monthly rent.

How can I make a small one-wall kitchen look bigger?

You can make a small kitchen look bigger by using light-colored, reflective finishes and installing floor-to-ceiling cabinetry. Adding under-cabinet LED lighting and keeping countertops clear of appliances creates a minimalist, uncluttered aesthetic that makes the entire living space appear more open and airy.

Which materials are most durable for rental kitchen cabinets?

High-pressure laminates and thermofoil are the most durable materials for rental kitchens due to their moisture and scratch resistance. These surfaces are easy to clean between tenant turnovers and are far more resilient than painted wood or standard wood stains.

Is it necessary to vent a range hood in a small rental?

Yes, venting a range hood is highly recommended for rentals to prevent cooking odors and moisture from damaging the living area. Effective ventilation is a key feature that tenants look for, helping to keep the unit fresh and reducing the maintenance needed for your soft furnishings.

25 Small Kitchen Decor Ideas for Apartments That Save Space

25 Small Kitchen Decor Ideas for Apartments That Save Space

To optimize a small apartment kitchen, prioritize vertical storage solutions, utilize multi-functional furniture, and maintain clear counters to maximize square footage. By installing pegboards, using magnetic strips, and implementing tiered shelving, you can increase storage capacity by up to 40% while maintaining a functional, visually open culinary sanctuary.

Rethinking Vertical Space

Vertical storage and natural light make this small kitchen feel open and functional.

When floor area is limited, the only way to expand is by utilizing wall space effectively to reclaim square footage. Vertical storage acts as the backbone of efficient apartment design, allowing you to store essentials without damaging walls or cabinetry through non-permanent mounting systems like suction cups and adhesive hooks.

Installing a custom pegboard behind your prep area or stove creates a versatile storage hub for pans, measuring cups, and herb baskets. According to interior design standards, keeping frequently used items within an “arm’s reach zone” reduces kitchen movement by nearly 30%. Beyond functionality, a well-organized pegboard adds an industrial, high-end aesthetic that distracts from the limited footprint of the room.

Vertical Storage Method Best For Rental Friendly?
Adhesive Pegboard Pots, Pans, Tools Yes
Magnetic Strips Knives, Metal Tins Yes
Over-Cabinet Racks Lids, Cutting Boards Yes

Maximize Cabinet Doors

Cabinet door interiors represent untapped real estate that can increase your total storage capacity by approximately 15-20%. By installing slim wire racks or adhesive-backed clips, you can store pot lids, cutting boards, and spice jars, freeing up precious shelf space inside the cabinets. These non-permanent solutions are ideal for renters because they can be removed instantly without leaving residue or requiring power tools, ensuring your security deposit remains protected while you optimize your kitchen layout.

Smart Lighting and Color Strategies

A mobile island is the ultimate space-saving tool for small apartment kitchens.

Visual depth is just as critical as physical space, and lighting strategies can significantly alter the perceived size of a cramped kitchen. Bright, light-reflective surfaces combined with strategic layered lighting prevent the “closed-in” feeling that often plagues galley-style apartment kitchens.

Prioritize light color palettes, such as off-white or light gray, to reflect ambient light and make the room feel more expansive. If your rental unit features dark, fixed countertops, you can counteract the heavy aesthetic by installing wireless LED under-cabinet light strips. These affordable solutions, often priced between $20 and $40, increase visibility by 50% in shadowed work zones. Additionally, consider utilizing mirrored backsplashes or high-gloss contact paper to add depth, which visually pushes the walls back and makes the kitchen feel significantly larger than its actual dimensions.

Multi-Functional Furniture Essentials

Drawer dividers are a simple, effective way to maintain order in a small space.
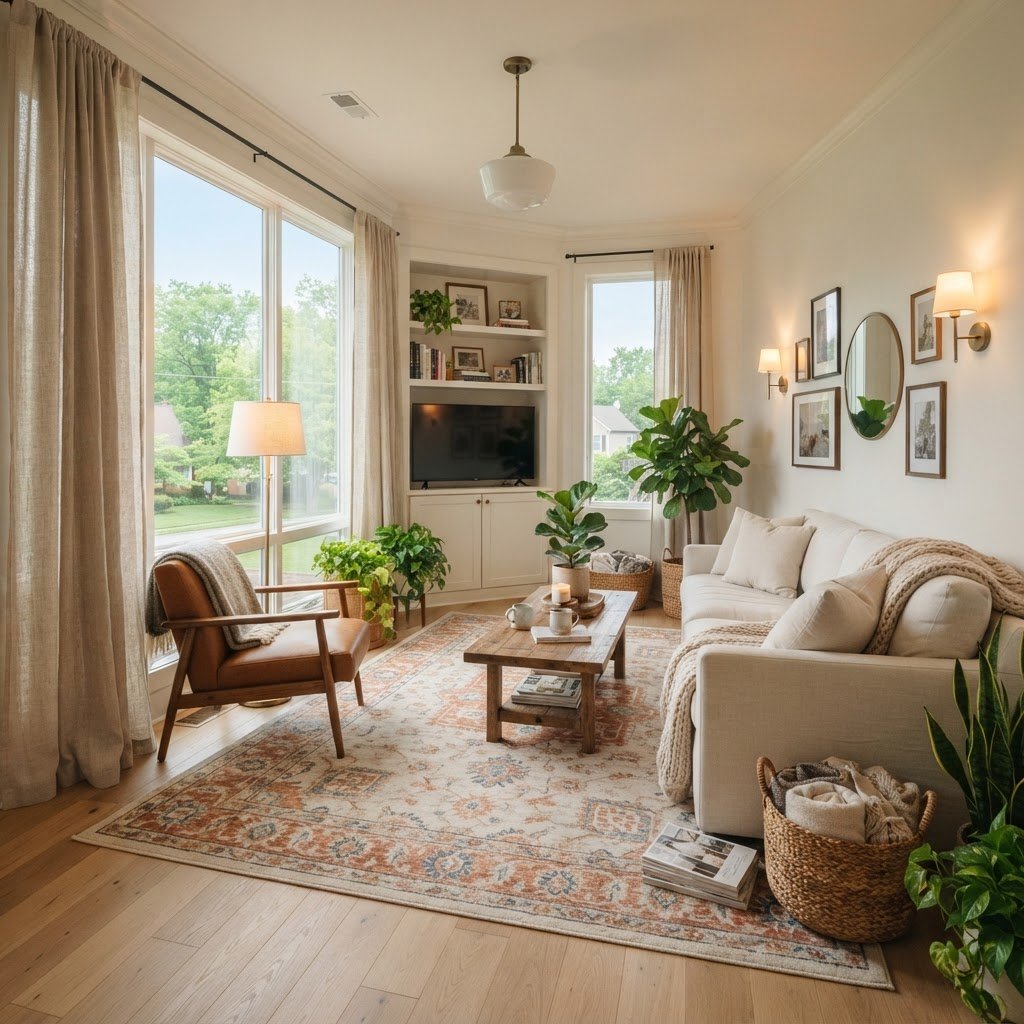
In a tiny kitchen, every piece of furniture must perform double or triple duty to justify its presence in the layout. Multi-functional furniture transforms a single square foot of space into a versatile zone that shifts from a dining area to a workspace in seconds.
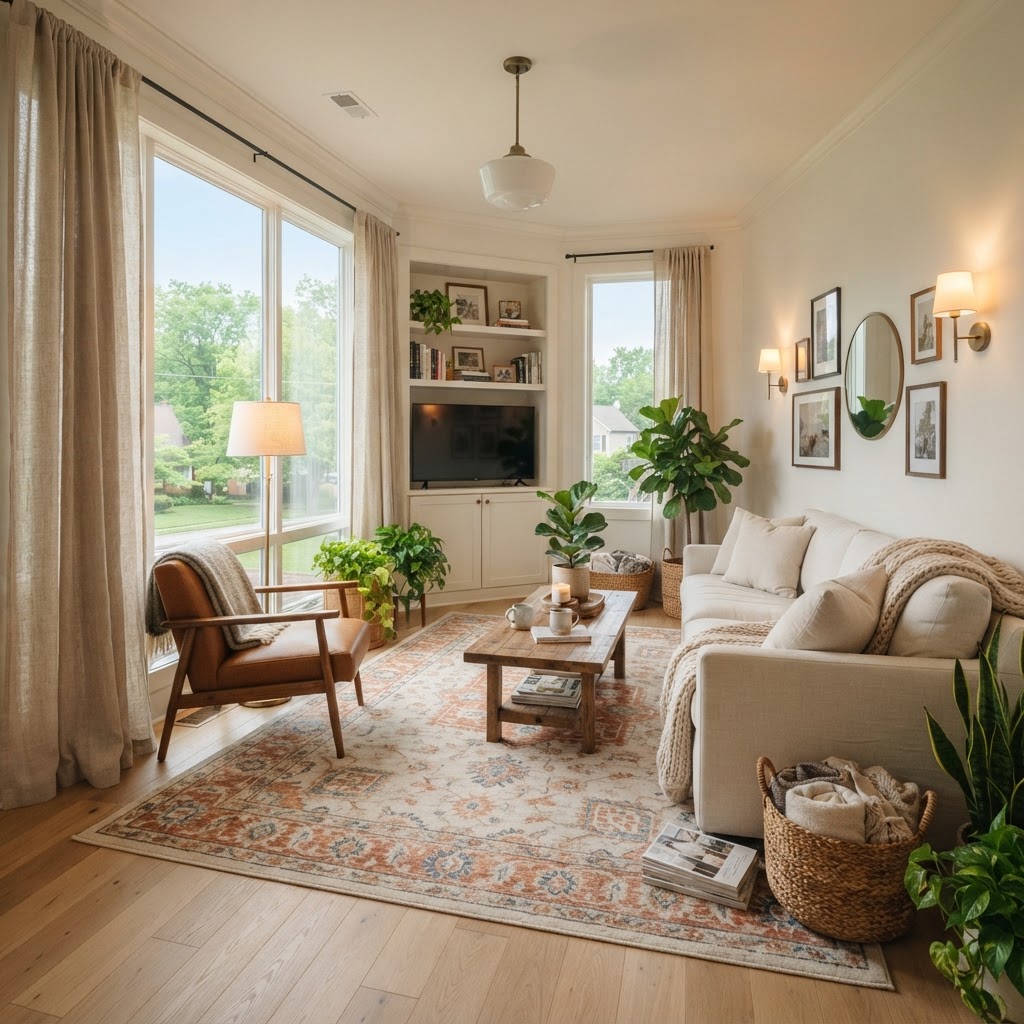
A folding drop-leaf table is a game-changer for apartments, collapsing to under 4 inches in width when not in use. Mobile kitchen islands on locking casters provide the secondary benefit of extra storage and a portable prep surface. These units often feature interior shelves that can hold appliances like air fryers or blenders, which otherwise consume 20% of your average countertop space. By choosing items that can be tucked away, you maintain a fluid traffic flow that is essential for comfortable living in compact quarters.

Creative Storage Hacks

Organizing the interior of your cabinets is critical for maintaining long-term order in a small kitchen. Tiered shelf inserts effectively double your usable surface area, allowing you to stack plates and bowls without the risk of an unstable, tall pile that is difficult to access.

Utilizing transparent, stackable clear containers for dry goods is a proven strategy to maximize pantry efficiency. Clear bins allow you to see inventory at a glance, preventing duplicate purchases and saving an average of $300 a year in grocery waste. Uniform containers also reduce visual clutter, creating a cohesive, professional look. Labeling every bin not only keeps your space organized but provides a tactile system that keeps you accountable for where items belong, ensuring the kitchen remains decluttered indefinitely.

The Power of Magnetic Strips

Knife blocks are bulky items that often occupy over 6 inches of prime counter space, whereas magnetic strips utilize vertical wall space effectively. Mounting a high-strength magnetic strip near your prep area keeps knives organized, clean, and easily accessible. Beyond cutlery, these strips are perfect for storing metal spice tins, small scissors, or metal prep tools, effectively clearing your workspace of inefficient storage devices.

Curating Your Countertop

Keeping your counters clear is the golden rule of small kitchen design, as any surface clutter directly reduces the perceived space of the entire room. Aim to keep your counters at least 80% clear, leaving only essential, daily-use appliances like a coffee maker or toaster in sight.

When you must display items, choose pieces that are both functional and aesthetically pleasing to serve as decor. A high-quality wooden cutting board or a sleek ceramic utensil crock acts as a deliberate design element rather than a storage solution. By curating only the items you use every day, you create a “clean line” visual effect. This keeps the eyes moving across the space uninterrupted, which is a classic interior design trick used to make small rooms feel significantly more open, airy, and inviting.

Styling Your Small Space

Personality can and should exist in a small kitchen, provided it does not clutter the functional zones. Small accessories, such as a high-quality runner rug, add instant warmth and texture, which helps to bridge the gap between the kitchen and your living area in open-concept apartment floor plans.

Indoor plants, specifically small herbs like basil, mint, or parsley, serve as both lively decor and functional kitchen assets. A window-mounted hanging planter allows you to grow fresh ingredients while occupying zero counter space. These living elements introduce vibrant green tones that contrast beautifully with stainless steel or wood finishes, effectively softening the sharp, utilitarian look of a compact kitchen and making it feel like a curated, cozy part of your home.

Quick Tips for Rental Kitchens

Working within rental constraints requires high-impact, non-destructive solutions to maximize your kitchen’s utility.

  1. Tension Rods: Place these vertically inside cabinets to create dividers for storing baking sheets and cutting boards upright.
  2. Peel-and-Stick Wallpaper: Apply to cabinet fronts for a custom aesthetic; it is easily removable and leaves no residue when you move out.
  3. Over-the-Door Organizers: Use these on pantry doors to hold spices, cleaning bottles, or snacks, utilizing space that would otherwise be empty.
  4. Command Hooks: Attach these to the sides of cabinets to hang cleaning brushes or dish towels, keeping them off the counters.
  5. Drawer Dividers: Invest in modular, adjustable plastic or bamboo dividers to prevent utensils from shifting, increasing drawer efficiency by 25%.

FAQ

Q: How can I organize a tiny kitchen with no pantry?

A: Utilize vertical storage by installing floating shelves or an over-the-door organizer for dry goods. You can also use mobile kitchen islands with built-in storage to act as a secondary pantry, allowing you to store canned goods and small appliances out of sight.

Q: What is the best way to add color to a rental kitchen without painting?

A: Use peel-and-stick backsplash tiles or removable contact paper on cabinet fronts to introduce color without violating your lease. Additionally, colorful runner rugs and hanging herb plants provide vibrant accents that are completely portable and temporary.

Q: How do I store knives in a small kitchen without a block?

A: Use a magnetic wall-mounted strip to store knives vertically, which keeps them off your limited counter space. This method is safer for blades, more hygienic, and frees up approximately 6 to 10 inches of valuable prep area.

Q: Are tension rods effective for kitchen storage?

A: Yes, tension rods are highly effective for storing lightweight items vertically. Place them inside cabinets to hold baking sheets upright or use them under the sink to create a hanging system for spray bottles, doubling your accessible storage space.

Smart Vertical Storage Ideas to Maximize Small Spaces

Living in a small apartment often feels like a constant battle against the encroachment of your own belongings. When floor space is at a premium, the most common mistake is to ignore the vast, untapped territory above your head. By shifting your perspective from horizontal surface area to the vertical potential of your walls, you can unlock a world of organizational possibilities that keep your living environment serene and functional.

The Power of Looking Up: Why Vertical Matters

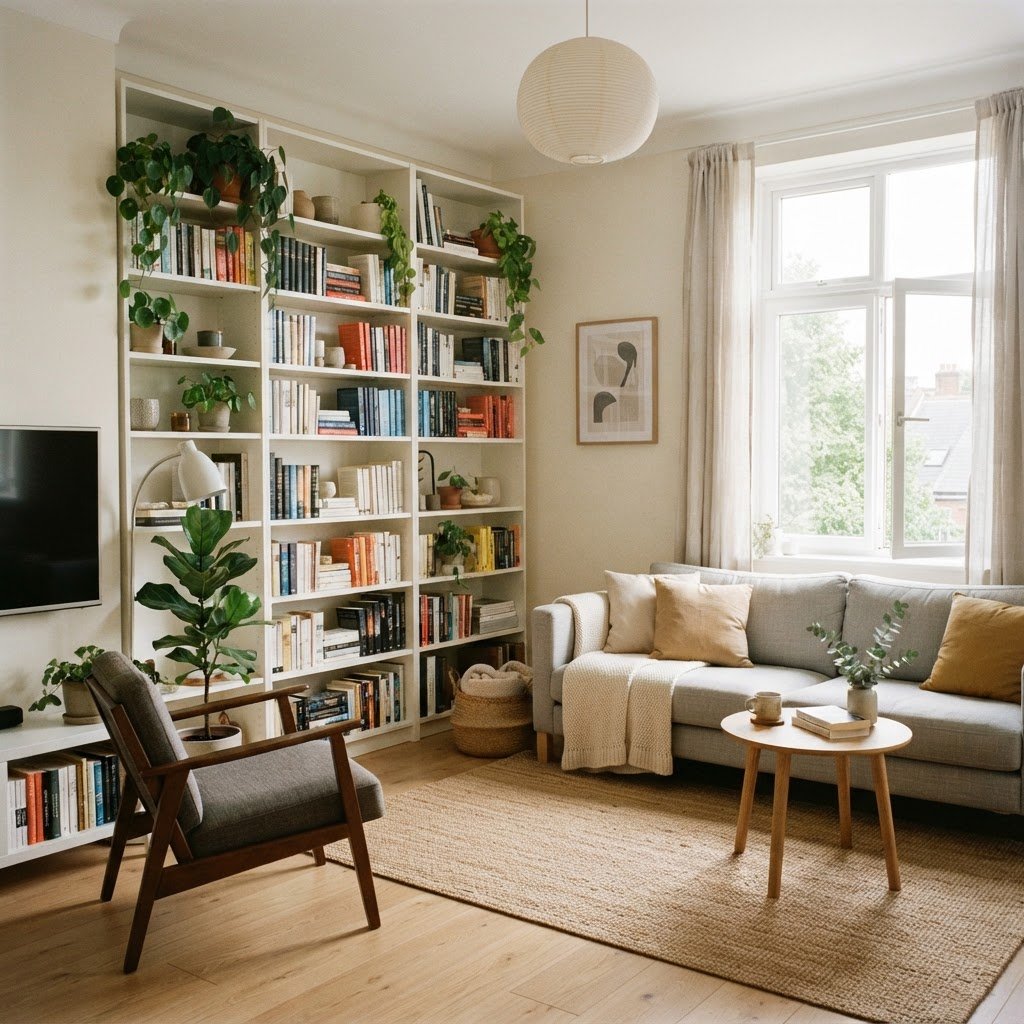
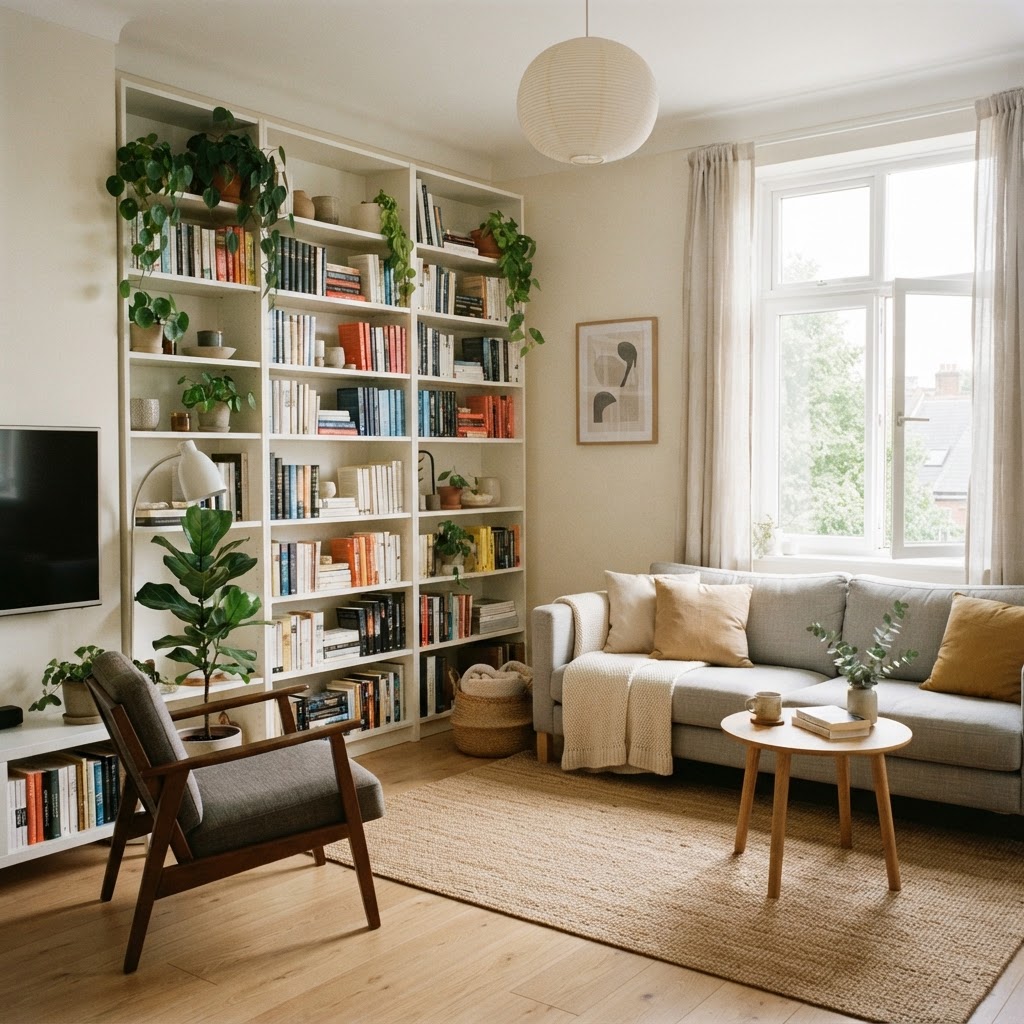
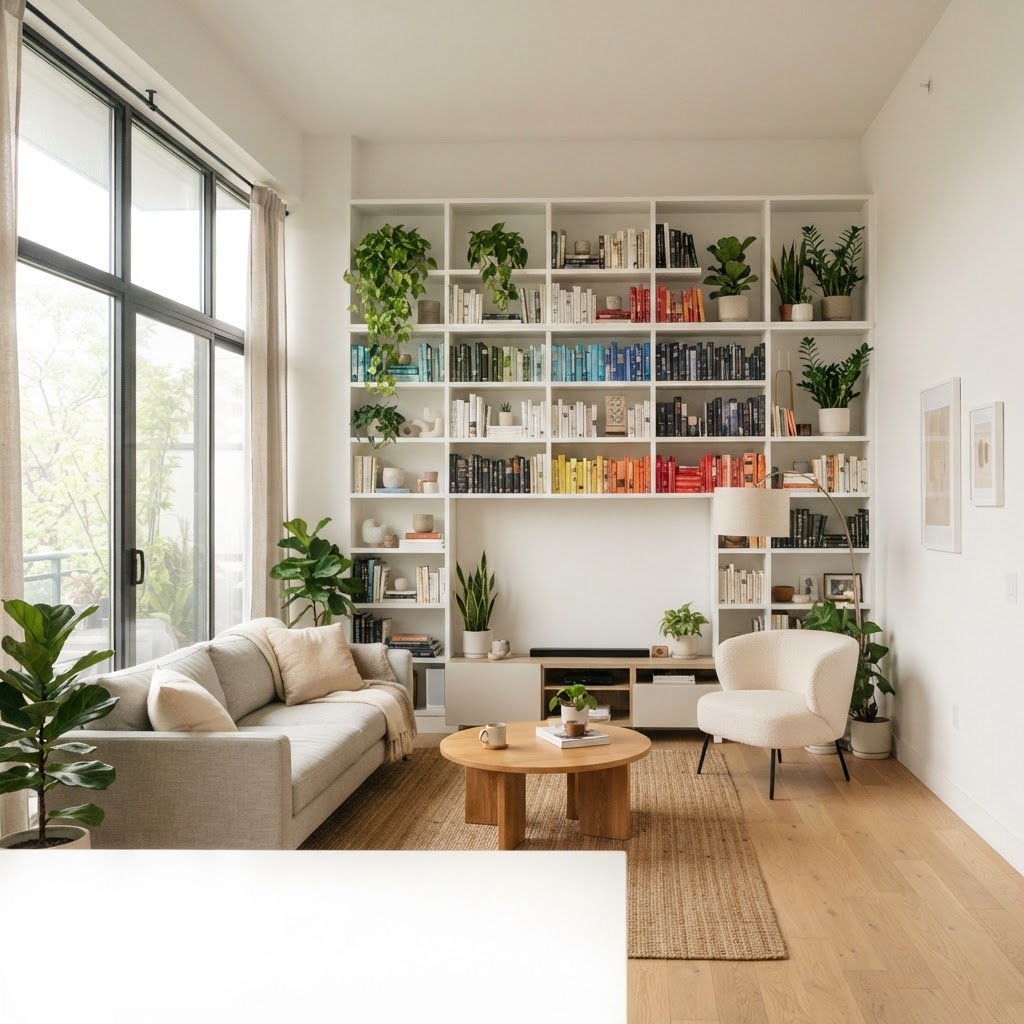
Floor-to-ceiling shelving maximizes storage in small living areas.

When we talk about effective storage ideas, the goal is always to clear the ground. A cluttered floor makes even the most spacious room feel cramped, while open floor space creates the illusion of airiness and luxury. Utilizing your wall space allows you to store items that you need daily while keeping them off your furniture and out of the way.

To effectively maximize your home, you need to look at your apartment as a three-dimensional grid. Every blank wall is a potential storage solution waiting to be activated. By installing systems that reach toward the ceiling, you draw the eye upward, which actually makes your ceilings appear higher and your room feel larger than it actually is.

Installing Floating Shelves for Functional Decor

Pegboards provide flexible storage for kitchen essentials.

One of the most classic and effective ways to gain storage is to install a heavy-duty shelve system. Floating shelves are perfect because they lack bulky brackets that can feel heavy in a small room. You can mount these at various heights, turning a collection of books, plants, or decorative jars into a curated display that doubles as a storage solution.

When mounting these, consider the height of your items. If you are storing bulky kitchen supplies, keep the shelving lower for easier access. For items you rarely use, such as seasonal decorations or spare linens, mount your shelve units higher up on the wall, even above doorways. This unconventional placement keeps your floor completely clear.

Utilizing Floor-to-Ceiling Bookshelves

Vertical closet organizers help reclaim floor space.

If you have a collection of books or miscellaneous items, a tall bookcase is essential. Many people shy away from large furniture in small spaces, but a floor-to-ceiling unit is actually one of the best storage ideas to maximize your square footage. By taking the unit all the way to the ceiling, you eliminate the “dead zone” on top of the furniture where dust settles and clutter accumulates.

Companies like ikea offer modular systems that can be customized to fit your specific wall dimensions. A floor-to-ceiling unit acts as an anchor for the room and provides a massive amount of surface area for an organizer system, bins, and baskets. This allows you to group items by category, making it simple to maintain a clean home.

Maximizing Closet Potential with Vertical Organizers

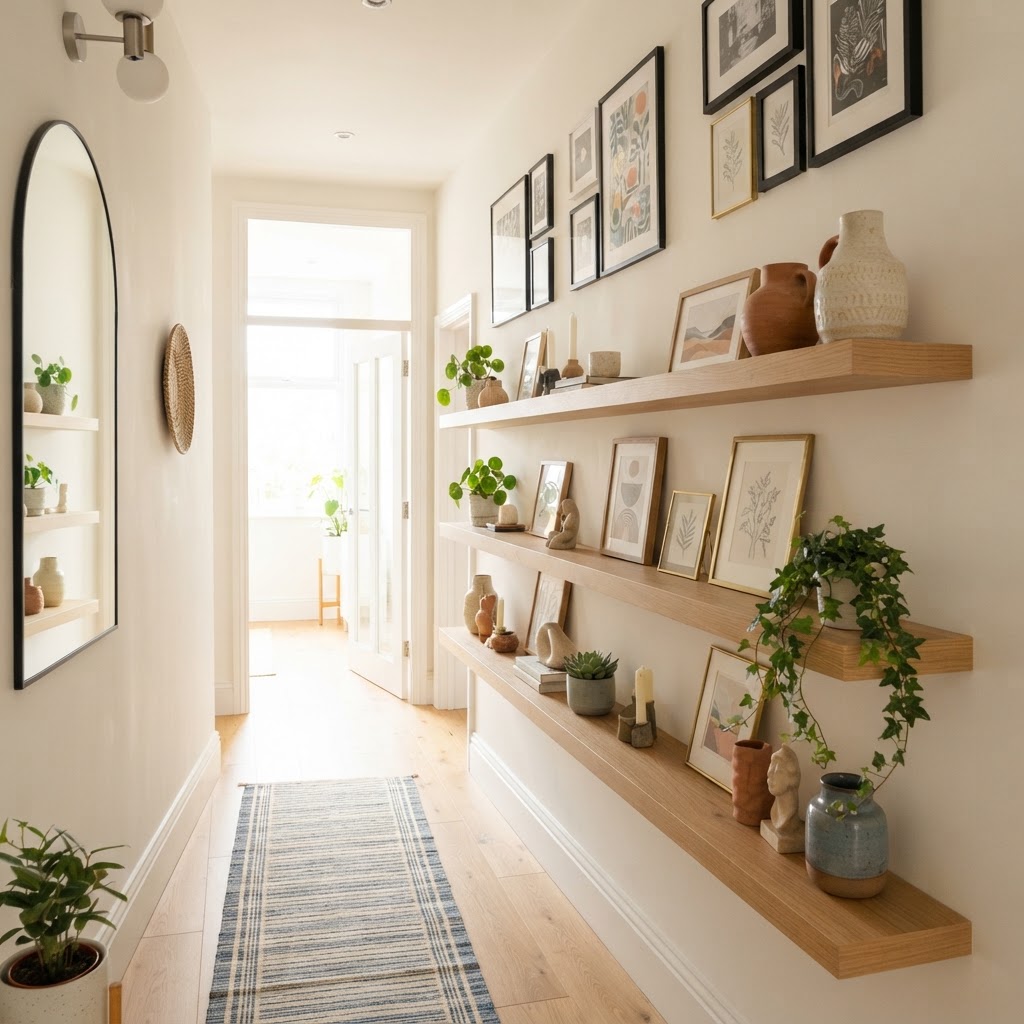
Floating shelves add functional decor to narrow hallways.

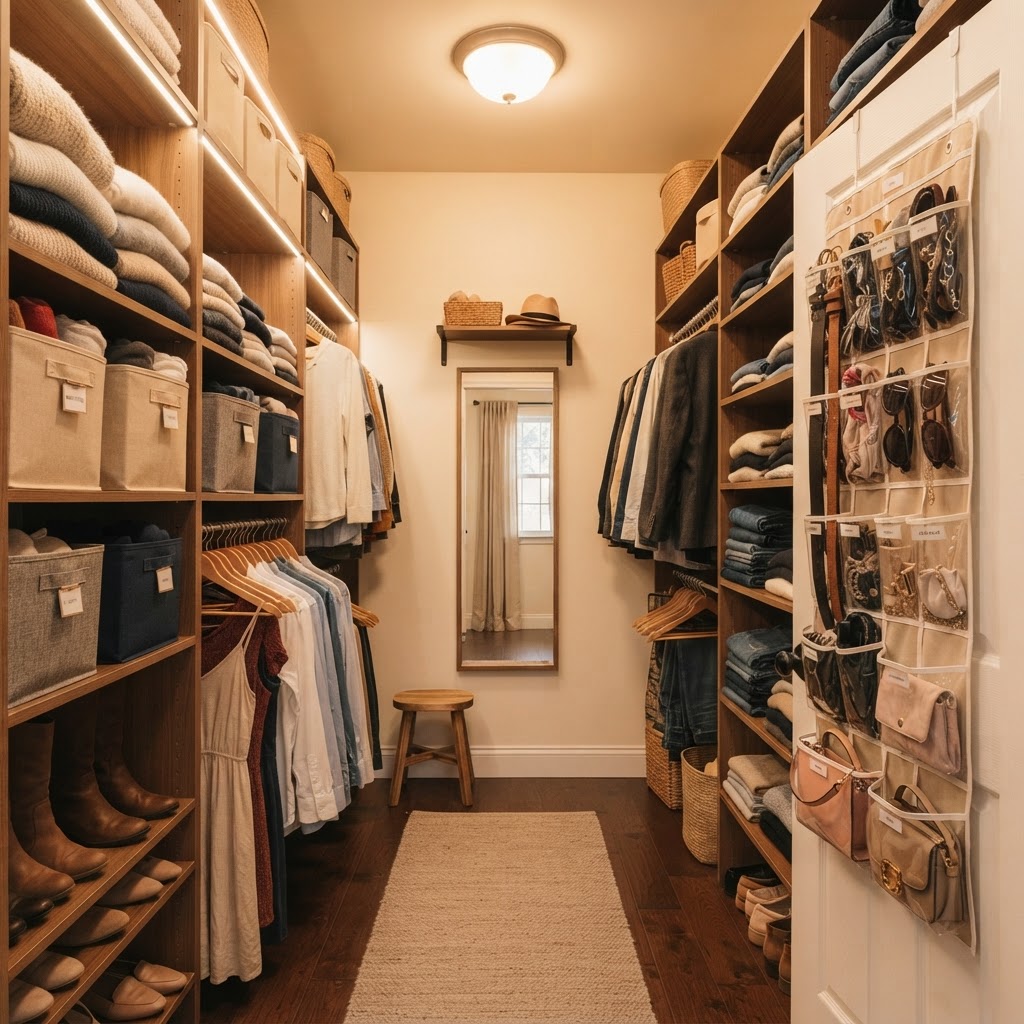
Your closet is often the most underutilized area of the apartment. Most standard closets come with a single rod and a shelf, leaving vast amounts of empty space above and below your hanging clothes. To change this, you should invest in a closet organizer that includes vertical dividers or stacking cubbies.

By adding a hanging organizer, you can turn a small closet into a multi-tiered storage powerhouse. Don’t forget the back of the door, either. Using over-the-door hooks or shoe racks allows you to store everything from cleaning supplies to handbags, effectively clearing up precious floor space inside your closet. This is a vital strategy for anyone trying to reduce the overall clutter in their apartment.

Creative Wall-Mounted Rails and Pegboards

If you want a dynamic and changing storage solution, look toward the kitchen and home office. A wall-mounted rail system allows you to hang S-hooks, baskets, and containers. This is perfect for keeping utensils or stationary supplies within reach without having to open a drawer every time you need something.

Pegboards are another fantastic tool for this purpose. Commonly used in garages, they have found a home in the modern small apartment. You can paint them to match your decor and arrange hooks exactly where you need them. This level of customization allows you to create a personalized organizer that adapts as your needs change over time.

Hidden Vertical Storage Solutions

Sometimes, the best storage is the kind you don’t see. Consider wall-recessed units or tall, narrow cabinets that fit into tight corners. If you are allowed to make minor renovations, built-in cabinetry that spans from wall to wall creates a seamless, high-end look while providing immense internal storage capacity.

Even if you cannot renovate, you can mimic this look by choosing furniture that mimics built-ins. For example, placing two slim cabinets on either side of a bed or desk can create a framing effect that feels intentional and architectural. Choosing pieces that match your wall color can also help large storage units blend into the background, reducing visual noise.

The Art of Decluttering Before You Organize

Before you run out to buy bins and shelving units, take a moment to evaluate what you actually need. No amount of storage ideas will save you if you are holding onto items that no longer serve a purpose in your life. The most effective storage solution is often the one where you remove the excess items first.

Once you have pared down, group your belongings into categories. This makes it much easier to select the right container or shelf size. Remember, the goal is to make your daily routine easier. Keep the items you reach for in every drawer or on every shelf at eye level, and tuck away the overflow in the higher or lower vertical zones.

Conclusion

Embracing vertical storage is the single most effective way to transform a small apartment into a spacious and functional sanctuary. By utilizing your walls, doors, and the space beneath your ceiling, you can eliminate the clutter that prevents you from enjoying your home. Whether you start with a simple floating shelve or invest in a full-wall system, remember that the goal is to create a home that works for you, not against you.

Are you ready to take your apartment to new heights? Start by identifying one blank wall in your home today and plan a vertical installation. You will be amazed at how quickly your small space feels like a breath of fresh air. Take the leap and start maximizing your vertical potential now!

16 Tiny Home Storage Ideas to Eliminate Clutter Fast

16 Tiny Home Storage Ideas to Eliminate Clutter Fast

<p>To effectively organize a tiny home, utilize vertical wall space, incorporate multi-functional furniture, and implement a strict one-in-one-out decluttering policy. By maximizing high-reach areas, using under-bed zones, and installing modular shelving, you can increase your usable storage capacity by up to 50% without compromising your living floor space.</p>

<p>Living in a compact space often feels like a constant battle against physical objects that seem to multiply overnight. Whether you are living in a true tiny home or just navigating a cramped urban apartment, finding effective tiny home storage ideas is the key to maintaining your sanity and style. When your square footage is limited, every inch must earn its keep, and traditional storage methods simply do not apply. By rethinking your approach to organization, you can transform a cluttered room into a serene, functional oasis that feels twice its actual size. Mastering the art of small apartment storage requires a mix of creative vision and disciplined habits to ensure your home remains a sanctuary rather than a repository for stuff.</p>

The Philosophy of Vertical Thinking

<p><img decoding=”async” alt=”Utilize floor-to-ceiling shelving to maximize vertical storage in a tiny apartment.” src=”https://media.base44.com/images/public/6a748232e4d18e0a622ab665/93391886e_generated_image.png” style=”display:block; margin:2.5em auto; max-width:100%; height:auto;” /></p>

<p>Vertical storage is the most efficient way to maximize limited square footage, as it utilizes unused wall height to triple your storage footprint. By installing floor-to-ceiling shelving, you shift the visual weight of your belongings off the floor, which creates the psychological effect of a larger, more open room. When floor space is at a premium, building upward is a non-negotiable strategy for modern tiny house dwellers.</p>

<p>To execute this effectively, identify the top 80% of your wall height that currently sits empty. Install adjustable modular shelving that reaches within six inches of your ceiling; this “dead space” is perfect for long-term storage items like seasonal gear or extra linens. You can also utilize magnetic wall strips to store stainless steel kitchen tools or office equipment, which saves approximately 10-15% of your total counter space. Additionally, placing a simple tension-mounted shelf directly above a doorway provides an ideal location for book collections or decorative bins, effectively adding three to four feet of linear storage in an area most people completely overlook. By treating your walls as functional assets rather than just structural dividers, you gain significant square footage without needing to renovate your floor plan.</p>

Leveraging Door and Wall Surfaces

<p>Your doors are essentially untapped real estate that can increase your storage capacity by up to 20% when utilized correctly. Over-the-door organizers are not just for shoes anymore; they can be used in the pantry for spices, in the bathroom for toiletries, or in the bedroom for accessories. To further boost your efficiency, implementing <a href=”https://smallapartmentdecorating.com/11-over-the-door-organizers-solve-clutter/” style=”color: #2563eb; text-decoration: underline;”>effective over-the-door storage solutions</a> can transform these often-wasted spaces into highly functional areas for your belongings. Command hooks are another game-changer, allowing you to hang coats, bags, and even baskets on the inside of closet doors or empty wall spaces. By treating every vertical surface as a potential storage point, you turn invisible clutter into organized display pieces.</p>

<p><a href=”https://www.youtube.com/watch?v=5eNeJZoaaaQ” style=”color: #2563eb; text-decoration: underline;”><img decoding=”async” alt=”Small Space Organization Ideas That Actually Work (No More Clutter)” src=”https://img.youtube.com/vi/5eNeJZoaaaQ/hqdefault.jpg” style=”display:block; margin:2.5em auto; max-width:100%; height:auto;” /></a></p>

Multi-Functional Furniture Essentials

<p><img decoding=”async” alt=”Shelf risers and tension rods are essential for kitchen cabinet organization.” src=”https://media.base44.com/images/public/6a748232e4d18e0a622ab665/f5a55a844_generated_image.png” style=”display:block; margin:2.5em auto; max-width:100%; height:auto;” /></p>

<p>Investing in furniture that serves two or more purposes is the gold standard for reducing physical bulk in a small living area. Because every piece in a tiny home takes up significant floor space, it is vital to ensure those pieces work overtime by offering internal storage, modular flexibility, or collapsible features. High-quality multi-functional furniture can hide up to 70% of your smaller loose items, creating a clean, minimalist aesthetic.</p>

Furniture Type Primary Function Hidden Storage Capacity Ideal Location
Lift-Top Coffee Table Living Room Table High (Blankets/Remotes) Center of Room
Ottoman with Storage Extra Seating Medium (Linens/Shoes) Living Room/Bedroom
Murphy Bed/Desk Sleep/Work Space High (Files/Bedding) Multi-use Room
Storage Bench Entryway Seating High (Seasonal Gear) Entryway/Hallway

<p>Consider a bed frame with built-in drawers underneath or a platform bed designed specifically for storage. If your current furniture doesn’t offer hidden space, add decorative baskets or rolling bins underneath items like consoles, desks, and beds to create instant storage zones. By opting for furniture that serves more than one purpose, you reduce the total number of items you need to keep in the room, resulting in a cleaner, more minimalist look.</p>

The Power of Under-Bed Storage

<p><img decoding=”async” alt=”Hidden storage under the bed frame keeps seasonal items out of sight.” src=”https://media.base44.com/images/public/6a748232e4d18e0a622ab665/e49d1821a_generated_image.png” style=”display:block; margin:2.5em auto; max-width:100%; height:auto;” /></p>

<p>The space underneath your bed is often the largest “dead” storage area in the entire home, offering enough square footage to house an entire seasonal wardrobe. Utilizing this area effectively requires an organized system that allows for quick access to infrequently used items, preventing the common mistake of using the space as a “junk graveyard.” Using rolling bins instead of loose bags ensures you can reclaim this space while maintaining order.</p>

<p>To maximize this zone, invest in clear, low-profile plastic bins that measure between 6 and 8 inches in height, which fit under most standard bed frames. Use these for out-of-season clothing, extra shoes, luggage, or hobby supplies that take up too much room in closets. For even better organization, use clear containers so you can quickly see what is inside without having to pull every box out. Labeling your containers is another small apartment storage tip that saves time and prevents you from accumulating duplicates of items you already have tucked away. Research shows that categorizing items by seasonal frequency (e.g., winter sweaters vs. summer swimwear) can save the average person up to 20 minutes of searching per month during seasonal transitions. Always ensure your storage containers have wheels; this simple addition allows you to slide heavy bins out in under three seconds, keeping your floor pristine while protecting your belongings from dust.</p>

<p><a href=”https://www.youtube.com/watch?v=kc5MCh_Xlp8″ style=”color: #2563eb; text-decoration: underline;”><img decoding=”async” alt=”My Tiny House Was Maxed Out – 8 Minimalist Hacks That Changed…” src=”https://img.youtube.com/vi/kc5MCh_Xlp8/hqdefault.jpg” style=”display:block; margin:2.5em auto; max-width:100%; height:auto;” /></a></p>

Maximizing Kitchen Cabinet Efficiency

<p><img decoding=”async” alt=”A dedicated entryway drop-zone keeps daily essentials organized and clutter-free.” src=”https://media.base44.com/images/public/6a748232e4d18e0a622ab665/2f351bcaf_generated_image.png” style=”display:block; margin:2.5em auto; max-width:100%; height:auto;” /></p>

<p>Kitchen storage optimization is about converting wasted vertical air space inside cabinets into tiered, usable levels. Most standard kitchen cabinets come with only one fixed shelf, which creates massive amounts of wasted space between the shelf and the items below it. By installing modular shelf risers, you can realistically double your dish storage capacity without needing to drill holes or renovate your cabinetry.</p>

<p>Start by installing wire or acrylic shelf risers to effectively double the vertical density of your plates and bowls. This simple step allows you to access items without lifting heavy, precarious stacks. Another genius hack is to install hooks under your cabinets to hang mugs, saving cabinet shelf space for larger items like mixing bowls or pots. Furthermore, use tension rods vertically inside cabinets to keep baking sheets and cutting boards standing upright. This “file system” approach is 300% more efficient than stacking items horizontally. Finally, utilize the inside of cabinet doors by mounting small adhesive racks or bins. These are perfect for measuring spoons, spice jars, or aluminum foil boxes, keeping your counter surfaces completely clear for meal preparation. When you treat the inside of your cabinet doors as storage walls, you effectively gain an extra two to four square feet of shelf space that would otherwise be empty air.</p>

Smart Closet Organization Hacks

<p>Closets are often the first casualty in small living spaces, but they can be optimized to hold 50% more clothing than standard configurations. Start by swapping out bulky wooden or plastic hangers for thin, velvet-covered ones. These thin hangers typically take up 50% less rod space than standard versions. Utilize cascading hanger connectors to stack shirts vertically, allowing you to fit up to six garments in the space of one.</p>

<p>Install a secondary closet rod about halfway down your closet to double the hanging space for short items like shirts, skirts, and folded trousers. If you lack closet space entirely, consider using an open garment rack with a bottom shelf for shoes. This turns your wardrobe into a style statement while forcing you to be intentional about the number of clothes you own and display. If you are struggling with overflow, rotate items seasonally; keep only what is needed for the current three-month block in the main closet, and move everything else to an under-bed bin or an off-site storage unit. This keeps your daily routine efficient and ensures you only interact with items you currently wear, preventing the buildup of forgotten garments.</p>

Bathroom and Entryway Optimization

<p>Bathrooms and entryways are high-traffic, small-footprint zones that require disciplined, localized storage to prevent chaotic clutter buildup. In a small bathroom, the most under-utilized space is the area directly above the toilet. Install a dedicated over-the-toilet shelving unit to store towels and toiletries, which immediately removes floor-level clutter. This simple addition can hold up to 20 lbs of supplies, keeping your counter clear.</p>

<p>In the entryway, don’t rely on just one coat hook. Install a wall-mounted console table with a drawer or a floating shelf combined with hooks below for a complete drop-zone setup. This prevents keys, mail, and bags from piling up on tables or floors. Keep your bathroom organized by using drawer dividers for small items like makeup, hair ties, and grooming tools. Studies on spatial organization suggest that using dedicated containers for small items prevents the ‘junk drawer’ effect, saving you roughly 10 minutes of searching per week. A small, rolling cart can also serve as a mobile storage unit for towels or cleaning products, allowing you to move it out of the way when the bathroom is in use. By creating a ‘home’ for every single item in these transit spaces, you ensure your morning and evening routines remain seamless.</p>

<p><a href=”https://www.youtube.com/watch?v=32TzfXbZlgQ” style=”color: #2563eb; text-decoration: underline;”><img alt=”Organize & Declutter My Tiny Home as a family of 7″ src=”https://img.youtube.com/vi/32TzfXbZlgQ/hqdefault.jpg” style=”display:block; margin:2.5em auto; max-width:100%; height:auto;” /></a></p>

The Importance of Decluttering Regularly

<p>No amount of storage solutions can compensate for having too much stuff. The most important of all tiny home storage ideas is the habit of routine decluttering. Set a schedule to assess your belongings every three months, asking yourself if each item serves a purpose or brings you joy. If it doesn’t, donate, sell, or discard it.</p>

<ul>

<li>Implement the one-in-one-out rule for all non-essential items.</li>

<li>Digitize paper files to eliminate heavy filing cabinets.</li>

<li>Store seasonal items off-site or in high, inaccessible areas.</li>

<li>Use uniform storage bins for a visually cohesive look.</li>

<li>Prioritize open floor space to create a sense of calm.</li>

</ul>

Creating Visual Harmony

<p>When you implement these storage tips, remember that visual clutter is just as stressful as physical clutter. Use cohesive colors for your storage bins and baskets to ensure they blend into your decor. When you keep your storage solutions uniform, your room will feel intentional rather than haphazardly arranged. Avoid over-stuffing shelves, as a little bit of breathing room makes your home feel more like a luxury apartment and less like a storage unit.</p>

<p>Small apartment storage is ultimately about mindfulness. Every item you bring into your home should have a designated ‘home’ of its own. When you know exactly where your keys, chargers, and documents belong, you save time, reduce stress, and enjoy the beauty of your compact living space much more. Start with one of these ideas today, and you will be amazed at how much space you can reclaim in your home.</p>

FAQ

Q: What is the most effective way to start decluttering a tiny home?

<p>The most effective method is the “Category First” approach, where you declutter one specific category, such as clothing or kitchen gadgets, throughout the entire house at once. By focusing on one category, you avoid the overwhelm of trying to reorganize an entire room at one time.</p>

Q: How can I make a tiny room feel bigger with storage?

<p>You can make a room feel bigger by keeping the floor as clear as possible and using vertical, wall-mounted storage to draw the eye upward. Choosing storage furniture in light, neutral colors that match your wall paint also helps blend the storage into the room, reducing visual noise.</p>

Q: Are there specific storage items that are essential for tiny homes?

<p>Yes, essential items include thin velvet hangers for closet space, shelf risers for kitchen cabinets, rolling under-bed bins, and modular command hooks. These low-cost, high-impact tools allow you to utilize hidden space that would otherwise remain empty and inefficient.</p>

Q: How often should I declutter my small space?

<p>You should perform a “mini-declutter” session every three months, or once per season, to ensure that new items haven’t accumulated. This scheduled frequency prevents clutter from reaching a tipping point, making each session take less than one hour to complete.</p>

Q: Does using uniform storage bins actually save space?

<p>While uniform bins do not inherently add space, they maximize the space you have by eliminating the irregular shapes and “wasted” air gaps found with mismatched containers. Using rectangular, stackable bins allows you to utilize every cubic inch of shelf or closet space efficiently.</p>

Decorating a Rental Without Risking Your Deposit: A Guide

Decorating a rental without risking your deposit is best achieved by using non-permanent, damage-free solutions such as peel-and-stick wallpaper, tension-mounted hardware, and high-quality area rugs. By avoiding nails, screws, or permanent paint changes, you maintain the property’s condition while creating a personalized home that complies with typical lease agreements.

Understanding the Boundaries of Your Lease

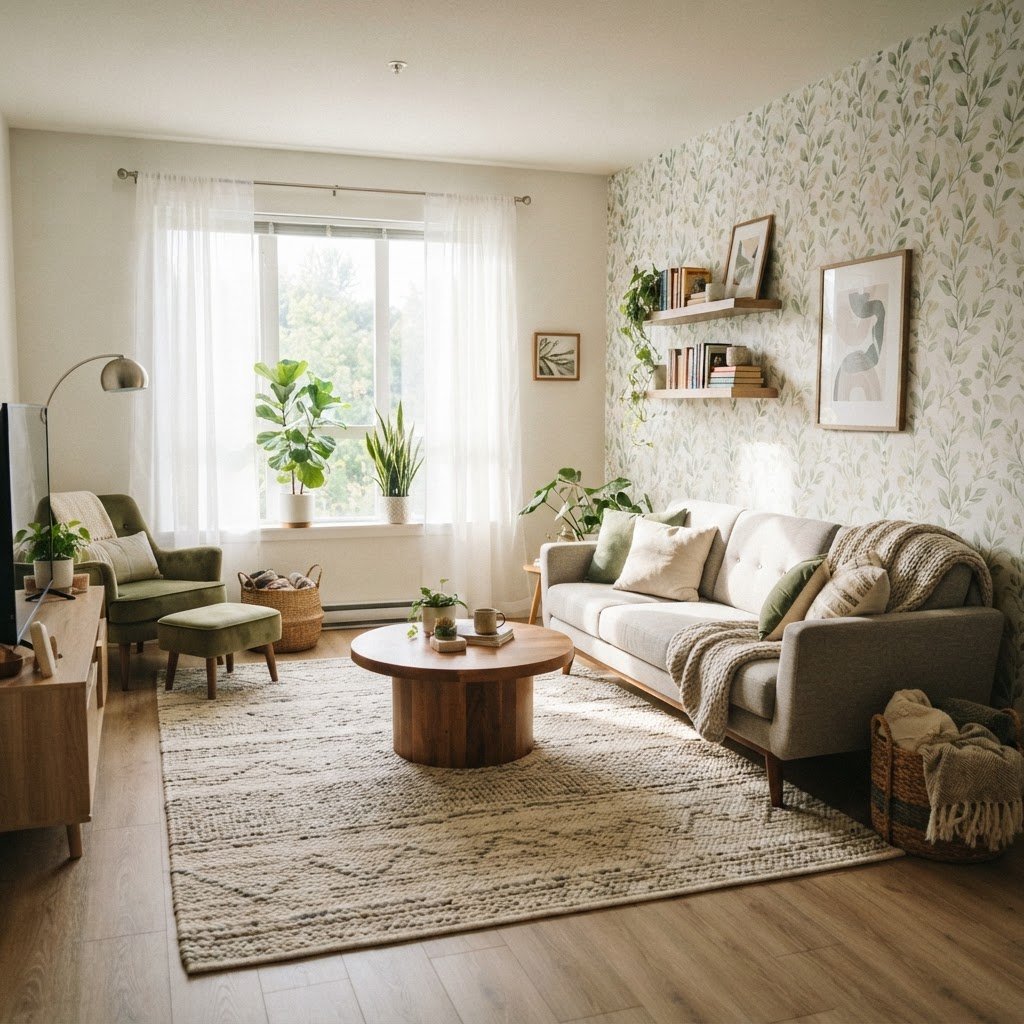
Use peel-and-stick wallpaper to add personality to your walls without damage.

Before you start your decor project, you must thoroughly review your lease agreement to identify specific restrictions regarding wall modifications and hardware installation. Most leases allow for “normal wear and tear,” but unauthorized structural changes—such as drilling holes larger than a standard nail or painting walls without written consent—can result in the forfeiture of your security deposit, which averages between 50% and 100% of one month’s rent. If the contract is ambiguous, send a formal email to your landlord requesting a “modification addendum.” This paper trail is legally binding and protects you against arbitrary deductions. For example, some landlords may agree to let you paint a room a different color provided you commit to priming it back to the original white before moving out. Always document the move-in condition with time-stamped photos to ensure you aren’t held liable for pre-existing damages.

Modification Type Risk Level Removal Method
Peel-and-stick Wallpaper Low Heat gun/Hairdryer
Adhesive Command Hooks Low Gentle tab pull
Tension Rod Curtains Minimal Twist and release
Permanent Shelving High Spackle and repaint

Mastering the Art of Temporary Wall Coverings

Adhesive strips are a renter's best friend for hanging decor.

Removable peel-and-stick wallpaper provides a high-impact design transformation that leaves zero adhesive residue when applied correctly to clean, flat surfaces. These vinyl-based products are significantly more durable than contact paper and come in various finishes, including textured, matte, and metallic, which can cost anywhere from $30 to $100 per roll depending on the brand and material quality. The secret to a damage-free experience is surface preparation: ensure the wall is wiped down with a mild dish soap solution and completely dried to remove invisible grease or dust that prevents the adhesive from bonding evenly. Before committing to a full wall, perform a “corner test” by applying a 4×4 inch sample for 48 hours to confirm the paint does not peel upon removal. If you are decorating a high-humidity area like a bathroom, ensure the wallpaper is moisture-resistant to prevent bubbling. Always calculate 15% extra for pattern matching during installation to avoid mid-project shortages.

Creative Lighting Without Hardwiring

Layer lighting and textiles to make any rental feel like home.

Replacing harsh, builder-grade overhead lighting with layered, plug-in alternatives allows you to manipulate the mood and warmth of a space without touching the electrical junction box. Smart lighting solutions, such as Wi-Fi-enabled LED strips or color-changing bulbs, offer a cost-effective way to transition from functional task lighting to soft ambient light for under $50. By utilizing floor lamps, task-oriented table lamps, and plug-in sconces that attach via heavy-duty 3M mounting tape, you effectively minimize the reliance on ceiling fixtures that often cast flat, unflattering light. For wall-mounted sconces, focus on lightweight designs that weigh under two pounds, ensuring the mounting tape can hold the weight securely without ripping the drywall surface upon removal. If you must use a small finishing nail for a lighter item, always keep a small tub of spackle and a color-match paint sample on hand to repair the tiny puncture site instantly. Prioritizing floor-level lighting sources naturally draws the eye downward, making the room feel more intimate and effectively masking dated ceiling fan lights that you cannot legally replace.

Flooring Solutions for Unattractive Spaces

Large area rugs serve as the primary tool for concealing damaged or unsightly rental flooring, such as stained carpet or scratched laminate, while simultaneously dampening sound. Investing in a rug pad is essential, as it adds a layer of cushioning that makes cheap flooring feel more luxurious while preventing the rug from sliding and causing excessive friction. For kitchen and laundry areas, consider “interlocking” peel-and-stick floor tiles that are specifically engineered for temporary use on hard surfaces. These tiles typically retail for $2 to $5 per square foot and can be removed by applying low-level heat from a hair dryer to soften the adhesive, allowing the tile to lift without damaging the underlying linoleum or hardwood. Avoid using heavy, solvent-based adhesives that require scraping, as these often violate lease terms. When selecting a rug for a high-traffic area, prioritize high-pile or synthetic blends like polypropylene, which are stain-resistant and much easier to clean than natural fibers if a spill occurs during your tenancy.

Maximizing Storage Without Drilling

Vertical, freestanding storage solutions allow you to increase usable space in small rental units without the need for wall-mounted anchors or permanent cabinetry. By utilizing “gravity-based” furniture, such as leaning ladder shelves or tension-pole storage systems that use pressure between the floor and ceiling, you gain significant shelf space while strictly adhering to “no-drill” lease clauses. These items are highly modular, meaning they can be disassembled and packed into standard shipping boxes, making them a one-time investment that serves you through multiple moves. Optimize your vertical square footage by incorporating these storage hacks:

  1. Use tension rods inside cabinets to store cutting boards and baking sheets vertically, saving up to 60% of shelf footprint.
  2. Install over-the-door organizers in bathrooms for toiletries, bypassing the need to drill into tiled shower walls.
  3. Invest in modular, interlocking cubes that can be resized to fit different closet dimensions.
  4. Apply high-strength adhesive hooks to the inside of closet doors for lightweight bags, hats, or scarves.
  5. Repurpose decorative trunks or vintage suitcases as “hidden” storage to keep clutter off the floor.

Renter Friendly Home Decor Ideas | DIY Removable Upgrades

Window Treatments as Design Elements

Installing your own curtains is one of the most effective ways to visually elevate a room, as it allows you to manipulate light and ceiling height perception without changing the window frame itself. By using internal tension rods—which function via a spring mechanism that locks against the interior frame—you eliminate the need for screws or brackets. For a more dramatic, floor-to-ceiling look, install a lightweight rod using adhesive brackets rated for at least 10 pounds of weight. Placing the rod 4 to 6 inches above the window frame can make a room feel up to 20% taller. If you choose blackout curtains, you also gain energy efficiency, which can lower heating and cooling costs during extreme weather months. Ensure the curtains you select have grommets or a rod pocket wide enough to accommodate the tension rod diameter, which typically ranges from 0.5 to 1 inch.

Adding Life with Plants and Textiles

Plants and textiles are the most effective, risk-free ways to introduce color and personality into a neutral rental without violating any landlord restrictions. Indoor plants, such as Snake Plants or ZZ Plants, are highly effective air purifiers that add vertical interest and texture; they require minimal care, often only needing water once every 14 days. Complement these natural elements with layers of textiles like high-thread-count throw pillows, knitted blankets, and area rugs, which introduce warmth to “landlord-white” walls. Because these items are portable and require no installation, they represent zero risk to your security deposit. When choosing textiles, select machine-washable fabrics like cotton or polyester blends to ensure that accidental spills or pet hair do not become a long-term cleanliness issue. By rotating your plant placements and changing out your pillow covers seasonally, you can significantly alter the interior aesthetic for less than $100 annually, keeping the space fresh and vibrant without making a single permanent modification to the property structure.

The Professional Move-Out Strategy

Executing a clean exit is the final step in ensuring your deposit is returned, and it starts with the careful removal of all adhesive-based items. Always use a low-heat setting on a hairdryer to loosen the adhesive bonds on your peel-and-stick wallpaper or command strips; this prevents the paint from pulling away from the drywall, which is the most common cause of deposit deductions. For small nail holes, use a simple spackle kit—usually priced under $10—to fill the void, and lightly sand the area once dry. If you have the original paint, apply a tiny, dab-sized amount to the patched area to blend it seamlessly into the wall. Doing this two weeks before your lease ends allows enough time for the spackle to set properly, ensuring your final walkthrough is trouble-free and confirming your status as a responsible, damage-free tenant.

FAQ

Q: Can I paint my rental walls without losing my deposit?

Generally, you cannot paint your walls without written landlord consent, and most will require you to repaint them to the original color. Always secure this agreement in writing, specifically outlining that the landlord approves the color change and the conditions for returning it to the original state.

Q: What is the best way to hang heavy art without nails?

Use heavy-duty adhesive mounting strips or hooks that are specifically weight-rated for the item, often supporting up to 15-20 pounds per pair. Always follow the manufacturer’s surface cleaning instructions with isopropyl alcohol before application to ensure the adhesive achieves a full, long-lasting bond.

Q: How do I remove peel-and-stick wallpaper without damaging paint?

Always use a hairdryer on a low-heat setting to gently warm the adhesive bond while slowly peeling the wallpaper at a 45-degree angle. Heating the adhesive prevents it from tearing the drywall paper or paint layer underneath, which is crucial for getting your full deposit back.

Q: Are tension rods safe for all window frames?

Yes, tension rods are safe for almost all window frames because they rely on internal spring pressure rather than invasive hardware like screws or nails. Ensure you measure the interior width of your window frame accurately to choose the correct size range for a secure, slip-free fit.

Q: Can I replace a light fixture in a rental?

Technically you can replace a fixture, but you must keep the original item and reinstall it perfectly before moving out. It is strongly recommended to hire a professional electrician to ensure safety and compliance, or simply stick to using plug-in lamps and smart bulbs to avoid electrical liability.

8 Budget-Friendly Ways to Personalize a Basic Apartment

You can personalize a basic apartment by using reversible upgrades like peel-and-stick wallpaper, replacing standard cabinet hardware, and layering floor rugs to anchor furniture zones. These budget-friendly, lease-safe modifications allow renters to transform sterile, builder-grade units into customized sanctuaries without violating rental agreements or losing their security deposit.

The Power of Textiles and Layering

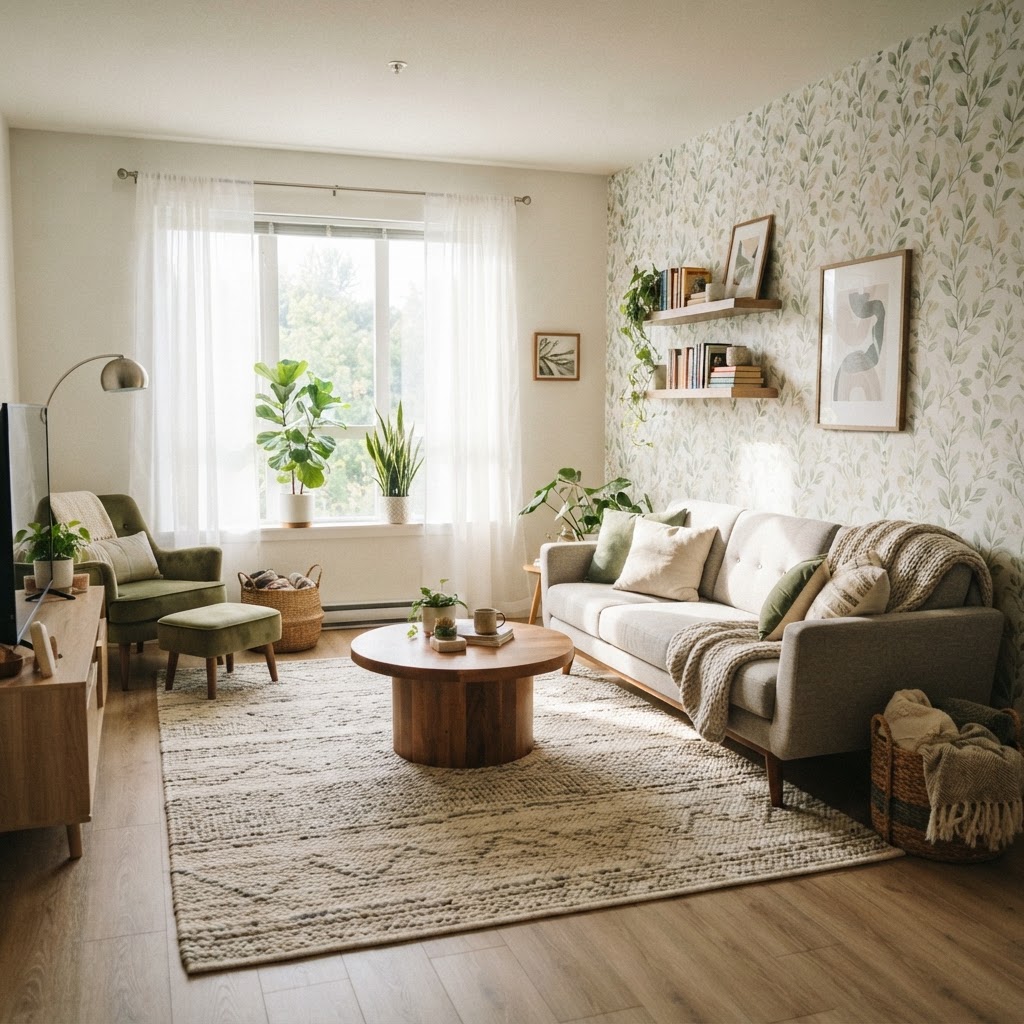
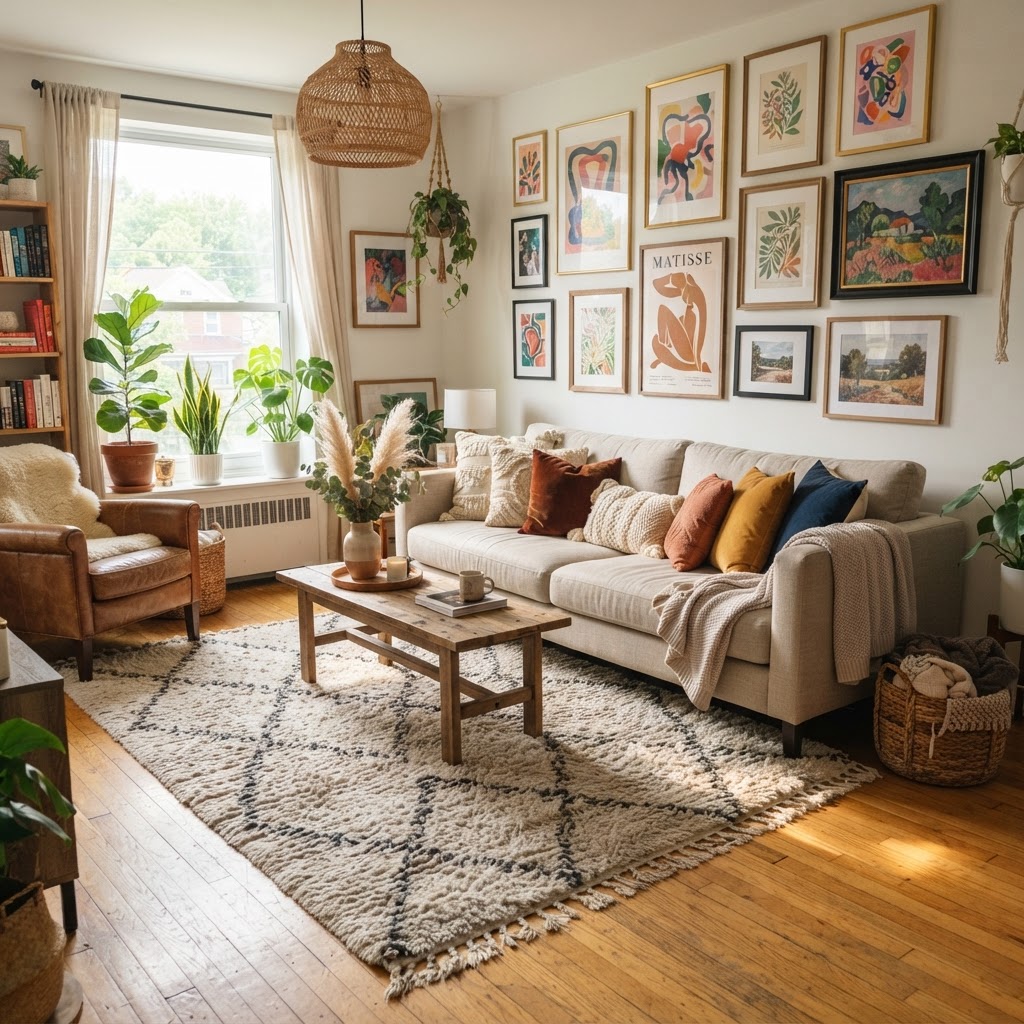
Layering textures with rugs and pillows can transform any basic living room.

One of the most effective ways to personalize a basic apartment is by leaning heavily into textiles, which serve as the primary foundation for color and warmth. When you cannot modify flooring or paint, area rugs act as the essential anchor for a room’s aesthetic. A large area rug, typically sized 8×10 for living areas, hides unsightly carpets while defining distinct zones in open-concept layouts.

Why Rugs Matter

Layering textures is a professional interior design technique that adds depth and perceived value. To achieve a luxury look on a budget, combine a natural fiber jute base rug with a plush faux-fur or woven wool accent rug on top. This tactile contrast makes a space feel curated rather than standard. Furthermore, upgrading your window treatments is vital; swapping out standard plastic blinds for floor-to-ceiling curtains can add an average of 10-15% more visual height to a room.

Feature Standard Rental Option Upgraded Rental Option Impact Level
Floor Covering Bare Carpet/Linoleum Layered Rugs (Jute + Wool) High
Window Dressing Plastic Blinds Floor-to-Ceiling Drapes High
Wall Treatment Plain Paint Peel-and-Stick Decals Medium

Rethinking Rental-Friendly Lighting

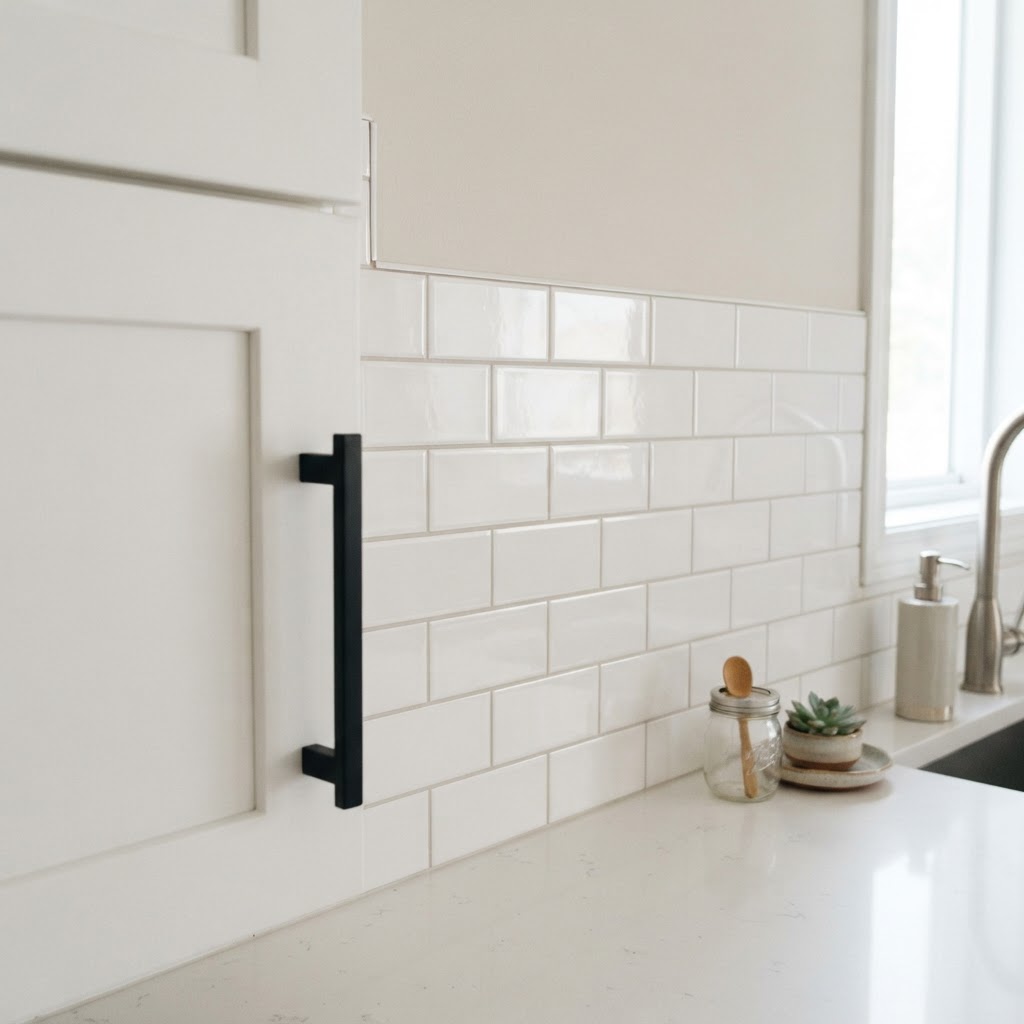
Small updates like new hardware and peel-and-stick tiles make a big impact in kitchens.

Lighting is often the most neglected aspect of apartment living, yet replacing harsh flush-mount fixtures with layered portable lighting is the fastest way to improve ambiance. Since most rental agreements prohibit changing hardwired ceiling lights, you must maximize floor and table lamps to create a warm, inviting glow. Aim for at least three distinct light sources per room to eliminate the “sterile box” effect typical of modern apartments.

Start by incorporating floor lamps and table lamps in every corner. Use warm-toned LED bulbs specifically rated between 2700K and 3000K, which mimic the color temperature of incandescent light. You can also experiment with LED strips tucked behind shelves or under kitchen cabinets for a custom, high-end glow. Studies show that proper lighting can influence mood and productivity; by avoiding a single overhead source, you reduce harsh shadows and make rooms feel significantly larger. Integrating smart bulbs or dimmable plugs can further personalize your lighting experience without any electrical work. These simple additions do more to change the mood of an apartment than almost any other decorative choice, providing immediate, cost-effective transformation.

The Art of Gallery Walls

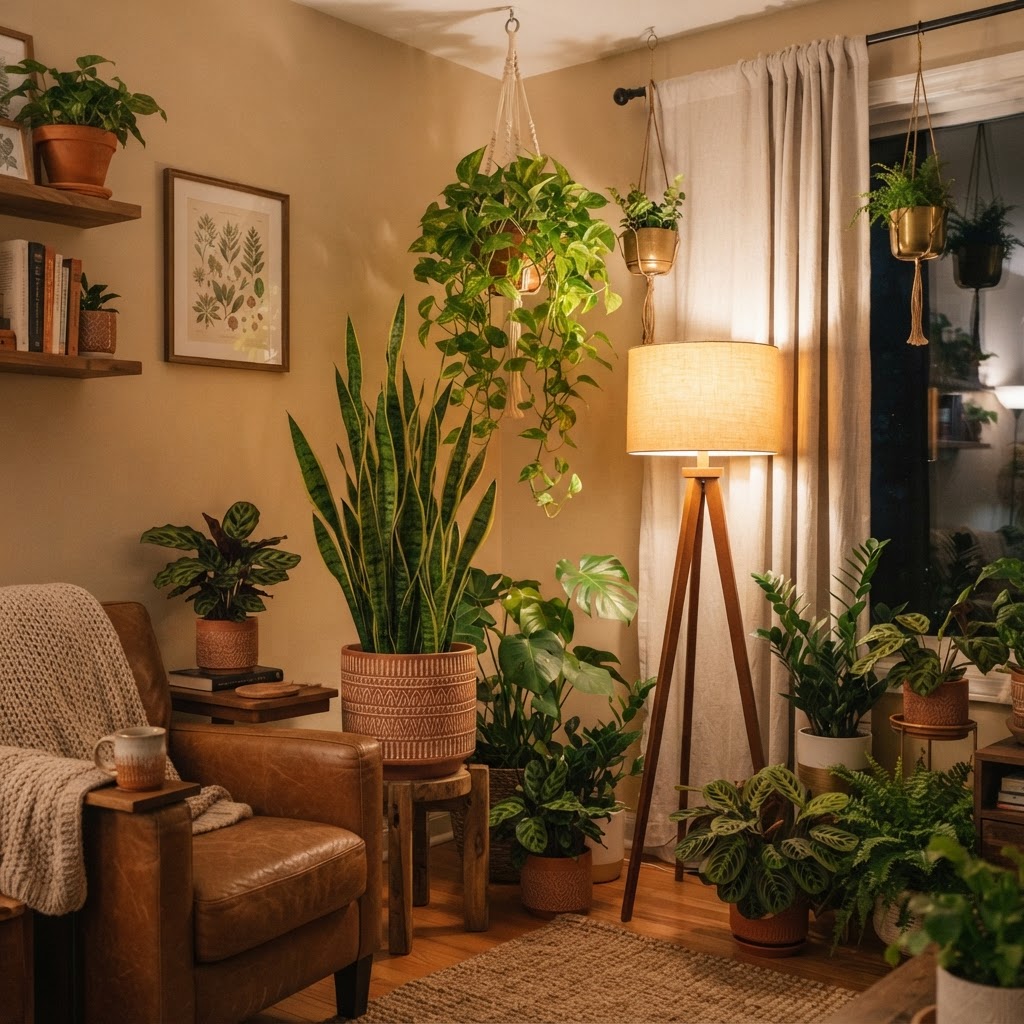
Adding greenery is an easy, budget-friendly way to bring life to an apartment.

A gallery wall is a classic, renter-friendly solution that allows you to showcase personality through art while respecting wall damage limitations. Because structural damage is a concern in rentals, utilize high-quality command strips or picture-hanging tape that peels off cleanly without leaving residue. The key to a professional look is maintaining consistent spacing, typically 2 to 3 inches between frames, to create a cohesive “anchor” on the wall.

When planning your gallery, try to stick to a unified color scheme or consistent frame style to keep the display looking tidy. Mixing frame sizes provides visual interest, but keeping the center-point of the gallery at eye level—roughly 57 to 60 inches from the floor—ensures the arrangement feels intentional. You can even mix in non-framed items like decorative masks, dried botanical pressings, or lightweight mirrors to add texture to the arrangement. This design choice transforms a blank white wall into a focal point, grounding the room and reflecting your specific taste.

Implementing Temporary Backsplashes and Accents

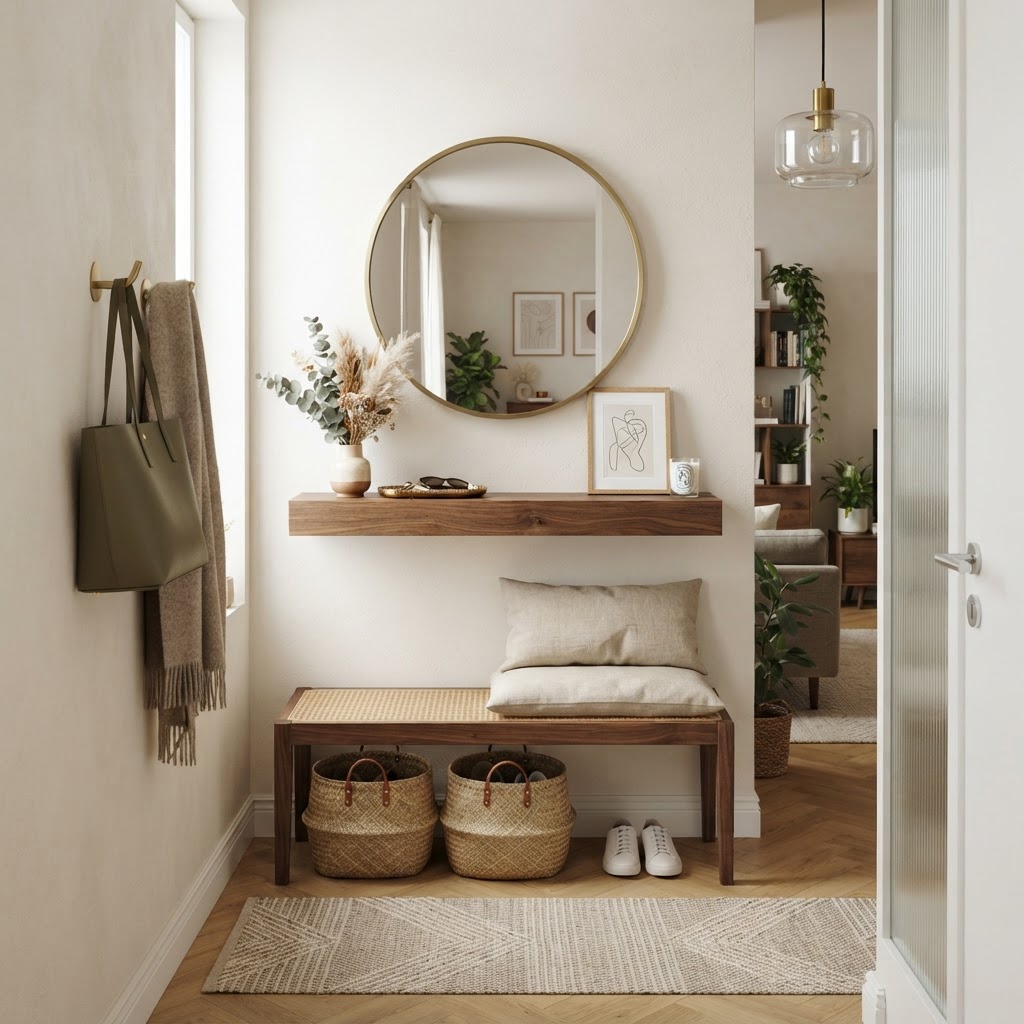
Vertical storage and mirrors help make small entryways feel personalized and spacious.

If you dislike dated tile or blank kitchen walls, peel-and-stick wallpaper and tile decals are game-changing, non-permanent solutions. These adhesive products can be applied to backsplashes, cabinet fronts, or feature walls to add pattern and color without the need for glue or grout. When choosing these products, always ensure they are marked as “rental-safe” or “residue-free” to prevent damage to the substrate upon removal.

Before you commit to a full installation, order a sample and test it in your apartment’s specific lighting conditions for 24 hours. Consider that pattern density affects the size of the room; busy, small-scale patterns can feel overwhelming in tiny kitchens, while larger, minimalist geometric prints often provide a more open feel. You can also use contact paper to line the inside of open shelves, which adds a surprise pop of design without overwhelming the entire space. Even a modest 5-square-foot application of adhesive tile on a backsplash can shift the entire kitchen aesthetic from dated to modern, making it one of the highest-impact budget investments you can make.

Maximizing Functional Storage Furniture

In many apartments, the lack of storage is a major pain point, so choosing multi-functional furniture is essential to keeping your space personalized and clutter-free. Pieces like ottomans with hidden storage, bed frames with built-in drawers, and floor-to-ceiling bookshelves maximize utility while serving as core design elements.

When your home is free of clutter, the design elements you have chosen finally have room to shine. Consider wall-mounted shelving units that use pressure-fit systems or minimal hardware to maximize vertical space. Keeping floor space clear makes smaller apartments feel significantly larger and more luxurious, providing the perfect backdrop for your decor choices. Focus on furniture that features concealed storage, which hides unsightly items and maintains a curated visual. By prioritizing pieces that offer dual-purpose utility, you create a cleaner, more efficient environment that feels both custom and highly functional. Investing in high-quality storage is a permanent upgrade you can take with you to your next home.

Introducing Greenery for Life and Depth

Plants are one of the most versatile decorative elements available, bringing vital color, texture, and natural energy to otherwise sterile, cookie-cutter apartments. Whether you choose large floor plants for architectural interest or trailing vines to soften sharp corners, greenery is an excellent way to introduce a organic feel into an industrial-style rental.

If your apartment lacks natural light, you can still successfully decorate with greenery by selecting hardy species. Snake plants (Sansevieria) and ZZ plants are top-tier choices for low-light environments, requiring water only once every 2-4 weeks. Furthermore, the pots you choose act as an extension of your style, allowing you to incorporate materials like terracotta, polished ceramic, or hand-woven seagrass baskets. Placing plants on varying levels—using stands, shelves, and hanging hooks—adds a vertical, sculptural element that directs the eye upward, effectively making the room feel more spacious and well-designed.

Customizing Hardware and Fixtures

Small, high-impact changes like replacing cabinet knobs and pulls are the secret to achieving a custom-designer look in an otherwise standard rental kitchen or bathroom. You can replace generic builder-grade hardware with stylish options like brushed brass, matte black, or vintage-inspired glass knobs for a fraction of the cost of a full remodel.

The most important step in this process is keeping the original hardware in a labeled plastic baggie inside a kitchen drawer. When it comes time to move out, simply swap the original knobs back on, leaving the unit in its original condition. This simple change, which can often be completed for under $50, makes a massive difference in how the room feels, moving it from “generic apartment” to “custom-designed home.” It is a low-risk, high-reward upgrade that provides a tactile upgrade every time you interact with your cabinets or doors.

Establishing a Signature Scent and Color Palette

Personalizing your home involves multisensory design, where scent and color palette unify the space and make it feel uniquely yours. Establishing a signature scent using reed diffusers, high-quality soy candles, or ultrasonic essential oil diffusers can significantly influence your comfort levels and guest perception the moment you walk through the door.

Pair your scent strategy with a consistent, restricted color palette—perhaps centered around three base colors like charcoal, cream, and a warm accent tone like terracotta. A defined palette ensures that all your belongings, from throw pillows to books, feel cohesive rather than chaotic. When you commit to a specific palette, it becomes much easier to shop for decor, preventing the purchase of random, disjointed items. This consistency is the hallmark of a well-designed home, proving that you do not need to own your walls to create a cohesive, curated living experience that feels like a true reflection of your personality.

FAQ

Q: Can I use command strips on all types of apartment walls?

Most command strips work well on standard painted drywall, but always test a small, inconspicuous area first. Avoid using them on loose wallpaper or textured plaster, as these surfaces may peel or crumble when the adhesive is removed during your move-out process.

Q: What is the most budget-friendly way to make a rental look expensive?

Updating your hardware and improving your lighting are the two most cost-effective methods for a luxury look. Replacing basic knobs with modern brass or matte black pulls and adding warm-toned floor lamps instantly elevates a room’s aesthetic far more than purchasing expensive furniture.

Q: How can I hide ugly rental flooring without replacing it?

Covering the floor with large area rugs is the standard solution for hiding carpet or damaged vinyl. For a more intensive update, you can use interlocking foam floor tiles or removable vinyl floor stickers, provided your lease permits non-permanent floor coverings.

Q: Is peel-and-stick wallpaper safe for all rental walls?

Peel-and-stick wallpaper is generally safe for smooth, primed drywall but can damage flat paint if the surface was not properly prepared before installation. Always buy a small sample to test how the adhesive interacts with your specific wall paint before covering a large surface area.

Q: How do I choose plants for a dark apartment?

Focus on low-light tolerant varieties like Snake Plants, ZZ Plants, or Pothos, which thrive with minimal natural sunlight. These plants are incredibly resilient and require less frequent watering, making them ideal for apartment dwellers who may have limited access to bright windows.

5 No-Drill Bathroom Upgrades That Look Expensive

5 No-Drill Bathroom Upgrades That Look Expensive

To achieve an expensive, spa-like bathroom without drilling into walls or tiles, utilize modern adhesive hardware, peel-and-stick mirror frames, removable wallpaper, high-end textile layering, and humidity-loving greenery. These five solutions allow you to elevate your space with a professional aesthetic while maintaining the integrity of your walls and surfaces.

The Power of Adhesive Technology

Upgrade your hardware with adhesive-mounted matte black fixtures for an instant modern look.

Modern interior design is moving away from the “must-drill-to-mount” mentality of the past. Thanks to advancements in industrial-strength adhesive strips and suction cup technology, you can now install high-quality fixtures that hold weight—often up to 10-15 pounds per hook—without leaving a single scratch on your ceramic or porcelain. These solutions are ideal for the 35% of households that rent their living space and cannot make permanent structural changes.

Feature Traditional Hardware Adhesive-Backed Hardware
Installation Time 30-60 Minutes 2-5 Minutes
Wall Damage Requires Drilling None
Reusability Low High
Humidity Resistance High High (if premium rated)

Adhesive technology has improved drastically in the last decade, with specialized formulas engineered to handle 90% relative humidity. By choosing high-quality adhesive alternatives, you gain the freedom to swap out hardware as trends shift from chrome to matte black or brushed gold. This flexibility allows you to treat your bathroom like a living canvas that evolves with your personal style.

Upgrade Your Hardware for a Cohesive Look

Add a frame to your mirror using simple peel-and-stick kits to create a custom focal point.

Replacing generic builder-grade chrome fixtures with cohesive, high-end finishes like matte black, oil-rubbed bronze, or brushed brass is the most effective way to elevate a bathroom’s personality. Builders frequently install mass-produced, shiny chrome hardware that often looks dated within five years. By upgrading to coordinated sets—including towel bars, robe hooks, and toilet paper holders—you establish a high-end visual flow that mimics luxury hotel design.

Consistency is the hallmark of professional design. To maximize the visual impact, ensure your hand towel ring matches the finish of your robe hooks and vanity drawer pulls perfectly. When shopping for these upgrades, search specifically for “adhesive-backed” or “tension-mounted” hardware sets that feature 3M VHB (Very High Bond) tape, which is rated for heavy-duty bathroom use. For a minimalist aesthetic, choose matte black; for a classic, traditional feel, opt for unlacquered brass. Spending approximately $50-$100 on a full set of matching, high-quality hardware can increase the perceived value of your bathroom by significantly more than the cost of the materials.

Elevate Your Lighting and Mirror Game

Bring in organic materials like teak and greenery to create a calming, expensive spa aesthetic.

Mirrors serve as the primary focal point of a bathroom, and framing a standard frameless “builder-grade” mirror can instantly make the room feel custom-designed. Rather than spending $500+ on a new vanity mirror and paying for professional installation, you can use lightweight, peel-and-stick framing kits for under $100. These kits feature mitered corners and adhesive backings designed to attach directly to existing mirror edges.

To achieve the best results, measure the width and height of your current mirror glass accurately before ordering. Choose finishes that complement your other bathroom metals, such as aged gold or matte black, to bridge the gap between your hardware and your decor. If your bathroom lacks natural light, consider installing battery-operated, motion-sensor LED strips behind the perimeter of the mirror. This creates a “floating” effect that provides soft, ambient lighting during nighttime hours, further enhancing the spa-like atmosphere.

Introduce High-End Textiles and Layering

Use high-quality removable wallpaper to add drama and depth to your bathroom walls.

Luxury is defined by tactile experience, and replacing thin, store-brand towels with plush, high-GSM (grams per square meter) bath sheets is a simple way to increase comfort and sophistication. Aim for towels with a GSM of 600 or higher for that thick, resort-quality weight. Complement these with a washable, quick-dry cotton or bamboo runner rug to break up cold tile flooring.

Beyond textiles, you should “decant” your toiletries. High-end bathrooms lack visual clutter; by moving generic plastic shampoo, conditioner, and body wash bottles into uniform glass or ceramic dispensers, you remove the “noise” of bright-colored, mismatched branding. A coordinated trio of soap dispensers—priced between $20 and $40 for a set—immediately makes a vanity look like a high-end boutique display.

Create a Spa-Like Shower Experience

Upgrading your shower experience can be accomplished by installing an adjustable shower head extension or incorporating natural, moisture-resistant materials like teak. A quality shower head extension often costs less than $30 and allows you to reposition the water stream for better coverage without needing a plumber. This is especially helpful if your existing shower head is mounted too low or at an awkward angle.

Incorporating teak elements, such as a small shower stool or a soap tray, adds warmth and organic texture to a typically cold, sterile environment. Teak is naturally water-repellent due to its high silica and oil content, making it the superior choice for bathroom accessories. When paired with eucalyptus bundles hanging from your shower pipe, these additions create a sensory, spa-like environment that functions at a high level.

Add Greenery and Organic Elements

Plants are a secret weapon in interior design, providing a soft, natural contrast to the sharp, cold lines of glass, mirrors, and porcelain. For bathrooms, choose species that thrive in high humidity and low light, such as the Sansevieria (snake plant), Epipremnum aureum (pothos), or various Tillandsia (air plants). If counter space is at a premium, use adhesive-backed heavy-duty hooks to mount hanging planters or floating shelves near a window.

A single, well-placed plant can lower the perceived stress levels in a room and add a “vibrant” organic element that feels curated. A snake plant, for instance, requires very little maintenance and can tolerate the fluctuations in humidity found in most master bathrooms. For a more sophisticated look, use planters in neutral colors like stone grey or matte white to ensure the focus remains on the greenery.

No Drill Bathroom Hooks Effortless Installation and Style Tips

Use Decorative Wall Treatments to Add Drama

Peel-and-stick wallpaper is the ultimate solution for adding architectural interest to a bathroom without the permanent commitment or cost of tile or wood paneling. High-quality vinyl-based removable wallpapers are water-resistant and designed to hold up in bathrooms with proper ventilation. With patterns ranging from faux Carrara marble to herringbone wood textures, you can transform a boring accent wall in under two hours.

When applying the wallpaper, ensure your wall is thoroughly cleaned with isopropyl alcohol to remove all soap scum and dust, which ensures the adhesive sets properly. Overlapping seams slightly is recommended, as walls in older homes may not be perfectly square. For the most expensive look, choose a texture-rich print that hides minor imperfections on the wall surface underneath.

FAQ

Can adhesive hooks really hold heavy wet towels?

Yes, industrial-strength adhesive hooks, especially those featuring 3M VHB technology, are specifically rated to hold weights of up to 10-15 pounds. Ensure the surface is cleaned with rubbing alcohol before application and wait at least 24 hours before hanging heavy items to ensure a secure bond.

Does peel-and-stick wallpaper peel off paint when removed?

Most high-quality, modern peel-and-stick wallpapers are designed to be removed without damaging the underlying paint, provided the paint was cured properly before application. If the paint is old or peeling, there is a minor risk of it coming off during removal, so perform a small test strip first.

What are the best plants for a bathroom with no windows?

Snake plants and pothos are excellent choices for bathrooms with minimal natural light as they can tolerate low-light conditions. You can also utilize air plants, which thrive on the moisture from your shower and only require occasional soaking in a sink to stay healthy.

Is it worth it to frame a builder-grade mirror?

Framing an existing mirror is highly worth it because it eliminates the harsh, frameless edges that often make bathrooms feel “unfinished.” For less than $100, you can create a custom look that elevates the entire vanity area and mimics the appearance of high-end, store-bought mirrors.

How often should I replace adhesive hardware?

High-quality adhesive hardware is designed to last for years under normal bathroom conditions. However, you should inspect the bonds annually to ensure the seal remains tight, especially if your bathroom experiences extreme temperature fluctuations or poor ventilation.

How to Make Your Rental Living Room Feel Custom and Cozy

How to Make Your Rental Living Room Feel Custom and Cozy

To make your rental living room feel custom and cozy, replace standard overhead lighting with layered lamps, anchor the space with large area rugs, and utilize peel-and-stick wallpaper or oversized gallery walls to hide generic finishes. These non-permanent design strategies allow you to personalize your home while strictly adhering to standard rental lease agreements.

The Power of Layered Lighting

Layered lighting and tall curtains instantly elevate a standard rental apartment.

Lighting is the most effective tool to transform a sterile rental, as standard “boob lights” often drain warmth and visual appeal from a room. By implementing a layered lighting strategy, you can eliminate harsh shadows and create a high-end designer ambiance without installing new fixtures. Designers recommend a “three-point” lighting approach: ambient light for general visibility, task lighting for functionality, and accent lighting for mood.

Incorporating Ambient and Task Lighting

Begin by investing in at least three light sources per room to create depth. Use floor lamps with warm-toned bulbs (2700K color temperature) to anchor corners and table lamps to create pools of light on side tables. For those with limited floor space, plug-in wall sconces mounted with heavy-duty command strips provide a built-in aesthetic without requiring electrical work. Integrating smart bulbs with dimmers allows you to shift from bright, productive morning settings to intimate, cozy evening tones instantly. Research suggests that warm light below 3000K reduces eye strain and promotes relaxation in residential settings.

Lighting Type Purpose Best Bulb Temperature
Ambient General room illumination 2700K – 3000K
Task Focused reading or work 3000K – 4000K
Accent Highlighting decor/art 2200K – 2700K

Textiles as the Ultimate Softener

Gallery walls are the perfect way to add personality without permanent damage.

Hard flooring and plain walls feel industrial, but high-quality textiles can soften these edges to create a sense of bespoke luxury. A large area rug is the single most impactful textile investment; experts recommend ensuring at least the front legs of your furniture sit on the rug to visually anchor the space. Textiles like wool, velvet, and linen introduce natural fibers that dampen echoes and add tactile warmth to modern, minimalist rental architecture.

Choosing Curtains for Height

Window treatments often define the ceiling height perception of an entire room. To create a custom look, mount your curtain rod at least 6 to 10 inches above the window frame, extending it nearly to the ceiling. This vertical extension draws the eye upward, tricking the brain into perceiving higher ceilings than the standard 8 or 9 feet. Opt for floor-to-ceiling curtains that graze the floor; curtains that are too short cut the room in half visually. Selecting heavy, double-lined fabric not only adds a high-end look but provides superior insulation, which can reduce heating and cooling costs by up to 15% in older rental buildings.

Elevating Walls Without Permanent Changes

Bring life into your rental with greenery and soft, inviting textures.

Temporary wall treatments, specifically peel-and-stick wallpaper, have revolutionized rental decor by providing a removable way to add depth or color to a standard white space. By selecting an accent wall behind your sofa, you create a focal point that draws attention away from dated architectural details. Modern adhesive technology now allows these papers to be removed without peeling paint, provided you follow the manufacturer’s prep instructions exactly, typically involving a clean, dust-free surface application.

Creative Wall Decor Ideas

If wallpaper feels too permanent, gallery walls offer a dynamic alternative that can grow with your collection. To ensure a professional finish, use paper templates of your frames on the wall before committing to adhesive hooks. A common mistake is hanging art too high; keep the center of the main piece at approximately 57 to 60 inches from the floor—the standard “gallery height.” Use heavy-duty command strips or tension rods to hang items securely, ensuring you follow weight capacity guidelines for frames exceeding 5 pounds. Remember that when you curate your wall decor, you define the mood and color story of the entire home.

Customizing Through Furniture Placement

Floating furniture layouts help create a sense of space and custom design.

Strategic furniture placement is the foundation of high-end design, and breaking the habit of “wall-hugging” is essential for a custom feel. Floating your furniture—pulling the sofa and chairs away from the walls and into the center of the room—creates an intimate conversation zone and improves room traffic flow. This creates “dead space” behind the sofa that can be utilized for a console table, adding an extra layer of storage or decor, which often makes a cramped room feel significantly larger and more deliberate.

The Importance of Scale

Proportion is the secret to high-end interiors, and choosing furniture that fits the room’s scale is vital. Many renters mistakenly buy “apartment-sized” furniture, which often makes a room feel like a showroom rather than a home. Instead, prioritize one or two oversized statement pieces, such as a large sofa or a deep armchair, to provide a sense of substance. If your rental living room is small, multi-functional furniture like nesting tables or ottomans with hidden storage is essential. These pieces allow you to maintain a clean aesthetic while maximizing square footage, ensuring your rental feels like a permanent sanctuary.

Bringing Nature Indoors

Plants serve as the ultimate organic design element that adds life and color to neutral rental spaces. Large-scale plants like the Fiddle Leaf Fig or Monstera act as living sculptures that reach heights that furniture often cannot. By grouping plants of varying sizes and leaf textures, you create a “curated jungle” effect that masks dull corners or unappealing structural columns common in older apartment buildings.

Benefits of Houseplants in Rentals

Beyond aesthetics, plants are one of the few decor items that improve indoor air quality by filtering volatile organic compounds (VOCs). If your rental lacks natural light, choose low-light-tolerant species like Snake Plants (Sansevieria) or Pothos, which can thrive in nearly any orientation. To tie the greenery into your decor, place pots inside decorative baskets or neutral ceramic planters that align with your color palette. This provides a professional, cohesive look that makes the apartment feel intentionally styled rather than just filled with plants.

Adding Personal Accents and Details

To truly make your rental living room feel custom and cozy, you must layer in personal items that reflect your unique lifestyle. Bookshelves styled with favorite titles, framed personal photos in consistent frames, and curated vintage finds create an authentic “lived-in” vibe. While big furniture provides the structure, these personal accessories define the personality of the space, distinguishing it from a temporary stop-gap.

Styling Tips for Cohesion

Follow these steps to maintain a cohesive look:

  1. Limit your color palette to three main tones to avoid visual clutter.
  2. Use decorative trays to group smaller items on coffee tables to keep surfaces looking organized.
  3. Incorporate mirrors to bounce light and expand the perceived size of the room.
  4. Swap out standard cabinet or drawer hardware if the landlord allows, keeping the originals to re-install later.
  5. Layer throws and pillows in varying textures like wool, linen, and faux fur.

FAQ

How can I make a rental look expensive without a renovation?

Focus on height and texture: use floor-to-ceiling curtains, replace builder-grade light fixtures with floor lamps, and add large-scale area rugs. These elements elevate the room’s proportions and provide a tactile, luxurious finish that feels custom rather than mass-produced.

Can I paint my rental apartment walls?

Most landlords allow painting if you return the walls to the original neutral color upon move-out. Always check your specific lease agreement first or ask for written permission before starting, and ensure you use a high-quality primer to make the final painting back to white easier.

How do I hang decor without damaging walls?

Use high-quality adhesive strips like 3M Command hooks, which are designed to be removed without damaging paint. For heavier items, consider using tension rods inside window frames or leaning large mirrors and art against walls to create a layered, intentional look without needing a single nail.

What are the best plants for a low-light rental?

Snake plants, ZZ plants, and Pothos are ideal for low-light rental environments as they are highly resilient. These plants require minimal maintenance and can survive in indirect or lower light levels while still providing the height and organic shape needed to warm up a sterile apartment.

How do I deal with an awkwardly shaped rental room?

Use area rugs to define distinct “zones” within the larger room, such as a seating area and a small workspace. Floating your furniture away from the walls creates pathways and makes the room feel more intentional and spacious, rather than simply having all items pushed to the perimeter.