Archives August 2026

Chic Small Kitchen Layout Ideas for Condos and Apartments

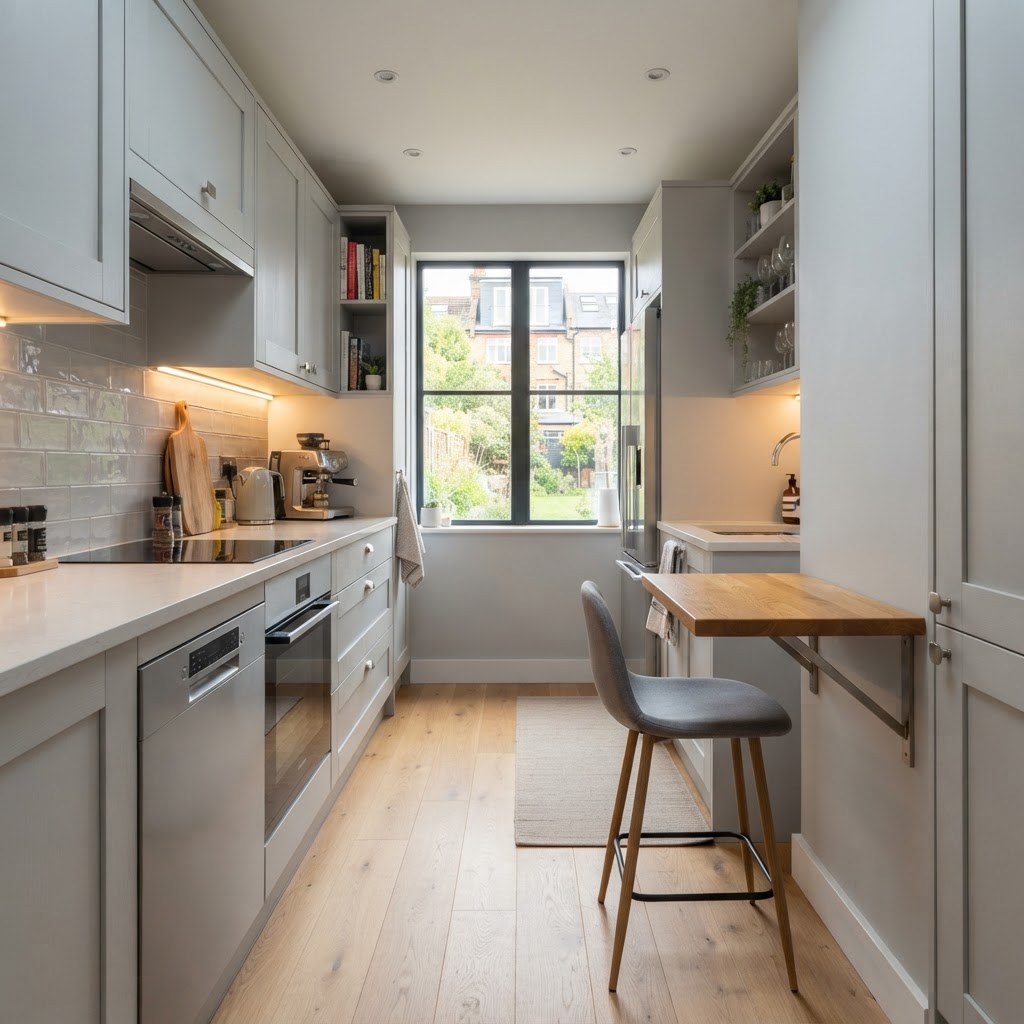
Chic small kitchen layout ideas for condos and apartments center on maximizing vertical storage, utilizing a functional work triangle, and selecting multi-purpose furniture to balance aesthetics with utility. By integrating custom cabinetry, under-cabinet lighting, and compact professional-grade appliances, you can transform even the most limited square footage into a high-performance, stylish culinary space.

The Psychology of Space in Small Kitchen Design
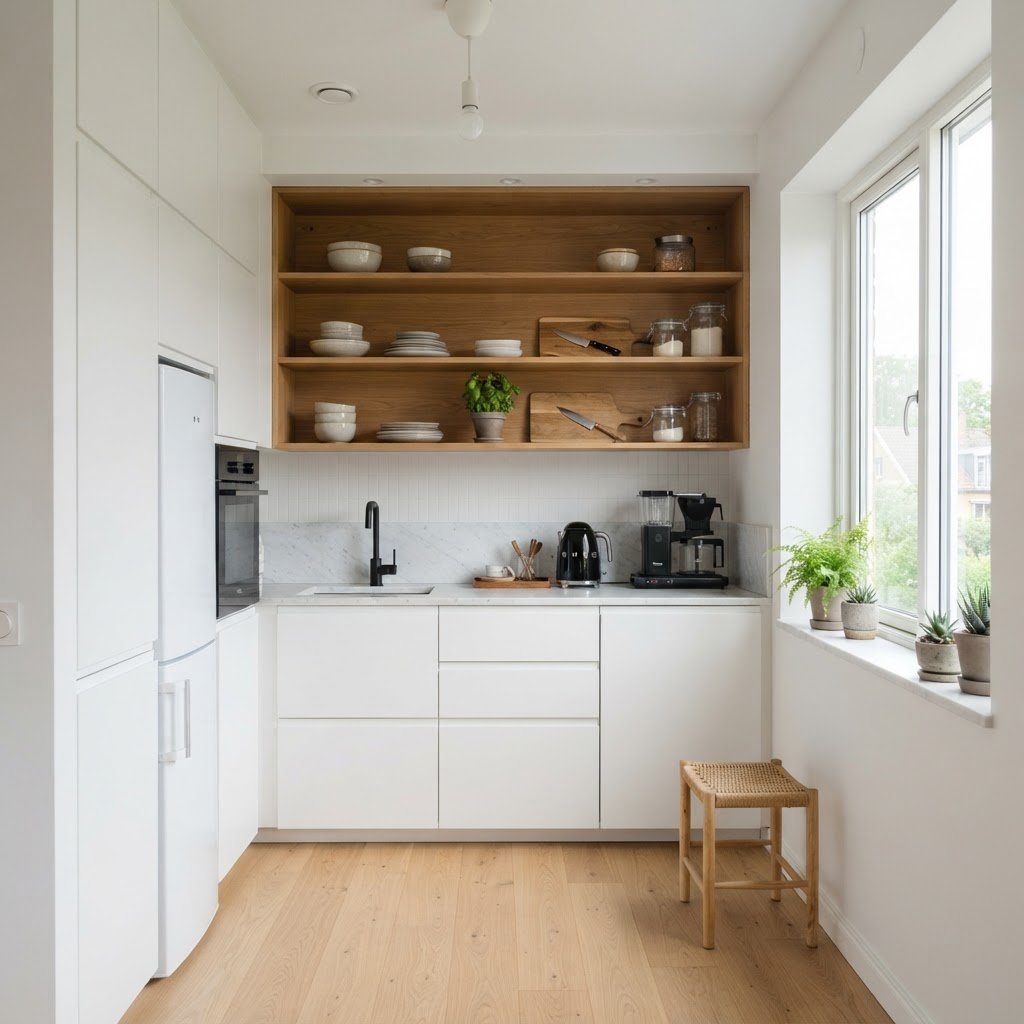
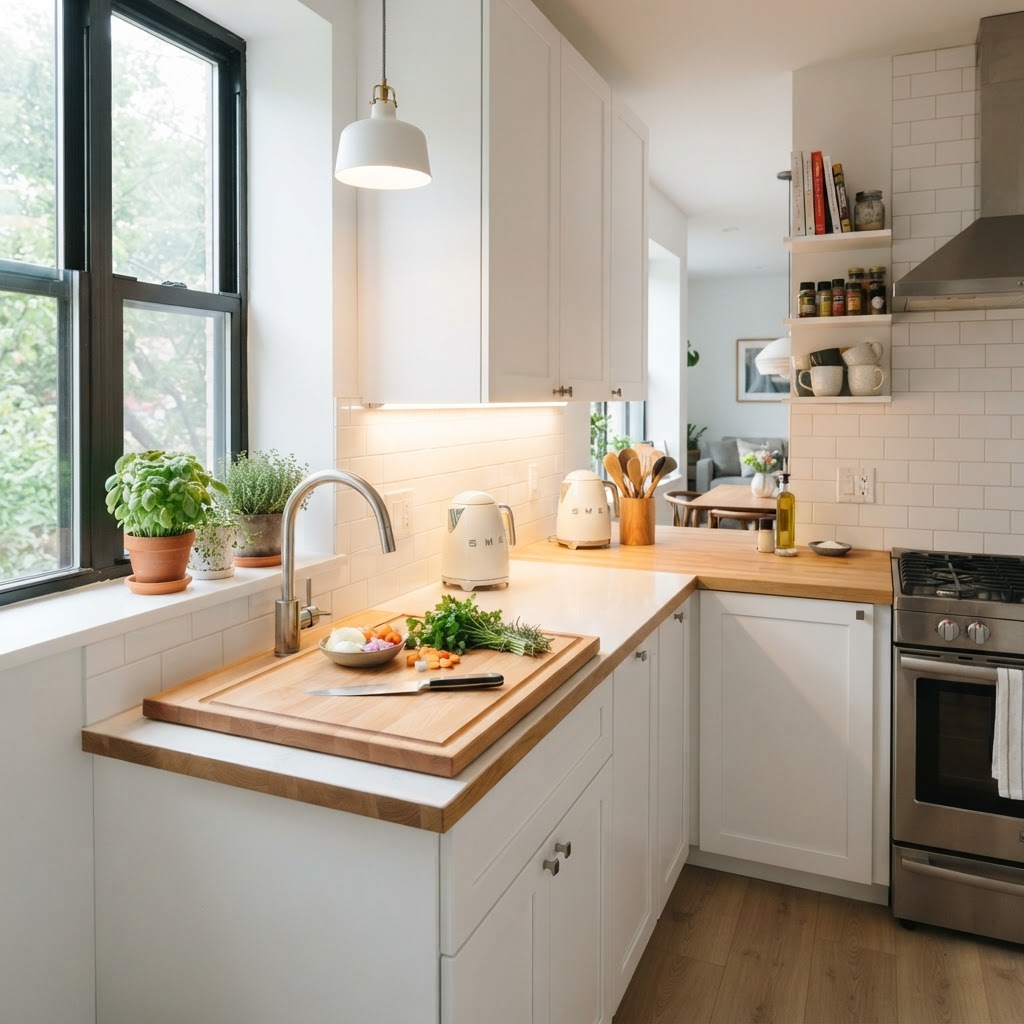
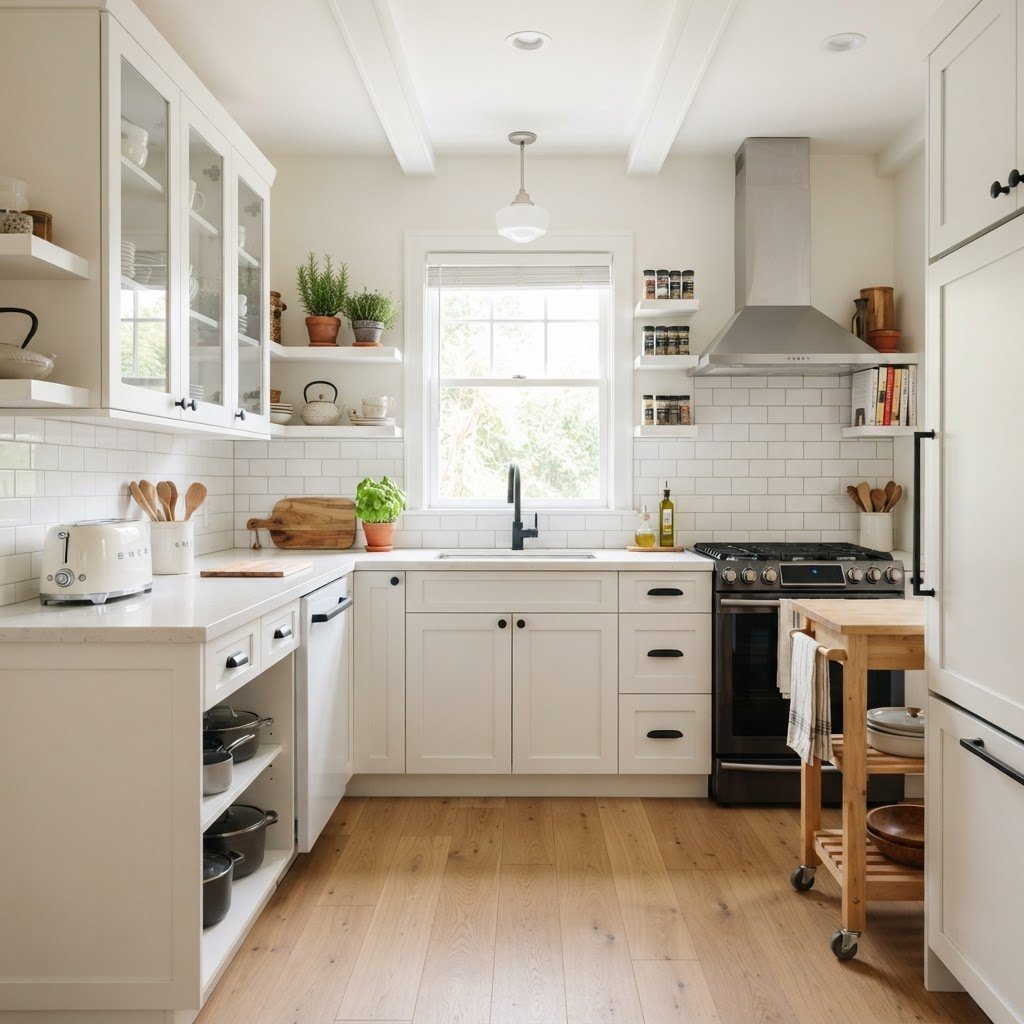
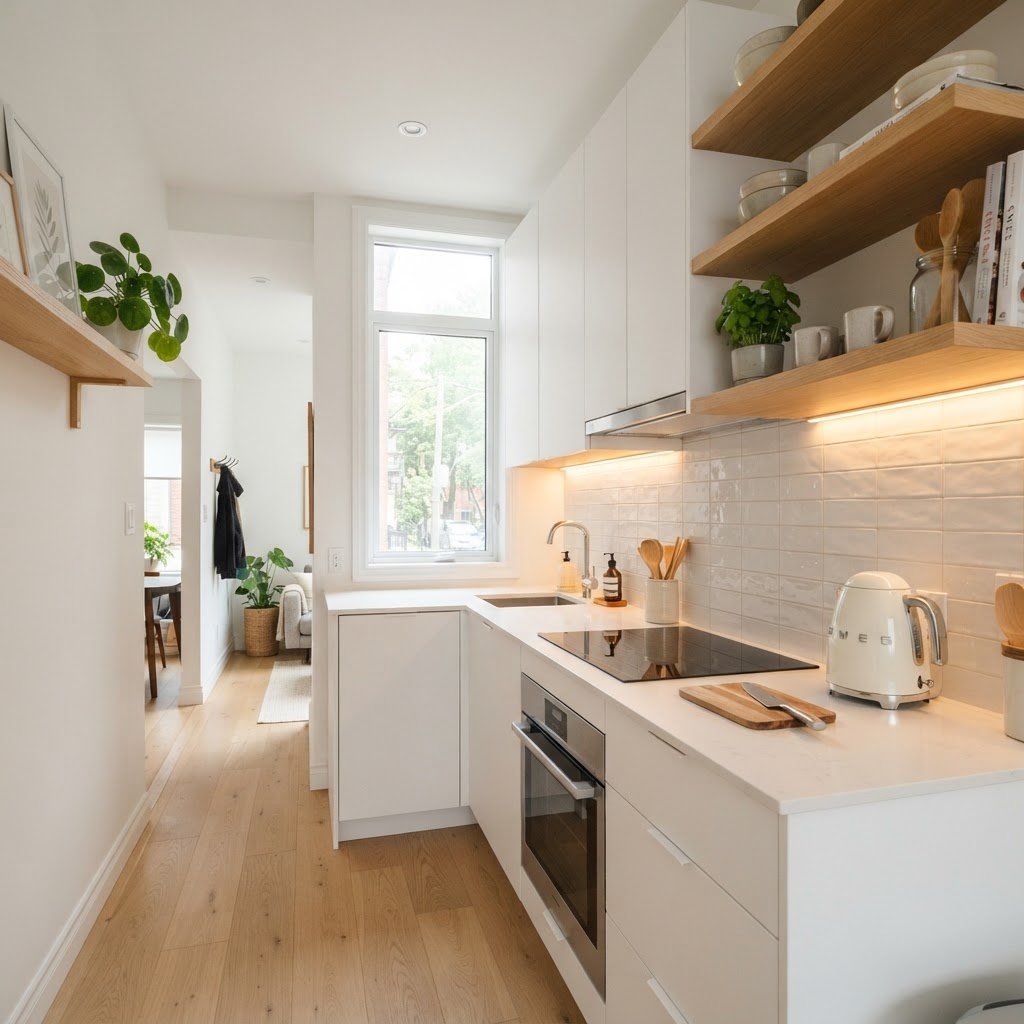
Maximize vertical space with open shelving.

Visual spaciousness in a small kitchen is primarily achieved by reducing physical clutter and utilizing optical illusions that expand the perceived footprint. When floor space is limited, the primary objective is to maintain a clear “line of sight” that draws the eye across the room rather than stopping at bulky items. Expert designers recommend using consistent cabinetry colors that match wall paint to blur the boundaries between the kitchen and the living area. For condos with under 80 square feet of kitchen space, prioritizing horizontal lines and avoiding heavy textures is essential. Maintaining a clean workflow requires limiting decorative items to no more than 15% of your total countertop surface area, which statistically reduces cognitive stress and increases cooking efficiency. Proper space planning should account for at least 36 inches of clearance for walkways, ensuring that two people can pass each other comfortably if the kitchen is open-concept. By treating the kitchen as a seamless extension of the main living room, you eliminate the visual “choppiness” that makes small apartments feel claustrophobic.

Prioritizing the Golden Triangle

Even in the tiniest apartments, try to maintain the kitchen work triangle: the path between your sink, refrigerator, and range. If your space is too small for a traditional triangle, focus on minimizing steps between these three zones. Keeping your most-used ingredients within arm’s reach of your prep area is the secret to a professional-feeling workflow in a micro-kitchen.

Utilizing Vertical Storage Solutions
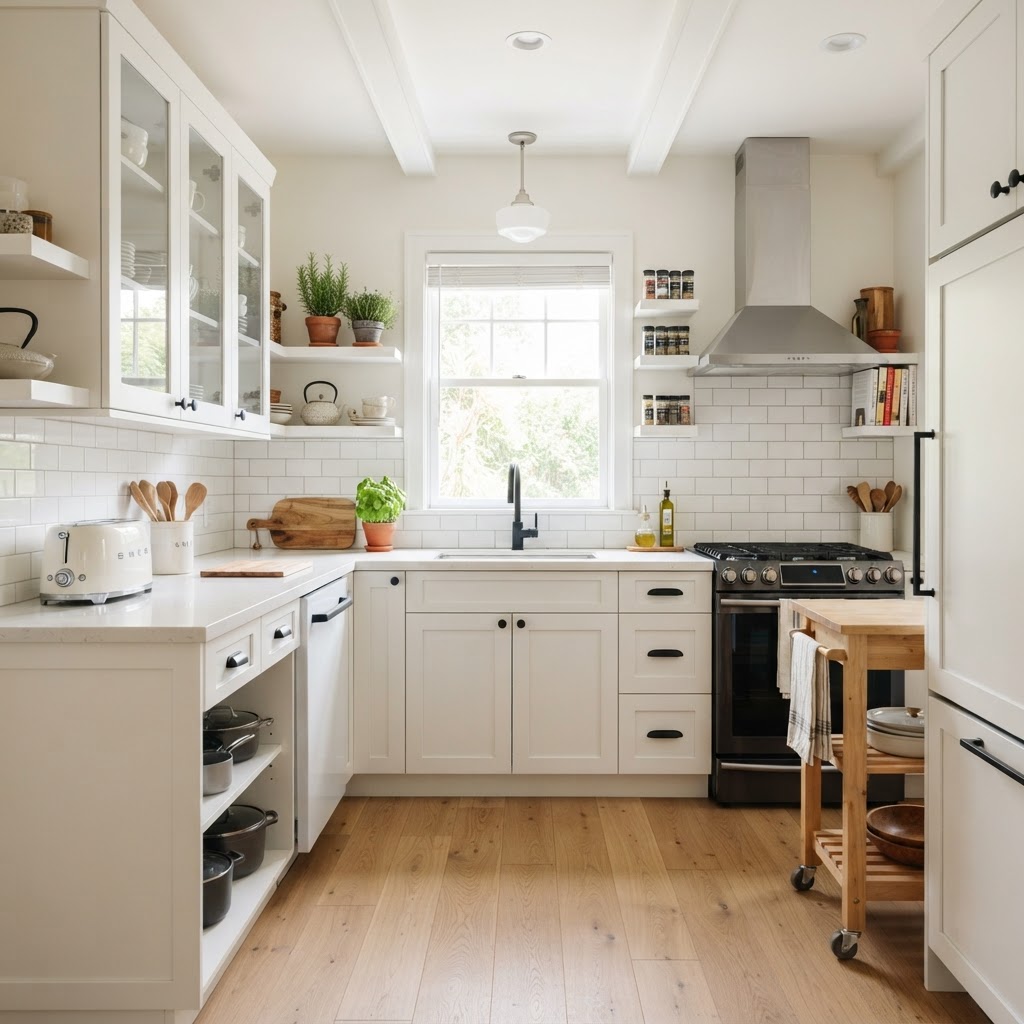
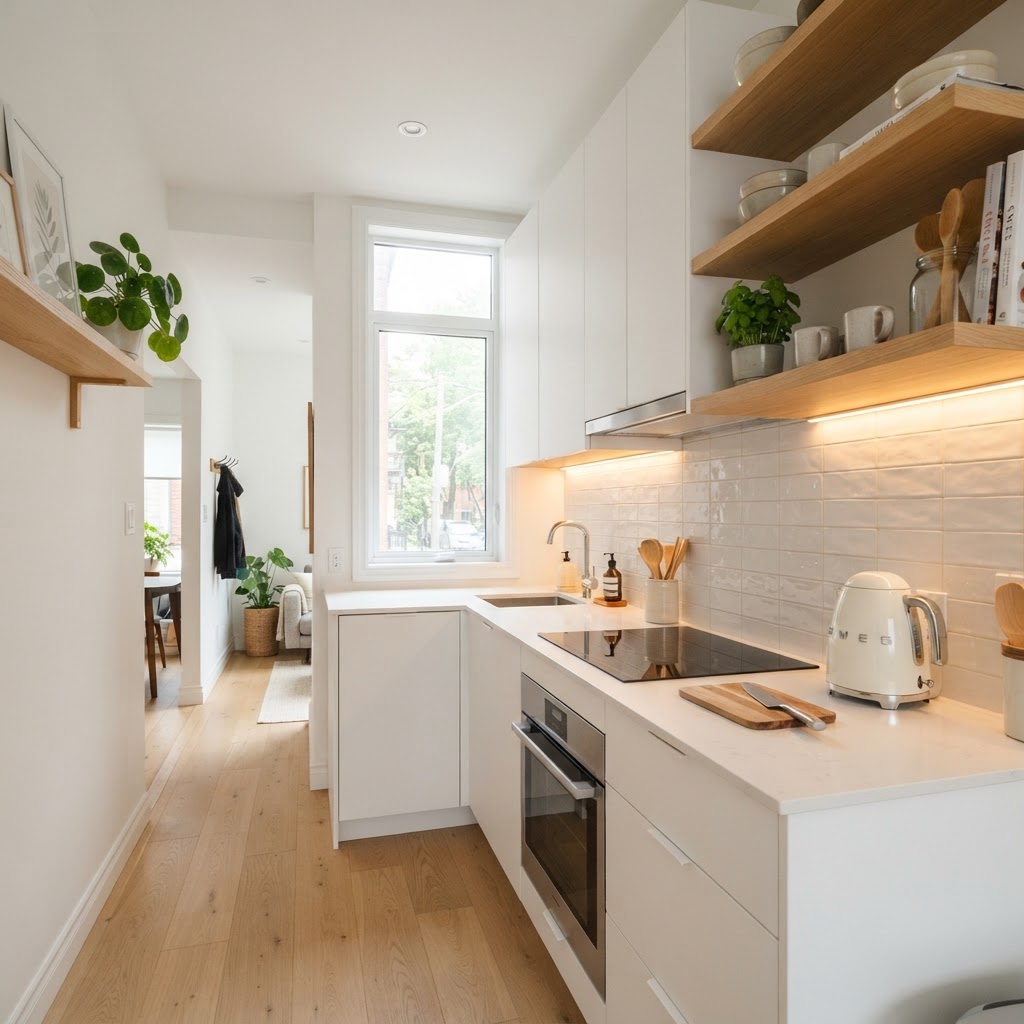
L-shaped layouts provide efficient work zones.

Leveraging vertical wall space is the most effective strategy for doubling storage capacity without encroaching on floor square footage. In modern condo design, floor-to-ceiling cabinetry is the industry standard for maximizing utility, often providing up to 40% more storage volume compared to traditional wall-mounted upper cabinets. By extending storage to the ceiling, you accommodate seasonal items, bulk dry goods, and infrequently used appliances. For an airy, high-end look, incorporate glass-front cabinets or open shelving, which prevent the “wall of cabinets” effect that can make small rooms feel oppressive. Data suggests that kitchens with at least 50% open storage options perceive as 20% larger than those with solid-door, dark-stained cabinetry. To optimize this, organize items by frequency of use: place daily essentials like plates and glassware at eye level, while storing heavy mixers and rarely used platters on the top-most shelves. Combining these vertical solutions with magnetic wall-mounted organizers saves approximately 2 square feet of counter space—a significant margin in a micro-kitchen.

Creative Wall Treatments

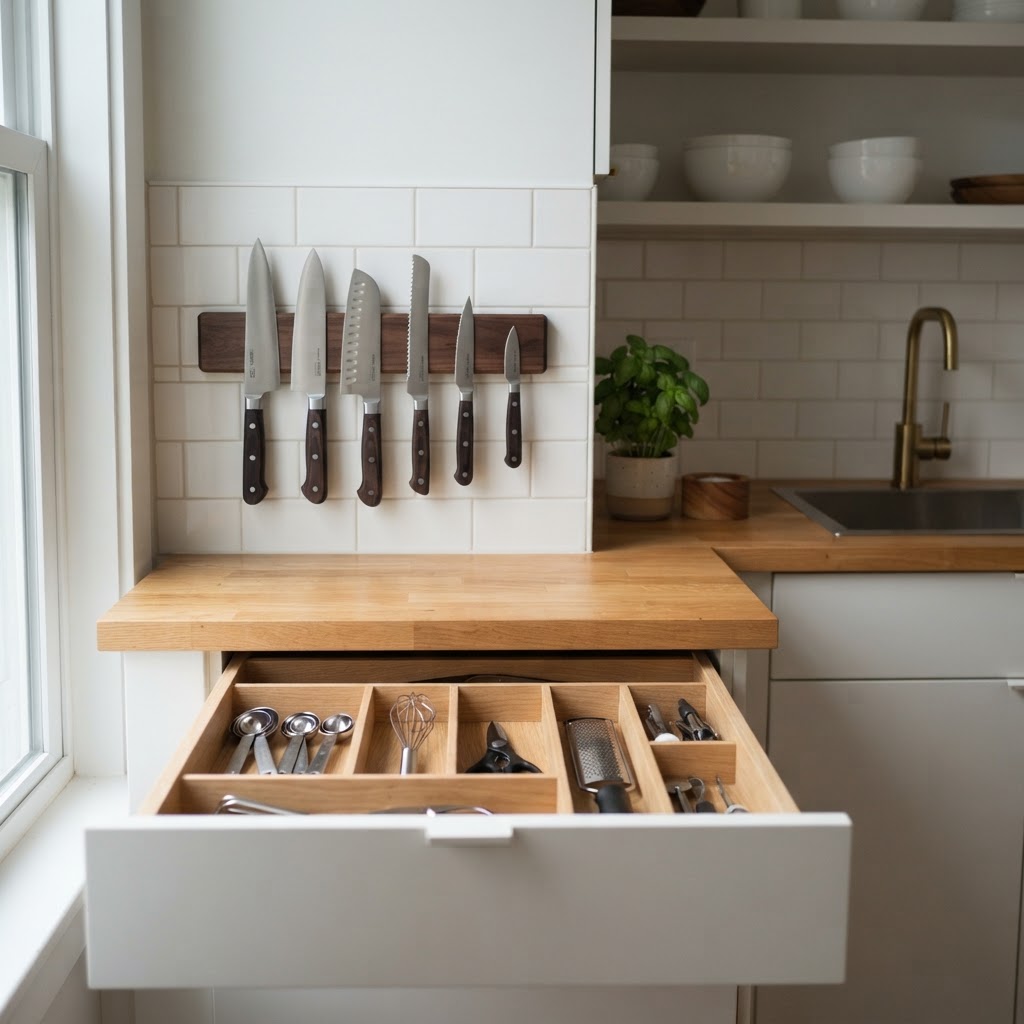
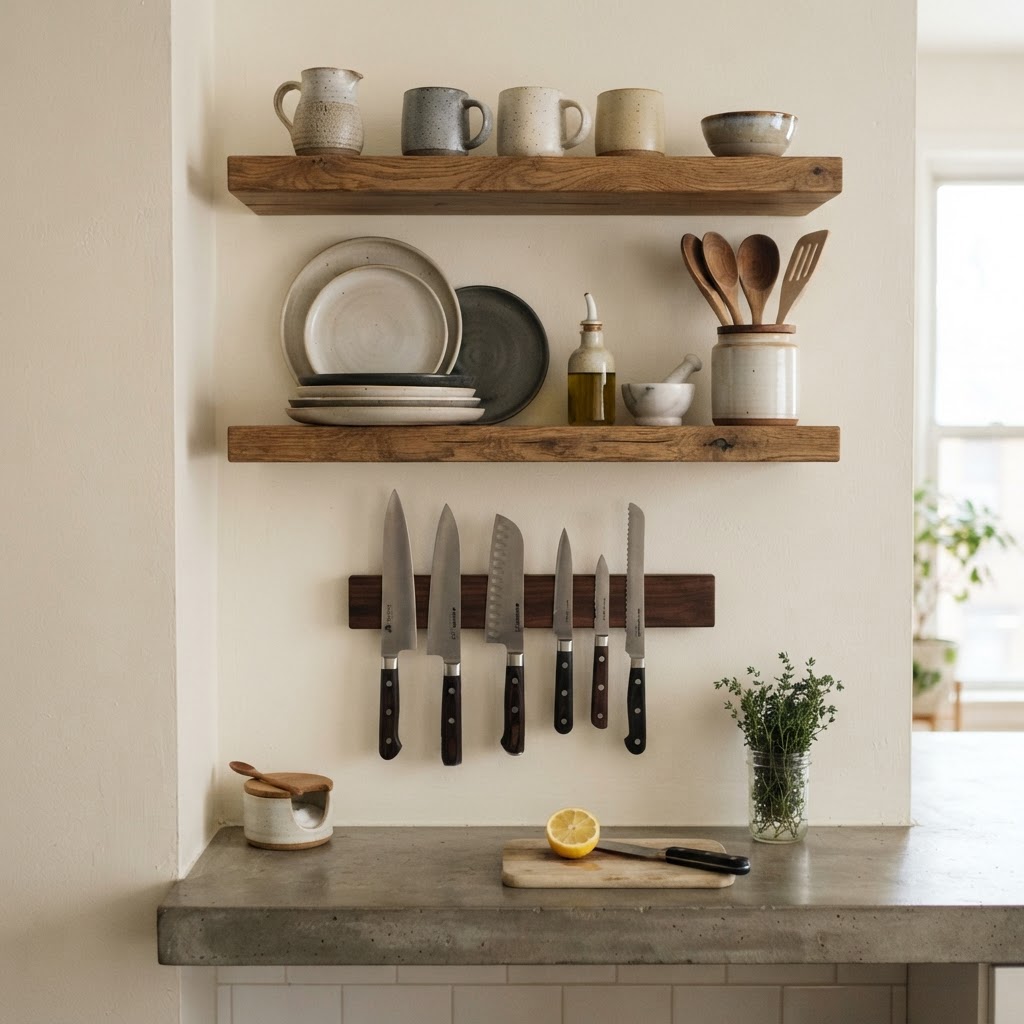
Consider installing open shelving for frequently used items. This provides a chic, airy feel compared to heavy, closed-in cabinets. Pair this with a magnetic knife strip or wall-mounted spice racks to keep your countertops completely clear of clutter, creating a clean, minimalist aesthetic.

Choosing the Right Layout for Your Floor Plan
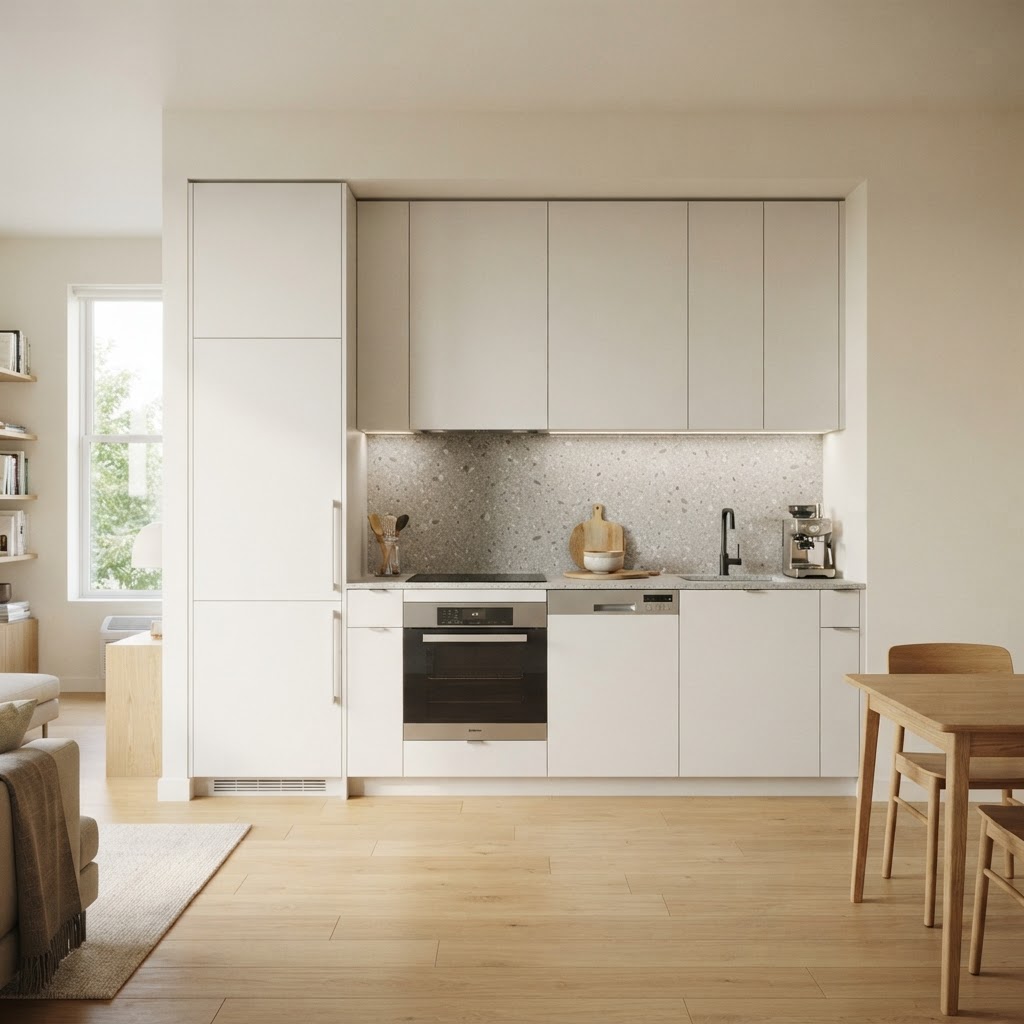
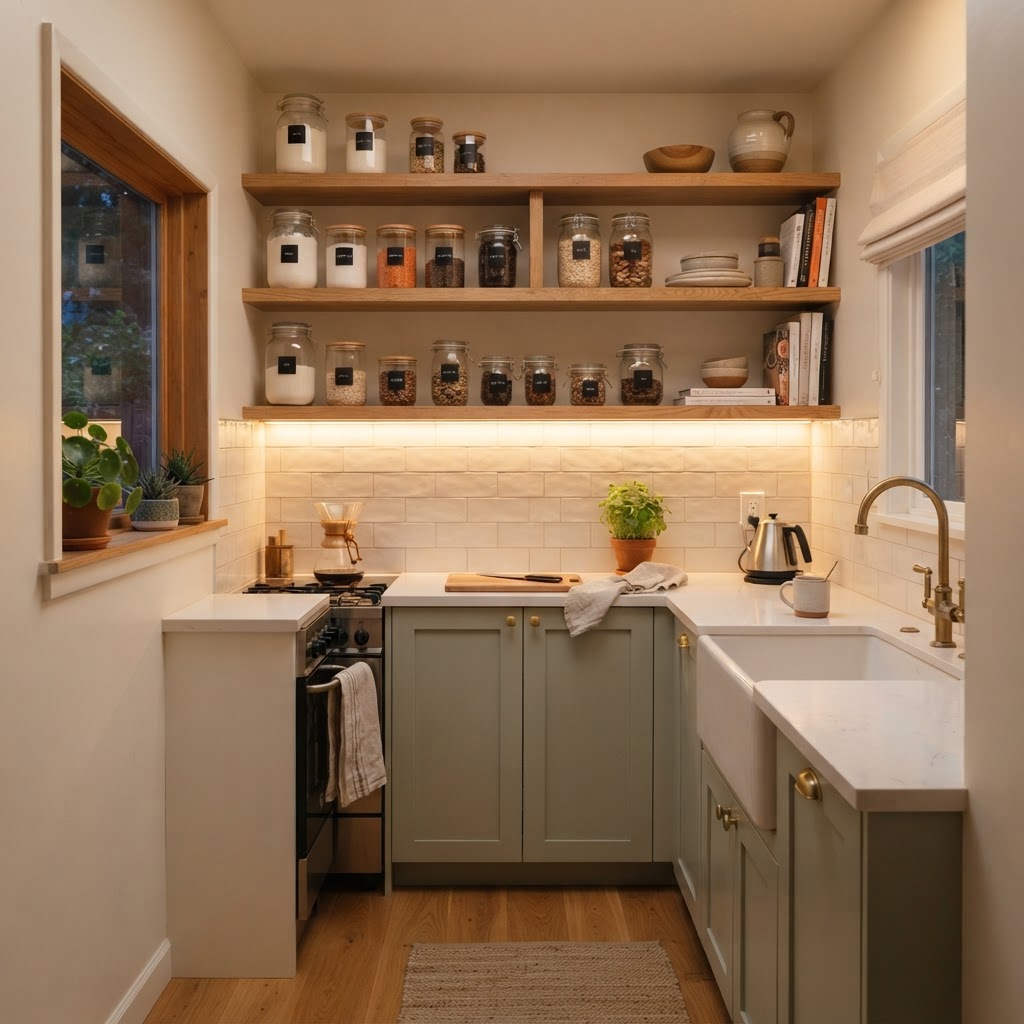
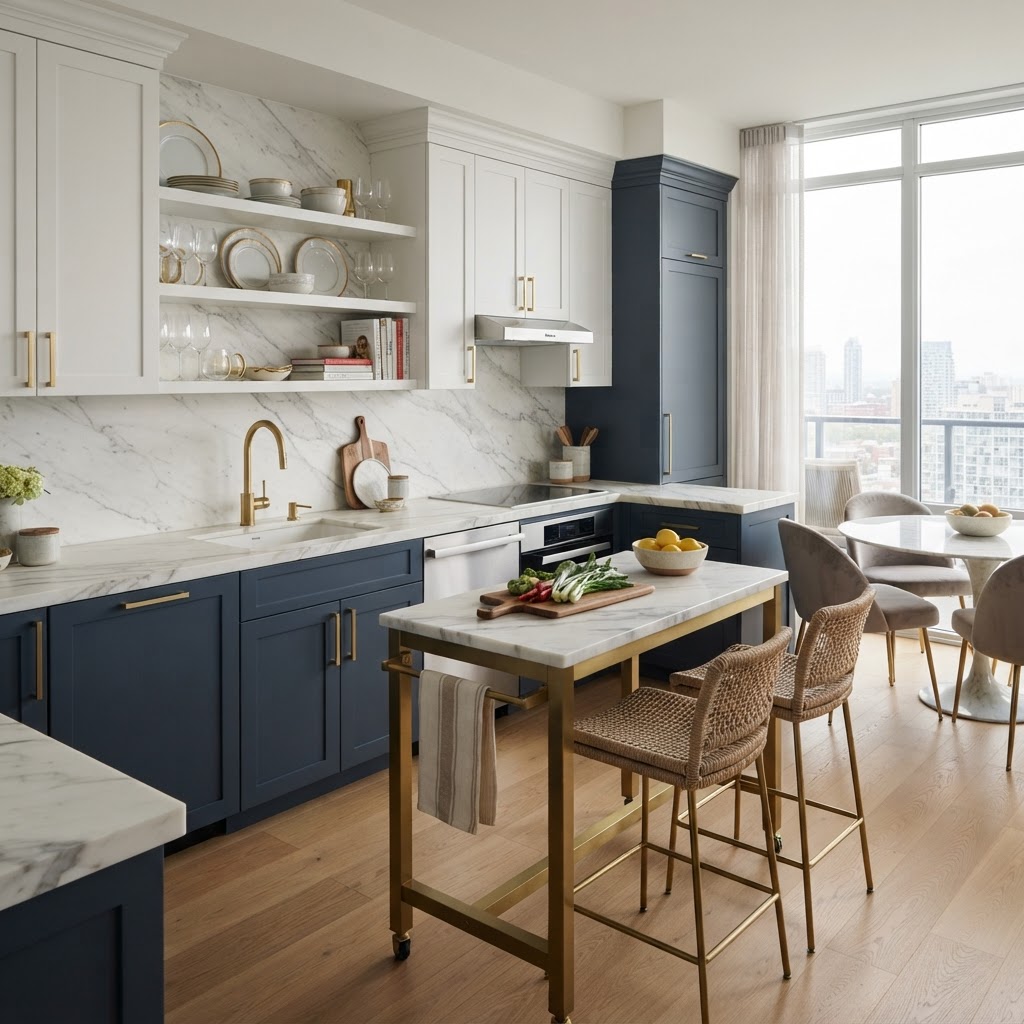
Integrated appliances create a seamless look.

Selecting a layout that matches your room shape is crucial for success, as each configuration provides different advantages regarding traffic flow and storage capacity. An L-shaped layout remains the most popular choice for small condos because it creates a defined transition zone while keeping the corner accessible through modern pull-out hardware. Conversely, a single-wall layout is the best choice for open-plan studios, as it maintains a clean, furniture-like appearance that integrates with the living room decor. When choosing between these, consider the trade-off between total cabinet linear footage versus open floor area. Below is a comparison of common layout efficiencies for small spaces.

Layout Type Best For Storage Potential Flow Efficiency
Single-Wall Studio/Lofts Moderate Excellent
L-Shape Corner Nooks High Superior
Galley Narrow Halls High Excellent
U-Shape Small Square Rooms Maximum Moderate

The Single-Wall Efficiency

If you live in a studio, the single-wall layout is likely your only option. To make this work, treat the kitchen as a piece of furniture that blends into the room. Use cabinetry that matches your walls and integrate appliances like the refrigerator and dishwasher behind matching panels to maintain a seamless, high-end look.

Smart Furniture and Multi-Functional Pieces
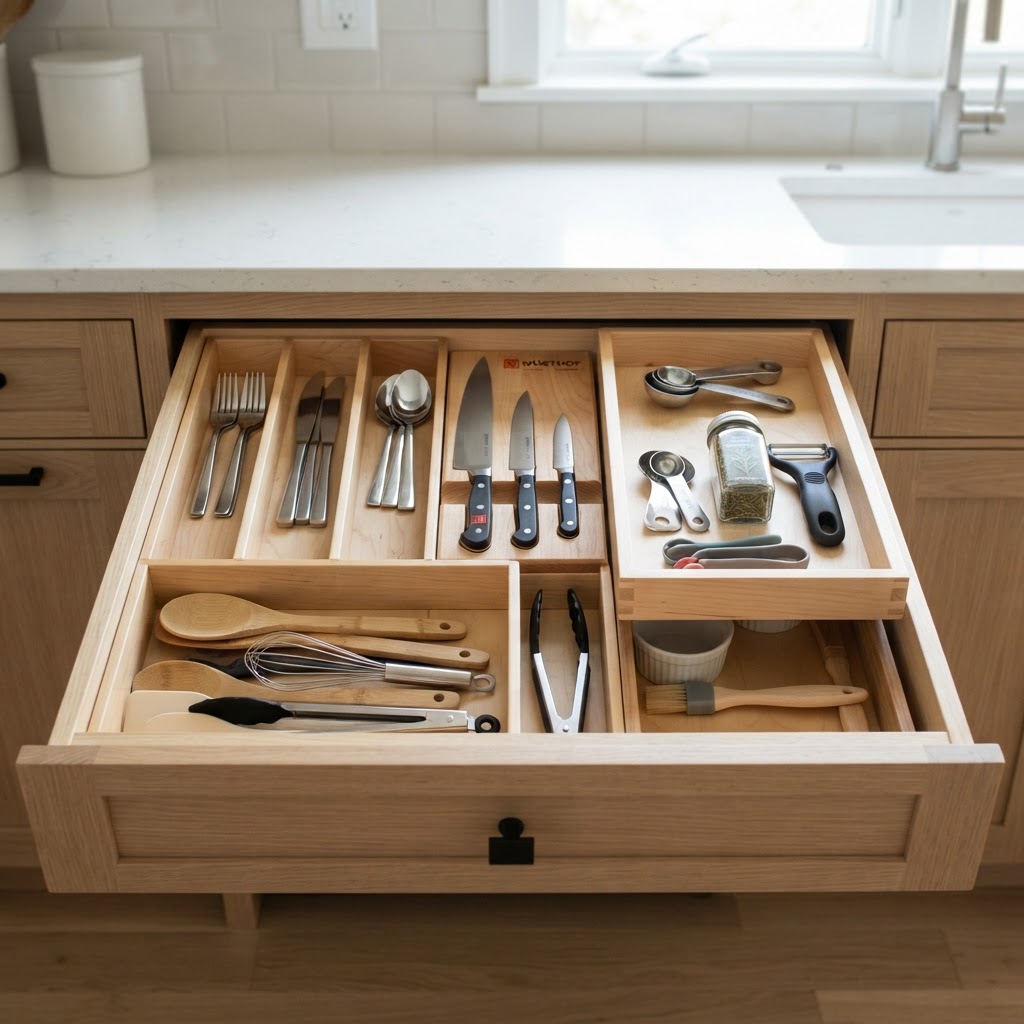
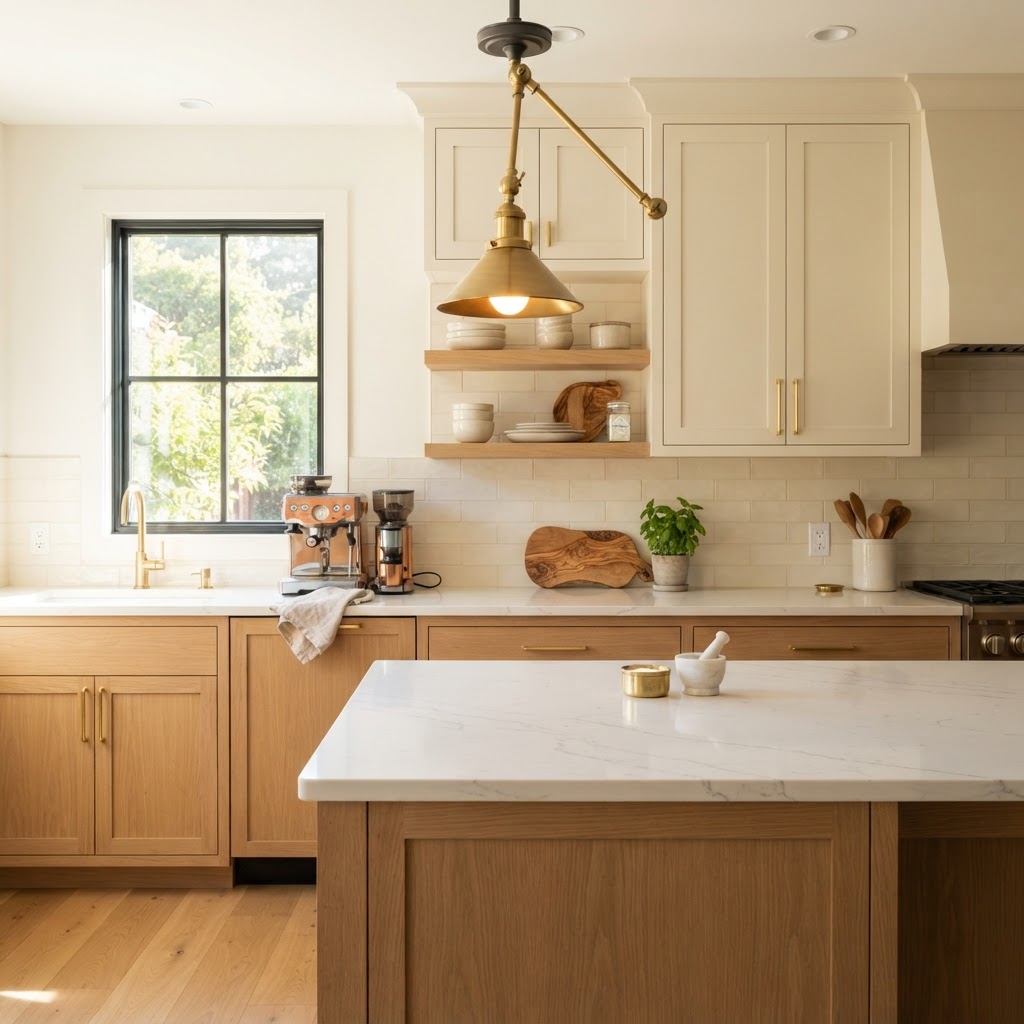
Smart organizers keep compact kitchens clutter-free.

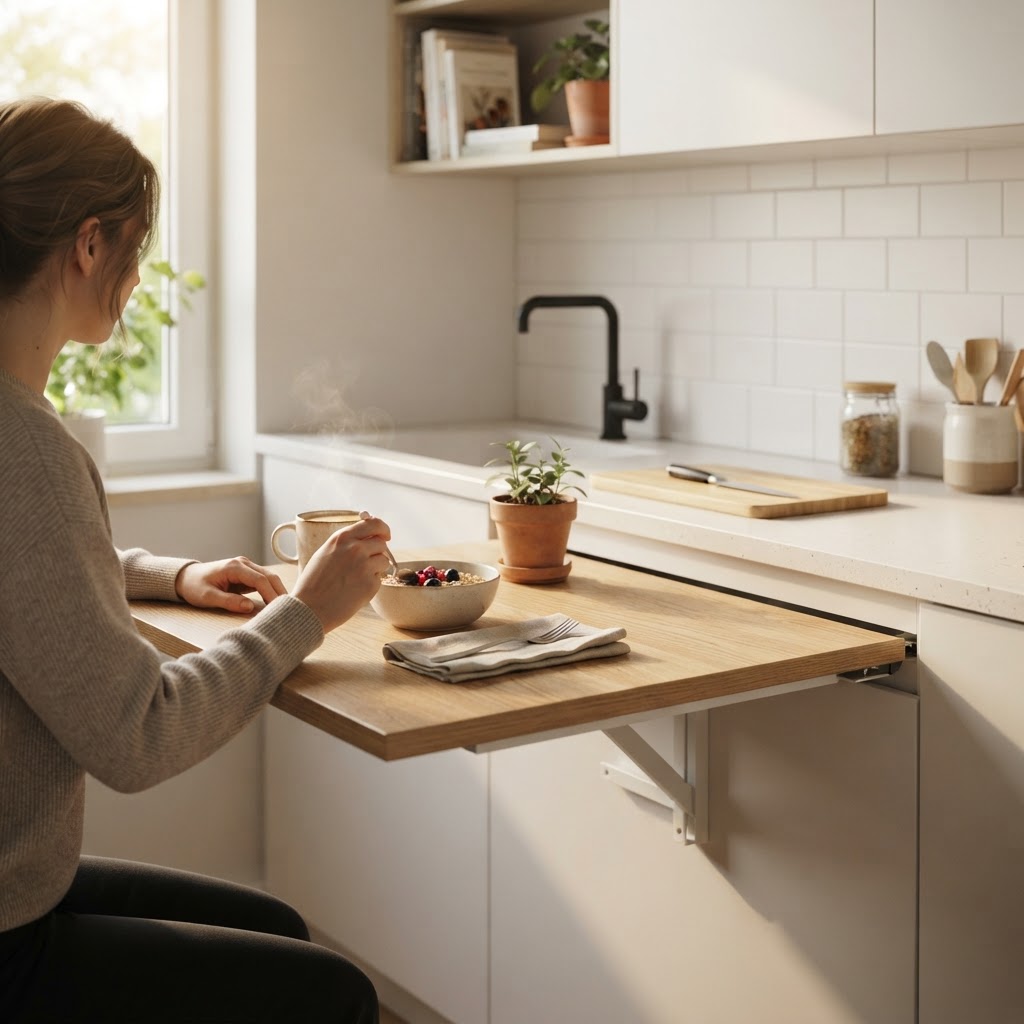
Small-space living demands furniture that adapts to your needs, often serving two or more distinct functions throughout the day. A rolling kitchen island is arguably the best investment for an apartment dweller, serving as an additional prep station during dinner, a mobile serving cart for entertaining, or a compact dining table for one. When choosing appliances, opt for a “compact profile” category, which typically measures 24 inches wide rather than the standard 30 inches. These units often feature advanced technology—such as convection-steam hybrid ovens—which perform at the same level as standard units while saving 25% of the kitchen’s horizontal footprint. Furthermore, wall-mounted, fold-down tables can add 6-8 square feet of dining space that effectively disappears when not in use. By prioritizing these modular pieces, you retain the flexibility to reconfigure your kitchen for different tasks, effectively increasing your usable living area during non-cooking hours.

Investing in Compact Appliances

Gone are the days when small kitchens had to rely on subpar tools. Modern manufacturers now offer high-performance compact appliances designed specifically for urban dwellers. Think of 24-inch dishwashers, narrow-profile ranges, and custom-fit under-counter fridges that provide professional power in a reduced footprint.

Lighting and Color Schemes to Create Depth

Strategic use of light and color can make a small kitchen feel significantly more expansive and high-end. While bright whites are the traditional choice for small rooms, incorporating high-gloss finishes on cabinets and backsplashes reflects light, creating an illusion of depth that matte surfaces lack. For deeper impact, use a monochromatic color scheme; using the same color for the wall, trim, and cabinetry minimizes visual boundaries. Beyond color, layered lighting is the most crucial element for professional-grade results. You need three distinct layers: ambient overhead light, task lighting under upper cabinets to illuminate workspaces, and accent pendant lighting for style. Implementing under-cabinet LED strips removes dark shadows on the countertop, which can make a kitchen feel larger by highlighting the depth of the workspace. Studies have shown that kitchens with cool-toned LED lighting (4000K-5000K) appear more spacious than those with warm, dim yellow lighting. By layering these light sources, you create a dynamic environment that feels grand and custom-designed rather than cramped.

The Power of Layered Lighting

Good lighting is non-negotiable. Use a combination of ambient ceiling lighting, under-cabinet task lighting, and statement pendant lights to add depth to your room. Under-cabinet LEDs are particularly effective in small kitchens because they eliminate shadows on your work surface, making the kitchen feel much larger than it actually is.

Maintenance and Organization Hacks

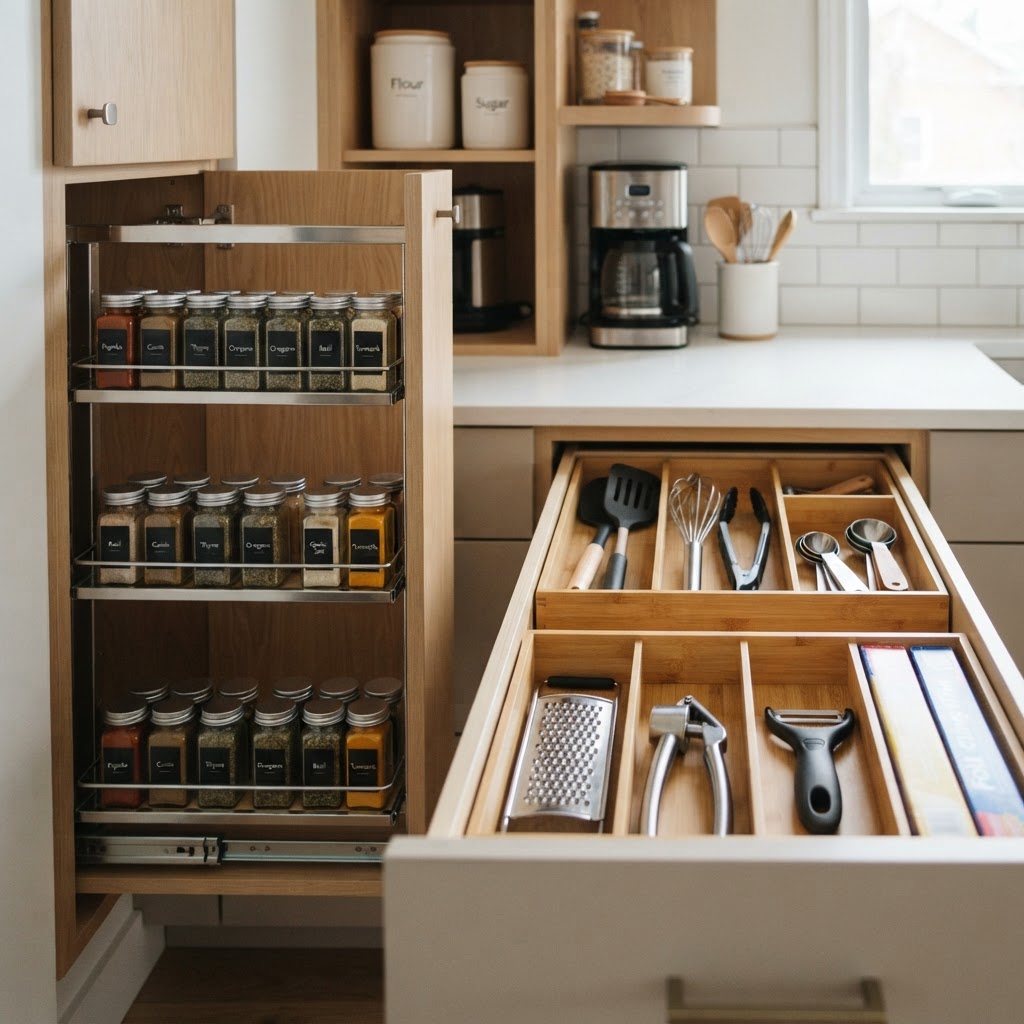
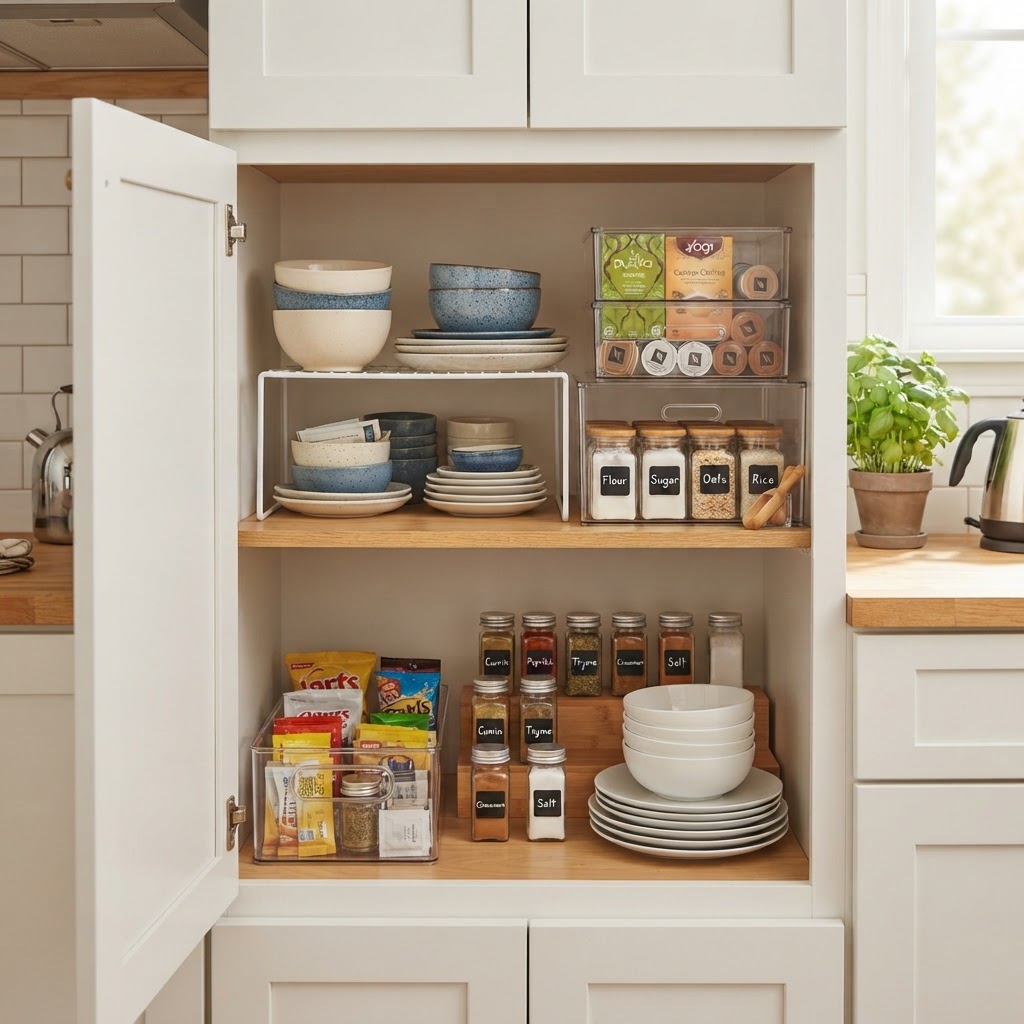
Systematic organization is the only way to maintain a chic aesthetic in a small, high-traffic kitchen where clutter accumulates instantly. Implementing “deep organization” tactics—such as using drawer dividers for cutlery and pull-out vertical spice racks—ensures that every single item has a dedicated home, reducing “visual noise” by 70%. For high-traffic surfaces, adopt the “appliance garage” philosophy; store bulky items like coffee makers or blenders behind cabinet doors to keep the workspace completely clear. Experts recommend a monthly purge of pantry items and kitchen gadgets to ensure only functional, used items occupy your limited storage. Keeping surfaces clear of non-essential items not only makes the space look larger but also reduces cleaning time by half. If you find your counters consistently cluttered, consider adding a pegboard system on an empty wall to store daily cooking tools vertically, off the counter but within reach. Consistency in organization keeps the space functional and maintains the sophisticated, minimal vibe required in luxury small-space design.

Maintaining Your Chic Aesthetic

Keep high-traffic surfaces clear. If you use a toaster or blender daily, tuck it away in an appliance garage. Reserve your countertop space for decorative items like a beautiful cutting board or a vase of flowers. These small touches shift the perception of the room from a workspace to a part of your living room decor.

FAQ

How can I make a small kitchen look bigger?

Use a monochromatic color palette, high-gloss finishes, and under-cabinet lighting to reflect light and eliminate shadows. Extending cabinetry to the ceiling and choosing integrated, panel-ready appliances creates a seamless look that prevents the room from feeling segmented and cramped.

What is the best layout for a tiny apartment kitchen?

The L-shaped layout is generally considered the best for efficiency as it utilizes corner space effectively for storage. If you have a studio, a single-wall layout is the most effective way to blend kitchen functions into the living area without consuming extra floor space.

Are open shelves better than cabinets for small kitchens?

Open shelves create an airy, open feel that makes a small kitchen appear larger, though they require more disciplined organization. Cabinets provide more storage and hide visual clutter, so a hybrid approach with both is often the most practical solution for long-term use.

How do you maximize space in a galley kitchen?

Maximize vertical space by installing shelves or cabinets to the ceiling and use a light, cohesive color scheme on both sides. Opting for narrow-profile 24-inch appliances and adding a mirror or reflective backsplash can further increase the sense of depth in narrow galley configurations.

What are the essential appliances for a small kitchen?

Prioritize 24-inch wide compact ranges, under-counter refrigeration, and multi-function appliances like convection-microwave ovens. These units provide professional cooking performance while consuming significantly less horizontal space than standard-sized appliances, allowing for more counter and storage area.
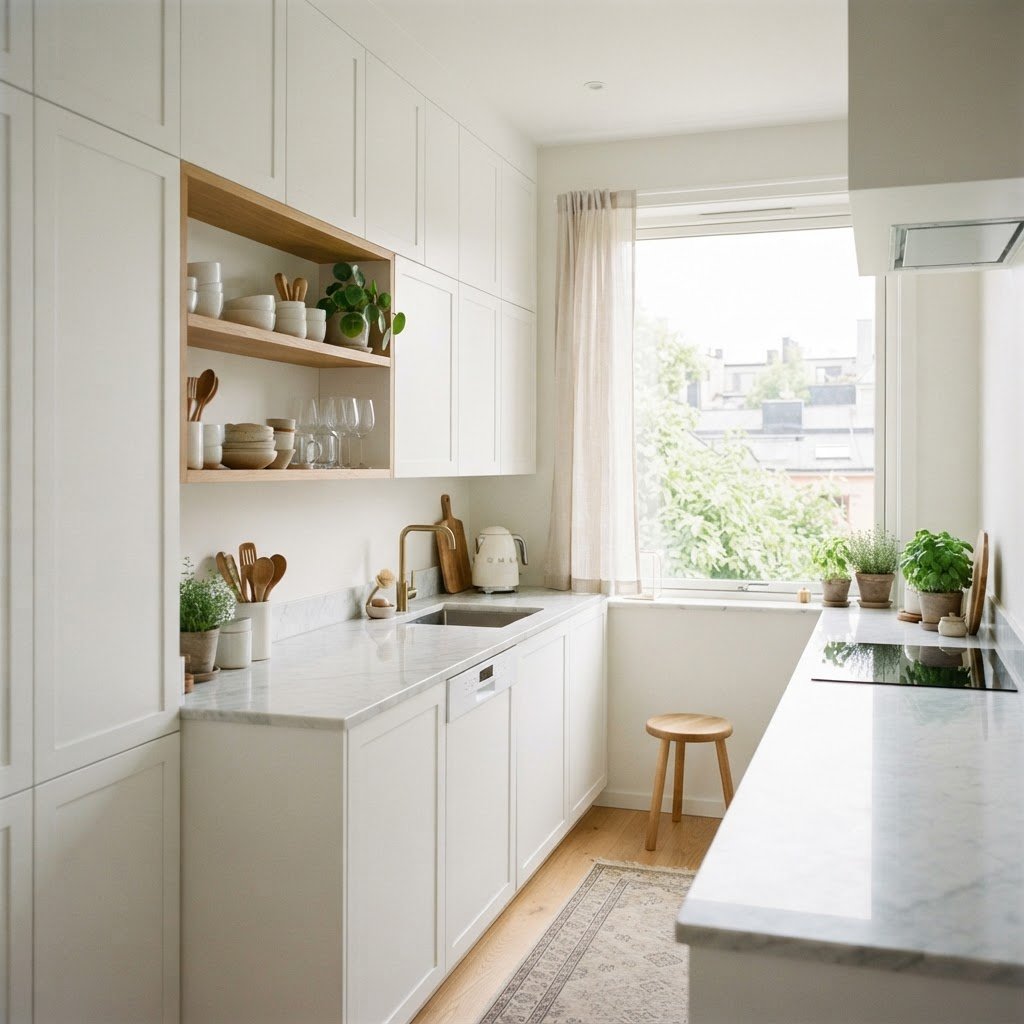
10 Must-Try Modern Small Kitchen Decor Ideas for Maximum Style

10 Must-Try Modern Small Kitchen Decor Ideas for Maximum Style

Modern small kitchen decor revolves around maximizing vertical storage, utilizing reflective color palettes, and installing multi-functional furniture to transform cramped areas into high-functioning, luxurious culinary hubs. By prioritizing integrated appliances and minimalist organizational systems, you can visually expand your square footage while maintaining a sophisticated, clutter-free aesthetic regardless of your kitchen’s size.

Rethink Your Vertical Storage Options

Maximize vertical space with floor-to-ceiling cabinetry and floating shelves.

When floor space is at a premium, the only direction to go is up. Utilizing vertical space is a cornerstone of effective modern small kitchen decor ideas. By installing cabinetry that stretches all the way to the ceiling, you immediately draw the eye upward, creating an illusion of height while providing essential storage for rarely used items. Data suggests that extending upper cabinets to the ceiling can increase your total storage capacity by up to 25% compared to standard-height wall cabinets. When planning this upgrade, prioritize items you use less than once a week for the highest shelves, such as seasonal bakeware or specialty appliances.

Incorporating Open Shelving

Open shelving is a fantastic way to make a kitchen feel airier. By removing heavy upper cabinets, you can break up the visual weight of the walls and display your favorite kitchenware. This approach forces you to stay organized and keeps your daily essentials within easy reach.

Choosing the Right Materials

Consider glass shelves or thin floating wood shelves to maintain a minimalist look. Combining these with a cohesive backsplash keeps the aesthetic clean and modern, preventing the walls from looking cluttered. Always ensure your hardware matches the rest of your kitchen fixtures for a seamless transition between storage and style. For those on a budget, high-quality 2-inch thick floating shelves in white oak typically cost between $40 and $80 per linear foot, providing a premium look for a fraction of a full cabinet remodel.

Embrace a Light and Reflective Color Palette

Keep countertops clutter-free with smart wall-mounted storage solutions.

Color plays a pivotal role in how we perceive size by manipulating light reflection. Light, airy tones—such as crisp whites with high Light Reflectance Values (LRV), soft greys, or pale pastels—bounce light around the room, making your kitchen feel significantly larger and more inviting. According to interior design research, kitchens utilizing a monochromatic color scheme with a glossy finish can improve perceived brightness by up to 40% compared to matte, dark-toned kitchens.

To keep the space from feeling sterile, introduce tactile texture. A glossy glass backsplash or polished quartz countertops act as a mirror, reflecting light deep into the room’s corners. If you prefer bold colors, reserve them for smaller accents like cabinet hardware, a statement faucet, or bar stools. This allows you to show personality without overwhelming the room. Consider the following comparison of reflective materials for small kitchens:

Material Reflectivity Maintenance Level Best Use
Polished Quartz High Low Countertops
Glossy Subway Tile High Medium Backsplash
Acrylic Cabinets Medium-High Low Cabinetry
Matte Finish Low Low Accents

The Power of Multi-Functional Furniture

Integrated appliances create a seamless and sophisticated modern look.

In a compact home, every piece of furniture must serve at least two purposes to justify its footprint. Modern small kitchen decor ideas rely on modular pieces, such as rolling kitchen islands that provide extra counter space during prep and serve as a breakfast bar when guests arrive. These pieces are highly effective, often saving 6-10 square feet of floor space by replacing a permanent, bulky dining table.

Choosing Folding and Nested Designs

Look for breakfast bars that fold down against the wall using heavy-duty brackets. Similarly, nesting stools that slide completely under a counter can clear your floor space in seconds, making the kitchen feel open and unobstructed when you are not actively working. Modern wall-mounted drop-leaf tables can support up to 50 lbs, providing a sturdy dining surface that occupies zero floor space when folded.

Invest in Integrated Appliance Technology

Blur the lines between indoor and outdoor to expand your kitchen visually.

Appliances dominate a small kitchen’s visual field, but integrated technology masks these bulky items to create a cohesive architectural flow. By using panel-ready appliances, your refrigerator, dishwasher, and trash pull-outs vanish behind cabinetry, which eliminates visual noise. Research indicates that “hidden” appliance designs can make a kitchen appear 15% larger by creating a continuous horizontal line across the cabinetry.

For those who cannot afford a total renovation, look for compact, high-efficiency appliances. A standard 24-inch dishwasher is the industry benchmark for compact kitchens, but 18-inch slim-profile models are gaining popularity and save 6 inches of valuable cabinet width. A microwave-convection oven combo is another space-saving essential, combining two appliances into the footprint of one while providing pro-level cooking flexibility.

Lighting Strategies to Maximize Depth

Proper lighting is the most cost-effective way to prevent a small kitchen from feeling like a dark, cramped room. You must layer your light, starting with high-output ambient overhead lights, then adding dedicated task lighting for prep zones. Integrating 3000K-3500K LED strips under upper cabinets is essential; this specific color temperature provides a clean, neutral glow that highlights task areas while eliminating the deep, aging shadows in cabinet corners.

For an extra touch of style, consider a statement pendant light above the island or sink area. This focal point draws the eye upward and anchors the design, effectively distracting from the room’s limited square footage. When choosing light fixtures, aim for “slim-profile” or recessed designs to avoid visual clutter. Proper lighting schemes typically improve the perceived functionality of a kitchen by making counters easier to clean and navigate.

Master the Art of Minimalist Organization

Clutter is the primary enemy of small spaces, necessitating a strictly minimalist approach to visible surfaces. The most successful modern small kitchen decor ideas prioritize high-density internal organization so that counters remain empty. By using wall-mounted magnetic knife strips or pegboards, you move essential tools off your workspace, reclaiming approximately 2-4 square feet of prep area.

  • Utilize adjustable drawer dividers to prevent utensil migration and wasted space.
  • Install “toe-kick” drawers beneath your base cabinets to store flat items like baking sheets or platters.
  • Use tiered organizers in corner cabinets, which can reclaim up to 50% of the unusable space in “blind” corners.
  • Decant dry goods into matching clear glass jars to create a uniform, aesthetically pleasing display that avoids the “visual noise” of branded packaging.

By keeping surfaces clean, you allow the architecture and design features of the kitchen to take center stage. This sense of order creates a calm, spa-like atmosphere that makes even the smallest kitchen feel like a high-end culinary suite.

Create a Seamless Indoor-Outdoor Flow

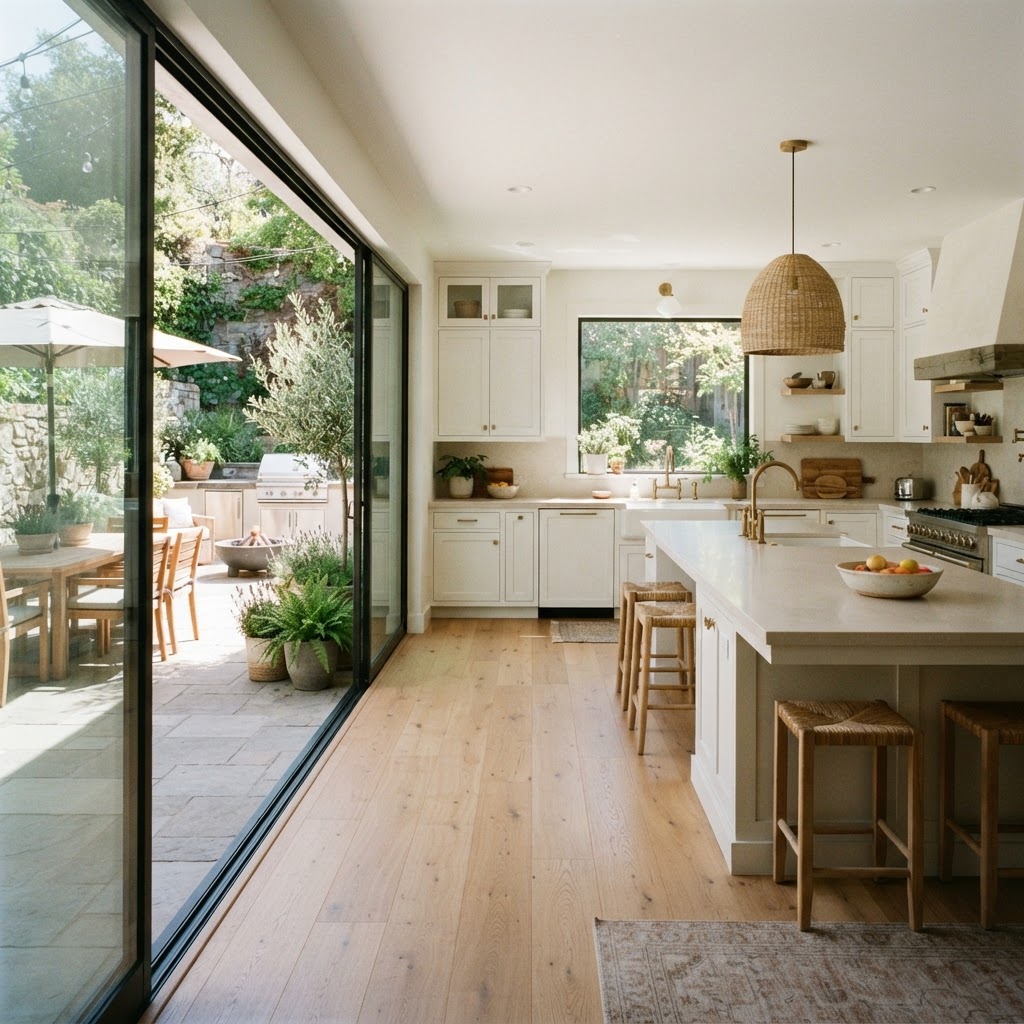
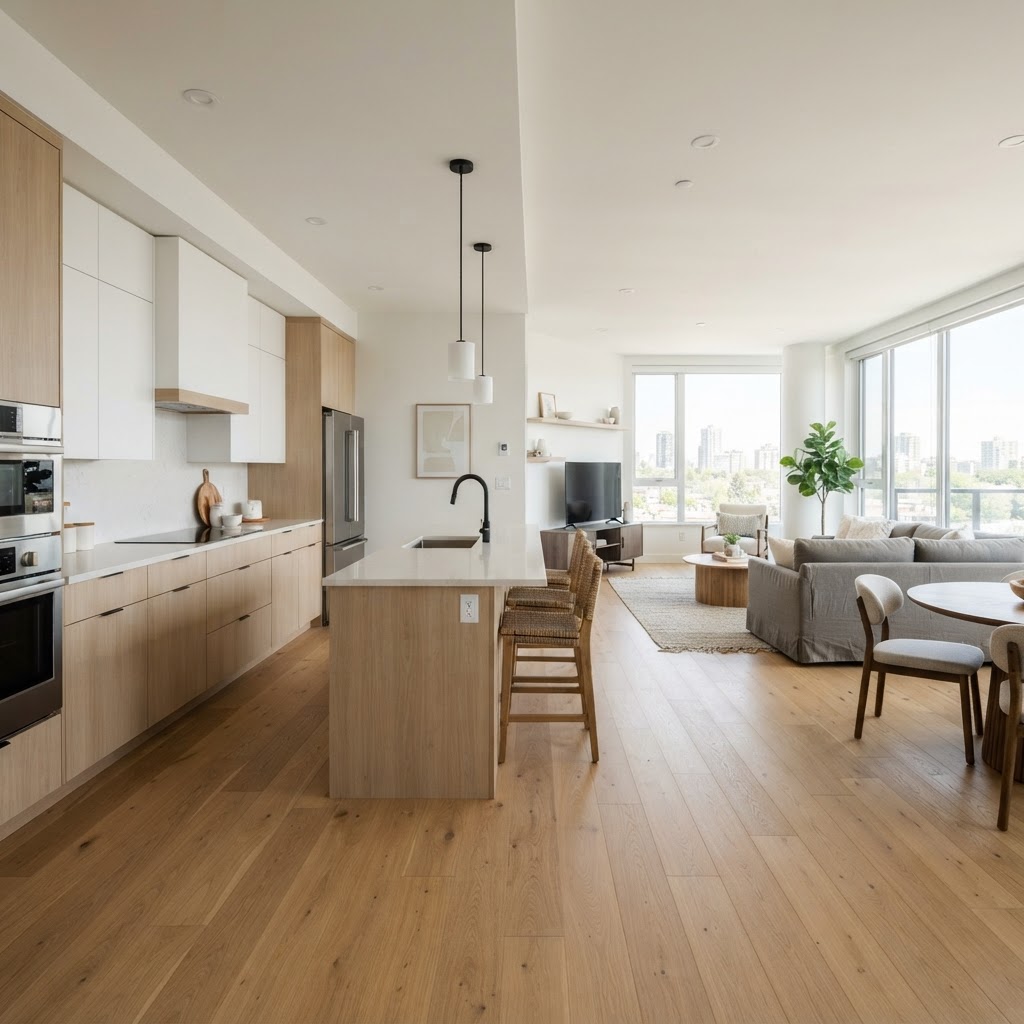
Visual continuity is the hallmark of sophisticated small kitchen design, especially when connecting to adjacent areas. If your kitchen leads to a patio or living room, use the same flooring material throughout to trick the brain into perceiving a larger, continuous footprint. Large glass doors or floor-to-ceiling windows act as a “borrowed light” source, expanding the visual boundary of your kitchen far beyond its actual walls.

Even without outdoor access, maintaining a consistent color scheme between your kitchen and living area removes the “visual chops” that shrink small homes. By treating your kitchen and living room as a unified space with a shared palette, you effectively double the perceived size of the cooking area. This design strategy is a top choice for urban apartment dwellers looking to maximize property value.

FAQ

Q: What is the best color to make a small kitchen look bigger?

White and light-reflective neutrals are the best choices because they bounce light across the room. Using high-gloss finishes for your cabinets or backsplashes further increases this effect by acting like a mirror, which makes the space feel more open and airy.

Q: Are open shelves better than cabinets for small kitchens?

Open shelves make a small kitchen feel larger by removing visual blocks and adding depth to the walls. However, they require consistent organization to prevent a cluttered appearance, whereas cabinets provide hidden storage to keep messy items out of sight.

Q: How can I fit a dining area in a tiny kitchen?

Utilize multi-functional furniture such as wall-mounted drop-leaf tables or rolling islands that double as prep stations and eating areas. Nesting stools that tuck completely under the counter are also essential for saving floor space when you are not eating.

Q: How do I hide appliances in a small kitchen?

Use panel-ready or integrated appliances that allow you to attach custom cabinetry fronts to your refrigerator and dishwasher. This creates a uniform look that hides the utilitarian nature of the appliances and makes the kitchen feel more like a cohesive living space.

Q: Does lighting really change the size of a kitchen?

Yes, layered lighting—combining ambient, task, and accent lights—eliminates dark corners and harsh shadows that make small rooms feel smaller. Adding under-cabinet LED lighting is the most effective way to brighten work zones and add depth to your backsplash area.

Small Scandinavian Kitchen Ideas With Cozy Green Cabinets

Small Scandinavian Kitchen Ideas With Cozy Green Cabinets

Small Scandinavian kitchens can be optimized with green cabinets by utilizing light-reflective soft sage shades for compact spaces and matte forest tones for high-contrast depth. These designs thrive on the balance of minimalist utility, layered warm lighting, and vertical storage solutions, creating a functional, nature-inspired sanctuary regardless of your total square footage.

The Allure of Green in Nordic Design

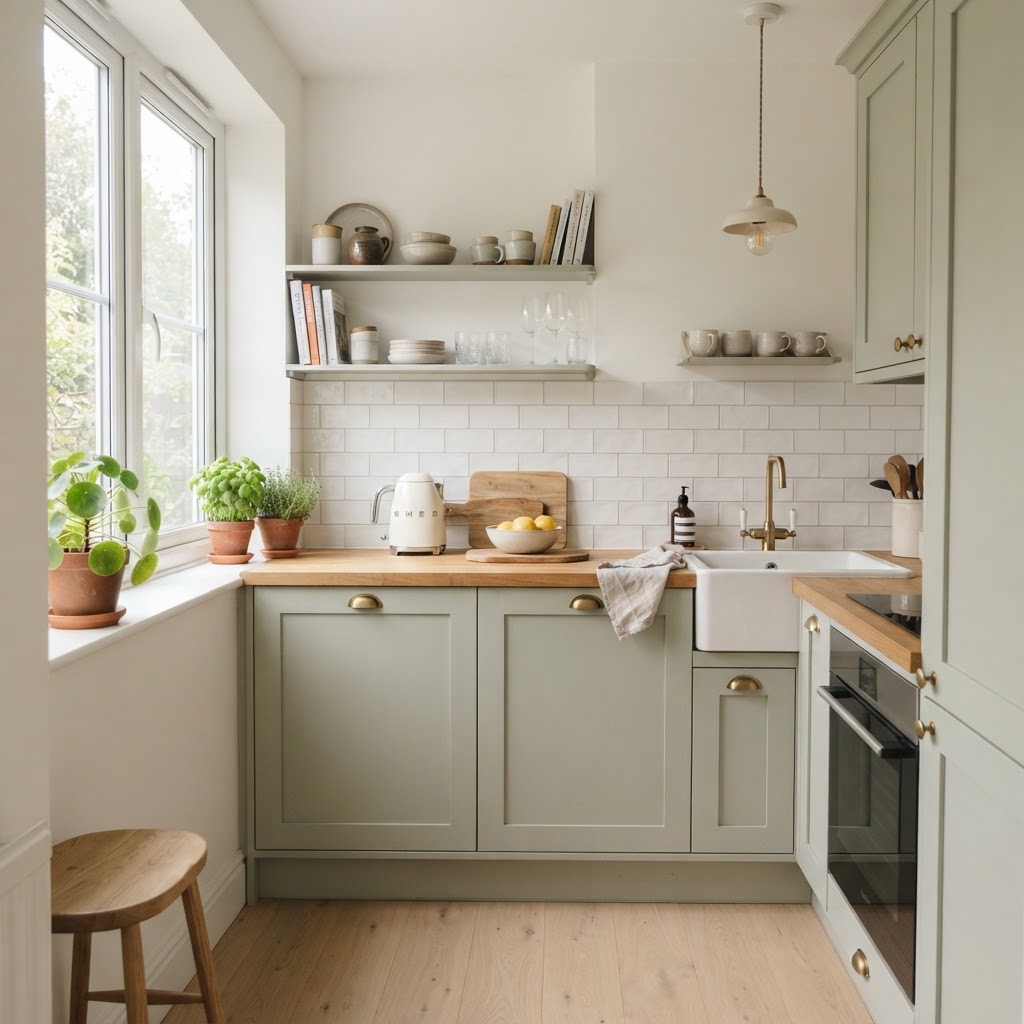
Soft sage green cabinets add warmth to a small Nordic-inspired kitchen.

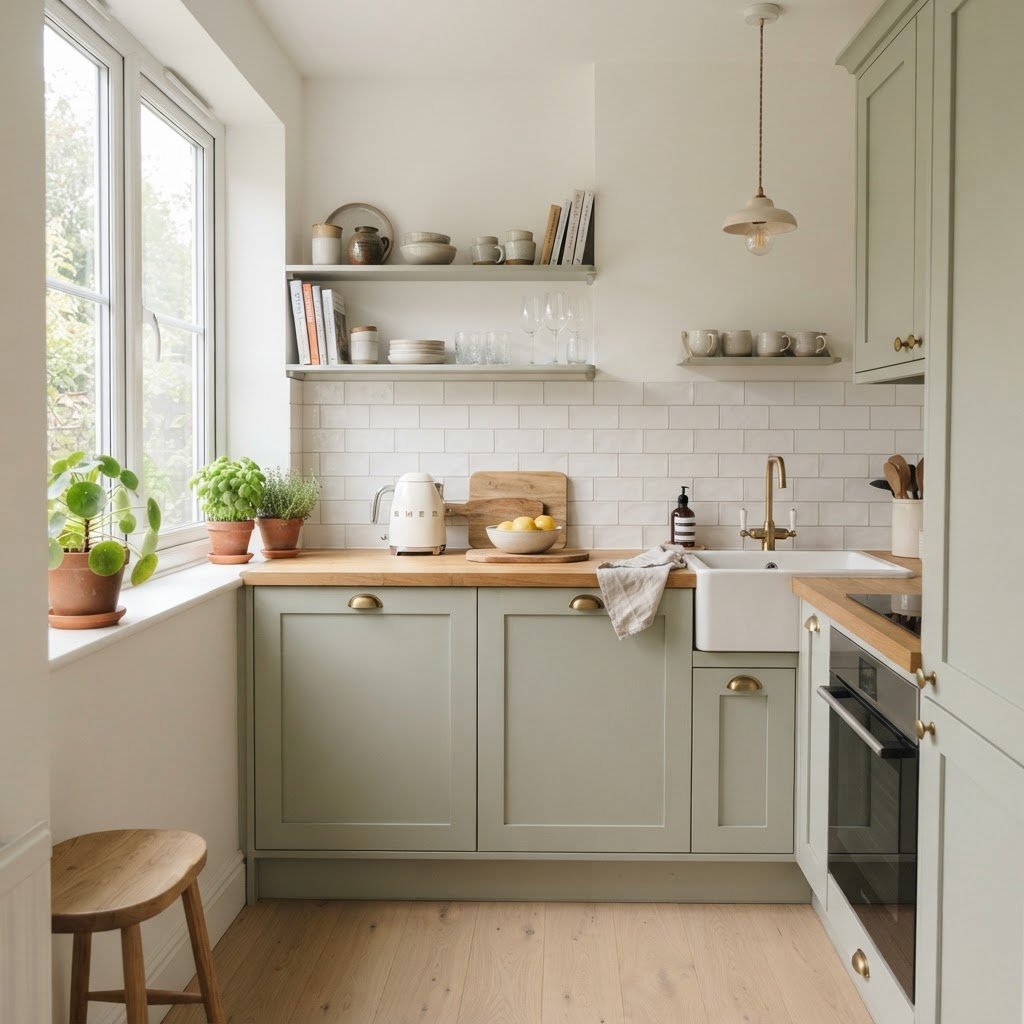
Scandinavian design is shifting from strictly monochrome white palettes toward muted, organic tones like sage, olive, and forest green to ground interior spaces. While traditional Nordic minimalism relies on light grey and white to bounce natural light, adding sophisticated green cabinetry mimics the lush Nordic landscape and adds psychological warmth. Choosing the right shade acts as a neutral backdrop that complements light oak floors and white ceramic subway tiles, effectively “softening” the clinical edges often found in small apartment kitchens. By layering green with natural wood grains, you create a connection to the outdoors that elevates the perceived value and aesthetic appeal of your home.

Shade Type Best For Visual Impact
Soft Sage Small, low-light rooms Expansive, airy, soft
Deep Forest Large windows, high-ceilings Dramatic, moody, upscale
Dusty Olive Transitional spaces Organic, cozy, lived-in

Why Choose Green for Small Spaces

Contrary to the common belief that dark colors shrink a room, strategic shades of green can actually create an illusion of depth, making the physical boundaries of a small kitchen feel less rigid. A monochrome approach, where you paint cabinet fronts, walls, and shelving in a cohesive tone, removes visual clutter and stops the eye from detecting harsh transitions. This seamless integration is a staple in modern Scandinavian design, transforming a cramped, disconnected kitchen into a singular, intentional piece of architecture that feels more spacious than a traditional white-box kitchen.

Maximizing Functionality Through Minimalism

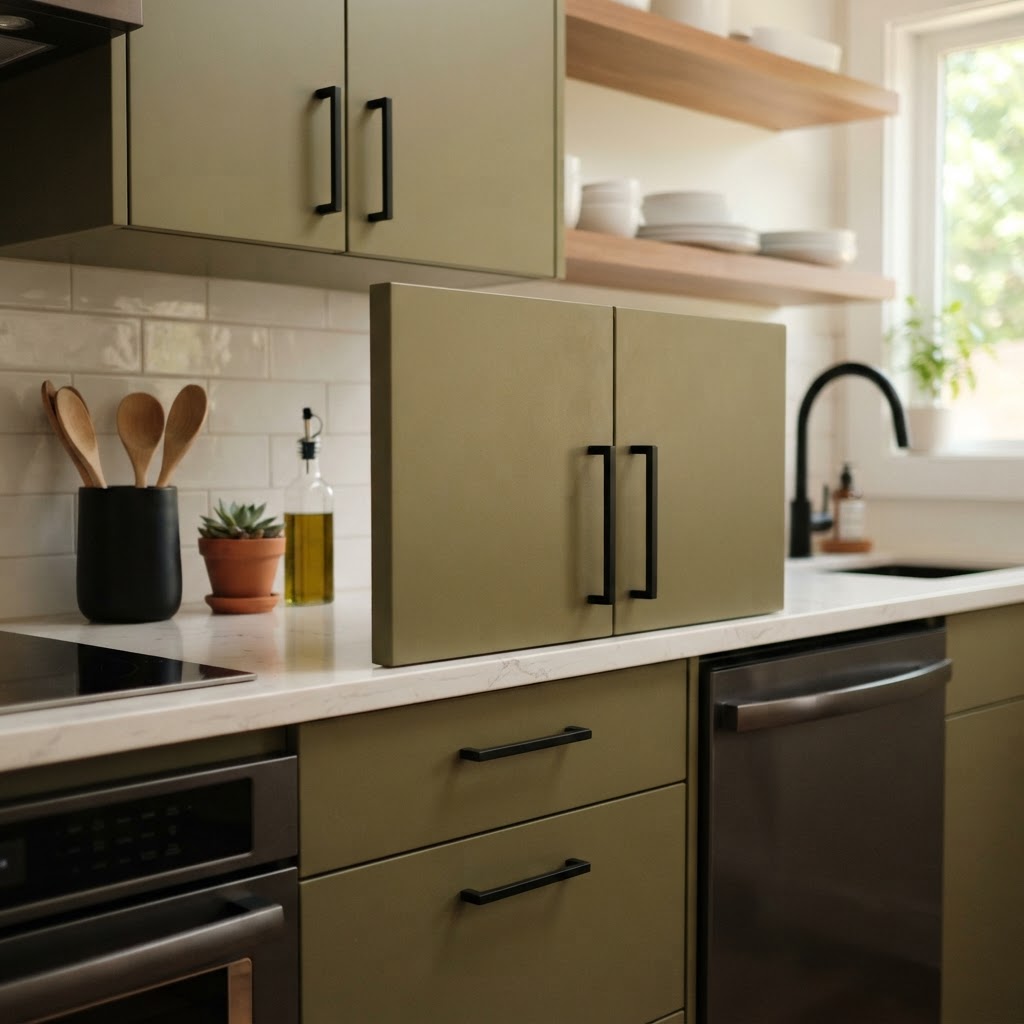
Matte black hardware provides a modern contrast to deep green kitchen fronts.

In a tiny kitchen, every square inch must earn its keep through strict adherence to Scandinavian utility principles. Before installing cabinetry, conduct a “kitchen audit” to purge non-essentials; research shows that homeowners typically use less than 30% of their kitchen gadgets daily, making downsizing essential for flow. Open shelving is a powerful tool to prevent a kitchen from feeling boxy, provided you limit display items to color-coordinated or textured essentials like ceramic bowls or wooden boards. Focus on creating “clear surfaces,” as clutter is the primary antagonist to the peaceful, airy atmosphere synonymous with high-end Scandinavian design.

Integrating Smart Storage

Vertical space is the most underutilized asset in small kitchens; installing floor-to-ceiling cabinetry ensures you are maximizing every vertical inch. By integrating internal organizers like pull-out spice racks, corner carousel units (which can regain up to 40% of corner dead-space), and drawer dividers, you ensure your aesthetic green exterior remains undisturbed by mess. These systems allow you to store bulky appliances behind custom panels, maintaining the minimalist, clean lines that define the Scandinavian look while keeping tools accessible.

Choosing the Perfect Green Cabinet Shade

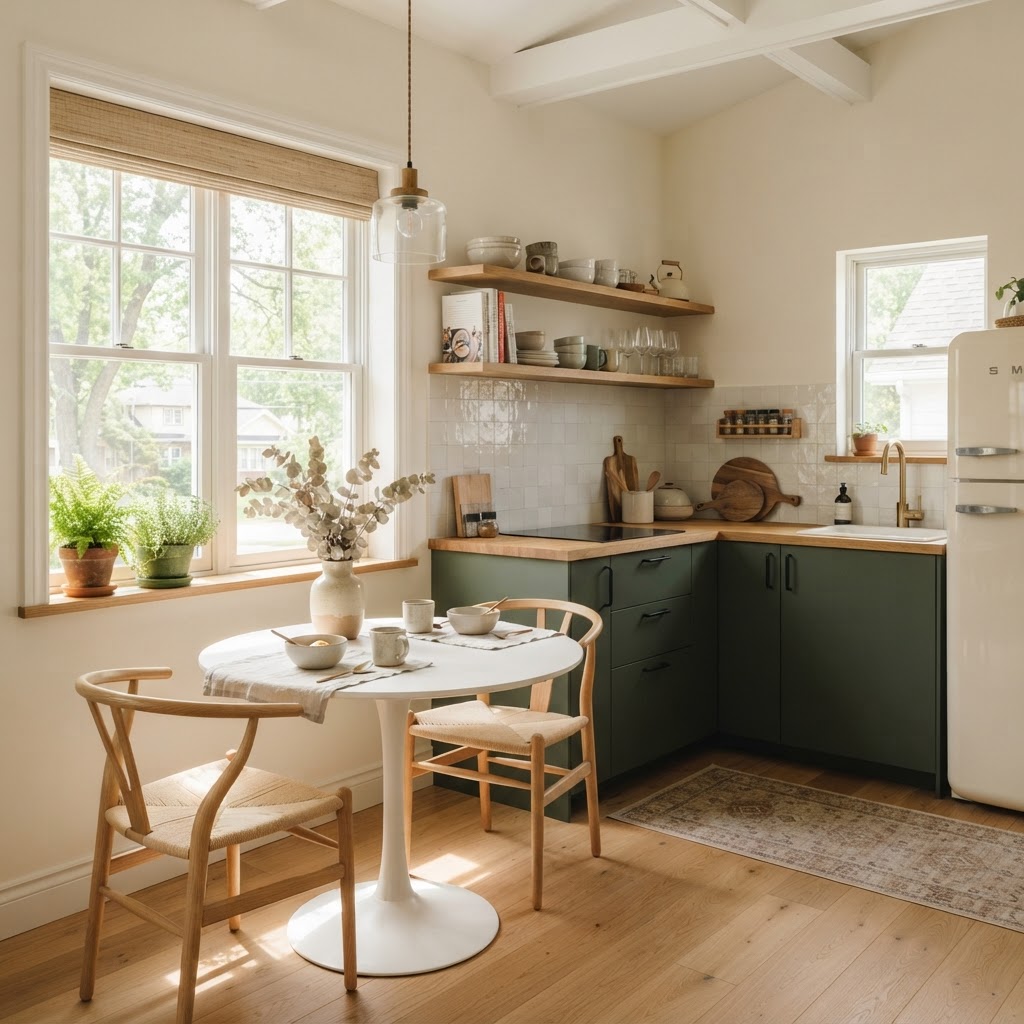
Open shelving keeps a small kitchen feeling spacious and organized.

Selecting the right hue is the most critical step in achieving an authentic Scandinavian look, as lighting conditions dictate how the color renders. For smaller kitchens with limited natural light, prioritize “greige” greens or light sage tones that contain more yellow or white pigment to reflect artificial light. If your kitchen features large, south-facing windows, you can safely experiment with moodier, richer emerald or olive tones. When pairing, aim for a 60-30-10 color rule: 60% green cabinetry, 30% neutral white or wood walls/floors, and 10% high-contrast accents like matte black hardware or polished brass.

Popular Color Palettes for Small Kitchens

  1. Sage Green and Warm White: Provides a crisp, clean feel that maximizes reflection of natural light, perfect for kitchens under 80 square feet.
  2. Olive and Natural Wood: Creates a rustic, organic atmosphere that feels lived-in and cozy; ideal for creating a “hygge” environment.
  3. Forest Green and Matte Black: A modern, high-contrast look that feels professional, sophisticated, and perfect for industrial-leaning Nordic styles.

Where to Shop for Scandinavian Cabinetry

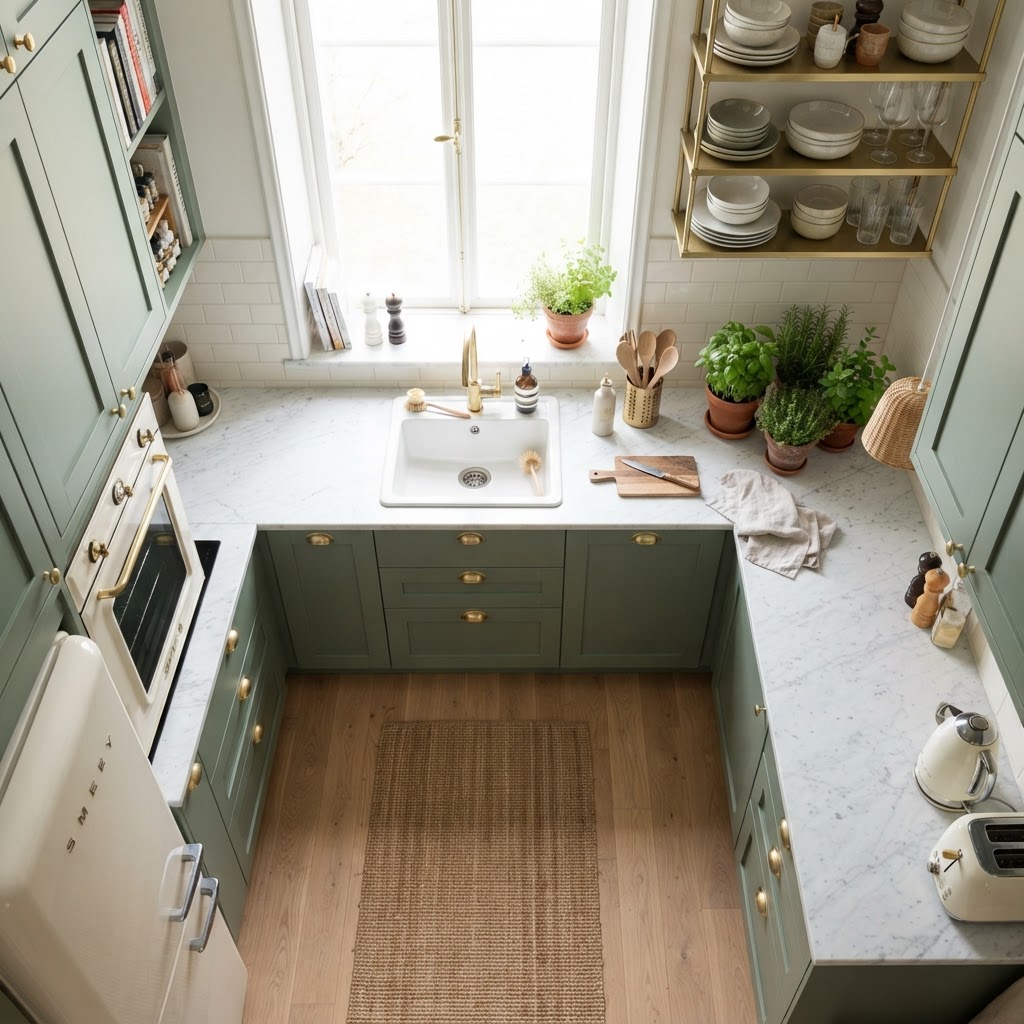
Brass fixtures paired with green cabinets offer a touch of refined elegance.

Achieving a designer look does not require a custom cabinet price tag; many modern homeowners use modular systems from retailers like IKEA combined with aftermarket cabinet fronts from companies like Reform or Semihandmade. These specialized doors are often made with high-quality, sustainable wood veneers or matte lacquers designed specifically to fit standard cabinet boxes. Look for slab-front or minimalist shaker-style designs, as they lack ornate detailing that can make a small kitchen feel dated or unnecessarily busy.

Hardware and Lighting Choices

In a small Scandinavian kitchen, your hardware acts as jewelry, elevating the cabinets and providing essential tactile contrast. Leather pulls are a popular choice in Nordic homes, as they age gracefully, darkening and developing a patina that mimics the natural warmth of the wood. Alternatively, slim, elongated brass handles offer a subtle glow that breaks up the mass of green cabinetry. Proper lighting is equally important; for a professional finish, install at least three layers of light: ambient, task, and accent. Under-cabinet LED strips are critical for task lighting, and pairing these with warm 2700K bulbs prevents your green cabinets from appearing sterile or cold.

Styling Your Green Kitchen for Maximum Impact

Styling is the final step in turning a functional kitchen into a curated space that feels deeply personal. Integrate nature by adding indoor plants like pothos or fiddle leaf figs, which harmonize with the green cabinets while purifying the air. When styling your counters, limit items to a wooden cutting board, a single ceramic bowl, or a small grouping of spices to maintain clean lines. Remember that Scandinavian style prioritizes quality over quantity; keep the surface area clear to allow the color and texture of your cabinetry to serve as the visual focal point.

Budget-Friendly Hacks for the Look

Achieving the Scandinavian aesthetic on a budget is easily accomplished through a professional-grade DIY cabinet paint project. By using a high-quality, water-borne alkyd enamel paint specifically designed for cabinets, you can transform dated white or wood fronts into a high-end matte finish for less than $300. Combined with new, minimalist matte black or brass hardware, this renovation offers the highest return on investment for small kitchens. Ensure your prep work includes a degreaser and a high-adhesion bonding primer to prevent peeling, which is common in high-traffic kitchen environments.

Checklist for Your DIY Kitchen Update

  • Clean and degrease surfaces with TSP (Trisodium Phosphate) to remove all cabinet oils.
  • Sand surfaces lightly with 220-grit paper to create a tooth for the paint to adhere to.
  • Apply a high-quality bonding primer to ensure the paint finish is durable and moisture-resistant.
  • Apply at least two thin, even coats of cabinet-grade enamel paint with a high-density foam roller.
  • Swap out dated hardware for modern brass or matte black pulls to finalize the look.

FAQ

Q: Do green cabinets make a small kitchen look smaller?

No, green cabinets do not make a kitchen look smaller; in fact, using light sage or soft green can create a sense of depth that makes a cramped space feel more open and connected. Using a monochromatic palette helps blur lines, making the kitchen appear larger.

Q: What is the best cabinet color for a kitchen with no natural light?

For kitchens with no windows or natural light, opt for light, warm-toned greens like pale sage or a soft olive with warm undertones. Avoid dark forest greens or cool, blue-based emeralds, as these can look flat or gloomy under harsh artificial lighting.

Q: Should I choose matte or glossy finish for green cabinets?

A matte or satin finish is the standard choice for the Scandinavian aesthetic, as it minimizes reflections and provides a soft, sophisticated look. High-gloss finishes tend to reflect light aggressively and can make a small kitchen feel cluttered or dated.

Q: What hardware colors work best with green cabinets?

Matte black, brushed brass, and natural leather are the best hardware choices for green cabinets. Matte black provides a modern, high-contrast look, while brushed brass adds warmth and luxury, and leather pulls emphasize the organic, natural vibe of the Nordic design style.

Q: How much does it cost to paint kitchen cabinets yourself?

Expect to spend between $200 and $400 for high-quality paint, rollers, brushes, primer, and new hardware if you do the work yourself. This is significantly cheaper than buying new cabinets, which can cost $5,000 to $15,000 or more.

Rotating Kitchen Island Table Ideas for Tiny Homes

A rotating kitchen island table is a multifunctional furniture piece that pivots on a central axis to provide additional prep space, seating, or dining capacity in compact floor plans. These islands serve as space-saving solutions for tiny homes and studio apartments, allowing you to reclaim floor space by tucking them away when not in use.

The Evolution of Multifunctional Kitchen Furniture

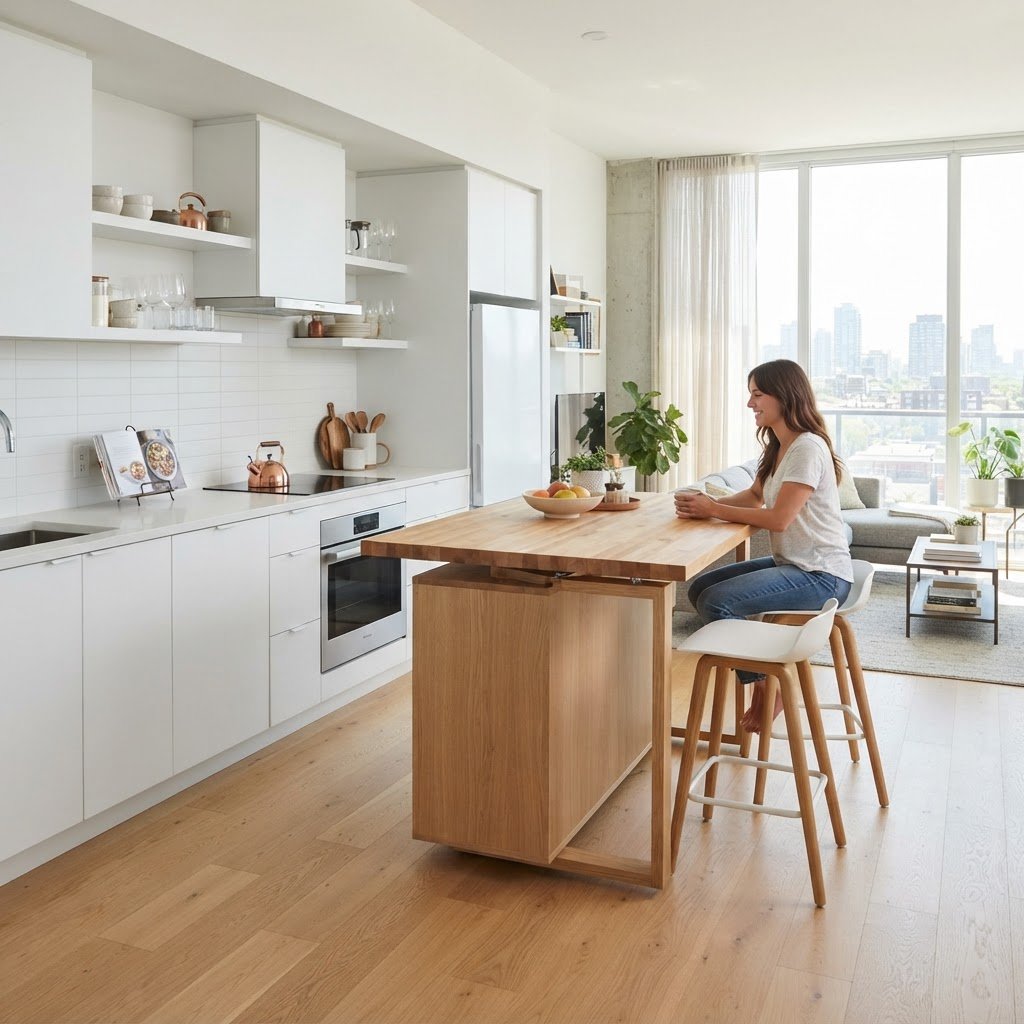
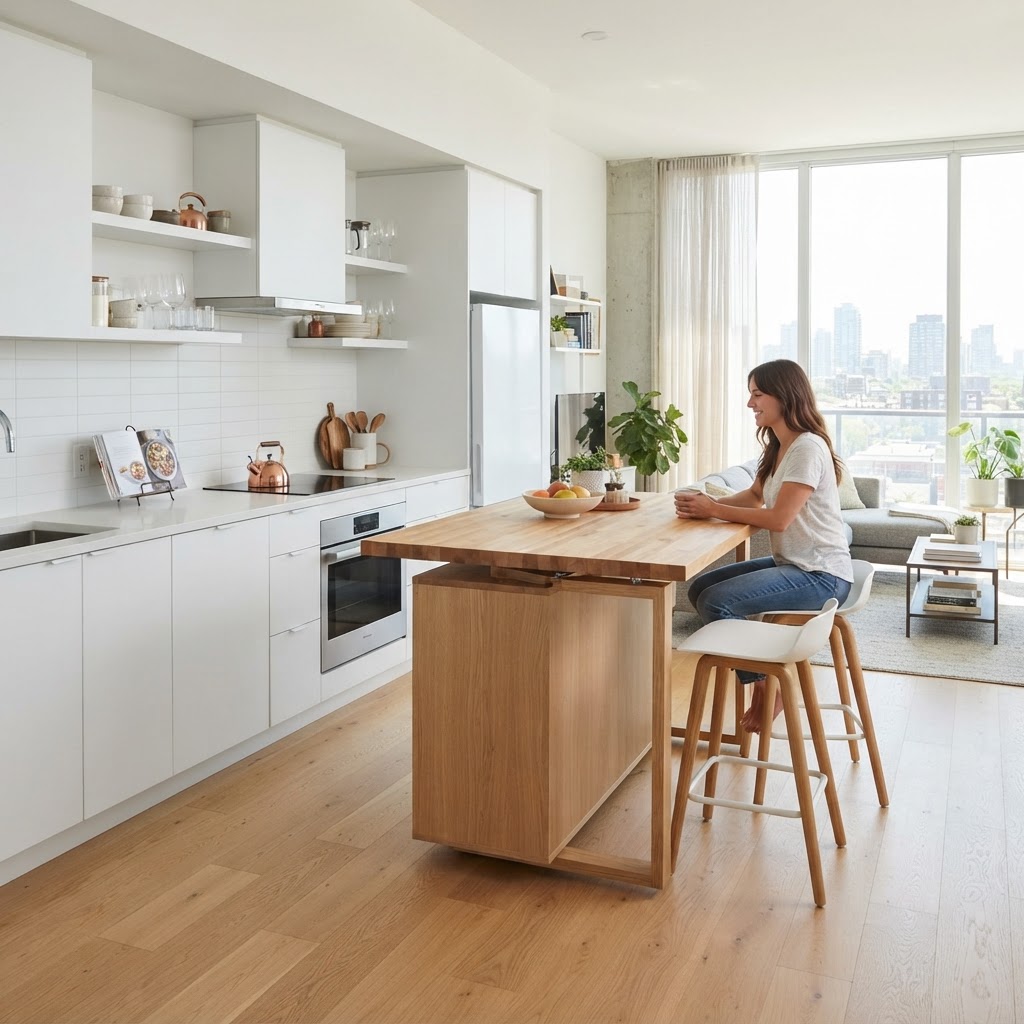
A rotating island perfectly fits a minimalist studio apartment.

Modern interior design has shifted away from static, monolithic islands toward dynamic, mobile, and modular components that prioritize versatility. In small homes, a traditional fixed island can act as a permanent barrier to movement, effectively shrinking the kitchen and cutting off the vital flow to the living area. The rotating kitchen island table represents a smart, responsive design solution that pivots on a central axis, allowing it to transition seamlessly from a preparation station to a dining table. By utilizing high-end pivot hardware, these units offer a fluid user experience that static designs cannot match. Designers now prioritize “dynamic footprints,” where a space must serve at least two distinct functions—such as a chef’s prep station during the day and a formal dining area at night. This evolution in cabinetry hardware allows for 90 to 180-degree rotation, ensuring that no square inch of a tiny apartment remains stagnant. When space is limited to under 400 square feet, the ability to tuck a table into a cabinet run is not just a luxury; it is a fundamental requirement for functional, modern living.

Why Rotation Matters for Small Spaces

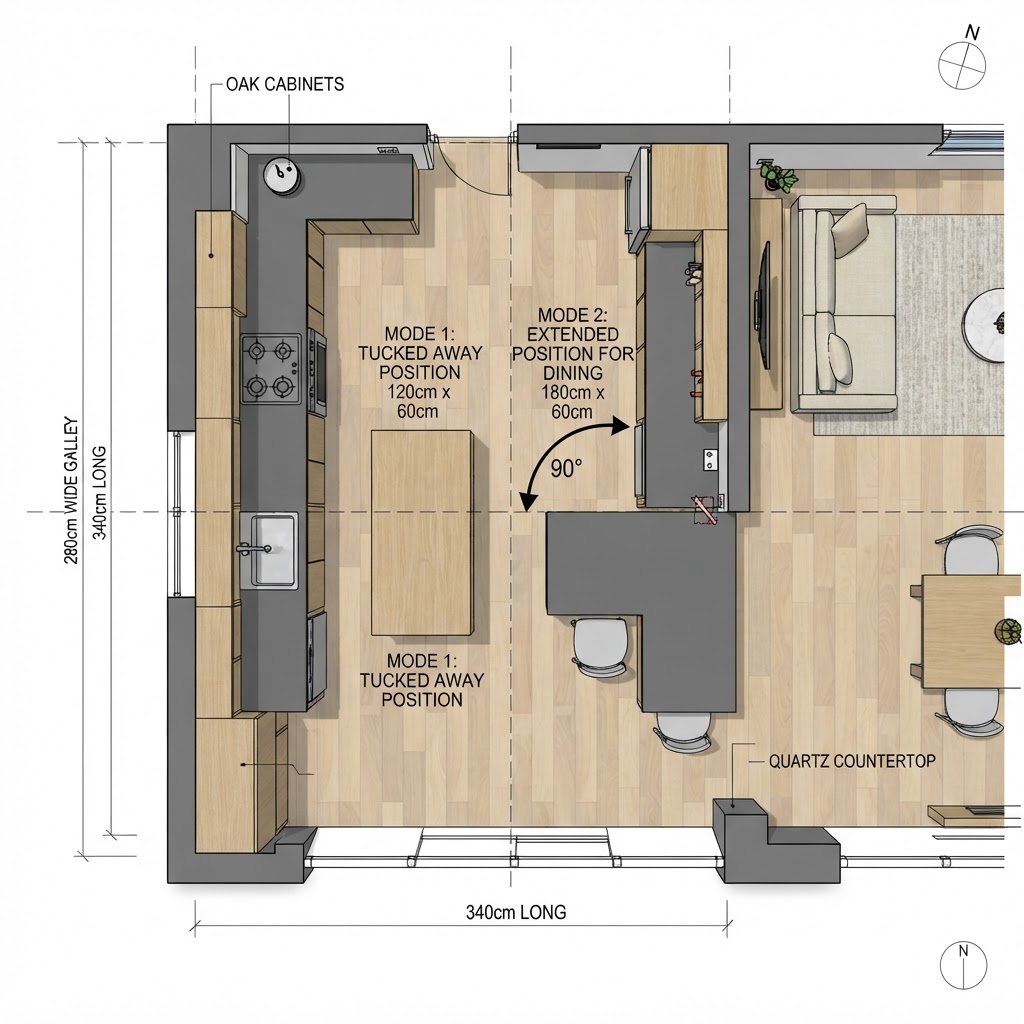
Rotation offers more than just movement; it offers functional adaptability. When you are cooking, the island can be tucked against a wall or cabinet run to maximize floor space for meal prep. When it is time for dinner, the table can swing out, creating a comfortable seating area that utilizes the existing counter height or extends into the living room. This adaptability ensures that your kitchen footprint is never wasted.

Feature Fixed Island Rotating Island
Floor Footprint Permanent (High) Adjustable (Low)
Flexibility None High (Multi-Use)
Installation Simple (Screw-in) Complex (Pivot Hardware)
Best For Large Kitchens Studio Apartments

Design Mechanics of Rotating Islands

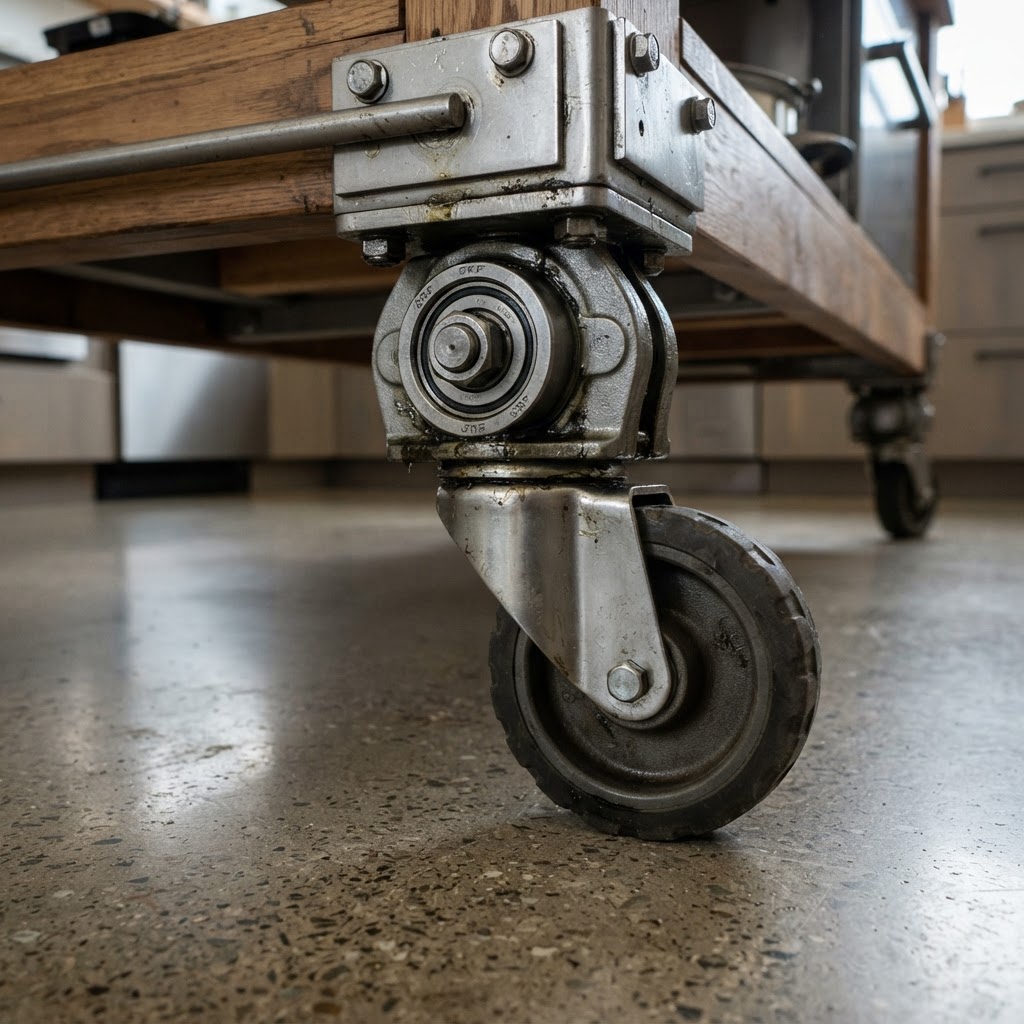
The pivot mechanism is the heart of a space-saving island.

Understanding the mechanics of rotating islands is critical to ensuring long-term durability and safety in a small kitchen. Most high-performance rotating mechanisms utilize either a heavy-duty stainless steel swivel bearing or a caster-assisted pivot system to facilitate smooth movement across the floor. A steel swivel bearing is typically rated for load capacities exceeding 500 pounds, ensuring that heavy stone or quartz countertops remain stable during high-intensity tasks like kneading dough or chopping heavy produce. In contrast, caster-assisted systems often rely on locking polyurethane wheels, which are rated for up to 200 pounds each to prevent floor marring. When selecting a system, the choice depends heavily on your flooring material and the weight of the countertop. For hardwood floors, rubber-coated wheels are essential to prevent deep scratches. For concrete or tile, a floor-mounted swivel bearing provides the most stability. You must ensure that the pivot point is anchored into structural sub-flooring or reinforced cabinetry, as the leverage force applied to the island while it is fully extended can be significant. Professional-grade hardware often includes a dampening feature that prevents the table from swinging too quickly, protecting both your cabinetry edges and the surrounding residents.

Swivel Base Mechanisms

For a sleek, built-in look, a high-quality stainless steel swivel bearing is often used. This allows the island to rotate on a central point, keeping it securely grounded while providing smooth movement. This is ideal for tiny homes where structural stability is critical, as the pivot point is often anchored to the cabinetry or floor.

Caster-Assisted Rotation

If you prefer a more portable solution, islands with locking heavy-duty casters offer unparalleled flexibility. While these don’t rotate on a single fixed axis, they allow for 360-degree positioning. You can swing them out, move them into another room, or tuck them away completely when they are not in use.

Top Benefits for Studio Apartment Residents

Strategic placement maximizes your kitchen's workflow.

Living in a studio apartment often means your kitchen acts as a multi-zone hub for cooking, socializing, and working. By installing a rotating kitchen island table, you create a distinct, modular zone that can be hidden away to reclaim your living space at the end of the day. The primary advantages include:

  • Space Efficiency: You can reclaim 6 to 10 square feet of floor space when the table is not in use, which is critical for studio living.
  • Multifunctionality: Easily switch between a prep surface, a home office desk, and a formal dining table by simply pivoting the unit.
  • Social Integration: Pivot the island to face guests, turning your kitchen into an interactive hub rather than a isolated utility room.
  • Ergonomic Adjustments: Modify the orientation of the table to improve lighting or accessibility during specific tasks, such as task-heavy prep work.

By optimizing your workflow with a rotating unit, you effectively “borrow” space from the living room when the kitchen is busy. Data from urban design studies shows that modular, rotating furniture can increase the perceived usable area of a studio apartment by nearly 20% compared to fixed-layout floor plans. This creates an environment where you are not restricted by the physical constraints of your walls, but rather liberated by the flexibility of your furniture. Furthermore, having an island that rotates allows for better “flow-through” movement when you have guests over, preventing the standard “kitchen bottleneck” common in narrow studio layouts.

Selecting Materials for Your Rotating Island

Warm materials bring character to compact tiny home kitchens.

Material selection determines the longevity and ease of operation for your rotating island, requiring a strategic balance between weight and durability. Because rotating islands are designed for heavy use, they must handle both torque at the pivot point and daily surface abrasion. Butcher block remains the industry standard for these islands because it provides a warm aesthetic, is easily refinished if scratched, and weighs significantly less than stone, reducing the stress on your pivot hardware. Compact laminate is another superior choice, as it is non-porous and can be as thin as 12mm, keeping the overall weight manageable. If you must use engineered quartz or granite, you must upgrade your swivel bearing to a high-tensile strength model, as the added mass increases the rotational force significantly. As a rule of thumb, ensure the total weight of the island does not exceed 150 pounds for DIY projects to maintain smooth, single-handed operation. If the island is intended to carry heavy appliances like a mixer, ensure the base cabinet is reinforced with marine-grade plywood. Always consult with a professional regarding the weight load capacity of your floor and the swivel hardware. If you are retrofitting, ensure the pivot point is anchored into a joist to prevent floor bowing.

Best Countertop Options

  • Butcher Block: Warm, durable, and relatively lightweight, making it perfect for rotating systems.
  • Compact Laminate: Extremely thin and robust, offering a modern aesthetic without adding excessive weight.
  • Engineered Quartz: A high-end choice that provides a permanent, scratch-resistant surface, though it requires a more robust pivot mechanism.

Integrating Style with Practicality

Functionality should never come at the expense of aesthetics, as a kitchen island is often the visual anchor of a small home. The market for small kitchen island ideas has exploded, offering styles from industrial chic with black steel accents to minimalist Scandinavian light-oak finishes. Choosing an island that matches your existing cabinetry can make the unit appear like a built-in feature, creating a seamless visual flow that tricks the eye into perceiving more space. Alternatively, selecting a contrasting material—like a walnut top on white lacquer cabinets—turns the island into a statement piece. For DIY enthusiasts, creating a rotating version using a high-quality lazy Susan bearing and a standard butcher block table is an affordable way to gain functionality. If you have the budget, custom joinery allows you to integrate concealed storage directly into the rotating unit, such as pull-out knife blocks or hidden spice racks. This is an excellent way to maintain a minimalist countertop aesthetic while keeping your most used tools within arm’s reach. Always ensure the edges of your island are rounded; in a tiny home, sharp corners are a significant safety hazard and can damage the paint on your walls when the table is pivoted.

Managing Workflow in Compact Kitchens

Efficiency in a small kitchen relies heavily on the “Golden Triangle” of the sink, stove, and refrigerator. Adding a rotating island can either disrupt or enhance this flow depending on its placement relative to these three points. The secret is to anchor the pivot point so that the island acts as an extension of the primary prep area while staying outside the main path of travel. By positioning the island at a 45-degree angle to the stove, you create an efficient “landing strip” for hot pans that doesn’t block the aisle to the refrigerator. When planning, use painter’s tape on your floor to map out the swing radius of the island. Ensure that when fully extended, it does not hit appliances, cabinet handles, or door casings. It is also wise to consider the “reach distance”; the island should be no more than 36 inches from your sink to ensure that you are not constantly walking back and forth during clean-up. For maintenance, implement a bi-annual check of the swivel mechanism. Tighten the bolts that secure the hardware to the base cabinet to prevent any “wobble” that could occur as the wood or floor settles over time. By carefully managing this clearance, you ensure your kitchen remains a workspace, not a cramped obstacle course.

FAQ

Q: How much space is required for a rotating kitchen island?

In most studio apartments, you should allocate a footprint of at least 30 to 48 inches of clearance around the island’s swing radius. This ensures that you have enough room to rotate the unit fully without hitting major kitchen appliances or walls.

Q: Can I install a rotating island on existing kitchen flooring?

Yes, you can install a rotating island on existing floors, but you must ensure the pivot point is anchored securely into a floor joist or a reinforced plate. Always use high-quality, non-marring rubber casters or felt-padded swivel bases to protect your existing floor surface from damage.

Q: What is the maximum weight a rotating island should be?

For a standard DIY-friendly rotating island, try to keep the total weight under 150 pounds. Heavier units (200+ pounds) require industrial-grade steel pivot bearings and significantly more robust structural reinforcements in both the floor and the base of the cabinet.

Q: Are rotating islands safe for homes with children?

Yes, as long as the island features a secure, heavy-duty locking mechanism that prevents the unit from swinging unexpectedly. Always ensure the swivel mechanism has a built-in braking system so that the island remains locked in place when not in use or when being used for prep work.

13 Kitchen Storage Ideas for Small Kitchens

Living in a home with limited square footage often means the kitchen becomes the most cluttered room in the house. When you are struggling to find a place for your pots, pans, and pantry essentials, implementing clever kitchen storage ideas for small kitchens can turn your frustration into functionality. The goal isn’t just to hide items away, but to optimize the workflow so that every tool has a purposeful home. In this guide, we explore how to reclaim your counter space and make your small room feel like a professional chef’s station.

Rethinking Vertical Space

Vertical racks utilize empty wall space for heavy cookware.

The most overlooked real estate in any room is the vertical wall space. When cabinets are full, look upward. Installing wall-mounted racks or magnetic strips can clear out drawers while keeping your most used tools within arm’s reach. By moving items off the counter and onto the wall, you create an open, airy feeling.

Installing Floating Shelves

Floating shelves are not just for decor; they are heavy-duty storage solutions. By placing them above your workspace, you can store stacks of plates, bowls, or dry goods containers without the bulk of traditional cabinets. Ensure you use sturdy brackets if you plan on storing heavy ceramics.

Why Vertical Storage Works

Vertical storage works because it utilizes the depth of your kitchen rather than the width. If you have a high ceiling, consider adding shelves above your window frame or even above the door. This area is rarely used but perfect for storing seasonal items like holiday platters or rarely used appliances.

Maximizing Cabinet Functionality

Shelf risers double your storage capacity instantly.

Standard cabinetry often comes with a lot of wasted space. Most shelves are spaced too far apart, leading to stacks of plates that are difficult to access. By using shelf risers, you can effectively double your storage capacity in a single cabinet. These simple metal or plastic inserts allow you to stack bowls on top of plates without creating a tower of terror.

Another critical tip for small kitchen organization is the use of slide-out drawers. Installing roll-out trays in the base cabinets of your kitchen eliminates the ‘black hole’ effect where items get pushed to the back, never to be seen again. This upgrade is life-changing for accessibility.

The Power of Magnetic Solutions

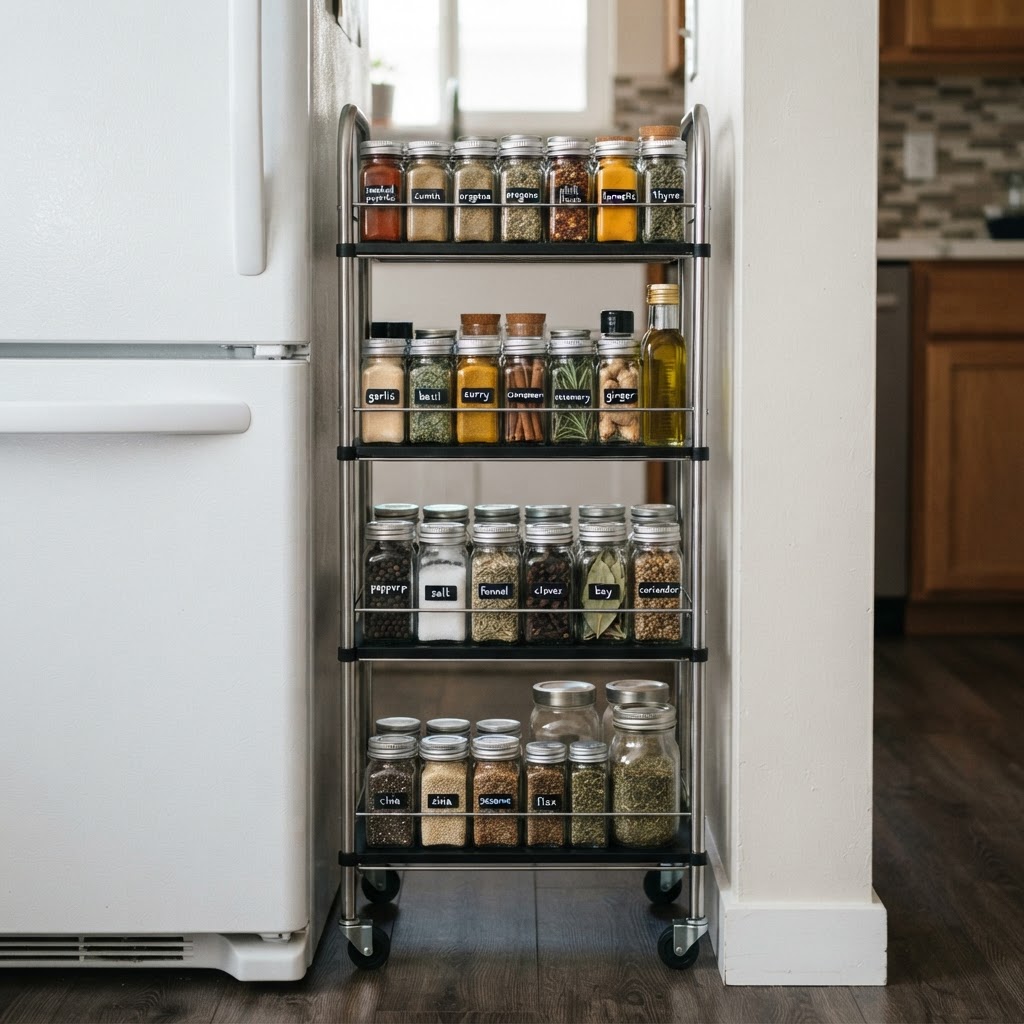
A slim rolling cart fits into the tightest kitchen gaps.

Magnetic strips are one of the most underrated kitchen storage ideas for small kitchens. Instead of housing a bulky knife block on your counter, mount a magnetic knife strip to your backsplash. This is not only safer but also frees up significant prep space.

Beyond knives, you can use magnetic tins for spices. If you have a small refrigerator or a metallic backsplash, label these tins and stick them directly to the surface. It’s an aesthetically pleasing way to keep your spices organized while keeping your cabinets free for heavier equipment.

Utilizing Cabinet Doors and Sides

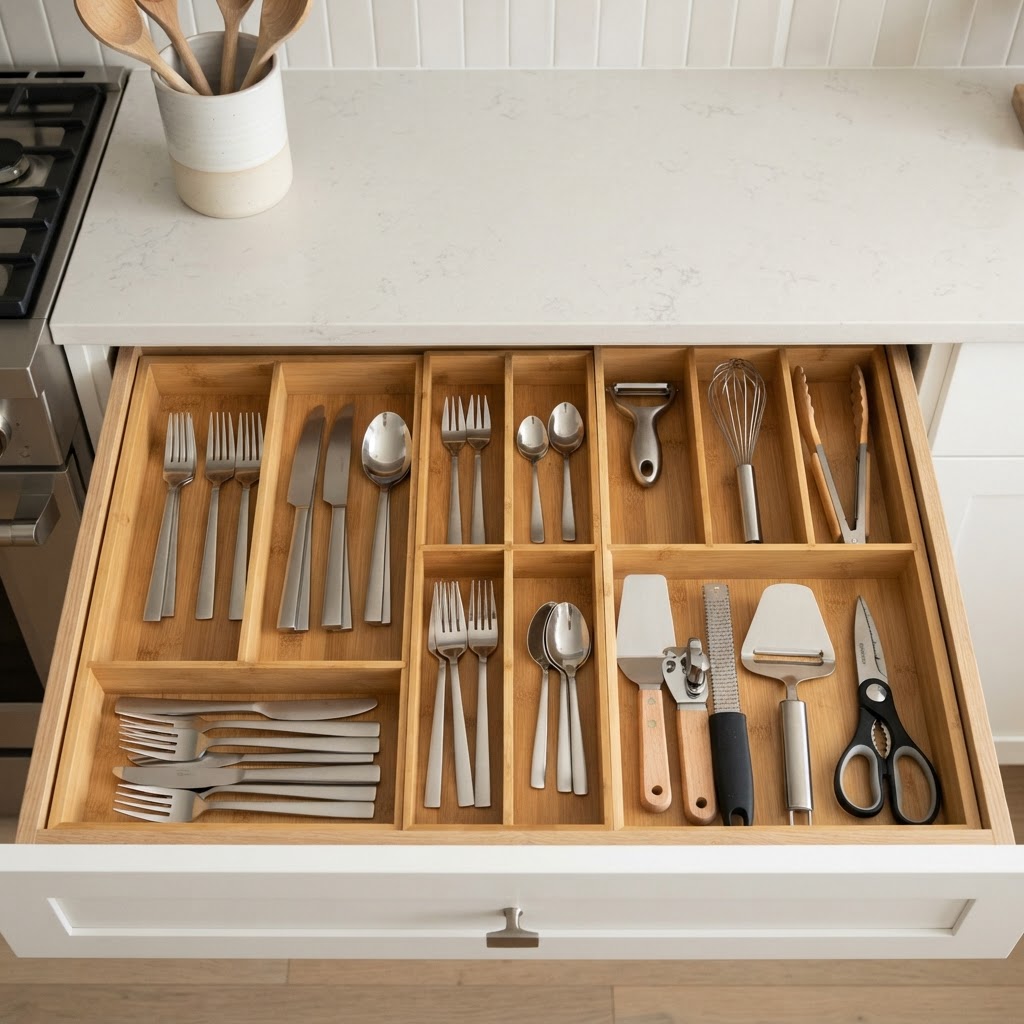
Custom dividers keep utensils organized and accessible.

Your cabinet doors are essentially blank canvases waiting to be useful. By installing adhesive hooks or over-the-door organizers, you can hang measuring cups, pot lids, or cleaning supplies. This keeps small, awkward items neatly tucked away but easily accessible when you need them.

Don’t forget the sides of your cabinets. If the end of a cabinet bank is exposed, you can install a narrow rack for spices, cookbooks, or even dish towels. These small additions add up to a significant amount of reclaimed storage, making small kitchen organization much more manageable.

Mastering the Under-Sink Zone

Under-sink areas are notorious for becoming cluttered messes. Because of the plumbing pipes, this area is often awkward to navigate. Use stackable clear acrylic bins to categorize cleaning products. This allows you to pull out one container rather than rummaging through a tangle of bottles.

If possible, install a pull-out caddy under the sink. This makes it easy to reach items hidden in the very back corners. Labeling these containers will also help other family members keep things organized, ensuring the clutter doesn’t return within a week.

Implementing Under-Shelf Baskets

Sometimes, you simply need more room for light items like napkins, tea towels, or sandwich bags. Under-shelf baskets simply clip onto your existing shelves, requiring zero tools to install. They are perfect for maximizing the gap between your shelf and the cabinet door.

These baskets are particularly useful for small pantry storage. By organizing your snacks or pasta boxes into these baskets, you can make your pantry look like a professionally organized space. This is a budget-friendly solution that offers instant results.

Creating Custom Drawer Dividers

Drawers are often the place where junk accumulates. To maintain sanity, use adjustable drawer dividers to create specific compartments for your utensils. This prevents the ‘junk drawer’ phenomenon where everything gets mixed together.

For deep drawers, consider using vertical dividers to store cutting boards or baking sheets on their sides. Storing these items vertically instead of horizontally makes it much faster to grab what you need. It also prevents heavy items from scratching each other or chipping over time.

Strategic Use of Rolling Carts

If you have absolutely zero floor space left, a slim rolling cart might be your secret weapon. These carts are designed to fit into tiny gaps between your fridge and your cabinets. They can house everything from oil bottles and spices to root vegetables like onions and potatoes.

Since they are on wheels, you can roll them out when needed and tuck them away when the kitchen is closed for the night. This mobility is key to keeping a small space flexible, especially when you are preparing large meals and need an extra ‘landing zone’ for ingredients.

Prioritizing Decluttering Routines

Storage solutions are only effective if you keep your inventory lean. Small kitchen organization is fundamentally about reducing what you don’t use. Once a quarter, perform a audit of your gadgets. Do you really need three different avocado slicers or two electric kettles? Donating items that you rarely touch is the most effective way to create instant space without spending a dime.

Focus on multi-functional tools. A good set of nesting bowls, a quality chef’s knife, and a solid cast-iron skillet can often replace a dozen single-use gadgets. When you prioritize quality over quantity, your kitchen storage becomes much easier to manage.

Conclusion

Maximizing your space isn’t about moving into a bigger house; it is about working smarter with the layout you have. By utilizing vertical space, optimizing your cabinets, and keeping a strict eye on clutter, you can create a kitchen that feels spacious and efficient. Start by implementing just two or three of these 13 kitchen storage ideas for small kitchens today, and you will notice an immediate difference in your daily cooking experience. Take control of your home, get organized, and start enjoying your kitchen again!

Small Apartment Kitchen Mistakes That Make Rooms Feel Tiny

Living in a city often means compromising on square footage, and nowhere is this more apparent than in the galley or kitchenette. Many residents fall into common small apartment kitchen mistakes that make their room feel smaller than it actually is. When space is at a premium, every design choice—from the hardware on your cabinets to the way you store your spices—impacts the overall perception of depth and airiness in your home.

Understanding the Psychology of Space

Bright, light-filled kitchens prevent a cramped feeling.

Visual clutter is the primary culprit behind a cramped feeling. Our brains interpret a high density of objects and high-contrast colors as ‘busyness,’ which makes walls feel closer and ceilings feel lower. To master small kitchen design, you must shift your mindset from merely organizing items to curating a visual environment that promotes flow and light reflection.

Light is your greatest ally in a compact cooking area. When you block natural light or choose heavy, non-reflective materials, you essentially build a wall around your workspace. Conversely, by optimizing your layout to encourage light movement, you can create the illusion of a significantly larger floor plan without knocking down any structural walls.

The Problem with Dark and Heavy Cabinetry

Utilize vertical storage to keep countertops clear and spacious.

One of the most frequent small apartment kitchen mistakes is the installation of dark, chunky cabinetry. While a moody navy or black kitchen is currently trendy in high-end design magazines, these colors absorb light rather than reflecting it. In a tiny space, dark cabinets can act like a visual enclosure, making the kitchen feel like it is closing in on you.

Choosing the Right Color Palette

If you are stuck with dark cabinets, consider using light-colored hardware, backsplashes, or under-cabinet lighting to brighten the area. If you are renovating, opt for soft whites, light greys, or even open shelving. Open shelving removes the visual weight of cabinet doors entirely, providing an immediate sense of openness.
Ignoring the Power of Vertical Storage

Continuous flooring connects spaces, creating an illusion of larger square footage.

Many people focus entirely on floor and counter space, forgetting that their walls represent a massive, untapped resource. When you leave wall space empty above your counters, you lose out on the chance to move clutter off your work surfaces. A messy counter is perhaps the fastest way to make a kitchen feel unusable.

Creative Vertical Hacks

  • Use magnetic knife strips to clear drawer space.
  • Install wall-mounted pot racks to free up lower cabinets.
  • Hang floating shelves for frequently used items.
  • Utilize the space above the refrigerator for lesser-used appliances.

By elevating your storage, you draw the eye upward. This technique makes the ceiling appear higher and forces you to organize items by frequency of use, which inherently improves your daily kitchen workflow.

Overloading Countertops with Appliances

When you leave every appliance on your counter, you forfeit valuable prep space. Whether it is a toaster, blender, air fryer, or coffee machine, these items break up the visual line of your countertops. This ‘appliance graveyard’ effect makes your kitchen look like a storage room rather than a functional culinary space.

Try to keep only the absolute essentials on the counter. If you use your blender once a week, it deserves a home inside a cabinet or on a shelf. Clearing the visual deck is one of the most effective small apartment kitchen mistakes you can fix today. If you absolutely must have appliances out, consider uniform storage solutions that blend into the backsplash area.
The Mistake of Poor Lighting Choices

Lighting is often an afterthought, but in a small apartment, it is a critical design tool. A single overhead light creates harsh shadows in the corners of your room. These shadows act as visual boundaries, effectively telling your brain exactly where the kitchen begins and ends.

Layering Your Light

To expand your space, you need to layer your lighting. Start with an overhead source, then add under-cabinet puck lights to illuminate the work surface. Finally, add decorative but functional task lighting. By lighting the dark corners of your kitchen, you push back the boundaries of the room, creating an expansive effect that makes the space feel larger than its physical measurements.

Mismatched Materials and Busy Backsplashes

In a large kitchen, a bold, intricate mosaic tile might look sophisticated. In a small apartment kitchen, however, a busy backsplash can become a focal point of chaos. It breaks up the space into hundreds of tiny squares, which creates a ‘grid’ effect that emphasizes how small the wall area actually is.

For smaller spaces, simplicity is always superior. A large-format subway tile or a solid surface backsplash provides a seamless, uninterrupted look. This continuity allows the eye to travel across the room without being stopped by busy patterns, which contributes to an overall feeling of tranquility and scale.

Forgetting the Flooring Continuity

Another subtle design flaw is using different flooring in the kitchen than in the rest of your apartment. If your living room has wood floors but your kitchen has busy, patterned linoleum, you are creating a visual ‘stop’ sign. This creates a hard border that highlights the division of the two rooms, effectively shrinking the kitchen.

To make your space feel larger, extend your living room flooring into the kitchen. If you are a renter and cannot change the floors, consider a large, neutral-toned area rug that mimics the texture or color of your adjacent living space. By blurring the lines between rooms, you encourage the brain to perceive the entire area as one single, large living zone rather than two separate, cramped ones.

The Dangers of Inconsistent Hardware

Small details have a massive impact. Using large, bulky hardware on delicate cabinet doors can make the furniture feel out of proportion. Similarly, using mismatched handles or knobs adds to the visual noise of the space. Keep your hardware consistent throughout the entire unit.

Opt for low-profile or recessed hardware to keep the lines clean. When everything in your kitchen aligns in style and color, the eye isn’t caught on jarring details, which helps the space feel curated rather than crowded. This level of intentionality is what separates a cluttered apartment kitchen from a professional, designer-grade tiny home.

Conclusion

Avoiding small apartment kitchen mistakes is largely about reducing visual clutter, maximizing light, and maintaining consistency. By choosing lighter colors, utilizing your vertical wall space, and being ruthless about what stays on your counters, you can completely transform your cooking environment. A kitchen should be a place of creativity, not a source of stress, and simple design adjustments are all it takes to make your apartment feel like a luxury space. Start small today—clear those counters and swap your heavy decor for something lighter, and watch your kitchen expand before your eyes. Ready to redesign your space? Share your favorite organization hack in the comments below!

25 Mini Kitchen Ideas for Small Spaces 2025

25 Mini Kitchen Ideas for Small Spaces 2025

To optimize a mini kitchen in 2025, prioritize floor-to-ceiling vertical cabinetry, high-efficiency compact appliances, and multi-functional furniture like rolling islands to maximize every square inch. These design strategies create essential storage and workspace, allowing even the smallest urban kitchen to function like a professional culinary environment.

The Philosophy of Vertical Space Utilization

Maximizing vertical storage in a modern, light-filled mini kitchen.

When floor space is limited, your best design asset is the vertical plane. Installing custom floor-to-ceiling cabinetry ensures that every vertical inch is utilized, providing roughly 20-30% more storage capacity than standard wall-mounted units. In 2025, this approach is the gold standard for transforming cramped galleys into high-functioning spaces. By extending cabinets to the ceiling, you create a dedicated “dead zone” storage area for seasonal items, holiday dishware, and specialized appliances that aren’t required for daily tasks, effectively clearing your lower, accessible zones for essential tools.

Open Shelving vs. Closed Cabinetry

Feature Open Shelving Closed Cabinetry
Visual Space Increases perceived room width Can feel boxy or heavy
Maintenance Requires frequent dusting Protects items from grease
Aesthetic Curated, airy, and modern Seamless, clean, and hidden
Storage Efficiency Lower (limited by pile height) Higher (utilizes internal organizers)

While closed cabinetry maintains a tidy appearance, open shelving reduces the visual ‘weight’ of the kitchen walls. A hybrid design is often the most effective: reserve bulky, utilitarian items for closed cabinets and use floating shelves to display aesthetic pieces like ceramic mugs or artisanal jars. This curated balance prevents the room from feeling like a claustrophobic tunnel while maximizing the functionality of every exposed wall surface.

The Power of Wall-Mounted Rails

Don’t underestimate the utility of a backsplash rail. By hanging your most frequently used tools—spatulas, whisks, and measuring cups—directly on the wall, you free up roughly 15% of your drawer space. This is a classic trick used in professional kitchens to ensure everything is within arm’s reach without cluttering the countertops, promoting a cleaner workflow.

Rethinking the Appliance Layout

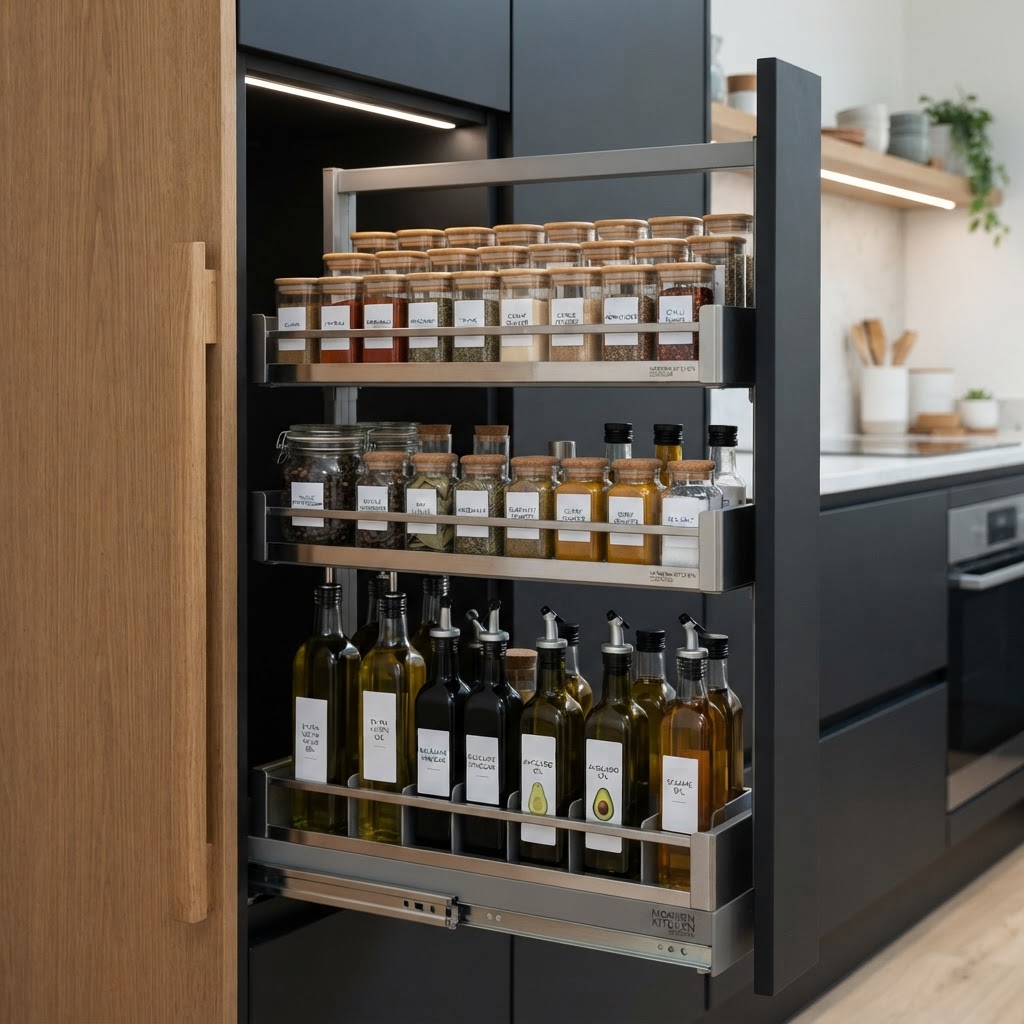
Utilizing slim pull-out pantries for ultimate small-space organization.

Standard appliance dimensions are the primary cause of kitchen congestion, which is why 2025 design trends emphasize high-performance, compact hardware. Choosing a 24-inch wide refrigerator instead of the standard 36-inch model saves 12 inches of precious floor space without sacrificing critical food storage. Modern induction cooktops are also a game-changer; a slim, two-burner portable or drop-in unit provides professional-grade heat control while remaining low-profile, allowing for a drawer to be installed directly underneath where a standard oven would typically be located.

Integrating Appliances into Cabinetry

Appliance integration is the ultimate secret to visual continuity. By using cabinet-front refrigerators and dishwashers, you create a seamless “wall of furniture” appearance that tricks the eye into perceiving the room as larger than its actual square footage. Removing the visual noise of stainless steel or black plastic interfaces prevents the kitchen from feeling like a collection of separate metal boxes, which is essential for maintaining a high-end, uncluttered aesthetic in compact footprints.

Smart Storage Solutions for Tiny Areas

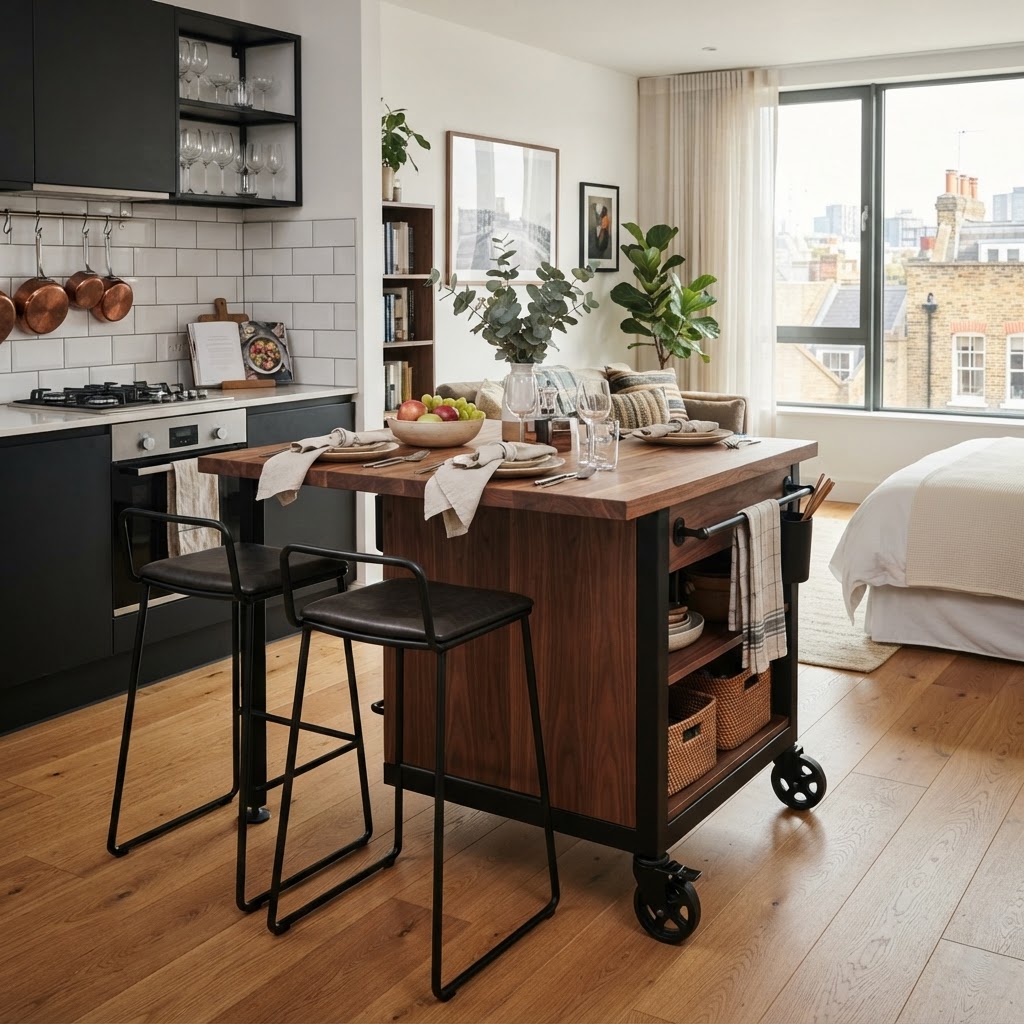
The perfect multi-functional rolling island for flexible prep and dining.

Organization is the foundation of a successful mini kitchen, and without a modular system, even the best designs will feel chaotic. You must treat every square inch as a resource. Start by investing in drawer dividers, pull-out spice racks, and corner carousels (often called ‘lazy susans’ or ‘magic corners’) that turn otherwise inaccessible dead space into highly organized storage. Every cabinet should have a defined, specific purpose to prevent the ‘junk drawer’ phenomenon, where loose items accumulate and create clutter.

The Magic of Pull-Out Pantries

One of the most effective mini kitchen ideas for small spaces 2025 is the inclusion of narrow pull-out pantries. These vertical drawers can fit into gaps as thin as 6 inches, utilizing the awkward void between a refrigerator and a wall. They are ideal for oils, vinegars, and canned goods, ensuring you don’t lose items in the back of deep, unreachable cupboards where they might expire unnoticed.

Creating Visual Illusions of Space

Strategic task lighting enhances the functionality of small galley kitchens.

Strategic use of color and light is a fundamental technique for expanding the perceived size of a room. Light, reflective colors such as off-white, soft taupe, or pale pastels on your cabinetry and walls reflect natural light, which effectively makes the walls appear further apart. Beyond color, integrating high-gloss finishes on surfaces or backsplash tiles acts like a mirror, adding depth to the room and bouncing light into otherwise dark corners, creating a sense of openness.

Lighting Strategy

Lighting should be layered to define zones within your compact kitchen. Never rely on a single central fixture. A professional-grade layout requires three tiers: task lighting (LED strips under cabinets) to illuminate your prep area, ambient lighting (recessed ceiling lights) for general coverage, and accent lighting (under-shelf or toe-kick lighting) to highlight architectural features. Proper lighting makes a kitchen feel cleaner, more intentionally designed, and functionally superior to a dimly lit space.

Multi-Functional Furniture Hacks

In a tiny home, furniture must pull double duty to be considered a viable investment. A kitchen island can be reimagined as a dining table, a prep station, and a home office combined. Look for mobile islands equipped with locking casters that can be tucked away when not in use, or utilize wall-mounted drop-leaf tables that fold completely flat against the wall. These flexible, multi-functional pieces allow your kitchen to adapt to your shifting needs throughout the day.

Hidden Prep Surfaces

Consider adding a pull-out cutting board or a folding shelf extension at the end of your primary counter. This provides a temporary extra surface when you are chopping vegetables or plating food, then disappears instantly when the work is done. These hidden, mechanical features are the true hallmark of modern compact kitchen layouts designed for efficiency.

Keeping it Clutter-Free

Clutter is the primary enemy of the small space. To maintain a functional environment, adopt a strict ‘one-in, one-out’ policy for all gadgets and dishware. If an item has not been used in the past 12 months, it does not belong in your kitchen. Minimalism in this context is a practical, survival-based necessity for anyone navigating a mini kitchen, as every square inch of counter space impacts your ability to perform daily cooking tasks.

Countertop Maintenance

Keep your countertops as clear as possible by storing everything except absolute essentials like a coffee maker or a knife block. When surfaces are clear, the brain perceives the room as cleaner and significantly larger. Aim to store at least 90% of your tools in cabinets or drawers to minimize visual chaos and maintain a serene, inviting atmosphere.

FAQ

Q: How can I make a tiny kitchen look bigger?

Use light color palettes for cabinets and walls, incorporate high-gloss reflective surfaces, and install under-cabinet lighting. Keeping countertops clear of appliances and choosing floor-to-ceiling cabinetry also helps create a seamless, expansive look that avoids visual clutter.

Q: What are the best appliances for small kitchens?

Focus on compact, slim-profile appliances such as 24-inch refrigerators, 18-inch dishwashers, and two-burner induction cooktops. Integrating these appliances behind custom cabinet fronts creates a clean, unified aesthetic that prevents the kitchen from feeling like a crowded storage area for metal boxes.

Q: How do I increase storage in a small kitchen?

Utilize vertical space by installing floor-to-ceiling cabinets, adding wall-mounted magnetic strips or rails for tools, and incorporating pull-out organizers in narrow gaps. Every cabinet should feature customized inserts like pull-out shelves or carousels to ensure no ‘dead’ corner space goes to waste.

Q: What is the most efficient kitchen layout for small spaces?

A galley or ‘L-shaped’ layout is typically the most efficient for small footprints. These designs prioritize the work triangle—the path between your stove, sink, and refrigerator—ensuring minimal walking distance while maximizing the available counter space for meal preparation.

Tiny Apartment Kitchen Ideas That Actually Work

Tiny Apartment Kitchen Ideas That Actually Work

To optimize a tiny apartment kitchen, prioritize vertical wall storage, multi-functional furniture, and a strict “one-in, one-out” inventory rule. By maximizing every square inch of height and replacing bulky items with dual-purpose tools, you can transform a cramped cooking area into a highly efficient, professional-grade workstation.

Rethinking Your Vertical Storage Strategy

Vertical storage is the most effective way to reclaim floor space by shifting essential tools from countertops to underutilized wall areas. Many apartment dwellers overlook the 8-to-10 feet of wall height available, which is prime real estate for organizing kitchenware.

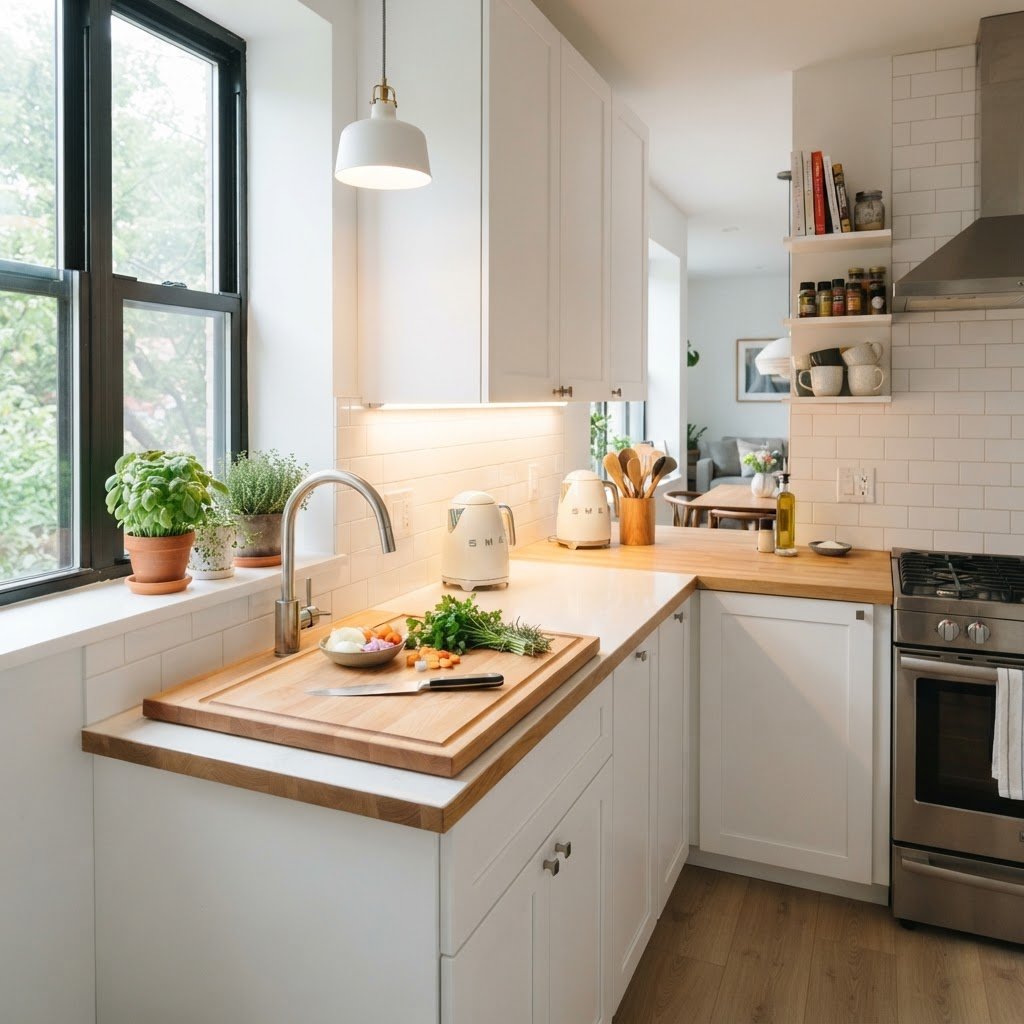
Bright and efficient small kitchen layout.

Utilizing Magnetic Strips and Hooks

Clearing counters is essential for creating the illusion of a larger kitchen, and magnetic strips are your best tool for this task. You can mount a 12-inch magnetic knife strip for $15-$20 to hold not just knives, but metal whisks, scissors, and spice tins. Pairing this with adhesive under-cabinet hooks—which support up to 5 lbs each—allows you to hang mugs and small pots, freeing up approximately 20% of your cabinet shelf space.

The Power of Floor-to-Ceiling Shelving

Installing floor-to-ceiling shelving is a game changer for kitchens with ceilings over 8 feet tall. By adding shelves at the 7-foot mark, you create storage for low-frequency items like holiday platters or rarely used appliances, which keeps your lower cabinets clear for daily essentials. Drawing the eye upward also creates a “height illusion” that makes the kitchen appear significantly larger.

Storage Solution Benefit Estimated Cost
Magnetic Knife Strip Clears counter space $15 – $25
Over-Cabinet Hooks Utilizes dead vertical space $5 – $10
Floor-to-Ceiling Shelving Maximizes high-reach storage $50 – $150

Mastering the Art of Hidden Storage

Hidden storage is the foundational secret to maintaining a clean visual aesthetic, which prevents a small kitchen from feeling claustrophobic. By utilizing “dead zones”—like the 3-inch gap between a fridge and wall or the empty void above upper cabinets—you increase total storage capacity by up to 15%.

Functional vertical storage using a pegboard.

Multi-Functional Furniture Solutions

In studios where the kitchen bleeds into the living area, choose furniture that pivots between roles. A rolling kitchen island with lockable casters serves as a prep station, a dining table for two, or a mobile bar cart. When measuring for these pieces, ensure the unit is no deeper than 24 inches to maintain a clear walkway in the kitchen.

Clever Cabinet Inserts

Standard cabinets often lose 30% of their space to poor organization; address this by installing stackable pull-out organizers. By using vertical plate racks and shelf dividers, you turn deep, dark corners into accessible zones. These inserts ensure that every item has a specific “home,” preventing the common issue of losing ingredients in the back of the pantry.

Streamlining Your Kitchen Essentials

Ruthless editing of your kitchen inventory is a functional necessity that dictates how well a small space performs. Minimalism is not just about aesthetics; it is about efficiency, ensuring that the 50-100 items in your kitchen are actually useful.

The “One In, One Out” Rule

To prevent clutter creep, commit to the “one in, one out” policy: every time you purchase a new gadget, you must donate or recycle an existing item. This maintains a steady state of inventory. Research shows that 60% of kitchen clutter consists of duplicates or tools used less than twice a year.

Optimizing Your Prep Surface

Creating temporary prep surfaces is the most critical fix for a kitchen that lacks standard counter space. If you lack at least 24 inches of dedicated counter for chopping, you should leverage your existing fixtures.

Clever use of a wall-mounted fold-down table.

Sink-Covering Cutting Boards

An over-the-sink cutting board acts as an “instant counter” that can add up to 4 square feet of workspace. Choose a bamboo or hardwood board sized specifically to your sink basin; these boards are durable, easy to clean, and store vertically against a backsplash when not in use.

Fold-Down Tables and Counters

Wall-mounted fold-down tables are ideal for kitchens with narrow footprints. When installed at standard counter height (36 inches), a 24-inch deep drop-leaf table can serve as a workstation or dining spot. These units typically hold up to 50 lbs, providing a sturdy surface that vanishes when the job is done.

Lighting and Color to Expand the Space

Color and lighting are the primary factors in perceived depth, and light-reflective surfaces can make a tiny kitchen feel 20% larger. Using bright whites or soft greys on walls bounces light around the room, reducing visual density.

The Impact of Under-Cabinet Lighting

Battery-operated LED light strips, which cost under $30, provide task lighting that is vital for safe prep work. These strips eliminate shadows caused by overhead lighting and create a high-end, “designed” look that makes a small kitchen feel intentional rather than cramped.

Making Every Accessory Count

In a tiny kitchen, your tools are your decor, so prioritize pieces that are both visually appealing and functional. Since you lack the space for knick-knacks, choose a copper kettle or ceramic canisters that serve a purpose while adding warmth to the room.

Smart organization inside small kitchen cabinets.

Avoiding Visual Clutter

Limit countertop accessories to three or fewer focal items to maintain a curated, clean look. A cohesive color palette—such as keeping all accessories in one metal finish—helps the space feel larger by reducing visual “noise” that can make a kitchen feel chaotic.

Maintaining a Routine for Success

Consistent maintenance prevents the “pile-up” effect that makes small kitchens unusable within 24 hours. A 15-minute weekly reset is the most effective habit for long-term organization in compact units.

Weekly Reset Sessions

Spend 15 minutes every Sunday clearing the fridge, wiping down surfaces, and reviewing inventory. By proactively discarding expired food and clearing out unused tools, you maintain the “functional capacity” of your space, ensuring your kitchen remains a productive asset rather than a source of stress.

FAQ

What is the best way to add counter space to a tiny kitchen?

Use an over-the-sink cutting board or a wall-mounted fold-down table to create instant prep surfaces. These solutions provide dedicated space for chopping or dining that can be completely hidden when not in use, keeping the floor area open.

How can I make a small kitchen look bigger?

Utilize light, reflective color schemes like white or light grey and install under-cabinet LED lighting to eliminate shadows. Bright, even lighting and clear countertops are scientifically proven to make small rooms feel more spacious and inviting.

Is open shelving good for tiny kitchens?

Yes, open shelving utilizes vertical wall space effectively and removes the visual bulk of heavy cabinet doors. However, keep items curated and organized to ensure the display looks intentional rather than cluttered.

How often should I declutter a small kitchen?

Perform a “weekly reset” lasting 15 minutes to clear expired items and reorganize essentials. This routine prevents clutter accumulation and keeps your kitchen working at maximum efficiency without requiring a major cleaning effort.

33 Genius Small Boho-Style Kitchens to Maximize Your Space

33 Genius Small Boho-Style Kitchens to Maximize Your Space

Small boho-style kitchens maximize space by prioritizing vertical storage, natural textures, and open-concept displays over traditional closed cabinetry. To create an efficient bohemian kitchen, focus on utilizing wall-mounted racks for utensils, incorporating multi-purpose greenery, and using warm-toned lighting to trick the eye into perceiving a larger, more airy environment.

The Philosophy of Boho Design in Small Spaces

A beautifully curated boho kitchen using open shelving to save space.

Bohemian design is inherently forgiving, which makes it the perfect aesthetic for compact rooms. Unlike ultra-modern or minimalist styles that require seamless, hidden storage to look ‘perfect,’ boho decor celebrates the ‘lived-in’ look. In a small kitchen, this means you can display your favorite artisan mugs, hang copper pots, and integrate greenery without worrying about pristine surfaces. The core of this style is maximalist at heart, but curated with intention.

Why Boho Works for Compact Layouts

Boho style thrives on layers, which helps blur the edges of a small room. By drawing the eye upward with hanging plants and patterned textiles, you trick the brain into ignoring the tight floor dimensions. The goal is to create a space that feels collected rather than cluttered, balancing your personal mementos with functional utility. Statistics show that incorporating vertical storage can increase a kitchen’s usable surface area by approximately 30% by clearing counters for essential prep tasks.

Boho Kitchen Elements Comparison

Feature Minimalist Style Boho Style Impact on Small Spaces
Storage Hidden/Closed Open Shelving Increases perceived depth
Color Palette Monochromatic Earthy/Vibrant Adds warmth and character
Decor Sparse Maximalist/Layered Defines zones visually

Maximizing Vertical Storage and Display

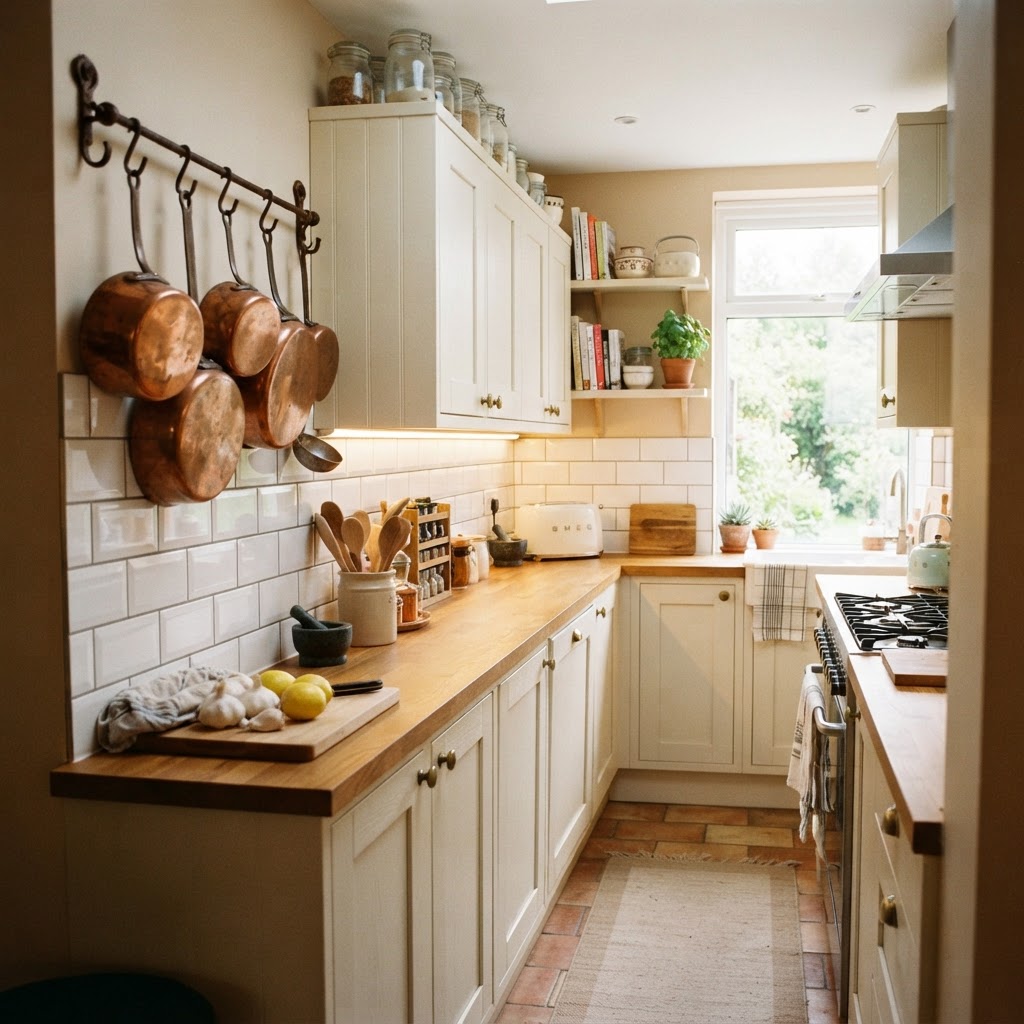
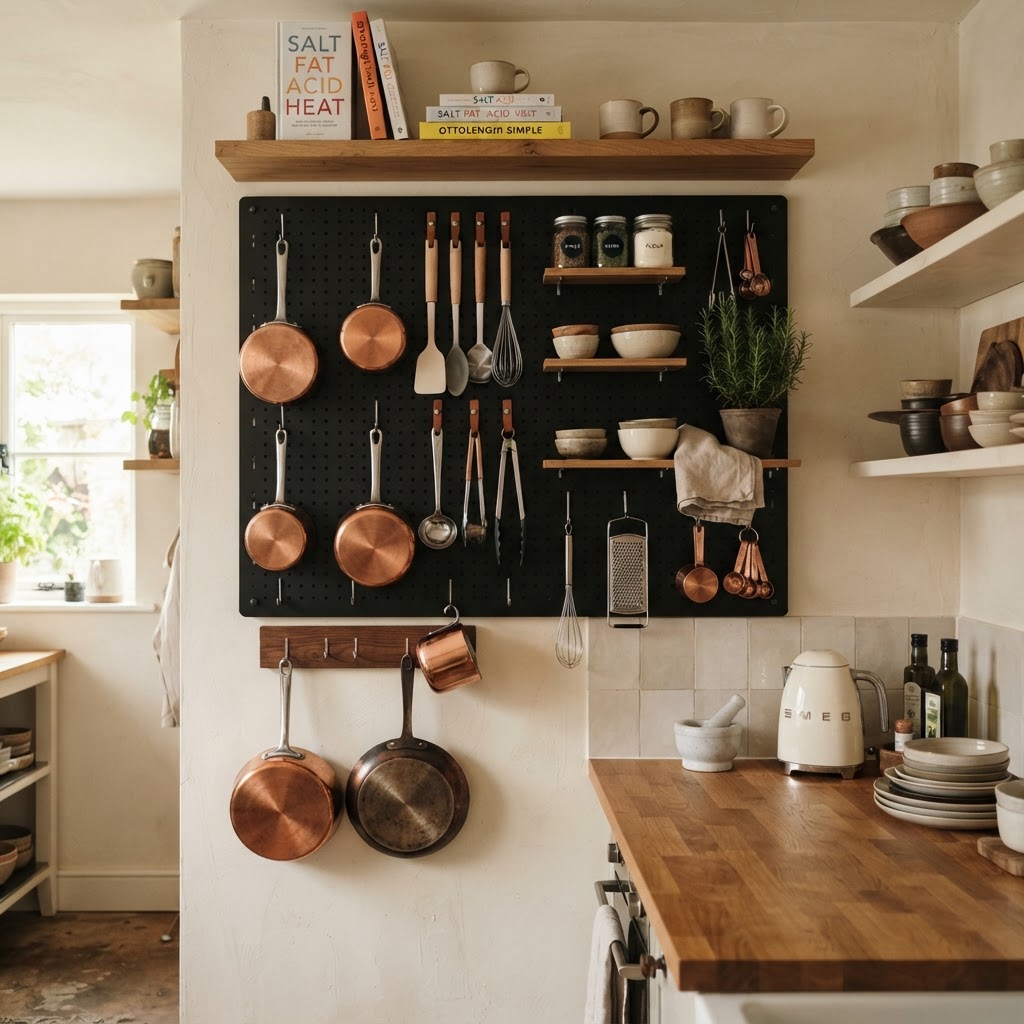
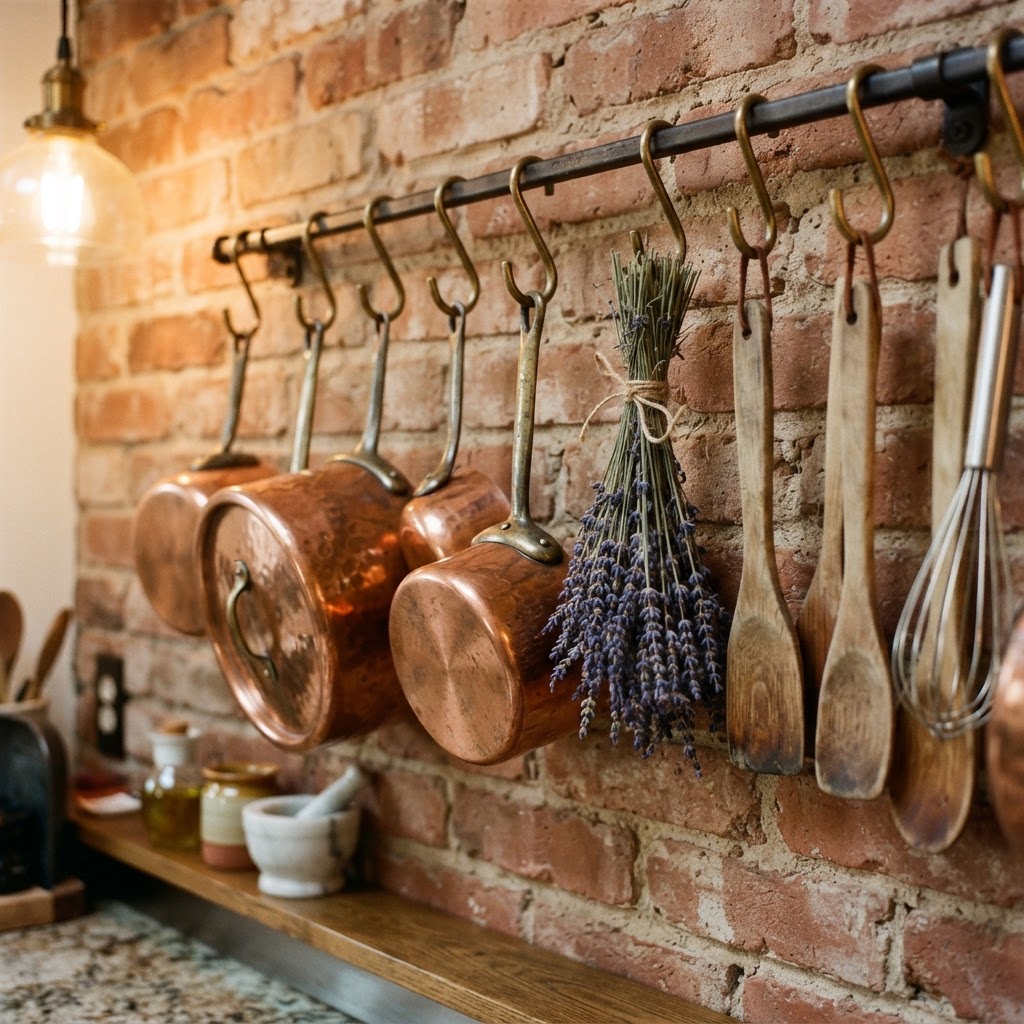
Clever wall storage using hanging copper pots and dried herbs.

In tiny kitchens, floor space is a premium, which is why your walls are your best friend. Small boho-style kitchens often utilize open shelving to keep the visual flow continuous. Closed cabinets can sometimes make a small room feel boxed in, whereas open shelves allow light to pass through and provide a platform for your bohemian decor elements. Installing shelves at heights between 50 and 70 inches creates a balanced sightline that feels deliberate rather than crowded.

Creative Hanging Solutions

Think beyond traditional cupboards. A ceiling-mounted rack for pots and pans can free up significant cabinet space while adding a rustic, bohemian charm. Consider using S-hooks to display your favorite wooden utensils or dried herbs directly against a backsplash, keeping your workspace clear and your essential tools within arm’s reach. By utilizing magnetic strips or pegboards painted in terracotta or sage, you add a functional design element that keeps the floor clear while honoring the bohemian aesthetic of ‘visible utility.’

Bringing Nature Indoors with Greenery

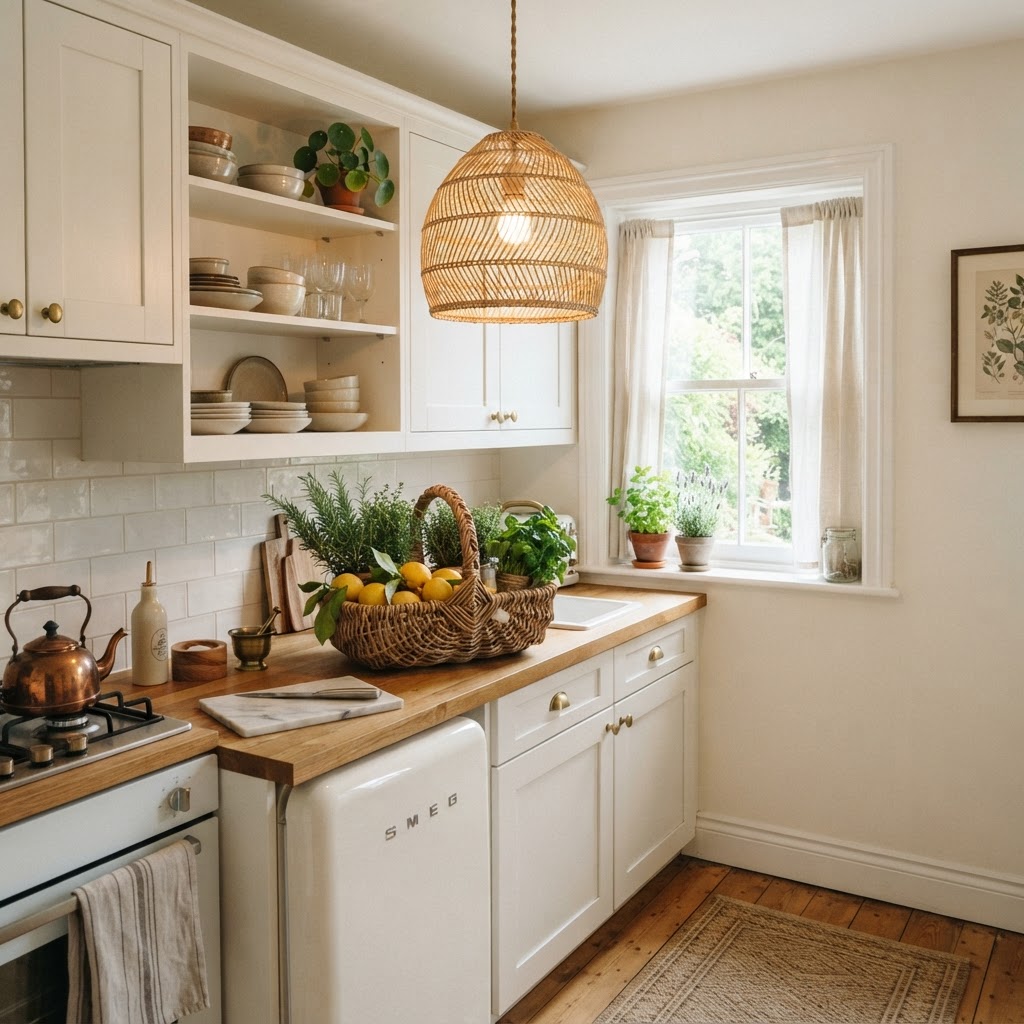
A woven rattan pendant light adds warmth to a small kitchen area.
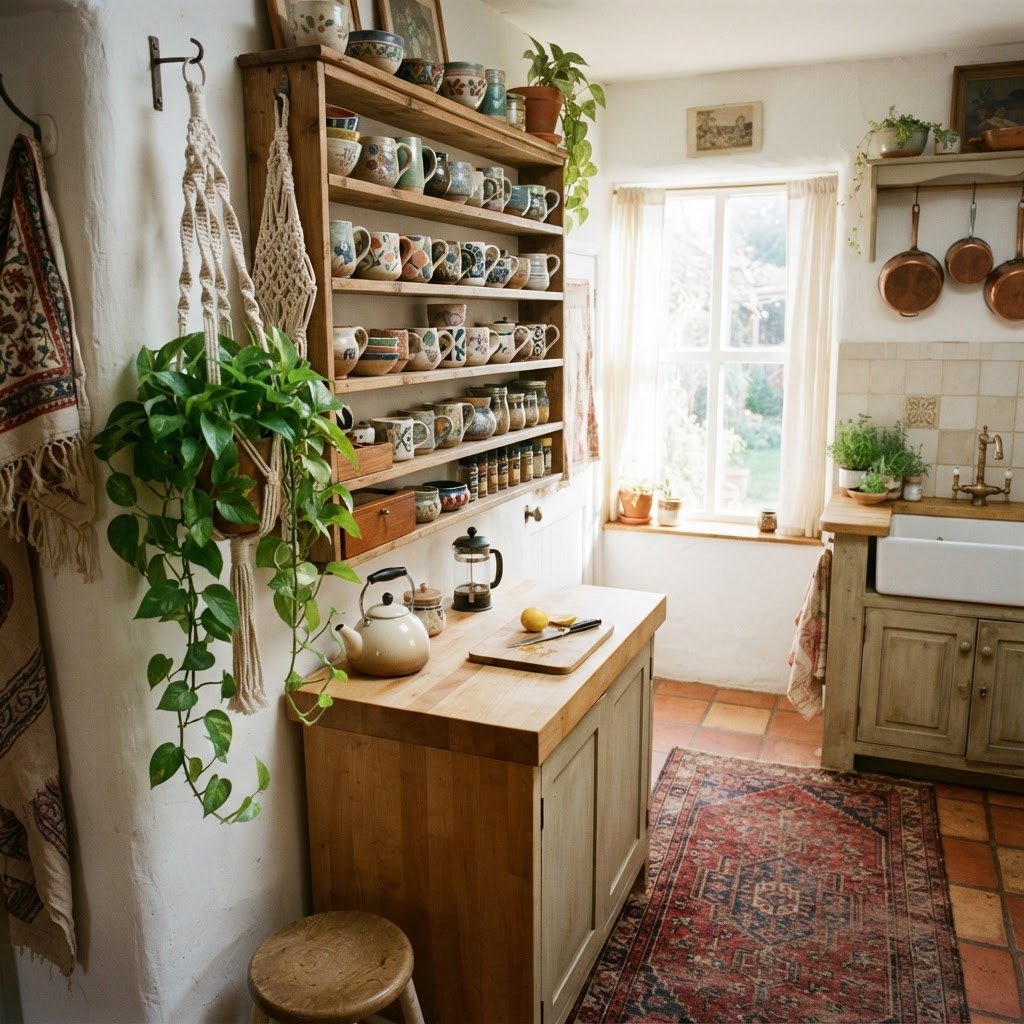
One of the most defining characteristics of any boho interior is the presence of plant life. In a small kitchen, greenery serves a dual purpose: it adds vibrant, organic color and improves the overall air quality. A trailing pothos on top of the fridge or a small cluster of succulents on the windowsill can instantly soften hard edges, making the space feel organic rather than industrial.

Low-Maintenance Greenery Picks

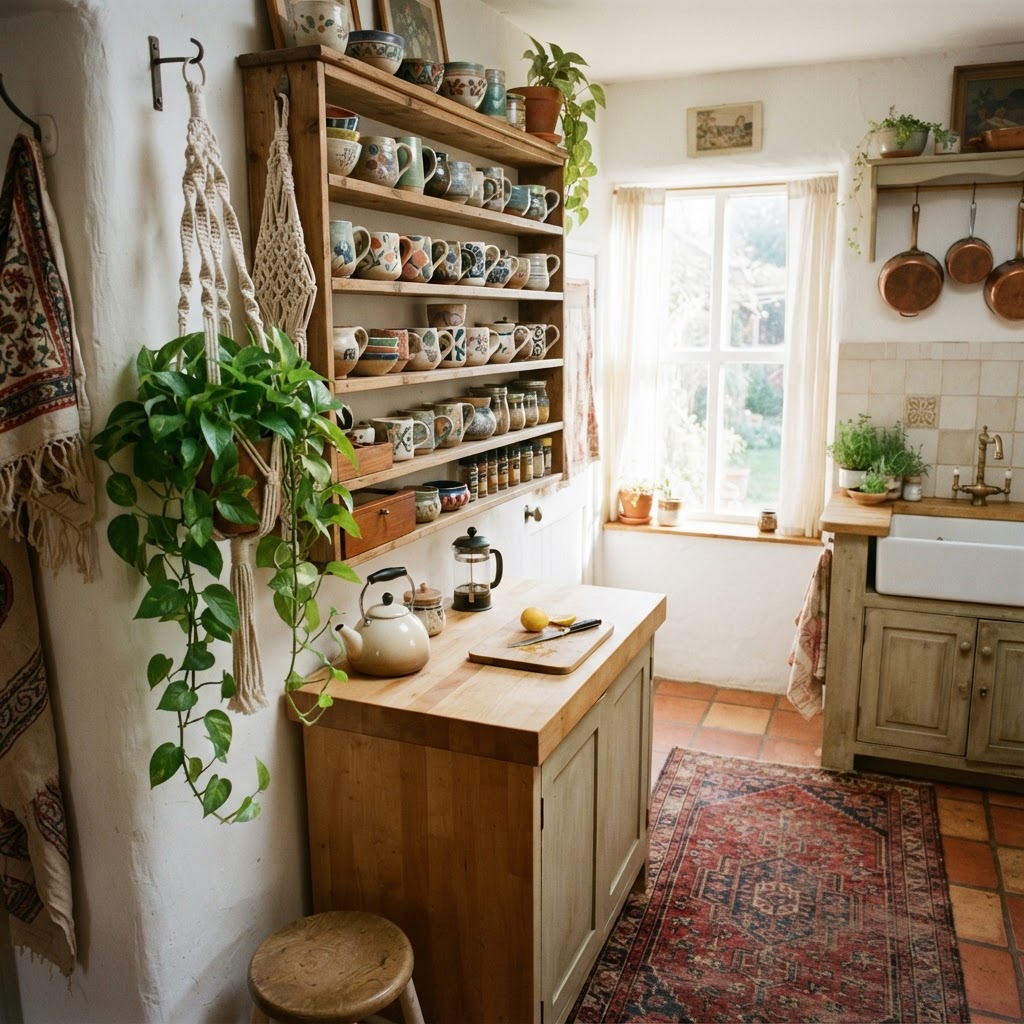
If your kitchen lacks natural light, don’t worry. Choose hardy plants like snake plants, ZZ plants, or air plants that require minimal maintenance. You can hang them in macrame plant holders to save counter space, reinforcing that signature boho aesthetic without sacrificing an inch of working area. Research suggests that indoor plants can reduce cortisol levels, making your kitchen a stress-free zone. Ensure your plant selection includes species like the ‘Golden Pothos’ which thrives in low-light kitchens with standard household humidity levels.
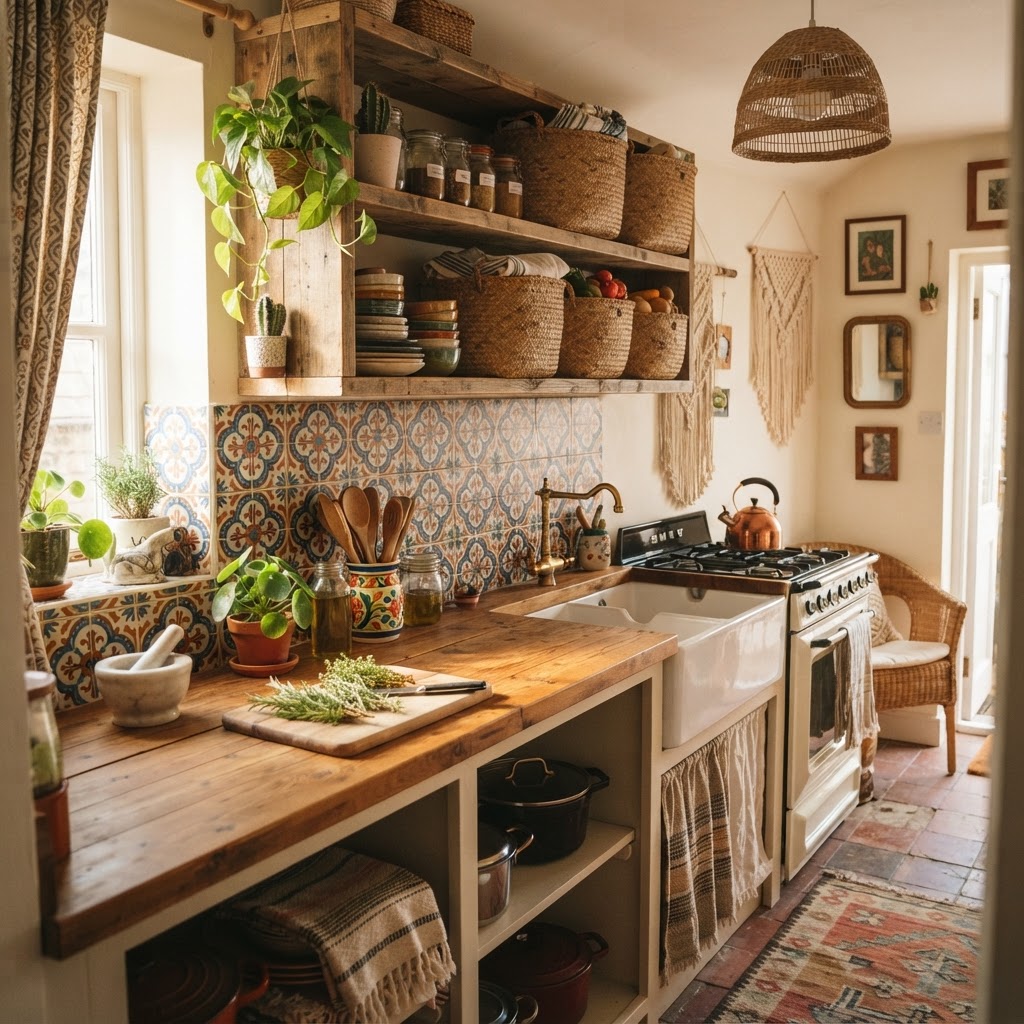
Textures, Patterns, and Warm Color Palettes

Mixing textures and patterns creates an eclectic and inviting feel.

Bohemian design is famous for its eclectic mix of patterns and tactile surfaces. In small kitchens, you can introduce these elements through runner rugs, kitchen towels, and woven baskets. A vintage-style Persian runner is a classic staple in small boho-style kitchens, adding warmth to cold tile floors and helping to define the kitchen zone in an open-concept layout. Use high-traffic, low-pile rugs to ensure safety and longevity in the kitchen environment.

Balancing Color and Light

While boho decor often embraces vibrant colors, keep the base neutral to avoid overwhelming a tight space. Use warm whites or earthy terracotta on the walls, and then introduce personality through accent pieces. This strategy keeps the room feeling airy while allowing you to express your artistic flair through colorful ceramics and patterned tiles. A 70/30 rule—70% neutral base and 30% vibrant accent—is the industry standard for maintaining balance in kitchens under 100 square feet.

Practical Organization Hacks for Boho Lovers

Organization is the bedrock of a functioning small kitchen. Even in a relaxed boho home, chaos is the enemy of creativity. Utilize woven seagrass baskets on top of your cabinets to hide away less frequently used items, maintaining a clean look while providing ample storage for seasonal kitchen gadgets. By labeling these containers with brass tags, you maintain a vintage-boho look that feels both organized and curated.

The ‘Visible Utility’ Approach

Instead of trying to hide everything, lean into the ‘visible utility’ look. A beautiful ceramic bowl filled with citrus fruits acts as a piece of decor, while a dedicated spice rack made from reclaimed wood serves both as a functional tool and a wall feature. The key is to keep only the items you love on display. Limiting your open display to 5-7 items prevents the kitchen from feeling cluttered and ensures each piece adds real value to your design story.

Lighting the Way to a Brighter Room

Lighting can transform the mood of any room, especially one that is short on space. Replace standard, harsh overhead lights with warm, inviting alternatives. Woven rattan pendants are a hallmark of boho style and provide a soft, filtered glow that makes a small kitchen feel cozy rather than sterile. Opt for 2700K to 3000K bulb temperatures to maximize the ‘warm’ factor.

Layered Lighting Techniques

Don’t rely on just one source of light. Use under-cabinet LED strips for tasks, a central woven light fixture for ambiance, and perhaps a small vintage lamp on the counter for a warm, evening glow. Layering light adds depth to the room, creating the illusion of more space. Smart bulbs can also be used to adjust the mood, shifting from task-focused brightness to warm relaxation mode after sunset.

Curating Your Personalized Kitchen Collection

Your kitchen should tell a story. Whether it is a set of mismatched vintage plates from your travels or a hand-woven tapestry hanging on an empty wall, your decor is what separates your home from a showroom. In a small footprint, focus on pieces that are both meaningful and functional to ensure you never cross the line into actual clutter. Periodically audit your collection; aim to rotate seasonal pieces every 6 months to keep your kitchen fresh.

FAQ

Q: How do you make a small boho kitchen look bigger?

Use light, earthy paint colors on walls and incorporate floor-to-ceiling vertical shelving to draw the eye upward. Clear counter space by hanging utensils and pots on wall-mounted racks to create an open, airy feeling that maximizes floor space.

Q: What are the best plants for a small boho kitchen?

Hardy, low-maintenance plants like Snake Plants, ZZ Plants, and Pothos are ideal for kitchens. These species handle varying light levels well and can be placed in macrame hangers to save valuable counter space.

Q: Are open shelves practical for small kitchens?

Yes, open shelves are highly practical for small kitchens because they remove the visual bulk of closed cabinetry. They increase perceived space by allowing light to flow through the room and provide a curated way to store everyday dishes.

Q: How do I incorporate boho style without cluttering my kitchen?

Adopt the ‘visible utility’ philosophy: only display items that are both beautiful and functional, such as handcrafted ceramics or wooden utensils. Keep surfaces clear by utilizing woven baskets for hidden storage on top of cupboards or inside pantries.

Q: What lighting is best for a boho-style kitchen?

Woven rattan pendant lights are the hallmark of boho kitchen lighting, providing a soft, ambient glow. Layer your lighting with under-cabinet LED strips for task work and small vintage table lamps to add depth and warmth to your counters.

16 Very Small Kitchen Ideas on a Budget That Look Expensive

16 Very Small Kitchen Ideas on a Budget That Look Expensive

You can make a small kitchen look expensive on a budget by prioritizing high-impact, low-cost upgrades such as replacing cabinet hardware, installing under-cabinet lighting, and adopting a monochromatic color palette. These strategic design choices minimize visual clutter and create a cohesive, custom-built appearance without requiring a full-scale renovation or high-end materials.

Rethinking Your Cabinetry Strategy

Upgrade hardware for an instant luxury look.

One of the most effective ways to upgrade a tiny kitchen is to focus on your cabinets, as they occupy the majority of your visual space. Replacing them entirely can cost upwards of $10,000, but a professional-grade paint job using high-gloss or deep matte finishes typically costs under $500 if done as a DIY project. High-gloss finishes are particularly effective in small spaces because they reflect light, creating a perception of greater depth. Alternatively, moody, dark matte colors provide a sophisticated, high-end design aesthetic that anchors the room. To achieve a professional finish, always use a high-adhesion primer and a durable enamel paint, which prevents chipping and keeps the surfaces looking new for years. This transformation creates a custom-built appearance that hides builder-grade imperfections.

Hardware Upgrades That Shine

Replacing generic cabinet handles and knobs is one of the easiest small kitchen ideas on a budget. Opt for high-quality, substantial hardware in brass, matte black, or brushed nickel. These tactile touches make a space feel significantly more expensive and custom-built.

Why Hardware Matters

Think of hardware as the jewelry of your kitchen. By selecting cohesive pieces that match your faucet or lighting fixtures, you create a sense of intentionality that suggests high design. Even the most basic white cabinets transform with the right metal accents.

Hardware Material Best For Luxury Rating
Unlacquered Brass Timeless/Patina High
Matte Black Modern/Industrial Medium
Brushed Nickel Transitional/Safe Medium

Maximizing Vertical Storage Space

Open shelving adds character to small kitchens.

When you cannot grow outward, grow upward by utilizing every inch of vertical real estate. Installing floor-to-ceiling cabinetry or extending current units to the ceiling using crown molding creates a seamless, built-in appearance that draws the eye upward, making ceilings feel higher. According to design experts, utilizing the top 12 to 18 inches of wall space often wasted above standard cabinets can increase your kitchen’s storage capacity by up to 25%. If full-scale cabinetry is outside your budget, consider installing floating shelves made from reclaimed wood or sturdy white melamine that matches your wall color. Open shelving is a fantastic, cost-effective option, but it must be kept tidy; use these spaces exclusively to display high-quality ceramics or glass canisters that double as decor. Keeping clutter off the counters is vital, as a minimalist look is synonymous with a more expensive, high-end finish. By keeping functional items tucked away and only displaying “curated” pieces, you prevent the kitchen from feeling crowded.

Choosing the Right Lighting Fixtures

Lighting transforms the mood of tiny spaces.

Lighting is the most crucial, yet often overlooked, element for changing the mood of your kitchen. Standard builder-grade flush mounts frequently emit a cold, blue-toned light that makes spaces feel flat and institutional. Replacing these with statement lighting, such as a sculptural pendant or a brass-accented semi-flush mount, can change the entire personality of the room for less than $150. Beyond the primary fixture, under-cabinet LED strips are a non-negotiable upgrade; they provide necessary task lighting and highlight your backsplash, which makes the space feel luxurious. Aim for a warm color temperature between 2700K and 3000K, which is widely considered the “sweet spot” for residential comfort. By layering light—combining a statement pendant with task-specific LED lighting—you create a sophisticated atmosphere that feels far more expensive than a single overhead source. The goal is to eliminate dark, shadowed corners that visually shrink your floor plan.

The Power of a Statement Backsplash

Hidden storage is the secret to a high-end feel.

In a tiny kitchen, the backsplash is a focal point because the surface area is limited, allowing you to splurge on premium materials without breaking the bank. Since you may only need 10 to 15 square feet of tile, you can afford high-end finishes like marble subway tiles, mosaic glass, or bold encaustic patterns that would be cost-prohibitive in a larger kitchen. If labor costs for professional installation are too high, consider high-quality peel-and-stick tiles. Modern advancements have made these options highly durable and water-resistant, often mimicking the look of real stone or ceramic grout lines with impressive accuracy for under $10 per square foot. The key to making a budget backsplash look expensive is precision: ensure your grout color matches the tile to create a seamless, monolithic look, or use a high-contrast grout to highlight a classic pattern. A well-executed backsplash adds immediate character and serves as the visual centerpiece that defines the “luxury” feel of your compact cooking space.

Investing in High-End Countertop Finishes

Countertops represent the most significant visual weight in a kitchen, making their material choice paramount to a high-end aesthetic. While granite and quartz are the gold standards, their cost can be excessive for a small renovation. Butcher block remains an excellent, budget-friendly alternative, priced at roughly $30-$50 per linear foot, providing warmth and texture that ages beautifully with proper maintenance. For those craving the stone look, consider concrete resurfacing kits that allow you to cover existing worn laminate with a modern, industrial grey finish. Alternatively, high-quality laminate sheets that mimic natural stone are available for a fraction of the cost of real slab quartz. The secret to a premium appearance is selecting a design that minimizes visual “noise”—a uniform, solid surface without a chaotic pattern makes the room appear larger than it actually is. Always ensure the edges are finished with a clean, squared-off profile rather than a rounded “bullnose,” which immediately signals a lower-budget construction.

The Art of Decluttering and Minimalism

Nothing makes a kitchen look cheaper than excessive clutter, as countertops act as visual anchors in small spaces. To achieve a luxury look, commit to a strict “everything off the counter” policy, which forces you to be intentional about storage. Store bulky appliances like mixers and blenders out of sight in cabinets, or use mounting brackets to tuck them under cupboards.

Essential Organization Tips

  1. Use drawer dividers to keep utensils organized and hidden.
  2. Install magnetic strips on walls to hold knives securely.
  3. Utilize the insides of cabinet doors for spice racks or pan lid holders.
  4. Opt for uniform storage containers to keep dry goods looking orderly.
Item Storage Solution Benefit
Knives Magnetic Wall Strip Saves drawer space
Spices Cabinet Door Rack Reduces pantry clutter
Utensils Custom Drawer Dividers Prevents shifting/clutter

Incorporating Texture and Color

Monochromatic palettes are the primary tool for making small spaces feel expansive rather than cramped. Consider painting your cabinets the same hue as your walls, which helps the cabinetry recede and creates the illusion of infinite space. If you prefer color, pick one rich, deep hue—such as navy, forest green, or charcoal—and commit to it across all surfaces. The secret to avoiding a “flat” feeling is layering textures: introduce a raw wood cutting board, a woven basket for fruit, a polished marble surface, and matte black hardware. Texture provides depth, which is the hallmark of professional interior design. By varying the materials within a unified color scheme, you create a sophisticated, layered look that feels intentionally curated rather than haphazardly assembled.

Smart Appliances and Layout Hacks

If your appliances are outdated, replacing them all is rarely a budget-friendly option. Instead, focus on small, high-impact replacements or creative maintenance to blend them into your cabinetry. A sleek, portable induction cooktop can replace an outdated range, offering a minimalist, modern aesthetic for a small fraction of the cost of a full oven upgrade. For those with a very small footprint, mobile kitchen islands on wheels provide a “pop-up” workspace that can be tucked away when not in use. Always look for multi-functional items; for example, a sturdy butcher block cutting board that sits over the sink effectively creates an extra two square feet of prep surface. By focusing on multi-use, flexible items, you maximize your functionality without sacrificing the clean lines that make a tiny space feel like a high-end galley.

FAQ

Q: What is the cheapest way to make cabinets look high-end?

Paint is the most effective and affordable way to update cabinets, specifically using a high-gloss enamel or a deep, moody matte finish. Complement this with modern, heavy-weight hardware in brass or matte black to complete the high-end look on a budget.

Q: Does painting cabinets make a small kitchen look bigger?

Yes, painting cabinets the same color as the walls creates a seamless, monochromatic effect that prevents the kitchen from feeling visually “broken up.” This trick helps cabinets recede into the wall, significantly increasing the perceived depth and size of the room.

Q: Are peel-and-stick backsplashes worth it for resale value?

High-quality peel-and-stick backsplashes can improve the aesthetic appeal of a home for a relatively low investment, though they may not add significant equity. They are an excellent solution for renters or homeowners looking to refresh a space quickly and cost-effectively without a professional contractor.

Q: What lighting temperature is best for small kitchens?

Warm white light, specifically between 2700K and 3000K, is the best choice for kitchens. This temperature creates an inviting, upscale ambiance, whereas cooler, bluer light can make a kitchen feel sterile, clinical, and cheap, especially in smaller, darker spaces.