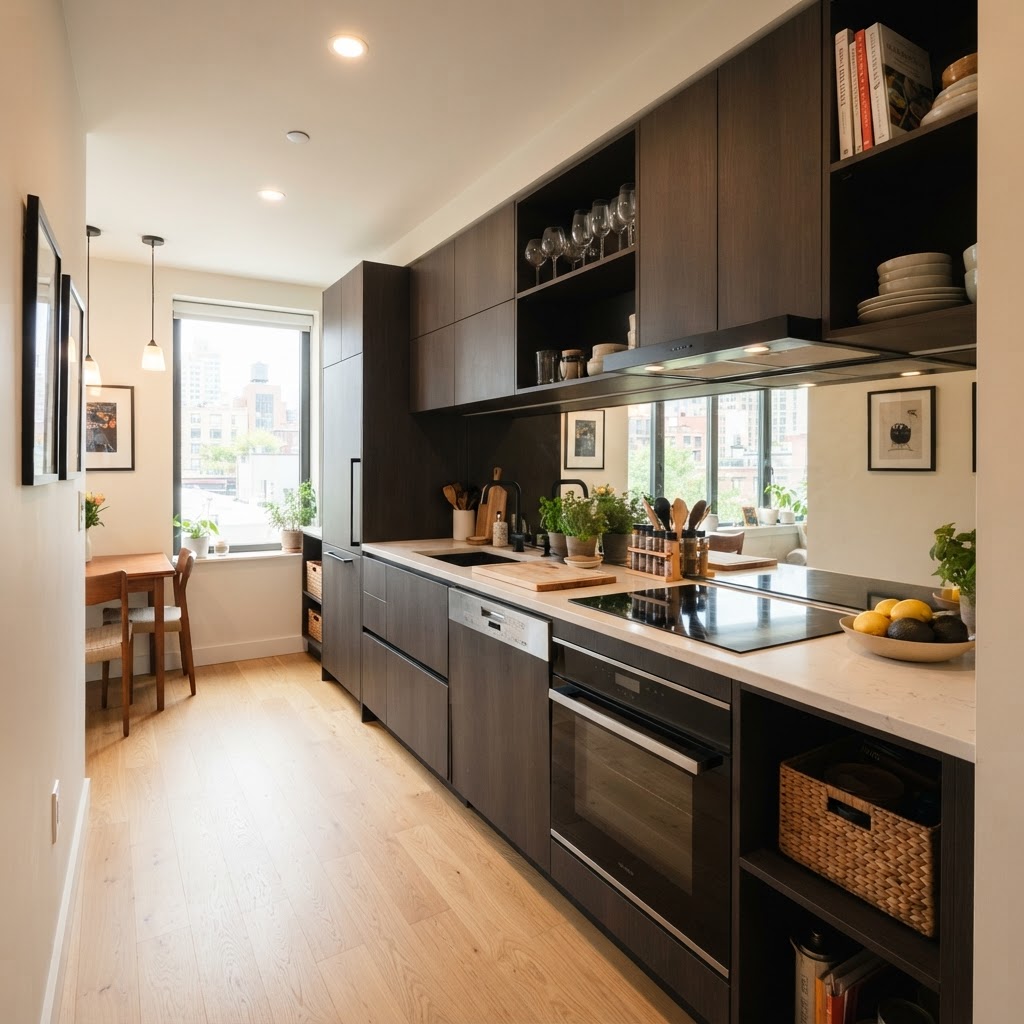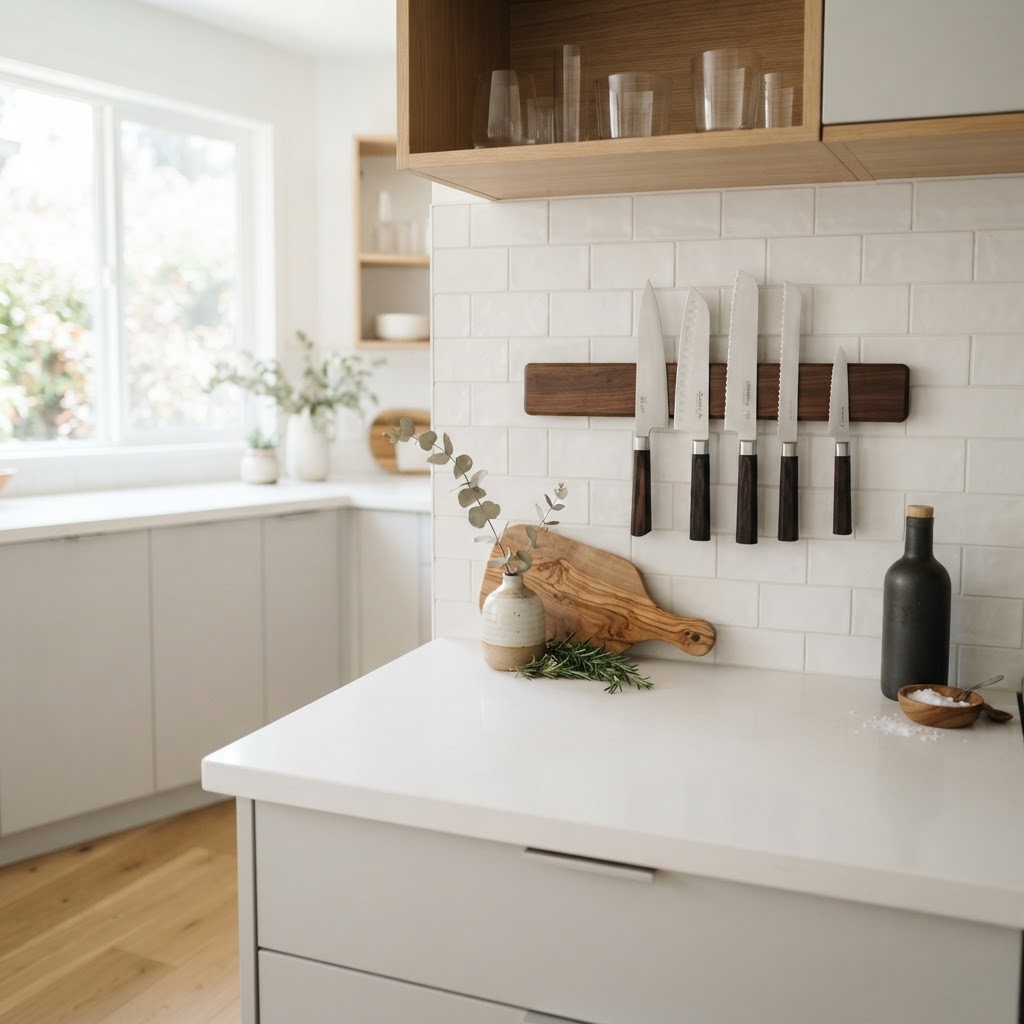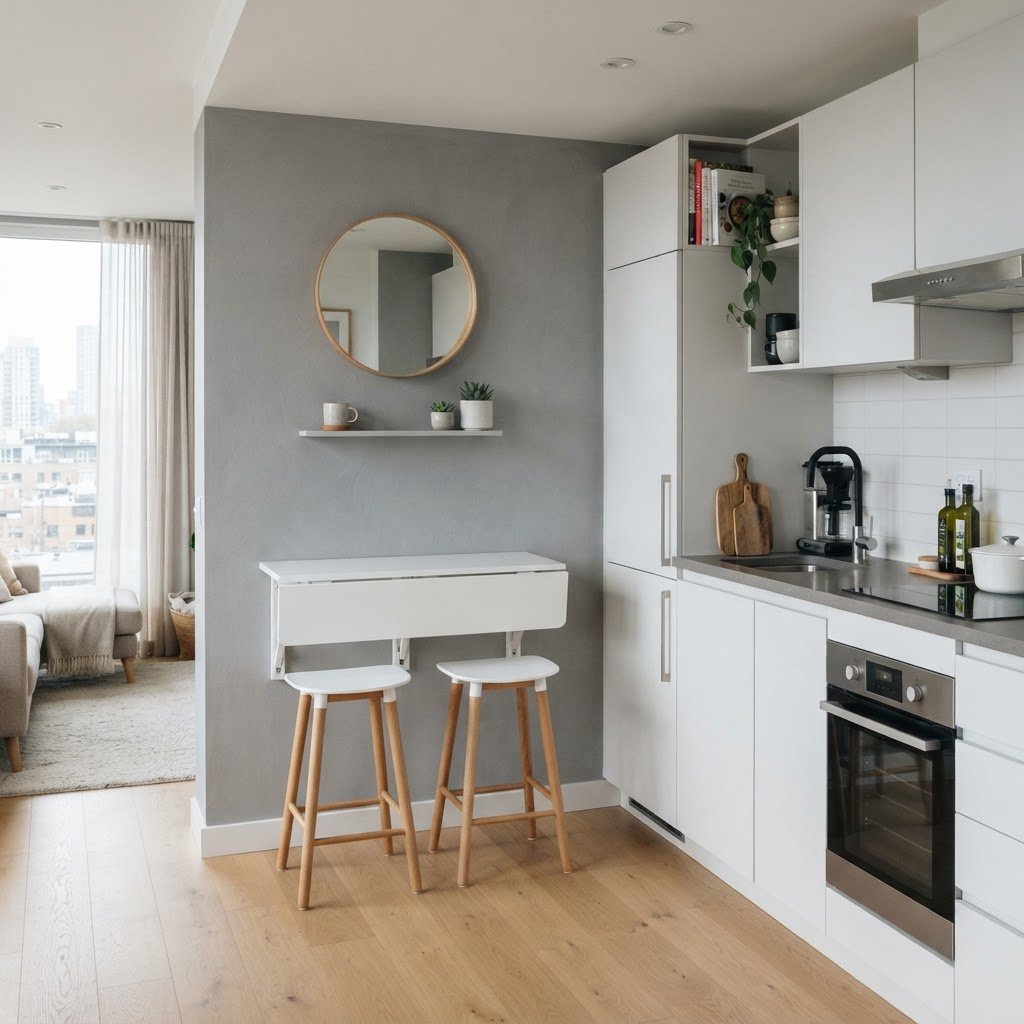
Archives August 2026

Foldable & Expanding Table Ideas for Studio Kitchens

Living in a studio apartment often requires a high degree of creativity when it comes to furniture placement and overall utility. Finding the right foldable and expanding table ideas for studio kitchen areas can completely revolutionize how you move through and utilize your home, turning a cramped corner into a functional dining zone or workspace. When square footage is at a premium, the furniture you choose must pull double duty, ensuring that every inch of your kitchen serves a meaningful purpose without sacrificing aesthetic appeal.

The Philosophy of Modular Kitchen Design
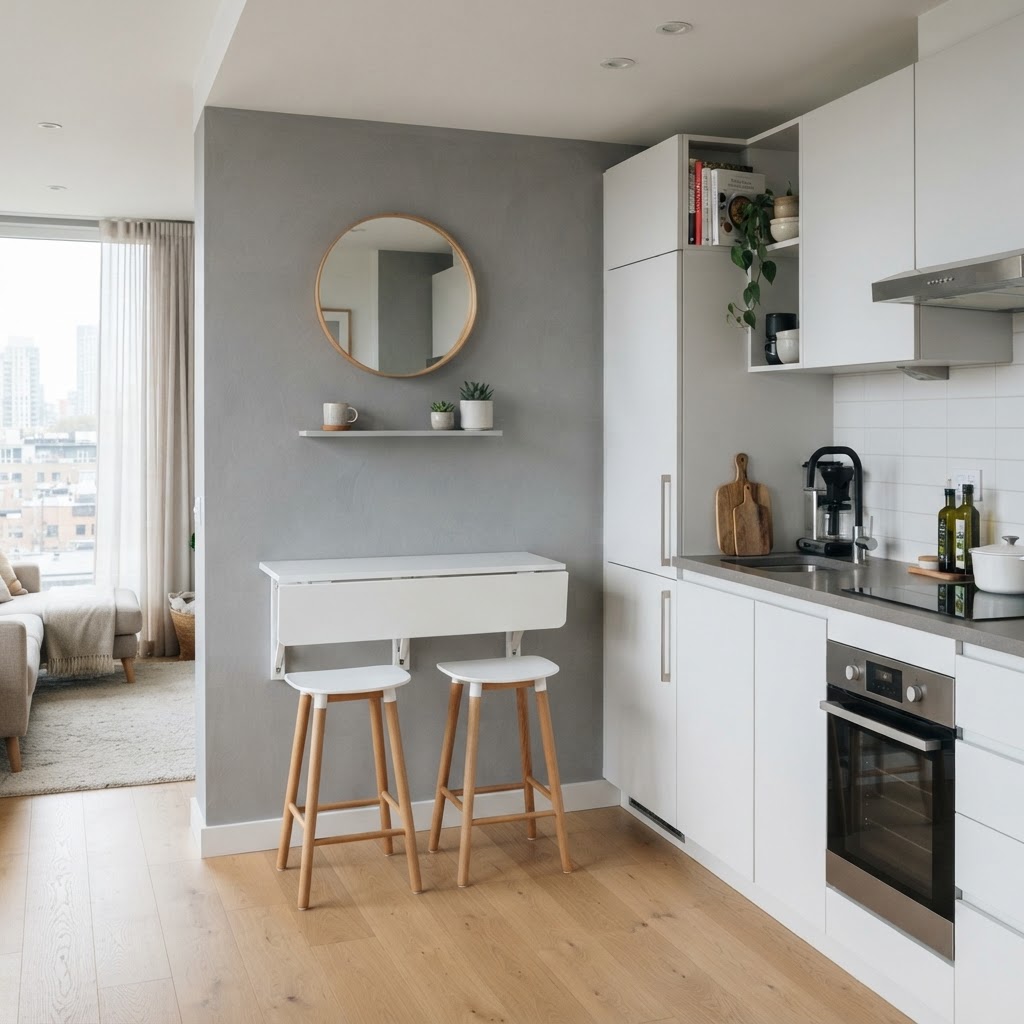
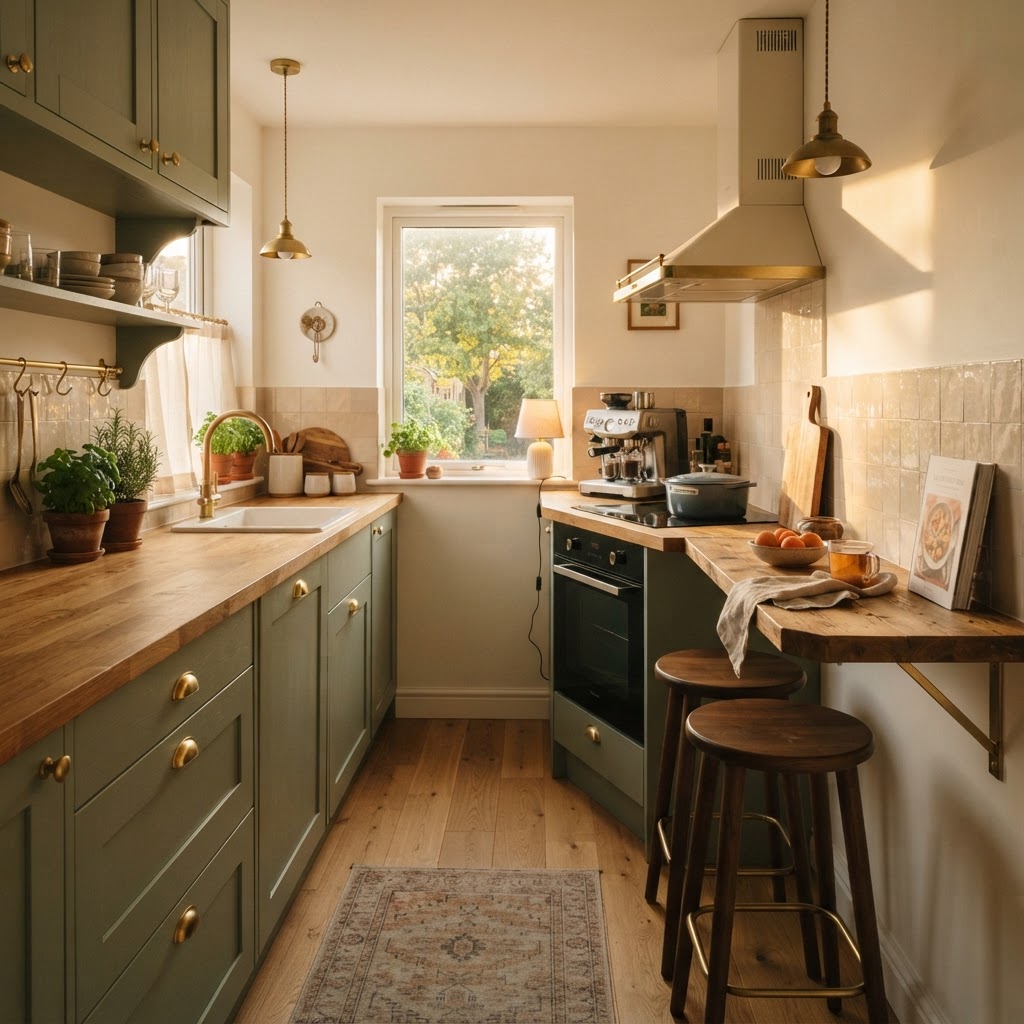
Wall-mounted tables save precious floor space in compact kitchens.

Designing a small space is all about prioritizing flexibility. When your kitchen, living room, and bedroom share a single footprint, static, heavy furniture pieces often become obstacles rather than assets. Instead, savvy dwellers are turning toward modularity to regain control over their floor plans.

By selecting furniture that can adapt to your immediate needs, you effectively increase the perceived size of your unit. Whether you are hosting a dinner party for four or simply need a surface to prep a meal, an expanding table provides the necessary utility only when required. Once the task is complete, the furniture disappears back into the background, leaving your studio feeling open and airy.

Wall-Mounted Drop-Leaf Tables
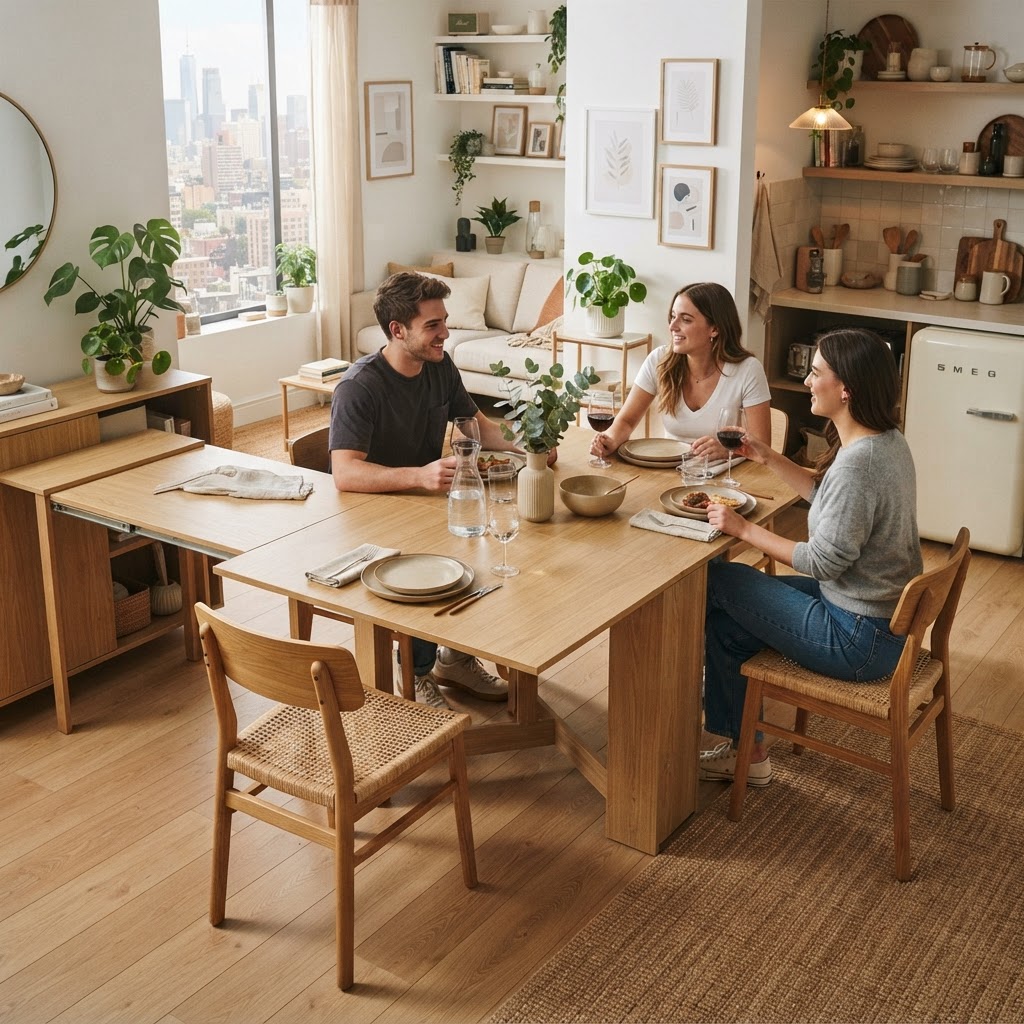
A console-to-dining table offers ultimate flexibility for hosts.

The wall-mounted drop-leaf table is perhaps the most iconic solution for tight urban apartments. These tables are attached directly to a wall or the side of a cabinet, staying completely flush when not in use. This keeps the floor entirely clear, which is crucial for maintaining the flow of traffic in a studio kitchen.

Why Wall-Mounted Options Win

These pieces are incredibly versatile because they can be mounted at any height. You can position them at counter height to serve as an extension of your existing kitchen workspace or at traditional dining height to serve as an intimate cafe table for one or two.

  • Total clearance of floor space for better movement.
  • Ability to fold down to as little as two inches of depth.
  • Minimalist look that blends into modern apartment decor.
  • Potential for integrated storage shelves behind the folding panel.

Transformable Console-to-Dining Tables
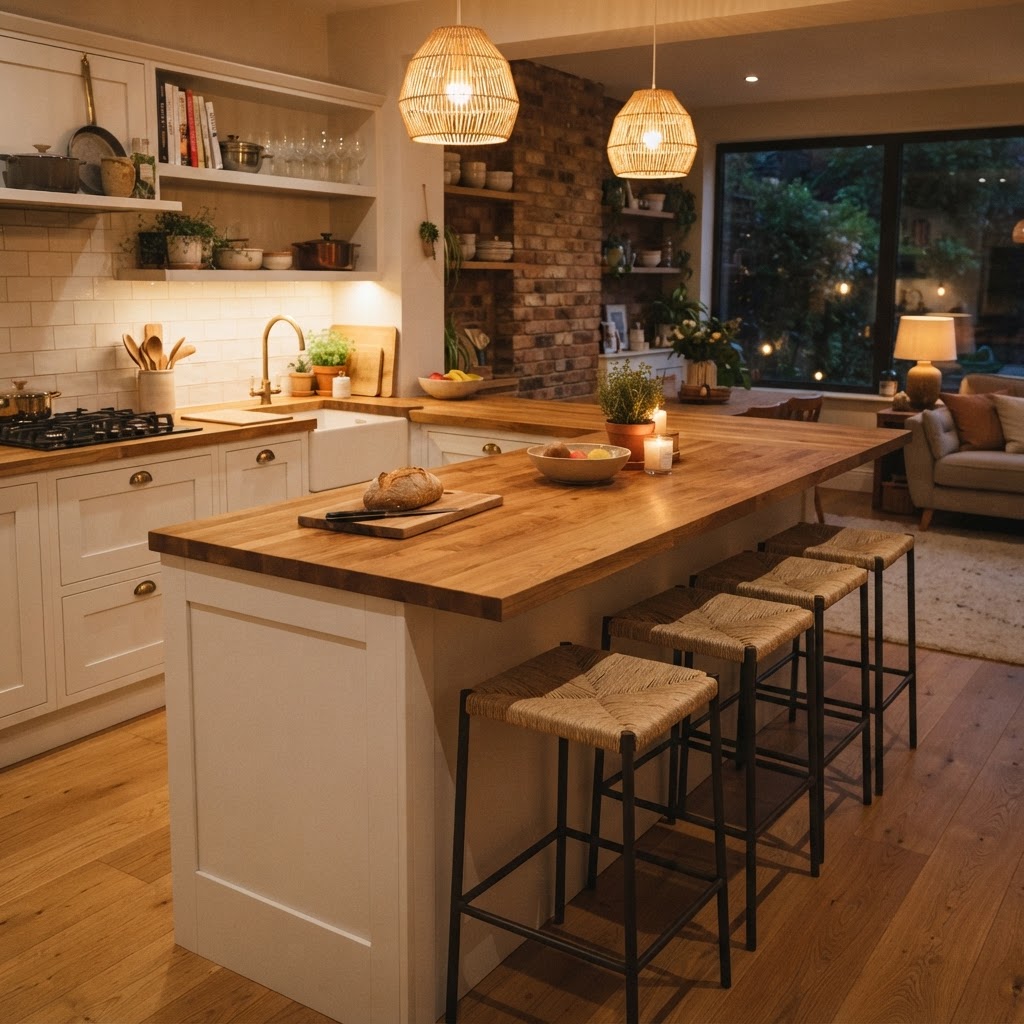
Kitchen islands with extending leaves double as prep and dining areas.

For those who occasionally host friends, a console-to-dining table is an investment that pays for itself in convenience. In its retracted state, it functions as a narrow console table against a wall, perhaps holding keys, mail, or a small decorative lamp. When needed, the top unfolds and the telescopic base expands to reveal a full-sized dining surface.

These models are engineering marvels that feel like magic. They look like sophisticated decor items during the day and transition into functional dining pieces in minutes. Because they are often freestanding, they don’t require structural installation, making them perfect for renters who cannot drill into walls or cabinetry.

The Multi-Functional Kitchen Island
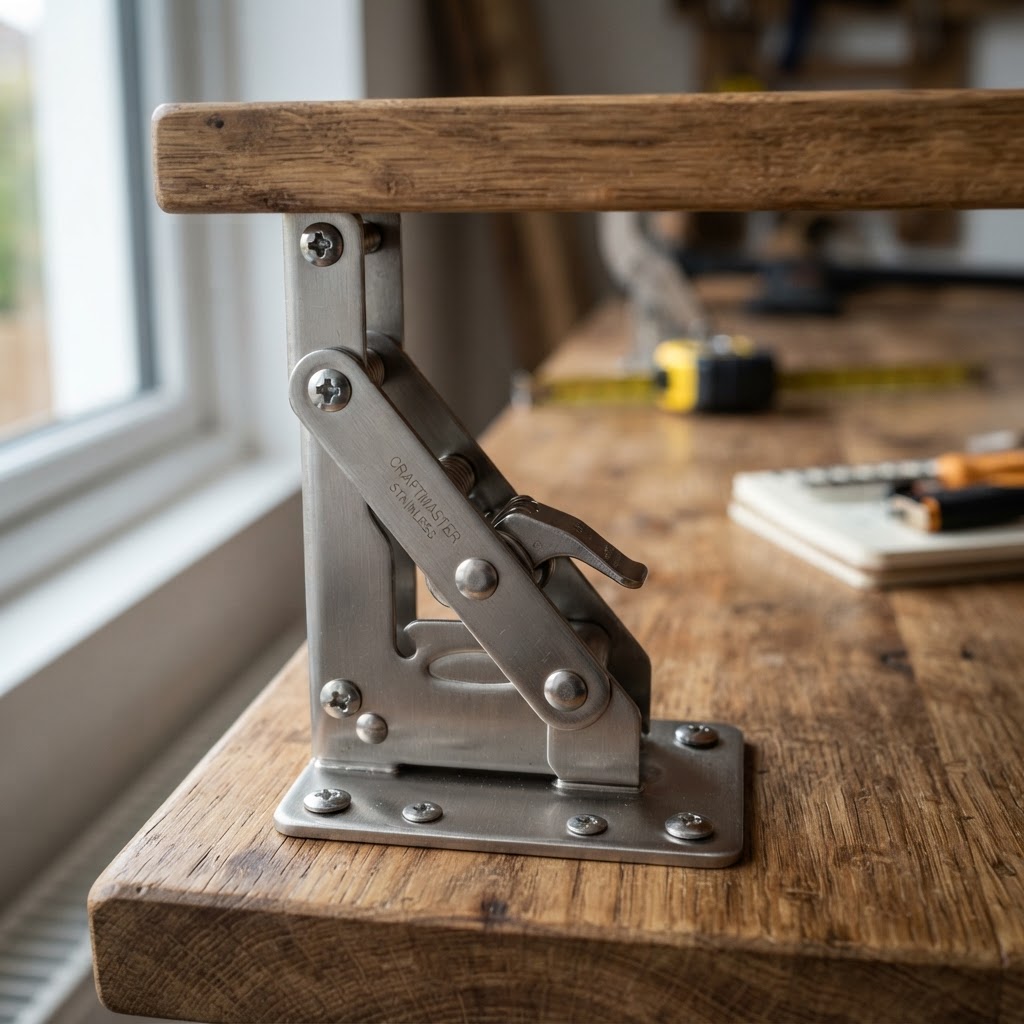
Investing in quality hardware ensures your space-saving furniture lasts.

Many studio kitchens feature a small island or peninsula. By integrating an expanding top into this structure, you can bridge the gap between a prep station and a dining table. Consider a butcher-block top with a hinged leaf that extends outward into the living area.

When designing your island, look for models that have open space underneath the overhang. This allows chairs to tuck away completely under the surface, ensuring that they don’t protrude into your walkways when not in use. Combining food preparation duties with a seating area is a classic technique to save space in compact floor plans.

Sliding and Hidden Surface Solutions

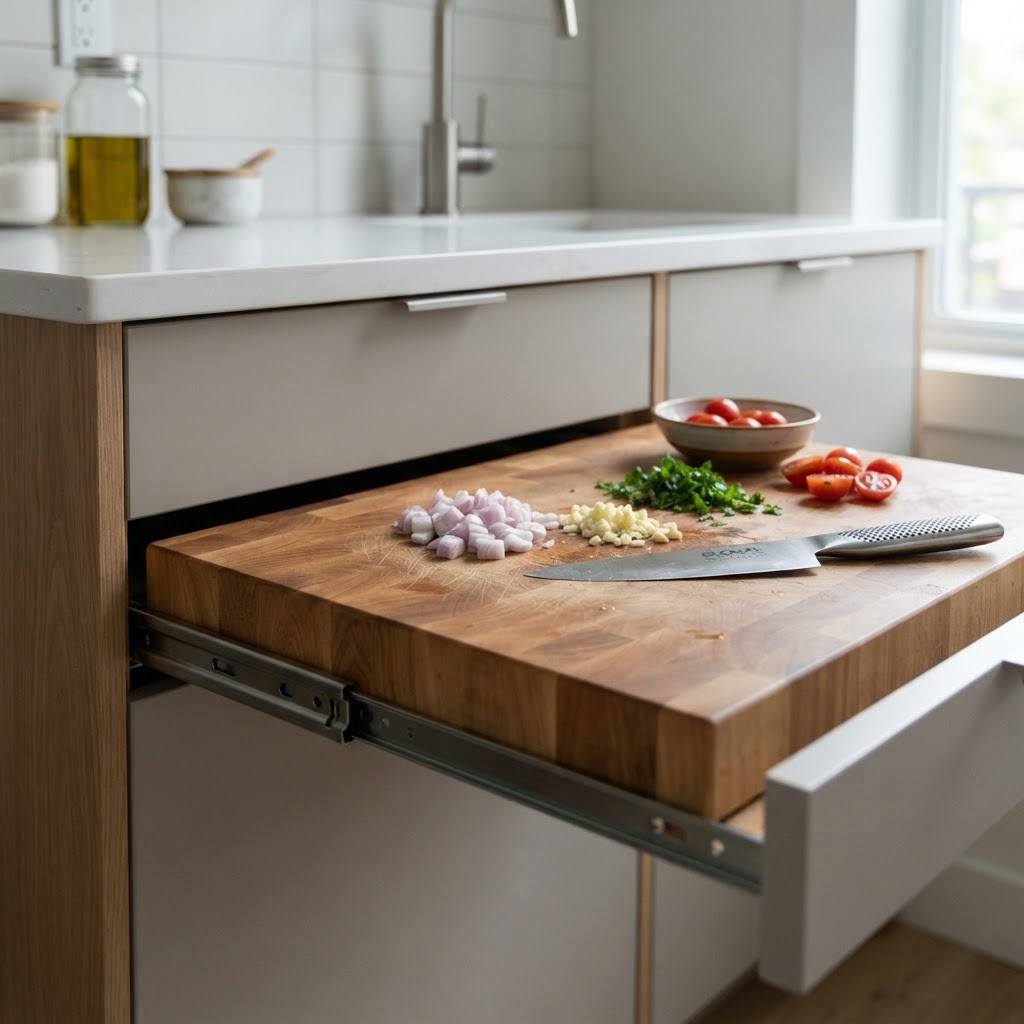
Innovation in furniture design has led to tables that slide out from within existing cabinets or kitchen units. These hidden surfaces are ideal for studio kitchens where even a folding table might feel too bulky. By hiding a slide-out drawer-table, you maintain the sleek lines of your cabinetry while gaining a workspace for your morning coffee or laptop work.

This approach requires more planning and potentially custom carpentry, but the payoff is immense. You are essentially hiding your furniture in plain sight. These surfaces are typically smaller, suited for singular tasks, but for the average studio dweller, they provide exactly the level of support needed without claiming any additional footprint.

Choosing the Right Materials for Small Spaces

When selecting your foldable or expanding piece, keep material weight and finish in mind. Heavy, dark wood can make a small kitchen feel suffocating. Instead, opt for lighter woods like ash or birch, or choose materials like glass, acrylic, or powder-coated metal that offer a lighter visual profile.

Acrylic “ghost” chairs paired with an expanding glass table can create the illusion of more space because the light passes through the furniture. When everything looks transparent or light, your eyes continue moving through the room, making the space feel larger than it actually is.

Practical Tips for Maintenance and Longevity

Because these tables are designed to move and adjust, the hinges and sliding mechanisms are the parts most prone to wear and tear. You should opt for high-quality hardware that can withstand daily folding and unfolding without loosening.

Regularly cleaning the tracks of sliding tables and tightening the bolts on drop-leaf hinges will keep your furniture functioning smoothly for years. Treat these pieces with the same care as your primary kitchen appliances, and they will continue to be reliable, space-saving companions in your home.

Conclusion

Integrating the right foldable and expanding table ideas into your studio kitchen doesn’t just save space; it changes how you live. By moving away from static furniture toward more dynamic, adaptable designs, you unlock the full potential of your home, proving that small spaces don’t have to feel small at all. Take the time to measure your area, consider your specific dining and working habits, and choose a solution that aligns with your lifestyle. Start your transformation today and reclaim your floor space for better living. Which of these styles do you see fitting best in your current layout? Share your ideas in the comments below!
Pull-Out Pantry & Cabinet Hacks for Tiny Apartments

Living in a small apartment often means sacrificing luxury for location, but your kitchen should never feel like a source of constant frustration. If you are tired of playing a daily game of Tetris with your canned goods or digging into the dark abyss of deep cabinets, it is time to rethink your layout. Utilizing a clever pull-out pantry or installing smart cabinet hacks can instantly double your usable storage space, turning a cramped kitchenette into a functional culinary hub.

Understanding the Potential of Vertical Storage

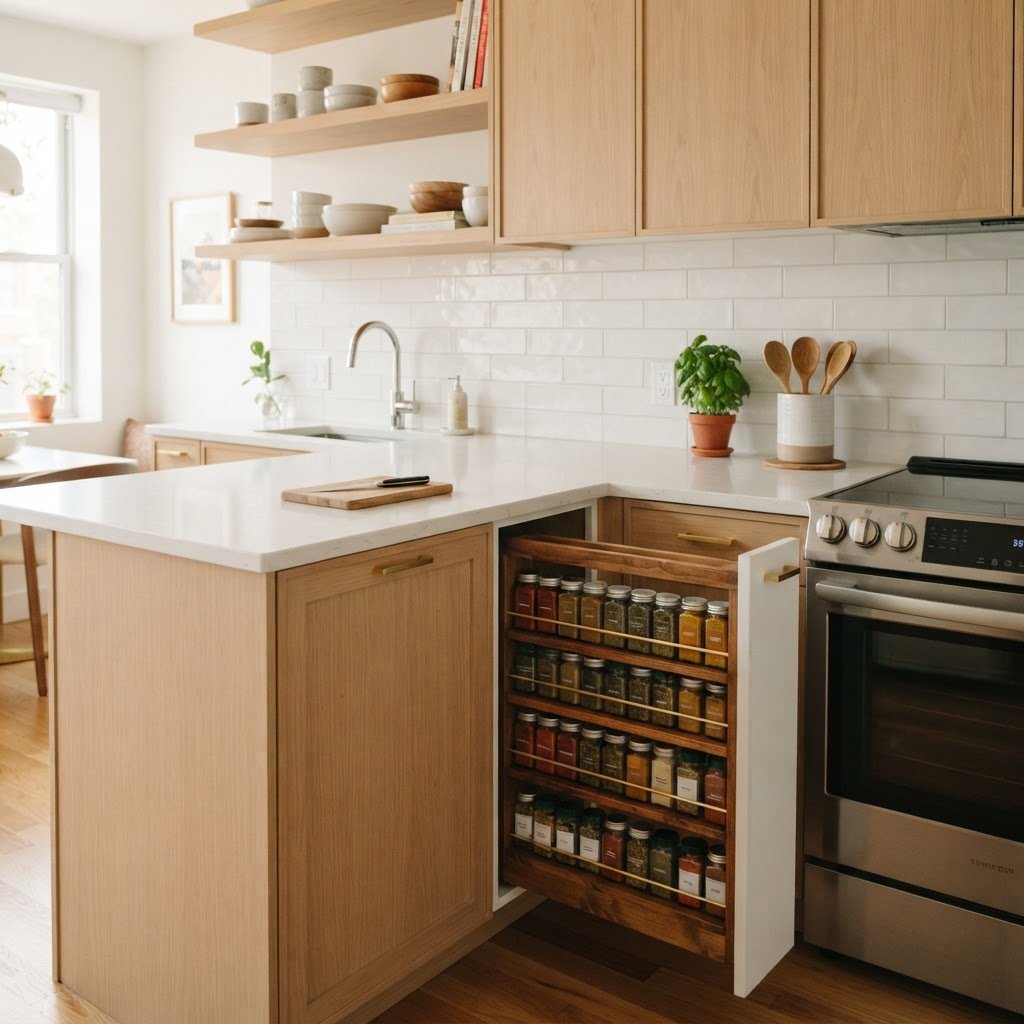
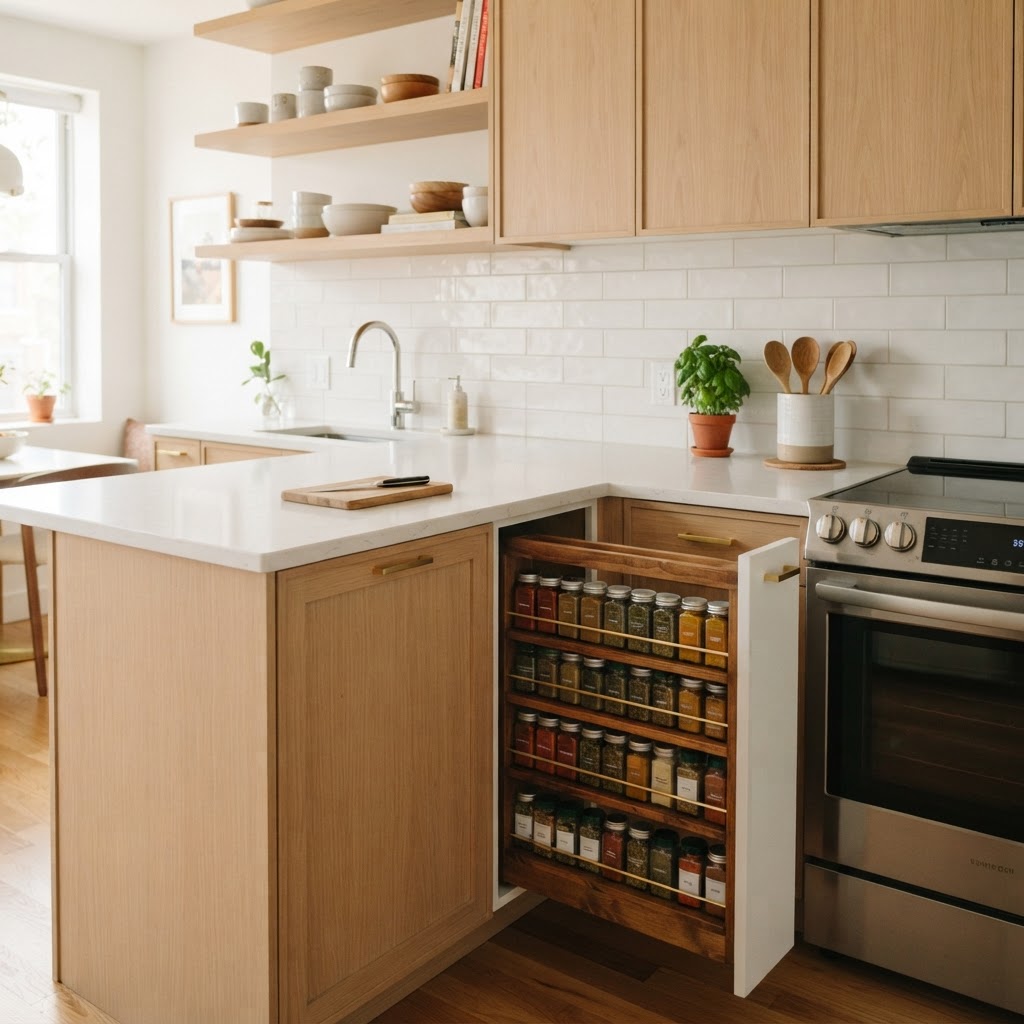
A narrow, DIY pull-out pantry fits perfectly in an awkward kitchen gap.

When floor space is at a premium, the only way is up. Most apartment kitchens suffer from wasted vertical space, specifically within the tall gaps between shelves. Standard cabinets usually come with one or two adjustable shelves, but they rarely utilize the full height of the cabinet cavity. By installing pull-out drawers or vertical dividers, you transform ‘dead’ air into premium real estate for your spices, oils, and dry goods.

The Anatomy of a Successful Pull-Out System

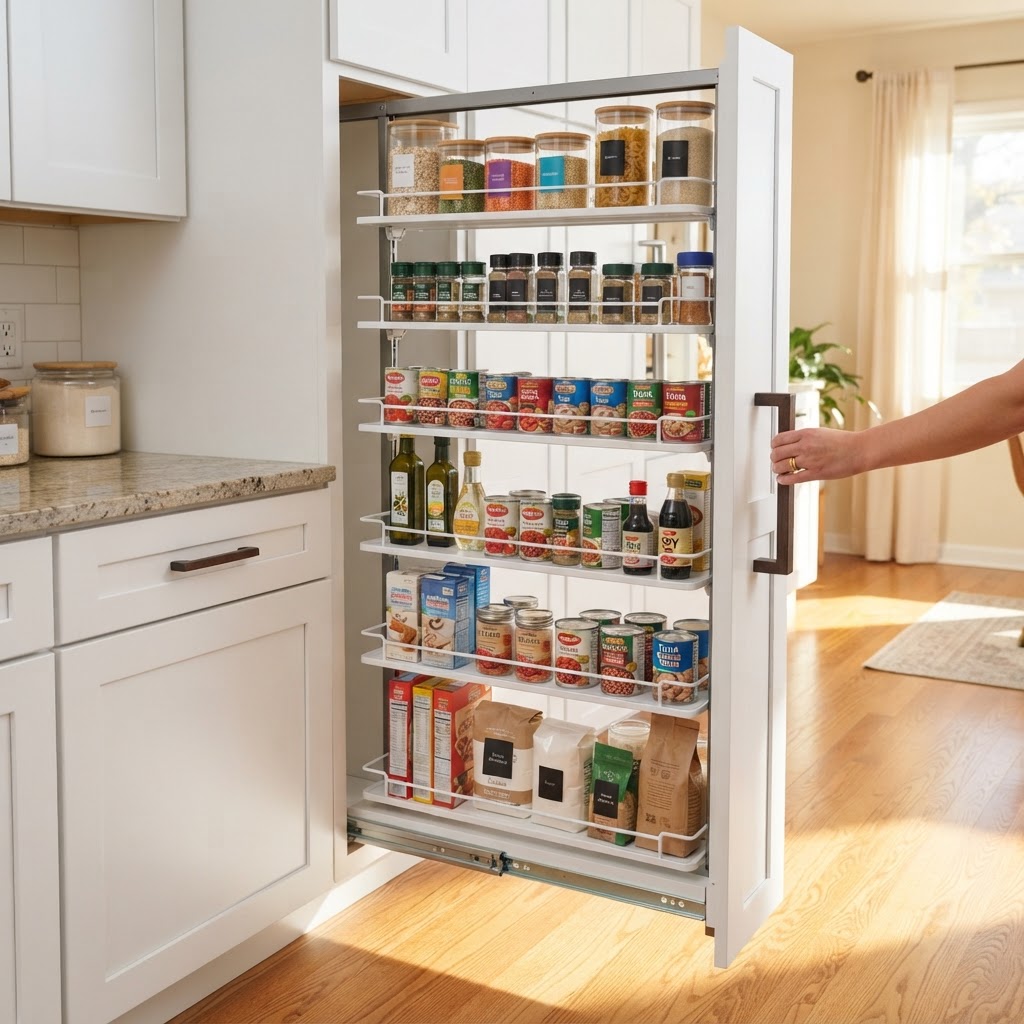
Effective storage is about accessibility and visibility. A traditional cabinet forces you to reach into the dark, often forgetting what is pushed to the back. A pull-out pantry system brings the back of the shelf to the front, ensuring that every inch of space is accounted for. Whether you are retrofitting an existing cupboard or building a slide-out unit for a narrow gap between your fridge and wall, the mechanical advantage is undeniable.

DIY Cabinet Hacks for Instant Organization

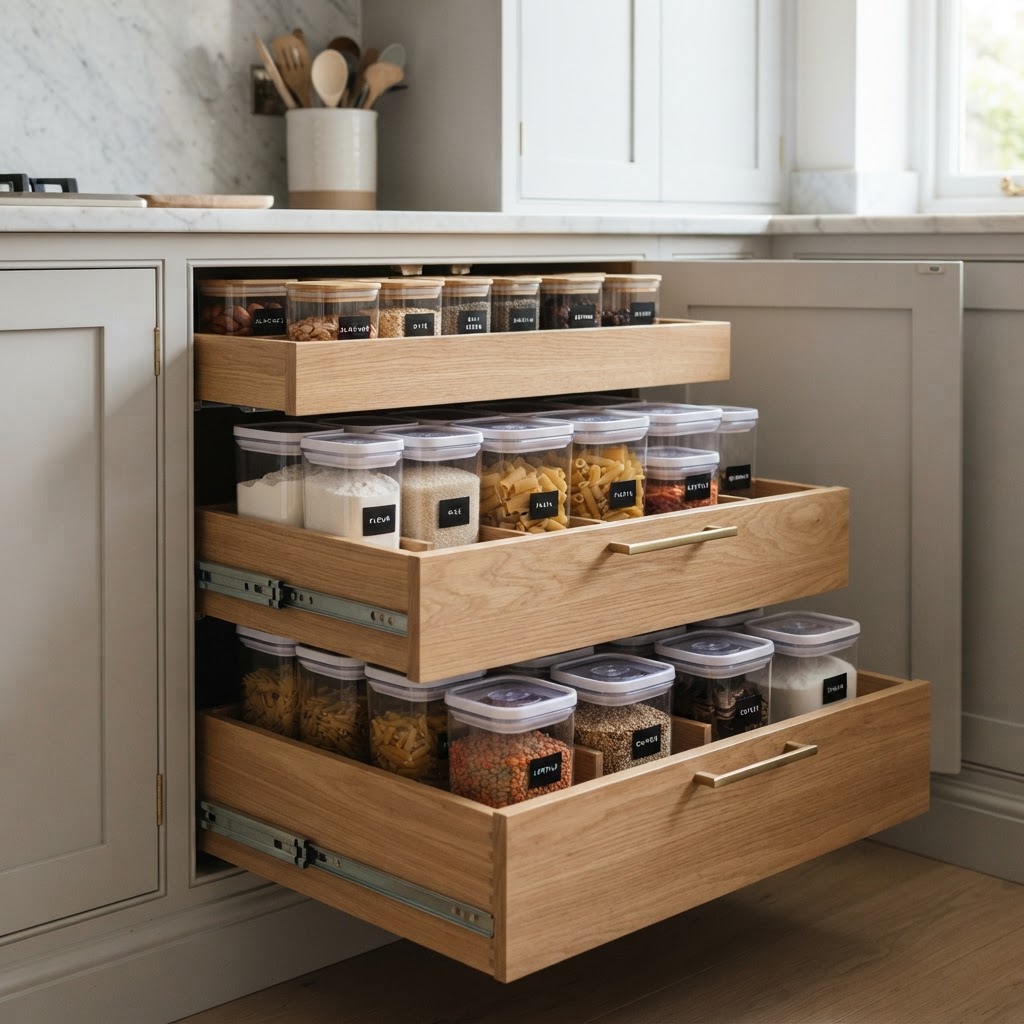
Clear containers inside pull-out drawers maximize every inch of cabinet space.

You do not need a professional contractor to improve your kitchen flow. Many cabinet hacks can be executed over a weekend with basic supplies from a hardware store. For instance, adhesive-backed pull-out trays can be mounted to the floor of your lower cabinets, making heavy pots and pans accessible with a gentle glide.

Another genius solution is the use of tension rods placed vertically inside a cabinet to create slots for cookie sheets, cutting boards, and muffin tins. By standing these flat items on their sides, you eliminate the precarious stacks that topple over whenever you try to grab a single tray. This simple shift drastically reduces visual clutter and makes cleaning up after a meal feel much less like a chore.

Optimizing the ‘Dead’ Space in Your Kitchen

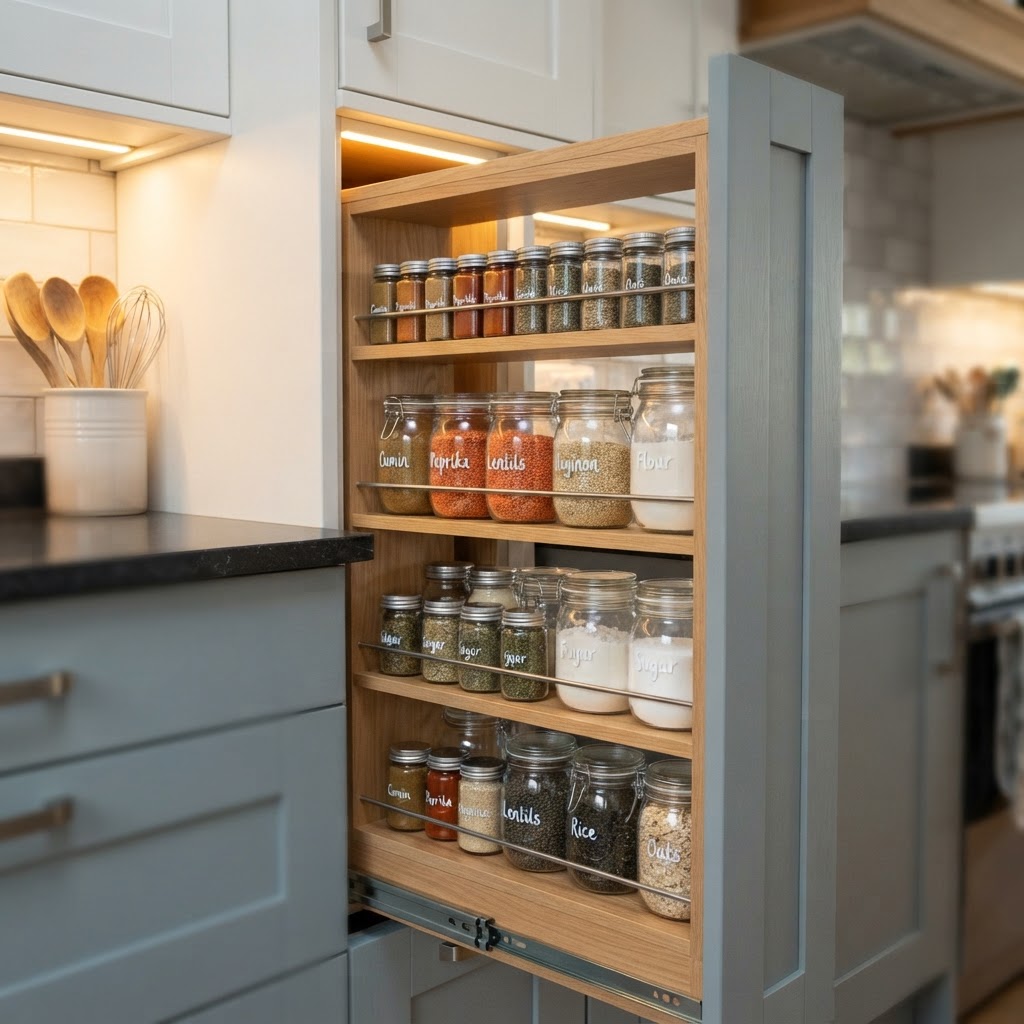
A slim pull-out pantry makes accessing small items easy and efficient.

Every tiny apartment has that one awkward, narrow gap—perhaps between the stove and the refrigerator, or a skinny cabinet that is too thin for standard plates. These are the perfect candidates for a custom pull-out pantry insert. Even if the gap is only six inches wide, it is enough to hold dozens of spice jars, boxes of pasta, or cleaning supplies.

Installing Slimline Pull-Out Units

If you have a gap, you can build a tall, narrow cart on casters or a fixed track-mounted unit. A simple wooden frame with L-brackets and a sturdy handle can turn a useless void into an organized masterpiece. By keeping your most frequently used cooking items in this mobile pantry, you keep your main counter space clear for actual food preparation, which is essential when every square inch counts.

Magnetic and Door-Mounted Storage Solutions

Often, the interior surface of your cabinet doors is treated as nothing more than a barrier, but it is actually one of the most underrated storage zones in the home. Attaching wire racks or magnetic strips to the inside of your cabinet doors is a game-changer. These areas are perfect for storing measuring spoons, light plastic lids, or even a small magnetic board for meal planning notes.

Why Door Space Matters

By migrating small, frequently used items to the back of the doors, you free up the deep shelves for bulkier containers. This hierarchical approach to storage—keeping heavy, large items on the bottom and smaller, tactical tools on the doors—creates a logical flow. When your kitchen has a place for everything, the small size becomes a design feature rather than a limitation.

Managing Kitchen Clutter with Clear Containers

Even the best pull-out pantry is only as good as the organization inside it. Ditch the mismatched original packaging of your grains, beans, and snacks as soon as you get home. Investing in a set of clear, square or rectangular containers allows you to see exactly what you have at a glance, preventing you from buying doubles of items you already possess.

When you use clear bins in your pull-out drawers, you can slide the entire drawer out and see the top labels or contents clearly. This level of visibility means you spend less time searching and more time cooking. Remember to measure your cabinet depth before buying containers so you can optimize every inch of the pull-out track.

Maintaining Your New Organization System

Installing these storage solutions is the easy part; the challenge is maintaining the system over time. Every six months, perform a ‘kitchen audit.’ Remove items that have expired and wipe down your pull-out tracks to ensure they glide smoothly. A little bit of maintenance keeps your small apartment kitchen running at peak efficiency.

Benefits of a Well-Organized Small Kitchen

  • Reduced stress when preparing meals for guests.
  • Lower grocery bills by preventing duplicate purchases.
  • Improved hygiene by keeping surfaces clean and clear.
  • A greater sense of satisfaction with your living space.

Conclusion

Small apartment living does not have to be restrictive if you get creative with your available space. By implementing these pull-out pantry and cabinet hacks, you can turn a tiny, unorganized kitchen into a highly efficient space that rivals any custom design. Start with one area, such as a single narrow cabinet or one cluttered shelf, and build from there. You will be surprised by how much breathing room you can find in your home. Are you ready to take back your storage space? Start your first cabinet project this weekend and share your transformation results with us below!
If you found these tips helpful, consider subscribing to our newsletter for more tiny-home hacks and DIY storage solutions delivered directly to your inbox.

U-Shaped Small Kitchen Layouts That Feel Spacious

Designing a home can be a daunting task, especially when you are working with limited square footage. However, U-shaped small kitchen layouts are often the unsung heroes of interior design, offering a perfect balance of efficiency and workspace. By utilizing three walls, these layouts maximize counter surface area while creating an ergonomic ‘work triangle’ that makes cooking feel seamless rather than cramped.

Many homeowners assume that a small kitchen means sacrificing style, but that is far from the truth. With the right configuration, a U-shaped design can actually make your room feel more open and organized. Whether you are planning a complete renovation or just looking to optimize your existing cabinets, understanding how to manipulate light, color, and flow is the key to unlocking hidden potential.

The Anatomy of Efficient U-Shaped Kitchens

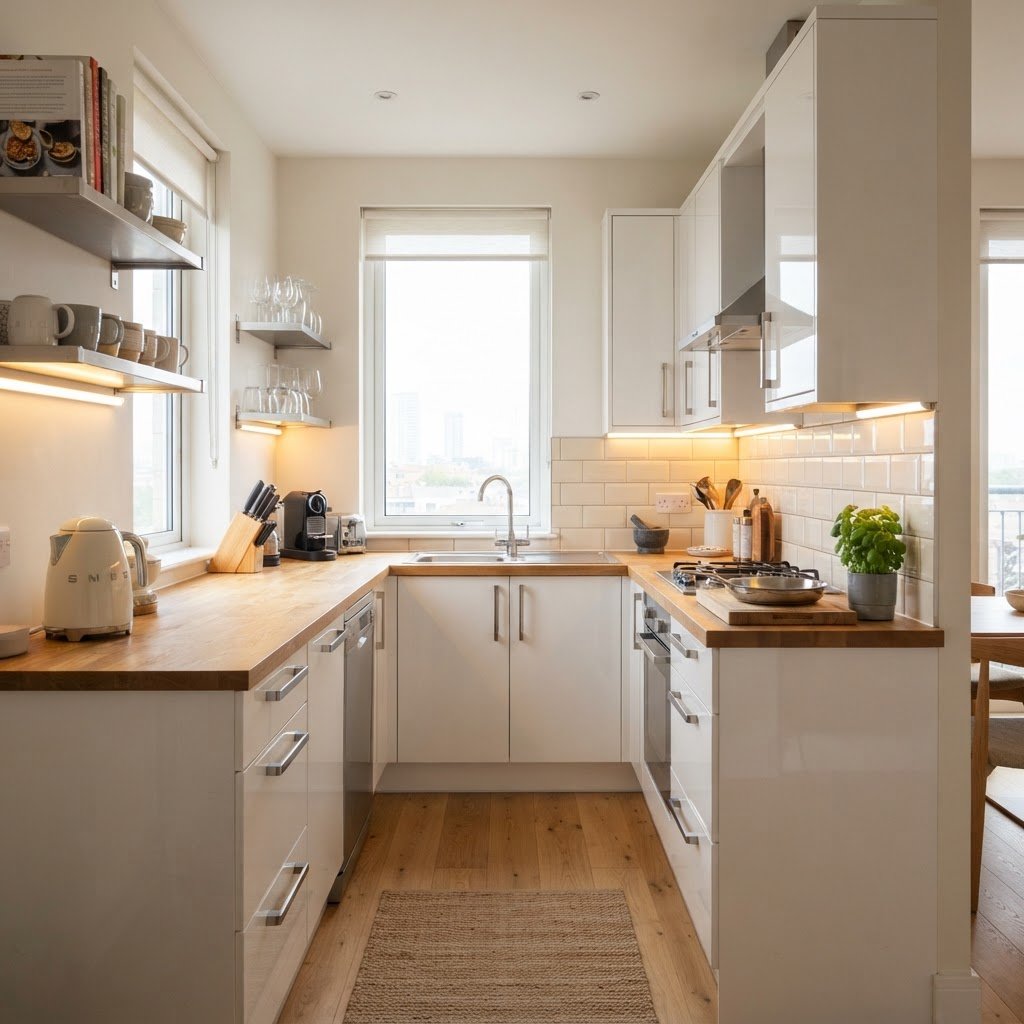
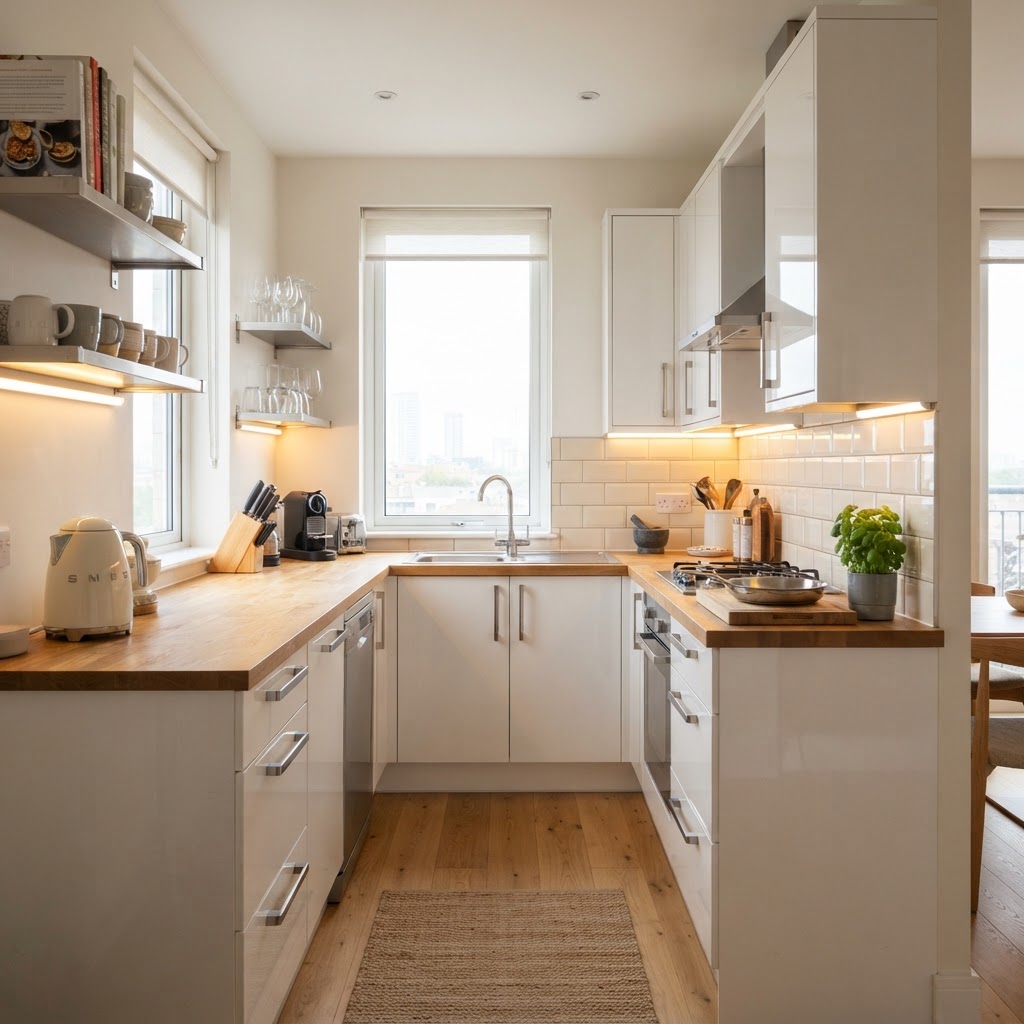
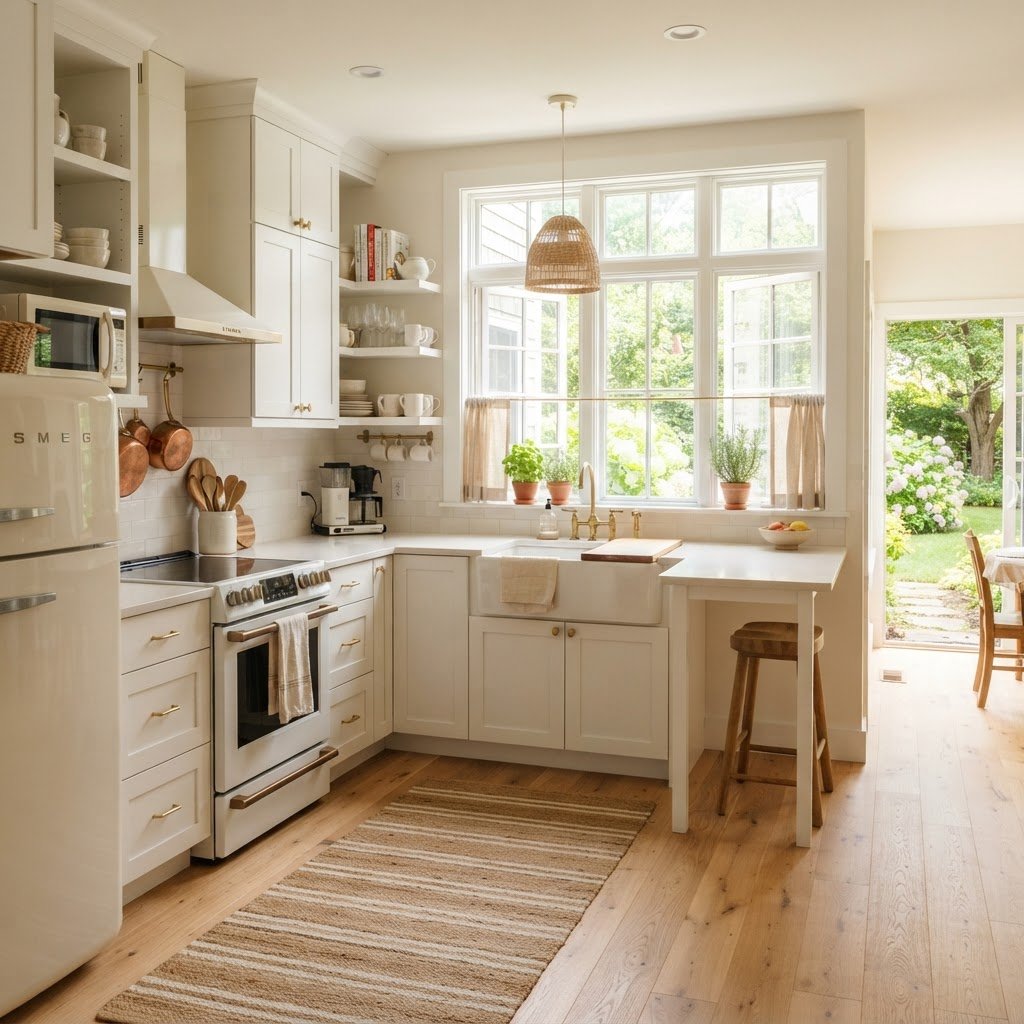
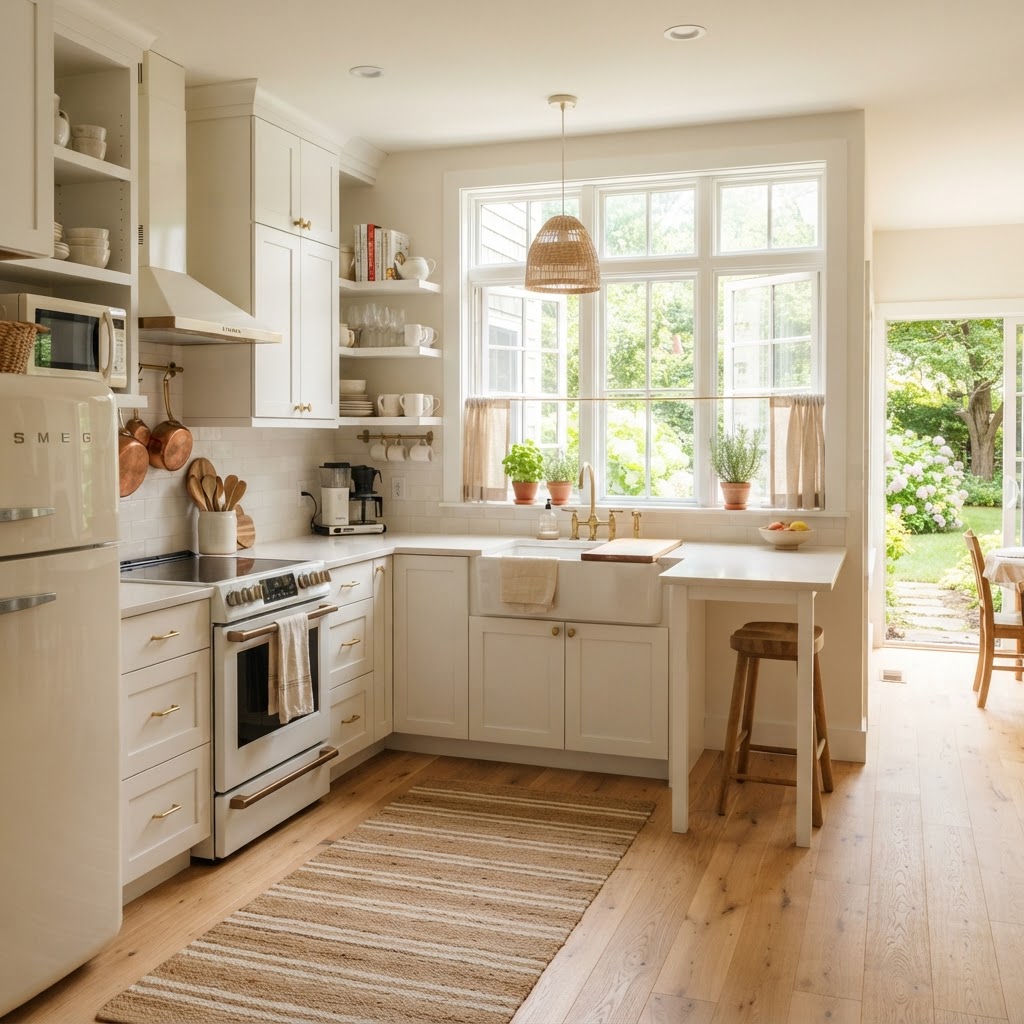
A bright, airy U-shaped kitchen that uses white finishes to maximize light and space.

The core strength of U-shaped small kitchen layouts lies in their inherent structure. Because the kitchen surrounds you on three sides, everything you need—from the stove to the refrigerator—is within a quick reach. This minimizes unnecessary walking and keeps the workflow focused.

Prioritizing the Work Triangle

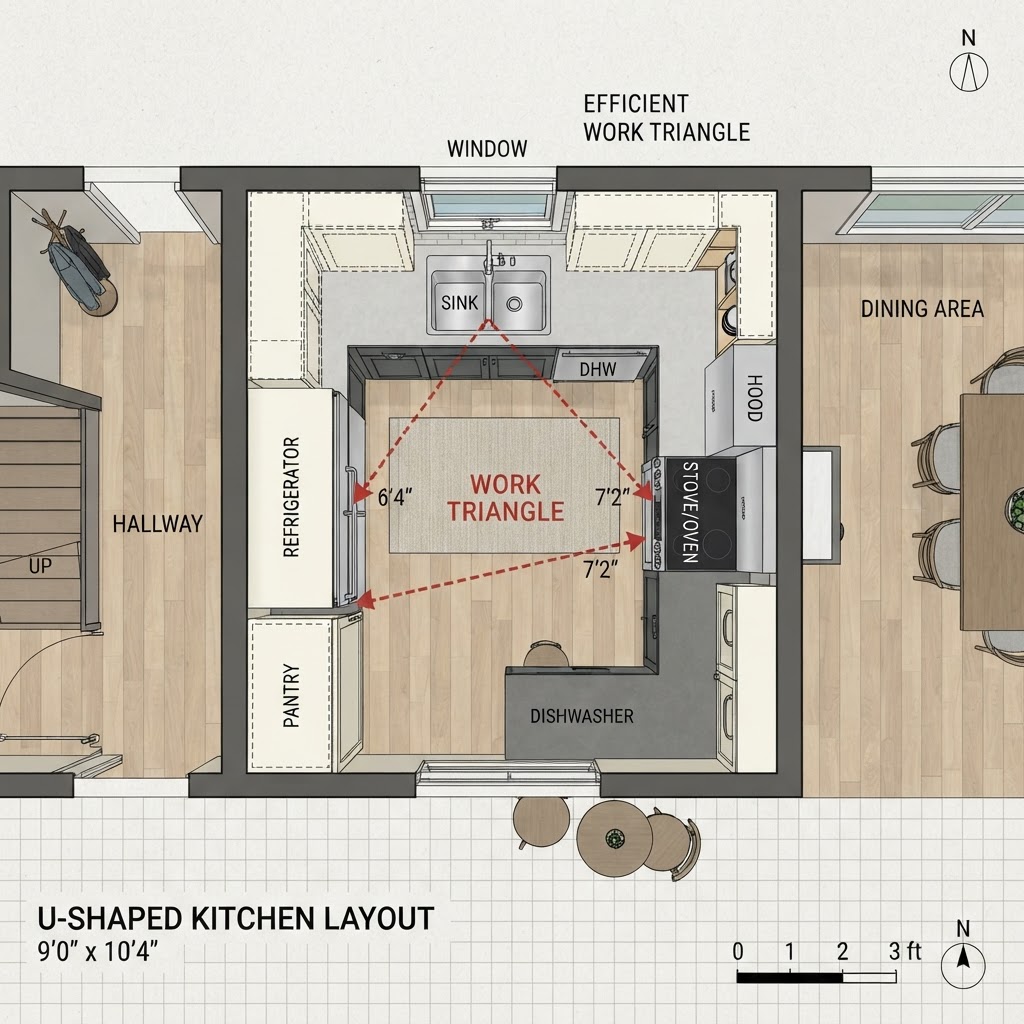
The golden rule of any kitchen design is the work triangle, which connects the sink, the stove, and the refrigerator. In a U-shaped layout, this triangle becomes naturally compact. To keep it feeling spacious, ensure that the path between these three appliances is clear and unobstructed by island pieces or cluttered counters.

Strategic Appliance Placement

When designing your layout, consider placing your appliances on different walls to distribute the ‘heavy’ visual weight of the kitchen. A tall refrigerator on one end and a stove on the opposite end creates visual balance. This prevents the room from feeling lopsided, which is a common mistake that makes small kitchens feel even smaller.

Maximizing Storage in Limited Dimensions

Open shelving helps make this compact U-shaped layout feel more open and accessible.

Storage is the biggest challenge in any small cooking space. In a U-shaped kitchen, you have more wall space than a galley kitchen, but you must be careful not to overwhelm the room with bulky cabinetry. The goal is to maximize storage without sacrificing the visual ‘breathability’ of the room.

Utilizing Vertical Space

Never ignore the space above your cabinets. Extending your upper cabinets all the way to the ceiling is a classic design trick that draws the eye upward, making the walls feel taller and the room feel grander. Use these higher shelves for items you don’t use daily, such as seasonal decor or specialty kitchen appliances.

Smart Cabinetry Features

Invest in smart storage solutions that turn dead corners into functional zones. Corner pull-outs, lazy Susans, and drawer organizers can transform a difficult-to-reach corner into your most organized cabinet. These hidden gems ensure that every inch of your U-shaped kitchen serves a specific purpose, reducing the need for countertop clutter.

Lighting Techniques to Expand the Room

This diagram illustrates the classic work triangle, perfect for efficient U-shaped designs.

Lighting is perhaps the most important tool for changing how we perceive space. A dark kitchen will always feel confined, regardless of its actual size. To make your U-shaped small kitchen layout feel airy, you must layer your lighting effectively.

The Power of Natural Light

If you have a window in your kitchen, keep it as unobstructed as possible. Avoid heavy curtains that block the sun; instead, opt for simple, sheer blinds or leave the window bare. Natural light reflects off surfaces to create an illusion of depth, which is vital in a U-shaped room.

Task and Ambient Layers

In addition to natural light, incorporate under-cabinet lighting. This illuminates your workspace, making food preparation safer and easier. Combine this with recessed ceiling lights to brighten the darkest corners of the ‘U’, preventing shadows from forming in the corners of your layout.

Choosing Colors and Materials for Openness

Color psychology plays a significant role in interior design. Lighter colors reflect more light, while darker colors absorb it. For a small kitchen, a palette of whites, soft grays, or pale pastels will make the walls feel like they are receding, effectively increasing the perceived size of the room.

Monochromatic Schemes

Using a monochromatic color scheme—where the cabinets, walls, and even the countertops are variations of the same tone—can eliminate visual boundaries. By minimizing contrast, the eye moves smoothly across the space, creating a seamless look that avoids the ‘choppy’ feeling of mismatched materials.

Reflective Surfaces

If you want to add a bit of luxury while keeping the space open, consider reflective materials. Glass-front cabinet doors, high-gloss finishes, or a mirrored backsplash can bounce light around the room. These elements add depth and a sense of ‘infinity’ that works wonders in compact spaces.

The Role of Open Shelving and Glass Fronts

Sometimes, the best way to make a kitchen feel spacious is to remove walls altogether. Replacing a few solid upper cabinets with open shelving can make a massive difference in how a room feels. It breaks up the monotony of solid cabinet doors and allows you to display beautiful dinnerware.

The Visual Weight of Open Storage

When you use open shelving, you are essentially exposing the wall behind the items. This visual openness prevents the ‘enclosed’ feeling that can come with U-shaped cabinetry. Just be sure to keep these shelves tidy, as clutter is the enemy of a small, open-concept kitchen.

Balancing Style and Function

If you aren’t ready for fully open shelving, consider glass-front cabinets. They provide the same feeling of spaciousness by allowing the eye to see into the cabinet, but they offer the protection of a traditional door. It is the perfect compromise for someone who wants to keep their kitchen clean but also airy.

Expert Tips for Maintenance and Organization

Maintaining a sense of space in your kitchen is an ongoing process. Once your U-shaped layout is established, keeping your counters clear is the most effective way to ensure it stays feeling large. Develop a ‘clean as you go’ habit to prevent items from piling up during meal prep.

Decluttering the Countertops

Limit your countertop appliances to only the absolute essentials. If you have a toaster, a blender, and a coffee maker, store them in deep drawers or on the lower shelves. The more counter space you leave visible, the larger your kitchen will feel. A clear surface acts as a visual ‘reset’ button for your room.

The Importance of Uniform Hardware

Small details have a big impact. Using uniform handles and pulls throughout your kitchen creates a cohesive look that feels intentional and high-end. Avoid busy or overly ornate hardware, which can create visual ‘noise’ in a small space. Stick to sleek, simple designs that complement your cabinet style.

Conclusion

Designing within the constraints of U-shaped small kitchen layouts does not mean you have to settle for less. By focusing on smart storage, effective lighting, and a cohesive aesthetic, you can create a culinary space that is both highly functional and beautifully spacious. Whether you choose to install floor-to-ceiling cabinets or swap solid doors for open shelving, the secret lies in balance and intentionality.

Take a look at your own kitchen today and identify one area where you can improve the flow or storage. Small changes, like switching to lighter cabinet colors or clearing off your countertops, can make a world of difference. Start your transformation today and enjoy a kitchen that finally feels as big as your culinary ambitions.

One-Wall Kitchen Design Ideas: Maximize Your Small Space

Living in a compact apartment or a cozy cottage often forces us to compromise on space, but it does not mean you have to sacrifice style or functionality. One-wall kitchen design ideas are the ultimate solution for those looking to maximize limited square footage without sacrificing the utility of their cooking space. By aligning all your appliances, storage, and workspaces along a single wall, you create a streamlined, efficient, and visually expansive environment that makes small spaces feel much larger than they actually are.

The Philosophy of One-Wall Kitchen Efficiency

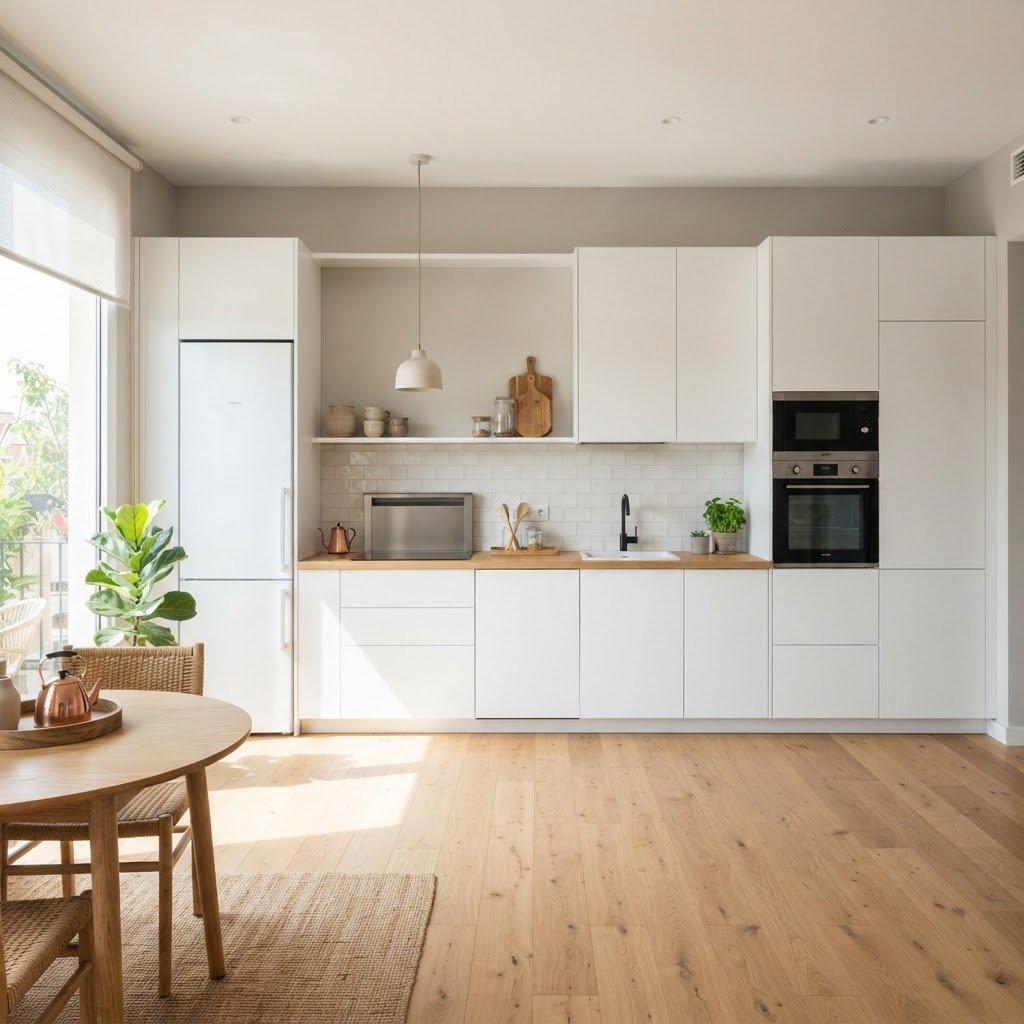
White, floor-to-ceiling cabinets create the illusion of height and space.

The secret to a successful single-wall layout lies in the “work triangle” adaptation. While traditional layouts prioritize a triangle shape for the sink, fridge, and stove, one-wall kitchens must optimize linear movement. A well-designed kitchen of this type removes clutter and focuses on verticality.

Embracing Vertical Space

When your footprint is limited, the only way to go is up. Using floor-to-ceiling cabinetry is one of the most effective one-wall kitchen design ideas to trick the eye. By extending cabinets all the way to the ceiling, you eliminate the “dust-catching” gap and create a sense of height, drawing the viewer’s gaze upward and making the room feel taller.

Choosing Your Cabinetry Wisely

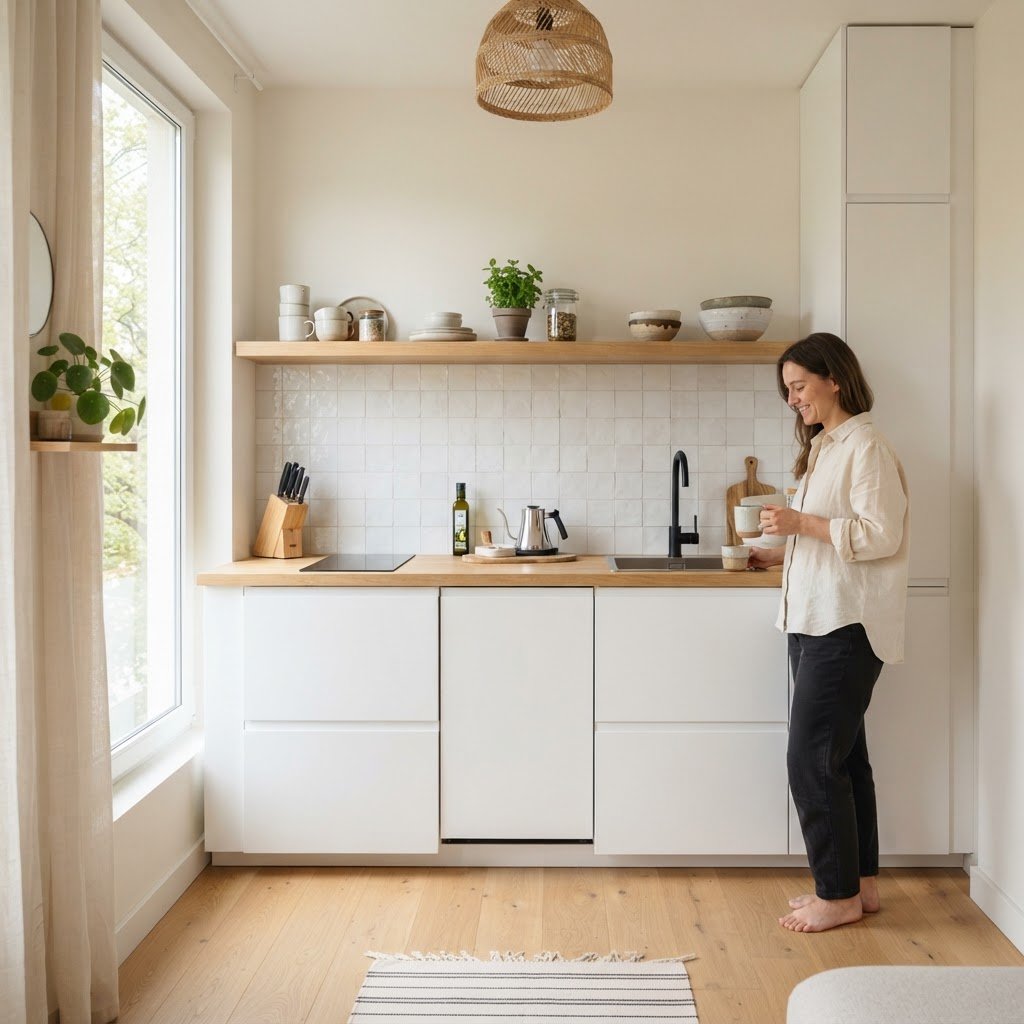
Opt for handleless cabinets or push-to-open mechanisms to achieve a seamless, minimalist look. When doors are flush and uncluttered, the kitchen wall looks like a decorative paneling feature rather than a cramped storage area. This visual continuity is key to preventing a small kitchen from feeling chaotic or busy.

Color Palettes That Expand the Room

Integrated, pull-out storage solutions are essential for small kitchens.

Color psychology plays a massive role in interior design, especially in restricted areas. To make a small kitchen feel larger, designers almost always recommend lighter tones. White, soft cream, pale grey, or even light pastels reflect natural light, effectively pushing the walls back visually.

If you prefer a darker aesthetic, consider a tone-on-tone approach. Painting your base cabinets, wall cabinets, and even the backsplash in the same deep hue, like a dark navy or charcoal, can blur the edges of the units. This creates a sophisticated, moody atmosphere that feels intentional rather than restrictive.

Smart Appliance Integration

Under-cabinet lighting adds depth and makes your kitchen feel larger.

In a small layout, every square inch of counter space is precious. The primary goal is to integrate appliances so they blend perfectly into the cabinetry. Built-in, paneled refrigerators are non-negotiable for a sleek look. By covering the fridge door with a matching cabinet panel, you remove a major visual break in your kitchen’s linear flow.

Consider multi-functional appliances to save space. For instance, a combination microwave-convection oven can replace two separate bulky units. Additionally, induction cooktops are excellent for one-wall setups; when not in use, the smooth glass surface can double as an additional prep area.

Backsplash and Lighting Strategies

A mobile island adds flexibility to any one-wall kitchen layout.

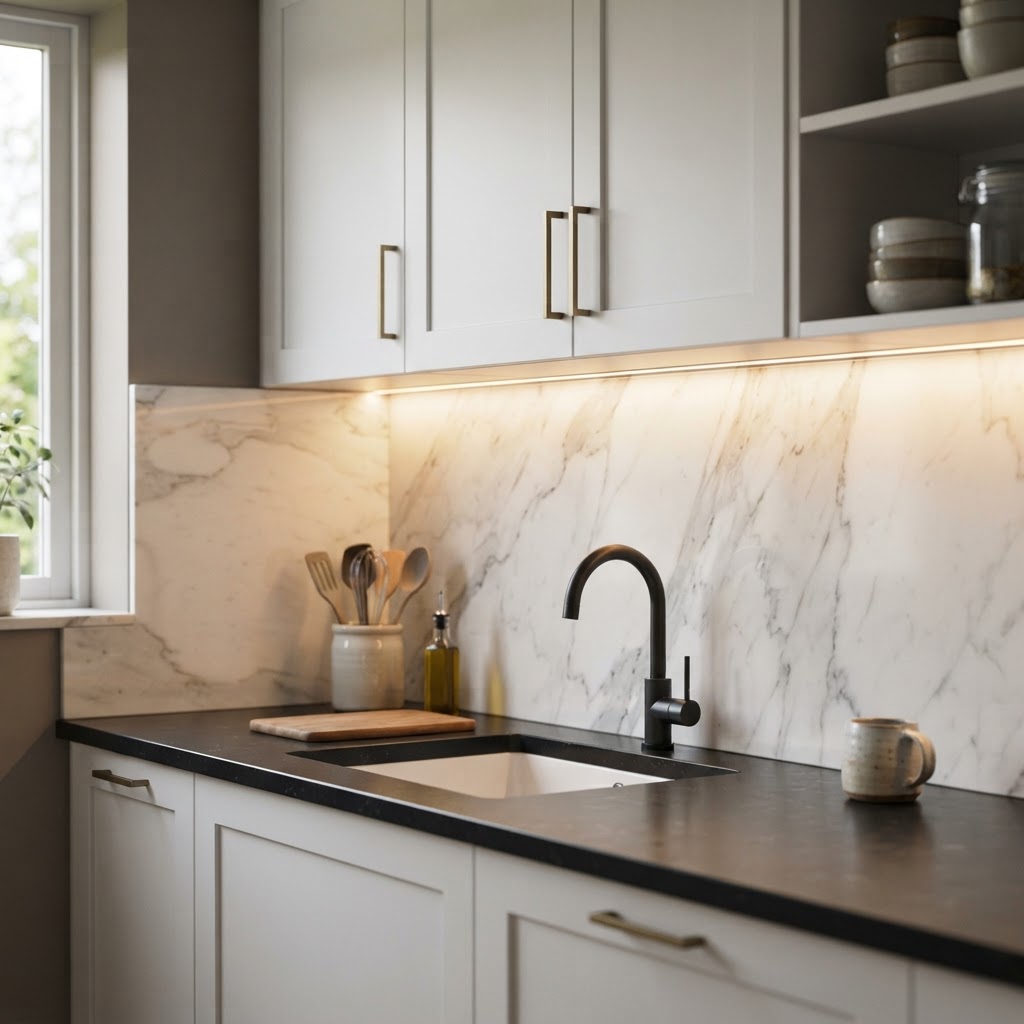
Lighting is perhaps the most underrated element of interior design. In a one-wall layout, layered lighting is essential to prevent deep shadows that can make a space feel enclosed. Install under-cabinet LED strips to illuminate your workspace effectively while creating a soft glow that makes the kitchen feel more “open” in the evening.

The Power of Reflective Surfaces

A mirrored or high-gloss backsplash can work wonders. Glass or metallic tiles reflect light and depth back into the room, creating an illusion of space. Keep the pattern simple to avoid a busy, cluttered appearance, which is the enemy of a small-space layout.

Creating a Functional Prep Zone

Even in a one-wall setup, you need space to chop, slice, and assemble ingredients. If your wall is long enough, prioritize a continuous run of countertop. If space is incredibly tight, look into clever solutions like foldable breakfast bars or pull-out chopping boards that hide inside your cabinetry.

Pro-Tip: The Island Alternative

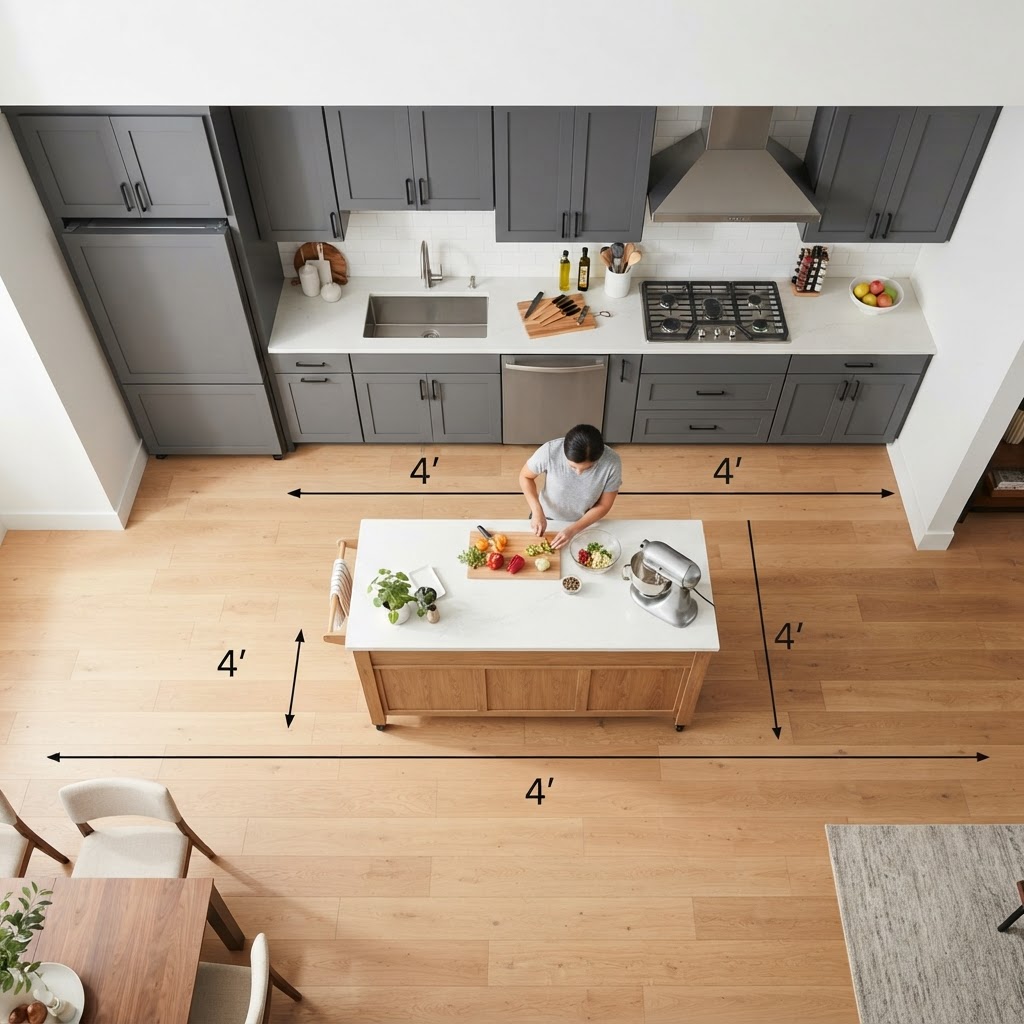
If your floor plan allows, consider adding a mobile kitchen island. This can be tucked away when not in use or pulled out to provide extra prep surface and casual seating. A mobile island is a versatile tool that adapts to your needs without permanently shrinking your available floor space.

Storage Hacks for Maximum Utility

Minimalism does not mean you have to discard your kitchen tools; it means you need better organization. Utilize the inside of your cabinet doors for spice racks or utensil hangers. Drawer organizers are also essential to ensure that your limited storage space is used with surgical precision.

Decluttering for Visual Peace

Adopt a strict “one-in, one-out” policy for your kitchen gadgets. In a one-wall kitchen, visual clutter is amplified. Keep your countertops as clear as possible; store your toaster, coffee maker, and blender inside a dedicated appliance garage. When the surfaces are clear, the kitchen feels larger, calmer, and more professional.

Conclusion

Designing a one-wall kitchen is about balancing high-end function with minimalist aesthetics. By utilizing vertical space, choosing the right color palettes, and integrating appliances seamlessly, you can transform even the smallest corner into a chef-worthy space. Whether you are renovating a studio apartment or updating a compact house, these one-wall kitchen design ideas prove that good things really do come in small packages.

Are you ready to renovate your small kitchen? Start by clearing your space and evaluating your storage needs. If you found these tips helpful, share this guide with a friend who is planning a home makeover!
Transform Tiny Kitchens: Vertical Storage Solutions Guide

Living in a small apartment often means compromising on square footage, and nowhere is this felt more acutely than in the kitchen. When counter space is non-existent and cabinets are overflowing, it is time to look upward. Vertical storage solutions are the ultimate game-changers for a small apartment kitchen, allowing you to reclaim precious floor and counter real estate by utilizing the often-neglected wall space. By thinking vertically, you can turn a cramped galley into a highly functional culinary workspace that feels organized and inviting. This guide will walk you through innovative ways to transform your cooking area from chaotic to curated.

The Psychology of Vertical Space

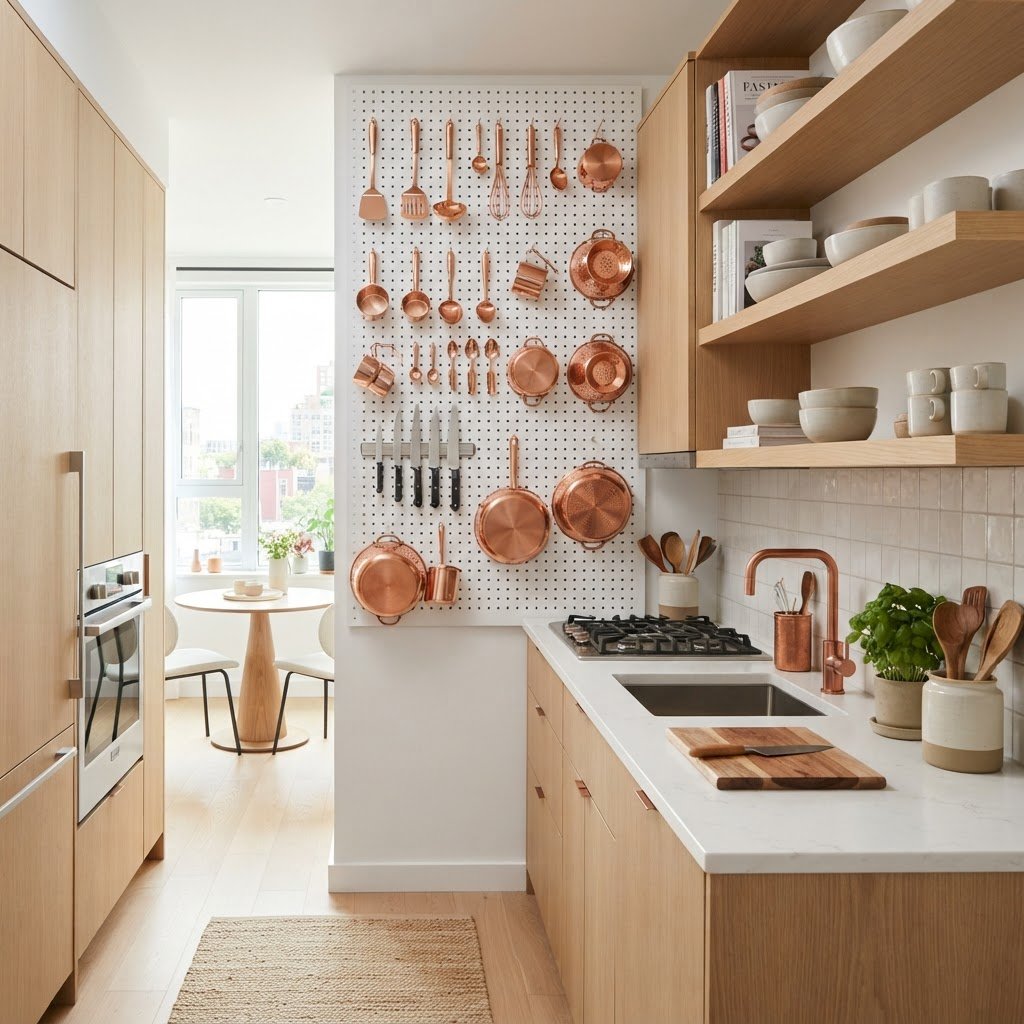
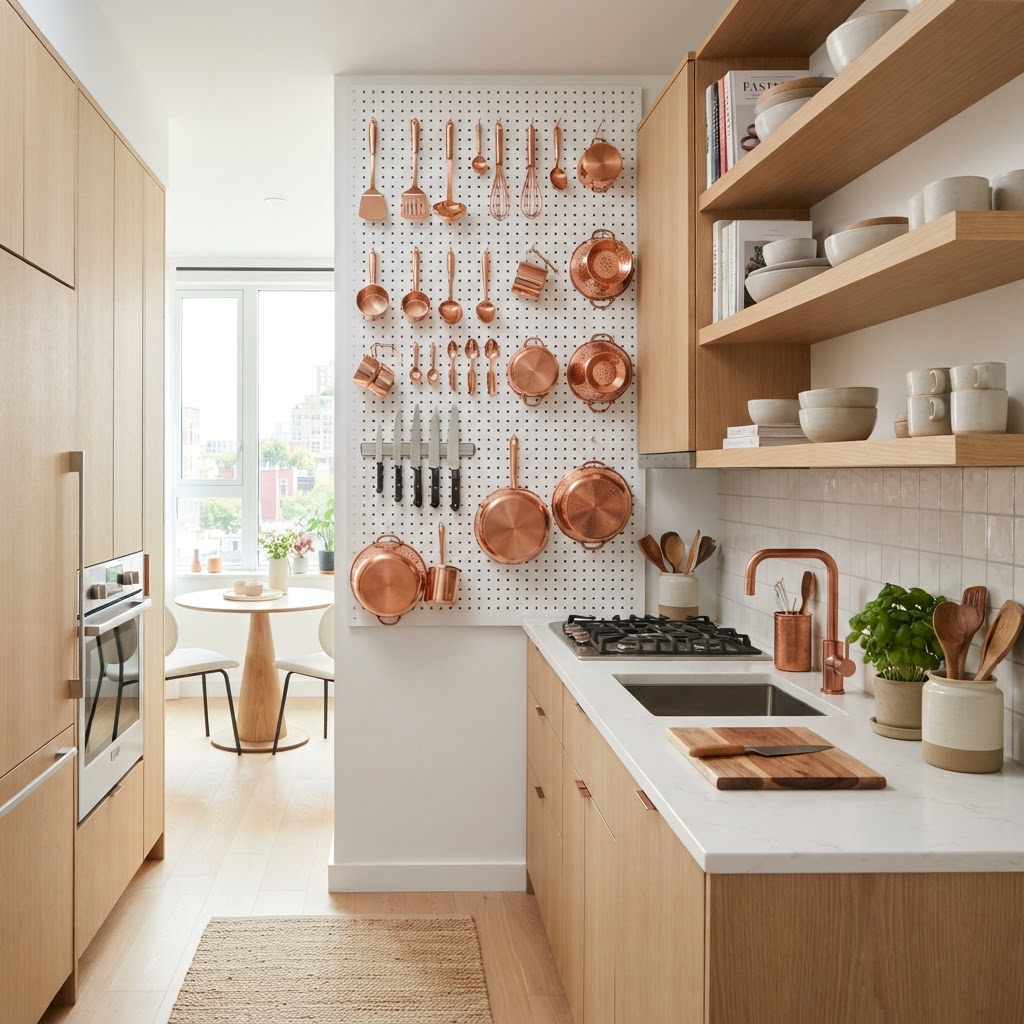
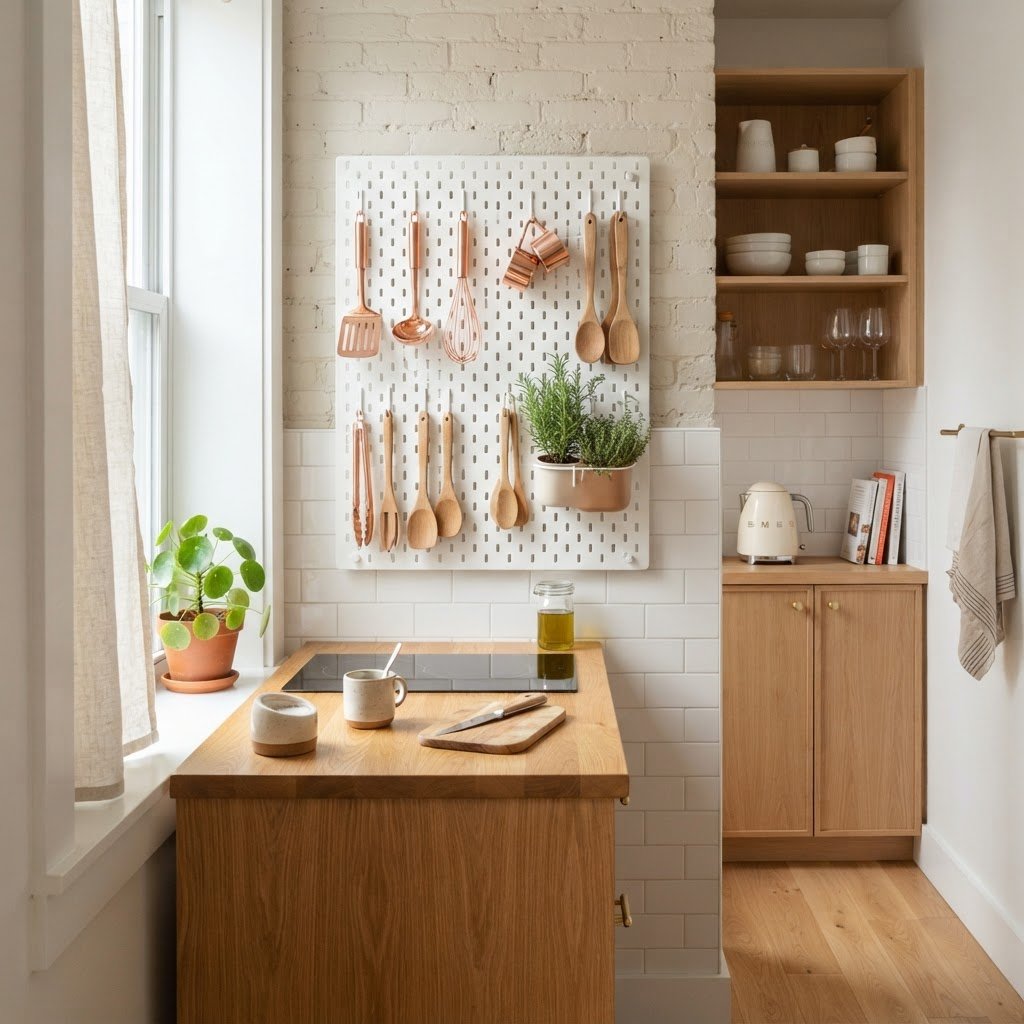
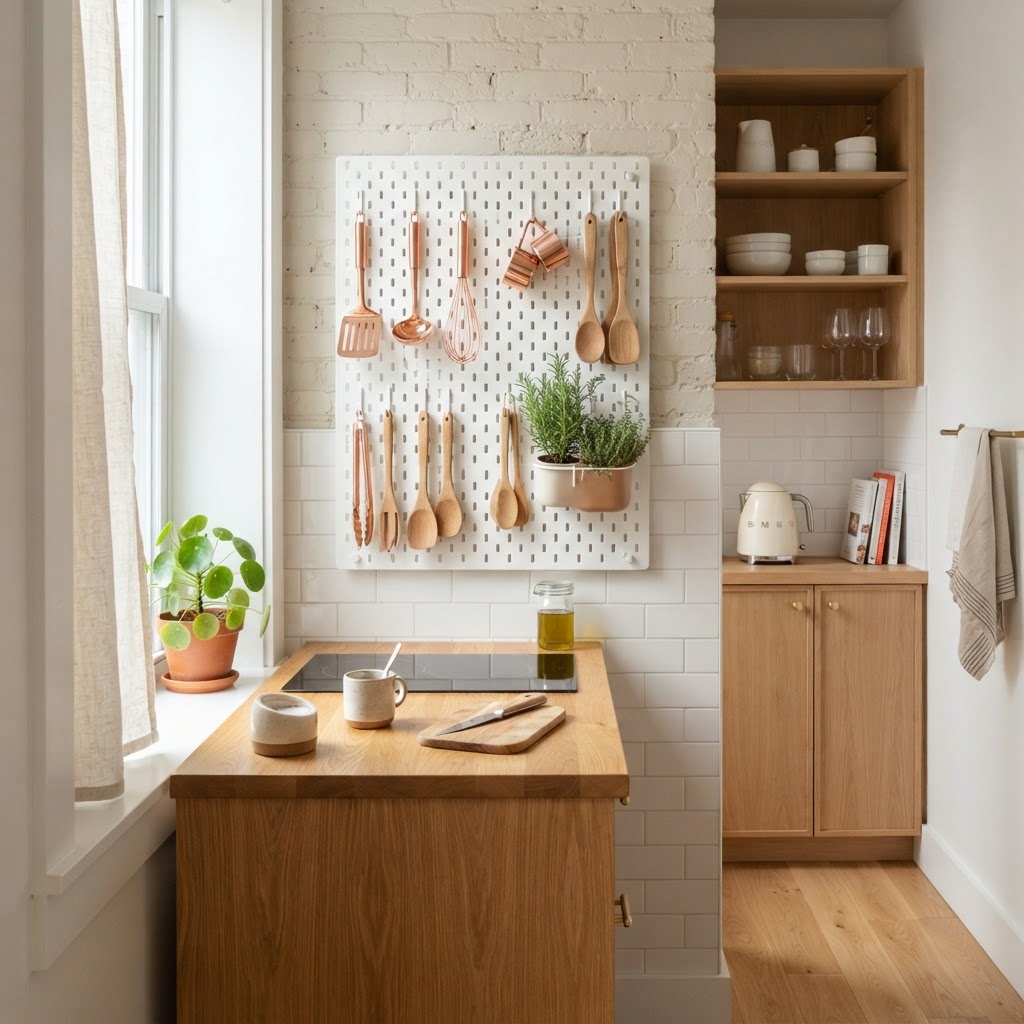
A customizable pegboard adds functional charm to small kitchen walls.

When we think about storage, we naturally look at what is directly in front of us. However, in a tiny home, the footprint of the floor is a luxury. The walls are essentially blank canvases waiting to be optimized. Utilizing the height of your room is not just about aesthetics; it is about efficiency. When you lift items off the counters and onto the walls, you reduce visual clutter, which makes a room feel significantly larger. Psychological studies show that reduced surface clutter leads to lower stress levels, making your kitchen a much more pleasant place to prepare meals.

Assessing Your Vertical Potential

Before you start drilling holes, take a long look at your walls. Are there gaps between the top of your cabinets and the ceiling? Is there an empty side panel on your pantry unit? These “dead” zones are ripe for custom shelving or mounting systems. Consider how you move through your kitchen. You want to place high-use items within your reach zone, while rarely used appliances can be relegated to higher, less accessible spots. Mapping out your storage based on frequency of use is the first step toward true organizational success.

Installing Open Shelving for Daily Essentials

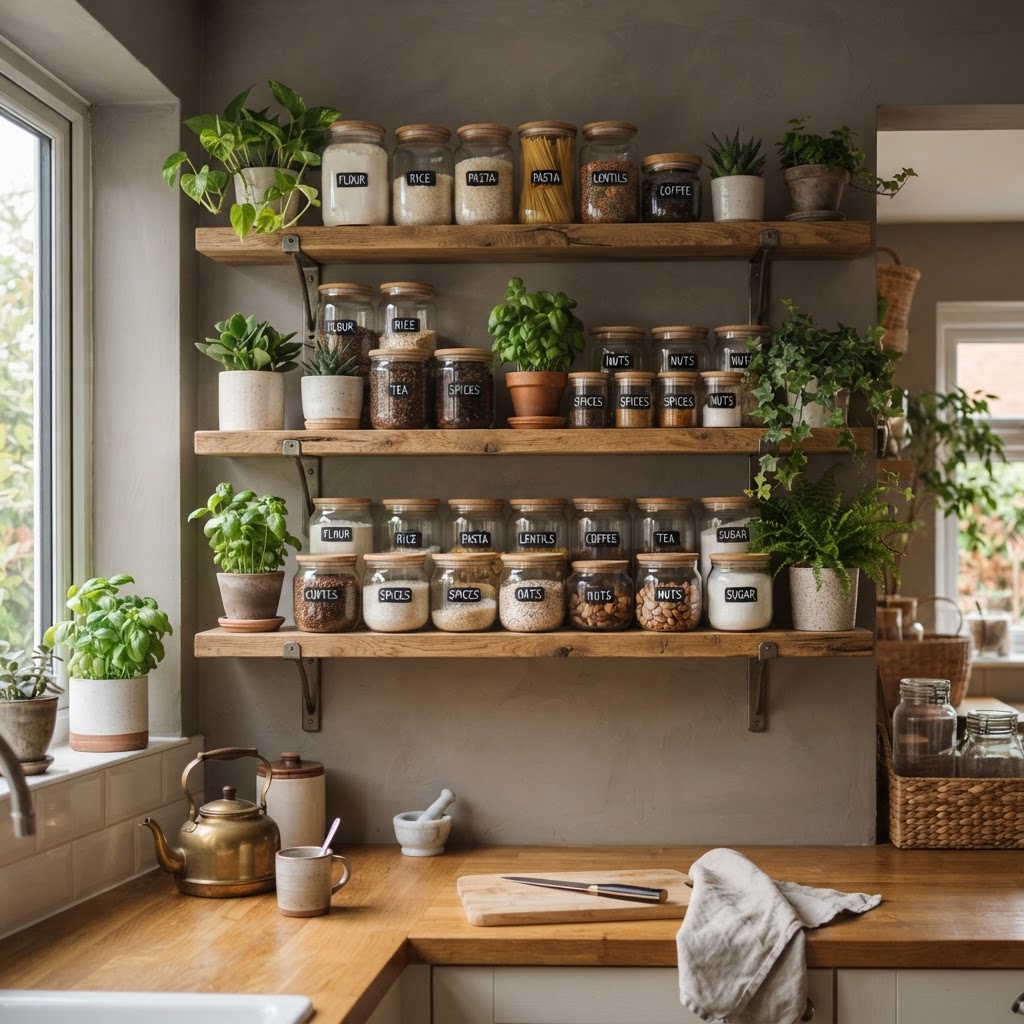
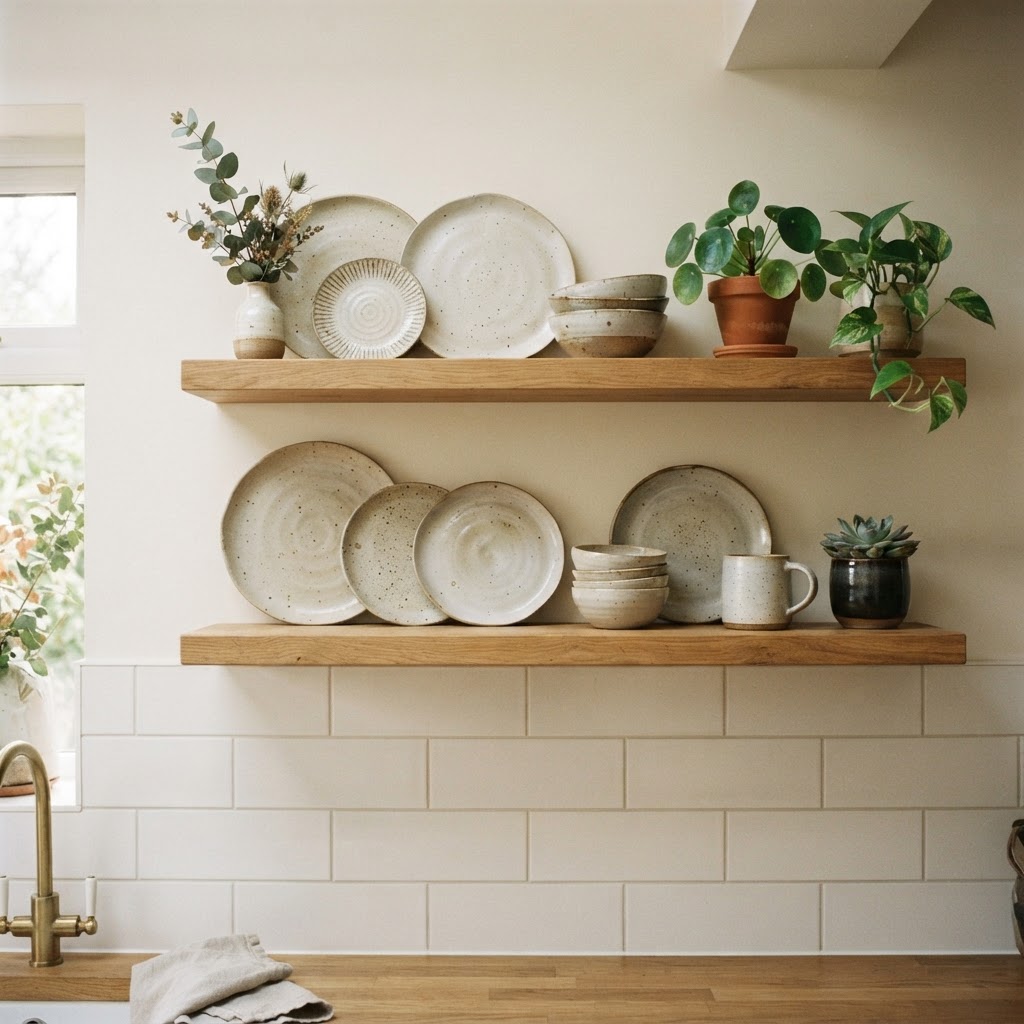
Open shelving creates an airy feel while providing essential storage.

Open shelving is one of the most effective vertical storage solutions for those who want to blend style with utility. Unlike bulky upper cabinets that can close off a small room, open shelves create an airy, open feeling. By installing wooden or metal shelves along a blank wall, you can create a dedicated “coffee station” or a display for your favorite glassware. This keeps your most-used items within arm’s reach while turning everyday objects into part of your kitchen’s decor.

Maximizing Shelving Efficiency

To make the most of your open shelves, use matching containers for dry goods like flour, sugar, and pasta. Glass jars with airtight lids not only look uniform but also allow you to see exactly how much you have left at a glance. Adding small hooks underneath the bottom shelf can double your storage capacity, providing a perfect spot to hang mugs, measuring spoons, or even small towels. This approach keeps your countertops completely clear of clutter.

Magnetic Strips and Wall-Mounted Racks

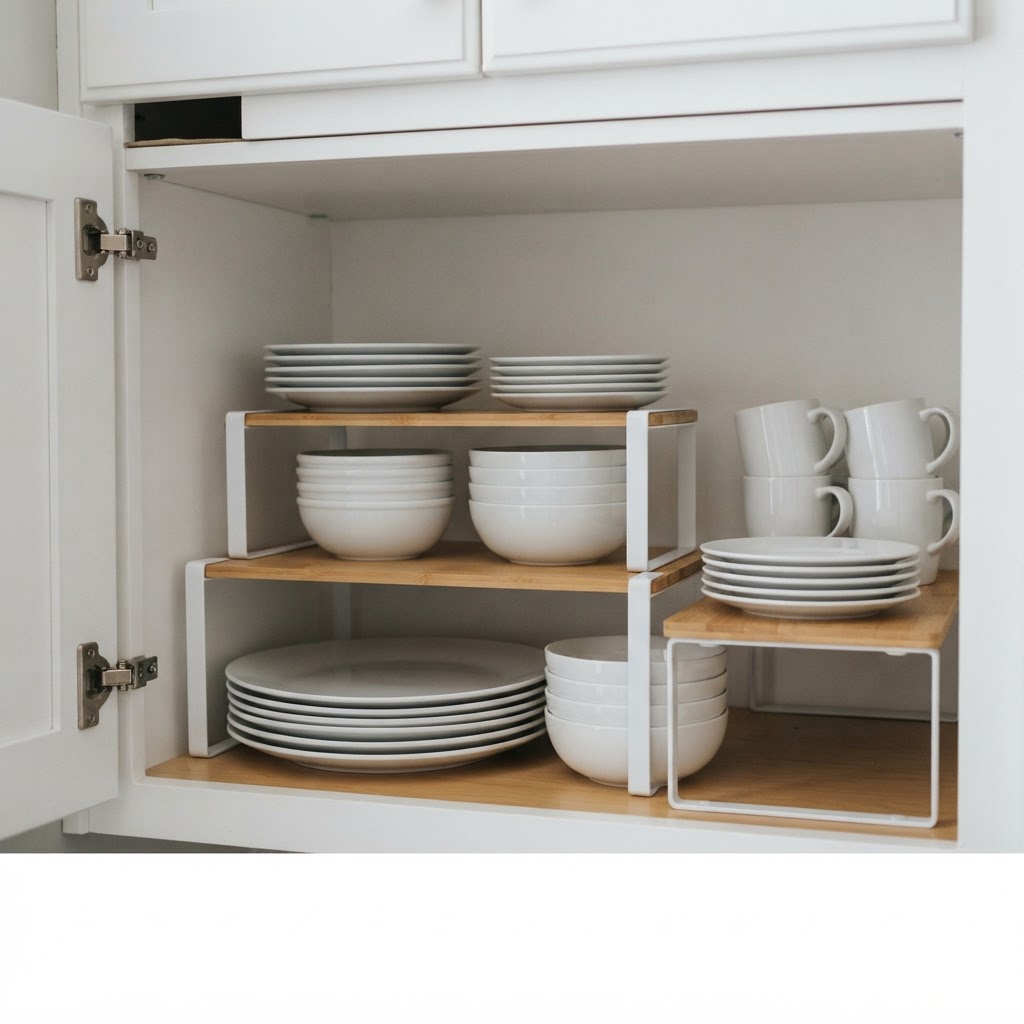
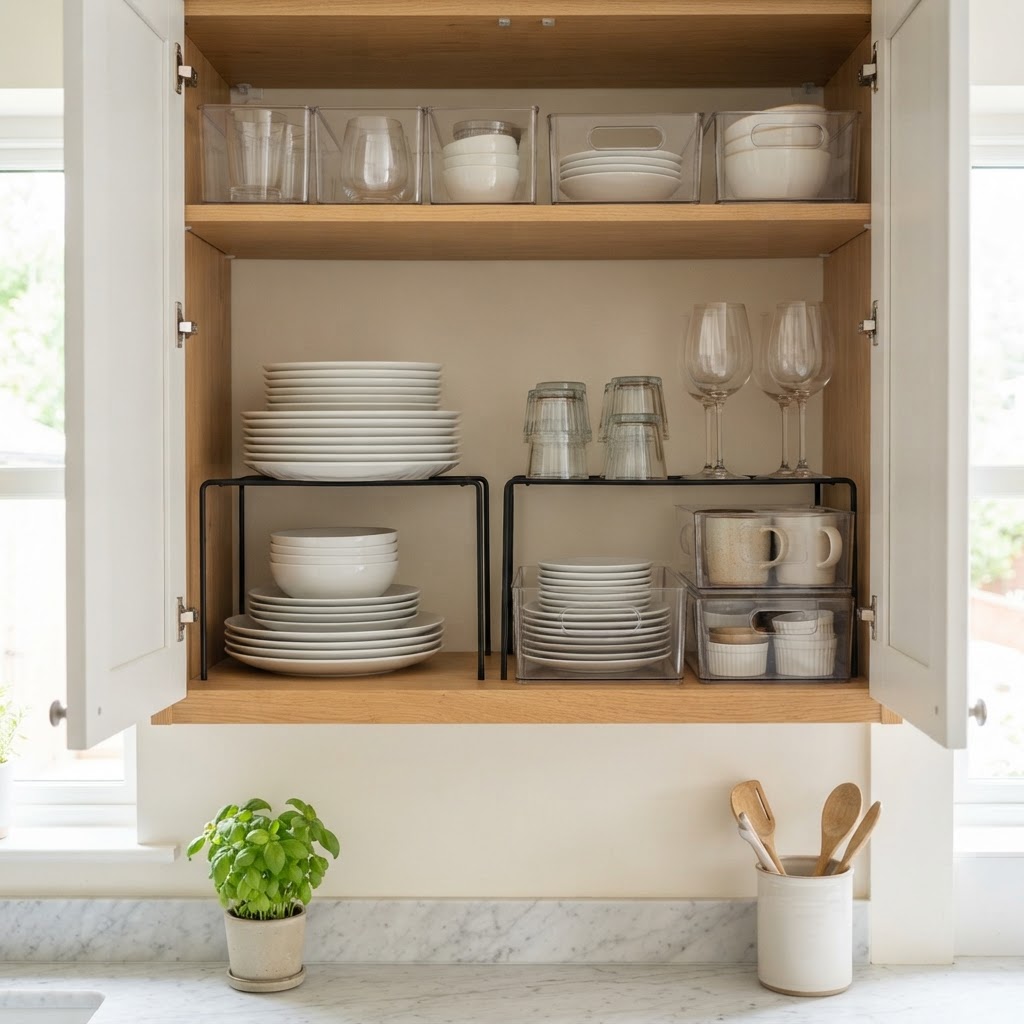
Tiered risers are a simple hack to double your cabinet storage capacity.

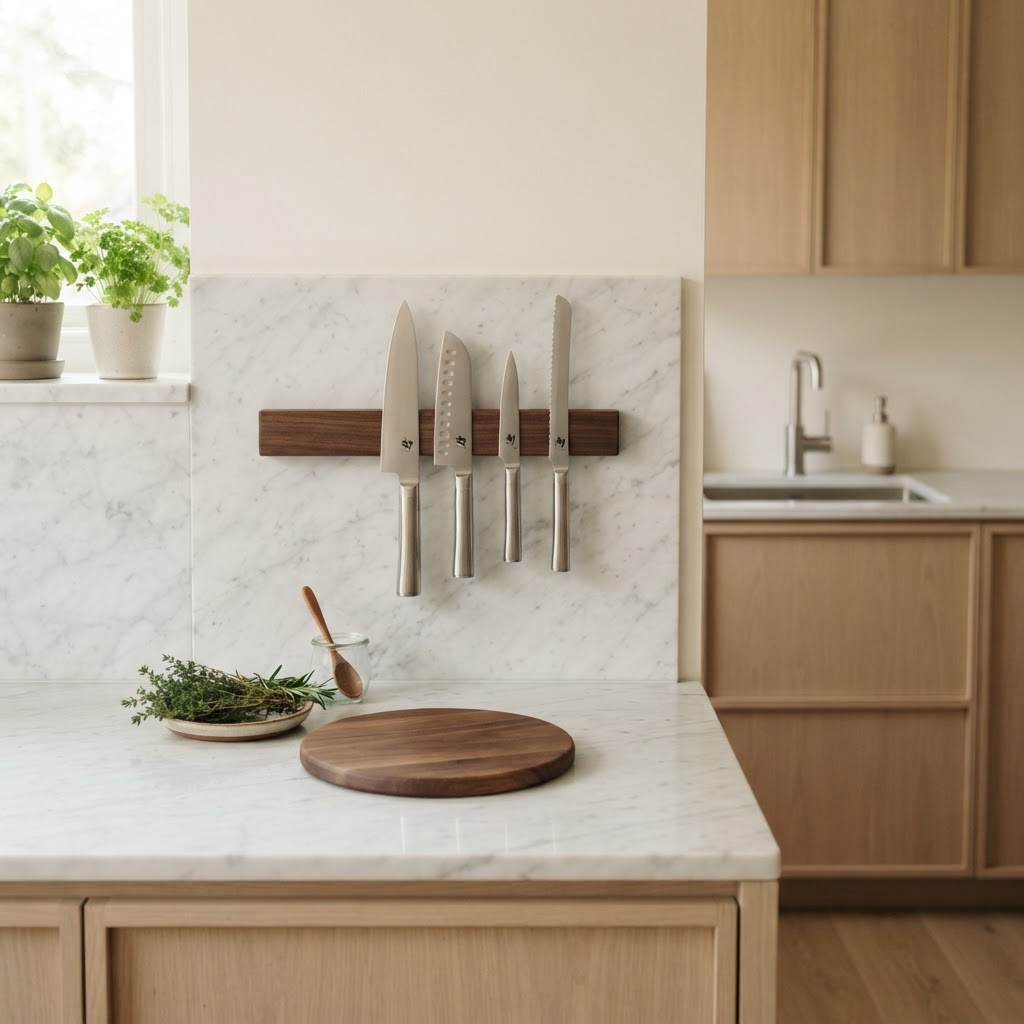
If you have a collection of quality knives or specialized kitchen tools, a magnetic strip is a non-negotiable upgrade. Mounted directly to the wall or the side of a cabinet, these strips keep sharp objects away from drawers where they might get dull or dangerous. Furthermore, wall-mounted pegboards offer a modular approach to vertical storage. Inspired by professional kitchen setups, a pegboard allows you to hang everything from pots and pans to whisks and spatulas, keeping your workspace highly organized and visible.

Why Pegboards Win in Small Spaces

Pegboards are incredibly versatile because they adapt to your changing needs. As you acquire new tools, you can simply rearrange the hooks to accommodate them. They are particularly useful for those who want to keep their kitchen items accessible but off the counter. Plus, a painted pegboard can add a pop of color to a neutral kitchen, serving as both a functional tool and a design statement.

Going Above and Beyond: Over-the-Cabinet and Door Solutions

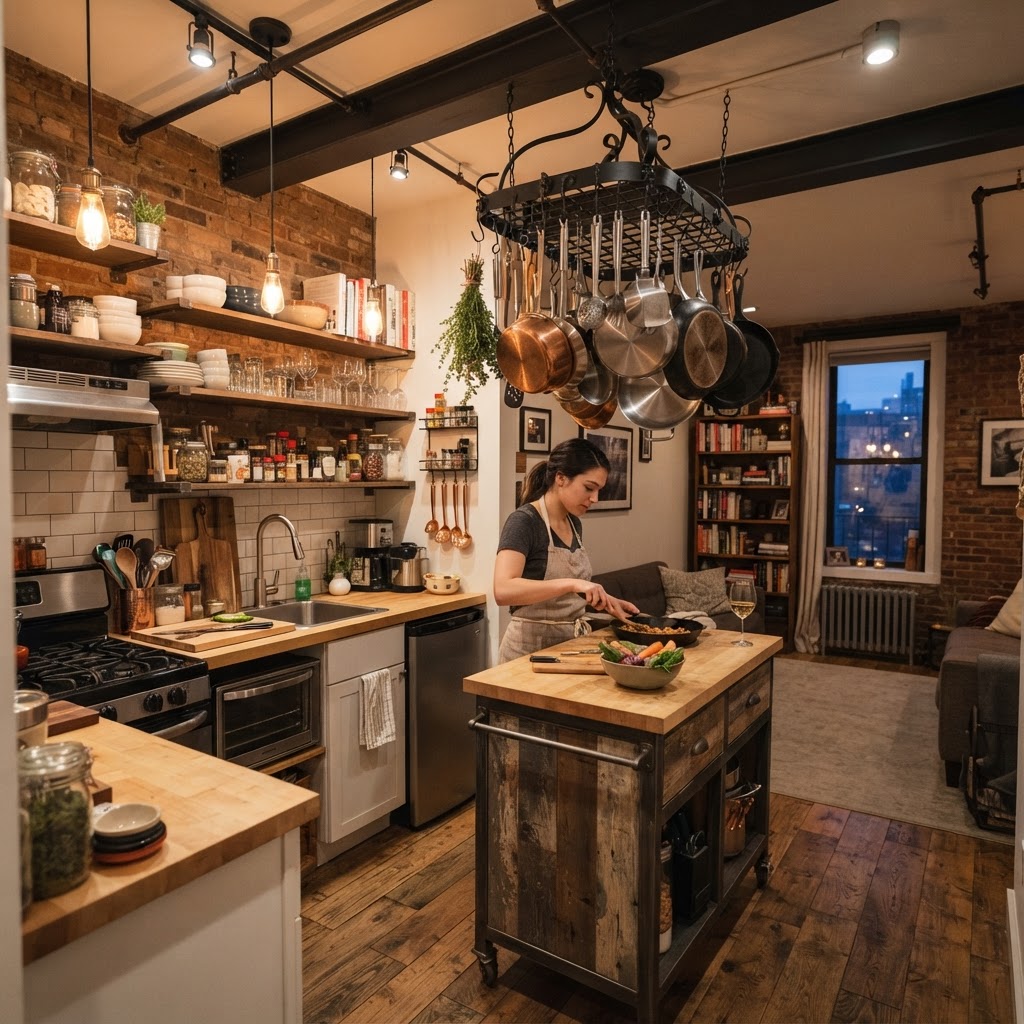
A ceiling pot rack frees up valuable cabinet space for other kitchen essentials.

Never overlook the inside of your cabinet doors or the space above your refrigerator. These areas are frequently ignored, but they hold immense potential for small apartment kitchen optimization. Over-the-door organizers can handle everything from spices and plastic wrap to cleaning supplies. By installing a rack on the back of your pantry door, you free up interior shelf space for bulkier items like mixing bowls or appliances.

Creative Uses for Ceiling Space

If your wall space is truly maxed out, it is time to look at the ceiling. Hanging a pot rack can free up a massive amount of cabinet space. While this is a more permanent installation, the return on investment in a tiny kitchen is undeniable. Pots and pans are notoriously difficult to store, and having them suspended above your prep area gives your kitchen a rustic, chef-inspired aesthetic while keeping your cabinets free for lighter, more fragile items.

The Power of Tiered Organizers

Inside your existing cabinets, verticality is still the key. Many people waste vertical space inside their cupboards by stacking items loosely. Tiered organizers, shelf risers, and pull-down racks can double the usable space on a single shelf. A shelf riser allows you to stack plates on top of bowls, effectively doubling your vertical footprint within the same cabinet volume. Pull-down racks are particularly useful for those higher cabinets that are usually difficult to reach, bringing the contents down to your eye level with a simple movement.

Maintenance and Decluttering

Vertical storage solutions work best when the items stored are kept in good order. Because these items are on display or easily accessible, they can quickly become messy if not maintained. Make it a habit to audit your vertical storage every few months. Are you using everything hanging on your pegboard? Is the spice rack on the wall actually being used? Being ruthless about what you keep is just as important as how you store it. In a small apartment, every square inch of vertical space should be reserved for items that truly earn their place.

Conclusion: Start Your Vertical Transformation

Transforming your small apartment kitchen is not about adding more furniture, but rather about maximizing the architecture you already have. By implementing these vertical storage solutions, you can create a kitchen that is not only functional and efficient but also aesthetically pleasing. Start small—perhaps with a magnetic strip or a set of shelf risers—and watch how quickly your kitchen dynamics change. The key is to stop viewing your walls as barriers and start seeing them as your greatest storage assets. Ready to reclaim your kitchen? Take the first step today and start clearing those counters, one vertical rack at a time!

Take action this weekend by identifying one “dead zone” in your kitchen and installing a vertical storage solution. Whether it is a simple spice rack or a full-blown wall organizer, your future self will thank you for the extra space.

15 Space-Saving Kitchen Organization Hacks for Small Homes

Living in a home with limited square footage often means the kitchen becomes the first place to suffer from clutter. When counter space is scarce and cabinets are overflowing, the joy of cooking can quickly turn into a stressful chore. Implementing effective space-saving kitchen organization hacks is not just about aesthetics; it is about reclaiming your functional workspace so you can move freely and find what you need without frustration.

The Psychology of a Clutter-Free Kitchen

Utilizing vertical wall space with a pegboard.

A small kitchen often feels overwhelming because visual clutter signals chaos to our brains. By adopting a minimalist mindset and utilizing vertical storage, you can transform your cooking zone into a sanctuary. When every utensil, spice, and appliance has a “home,” the cognitive load of maintaining your home decreases significantly.

Start by assessing your current layout. Does every item in your kitchen earn its place? If you haven’t used an item in over a year, it is likely taking up valuable real estate that could be better served by essentials you use daily. Removing non-essentials is the foundational step toward achieving a truly efficient, compact culinary space.

Maximizing Vertical Wall Storage

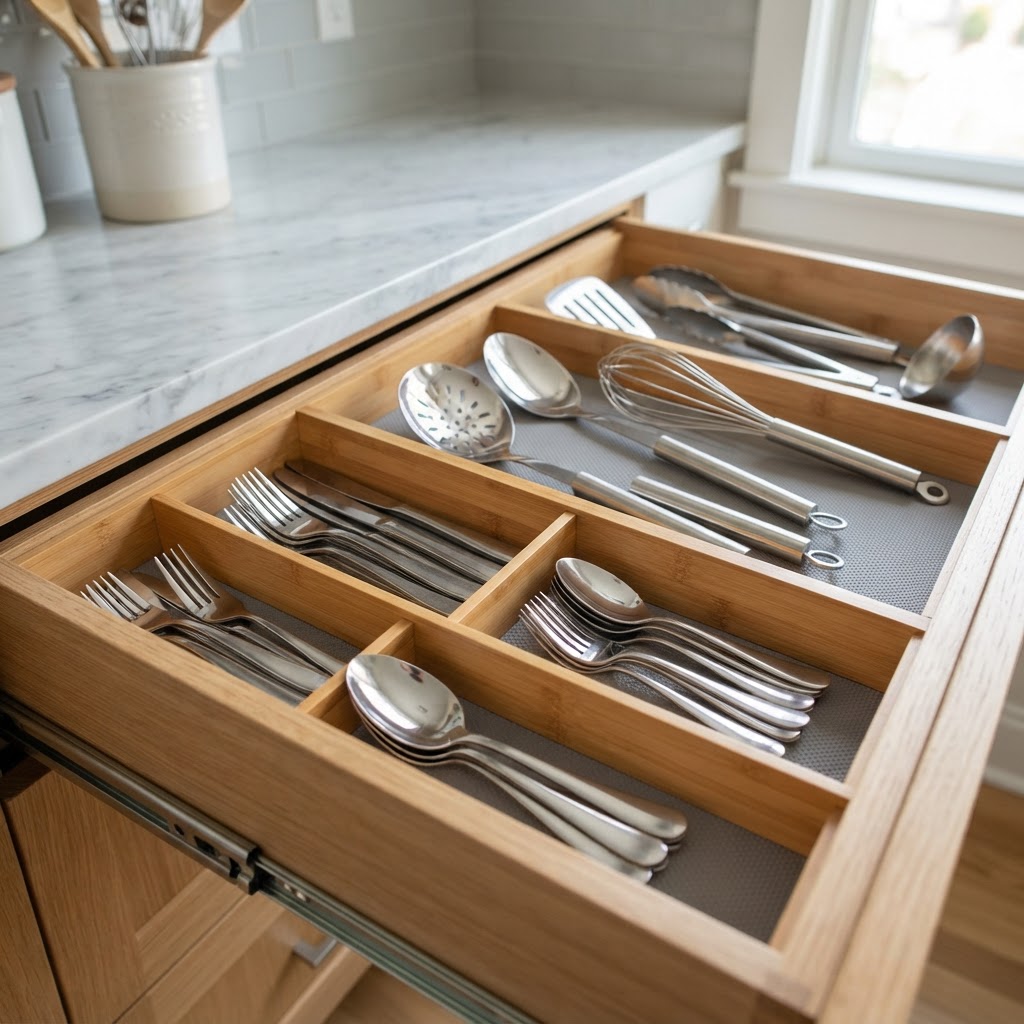
Bamboo drawer dividers keep utensils in place.

When your cabinets are full, look up. Walls are an untapped resource in many apartments and small houses. Installing pegboards or magnetic strips can clear your drawers while adding a decorative industrial touch to your kitchen design.

Utilizing Magnetic Strips

Magnetic knife strips are a classic for a reason. By moving your knives from a bulky block on the counter to the wall, you free up a significant portion of your preparation area. You can also use these magnetic strips for metal spice jars or small metal kitchen tools, keeping everything within arm’s reach while you work.

Hanging Rails and Hooks

Installing a stainless steel rail under your upper cabinets or on an empty wall allows you to hang pots, pans, and even mugs. This keeps your heaviest items off the counter and allows them to dry naturally without taking up cupboard space. It turns your cookware into a functional display, making your tools easily accessible during busy meal prep sessions.

Creative Cabinet Organization Techniques

Shelf risers maximize vertical cabinet space.

Cabinet interiors are often poorly utilized, with vast amounts of “dead space” above stacked items. Introducing shelf risers is one of the most effective space-saving kitchen organization hacks available. These simple wire or acrylic platforms allow you to stack plates and bowls without the danger of a wobbly, unstable tower.

Installing Under-Shelf Baskets

Under-shelf baskets slide onto existing shelves, creating a “drawer” in the previously empty air above your items. These are perfect for storing lightweight goods like napkins, plastic wrap boxes, or small snack bags. By utilizing this vertical gap, you effectively increase your storage capacity by twenty percent or more.

Lazy Susans for Corner Cabinets

Corner cabinets are notoriously difficult to access, often becoming a graveyard for expired food items. A rotating Lazy Susan allows you to spin your inventory toward you, ensuring that nothing gets pushed to the dark back corners. Use them for oils, vinegars, or baking supplies to keep your pantry items neatly organized.

Drawer Dividers and Custom Inserts

Mounting pot lids on cabinet doors saves shelf space.

Drawers are magnets for “junk” if left unorganized. Without dividers, items shift every time you open the drawer, causing frustration. Custom drawer inserts keep your spatulas, whisks, and measuring spoons strictly separated. Consider modular bamboo organizers that can be adjusted to fit the exact dimensions of your drawer space.

Vertical file organizers are another genius trick for drawers. If you store your cutting boards or baking sheets horizontally, they take up too much room and are hard to pull out. By standing them vertically in a drawer or on a cabinet shelf using a file organizer, you save space and make every item visible at a glance.

Utilizing Every Inch of Door Space

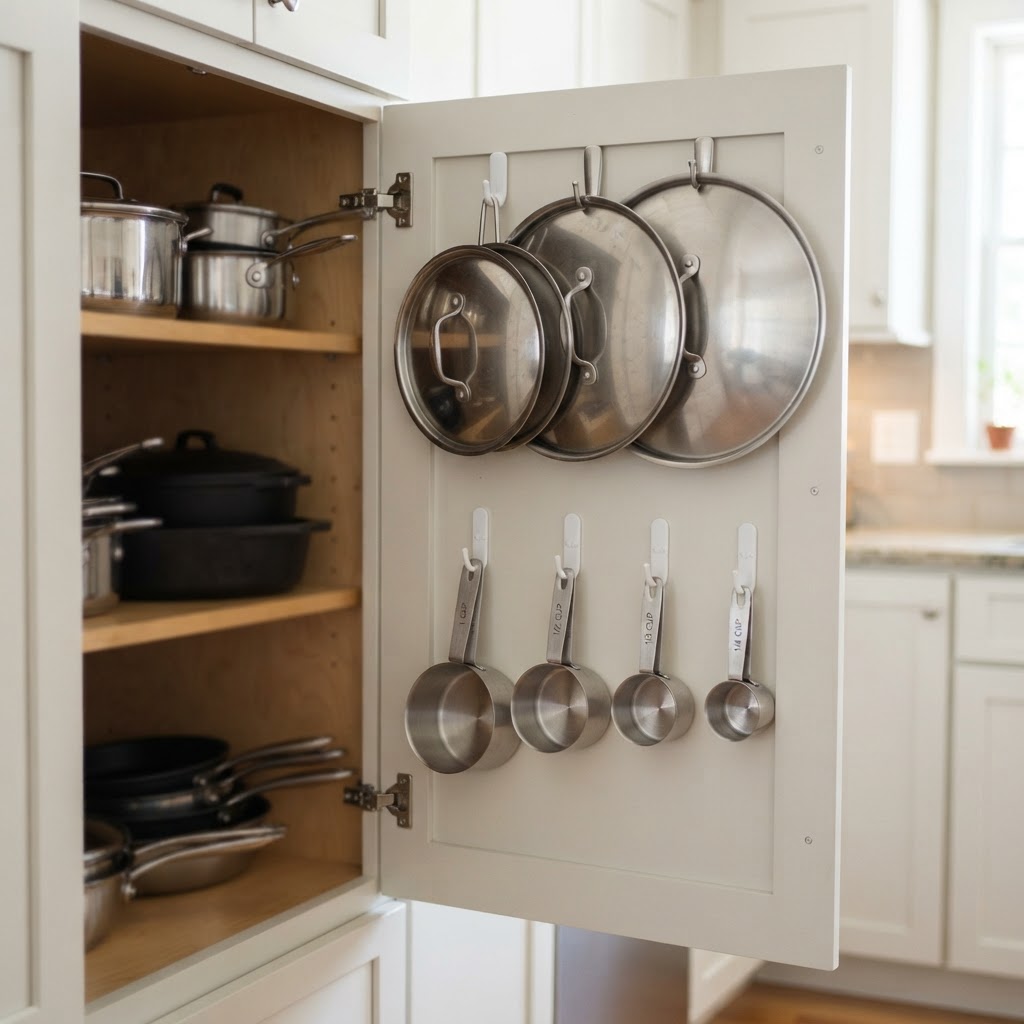
The inside of your cabinet doors is a goldmine for storage. Adhesive hooks or over-the-door racks can hold items that don’t need deep shelving. Measuring cups, pot lids, or cleaning supplies can all be tucked away here, leaving the main shelves open for bulkier items.

Over-the-Door Pantry Organizers

If you have a small pantry closet, an over-the-door rack is essential. It can house dozens of small items like cans, jars, and spice bottles. By offloading these from your interior shelves, you make room for larger cereal boxes, bulk ingredients, and heavy appliances that require a stable base.

Appliance Management Strategies

Countertop clutter is the enemy of a small kitchen. Small appliances like blenders, toasters, and food processors are often the biggest culprits. If you use an appliance daily, it can stay on the counter, but everything else should find a home inside a cabinet or on a pantry shelf.

If you are truly short on cabinet space, consider a dedicated appliance “garage” or a rolling cart. A small kitchen island with storage underneath can act as a secondary workspace while housing appliances that otherwise crowd your main preparation area. This adds versatility to your home without overwhelming the visual layout.

Creating a Sustainable Maintenance Routine

Organization is not a one-time project; it is a lifestyle. To maintain your space-saving kitchen organization hacks, you must build small daily habits. Spend two minutes each evening ensuring that items are returned to their designated zones. This prevents the “clutter creep” that inevitably happens throughout the busy week.

Use a labeling system for your containers. When everything is clearly marked, other family members are more likely to return items to their proper places. This collective effort ensures that your kitchen stays organized, allowing you to enjoy your home without the constant burden of tidy-up tasks.

Conclusion

Achieving a clutter-free home requires intention and the right tools. By maximizing your vertical wall space, utilizing clever cabinet inserts, and offloading items to your cabinet doors, you can transform even the smallest kitchen into a high-functioning environment. Remember that the goal of these space-saving kitchen organization hacks is to simplify your life, not to add more chores.

Start your transformation today by picking just one section of your kitchen to reorganize. You will be amazed at how much space you can reclaim with these simple, actionable steps. If you found these tips helpful, share this article with a friend struggling with a small kitchen or subscribe to our newsletter for more home management strategies!

25 Small Kitchen Makeovers: Before and After Inspiration

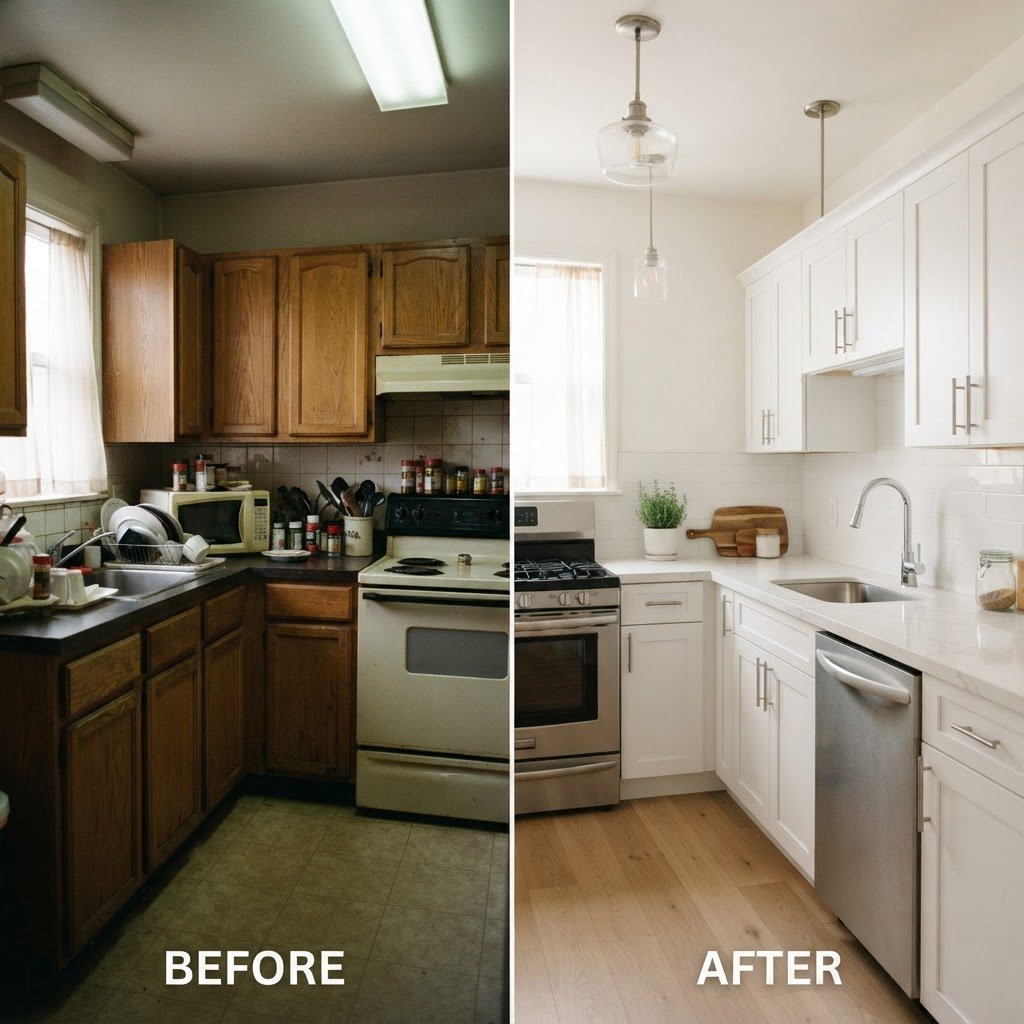
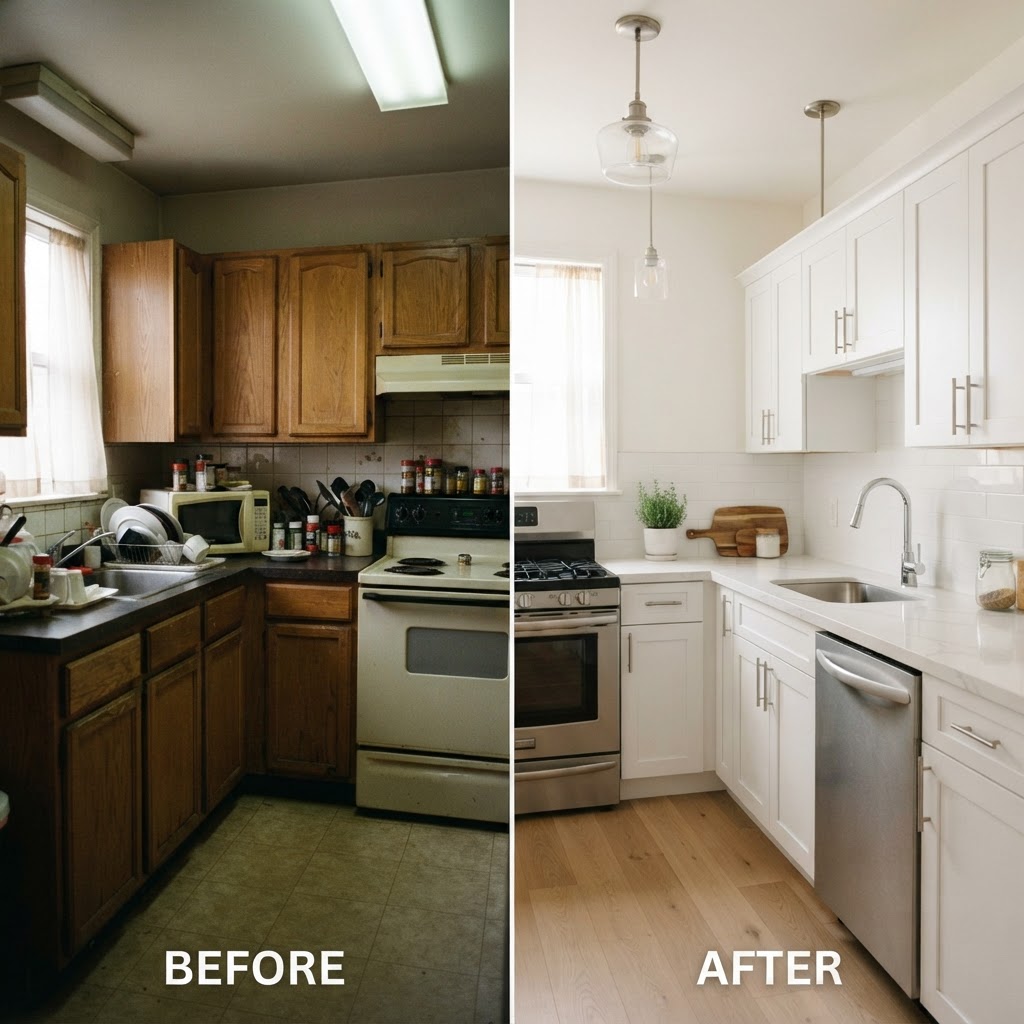
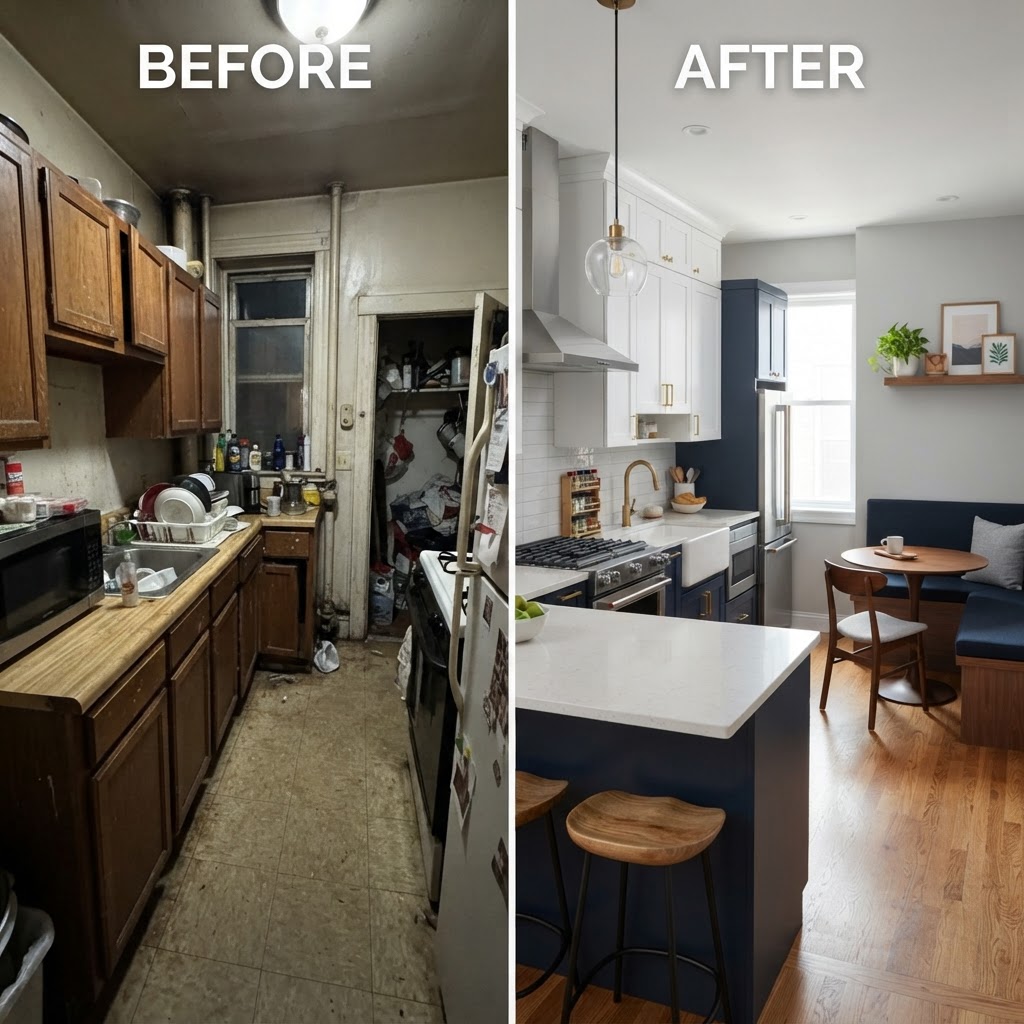
Transforming a compact cooking area might seem like a daunting challenge, but our collection of 25 small kitchen makeovers demonstrates that scale does not dictate style. Whether you are dealing with a dated galley layout or a cramped U-shaped kitchen, these before and after transformations prove that intentional design choices can maximize every square inch. A small kitchen makeover is often more rewarding than a large-scale renovation because it forces you to prioritize functionality and aesthetic cohesion in ways that larger spaces often overlook.

Rethinking the Layout for Maximum Efficiency

Bright and open kitchen transformation.

The most successful renovations begin by questioning the existing footprint. Often, the flow of a kitchen is hampered by bulky appliances or poorly placed cabinetry that interrupts the workflow. By removing unnecessary non-load-bearing walls or switching to a galley configuration, you can unlock hidden potential in even the most modest rooms.

The Power of the Work Triangle

Designers emphasize the importance of the work triangle—the path between the stove, sink, and refrigerator. In a small space, keeping these points close together is actually an advantage. Focus on creating a clear, uninterrupted path to make meal prep faster and more enjoyable.

Removing overhead cabinets to open up the sightlines can make a cramped room feel like a spacious studio. Replacing those cabinets with open shelving creates a sense of airiness while providing a platform to display your favorite dishware and greenery, which adds a personal touch to the room.

Lighting Strategies for Small Spaces

Smart vertical storage and open shelving.

Lighting is perhaps the most underrated element in small kitchen makeovers. In a compact environment, natural light should be maximized through the use of reflective surfaces like glass-tiled backsplashes or high-gloss cabinet finishes. If your kitchen lacks windows, artificial lighting becomes the hero of the renovation.

Consider installing under-cabinet LED strips to brighten countertops, which often get cast in shadow by upper cupboards. Recessed lighting is another excellent choice because it sits flush against the ceiling, preventing the visual clutter caused by low-hanging pendants or clunky fixtures.

Choosing the Right Color Palette

Reflective surfaces and under-cabinet lighting.

While dark colors can add drama, light and neutral tones are traditionally the go-to for small kitchen makeovers. Shades of cream, soft grey, white, and pale blue reflect light back into the room, effectively pushing the walls outward visually. However, you don’t have to sacrifice personality for the sake of space.

If you prefer a bold aesthetic, try painting lower cabinets a darker shade like navy or forest green while keeping the upper cabinets and walls crisp white. This two-tone approach grounds the room while maintaining an open, airy feeling above waist level, which is a key design trick for keeping the kitchen from feeling claustrophobic.

Storage Solutions for Tiny Footprints

Stunning before and after kitchen makeover.

Lack of storage is the number one complaint in small kitchens. The secret to a successful transformation lies in going vertical. Install cabinets that reach all the way to the ceiling to take advantage of dead space that would otherwise collect dust.

Clever Organization Ideas

  • Pull-out pantry units for slim gaps between appliances.
  • Magnetic knife strips to save precious drawer space.
  • Corner lazy Susans to access hard-to-reach items.
  • Hooks on the side of islands for hanging towels or utensils.
  • Custom drawer dividers to keep small tools from cluttering surfaces.

Implementing these smart storage systems ensures that every spatula and spice jar has a dedicated home, keeping your counters clear and usable. A clutter-free countertop is the simplest way to make a kitchen feel larger than it actually is.

Budget-Friendly Material Choices

Remodeling doesn’t have to cost a fortune. Many of the most impressive before and after projects rely on cosmetic upgrades rather than complete gut-jobs. Painting existing wood cabinets is a classic project that yields a massive return on investment, as is updating hardware like drawer pulls and knobs.

Countertops are another area where you can save. While marble and quartz are popular, butcher block countertops offer a warm, timeless aesthetic at a fraction of the cost. They are durable, easy to maintain, and bring a natural texture that softens the hard edges of modern appliances.

Bringing in Modern Technology

Updating appliances is a crucial component of any small kitchen makeover. Modern, compact appliance suites are designed specifically for urban living. Look for slim-profile refrigerators, induction cooktops that double as extra counter space, and wall ovens that save floor space.

Integrating smart home technology can also streamline your daily routine. A voice-activated faucet, a smart fridge that helps track groceries, or integrated lighting systems controlled by your phone can add significant value to your home without requiring an expensive structural overhaul.

Personalized Accents and Decor

Finally, make the space your own. Just because a kitchen is small doesn’t mean it should lack character. Add a runner rug to introduce texture, hang a piece of art that complements your color scheme, or incorporate a small herb garden on a windowsill to bring life into the room.

These personal touches turn a utilitarian room into the heart of the home. When you combine smart storage, efficient layout design, and intentional style, you create a space that functions perfectly for your lifestyle while looking like a magazine-worthy masterpiece.

Conclusion

Embarking on one of these 25 small kitchen makeovers is a journey toward efficiency and improved home value. By focusing on light, smart storage, and strategic layout changes, you can transform a frustrating area into your favorite room in the house. Ready to start your own renovation? Pick one small area to improve today—whether it’s painting your cabinets or installing new hardware—and start building the kitchen of your dreams one step at a time.

Tiny Kitchen Ideas 2026: Smart Layouts & Storage Hacks

Designing a functional cooking space in a limited footprint can feel daunting, but the latest tiny kitchen ideas 2026 prove that size is secondary to strategy. Whether you live in a studio apartment or a cozy cottage, your culinary environment can be both beautiful and highly productive with the right approach to ergonomics and organization. By focusing on vertical space, multifunctional furniture, and light-reflective materials, even the smallest galley or U-shaped room can feel like a professional chef’s station. This guide explores the most effective ways to elevate your compact cooking area without sacrificing style or functionality.

Rethinking Small Kitchen Layouts for Maximum Efficiency

Bright, open shelving makes a small kitchen feel much larger.

The foundation of any small space design is the layout. In 2026, the trend shifts toward the ‘Work Triangle 2.0,’ which prioritizes proximity and seamless movement. The most successful layouts eliminate wasted steps by positioning the sink, refrigerator, and stove within arm’s reach of one another.

The Power of the Galley Kitchen

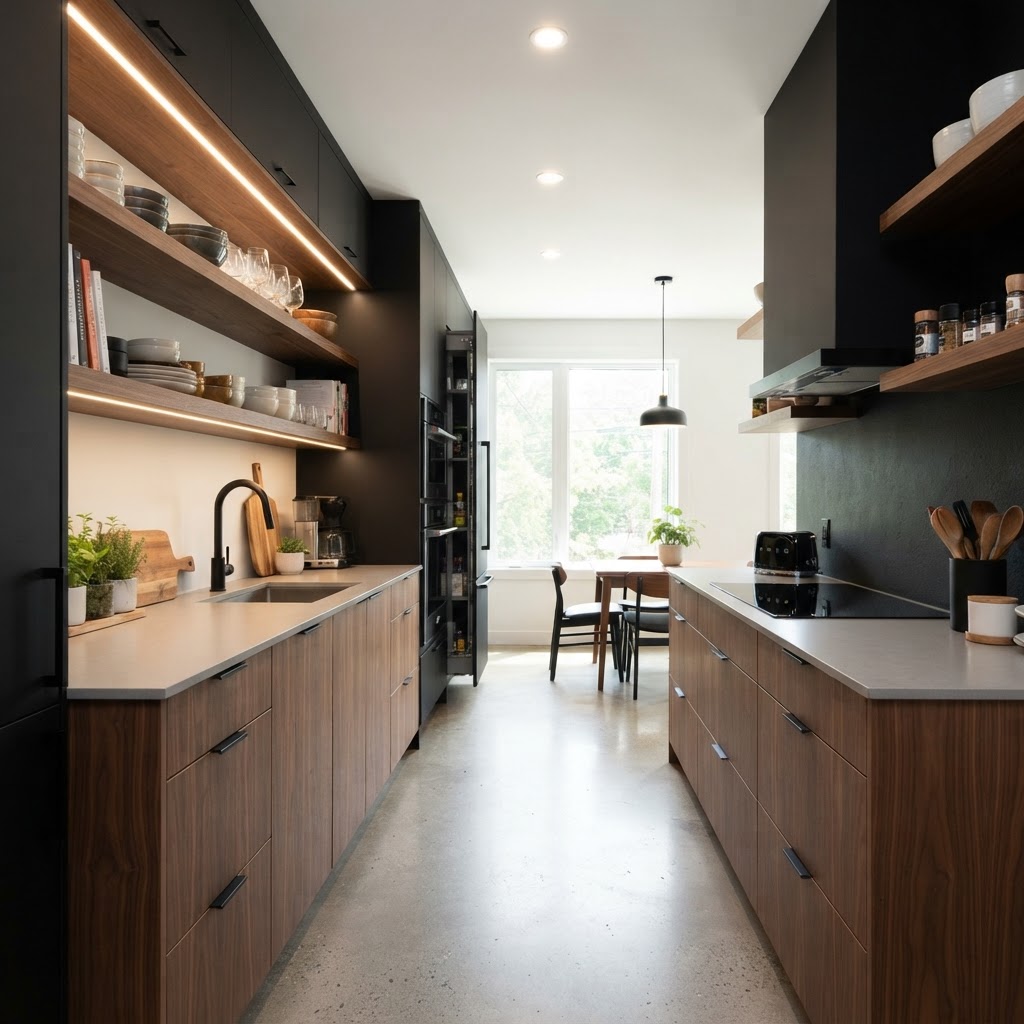
Galley kitchens are the champions of space efficiency. By utilizing two parallel walls, you create a dedicated corridor that keeps everything within reach. To prevent a closed-in feeling, consider removing upper cabinetry on one wall and replacing it with open shelving. This creates an airy aesthetic while providing easy access to daily essentials.

Open-Concept Transitions

If your kitchen flows directly into your living area, define the boundary with a multifunctional kitchen island or a peninsula. A portable island with wheels offers extreme flexibility, allowing you to move it out of the way when hosting guests or serving a meal.

Essential Storage Hacks for Cluttered Countertops

Vertical pull-out pantries are perfect for narrow spaces.

Clutter is the enemy of a tiny kitchen. The most transformative storage hacks involve looking beyond standard cupboards and drawers to find hidden potential in unused surfaces. Installing wall-mounted magnetic strips for knives and metal tools instantly clears precious drawer space.

Utilizing the Vertical Plane

Walls are often overlooked in kitchen design. By installing floor-to-ceiling cabinetry, you capture storage volume that would otherwise be wasted. Use the highest shelves for seasonal items or less frequently used appliances like slow cookers or holiday bakeware. Consider adding a rolling library ladder if your ceilings are high, which adds a touch of architectural charm to the room.

Hidden Toe-Kick Drawers

One of the most clever tricks for modern kitchens is the inclusion of toe-kick drawers. These shallow, wide drawers installed beneath your base cabinets are perfect for storing flat items like baking sheets, cutting boards, or tablecloths. It is essentially ‘found’ storage that doesn’t impact your existing cabinet capacity.

Budget Kitchen Renovation Strategies

Galley kitchens can be both functional and incredibly stylish.

Renovating a small kitchen doesn’t have to break the bank. In fact, smaller square footage often means you can splurge on high-quality finishes because the total volume of materials required is lower. Focus your budget on high-impact areas, such as the backsplash, cabinet hardware, and lighting.

Refinishing vs. Replacing

If your current cabinets are structurally sound but aesthetically dated, consider a professional lacquer finish or high-quality cabinet paint. Swapping out old knobs and pulls for matte black or brushed brass hardware can instantly modernize the room for a fraction of the cost of new cabinetry.

Lighting for Perception

Strategic lighting can make a kitchen feel twice its actual size. Layered lighting is key: start with bright task lighting under your cabinets to illuminate your workspace, then add ambient overhead lighting and decorative wall sconces to create warmth. When the room is well-lit, the boundaries of the walls seem to disappear, expanding the visual perception of the space.

Integrating Smart Technology in Tiny Spaces

Keeping countertops clear is the best way to optimize prep space.

In 2026, kitchen technology is evolving to be more compact than ever. Look for ‘smart’ appliances designed specifically for tiny homes, such as 24-inch wide dishwashers or induction cooktops that double as counter space when covered with a custom wooden board.

Compact Appliance Trends

Integrated, panel-ready appliances allow your refrigerator and dishwasher to blend seamlessly into your cabinetry. This creates a monochromatic look that makes a tiny kitchen feel like a sleek, cohesive piece of furniture rather than a collection of scattered appliances.

Smart Organization Tools

Technology isn’t just about appliances; it’s about management. Smart pantry organizers that sync with your phone can track inventory, preventing you from overbuying items that you simply don’t have the shelf space to store.

The Role of Color and Texture in Small Kitchens

Color psychology plays a huge role in interior design. Lighter, cooler tones like soft whites, pale grays, and sage greens tend to reflect light and make a small space feel open. If you prefer a moodier look, don’t shy away from darker colors, but ensure they are balanced with reflective materials like mirrored backsplashes or glass-front cabinets.

Creating Depth with Textures

Use textures to add character to a neutral color palette. A fluted wood backsplash, subway tiles with a high-gloss finish, or matte stone countertops can add visual interest without the need for busy patterns that might overwhelm a small area.

Maintaining Order with Minimalism

Ultimately, the success of your tiny kitchen hinges on your ability to curate what you own. Adopt a ‘one in, one out’ policy for gadgets and kitchenware. If you don’t use it at least once a month, consider storing it in a basement or garage, or donating it to free up space for items that see daily use.

The Importance of Maintenance

Regular decluttering sessions prevent your kitchen from becoming a storage unit for unused items. By keeping counters clear of small appliances like blenders or toasters, you provide yourself with maximum prep space, which is the most valuable asset in any kitchen regardless of size.

Conclusion

Mastering tiny kitchen ideas 2026 is about blending function with intentionality. By choosing the right layout, utilizing vertical storage, and investing in high-quality, compact appliances, you can create a culinary workspace that rivals even the largest professional kitchens. Remember that a small footprint doesn’t mean you have to compromise on your passion for cooking or entertaining. Start small, focus on the details that matter most to your workflow, and watch your compact space transform into the heart of your home. Ready to get started? Assess your current pain points today and select one of the storage hacks mentioned above to reclaim your kitchen space!

10 Clever Under-Sink Organization Ideas for Small Kitchens

Is there any area in the home more prone to chaos than the space beneath the kitchen sink? Often treated as a ‘toss it and forget it’ zone, this dark, plumbing-filled cabinet frequently becomes a graveyard for half-empty cleaning bottles, mismatched sponges, and plastic bags. However, implementing clever under-sink organization ideas can turn this cluttered void into a highly functional storage hub. When you maximize your small kitchen storage, you not only save time searching for supplies but also prevent the frustration of leaks or lost items going unnoticed. By treating this neglected real estate with the same care as your pantry or cutlery drawers, you can reclaim significant space, making your cooking and cleaning routines feel much more efficient.

The First Step: Clearing and Categorizing

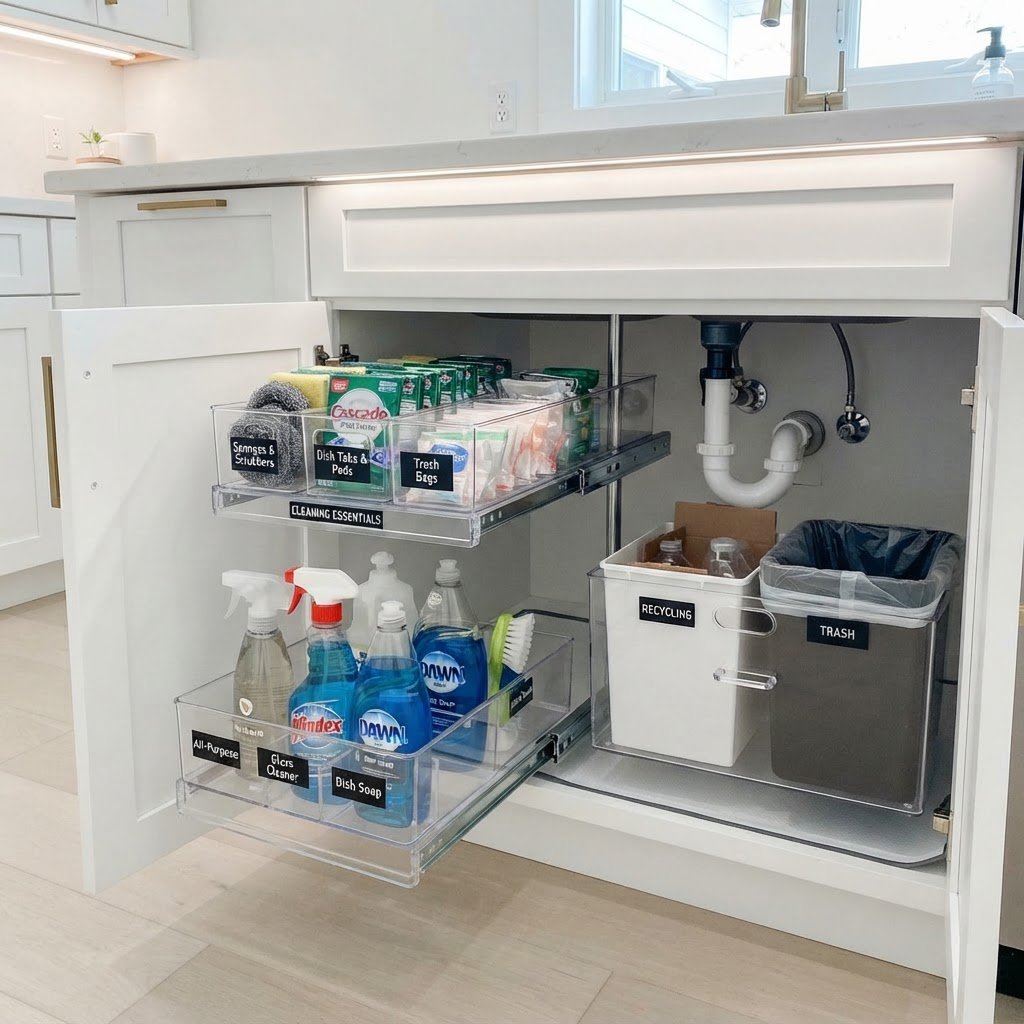
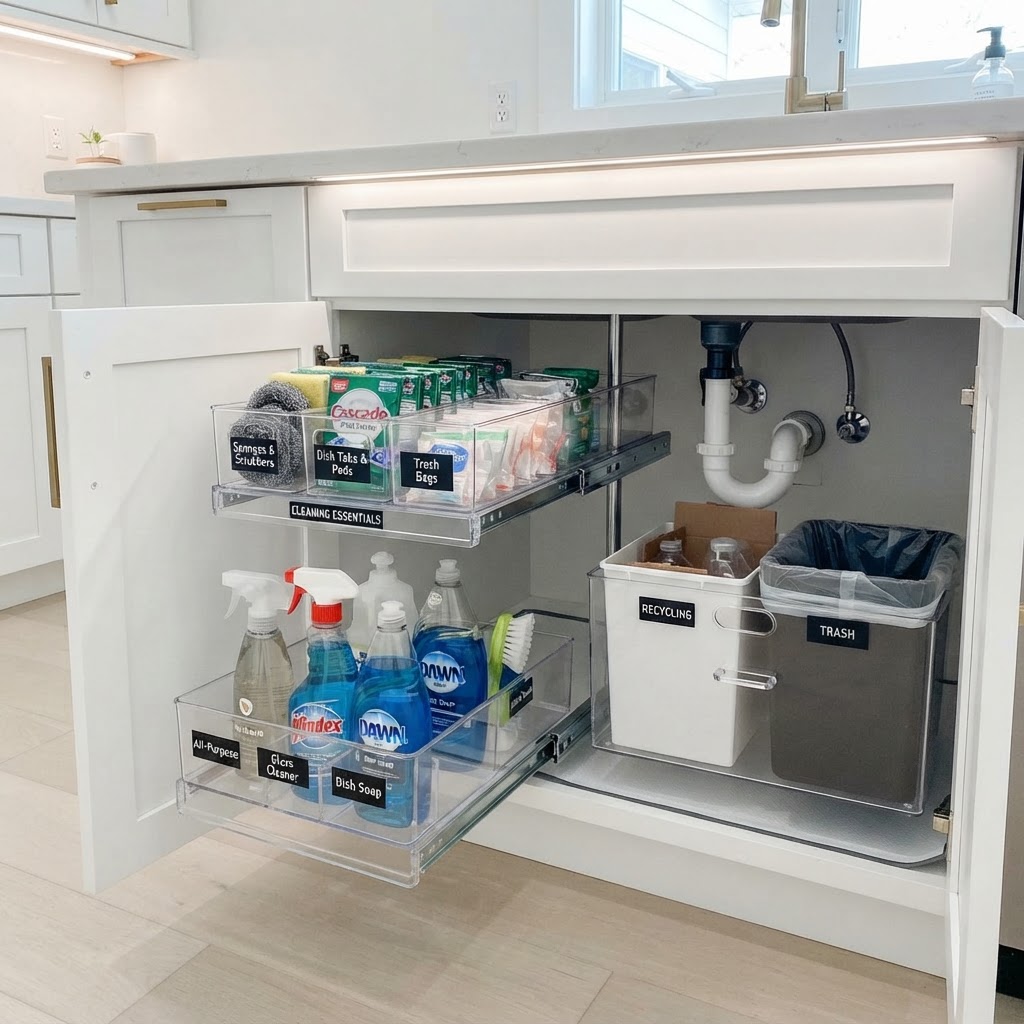
Utilize pull-out drawers to access items in the back of the cabinet.

Before you run out to buy fancy bins or shelves, you must start with a clean slate. Empty the entire contents of the space under your sink, setting aside items that have expired, leaked, or haven’t been used in years. This is a critical step in effective kitchen cabinet organization.

Once everything is out, wipe down the base of the cabinet, as this is a prime spot for hidden crumbs or old liquid spills. Categorize your items into groups such as ‘All-Purpose Cleaners,’ ‘Sponges and Scrubbers,’ ‘Dishwashing Supplies,’ and ‘Backstock.’ This sorting process is essential to determine what storage solutions you actually need rather than just what looks good on social media.

Utilize Vertical Space with Stackable Bins

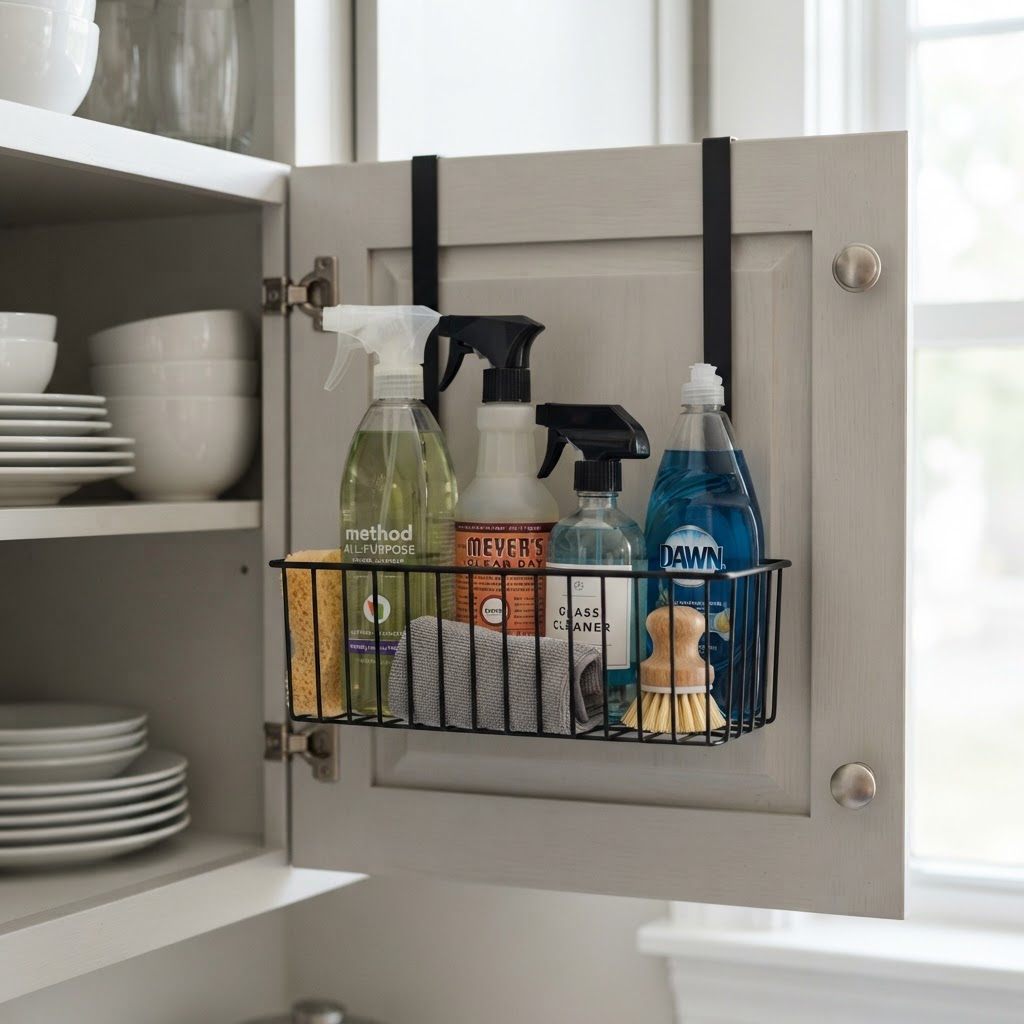
Make use of your cabinet doors to store frequently used cleaning tools.

Most people leave too much ‘dead air’ at the top of their under-sink cabinets. Because the plumbing usually occupies the center and back, the sides and upper reaches are often completely ignored. Stackable bins are one of the most versatile under-sink organization ideas because they allow you to exploit that vertical space effectively.

Clear, stackable drawers work wonders here, allowing you to see exactly what you have without rummaging. Use the bottom drawer for heavier items like bulk refills and the top drawer for smaller items like dishwasher tabs or scrub brushes. This keeps everything tidy and prevents smaller bottles from getting lost behind larger ones.

Maximizing Door Space for Essentials

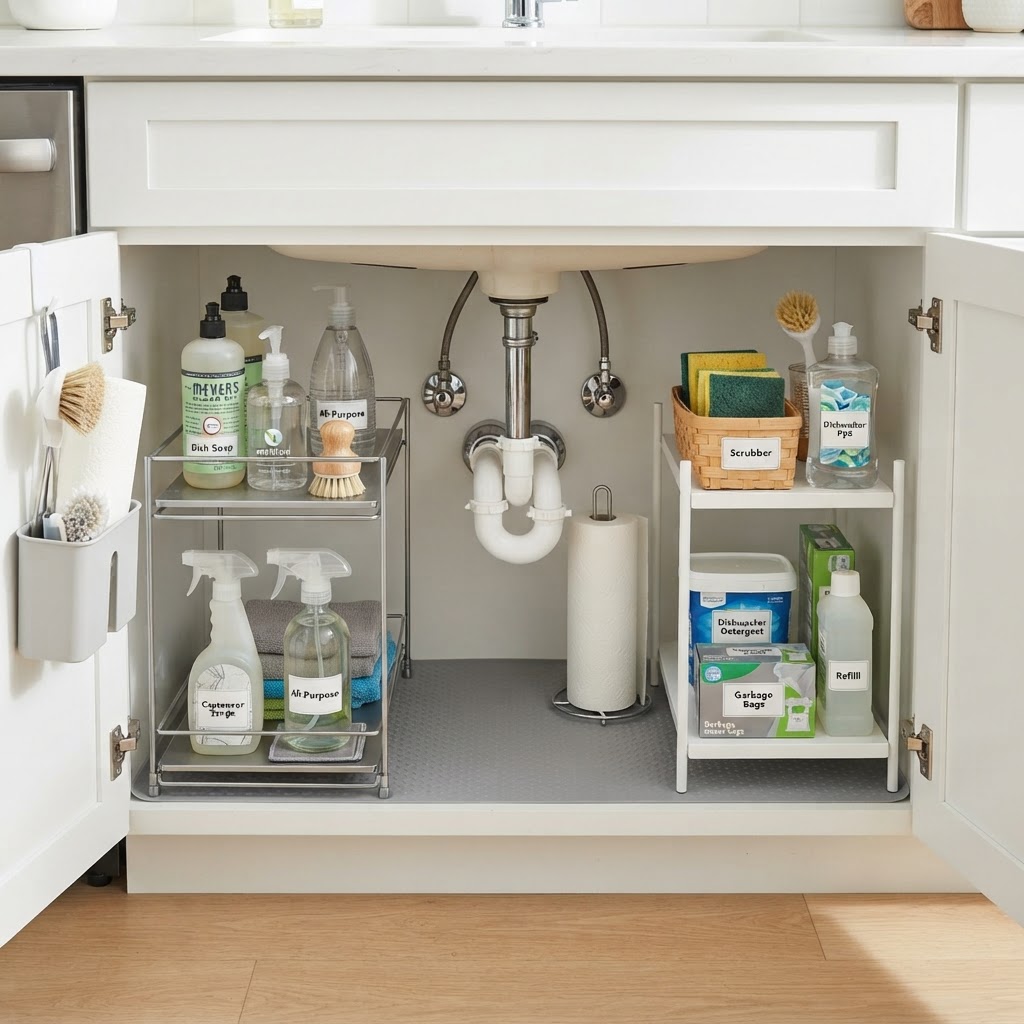
Tiered shelving helps maximize vertical space around plumbing pipes.

Never overlook the inside of your cabinet doors. When you have a small kitchen, the doors are basically free, unused storage potential. Installing over-the-door organizers can instantly create homes for items you need to grab in a hurry, like dish soap, gloves, or spray bottles.

Alternatively, consider using adhesive hooks to hang your dish towels, scrub brushes, or even a small waste bag holder. By mounting these items on the door, you clear up valuable real estate on the floor of the cabinet, making it easier to navigate around the pipes and hoses that often obstruct the area.

The Magic of Pull-Out Organizers

If your under-sink space is particularly deep and dark, you are likely losing items in the back forever. Pull-out organizers or sliding trays are the gold standard for under-sink storage solutions. They turn a static, deep cabinet into a functional, accessible drawer-like system.

Install a two-tier sliding rack that works around your existing plumbing pipes. This allows you to pull out the contents of the cabinet completely into the light of the kitchen, giving you full visibility and easy access. It effectively eliminates the need to crawl on your hands and knees just to find the glass cleaner.

Choosing the Right Materials for Wet Environments

When looking for under-sink organization ideas, always consider the environment. It is a damp area prone to leaks. Avoid porous materials like untreated wood or cardboard, which can warp or grow mold if exposed to moisture.

Instead, opt for plastic, acrylic, or powder-coated metal organizers. These materials are not only water-resistant but also incredibly easy to wipe clean if a soap bottle happens to drip or leak. Placing a protective liner or a plastic tray at the very bottom of the cabinet is another smart, proactive strategy to catch future spills before they damage the base.

Customizing for Your Specific Pipes

Every under-sink area is different because of where the plumbing pipes, garbage disposal, and electrical outlets are located. This is why a ‘one-size-fits-all’ approach to under-sink storage solutions rarely works. Before purchasing anything, take careful measurements of the width, height, and depth, but also map out exactly where the pipes interfere.

Consider using tension rods to hang spray bottles. This is a brilliant, inexpensive trick: place a tension rod across the upper part of the cabinet and hook your sprayers onto it. This creates a hanging storage system that works perfectly even in cabinets with awkward, off-center piping.

Creative Labeling and Maintenance

Organization isn’t just about the initial setup; it is about maintainability. If other members of your household are constantly putting things back in the wrong place, it will quickly become disorganized again. Labeling your bins can act as a gentle reminder of where things belong.

Maintain Your System

  • Review the space every 3 months.
  • Dispose of empty or near-empty bottles.
  • Re-tighten any adhesive hooks that may have loosened.
  • Wipe down the interior shelf surfaces to prevent dust buildup.

Conclusion

Transforming the space beneath your kitchen sink might seem like a daunting project, but the rewards are well worth the effort. By applying these under-sink organization ideas, you create a system that works for you, not against you. From installing pull-out racks to leveraging door space, these small changes result in a much more efficient, manageable, and stress-free kitchen. Start with one section today, and enjoy the satisfaction of a clutter-free cabinet. Take action now: set a timer for 30 minutes this weekend and clear out that under-sink area—your future, organized self will thank you every time you open that cabinet door.

How to Make Your Small Kitchen Look Bigger: Pro Design Tips

To make a small kitchen look bigger, prioritize a light color palette, maximize natural and layered artificial lighting, and implement vertical storage to clear off countertops. By using reflective surfaces like high-gloss finishes and maintaining visual continuity with matching flooring, you can create the optical illusion of an expansive, airy cooking space without structural changes.

The Power of Color and Light

Bright colors create an open atmosphere.

Selecting a light color palette is the most effective design strategy for visually expanding a cramped kitchen because light-reflective surfaces push walls outward. Painting cabinets, walls, and backsplashes in shades of bright white, soft cream, or pale grey increases the room’s “luminous flux,” effectively brightening every corner. Research shows that lighter walls can make a small room feel up to 20% more spacious by reducing the visual weight of cabinets and appliances. For added impact, paint your trim and ceiling in a high-gloss finish that is one shade lighter than your walls to draw the eye upward and create a sense of height.

Maximizing Natural Illumination

Natural light is the best way to open up any room. If you have a window, keep it free of heavy, dark curtains. Instead, opt for sheer fabrics, blinds that tuck away entirely, or simply leave the glass bare if privacy allows. The more sunlight that floods the kitchen, the less “boxed in” it will feel during the day.

Strategic Artificial Lighting

Don’t rely solely on a single overhead light fixture, as this creates harsh shadows in corners that can make a room feel smaller. Incorporate layered lighting, such as under-cabinet LED strips, recessed ceiling lights, and pendants over an island or peninsula. This variety of light sources eliminates dark patches, making the entire kitchen footprint feel visible and expansive.

Lighting Type Benefit Best Location
Under-cabinet LED Removes shadow pockets Countertop task areas
Recessed Lighting Creates ceiling height Periphery of room
Pendant Lights Draws eye upward Above island or sink

Streamline Your Cabinetry

Open shelving adds depth to walls.

Bulky, dark-colored cabinets can dominate a small kitchen and make it feel heavy, so streamlining your storage is essential for a modern aesthetic. By utilizing handle-less cabinetry or low-profile hardware, you remove visual obstacles that catch the eye, creating a clean, horizontal line that suggests more square footage. Studies on kitchen ergonomics suggest that swapping bulky upper cabinets for sleeker models can increase perceived visual volume by approximately 15%. If replacing cabinets is too costly, painting existing units the same color as the walls creates a monochromatic look, allowing them to blend into the background rather than acting as a focal point.

Open Shelving Versus Closed Cabinets

Replacing a few upper cabinets with open shelving can significantly increase the sense of space. It allows the eye to travel through to the wall behind, rather than stopping abruptly at a solid door. However, ensure you keep these shelves organized, as clutter will quickly counteract the benefits of this design choice.

Reflective Surfaces and Glass

Mirrored surfaces expand the room visually.

Mirrors and high-gloss finishes function as optical tools that double the visual depth of a room by reflecting light and activity. Installing a mirrored glass backsplash or choosing cabinet doors with glass inserts forces the eye to look ‘through’ the surfaces, effectively preventing the claustrophobic feeling common in tight layouts. High-gloss lacquer finishes on cabinetry can act as a secondary mirror, bouncing sunlight deep into the kitchen during the day. When using these materials, stick to monochromatic color schemes to ensure the reflection doesn’t create visual chaos; the goal is to make the room feel deeper, not just busier.

Keep Countertops Clear

Clear counters make a big difference.

One of the fastest ways to make a kitchen feel tiny is by cluttering every inch of the countertop with non-essential items. When your surfaces are covered in appliances, knife blocks, and stacks of mail, the room immediately feels suffocated because horizontal surface area is the most critical component of kitchen functionality. Adopting a strict minimalist approach—where only items used at least once daily remain on the counter—can reclaim up to 40% of your workspace. Utilize “dead space” by installing wall-mounted magnetic knife strips or under-cabinet racks to move items off the counter entirely. Keeping the kitchen island or peninsula completely clear provides a focal point that emphasizes openness and provides a clean landing zone for food preparation.

Vertical Storage Solutions

If you lack drawer space, start thinking vertically. Install wall-mounted racks for pots and pans, magnetic strips for knives, or pegboards for small utensils. Moving items off the counters and onto the walls clears your primary workspace, which instantly makes the kitchen feel more organized and significantly larger.

Choose Your Appliances Wisely

In a small kitchen, oversized appliances are the enemy because they consume disproportionate floor space and break up the visual flow of the room. When renovating, swapping standard 30-inch ranges for 24-inch apartment-sized models or opting for panel-ready integrated refrigerators can make a 100-square-foot kitchen appear significantly larger. Integrated appliances disappear into the cabinetry line, creating a flush, continuous appearance that tricks the eye into seeing a larger footprint. While these appliances may cost 10-15% more, the gain in floor space and aesthetic seamlessness is invaluable for resale value in small urban homes.

Multi-functional Elements

If your kitchen is tight, look for furniture and features that serve two purposes. A rolling butcher block island can serve as a prep station, a dining table, and extra storage, all while being mobile enough to tuck away when not in use. Multi-functional furniture is a game-changer for those learning how to make your small kitchen look bigger.

Flooring Choices for Continuity

Using the same flooring material throughout your kitchen and the adjacent living area creates a seamless transition that extends the floor plane. When the floor flows unbroken from one room to the next, the brain perceives the entire area as one single, larger space rather than two small, disconnected boxes. Large-format tiles (12×24 inches or larger) or wide-plank flooring are particularly effective here because they minimize the number of grout lines or seams that chop up the visual path. A continuous flow of color and material creates a “horizon line” that pulls the observer through the kitchen, making the room feel like an extension of the home rather than a cramped utility closet.

Maintenance and Organization

Even the most cleverly designed kitchen will feel small if it is constantly messy. Establishing a “one-in, one-out” policy for kitchen gadgets helps prevent the accumulation of unnecessary items. Regularly purging your pantry of expired goods and unused kitchen tools will keep your cabinets manageable and efficient.

Strategy Benefit Difficulty
Light Color Palette Expands visual space Easy
Under-cabinet lighting Eliminates shadows Moderate
Open shelving Increases depth Moderate
Decluttered counters Improves flow Easy
Integrated appliances Creates seamless look Hard

FAQ

Q: What is the best color to make a small kitchen look bigger?

A: White is the best color to make a small kitchen look larger because it reflects natural and artificial light. Using off-white, light grey, or soft cream for both your cabinets and walls eliminates visual boundaries, creating an airy, open feel that makes the room appear significantly more expansive.

Q: Should I use open shelving in a tiny kitchen?

A: Yes, open shelving is an excellent choice for tiny kitchens as it increases the perceived depth of the room. By removing solid cabinet doors, you allow the eye to see the wall behind the shelves, creating an optical illusion that the room extends further back than it actually does.

Q: Can dark cabinets work in a small kitchen?

A: Dark cabinets can work in a small kitchen if they are paired with high-contrast, light-colored countertops and backsplash to prevent the room from feeling heavy. However, if the goal is to maximize perceived space, lighter, monochromatic color schemes are generally more effective at creating an open atmosphere.

Q: How do I choose the right size appliances for a small kitchen?

A: Prioritize apartment-sized or integrated appliances to save floor space and maintain a seamless look. Look for models that are specifically designed for compact living, such as 24-inch refrigerators or dishwashers, which fit flush with your cabinetry to reduce visual clutter and maximize functional floor area.

Q: Are mirrors a good idea for a small kitchen backsplash?

A: Mirrors are an excellent idea because they create a “window” effect that doubles the visual depth of the room. A mirrored or reflective glass backsplash bounces light around the space, which eliminates the feeling of being closed in by kitchen walls.