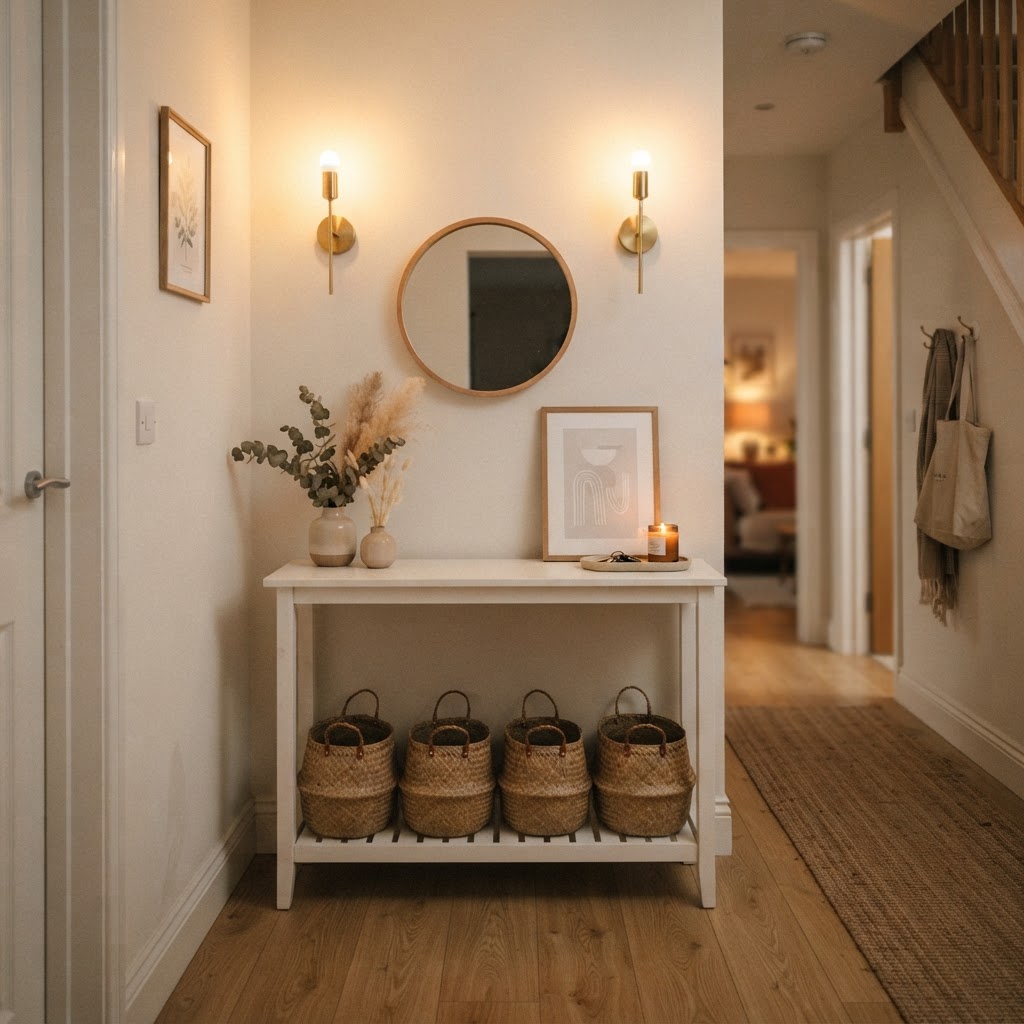
How to Create a Stylish Gallery Wall With Command Strips

Creating a beautiful gallery wall with Command Strips is the perfect way to infuse personality into your home without the stress of power drills or permanent wall damage. Whether you are living in a rental or just want the flexibility to rearrange your art on a whim, mastering this technique is a game-changer for your interior design efforts. Gone are the days when hanging a curated collection of frames required precise measurements, drywall anchors, and a leap of faith; now, you can achieve a polished look that feels professional and intentional. In this guide, we will walk you through the essential steps to plan, arrange, and securely hang your art using these adhesive wonders, ensuring your space looks curated rather than cluttered.

Why Use Command Strips for Your Gallery Wall
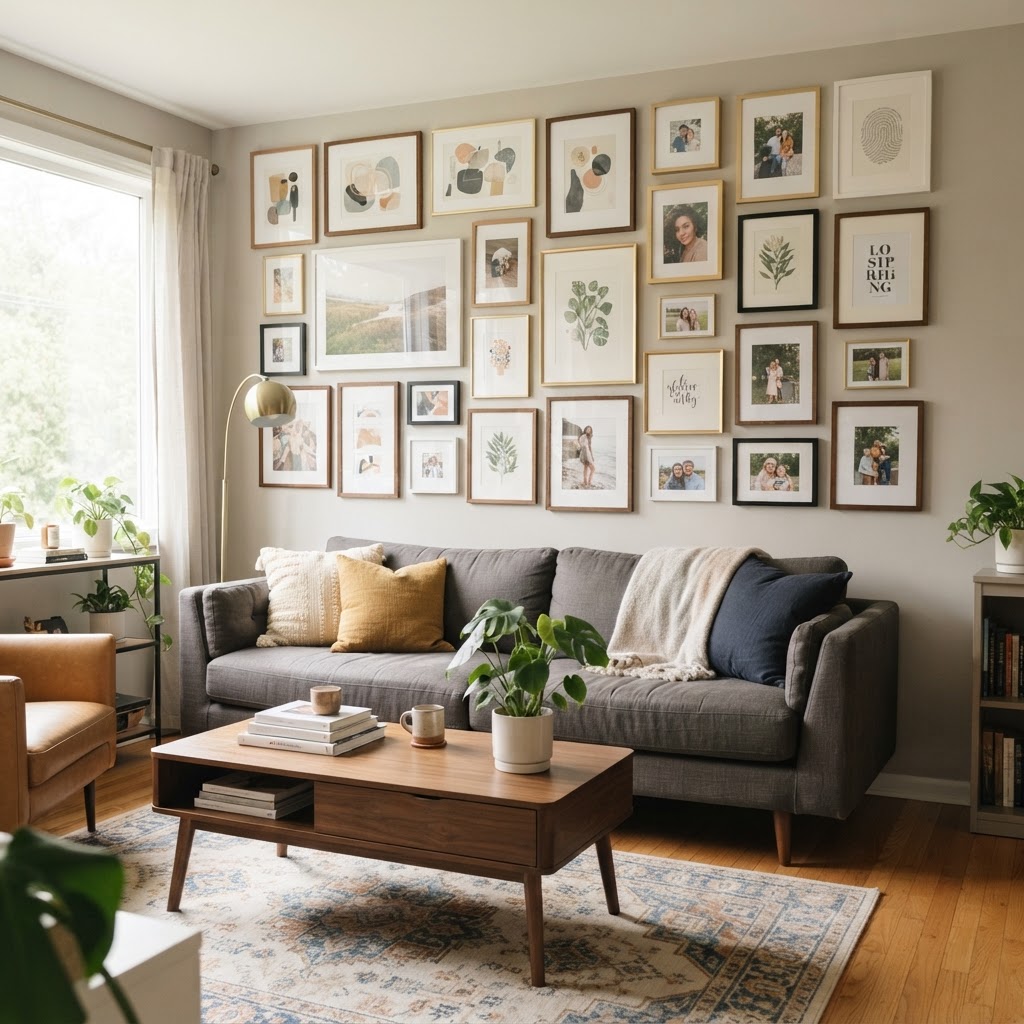
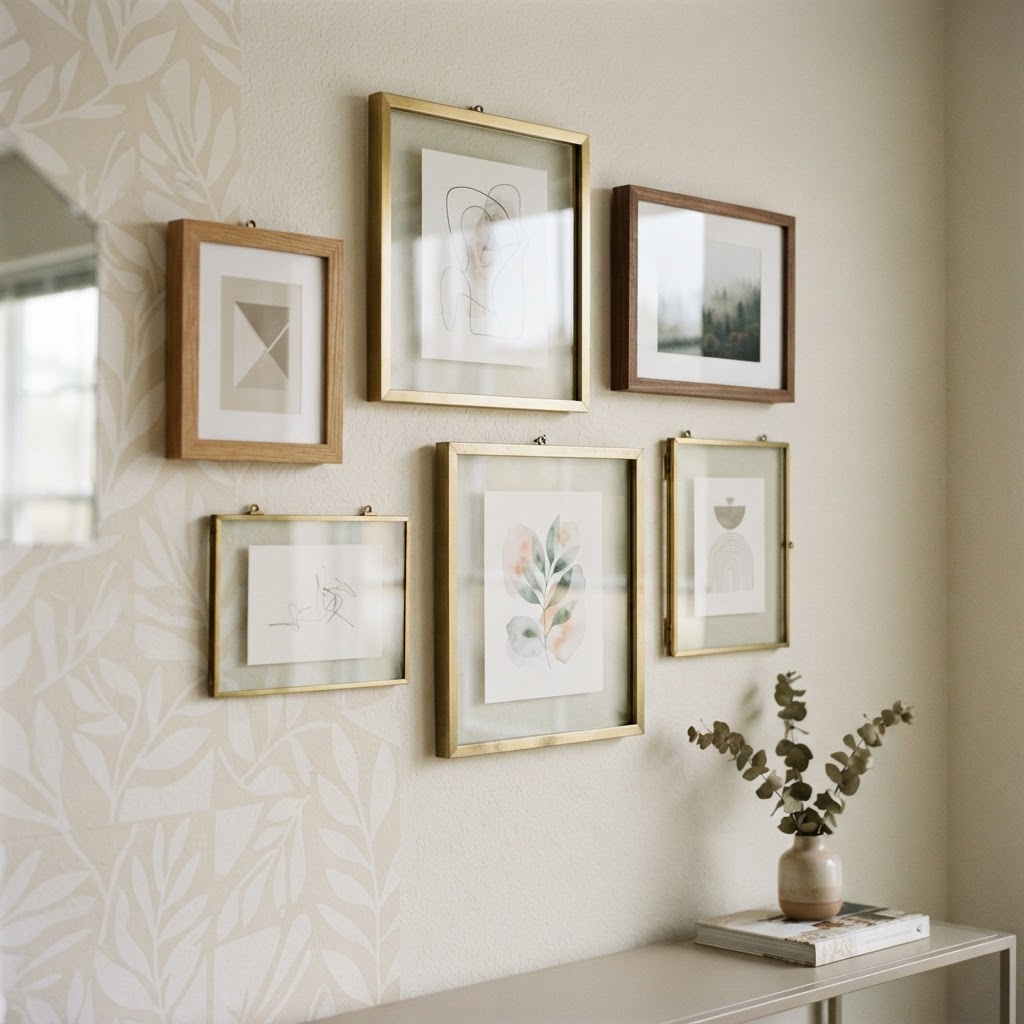
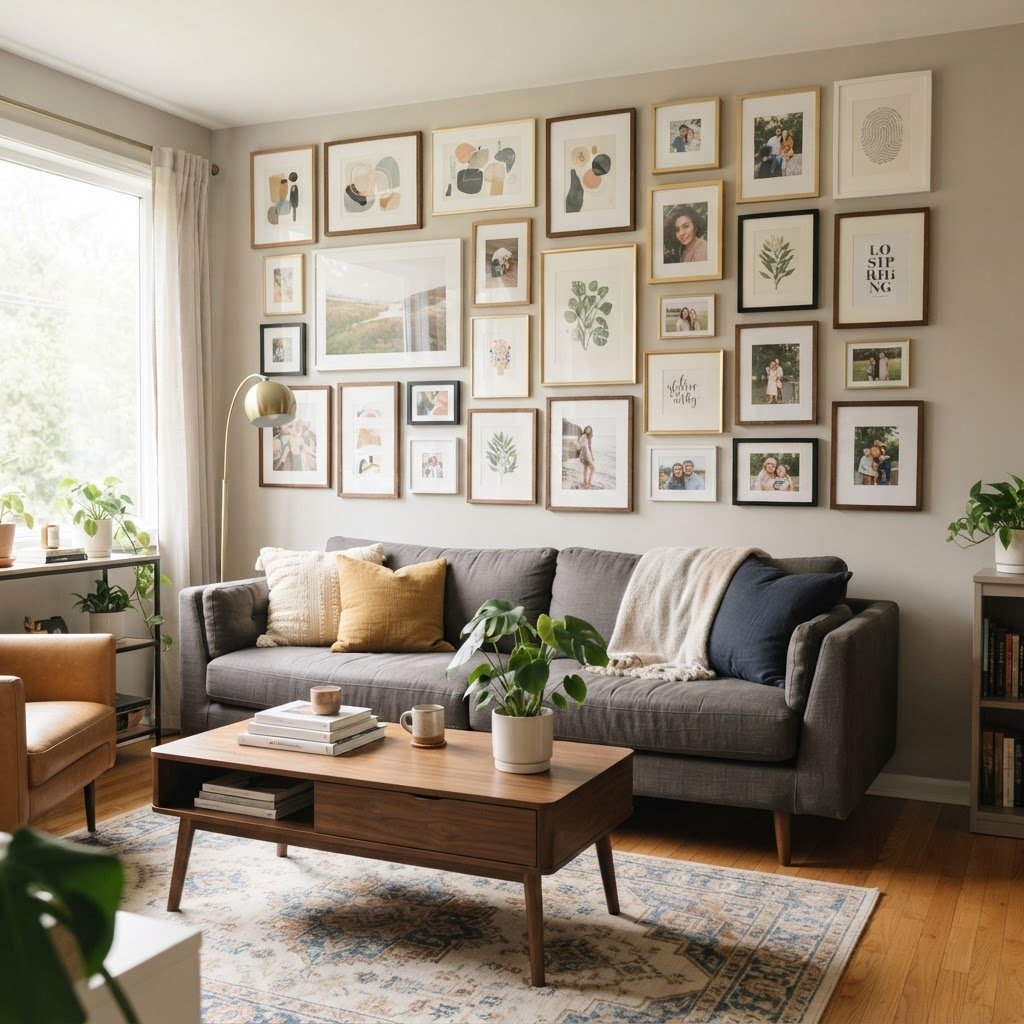
A perfectly curated gallery wall adds depth and personality to any room.

When planning a gallery wall, the biggest hurdle for most homeowners is the fear of commitment. Traditional nails leave unsightly holes that require patching, sanding, and painting whenever you want to move a frame or change the aesthetic. Using adhesive strips eliminates this issue entirely, making your decor truly dynamic.

The Benefits of Adhesive Hanging

Beyond the lack of damage, these strips offer a level of precision that nails simply cannot match. You can adjust the frame slightly to ensure it is perfectly level or shift the entire layout if it looks off-center after hanging. Furthermore, they are incredibly easy to use, requiring zero specialized tools like hammers, levels, or drills, which makes the project accessible to everyone regardless of their DIY skill level.

Planning Your Gallery Wall Layout
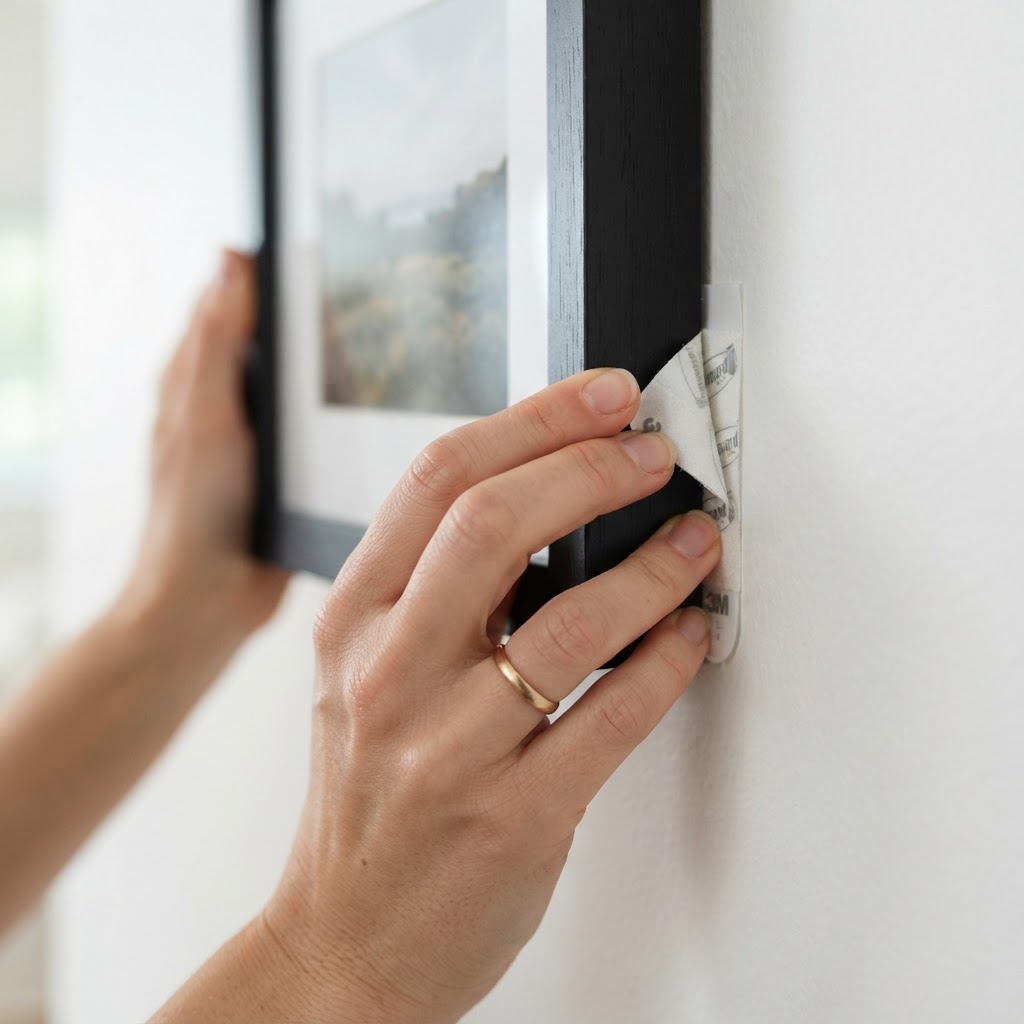
Ensure the surface is clean for the best adhesive grip.

Before you even touch an adhesive strip, you must have a solid plan. A chaotic collection of frames can look messy if there is no underlying structure or theme. Start by gathering all the pieces you want to display and laying them out on a large area of floor space to experiment with different configurations.

Finding the Right Arrangement

Consider the balance between large statement pieces and smaller accents. You can try a grid formation for a modern, clean look, or a more eclectic “salon style” where frames vary in size and frame material. Pro tip: trace your frames onto kraft paper and cut out the shapes. You can then use painter’s tape to stick these paper templates to your wall, allowing you to visualize the final outcome before you commit to the actual hanging process.

Selecting the Right Command Strips
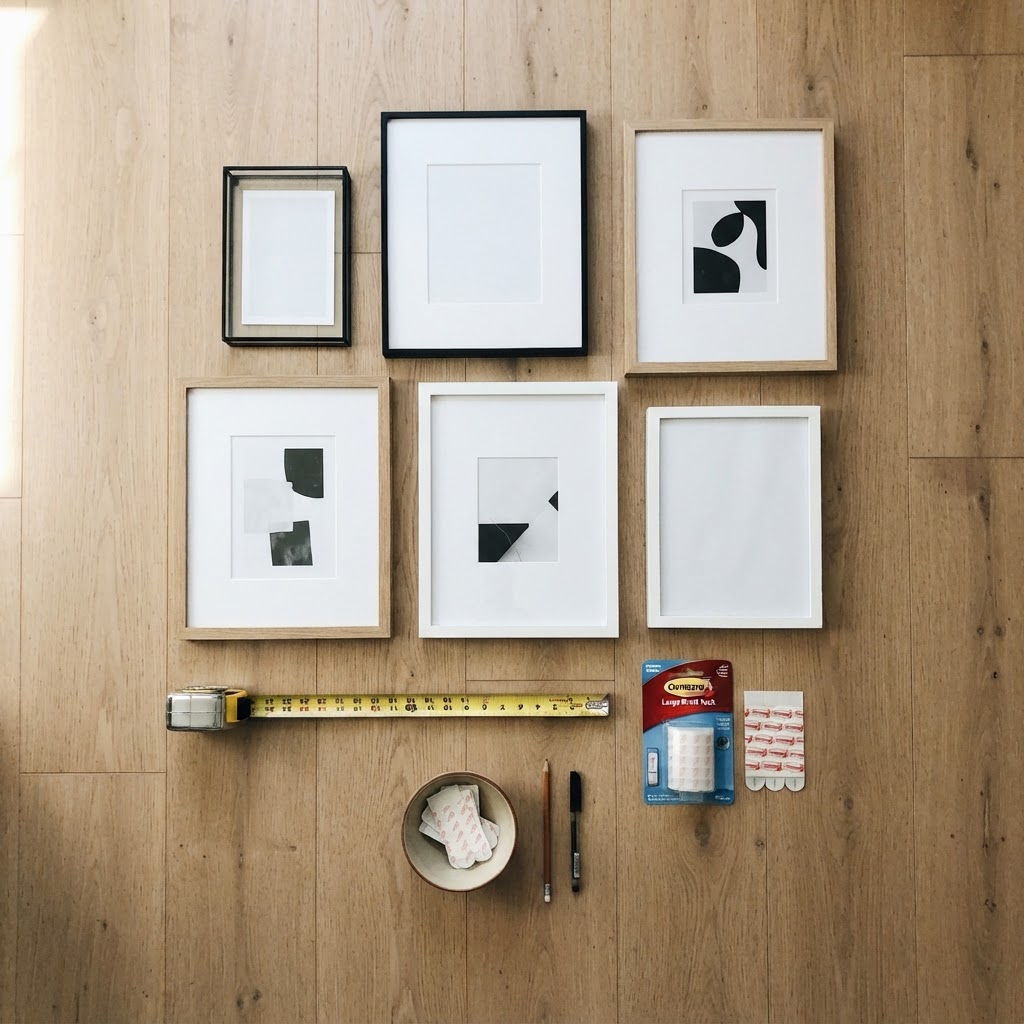
Lay out your frames on the floor to test your composition.

Not all adhesive strips are created equal, and choosing the wrong weight capacity is a recipe for disaster. Command Strips come in various sizes, each designed to support a specific weight range. Check the back of your frames to estimate their total weight accurately.

Understanding Weight Capacity

Always err on the side of caution. If a frame feels borderline in weight, use more strips rather than fewer. You should also take into account the frame material; metal frames with thin edges can be trickier to adhere to than wooden ones. Make sure to clean the surface of the frame and the wall with rubbing alcohol before application to remove dust or oils, which is a critical step for maximum bond strength.

Step-by-Step Installation Process
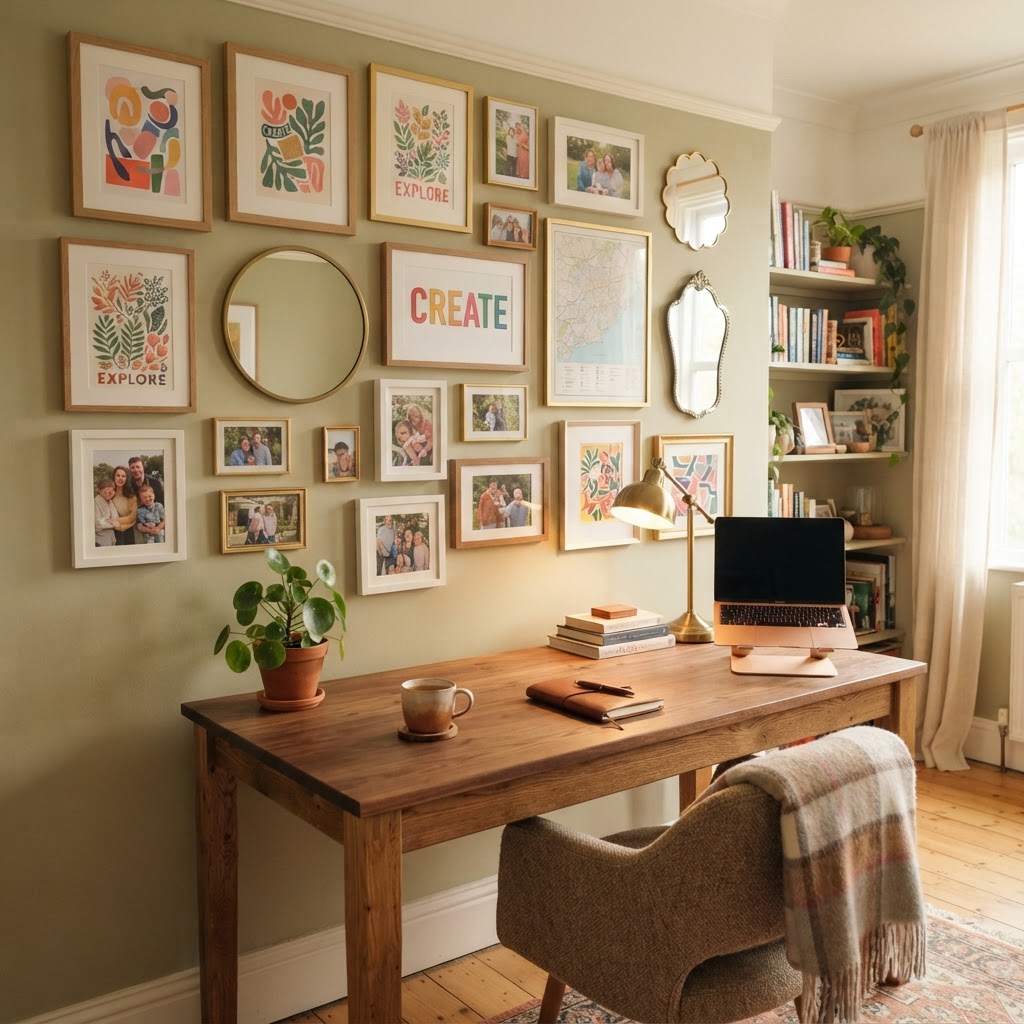
Mixing textures and frame sizes keeps the display engaging.

Once your templates are on the wall and your strips are ready, it is time to move to the main event. Start with the center frame of your collection. This anchor piece will dictate the spacing for everything else. By getting the center piece perfect, you set the tone for the symmetry of the entire wall.

Applying the Strips Correctly

Separate the strips and press them together until they click. Peel off the liner on one side and press it firmly onto the frame. Once all strips are attached, peel the remaining liners and press the frame against your wall location for 30 seconds. You must then carefully peel the frame away from the wall, leaving the wall-side strip attached, and press firmly on those strips for an additional 30 seconds to activate the adhesive. Wait at least an hour before re-attaching the frame to the wall.

Styling Tips for a Professional Look

To make your gallery wall look like it was curated by a pro, focus on the “negative space” between the frames. A standard spacing of two to three inches between frames usually creates the most cohesive appearance. Keeping the spacing consistent helps the eye move across the display smoothly without getting overwhelmed by the gaps.

Mixing Mediums and Sizes

Don’t be afraid to mix different types of art. You can include framed prints, canvas art, mirrors, and even small decorative objects to add texture. The contrast between these different mediums provides visual interest and prevents the display from feeling like a sterile catalog layout. Remember, a gallery wall should tell a story, so include items that have personal meaning to you.

Maintaining and Adjusting Your Display

Over time, you might feel the urge to refresh your home decor. One of the greatest advantages of using Command Strips is how simple it is to swap out a frame or update your gallery. Because the strips are removable, you can take a frame down without damaging your paint, allowing you to replace the art within seconds.

Long-Term Care

If you find that a frame has shifted slightly due to humidity or temperature changes, simply remove it, replace the strips, and re-hang. It is a good practice to occasionally check the stability of your larger pieces to ensure the adhesive bond remains strong. If you ever need to remove the strips entirely, pull the tab straight down slowly, parallel to the wall, to ensure the paint remains pristine.

Troubleshooting Common Issues

Sometimes, things do not go exactly according to plan, but don’t get discouraged. If a frame keeps falling, it is likely due to either an uneven surface, dust on the wall, or exceeding the weight limit. Ensure you are using the heavy-duty versions if your frame has glass, as glass adds significant weight compared to acrylic or canvas.

Avoiding Damage and Falls

Always ensure your wall surface is smooth. These strips do not perform well on heavily textured wallpaper or loose, flaking paint. If you have textured walls, consider hanging your frames using a different method or applying a smooth adhesive patch first. If you followed all the instructions and the strip still failed, replace the adhesive with a brand new set, as re-using old adhesive will never provide the same holding strength.

Conclusion

Creating a stunning gallery wall with Command Strips is an empowering DIY project that proves you do not need heavy machinery to elevate your living space. By following these steps—meticulous planning, choosing the right products, and taking your time during the application—you can transform any blank wall into a focal point that reflects your personal style. The freedom to rearrange and evolve your home decor without the fear of damaging walls is the ultimate luxury for renters and homeowners alike. Now that you have the knowledge and the confidence, pick your favorite frames and start building your own beautiful wall display today!
Budget Rental Decor: Easy Ways to Elevate Your Space

Living in a rental property often feels like a temporary state of compromise. You might feel limited by beige walls, outdated fixtures, or a layout that feels uninspired. However, finding budget ideas that help small rentals look a little more designer is easier than you think. With the right strategy, you can infuse personality and sophistication into your space without losing your security deposit or spending a fortune.

The Power of Strategic Lighting

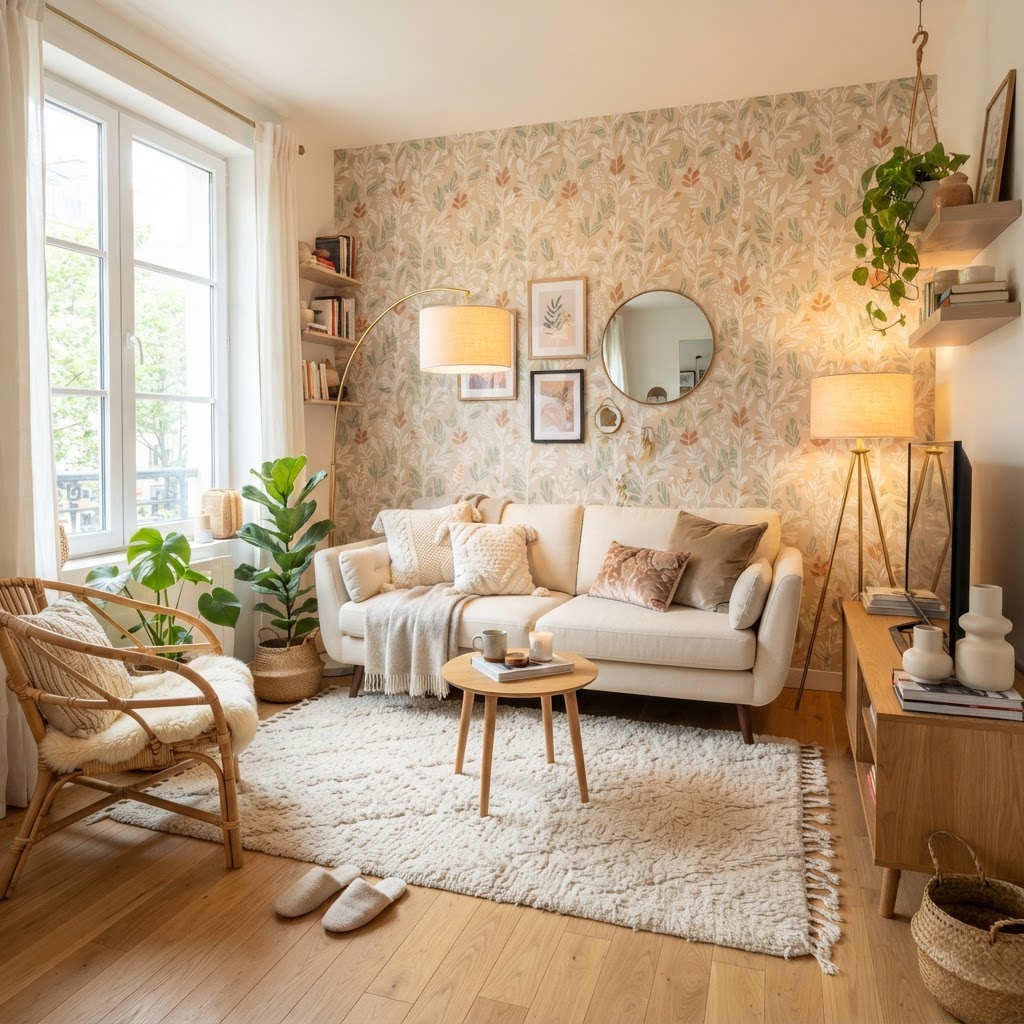
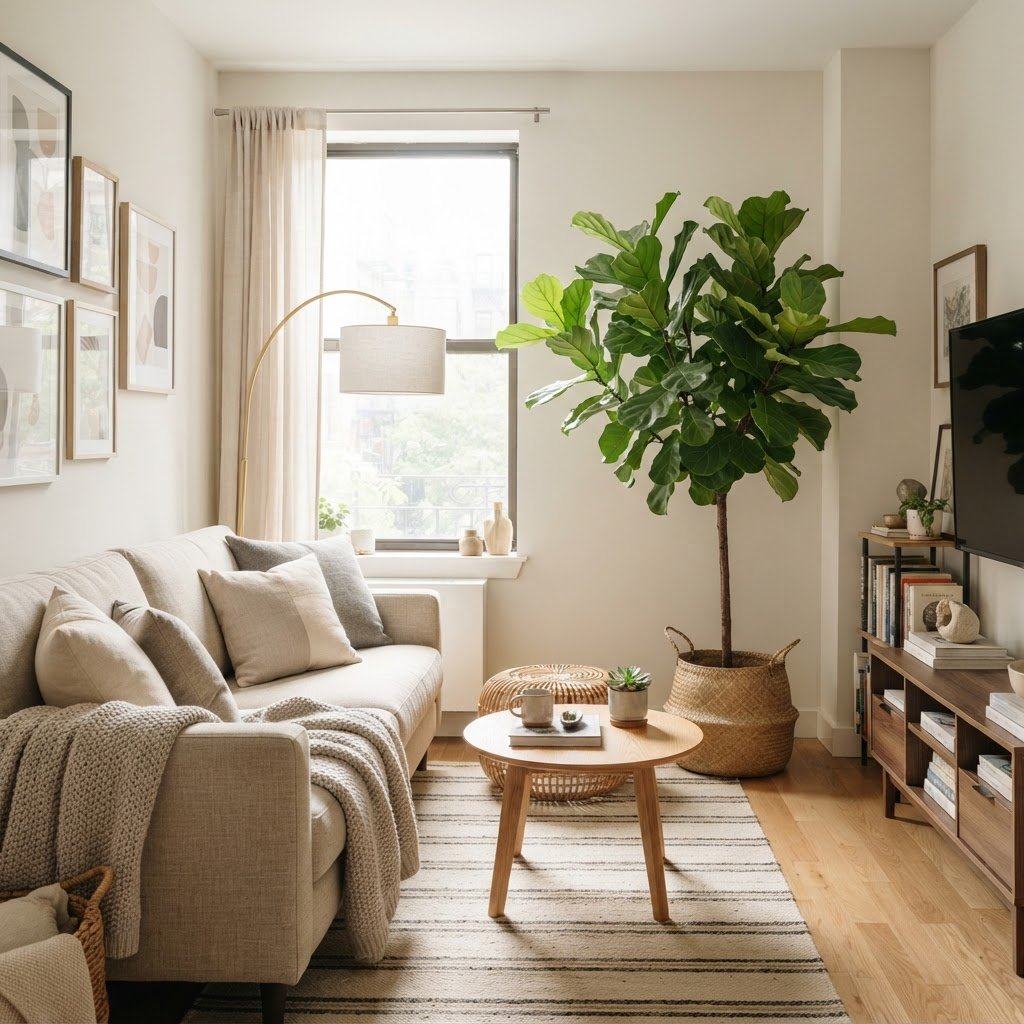
Layering textures and plants creates an instant designer feel in any rental.

Lighting is often the most overlooked element in home design. Most rentals come with standard, harsh overhead lighting that washes out the room. Replacing these fixtures with statement pieces can instantly elevate the aesthetic. If you cannot change the hardwired fixtures, look for decorative floor lamps and table lamps that cast a warmer, more intentional glow throughout your living room or bedroom.

Adding multiple light sources creates layers of depth. Consider using floor lamps to highlight specific corners or task lighting on your desk to create a functional designer feel. Warm-toned bulbs are essential for making a space feel cozy and expensive rather than sterile and clinical.

Choosing the Right Light Fixtures

If your landlord allows, swapping out a basic ceiling flush mount for a plug-in pendant light can make a massive difference. You can simply hang the pendant from a decorative hook, ensuring you keep the original fixture to reinstall when you move out. This simple change shifts the focus from the ceiling to a beautiful, sculptural element that serves as a focal point.

Refreshing Walls Without Paint

A curated gallery wall adds personality without damaging your walls.

Many leases strictly prohibit painting walls, which can be the biggest hurdle for renters wanting a custom look. Fortunately, peel-and-stick wallpaper has come a long way. This removable alternative allows you to add texture, color, or bold patterns to your walls without damaging the underlying surface. You can use it on a single accent wall to create a professional “designer” look without the commitment of traditional paint.

Alternatively, consider creating a gallery wall using removable adhesive strips. By curating a collection of art that speaks to your personal style, you can draw the eye away from bland walls and toward your curated decor choices. Mix sizes, frames, and subjects to give your walls an intentional, collected-over-time atmosphere.

Elevating Your Window Treatments

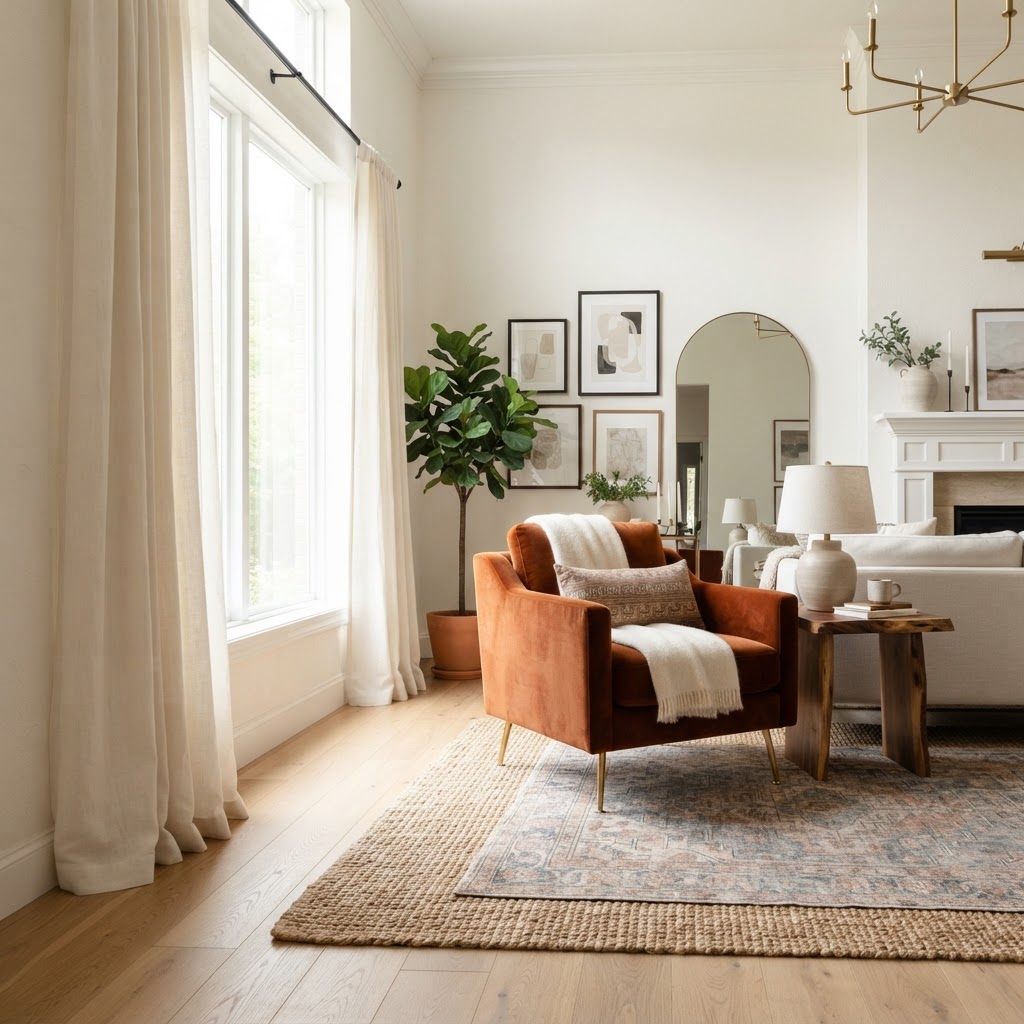
Higher curtain rods trick the eye to make rooms feel taller and more luxurious.

Standard rental blinds are often the first thing people notice in a space, and rarely for good reason. Upgrading your window treatments is one of the most effective budget ideas that help small rentals look a little more designer. By hanging curtains higher and wider than the actual window frame, you can trick the eye into thinking your windows are larger and your ceilings are taller.

Choose fabric choices that offer a sense of luxury, such as linen, velvet, or high-quality cotton. Installing a curtain rod that spans the entire wall—rather than just the window—adds a sense of drama and architectural interest. This small investment in fabric transforms the room into a soft, high-end sanctuary.

Furniture Choices and Textiles

When living in a small space, every piece of furniture counts. Opt for multi-functional items that serve more than one purpose, such as an ottoman with storage or a console table that doubles as a workspace. These pieces help reduce clutter, which is essential for maintaining a sleek, designer-focused environment.

The Importance of High-End Textiles

Never underestimate the impact of textiles in your home. Layering rugs can add warmth, texture, and a sense of luxury to a room that feels incomplete. Place a smaller, high-texture rug over a larger, neutral jute rug to create an expensive-looking foundation. Add throw pillows in varying fabrics like boucle, velvet, or linen to add tactile depth to your sofa.

Creating Custom Storage Solutions

Clutter is the enemy of a designer look. When you don’t have enough closet space, you must get creative with your storage. Use matching bins or baskets to hide miscellaneous items on open shelves. Uniformity in storage containers immediately makes a space look more organized and professional.

Consider adding vertical shelving units that go from floor to ceiling. This draws the eye upward, making your ceilings appear higher while maximizing your storage potential. By choosing furniture that keeps items tucked away behind doors or inside drawers, you create a cleaner, more minimalist silhouette that reflects a high-end design sensibility.

Incorporating Personal Touches

Design is ultimately about how a space makes you feel. To truly make a rental look designer, you need to inject your own story. This could be through travel souvenirs, family heirlooms, or DIY projects that showcase your creative skills. When you decorate with things that hold personal value, the space feels less like a “rental” and more like a curated home.

Balance your personal items with high-quality basics to keep the look cohesive rather than cluttered. Group items in odd numbers, like threes or fives, which is a classic design trick to make displays look balanced and deliberate. This approach ensures your personal belongings look like intentional decor choices rather than random clutter.

The Role of Greenery in Design

Plants are nature’s best accessories. Incorporating large, statement houseplants adds vibrant color and organic shape to a room. Not only do they improve air quality, but they also bring a sense of life to a space that might otherwise feel static. Use stylish ceramic planters or woven baskets to house your greenery, as these vessels act as decor in themselves.

If you aren’t a green thumb, consider high-quality silk plants that look realistic. The key is to choose plants that fit the scale of your room. A small succulent on a massive coffee table looks lost, but a large Fiddle Leaf Fig or Snake Plant in a corner adds height and architectural presence that mimics a professional interior designer’s touch.

Conclusion

Finding budget ideas that help small rentals look a little more designer is all about intentionality and creativity. By focusing on lighting, textiles, wall interest, and organized storage, you can turn any rental unit into a home that feels uniquely yours. Remember that you don’t need a total renovation to achieve a high-end look; small, consistent changes have the biggest impact.

Start with one room at a time, and don’t feel pressured to complete everything at once. Home design is a journey, not a destination. Which of these rental-friendly hacks are you going to try first? Let us know in the comments below or tag us in your home transformation photos on social media!
Aesthetic Ideas for Small Bedrooms: Cute & Functional Designs

Living in a cramped room does not mean you have to sacrifice your personal style or comfort. If you are struggling to make your space feel like a sanctuary, incorporating clever aesthetic ideas for small bedrooms can completely shift the energy of your living environment. Whether you are dealing with a tiny studio apartment or a cozy spare room, the goal is to balance visual appeal with absolute functionality. By selecting furniture that earns its keep and utilizing vertical space effectively, you can turn even the smallest room into a retreat.

Rethinking Your Floor Plan for Maximum Utility

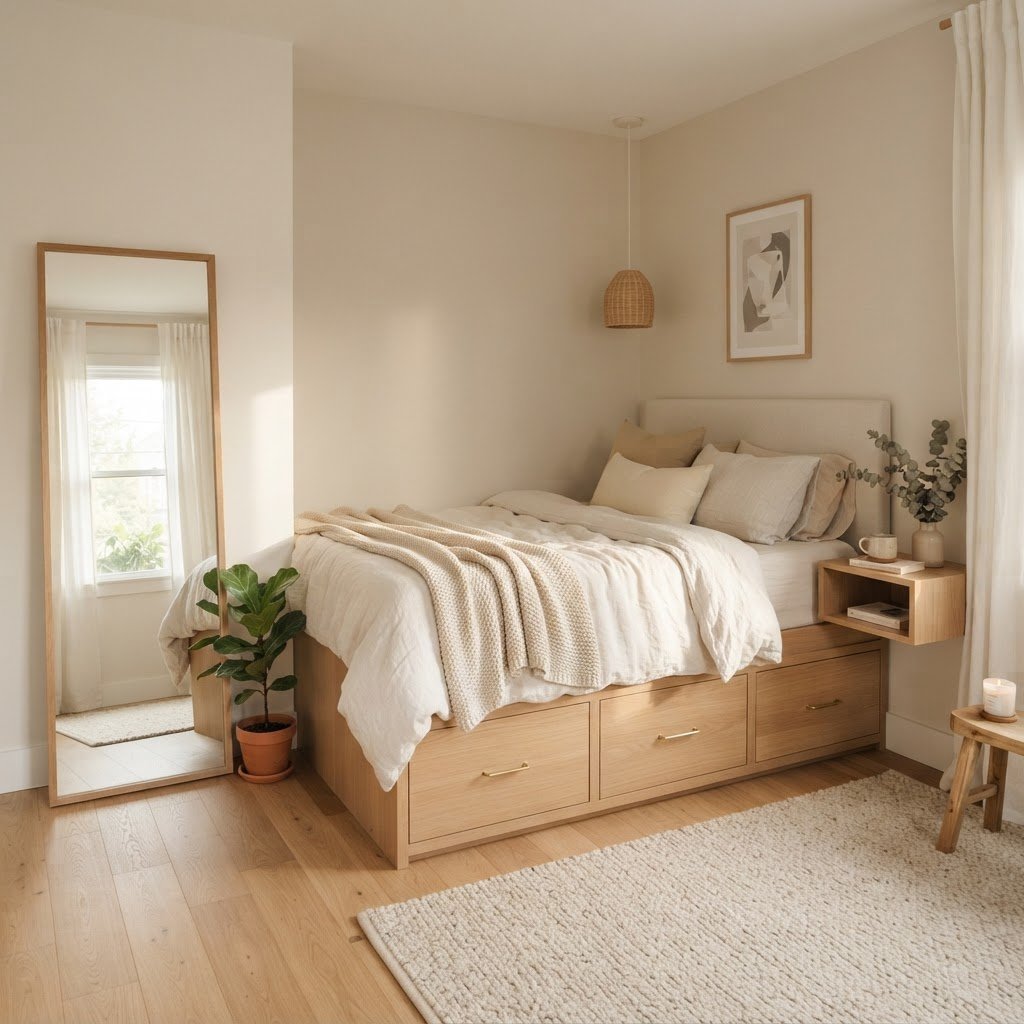
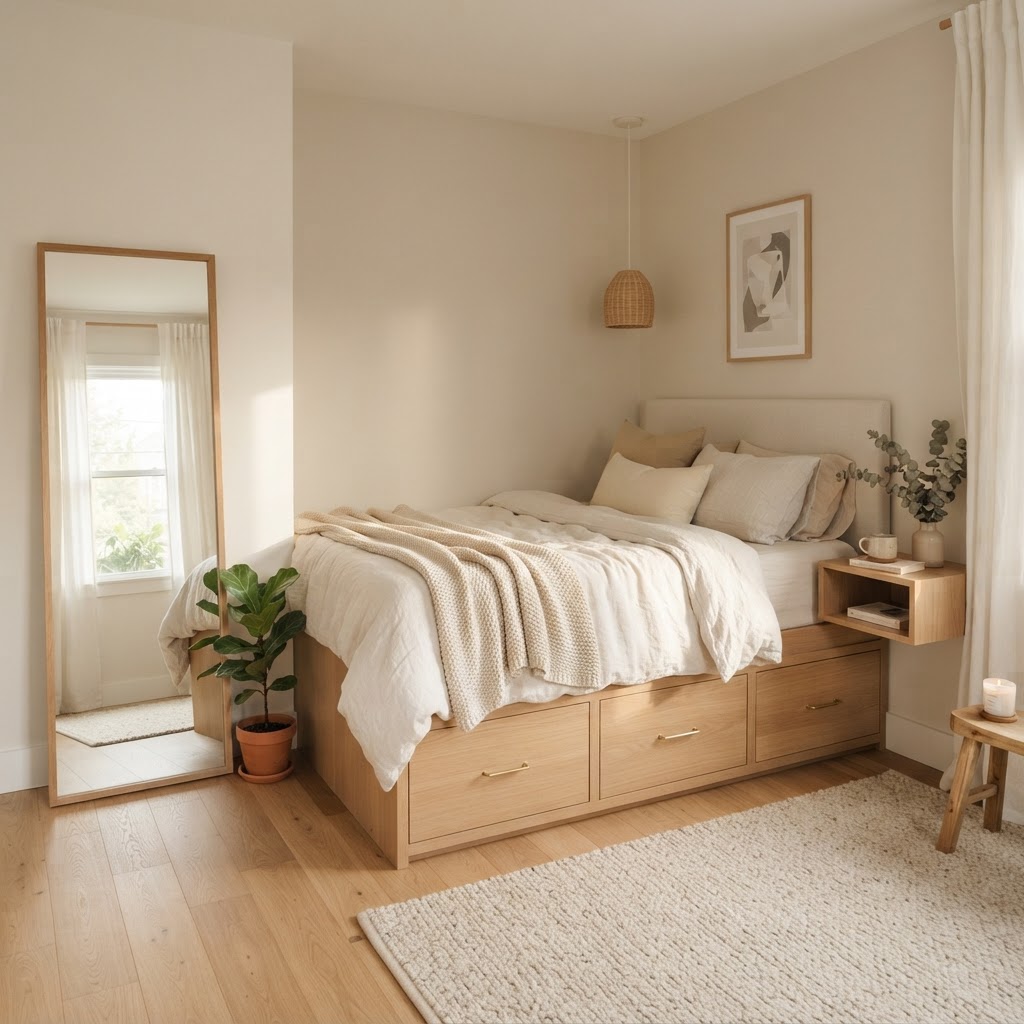
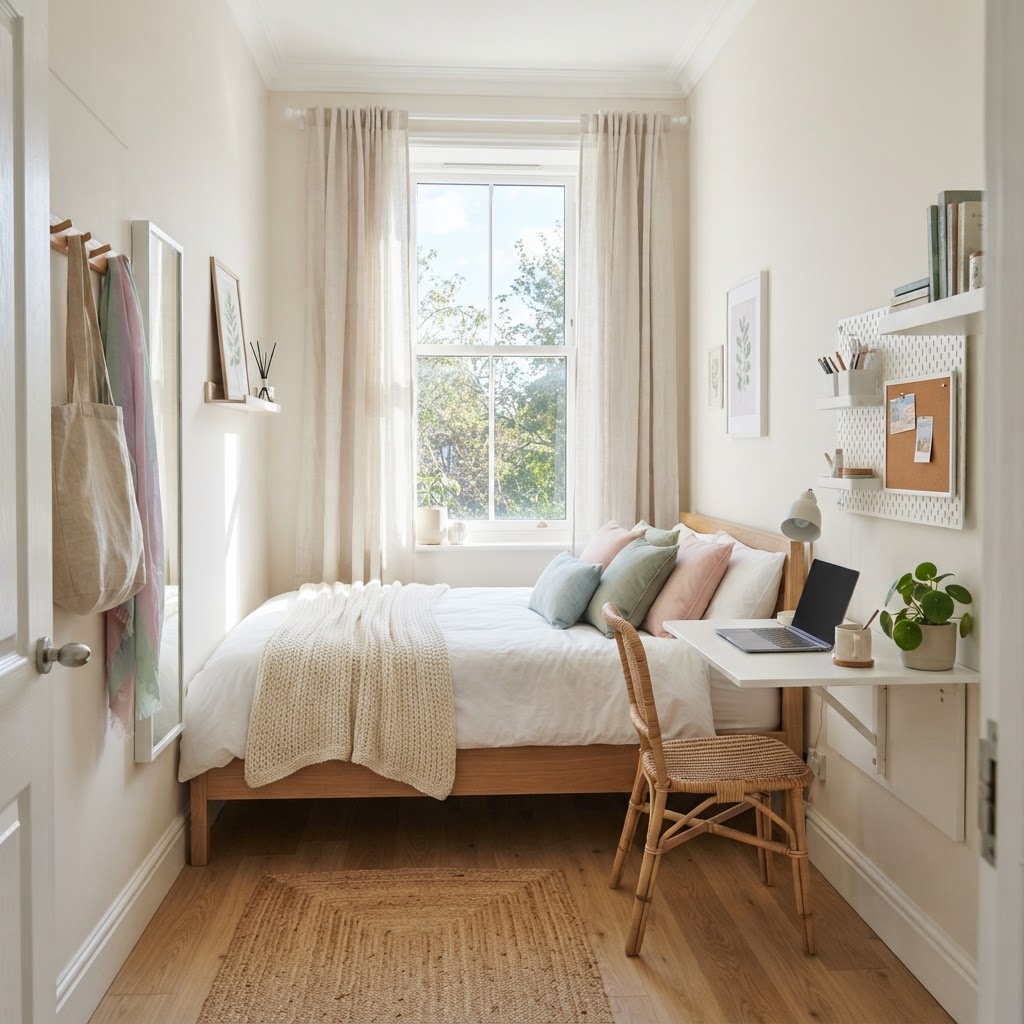
A well-organized, light-filled bedroom using mirrors and hidden storage.

The foundation of any successful small room design is the floor plan. Before you buy new furniture, look at the flow of your room. Many people make the mistake of pushing all their furniture against the walls, which can actually make a small room feel boxed in. Instead, try pulling your bed slightly away from the wall to create a more sophisticated, hotel-like feel.

The Power of Multi-Functional Furniture

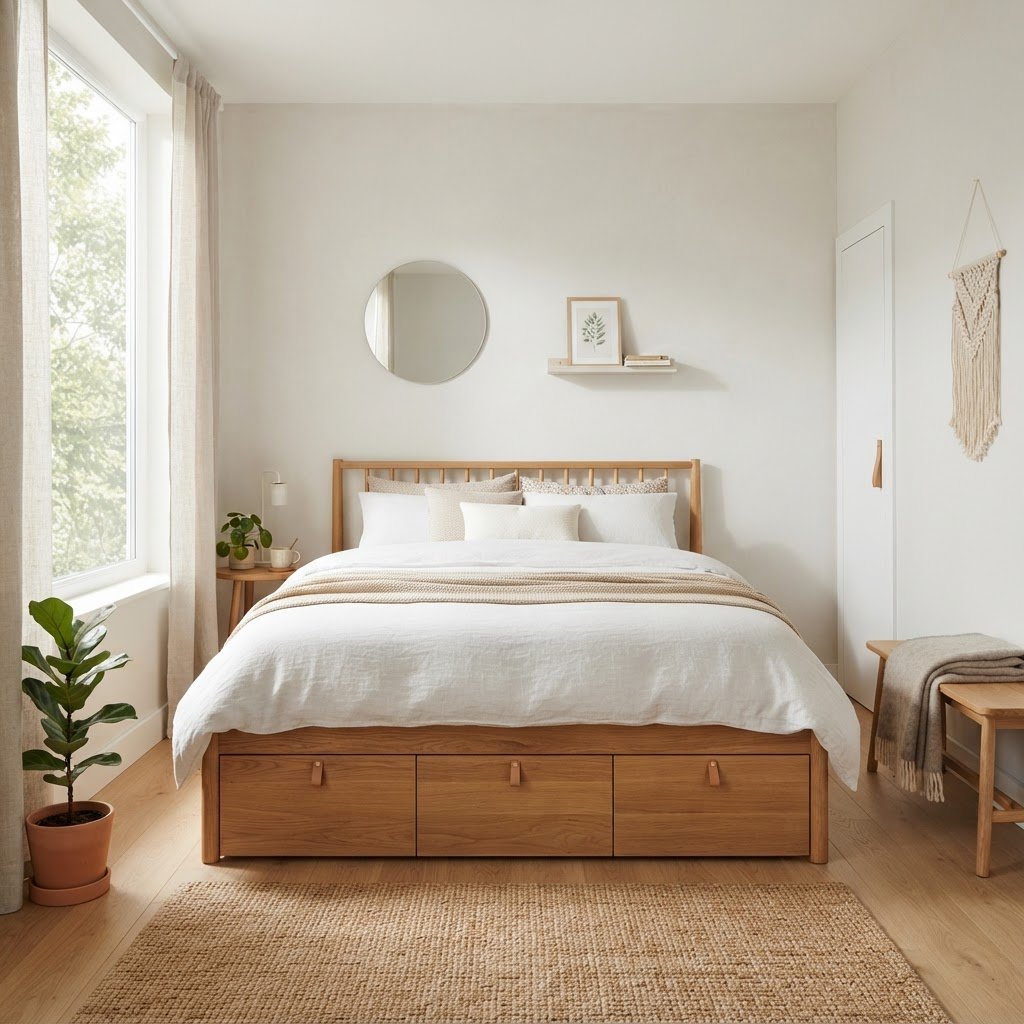
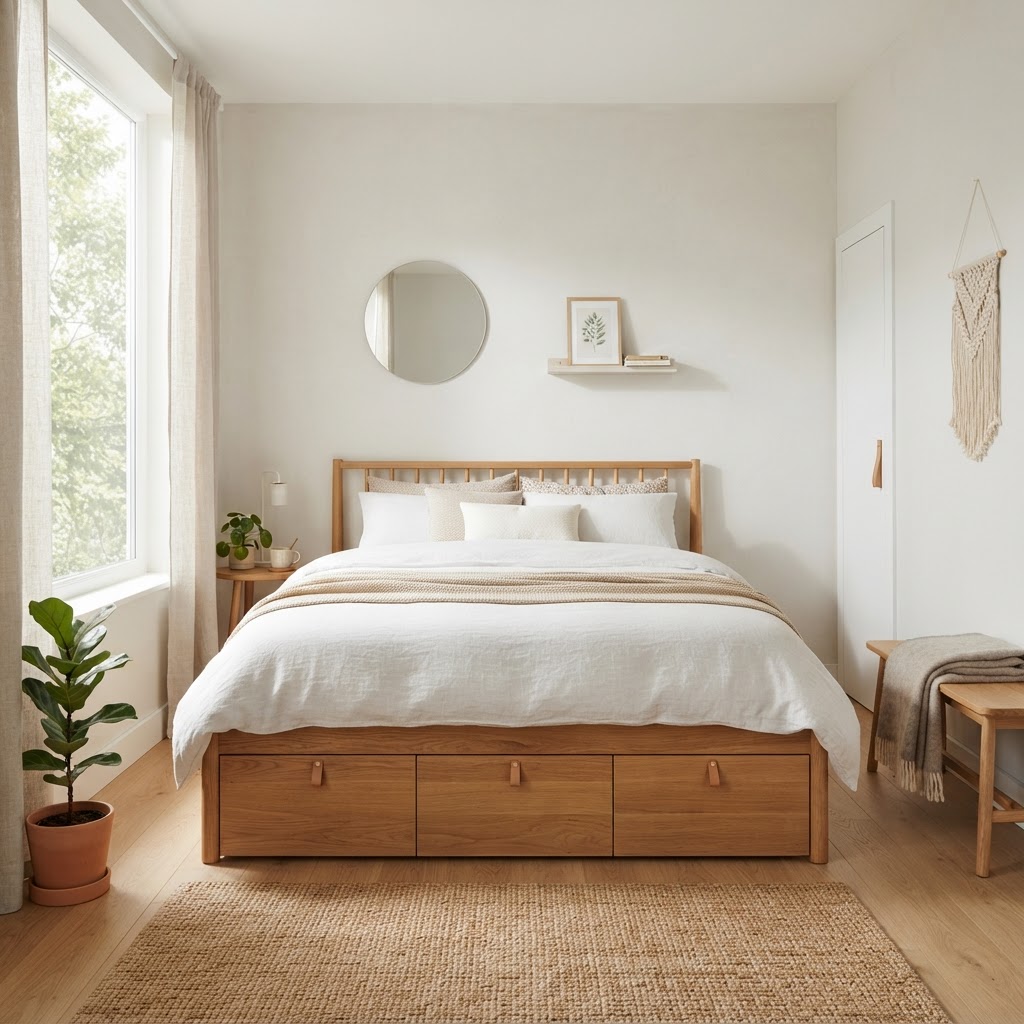
When square footage is a luxury, every piece of furniture must serve more than one purpose. Think about your bed frame: is it just a place to sleep, or could it be a storage unit? Bed frames with built-in drawers are a game-changer for those who need to store seasonal clothing or extra linens without cluttering the closet.

  • Ottoman storage: Use a stylish velvet ottoman at the foot of your bed to store blankets.
  • Wall-mounted desks: A folding desk keeps floor space clear when you are not working.
  • Nightstand shelves: Floating nightstands free up the floor, making the room appear larger.

Light and Color: The Visual Expansion Trick

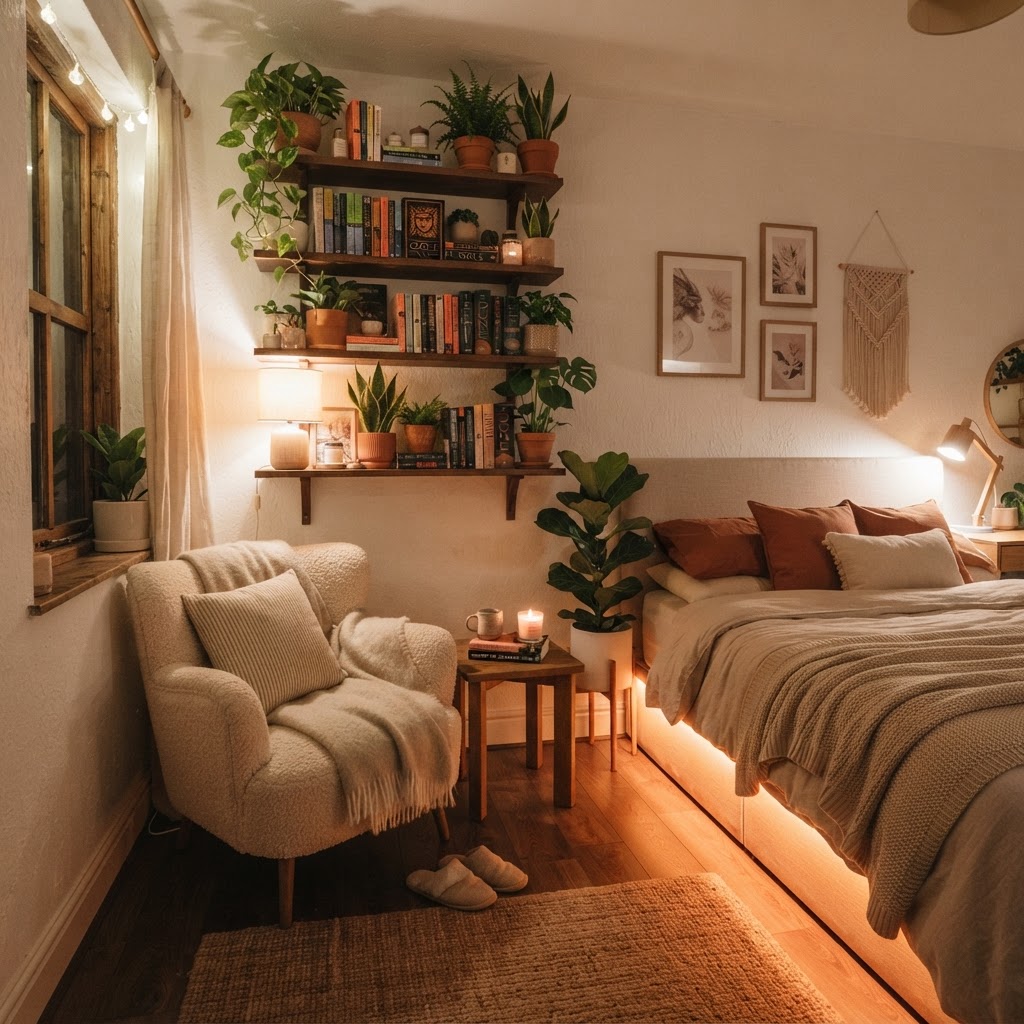
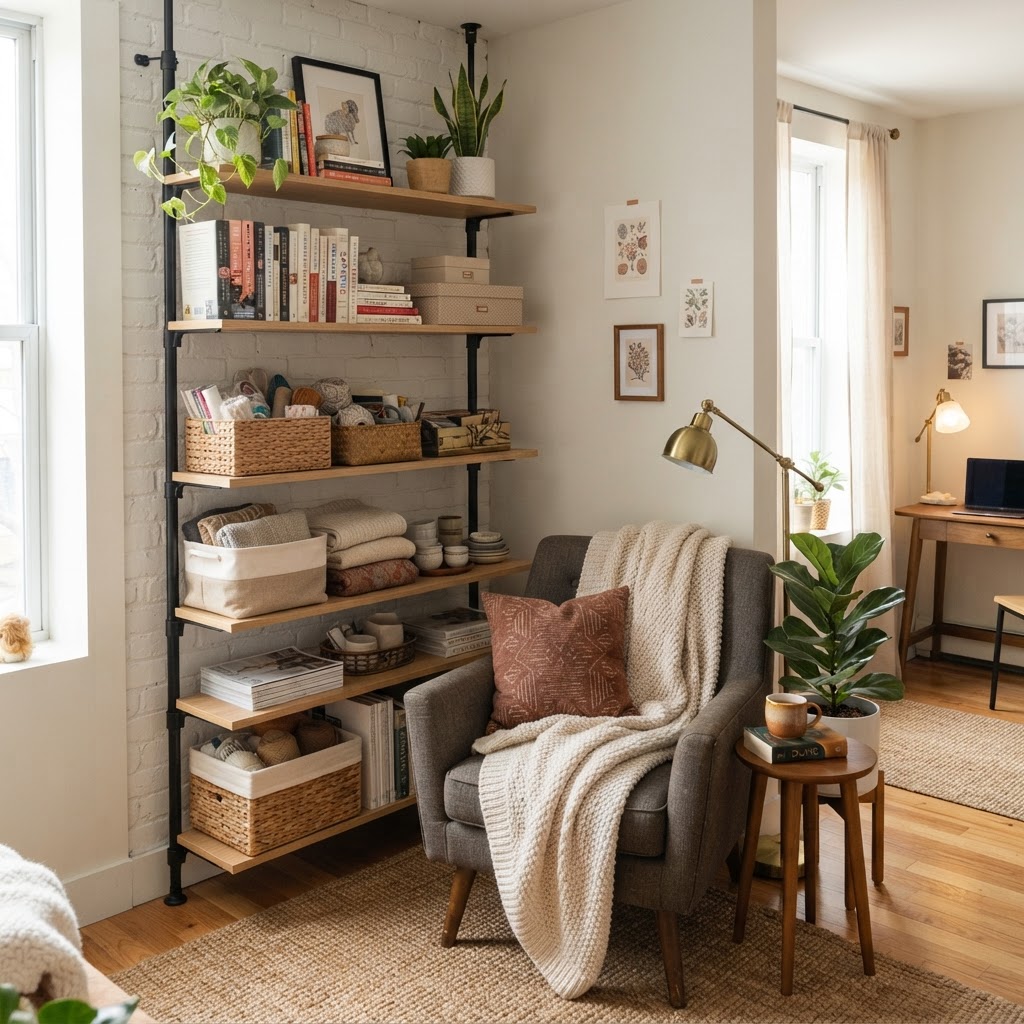
Maximize your space by utilizing walls for storage and creating a cozy reading nook.

Color psychology plays a massive role in how we perceive the size of a room. To make a small bedroom feel open and airy, lean into a lighter color palette. Whites, soft creams, and pale grays reflect natural light better than dark colors, essentially tricking the eye into believing the walls are further apart than they actually are.

Creating Depth with Texture

While a light color scheme is a standard recommendation, avoid making the room feel like a cold hospital ward. You can maintain a cozy aesthetic by layering textures. A chunky knit throw, a linen duvet cover, or a sisal rug can add personality and depth. These elements contribute to the overall vibe of aesthetic ideas for small bedrooms without adding visual weight to the room.

Maximizing Vertical Space Through Creative Storage

Tall curtains and a floating desk create a sophisticated and spacious feel.

When your floor is full, look up. Walls are your best friend when it comes to organizing a tiny space. Installing shelves above your door frame or using wall-mounted garment racks can free up valuable closet space and floor room. This approach turns your storage into part of your decor, allowing your favorite bags or books to double as styling pieces.

Vertical Gallery Walls

Art is not just for large homes. By grouping smaller frames vertically, you draw the eye upward, highlighting the ceiling height rather than the lack of floor width. This simple design technique makes the room feel taller and more curated, adding to the overall aesthetic appeal of your personal sanctuary.

The Art of Minimalist Decorating

Minimalism is often misunderstood as having nothing, but in the context of small rooms, it is really about intentionality. Only keep items that serve a purpose or bring you genuine joy. Clutter is the enemy of a small bedroom, so prioritize hidden storage solutions that keep surfaces clean and clear.

Selecting the Right Lighting

Lighting can transform a room from a storage closet into an aesthetic oasis. Instead of a single, harsh overhead light, layer your lighting. Use a floor lamp for height, a small table lamp for task lighting, and LED strips behind your headboard for a dreamy, ambient effect. Dimmable lights are particularly effective, allowing you to change the mood of the room instantly.

Cozy Nooks and Window Treatments

Never underestimate the power of window treatments. Hanging your curtain rods closer to the ceiling rather than just above the window frame can make your windows look larger and your ceilings appear higher. Use light, translucent fabrics to allow sunlight to stream in while still providing necessary privacy.

Creating a Reading Corner

Even in a tiny room, you can carve out a dedicated space for relaxation. A small armchair tucked into a corner with a floor lamp creates a micro-environment for reading or meditation. This small addition makes the bedroom feel more like a multi-purpose suite rather than just a place to lay your head.

Mirrors as Architectural Tools

Mirrors are the oldest trick in the interior designer’s playbook, yet they remain one of the most effective aesthetic ideas for small bedrooms. A large floor-length mirror leaning against a wall or a series of smaller mirrors arranged as an art piece will bounce light throughout the room. This makes the space look nearly twice its actual size and adds a touch of glamour to your decor.

The Placement Matters

Position your mirror opposite a window whenever possible. By capturing the natural light and reflecting it back into the room, you brighten dark corners and create a beautiful view that extends the visual boundaries of your space. It is a simple, cost-effective upgrade that requires no construction.

Essential Habits for Maintaining Your Small Space

Even the best design will fail if you do not keep up with maintenance. A small room gathers clutter significantly faster than a large home. Adopt a ‘one in, one out’ policy for decor items and clothing to ensure your space stays curated. Regularly evaluate what you own to keep your environment peaceful and conducive to rest.

Conclusion

Designing a small room does not mean you have to settle for basic or boring interiors. By utilizing these aesthetic ideas for small bedrooms, you can create a space that feels expansive, stylish, and perfectly tailored to your needs. Start by decluttering, invest in multi-functional furniture, and don’t be afraid to experiment with lighting and mirrors to find what works best for your layout. Your bedroom should be your happy place, no matter how many square feet it covers. Which of these design tips are you going to try first? Share your favorite transformations in the comments below!

Colorful Cozy Living Room Ideas with Warm Ambient Lights

Transforming your home into a sanctuary requires more than just picking a paint color; it is about balancing aesthetics with atmosphere. When you search for colorful cozy living room ideas with warm ambient lights, you are looking to marry the joy of vibrant design with the comfort of intimate illumination. A room that feels colorful should not necessarily feel chaotic; rather, it should feel like an expression of personality wrapped in a soft, golden glow that invites you to stay a little longer.

Understanding the Power of Color and Light

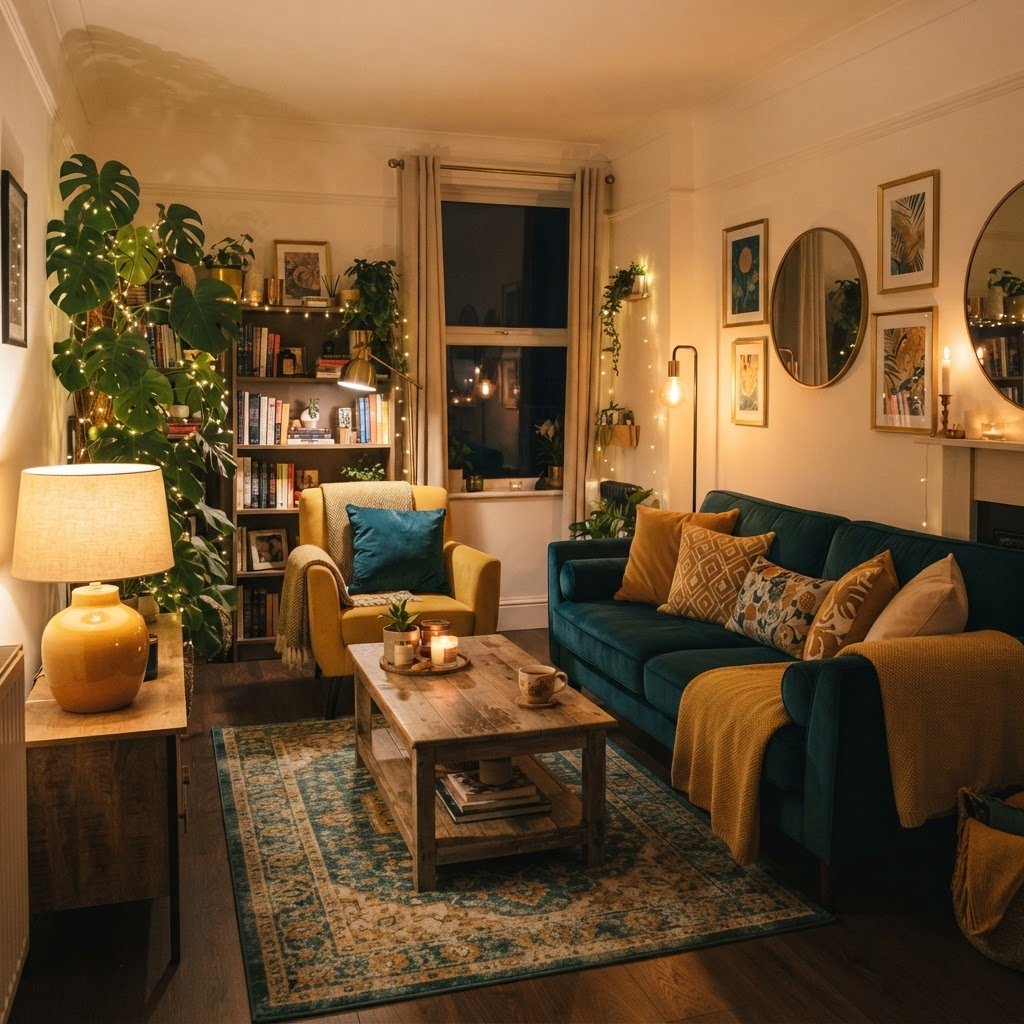
Vibrant colors harmonized by warm ambient glow.

Color and light share a symbiotic relationship that defines the mood of every room in your house. While bright white walls can feel sterile, introducing rich, saturated hues through furniture or textiles creates depth and character. However, color alone can sometimes feel cold or overly energetic if not supported by the right lighting strategy. Incorporating warm ambient lights is the key to softening those vibrant colors, ensuring that your space remains cozy rather than overwhelming.

Think of your color palette as the foundation of your room’s mood. Warmer tones like terracotta, mustard yellow, and deep teal naturally evoke a sense of comfort. When these colors are paired with light sources that emit a temperature between 2200K and 2700K, the entire room begins to feel like a sunset indoors. This combination is what turns a house into a home, providing a visual feast that is both stimulating and relaxing.

Layering Your Lighting for Maximum Coziness

The perfect reading corner with warm, cozy lighting.

Many homeowners make the mistake of relying solely on a single overhead light, which can create harsh shadows and flatten the beauty of your colorful decor. To achieve a truly inviting aesthetic, you must embrace layered lighting. This involves mixing ambient, task, and accent lighting to create a multidimensional experience.

The Importance of Ambient Lighting

Ambient light serves as the base layer of your room. It is the general illumination that allows you to navigate the space safely. For a cozy feel, avoid bright, high-wattage bulbs. Instead, use dimmable fixtures, wall sconces, or indirect LED strips tucked behind shelves or furniture. These sources bounce light off surfaces, creating a soft, diffused glow that makes the room feel smaller and more intimate.

Choosing the Right Bulbs

Always check the Kelvin (K) rating on your light bulbs. For a cozy environment, steer clear of daylight or cool white bulbs. Stick to ‘warm white’ or ‘soft white’ bulbs, which provide that amber hue essential for a relaxing evening atmosphere. These warm tones complement vibrant fabric colors, making reds pop and deep blues feel plush and velvety.

Integrating Vibrant Colors into Your Decor

Balancing wall colors with strategic ambient lamps.

If you are nervous about committing to bold wall colors, you can easily implement colorful cozy living room ideas with warm ambient lights through accessories. Start with a neutral foundation and layer in vibrant pillows, rugs, and artwork. A navy blue sofa, for instance, looks stunning when paired with mustard yellow cushions and a patterned rug that features hints of burnt orange and cream.

When you introduce these colors, ensure they are balanced. Use the 60-30-10 rule: 60 percent of the room is a dominant color (usually walls), 30 percent is a secondary color (upholstery), and 10 percent is an accent color (pillows, art, decor). This ratio ensures that your space remains cohesive and pleasant to the eye.

The Role of Textures in a Colorful Space

Highlighting natural decor with warm accent lights.

Color is only half the story; texture dictates how that color feels to the touch. A bright pink velvet armchair, for example, absorbs light differently than a slick leather chair. To increase the ‘cozy’ factor, prioritize tactile materials such as chunky knits, wool blankets, and natural wood furniture.

Textures help distribute light across the room. A rough-hewn wooden coffee table will catch the warm light from a nearby lamp differently than a glass surface would. By mixing materials, you create visual interest that keeps the room from looking one-dimensional. This approach is essential for any living room that intends to be both colorful and comfortable.

Strategic Placement of Warm Light Sources

Where you place your lights is just as important as the type of light you choose. For a cozy effect, you want pools of light at various heights throughout the room. This prevents the ‘cave’ effect while maintaining a sense of privacy and comfort.

Illuminating Dark Corners

Every room has corners that tend to disappear into shadow. Place a floor lamp with a linen shade in these areas to draw the eye outward, making the room feel larger. Pair this with a colorful piece of artwork or a tall houseplant to create an inviting focal point that glows once the sun goes down.

Table Lamps as Functional Art

Table lamps are the jewelry of the living room. Choose lamps with unique shapes or colorful bases that match your accent palette. When these are turned on, they provide focused light for reading while casting a warm, comforting wash over the surrounding furniture.

Creating Focal Points with Accent Lighting

If you have built-in shelving or a unique architectural detail, highlight it with warm ambient lights. Under-shelf lighting or puck lights inside cabinets can turn a standard storage unit into a display of your favorite books and decor. This adds a layer of depth that is particularly effective at night.

Focus on highlighting textures, such as a gallery wall or a brick fireplace. By directing light toward these features, you add character and warmth. Remember that the goal is to create ‘nooks’ of light that make the space feel segmented and manageable, rather than wide and exposed.

Bringing Nature Indoors with Light

Plants are a wonderful way to bring color and life into a living room. If you have a collection of leafy greens, use small, warm-toned spotlights to highlight them at night. This mimics the dappled effect of sunlight filtering through trees and connects your interior decor to the natural world, which is inherently calming.

Consider adding a decorative light strand around a large fiddle leaf fig or an indoor tree. This subtle addition provides a festive yet refined atmosphere that highlights the vibrant green of the leaves. It is a simple touch that enhances the cozy, colorful vibe you are striving for.

Conclusion: Your Cozy Oasis Awaits

Creating a living room that is both colorful and cozy is a rewarding design journey. By layering your warm ambient lights strategically, you can enhance the depth of your chosen colors and ensure that every corner of the room feels like a warm embrace. Start small—perhaps by swapping out a harsh lightbulb or adding a new throw blanket in a vibrant hue—and watch as your space evolves.

Remember that interior design is a personal journey, not a rigid set of rules. Your living room should reflect your unique taste while providing a retreat from the outside world. Experiment with different lamps, color combinations, and textures to find the balance that feels right for you. Why wait to transform your space? Start planning your new lighting and color palette today and see the difference it makes in your daily life.

Turn a Cluttered Tiny Entryway Into a Calm Landing Zone

Walking through your front door should feel like an exhale, not an obstacle course of discarded shoes, stray mail, and forgotten bags. When you turn a cluttered tiny entryway into a calm landing zone, you change the entire emotional tone of your home. A chaotic entrance sets a tone of stress from the moment you step inside, while an organized, intentional space provides a refreshing buffer between the outside world and your personal sanctuary. This guide will walk you through the essential steps to reclaim your space, regardless of its footprint.

The Psychology of Your Entryway

Maximize natural light and use mirrors to make a small entryway feel significantly larger.

Your entryway acts as the transition point in your home. When this area is packed with unnecessary items, it creates visual noise that impacts your mental clarity as soon as you cross the threshold. A cluttered space subconsciously tells your brain that work is still unfinished or that you are disorganized.

Why First Impressions Matter

The entryway is the first thing guests see and the last thing you see before leaving. By optimizing this small area, you are investing in your daily peace of mind. A clean, calm space allows you to shed the day’s responsibilities and settle into the comfort of your home environment.

Assessing Your Current Obstacles

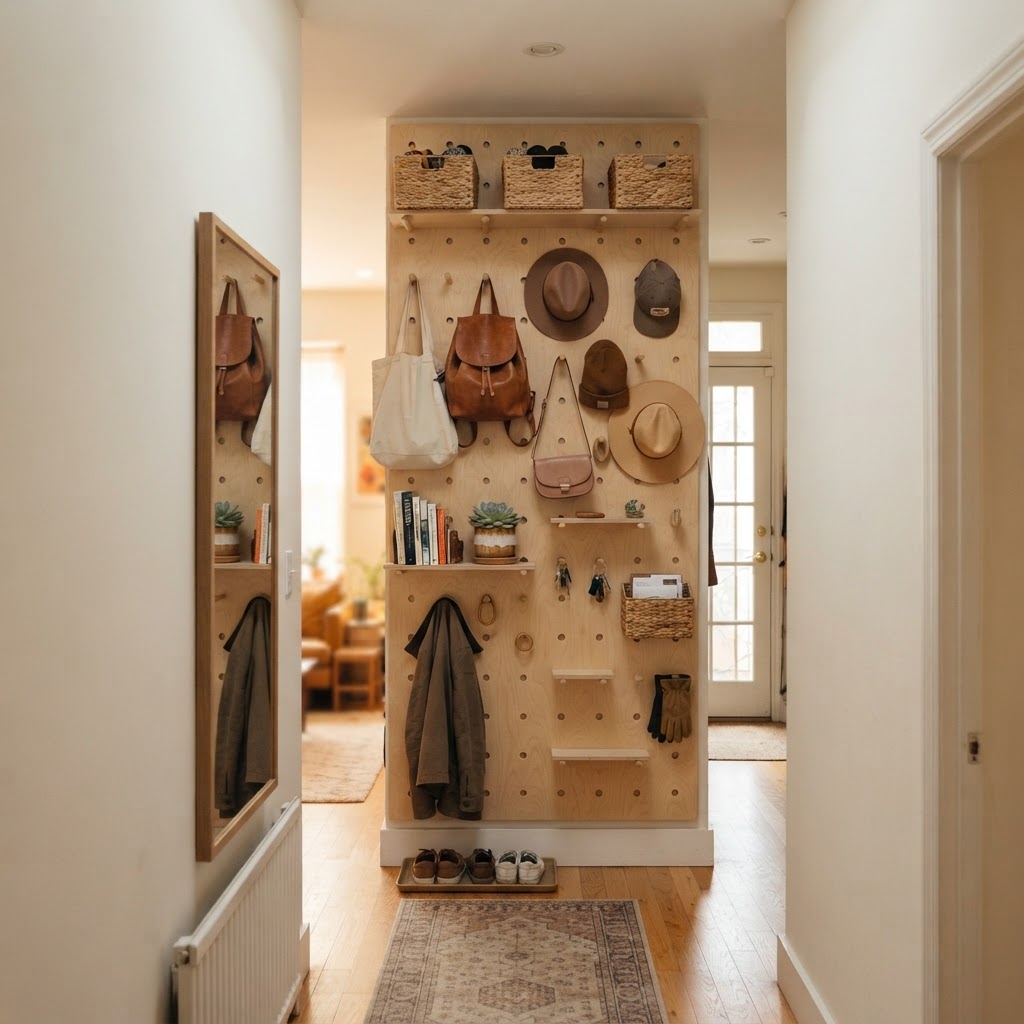
Vertical storage systems like pegboards are perfect for keeping tiny hallways clutter-free.

Before you start buying storage bins or wall hooks, you need to understand exactly what is causing the bottleneck. Most people struggle with entryways because they treat them as storage lockers rather than landing zones. Take everything out of your entryway and sort it into three piles: items that belong elsewhere, items to donate, and items that actually serve a purpose at the door.

Mapping Your Daily Routine

Ask yourself how you move through the space. Do you drop your keys on a console table? Do you kick your shoes off immediately? The most effective organization systems map directly to your natural habits. If you hate opening cabinet doors, choose open shelving for frequently used items.

Vertical Storage Solutions

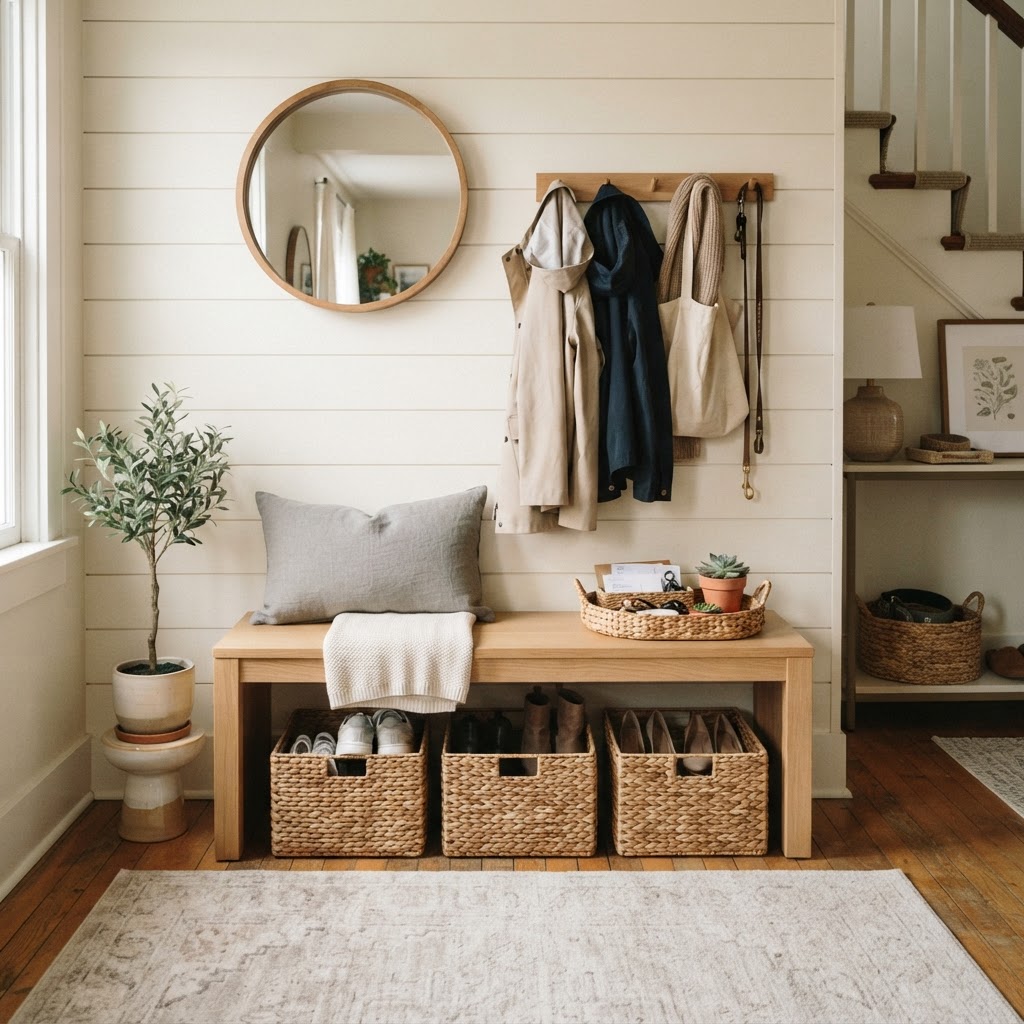
Utilizing under-bench storage is a smart way to keep shoes tucked away yet easily accessible.

In a tiny space, your biggest untapped resource is your walls. If floor space is at a premium, look upward to gain storage capacity without sacrificing a single inch of walkway. Installing floor-to-ceiling shelving or a series of high-mounted hooks can accommodate coats, umbrellas, and seasonal accessories.

Creative Wall-Mounted Hacks

Consider a pegboard system, which is incredibly versatile for small spaces. You can rearrange the pegs to hold anything from headphones to hats, and it adds a modern, industrial look to your home. Another option is wall-mounted baskets, which keep mail and smaller items elevated and organized.

The Power of Multi-Functional Furniture

Every piece of furniture in a tiny entryway must work twice as hard. If you have room for a bench, choose one with built-in storage underneath for shoe baskets or pull-out drawers. A slim console table with a hidden drawer can serve as a drop zone for mail while keeping the top surface clean and clutter-free.

Selecting the Right Scale

Furniture that is too bulky will suffocate a small area. Look for pieces with legs that expose the floor, which creates the illusion of more space. If you are struggling with tight corners, consider wall-mounted drop-down desks that fold away when not in use.

Zoning for Daily Essentials

Organization is about creating dedicated homes for your everyday carry. Use trays or bowls for keys and wallets so you never spend ten minutes searching for them when you are running late. By creating a ‘system’ for your small items, you eliminate the mental load of searching for them every morning.

The Importance of a ‘Goodbye’ Station

Place a small basket near the door for items that need to leave the house, such as outgoing mail or library books. This ensures that you don’t accidentally leave home without them. When everything has a place, you effectively turn a cluttered tiny entryway into a calm landing zone effortlessly.

Aesthetics and Lighting

Lighting is often ignored in small entryways, yet it is crucial for creating a warm and inviting atmosphere. A bright, well-lit space feels larger and more welcoming than a dim, cramped one. Consider a statement pendant light or a chic wall sconce to add personality without taking up any space.

Using Mirrors to Expand

Mirrors are the oldest trick in the designer’s playbook for small spaces. Placing a large mirror on one wall reflects light and tricks the eye into perceiving the room as double its actual size. It also gives you one last place to check your appearance before you head out the door.

Maintaining Your Calm Landing Zone

Once you have optimized your space, the challenge becomes maintenance. Use the ‘one-in, one-out’ rule for shoes and coats. If you bring a new jacket home, consider donating an old one. This prevents your organized system from becoming overwhelmed by new arrivals that don’t have a designated spot.

Weekly Reset Rituals

Set aside ten minutes every Sunday to reset the entryway. Empty the mail, clear the floor of rogue shoes, and wipe down surfaces. This simple habit keeps your home feeling organized and prevents the slow creep of clutter from taking over again.

Conclusion

You don’t need a large foyer to create a beautiful, functional space. By implementing vertical storage, choosing multi-purpose furniture, and committing to simple maintenance habits, you can turn a cluttered tiny entryway into a calm landing zone that truly serves your needs. Start small, focus on the items you use daily, and watch how quickly your home feels more peaceful and organized. Ready to transform your space? Pick one wall to tackle this weekend and let us know how your entry transformation goes in the comments below!

Simple Deposit-Safe Changes for Tiny Apartments on a Budget

Living in a small apartment often feels like a constant battle between wanting to express your personality and the strict “no-damage” policies of your lease. Many renters feel stuck with bland, white walls and outdated hardware, but the good news is that you can implement simple deposit-safe changes for tiny apartments on a budget that breathe life into your home. With a little creativity and a focus on temporary solutions, you can transform your space into a sanctuary without sacrificing your security deposit.

The Philosophy of Temporary Rental Upgrades

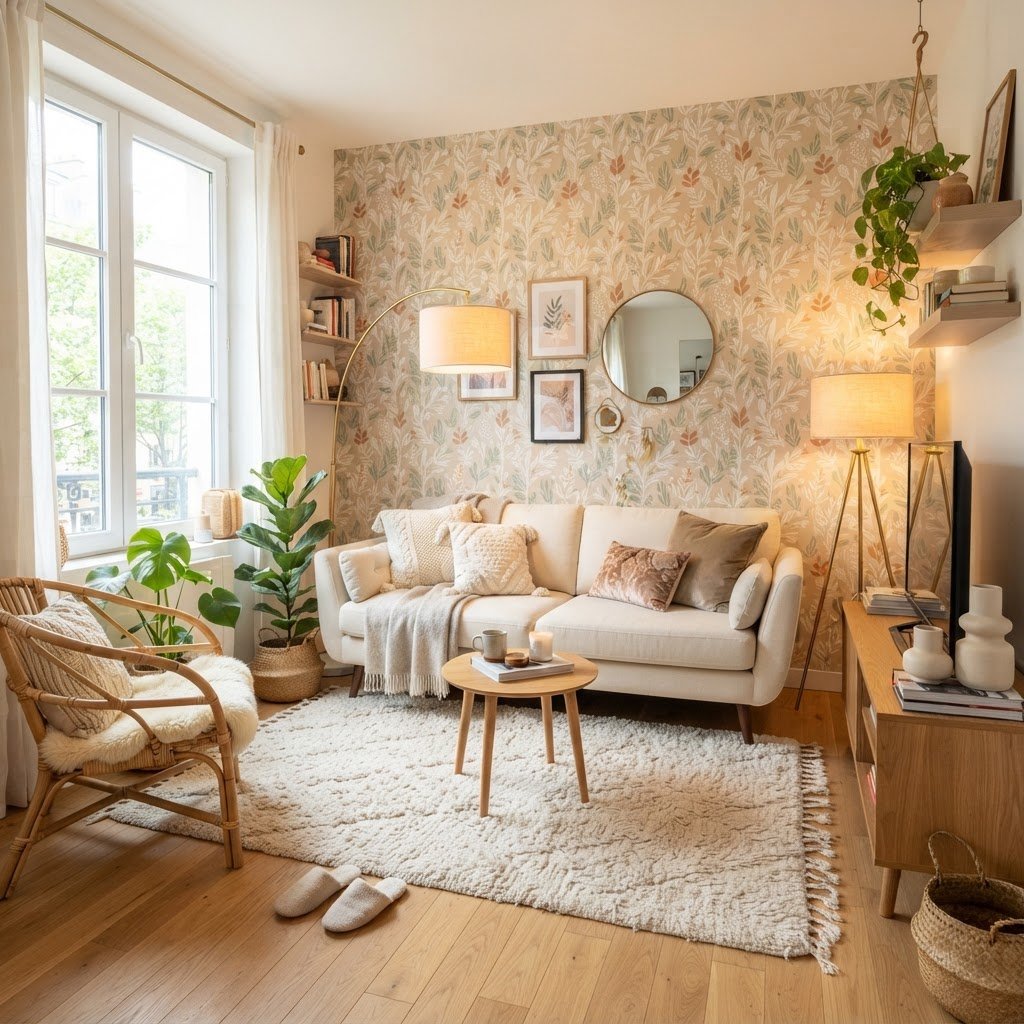
A transformed living room using renter-friendly decor.

When tackling a small rental, the goal should always be reversibility. Before you pick up a tool or a roll of adhesive, ask yourself if the change can be undone in minutes without leaving a trace. This mindset is the cornerstone of successful apartment living where you aim for maximum style with zero permanence. By choosing products designed for temporary use, you ensure that your design choices remain strictly within the bounds of your lease.

Why Budget Matters in Small Spaces

Tiny apartments have a natural advantage: you don’t need much material to make a big impact. A single gallon of peel-and-stick wallpaper or a few sets of command strips can transform an entire room. Because your footprint is small, your budget can stretch further, allowing you to prioritize quality over quantity. Focus on high-impact areas like lighting and wall texture to create a custom look for under a hundred dollars.

Refreshing Your Walls Without Paint

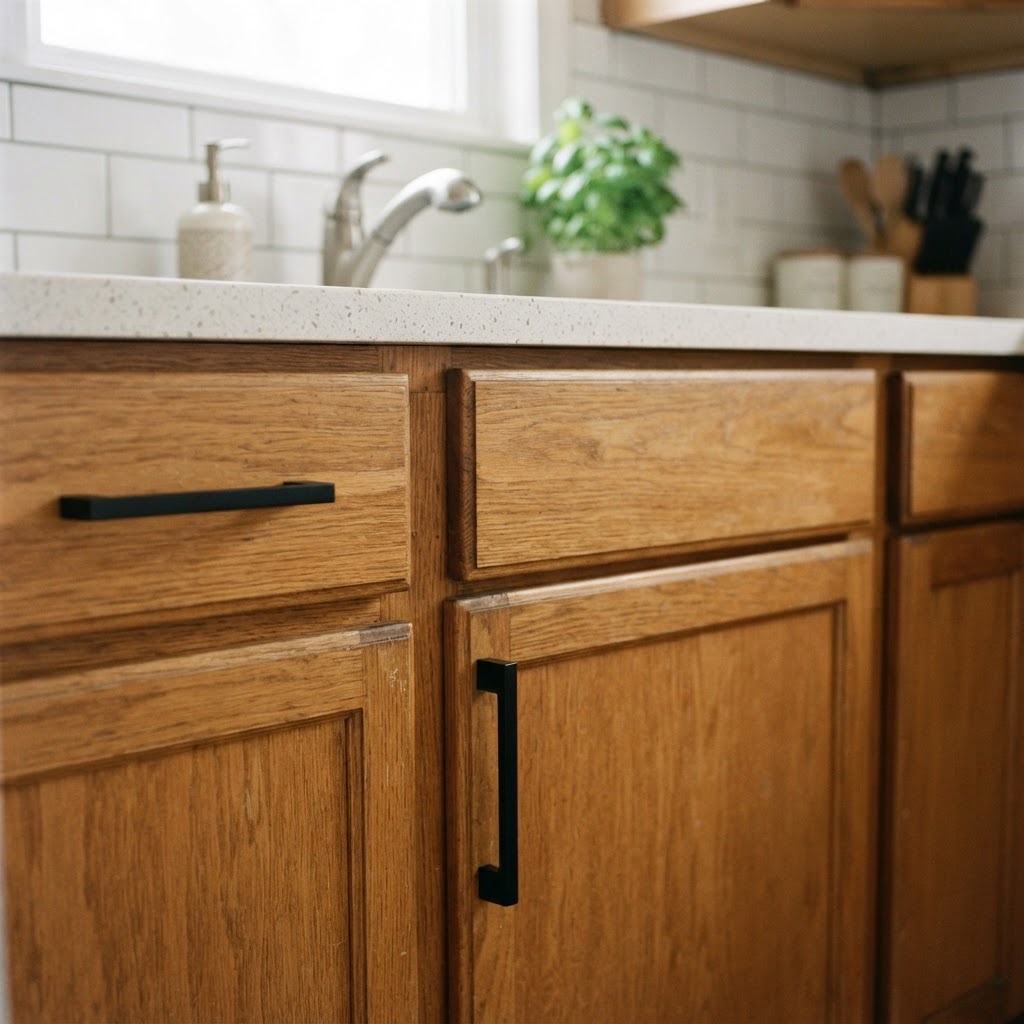
Upgrading cabinet hardware for a quick, reversible kitchen refresh.

Walls are the biggest canvas in your apartment, yet they are often the most restricted area. Since landlords usually prohibit permanent paint jobs, peel-and-stick wallpaper has become a renter’s best friend. These vinyl decals are available in thousands of patterns, from sophisticated geometric prints to calming botanical motifs, and they peel away cleanly when you are ready to move out.

Creative Wall Treatments

If wallpaper feels too daunting, consider using oversized art or wall tapestries. A large-scale piece of fabric art can cover significant surface area, hiding scuffs or outdated paint colors instantly. Use heavy-duty, damage-free adhesive strips or specialized renter-friendly tension rods to hang these pieces, ensuring no nail holes are left behind.

Elevating Lighting in a Rental

Maximizing small apartment storage without drilling holes.

Most apartment lighting is functional but uninspiring. The standard “boob light” or cold, clinical overhead fixture can drain the warmth out of a room. Replacing these fixtures is often prohibited, but you can easily layer light to change the atmosphere. Incorporate floor lamps, table lamps, and LED strips to create a soft, inviting glow that makes a small room feel larger and more luxurious.

Smart Lighting Solutions

For an even more dramatic upgrade, use plug-in wall sconces. These fixtures mount to the wall with a simple bracket, and the cord runs down to an outlet, often covered by a decorative cord sleeve. They provide the high-end look of hardwired lighting without requiring any electrical work or landlord permission. They are truly one of the most effective deposit-safe changes for tiny apartments on a budget that you can make.

Hardware Swaps and Upgrades

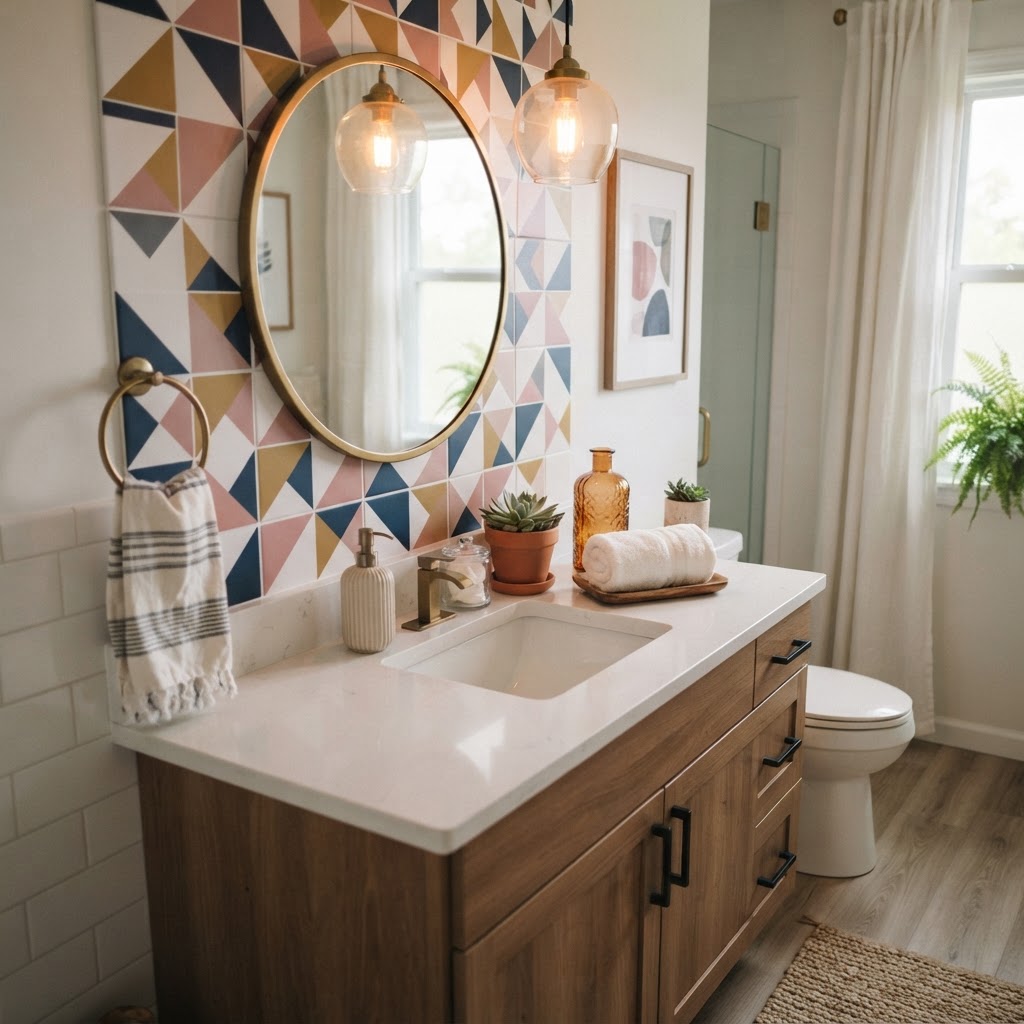
Modernizing a rental bathroom with peel-and-stick backsplashes.

One of the most annoying aspects of a rental kitchen or bathroom is the dated cabinet hardware. While it may seem small, changing out builder-grade plastic knobs for brushed brass or matte black pulls makes a massive difference in the room’s overall aesthetic. The trick is to keep the original hardware in a labeled baggie inside your junk drawer. When it’s time to move, swap them back, and no one will ever know the difference.

The Power of Details

Beyond knobs, look for other temporary swaps. Replace standard outlet covers with stylish alternatives or cover them with decorative decals. If your kitchen faucet is particularly ugly, consider using a high-quality temporary stick-on wrap or simply adding an aerator that improves water flow and appearance. These minor changes add up to a much more polished look.

Managing Clutter and Maximizing Storage

In a tiny apartment, clutter is the enemy of style. If your space feels small, it is often because there are too many items competing for visual attention. To achieve a deposit-safe look that feels professional, you need smart storage solutions. Use vertical space by installing tension-mounted shelves or over-the-door organizers that do not require drilling into the walls.

Furniture as Storage

Choose furniture that serves double duty. An ottoman with hidden storage or a bed frame with built-in drawers can significantly reduce the amount of “stuff” cluttering your living area. When everything has a designated home, your apartment immediately feels more spacious and intentional, allowing your decorative elements to shine.

Soft Goods and Texture Layering

Sometimes, the best way to hide a rental’s imperfections is to distract the eye with texture. Invest in plush area rugs to cover unsightly carpet or damaged flooring. Use curtains that extend from the ceiling to the floor, as this draws the eye upward and makes ceilings appear higher. You can use tension rods or command-strip hooks to hang curtains if you are worried about curtain rod brackets damaging the window frames.

The Comfort Factor

Layering pillows, throws, and textiles brings warmth and personality into the room. Because these items are not attached to the building structure, they are the ultimate deposit-safe decor. They allow you to swap your color palette seasonally or whenever you feel like a change, keeping your apartment feeling fresh without any permanent commitment.

Conclusion: Your Home, Your Rules

Living in a rental does not mean you have to settle for a sterile, temporary environment. By focusing on peel-and-stick applications, smart furniture choices, and clever lighting, you can implement deposit-safe changes for tiny apartments on a budget that make your rental feel truly yours. Remember, the goal is to make the space reflect your personality while respecting the landlord’s property. Start with one small project this weekend—perhaps swapping out your cabinet hardware or adding a new rug—and watch how your apartment transforms from a temporary stopover into a cozy home. Happy decorating!

Check out our latest DIY tutorial series on YouTube for more renter-friendly inspiration and subscribe to our newsletter for budget home decor tips sent directly to your inbox.

30 Clever Bedroom Storage Solutions for Small Spaces

30 Clever Bedroom Storage Solutions for Small Spaces

To maximize a small bedroom, prioritize vertical shelving, under-bed storage, and multi-functional furniture like ottomans or headboards with built-in compartments. By editing your belongings seasonally and utilizing neglected corners, you can create a clutter-free, functional sanctuary that makes a compact space feel significantly larger and more organized.

The Art of Vertical Storage

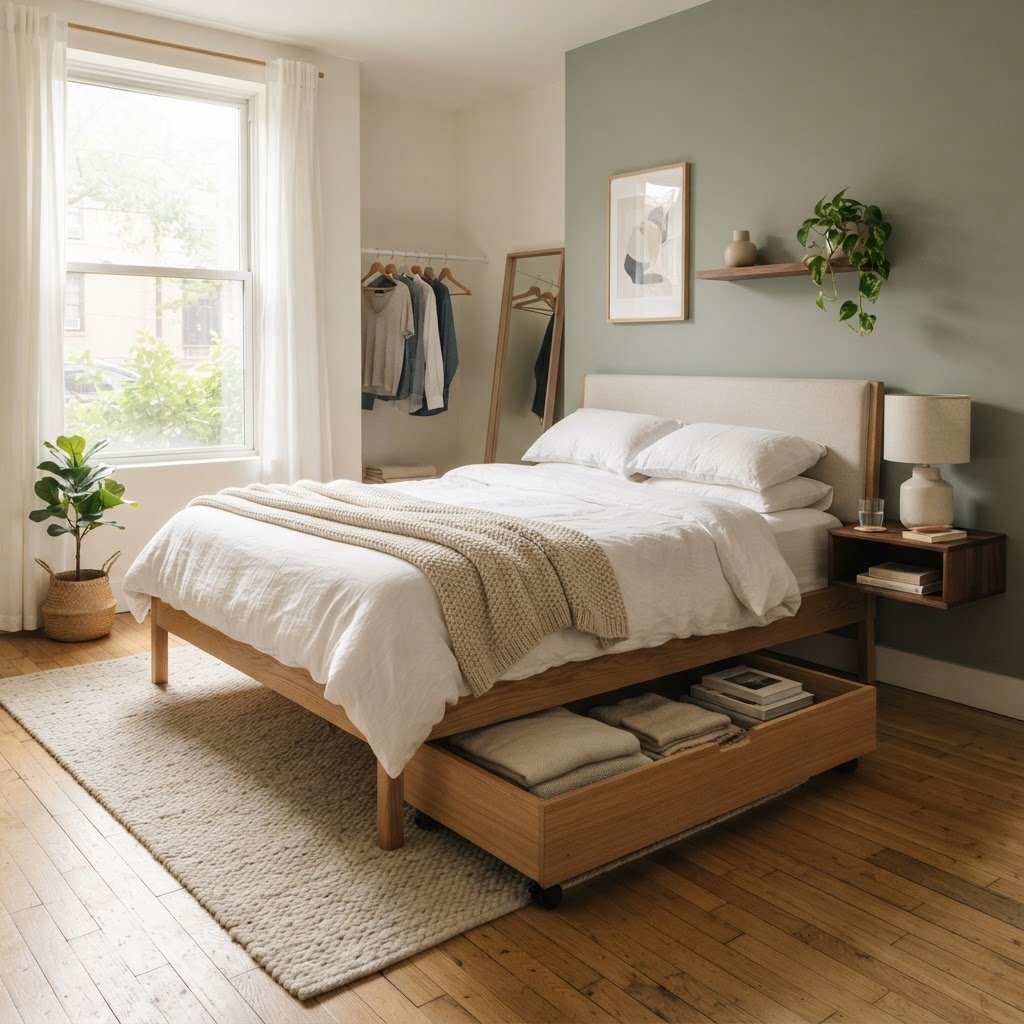
Utilizing under-bed drawers is an excellent way to reclaim hidden floor space.

When your floor is covered in furniture, look up to the walls to solve your storage woes. Vertical space is frequently ignored in small bedroom design, yet it offers massive potential for keeping items off the ground and accessible. By installing shelving that stretches toward the ceiling, you draw the eye upward, which not only provides storage but also makes the ceilings appear higher.

Installing Floating Shelves

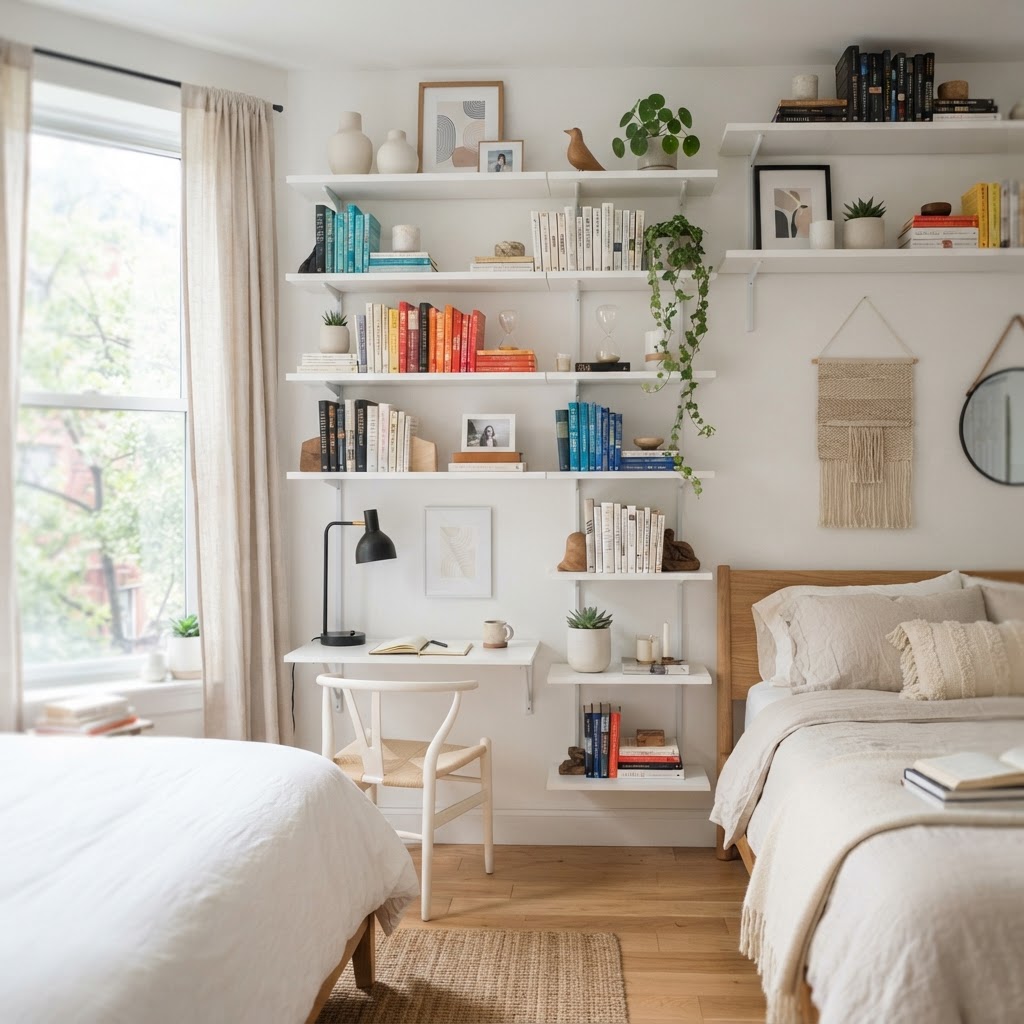
Floating shelves are a game-changer for small rooms because they provide surface area without the bulk of traditional bookcases. You can mount them above your desk, your dresser, or even your bed to store books, plants, or decorative items. This keeps your nightstand clear for just the essentials. Aim for a shelf depth of 8 to 10 inches to maximize storage without encroaching on walking space.

Creative Wall Hooks

Don’t underestimate the power of wall hooks. They are perfect for hanging robes, bags, hats, or even jewelry displays. By utilizing the back of your bedroom door or empty wall spaces, you clear out valuable drawer and closet space. Use stylish, matching hooks to create a cohesive look that doubles as decor. Installing a row of hooks at eye level allows for quick access to daily items, while higher hooks can be used for out-of-season bags or accessories.

Storage Method Best For Benefit Estimated Cost
Floating Shelves Books, Decor Vertical gain $20-$60
Heavy Duty Hooks Bags, Robes Door utility $5-$15
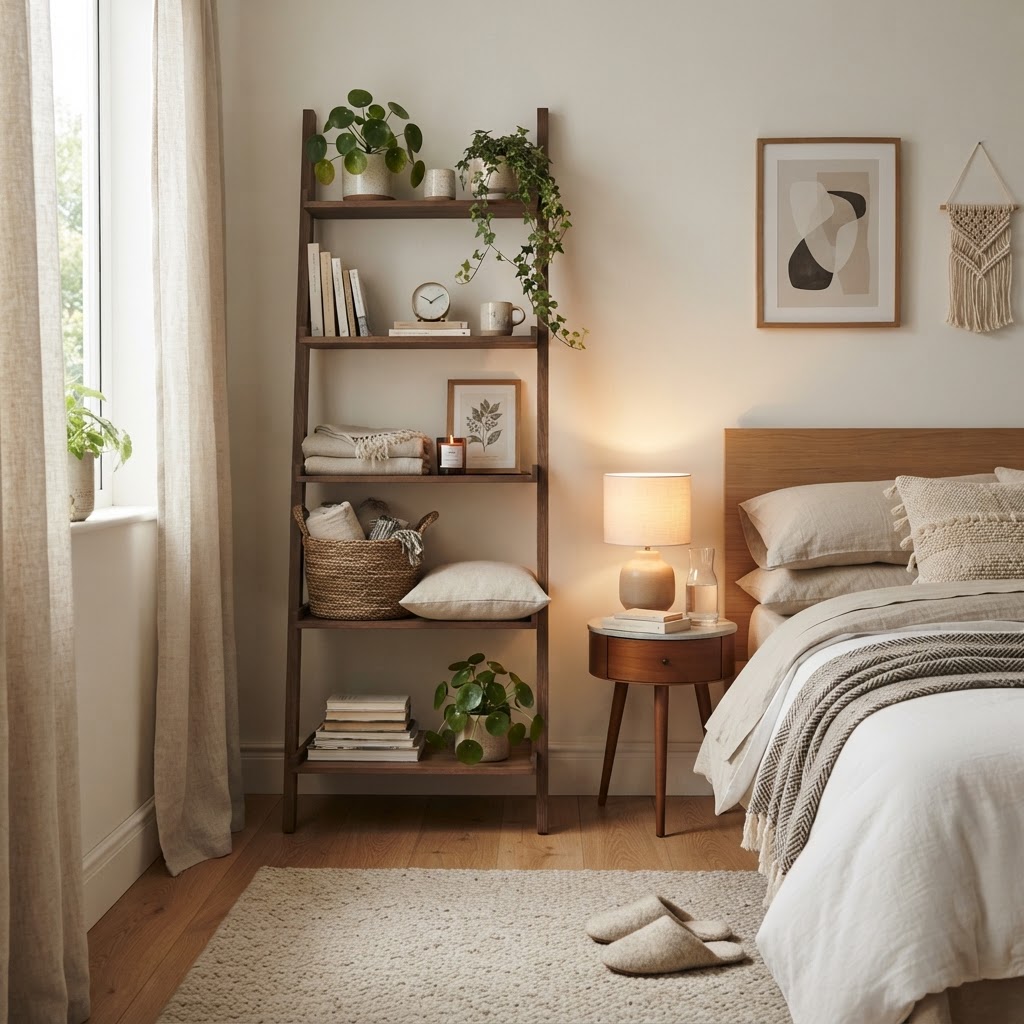
Ladder Shelves Plants, Misc Aesthetic storage $40-$120

Maximizing Under-Bed Potential

Floating shelves make great use of vertical space without cluttering the room.

One of the most overlooked areas in any home is the dark, dusty void beneath the bed. However, if you are looking for effective bedroom storage solutions, this is real estate you cannot afford to waste. Investing in a bed frame with built-in drawers or using rolling bins can effectively double your storage capacity in rooms under 100 square feet.

Choosing the Right Containers

Not all under-bed storage is created equal. Look for low-profile, lidded bins to protect your off-season clothing and extra linens from dust. Clear plastic containers allow you to see exactly what you have without rummaging, while fabric bins look more polished if they happen to peek out from beneath the bed skirt. For optimal organization, use labels on the front of every bin. A standard under-bed height of 6 to 10 inches is usually sufficient for shoe boxes or flat-pack clothing organizers. Always measure your floor-to-frame clearance before purchasing, ensuring at least one inch of breathing room to avoid scratching your flooring. For heavy items like winter sweaters, choose rolling bins with high-quality caster wheels to protect your hardwood or carpet from damage during frequent access.

Clever Closet Hacks

A well-organized closet is the foundation of a clutter-free small bedroom.

Closets are often the first casualty of poor space management. To truly maximize a small room, you must audit your closet and find ways to expand its functional capacity. Start by replacing bulky, mismatched hangers with slim-profile velvet ones, which instantly create up to 30% more hanging space.

Tiered Hangers and Organizers

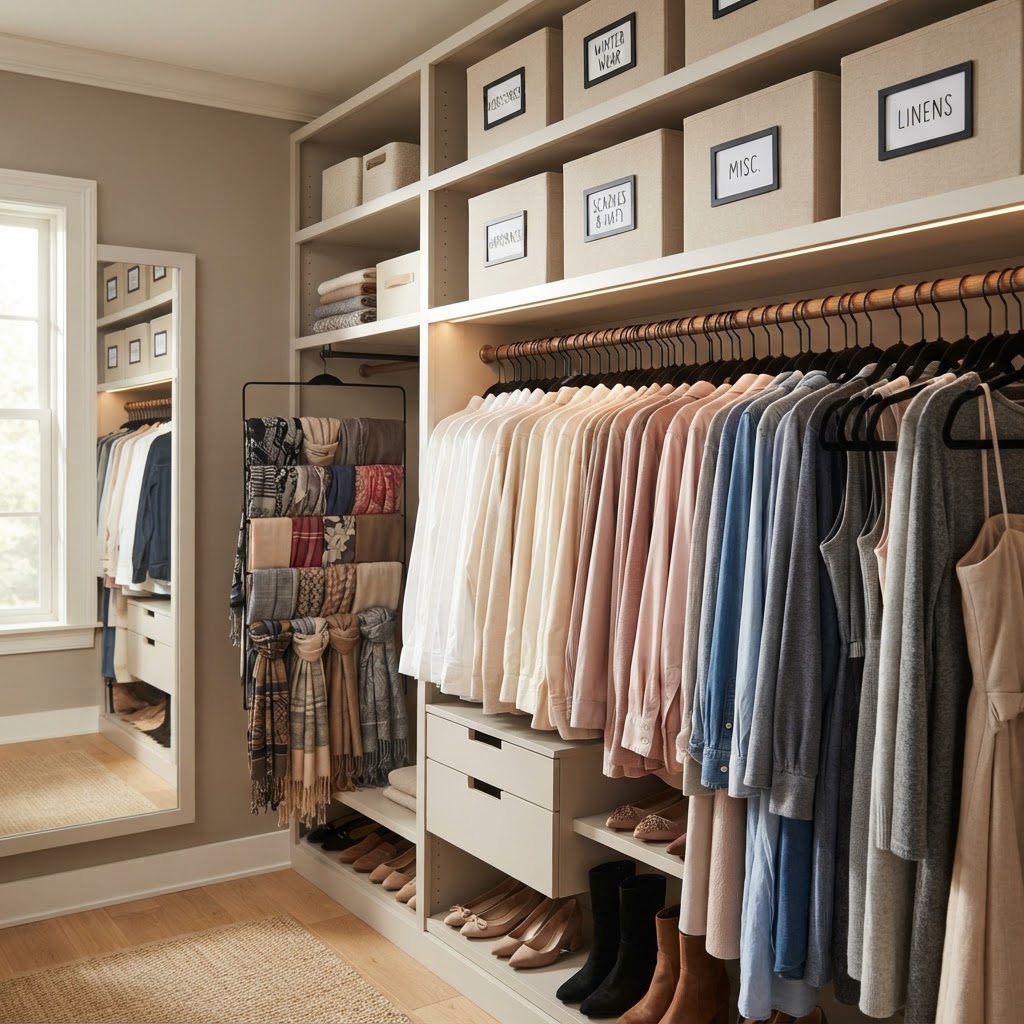
Use multi-tiered hangers for pants and scarves to condense your wardrobe. If your closet has high ceilings, install a second rod lower down to double your hanging potential. For smaller items like socks, ties, or jewelry, consider hanging organizers that attach to the back of the closet door. By dedicating 20% of your closet to specialized organizers, you can reduce visual clutter significantly. Additionally, implementing a “one-in, one-out” policy ensures that your wardrobe remains within the capacity of your closet, preventing the common overflow that leads to pile-ups on chairs or floors. Using clear acrylic dividers on shelves can also keep folded piles of sweaters or jeans neat, ensuring your closet remains a functional, high-efficiency zone rather than a storage “junk drawer.”

Multi-Functional Furniture Choices

Ladder shelves are a stylish, space-saving storage solution for tight corners.

In a small bedroom, every piece of furniture must work hard to earn its place. Forget decorative pieces that serve only one function; instead, opt for multi-functional items. A storage ottoman at the foot of your bed can hold spare blankets and provide seating, while a nightstand with deep drawers is infinitely more useful than an open-shelf side table.

Mirrors with Hidden Storage

A full-length mirror that opens to reveal a jewelry cabinet is an ingenious piece of design. It serves the practical purpose of helping you get dressed while simultaneously hiding your accessories. By choosing furniture that hides clutter, you maintain a cleaner aesthetic in your room. Multi-functional furniture pieces often serve as the “anchor” of a small room. Look for pieces with concealed hinges and handle-less designs to minimize visual noise. When choosing a storage ottoman, opt for a lift-top mechanism that supports at least 200 lbs if you intend to use it as a bench. This selection process ensures that you aren’t just adding storage, but also improving the quality of life within your bedroom by removing the friction of retrieving daily items from deep closets or hard-to-reach shelves.

The Power of Bedside Organization

The area immediately surrounding your bed is a common catch-all for clutter. If you find your nightstand overflowing, it is time to rethink your approach. Consider wall-mounted bedside tables that free up the floor, or look for headboards that feature built-in shelving and hidden compartments.

Keeping Surfaces Clear

To maintain a peaceful vibe, aim for a clear surface. Use a small tray to contain small items like glasses, remotes, and charging cables. This simple habit keeps your bedroom looking intentional rather than cluttered, contributing to better sleep quality. A study suggests that keeping surfaces clear can reduce cortisol levels, making your bedroom a more restful environment. By using a wall-mounted sconce instead of a table lamp, you further free up surface area for only the most essential items, like a book and a glass of water. If you lack a traditional nightstand, consider a “bedside caddy” that hangs off the mattress frame, which provides essential storage without occupying any valuable floor real estate near your headboard.

Decluttering Your Small Space

No amount of storage hardware can compensate for having too much “stuff.” The most effective way to organize a small bedroom is to edit your belongings regularly. If you haven’t used an item in a year, it is likely taking up space that could be better used for items you actually enjoy.

The Seasonal Rotation Method

Implement a seasonal rotation system for your clothing. Store winter items in vacuum-sealed bags during the summer, and vice-versa. This ensures your closet is never overcrowded and makes it much easier to find the clothes you need. Vacuum bags can reduce storage volume by up to 75%, allowing you to store bulky comforters or coats in the smallest of spaces. Schedule your rotation twice a year, specifically around April and October, to align with major temperature shifts. This process also serves as a “reset” button, giving you a chance to donate items you no longer wear or need, ultimately keeping your footprint small and your environment manageable.

Maximizing Small Nooks and Corners

Even the smallest bedroom usually has awkward corners that go unused. Turn these into mini-storage stations. A corner shelf can become a display for books, or a small narrow cabinet can fit into a tight gap to hold items that don’t fit anywhere else. Be creative about these “dead” zones.

Repurposing Common Items

Consider using a vintage ladder as a towel rack or a hanging clothing rack for your daily outfit. Repurposing items not only provides practical storage but adds unique personality to your bedroom decor. A ladder leaning against a wall uses very little floor space but provides 4-5 rungs for storage, effectively acting as an open wardrobe. Don’t be afraid to utilize the vertical space above windows; a single rod can serve as a display for hats or a hanging system for seasonal decorations that you want to see but don’t need daily access to. These creative solutions turn “dead” space into functional zones that reflect your personal style.

FAQ

Q: What is the best way to store clothes in a small bedroom?

A: Use slim-profile velvet hangers to maximize hanging capacity and utilize vacuum-sealed bags for seasonal clothing to reduce bulk by up to 75%. This combination keeps your closet organized and prevents the common issue of overcrowded hanging space.

Q: Can under-bed storage actually work in small rooms?

A: Yes, under-bed storage is highly effective if you use low-profile, rolling bins that provide easy access while protecting items from dust. Always measure your bed clearance to ensure bins glide smoothly without damaging the floor.

Q: How do I choose between floating shelves and bookcases?

A: Choose floating shelves for small rooms because they provide essential storage without the bulky footprint of traditional bookcases. They keep floor space open, which creates a more airy, spacious feeling in cramped quarters.

Q: Are wall hooks effective for storage?

A: Wall hooks are extremely effective for maximizing storage because they utilize empty wall and door space for items like robes, bags, and jewelry. They clear out valuable drawer and closet space while keeping daily essentials within easy reach.

Q: How often should I declutter a small bedroom?

A: You should aim to declutter your bedroom at least twice a year during seasonal clothing rotations. This regular “reset” prevents the accumulation of unnecessary items and keeps your limited storage space focused on what you actually use and love.

9 No-Tools Storage Solutions for Tiny Apartments

Living in a compact urban studio or a cozy rental often comes with the frustration of limited closet space and cramped surfaces. Finding effective no-tools storage solutions for tiny apartments is the ultimate game-changer for those who want to keep their home organized without risking their security deposit. Whether you are dealing with a lack of shelving or an overflow of daily essentials, you can transform your space using simple, gravity-defying, and modular techniques that require zero power tools. By rethinking how you interact with your furniture and wall space, you can unlock hidden capacity you never knew existed.

Rethinking Vertical Space with Tension and Gravity

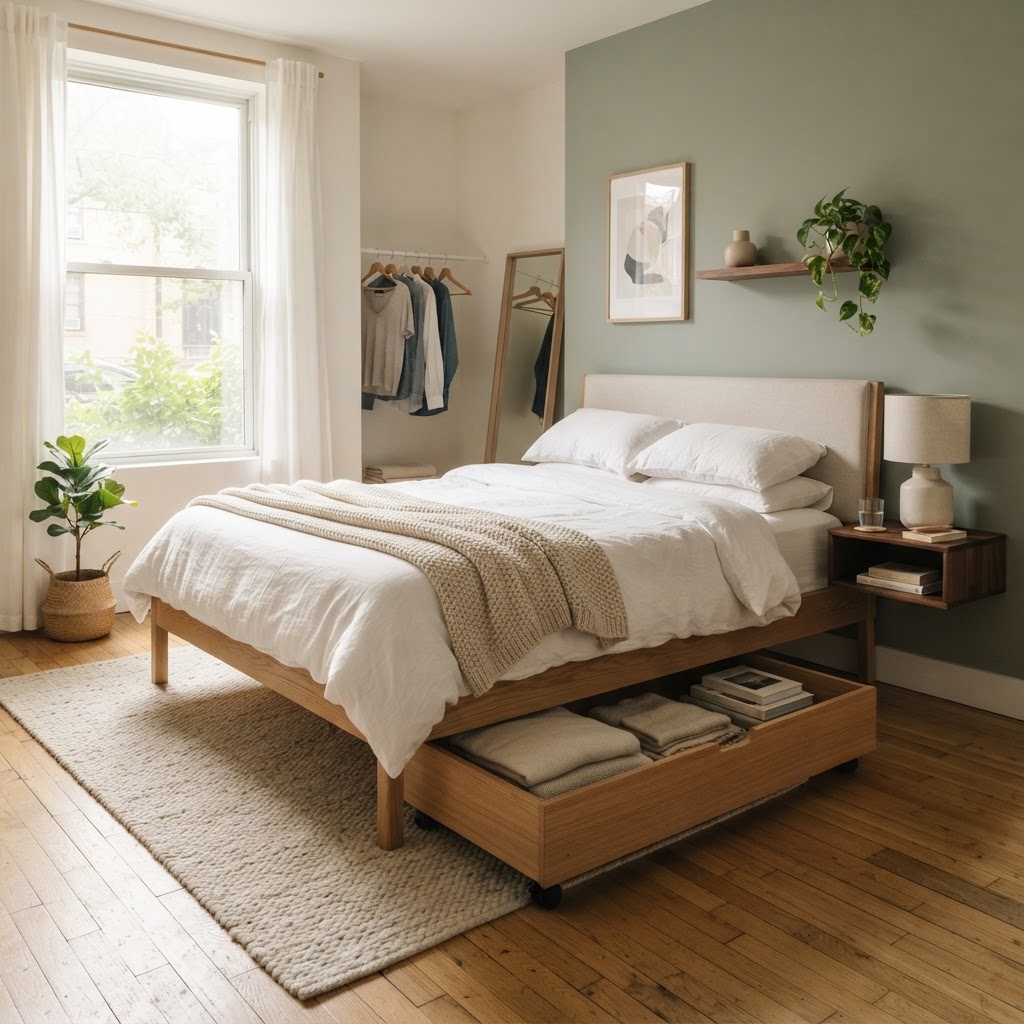
Utilizing the space beneath your bed is a perfect way to clear out your closet.

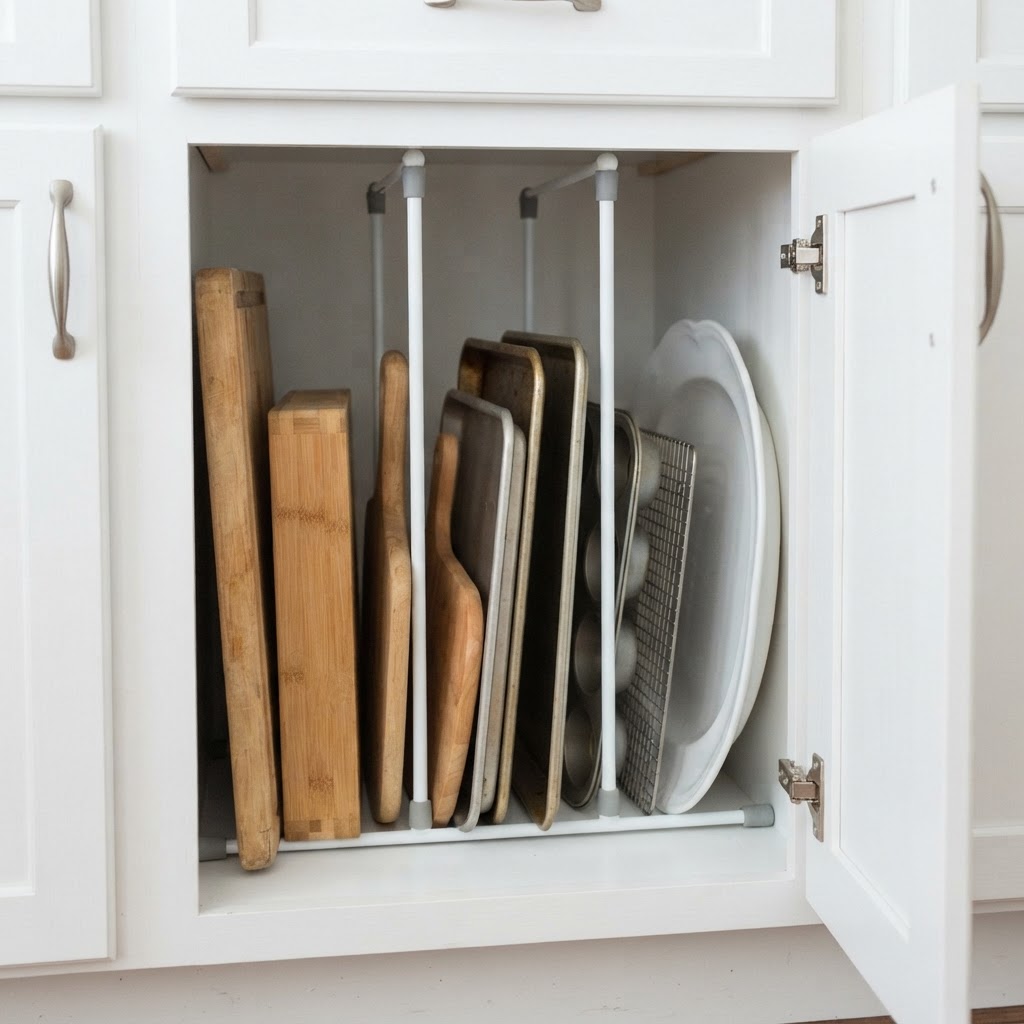
The most overlooked asset in any tiny room is the height of your walls. When you cannot drill holes for shelving, you have to lean into tension-based products and over-the-door solutions. Tension rods, typically used for shower curtains, are perhaps the most versatile tool in an organizer’s arsenal. You can place them inside kitchen cabinets to create upright storage for cutting boards, baking sheets, and even cleaning supplies. They turn dead space into highly functional vertical organizers that require nothing more than a firm twist to hold in place.

The Magic of Over-the-Door Organizers

Over-the-door racks are not just for shoes anymore. By using high-quality over-the-door hooks or hanging pocket organizers, you can clear off your countertops and floors entirely. These systems use the “hidden” side of a door, which is often the most underutilized real estate in a studio apartment. You can store everything from pantry items and beauty products to scarves and charging cables, keeping your living area pristine and clutter-free.

Maximizing Closet Capacity Without Renovations

Tension rods turn dead space into perfect vertical storage for kitchen items.

Most apartment closets are poorly designed, featuring a single rod that leaves half the vertical space empty. You can double your hanging capacity instantly by using cascading hangers, which allow you to hang multiple garments on a single vertical chain. This simple hack ensures that your seasonal wardrobe takes up significantly less width, leaving room for a rolling garment rack or a small shelf unit beneath your clothes.

Utilizing the Floor and Ceiling

If you have a gap between the top of your closet rod and the ceiling, utilize stackable clear bins. These bins allow you to see what you are storing while keeping items protected from dust. When you avoid heavy-duty shelving units, you can easily pull these bins down when the seasons change, ensuring that your storage remains flexible and mobile.

Furniture as a Secret Storage Weapon

Adhesive hooks are a renter-friendly way to organize your entryway.

Your furniture should always do double duty when you live in a small space. If you are shopping for a new coffee table, prioritize options that have built-in drawers or a hollow interior for blankets and books. If you cannot replace your furniture, look for ways to optimize what you already own. For instance, using heavy-duty fabric bins underneath a sofa or a bed can hide away items that you do not need to access daily.

Creative Use of Magnetic Surfaces

A rolling cart adds flexible, mobile storage to any corner of your apartment.

One of the most effective no-tools storage solutions for tiny apartments is the use of adhesive magnetic strips. These can be placed inside kitchen cabinets or on the side of a metal fridge to hold knives, spice tins, or even makeup containers. Since most of these strips use command-style adhesive, they come off clean when it is time to move, making them a perfect solution for the modern renter who needs to keep their kitchen counters clear.

Expanding Your Kitchen Efficiency

In tiny kitchens, the back of the cabinet door is prime real estate. By attaching small magnetic plates or hook systems, you can ensure that your most-used tools are accessible but out of sight. This strategy keeps the aesthetic of your kitchen minimal while providing ample space for the items that usually cause countertop clutter.

Command Hooks and Adhesive Brilliance

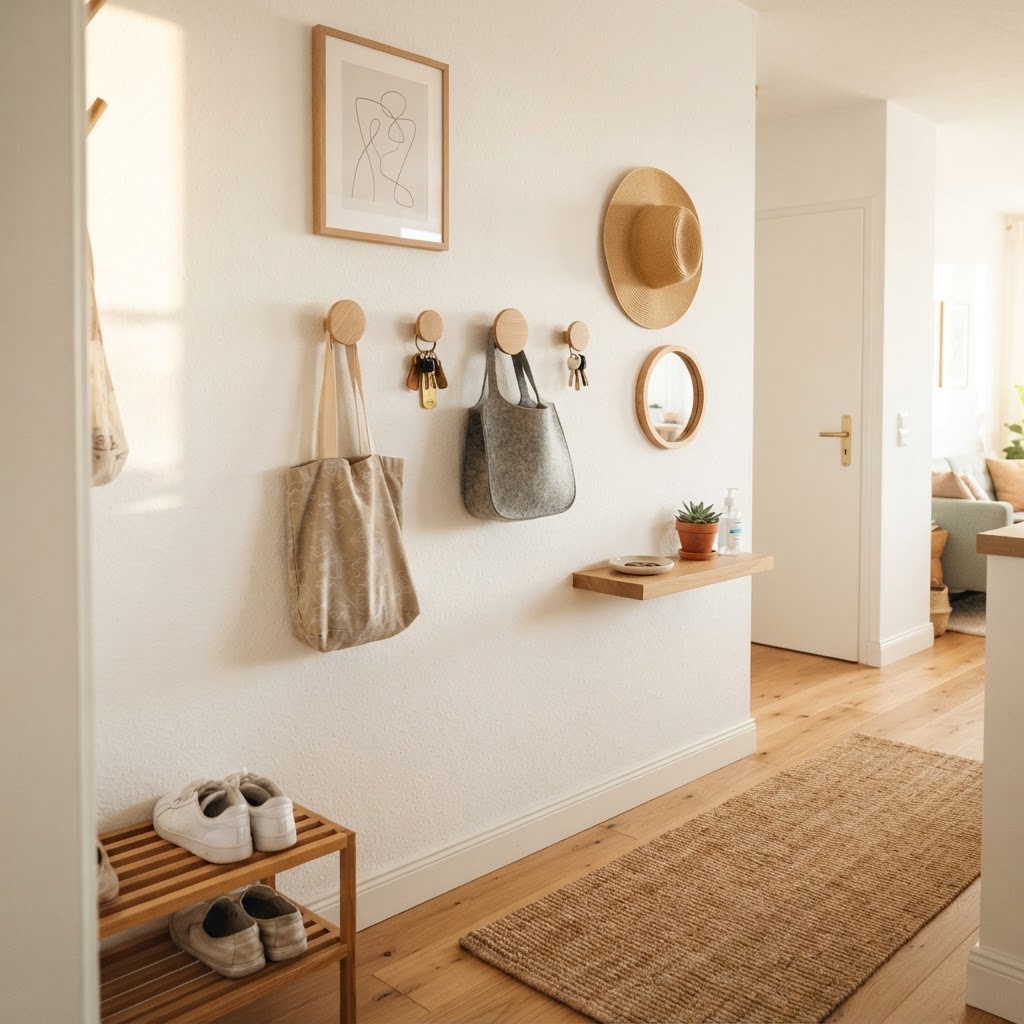
Command hooks are the gold standard for renter-friendly organization. You can create an entire “landing zone” near your entryway by using a series of hooks for keys, bags, coats, and even umbrellas. By mapping out a functional wall grid, you ensure that every item has a specific home, preventing the dreaded “junk chair” or “piles on the floor” syndrome that often plagues small apartments.

Designing Your Command Station

Think about the flow of your apartment. Where do you dump your stuff when you first walk in? By placing a wall-mounted magazine file or a sturdy set of hooks at eye level, you can keep your mail, wallets, and keys contained. This effectively removes the friction of daily life and makes your tiny home feel significantly more spacious.

Incorporating Modular Rolling Carts

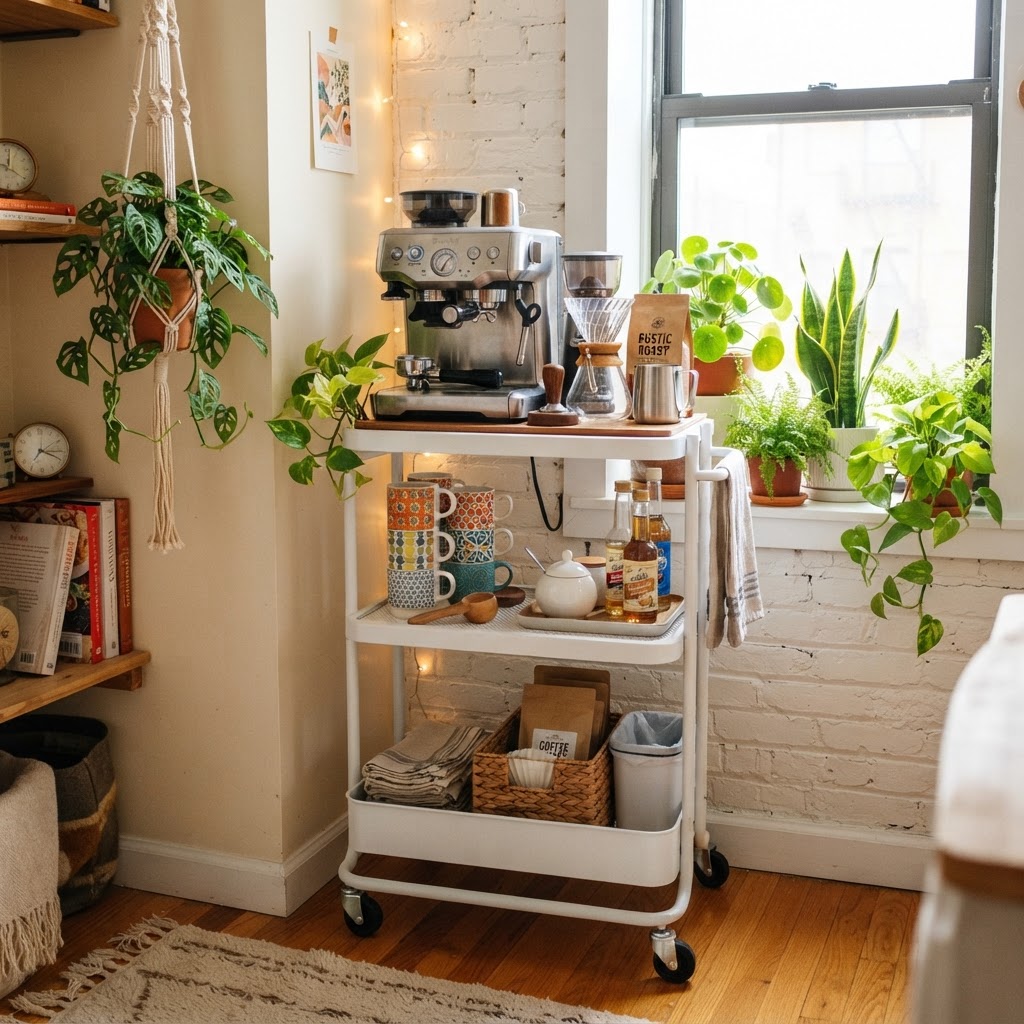
Rolling utility carts are arguably the most essential item for small apartment dwellers. Because they require no installation, you can move them from the kitchen to the bathroom or the home office as your needs change. They act as mobile islands for your kitchen, extra shelving for your bedroom, or dedicated stations for your craft hobbies. Their ability to glide into tight corners when not in use makes them a superior alternative to fixed furniture.

The Power of Under-Bed Storage

Your bed is likely the largest piece of furniture in your room, and the space beneath it is often neglected. Instead of letting dust bunnies rule that area, invest in low-profile, long-format storage bins on wheels. These are perfect for tucking away bulky items like winter sweaters, extra linens, or specialized hobby equipment. By utilizing this massive footprint, you can clear out your closets and dresser drawers, creating a sense of openness throughout the room.

Conclusion

Finding the right no-tools storage solutions for tiny apartments is about creativity and intentionality. You do not need expensive renovations or professional organizers to create a home that feels open, clean, and functional. By utilizing vertical space, choosing multi-functional furniture, and leveraging adhesive-based tools, you can maximize every square inch of your apartment effectively.

Start by assessing one area of your home today, perhaps your entryway or a cluttered closet, and implement one of these hacks. Once you see how much space you can reclaim without picking up a single tool, you will be motivated to organize every corner of your home. If you enjoyed these tips, subscribe to our newsletter for more weekly small-space hacks and home organization advice!

Small Space Cozy Lighting Hacks with Affordable Lamps

Small Space Cozy Lighting Hacks with Affordable Lamps

To make a small space feel larger and more inviting, use “layering” by combining ambient, task, and accent lighting at eye level rather than relying on a single overhead source. By positioning warm-toned bulbs (2700K–3000K) in corners and using reflective surfaces like mirrors, you can visually expand cramped rooms without costly renovations.

The Psychology of Cozy Lighting

Lighting fundamentally alters the perception of depth and volume in compact living areas, turning sterile boxes into comfortable sanctuaries. In a small studio, harsh overhead lighting creates dark, receding corners that make walls feel closer; conversely, warm, diffused light softens these boundaries and tricks the brain into perceiving more open space.

Integrating the right lighting strategy is about controlling the “visual temperature” of your home. Experts recommend using bulbs in the 2700K to 3000K range to avoid the clinical blue hue of standard LEDs, which can make small rooms feel like waiting rooms. By focusing light at eye level—using table lamps, wall sconces, and floor lamps—you create a “pool” effect that draws the focus toward your curated decor rather than the room’s limited dimensions. When light is distributed across three layers (ambient, task, and accent), it adds architectural depth. For example, placing a warm-toned lamp on a side table does more than provide illumination; it creates a psychological focal point that makes the room feel intentional and “styled” rather than merely cramped.

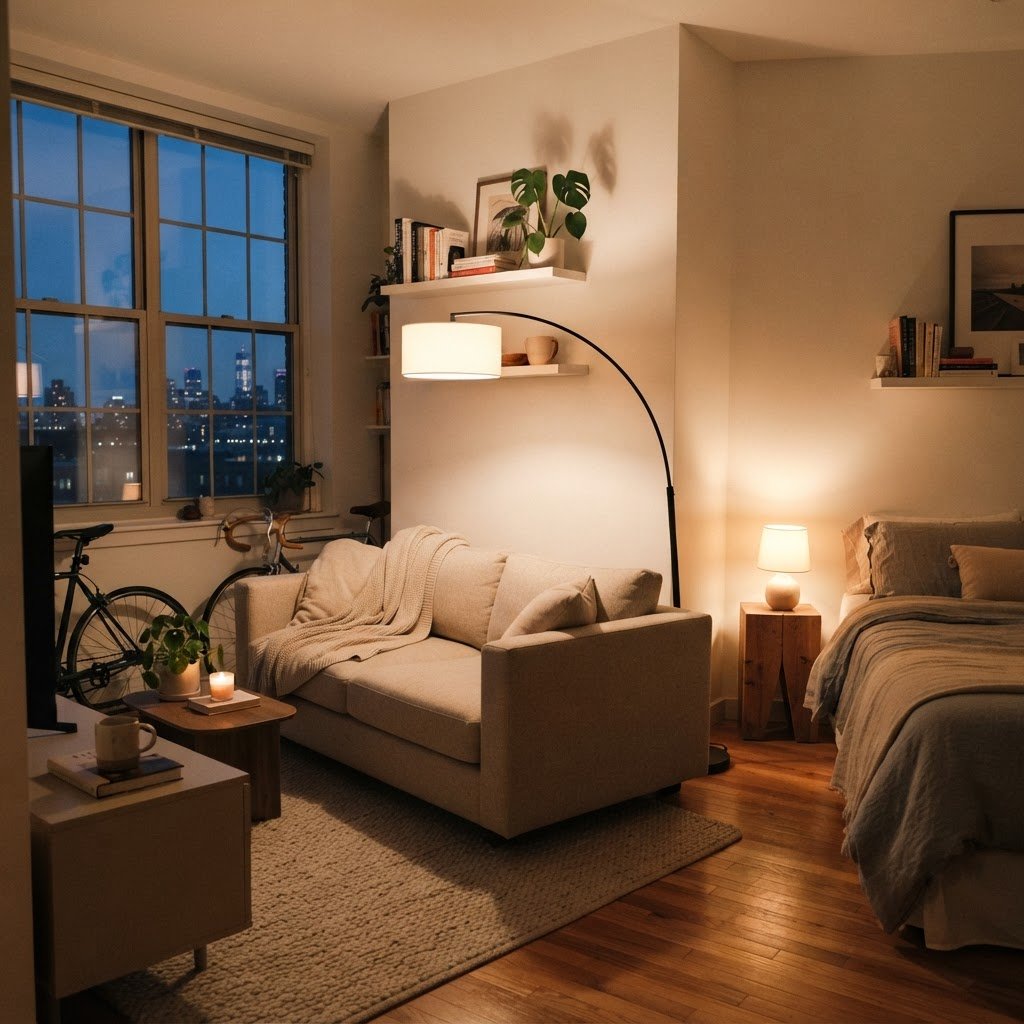
Use warm lighting to make a small studio feel larger and more inviting.

Why Layering Matters

Interior designers rely on the “Rule of Three” to build depth: ambient light provides the base, task lighting handles functional needs, and accent lighting highlights unique textures. In a 200-square-foot studio, you can execute this by utilizing one floor lamp for ambient glow, a desk lamp for work, and a small LED strip or puck light for accenting a shelf. This layered approach ensures no corner remains dark, preventing the “tunnel vision” effect that often plagues tiny apartments.

Lighting Layer Purpose Ideal Fixture Type
Ambient General room illumination Floor Lamp
Task Focused work/reading Adjustable Desk Lamp
Accent Highlight texture/art Plug-in Wall Sconce
Decorative Creates visual interest String or Neon Light

Choosing Affordable Lamps That Work

Finding affordable, high-quality lighting requires prioritizing versatile shapes over decorative embellishments that may not fit a tight floor plan. When shopping for budget-friendly fixtures—often found for $15 to $40 at discount retailers—focus on neutral materials like matte metal, linen, or ceramic that can be easily updated.

Opting for task lamps with adjustable arms allows you to redirect light exactly where needed, effectively saving square footage on tiny surfaces. Clip-on lamps are the ultimate “space-hacker’s” tool; they provide utility on shelves or headboards without occupying a single inch of desk or floor space. If you find a lamp base that fits your aesthetic but has an outdated shade, replacing it with an oversized, drum-shaped linen shade can increase light diffusion and instantly mimic the look of a $200 boutique piece. By keeping the silhouette of your lamps slim—avoiding bulky, ornate bases—you prevent the room from feeling cluttered. Always measure your table surface before buying; a lamp base should ideally take up no more than 30% of the available surface area to maintain a balanced, airy look.

Wall-mounted sconces are perfect for saving space on tiny nightstands.

Strategic Placement for Visual Expansion

Strategic placement of light fixtures is the most effective way to visually push back walls and eliminate the shadows that shrink a room. Corner lighting is particularly effective; by placing a floor lamp behind an armchair or in a dark nook, you fill the “dead space” and trick the eye into seeing more square footage than actually exists.

Another advanced technique involves utilizing reflective surfaces to amplify your existing lumen output. Placing a lamp in front of a mirror effectively doubles the perceived brightness of the room without requiring a higher-wattage bulb or extra power consumption. This is a “double-duty” hack that adds both light and depth to a flat wall. Furthermore, consider the direction of the light: wall-washing—where light is directed up the wall from behind a sofa—creates an indirect, soft glow that highlights wall height and minimizes the appearance of clutter. For those working with awkward layouts, using light to create zones is essential. By placing a specific task lamp in your reading corner, you visually “separate” that area from your sleeping or kitchen zones, creating the illusion of a multi-room home within an open-concept floor plan.

Zone your living area with specific lamps to create a sense of structure.

Table Lamp Tactics for Tiny Tables

Surface area is a luxury in small spaces, requiring innovative lamp choices that integrate into your furniture rather than fight for space. When traditional bases won’t fit, pivot to wall-mounted plug-in sconces that offer a clean, built-in aesthetic without requiring an electrician or drilling into walls.

If you must use a table lamp, prioritize models with “slim profiles”—bases that are no wider than 4 inches. These take up minimal space while still providing necessary task lighting for nightstands or entry consoles. Another modern solution is the touch-sensor lamp, which eliminates the need for bulky switches or tangled cords, keeping your small table looking streamlined and tidy. Consider the height of the lamp relative to your seating; a lamp that is too tall can cause glare, while one that is too short creates unnecessary shadows. A good rule of thumb is that the bottom of your lampshade should be roughly at eye level when you are seated. This ensures the light is directed at your activity rather than directly into your eyes, which helps keep the small room feeling comfortable and intimate rather than harsh and clinical.

Lamp Type Best Usage Small Space Benefit
Clip-on Lamp Desks/Shelves Saves floor and table space
Slim Floor Lamp Corners Adds height without bulk
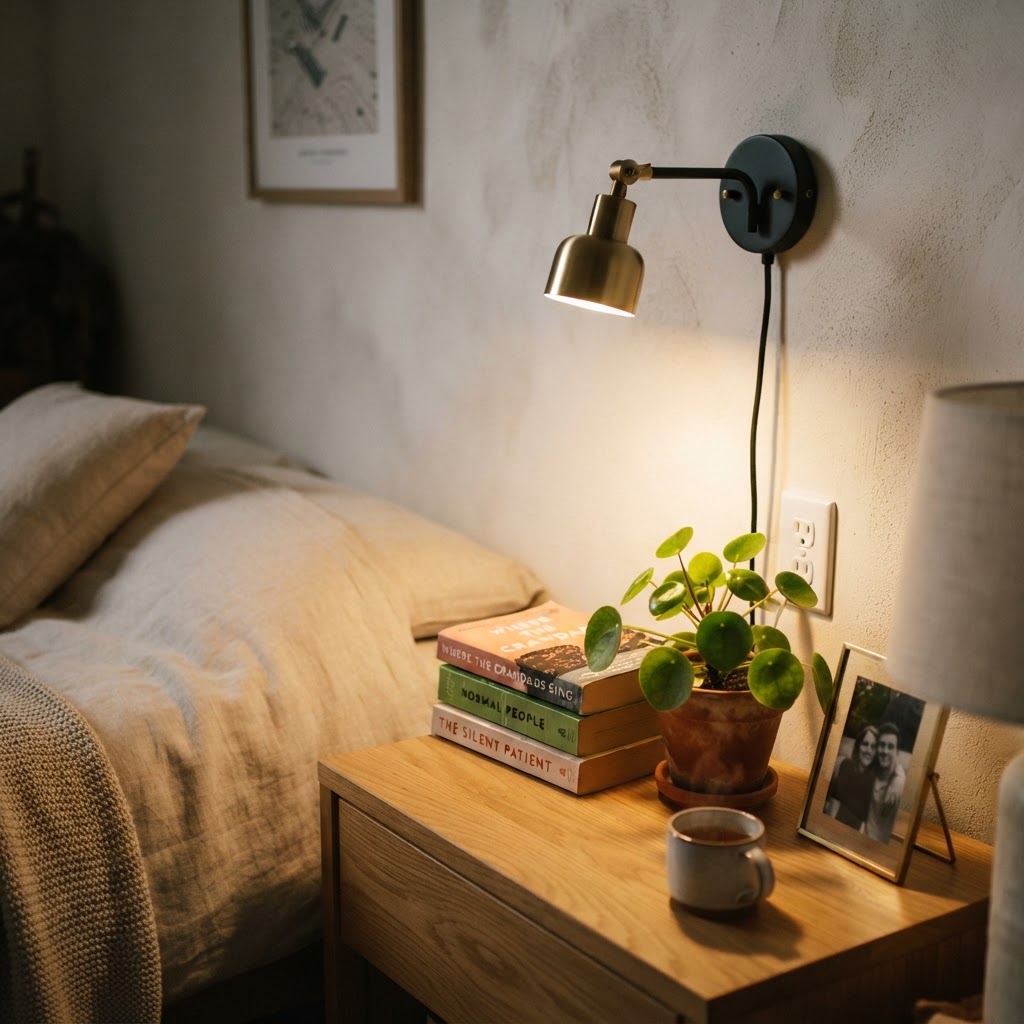
Plug-in Sconce Bedside Frees up nightstand surface
Touch-sensor Lamp Bedside/Entry No bulky switches or cords

Utilizing Vertical Space and Height

Floor lamps are the secret weapon for making ceilings feel higher, provided you select designs that emphasize verticality rather than horizontal footprint. Models with thin, tripod-style legs or singular poles draw the eye upward, effectively “stretching” the room and creating an airy atmosphere that feels much larger than its actual dimensions.

To maximize this effect, position these lamps behind large furniture pieces like sofas or armchairs to create a soft “wash” of light that illuminates the wall. This indirect glow is significantly more flattering than direct lighting because it highlights the architecture of the space rather than focusing on items that create visual clutter. You can also utilize “uplighting” by placing a small, inexpensive floor lamp to point light toward the ceiling; this pushes the visual boundaries of the room upward, making the ceiling feel less restrictive. Avoid lamps with heavy, opaque shades that block light from traveling toward the ceiling, as these will trap the glow and make the room feel top-heavy. Instead, choose shades that are translucent or open at the top to allow light to bounce off the ceiling, creating an expansive, open-room effect.

DIY Upgrades for Budget Lighting

Customizing affordable, “big-box” lighting is the fastest way to achieve a high-end look on a budget while ensuring your fixtures match your specific decor style. A $10 lamp can be transformed into a custom piece with a simple $6 can of matte black or brushed gold spray paint, allowing it to seamlessly integrate into your apartment’s color palette.

Beyond paint, the most significant “hidden” upgrade is the light bulb itself. Integrating smart bulbs (typically available for $10–$15 each) allows you to control color temperature, brightness, and even scheduling via your smartphone. This adds a level of luxury and utility that standard bulbs cannot match. For instance, you can dim the lights to 30% for a movie night or increase brightness to 100% for cleaning, all without moving from your couch. Don’t overlook small hardware tweaks either: swapping a cheap plastic cord for a fabric-wrapped cord cover can hide an eyesore and turn a standard cable into a decorative element. Finally, adding a plug-in dimmer switch to a non-dimmable lamp provides the most “bang for your buck” for mood control, instantly allowing you to create that elusive, intimate “cozy” vibe in any corner of your small home.

Simple Customizations

  • Change the cord: If your lamp has an ugly cord, a simple fabric cord cover can hide it or make it a stylish accent.
  • Add a dimmer: If your lamp doesn’t have a built-in dimmer, you can buy an inexpensive plug-in dimmer switch online.
  • Switch the shade: A larger or drum-shaped shade can change the direction and diffusion of the light, making it feel more intentional.

Creating Zones with Light

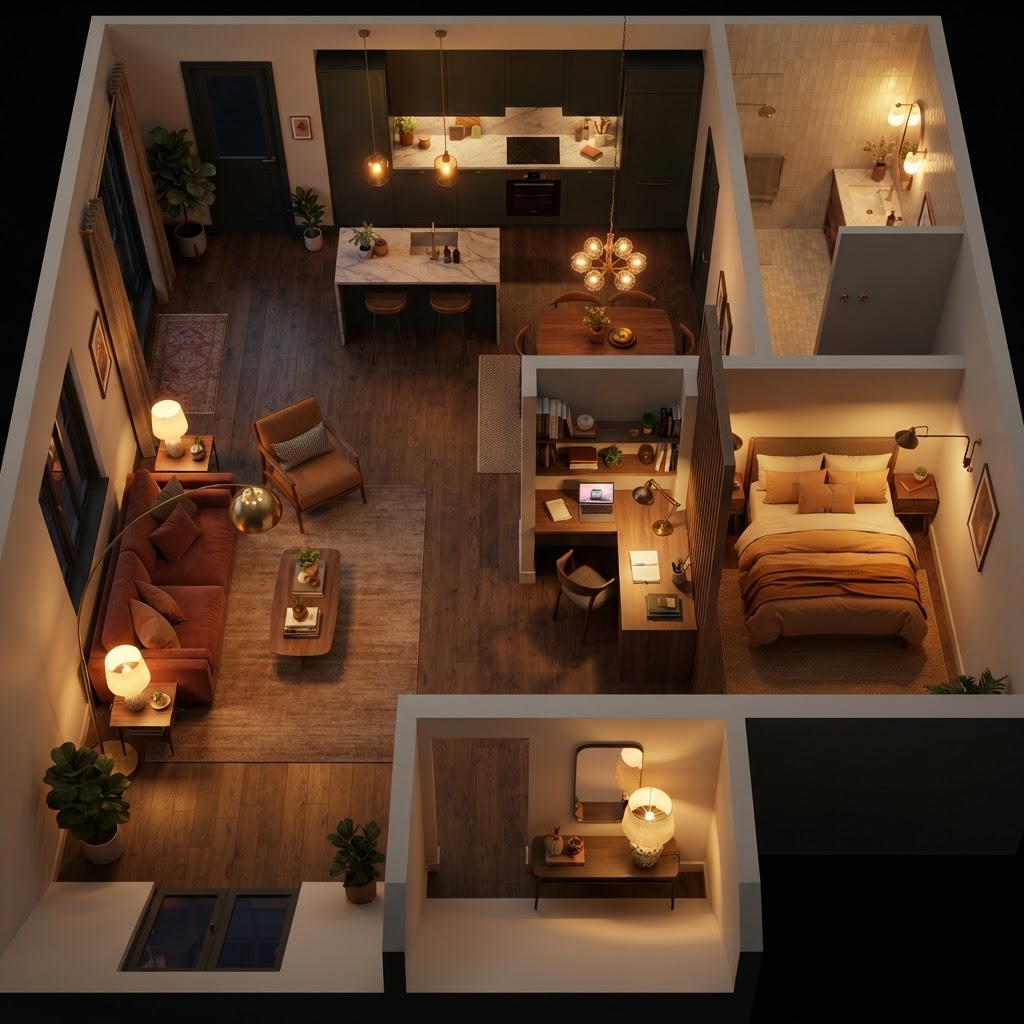
Using light to create zones is the most effective psychological tool for preventing a studio apartment from feeling like a disorganized pile of furniture. By assigning specific light sources to your living, sleeping, and working areas, you create distinct “rooms” within one open-concept space, providing structure and visual consistency.

To achieve this, ensure that your lighting levels remain consistent across all zones so the transition from the reading nook to the sofa doesn’t feel jarring. When you want to host friends, you can turn off task-specific lights (like desk or kitchen pendant lights) and keep only the ambient floor lamp or accent wall-sconces on, which instantly shifts the room’s energy to a social, intimate atmosphere. This creates a cohesive look that feels curated by a professional designer rather than randomly assembled. By layering these zones, you stop the eye from scanning the entire “messy” room at once, and instead allow it to focus on one well-lit area at a time. This keeps your small space feeling structured, intentional, and, above all, incredibly cozy.

FAQ

What is the best color temperature for a cozy home?

The best color temperature for a cozy atmosphere is between 2700K and 3000K, which provides a warm, inviting yellow-toned glow. Avoid “cool white” or “daylight” bulbs above 4000K, as these create a harsh, clinical environment that makes small rooms feel smaller and colder.

How can I make my ceilings look higher with lighting?

To make ceilings look higher, use floor lamps that direct light upward or position lamps behind furniture to create a wall-washing effect. This “up-light” draws the eye toward the ceiling, creating an illusion of vertical height and making the room feel significantly more open.

What are the best lamps for a tiny apartment?

For a tiny apartment, choose slim-profile floor lamps, clip-on task lamps, and plug-in wall sconces to save floor and table space. These options provide necessary illumination without the clutter of bulky bases or extra cords, keeping your living surfaces clear and functional.

Do mirrors actually make a room brighter with lamps?

Yes, placing a lamp in front of a mirror effectively doubles the light output by reflecting the glow back into the room. This technique expands the depth of the space and increases brightness without the need for additional fixtures or higher-wattage bulbs.

How do I use lighting to separate zones in a studio?

Separate zones in a studio by using specific light sources for each area, such as a dedicated task lamp for your desk and a floor lamp for your living area. When these zones are independently lit, it creates psychological boundaries that make the room feel organized and intentionally designed.

8 Essential Pieces Every Tiny Entryway Needs for Style

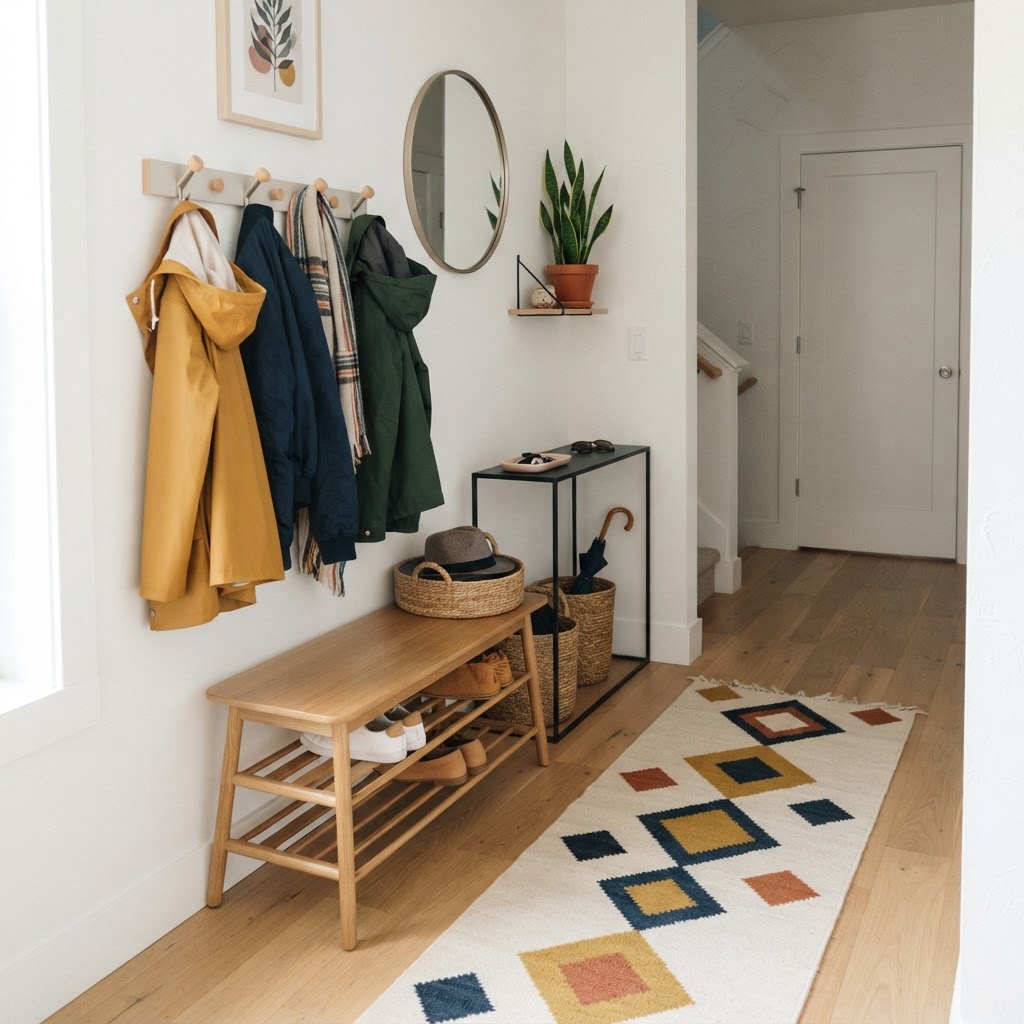
A tiny entryway requires a slim console table, wall-mounted mirror, dedicated shoe storage, multi-functional wall hooks, storage baskets, a compact bench or stool, targeted lighting, and a durable runner rug to maximize limited square footage. These eight elements prioritize vertical utility and multi-functional design to eliminate daily clutter effectively.

Assess Your Space and Needs

A functional, stylish console setup maximizes vertical space.

Before you run out to purchase furniture, take a moment to observe your habits. Do you kick off your shoes immediately? Do you need a place for mail, keys, and leashes? A tiny entryway needs are unique to your household traffic, so mapping out exactly what passes through your door every day will help you prioritize. Efficiency is the key to success in a footprint of less than twenty square feet. Consider the following comparison to determine your best storage strategy based on your household size:

Storage Type Best For Pros Cons
Tilt-out Cabinets Minimalist Entryways Completely hides shoes Can be expensive
Open Racks High-Traffic Homes Easy access/ventilation Visual clutter
Storage Benches Families/Kids Provides seating Takes up floor space

The Art of Vertical Storage

When your floor space is limited, your walls become your best friend. Vertical storage is a design game-changer because it draws the eye upward, making the room feel taller while keeping your floor clear. Consider floor-to-ceiling shelving or high-mounted hooks that prevent the “clutter pile-up” that often ruins small spaces. By utilizing the 6 to 8 feet of wall height typically ignored, you can increase your storage capacity by 40% without losing any precious walking paths.

1. The Slim-Profile Console Table

Hooks and benches keep the floor clear in tiny entryways.

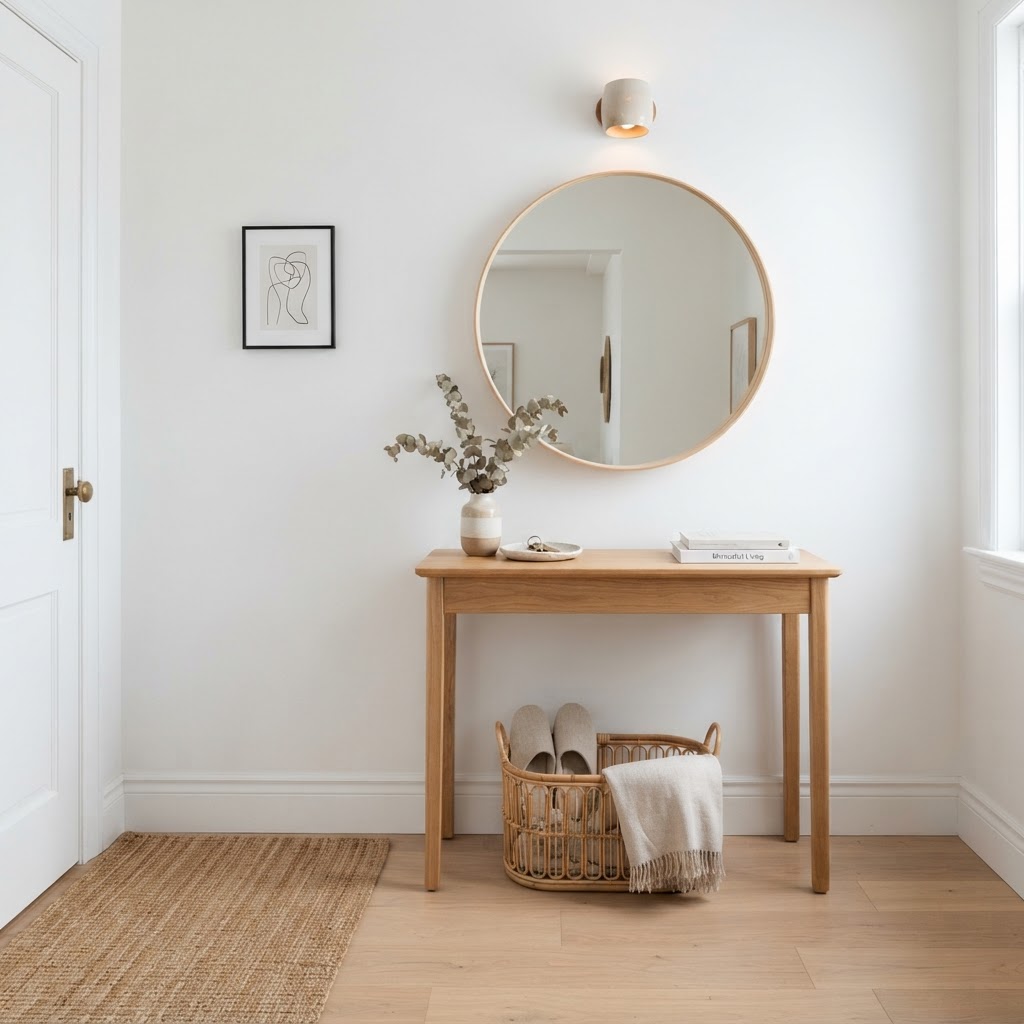
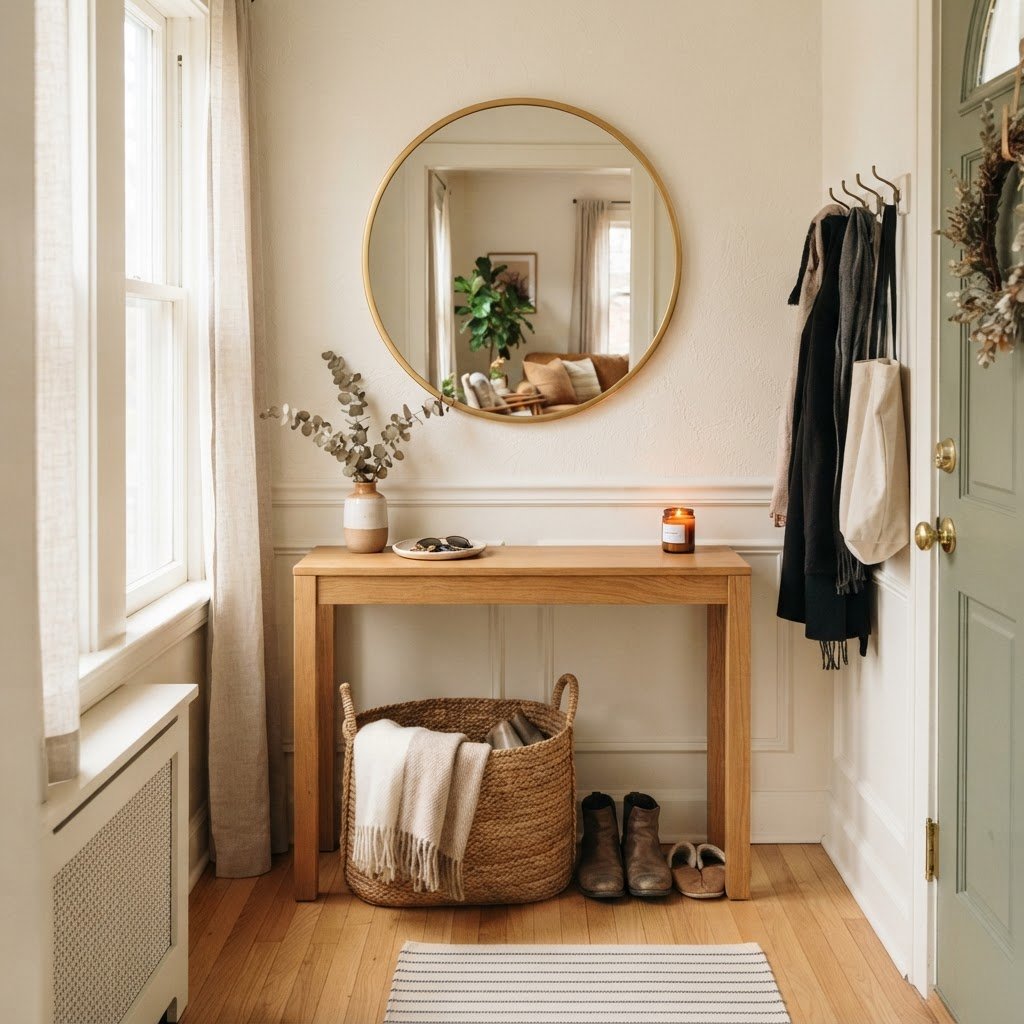
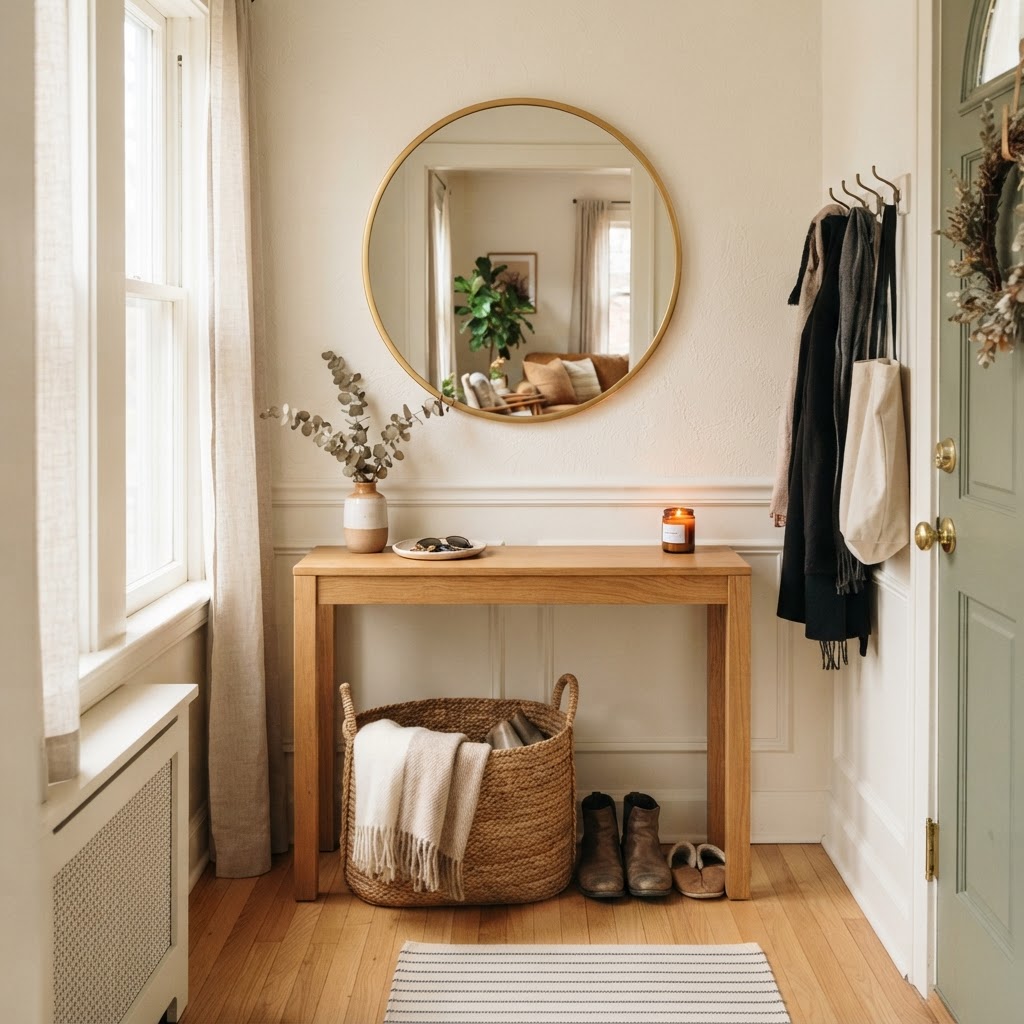
A console table acts as the command center of any entryway, providing a necessary “landing zone” for daily essentials like keys and wallets. For tight quarters, look for pieces with a depth of 10 to 12 inches; anything wider will impede flow in a hallway narrower than 48 inches. Opting for a demi-lune (half-moon) shape is a classic strategy to eliminate sharp corners that you might bump into. Furthermore, choosing a console with a bottom shelf increases your usable surface area for baskets or footwear storage by approximately 50%, allowing you to organize items vertically rather than spreading them across your floor.

2. A Wall-Mounted Mirror

Warm lighting and clever storage create a welcoming entrance.

Mirrors are non-negotiable in small space design as they physically expand the perception of the room by reflecting light and depth. A mirror placed directly across from or adjacent to a light source can increase the perceived brightness of a dark foyer by up to 30%. To maximize this effect, install a large, frameless mirror to create an uninterrupted surface that blends into the wall. Not only does this serve as a critical “check-in” point before you exit, but it also creates a functional focal point that draws attention away from the cramped dimensions of the floor.

3. Dedicated Shoe Storage

The biggest enemy of a tidy entryway is the pile of sneakers, boots, and flats scattered across the floor, which can reduce floor accessibility by 25%. To keep your home feeling clean, you must have a designated home for every pair of shoes. A tilt-out shoe cabinet is the gold standard for narrow hallways because it secures footwear behind a sleek, vertical panel—usually only 7 to 9 inches deep. If you prefer open storage, look for a multi-tiered rack that fits precisely beneath your console table to utilize the “dead space” that often goes to waste in modern floor plans.

4. Multi-Functional Wall Hooks

Forget bulky coat trees that take up valuable floor space; wall-mounted hardware provides superior organization for limited square footage. Install a row of heavy-duty, decorative hooks at varying heights—usually 60 inches for adults and 36 inches for children—to optimize usability for every member of the household. Modern industrial or farmhouse-style hardware doubles as wall art, meaning you don’t need additional wall decor that could clutter the room further. By assigning specific hooks for bags, umbrellas, and coats, you maintain an open, clean floor that makes a small room feel significantly larger than its actual dimensions.

5. Baskets for Hidden Clutter

Baskets are the unsung heroes of organization, functioning as a “catch-all” for items that lack a designated home. To keep your entryway cohesive, select uniform woven seagrass or wire bins that fit snugly under your furniture. This technique works because it standardizes the visual appearance of disparate objects like gloves, scarves, or pet leashes. Studies in home organization show that closed storage containers reduce the “cognitive load” associated with clutter, helping homeowners feel more relaxed the moment they cross the threshold into their living space.

6. A Slim Bench or Stool

Having a place to sit while putting on or taking off shoes is a luxury that small spaces can easily afford if you utilize smart furniture sizing. Seek out a narrow storage bench, ideally measuring no more than 14 inches deep, which can double as a hidden storage unit for seasonal gear. Alternatively, a backless ottoman is an excellent solution for the smallest of entryways; you can slide it entirely under a console table when it is not in use, ensuring your walking path remains completely unobstructed during the rest of the day.

7. Targeted Lighting Solutions

Lighting is one of the most neglected aspects of foyer design, yet it dictates the entire “warmth” of the home entrance. Since entryways rarely feature natural light sources, you should install wall sconces to provide ambient glow without consuming surface space. Aim for a color temperature of 2700K to 3000K, which mimics warm, inviting indoor lighting rather than sterile office illumination. If your entryway lacks hardwired electrical outlets, battery-operated LED motion-sensor lights or sleek plug-in sconces are highly effective, budget-friendly alternatives that can be installed in under 15 minutes.

8. A Decorative Rug or Runner

A runner rug is the foundation of your entryway, serving both aesthetic and protective functions. Choose a low-pile, high-traffic rug (usually 2’6″ x 8′) to ensure your door clears the fabric when opening and closing. Material selection is vital: look for 100% polypropylene or wool blends, which are inherently stain-resistant and can handle heavy foot traffic without matting. A horizontal stripe pattern will visually widen a narrow hall, while a long vertical runner can effectively lead the eye toward the interior of the home, creating a sense of transition and intentional flow.

FAQ

Q: What is the best way to keep a small entryway organized daily?

Set a mandatory daily reset ritual where all shoes are placed in racks and coats are returned to hooks every evening. Spending just two minutes tidying your “drop zone” before going to bed prevents long-term clutter buildup and ensures a clean start for the following morning.

Q: How can I make a tiny entryway look bigger?

Use a large wall-mounted mirror to reflect light and increase perceived depth, and choose a light-colored palette for your walls and floors. Keeping the floor visible and free of scattered shoes is the single most effective way to make any small entryway feel significantly larger.

Q: What type of furniture is best for a narrow hallway?

Prioritize furniture with a slim profile, such as console tables under 12 inches deep or wall-mounted floating shelves. Choosing pieces that offer multi-functional storage, like a bench with internal compartments, allows you to hide clutter while providing necessary seating without encroaching on your walking space.

Q: How do I choose the right size runner for my entryway?

Select a runner that leaves at least 4 to 6 inches of floor space on either side to prevent the rug from looking cramped or tripping people. Ensure the runner length extends past the door’s arc, typically aiming for at least 6 to 8 feet long to cover the high-traffic zone.