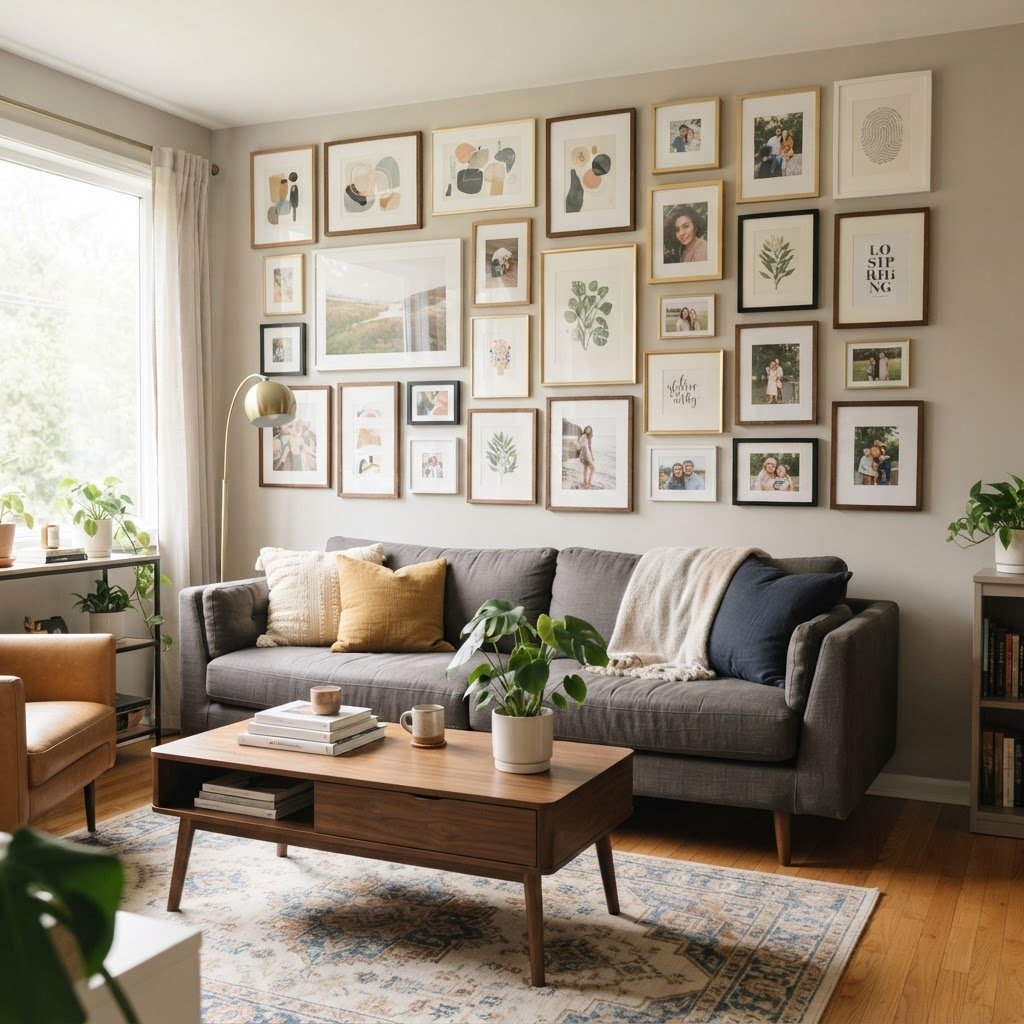
Creating a beautiful gallery wall with Command Strips is the perfect way to infuse personality into your home without the stress of power drills or permanent wall damage. Whether you are living in a rental or just want the flexibility to rearrange your art on a whim, mastering this technique is a game-changer for your interior design efforts. Gone are the days when hanging a curated collection of frames required precise measurements, drywall anchors, and a leap of faith; now, you can achieve a polished look that feels professional and intentional. In this guide, we will walk you through the essential steps to plan, arrange, and securely hang your art using these adhesive wonders, ensuring your space looks curated rather than cluttered.
Why Use Command Strips for Your Gallery Wall
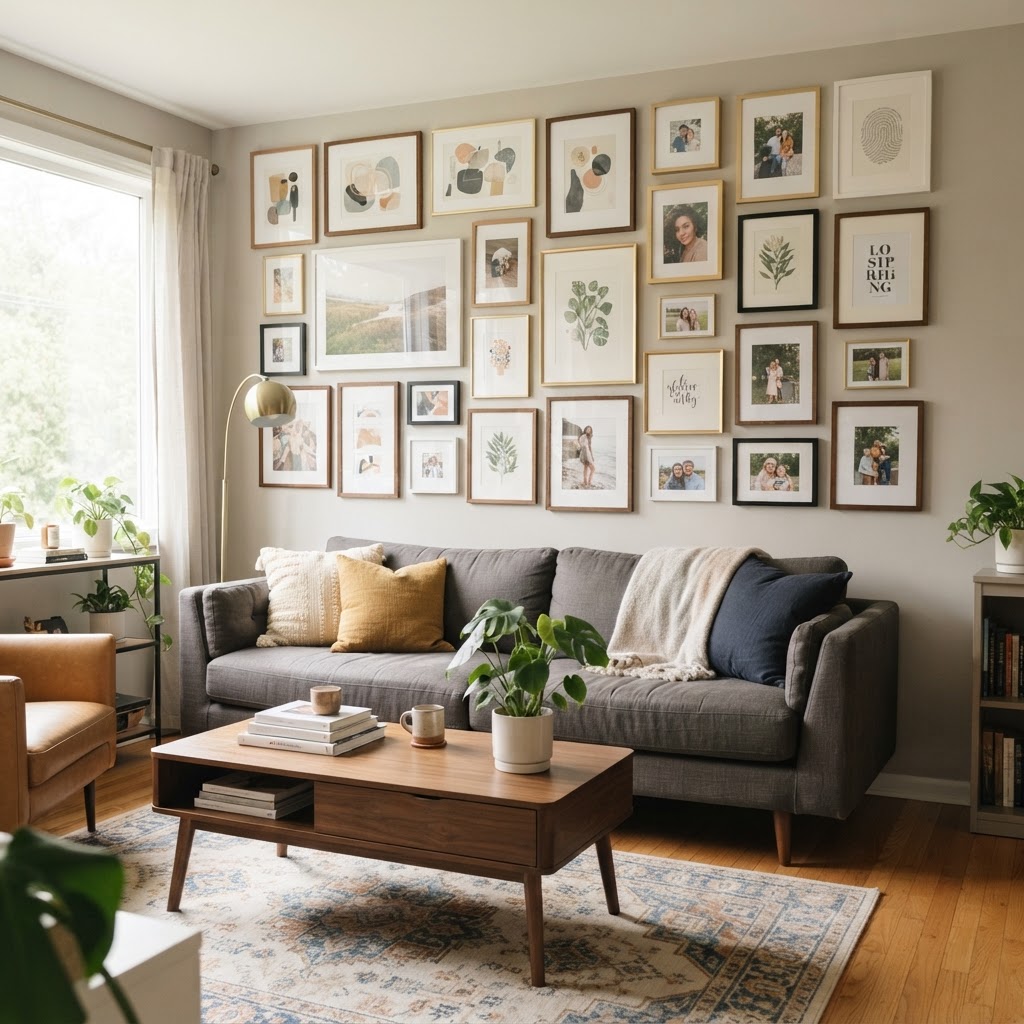
When planning a gallery wall, the biggest hurdle for most homeowners is the fear of commitment. Traditional nails leave unsightly holes that require patching, sanding, and painting whenever you want to move a frame or change the aesthetic. Using adhesive strips eliminates this issue entirely, making your decor truly dynamic.
The Benefits of Adhesive Hanging
Beyond the lack of damage, these strips offer a level of precision that nails simply cannot match. You can adjust the frame slightly to ensure it is perfectly level or shift the entire layout if it looks off-center after hanging. Furthermore, they are incredibly easy to use, requiring zero specialized tools like hammers, levels, or drills, which makes the project accessible to everyone regardless of their DIY skill level.
Planning Your Gallery Wall Layout
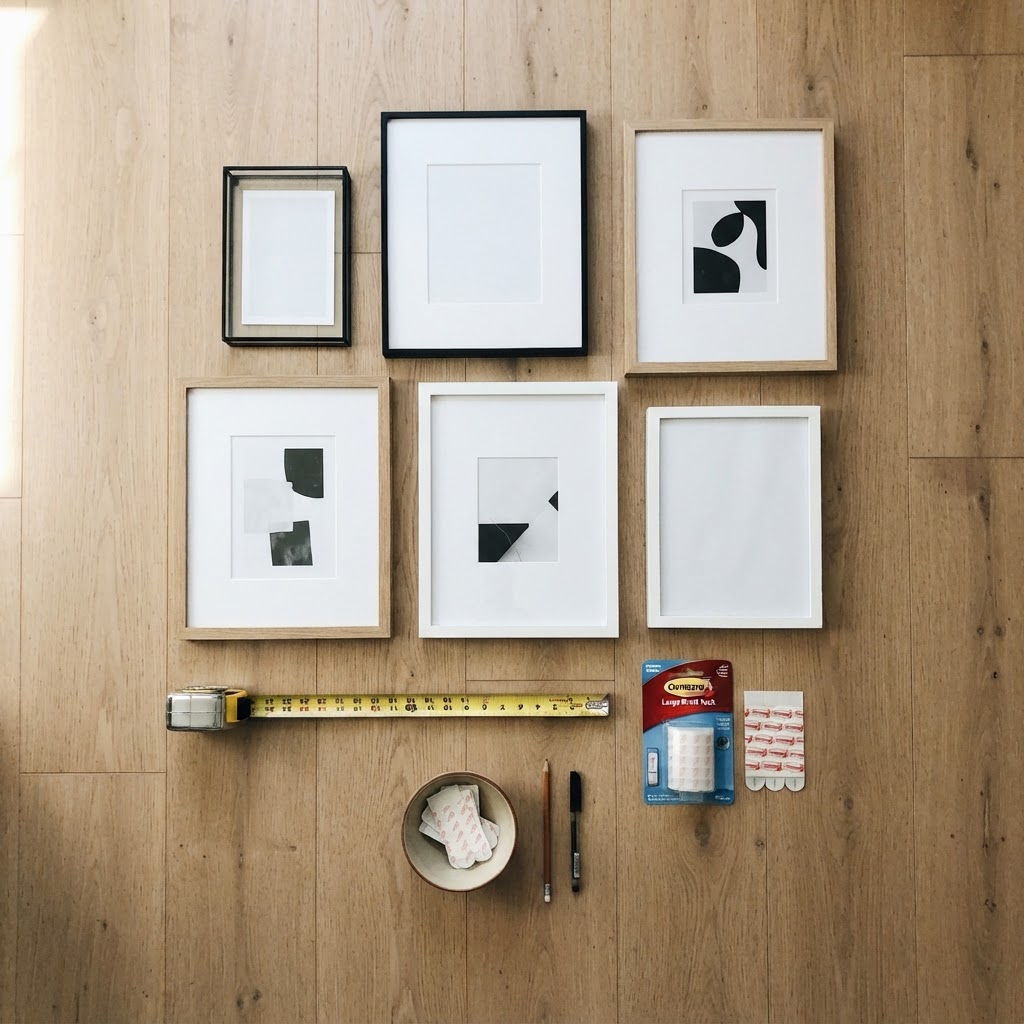
Before you even touch an adhesive strip, you must have a solid plan. A chaotic collection of frames can look messy if there is no underlying structure or theme. Start by gathering all the pieces you want to display and laying them out on a large area of floor space to experiment with different configurations.
Finding the Right Arrangement
Consider the balance between large statement pieces and smaller accents. You can try a grid formation for a modern, clean look, or a more eclectic “salon style” where frames vary in size and frame material. Pro tip: trace your frames onto kraft paper and cut out the shapes. You can then use painter’s tape to stick these paper templates to your wall, allowing you to visualize the final outcome before you commit to the actual hanging process.
Selecting the Right Command Strips
Not all adhesive strips are created equal, and choosing the wrong weight capacity is a recipe for disaster. Command Strips come in various sizes, each designed to support a specific weight range. Check the back of your frames to estimate their total weight accurately.
Understanding Weight Capacity
Always err on the side of caution. If a frame feels borderline in weight, use more strips rather than fewer. You should also take into account the frame material; metal frames with thin edges can be trickier to adhere to than wooden ones. Make sure to clean the surface of the frame and the wall with rubbing alcohol before application to remove dust or oils, which is a critical step for maximum bond strength.
Step-by-Step Installation Process
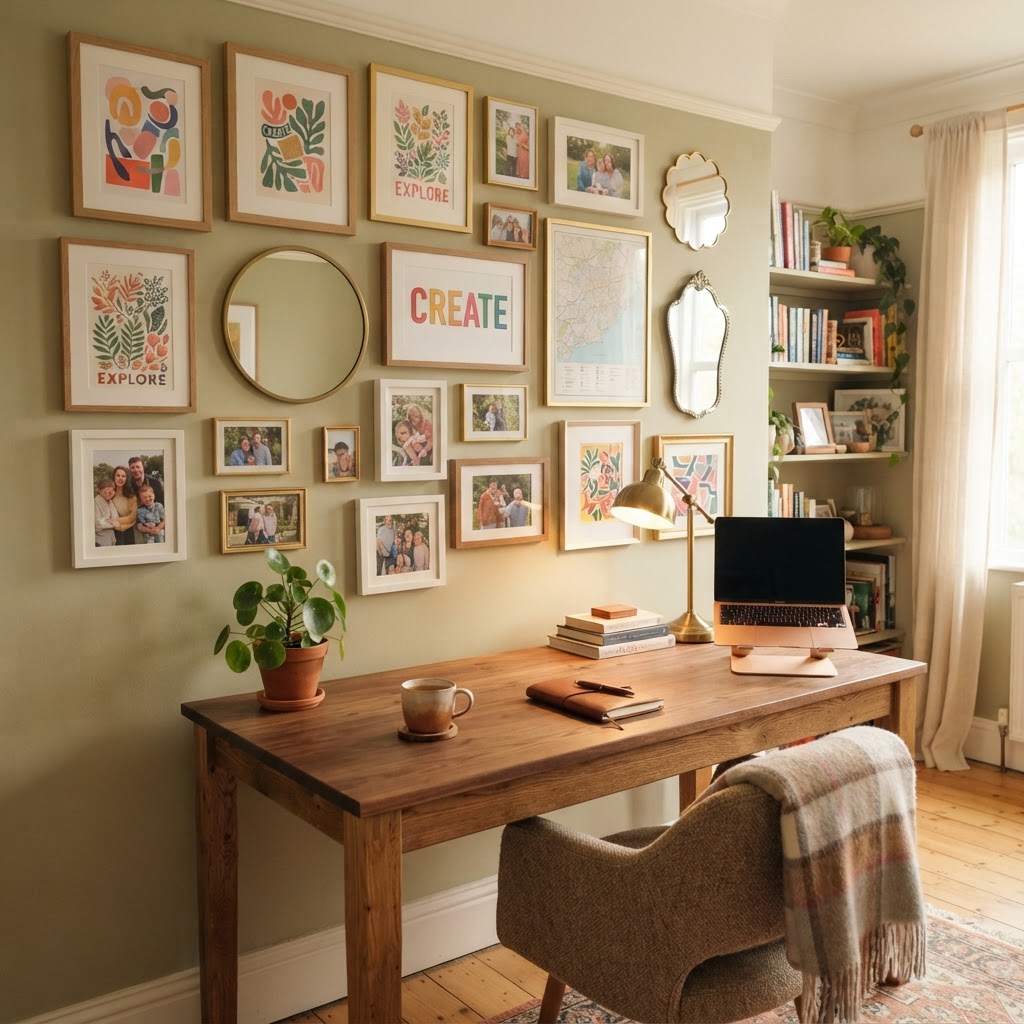
Once your templates are on the wall and your strips are ready, it is time to move to the main event. Start with the center frame of your collection. This anchor piece will dictate the spacing for everything else. By getting the center piece perfect, you set the tone for the symmetry of the entire wall.
Applying the Strips Correctly
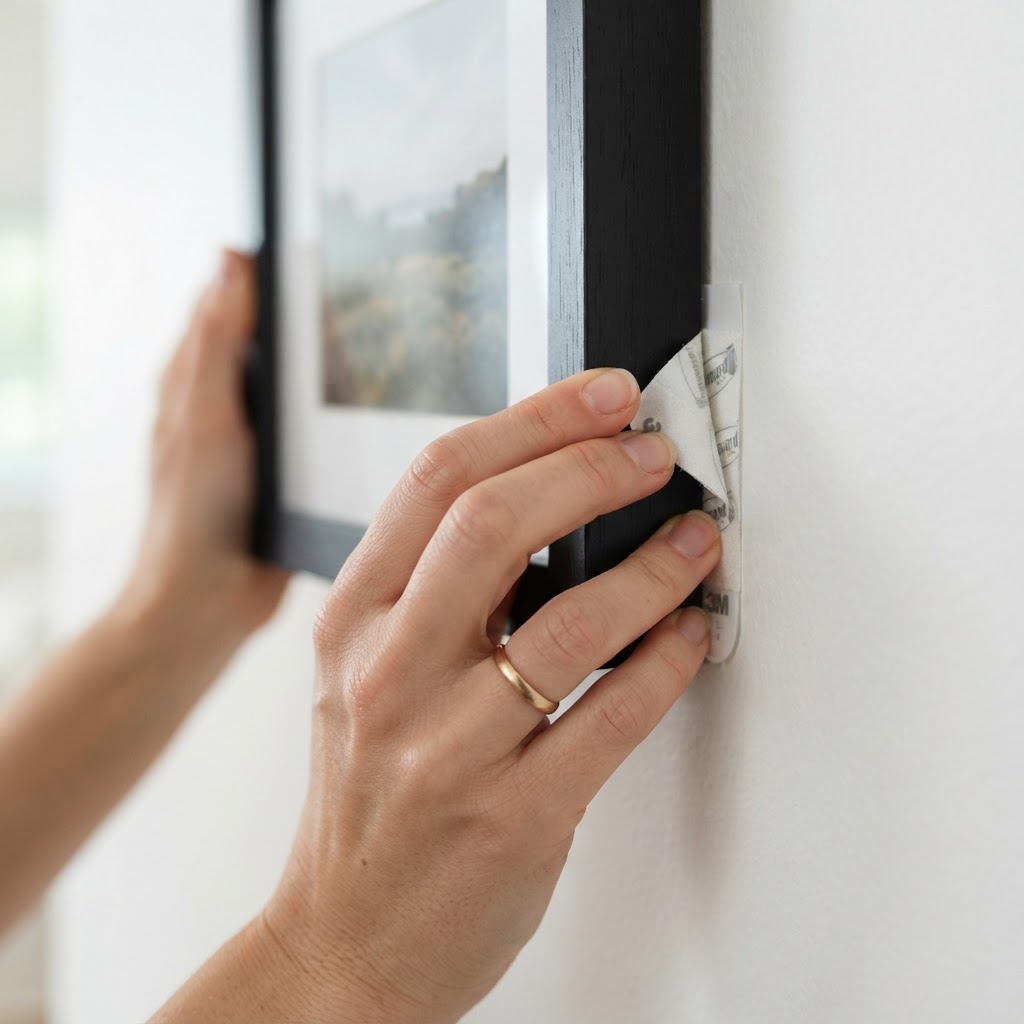
Separate the strips and press them together until they click. Peel off the liner on one side and press it firmly onto the frame. Once all strips are attached, peel the remaining liners and press the frame against your wall location for 30 seconds. You must then carefully peel the frame away from the wall, leaving the wall-side strip attached, and press firmly on those strips for an additional 30 seconds to activate the adhesive. Wait at least an hour before re-attaching the frame to the wall.
Styling Tips for a Professional Look
To make your gallery wall look like it was curated by a pro, focus on the “negative space” between the frames. A standard spacing of two to three inches between frames usually creates the most cohesive appearance. Keeping the spacing consistent helps the eye move across the display smoothly without getting overwhelmed by the gaps.
Mixing Mediums and Sizes
Don’t be afraid to mix different types of art. You can include framed prints, canvas art, mirrors, and even small decorative objects to add texture. The contrast between these different mediums provides visual interest and prevents the display from feeling like a sterile catalog layout. Remember, a gallery wall should tell a story, so include items that have personal meaning to you.
Maintaining and Adjusting Your Display
Over time, you might feel the urge to refresh your home decor. One of the greatest advantages of using Command Strips is how simple it is to swap out a frame or update your gallery. Because the strips are removable, you can take a frame down without damaging your paint, allowing you to replace the art within seconds.
Long-Term Care
If you find that a frame has shifted slightly due to humidity or temperature changes, simply remove it, replace the strips, and re-hang. It is a good practice to occasionally check the stability of your larger pieces to ensure the adhesive bond remains strong. If you ever need to remove the strips entirely, pull the tab straight down slowly, parallel to the wall, to ensure the paint remains pristine.
Troubleshooting Common Issues
Sometimes, things do not go exactly according to plan, but don’t get discouraged. If a frame keeps falling, it is likely due to either an uneven surface, dust on the wall, or exceeding the weight limit. Ensure you are using the heavy-duty versions if your frame has glass, as glass adds significant weight compared to acrylic or canvas.
Avoiding Damage and Falls
Always ensure your wall surface is smooth. These strips do not perform well on heavily textured wallpaper or loose, flaking paint. If you have textured walls, consider hanging your frames using a different method or applying a smooth adhesive patch first. If you followed all the instructions and the strip still failed, replace the adhesive with a brand new set, as re-using old adhesive will never provide the same holding strength.
Conclusion
Creating a stunning gallery wall with Command Strips is an empowering DIY project that proves you do not need heavy machinery to elevate your living space. By following these steps—meticulous planning, choosing the right products, and taking your time during the application—you can transform any blank wall into a focal point that reflects your personal style. The freedom to rearrange and evolve your home decor without the fear of damaging walls is the ultimate luxury for renters and homeowners alike. Now that you have the knowledge and the confidence, pick your favorite frames and start building your own beautiful wall display today!

Leave a Reply