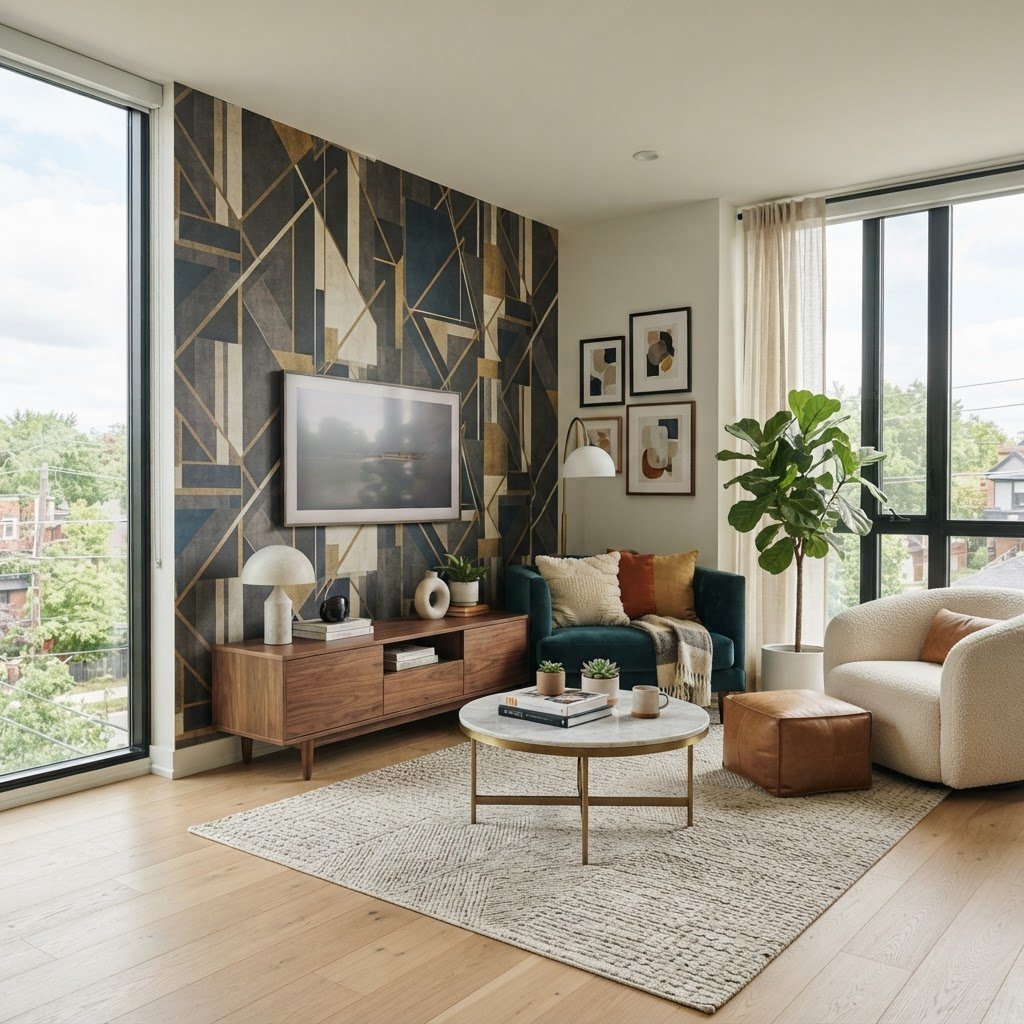
9 No-Damage Accent Wall Ideas That Look High-End
You can create high-end, no-damage accent walls by utilizing temporary materials like peel-and-stick vinyl, lightweight foam molding, and textile hangings that attach with non-residue adhesives. These professional-grade solutions provide the aesthetic impact of permanent renovations while remaining completely removable, making them perfect for renters and homeowners who value design flexibility.
The Rise of Non-Permanent Interior Design
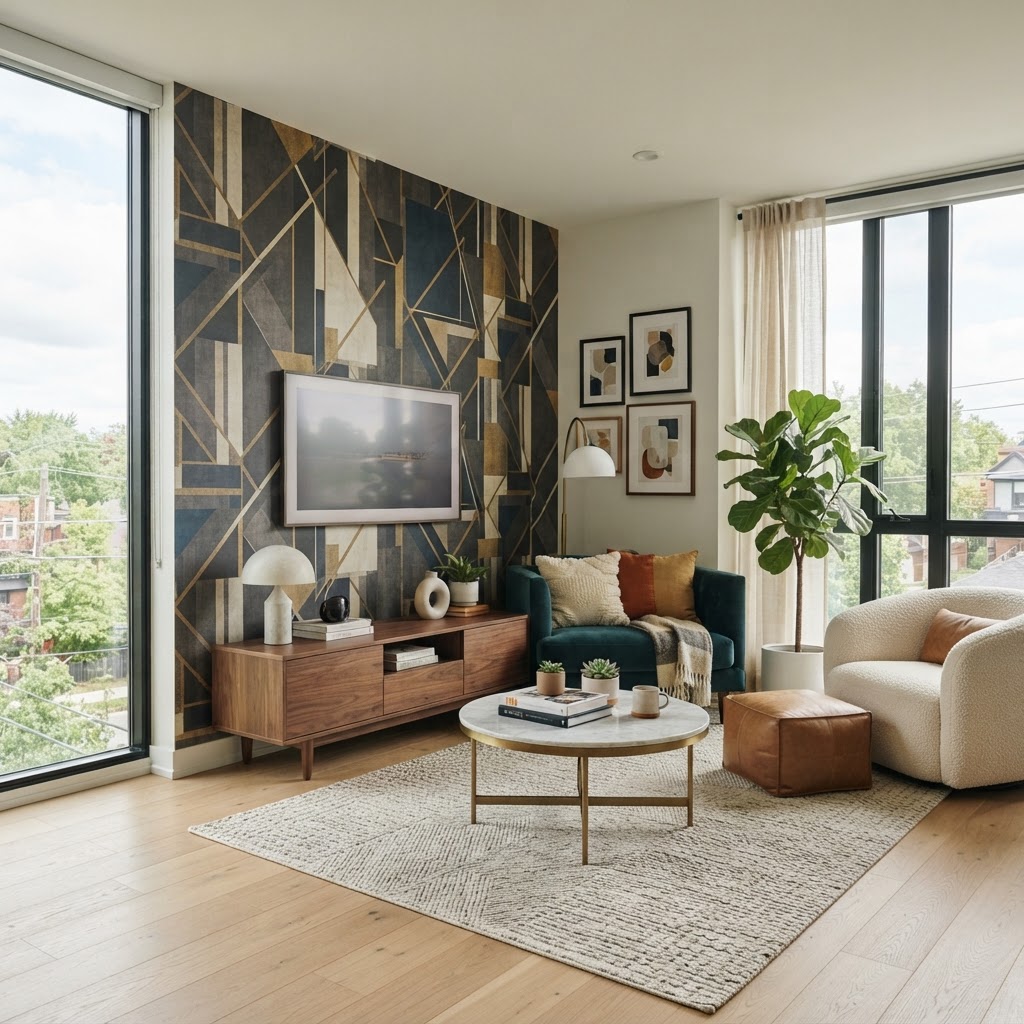
Interior design has shifted toward high-performance temporary materials that eliminate the need for permanent structural changes or property damage. Modern non-permanent decor centers on high-quality adhesives, such as those rated for professional-grade signage, which offer a secure bond while releasing cleanly when heated. By choosing these materials, homeowners can avoid the permanent costs of drywall repair—which can average $200–$500 per patch—while achieving a designer-level aesthetic. The shift toward modular design allows for rapid style changes, enabling you to keep pace with evolving trends like biophilic design or dark academia without expensive remodeling. These methods respect the integrity of the substrate, ensuring that your walls remain in pristine condition for your next design iteration or for move-out requirements. Leveraging these tools transforms a standard room into a personalized sanctuary with zero long-term impact on your property value or lease agreement.
1. High-Quality Peel and Stick Wallpaper
High-quality peel and stick wallpaper provides a seamless, professional aesthetic when you prioritize heavy-duty, matte-finish vinyl with high-resolution textures. Unlike cheap paper-based alternatives, premium vinyl options often feature a thickness of 6-8 mils, which prevents bubbling and provides enough opacity to hide minor wall imperfections. To achieve a result that looks indistinguishable from traditional wallpaper, begin by preparing your surface with a degreasing agent, as even microscopic dust particles can compromise adhesive longevity. Always overlap your panels by exactly 1/8th of an inch to accommodate for house settling or temperature-based material expansion. Ordering 10-15% more material than your wall dimensions suggest accounts for pattern repeats and trimming errors. By utilizing a squeegee with a felt edge, you can apply even pressure across the surface, ensuring the backing remains smooth and free of air pockets. This technique effectively mirrors the appearance of high-end, paste-based grasscloth or damask prints at a fraction of the installation labor.
2. Removable Fabric Wall Coverings
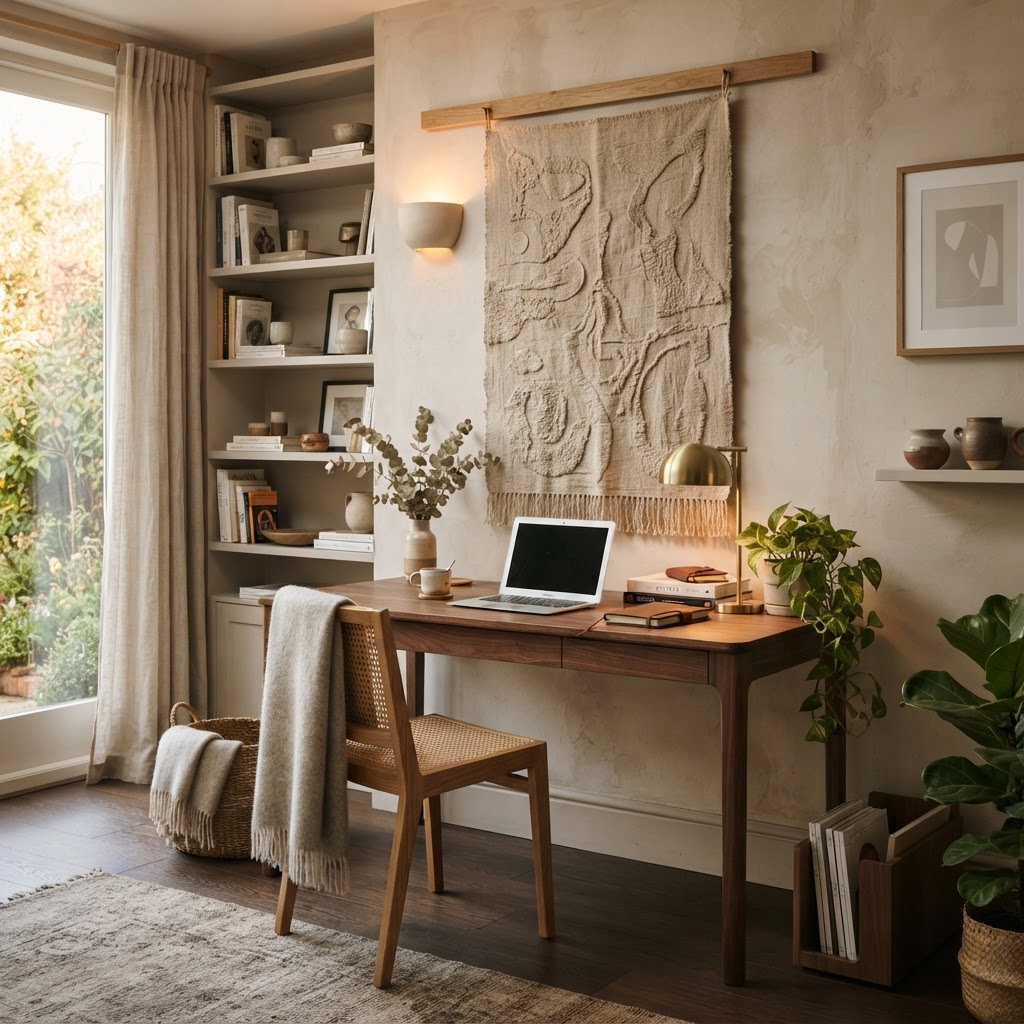
Fabric-based wall coverings offer a superior, organic alternative to vinyl by introducing soft, tactile dimensions that dampen room acoustics while adding instant warmth. These coverings are typically made from polyester-blend textiles that are woven to look like linen or raw silk, providing a level of depth that flat plastic alternatives cannot replicate. Because these materials are breathable, they are highly effective in bedrooms or humid environments where trapped moisture might otherwise cause peeling issues. Installation typically involves either a low-tack adhesive backing or a hook-and-loop system that distributes tension evenly across the fabric panel. When sourcing, look for fire-rated textiles if you are installing near electronic heat sources. The finished appearance creates a high-end, hotel-suite vibe that softens the hard lines of a modern room. For a luxury finish, ensure the edges are cut perfectly straight using a fresh utility blade for every 5 feet of cutting to prevent fraying or jagged edges that can detract from the wall’s clean profile.
3. Lightweight Foam or Balsa Wood Molding
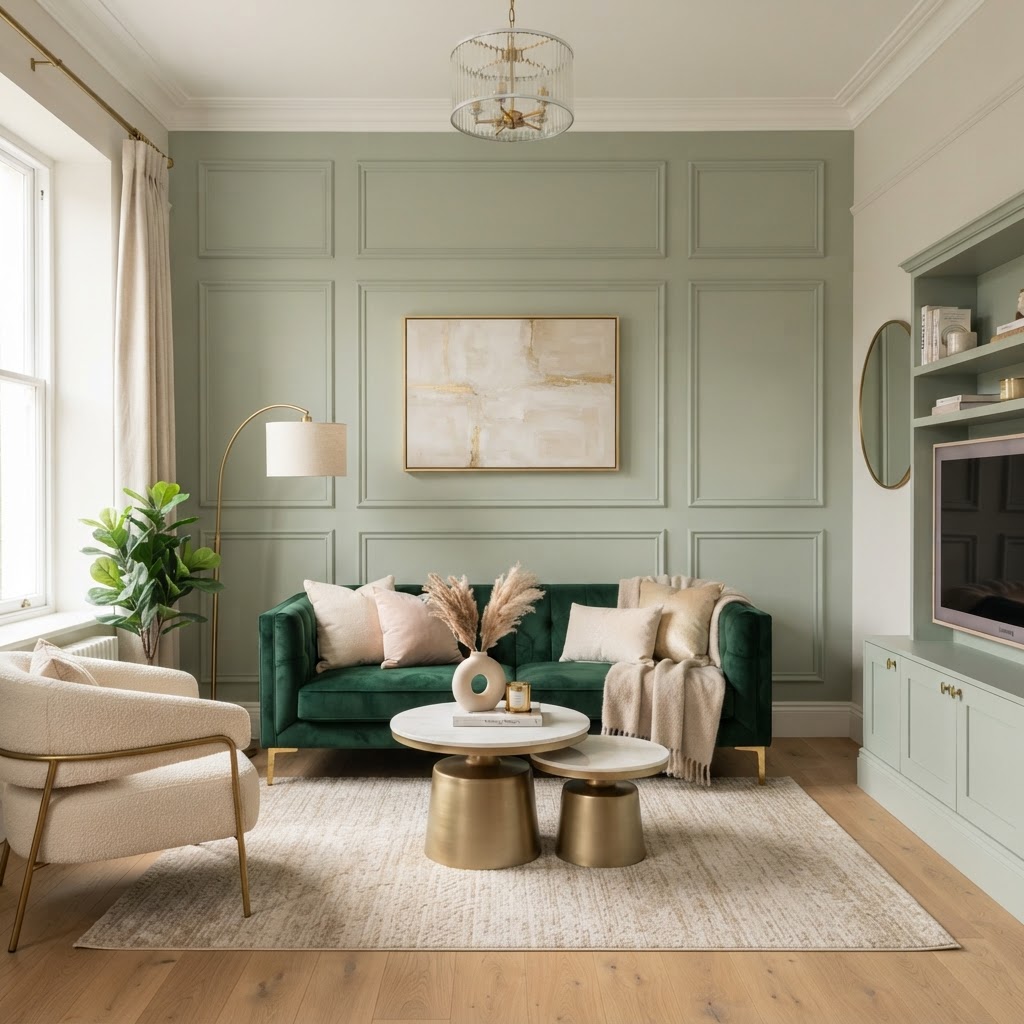
Architectural molding, such as wainscoting or box trim, adds instant character by creating shadow lines that mimic custom millwork. You can replicate this expensive detail by using high-density polystyrene foam or thin balsa wood strips, which can be purchased for less than $5 per linear foot at local hobby or hardware stores. To install, use heavy-duty double-sided mounting tape—specifically the type rated for 15+ lbs—spaced every 6 inches. Once the frame is secured, applying a high-quality matte paint that matches your wall color creates a cohesive, built-in appearance that hides the joints between strips. This technique adds depth to a room by creating physical texture that interacts with ambient light, casting subtle shadows that change throughout the day. When it is time to move, simply slicing the tape with a thin wire or heating it slightly will remove the molding without stripping the paint. The resulting architectural interest makes a standard room feel like a historic or custom-built home.
4. Temporary Wall Tapestries and Textile Art
Large-scale textile art anchors a room by creating a massive, single-focal point that demands attention without the need for wall-mounted heavy fixtures. Select heavy materials like velvet, wool, or raw linen, as these fabrics absorb light and add a professional, gallery-style weight to your interior. Mounting these textiles using a hidden rod system or magnetic wooden poster hangers allows the fabric to drape naturally, which is often more visually appealing than stiff, stretched canvas art. By keeping the tapestry slightly off the wall—about 1-2 inches—you create a “floating” effect that adds sophistication and helps define the boundaries of a living area. For an ultra-high-end look, opt for custom-printed patterns or vintage weaving that complements your existing color palette. Using this method avoids the need for heavy wall anchors or anchors that require drywall repair, keeping the underlying wall surface in its original condition while providing a bold design statement.
5. Peel-and-Stick Faux Stone or Tile
Modern peel-and-stick stone veneer provides the grounding, textural weight of marble or slate while utilizing flexible, lightweight materials that weigh less than 1 pound per square foot. These tiles are composed of thin, real-stone layers or high-grade polyurethane that can be cut with standard scissors, yet they feature high-strength, pressure-sensitive adhesives that lock them in place. They are ideal for creating a sophisticated kitchen backsplash or a dramatic fireplace surround where you want a high-value look without masonry work. Because these tiles often come in interlocking sheets, the seams are easily hidden if you follow the pattern sequence accurately. Unlike heavy stone, these veneers do not require structural support or mortar, making them safe for drywall applications. When installed, the resulting depth and color variation provide an expensive, high-end appearance that can increase the perceived value of your space by mimicking high-end interior finishes used in professional home staging.
6. Curated Gallery Walls with Command Hooks
A curated gallery wall elevates a space by transforming random frames into a cohesive art installation, provided you adhere to strict design principles. To ensure a high-end look, maintain a consistent “gap” of exactly 2 inches between all frames and stick to a limited color palette of frame materials, such as all matte black or natural oak. Map your layout on the floor first to experiment with spacing and visual flow, ensuring the center of the display aligns with average eye level—typically 57 to 60 inches from the floor. Using adhesive picture-hanging strips instead of nails is essential for a damage-free installation, as they allow for micro-adjustments during the mounting process. For a truly professional appearance, integrate varying sizes of art rather than identical dimensions to create a dynamic composition. By treating the gallery wall as a single object rather than a collection of separate pieces, you create a sophisticated statement piece that functions as the centerpiece of your room.
7. Removable Acoustic Panels
Decorative acoustic panels provide a dual-purpose design solution by dampening sound echoes while acting as modern, three-dimensional geometric art. Many high-end panels are crafted from recycled PET felt, which offers a soft, architectural appearance that is far superior to standard foam soundproofing. These panels are available in modular hexagons, slats, or layered shapes, allowing you to create custom patterns that span from floor to ceiling. Because they are lightweight, they can be mounted using thin, high-tack adhesive dots or temporary mounting brackets. The depth of these panels creates intricate shadows, providing a dramatic effect under recessed or track lighting. Beyond aesthetics, they significantly improve the comfort of open-plan living areas by reducing noise reverberation. Choosing panels with natural wood veneer finishes or neutral matte tones allows them to blend into sophisticated, modern interiors, making them a functional piece of art that looks like a high-end custom installation.
8. Vinyl Decal Murals and Geometric Patterns
Vinyl decal murals allow for precision-engineered, repetitive geometric patterns that add rhythm and structure to a room without the commitment of paint or wallpaper. Opt for professional-grade matte vinyl, which avoids the cheap, glossy look often associated with basic stickers. These murals are best applied using a “wet method”—spraying a light mist of water with a drop of soap—to allow you to slide the decal into the perfect position before it adheres. This ensures your lines are perfectly straight and alignment is flawless, which is the secret to a luxury, factory-finished appearance. Whether you choose metallic gold patterns or subtle tone-on-tone textures, these decals can act as a high-end wallpaper alternative that breaks up large, empty wall spaces. The key is to select geometric designs that follow the architecture of the room, such as framing a window or delineating a dining space. Once finished, they look like intentional, hand-painted details that integrate perfectly into your room’s design story.
9. Modular Floating Shelving Units
Modular floating shelving units allow you to utilize an entire wall as a display area for high-end styling without drilling into the wall. By selecting floor-standing systems that use tension-mount brackets or gravity-based weight distribution, you can secure shelves firmly against the wall surface. This design approach creates the appearance of custom-built library shelving, which is a significant luxury selling point. Style these shelves with a mix of books, sculptural objects, and small, rechargeable LED lighting units to create a cozy, well-lit display. The depth and architectural presence of a full-wall shelving unit draw the eye upward, making the room feel more expansive and purposeful. Because these units are modular, you can tailor the shelf heights to fit your specific collection, creating a highly personalized, custom-designed space that serves as both storage and art. This approach is one of the most effective ways to add value and a sophisticated focal point to any rental or living space.
Essential Tools for Success
- Laser Level: Keeps patterns and shelves perfectly straight.
- Smoothing Tool: Essential for applying peel-and-stick materials.
- Utility Knife: A sharp blade is vital for clean edges at corners.
- Measuring Tape: Always measure twice to ensure symmetry.
- Command Brand Adhesives: The gold standard for damage-free hanging.
Maintenance and Removal Tips
Maintaining these features is generally easier than caring for permanent wall treatments. For wallpaper or fabric, a light dusting is usually all that is required. If a panel becomes loose, simply re-adhere it with a fresh strip. When it comes time to remove them, use a hairdryer on a low-heat setting. The gentle warmth will loosen the adhesive backing, allowing you to peel the material off the wall slowly and cleanly without damaging the paint underneath.
FAQ
Q: Will peel and stick wallpaper ruin my rental’s paint?
Most modern high-quality peel and stick wallpapers are designed to be removed without damaging paint if the wall was primed correctly before installation. Always test a small, inconspicuous area for 24 hours to ensure the adhesive does not lift the existing paint layer upon removal.
Q: How do I calculate how much material I need?
Measure the height and width of your wall in inches, multiply them to get the total square footage, and then add 15% to account for pattern matching and cutting waste. Always buy from the same dye lot to ensure color consistency across all rolls.
Q: Can I use command strips on textured walls?
Command strips are optimized for smooth, flat surfaces and may struggle to adhere to heavily textured or porous walls. If your walls have significant texture, consider using a stronger mounting putty or applying a smooth adhesive base layer to ensure a secure, long-term bond.
Q: What is the best way to remove adhesive residue?
If any adhesive residue remains after you peel off your accent material, use a citrus-based cleaner or a dedicated adhesive remover such as Goo Gone. Apply the cleaner to a cloth first rather than directly to the wall to prevent paint discoloration and wipe gently in circular motions.

Leave a Reply