Archives August 2026

8 Budget-Friendly Bathroom Organization Hacks for Rentals

8 Budget-Friendly Bathroom Organization Hacks for Rentals

You can organize a rental bathroom without damaging surfaces by utilizing non-permanent, vertical storage solutions such as over-the-door organizers, tension rods, and adhesive-backed hooks. These budget-friendly methods maximize minimal square footage while ensuring you retain your full security deposit by avoiding drills, nails, and permanent modifications to cabinetry or walls.

The Power of Over-the-Door Storage Solutions
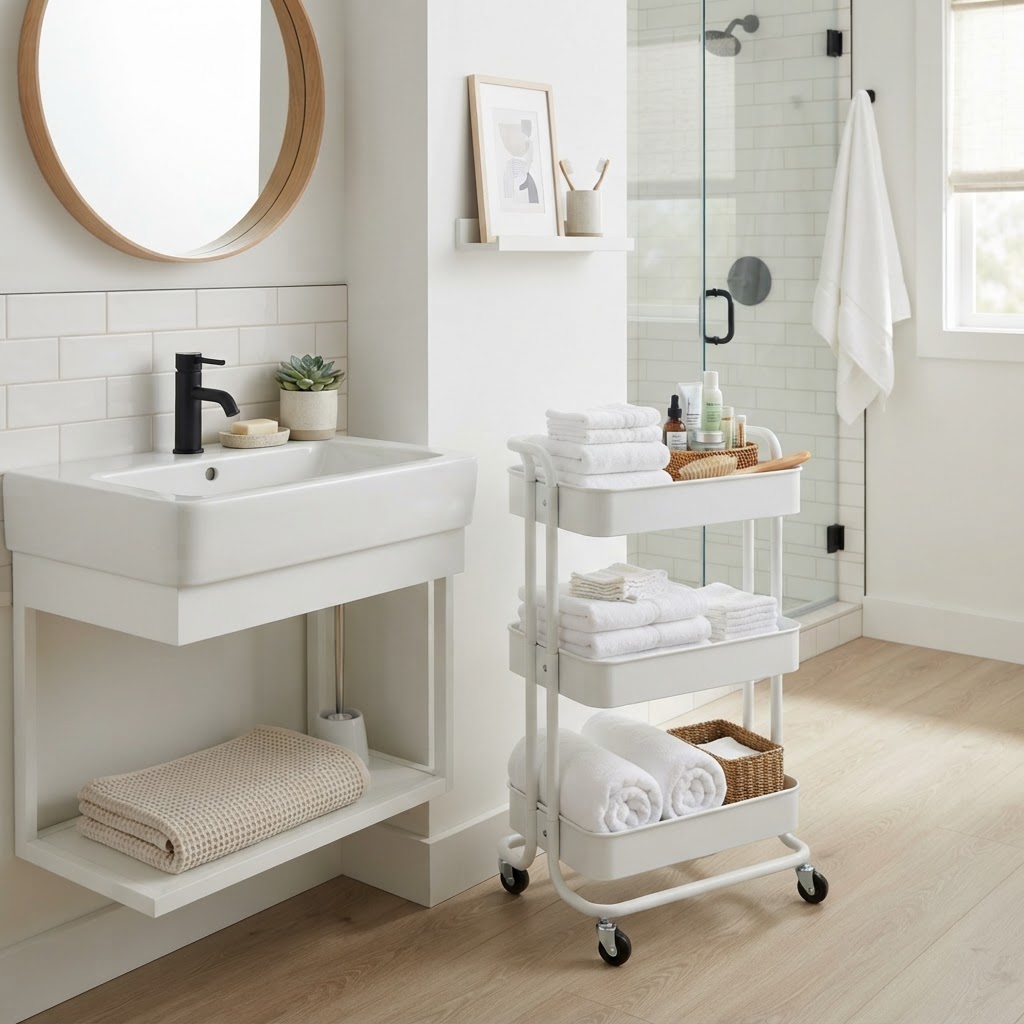
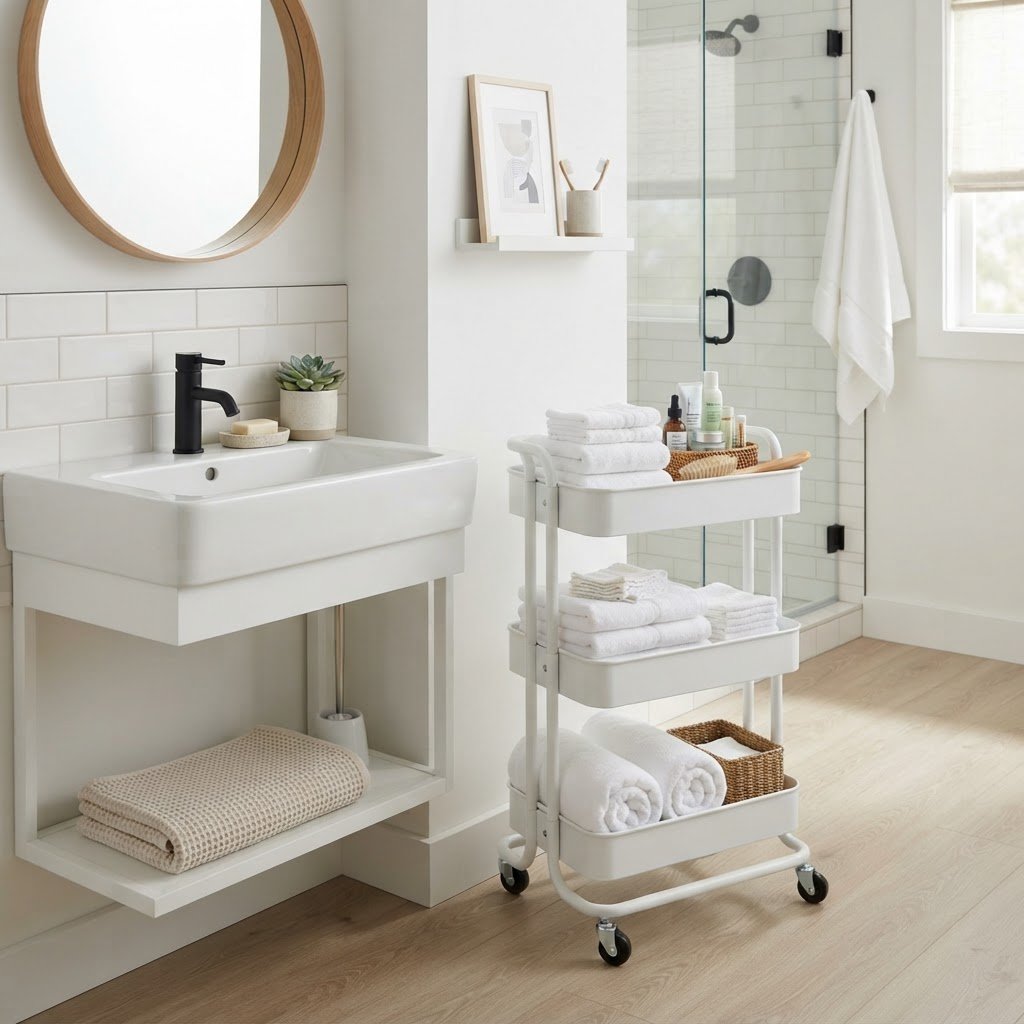
A slim rolling cart is perfect for adding storage to small corners.

When wall space is limited, the back of the bathroom door serves as prime, underutilized real estate for vertical storage that requires zero drilling or hardware. Over-the-door organizers effectively turn a flat, blank door into a functional shelf system for bulky items that would otherwise clutter your vanity. By opting for modular tiered units or pocket systems, you can increase your usable storage capacity by up to 40% in even the smallest powder rooms.

Feature Over-the-Door Organizer Traditional Wall Shelving
Installation Zero Drilling Drilling/Anchors Required
Rental Friendly Yes No
Storage Capacity High (Vertical) Moderate (Surface)
Damage Risk Low (Surface friction) High (Wall holes)

Choosing the Right Over-the-Door Unit

Look for organizers crafted from rust-resistant materials like powder-coated steel or breathable mesh, which prevent mold in damp bathroom environments. These are perfect for holding hair dryers, flat irons, and bulk shampoo bottles that consume limited counter space. To protect your landlord’s property, apply $2 adhesive felt pads where the metal contacts the door to prevent scratching and noise.

Maximizing Vanities with Drawer Dividers

Clear drawer dividers are the most effective method for maintaining order in shallow, poorly configured rental vanity drawers. Without these, small items like tweezers, cosmetics, and grooming tools inevitably shift and tangle, wasting time during your morning routine. By using modular acrylic or bamboo systems, you can create custom compartments that ensure every item has a specific home, preventing the “junk drawer” effect.

Why Clear Dividers Work Best

Visibility is key to keeping a small space feeling organized; clear organizers allow you to see inventory at a glance, preventing over-purchasing of duplicate products. Most standard rental vanity drawers range from 12 to 18 inches in depth. You can find expandable bamboo or recycled plastic sets for under $15 that fit snugly without requiring adhesives. Maintaining a categorized drawer system reduces the time spent searching for items by an average of 3 to 5 minutes daily, keeping your vanity surface clear for essential grooming tasks.
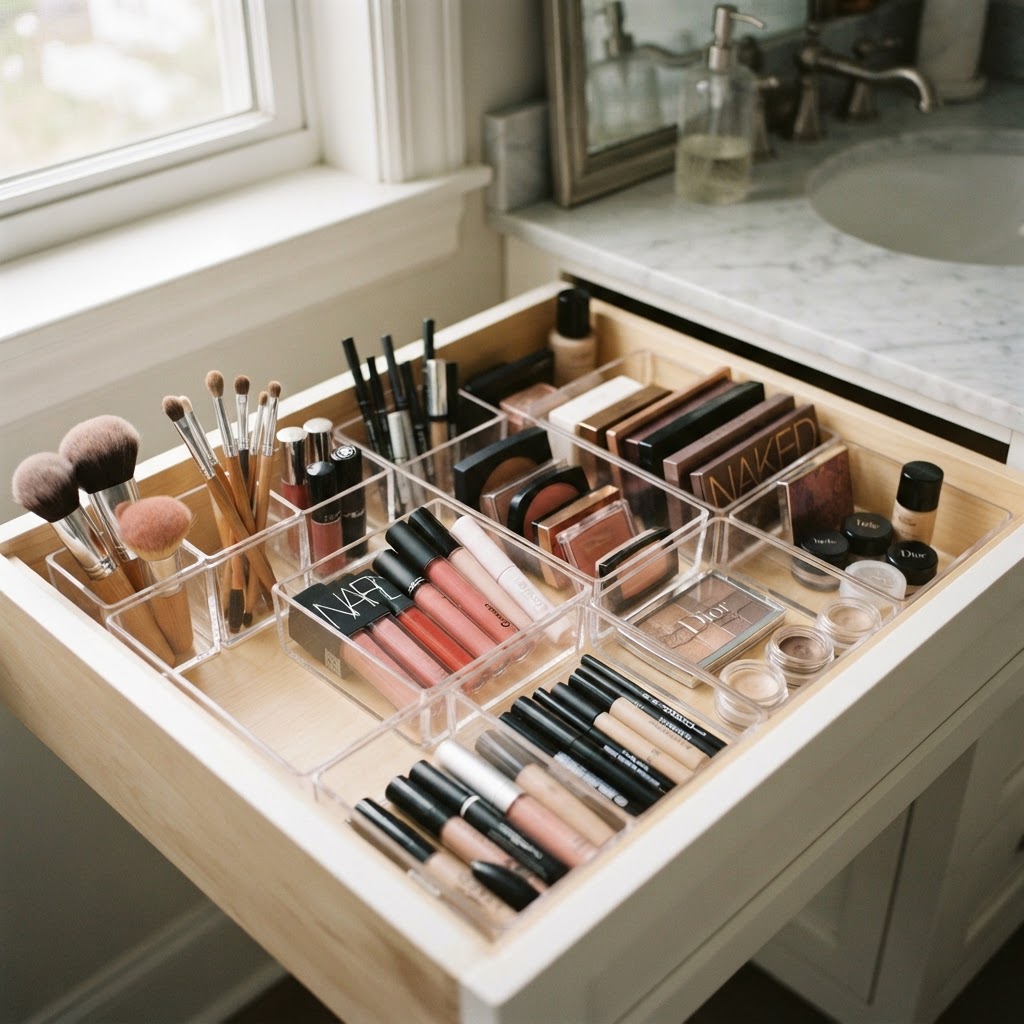
Clear dividers keep small items from turning into a jumbled mess.

Utilizing Tension Rods Under the Sink
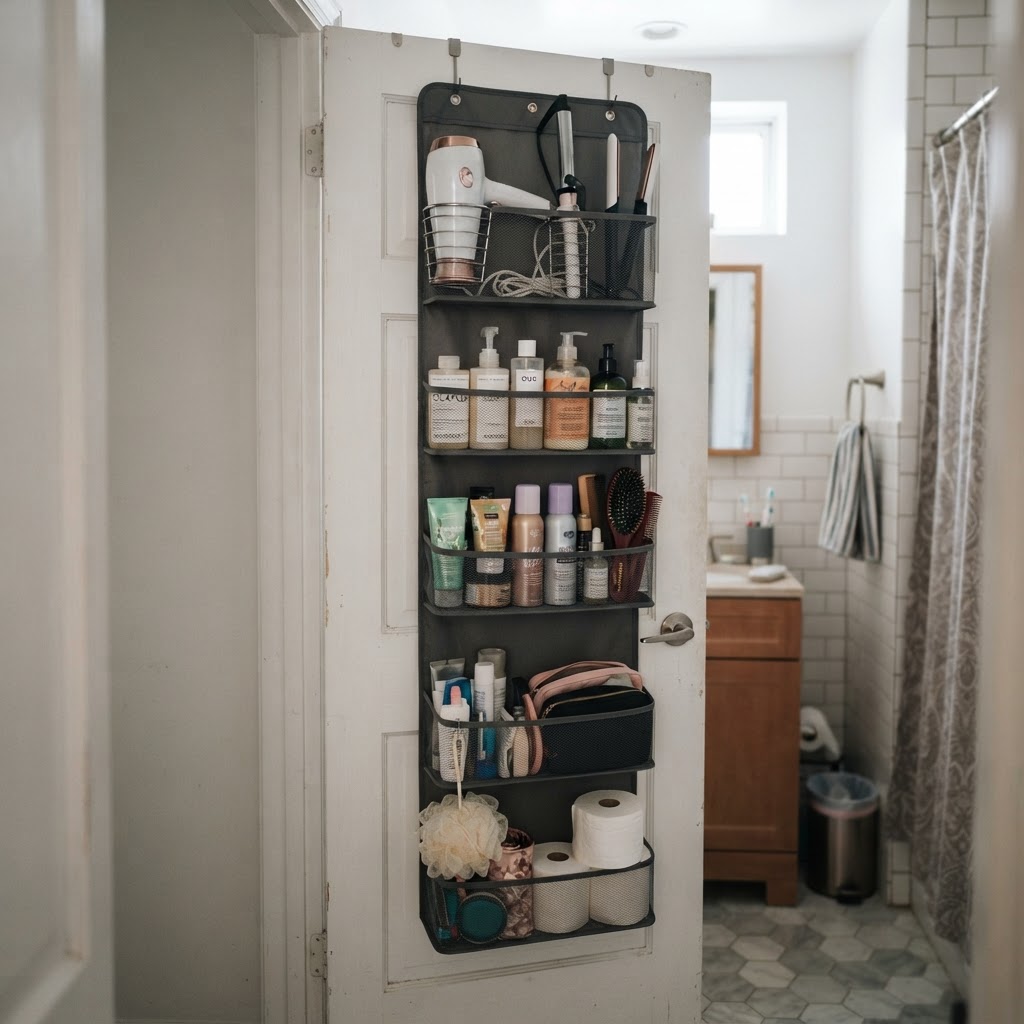
Over-the-door organizers maximize space without any drilling.

Under-sink cabinets often become disorganized “black holes” where cleaning supplies and bulk toiletries go to be forgotten, but a simple tension rod creates an instant second shelf. By installing a heavy-duty tension rod horizontally across the cabinet interior, you can hang spray bottles by their triggers. This vertical suspension method frees up the cabinet floor for taller baskets, increasing your storage density by approximately 30%.

Pair this setup with adhesive command hooks inside the cabinet doors to store scrub brushes and sponges, utilizing every square inch of the enclosure. Because tension rods use friction rather than screws, they are ideal for temporary living situations. A high-quality, non-slip tension rod costs roughly $7 to $12 and can support up to 10 pounds, making it one of the most cost-effective upgrades for a small rental.

The Versatility of Rolling Carts
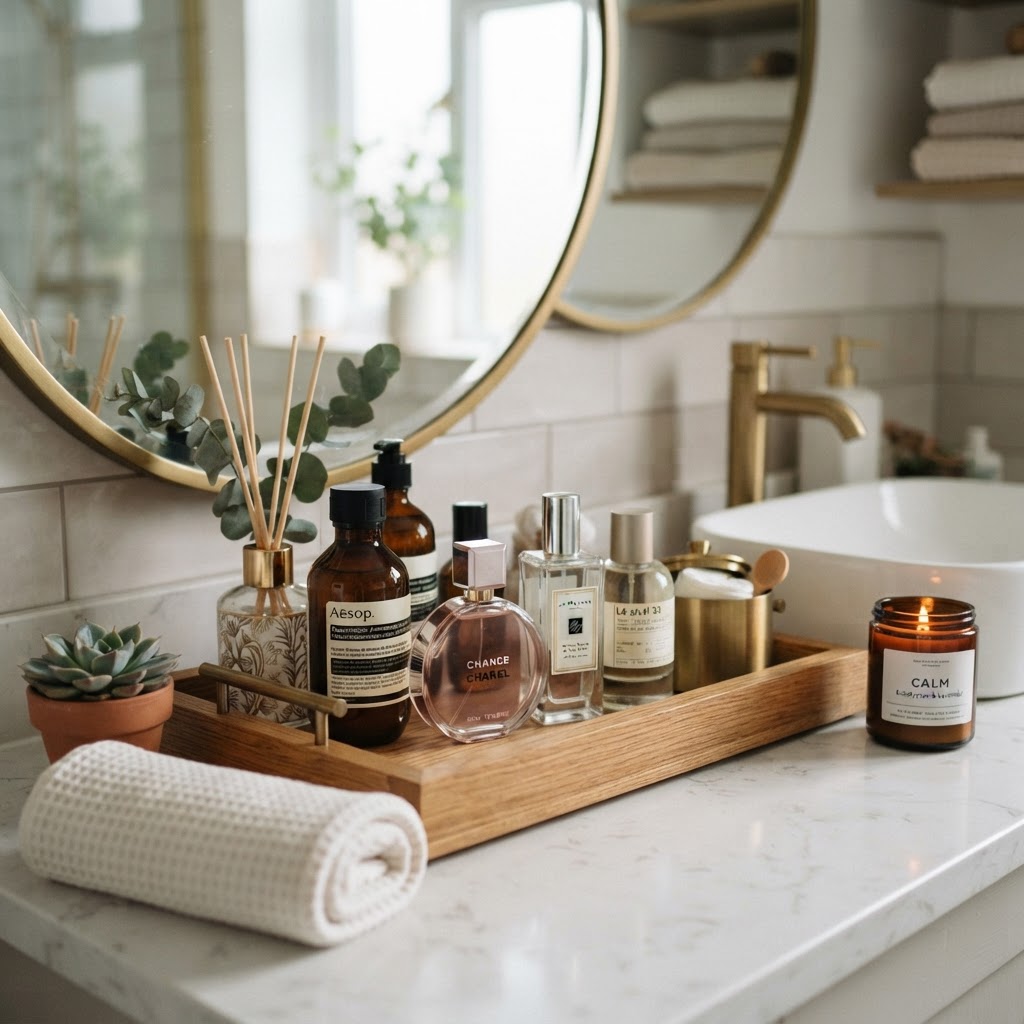
Trays keep your daily essentials looking neat and intentional.

A slim, three-tier rolling cart acts as a mobile storage extension that fits into corners too narrow for standard cabinetry. These freestanding units are the gold standard for renters because they require zero installation and can be wheeled away when you need to access floor space for deep cleaning. They are exceptionally versatile for storing bulky items like extra towels, large toilet paper packs, or rotating beauty collections that don’t fit on the vanity.

When choosing a cart, look for dimensions under 10 inches wide to ensure it fits beside standard pedestal sinks. Many professional organizers suggest using the bottom shelf for heavy bulk goods and the top shelf for daily-use items to maintain stability and ergonomics. These carts are essentially mobile furniture, which means they can be repurposed in other rooms when you move to a new property, providing long-term value beyond just the bathroom.

Vertical Storage with Tension-Mounted Shelving

Floor-to-ceiling tension pole shower caddies are the ultimate solution for adding multiple storage levels to shower enclosures without damaging tile or grout. These units rely on internal spring tension to stay secure, providing ample space for soaps, shampoos, and razors for shared households. Because they are removable and leave zero trace, they are perfectly compliant with even the strictest rental agreements.

Select a model with a stainless steel or rust-proof finish, as the high-moisture environment of a shower can cause cheap plastic or low-grade steel to degrade within 6 months. To maximize utility, assign each household member their own specific shelf tier, which reduces shower clutter and prevents water from pooling around multiple bottles left on the floor. Always ensure the tension caps feature rubberized pads to protect the ceiling finish from scuffing during long-term use.

Hanging Baskets for Hair Tools and Textiles

Adhesive strips paired with wire or wicker baskets allow you to create “floating” storage on previously unusable wall patches. This is a game-changer for renters struggling with cramped towel storage or lack of counter space for bulky hair tools. By using heavy-duty, command-style adhesive strips, you can mount baskets safely on drywall without risking your security deposit on patch-and-paint repairs.

When installing adhesive hardware, it is critical to wipe the wall clean with 70% isopropyl alcohol first to remove oils and dust that inhibit bonding. Always follow the manufacturer’s weight limit, which typically ranges from 3 to 15 pounds for high-end adhesive products. Loading a basket with wet towels requires higher-rated hooks; always check the packaging before mounting to prevent damage to your wall or the baskets themselves.

The Role of Trays and Risers

Decorative trays act as a visual frame for your countertop essentials, instantly making a scattered collection of bottles look like a curated display. If your bathroom vanity feels messy despite having items you use daily, clustering them on a tray creates a boundaries-based organization system. This keeps items like perfumes, lotions, and soap contained, while protecting the vanity surface from potential spills or chemical stains.

Creating a Spa Aesthetic

Incorporating a small riser inside your tray adds vertical interest, which can make a small bathroom appear more sophisticated. Grouping items by function—such as placing serums, moisturizers, and toners together—streamlines your morning routine. A 10-inch round tray usually fits most small vanities comfortably. Beyond organization, using a tray serves as a preventative maintenance measure against water-rings or makeup spills, helping you preserve the original vanity finish for your eventual move-out inspection.

Creating a Routine for Maintenance

Consistency is the secret to maintaining an organized rental space, as even the best systems fail without a weekly audit. Dedicate five minutes every Friday evening to tidying your drawers, clearing off trays, and checking the tension of your storage rods. By making maintenance a habit, you prevent the slow accumulation of clutter that causes small rooms to feel suffocating.

Maintenance Task Frequency Estimated Time
Wipe Down Surfaces Weekly 2 Minutes
Audit Drawer Contents Monthly 5 Minutes
Check Tension Rods Quarterly 1 Minute
Deep Clean Organizers Bi-Annually 15 Minutes

FAQ

Can I really organize a bathroom without drilling holes?

Yes, you can fully organize a rental bathroom using non-permanent solutions like tension-mounted shower caddies, over-the-door racks, and adhesive hooks. These options provide ample storage capacity while remaining 100% compliant with standard rental lease agreements regarding wall and fixture modifications.

What are the best materials for rental bathroom storage?

Choose rust-resistant materials such as powder-coated steel, high-quality acrylic, or moisture-wicking bamboo to ensure longevity. Avoid untreated metals that will corrode in humid bathroom environments, as these will eventually stain your rental surfaces and potentially result in loss of your security deposit.

How much do these rental-friendly hacks typically cost?

Most of these organizational hacks cost between $10 and $40 per unit, making them an affordable way to upgrade your space. You can often find modular organizers, tension rods, and rolling carts at major retailers, often achieving a professional, clutter-free look for under $100 total.

How do I remove adhesive hooks without damaging the paint?

To safely remove command-style adhesive hooks, pull the tab slowly and steadily in the direction indicated on the packaging, keeping it parallel to the wall surface. This stretches the adhesive and releases the bond without tearing the paint or drywall underneath, preserving your rental unit’s finish.

Can I use tension rods on all types of cabinets?

Yes, tension rods work in almost all cabinet types, provided the walls are parallel and the surface has enough friction for the rubberized ends to grip. If your cabinet interior is made of a slick, laminate finish, place a small square of shelf liner behind the rod tip to provide extra grip.
Under-$20 No-Damage Upgrades for High Visual Impact

Transforming your home with under-$20 no-damage upgrades is possible by focusing on high-impact, reversible changes like swapping light bulbs, replacing cabinet hardware, using adhesive wall mounts, and incorporating budget-friendly textiles. These low-cost, commitment-free adjustments instantly refresh your aesthetic without risking your security deposit or requiring permanent renovations.

Rethink Your Lighting with Affordable Solutions

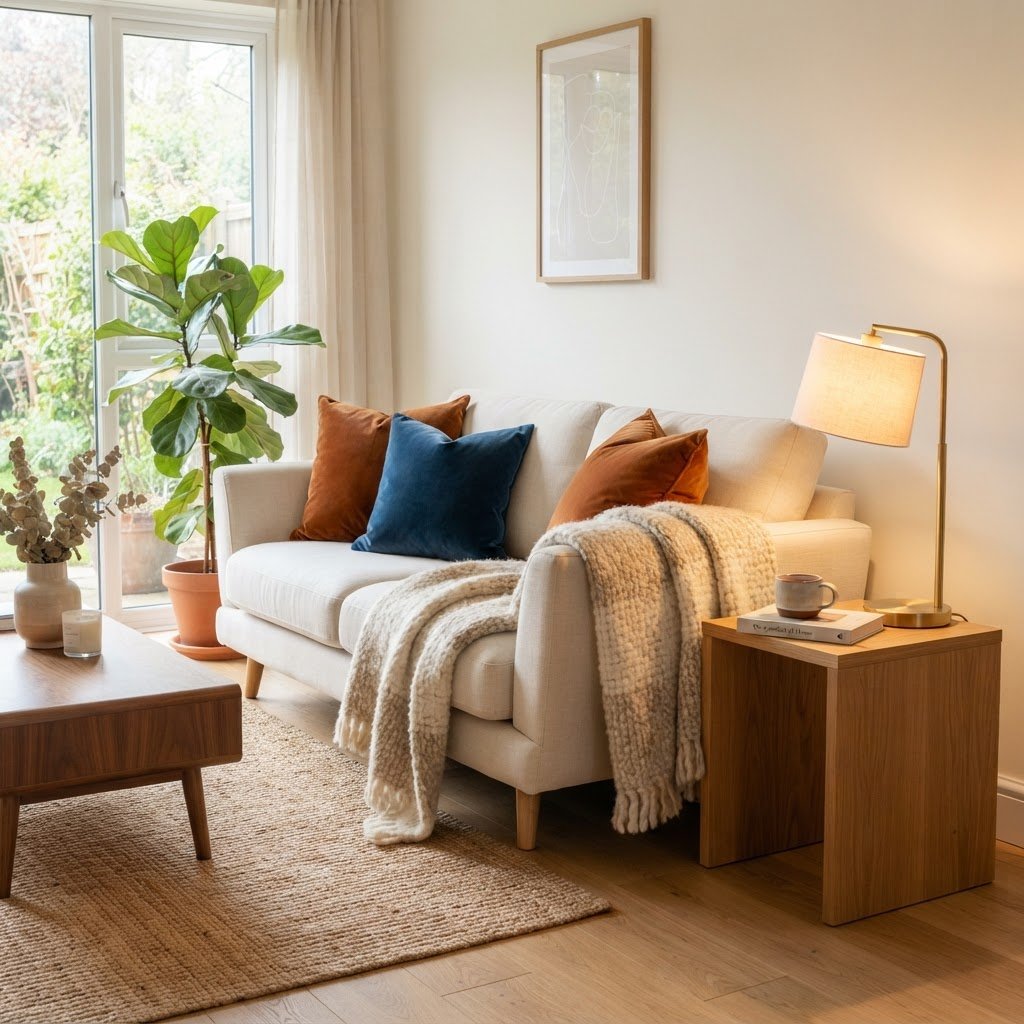
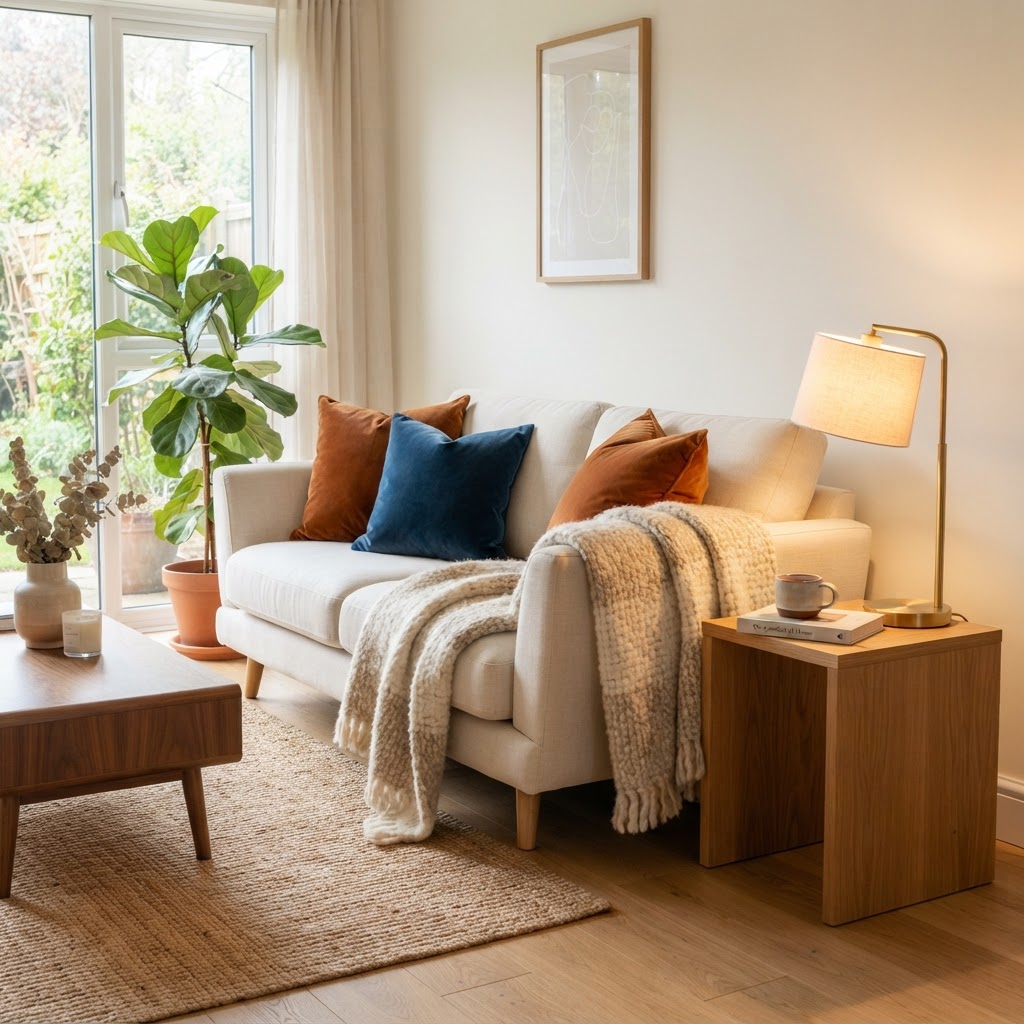
Warm, layered textures create a cozy and inviting living space.

Lighting serves as the most effective tool to manipulate the mood and perceived value of a space, typically yielding the highest ROI for a minor investment. By switching standard “builder-grade” 5000K cool white bulbs for 2700K-3000K “warm white” LED bulbs, which cost roughly $10-$15 for a multi-pack, you immediately shift the room from clinical to inviting. Beyond bulb temperatures, incorporating smart light strips behind furniture provides an architectural, custom-lit aesthetic. These adhesive strips, often retailing for under $20, offer app-based dimming and color customization that make a standard room feel like a professional interior design project.

Lighting Upgrade Estimated Cost Impact Level
Warm LED Bulbs $10-$15 High (Atmosphere)
Smart LED Strips $15-$20 High (Accent)
Plug-in Sconce $18-$20 Medium (Function)

The Power of Table Lamps and Task Lighting

Beyond bulb swaps, adding dedicated task lighting prevents the common mistake of relying solely on harsh overhead fixtures. You can often source vintage lamp bases at thrift stores for under $12, paired with a modern $8 drum shade to create a custom focal point. By creating “pools” of light in specific zones—such as a reading corner or console table—you define the function of a space, making it feel more intentional, intimate, and physically larger.

Swap Hardware for Instant Modernity

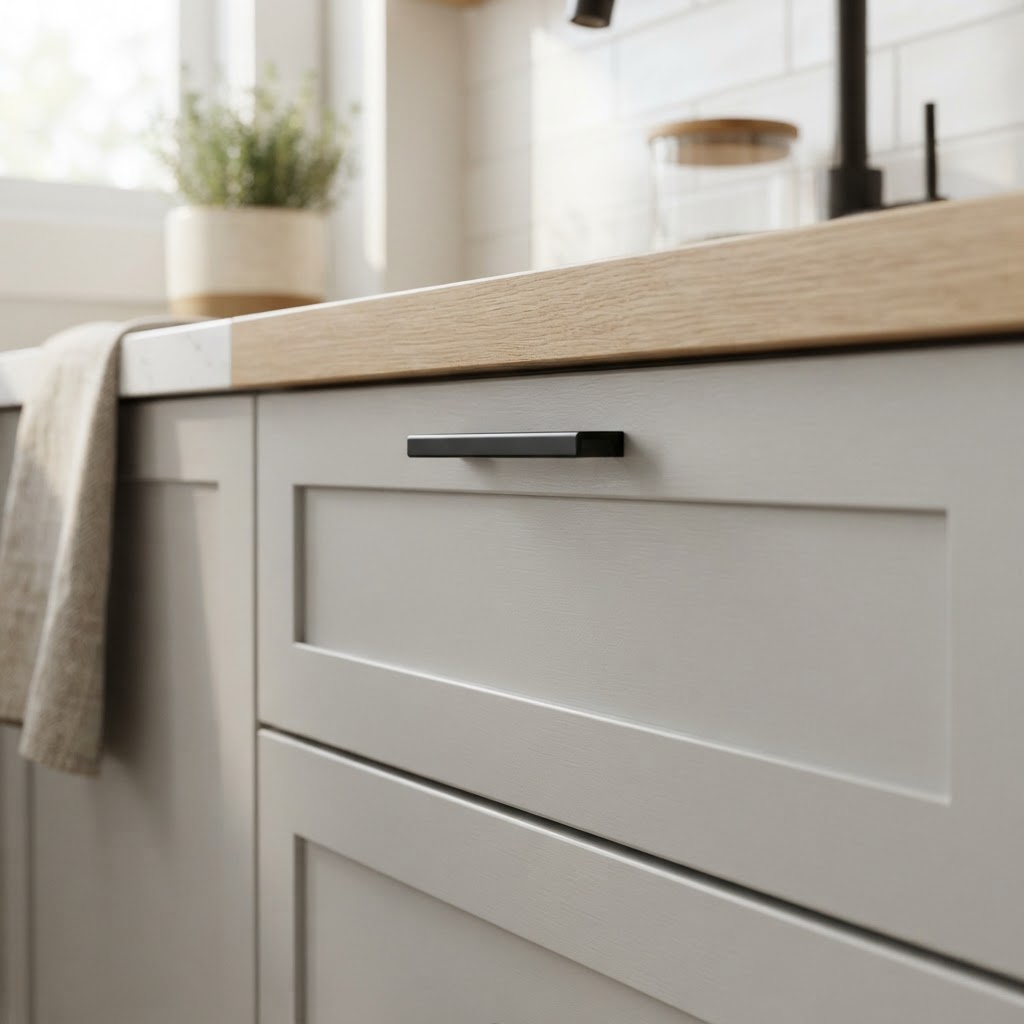
Updating hardware is a simple way to modernize your kitchen.

Cabinet pulls and drawer knobs function as the “jewelry” of a home, and swapping them is the quickest way to modernize dated cabinetry without the $5,000+ cost of a full kitchen remodel. You can acquire a 10-pack of modern matte black, brushed nickel, or champagne bronze hardware on marketplaces for $15-$20. When installing these, always retain the original hardware in a labeled, Ziploc storage bag taped inside the cabinet so you can revert the changes during move-out. This update adds physical weight and a premium tactile feel to standard builder-grade drawers, immediately elevating the perceived market value of the entire cabinetry unit.

Elevate Your Walls with Temporary Art and Decals

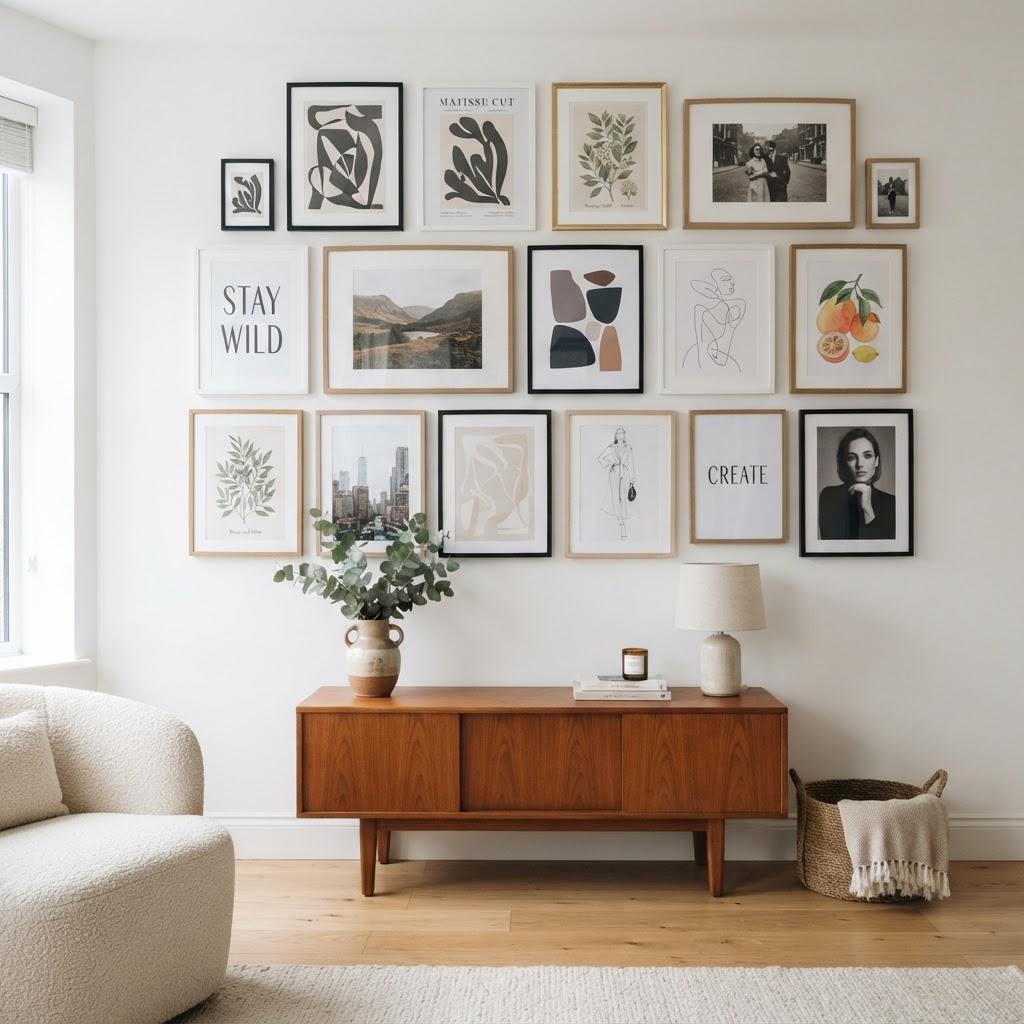
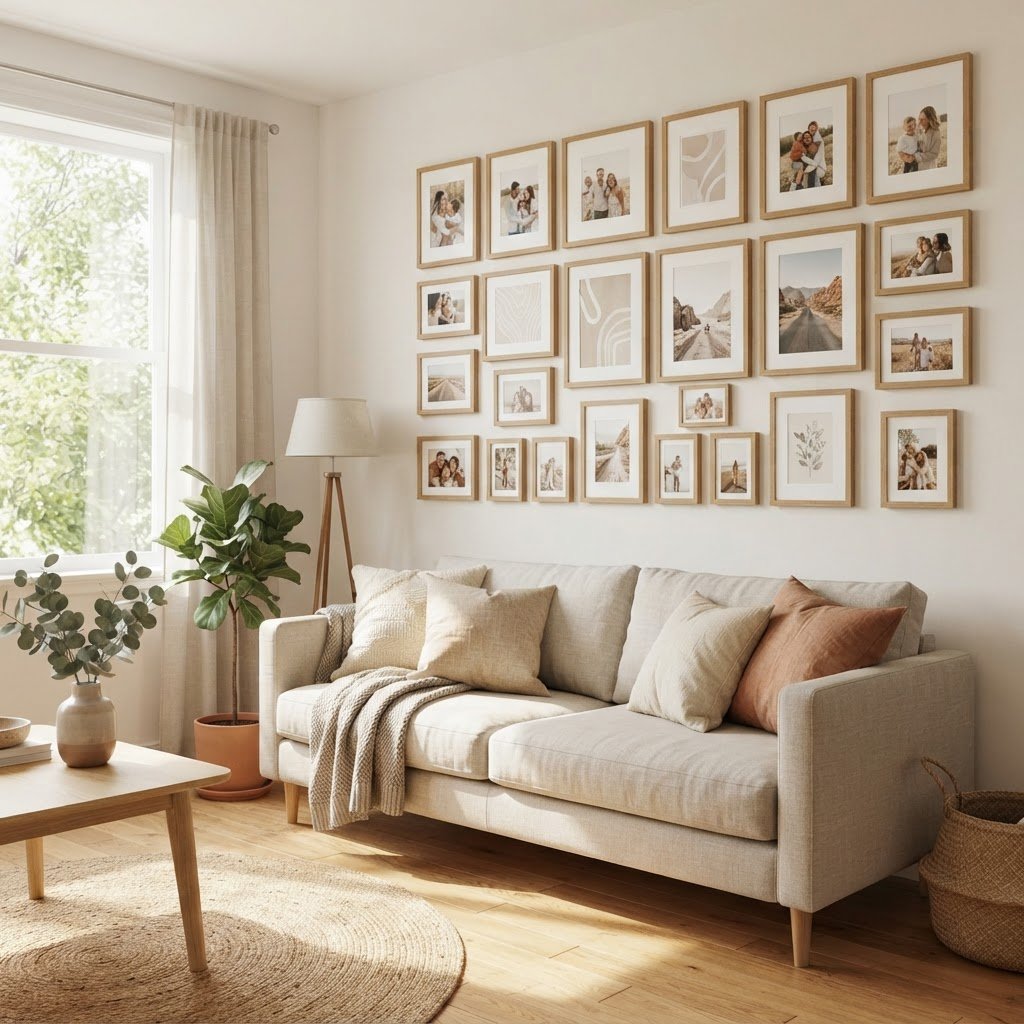
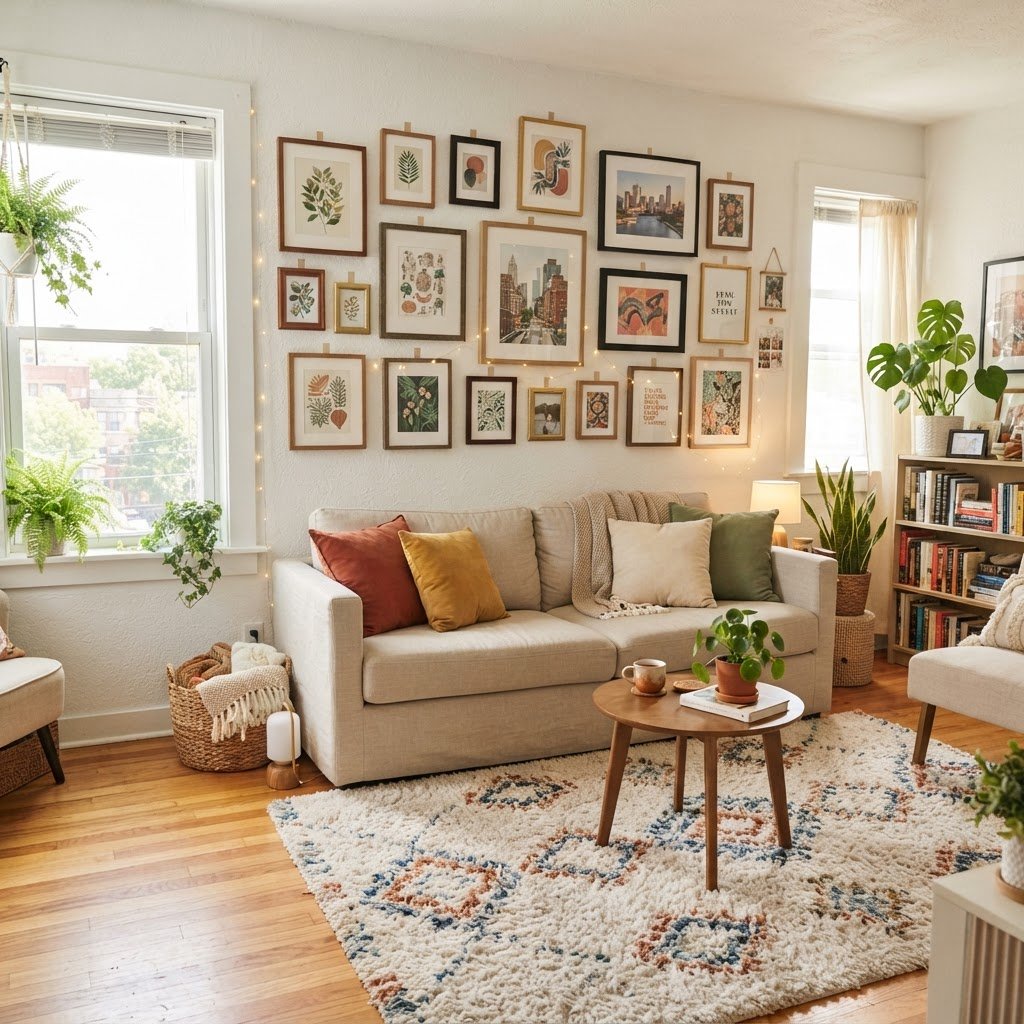
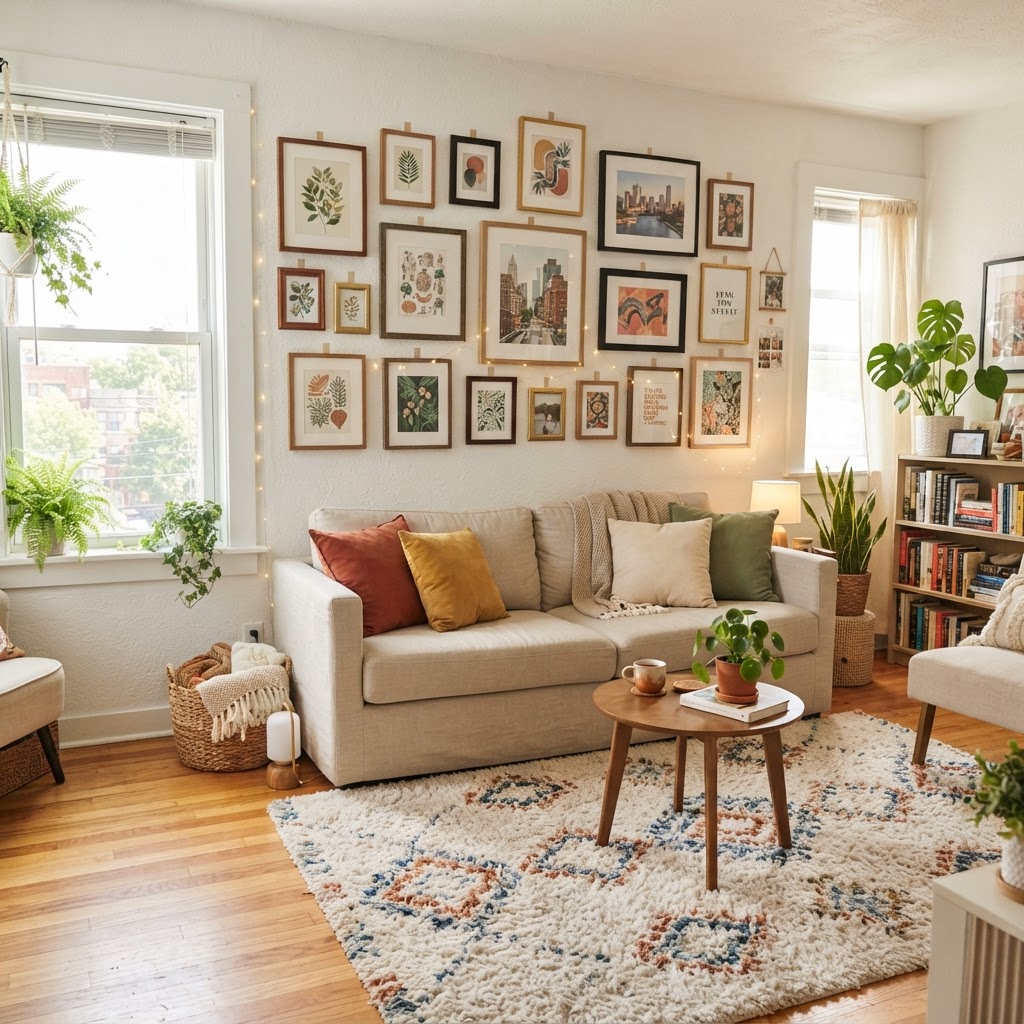
Gallery walls add personality to your home without the need for nails.

Empty walls often make a space feel transient, but you can create a permanent-looking gallery wall using removable adhesive strips and hooks. For under $20, a value pack of mounting strips can support up to 16 pounds, allowing for the display of heavy frames without drilling a single hole. Additionally, peel-and-stick wall decals—which are essentially high-quality, matte-finish stickers—allow for graphic patterns or “wallpaper” looks that peel away cleanly when your lease ends. Mixing frame sizes and using consistent matting colors creates a curated, high-end gallery effect that draws the eye and anchors your furniture arrangements.

Update Textiles for an Immediate Texture Shift

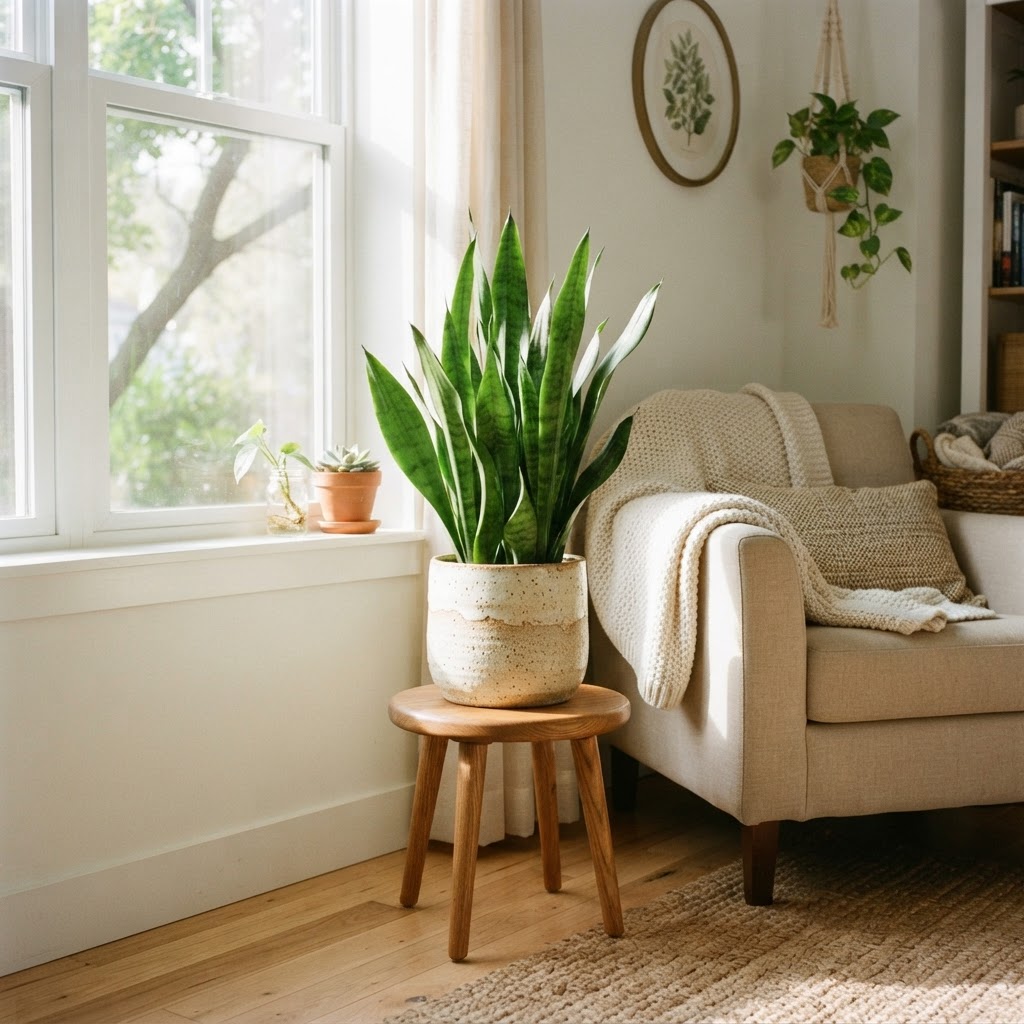
Adding greenery is an affordable way to bring life into any room.

Texture is the professional interior designer’s secret to making a room feel “finished” and expensive. You can achieve this by purchasing high-quality pillow covers in materials like heavy linen, velvet, or chunky knit wool for roughly $12-$15 per set, rather than replacing the entire pillow insert. A lightweight throw blanket draped across a sofa introduces a secondary color palette and hides worn upholstery, creating a welcoming balance. By layering these textiles against contrasting materials—such as a soft wool blanket on a smooth leather chair—you create visual depth and a sensory experience that feels luxurious and deeply intentional.

Organize Your Space with Stylish Storage

Visual clutter acts as a barrier to high-impact design, but effective organization can be achieved with consistent, budget-friendly storage solutions. Investing $15-$20 in a set of matching woven baskets or fabric bins allows you to unify disparate items like magazines, blankets, or cords into a single visual block. By grouping “loose” clutter into containers that match the room’s color scheme, you eliminate visual noise, which inherently makes a home feel more professional and minimalist. The goal is to ensure the storage container is either a decorative accent or completely hidden, preventing the “utility-first” look that undermines professional design goals.

Introduce Life with Low-Maintenance Greenery

Plants serve as the ultimate “organic accessory,” providing natural color and life to corners that would otherwise remain sterile. You can typically purchase resilient plants like Snake Plants (Sansevieria) or Pothos for $8-$10 at local big-box retailers. To elevate the aesthetic, pair these with a $5-$10 ceramic pot or a seagrass basket. Even if you lack natural light, high-quality faux greenery—which is now manufactured with “real touch” silicone technology—is an excellent, one-time investment that requires zero maintenance or watering, providing permanent greenery that retains its vibrant, fresh look for years.

Create Focal Points with Mirrors and Reflective Decor

Mirrors are a strategic tool for light manipulation, and they are essential for making small rooms appear larger and more expensive. By placing a $15-$20 thrifted or clearance-section mirror directly opposite a window, you effectively double the incoming natural light and create the illusion of an extra “window” in the room. Utilizing heavy-duty adhesive strips to mount these mirrors ensures there is no damage to the drywall. In entryways or narrow hallways, this technique provides a high-end architectural feel, drawing the eye toward the reflection and expanding the sightlines of a cramped or dark interior space.

FAQ

Can I really upgrade a home for under $20 without damaging walls?

Yes, you can utilize removable adhesive strips, peel-and-stick wall decor, and hardware swaps that leave zero trace. These methods allow you to add personality and function to your space while ensuring you get your full security deposit back when you move out.

How does lighting impact the perceived value of a room?

Warm white LED bulbs mimic high-end incandescent lighting, which makes spaces feel more intimate and expensive. Swapping cool-toned, “builder-grade” bulbs for soft 2700K-3000K LEDs for under $15 is the most cost-effective way to improve the overall ambiance of any room.

Where is the best place to find cheap, stylish home decor?

Thrift stores, discount home retailers, and online secondary marketplaces are your best sources for luxury-look items at bargain prices. You can frequently find vintage lamp bases, unique hardware, and decor pieces for less than $15, which adds character that mass-produced items often lack.

How can I make my apartment feel more professional on a budget?

Focus on consistency by using matching storage baskets, unified hardware, and a cohesive color palette for your textiles. Removing visual clutter and adding a touch of natural greenery are the primary ways to transition a space from “messy” to “professionally designed.”

Ikea Trones Shoe Cabinet Hacks for Tiny Hallways

Ikea Trones Shoe Cabinet Hacks for Tiny Hallways

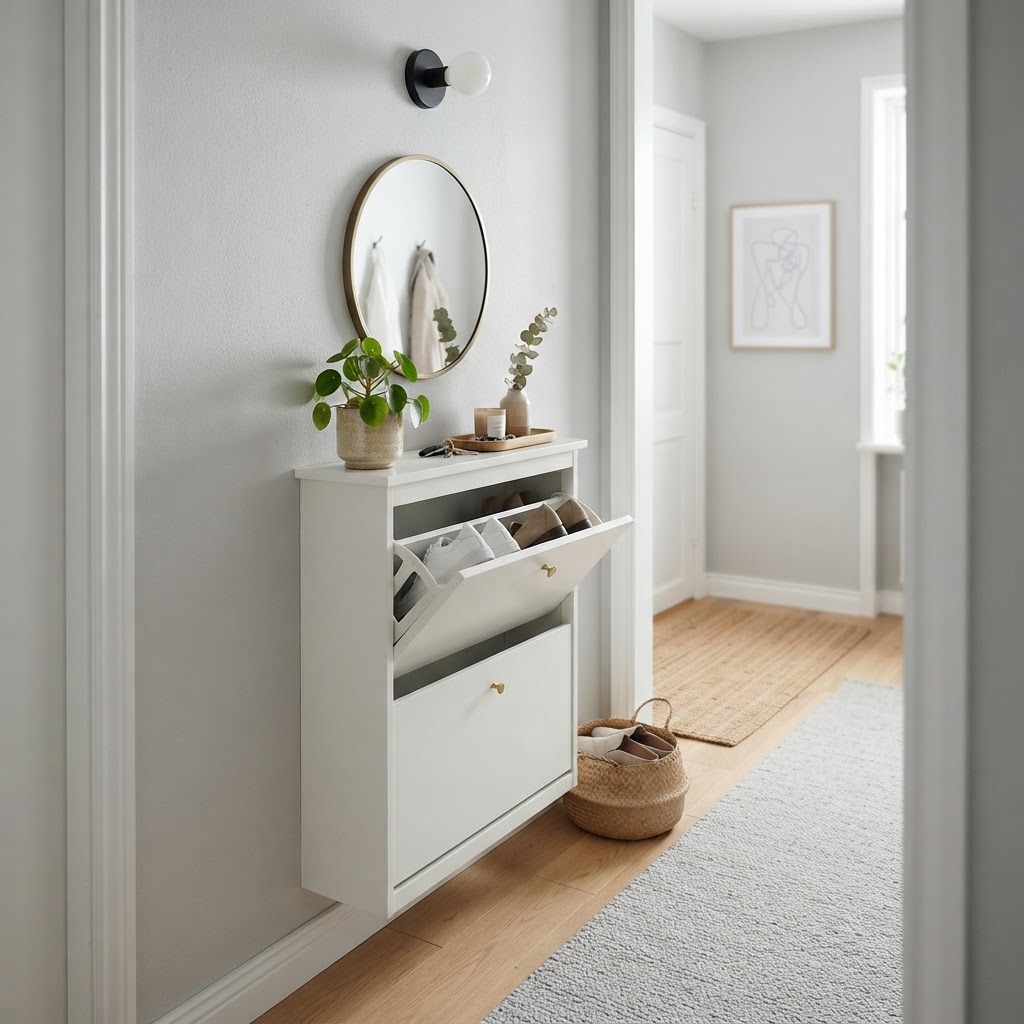
Ikea Trones cabinets solve tiny hallway storage by utilizing a slim 7-inch profile to store footwear vertically without crowding the floor. These modular units can be stacked, painted, or customized with hardware to create high-end, space-saving entryway furniture that fits into “dead space” where traditional cabinets cannot.

Why The Ikea Trones Is The Ultimate Small-Space Hero

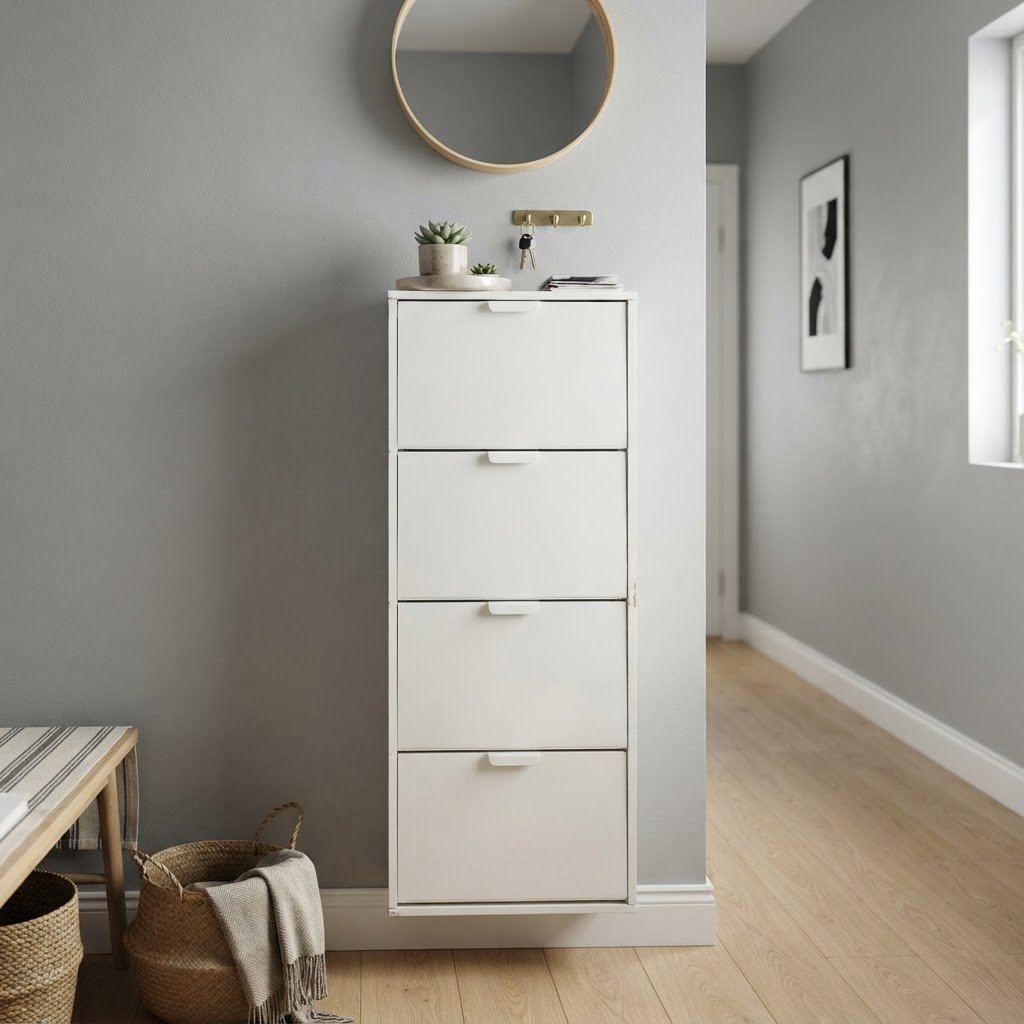
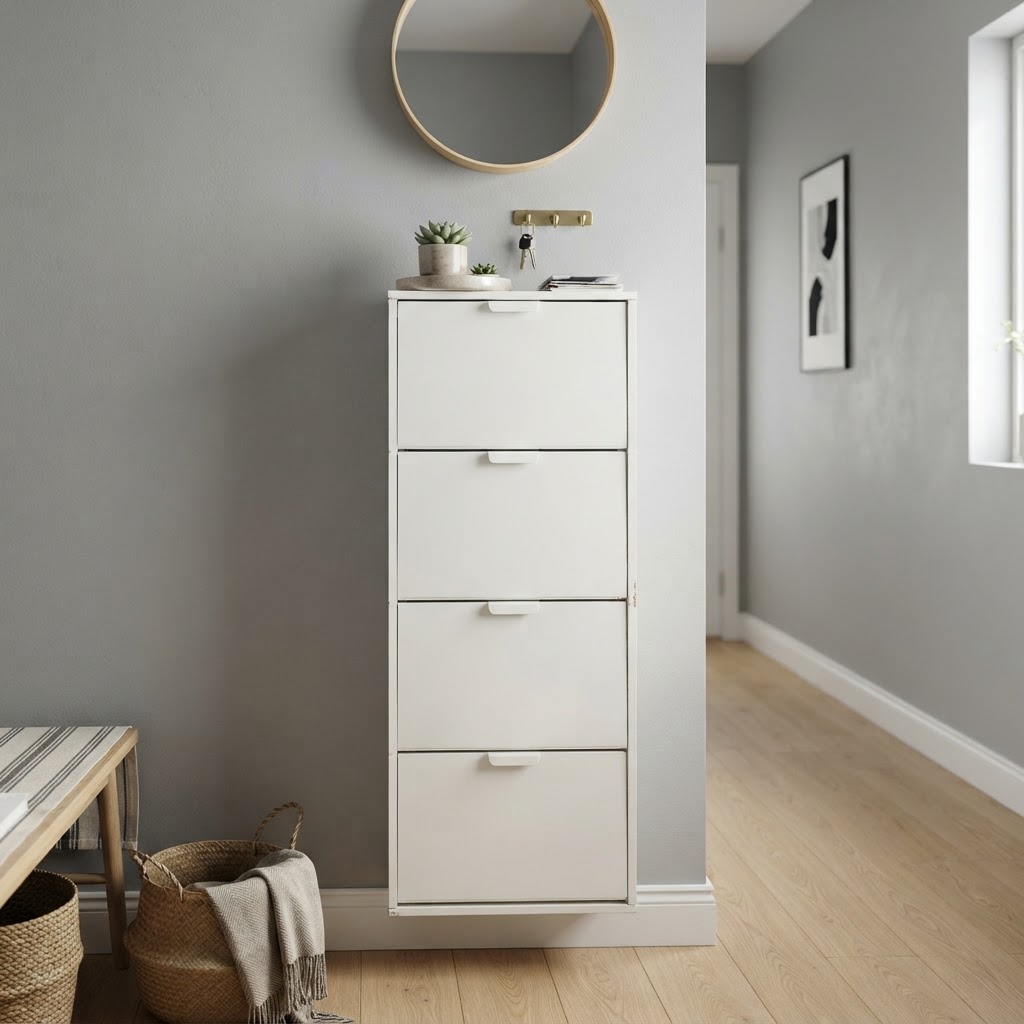
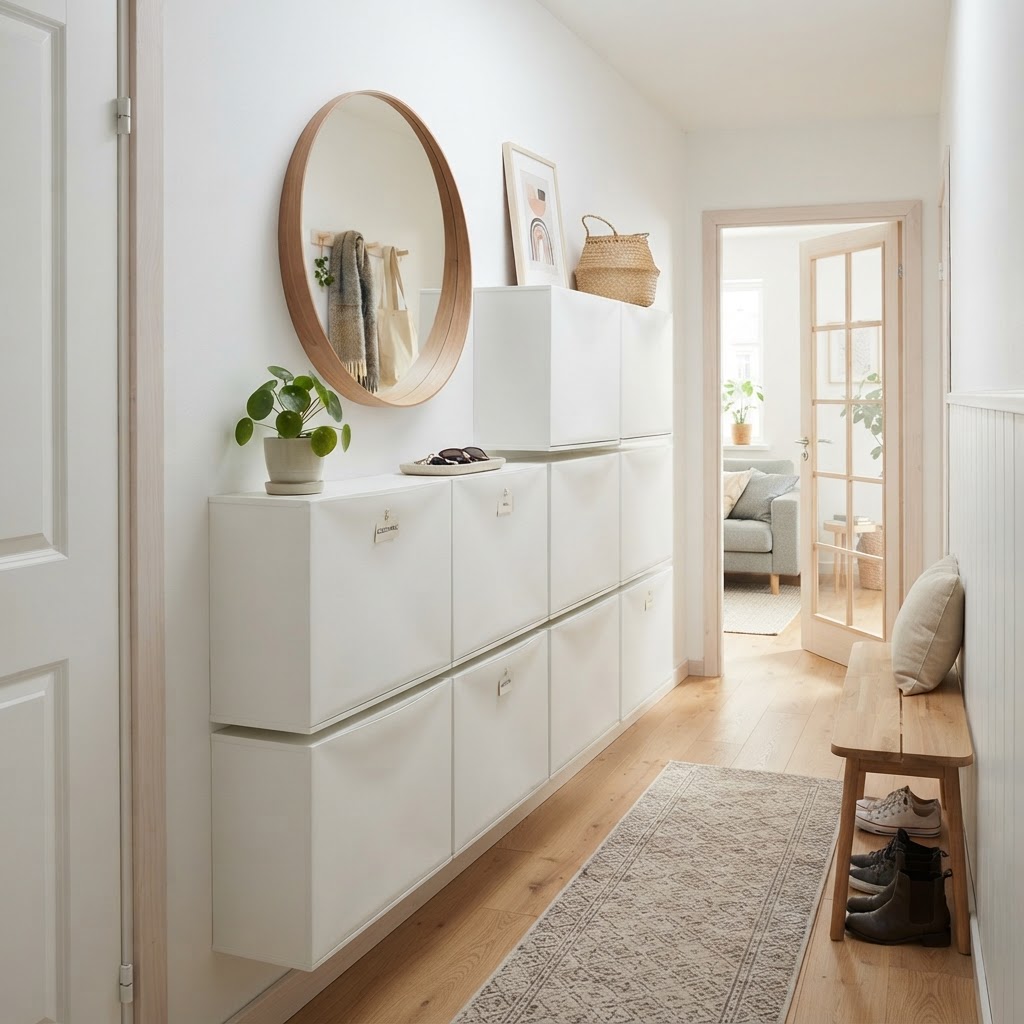
Vertical stacking maximizes wall space in narrow hallways.

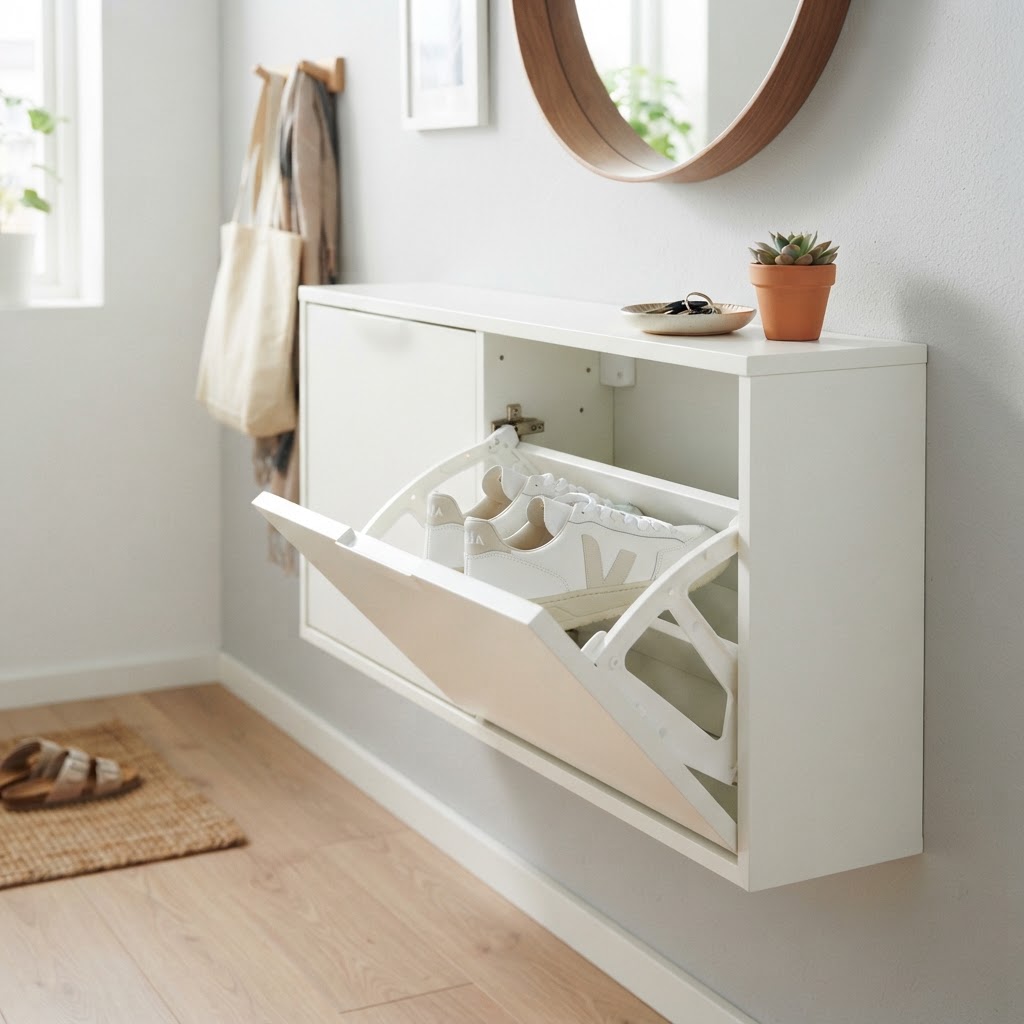
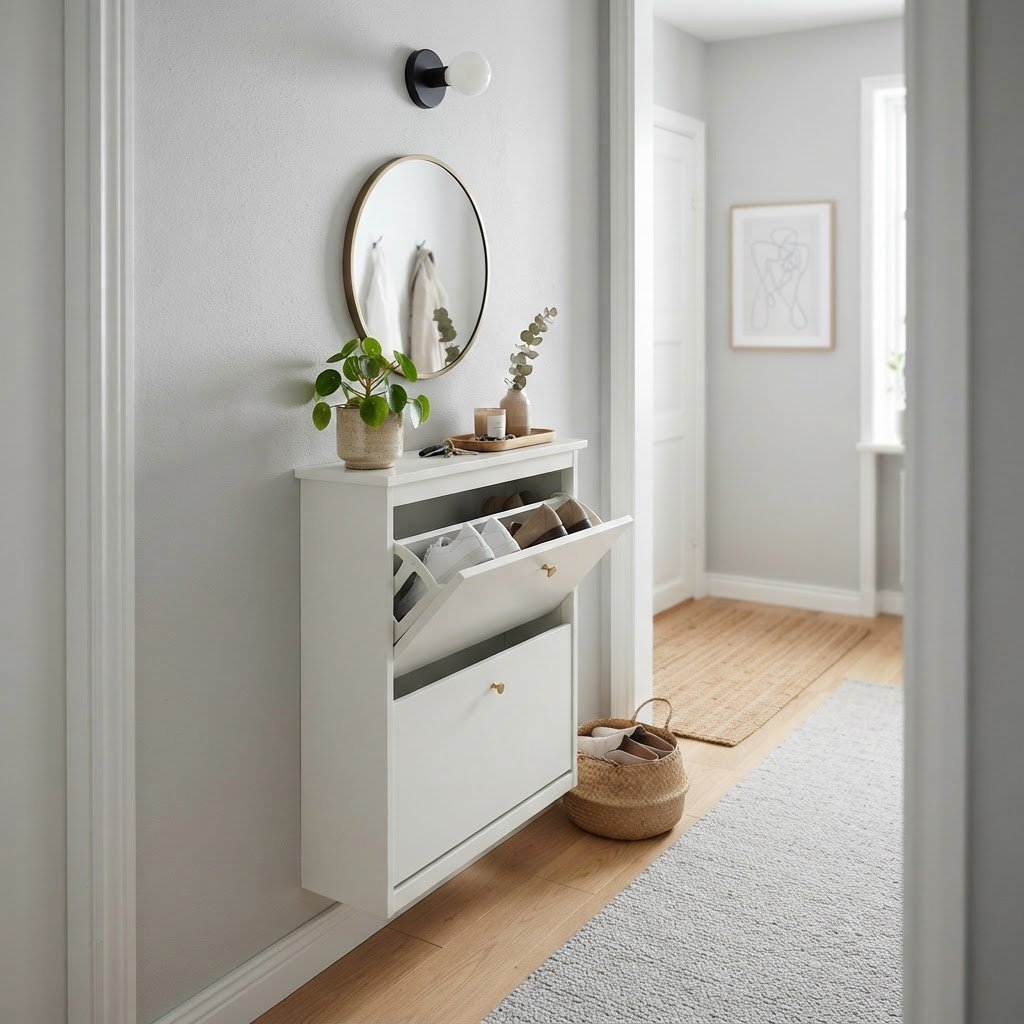
The magic of the Trones unit lies in its compact engineering, measuring exactly 7 inches deep and 20.5 inches wide, which allows it to fit into tight corridors that traditional 15-inch deep furniture cannot accommodate. Because these units are designed for wall-mounting, they keep your floor visible, which is a fundamental interior design principle for creating an illusion of openness in cramped apartments. Beyond their footprint, Trones are constructed from lightweight polypropylene, making them safe for various wall types while offering enough structural integrity to hold up to 20 pounds of gear per bin. Because they are modular, you can start with a single unit and expand into a floor-to-ceiling system as your needs evolve, providing a scalable solution that grows with your living space.

Feature Ikea Trones Standard Shoe Cabinet
Depth 7 inches 12-16 inches
Weight Lightweight (Plastic) Heavy (Particle board)
Mounting Wall-mounted Freestanding
Price (Approx) $39.99 (per 2-pack) $150+

Benefits of Vertical Storage

When floor space is at a premium, looking upward is the smartest move you can make. By stacking multiple Trones units vertically, you can create a floor-to-ceiling storage wall that acts as both a shoe repository and an entryway console. This verticality draws the eye up, making your narrow hallway feel taller and more purposeful. To ensure stability for high-stacked units, always use the provided wall anchors and consider a secondary support rail if stacking more than three units high to prevent bowing over time.

Customizing Your Trones For A High-End Look

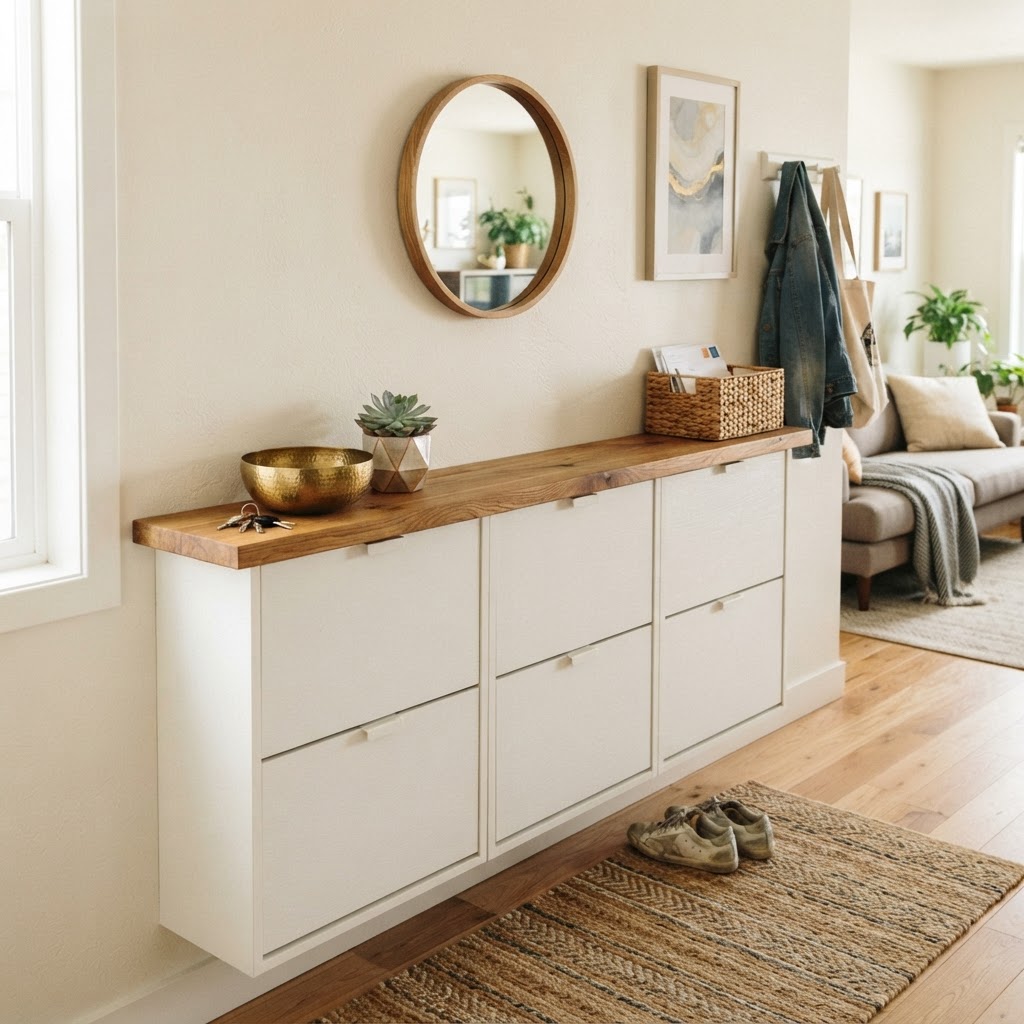
Adding a wood top creates a custom console look.

The raw, plastic look of the standard Trones unit can feel a bit clinical, but a simple 30-minute aesthetic upgrade can transform them into custom-looking millwork. Start by cleaning the surface with isopropyl alcohol to remove factory oils, then apply a plastic-bonding primer such as Rust-Oleum Painter’s Touch. Follow this with a matte metallic or bold color finish to bridge the gap between utility and luxury. Adding a custom wood top—either reclaimed oak or a marble-effect laminate—can turn a series of plastic bins into a high-end console that mimics expensive built-ins costing hundreds more. By unifying the units with a single surface material, you mask the gaps between individual bins, resulting in a cleaner, more expensive visual line.

Adding Hardware and Accents

One of the most popular Ikea Trones shoe cabinet hacks involves adding decorative hardware to replace or augment the integrated handle. By attaching brass, brushed nickel, or leather pulls to the front panels, you can create a sophisticated facade that hides the fact that these are budget-friendly storage bins. Ensure you use machine screws with washers on the interior to prevent the plastic from cracking under the stress of daily pulling. You can also add a floating wooden top piece to act as a shelf for keys, mail, or a small decorative vase, further blending the storage into your home decor while providing a functional landing spot for daily essentials.

Creating A Seamless Entryway Console

The 7-inch depth is perfect for hidden shoe storage.

If you have a slightly wider section of the wall, mounting three or four Trones units side-by-side creates a long, continuous console table effect that serves as a high-traffic “drop zone.” To achieve a seamless look, secure the units tightly together so the edges touch, then mount a single, custom-cut slab of wood, marble, or corkboard across the top of the entire row. This configuration provides a stable surface for decor while keeping bulky items like shoes hidden completely out of sight. A pro tip for this setup: use a template to ensure the units are perfectly level, as any minor skewing becomes glaringly obvious when you add a horizontal top shelf across the series.

Utilizing The Trones For Non-Shoe Storage

Creative layouts can turn storage into an art feature.

While the Trones was designed as a shoe cabinet, its versatile 7-inch depth makes it an ideal organizer for non-shoe items that typically clutter an entryway. Use these cabinets to house dog leashes, umbrellas, reusable shopping bags, and seasonal winter accessories like gloves and scarves. To maximize efficiency, label the inside of each lid with a label maker; this ensures that every household member knows exactly where their items are stored, preventing the “junk drawer” effect. Because the bins are easily removable, you can lift them off the wall-mounted rails to carry them to the laundry room, making the Trones a dynamic organizational system rather than just a static piece of furniture.

Strategic Placement For Maximum Flow

Placement is critical in tight entryways to ensure your home remains functional and safe for traffic. Avoid placing cabinets in spots that block doors or impede the standard “door swing” radius. Instead, look for “dead space,” such as the narrow wall segment next to a closet, the corner behind a swinging door, or the space directly under a light switch. By prioritizing these often-overlooked areas, you keep the primary walkway clear. If your wall segment is particularly narrow, a single vertical column of three Trones units only takes up 20.5 inches of width, providing enough storage for roughly 6 to 9 pairs of shoes without obstructing your path.

Maintaining And Organizing Your Trones System

Even the best storage solutions fail if you do not maintain them, and the slim profile of the Trones necessitates regular auditing of your stored items. Only keep the shoes you wear at least once a week in the cabinet to prevent overcrowding, which can damage the delicate plastic hinges. Store seasonal items in a closet or under-bed storage to prevent the cabinets from becoming overstuffed, which makes them difficult to open and close. Wipe the bins down with a damp cloth every few weeks, as the enclosed nature of the bins can trap moisture if you store wet shoes. If you live in a snowy climate, place a small plastic tray or absorbent mat at the bottom of the bin to protect the cabinet’s integrity.

Advanced DIY Hacks And Installations

For those who are handy with power tools, the possibilities for customization go far beyond basic painting. You can frame the units in birch plywood or MDF to give them a high-end, built-in appearance that looks like a custom closet system. If your baseboards interfere with a flush mount, carefully scribe and cut the plastic back of the unit to fit over the baseboard profile. Some advanced DIYers incorporate LED strip lighting with a motion-activated sensor beneath the units, which provides a soft, welcoming glow that guides visitors through the hallway at night without the need for bright overhead lighting.

Essential Tools You Will Need

To ensure a professional-looking installation, gather these specific tools before you begin your project:

  • Power drill and level: Essential for perfectly aligned wall mounting.
  • Painters tape (FrogTape): Necessary for clean, professional edges if you are spray painting the units.
  • Plastic-compatible spray paint: Use a product labeled for plastic or a dedicated plastic primer.
  • Stud finder: Crucial for identifying solid mounting points, as the weight of multiple pairs of shoes adds up quickly.
  • Sturdy wall anchors: Use toggle bolts for hollow drywall or masonry bits/anchors for concrete walls.

FAQ

How much weight can a single Ikea Trones unit hold?

Each individual Trones cabinet is designed to hold approximately 20 pounds, though this weight should be distributed evenly. For safety, always mount the units into studs or use heavy-duty wall anchors, especially if you are stacking multiple units vertically.

Can you put wet shoes in an Ikea Trones cabinet?

It is not recommended to store wet shoes in Trones cabinets because the enclosed plastic design lacks ventilation, which can lead to mold and odors. Always dry your shoes on an open rack or mat before placing them inside the bins.

How do I stop the Trones cabinet from smelling?

To prevent odors, place small charcoal bags or dryer sheets inside each bin to absorb moisture and smells. Additionally, clean the bins regularly with a mild soap solution and ensure shoes are completely dry before storing them.

Can you paint the Ikea Trones cabinet?

Yes, you can paint Trones cabinets, but you must use a high-quality plastic-bonding primer first to ensure the paint adheres. Without a primer, the paint will likely peel or chip off the slick polypropylene surface within a few weeks of use.

How deep is the Ikea Trones unit?

The Ikea Trones unit is exactly 7 inches deep. This narrow depth makes it an ideal storage solution for hallways and entryways where space is limited and traditional furniture would block traffic flow or obstruct doors.

How to Create a Cozy Gallery Wall Without a Single Nail

How to Create a Cozy Gallery Wall Without a Single Nail

You can create a stunning gallery wall without a single nail by using high-strength adhesive strips, picture ledges, or leaning decor to preserve your drywall. By selecting lightweight frames and prepping surfaces with rubbing alcohol, you can achieve a professional-grade, damage-free display that secures your full security deposit.

The Philosophy of Renter-Friendly Decor

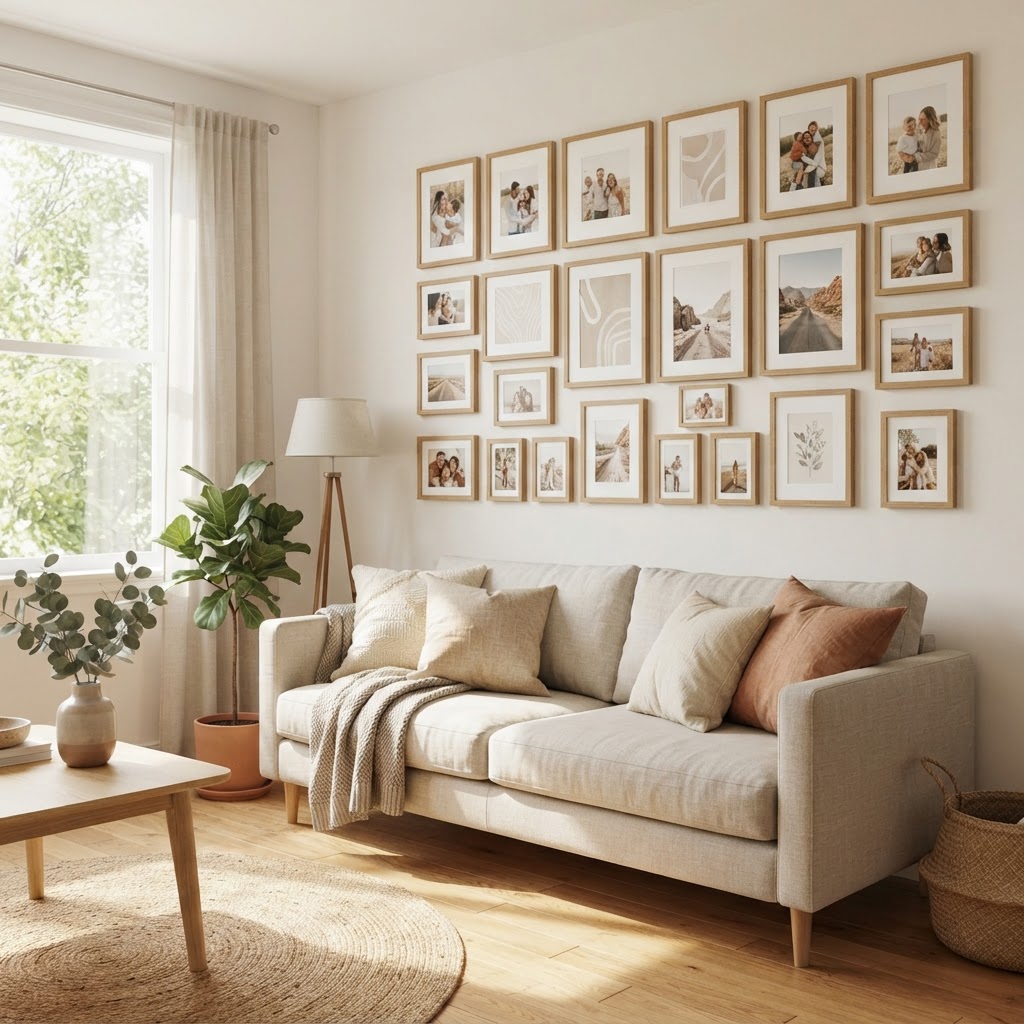
A beautifully curated gallery wall achieved without a single nail.

Personalizing a rental space allows you to transform sterile environments into a curated home without violating lease terms or causing permanent wall damage. Renter-friendly decor centers on the concept of ‘temporary permanence,’ where the aesthetic impact is maximized while the physical footprint is reduced to zero. This design philosophy empowers residents to treat their living quarters as a fluid canvas that evolves with changing seasons or personal tastes. By bypassing traditional hardware like nails, screws, and wall anchors, you avoid the tedious labor of spackling, sanding, and matching paint colors during move-out inspections. A successful gallery wall acts as the architectural heartbeat of a room, providing warmth, depth, and character to otherwise bland surfaces. Research indicates that personalized living spaces contribute significantly to psychological well-being, yet nearly 70% of renters report feeling restricted by ‘no-nail’ policies. Embracing this flexible approach allows you to experiment with high-impact layouts—such as floor-to-ceiling salon hangs or minimal grid displays—without the anxiety of losing your security deposit or facing landlord penalties.

Why Adhesive Technology Changes Everything

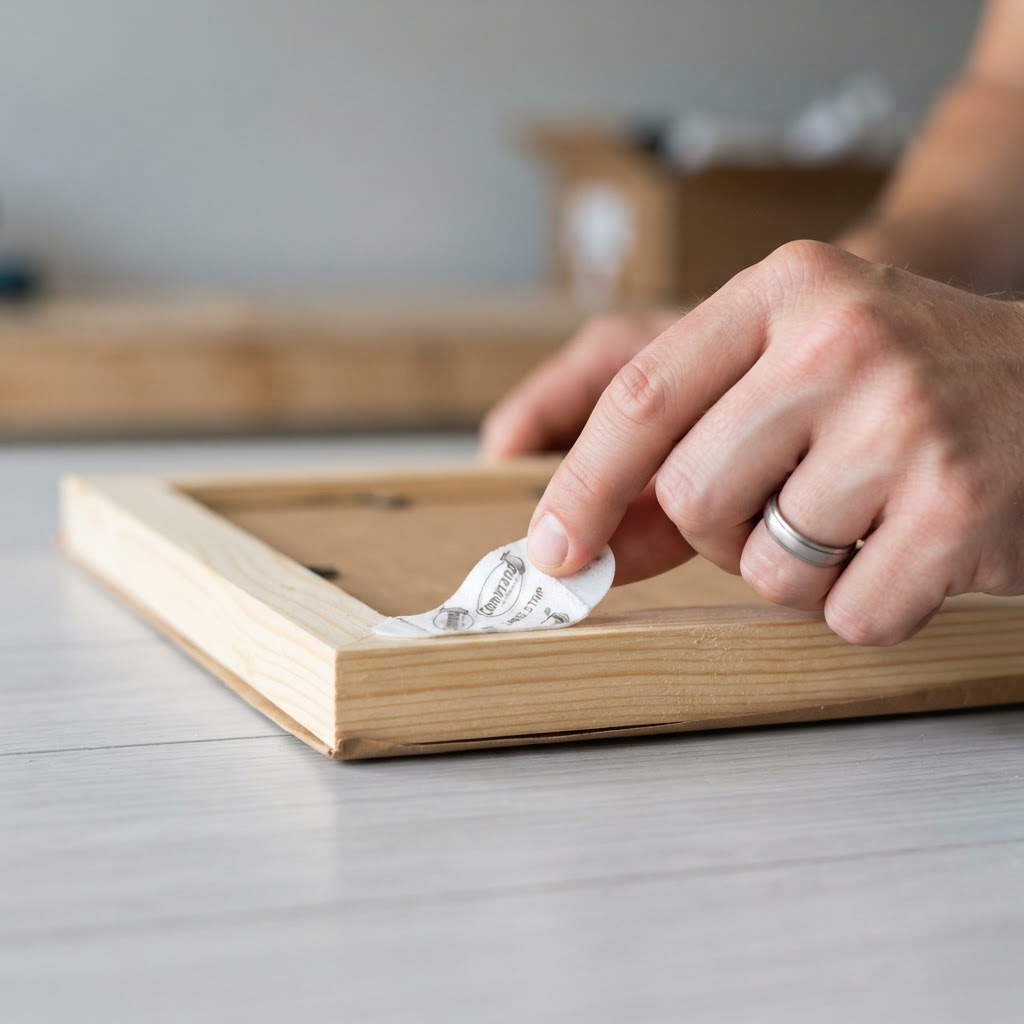
Modern adhesive technology utilizes advanced polymers that provide high shear strength while maintaining a clean release profile. The primary secret to success lies in proper surface preparation: the wall must be wiped with isopropyl alcohol to remove microscopic dust and oils that prevent a vacuum seal. Once cleaned, the adhesive bond is activated by firm pressure, typically held for 30 to 60 seconds per strip. Unlike traditional double-sided tapes, high-end command strips feature a proprietary ‘stretch-to-release’ pull-tab that elongates the internal adhesive foam, breaking the bond without pulling paint flakes or drywall fibers away from the substrate. When applying strips, always verify the weight capacity; a standard set of medium-sized strips generally supports up to 4 pounds, while large strips can handle 12 to 16 pounds depending on the manufacturer. By treating your walls as a clean gallery canvas, you unlock endless possibilities for creative expression while maintaining 100% surface integrity for future removal.
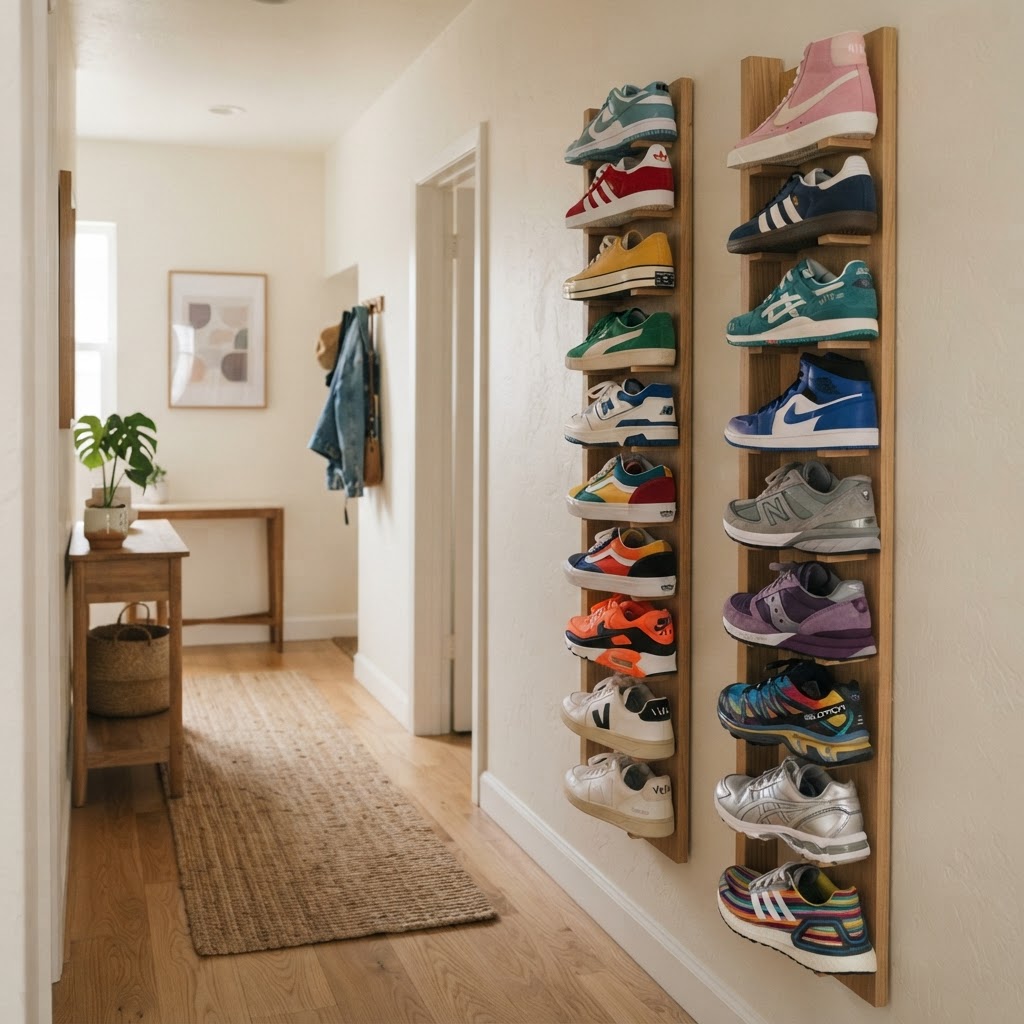
Essential Tools for Damage-Free Hanging

Use high-quality adhesive strips for a secure, damage-free hold.

Selecting the right hardware is the most critical factor in ensuring your gallery wall remains secure and damage-free over time. Inferior adhesives often lose their grip in environments with high humidity, so always choose products specifically rated for your wall texture—whether smooth drywall, wood paneling, or glass. For heavy frames, opt for interlocking heavy-duty strips that provide a mechanical ‘click’ when secure. Using high-quality components ensures that your display can support frames up to 15 pounds per unit. Furthermore, lightweight frames made from expanded polystyrene or thin acrylic are superior to heavy wood-and-glass combinations for no-nail projects. Below is a comparison of common materials to help you choose the best hanging method for your specific decor items.

Material Weight Capacity Best Use Case Damage Risk
Adhesive Strips Up to 16 lbs Standard Frames Low
Washi Tape < 0.5 lbs Paper Prints Zero
Picture Ledges Up to 25 lbs Shelved Decor Moderate
Museum Putty < 1 lb Small Accents Minimal

Preparing Your Frames for the Wall

Frame selection dictates the success of your project; prioritize materials that minimize physical load. Heavy, ornate wooden frames with thick glass often exceed the capacity of standard adhesives and increase the risk of the frame falling. Instead, look for frames with acrylic glazing, which is 50% lighter than glass and shatter-resistant. Before application, inspect the back of your frame; it must have a flat, smooth surface for the adhesive strips to bond. If the frame has a recessed back or a wire, use a flat-surfaced adapter board to provide a stable contact point. For larger frames, apply strips on all four corners to distribute the force evenly. When mounting, ensure you are pressing the frame against the wall for at least 30 seconds to allow the adhesive to reach full curing strength, which typically takes 60 minutes before the full weight can be safely supported.

Planning Your Layout Strategy

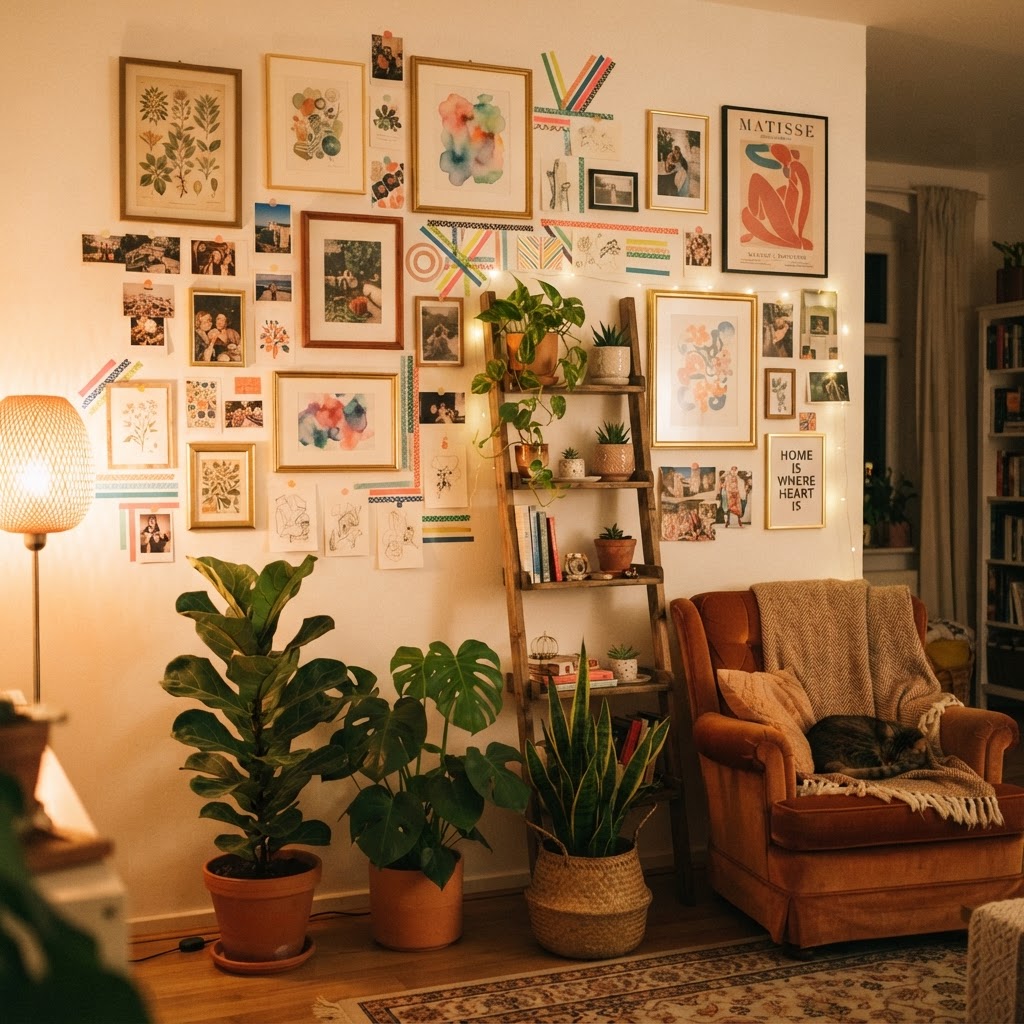
Mix prints, tape art, and shelves for an eclectic, cozy look.

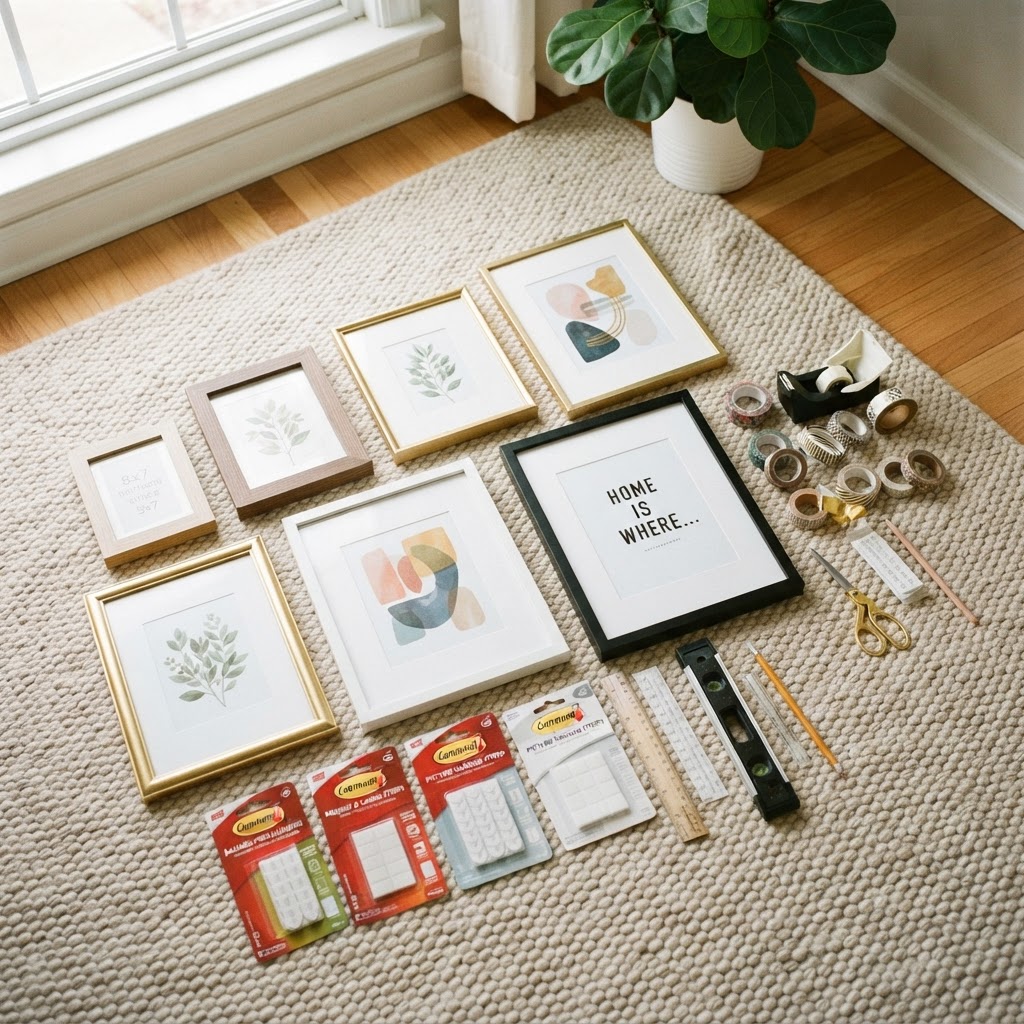
Perfecting your layout on the floor before applying any piece to the wall ensures visual balance and prevents the need for removing and reapplying strips. Start by gathering all your art, frames, and accents on a large area of floor space, arranging them until the composition feels harmonious. A useful trick is to use painter’s tape to outline the exact dimensions of your gallery area on the wall; this acts as a guide to prevent your arrangement from drifting as you work. When planning, aim to place the center of your gallery at eye level, roughly 57 to 60 inches from the floor, to create the most natural viewing experience. Consider the ‘negative space’—the gap between your frames—which should ideally remain consistent at 2 to 3 inches for a professional, cohesive look. By utilizing a floor-to-wall transfer method, you eliminate the guesswork and ensure your wall looks curated rather than randomly assembled.

Alternative Methods for No-Nail Display

Gather your supplies and plan your layout on the floor first.

Leveraging architectural features and existing furniture offers a robust alternative to wall-mounted adhesives for those who prefer a layered, collected look. Picture ledges are exceptionally effective because they allow you to rotate art frequently without ever touching the wall surface again after the initial mounting. If drilling is strictly forbidden, consider using heavy-duty, leaning full-length mirrors or wooden ladders; these act as a structural base for resting frames at different heights, creating a cozy and intentional aesthetic. These methods also provide depth, as you can layer smaller frames in front of larger ones, creating a three-dimensional display that feels more dynamic than a flat wall-mounted arrangement. Additionally, tension rods installed inside door frames or between two parallel walls can serve as a display system for prints hung with clips, adding a industrial yet cozy texture to the space.

Using Washi Tape for a Casual Vibe

For a bohemian or relaxed aesthetic, washi tape acts as both a functional tool and a design element. This low-tack Japanese paper tape is specifically designed to adhere to paper and paint without leaving residue or tearing the wall finish when removed. Washi tape is ideal for lightweight paper art, postcards, or polaroids that don’t require the structural support of a frame. You can create geometric borders that ‘frame’ your artwork on the wall, or simply place a small strip at the top of each piece for a floating, minimal look. Because it is available in hundreds of colors and patterns, it allows you to customize the ‘frame’ to match your room’s color palette perfectly. The best part is the cost; a single roll typically costs less than $5 and can cover an entire wall, making it one of the most budget-friendly ways to curate a gallery wall.

Maintaining Your Gallery Wall

Gallery wall maintenance is a simple quarterly process that ensures the longevity and safety of your displays. Every three to six months, perform a quick ‘check-up’ by pressing firmly against your frames to verify that the adhesive bond is still flush against the wall surface. Avoid placing your gallery wall in high-humidity areas, such as bathrooms or near kitchen stovetops, as moisture can break down the adhesive polymers over time. If a frame feels slightly loose, do not attempt to ‘fix’ it with extra tape; instead, remove the frame, clean the surface with alcohol, and replace all strips with fresh ones. When it comes time to move or change your layout, remember to pull the strip’s tab slowly and parallel to the wall—not outward—to ensure the paint remains pristine. Following these simple steps will ensure that your gallery wall remains a beautiful, damage-free focal point for years to come.

Troubleshooting Common Issues

If you find your frames tilting or shifting over time, you are likely dealing with uneven wall texture or subtle vibrations from heavy traffic. A small dab of removable museum putty at the base of the frame provides an invisible ‘anchor’ that stops the frame from shifting without damaging the paint. If you find a strip has failed to hold, assume the adhesive has been compromised by dust and replace it entirely rather than trying to reuse it. For walls with heavy orange-peel texture, consider using a slightly larger adhesive strip than recommended to increase the contact surface area. If the wall is unusually cold, warm the surface with a hairdryer for 10 seconds before applying the adhesive; this ensures the glue is at the ideal temperature for maximum adhesion. Patience is your greatest tool, as the initial 30 seconds of firm pressure is what sets the bond strength for the life of the installation.

Styling Tips for Maximum Coziness

Cozy gallery walls rely on a balance of thematic consistency and tactile variety to feel intentional. Aim for a unified color palette—such as warm earth tones, monochromatic black-and-white, or soft pastels—to help disparate pieces of art feel like a single collection. Don’t be afraid to integrate textures into your layout; a small woven macrame piece, a lightweight metal sign, or a pressed flower frame adds dimension and prevents the wall from appearing flat. The ‘negative space’ between pieces is equally important; aim for a consistent gap of two to three inches to allow the eye to rest, preventing the wall from appearing cluttered. By mixing these different mediums, you create a home environment that feels personal, collected, and expertly styled.

FAQ

Q: Can adhesive strips remove paint?

Adhesive strips are designed to be paint-safe when removed properly by pulling the tab parallel to the wall. Pulling away from the wall at an angle can cause the adhesive to tear the paint, so always use a slow, consistent motion to break the bond without damaging your surface.

Q: How much weight can a command strip hold?

Standard medium adhesive strips typically hold up to 4 pounds per set, while large strips can support up to 16 pounds. Always check the specific weight rating on the packaging, and for heavier items, consider using multiple pairs or distributing the weight across several contact points.

Q: What is the best way to clean the wall before applying adhesives?

Use a clean, lint-free cloth dampened with isopropyl alcohol to wipe the wall surface. This removes microscopic dust, oils, and invisible debris that prevent the adhesive from forming a strong bond, ensuring the strips remain firmly in place for years.

Q: Are picture ledges considered damage-free?

Most traditional picture ledges require screws, which are not damage-free. However, you can use heavy-duty adhesive mounting hardware to attach small ledges to your wall, or opt for free-standing leaning ledges that require no installation at all, keeping your wall entirely free of holes.

Q: How do I keep frames level on a gallery wall?

Use a laser level or a standard bubble level to mark your desired positions before sticking the frames. If a frame tilts after installation, a small amount of museum putty behind the bottom corner will keep it perfectly aligned and prevent it from shifting due to vibrations.

Cheap Ways to Make a Small Rental Look Designer Without Drilling

Cheap Ways to Make a Small Rental Look Designer Without Drilling

To make a small rental look designer without drilling, focus on layering warm-toned floor lamps, using adhesive-backed wall decor, incorporating high-quality textiles like floor-to-ceiling curtains, and maximizing vertical storage with tension rods. These non-permanent modifications instantly elevate a space by removing standard rental blandness while keeping your security deposit safe.

Master the Art of Lighting

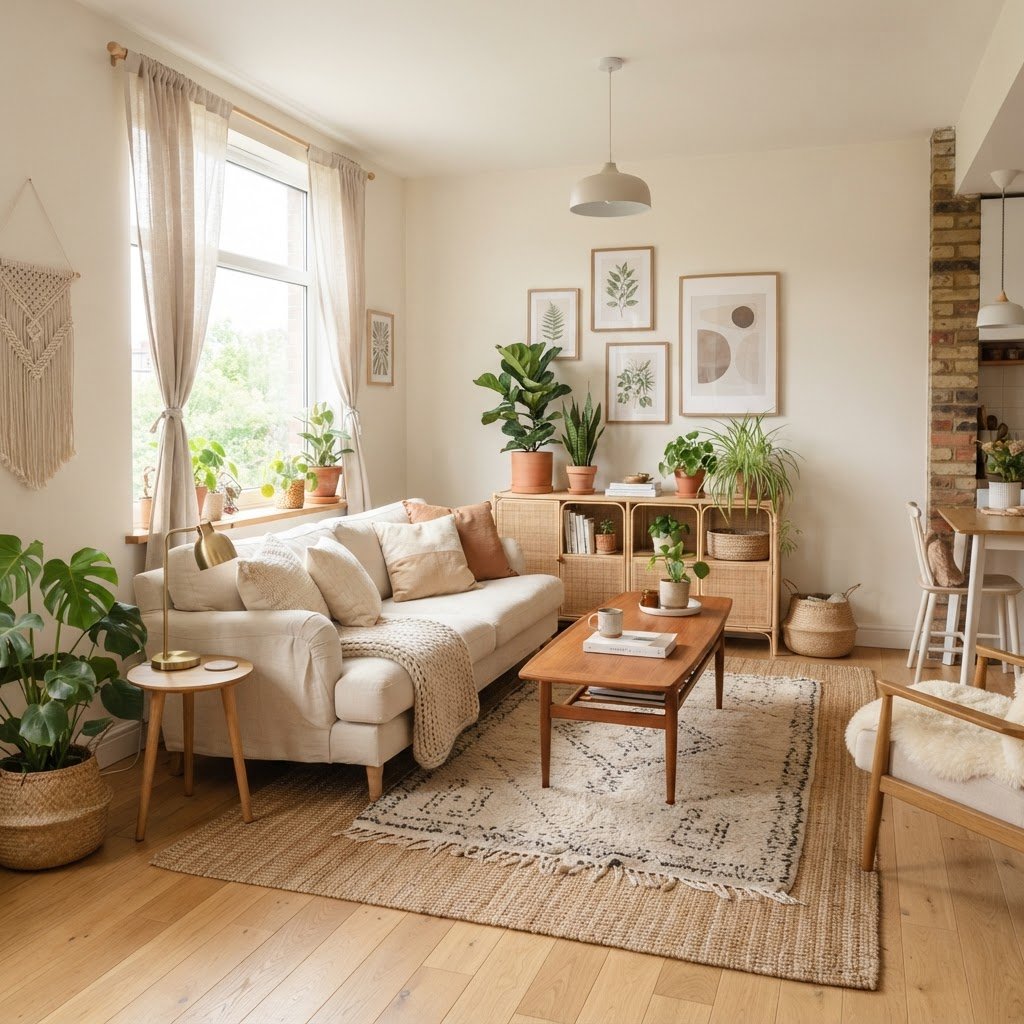
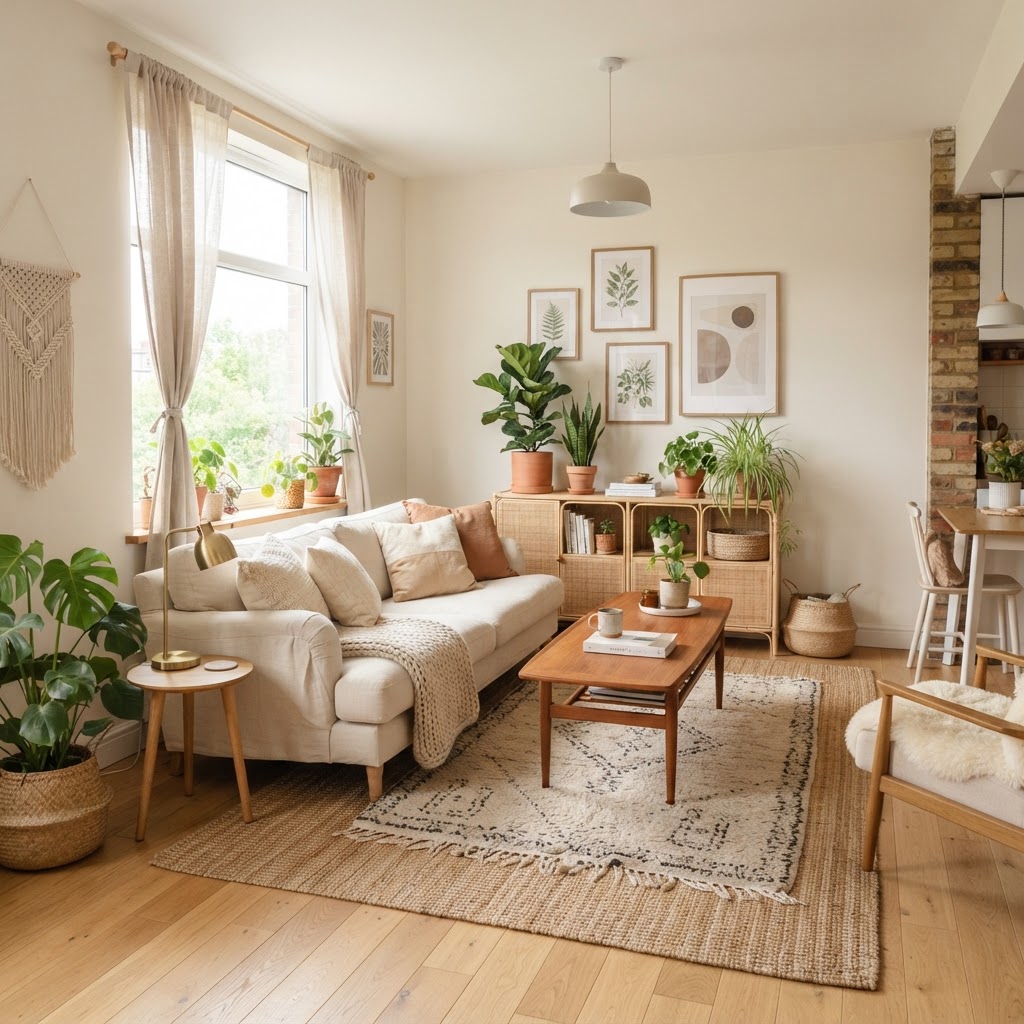
Layering rugs and adding greenery can instantly make a small rental feel luxurious.

One of the most effective ways to make your home look expensive is through layered lighting that replaces standard clinical overhead fixtures. By strategically placing floor lamps, table lamps, and wall sconces secured with 3M Command strips, you shift the room’s ambiance from institutional to bespoke. Professional designers often utilize a “three-point lighting” rule for small rooms: place a floor lamp in one corner, a table lamp on a surface, and an accent light elsewhere to create a balanced, glow-filled environment.

Warm-toned bulbs (2700K to 3000K) are essential for achieving a high-end feel, as they soften harsh white walls common in apartments. Opt for lamps with heavy sculptural bases or textured linen shades to serve as permanent decor pieces. Lighting is the secret ingredient that turns a bland box into a sanctuary; it hides imperfections in rental-grade paint and adds depth through intentional shadows. By avoiding the “big light” and relying on localized pools of light, you curate a mood that feels permanent and luxurious, effectively masking the temporary nature of your living situation.

Why Lighting Matters

Lighting controls the mood of your entire apartment. By avoiding the overhead “big light” and relying on localized pools of light, you create depth and shadows that hide minor imperfections in the walls or flooring. This creates a cozy, layered look that feels intentionally curated rather than temporary.

Utilize Adhesive and Tension Solutions

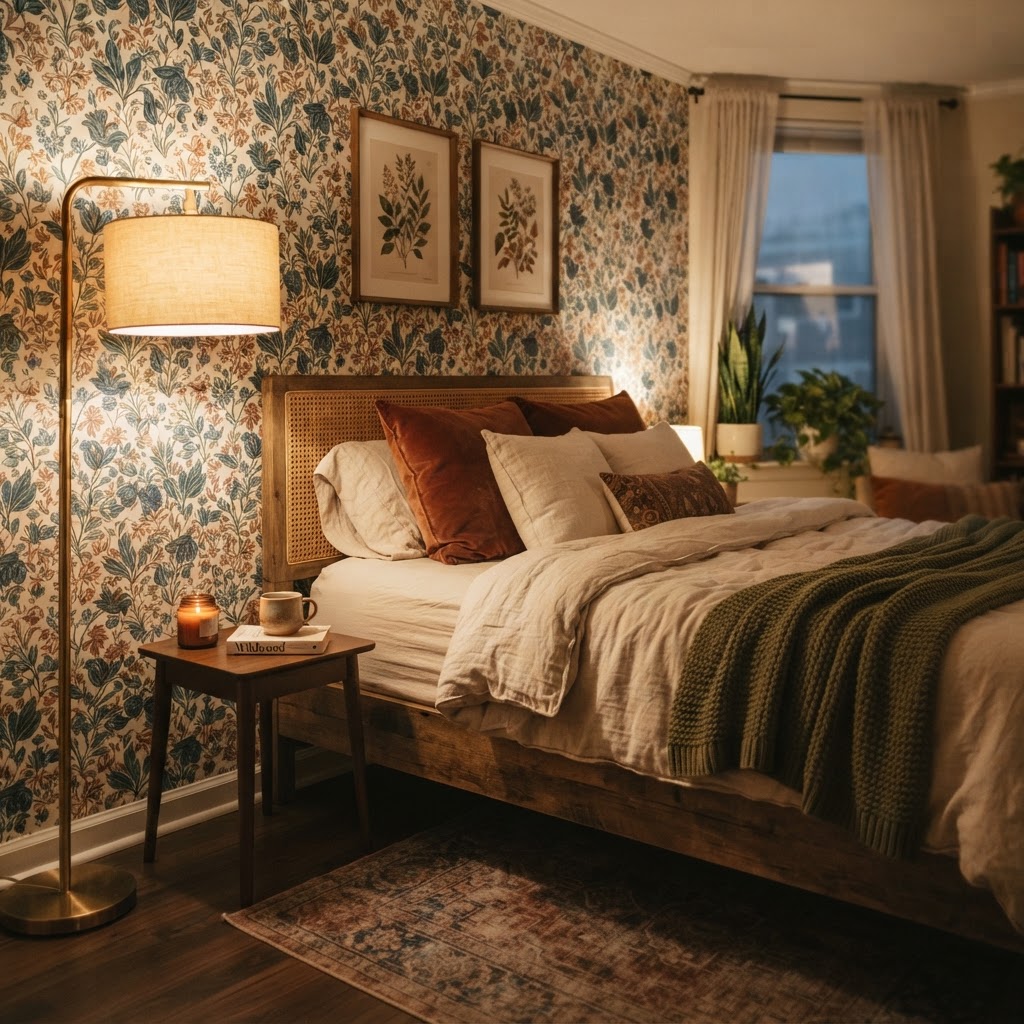
Peel-and-stick wallpaper is a game-changer for adding personality to a rental bedroom.

Modern technology has gifted renters with incredible tools for hanging art and shelving that require zero holes. Removable adhesive strips, like those rated for 15+ pounds, allow for large-scale gallery walls without the need for drywall anchors. Beyond hooks, tension rods are a secret weapon for renters; they can be wedged between door frames or inside window casings to hold heavy curtains or serve as makeshift room dividers, effectively zoning an open-concept apartment without permanent structural changes.

Solution Type Best Use Case Weight Capacity Removal Difficulty
Command Strips Wall art, small shelves 1-16 lbs Very Easy
Tension Rods Curtains, room dividers 5-20 lbs Instant
Adhesive Vinyl Feature walls, countertops N/A Easy (w/ Heat)
Washi Tape Photo displays, borders Negligible Trivial

By thinking vertically and utilizing non-permanent hardware, you maximize storage while maintaining a clean, high-end appearance. For instance, using tension rods inside kitchen cupboards to organize lids and trays clears off counter space, which is critical for a “designer” look where surfaces remain largely uncluttered. This structural efficiency creates the illusion of more space, making a standard one-bedroom apartment feel like a luxury studio through clever spatial management.

Upgrade Your Textiles for Instant Luxury

Curated shelving using matching bins keeps clutter hidden and creates a designer look.

Cheap rental carpeting or worn linoleum can instantly drag down the vibe of a room, but high-quality layering acts as an immediate visual reset. A large area rug (ideally 8×10 for a standard living area) can cover almost any flooring sin, grounding your furniture and establishing a cohesive color palette. To maximize the impact, ensure your rug is large enough that the front legs of your sofa and chairs sit on top of it, which visually anchors the furniture set.

Beyond the floor, invest in floor-to-ceiling curtains to trick the eye into perceiving higher ceilings. By hanging curtains at least 6 inches above the window frame or even at the ceiling line, you add verticality and elegance. Soft furnishings such as velvet throw pillows, linen blankets, and textured upholstery add tactile luxury. In a small space, prioritize high-GSM (grams per square meter) fabrics; heavier weights feel more expensive and drape better, signaling quality to the eye and making the small space feel more sophisticated.

Optimize Storage with Verticality

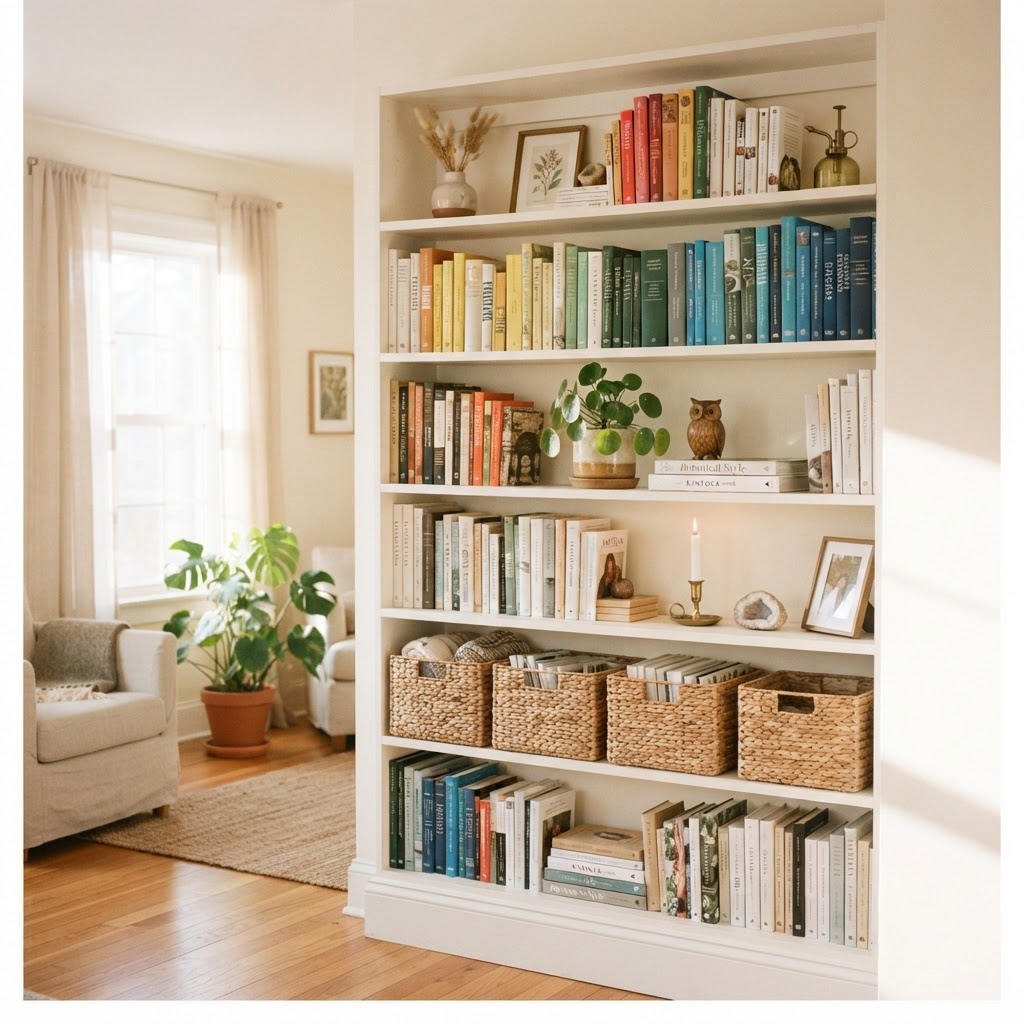
Clutter is the enemy of a designer-looking home, especially in small rentals where square footage is at a premium. When you have limited floor space, you must take your storage vertical by utilizing wall-height shelving units that draw the eye upward toward the ceiling. Using uniform, high-quality baskets and bins—like seagrass or matte metal—to corral loose items creates a cohesive visual rhythm that looks intentional and organized rather than chaotic.

To ensure your storage looks “designer,” follow the 70/30 rule: 70% of your items should be hidden in closed storage or bins, while 30% can be curated as decor on open shelves. This balance prevents the “small room, too much stuff” trap. Choose tall, slim bookshelves that reach toward the ceiling, as these utilize the often-ignored air space in an apartment. By consolidating all your storage into one or two large, floor-to-ceiling units, you clear the visual noise from the rest of the room, allowing your carefully selected decor pieces to stand out as intentional focal points.
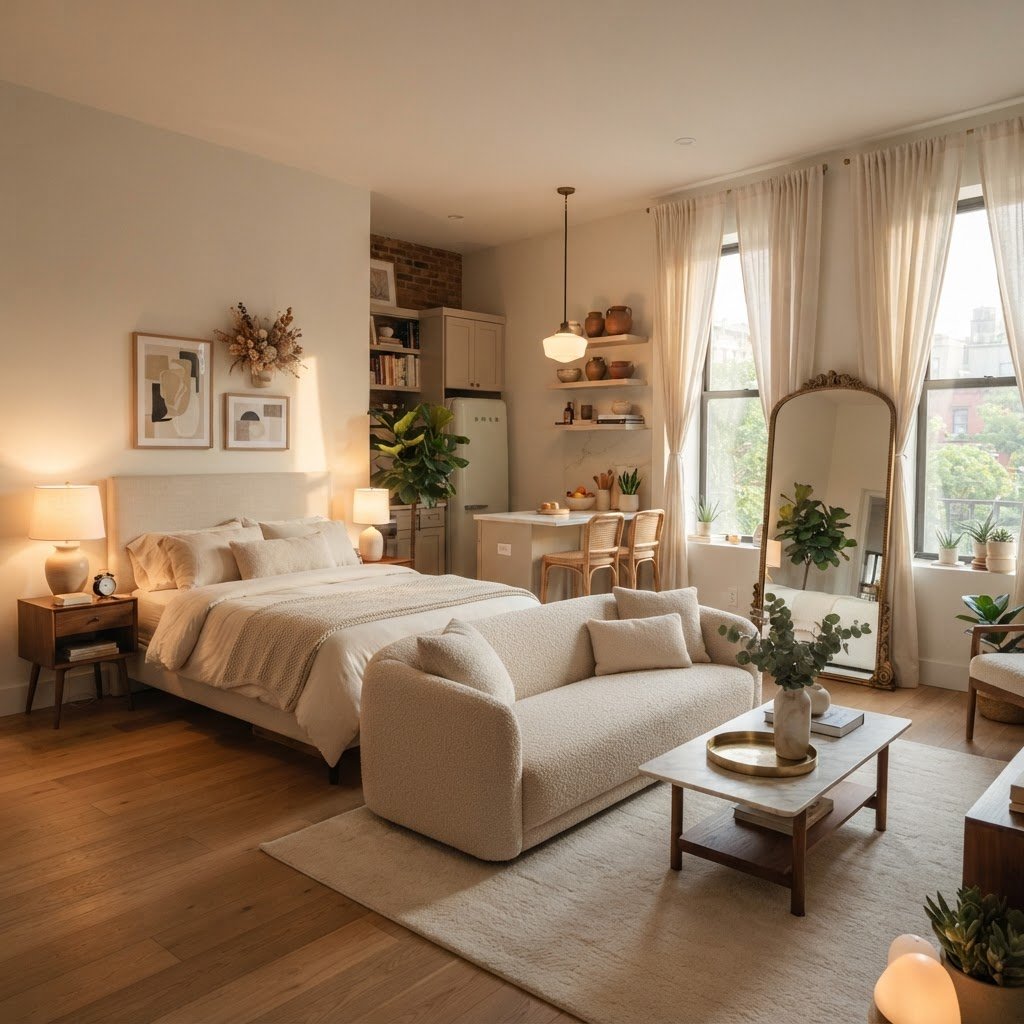
Create a Designer Focal Point

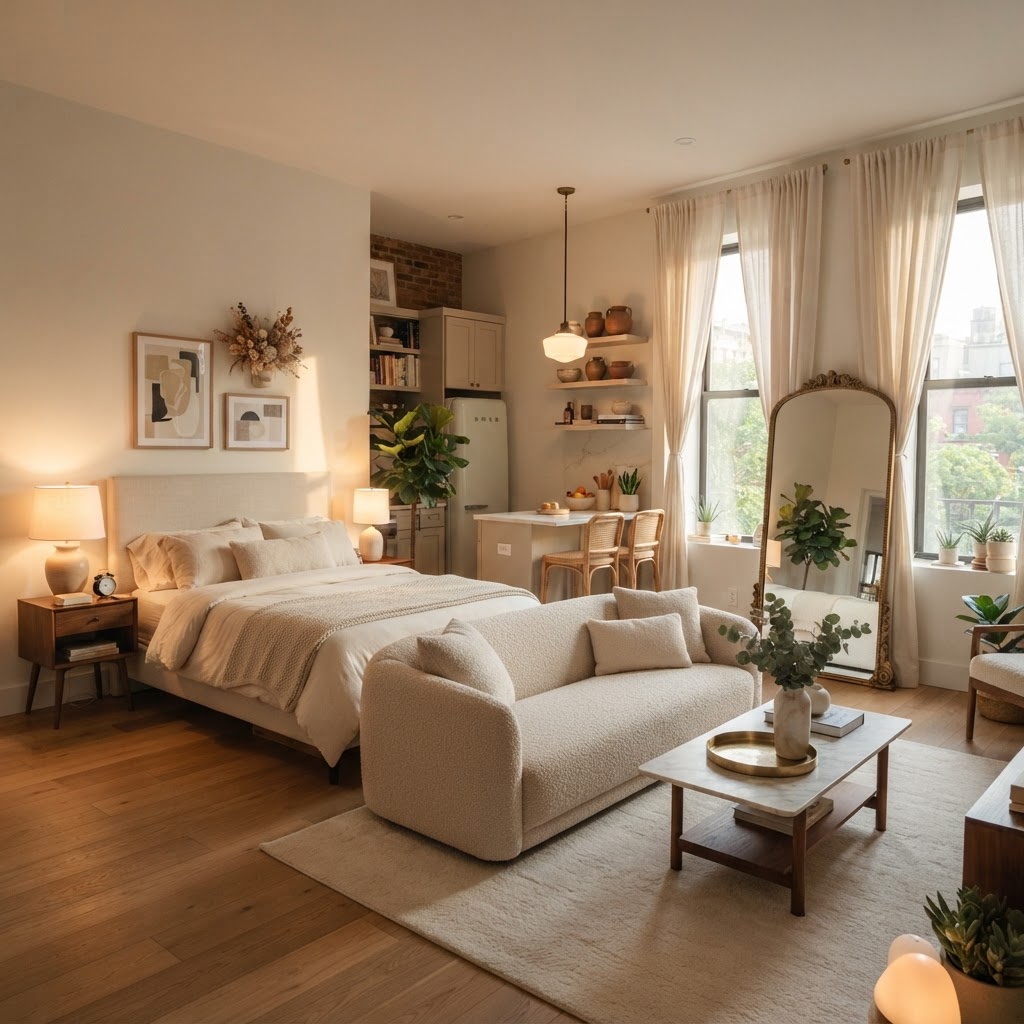
Every room needs a “hero” piece to provide visual interest and a sense of luxury. In a rental, a large floor-standing mirror is one of the most effective ways to double the perceived square footage and reflect natural light into darker corners of the apartment. Pair this with a peel-and-stick wallpaper feature wall behind your bed or sofa to introduce color and pattern without the risk of paint damage. These wallpapers now come in sophisticated, high-end textures like grasscloth or subtle geometric metallic prints.

A mirror shouldn’t just be hung; lean it against the wall to create a casual, “decorator” aesthetic. If you choose oversized art, use heavy-duty adhesive velcro strips to secure the frames to the wall without drills. By concentrating your budget on one high-impact item—like a large sculptural mirror or a bold wallpapered wall—you distract the eye from the rental-grade baseboards or generic flooring, effectively elevating the entire room’s design profile with minimal financial investment.

Curate Your Collection and Declutter

Designers know that restraint is the difference between a cluttered apartment and a curated home. A room filled with too many small, cheap-looking items will always feel messy, so you must “edit” your collection by removing anything that doesn’t serve a clear aesthetic or functional purpose. Focus on a “quality over quantity” mindset; one large, high-quality ceramic vase is always better than five small plastic trinkets.

Displaying your items on open shelving or console tables creates a museum-like effect when done with purpose. Use the rule of thirds to group items: pair a tall book, a sculptural candle, and a small plant to create a balanced vignette. This curation process is entirely free and helps you refine your personal style while keeping your rental feeling open and airy. By leaving empty spaces on your shelves, you allow the eye to rest, which is a hallmark of professional interior design. Minimalism isn’t about having nothing; it’s about making sure everything you have contributes to the room’s overarching luxury.

Quick Tips for a Designer Look

  • Use matching hangers in your closets to create a luxury boutique feel.
  • Swap out standard plastic light switch covers for more decorative ones.
  • Add greenery to bring life and color into every corner.
  • Choose a consistent color palette to unify the entire apartment.

Incorporate Indoor Plants

Plants are the ultimate accessory for any designer-grade room, adding the organic texture required to balance the sterile feel of most rentals. Choose pots that match your chosen color scheme, such as matte ceramic, terracotta, or woven baskets, to maintain a consistent aesthetic. Plants such as Snake Plants (Sansevieria) or ZZ plants are excellent for rentals because they thrive in the often-low light conditions found in apartment buildings.

If you lack consistent natural light, mix high-quality faux plants with real ones. Modern faux greenery, particularly those with “real touch” technology, are virtually indistinguishable from the real thing and require zero maintenance. Place taller plants on the floor in empty corners to soften the transition between walls, or use cascading pothos on high shelves to create visual interest at eye level. By mixing varying shades of green and different leaf shapes, you create a lush, vibrant environment that feels like a professional plant stylist curated the space for you.

FAQ

Can you hang heavy items without drilling?

Yes, you can safely hang items up to 15-20 pounds using heavy-duty adhesive strips or professional-grade double-sided mounting tape. Always clean the wall surface with rubbing alcohol before application to ensure maximum adhesion and follow the manufacturer’s weight limit guidelines precisely.

How can I make a rental bathroom look designer?

Focus on replacing the shower curtain with a fabric, hotel-style curtain hung on a high-tension rod, and use matching apothecary bottles for soaps and shampoos. Swapping the towel racks for adhesive-mounted, high-end matte black or brushed gold hardware can also provide an instant luxury upgrade.

Is peel-and-stick wallpaper safe for rentals?

Most high-quality peel-and-stick wallpaper is designed to be repositionable and removable without damaging standard drywall paint. However, always test a small piece in an inconspicuous area, such as behind a door, and use a hair dryer to gently heat the adhesive when removing to ensure a clean peel.

How do you make rental windows look better?

Install curtain rods as high as possible—ideally flush with the ceiling—to draw the eye upward and make the ceilings appear taller. Using floor-length curtains that span the entire width of the wall, rather than just the window, creates the illusion of a grand, wall-to-wall window installation.

What is the most cost-effective way to change rental flooring?

Large area rugs are the most effective way to cover rental flooring because they hide stains and provide warmth without requiring permanent installation. Alternatively, adhesive vinyl floor tiles can be used over smooth surfaces, but they require careful consideration to ensure they are removable with minimal residue.

Best Shoe Storage Benches for Small Apartment Entryways

Best Shoe Storage Benches for Small Apartment Entryways

To maximize a small apartment entryway, the best shoe storage benches feature a slim profile between 12 and 15 inches deep with integrated vertical storage. Choosing high-performance materials like moisture-resistant wood or powder-coated steel ensures your bench remains durable while keeping your transition space organized and clutter-free.

The Importance of Functional Entryway Furniture

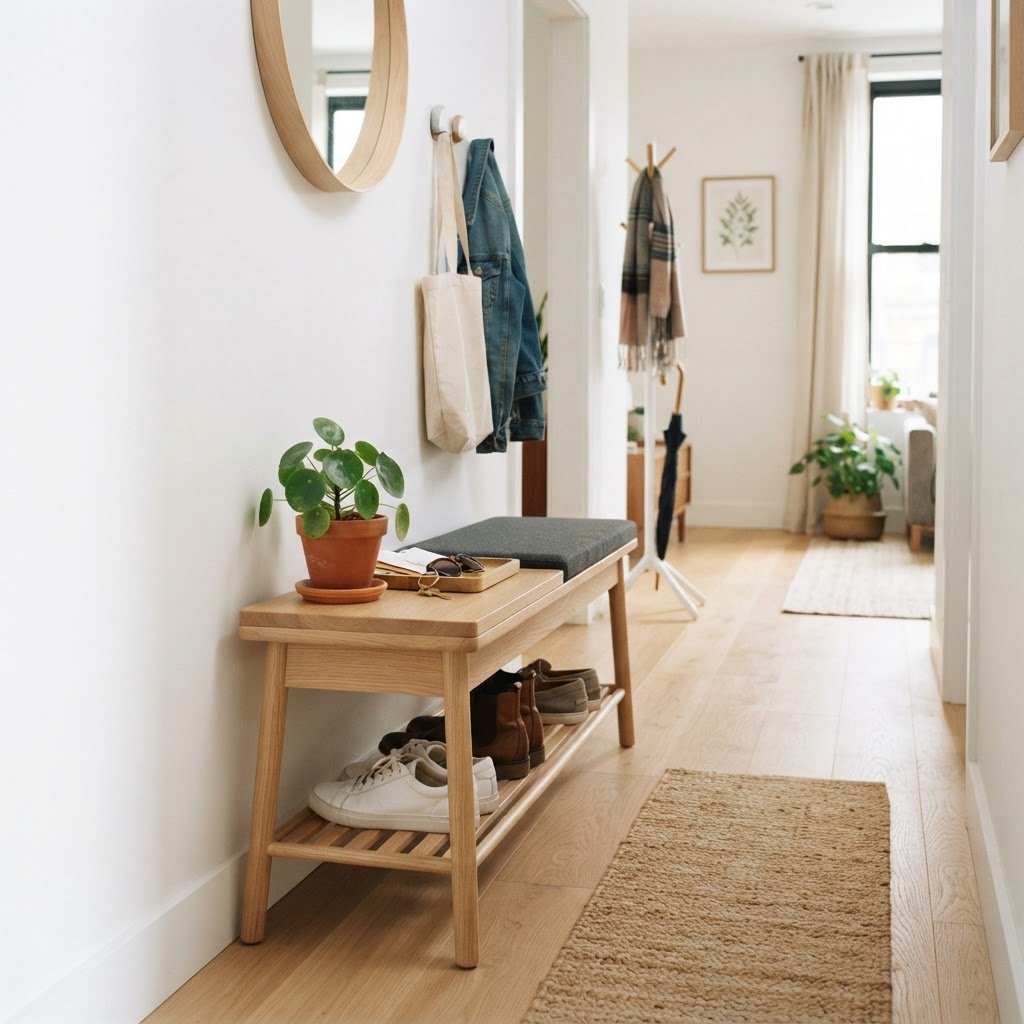
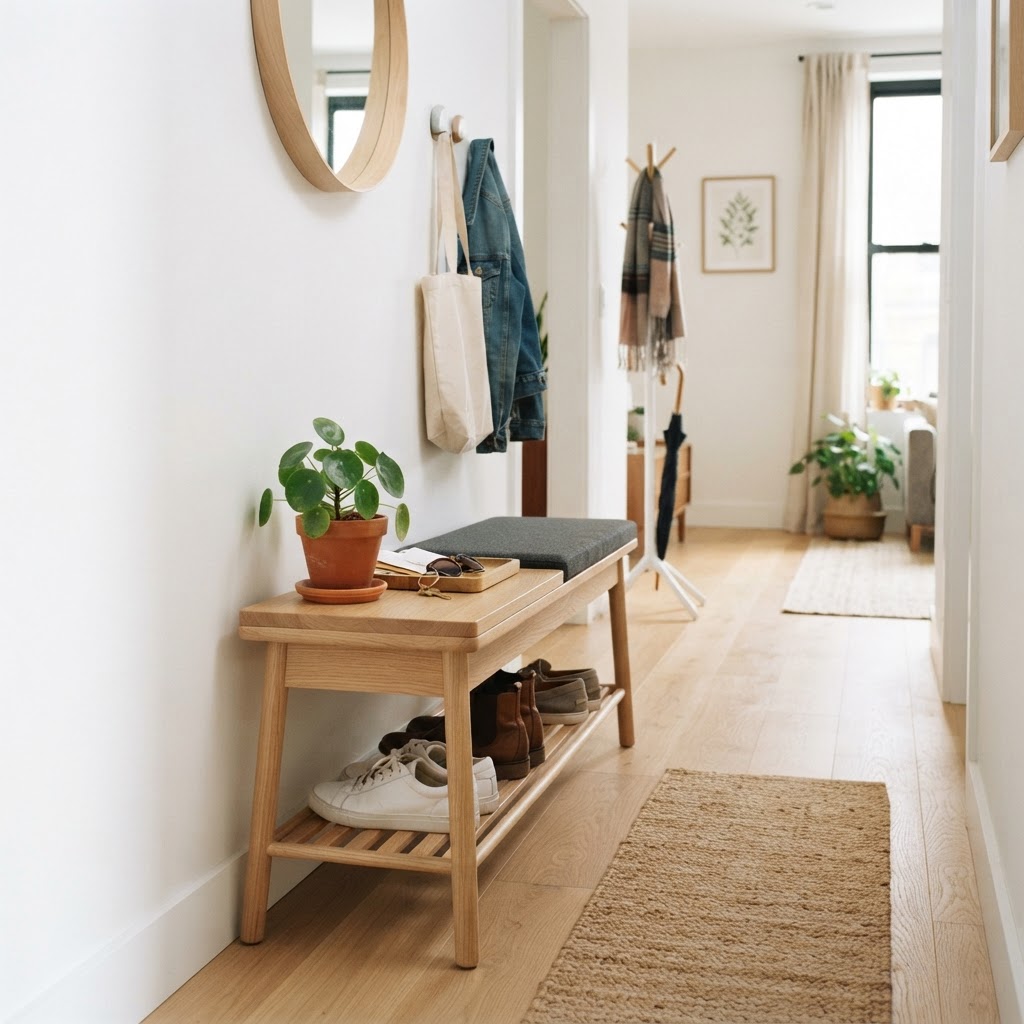
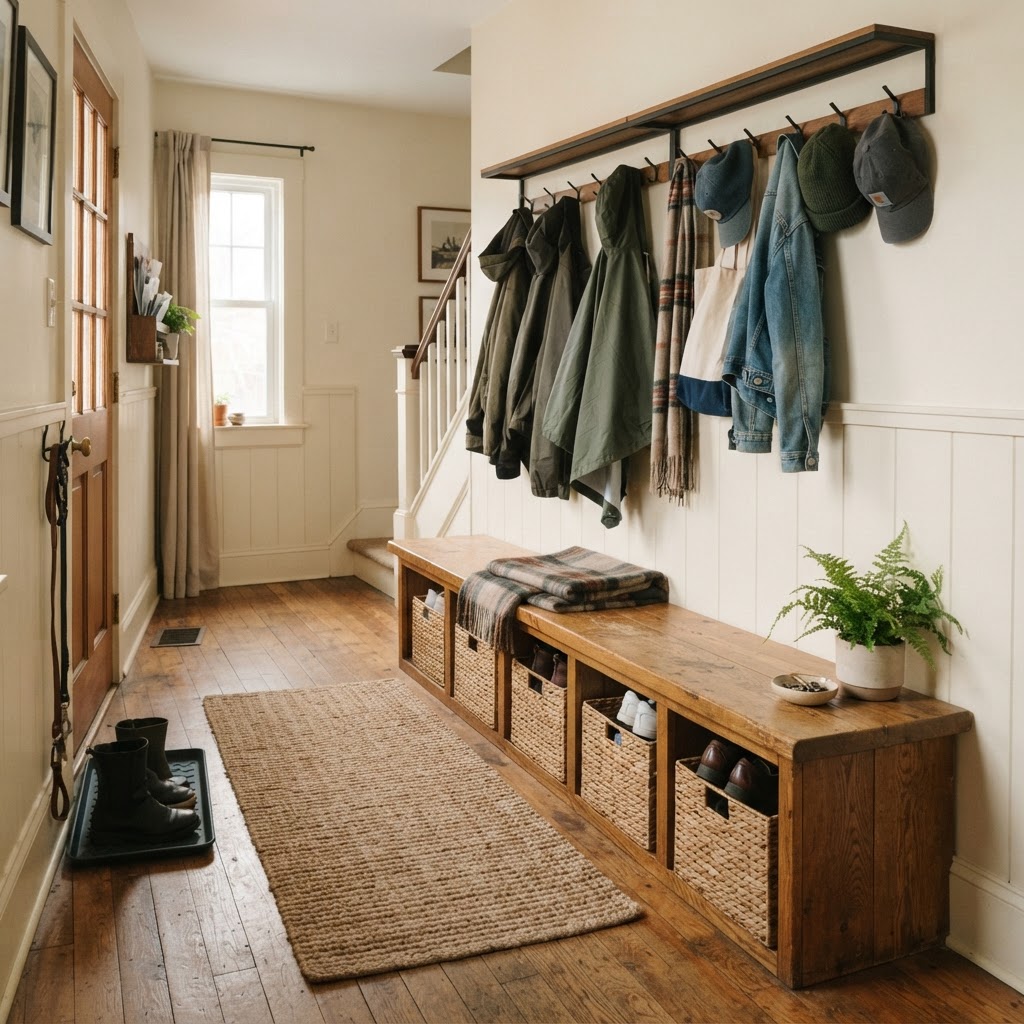
A minimalist wooden bench maximizes space in a small hallway.

Functional entryway furniture serves as the vital threshold between outdoor chaos and indoor serenity. By utilizing a dedicated storage bench, you effectively eliminate “trip hazards”—the piles of sneakers, boots, and heels that commonly occupy floor space in tight foyers. An organized entryway is not merely about aesthetics; it is an exercise in intentional living that optimizes limited square footage.

When your home lacks a dedicated mudroom, a multifunctional bench acts as a dual-purpose hero, offering a stable surface for seating and an efficient system for shoe management. Vertical thinking is essential here; by choosing furniture that maximizes height rather than floor depth, you maintain flow in high-traffic zones. Incorporating furniture with elevated legs creates a visual illusion of openness, making even the smallest 3×3 foot entryway feel significantly more spacious. Implementing these professional organization strategies ensures your landing pad remains a tranquil home-entry experience rather than a source of daily stress.

Key Features to Consider Before You Buy

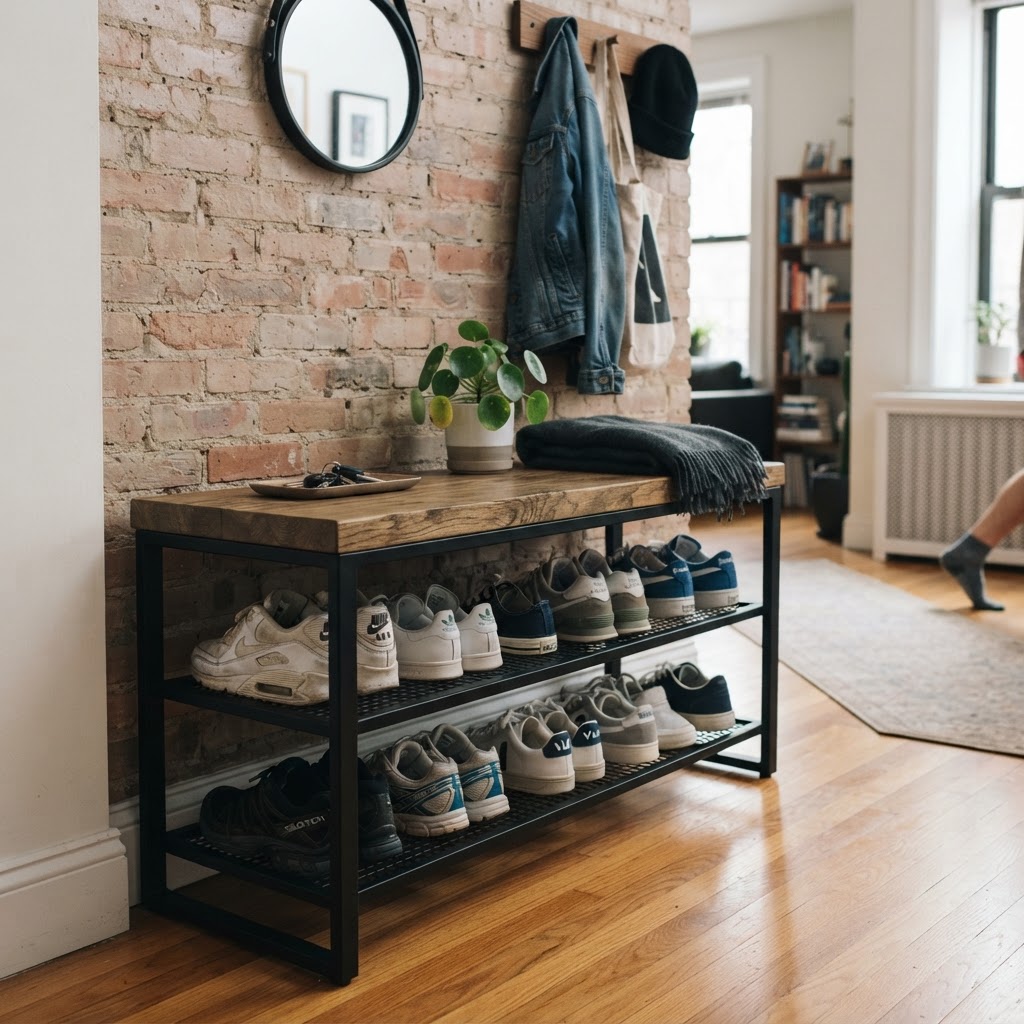
Industrial benches offer great visibility and storage for active households.

Selecting the correct shoe storage bench requires measuring your entryway with precise dimensions to avoid obstructing doors or walkways. Start by confirming your available floor depth; standard doors usually require a clearance of at least 30 inches, meaning a 12-inch or 14-inch deep bench is the optimal “slim profile” choice to maintain code-compliant egress while providing ample internal storage capacity.

Feature Recommended Specification Impact on Space
Bench Depth 12 to 15 inches Prevents walkway blockage
Seat Height 17 to 20 inches Optimal comfort for sitting
Clearance 4+ inches off-floor Visual weight reduction
Material Treated wood/Metal High durability for moisture

Accessibility vs. capacity remains a critical design trade-off. If you live in an urban environment with frequent rain, prioritize benches with open slats, which facilitate air circulation, preventing odor buildup from damp footwear. Conversely, if you prefer a gallery-like appearance, enclosed cabinetry is the superior choice to conceal visual clutter. Look for features like soft-close hinges or modular cubbies, which allow you to customize the internal storage dimensions to fit everything from flat ballet slippers to bulky winter combat boots without wasting a single cubic inch.

Top Styles for Modern Apartment Living

Cabinet-style benches keep small entryways looking neat and tidy.

Selecting a style that harmonizes with your interior design is the final step in elevating a utility piece into a focal point. Mid-Century Modern designs, characterized by tapered walnut-stained legs and neutral upholstery, offer an airiness that prevents small rooms from feeling claustrophobic. These pieces often feature elevated frames, which expose floor space and enhance the “open” aesthetic favored by contemporary apartment dwellers.

Industrial styles, conversely, leverage powder-coated steel and reclaimed wood, providing extreme durability in high-traffic households. These benches often lack backing, which can be beneficial if your bench is positioned against a radiator or outlet, as the open design prevents overheating and maintains accessibility to wall fixtures. Regardless of the aesthetic, verify that your chosen bench supports a weight capacity of at least 250 pounds to ensure it serves safely as a seat for guests. Utilizing high-contrast materials—such as black metal frames against light oak wood—can also create a sophisticated visual depth, drawing the eye toward the bench and away from the small scale of the surrounding entryway walls.

Strategic Placement for Maximum Space

Combining a slim bench with wall hooks creates a perfect landing zone.

Strategic placement is the secret weapon for optimizing a landing zone, as the furniture must feel intentional rather than an obstacle. In narrow, elongated hallways, positioning the bench against the farthest wall acts as a “destination point,” successfully drawing the eye through the space and making the entire entryway appear more elongated and expansive.

If you have a square foyer, consider corner-tucking to define the zone without encroaching on the central walking path. Always aim for a 36-inch clearance around your primary entry door to maintain accessibility during emergency exits or when carrying heavy groceries. Integrating wall-mounted storage directly above your bench—such as brass hooks for bags or a floating shelf for mail—creates a vertical “landing strip” that keeps your floor entirely clear of bags and keys. This vertical stacking method consolidates your “clutter zone” into one compact, high-utility area, allowing the rest of your apartment to feel like a tranquil oasis rather than a drop-off center for outdoor gear. Always ensure your placement does not conflict with electrical outlet access or HVAC intake vents, as blocking these will impact your apartment’s energy efficiency and climate control.

Maintaining Order with Organization Habits

Organizational Strategy Frequency Expected Benefit
Seasonal Rotation Quarterly Eliminates overcrowding
Weekly Vacuuming Weekly Reduces allergens
Daily Purge Daily Prevents “pile-up” effect

Consistent maintenance is required to ensure that even the best storage bench doesn’t become a catch-all for clutter. Implementing a seasonal rotation system is the most effective way to maintain order; move off-season footwear to under-bed storage containers to ensure your daily-use bench only holds items currently in rotation.

Assigning specific cubbies or tiers to each family member prevents the “everything in the pile” scenario that plagues high-traffic apartments. For upholstery maintenance, stick to high-performance textiles like Crypton or faux leather, which can withstand the friction of shoe removal and are easily sanitized with a damp cloth. By treating the area under your bench with the same cleaning frequency as your main living room rug, you prevent the buildup of grit and street debris that tends to accumulate in entryways. Establishing a rule where no shoes stay on the floor overnight—they must be in a cubby, on a shelf, or in a closet—will transform your routine and maintain the clean, “model home” look that makes a small space feel remarkably well-appointed.

Maintenance and Cleaning Tips

Daily wear and tear on your shoe storage bench requires proactive cleaning, especially given its role as the transition point between the outdoors and indoors. If your bench features open shelving, utilize a handheld vacuum to remove dirt and pebble accumulation at least once a week; neglecting this leads to dust migration into your living areas.

For closed cabinets, periodically wipe down the interior hinges and tracks with a silicone-based lubricant to ensure they remain whisper-quiet and smooth-operating. If you have chosen an upholstered bench, apply a fabric protector spray every six months to repel liquids and dirt. This simple step is vital for furniture in the entryway, where rain-drenched boots and wet umbrellas often make contact. Leather-based benches are particularly resilient, requiring only an annual conditioning treatment to prevent cracking from temperature fluctuations caused by opening and closing the front door. By dedicating just ten minutes every Sunday to wiping down your storage furniture, you extend the lifespan of your investment and ensure your apartment always presents a polished, professional facade to visitors.

Comparing Bench Types

Understanding the nuanced differences between bench types allows you to select the best option for your specific daily lifestyle and available apartment space. Enclosed cabinet benches offer the cleanest visual aesthetic by completely hiding the “clutter” of footwear, which is ideal if your entryway shares an open-concept flow with your main living space.

Open-cubby benches prioritize rapid access and ventilation, making them the preferred choice for athletes or active households where gym sneakers need to dry quickly after heavy use. While open benches are often more affordable and easier to assemble, they do require a higher level of daily tidiness to keep the entrance looking organized. Consider your personal habits honestly: if you are a person who prefers to hide everything behind a closed door, the enclosed style is non-negotiable for your peace of mind. If you are a high-efficiency user who needs to grab shoes and dash out the door in under ten seconds, the open-cubby design will provide a much higher satisfaction rate in your daily workflow.

FAQ

Q: What is the ideal depth for a shoe storage bench in a small entryway?

An ideal depth for a small entryway shoe storage bench is 12 to 15 inches. This slim profile ensures the furniture provides adequate storage for standard-sized adult shoes without blocking high-traffic walking paths or preventing the front door from opening fully.

Q: How can I keep my entryway bench from smelling like shoes?

To prevent odors, prioritize benches with open-slat shelving to encourage natural airflow and prevent moisture buildup. You can also place activated charcoal bags or cedar shoe trees inside the storage areas to neutralize odors and absorb excess humidity from damp footwear.

Q: Are upholstered benches a good idea for entryways?

Upholstered benches are excellent for comfort but require specific fabric choices to remain durable. Opt for high-performance materials like faux leather, polyester blends, or stain-resistant linens that can be easily wiped clean with a damp cloth and withstand high-traffic, daily use.

Q: Should I choose a bench with open shelves or enclosed cabinets?

Choose enclosed cabinets if your entryway opens directly into your living room to keep the area looking tidy and minimal. Choose open shelves if you prefer quick access to your footwear and need maximum air circulation to dry wet or active-wear shoes daily.

Q: How much weight should an entryway bench support?

Always ensure your entryway bench supports at least 250 pounds of weight. This safety threshold guarantees the furniture is sturdy enough for adults to sit down comfortably while putting on or removing shoes without the risk of structural failure or wobbling.

Budget No-Drill Ideas That Transform Tiny Apartments

Budget No-Drill Ideas That Transform Tiny Apartments

To transform a small rental without drilling, prioritize vertical storage using tension rods, update surfaces with peel-and-stick wallpaper, and optimize light with layered lamps. These non-invasive modifications allow you to customize your space, improve functionality, and hide rental-grade finishes while staying fully compliant with your lease agreement and security deposit requirements.

Rethinking Your Vertical Space Without Tools

A rental-friendly gallery wall that avoids wall damage.

When floor space is at a premium, the most efficient design strategy is to maximize your vertical footprint using non-permanent tension rods and adhesive mounts. Tension rods are the unsung heroes of rental living, offering a load-bearing capacity of up to 15-20 pounds for light curtains or closet organizers without requiring a single hole. By utilizing these tools, you can reclaim space that is otherwise left empty, effectively increasing your “usable” square footage by up to 25% in compact layouts.

Utilizing Tension Rod Magic

Install a tension rod inside a deep closet to create an instant hanging space for scarves, belts, or shoes. You can also place one at the top of a window frame to hang a sheer curtain without using hardware. This simple addition adds immediate texture and privacy, which is vital when you want to transform your small apartment on a budget.

Creating Custom Nooks

If you have a shallow alcove, use tension rods to hold fabric dividers. This effectively creates a ‘hidden’ office or dressing room, helping you organize your footprint without needing a contractor or power tools. It is a classic example of how minor shifts in layout redefine a room’s purpose. By separating zones, you create the psychological feeling of a larger, multi-room home.

Tool Best Use Case Weight Limit (Approx.)
Tension Rod Curtains & Closet Storage 15-20 lbs
Adhesive Hooks Decor & Kitchen Tools 5-10 lbs
Velcro Mounting Tape Frames & Mirrors 3-5 lbs
Over-Door Hangers Towels & Accessories 10-15 lbs

The Power of Peel-and-Stick Aesthetics

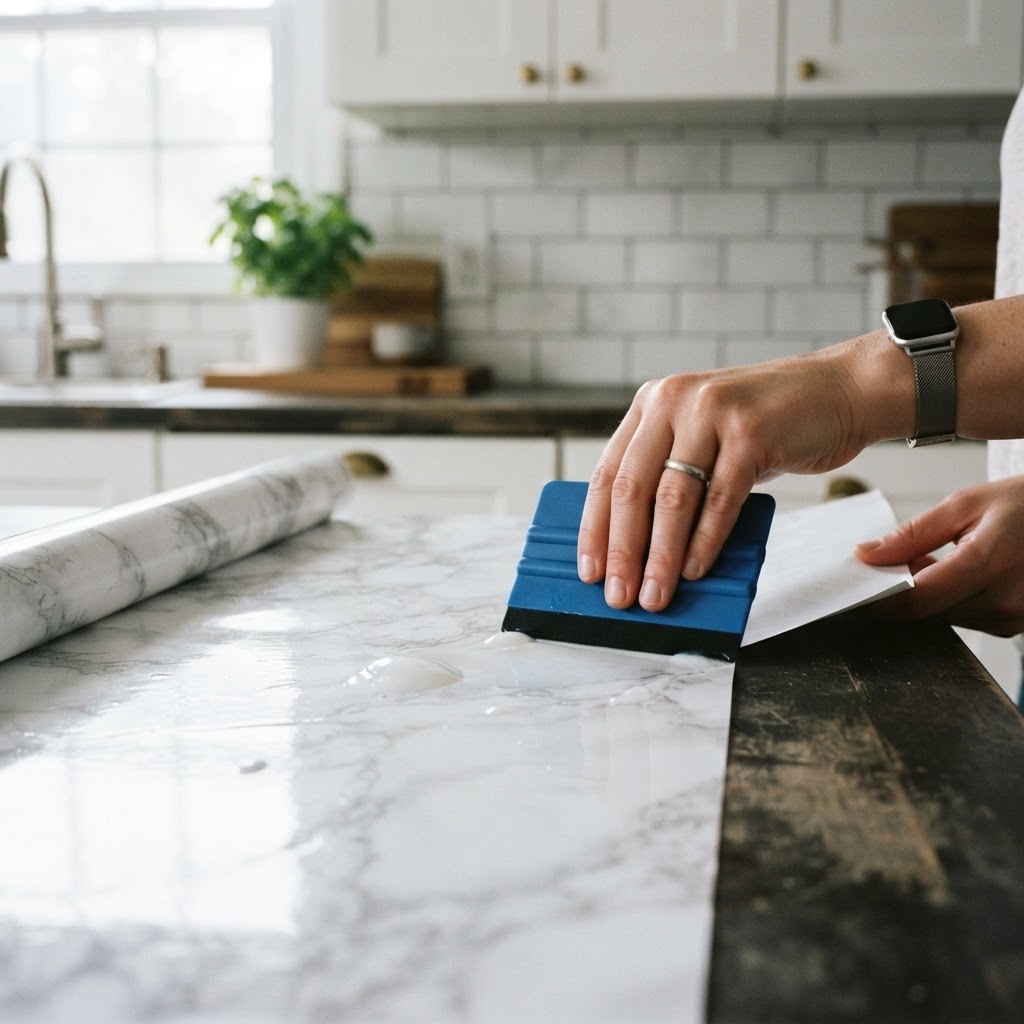
Quick kitchen countertop refresh using contact paper.

Peel-and-stick wallpaper is the industry standard for renters looking to drastically alter the aesthetic of a room for under $100. These high-quality vinyl sheets can be installed in a standard 10×10 foot room in approximately 4 to 6 hours, providing a massive visual impact that is 100% reversible. Unlike traditional wallpaper, modern adhesive coverings use low-tack glues designed specifically to protect drywall and latex paint finishes when removed after the typical 12-to-24-month lease term.

Tips for Seamless Application

Start with a small, inconspicuous area to test the adhesive. Ensure your walls are clean and dry before applying, as dust is the enemy of long-term adhesion. If you are hesitant about wallpapering a full room, consider an accent wall or lining the back of a bookshelf for an instant pop of color.

Beyond Walls

Do not stop at walls. Use contact paper to refresh dated countertops or old kitchen cabinets. A clean, matte white or a realistic wood grain finish can brighten a dark kitchen instantly. It provides that clean, high-end look without requiring you to spend thousands on renovations.

Lighting Tweaks for Small Spaces

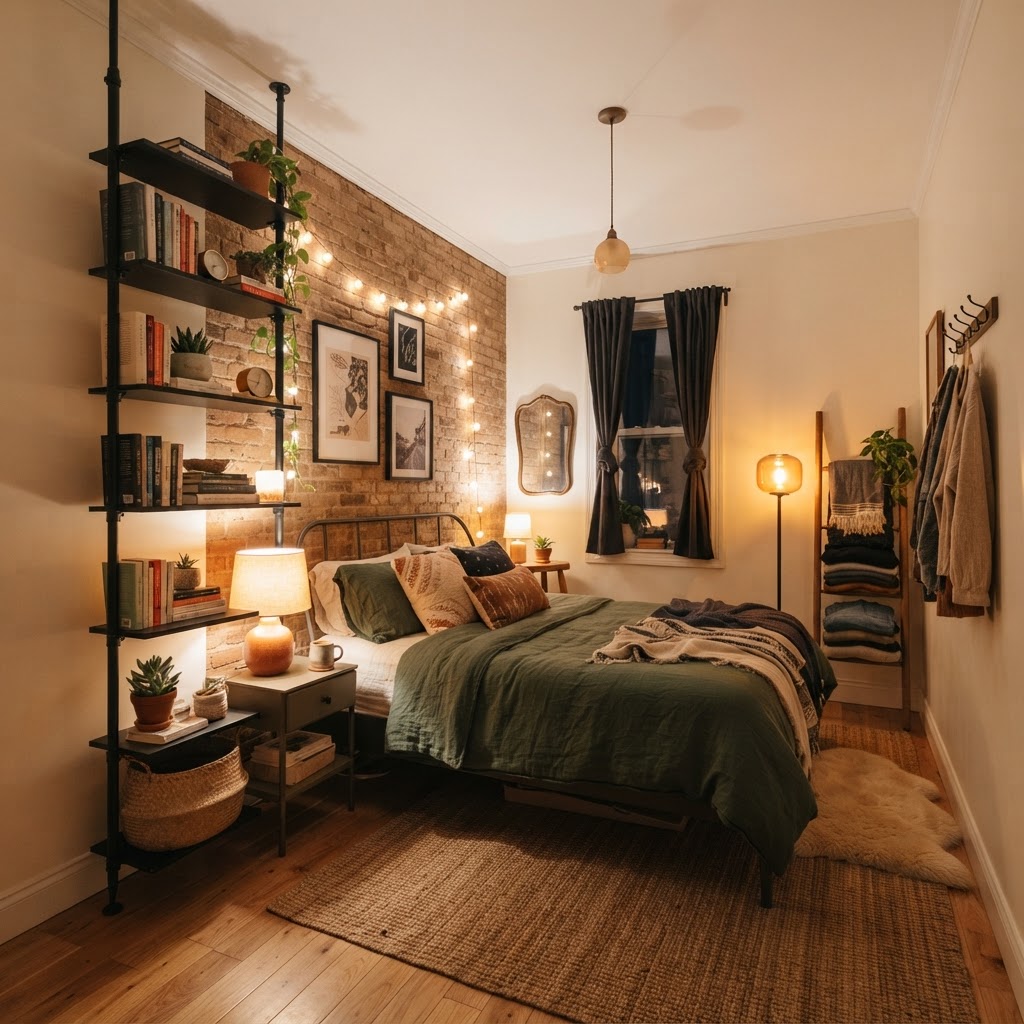
Maximizing small bedroom space with smart lighting and vertical storage.

Lighting is the single most effective way to dictate the mood and perceived size of a small apartment, with studies suggesting that warm, multi-source lighting makes rooms feel up to 15% larger. Most rental units suffer from harsh, centrally mounted ‘boob’ lights that cast unflattering shadows; you can bypass these by installing a “three-tier” lighting system consisting of floor lamps for ambient light, table lamps for task focus, and smart bulbs for atmospheric control.

Warmth Through Layering

Place lamps at varying heights around the room to create depth. Use warm-toned bulbs (2700K to 3000K) rather than stark daylight LEDs to make the apartment feel cozy and inviting. If you have limited table space, use clamp-on task lights that attach to bookshelves or bed frames, providing focused light where you actually need it.

Organizing with Command Hooks and Adhesive Strips

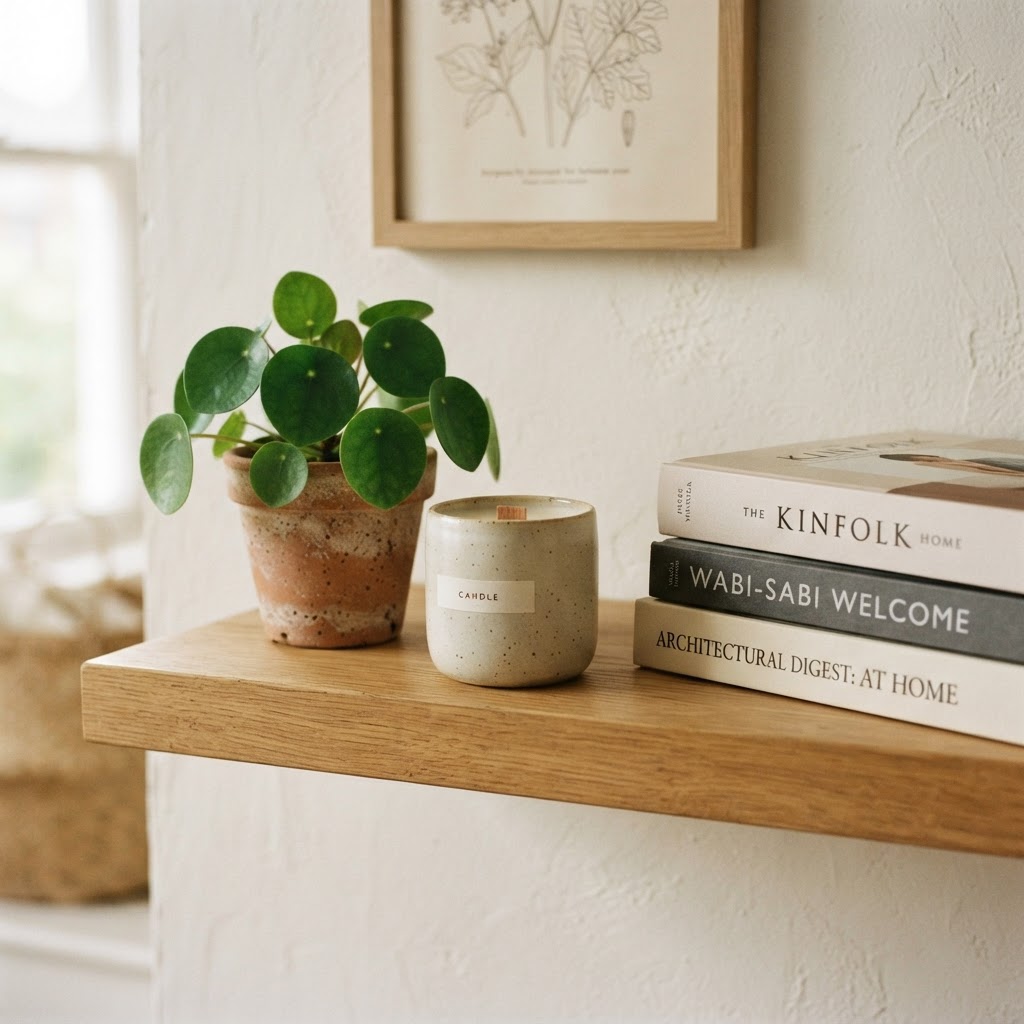
Styling tips to make small surfaces feel curated and intentional.

Heavy-duty adhesive hooks act as the backbone of modern rental organization, allowing you to utilize wall space for storage without violating lease terms. When applied to a smooth, non-porous surface, a single pair of heavy-duty strips can hold up to 16 pounds, effectively replacing the need for nails or screws. This creates “hidden” storage opportunities behind doors and on empty wall sections that would otherwise remain underutilized.

Wall Decor Without the Holes

Create a gallery wall using lightweight frames secured with adhesive strips. You can swap out photos or prints whenever you get bored, keeping your decor fresh throughout the year. For mirrors, use heavy-duty adhesive strips to bounce light around the room, which makes small, dark apartments look twice as large.

Smart Storage Solutions

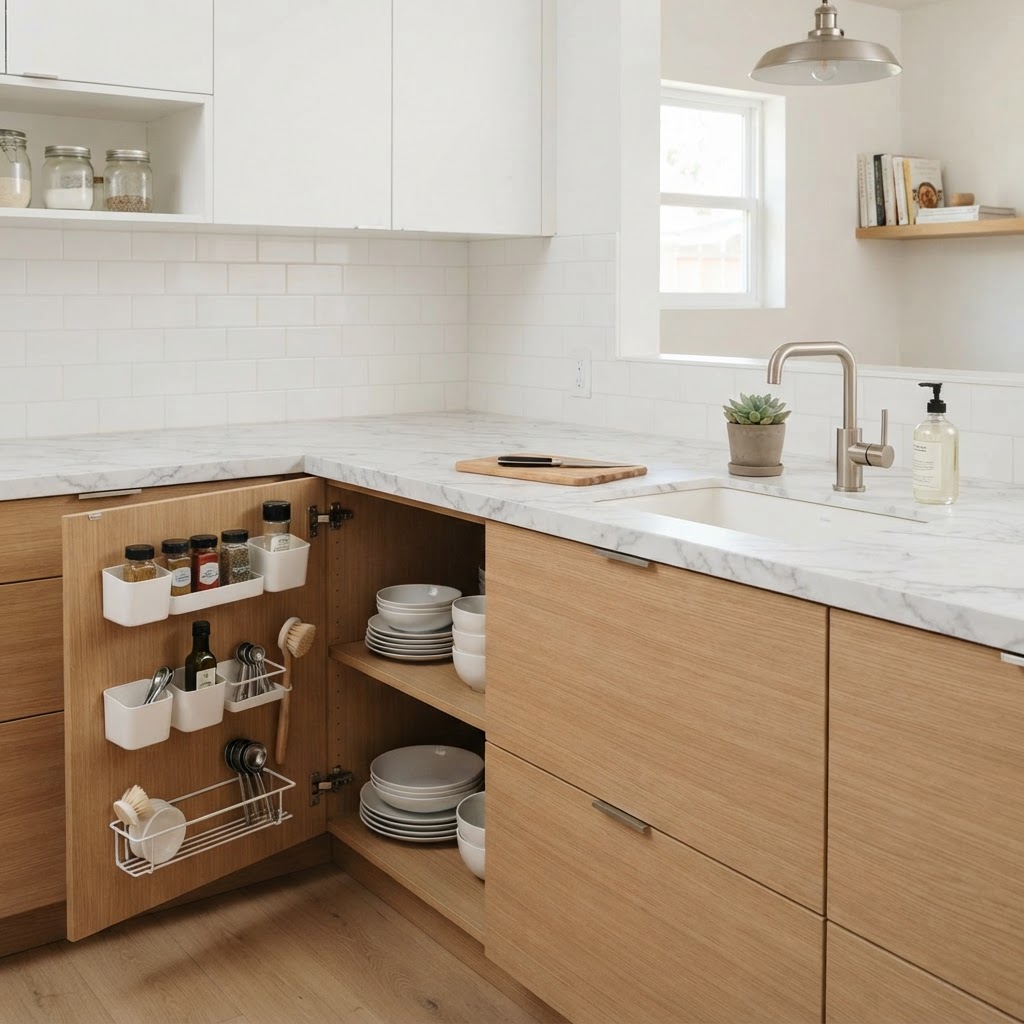
Mount small adhesive bins to the inside of pantry doors or vanity mirrors to store toiletries and spices. By utilizing the back of doors, you reclaim valuable counter space, which is essential for maintaining a clean and functional living environment.

Functional Furniture That Does Double Duty

In a tiny apartment, every square inch must justify its existence through dual-purpose utility. Prioritizing furniture with integrated storage—such as ottomans that house blankets or bed frames with drawers—can reduce floor clutter by up to 40%. By choosing pieces that serve at least two functions, you prevent “visual noise,” which is a major factor in making small homes feel overcrowded.

Selecting Multi-Purpose Pieces

Look for beds with built-in drawers, or use bed risers to elevate your frame, creating massive under-bed storage opportunities. Use long, shallow bins that roll easily so you can maximize every bit of space beneath your frame. Keeping clutter off the floor is the fastest way to make a tiny home feel like a sprawling apartment.

Styling Surfaces and Textiles

Textiles serve as the primary visual anchor in a rental, allowing you to camouflage dated flooring or standard finishes that you cannot permanently modify. Incorporating high-pile area rugs and layered throw blankets not only adds luxury but also provides sound dampening, which is crucial for apartment living. Aim to cover at least 60% of floor space with rugs in high-traffic areas to maximize both comfort and style.

The Rule of Three

When styling surfaces, use the rule of three to group decor items. Combine objects of varying heights, textures, and materials. For example, a stack of books, a small plant, and a decorative candle can turn a basic console table into a high-end display. This strategy prevents surfaces from looking like junk drawers while ensuring the room feels intentionally designed.

FAQ

Can I use peel-and-stick wallpaper on textured walls?

Yes, peel-and-stick wallpaper generally struggles with heavy-textured walls as the adhesive cannot make full contact with the surface. It is best suited for smooth, matte-painted drywall; test a small sample strip for 48 hours to ensure it adheres correctly before applying to an entire wall.

Do tension rods damage window frames?

No, tension rods use internal springs to exert pressure against the sides of a frame, meaning they do not require screws or adhesive. They are completely damage-free, provided you do not exceed the weight rating specified by the manufacturer, typically under 20 pounds.

How do I remove adhesive strips without peeling paint?

To safely remove adhesive strips, pull the tab slowly and steadily in a parallel direction to the wall, never pulling outward at an angle. If the bond is stubborn, use a hair dryer on a low-heat setting for 30 seconds to soften the adhesive before pulling.

What is the most cost-effective way to hide ugly rental floors?

Using large-scale area rugs is the most effective way to hide dated carpet or worn linoleum. Layering a smaller, decorative rug over a large, neutral jute or synthetic rug provides a high-end look while covering significant surface area at a fraction of the cost of renovation.

Are smart plugs worth the investment for renters?

Yes, smart plugs are essential for renters because they allow you to control non-integrated lamps and fans via voice or phone apps. This gives you “smart home” lighting capabilities without needing to change any permanent light fixtures or hardwired electrical switches.

6 Quick Kitchen Upgrades Renters Can Do in Under an Hour

6 Quick Kitchen Upgrades Renters Can Do in Under an Hour

Renters can upgrade their kitchens in under an hour by installing peel-and-stick backsplashes, swapping cabinet hardware, adding battery-operated LED lighting, or applying removable contact paper. These high-impact, non-permanent modifications require minimal tools like a screwdriver or utility knife, allowing tenants to personalize their space without risking their security deposit.

1. Swap Out Cabinet Hardware

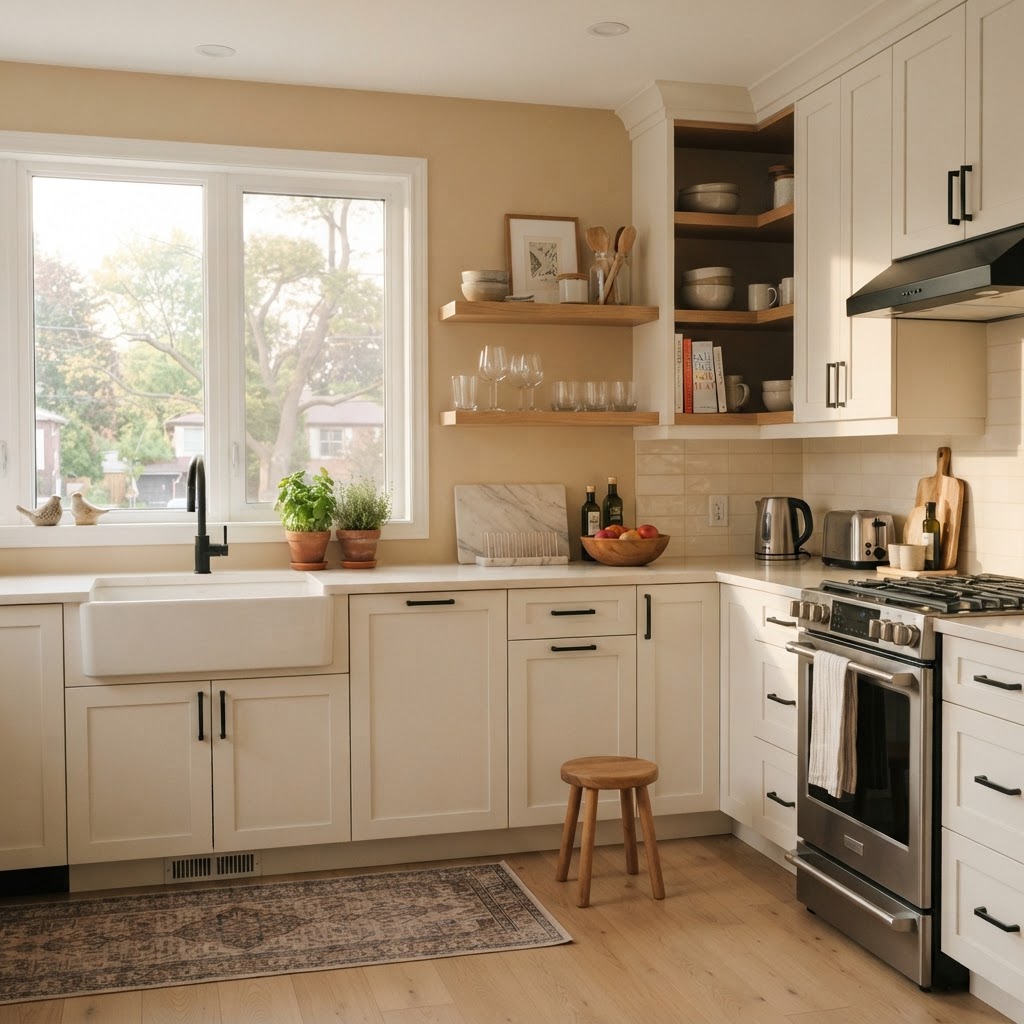
Replacing old cabinet knobs with modern matte black hardware instantly refreshes a rental kitchen.

Replacing existing cabinet hardware is the single most effective way to modernize a rental kitchen in under 60 minutes. Standard builder-grade knobs often look dated, but switching them for matte black pulls, polished brass, or brushed nickel handles instantly elevates the room’s aesthetic. Because this project usually involves only two screws per cabinet, it is arguably the lowest-risk modification a renter can perform.

Comparison: Hardware Material Impacts

Material Aesthetic Style Maintenance Level Estimated Cost (10 pack)
Matte Black Modern / Industrial Low $20 – $35
Brushed Brass Vintage / Luxe Medium $25 – $40
Chrome Minimalist / Clean Low $15 – $30

The Installation Process

Begin by unscrewing the current hardware and placing the original pieces into a clearly labeled Ziploc bag, which you should store in a kitchen drawer or utility closet. When buying replacements, measure the ‘center-to-center’ distance between existing screw holes precisely (typically 3 inches or 96mm) to ensure your new hardware fits without needing to drill new holes. This ensures the upgrade remains entirely reversible. Simply tighten your new handles with a manual screwdriver—avoid power drills to prevent stripping the wood—and enjoy a custom look that feels permanent but can be returned to its original state in minutes.

2. Utilize Peel-and-Stick Backsplash Tiles

Peel-and-stick contact paper is a renter-friendly way to cover scratched countertops.

Peel-and-stick backsplash tiles offer a professional, high-end appearance for stained or outdated kitchen walls without the need for thin-set mortar or grout. These vinyl-based tiles are designed specifically for rental environments, utilizing adhesives that are strong enough to hold through humidity but gentle enough to peel away cleanly when your lease term ends. Modern variations now include 3D textures that mimic authentic stone, ceramic, or glass finishes.

Before you begin the installation, you must degrease the wall surface thoroughly using a dish soap solution or specialized degreaser, as residual kitchen oils will cause the adhesive to fail prematurely. Measure the height of the space beneath your upper cabinets and the stove backsplash, then use a sharp utility knife or heavy-duty scissors to trim your sheets for a perfect seam. For corners, overlap the tiles slightly to maintain a waterproof barrier against sink splashes. This project typically takes 45 to 60 minutes for a standard galley kitchen, transforming a dull wall into a textured, high-impact focal point.

3. Install Under-Cabinet LED Lighting

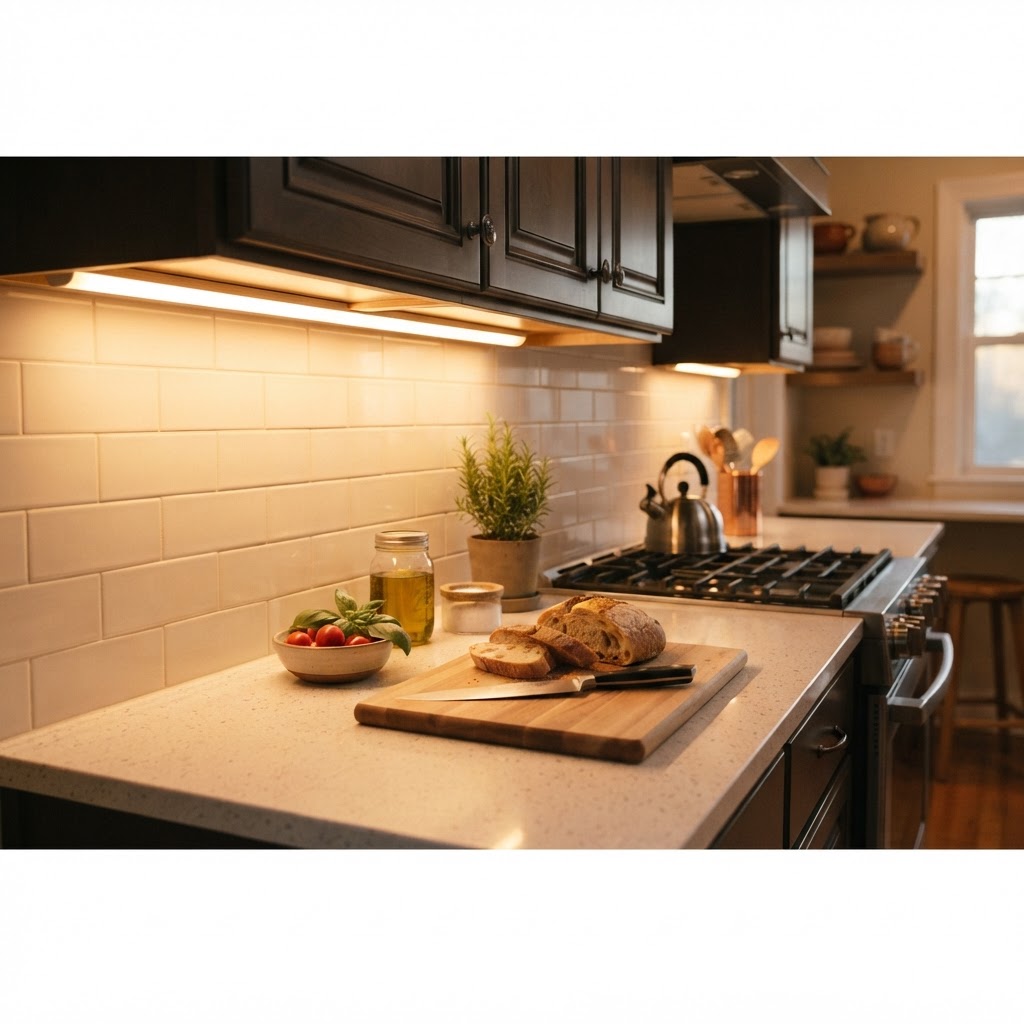
Under-cabinet lighting adds both functionality and a sophisticated ambiance to any kitchen.

Under-cabinet LED lighting dramatically improves both the utility and mood of a kitchen by eliminating shadows on dark countertops. Because rental properties often rely on single, centrally located overhead fixtures that cast unflattering light, battery-operated or rechargeable USB-powered LED strips serve as the perfect solution for illuminating your workspace without any electrical hardwiring or permanent drilling.

Choosing Your Lighting

When shopping for lights, prioritize units with motion sensors or remote-controlled dimming capabilities to maximize battery life. Many modern kits include magnetic mounting plates or 3M adhesive strips, allowing for a ‘peel-and-stick’ installation that takes less than 15 minutes. Select a ‘warm white’ color temperature (around 3000K) to create a cozy, residential feel, or ‘cool white’ (5000K) if you prioritize high visibility for precise food preparation tasks. By placing these lights toward the front edge of the underside of your cabinets, you achieve maximum light spread across your entire prep area. This small addition not only improves function but also adds a high-end designer glow that makes a rental kitchen feel significantly more expensive than it is.

4. Upgrade Your Faucet with a Modern Sprayer

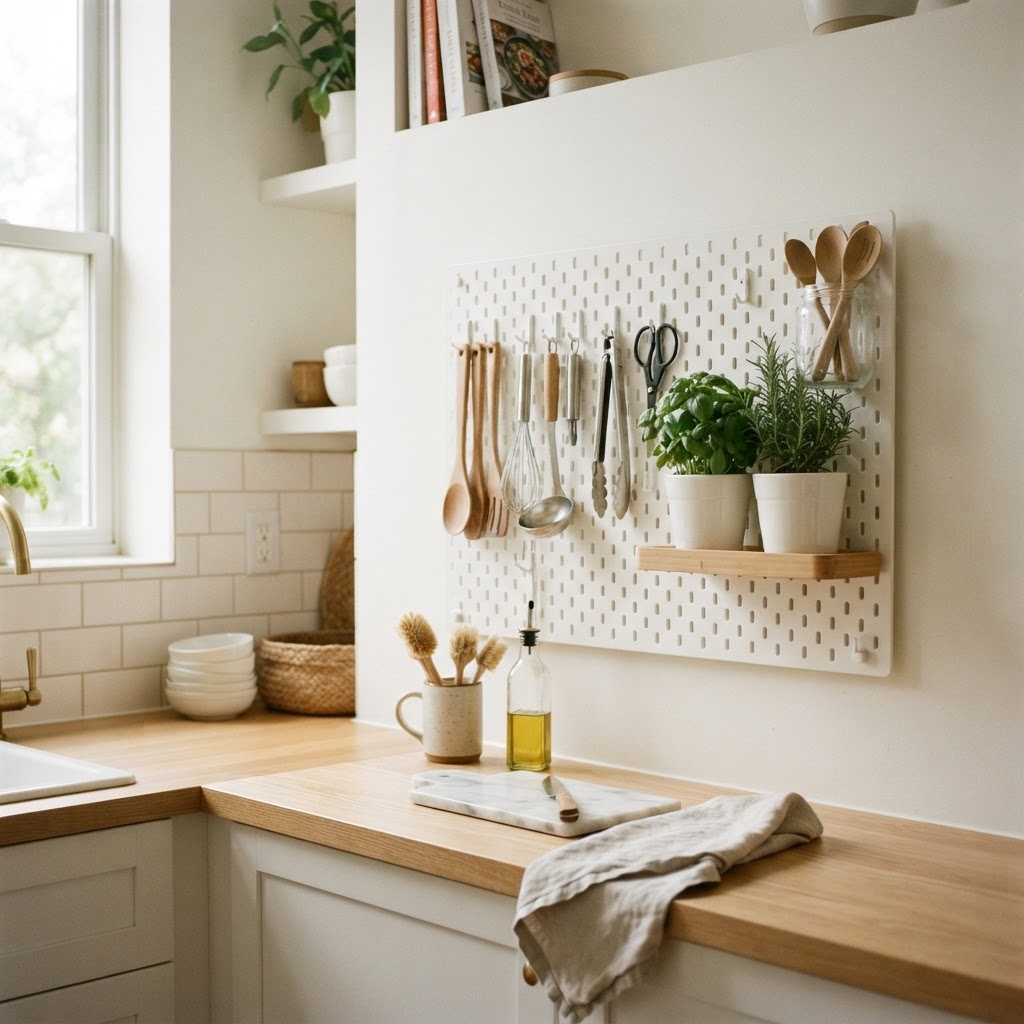
A temporary pegboard provides essential vertical storage for tight rental spaces.

Replacing a clunky, basic faucet with a sleek, modern pull-down sprayer provides a significant boost in both performance and style for your kitchen sink area. Although it may seem daunting, replacing a kitchen faucet is a standard “swap” project that requires only an adjustable wrench and about 45 minutes of work. Modern universal faucets are designed to fit most standard sink configurations (1-hole or 3-hole setups), making this a highly accessible DIY task for most tenants.

To perform the upgrade, first turn off the water supply valves located under the sink. Use your wrench to disconnect the existing supply lines, then unscrew the nuts securing the old faucet to the countertop. Once removed, drop your new faucet into the pre-existing holes and secure it according to the manufacturer’s instructions. Be sure to keep the original faucet and all its mounting hardware in a sealed container under the sink; you will need these parts to revert the kitchen to its original state when you eventually move out. This simple swap significantly reduces dishwashing time and provides a high-arc professional look that serves as the centerpiece of your rental kitchen.

5. Add Removable Contact Paper to Countertops

Countertops often suffer from the most severe wear and tear in older rental apartments, but they can be completely camouflaged using high-quality, heat-resistant contact paper. These adhesive vinyl sheets come in a wide variety of finishes, including faux marble, butcher block, and concrete, providing a brand-new look for a fraction of the cost of real stone or laminate replacement.

Application Tips for Success

Success with contact paper relies entirely on surface preparation and patience. First, ensure the countertop is perfectly clean and dry, removing all dust, grease, and grime that could cause bubbling. Measure your area with an extra two-inch margin on all sides. As you apply the paper, use a plastic squeegee to smooth out air bubbles from the center outward. For edges and corners, apply low-level heat from a standard hair dryer to soften the vinyl, allowing it to stretch and wrap around rounded corners for a seamless, professional finish. When moving out, simply apply heat again to loosen the adhesive and peel the paper away without damaging the underlying countertop.

6. Create a Stylish Vertical Storage System

Vertical storage is the secret weapon of small rental kitchens, allowing you to maximize limited cabinet space without installing permanent shelving. By utilizing the sides of cabinets or the area above the sink, you can keep clutter off your counters and create a more organized cooking environment. Options include magnetic strips for knife storage, adhesive hooks for utensils, and tension rods tucked under the sink for cleaning supplies.

Installing a pegboard is another highly effective method to store heavy pots and pans. You can mount these using heavy-duty command strips or adhesive mounts that are weight-rated for the items you plan to hang. This modular approach allows you to customize the configuration to suit your specific cooking tools, ensuring that your most frequently used items are always within arm’s reach. By utilizing vertical wall space, you effectively increase your kitchen’s square footage, making a cramped rental kitchen feel significantly more spacious and efficient.

Expert Tips for Rental Success

Always prioritize the principle of “reversibility” when performing any rental kitchen project. The primary goal is to enhance your daily living experience while ensuring the property can be returned to its exact original condition. Before beginning any project, review your lease for specific restrictions regarding drilling, adhesives, or appliance replacement, and store all original hardware in a dedicated, clearly labeled box to prevent loss.

Maintain an Inventory

Organizing your original parts is crucial for a successful move-out. Use resealable plastic bags for screws, nuts, and small brackets, and place them inside the original box or tape them to the underside of the replaced items. By maintaining this inventory, you can complete the restoration process efficiently in just a few hours, protecting your security deposit while enjoying your personalized space in the meantime.

FAQ

Q: Do I need special tools for these projects?

Most of these upgrades require only basic household tools like a screwdriver, a utility knife, and a measuring tape. You will rarely need power tools, and most hardware can be installed manually without the risk of damaging the underlying cabinetry.

Q: Can I get my security deposit back?

Yes, you will likely receive your full security deposit back as long as you remove the modifications before moving out. Ensure that you retain all original items—like handles and faucets—and reinstall them before the final move-out inspection.

Q: Is peel-and-stick backsplash safe for walls?

Most high-quality peel-and-stick tiles are safe for standard, painted drywall when applied correctly. To ensure no damage occurs, peel the tiles off slowly at a sharp 45-degree angle when moving out, and use a little heat from a hair dryer to soften the adhesive if it feels difficult to remove.

Q: How long do these upgrades usually take?

Each of the projects mentioned can be completed in under one hour. Swapping hardware or installing under-cabinet lighting generally takes 20 to 30 minutes, while applying contact paper or backsplashes may take closer to an hour depending on the size of your kitchen area.

How to Hide All Your Shoes in a Narrow Entryway

To hide all your shoes in a narrow entryway, utilize slim-profile tilt-out shoe cabinets less than 10 inches deep, install vertical wall-mounted racks to clear floor space, and implement a seasonal rotation system to limit the number of pairs stored in your hallway at any one time.

Assessing Your Entryway Constraints

A slim tilt-out cabinet provides a sleek solution for narrow corridors.

The first step in mastering storage is understanding your specific limitations, as measuring your space accurately is essential before purchasing organizational tools. A hallway that is only 30 inches wide requires a very different approach than one that is 40 inches wide, and your success depends on clearing the area to take precise measurements of the floor space, wall height, and the distance from the wall to the door swing.

It is vital to ensure that any storage unit you introduce does not prevent the front door from opening fully, especially in corridors with limited clearance. Consider whether you have a recess in the wall or an awkward corner that is currently going unused. These small, often ignored architectural quirks—frequently measuring 12 to 18 inches in width—are often the secret to finding the perfect home for a slim piece of furniture. When planning, prioritize units that maintain at least 32 inches of walking clearance to ensure your entryway remains compliant with standard accessibility flow.

Choosing the Right Slim Furniture

Wall-mounted racks keep footwear off the floor to maximize small spaces.

When you are tight on space, standard shoe racks are rarely the best solution; instead, you should look for furniture specifically designed for vertical efficiency, such as slim shoe cabinets which are the gold standard for small spaces. These units typically feature tilt-out drawers that allow shoes to stand vertically, significantly reducing the depth required compared to traditional shelves, often taking up only 6 to 9 inches of floor space.

Storage Type Depth Range Capacity Estimate Best For
Tilt-Out Cabinet 6″ – 10″ 8-12 pairs Tight hallways
Wall-Mounted Rack 2″ – 5″ 3-6 pairs Minimalist decor
Storage Bench 12″ – 16″ 6-8 pairs Seating + Storage
Over-the-Door 4″ – 6″ 10-20 pairs Closet doors

When shopping for these units, look for models that are less than 10 inches deep. You can easily find options that mount to the wall, which keeps the floor clear and makes the room feel larger. By opting for a cabinet with a flat top, you also gain a surface area for keys, mail, and a small decorative bowl, effectively turning your storage solution into a functional console table that provides both utility and aesthetic value.

Benefits of Wall-Mounted Storage

Wall-mounted storage is a game-changer in narrow hallways because elevating your storage solutions off the ground increases visible floor space, which is a classic interior design trick to make a room appear wider than it actually is. Furthermore, cleaning becomes significantly easier when your storage does not have legs that accumulate dust and hair. By utilizing wall-mounted systems, you also protect your baseboards and flooring from scuffs caused by traditional heavy shoe racks.

Utilizing Vertical Wall Space

A functional storage bench offers seating while keeping shoes hidden.

If floor space is non-existent, it is time to look up, as your walls represent the most underutilized real estate in your home. By installing hooks, floating shelves, or wall-mounted cubbies, you can keep your most frequently worn pairs organized without sacrificing a single inch of floor depth, effectively managing vertical zones up to 7 feet high.

Consider installing a series of staggered wall hooks at varying heights. Not only does this look artistic, but it also allows you to stagger boots and flats so they do not crowd each other. Another excellent option is a slim, wall-mounted rack that folds flat when not in use. These are particularly useful for guests who may drop off their shoes during a visit but do not need permanent storage space. By utilizing wall space, you can often increase your storage capacity by 40% compared to floor-only solutions, keeping entryways clear and visually balanced.

Creative Hidden Storage Ideas

Sometimes the best way to hide all your shoes in a narrow entryway is to use furniture that serves a double purpose, such as benches that offer deep internal storage or ottomans that can slide completely under a wall-mounted console table. By choosing items that pull “double duty,” you reduce the total number of objects competing for your limited square footage, which is crucial in entryways smaller than 25 square feet.

Another clever trick is to place a shallow storage bench at the very end of your hallway if the layout allows. This acts as a visual anchor while providing a designated spot to sit down while putting on shoes. If your bench is long enough—typically 36 to 48 inches—you can even install dividers inside to keep shoes from becoming a jumbled pile. For those who are handy with DIY, consider building a shallow, custom “locker” system that blends into the wall color, making the storage practically disappear into the architecture.

Rotational Systems for Small Closets

If you have a coat closet in your entryway, do not ignore its potential, but instead implement a rotation system to prevent the bottleneck created by storing too many items in a limited space. Only keep the shoes you wear three to four times a week in the entryway; for all other pairs, use a “seasonal storage” bin in another part of the house—such as under your bed or in a bedroom closet—for shoes that do not match the current weather.

By thinning out the population of shoes in your entryway, you naturally make it easier to maintain an organized, clean look, effectively reducing daily clutter by up to 60%. Treat your entryway like a transition zone rather than a long-term storage facility. Essential tips include using over-the-door organizers for sandals, placing a small basket for errant socks, and purging shoes you have not worn in the last 6 months.

Dealing with Boots and Bulky Items

Boots are notoriously difficult to store in narrow spaces because they are tall and wide, and attempting to force them into a slim shoe cabinet usually results in damaged leather or bent shafts. For these, consider a dedicated corner spot with a vertical boot tray or a wall-mounted boot rack that hangs them upside down, which preserves the shape of the boot shaft and prevents creases.

If you must keep boots in the entryway, try to place them in the most hidden, darkest corner of the space. When you elevate boots off the floor using a small rack, they look less like clutter and more like a deliberate design choice. Keeping the floor clear of large, bulky items is the primary way to maintain the illusion of a spacious, organized home, especially in hallways where floor space is the most valuable commodity.

Maintaining a Clutter-Free Habit

Storage furniture is only one part of the equation, as to truly hide all your shoes in a narrow entryway, you must commit to a routine. It is all too easy to get home after a long day and kick your shoes off in the middle of the hallway; therefore, you must establish a strict rule where shoes are immediately placed into their designated spot.

Think of this as a ritual of arriving home. By taking the extra ten seconds to tuck your shoes into the cabinet, you ensure that you are greeted by an orderly, peaceful space the next morning. If you live with others, place a small basket in the hallway that can serve as a temporary landing pad for shoes that need to be put away later in the day, keeping the floor clean while allowing for a moment of flexibility in your busy schedule.

FAQ

Q: What is the best depth for a narrow shoe cabinet?

A: The best depth for a narrow shoe cabinet is between 6 and 10 inches. This profile allows for vertical tilt-out storage that accommodates most shoe sizes without obstructing the walking path of your hallway.

Q: How do I store tall boots in a small entryway?

A: Store tall boots using a vertical boot rack that hangs them upside down or place them on a shallow boot tray in a corner. Hanging them upside down prevents the shafts from slouching and saves precious floor space.

Q: Can I hide shoes in a hallway less than 30 inches wide?

A: Yes, you can hide shoes in a narrow hallway by utilizing wall-mounted floating shelves or slim hooks. These solutions require zero floor footprint and keep the walkway clear for easy movement.

Q: How many shoes should I keep in my entryway at once?

A: Limit your entryway to the shoes you wear 3 to 4 times per week to prevent clutter. Rotating your collection seasonally allows you to keep only relevant footwear at the door.

Fast Renter Upgrades to Make a Small Apartment Feel Luxury

Fast Renter Upgrades to Make a Small Apartment Feel Luxury

To make a small apartment feel like a luxury space, prioritize high-impact, reversible upgrades like replacing builder-grade hardware, installing floor-to-ceiling curtains, and incorporating layered, warm-toned lighting. These tactical changes move your space away from a “landlord special” aesthetic by introducing high-quality textures, vertical interest, and intentional design choices that maximize your 400 square feet.

Rethink Your Lighting Strategy

Maximize your 400-sq-ft apartment with strategic lighting and floor-to-ceiling curtains.

Lighting is the most effective tool to disguise architectural mediocrity, as standard builder-grade flush mounts often cast flat, clinical shadows. By replacing single-source overhead lights with layered illumination, you can emulate the sophisticated ambiance of a boutique hotel. A layered strategy typically involves three tiers: ambient, task, and accent lighting, which creates depth and visual interest in compact footprints.

The Power of Layered Illumination

To move away from the flat, singular light source, incorporate floor lamps and table lamps with warm-toned bulbs (ideally 2700K to 3000K). A combination of task lighting for work zones, ambient glow for relaxation, and accent lighting for architectural features creates depth, which inherently makes a 400-sq-ft space feel much larger. Consider these lighting upgrades:

This technique creates the illusion of floor-to-ceiling windows, which artificially heightens your ceiling and creates a sense of airiness that standard blinds suppress. Opt for heavy fabrics like linen or cotton blends; these materials hold their pleats better and provide the sound-dampening benefits that cheap synthetic materials lack. When choosing a color, match your curtains closely to your wall color to create an expansive, monochromatic look that makes the room feel taller and wider.

Curate Your Textiles for Texture

Because small apartments often lack historical architectural grandeur, you must replace that structural interest with tactile luxury. By layering textiles such as heavy wool throws, velvet pillows, and high-pile rugs, you create an environment that feels “styled” by a professional. This sensory layer is what prevents a studio from feeling like a hollow, empty box.

Zonal Rug Placement

Use a large area rug—at least an 8×10 for most living areas—to physically and visually anchor your furniture. Placing a rug beneath your seating area defines a “living room” distinct from your sleeping or dining quarters, which is vital in a studio layout. High-quality rugs also act as acoustic insulation; in small, echo-prone apartments, a dense rug effectively absorbs noise, creating a softer, more intimate, and luxurious atmosphere.

The Art of Vertical Storage

Clutter acts as the primary antagonist to a luxury aesthetic, especially in units under 500 square feet. When floor space is limited, your vertical walls represent your greatest untapped asset for storage and display; utilize floating shelves, wall-mounted desks, or floor-to-ceiling bookcases to keep your floor clear, which tricks the eye into perceiving more square footage.

5 Things That Make Your Apartment Look CHEAP...Fix These First

Curating Your Surfaces

Adopt the “Rule of Thirds” or the “70/30” rule for shelving: keep 70% of the surface area clear and use 30% for curated items. A high-end look relies on intentional negative space. Avoid overfilling shelves; display meaningful items like a ceramic vase, a stack of hardcover books, or a singular trailing plant. This restraint demonstrates confidence in your design, moving away from a “storage-first” look to a “gallery-style” display.

Introduce Mirrors for Perceived Expansion

Mirrors function as a forced perspective tool, doubling the visual depth of a room and making 400 square feet feel closer to 600 or 700 square feet. The most effective way to use a mirror is to place a large, floor-length piece directly opposite a light source, such as a window or a statement chandelier, allowing the mirror to act as a “second window” that pushes the walls back visually.

Mirror Style Best Usage Visual Effect
Floor-standing Living areas or bedroom Increases floor depth
Large round Over a mantel or table Softens sharp edges
Mirrored wall Dining nooks Illusion of double space

FAQ

Q: How can I make my apartment look expensive on a small budget?

A: Focus on sensory details like replacing cabinet hardware, swapping plastic blinds for floor-to-ceiling linen curtains, and adding a high-pile rug. These updates prioritize texture and light over big-ticket furniture pieces, making the space feel finished and intentional without requiring structural renovations.

Q: Will replacing hardware damage my rental unit?

A: Replacing hardware will not damage your unit as long as you keep the original pieces and reinstall them before moving out. Use a dedicated Ziploc bag labeled with your room number to ensure no screws are lost, and you will fully retain your security deposit.

Q: What is the best way to hide “landlord” light fixtures?

A: Use large, sculptural floor lamps or table lamps to shift the focal point away from the ceiling. You can also use temporary, renter-friendly drum shade covers that clip onto existing flush-mount fixtures to soften the light quality instantly.

Q: Does peel-and-stick wallpaper ruin apartment walls?

A: Most high-quality peel-and-stick wallpapers are designed for clean removal without damaging paint or drywall. Always test a small, inconspicuous patch for 48 hours to ensure the adhesive does not interact poorly with your specific wall paint before covering a large surface area.

Q: How do I maximize space in a 400-square-foot studio?

A: Prioritize vertical storage by mounting shelves near the ceiling and using furniture with “legs” rather than solid bases. When you can see the floor beneath your sofa or bed, the room feels significantly larger and less congested than if you used bulky, low-profile storage furniture.