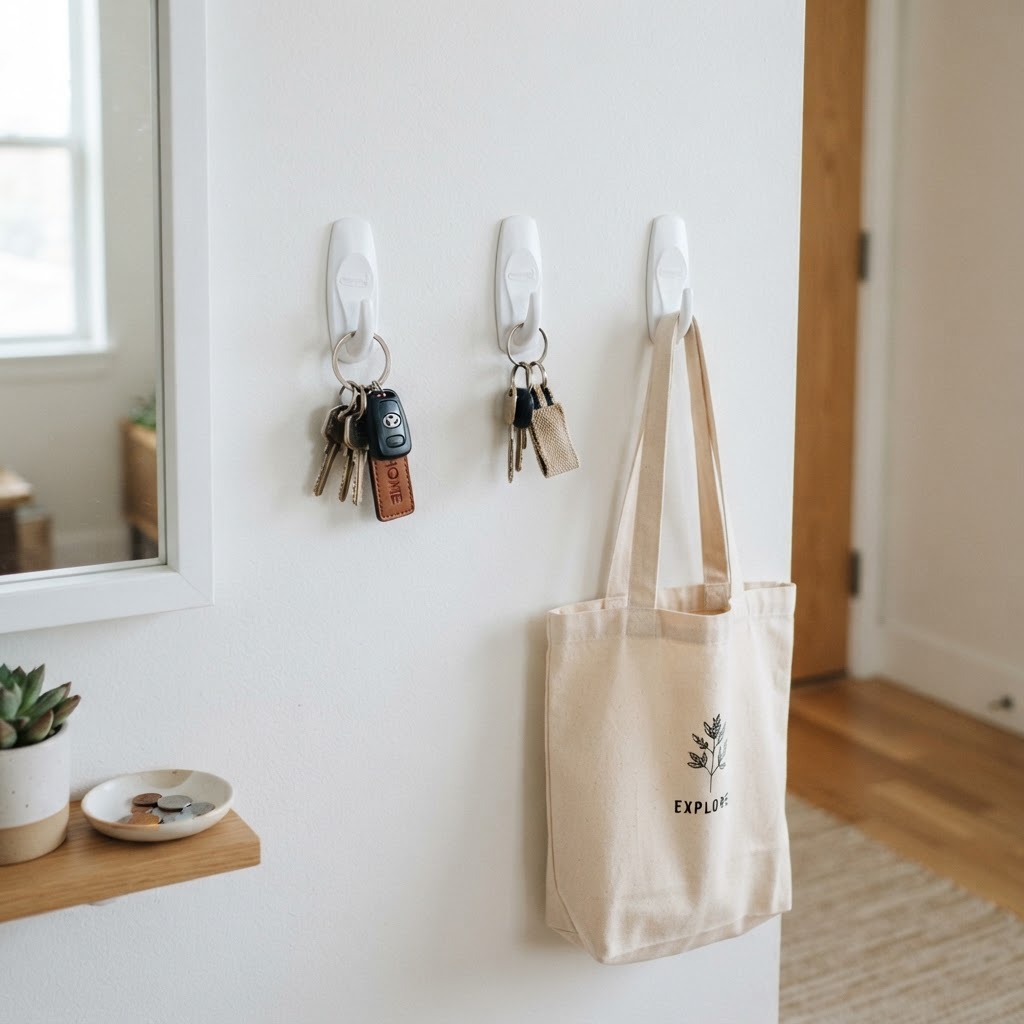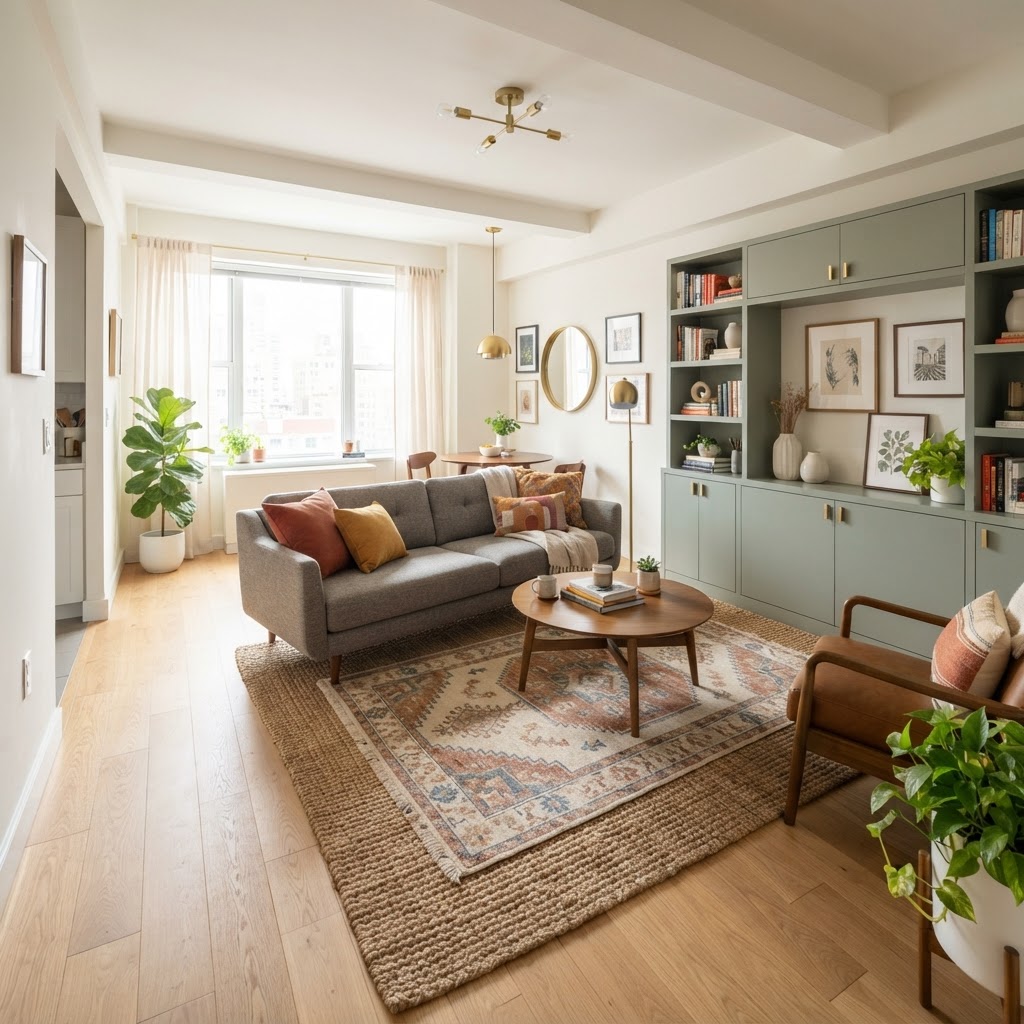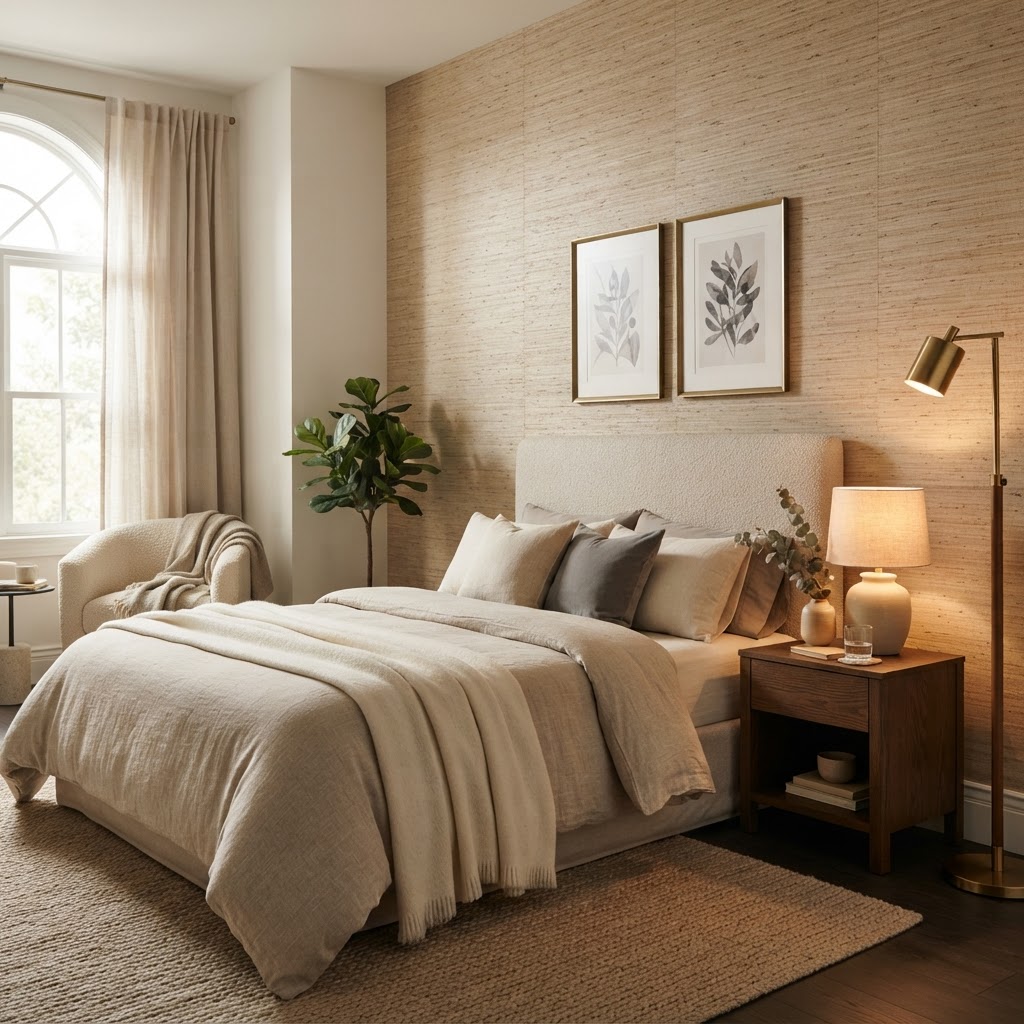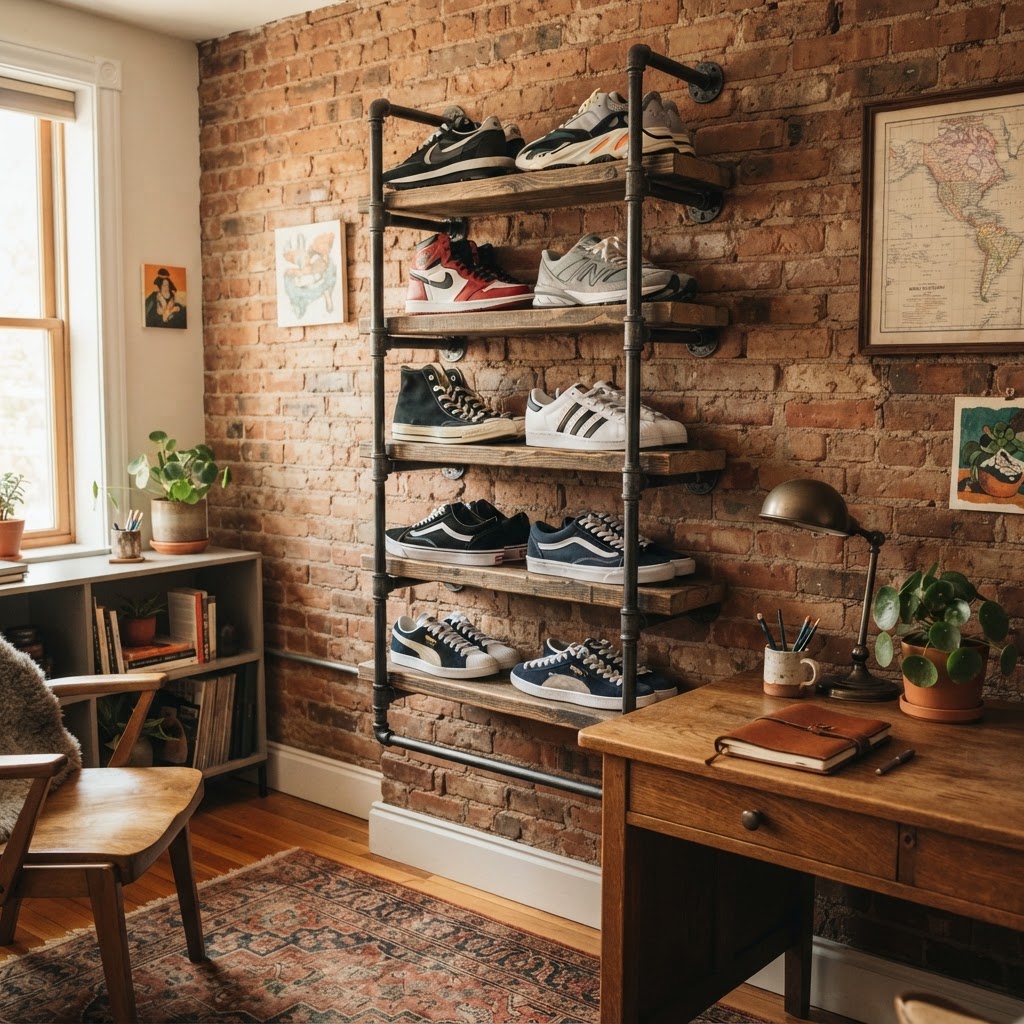
Archives August 2026

The Easiest Way to Warm Up a Cold Rental Living Room

The easiest way to warm up a cold rental living room is by layering soft textiles, replacing harsh overhead lighting with 2700K-3000K warm-toned bulbs, and using large-scale area rugs to anchor the space. These low-cost, non-permanent strategies neutralize sterile white walls and clinical flooring, instantly creating a cozy, personality-driven sanctuary without violating your lease.

The Power of Textiles and Soft Layers
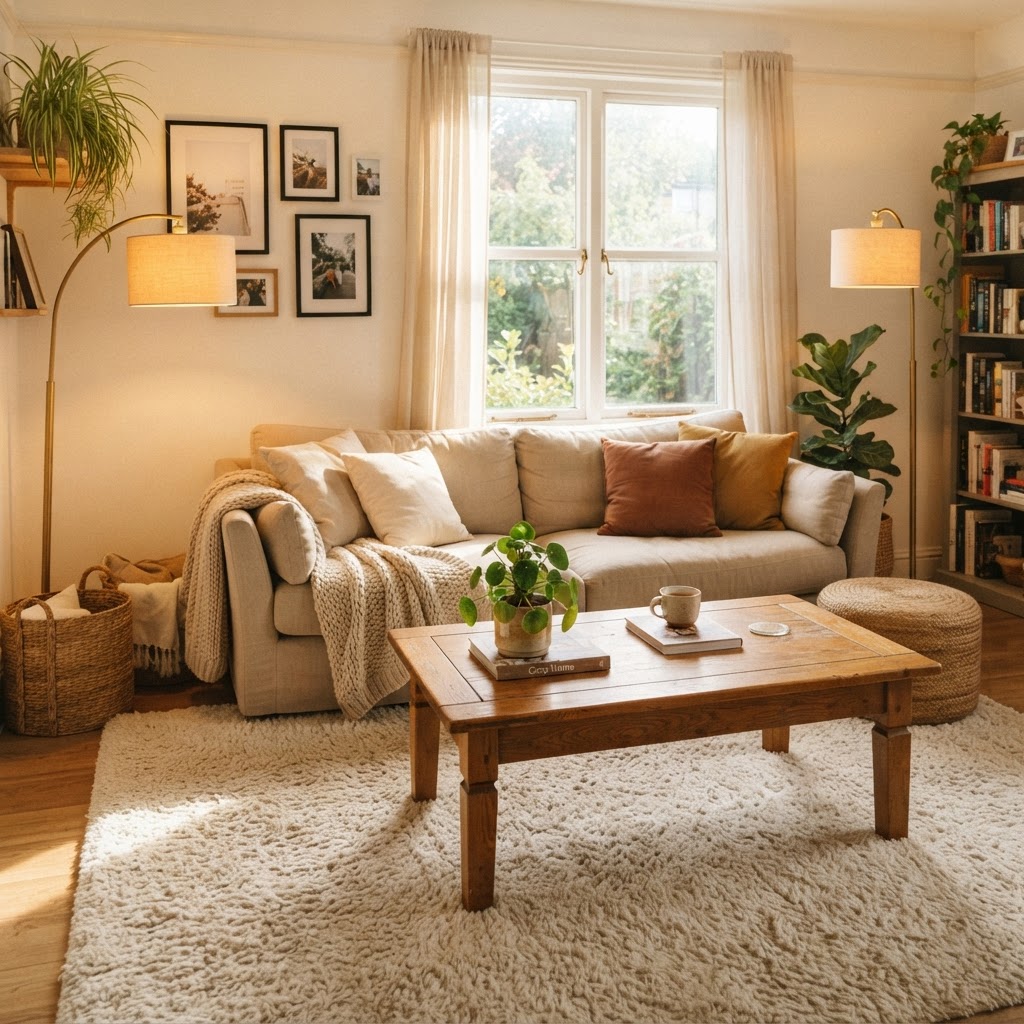
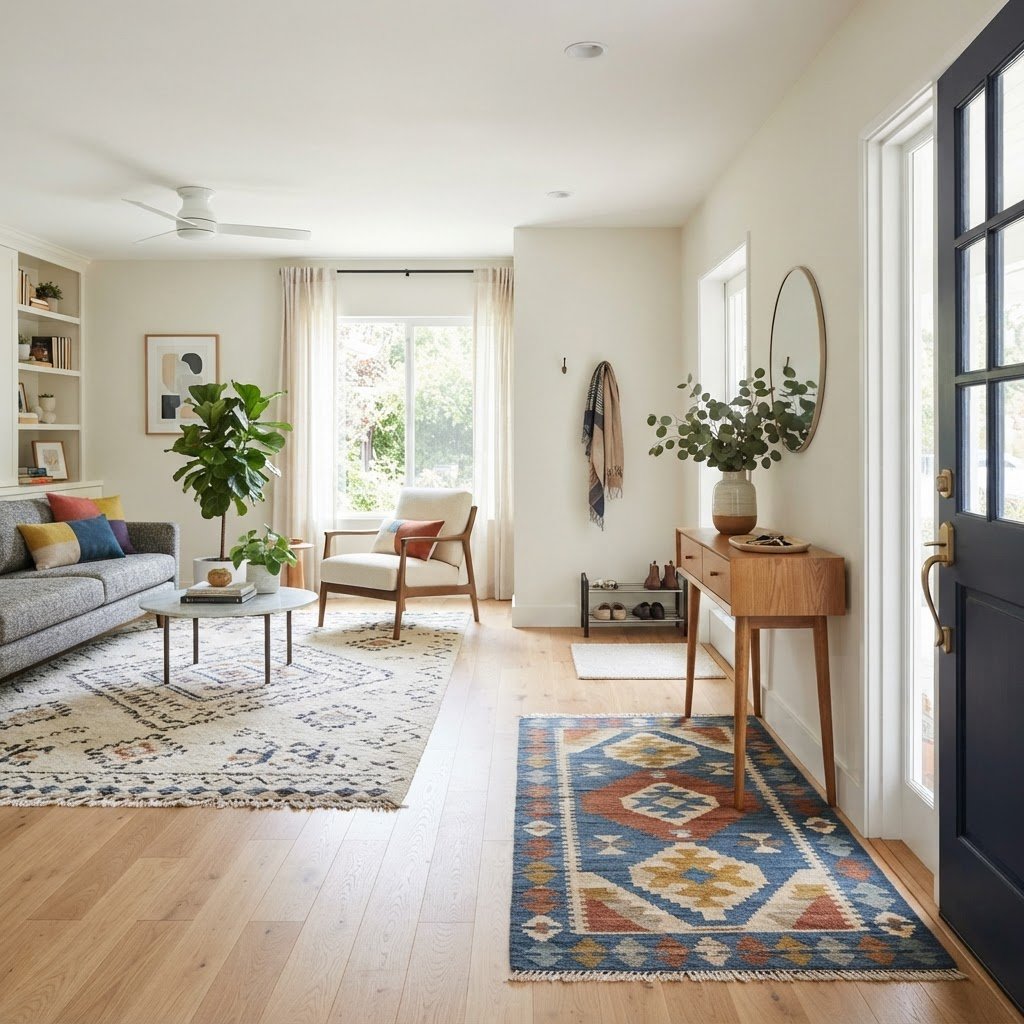
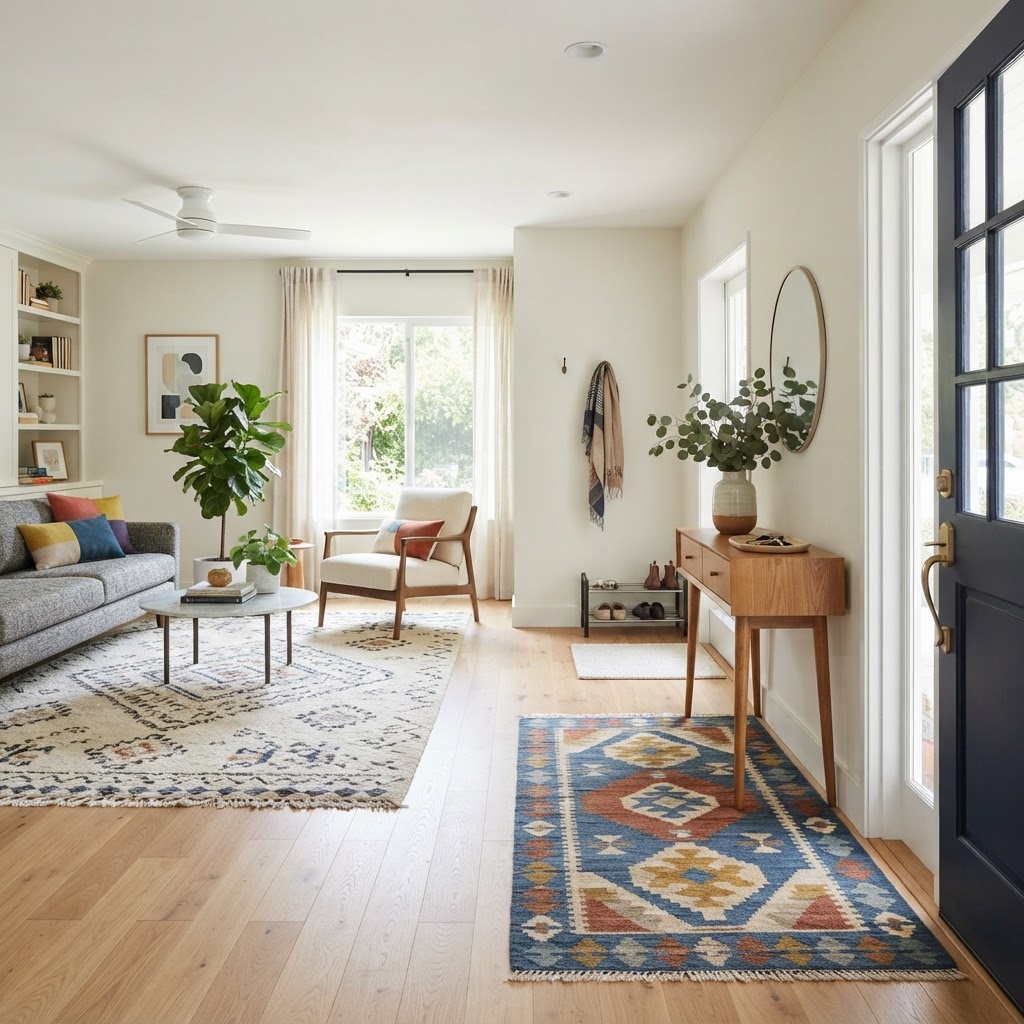
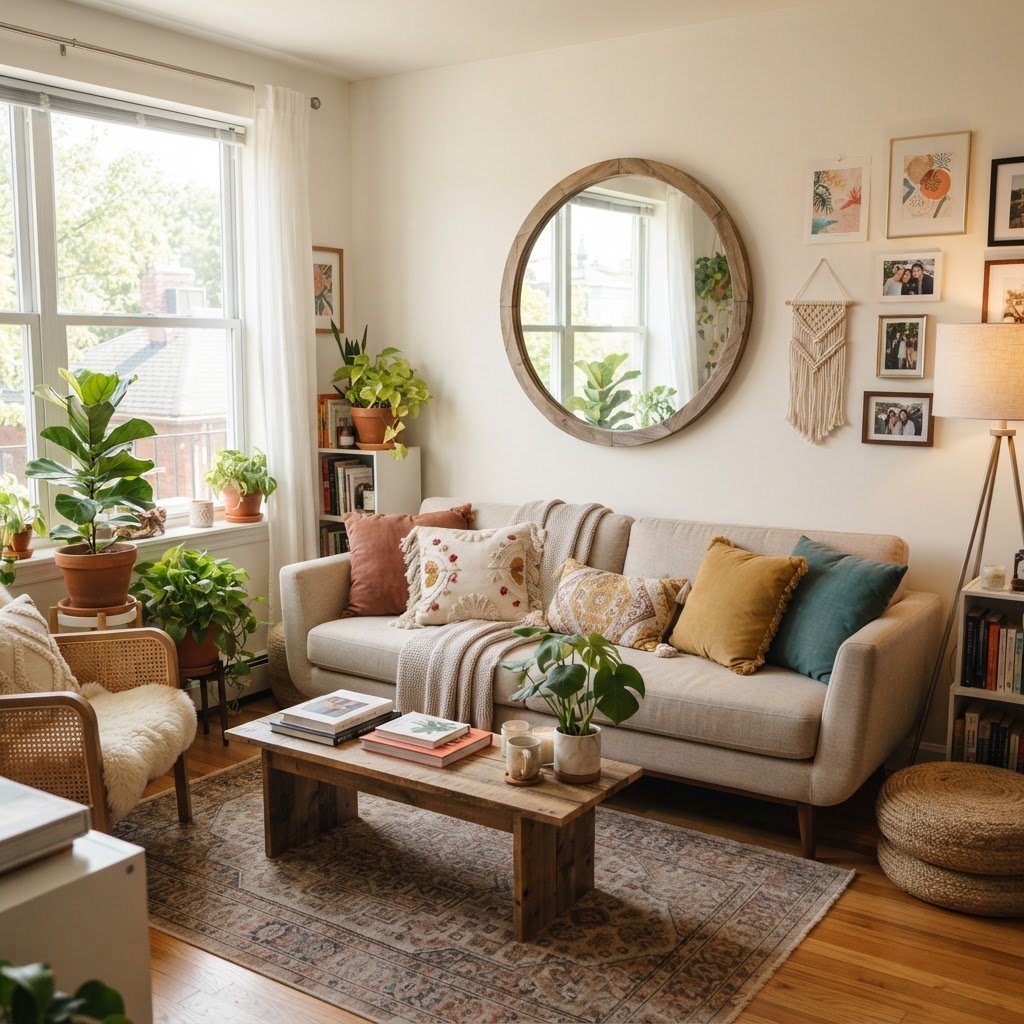
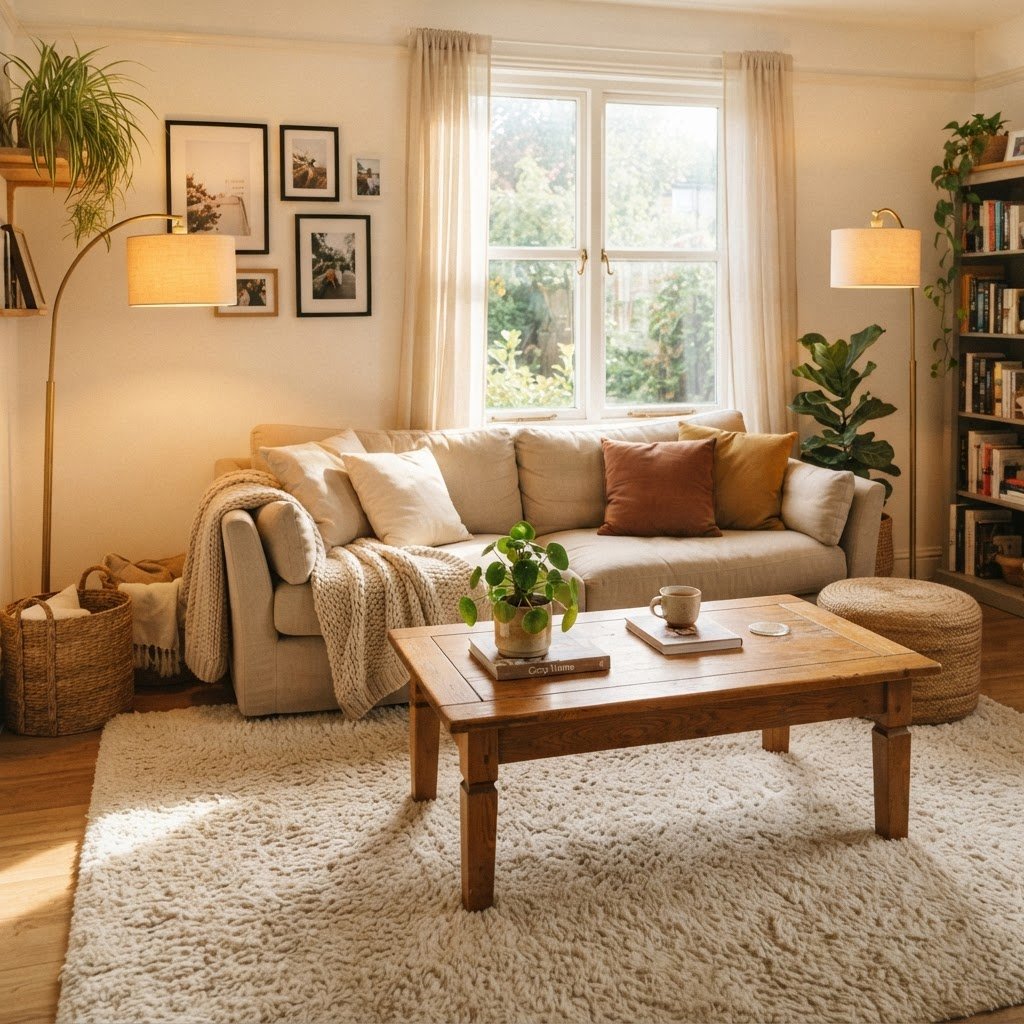
Warm, layered textures make a rental living room feel like a home.

Hard surfaces like tile, laminate, or standard apartment-grade carpet are notorious for making a room feel cold in both the literal and psychological sense. The first step in your transformation should be introducing high-quality area rugs, which act as a visual anchor and a physical insulator that significantly improves the acoustics of hollow-sounding rooms by absorbing echoes. For maximum warmth, consider layering a plush wool or synthetic rug over existing carpet, as this adds immediate texture and depth. To help you select the best materials for a cozy rental vibe, refer to the comparison table below:

Material Warmth Factor Maintenance Level Best For
Wool Rugs High Medium Living Areas
Velvet Pillows High Low Seating Comfort
Linen Curtains Medium Low Light Diffusion
Synthetic Faux Fur Very High High Texture Layering

Choosing the Right Fabrics for Warmth

Beyond rugs, consider the upholstery and window treatments you bring into the space. Velvet throw pillows, chunky knit blankets, and floor-to-ceiling linen curtains add a tactile richness that elevates a rental’s cheap base finishes. Focus on natural fibers or high-quality synthetics that feel soft to the touch to effectively counteract harsh environments. The goal is to create a space that feels softened rather than industrial; adding fabric to at least 40% of the room’s surface area can lower the perceived temperature of the space significantly.

Master the Art of Rental-Friendly Lighting
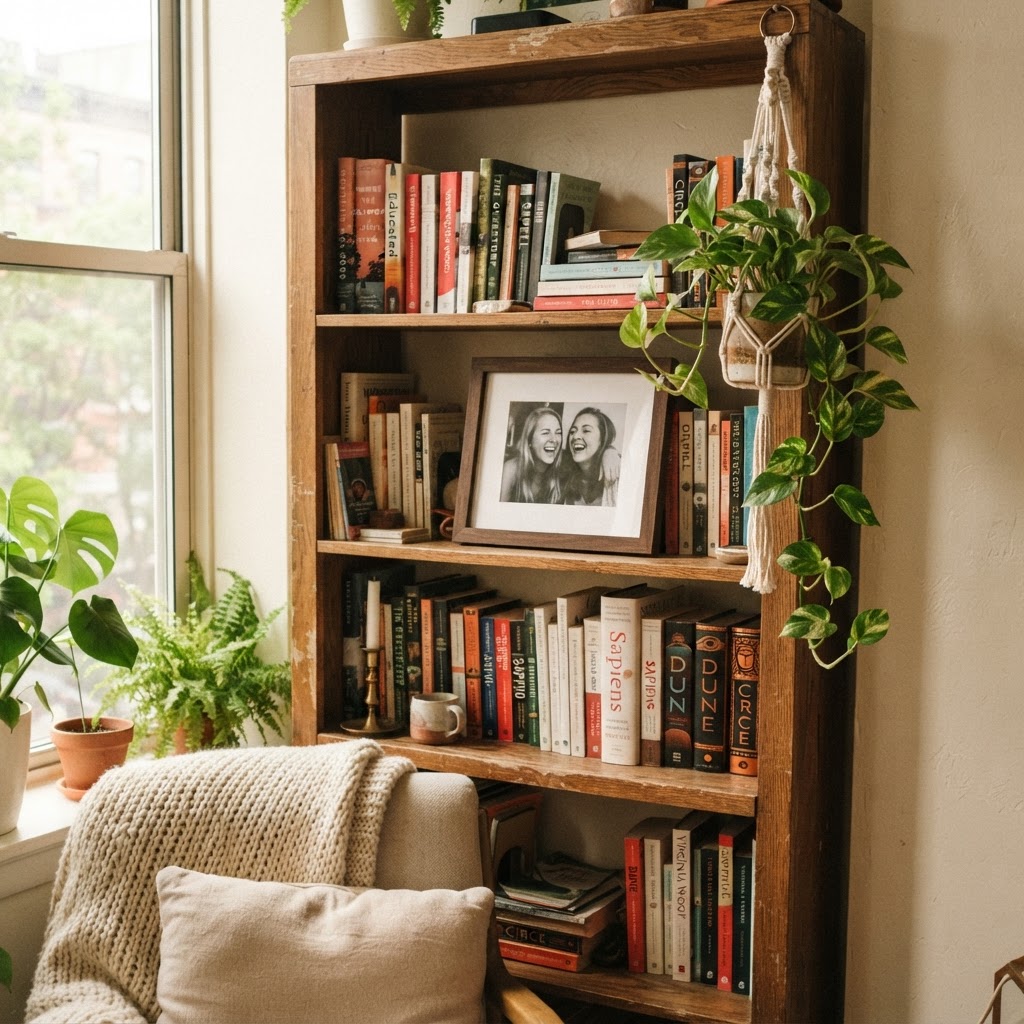
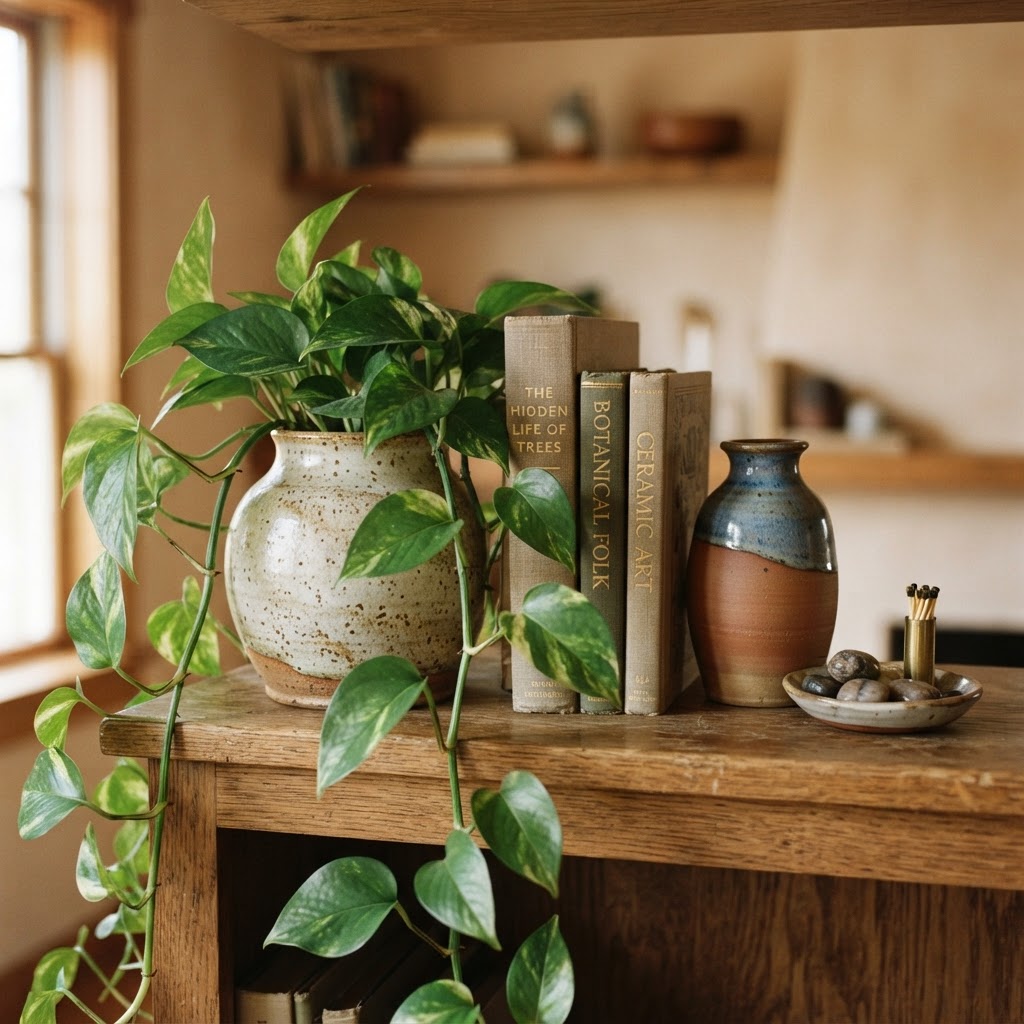
Personalized shelves add character to a sterile rental wall.

One of the primary culprits behind a cold living room is harsh, overhead “boob” lighting or fluorescent bulbs, which are often too bright and sit at an unflattering color temperature. To warm up a cold rental living room, you must eliminate the reliance on the ceiling fixture by distributing light at eye level using floor lamps, table lamps, and wall-mounted battery-operated sconces. Aim for a layered lighting scheme where you have at least three light sources per room to eliminate shadows and create pockets of warmth.

Why Color Temperature Matters

Always opt for “warm white” or “soft white” bulbs with a Kelvin rating between 2700K and 3000K. These bulbs emit a yellowish, cozy glow that mimics the setting sun, instantly creating an inviting atmosphere that makes furniture look more expensive. You can replace every bulb in a standard one-bedroom apartment for under $30, making this one of the most cost-effective upgrades for any renter looking to shift the ambiance of their home overnight.

Introducing Color Without Paint
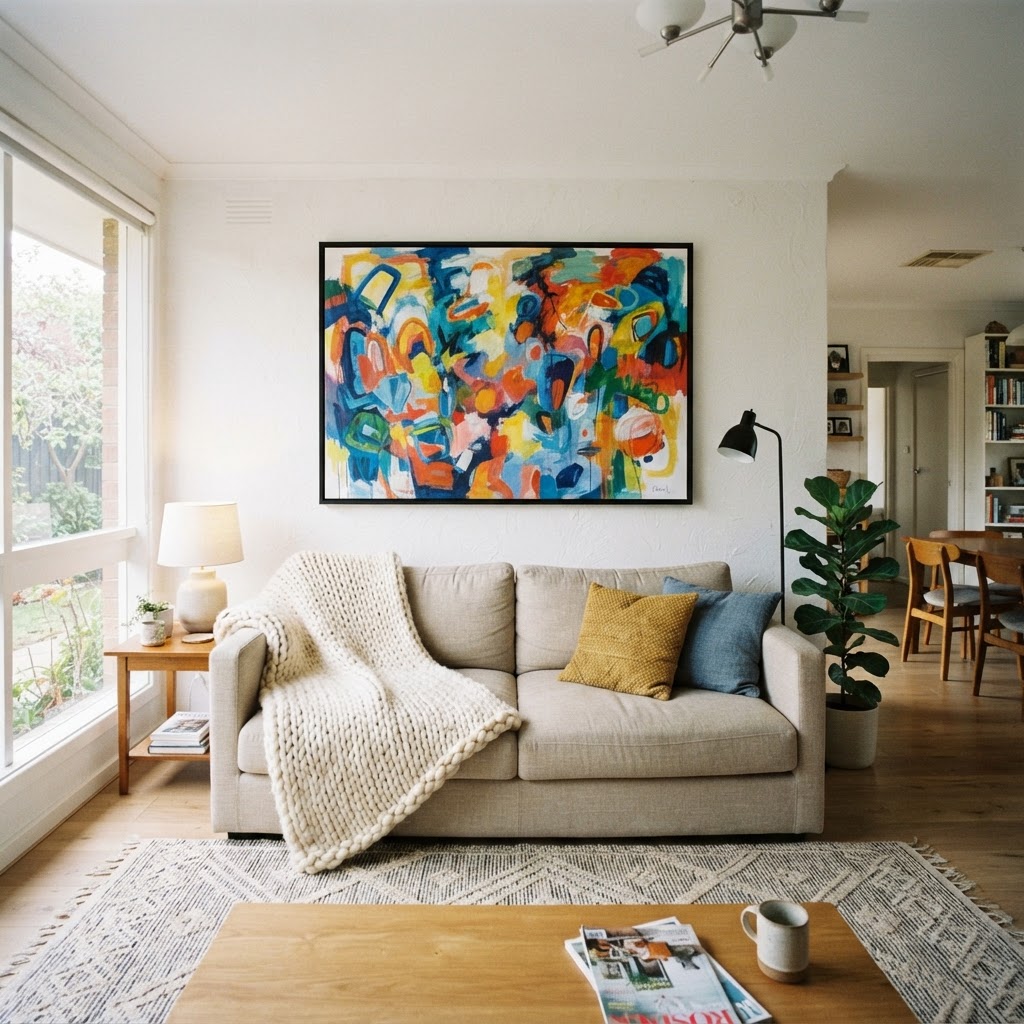
Art and textiles are the keys to a cozy, inviting space.

Most leases strictly forbid painting walls, which can leave you stuck with “landlord beige” or stark white, but you can bypass this by using large-scale art, peel-and-stick wallpaper, or removable wall decals to break up vast expanses of white. These elements inject life and character into a room without the need for permanent changes. Large, colorful abstract canvases act as a focal point, drawing the eye away from bland structural features and adding visual “weight” to the walls.

Using Peel-and-Stick Wallpaper

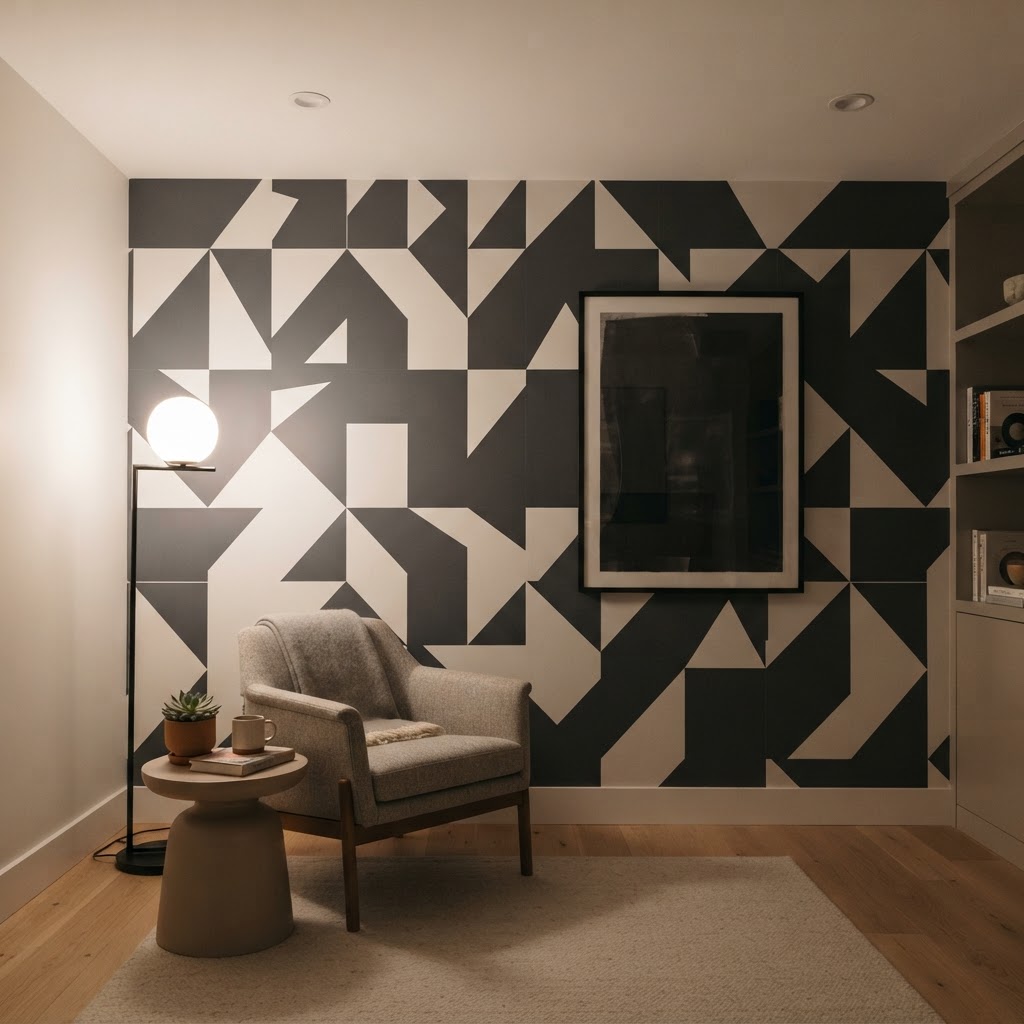
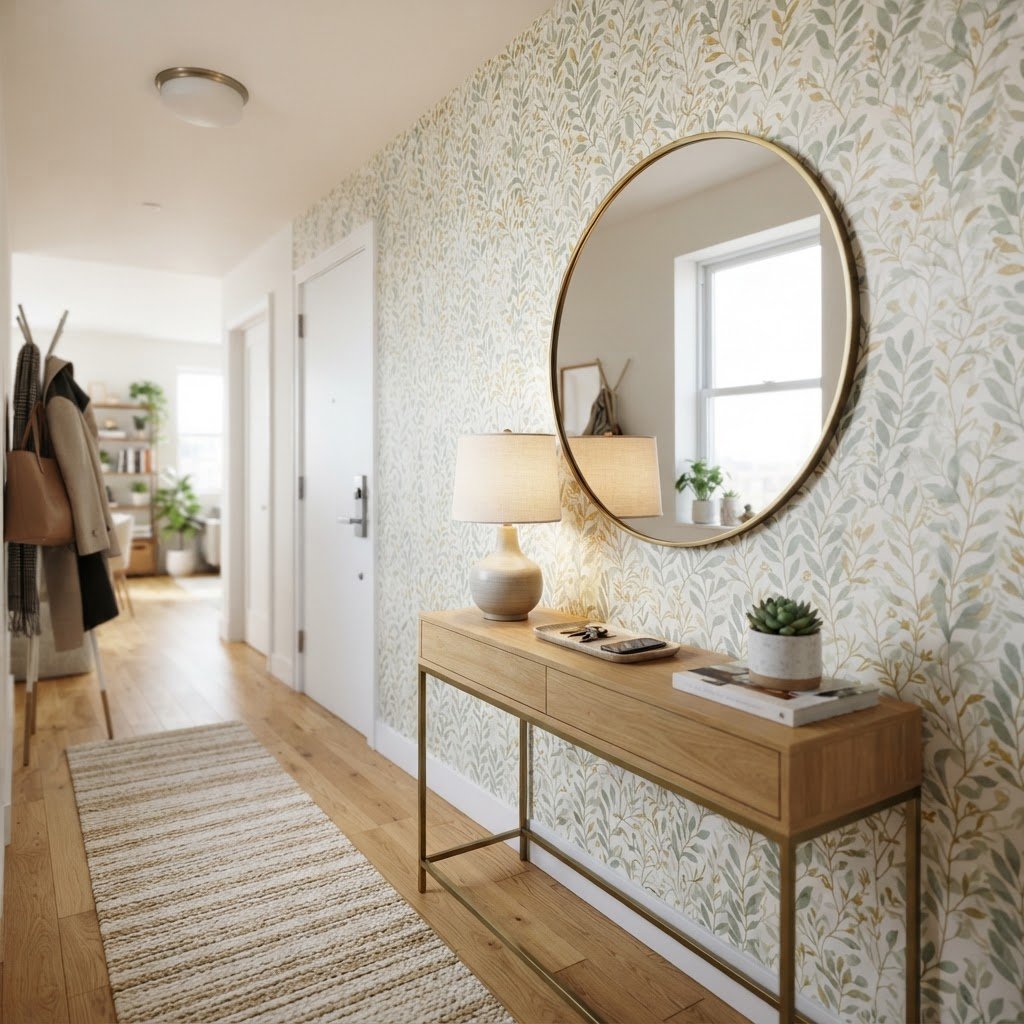
If you want a more dramatic change, look for high-quality peel-and-stick wallpaper, which can transform a room in roughly 4 hours of labor. Whether you cover a single accent wall or the entire space, the pattern and texture will provide the warmth that blank walls lack. Always verify surface compatibility first; smooth, clean drywall is ideal, whereas highly textured or porous surfaces may require a specialized primer or may not hold the adhesive as effectively.

Bringing the Outdoors In with Greenery

Plants are nature’s best solution for a cold, sterile environment because their organic shapes, deep greens, and life-giving presence make a room feel lived-in and healthy. Choose low-maintenance, high-impact plants like snake plants, pothos, or ZZ plants if you don’t have a green thumb; these varieties thrive in typical apartment light levels of 200-500 foot-candles. These plants provide a structural element that adds softness to otherwise empty corners or shelves.

Creative Plant Displays

Use varying heights for your plants—place a tall fiddle leaf fig in a corner and smaller succulents on a coffee table to create visual movement. Decorative pots in warm tones like terracotta or woven seagrass baskets help transition the plants into your overall design theme. By placing a plant next to a window, you frame the outdoor view and bridge the connection between the indoors and nature, which studies show lowers stress levels in home environments.

Strategic Furniture Placement and Flow

Sometimes a room feels cold because the furniture layout is awkward or pushed entirely against the walls, creating a “waiting room” aesthetic. If your living room allows, try “floating” your furniture away from the walls by at least 6-12 inches to create a more intimate seating area. This encourages conversation and makes the room feel less like a corridor and more like a defined, intentional sanctuary.

If you have a small space, use a console table behind the sofa or a distinct area rug to define the boundaries of your living area without needing physical barriers. Maintaining clear traffic paths—ideally 30 inches wide—will ensure the room feels spacious yet cozy.

Personalization Through Meaningful Decor

A space feels cold when it lacks soul; therefore, the easiest way to warm up a cold rental living room is to incorporate personal items that tell your unique story. Displaying books, vintage finds, framed photos, or travel souvenirs makes the space uniquely yours. When a guest walks in, they shouldn’t just see a model home; they should see a reflection of your personality.

Mixing Old and New

Don’t be afraid to mix vintage or antique pieces with modern rental furniture. A vintage chair with worn leather or a rustic wooden side table can provide the “wabi-sabi” element of imperfection that makes a house feel like a home. These pieces are inherently warmer than mass-produced retail items and add a layer of complexity to your interior design that suggests a life well-lived.

FAQ

Q: What is the most effective color temperature for a cozy living room?

The most effective color temperature for a cozy living room is between 2700K and 3000K, often labeled as “warm white” or “soft white.” These bulbs emit a yellow-toned light that mimics the natural color of sunset, effectively neutralizing the sterile feel of standard overhead lighting.

Q: Can I hang decor on rental walls without causing damage?

Yes, you can hang decor without damage by using adhesive strips like Command hooks or specialized picture-hanging wire systems that require only tiny, easily fillable pinholes. Always test the adhesive on an inconspicuous area of the wall to ensure it doesn’t peel the underlying paint upon removal.

Q: How can I make a rental rug feel more like permanent flooring?

The best way to make a rental rug feel permanent is to choose a high-pile or “shag” rug that covers at least 70% of the visible floor area in your seating zone. Adding a thick felt rug pad underneath also increases the plushness, making the flooring feel warmer and more insulated.

Q: Are peel-and-stick wallpapers easy to remove without losing my security deposit?

Most modern peel-and-stick wallpapers are designed specifically for renters and can be removed without damaging drywall if the walls were properly primed before installation. Always ensure you purchase a product explicitly labeled “removable” or “renter-friendly” to guarantee the adhesive will not leave a residue.

Q: How many plants do I need to make a small room feel warmer?

For a standard-sized rental living room, three to five plants of varying heights can provide enough organic texture to warm the space significantly. Focus on placing one large floor plant in a corner and grouping two to three smaller plants on coffee tables or shelves for a balanced look.
No-Drill Secrets: Transform Boring Rentals Into High-End Spaces

No-Drill Secrets: Transform Boring Rentals Into High-End Spaces

To transform a boring rental into a high-end space without drilling, focus on layering lighting, utilizing peel-and-stick architectural accents, and choosing large-scale textiles to conceal basic flooring. These methods allow you to create a sophisticated, curated atmosphere that is completely reversible, ensuring you protect your security deposit while achieving a luxury aesthetic.

Rethink Your Walls with Temporary Coverings

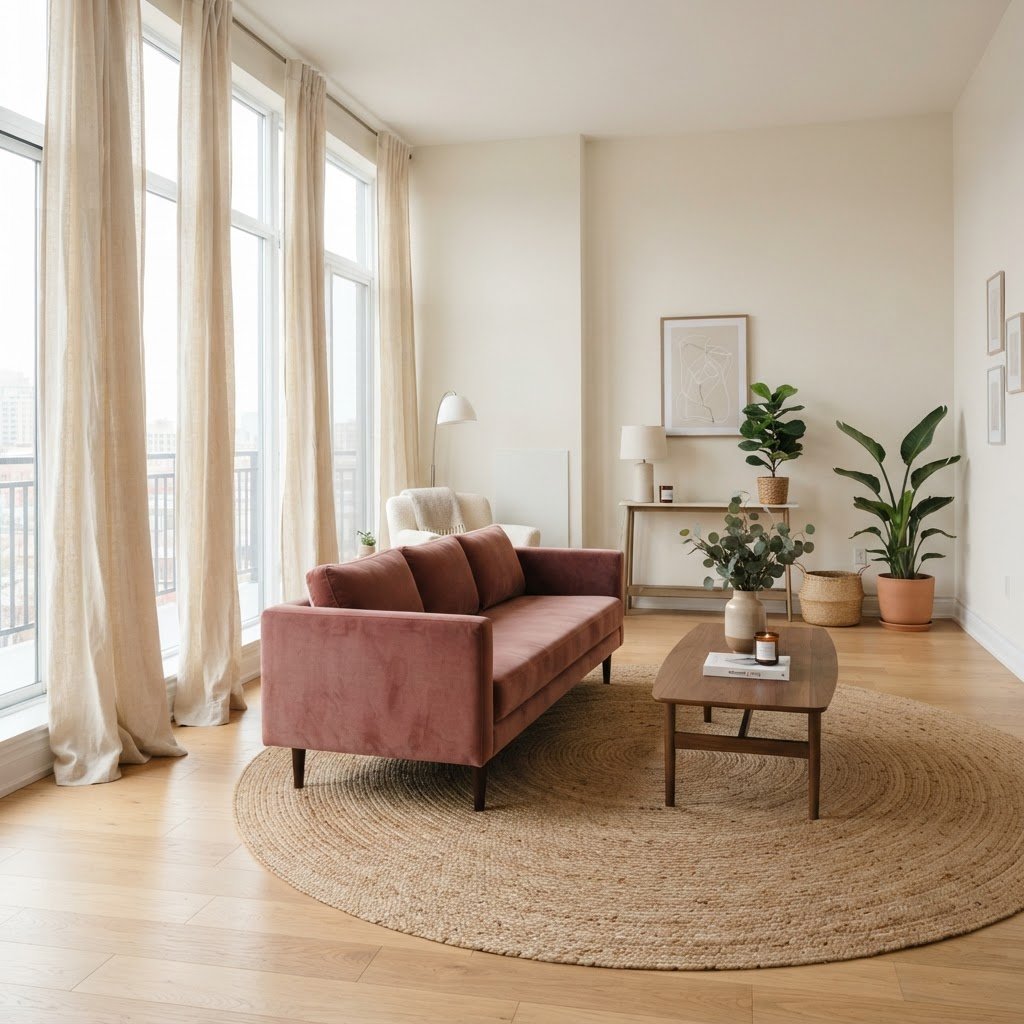
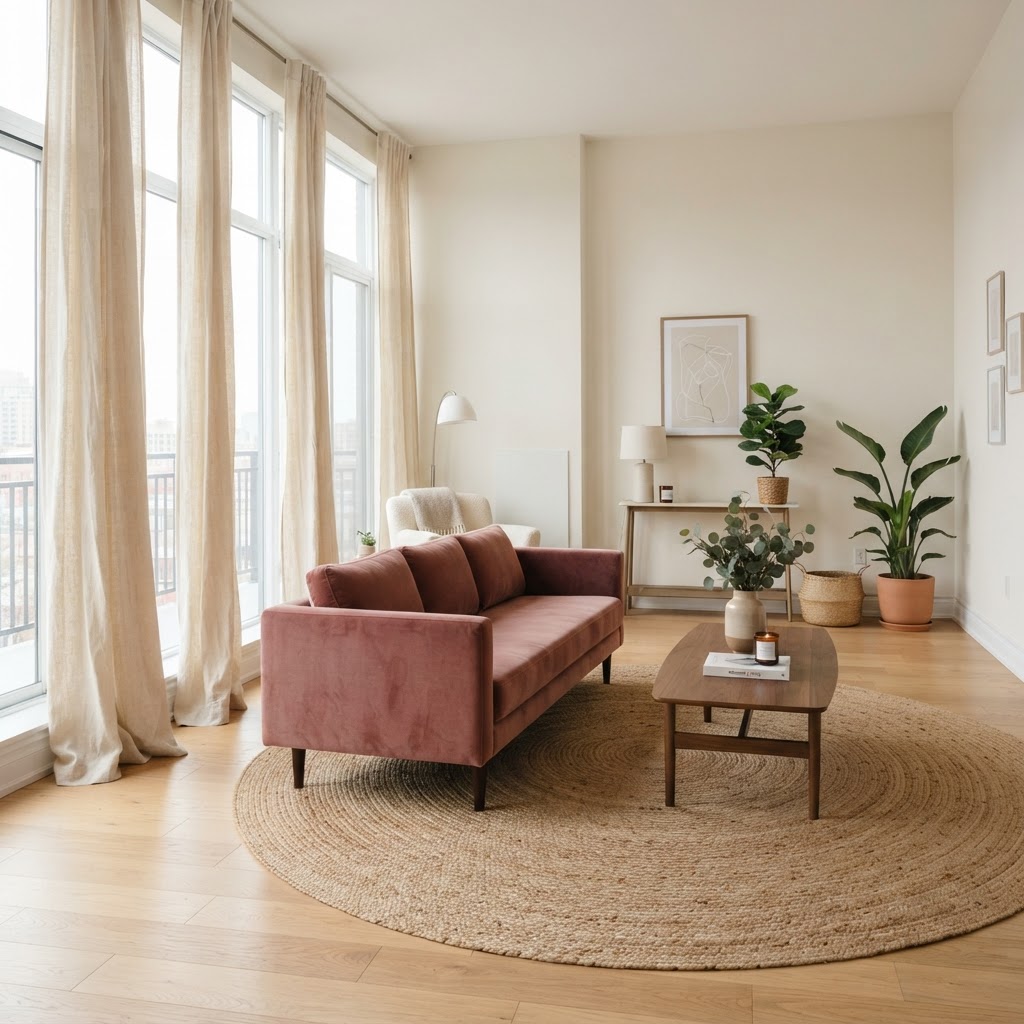
High ceilings achieved through high-mounted curtain rods and minimalist styling.

Rental walls often suffer from flat, sterile finishes, but you can instantly upgrade them using non-permanent, high-quality peel-and-stick solutions. Unlike traditional paint, modern adhesive wallpapers—such as textured grasscloth or metallic geometric patterns—can be installed in under two hours and removed without damaging the drywall or stripping the paint. To achieve a custom, high-end look, prioritize patterns that mimic architectural depth rather than busy, small-scale prints. For example, vertical faux-wood panels or subtle linen-textured wallpapers provide an immediate tactile elevation that standard landlord-white walls lack. When selecting these materials, always look for “vinyl-coated” labels, which are more durable and easier to peel when your lease concludes. By applying these to a single accent wall, you create a focal point that anchors the room’s design without permanent commitment.

Solution Aesthetic Impact Difficulty Level Removal Speed
Peel-and-Stick Wallpaper High (Texture/Color) Moderate Fast
Command Strips High (Display) Low Instant
Tension Rod Dividers Moderate (Spatial) Low Fast

Strategic Gallery Walls Without Hammers

Creating a professional focal point is essential for any high-end room, and you do not need heavy-duty anchors to mount art. Using high-strength adhesive strips, such as those rated for 15+ pounds, allows you to group frames in symmetrical, gallery-style grids that draw the eye upward and mask wall imperfections. By utilizing matching frames in a uniform finish—such as brushed gold or matte black—you create a cohesive, gallery-like aesthetic.

Choosing the Right Adhesive

Always ensure your surfaces are cleaned with 70% isopropyl alcohol before applying any adhesive product to remove oils. Investing in premium-grade adhesive strips ensures your decor stays secure while preventing paint peel. For optimal results, press the strips firmly for at least 30 seconds and allow them to set for one hour before attaching the frame, ensuring a long-lasting, damage-free hold.

Lighting Design: The Secret Weapon of Luxury

Curated shelf styling adds a professional, high-end feel.

Standard “boob lights” and harsh overhead fixtures are the quickest way to make a space feel cheap, so the best way to elevate a rental is to ignore existing fixtures and layer your own lighting. High-end design follows the “three-point rule”: ambient, task, and accent lighting. By placing lamps at different heights throughout a room, you create a warm, layered environment that draws focus away from basic ceiling fixtures. Integrate smart bulbs that allow for color temperature adjustments; setting your lights to 2700K (warm white) mimics the inviting glow of a high-end hotel lobby. Incorporating floor lamps with interesting silhouettes acts as functional sculpture, adding height and character to empty corners. With the addition of smart plugs, you can control your entire lighting scene via voice command or a centralized app, providing a sophisticated, automated experience that feels custom-built rather than temporary.

The Power of Floor and Table Lamps

Invest in oversized floor lamps with statement materials like linen shades, brushed bronze, or marble bases to anchor your furniture layout. Table lamps placed on consoles and side tables serve as essential task lighting that eliminates shadows and highlights decorative vignettes. By strategically placing these at eye level, you manipulate the perceived scale of the room, making it feel larger and more intentional.

Elevating Floors and Window Treatments

A renter-friendly gallery wall using no-drill adhesive mounting.

Rental flooring is often the most neglected area, but you can transform sterile vinyl or worn carpet by layering large-scale, high-quality area rugs that cover at least 70% of the room’s floor space. To achieve a luxury look, opt for natural fibers like jute, sisal, or wool-blend rugs, which add organic texture and durability. A rug that is too small makes a room feel fractured, while one large enough to tuck under the front legs of all furniture creates a cohesive, grounded foundation. Pairing these with heavy, floor-to-ceiling curtain panels mounted as close to the ceiling as possible—rather than the window frame—further enhances the illusion of height. Using “blackout” velvet curtains adds a weight and drape characteristic of high-end custom drapery, creating a dramatic architectural statement that effectively hides basic blinds or window frames without requiring a single hole.

Custom-Look Window Treatments

When choosing hardware, use tension rods for lighter curtains or “no-drill” bracket systems that clamp onto existing window frames. Always steam your curtains before hanging to ensure crisp, clean folds that mimic custom tailoring. The goal is to maximize the vertical line of the wall, making your ceilings appear significantly taller than they are.

Curating High-End Textures and Layers

If you want your apartment to feel like a boutique hotel, focus on mixing tactile elements within a monochromatic color palette. High-end design thrives on the “rule of three” for textures: combine at least three distinct materials—such as a boucle ottoman, a velvet accent chair, and a heavy knit throw—to create visual depth without cluttering the space. Textiles are the most cost-effective way to signal luxury, as they provide comfort and sophistication through touch. Don’t be afraid to mix subtle, tone-on-tone patterns to create interest while keeping the color story cohesive. By focusing on premium fabrics like linen, silk, and wool, you create an environment that feels intentionally curated rather than randomly furnished. The lack of heavy architectural detail is quickly forgotten when the room is filled with rich, layered textiles that engage the senses.

Textiles as Decor

Consider adding floor cushions, oversized velvet pillows, and weighted blankets to transform your seating area into a plush sanctuary. Investing in quality throw covers rather than cheap pre-stuffed pillows allows you to wash fabrics easily and swap seasonal color stories, maintaining a fresh, high-end appearance year-round.

26 <em>MUST TRY</em> Renter Friendly Upgrades for 2026″ src=”https://img.youtube.com/vi/ZjpcY3zov8g/hqdefault.jpg” style=”display:block; margin:2.5em auto; max-width:100%; height:auto;” /></a></p>
<h2>Styling Your Surfaces and Open Shelving</h2>
<p>Open shelving can look cluttered quickly, but it provides a perfect opportunity to display a curated collection that defines your personal style. Use the “rule of thirds” to arrange objects in groups, mixing books, sculptural vases, and small trailing plants to create balanced vignettes. To make basic shelves look built-in, apply a piece of peel-and-stick wallpaper on the back panel; this simple addition adds depth and serves as a backdrop that makes your decor pop. Keep shelves strictly curated by leaving “white space” between items to prevent the look of clutter, which is a common indicator of amateur design. The most sophisticated shelves feature a mix of heights and shapes, drawing the eye in a rhythmic, intentional pattern across the storage unit.</p>
<h3>The Art of the Vignette</h3>
<p>Create a high-end vignette on your coffee table or entryway console by pairing a scent (like a luxury candle), a height element (a bud vase or book stack), and a tray to contain small items. This technique transforms functional surfaces into decorative displays, instantly elevating the perceived value of your home decor.</p>
<h2>Implementing Temporary Architectural Details</h2>
<p>One of the best-kept no-drill secrets is the use of tension rods and decorative panels to create the illusion of custom architecture. For instance, you can use heavy-duty tension rods between walls to install ceiling-to-floor curtains as room dividers, which adds a sense of privacy and softness to open-concept studios. You can also use temporary furniture risers to give low-profile, mass-produced sofas a taller, more elegant silhouette that feels custom-tailored to the space. Modular furniture is another strategic choice; look for pieces that can be reconfigured or expanded, which ensures that your “high-end” layout remains functional as your needs change. By focusing on these temporary architectural “hacks,” you can reconfigure the bones of a room, creating cozy nooks or expansive lounge areas that mask the generic layout of the original rental floor plan.</p>
<h3>Modular Furniture Upgrades</h3>
<p>Choose modular sofas with removable, machine-washable slipcovers. This allows for long-term maintenance and the ability to change the fabric texture to match your evolving interior design style without needing to replace the entire furniture piece.</p>
<h2>FAQ</h2>
<h3>Q: How can I hang heavy items without drilling holes in rental walls?</h3>
<p>Use heavy-duty adhesive strips rated for high weight capacities, such as 15-20 pounds per pair. Always ensure the surface is clean with alcohol, press firmly for 30 seconds, and allow the adhesive to fully cure for one hour before hanging your decor to prevent damage or falls.</p>
<h3>Q: What is the best way to hide ugly rental floors temporarily?</h3>
<p>Layer large, high-quality area rugs made of natural fibers like jute or wool to cover up to 70% of the existing floor. Choose rugs large enough so that the front legs of your furniture rest on them, which visually anchors the space and hides worn-out carpet or vinyl.</p>
<h3>Q: Can peel-and-stick wallpaper really look high-end?</h3>
<p>Yes, if you select textures that mimic luxury materials like linen, grasscloth, or architectural paneling rather than busy prints. High-quality vinyl-coated options provide depth and a realistic finish that can completely transform a room’s aesthetic when applied to a single focal accent wall.</p>
<h3>Q: How do I make rental lighting look expensive?</h3>
<p>Ignore the overhead “boob light” and layer your own lighting using floor lamps, table lamps, and smart plugs. By incorporating three points of warm-toned light (2700K) at different heights, you create a soft, inviting atmosphere typical of high-end interior design and reduce the visual reliance on generic fixtures.</p>
<h3>Q: Will command strips damage my paint when I move out?</h3>
<p>No, if you remove them correctly by pulling the tab slowly straight down against the wall, rather than pulling outward. This technique stretches the adhesive, allowing it to release cleanly from the surface without pulling off the paint or leaving a residue behind.</p>
<p><script type={"@context":"https://schema.org","@type":"FAQPage","mainEntity":[{"@type":"Question","name":"Q: How can I hang heavy items without drilling holes in rental walls?","acceptedAnswer":{"@type":"Answer","text":"Use heavy-duty adhesive strips rated for high weight capacities, such as 15-20 pounds per pair. Always ensure the surface is clean with alcohol, press firmly for 30 seconds, and allow the adhesive to fully cure for one hour before hanging your decor to prevent damage or falls."}},{"@type":"Question","name":"Q: What is the best way to hide ugly rental floors temporarily?","acceptedAnswer":{"@type":"Answer","text":"Layer large, high-quality area rugs made of natural fibers like jute or wool to cover up to 70% of the existing floor. Choose rugs large enough so that the front legs of your furniture rest on them, which visually anchors the space and hides worn-out carpet or vinyl."}},{"@type":"Question","name":"Q: Can peel-and-stick wallpaper really look high-end?","acceptedAnswer":{"@type":"Answer","text":"Yes, if you select textures that mimic luxury materials like linen, grasscloth, or architectural paneling rather than busy prints. High-quality vinyl-coated options provide depth and a realistic finish that can completely transform a room’s aesthetic when applied to a single focal accent wall."}},{"@type":"Question","name":"Q: How do I make rental lighting look expensive?","acceptedAnswer":{"@type":"Answer","text":"Ignore the overhead \"boob light\" and layer your own lighting using floor lamps, table lamps, and smart plugs. By incorporating three points of warm-toned light (2700K) at different heights, you create a soft, inviting atmosphere typical of high-end interior design and reduce the visual reliance on generic fixtures."}},{"@type":"Question","name":"Q: Will command strips damage my paint when I move out?","acceptedAnswer":{"@type":"Answer","text":"No, if you remove them correctly by pulling the tab slowly straight down against the wall, rather than pulling outward. This technique stretches the adhesive, allowing it to release cleanly from the surface without pulling off the paint or leaving a residue behind."}}]}

8 Things Every Small Apartment Entryway Needs (Renter Edition)

8 Things Every Small Apartment Entryway Needs (Renter Edition)

To optimize a small apartment entryway, prioritize vertical storage, slim-profile furniture, and multi-functional organization tools that require zero wall damage. By installing adhesive hooks, using lean-against mirrors, and implementing motion-activated lighting, you can transform a cramped threshold into a highly functional drop zone without violating lease terms.

1. Vertical Storage Solutions

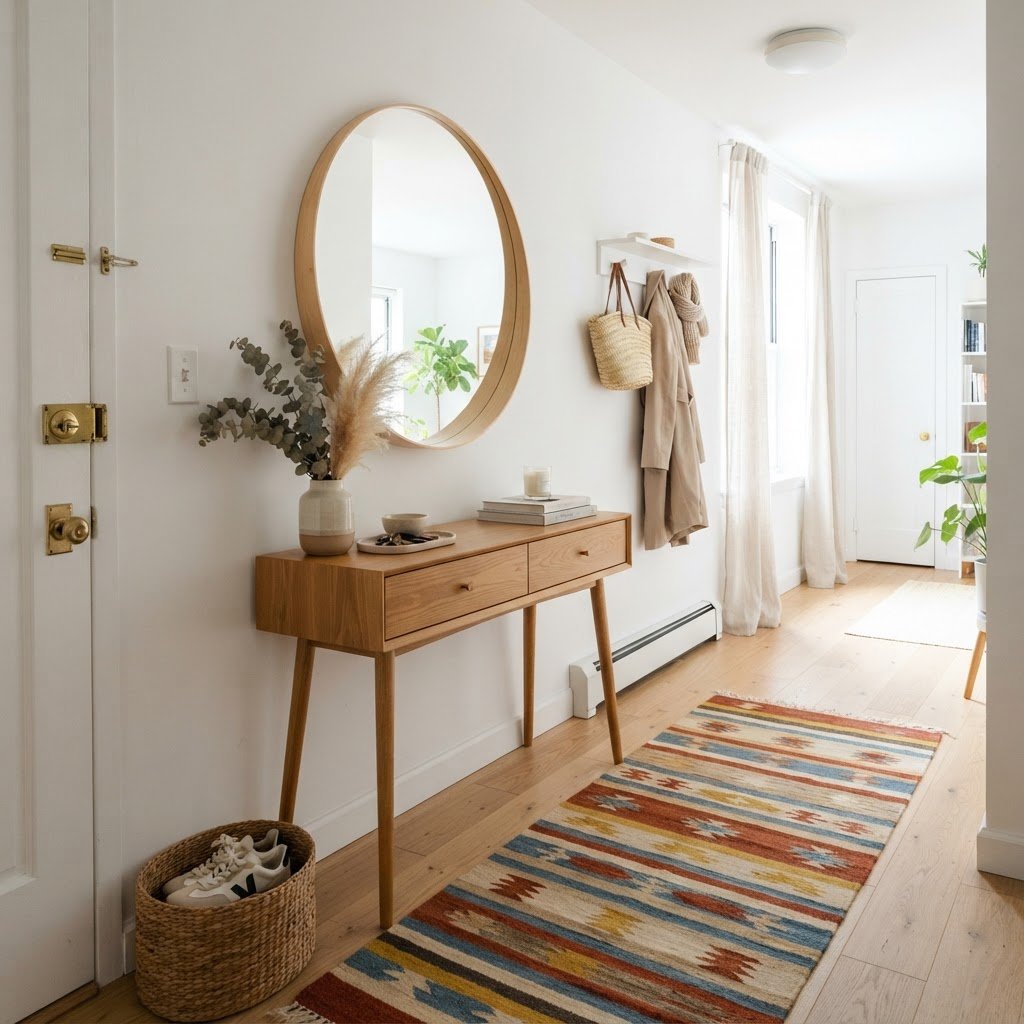
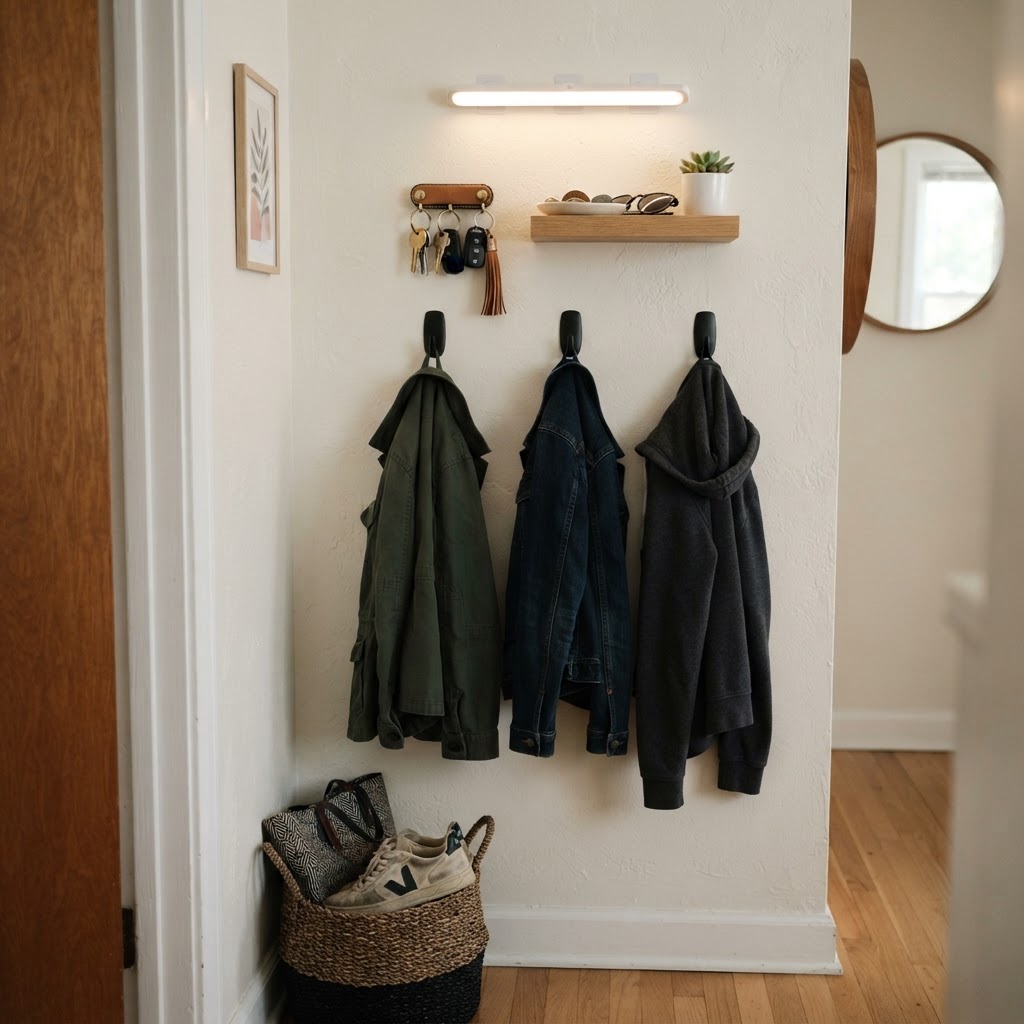
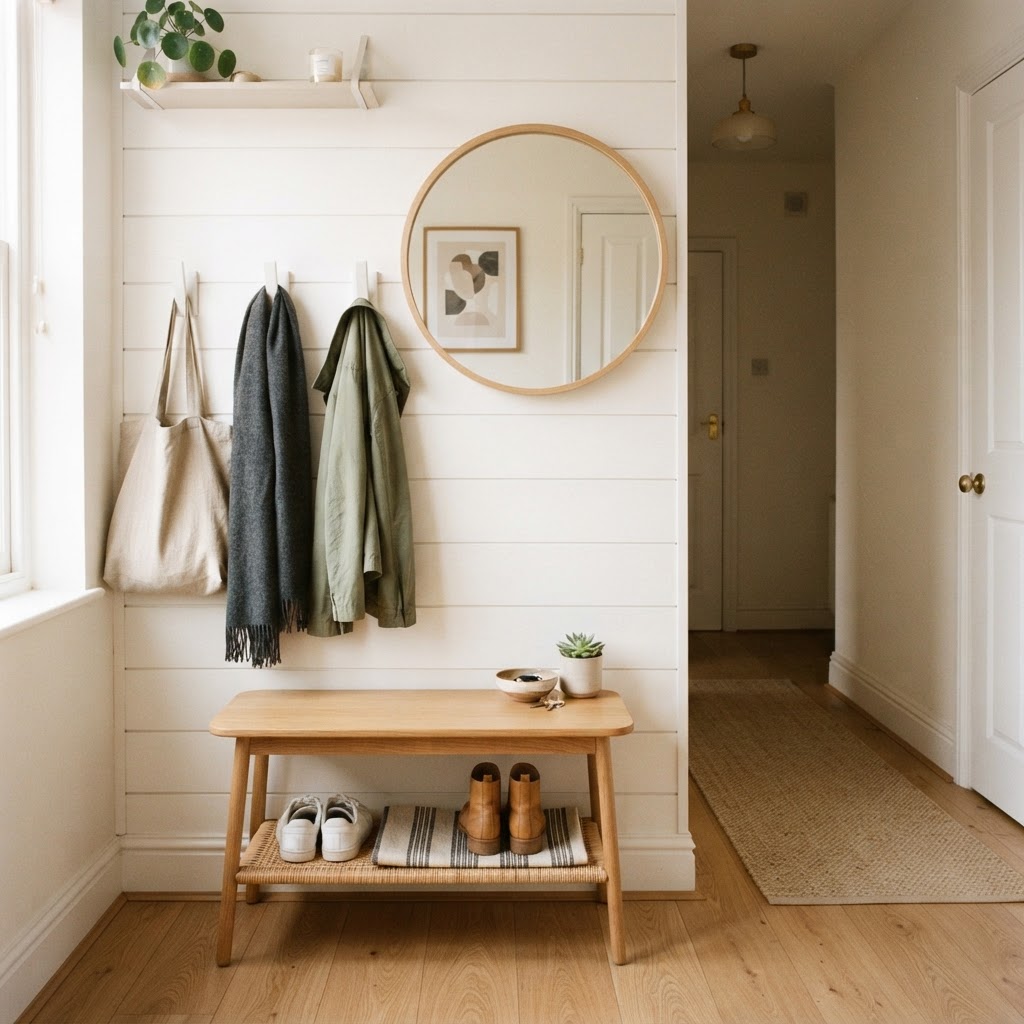
A modern entryway setup maximizes style in a small space.

When floor space is limited, the only way to go is up, making vertical storage the secret weapon for any small apartment entryway. Utilizing the wall plane allows you to clear walking paths while maintaining essential storage for coats, bags, and umbrellas. For renters, the key is using non-permanent solutions that won’t jeopardize your security deposit.

Choosing Renter-Friendly Hardware

Look for tension-mounted shelving units or heavy-duty adhesive hooks rated for 5-10 lbs. These options provide the same utility as drilled shelves but leave zero residue or holes behind. When selecting hardware, prioritize materials like lightweight bamboo or powder-coated steel to avoid overburdening your walls. Aim to place your primary hooks at 60 inches from the floor for adult coats, while leaving space underneath for secondary storage, such as a slim bench or a collapsible umbrella stand. By maximizing every inch of wall space, you effectively create a storage system that works harder for your space without requiring a single nail.

2. The Multi-Purpose Slim Console

Utilize vertical space with adhesive hooks to keep items off the floor.

A slim-profile console table is the essential anchor for a small entryway, providing a dedicated landing strip for keys, mail, and daily essentials. In tight quarters, look for tables with a depth of 8 to 12 inches to ensure your walkway remains unobstructed. These slim pieces act as the “command center” for your home, effectively compartmentalizing clutter before it spreads to your living area.

Features to look for:

  • Narrow width: Look for profiles under 12 inches deep to ensure accessibility.
  • Open storage: Bottom shelving is vital for placing shoe baskets or storage bins.
  • Material weight: Choose wood or metal with a light aesthetic to prevent visual weight.
Feature Traditional Console Slim Entryway Console
Depth 16″ – 20″ 8″ – 12″
Weight Heavy Lightweight/Easily Movable
Best Use Large Hallways Tiny Apartments/Studios
Installation Often Anchored Usually Free-standing

3. Dedicated Shoe Management

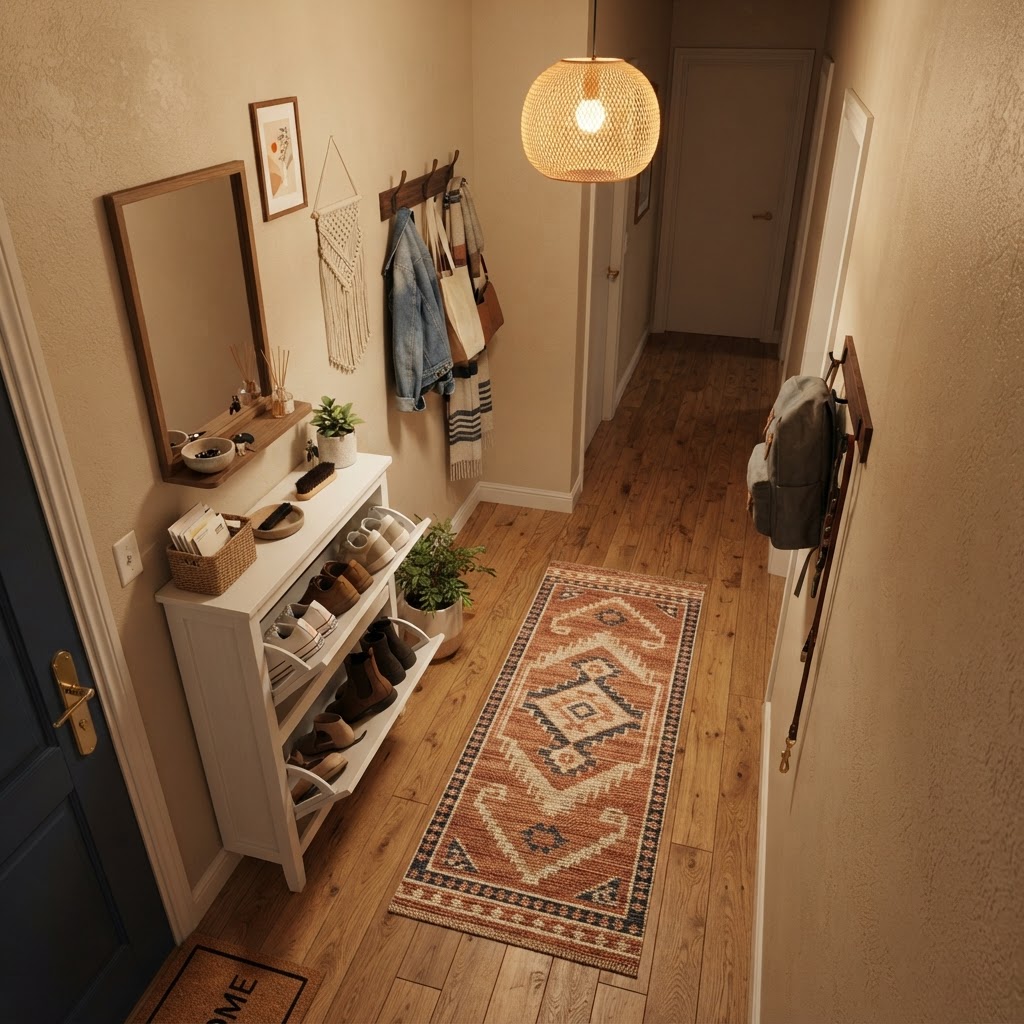
Strategic organization creates an efficient and welcoming drop zone.

A dedicated shoe storage solution is the most effective way to eliminate entryway clutter and keep external dirt contained. If your hallway is narrow, an ultra-slim, pull-out shoe cabinet—which often measures just 6 to 9 inches in depth—can hide 6-12 pairs of shoes vertically behind a sleek facade.

If floor space is at a premium, utilize under-console storage by using a tiered, stackable metal rack. This configuration keeps footwear off the floor and prevents the “mountain of sneakers” effect that plagues small apartments. Remember to choose materials that are easy to wipe down; plastic or coated metal organizers are superior to fabric ones for high-traffic entryways where muddy boots are common. By establishing this specific boundary, you create a psychological transition from the hectic world outside to your peaceful indoor sanctuary.

4. Brightening Your Entrance with Mirrors

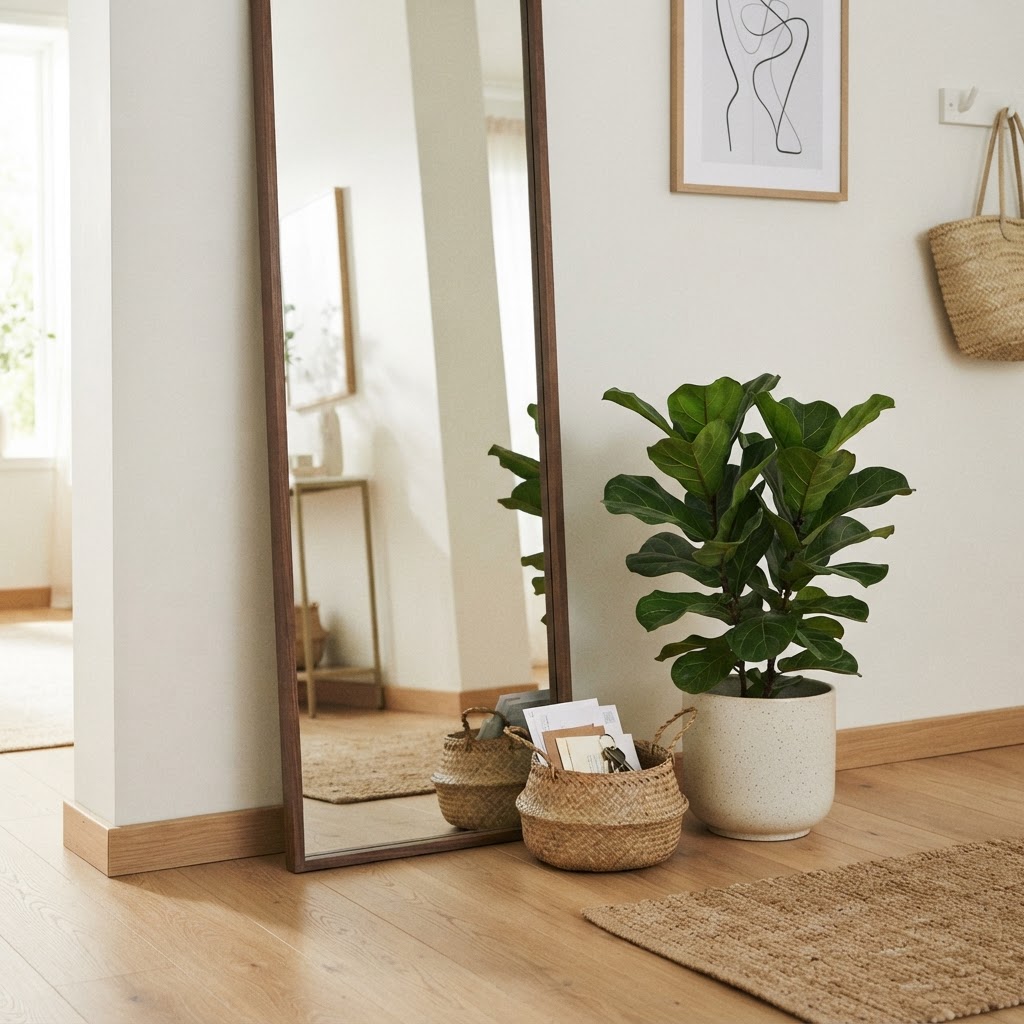
Reflective surfaces and plants add life and depth to small entryways.

Mirrors are the most effective design tool for doubling the visual square footage of a dark or windowless entryway. Placing a large mirror near the door serves both a functional purpose—checking your outfit—and a spatial one, as it reflects light into otherwise dim corners.

If your rental agreement prohibits drilling, use a floor-length mirror with a heavy, stable base that can be leaned safely against the wall. To ensure safety, use heavy-duty museum wax or non-slip furniture pads at the base to prevent movement. For the best impact, position the mirror opposite your apartment’s primary light source, such as a living room window or a doorway, to maximize the bounce of natural light. A framed mirror not only expands the space but also serves as a high-end decorative piece that draws the eye upward, distracts from the limited floor area, and establishes a polished, intentional atmosphere.

5. Rugs for Defining the Zone

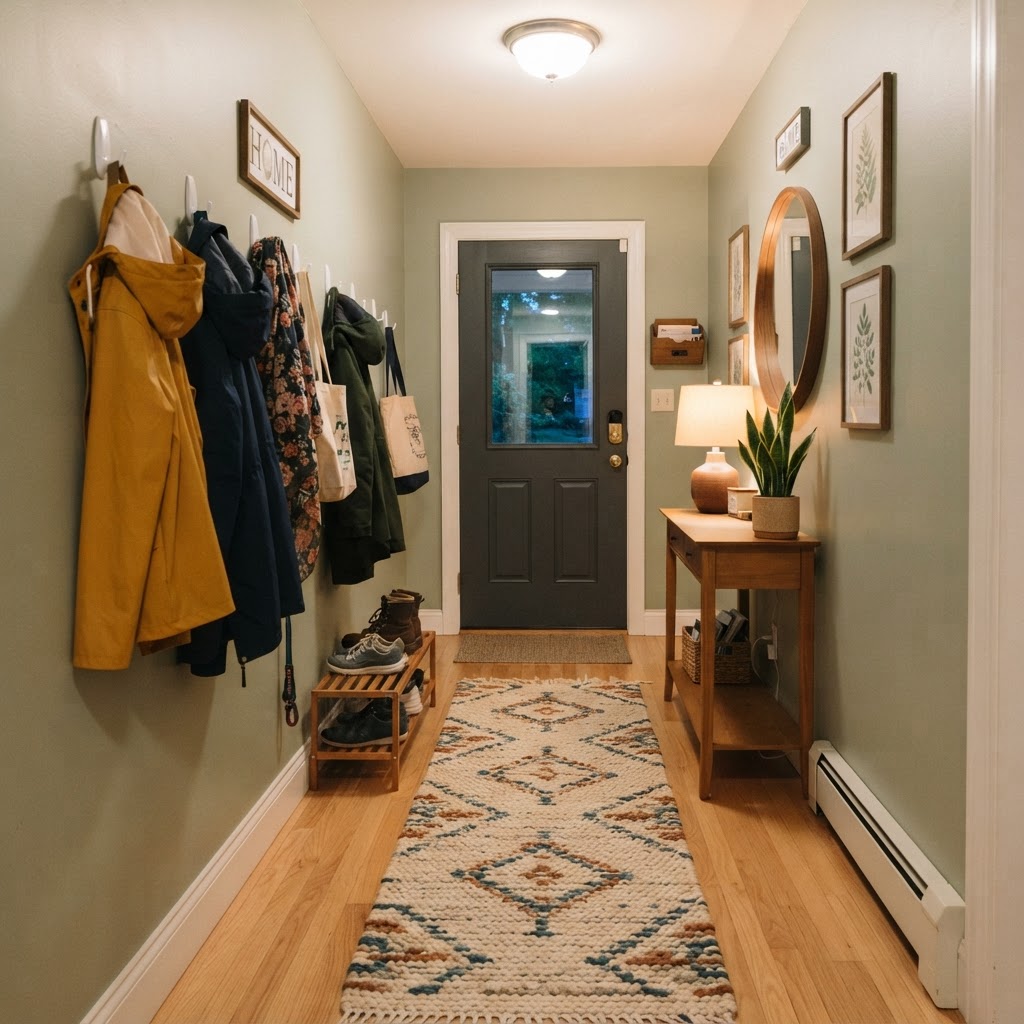
In a small apartment, a runner rug is the primary tool for creating a visual threshold between the front door and the rest of your living space. By placing a long, durable runner by the door, you define an “entry zone,” which signals to guests that they have entered a distinct area of your home.

For high-traffic areas, opt for washable, low-pile rugs made of synthetic materials or treated wool. A rug thickness of 0.25 inches is ideal to ensure it doesn’t interfere with door clearance. If your rug slips, use a low-tack, renter-friendly rug gripper that leaves no residue on hardwood or tile floors. Jute or sisal-style synthetic rugs are particularly effective because they hide dirt exceptionally well and provide a natural, clean texture that stands up to daily wear and tear. Periodically rotating your rug can ensure even wear, extending the life of the piece and keeping your entryway looking fresh between deep cleans.

6. Smart Lighting Upgrades

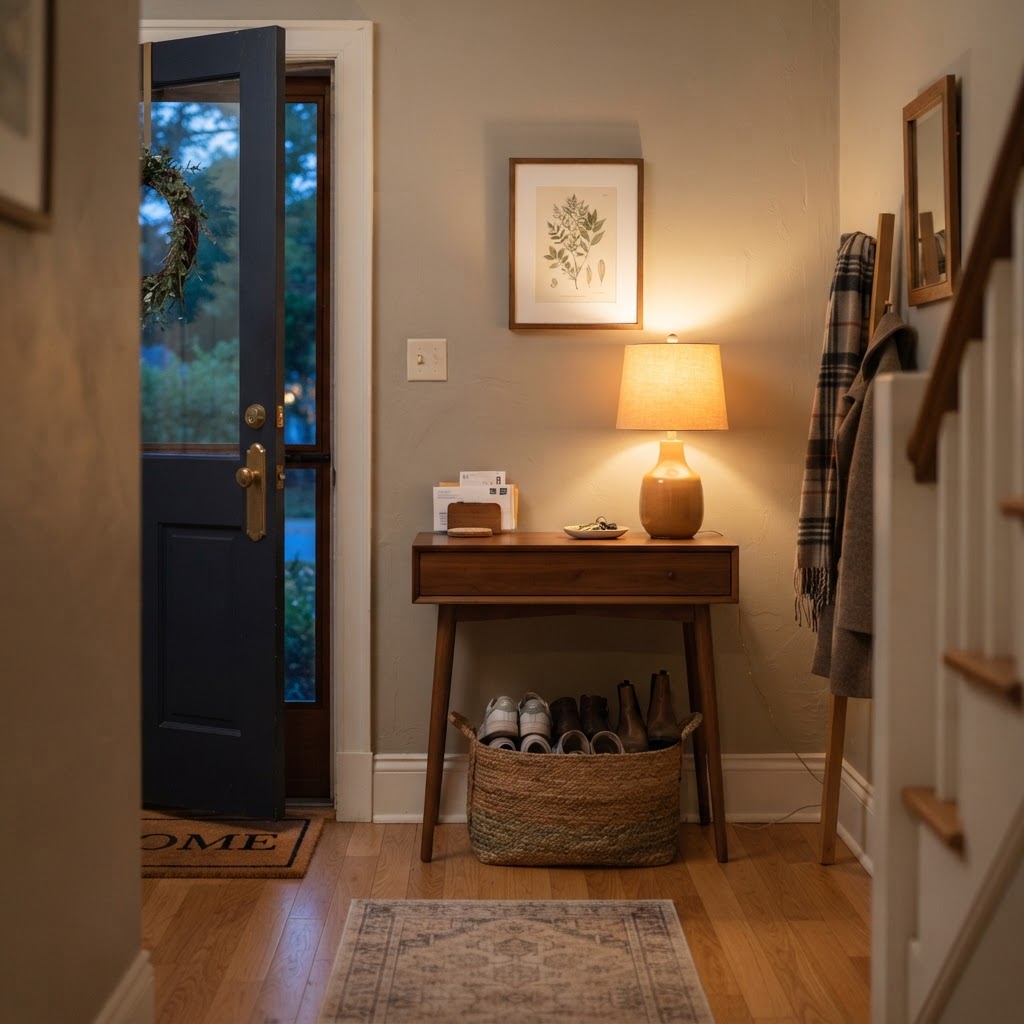
Rental lighting is often limited to uninspiring overhead fixtures, but you can instantly upgrade the atmosphere using plug-in or wireless lighting solutions. A small, decorative table lamp on your console provides a warm, inviting glow that makes the space feel more like a home and less like a sterile hallway.

For added convenience, integrate motion-activated, battery-operated LED light strips under shelves or along baseboards. These provide instant illumination when you enter with arms full of bags, eliminating the need to search for a wall switch. Most of these LED systems are rechargeable via USB and feature adhesive backing, making them perfect for renters who need to avoid electrical work. By layering these small, smart lighting solutions, you improve both the safety and the “mood” of your entryway, significantly modernizing an older apartment without professional installation.

7. The Power of Wall Hooks

Wall hooks are the ultimate necessity for small homes lacking a traditional coat closet, providing instant storage without the bulky footprint of a standing rack. To avoid damage, use high-capacity removable adhesive hooks, which typically support up to 5 lbs per strip when applied according to the manufacturer’s weight guidelines.

Organizing with Style

Place your hooks at varying heights to create a dynamic look that accommodates everything from long coats to short dog leashes. If your wall space allows, consider installing a floating shelf roughly 4-6 inches above your hook line; this provides a handy surface for “grab-and-go” items like sunglasses, wallets, and keys. Grouping your hooks in a line or a creative cluster maintains a clean, curated appearance. By keeping items off the floor and hanging them strategically, you transform your outerwear into a functional, accessible part of your decor that saves precious square footage.

Hook Type Weight Capacity Best For Removal Method
Adhesive Strip 3 – 5 lbs Keys, Bags, Scarves Stretch-release tab
Tension Hook 5 – 10 lbs Winter Coats Twist-to-loosen
Over-the-Door 10+ lbs Heavy Jackets Lift and remove

8. Personalized Decor Touches

Personalizing your entryway ensures the first thing you see when you arrive home reflects your unique personality. Even in a 10-square-foot entrance, you can incorporate small, intentional accents that elevate the design without creating clutter. For example, a single, bold piece of framed art, a small tray for your daily mail, or a low-light-thriving plant like a Snake Plant or Pothos can transform a sterile space into a welcoming environment.

Because the entryway is a small area, simplicity is key; one or two high-impact items are more effective than several small knick-knacks. Use a “one-in, one-out” rule for decorative items to keep the area functional. Adding a small, scented candle or a Reed diffuser can also engage the senses, making your entrance feel like an intentional part of your home rather than just a hallway. These small gestures turn a transitory space into a sanctuary that sets the tone for your entire living experience.

FAQ

Q: What is the best way to hang decor in a rental without damaging walls?

Use high-quality adhesive strips, tension rods, or command hooks. These products are specifically designed for renter-friendly application and removal, as they do not require nails, screws, or drilling, ensuring your security deposit remains protected.

Q: How can I make a tiny, dark entryway look bigger?

Install a large mirror opposite a light source to reflect brightness, and use light-colored, reflective decor. Additionally, keep the floor clear by using vertical storage; a visible, clutter-free floor creates an immediate illusion of more square footage.

Q: Can I use floor furniture in a 10-square-foot entryway?

Yes, but focus on slim-profile items with depths under 12 inches. A narrow console table or a pull-out shoe cabinet can fit into very tight spaces, provided they do not obstruct the primary walking path into your apartment.

Q: What should I do if I have absolutely no wall space for hooks?

If wall space is non-existent, use over-the-door hanging organizers or a slim, freestanding coat rack that features a small footprint. Alternatively, utilize the back of the front door with an over-the-door hook system to keep items out of sight.

12 No-Damage Wall Decor Ideas That Look Expensive

Finding the perfect balance between personal style and property restrictions can be a challenge. Whether you are living in a rental or simply prefer to keep your pristine surfaces intact, choosing no-damage wall decor that looks expensive is the ultimate interior design win. Many people assume that avoiding nails means sacrificing aesthetics, but with the right tools and creative vision, you can curate a sophisticated space that feels high-end and intentional.

The Philosophy of Damage-Free Design

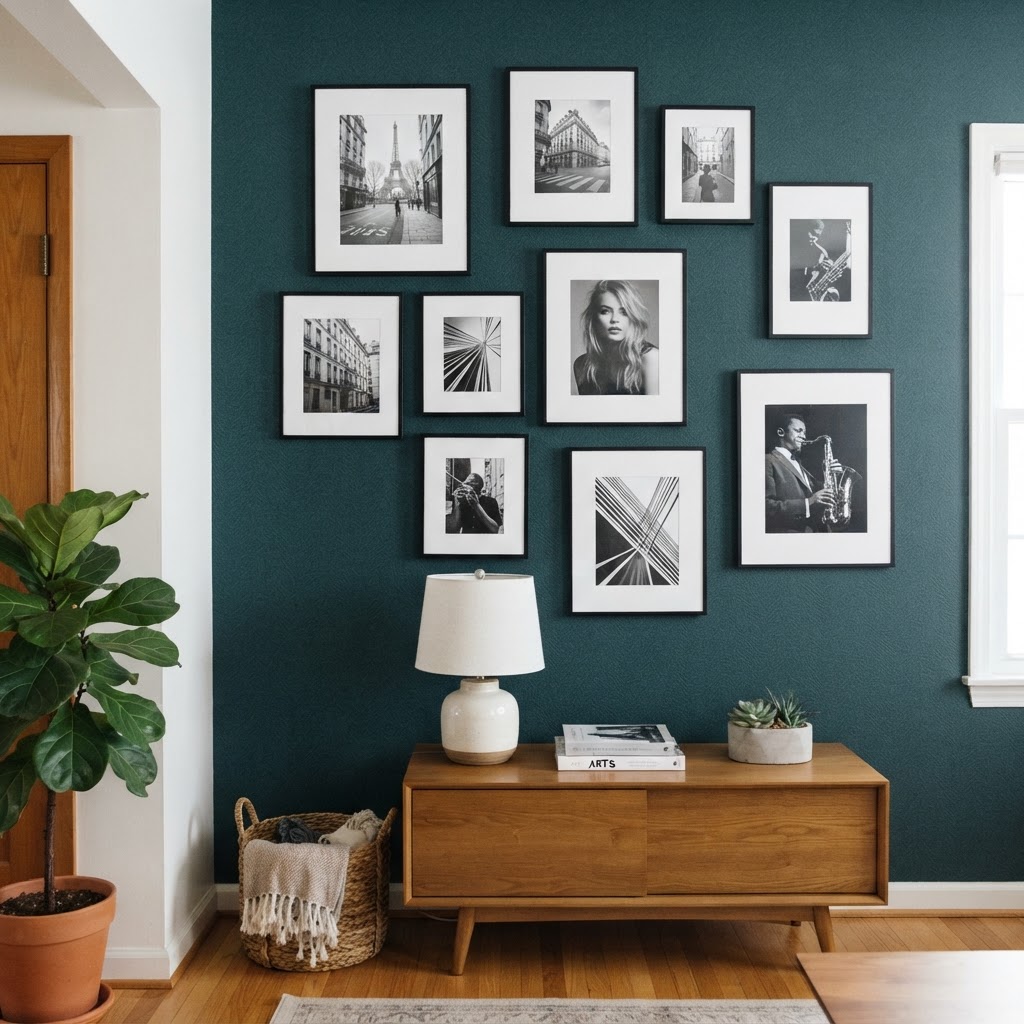
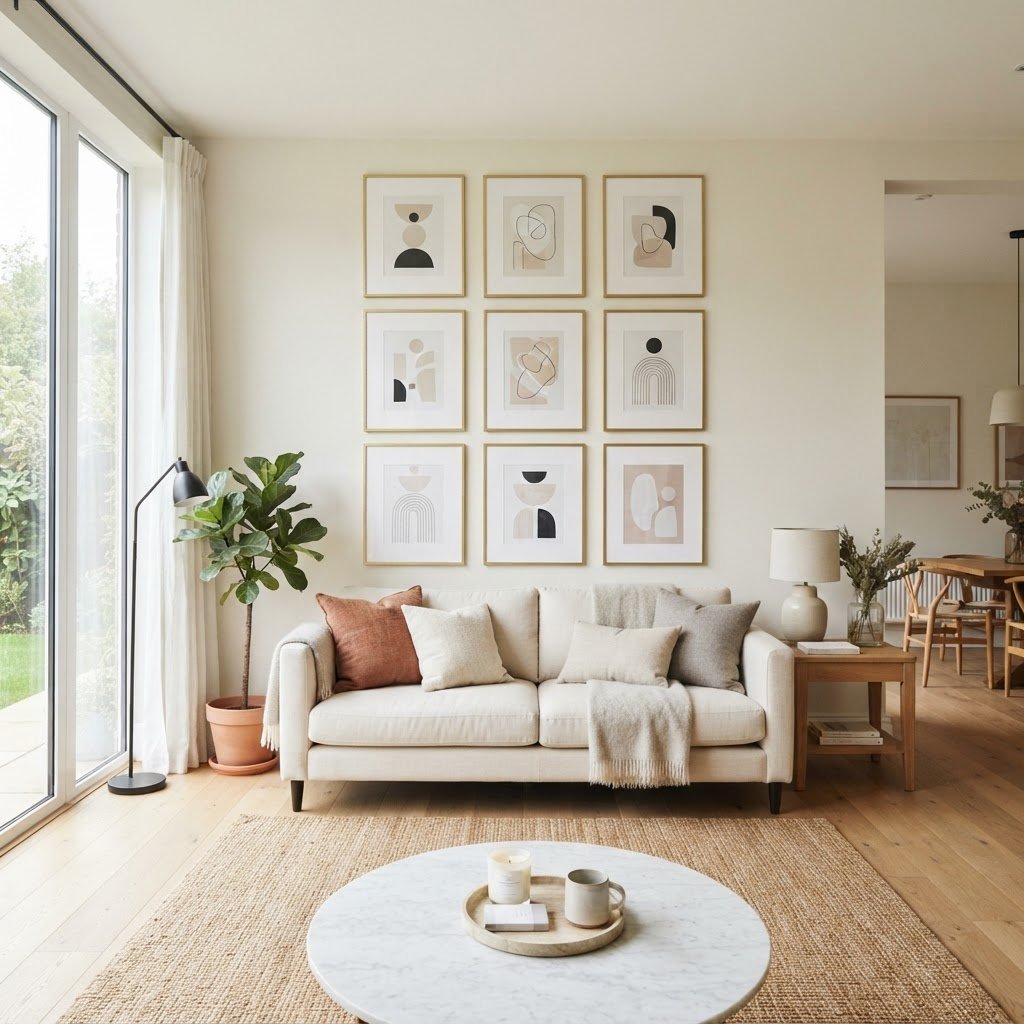
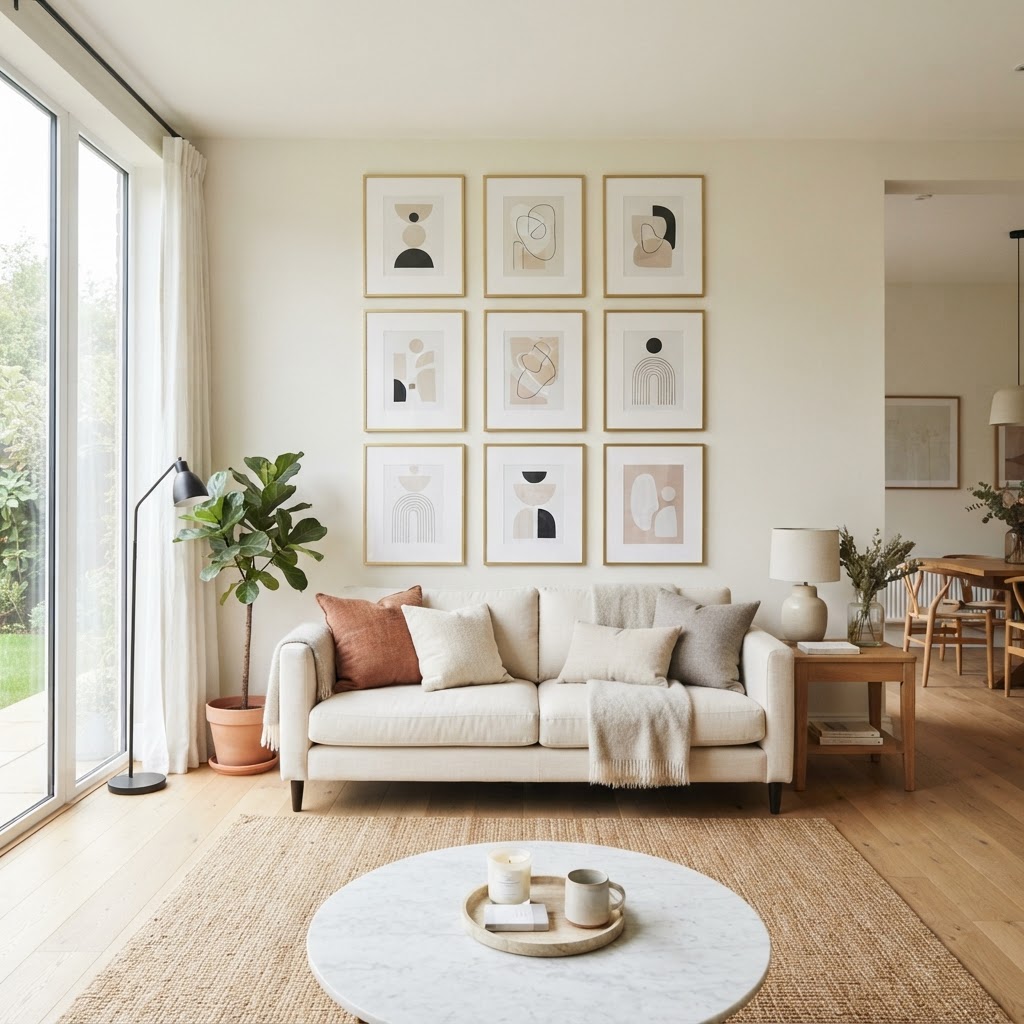
A perfectly curated gallery wall adds instant sophistication.

Luxury is often defined by the absence of clutter and the presence of thoughtful composition. When you focus on quality pieces rather than quantity, you can create a gallery-worthy display that relies on clever installation methods rather than heavy-duty hardware. The secret lies in understanding weight distribution and using high-quality adhesives that are designed for easy removal.

Creating a high-end atmosphere doesn’t require a permanent transformation. By selecting materials that have visual weight—like brass, heavy textiles, or framed canvas—you can mimic the look of custom-installed decor. This approach ensures your home feels sophisticated while remaining completely reversible.

Using Command Strips the Right Way

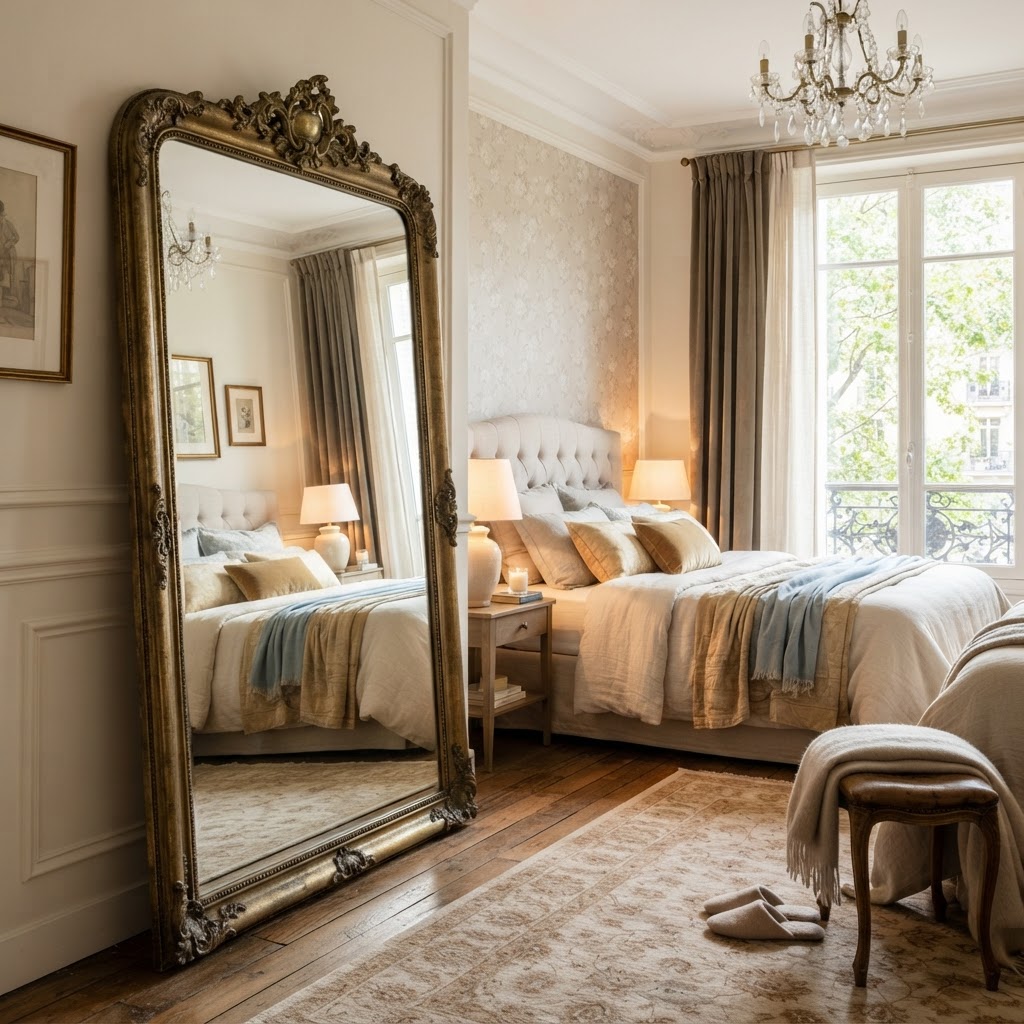
Leaning mirrors create an expensive look without any wall damage.

Command strips are the gold standard for no-damage wall decor, but the key to making them look expensive is proper planning. Rather than haphazardly hanging frames, treat your wall like a museum space. Use a laser level to ensure perfect alignment, which creates a sharp, professional look that instantly elevates the room.

Achieving the Gallery Wall Effect

To make a gallery wall look luxurious, choose frames with uniform finishes, such as matte gold, polished black, or natural oak. Space them with precision, keeping the distance between each frame consistent. This level of detail makes the display look intentional rather than like a collection of leftover items.

The Power of Peel-and-Stick Wallpaper

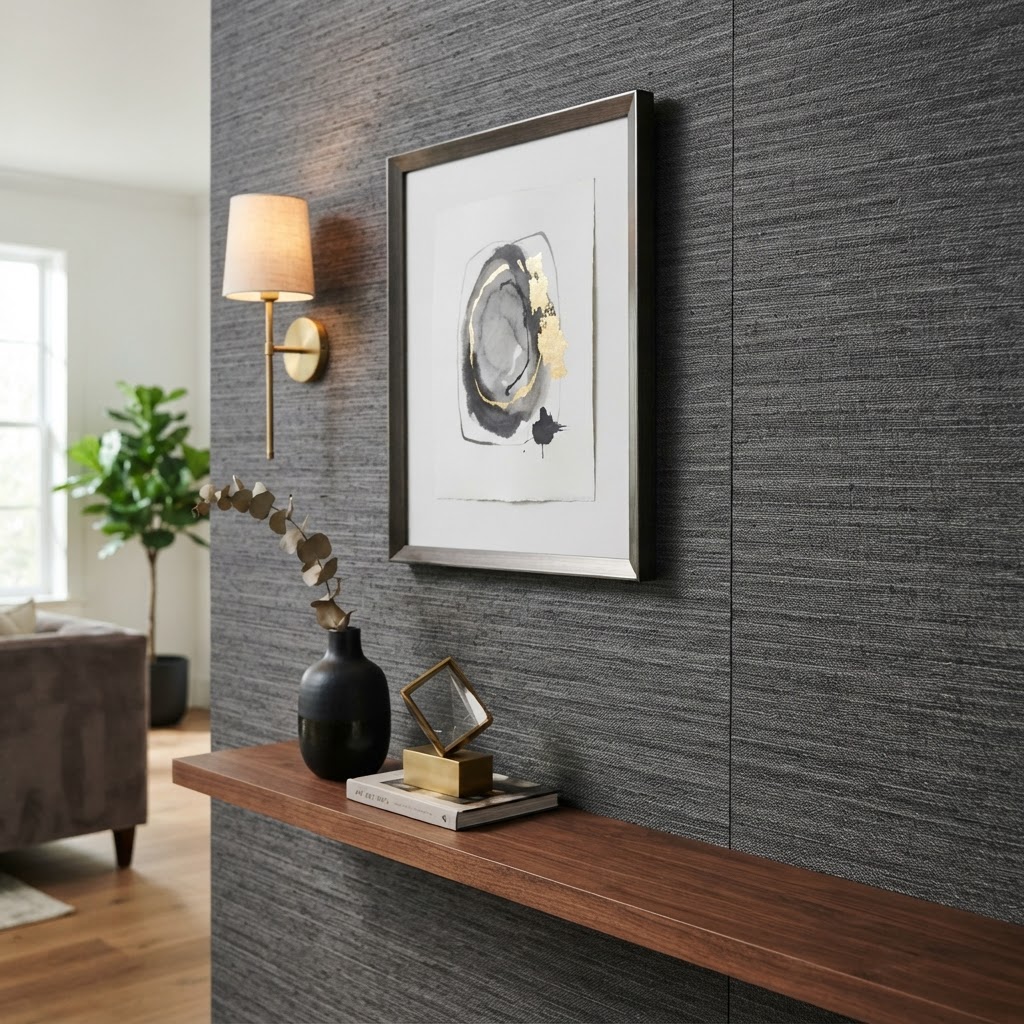
Textured peel-and-stick wallpaper mimics high-end design finishes.

If you want to achieve a high-end look without a commitment, premium peel-and-stick wallpaper is your best friend. Look for patterns that mimic natural textures like grasscloth, linen, or classic marble. These materials add depth and warmth to a room, acting as a backdrop that makes every other piece of decor look like it cost a fortune.

When installing, take your time to align patterns perfectly. A clean, seamless installation is the hallmark of a professional project. Even a single accent wall can completely redefine the architectural feel of a space.

Decorative Fabric Hangings

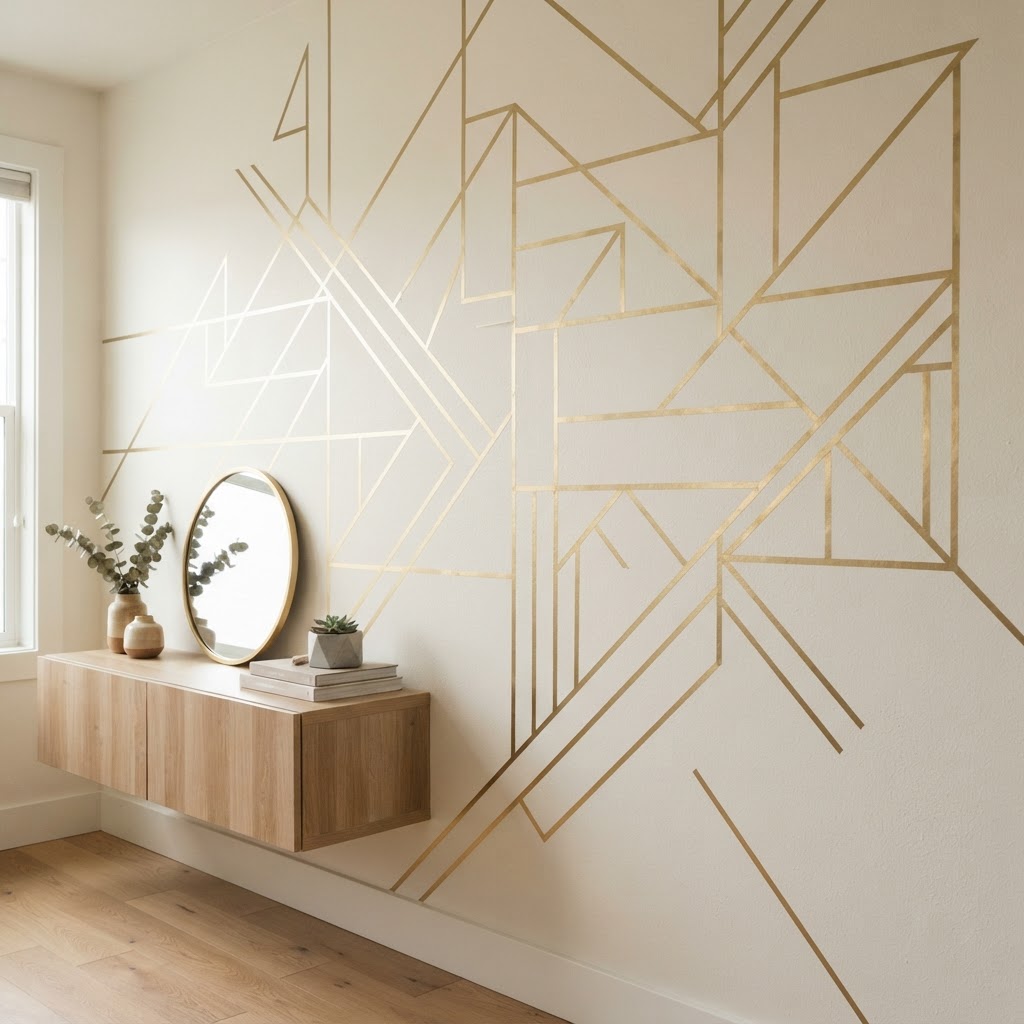
Washi tape can create stunning, modern, and removable wall art.

Textiles add an element of softness and luxury that hard frames sometimes lack. Use lightweight wooden dowels or decorative brass rods to hang large-scale tapestries or vintage scarves. You can mount these using heavy-duty adhesive hooks that are rated for the weight of your fabric, ensuring that your installation remains secure.

Choose materials like velvet, silk, or heavy linen to maximize the tactile experience. When a space feels luxurious to the touch, it automatically registers as expensive to the eye. This is an excellent way to introduce color and pattern without needing a single nail.

Leaning Large-Scale Mirrors

One of the most effective no-damage wall decor ideas is to utilize oversized floor mirrors. By leaning a tall, ornate mirror against the wall rather than hanging it, you create a chic, Parisian-apartment vibe. This technique is inherently high-end and requires zero installation effort.

Choose mirrors with heavy, sculptural frames in finishes like brushed brass or antique silver. The key here is scale; the larger the mirror, the more expensive it looks. Position it where it can reflect natural light to brighten your room while adding a sense of architectural grandeur.

Washi Tape as Wall Art

While it sounds simple, Japanese washi tape can be used to create sophisticated, minimalist wall art. By creating crisp geometric shapes, silhouettes, or architectural lines, you can turn a blank wall into a contemporary masterpiece. Use metallic or muted tones for a polished look that feels modern and high-end.

This method is completely damage-free and allows for total creative freedom. You can experiment with different designs and change them up as your style evolves. It is a fantastic option for those who appreciate modern art but prefer a clean, minimal aesthetic.

Floating Shelves with Adhesive Backing

There is a new generation of high-quality adhesive floating shelves designed to hold lightweight objects like small sculptures, books, or vases. These shelves are a game changer for displaying curated collections without drilling holes. Place your items with care, opting for ‘negative space’ to ensure each piece has room to breathe.

The Beauty of Temporary Wall Decals

Modern wall decals have moved far beyond basic shapes. Today, you can find high-quality, matte-finish decals that look like hand-painted murals. Choose botanical prints, abstract brushstrokes, or subtle geometric patterns that blend into your wall color. The lack of glossy edges is what makes these look expensive rather than like children’s stickers.

Tips for Styling Without Damage

  1. Always clean the wall surface with rubbing alcohol before applying adhesives.
  2. Use a laser level to ensure all your hanging items are perfectly straight.
  3. Group small items into a single frame to reduce the number of wall attachment points.
  4. Opt for lightweight materials like foam core or canvas to avoid needing heavy-duty mounts.
  5. Layer items for a collected look; place a leaning mirror in front of a wall hanging for depth.

Conclusion

You don’t need a sledgehammer or a drill to create a home that reflects your taste for luxury. By utilizing these 12 no-damage wall decor ideas, you can achieve a polished, high-end look that respects your space and your lease. Start with one of these techniques today, such as a gallery wall of uniform frames or an oversized leaning mirror, and watch how your room transforms into a sophisticated sanctuary. If you are ready to upgrade your interior, start small, focus on quality, and enjoy the process of styling your perfect home.

How to Fake an Entryway: Solutions for Small Homes

Walking through the front door directly into your living room can make your home feel exposed and disorganized. Many homeowners struggle with this architectural layout, wondering how to fake an entryway when there is no natural transition space. Without a dedicated foyer, your shoes, coats, and mail often end up cluttering the main living area, creating a chaotic first impression. The good news is that with a few strategic design adjustments, you can define a clear entry zone that separates your living space from the outside world.

Assess Your Existing Floor Plan

Use a rug to define your entryway zone.

Before you start buying furniture, take a close look at your floor plan. Even the smallest nook can be transformed into a functional landing pad if you approach it with the right perspective. Start by identifying the ‘landing zone’—the area immediately inside the door where you naturally drop your keys and bags. This is the footprint you will work with to create your faux entryway.

Think about the flow of traffic. You do not want to block the path to the kitchen or stairs. Observe where people naturally walk and avoid placing large, permanent pieces in those high-traffic lanes. Instead, focus on defining the space visually using rugs, lighting, or furniture placements that act as a psychological barrier, signaling to guests that they have arrived in a transition area.

Use Rugs to Define the Space

Vertical storage saves floor space.

A high-quality rug is one of the most effective tools for creating a visual separation between your entryway and living room. By choosing a distinct rug for the area just inside the door, you create a dedicated ‘zone’ that feels separate from the rest of the flooring. This is a classic designer trick to tell the eye that the entryway is a different space than the living room.

Consider a durable, low-pile rug or a natural fiber runner. These materials handle foot traffic well and are easy to clean. If your living room features carpet, a rug on top can add texture and color. Choose a pattern or color that complements your living room furniture but stands on its own as a unique anchor point for the entrance.

Create a Functional Storage Wall

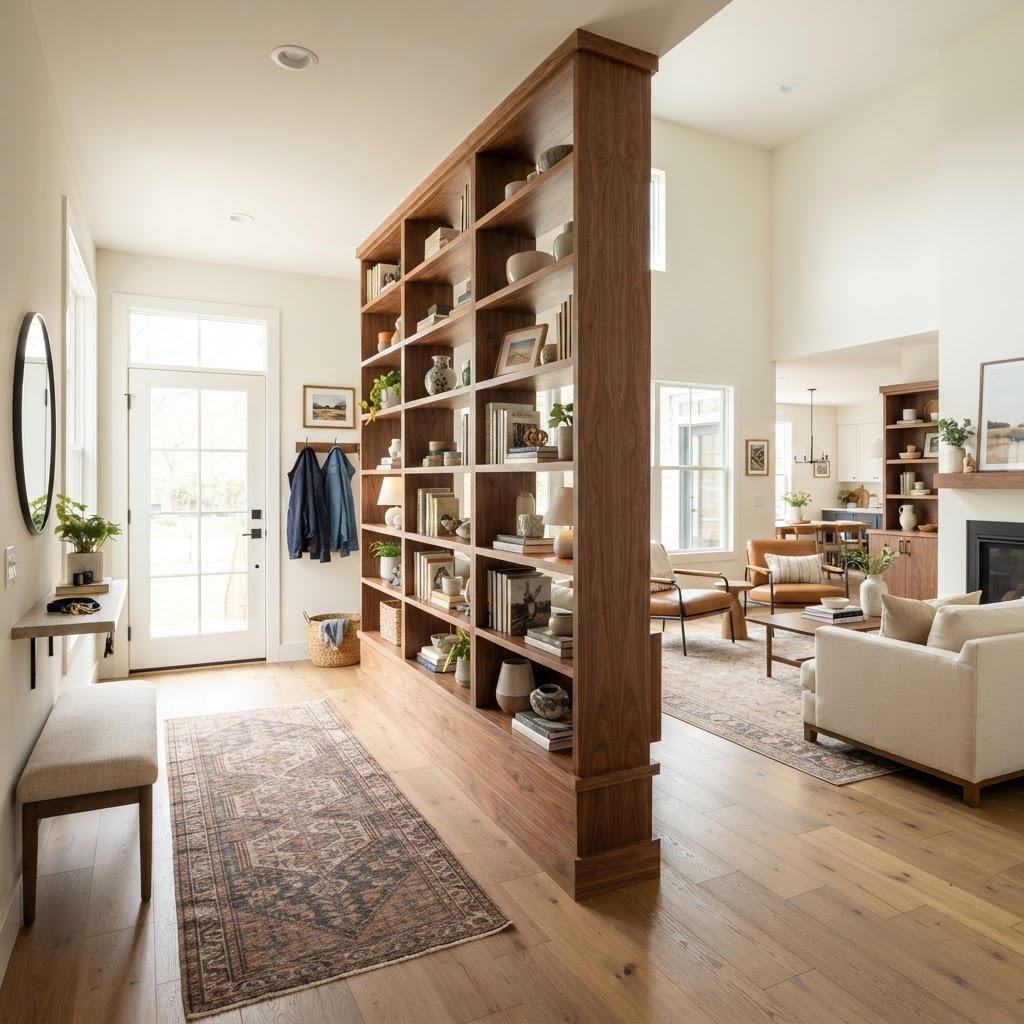
Use a bookshelf as a room divider.

When your front door opens into the living room, storage becomes your biggest challenge. You need a place for coats, shoes, and umbrellas, but you don’t want these items visible from your sofa. A storage wall is the perfect solution. By installing a series of hooks, a slim bench, or a wall-mounted console, you can turn a bare wall into a fully functional mudroom.

Focus on vertical storage. If your floor space is limited, look up. Wall-mounted coat racks and floating shelves take up zero floor space while providing plenty of utility. You can add a decorative basket on the floor beneath a shelf for shoe storage. This helps keep the ‘entry’ tidy and prevents clutter from migrating into the main living room area.

Benefits of Wall-Mounted Storage

  • Saves valuable square footage in tight layouts.
  • Keeps everyday items like keys and bags organized and accessible.
  • Allows you to customize the height for kids or adults.
  • Creates a visual focus that draws the eye toward the door.

Add a Room Divider or Screen

Add lighting to create a welcoming entry.

For a more dramatic transition, consider a physical barrier like a room divider or a folding screen. This is a brilliant way to fake an entryway because it creates an actual wall where none existed before. A decorative screen or a tall, open bookshelf can block the direct view of the sofa from the door, offering privacy to anyone sitting in the living room.

Adding Personal Touches and Decor

Finally, make your entryway feel like a deliberate design choice rather than an afterthought. Add decor that reflects your personality. This is the first thing guests see, so make it count. Place a small vase of flowers on the console, hang a piece of art that inspires you, or add a tray to collect daily essentials. These small details show that the space is well-loved and purposefully curated.

Don’t be afraid to experiment with color. Painting the ‘entry’ wall a different shade than the rest of the living room can effectively section off the space. You can also use wallpaper in the entry zone to define the area. Just ensure the colors and patterns complement the surrounding living room to maintain a cohesive flow throughout your home.

Conclusion

Learning how to fake an entryway when your front door opens into the living room is all about creating boundaries and maximizing functionality. By using rugs, strategic furniture placement, wall storage, and lighting, you can easily transform a problematic floor plan into a stylish and organized space. You don’t need a massive remodel to get the foyer you’ve always wanted. Start small with a single console table or a rug, and build your entryway as you discover what works best for your daily routine. Now that you have the tools to create a welcoming entrance, start by measuring your space today and see which of these ideas fits your home best!

10 Renter-Safe Hacks Under $25 to Upgrade Small Spaces

10 Renter-Safe Hacks Under $25 to Upgrade Small Spaces

To transform a small rental into a cozy sanctuary for under $25, prioritize high-impact, non-permanent upgrades like swapping cabinet hardware, adding warm LED lighting, or installing removable wallpaper. These simple, budget-friendly changes allow you to personalize your home without risking your security deposit or exceeding a modest DIY budget.

The Psychology of Small Space Living

Using mirrors to brighten up a small rental living room.

In limited square footage, the clutter-to-space ratio dictates the overall comfort and functionality of your living environment. Small spaces often feel confining due to poor natural lighting, inadequate vertical storage, and generic builder-grade finishes that lack character. By implementing low-cost interventions, you can manipulate visual flow to create the illusion of a larger, more intentional room. Focus on “zoning” your space; assigning a specific purpose to every corner prevents the room from feeling like a sterile, undefined box. Studies in environmental psychology suggest that personalizing a home increases well-being, even when that home is a temporary rental. By keeping your project costs under $25, you maintain the flexibility to adapt your decor as your tastes evolve or as you prepare to move. This strategy encourages creative experimentation, allowing you to refine your aesthetic through trial and error while avoiding the financial risks associated with permanent renovations.

Why Budget-Friendly Matters

Budget Strategy Benefit Cost Estimate
Hardware Swapping Professional look $15–$25
Removable Decor Zero damage $10–$20
Lighting Updates Mood shift $12–$25

Lighting: The Instant Mood Booster

Swapping cabinet hardware for an instant kitchen upgrade.

Overhead “boob” lights and harsh fluorescent tubes are the enemies of good interior design, often washing out colors and creating an institutional feel. The easiest way to elevate your rental is to replace cold, overhead light with warm, ambient sources placed at eye level. Use plug-in wall sconces or rechargeable LED puck lights that attach to surfaces with damage-free adhesive strips, requiring zero electrical wiring. Incorporating three distinct light sources—such as a floor lamp, a table lamp, and a soft-glow accent light—creates depth and shadows that make a room feel significantly more expensive. When shopping for lighting, browse thrift stores for vintage glass shades or modern metal frames that can be easily repurposed. By directing light toward walls rather than down onto the floor, you soften the boundaries of your small room, which effectively tricks the eye into perceiving more square footage. This simple switch from a singular overhead source to multi-layered, warm-toned lighting is the fastest way to transition your apartment from a sterile environment to an inviting, high-end sanctuary.

Removable Wallpaper and Decals

Removable wallpaper is a perfect renter-safe decor solution.

One of the most impactful renter-safe hacks under $25 is the use of high-quality peel-and-stick wallpaper to define a focal point. A single roll is usually sufficient to cover an accent wall or the back of a bookshelf, adding the necessary texture and color to break up bland, rental-white walls. Because the material is engineered for easy removal, it leaves no residue, ensuring your security deposit remains untouched. If full-wall wallpaper seems like too much labor, opt for wall decals instead. Geometric shapes, abstract botanical illustrations, or gold-leaf constellations offer a lower-commitment way to add architectural interest. These decals typically retail for under $15 per pack, and application takes less than 30 minutes. Consider the following comparison when choosing your wall treatments: peel-and-stick wallpaper offers a high-impact, full-coverage transformation, whereas wall decals provide subtle, dispersed decoration perfect for renters who prefer a minimalist or eclectic look. Both options are entirely reversible, making them ideal for the low-risk, high-reward approach required in rental properties.

Strategic Use of Mirrors

Mirrors remain the oldest, most reliable trick in the designer’s handbook for physically and visually expanding a small room. By placing a large mirror directly opposite a window, you effectively bounce natural light into the deeper, darker corners of the apartment and create a visual “portal” that simulates an additional doorway. To keep costs under the $25 threshold, scout local garage sales or online marketplaces for large, ornate frames with outdated colors. A $5 can of matte black, gold, or metallic spray paint can transform a dated, thrifted frame into a sophisticated, gallery-style piece. Always hang these using heavy-duty, rated adhesive hooks rather than traditional nails to keep the walls pristine. When selecting a mirror, choose a frame that matches your secondary color palette to ensure the piece feels like a deliberate design choice rather than an afterthought. This simple, affordable installation creates depth and luminosity, proving that you do not need expensive structural renovations to make a rental apartment feel airy, spacious, and custom-designed.

Creative Vertical Storage

In small apartments, floor space is the most valuable commodity, making verticality the key to organization. When you run out of surface area, look upward to utilize the often-ignored space above eye level. Tension rods are a renter’s best friend; place them inside kitchen cabinets to hold baking sheets vertically or between wall corners to create instant shelving for lightweight items. These tools are completely non-invasive and require no drilling, satisfying even the strictest landlord requirements. Organizing on a dime requires you to be selective with your inventory, focusing on items that serve dual purposes.

Organizing on a Dime

  • Over-the-door organizers: Use these in the bathroom or pantry to reclaim precious floor space while doubling your available storage area.
  • Under-shelf baskets: Clip these onto existing wire or wood shelves to create extra “drawers” for small, easily misplaced trinkets or kitchen linens.
  • Magnetic strips: Mount these inside kitchen cupboard doors using heavy-duty double-sided tape to store metal knives or small utensils, effectively clearing your counter space for daily use.

Textile Transformation

Soft furnishings act as the secret weapon for anyone looking to perform a major apartment upgrade on a strict budget. You can fundamentally change the aesthetic of your living area by swapping out throw pillow covers or layering a thick, high-pile rug over an unattractive carpet. High-quality pillow covers, particularly in linen or velvet textures, can be found online for under $10 each, allowing you to refresh your color palette seasonally for less than the cost of a single dinner out. Textures such as faux fur or chunky knit wool add a layer of depth that successfully distracts from cheap, dated flooring or beige rental walls. Don’t underestimate the power of curtains, either; by hanging floor-to-ceiling drapes as high as possible, you trick the eye into seeing higher ceilings and add a sense of luxury that plastic blinds simply cannot match. Investing in high-quality, weighted fabric for these curtains provides a high-end look that transforms the entire room’s silhouette instantly.

Kitchen and Bath Facelifts

Kitchens and bathrooms are often the most dated areas of a rental, yet they are typically the most expensive to renovate professionally. You can perform a significant facelift by swapping out standard, builder-grade cabinet hardware for modern brushed brass or matte black pulls for under $25 total. Always keep the original hardware in a clearly labeled Ziploc bag so you can reinstall it before your move-out date to recover your full security deposit. Additionally, consider applying marble-effect contact paper on countertops. While you must exercise caution with high heat and sharp blades, a quality peel-and-stick contact paper can mask ugly laminate surfaces for a fraction of the cost. This is a bold, high-impact move that elevates the entire kitchen aesthetic. If you are hesitant about full coverage, start by testing a small corner to see how the adhesive reacts to your specific countertop material, ensuring a clean, residue-free removal when the lease ends.

Greenery and Natural Elements

No small space feels finished without the organic life and breath provided by indoor plants. Apartment dwellers should focus on hanging planters or wall-mounted pots to introduce greenery without sacrificing valuable side-table or floor space. For under $25, you can purchase a beautiful trailing pothos, a hardy snake plant, or a ZZ plant—all of which thrive in the varying light conditions found in most rental units. Plants act as living art, providing a natural, neutral color palette that complements any interior design style from modern to bohemian. Pair a healthy plant with a decorative terracotta pot or a simple jute basket to achieve an instant, sophisticated look. Beyond aesthetics, indoor plants contribute to better air quality, making your rental feel more like a healthy, oxygenated home. By using vertical wall hooks, you can create a “living wall” effect that draws the eye upward, further enhancing the perception of height in your small apartment.
The Power of Decluttering

Perhaps the most impactful hack of all costs nothing at all: aggressive, intentional decluttering. Small rooms thrive on minimalism, and every object you keep should either serve a clear, daily function or provide significant aesthetic joy. A clean, organized home consistently looks more expensive and intentional than one filled with clutter. Start by assessing your storage needs and ruthlessly removing items you haven’t used in the past six months. Once you have a clean slate, the smaller decorative touches—like your new throw pillows or gallery wall—will have the necessary space to stand out. An intentional approach to what you own is the non-negotiable foundation of every successful small apartment upgrade, as it allows your chosen decor pieces to shine without competing for attention with unnecessary items. By removing visual noise, you create a sense of calm and openness that makes even the smallest rental feel expansive and luxurious.

FAQ

Can I use contact paper on rental countertops?

Yes, you can use contact paper, but you must choose a high-quality, adhesive vinyl specifically designed for flat surfaces. Be sure to avoid placing hot pans directly on the material and test an inconspicuous area first to ensure it removes without damaging the underlying laminate.

Are Command strips truly safe for rental walls?

Command strips are generally safe when used according to the manufacturer’s weight limits and removal instructions. To prevent paint peeling, always stretch the adhesive tab slowly and parallel to the wall surface rather than pulling it directly outward, which keeps the paint layer intact.

How can I hide ugly rental lighting?

You can hide ugly fixtures by using plug-in wall sconces that cover the existing fixture or by using magnetic, lightweight decorative covers. Alternatively, simply avoid using the overhead light entirely by layering multiple floor and table lamps with warm-toned LED bulbs to create a cozy, ambient environment.

What is the cheapest way to make a room look bigger?

Using large mirrors placed opposite windows is the most cost-effective way to increase the perception of space. Mirrors double the natural light and create a visual depth that makes a confined room feel significantly larger, airier, and more open for under $25.

Are peel-and-stick wallpapers easy to remove?

Most modern peel-and-stick wallpapers are designed for easy removal and leave zero residue if applied correctly to finished, clean surfaces. For the best experience, avoid applying them to damaged or poorly painted drywall, which can be prone to peeling when the adhesive is removed during a move.

5 Reversible Entryway Makeovers That Elevate Any Apartment

5 Reversible Entryway Makeovers That Elevate Any Apartment

Reversible entryway makeovers for renters involve using non-permanent solutions like peel-and-stick wallpaper, adhesive-backed hooks, area rugs, battery-operated lighting, and leaning mirrors to transform a foyer without damaging walls or violating lease agreements. These five budget-friendly strategies allow you to increase functionality and aesthetic appeal while guaranteeing your full security deposit return.

The Psychology of a Well-Designed Entryway

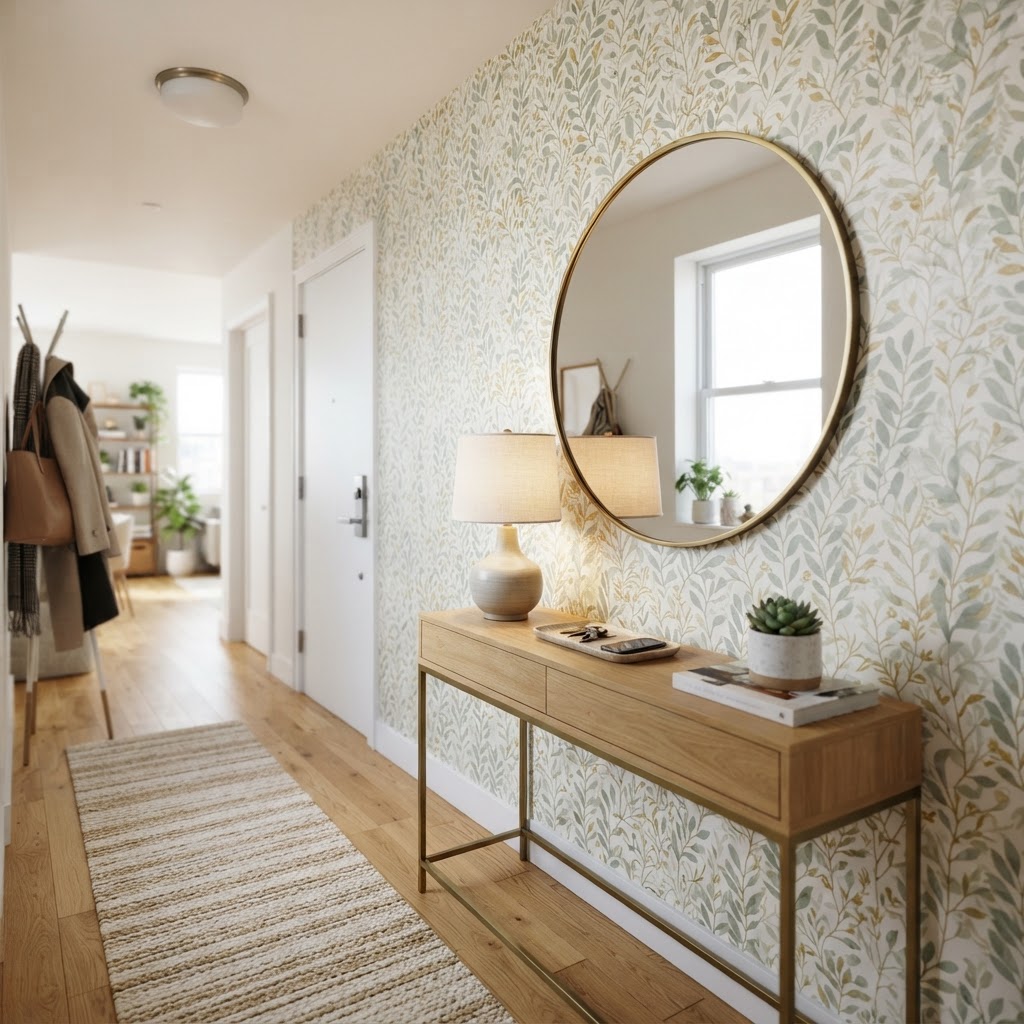
Peel-and-stick wallpaper adds instant character to any rental foyer.

Your entryway acts as the vital transition zone between the chaotic outside world and your personal sanctuary, setting the tone for your entire home. Psychologically, an organized “drop zone” reduces cortisol levels by providing a dedicated, stress-free space for keys, mail, and outerwear immediately upon arrival. Research into spatial design suggests that individuals who maintain a clean entryway are 30% more likely to feel organized in their professional lives. By investing as little as $50 to $150 in reversible upgrades, you create a psychological boundary that signals the end of the workday and the beginning of relaxation time. When this area is neglected, it often leads to a “clutter spillover” effect where disorganization migrates from the foyer into the living room and kitchen. Utilizing vertical space through tension-based furniture or wall-mounted adhesive solutions ensures that even a 10-square-foot apartment corner can function as a high-end mudroom. Achieving this balance requires shifting focus from permanent modifications to modular, high-impact decor pieces that respect the physical constraints of the rental. By transforming your foyer, you aren’t just decorating; you are optimizing your home’s environmental impact on your mental well-being.

Why Rental Friendly Decor Matters

Most apartment dwellers avoid major home improvements due to strict lease agreements. However, modern innovation has provided renters with peel-and-stick adhesives, tension-based furniture, and non-permanent hardware. You no longer have to sacrifice style for security; in fact, the constraints of renting often spark the most creative design solutions. Understanding the balance between aesthetics and functionality is the key to a successful apartment transformation.

1. Upgrade Walls with Peel-and-Stick Wallpaper

A runner rug and wall hooks create a functional drop zone.

Peel-and-stick wallpaper is the premier method for creating a dramatic focal point in a bland rental foyer without the long-term commitment of traditional pastes. Unlike standard wallpaper, these vinyl-based products are specifically engineered for renters, utilizing low-tack adhesives that peel away cleanly from smooth surfaces. To ensure a professional finish, you should measure your wall area twice and order 15% more material than calculated to account for pattern matching and cutting errors. Prices typically range from $30 to $80 per roll, making it a cost-effective alternative to professional painting. Before application, clean your walls with a mix of mild soap and water to remove dust, which significantly improves adhesive longevity. For smaller, windowless entryways, select high-reflectivity patterns or metallic finishes that can brighten the space by up to 20%. If your walls have a slight texture, look for “heavy-duty” adhesive backings labeled for semi-textured surfaces to prevent bubbling. By dedicating a single afternoon to installation, you can completely alter the architecture of your entranceway, making it feel like a custom-designed space. When moving out, simply apply low heat with a hair dryer to soften the adhesive, allowing the sheets to lift off without stripping the underlying paint or drywall, ensuring your security deposit remains untouched.

Feature Traditional Wallpaper Peel-and-Stick Wallpaper
Installation Requires paste/water Self-adhesive/Dry
Removal Difficult (steaming) Easy (peel off)
Rental Safety Low High
Average Cost High Moderate

2. Command Hooks and Floating Shelves

Layered lighting transforms a basic apartment hallway.

Vertical storage through adhesive hooks and floating shelves is the most efficient way to maximize square footage in a cramped rental apartment. Adhesive technology has advanced to the point where heavy-duty strips can safely support up to 15 pounds per hook, making them ideal for bulky winter coats, heavy bags, or umbrella stands. Instead of random placement, arrange your hooks in a grid pattern or a staggered “scallop” formation to turn functional storage into a structured art installation. Floating shelves, particularly those with tension-mounted legs or weighted bases, provide a stable surface for decorative accents without requiring a single drill hole. When planning your layout, keep the shelf height between 36 and 42 inches from the floor for optimal ergonomic access. This height mimics a standard console table, providing a convenient drop zone for keys and mail while keeping the floor clear for boots and shoes. Using consistent hardware finishes—such as brushed gold, matte black, or polished nickel—across all hooks and shelf brackets creates a high-end, cohesive aesthetic. Always follow the manufacturer’s weight capacity guidelines; exceeding these limits can lead to unexpected detachment and potential wall damage. By strategically grouping these elements, you transform a flat wall into a 3D functional space, proving that you do not need permanent construction to achieve a professional mudroom look.

3. The Power of Area Rugs and Runners

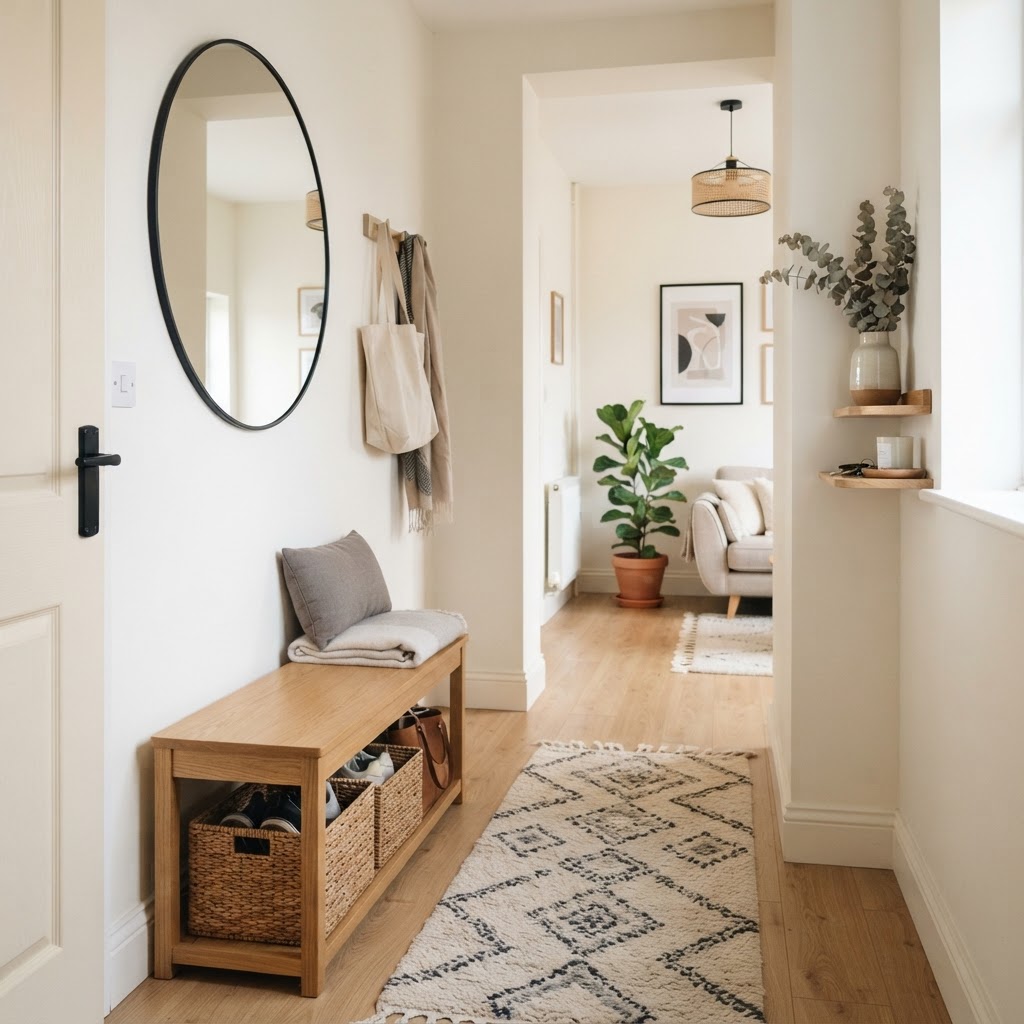
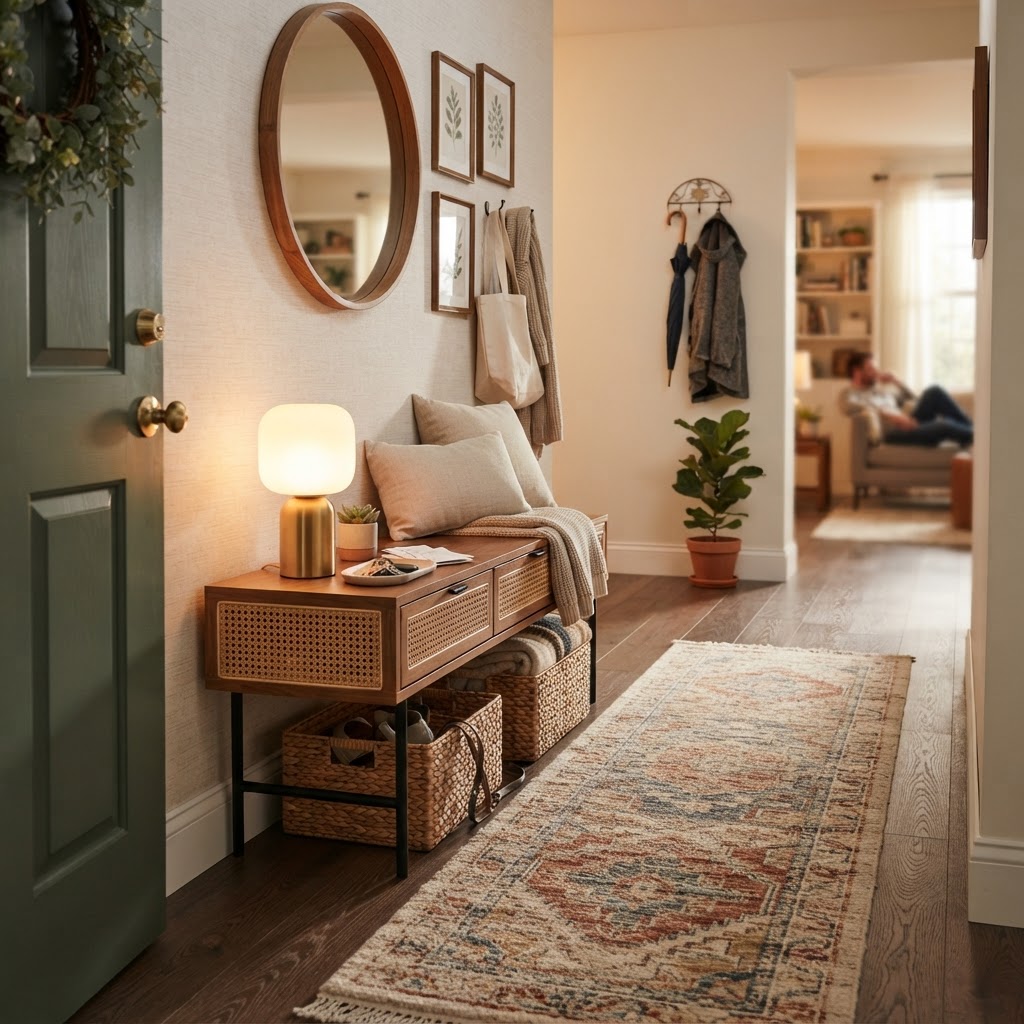
Maximize your space with a mirror and slim storage bench.

An area rug or runner is the fastest way to conceal unattractive rental flooring while adding acoustic dampening and warmth to your home’s entrance. In high-traffic zones, a flat-weave or low-pile rug is essential, as these styles prevent the door from catching while providing a durable surface that withstands daily wear. Natural fibers like jute and sisal are excellent choices for their durability and organic texture, while machine-washable cotton blends are superior for families or pet owners needing frequent sanitation. To prevent slips and protect the landlord’s original flooring, always pair your rug with a high-quality, non-slip felt rug pad. This addition not only increases safety but also adds a layer of cushioning that makes the entryway feel more luxurious. When selecting a size, aim for a runner that leaves at least 4 to 6 inches of floor visible on either side of the rug to maintain proper scale. If your entryway is uniquely shaped, consider purchasing carpet tiles, which can be custom-cut to fit around awkward corners or wall obstructions without requiring permanent adhesive. A well-placed rug serves as the foundation of your foyer design, effectively zoning the space away from the rest of the apartment and acting as a physical barrier that captures grit before it enters your living room. Ultimately, a rug is the ultimate “low-risk, high-reward” upgrade for any renter.

4. Layered Lighting for Ambiance

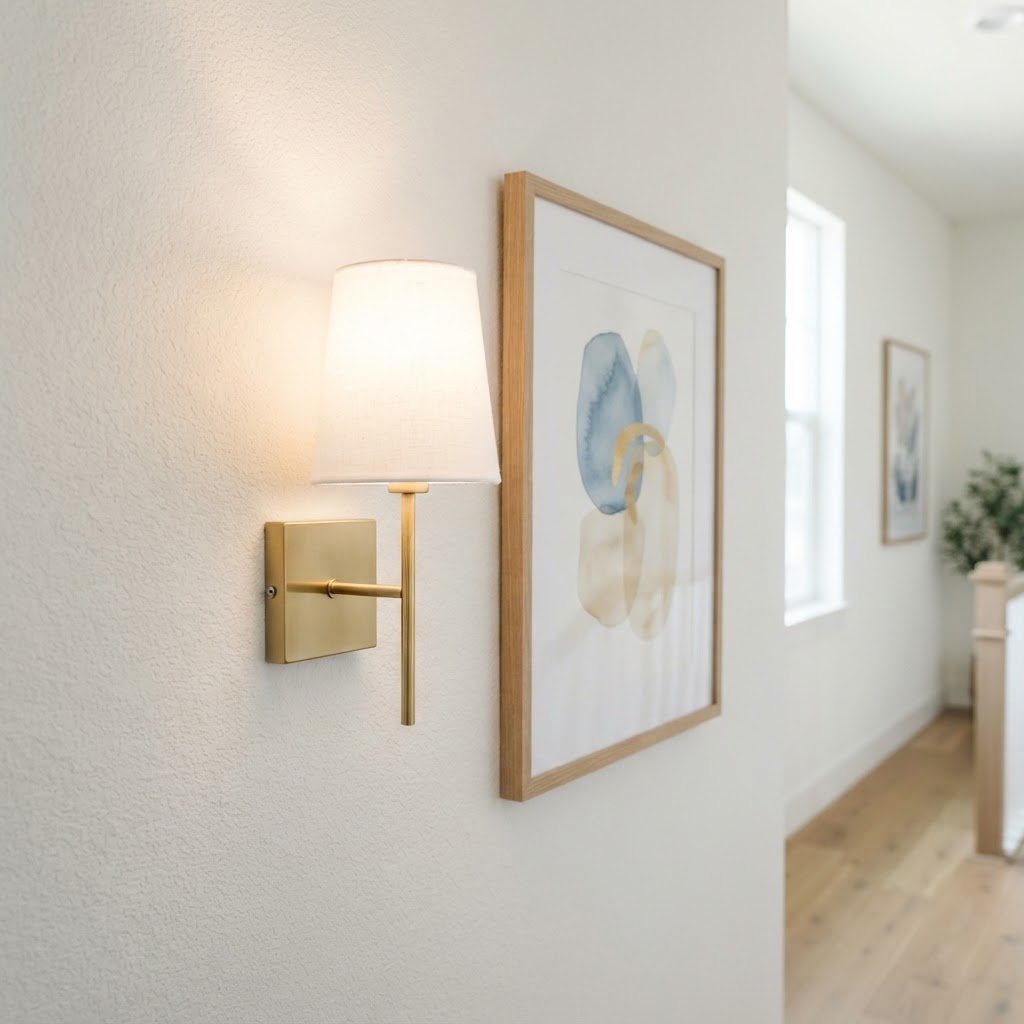
Standard overhead apartment lighting often creates a sterile, harsh atmosphere, which can be easily corrected by introducing layered, warm lighting sources. Layering involves using a combination of base lighting (your existing overhead) and accent lighting (table lamps or wall sconces) to create a sense of depth and luxury. You can bypass the need for hardwiring by selecting high-quality, battery-operated LED sconces that mount with command-style adhesive plates. These fixtures are frequently equipped with remote controls or smart-home connectivity, allowing you to dim the lighting or set timers via voice assistant. Place a sleek, plug-in table lamp on your entryway console to provide a warm, ambient glow that creates a welcoming feeling as soon as you enter the apartment. Aim for light bulbs in the 2700K to 3000K range, which emit a soft white light rather than the blue-tinted cool light found in most standard utility bulbs. By avoiding the overhead light entirely and relying on these secondary sources, you can instantly make a small, budget-conscious hallway feel like an upscale entryway. Incorporating motion-sensor LEDs under floating shelves is another effective strategy, providing practical, hands-free lighting that adds a high-tech feel to your foyer while saving energy. These minor adjustments completely transform the mood of the transition zone, making it a functional and inviting place to pause when you first walk through the door.

Lighting Type Typical Color Temp Best Use Case Installation Effort
Standard Overhead 4000K+ General Utility N/A (Existing)
LED Sconces 2700K – 3000K Ambiance/Wall Decor Low (Adhesive)
Table Lamp 2700K Surface Lighting Low (Plug-in)

5. Mirrors and Reflective Surfaces

Mirrors are essential in small apartments because they double the perceived visual depth of the room and increase natural light distribution. In a cramped or dark entryway, a large-scale mirror acts as a “faux window,” bouncing existing light back into the space and making the corridor feel significantly more open. For safety and compliance with common lease terms, choose a floor-length mirror with a lean-to frame, or use heavy-duty adhesive strips specifically designed to support mirrors up to 20 pounds. When placing your mirror, position it perpendicular to the light source to maximize the reflection of natural illumination. Beyond aesthetic expansion, a mirror serves a critical practical function for last-minute outfit checks, ensuring you look your best before stepping out. To align with a specific interior design theme, select a frame material such as matte black for modern industrial vibes, or warm walnut wood for a mid-century modern aesthetic. If you have a very narrow entryway, consider a mirrored console table or mirrored wall decals to achieve a similar reflective effect without taking up valuable floor space. Mirrors are inherently versatile; they are easy to transport when you move and integrate seamlessly into any room in your next home. By selecting a high-quality, statement piece, you add a sense of permanent luxury to your rental that feels tailored and intentional rather than temporary.

FAQ

Can I use peel-and-stick wallpaper on textured rental walls?

Peel-and-stick wallpaper adheres best to smooth surfaces, but you can use it on textured walls if you select products explicitly rated for texture or apply a layer of smooth contact paper first. Always test a small sample in an inconspicuous area for 48 hours to ensure it sticks without damaging the paint.

How do I remove adhesive hooks without pulling off paint?

To remove adhesive hooks without paint damage, use a hair dryer on a low-heat setting for 30 seconds to soften the adhesive before gently pulling the tab straight down. This process prevents the glue from pulling away layers of drywall or paint during removal.

Are there alternatives to drilling for heavy mirrors?

Yes, you can safely hang heavy mirrors using floor-leaning frames or specialized furniture anchors that use tension rather than screws. Ensure the mirror is secured to the wall with a safety strap attached to the frame to prevent tipping while avoiding permanent wall damage.

How often should I clean my entryway rug to maintain it?

Vacuum your entryway rug at least once a week to remove dirt and debris, and perform a deep clean or machine wash monthly. Regular cleaning prevents grit from grinding into the fibers, which extends the life of the rug and keeps your entryway looking pristine.

What is the best light color temperature for a cozy entryway?

For a warm and inviting atmosphere, use light bulbs with a color temperature between 2700K and 3000K. This range produces a soft, golden-yellow light that feels much more natural and comfortable than the harsh, blue-leaning light of standard 4000K+ overhead fixtures.

10 Renter-Friendly Entryway Ideas (No Drilling Required)

10 Renter-Friendly Entryway Ideas (No Drilling Required)

You can create a stylish, functional entryway without drilling holes by utilizing vertical storage, adhesive-backed organizers, and portable lighting solutions. By focusing on freestanding furniture, over-the-door storage, and damage-free wall hooks, you can maximize small apartment footprints while staying fully compliant with your lease agreement.

The Power of Vertical Storage Solutions

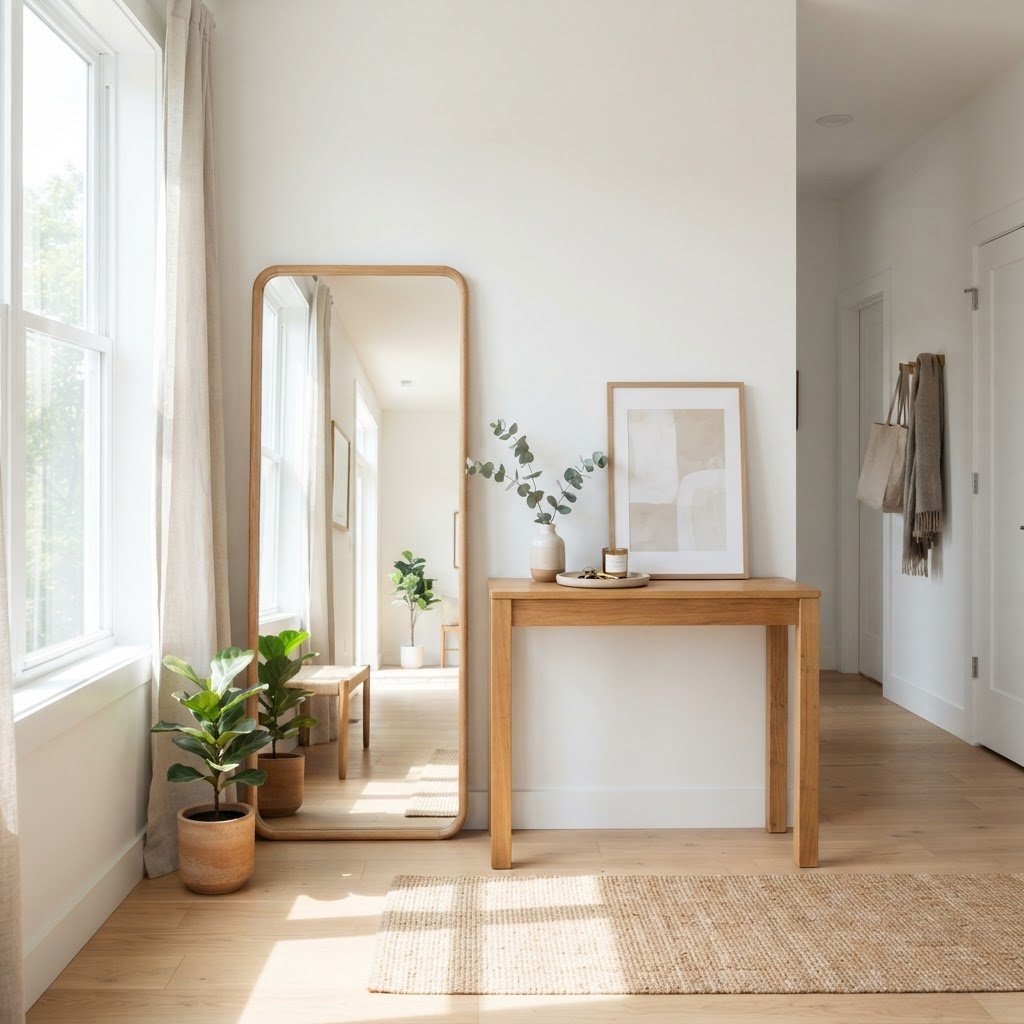
A functional, no-drill console setup that maximizes small apartment space.

Vertical storage is the most effective way to manage entryways when wall-mounted fixtures are prohibited, as it shifts the footprint upward rather than outward. Freestanding coat racks, for instance, utilize the “dead air” in corners, while over-the-door organizers turn the back of your entrance door into a high-capacity storage hub for up to 20-30 pounds of gear. These solutions are ideal for renters because they require zero hardware, preserve the condition of drywall, and can be moved instantly. To maximize effectiveness, choose vertical pieces with a footprint of less than 15 inches in depth to ensure high-traffic areas remain clear. For apartments with limited floor space, consider tension-rod shelving systems that wedge securely between the floor and ceiling without creating a single mounting hole.

Utilizing Over-the-Door Organizers

Over-the-door hooks and organizers are the gold standard for no-drill entryway storage, often featuring brushed metal or minimalist wood finishes that blend with modern decor. They allow you to hang heavy winter coats and bags without needing wall anchors. When shopping for these, look for options with padded contact points to prevent the metal from scratching the door finish over time.

Choosing the Right Height and Weight

Be mindful of the weight limit on your over-the-door rack, which typically ranges from 5 to 15 pounds per hook depending on construction. Ensure your door hinges are secure, as the extra weight can sometimes cause sagging over time if the door is older. Always measure the clearance of your door frame to ensure the organizer doesn’t prevent the door from closing properly; generally, you need at least 1/8th of an inch of clearance for standard brackets.

Furniture Choices That Maximize Space

Adhesive hooks provide a versatile and damage-free way to organize entryway essentials.

Selecting the right furniture is critical when you cannot mount floating shelves, as your consoles and benches must perform heavy lifting while maintaining a compact profile. A slim console table (ideally 8-12 inches deep) provides a necessary “drop zone” for keys, mail, and wallets, while anchoring the visual interest of the room. You should prioritize pieces with built-in storage or open shelving to keep the entryway feeling airy rather than cluttered. When selecting pieces, look for materials like bamboo or powder-coated steel, which are durable enough to handle the daily abuse of outdoor gear but light enough to move during a move-out. Always measure your hallway width before purchasing; maintain a minimum 36-inch clearance path to comply with basic apartment safety standards.

Furniture Type Best Use Case Typical Depth Storage Potential
Slim Console Drop zone for keys 8-10 inches Low
Storage Bench Shoe storage/seating 12-16 inches High
Ladder Shelf Vertical decor/baskets 10-14 inches Medium

Multifunctional Benches

Storage benches serve double duty by offering both a place to sit while putting on shoes and a hidden compartment for seasonal gear. Look for benches with lift-up lids or cubbies underneath. By choosing a bench with a closed-front design, you keep the entryway looking tidy even when the storage inside is slightly chaotic.

Mastering Adhesive Technology

Textiles and lighting can instantly transform a generic apartment entryway into a warm home entrance.

Adhesive hooks are a renter’s best friend, specifically those using stretch-release technology which leaves zero residue on painted surfaces. Brands like Command have revolutionized the way we decorate, allowing us to hang artwork, calendars, and even lightweight mirrors without leaving a trace. The secret to success lies entirely in surface preparation: rubbing the wall with a 70% isopropyl alcohol solution removes microscopic oils and dust that prevent the adhesive from bonding fully. For best results, wait at least one hour after cleaning before applying the strip, and wait a full 24 hours before hanging any weight on the hook. When it comes time to move, pulling the tab slowly at a 45-degree angle parallel to the wall is the proven method to ensure the paint remains completely intact.

Adding Personality with Rugs and Runners

An entryway floor is often neglected, but a beautiful rug or runner can define the space and add a layer of warmth. Since rental apartments often have dated flooring, a stylish runner serves as a focal point that draws the eye downward. Choose a durable, low-pile rug that can withstand high foot traffic while protecting the existing flooring underneath. Aim for a material like wool or high-quality polypropylene, which resists stains and vacuuming damage. Always pair your runner with a rubberized rug pad to prevent slipping, which is particularly important in high-traffic transition zones like an entranceway.

Decorative Mirrors Without the Hardware

Mirrors are essential in small entryways to reflect light and create the illusion of extra space, but you must avoid drilling into the studs. Instead, consider leaning a large, floor-length mirror against the wall, which offers an effortless, high-end look. To ensure safety in rental homes, you can secure the mirror using specialized anti-tip furniture straps that anchor to the baseboard rather than the wall, or use heavy-duty command-style adhesives designed for frames. If you lean a mirror, ensure the base has a rubber grip to prevent sliding on hardwood floors. A mirror positioned directly opposite a window will double the natural light in your entry, significantly brightening dark, interior-facing apartments.
Leaning Mirrors for Dramatic Effect

Leaning a mirror adds a relaxed, boutique feel to an entryway. This approach is not only renter-friendly but also flexible; you can move the mirror to a different room whenever you get the urge to refresh your layout. Ensure the frame is sturdy and check that it doesn’t wobble on your flooring type.

Lighting Without Permanent Fixtures

Lighting can make or break the atmosphere of your entryway, and you can achieve a professional glow without replacing hardwired fixtures. If your apartment lacks a dedicated foyer light, use a slim table lamp on a console table or a floor lamp in the corner to create a warm, inviting focal point. For maximum impact, choose warm-toned bulbs (2700K-3000K) to enhance the comfort of the space. If your entrance lacks an outlet, modern rechargeable LED lamps are a major innovation, often providing up to 8-12 hours of light on a single charge.

Choosing Battery-Operated Options

If you don’t have an outlet near your entryway, look for modern, rechargeable LED lamps. Many of these designs look high-end and can provide hours of light on a single charge. This is a game-changer for dim entryways that lack electrical access.

Bringing in Texture and Greenery

No entryway is complete without a bit of life. Adding a houseplant or a decorative basket for scarves and hats adds texture and visual interest. A tall, floor-standing plant can act as a natural room divider, separating your entrance from the rest of your living area without needing any hardware. Snake plants or ZZ plants are excellent choices for entryways because they thrive in low-light conditions and require minimal maintenance.

FAQ

Q: Can I hang heavy items without drilling?

Yes, you can use over-the-door organizers or heavy-duty adhesive hooks designed for weights up to 15-20 pounds. For heavier items like large mirrors, leaning them against the wall and securing them with non-damaging anti-tip straps is the safest, renter-friendly alternative.

Q: What is the best way to clean walls before using adhesive hooks?

Always clean the surface with a lint-free cloth dampened with 70% isopropyl alcohol to remove dust and oils. Let the area dry completely before applying the adhesive, as any remaining moisture or residue will significantly weaken the bond and risk paint damage.

Q: How do I choose the right size rug for a small entryway?

Select a runner that is at least 24 to 36 inches wide to ensure it covers the high-traffic path comfortably. The length should ideally extend past the door swing, covering the primary zone where you stand to remove your shoes.

Q: Are rechargeable lamps bright enough for daily use?

Modern LED rechargeable lamps typically offer 300 to 500 lumens, which is more than enough to act as an effective accent or task light for an entryway. They eliminate the need for electrical proximity while providing a sophisticated, cordless aesthetic.

Q: Will over-the-door hooks damage my door frame?

Most over-the-door hooks are designed to fit standard 1 3/8-inch thick doors without causing damage. To prevent minor scuffs, apply a small piece of felt or thin foam tape to the underside of the bracket before hanging it over the top of the door.

Reversible Finds That Make Tiny Apartments Look Expensive

Reversible finds that make tiny apartments look expensive include high-end peel-and-stick wallpaper, statement lighting fixtures, and temporary architectural trim like PVC crown molding. These upgrades improve the perceived value and scale of a rental without violating lease agreements, as they can be easily removed or taken when you relocate.

The Philosophy of Non-Permanent Luxury

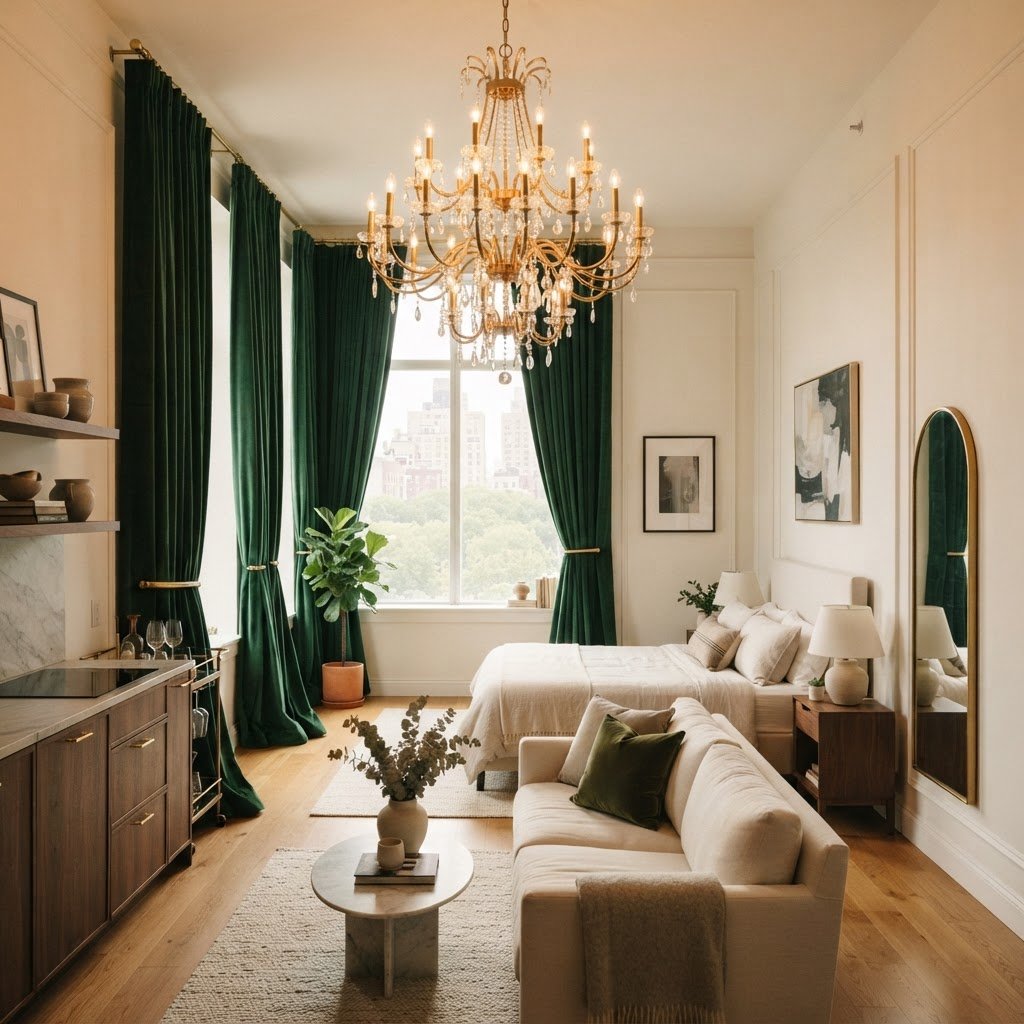
Floor-to-ceiling curtains and statement lighting instantly elevate the luxury factor of a small studio.

Designing a small space requires a strategic approach where every item serves a dual purpose: aesthetic elevation and functional flexibility. When we talk about reversible finds that make tiny apartments look expensive, we are referring to items that possess architectural weight and high-quality materiality without needing invasive installation methods. This design philosophy focuses on layering textures, lighting, and modular elements that fool the eye into seeing custom, high-value interiors. By investing in items that feel bespoke, you transform a generic apartment unit into a curated home. The goal is to obscure the “cookie-cutter” elements often found in modern rentals with pieces that reflect intention and taste. A key metric for luxury in small spaces is maintaining a 70/30 ratio of negative space to decor, which prevents visual clutter and allows high-end features to breathe, ensuring the apartment feels intentionally designed rather than accidental.

Why Temporary Decor Matters

Many people hesitate to invest in their rentals, fearing that money spent on walls or floors is money lost. However, high-quality, temporary items act as an investment in your daily quality of life and can often be taken with you to your next residence. Choosing pieces that can be reused in future apartments creates long-term financial efficiency. Consider the following comparison to help prioritize your budget for maximum visual impact:

Upgrade Category Average Cost Visual Impact Installation Time
Peel-and-Stick Wallpaper $50 – $150 High 2-4 Hours
Statement Lighting $100 – $300 Very High 30-60 Minutes
Cabinet Hardware Swaps $30 – $80 Medium 20 Minutes
Area Rug Layering $150 – $400 Medium 5 Minutes

Transforming Walls with Removable Sophistication

Adding temporary moldings creates architectural character that feels permanent but is easy to remove.

One of the most effective ways to change the mood of a room is through wall treatments that add depth and texture. Traditional paint is often prohibited by landlords, but peel-and-stick wallpaper and temporary wall moldings serve as the ultimate game-changers for renters looking to add architectural character to flat, sterile surfaces. When selecting these materials, prioritize heavy-gauge vinyl or fabric-based wallpapers, as they provide a richer, more expensive tactile experience than cheap, thin paper alternatives. A single feature wall behind a bed or sofa can immediately define a focal point, grounding the room and distracting from a lack of square footage.

Using Peel-and-Stick for Architectural Interest

Don’t settle for simple patterns; look for high-end textures like grasscloth, faux linen, or subtle geometric prints. A single accent wall featuring a sophisticated texture can serve as the focal point of a living room, immediately making the entire apartment feel more custom and expensive. When applying these, focus on vertical lines to draw the eye upward, creating the illusion of higher ceilings. Research suggests that vertical patterns can make ceilings appear up to 10% higher than they actually are. Ensure walls are cleaned with a mild degreaser before application to guarantee the adhesive holds securely for the duration of your lease.

Temporary Trim and Moldings

Did you know you can apply lightweight foam or PVC crown molding and wainscoting using double-sided adhesive strips? This is one of the most powerful reversible finds that make tiny apartments look expensive. By adding architectural detailing to a basic wall, you create a sense of history and permanence that instantly makes a small apartment feel like a luxury boutique hotel. Using high-bond mounting tape (like 3M VHB) allows these elements to stay firmly in place while ensuring they can be removed without damaging the underlying drywall or paint finish when you eventually move out.

Lighting: The Invisible Luxury Multiplier

Layering textures and using smart hardware creates a curated, high-end look in limited square footage.

Poor lighting is the fastest way to make a space feel cheap and small, as generic “boob-light” fixtures cast a harsh, flat glow that highlights every flaw in a room. Replacing these with curated statement pieces or adding layers of secondary lighting is the single most effective way to improve the ambiance of any tiny square footage. Designers suggest a minimum of three light sources per room to create a “warm pool” effect that emphasizes cozy, expensive-feeling atmosphere. By moving from overhead-only lighting to a layered scheme, you effectively eliminate dark corners that make rooms appear smaller.

Elevating the Vibe with Statement Fixtures

Always store the original light fixtures in a labeled box under your bed so you can reinstall them before you move out. Swap standard ceiling mounts for brass chandeliers, sculptural pendants, or matte black industrial fixtures. When choosing these pieces, consider the scale carefully; in a tiny apartment, one large, well-placed statement light is far more expensive-looking than multiple small, cluttered lamps. Look for fixtures with adjustable stems, as they provide flexibility for varying ceiling heights found in rental units, ensuring the piece fits perfectly without requiring permanent drilling or structural modifications.

Layering for Warmth

Luxury design is rarely about a single light source, so integrate floor lamps, sculptural table lamps, and even smart LED strips hidden behind headboards or media consoles. Warm-toned bulbs (around 2700K) are essential for creating an expensive, cozy, and high-end atmosphere that feels intentionally designed rather than accidental. Utilizing smart plugs or dimmable bulbs allows you to control the intensity of light, transforming a functional living area into a sophisticated evening lounge with a simple voice command or app setting, which adds a layer of modern convenience to your rental.

Flooring and Surface Upgrades

Textured wallpaper and warm lighting add depth and coziness to any small bedroom.

If you are stuck with stained carpet or unattractive linoleum, you are not out of options, as modern flooring solutions provide a high-end look without needing permanent adhesives. High-quality peel-and-stick vinyl tiles or large area rugs can completely overhaul the appearance of a room. For renters dealing with damaged floors, layering rugs is a highly effective strategy; experts recommend choosing a rug that is large enough to have at least two legs of your furniture sitting on it to define zones. This creates a psychological boundary in open-concept studios that makes the space feel intentionally segmented and curated.

Luxury Vinyl and Area Rug Layering

High-quality peel-and-stick vinyl floor tiles are excellent for kitchens and bathrooms. They can be placed directly over existing flooring and removed with a hairdryer and a bit of patience when it is time to move. Alternatively, layering large, high-quality area rugs over existing carpet can define zones in an open-concept studio apartment, making the space feel intentionally segmented and curated. When choosing materials, look for natural fibers like jute or wool blends, which provide a premium weight and texture compared to synthetic options. A heavy-weight rug will also stay in place better and prevent the buckling that often occurs with cheaper, thinner materials.

Smart Furniture Placement and Modular Pieces

In a tiny apartment, clutter is the enemy of luxury, so focus on pieces that serve a dual purpose to maintain a clean, curated aesthetic. Expensive-looking spaces feel “curated,” meaning every item has been chosen for its beauty and utility. Reversible finds that make tiny apartments look expensive often include modular storage that hides the “noise” of everyday living, such as ottomans with interior compartments, bed frames with drawers, or wall-mounted floating shelves. Aim to keep surfaces clear to create a visual calmness that makes a small room feel significantly larger. High-end design thrives on negative space, and providing a designated “home” for every item ensures your apartment stays looking refined even in limited footprints.

The Power of Hidden Storage

Invest in furniture that doubles as storage, such as ottomans with interior compartments, bed frames with drawers, or wall-mounted floating shelves. Keeping surfaces clear creates a visual calmness that makes a small room feel significantly larger. High-end design thrives on negative space, and providing a “home” for every item ensures your apartment stays looking refined. For an extra touch of luxury, use concealed storage boxes made of leather or fabric to organize items within shelves, as this mimics the high-end “closet design” aesthetics found in luxury homes. Avoid transparent storage bins, as they visually contribute to a cluttered look.
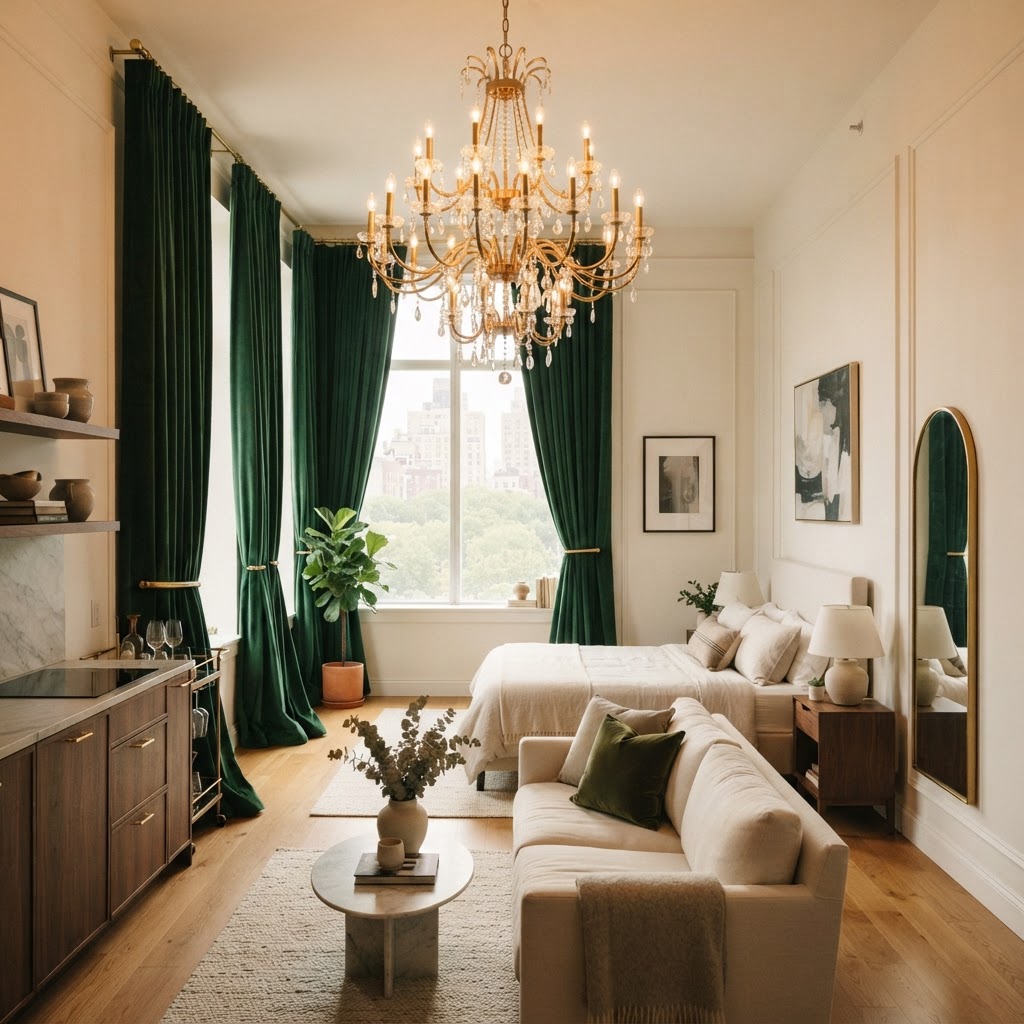
Curating Textiles and Hardware

Never underestimate the transformative power of touchpoints, as replacing builder-grade hardware can have a major impact for a minimal cost. Replacing standard, builder-grade cabinet pulls and door handles is a low-cost, high-impact move. Choose polished brass, matte black, or brushed nickel hardware to bring a custom feel to your kitchen or bathroom cabinets. It is a subtle change, but one that signals intentionality to everyone who enters your home. These small pieces of jewelry for your apartment create a consistent narrative of quality that elevates the perception of even the most modest kitchen.

Textiles as Sophistication Anchors

Heavy, floor-to-ceiling curtains are a classic designer trick to make windows look larger and ceilings higher. Choose materials with a slight sheen or heavy weight, like velvet or linen blends. When installed on a ceiling-mounted track or a decorative rod, they add a layer of softness and sophistication that cheap blinds simply cannot provide. Pair these with textured throw pillows and high-quality blankets to layer the space with warmth and luxury. Ensure that curtains are wide enough to cover the entire window frame plus 6-10 inches on each side to create the illusion of a larger, grander window profile.

The Secret to a High-End Finish: Cohesion

When implementing these reversible upgrades, the most important rule is to maintain a cohesive color palette. Mixing too many competing patterns or styles in a small space will lead to visual chaos, which is the antithesis of a luxury look. Stick to a “hero” color or texture and repeat it throughout the space to create a harmonious, designer-led flow. A simple way to achieve this is the 60-30-10 rule: 60% of the room should be a primary color, 30% a secondary color, and 10% an accent color. This balanced distribution keeps the eye moving throughout the space without feeling overwhelmed by conflicting designs.
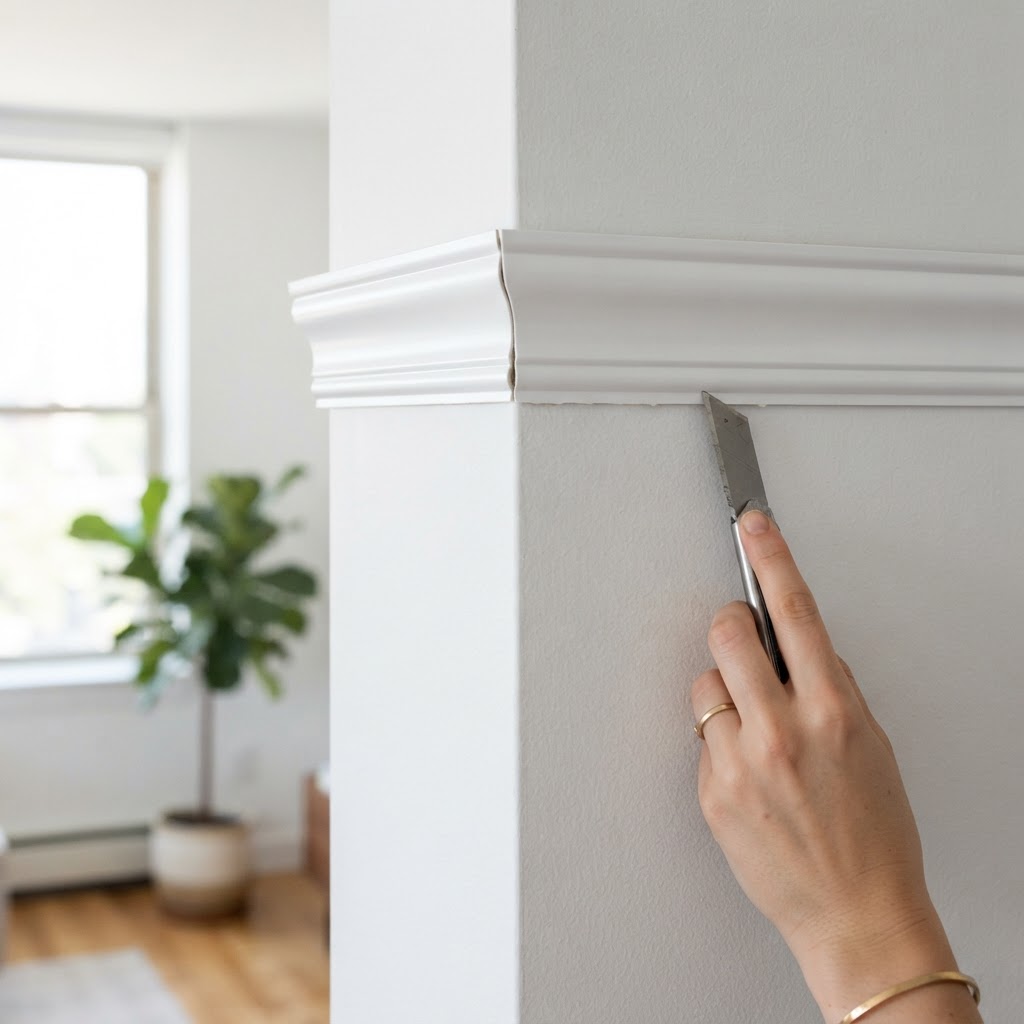
FAQ

Q: Does peel-and-stick wallpaper damage apartment walls?

Generally, no; high-quality peel-and-stick wallpaper is designed to be removed cleanly without leaving residue or pulling off paint, provided it is installed on a smooth, primed surface. Always test a small, hidden corner of your wall before covering a large area to ensure compatibility.

Q: What is the most cost-effective way to make a rental look expensive?

Updating your lighting fixtures and replacing cabinet hardware provide the highest visual impact for the lowest investment. These two changes immediately remove the “builder-grade” feeling of most rental units and give the space a personalized, custom appearance that is entirely reversible.

Q: Can I use peel-and-stick tiles on existing bathroom floors?

Yes, you can install vinyl tiles over most smooth surfaces like linoleum or existing tile. Ensure the surface is perfectly clean and dry before application to maximize adhesion, and use a heat gun or hair dryer to soften the edges during removal when moving out.

Q: How do I choose curtains for a small apartment?

Opt for floor-to-ceiling curtains made of heavier materials like velvet or linen blends to create a sense of height and luxury. Installing the rod as close to the ceiling as possible draws the eye upward, making the ceiling feel higher and the room appear more spacious.

Q: Are temporary moldings worth the effort in a rental?

Yes, temporary moldings add a level of architectural depth and historical character that generic apartments lack. Using adhesive strips allows you to create high-end wainscoting or crown molding that can be removed in minutes, significantly increasing the perceived value and sophistication of the living area.
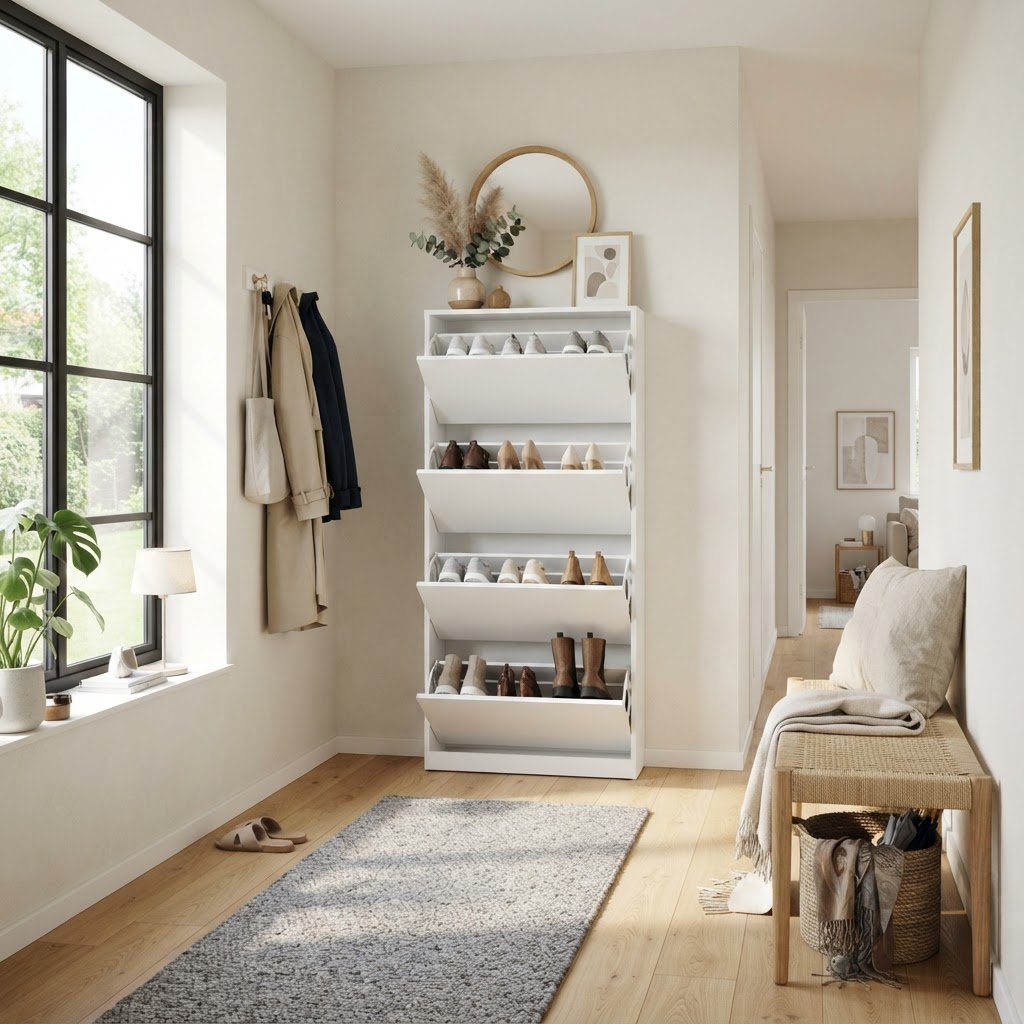
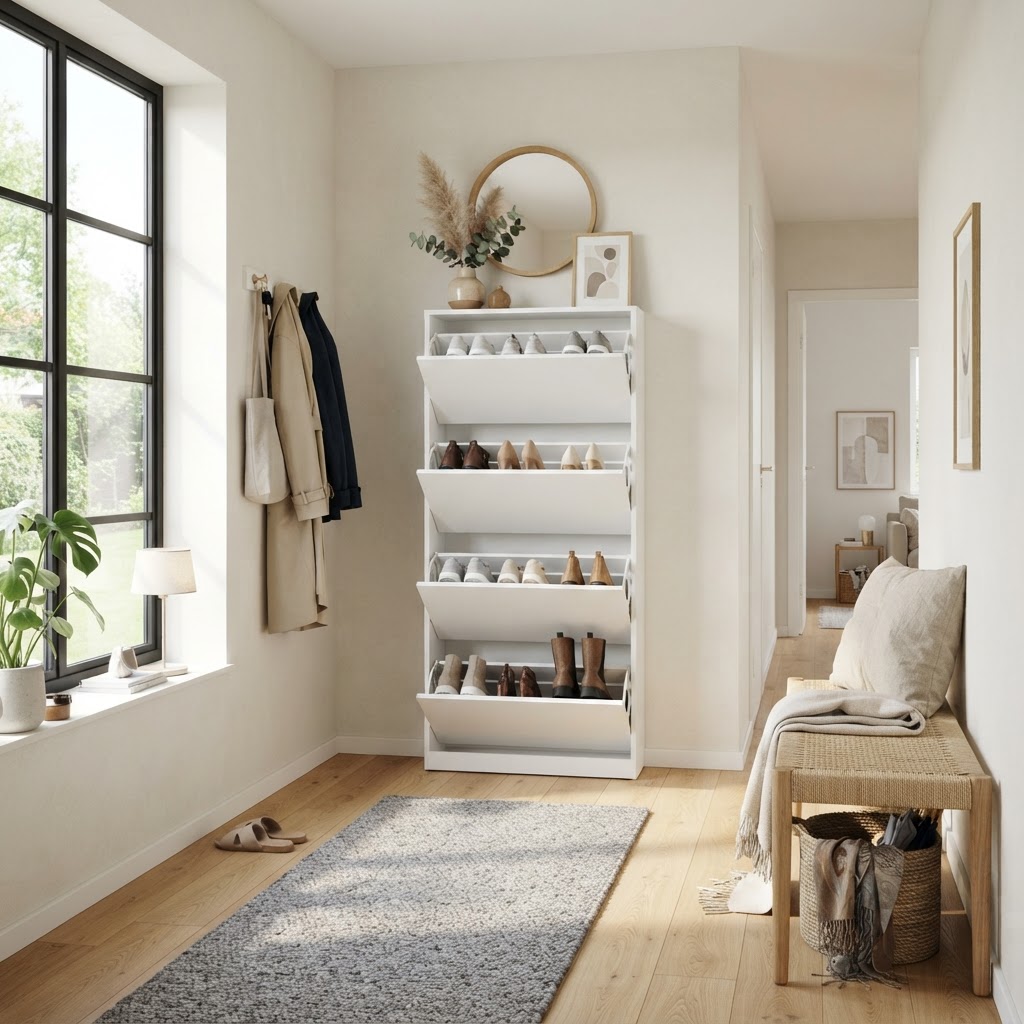
10 Vertical Shoe Storage Ideas to Reclaim Floor Space

10 Vertical Shoe Storage Ideas to Reclaim Floor Space

To maximize floor space using vertical shoe storage, focus on utilizing wall height through slim cabinetry, over-the-door organizers, and wall-mounted shelving systems. By shifting storage from floor level to the vertical plane, you can increase your shoe capacity by up to 200% while keeping entryways clutter-free and highly functional.

Understanding the Potential of Vertical Space

Slim wall-mounted cabinets offer a sleek way to hide shoes in narrow hallways.

Most people view storage only in terms of what fits on the floor, but your walls offer a massive, untapped resource. When you look at an empty wall, you should see potential shelving, hanging systems, or modular units that can accommodate your entire collection. Using vertical shoe storage ideas allows you to elevate your footwear, keeping it off the ground and making it easier to clean your floors. By mounting storage at eye level or above, you reclaim approximately 4 to 6 square feet of floor space in a typical apartment entryway, providing a cleaner aesthetic and better flow.

The Psychology of Clutter

Cluttered floors often translate to a cluttered mind. When your entryway is filled with shoes, it creates a sense of chaos before you even settle into your home. By organizing vertically, you create a visual sense of order that makes your space feel larger and more intentional. Studies in environmental psychology suggest that maintaining a clear floor path reduces morning stress and “decision fatigue” as you prepare for the day.

Over-the-Door Solutions for Immediate Relief

Industrial pipe racks add a rustic flair while keeping shoes off the floor.

Over-the-door organizers are the most efficient entry-level solution for small-space living, costing between $15 and $30 on average. These units utilize the “dead space” behind doors that would otherwise remain unused, effectively holding 12 to 24 pairs of shoes depending on the model. They are perfect for flats, sneakers, and sandals, keeping them neatly tucked away while remaining easily accessible without requiring any permanent wall damage.

Types of Hanging Organizers

Feature Clear Pocket Organizers Fabric Cubby Systems
Visibility High (Immediate identification) Low (Requires labels)
Aesthetic Functional/Utilitarian Polished/Hidden
Installation Over-the-door hooks Over-the-door or Closet rod
Best For Flats and Sandals Sneakers and Bulkier shoes

Installing Wall-Mounted Shelving Units

Hanging fabric organizers maximize closet height efficiently.

Wall-mounted shelves provide a permanent, structural solution that elevates footwear into a design feature. You can install floating shelves at various heights to create a custom display for your favorite sneakers or heels, often turning a collection into a focal point of your interior design. For optimal results, space shelves 7 to 9 inches apart, which accommodates most standard footwear profiles while minimizing wasted vertical gaps.

Customizing Your Shelving Height

When planning your shelving, consider the height of your different types of footwear. Boots generally require 15 to 18 inches of vertical clearance, while gym shoes can be stored closer together at 6-inch intervals. By measuring your footwear collection beforehand, you can ensure your wall-mounted system is optimized for every pair you own, potentially fitting 30% more shoes than generic pre-set systems.

Utilizing Slim Cabinetry for Entryways

For those who prefer a hidden storage solution, slim, wall-mounted shoe cabinets are a game-changer. These units are designed to be shallow, often measuring between 6 to 10 inches in depth, meaning they don’t protrude far into your walkway, yet they store shoes vertically on tilting tracks. They are elegant, modern, and keep your footwear completely out of sight while you aren’t using it.

Benefits of Hidden Storage

Closed storage protects your shoes from dust, UV light damage, and pet interference, extending the lifespan of leather and fabric materials. By choosing a cabinet that matches your home’s decor, you turn a storage necessity into a piece of functional furniture. This is an ideal strategy for small apartments or narrow hallways where every inch matters, as it eliminates visual noise entirely.

Incorporating Industrial Pipe Racks

If your home has a rustic or industrial aesthetic, consider using metal piping to build custom vertical racks. You can mount these pipes into the wall at various intervals, creating a tiered system that is both sturdy and stylish. It is a fantastic DIY project that allows you to tailor the height and width to your specific wall dimensions, typically costing under $50 in materials from local hardware stores compared to $200+ for designer retail racks.

The Versatility of Pegboards

Pegboards are not just for tools; they are incredibly flexible for home organization. By mounting a large pegboard in a mudroom or closet, you can use specialized hooks and shelves to hang your shoes, allowing for a fully modular layout. This method is highly modular, meaning you can rearrange your storage as your collection changes over the seasons, making it one of the most future-proof systems available.

Creative Ways to Use Pegboards

Use your pegboard to hang boots by the heels or loop sneakers over customized pegs for a secure hold. It is a highly visual way to store shoes, making it easy to grab exactly what you need in the morning rush. Plus, it adds a unique textural element to the wall that feels very modern and intentional, serving as both a functional utility and a creative gallery wall.

Maximizing Closet Height with Vertical Hanging Units

Don’t forget that your existing closet is likely full of wasted vertical space. Adding a hanging closet organizer that attaches to the rod allows you to stack your shoes from eye level down to the base of the closet. This is one of the most effective vertical shoe storage ideas because it keeps your shoes hidden behind closed doors while organizing them by frequency of use.

Maintenance and Organization Tips

Once you have installed your vertical system, the key to success is maintenance and a disciplined organization strategy. Periodically declutter your collection to ensure you aren’t storing shoes you no longer wear; a good rule of thumb is to discard or donate pairs that have not been worn in 12 consecutive months. Using vertical space can encourage a larger collection, so perform a “one-in, one-out” audit every six months to keep your new system functioning perfectly.

Seasonal Rotation

Take advantage of your vertical space by rotating your shoes seasonally to optimize accessibility. Move your off-season footwear to higher, less accessible shelves, while keeping your current daily drivers at the most convenient height (between 30 and 50 inches from the floor). This simple shift ensures your storage remains efficient and focused on your current needs while preventing overcrowding in primary reach zones.

FAQ

Q: What is the best type of vertical shoe storage for small entryways?

Slim, wall-mounted tilting shoe cabinets are the best choice for small entryways because their shallow profile prevents them from blocking narrow walkways. These units provide a polished, hidden look while using vertical, space-saving technology to store shoes securely behind a closed front.

Q: How much weight can wall-mounted shoe shelves typically hold?

Most standard wall-mounted shelving systems can hold 20 to 40 pounds per shelf, provided they are anchored correctly into wall studs or using heavy-duty toggle bolts. Always check the manufacturer’s weight limit before storing heavy items like winter boots or work shoes to avoid structural failure.

Q: Are over-the-door organizers bad for shoes?

Over-the-door organizers are generally safe for lightweight shoes like flats and sneakers, but they can cause structural deformation in heavy leather shoes or boots if left for too long. If you use these, ensure they are made of breathable fabric to prevent moisture buildup and mold.

Q: How can I store tall boots vertically without damaging them?

Use boot trees or boot hangers that grasp the heel or top cuff to keep them upright and avoid creasing the leather. By hanging boots from a closet rod or pegboard, you preserve their shape significantly better than if they were left flopped over on a shelf or floor.