Archives 2026

Affordable Mood Lights That Make Your Room Look Expensive

Affordable Mood Lights That Make Your Room Look Expensive

You can make a room look expensive on a budget by layering multiple low-temperature light sources (2700K-3000K) to create depth and eliminate shadows. Strategically using hidden LED strips, sculptural table lamps, and plug-in sconces mimics high-end interior design by drawing the eye to focal points rather than utilizing harsh, single-source overhead lighting.

The Psychology of Ambient Lighting
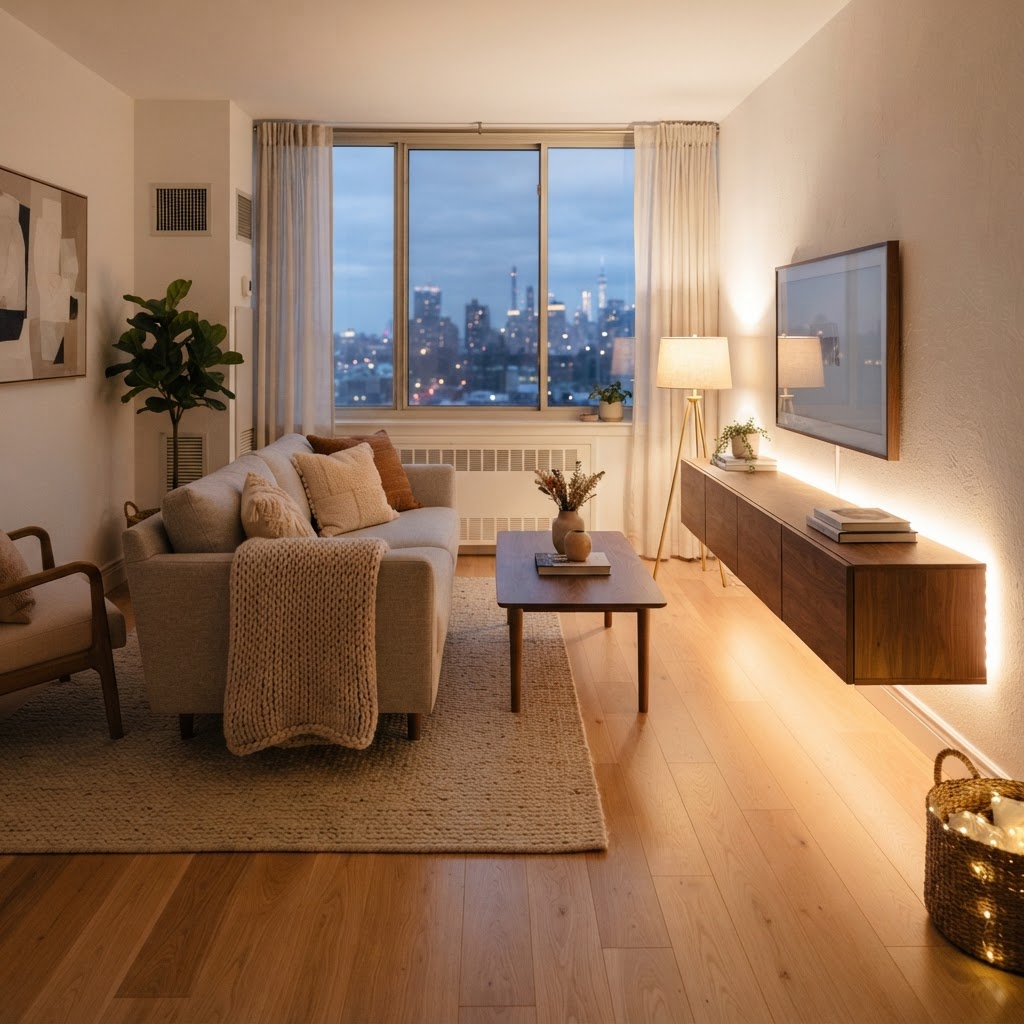
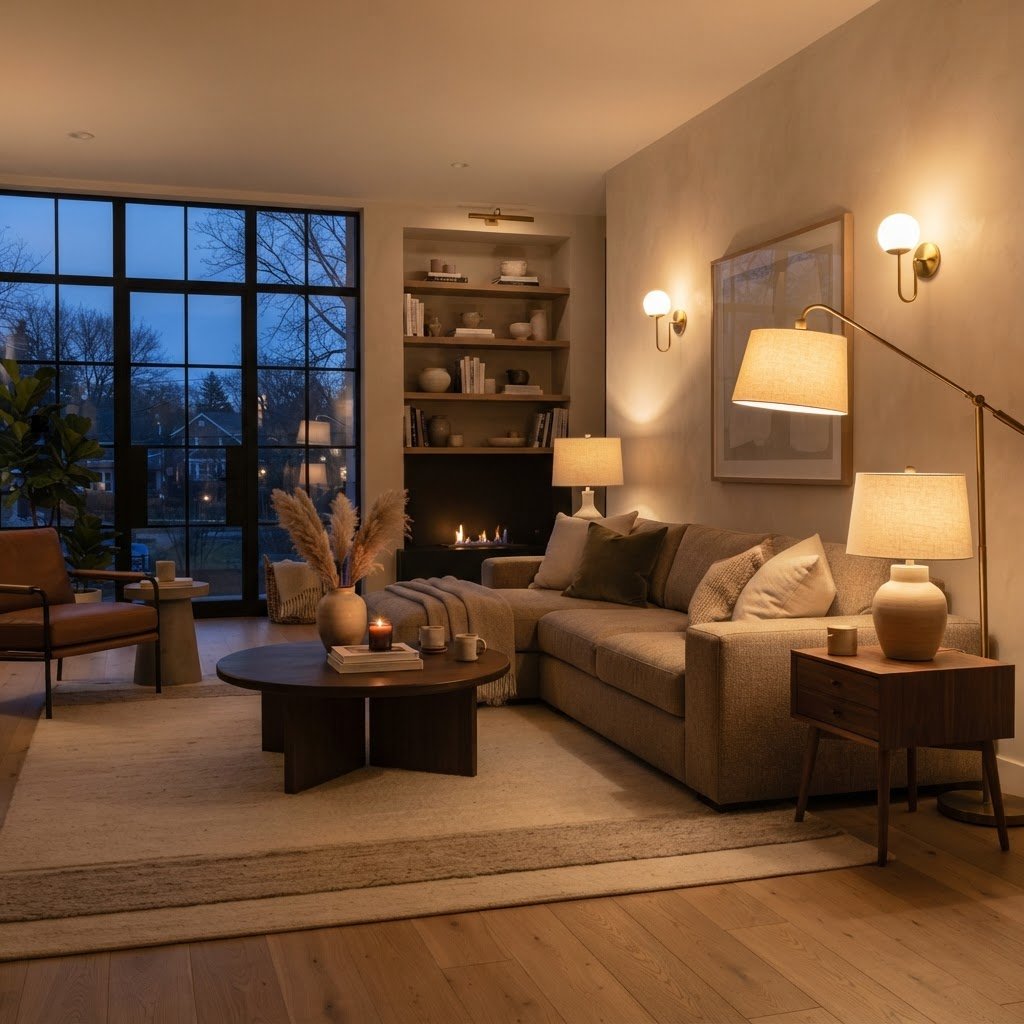
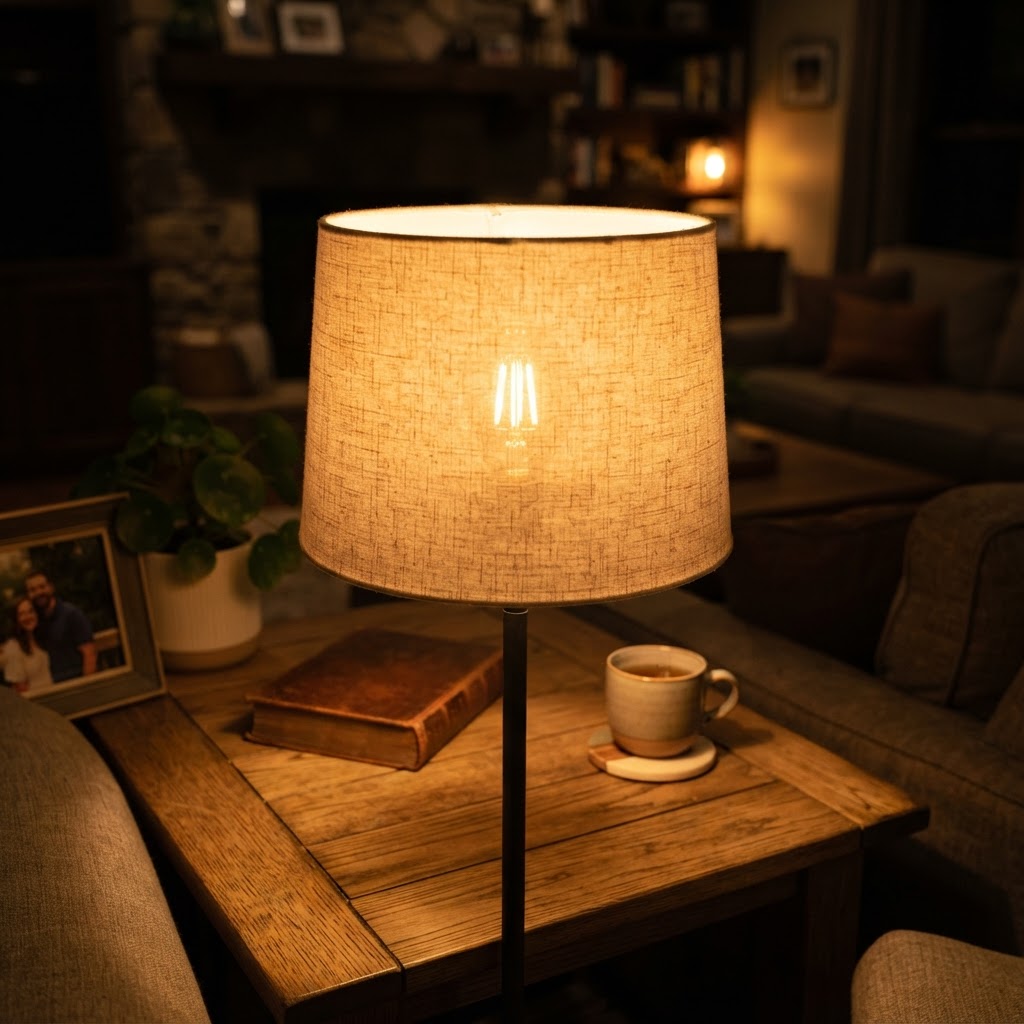
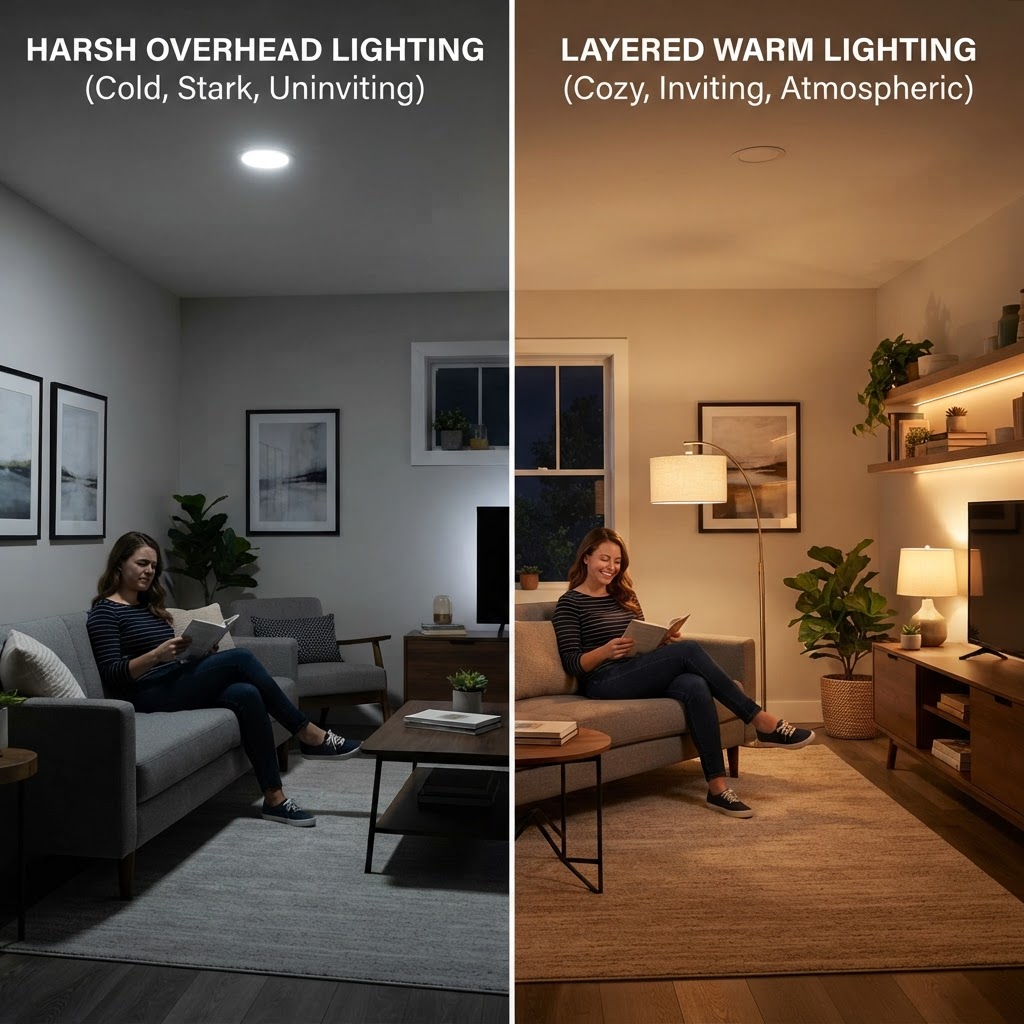
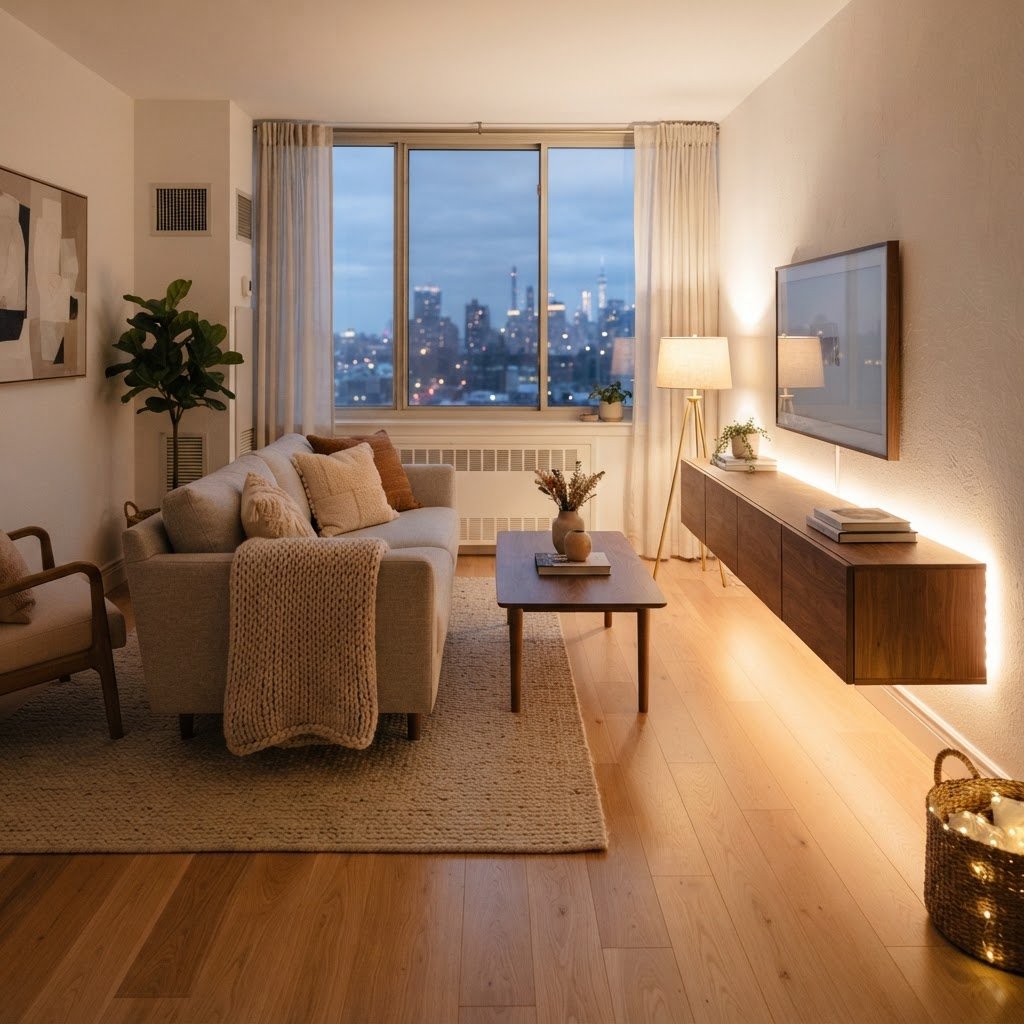
Layering warm light sources can make a living room feel like a boutique hotel.

Lighting is the invisible architecture of a room that dictates the atmosphere and perceived value of your home. High-end spaces succeed because they utilize “warm” light, typically calibrated between 2700K and 3000K on the Kelvin scale, which produces a cozy, inviting glow reminiscent of luxury boutique hotels. In contrast, standard “daylight” bulbs above 4000K often feel clinical and expose imperfections in wall finishes or furniture, making spaces appear cheaper. By focusing on soft, diffused glow, you mimic the sophisticated ambiance of galleries and designer lofts. Mood lighting is not merely about brightness; it is about creating focal points that distract the eye from generic architectural features. When you illuminate textures, art, or corner zones, you create depth, which makes small rooms feel significantly larger and more intentional. Designers rely on this layering technique to avoid the “flat” look of a single ceiling-mounted fixture.

Lighting Strategy Comparison

Lighting Type Best Use Case Impact on Room Value
Overhead Fixture General cleaning/chores Low (Often appears clinical)
LED Strips Architectural highlighting High (Modern, sleek aesthetic)
Table Lamps Task and accent lighting High (Adds personality/texture)
Plug-in Sconces Symmetrical wall interest Very High (Custom look)

LED Strip Lights for Architectural Interest
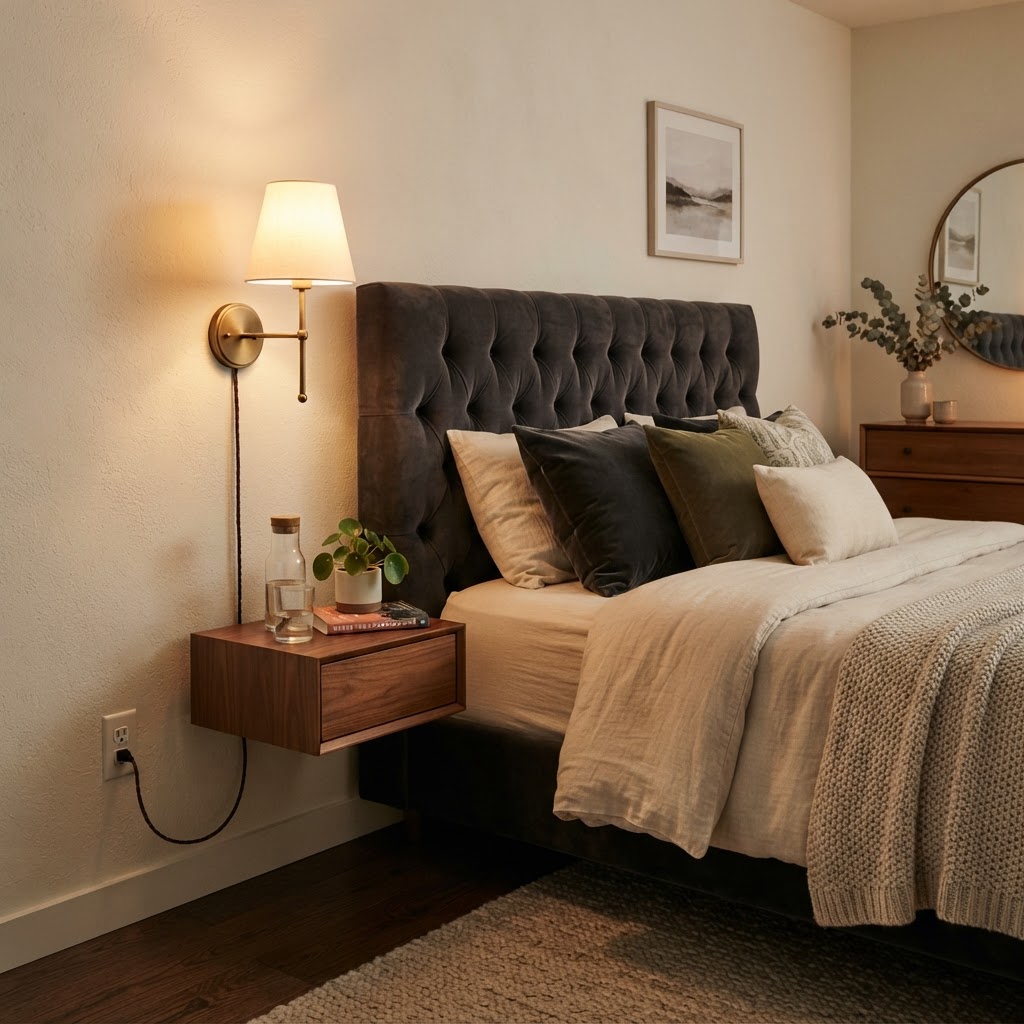
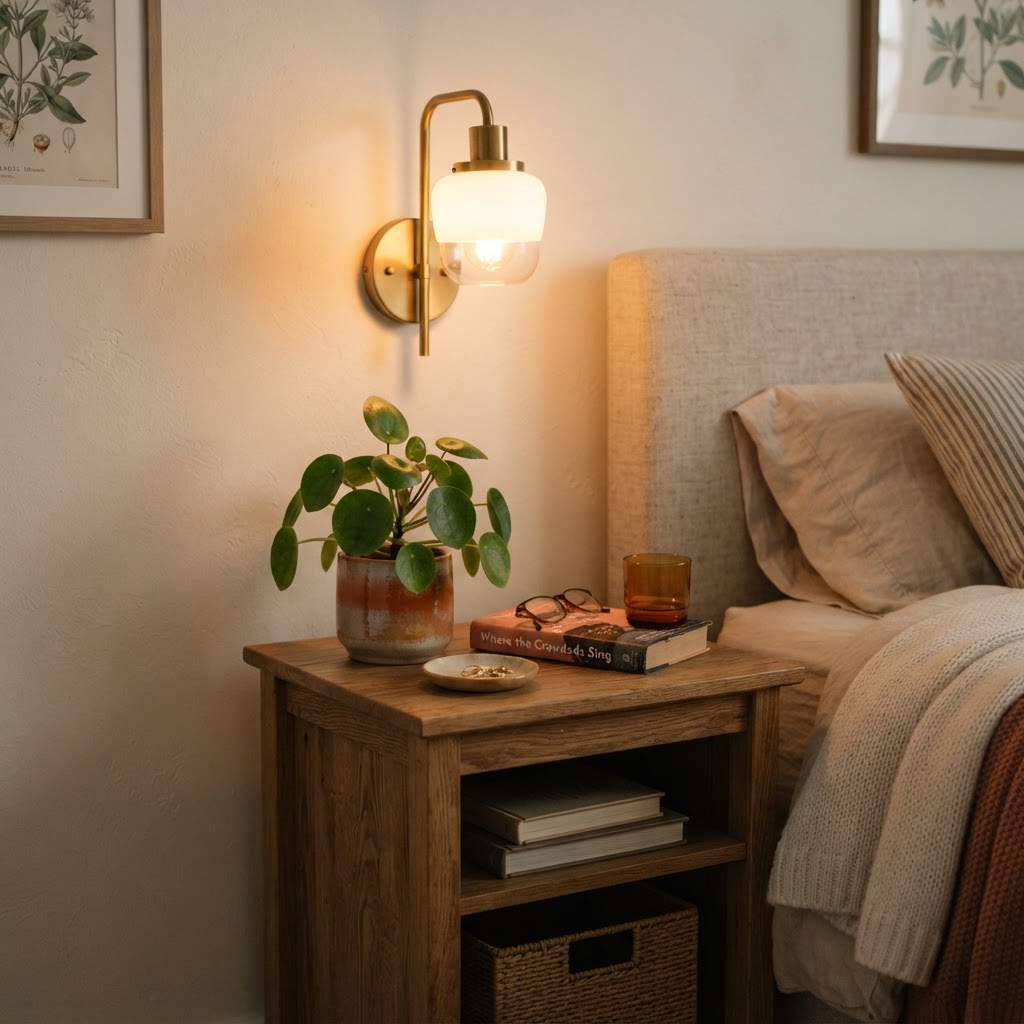
Plug-in sconces offer a high-end look without the need for expensive electrical work.

LED strip lights serve as the most versatile, budget-friendly tool for mimicking the high-end “cove lighting” found in modern multi-million dollar penthouses. To achieve an expensive finish, you must hide the light source entirely; seeing the individual LED diodes ruins the illusion of high-end design. Tuck your strips behind mirrors, under floating shelves, or along the crown molding perimeter to create a soft, indirect “halo” effect. A 16-foot roll of high-density LED strips can typically be purchased for under $25, offering a massive return on investment for the visual transformation provided. When installing, ensure the adhesive is high-quality or use mounting clips to prevent peeling over time. By placing these lights behind your television or under media consoles, you create a “floating” effect that makes heavy furniture appear weightless and premium. This technique also serves a functional purpose by reducing eye strain during evening viewing sessions, proving that luxury and practicality are not mutually exclusive.

Where to Hide Your Strips for Maximum Impact

  • Beneath floating media consoles to create a ‘floating’ effect.
  • Behind your headboard to add a dramatic glow to your bedroom wall.
  • Along the back of your television for a bias-lighting experience that reduces eye strain.
  • Inside open cabinetry to highlight decorative glassware or books.

The Magic of Table Lamps and Sculptural Lighting
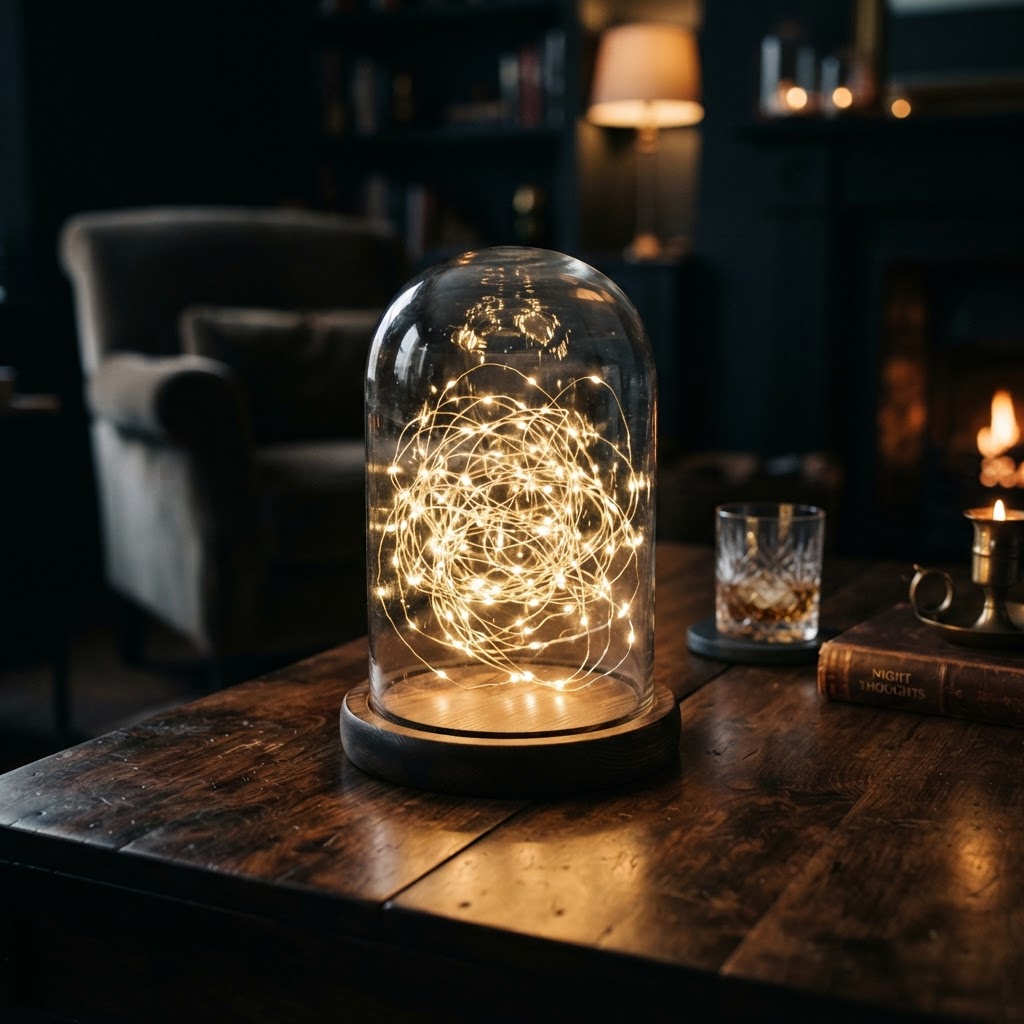
Simple fairy lights inside glass become sophisticated decorative accents.

Treat your light fixtures as pieces of sculptural art to ensure your room maintains a high-end, curated feel. An expensive-looking lamp provides visual interest even when switched off, so prioritize textures like matte ceramic, brushed brass, or heavy frosted glass over standard plastic finishes. Instead of purchasing matching “set” furniture from big-box retailers, curate an eclectic collection by mixing a vintage floor lamp with a modern, structured table lamp. This intentional layering signals that the room was designed over time, which is a hallmark of luxury interior design. If you find a lamp base with an excellent silhouette but a cheap-looking shade, invest $15-$20 in a replacement linen or heavy paper drum shade to instantly elevate the piece. Tapered empire shades can also provide a more traditional, high-end silhouette. Avoid mass-produced, shiny plastic shades at all costs, as they reflect light poorly and often yellow over time, betraying the budget nature of the fixture.

Smart Bulbs for Infinite Mood Control
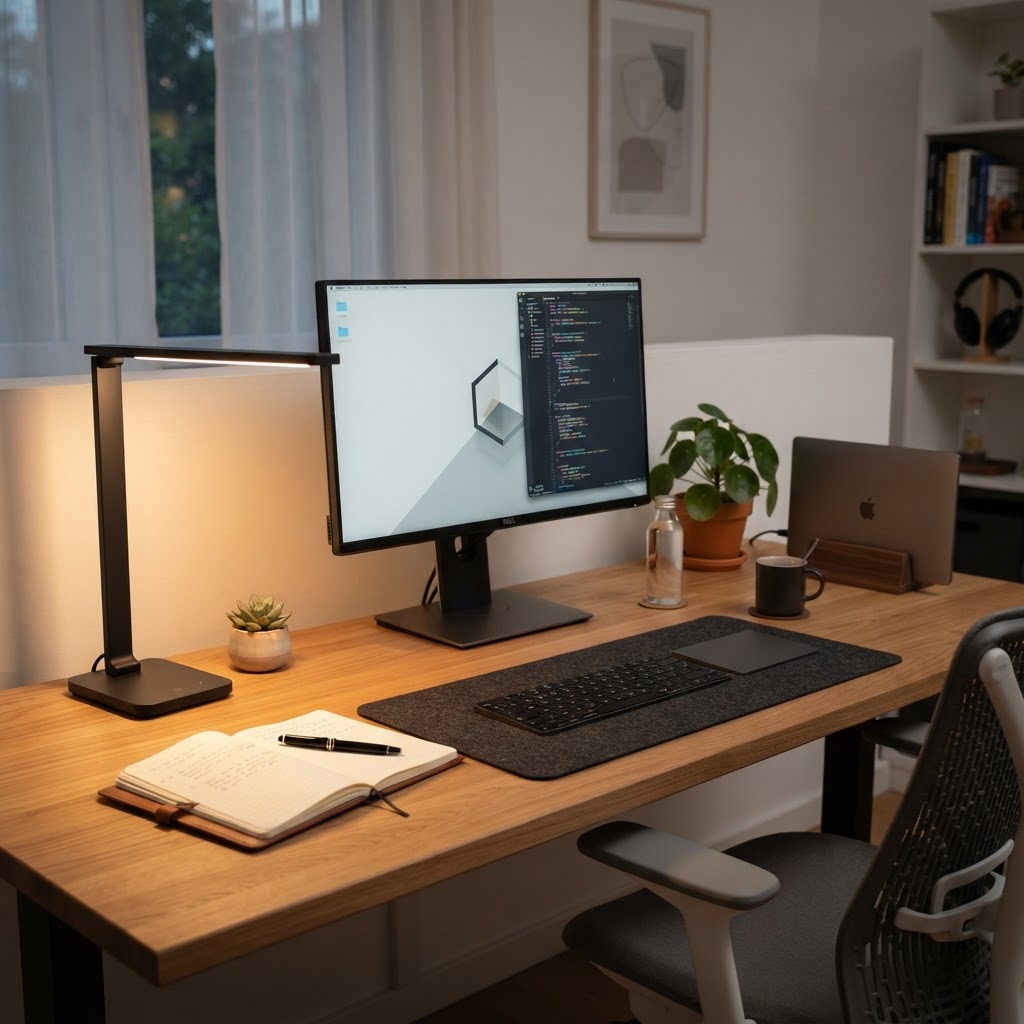
Clean cable management is the secret to making any lighting setup look expensive.

Smart bulbs are the most influential, accessible investment in modern interior design, offering precise control over color temperature and intensity for as little as $10 per unit. Dimming is non-negotiable for luxury aesthetics; a room that is fully illuminated at 100% brightness feels flat and utilitarian, whereas lowering intensity to 60% creates intimacy and hides minor wall imperfections. You can easily program “scenes” such as “Evening Relax” to automatically transition your smart bulbs to a 2200K amber hue as the sun sets, mimicking the flickering, sophisticated warmth of candlelight. Integrating these bulbs into voice-assistant ecosystems allows for hands-free adjustments, ensuring the ambiance shifts seamlessly throughout your evening. For maximum impact, group your lamps into a single room zone so you can adjust the entire space’s mood with one voice command or a single tap on your smartphone.

Practical Tips for Smart Lighting

  • Create ‘scenes’ for different times of day, such as ‘Morning Energize’ or ‘Evening Relax.’
  • Integrate your lighting with voice assistants to change the ambiance hands-free.
  • Use warm, amber hues in the evening to mimic the cozy flicker of candlelight.

Incorporating Warmth with String Lights and Fairy Lights

Sophisticated use of string lights can transcend the “college dorm” aesthetic if you prioritize high-quality materials and strategic placement. Avoid multi-colored or flashing sets, as these immediately cheapen the room’s appearance; instead, stick to single-strand, warm-white bulbs with high-quality, clear or white wiring. To achieve an elegant look, drape heavy-duty, large-bulb string lights across a balcony or inside a clear glass cloche. The reflection created by the glass adds a touch of glamour, mimicking high-end centerpieces found in expensive lounges. When using fine copper-wire fairy lights, ensure they are nested within glass jars or behind sheer curtains to diffuse the intensity. This creates a soft, twinkling backdrop that adds a layer of depth to your room’s peripheral vision, making the space feel more immersive and “finished” than simple wall art alone could achieve.

Strategic Use of Wall Sconces

Wall sconces represent the ultimate luxury upgrade, and you do not need to pay an electrician for hardwiring to achieve this high-end look. Plug-in wall sconces offer the same aesthetic impact as hardwired versions and are perfectly acceptable in rental properties or budget-conscious renovations. By installing these symmetrically on either side of your bed or a piece of wall art, you create the visual balance and symmetry common in high-end design catalogs. Select finishes like matte black or brushed gold to provide a timeless, high-quality appeal that ties your room’s metal accents together. If using an adjustable swing-arm model, you add a functional, industrial-chic layer that suggests a professional level of planning. Always ensure the light is either directed downward to illuminate surfaces or diffused through a high-quality linen shade to prevent harsh glare from hitting your eyes directly.

Selecting the Best Sconces

  1. Look for matte black or brushed gold finishes for a timeless appeal.
  2. Consider adjustable swing-arm models for a functional yet industrial look.
  3. Ensure the light is directed downwards or diffused through a shade to avoid glare.

Final Touches for a Luxury Vibe

Luxury is defined by attention to detail, and nothing ruins an expensive vibe faster than visible, tangled power cords. Use paintable cord covers that match your wall color, or utilize sleek cable management clips to run wires along the baseboards or behind furniture legs. This minor step removes the “visual clutter” that signals a temporary or budget setup. Additionally, consider the bulbs themselves; Edison-style LED bulbs with visible filaments are affordable and provide a premium, vintage-inspired glow. When these bulbs are placed in open-style fixtures or glass-pane lanterns, they act as their own decorative feature. Investing in these small, finishing details shows that you have curated every aspect of your environment, which is the ultimate secret to making a budget-friendly home look like a designer masterpiece.

FAQ

What is the best color temperature for an expensive look?

The best color temperature for creating a high-end, luxury atmosphere is between 2700K and 3000K. This warm, golden-white light mimics the inviting glow found in boutique hotels and luxury homes, whereas light above 4000K can feel cold and sterile.

How can I make my room look expensive without hardwiring lights?

You can use plug-in wall sconces and battery-operated or corded LED strip lights to achieve a professional lighting setup without electrical work. These items are easily installed with adhesive or simple wall mounts, providing a high-end, custom-designed look at a fraction of the cost.

Why does layering light make a room look more luxurious?

Layering light adds depth and texture by creating varied levels of brightness rather than relying on a single, harsh overhead source. By using lamps, strips, and accent lights at different heights, you highlight focal points and hide architectural flaws, which is a signature interior design technique.

What are the cheapest ways to improve room lighting?

The most cost-effective upgrades include replacing cool-toned light bulbs with warm-temperature LEDs, adding a $20 table lamp, or installing hidden LED strips behind furniture. These small, targeted changes immediately increase the “coziness” and visual depth of a room for under $50 total.

How do I hide messy lighting cords efficiently?

You can hide messy wires using paintable cord covers, cable management clips, or by routing them behind furniture legs and along baseboards. Painting the covers to match your wall color effectively makes them disappear, creating a clean, high-end appearance that prevents your room from looking cluttered.
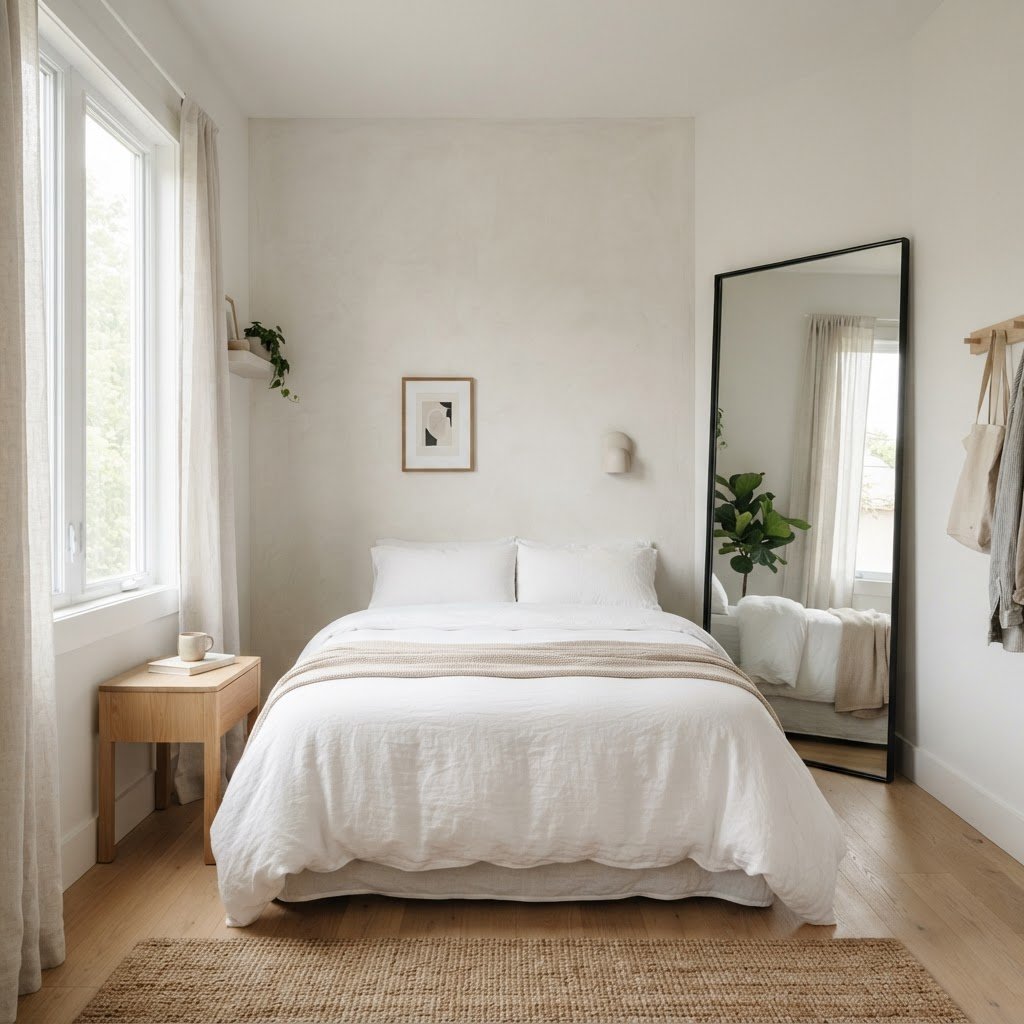
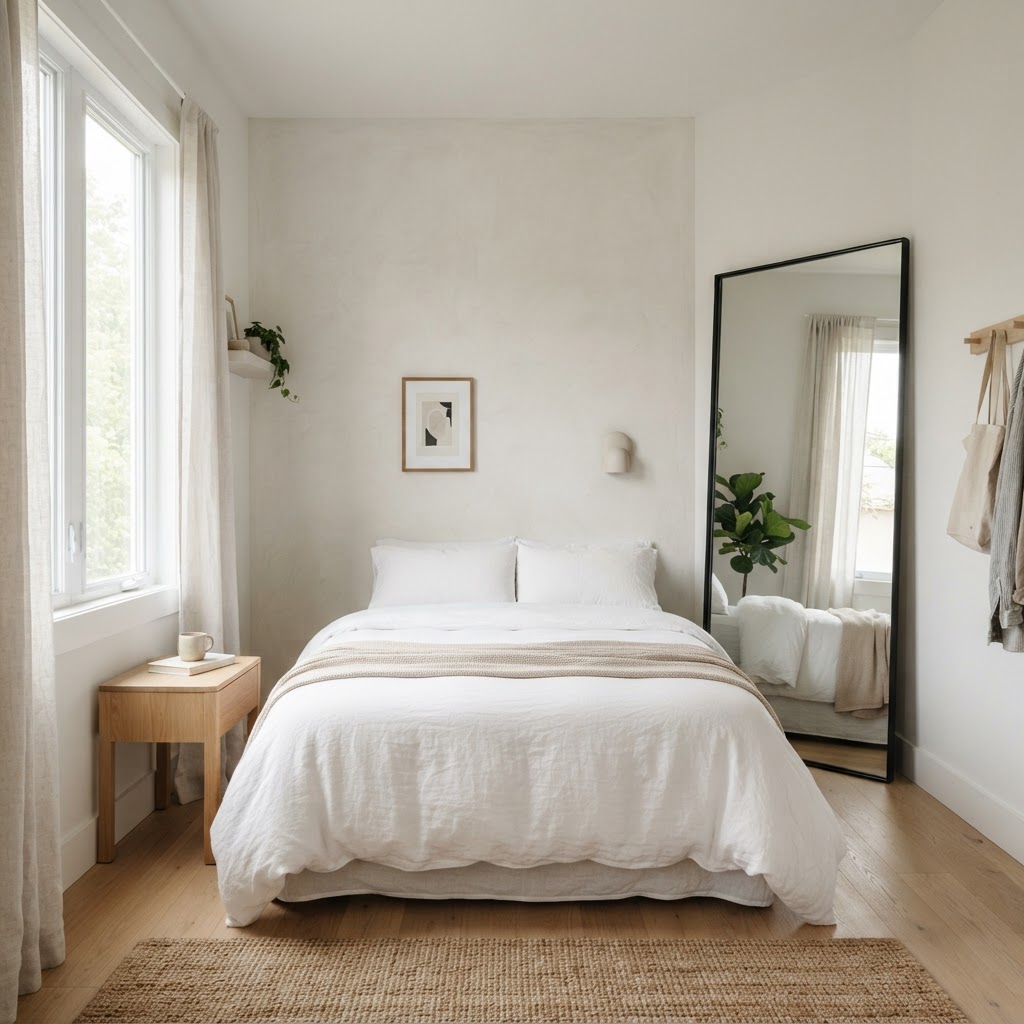
Tiny Bedroom Layout Ideas That Maximize Floor Space

To maximize a tiny bedroom layout and increase usable floor space, prioritize vertical storage solutions, utilize multi-functional furniture like bed frames with built-in drawers, and implement optical illusions such as strategic mirror placement. These targeted adjustments transform cramped quarters into organized, airy sanctuaries by optimizing every square inch of available surface area.

Rethink Your Bed Placement

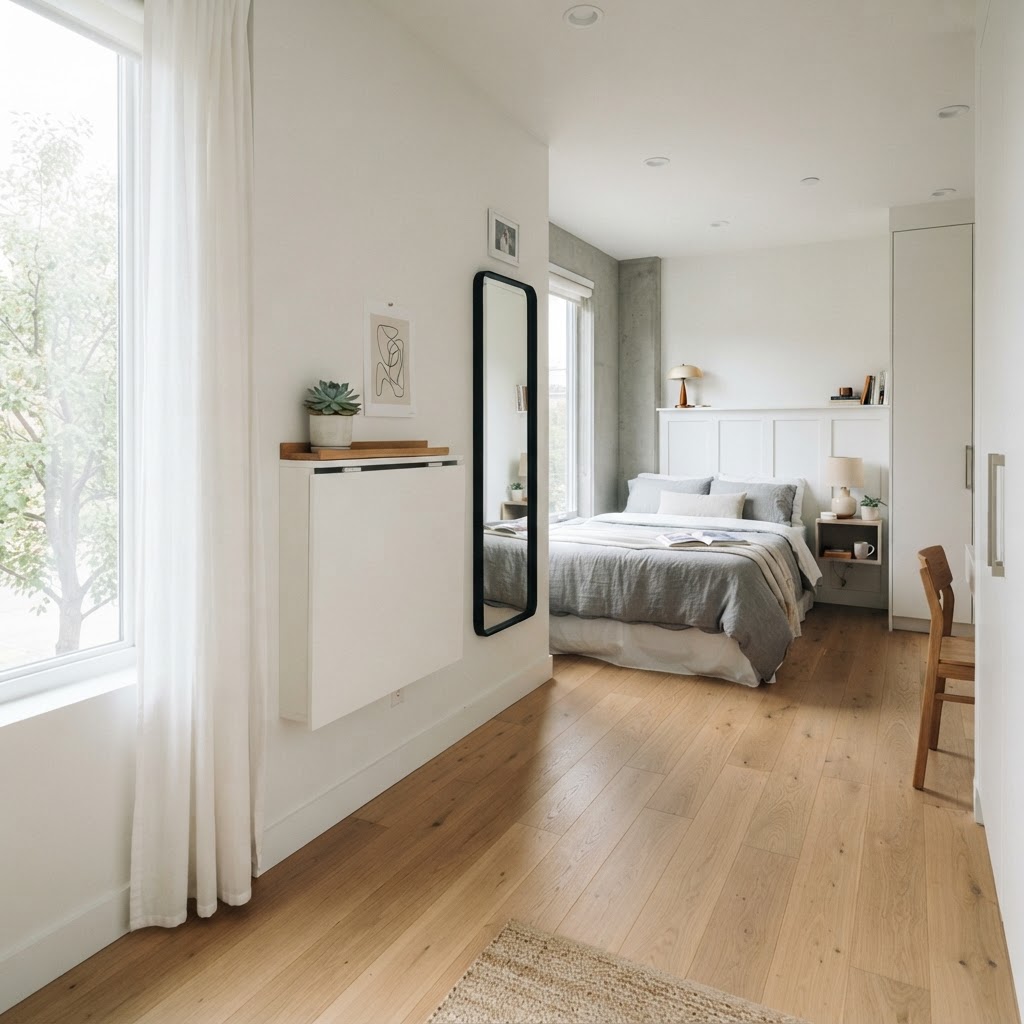
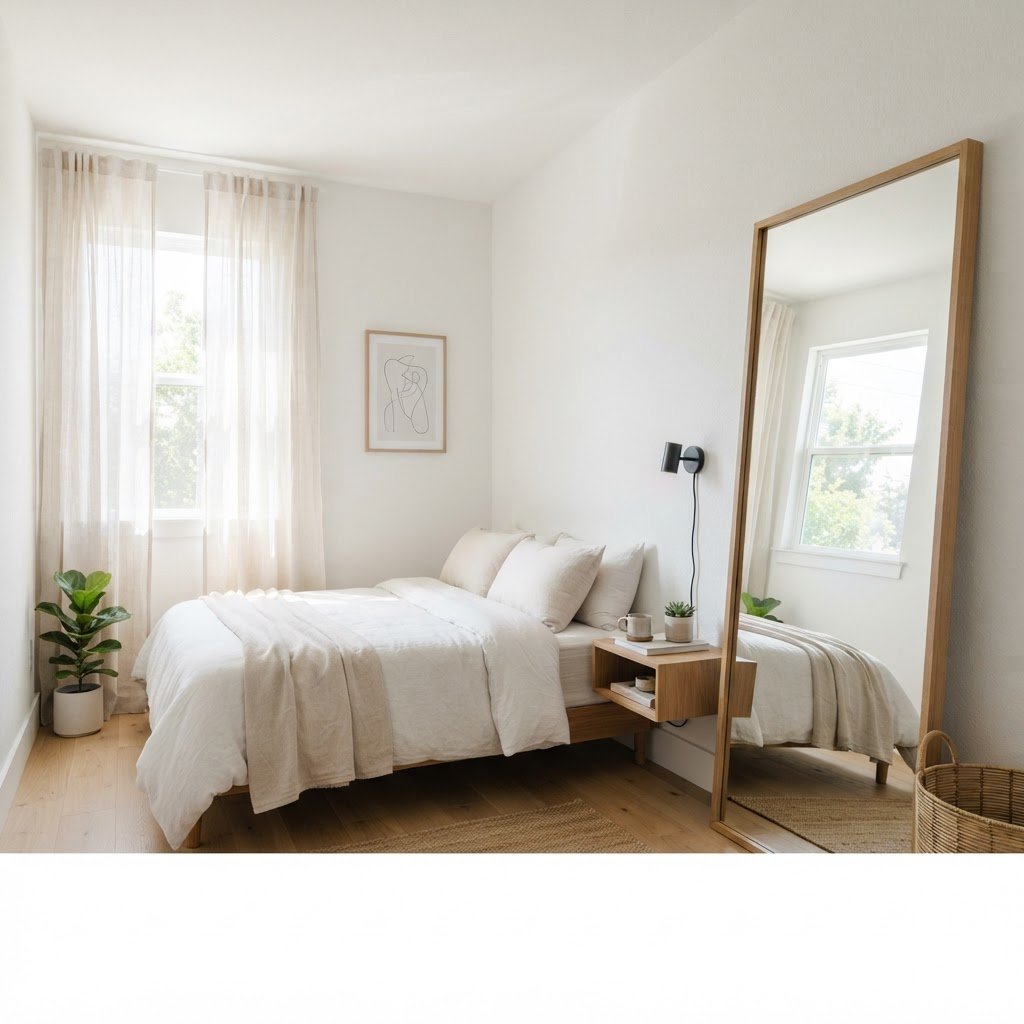
A mirror placed strategically creates the illusion of more space.

The bed is the largest piece of furniture in your room, and its position dictates the entire flow of your space. Most people default to pushing the bed against a wall to save room, but this isn’t always the most efficient choice for visual flow. To determine the best layout, compare the two primary approaches:

Layout Strategy Best For Benefit
Corner Placement Rooms under 80 sq ft Frees up floor space for a desk or chair
Centering Bed Rooms 100+ sq ft Improves traffic flow and allows dual nightstands

The Corner Approach

For extremely tight spaces, tucking the bed into a corner can free up a significant amount of floor area. This layout works best for single beds or daybeds, creating a cozy nook that leaves the rest of the room open for a desk or a small chair. By moving the bed away from the center, you can potentially reclaim 10 to 15 square feet of usable floor area.

Centering for Symmetry

If you have enough room to walk around both sides of the bed, centering it on the main wall can make a tiny room feel like a hotel suite. This layout allows for small nightstands on either side, which improves functionality without sacrificing style. This symmetrical approach anchors the room, making it appear more intentional rather than crowded.

Utilize Vertical Storage Solutions

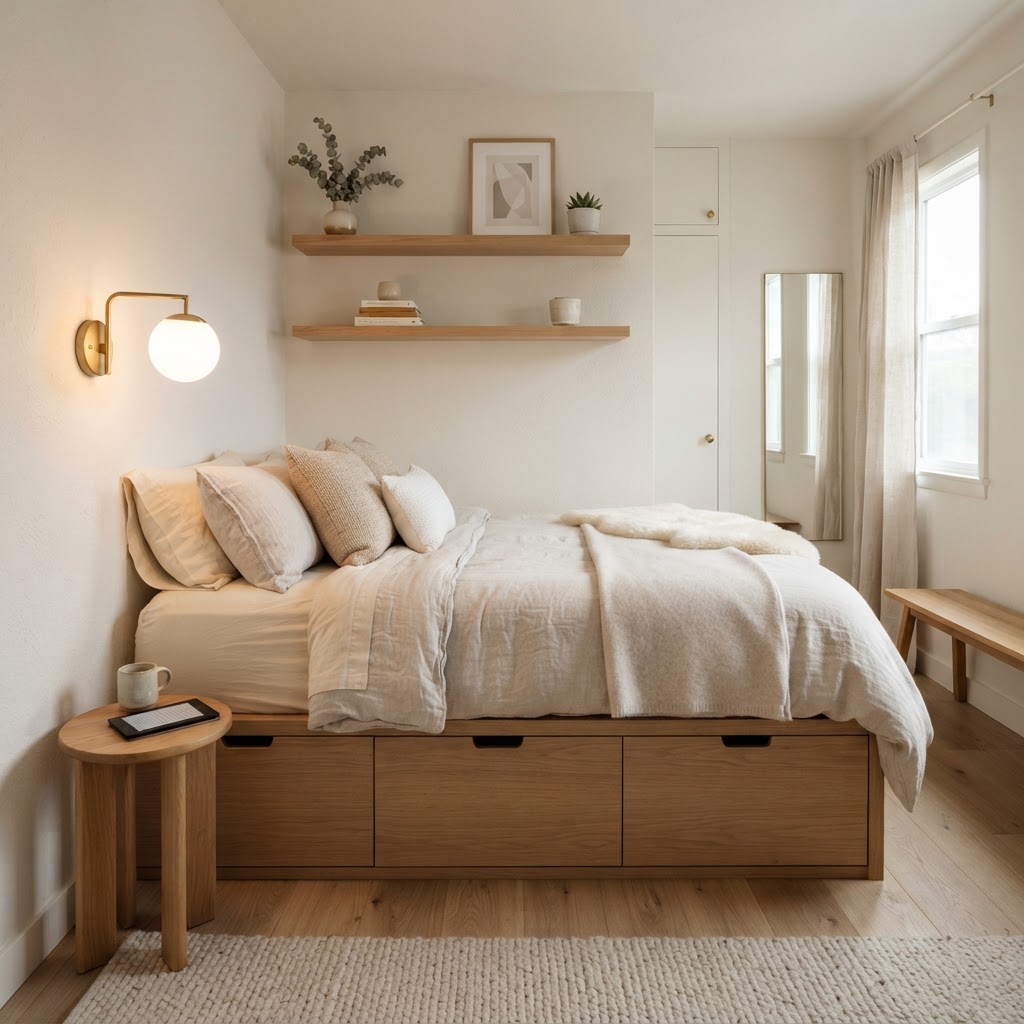
Built-in under-bed storage is essential for tiny rooms.

When your floor space is at a premium, look up because walls are your best friend for maximizing small areas. Installing shelving units that go from the floor to the ceiling draws the eye upward, making the room feel taller. By using vertical space, you can effectively triple the storage capacity of a single wall without reducing your walking path.

Floating Shelves

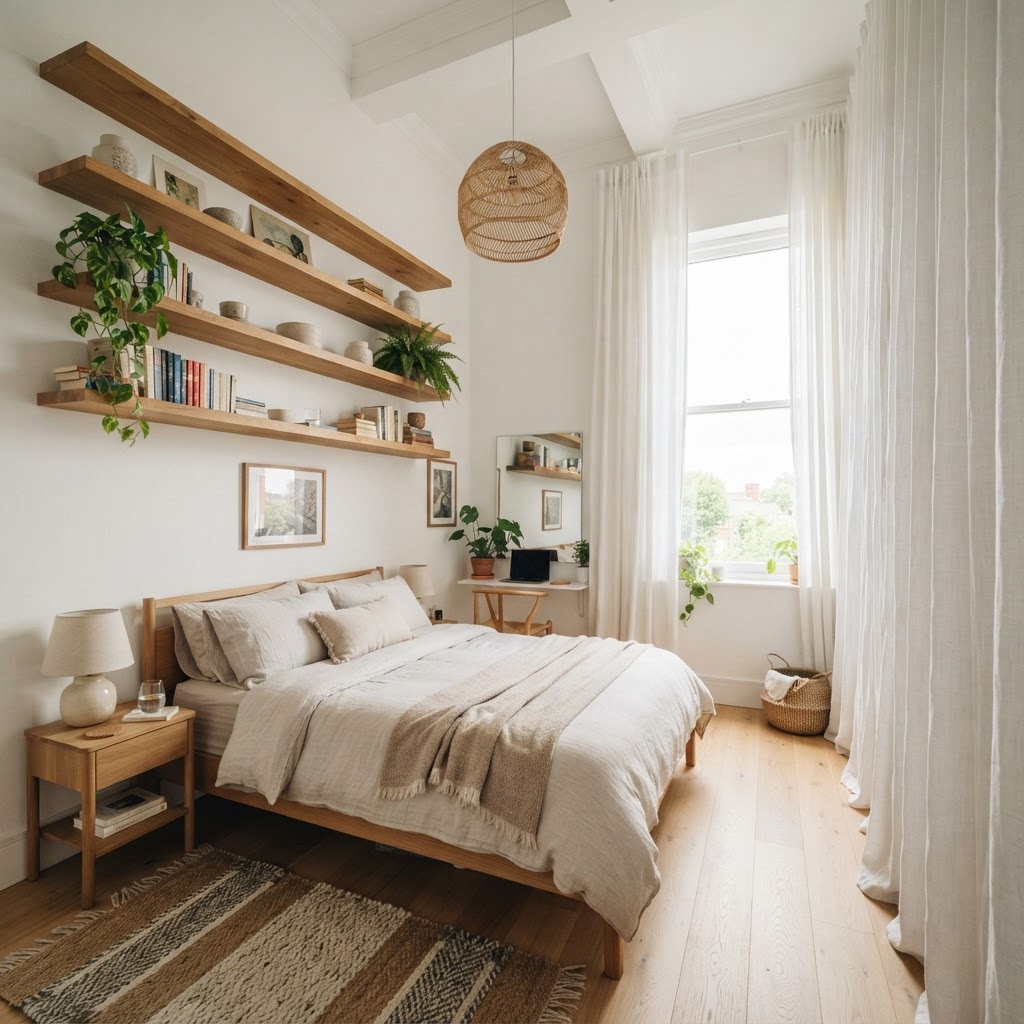
Floating shelves are ideal for small rooms because they lack the bulky frame of traditional bookshelves. They provide a place to store books, plants, and decor items without eating up valuable square footage on the floor. Install these 60 to 72 inches above the floor to ensure they don’t impede movement while keeping items accessible.

Over-the-Door Organizers

Don’t let the back of your bedroom door go to waste. Use over-the-door organizers to store shoes, accessories, or even rolled-up clothing. This is one of the easiest ways to keep small items off the floor, instantly making the room feel more organized. A standard 12-pocket organizer can typically hold up to 20 pounds of accessories, effectively acting as an invisible closet extension.

Invest in Multi-Functional Furniture

Multi-functional furniture keeps floor space clear and tidy.

In a tiny bedroom, every item you own needs to earn its keep. Opting for multi-functional furniture is a game-changer for anyone trying to maximize their living space. Look for pieces that offer hidden storage or double as different types of furniture to reduce the count of standalone items required.

Bed Frames with Built-in Drawers

If you are in the market for a new bed, skip the traditional frame and choose one with built-in storage drawers beneath the mattress. This allows you to tuck away seasonal clothes, extra bedding, or shoes without the need for an additional dresser. Using under-bed storage can reclaim an average of 12 square feet of floor space that would otherwise be wasted.

Convertible Desks

If you work from home, a dedicated desk might feel like a luxury you can’t afford. Consider a wall-mounted fold-down desk that disappears into the wall when you are done with your work. This creates a clean look and keeps your floor clear. Most wall-mounted units protrude only 4 to 6 inches when folded, offering a massive advantage over standard desks that require at least 20 inches of depth.

Create the Illusion of More Space

Sometimes, making your room feel bigger is all about optical illusions. Using the right design techniques can trick the eye into thinking the room is much larger than it actually is. Implementing these techniques, such as proper color selection, can increase the perceived volume of a room by up to 20%.

Strategic Mirror Placement

Mirrors are the oldest trick in the designer’s handbook for expanding space. A large, floor-length mirror or a gallery wall of smaller mirrors reflects light and creates depth, effectively doubling the perceived size of your room. Position your mirrors opposite a window to amplify natural light and brighten dark corners.

Light and Neutral Color Palettes

Dark colors can make small spaces feel cave-like, so you should stick to light, neutral tones like whites, soft creams, or pale grays on your walls and bedding. These colors reflect light and soften the edges of the room, making it feel more expansive and inviting. Studies show that white-walled rooms with high-gloss trim can appear brighter and larger than those with matte, dark finishes.

Declutter for a Better Layout

The best furniture arrangement in the world won’t save a room that is overcrowded with “stuff.” Before you move a single piece of furniture, take an honest inventory of your belongings and declutter ruthlessly. A clear space reduces cortisol levels, directly impacting your sleep quality and relaxation in a small room.

The One-In-One-Out Rule

Adopt the one-in-one-out rule to keep your space from becoming overwhelmed. If you buy a new pair of shoes, consider donating or selling an old pair. Keeping your wardrobe and accessories in check is essential for maintaining the layout you’ve worked hard to create. This rule keeps your clutter baseline at zero growth.

Capsule Wardrobe Approach

Consider adopting a capsule wardrobe to reduce the number of items requiring closet space. By focusing on quality over quantity, you create more room in your closet, which might allow you to remove a bulky dresser entirely. A typical capsule wardrobe consists of 30 to 40 essential items, potentially freeing up 50% of your current closet storage requirements.

Lighting Techniques for Small Rooms

Poor lighting can make a small room feel dingy and cramped, so avoid relying on a single, harsh overhead light. Instead, layer your lighting to create a warm and cozy atmosphere that defines different zones. Proper lighting design adds texture and depth, preventing a small room from feeling flat.

Wall-Mounted Sconces

Free up space on your nightstands by installing wall-mounted sconces. This gives you high-quality task lighting for reading without cluttering your surfaces. Choose models that swing on an arm to add an extra layer of functionality, allowing you to direct light exactly where you need it for reading or working.

Smart Ambient Lighting

LED strips behind headboards or under low-profile furniture can add a modern, soft glow to the room. This type of lighting adds depth to your room, making it feel more high-end and spacious simultaneously. Installing LED strips under a bed frame can create a “floating” effect, which adds a sense of lightness to the design.

FAQ

Q: How can I make a 100-square-foot bedroom feel larger?

Using light, neutral color palettes and floor-to-ceiling mirrors is the most effective way to expand a 100-square-foot bedroom. These elements maximize light reflection and minimize visual clutter, tricking the eye into perceiving a more expansive space.

Q: What is the best furniture for a very small bedroom?

Multi-functional furniture, specifically bed frames with integrated storage drawers and fold-down wall-mounted desks, is best for small bedrooms. These items minimize the need for additional storage furniture, effectively keeping your floor space clear and open.

Q: Should I push my bed against the wall in a tiny room?

Pushing a bed into a corner is recommended for rooms under 80 square feet to maximize open floor space. However, if your room is larger, centering the bed on a wall improves symmetry and traffic flow, which makes the layout feel more intentional and luxurious.

Q: How do I store items in a small bedroom without a closet?

Utilize vertical space by installing floor-to-ceiling shelving and using over-the-door organizers for accessories. Additionally, invest in under-bed storage bins or a storage-optimized bed frame to keep essentials out of sight while maintaining a clean, clutter-free environment.

Q: Does painting a small bedroom white really make it bigger?

Yes, painting a small bedroom white or in soft neutral tones helps reflect natural light and obscures wall edges. This creates a cohesive, airy look that makes the room feel significantly larger and less claustrophobic compared to using dark or busy wallpaper patterns.

9 No-Damage Accent Wall Ideas That Look High-End

9 No-Damage Accent Wall Ideas That Look High-End

You can create high-end, no-damage accent walls by utilizing temporary materials like peel-and-stick vinyl, lightweight foam molding, and textile hangings that attach with non-residue adhesives. These professional-grade solutions provide the aesthetic impact of permanent renovations while remaining completely removable, making them perfect for renters and homeowners who value design flexibility.

The Rise of Non-Permanent Interior Design

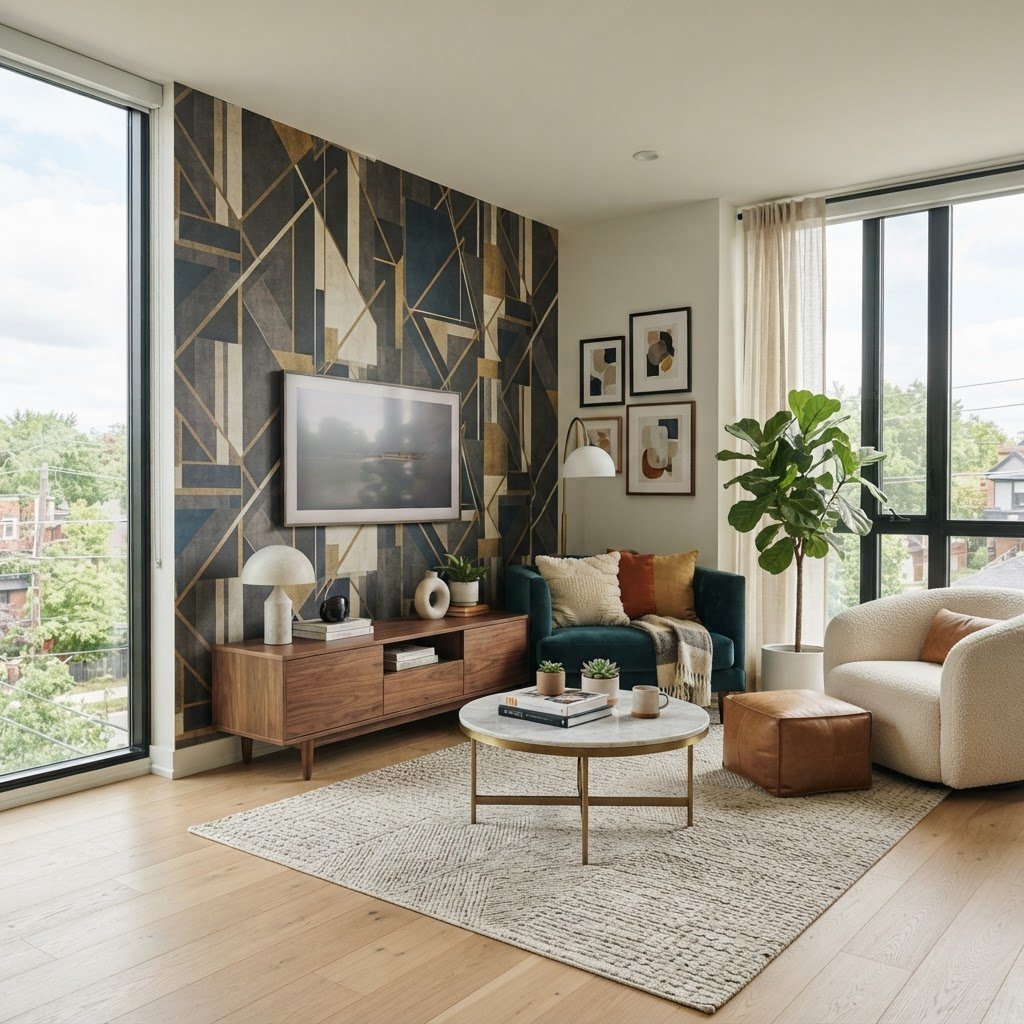
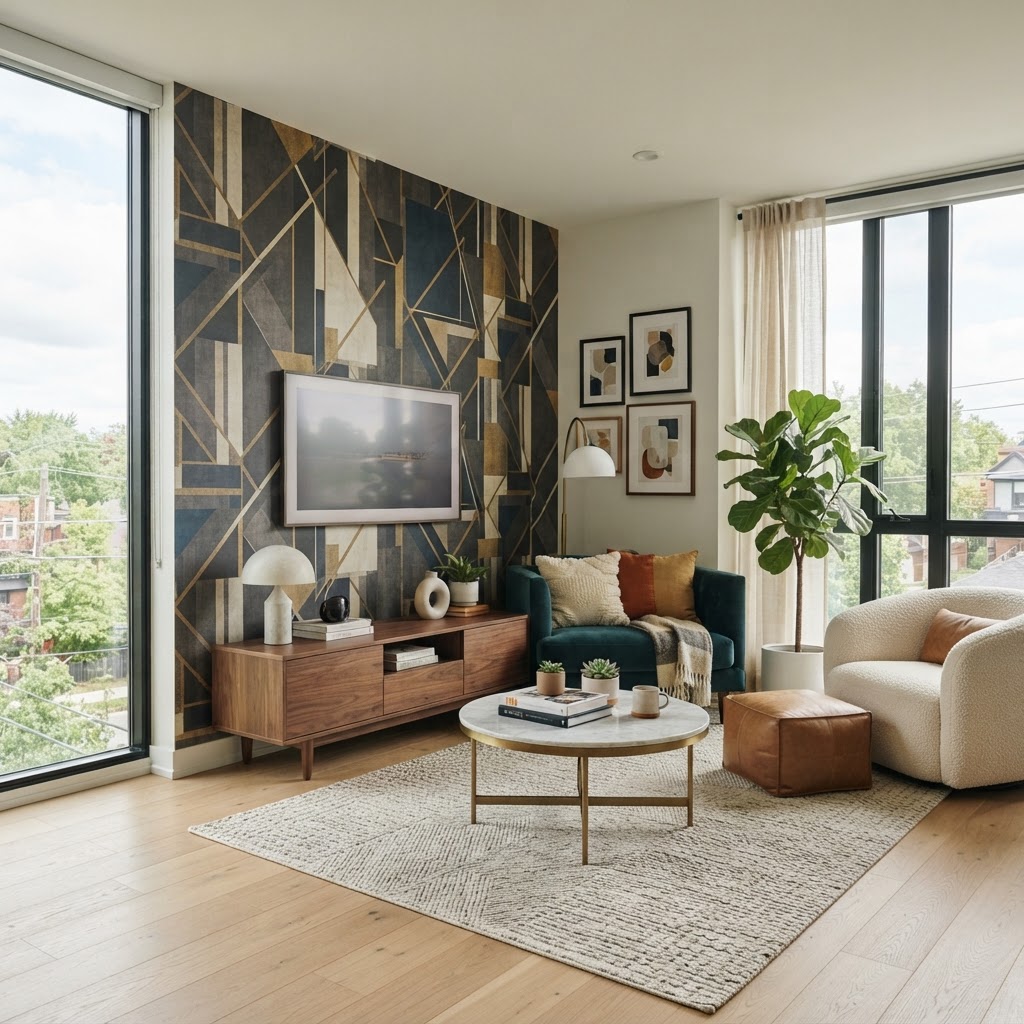
A stunning geometric accent wall created with peel-and-stick wallpaper.

Interior design has shifted toward high-performance temporary materials that eliminate the need for permanent structural changes or property damage. Modern non-permanent decor centers on high-quality adhesives, such as those rated for professional-grade signage, which offer a secure bond while releasing cleanly when heated. By choosing these materials, homeowners can avoid the permanent costs of drywall repair—which can average $200–$500 per patch—while achieving a designer-level aesthetic. The shift toward modular design allows for rapid style changes, enabling you to keep pace with evolving trends like biophilic design or dark academia without expensive remodeling. These methods respect the integrity of the substrate, ensuring that your walls remain in pristine condition for your next design iteration or for move-out requirements. Leveraging these tools transforms a standard room into a personalized sanctuary with zero long-term impact on your property value or lease agreement.

Feature Permanent Accent Wall No-Damage Accent Wall
Installation Time 1–3 Days 1–4 Hours
Average Cost $500 – $2,000+ $50 – $300
Removal Effort Professional Repair Hairdryer + Peel
Rental Friendly No Yes

1. High-Quality Peel and Stick Wallpaper

Textile art brings warmth and texture to a modern room.

High-quality peel and stick wallpaper provides a seamless, professional aesthetic when you prioritize heavy-duty, matte-finish vinyl with high-resolution textures. Unlike cheap paper-based alternatives, premium vinyl options often feature a thickness of 6-8 mils, which prevents bubbling and provides enough opacity to hide minor wall imperfections. To achieve a result that looks indistinguishable from traditional wallpaper, begin by preparing your surface with a degreasing agent, as even microscopic dust particles can compromise adhesive longevity. Always overlap your panels by exactly 1/8th of an inch to accommodate for house settling or temperature-based material expansion. Ordering 10-15% more material than your wall dimensions suggest accounts for pattern repeats and trimming errors. By utilizing a squeegee with a felt edge, you can apply even pressure across the surface, ensuring the backing remains smooth and free of air pockets. This technique effectively mirrors the appearance of high-end, paste-based grasscloth or damask prints at a fraction of the installation labor.

2. Removable Fabric Wall Coverings

Lightweight trim adds architectural depth to this living space.

Fabric-based wall coverings offer a superior, organic alternative to vinyl by introducing soft, tactile dimensions that dampen room acoustics while adding instant warmth. These coverings are typically made from polyester-blend textiles that are woven to look like linen or raw silk, providing a level of depth that flat plastic alternatives cannot replicate. Because these materials are breathable, they are highly effective in bedrooms or humid environments where trapped moisture might otherwise cause peeling issues. Installation typically involves either a low-tack adhesive backing or a hook-and-loop system that distributes tension evenly across the fabric panel. When sourcing, look for fire-rated textiles if you are installing near electronic heat sources. The finished appearance creates a high-end, hotel-suite vibe that softens the hard lines of a modern room. For a luxury finish, ensure the edges are cut perfectly straight using a fresh utility blade for every 5 feet of cutting to prevent fraying or jagged edges that can detract from the wall’s clean profile.

3. Lightweight Foam or Balsa Wood Molding

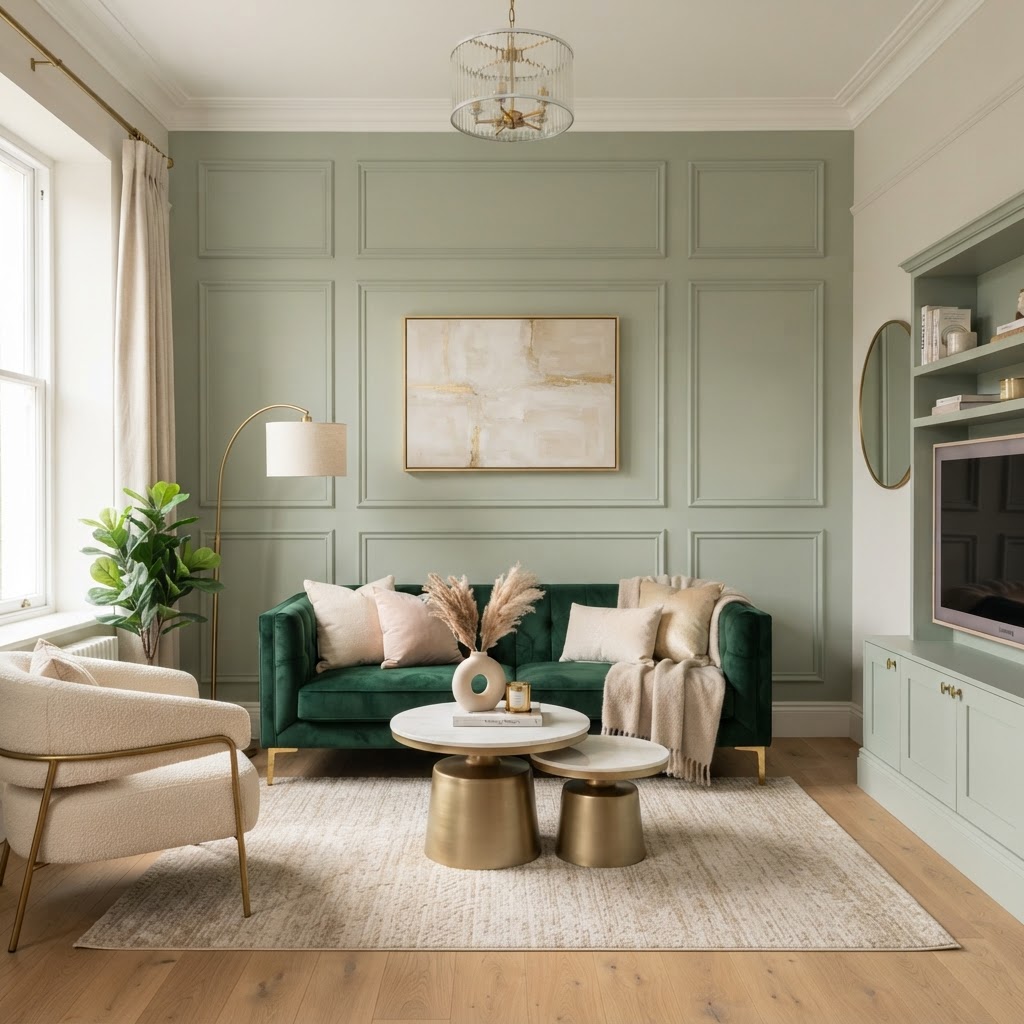
Architectural molding, such as wainscoting or box trim, adds instant character by creating shadow lines that mimic custom millwork. You can replicate this expensive detail by using high-density polystyrene foam or thin balsa wood strips, which can be purchased for less than $5 per linear foot at local hobby or hardware stores. To install, use heavy-duty double-sided mounting tape—specifically the type rated for 15+ lbs—spaced every 6 inches. Once the frame is secured, applying a high-quality matte paint that matches your wall color creates a cohesive, built-in appearance that hides the joints between strips. This technique adds depth to a room by creating physical texture that interacts with ambient light, casting subtle shadows that change throughout the day. When it is time to move, simply slicing the tape with a thin wire or heating it slightly will remove the molding without stripping the paint. The resulting architectural interest makes a standard room feel like a historic or custom-built home.

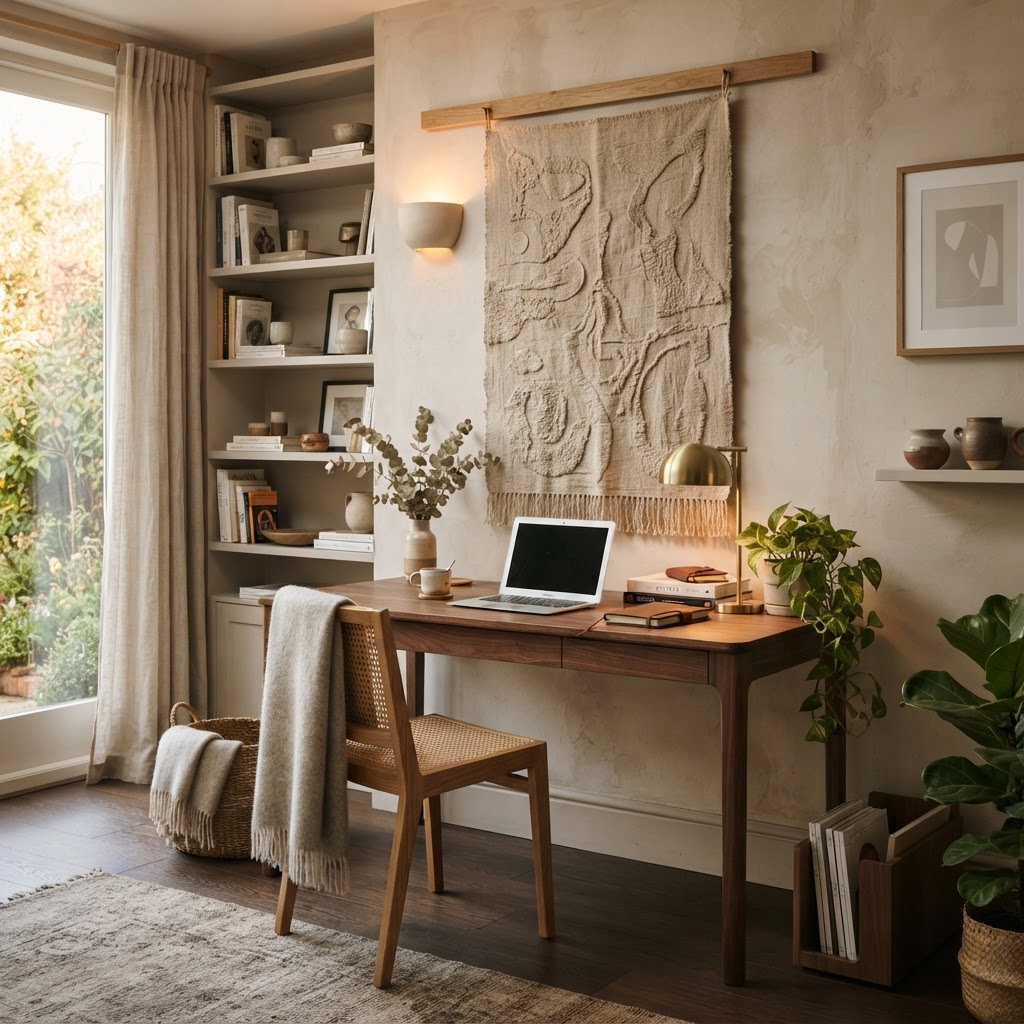
4. Temporary Wall Tapestries and Textile Art

Large-scale textile art anchors a room by creating a massive, single-focal point that demands attention without the need for wall-mounted heavy fixtures. Select heavy materials like velvet, wool, or raw linen, as these fabrics absorb light and add a professional, gallery-style weight to your interior. Mounting these textiles using a hidden rod system or magnetic wooden poster hangers allows the fabric to drape naturally, which is often more visually appealing than stiff, stretched canvas art. By keeping the tapestry slightly off the wall—about 1-2 inches—you create a “floating” effect that adds sophistication and helps define the boundaries of a living area. For an ultra-high-end look, opt for custom-printed patterns or vintage weaving that complements your existing color palette. Using this method avoids the need for heavy wall anchors or anchors that require drywall repair, keeping the underlying wall surface in its original condition while providing a bold design statement.

5. Peel-and-Stick Faux Stone or Tile

Modern peel-and-stick stone veneer provides the grounding, textural weight of marble or slate while utilizing flexible, lightweight materials that weigh less than 1 pound per square foot. These tiles are composed of thin, real-stone layers or high-grade polyurethane that can be cut with standard scissors, yet they feature high-strength, pressure-sensitive adhesives that lock them in place. They are ideal for creating a sophisticated kitchen backsplash or a dramatic fireplace surround where you want a high-value look without masonry work. Because these tiles often come in interlocking sheets, the seams are easily hidden if you follow the pattern sequence accurately. Unlike heavy stone, these veneers do not require structural support or mortar, making them safe for drywall applications. When installed, the resulting depth and color variation provide an expensive, high-end appearance that can increase the perceived value of your space by mimicking high-end interior finishes used in professional home staging.

6. Curated Gallery Walls with Command Hooks

A curated gallery wall elevates a space by transforming random frames into a cohesive art installation, provided you adhere to strict design principles. To ensure a high-end look, maintain a consistent “gap” of exactly 2 inches between all frames and stick to a limited color palette of frame materials, such as all matte black or natural oak. Map your layout on the floor first to experiment with spacing and visual flow, ensuring the center of the display aligns with average eye level—typically 57 to 60 inches from the floor. Using adhesive picture-hanging strips instead of nails is essential for a damage-free installation, as they allow for micro-adjustments during the mounting process. For a truly professional appearance, integrate varying sizes of art rather than identical dimensions to create a dynamic composition. By treating the gallery wall as a single object rather than a collection of separate pieces, you create a sophisticated statement piece that functions as the centerpiece of your room.

7. Removable Acoustic Panels

Decorative acoustic panels provide a dual-purpose design solution by dampening sound echoes while acting as modern, three-dimensional geometric art. Many high-end panels are crafted from recycled PET felt, which offers a soft, architectural appearance that is far superior to standard foam soundproofing. These panels are available in modular hexagons, slats, or layered shapes, allowing you to create custom patterns that span from floor to ceiling. Because they are lightweight, they can be mounted using thin, high-tack adhesive dots or temporary mounting brackets. The depth of these panels creates intricate shadows, providing a dramatic effect under recessed or track lighting. Beyond aesthetics, they significantly improve the comfort of open-plan living areas by reducing noise reverberation. Choosing panels with natural wood veneer finishes or neutral matte tones allows them to blend into sophisticated, modern interiors, making them a functional piece of art that looks like a high-end custom installation.

8. Vinyl Decal Murals and Geometric Patterns

Vinyl decal murals allow for precision-engineered, repetitive geometric patterns that add rhythm and structure to a room without the commitment of paint or wallpaper. Opt for professional-grade matte vinyl, which avoids the cheap, glossy look often associated with basic stickers. These murals are best applied using a “wet method”—spraying a light mist of water with a drop of soap—to allow you to slide the decal into the perfect position before it adheres. This ensures your lines are perfectly straight and alignment is flawless, which is the secret to a luxury, factory-finished appearance. Whether you choose metallic gold patterns or subtle tone-on-tone textures, these decals can act as a high-end wallpaper alternative that breaks up large, empty wall spaces. The key is to select geometric designs that follow the architecture of the room, such as framing a window or delineating a dining space. Once finished, they look like intentional, hand-painted details that integrate perfectly into your room’s design story.

9. Modular Floating Shelving Units

Modular floating shelving units allow you to utilize an entire wall as a display area for high-end styling without drilling into the wall. By selecting floor-standing systems that use tension-mount brackets or gravity-based weight distribution, you can secure shelves firmly against the wall surface. This design approach creates the appearance of custom-built library shelving, which is a significant luxury selling point. Style these shelves with a mix of books, sculptural objects, and small, rechargeable LED lighting units to create a cozy, well-lit display. The depth and architectural presence of a full-wall shelving unit draw the eye upward, making the room feel more expansive and purposeful. Because these units are modular, you can tailor the shelf heights to fit your specific collection, creating a highly personalized, custom-designed space that serves as both storage and art. This approach is one of the most effective ways to add value and a sophisticated focal point to any rental or living space.

Essential Tools for Success

  1. Laser Level: Keeps patterns and shelves perfectly straight.
  2. Smoothing Tool: Essential for applying peel-and-stick materials.
  3. Utility Knife: A sharp blade is vital for clean edges at corners.
  4. Measuring Tape: Always measure twice to ensure symmetry.
  5. Command Brand Adhesives: The gold standard for damage-free hanging.

Maintenance and Removal Tips

Maintaining these features is generally easier than caring for permanent wall treatments. For wallpaper or fabric, a light dusting is usually all that is required. If a panel becomes loose, simply re-adhere it with a fresh strip. When it comes time to remove them, use a hairdryer on a low-heat setting. The gentle warmth will loosen the adhesive backing, allowing you to peel the material off the wall slowly and cleanly without damaging the paint underneath.

FAQ

Q: Will peel and stick wallpaper ruin my rental’s paint?

Most modern high-quality peel and stick wallpapers are designed to be removed without damaging paint if the wall was primed correctly before installation. Always test a small, inconspicuous area for 24 hours to ensure the adhesive does not lift the existing paint layer upon removal.

Q: How do I calculate how much material I need?

Measure the height and width of your wall in inches, multiply them to get the total square footage, and then add 15% to account for pattern matching and cutting waste. Always buy from the same dye lot to ensure color consistency across all rolls.

Q: Can I use command strips on textured walls?

Command strips are optimized for smooth, flat surfaces and may struggle to adhere to heavily textured or porous walls. If your walls have significant texture, consider using a stronger mounting putty or applying a smooth adhesive base layer to ensure a secure, long-term bond.

Q: What is the best way to remove adhesive residue?

If any adhesive residue remains after you peel off your accent material, use a citrus-based cleaner or a dedicated adhesive remover such as Goo Gone. Apply the cleaner to a cloth first rather than directly to the wall to prevent paint discoloration and wipe gently in circular motions.

How to Layer Warm Ambient Lighting Like a Designer

How to Layer Warm Ambient Lighting Like a Designer

To layer warm ambient lighting like a professional designer, combine multiple light sources at varying heights using bulbs with a 2700K to 3000K color temperature, and utilize dimmer switches to control intensity. By balancing ambient, task, and accent layers, you create depth, eliminate harsh shadows, and foster a sophisticated, cozy atmosphere.

The Fundamentals of Lighting Layers

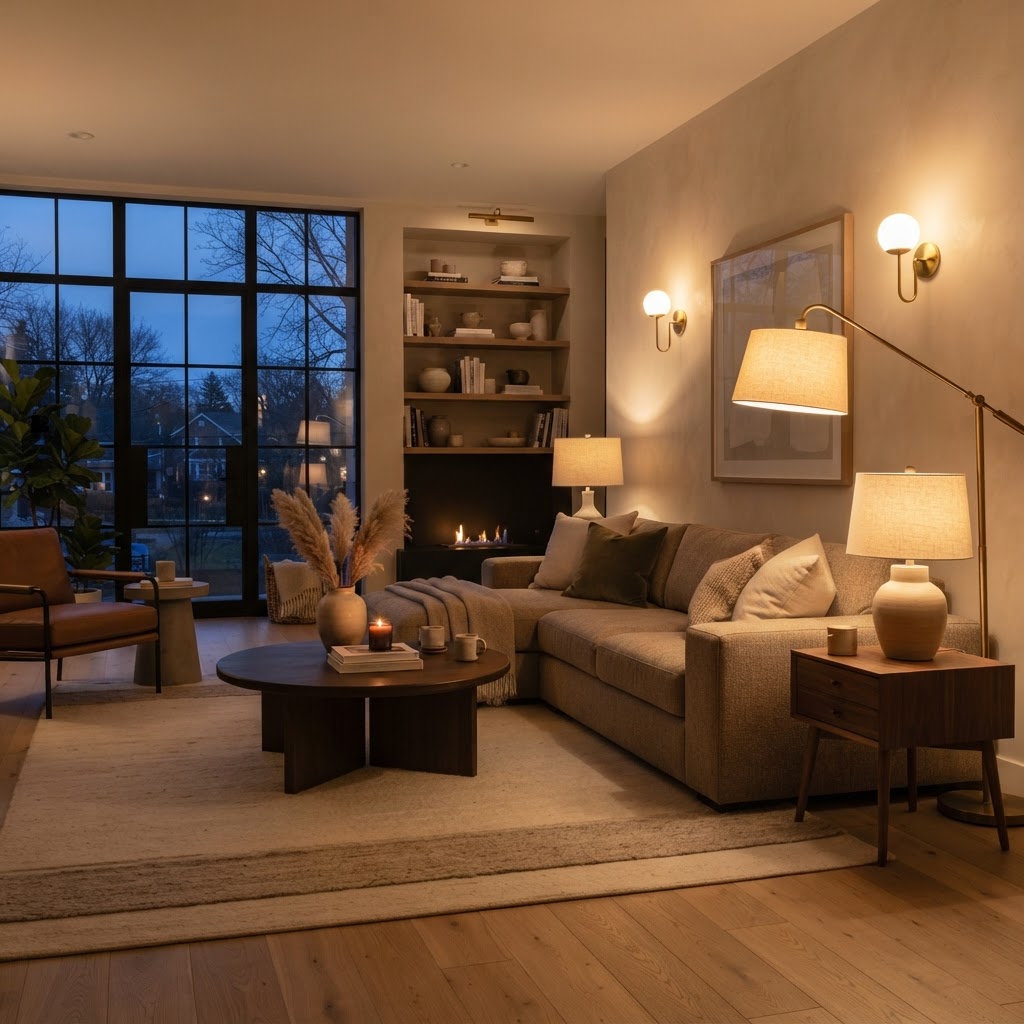
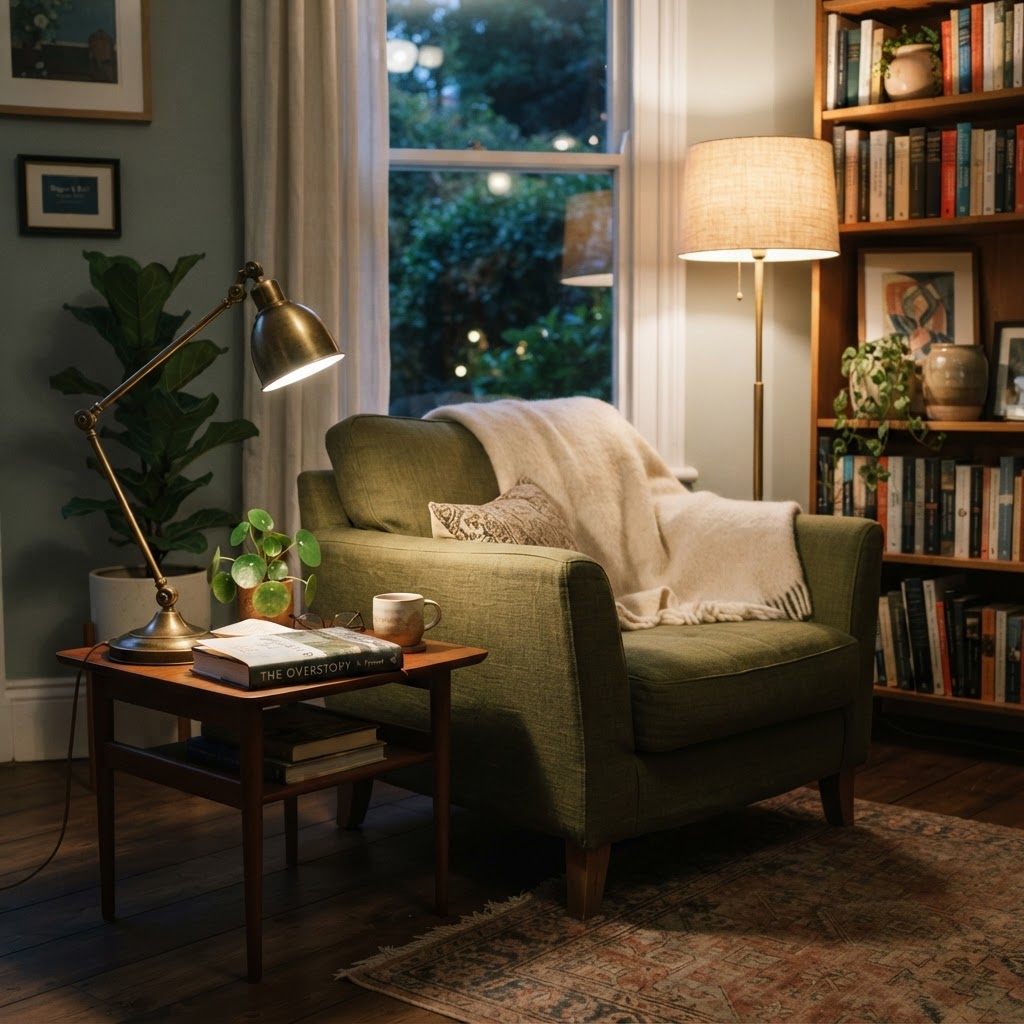
Mastering the mix of floor and table lamps creates depth.

Thinking of your space as a stage allows you to move beyond the “one room, one light” trap that often creates clinical, flat environments. Professional interior designers categorize lighting into three distinct roles: ambient (general fill), task (focused utility), and accent (visual drama). Achieving a layered look requires at least three distinct sources of light placed at different heights to ensure the room feels balanced rather than bottom-heavy or overly dark in corners.

Lighting Strategy Comparison

Lighting Type Primary Function Ideal Placement
Ambient Base illumination Ceiling, Floor Lamps, Sconces
Task Specific activity Desk lamps, Under-cabinet, Bedside
Accent Decorative focus Picture lights, LED strips, Uplights

By strategically distributing these sources, you create a “light pool” effect that draws the eye across the room. Avoid relying on central overhead lights, which cast unflattering downward shadows. Instead, place light sources in at least three corners to anchor the room. This “triangle technique” prevents the feeling of dead zones and creates a soft, diffused glow that makes the space feel larger and significantly more curated.

Choosing the Right Color Temperature

Choosing the right color temperature is essential for warmth.

Selecting the correct color temperature, measured in Kelvin (K), is the single most effective way to dictate the psychological comfort of a room. For a warm, residential glow, prioritize bulbs rated between 2700K and 3000K. This range mimics the golden hue of traditional incandescent filaments, which enhances the natural richness of wood, leather, and fabric textures while keeping skin tones looking healthy and vibrant.

Kelvin Temperature Guide

Temperature Aesthetic Result Recommended Usage
2200K – 2400K Candlelight / Ultra-warm Decorative, relaxation corners
2700K – 3000K Warm White / Classic Living rooms, bedrooms, dining
3500K – 4000K Neutral / Cool White Bathrooms, kitchens, home offices

Steer clear of bulbs rated 4000K or higher unless you are in a high-intensity workspace like a garage or clinical laundry room. These blue-spectrum lights inhibit melatonin production, making it difficult for the body to unwind in the evening. Consistency is vital; mixing a 2700K lamp with a 5000K overhead light creates a visual “clash” that the brain perceives as untidy or chaotic. When purchasing LEDs, verify the Kelvin rating on the side of the box to maintain a cohesive, designer-approved atmosphere throughout your home.

Balancing Your Lighting Sources

Layered lighting transforms a room from clinical to cozy.

Strategic placement of fixtures is the difference between a house and a home. The common mistake of relying on “boob lights” or high-output recessed track lighting often creates a flat, sterile look that ignores the geometry of the space. Designers mitigate this by ensuring light is emitted from multiple vertical levels—floor, chest, and eye level—which forces the eye to travel through the room’s entire volume.

The Power of Dimmers

A dimmer switch is the ultimate designer “secret weapon” that provides functional flexibility without requiring new fixtures. By installing a universal LED dimmer, you can shift a room from a bright, high-energy environment for daytime chores to a dim, intimate setting for hosting or relaxing within seconds. Modern dimmers are inexpensive, usually retailing for $20 to $40, and can be installed in under 20 minutes with basic tools. This single upgrade allows you to customize the intensity of your ambient layers, ensuring your room never feels too intense or too dim for the time of day, effectively extending the lifespan of your LED bulbs by reducing their energy load.

Incorporating Task and Accent Lighting

Task lighting complements ambient light for a functional space.

Task and accent layers provide the necessary contrast to elevate your space from a simple room to a professionally designed interior. Task lighting serves the pragmatic needs of the user, such as reading lamps with adjustable necks or focused pendants over an island, while accent lighting acts as the “jewelry” that highlights your personal style. To keep the look cohesive, ensure that task lights share a similar color temperature to your ambient layers, preventing a visual disconnect.

Highlighting Features

Accent lighting, such as picture lights positioned over canvas art or LED strips concealed behind shelving, creates depth by highlighting textures rather than just surfaces. A hidden LED strip casting a warm glow behind a bookshelf creates a “halo effect” that makes the shelf appear recessed and sophisticated. These small, deliberate touches draw the viewer’s eye to your home’s architecture and curated decor. Aim for a subtle approach—the source of the accent light should ideally be hidden, leaving only the soft glow on the wall or object visible. This technique adds an extra dimension, turning static architectural features into dynamic focal points that define the room’s overall aesthetic and personality.

Designing with Different Lamp Heights

Lighting should never be restricted to a single eye level, as uniform height creates a flat, uninspiring visual experience. To create a professional aesthetic, you must curate a mix of floor lamps (typically 5 to 6 feet tall), table lamps (2 to 3 feet tall), and low-profile sources like candles or floor-level up-lights. This vertical variance mimics the layering found in nature, where light filters through trees or reflects off varied surfaces.

By diversifying heights, you guide the visitor’s gaze throughout the entire vertical volume of the room, which creates an illusion of higher ceilings and increased luxury. For instance, placing a floor lamp behind an armchair creates a comfortable “cozy nook,” while a decorative table lamp on a side table adds a secondary layer of intimacy. If you find your room feeling cramped, analyze the heights of your current light sources; if everything sits at the same level, swap one for a tall arc lamp or a shorter accent piece to break the visual monotony and add architectural interest.

Troubleshooting Common Lighting Mistakes

Even experienced homeowners often fall into traps that compromise the quality of their lighting scheme. The most frequent issue is uncontrolled glare—when the bright filament of an LED or the internal structure of a bulb is visible, it triggers eye strain and destroys the warm, diffused atmosphere you are attempting to cultivate.

The Role of Lampshades

The choice of lampshade is more than a decorative decision; it is a critical functional element that acts as a filter for your ambient light. A white linen shade provides a crisp, bright, and airy diffusion that works well in modern spaces, while a thick silk or patterned drum shade casts a more concentrated, dramatic downward glow. To avoid glare, ensure that your shades are opaque enough to hide the bulb entirely. If you have an existing lamp that produces harsh light, consider switching to a “frosted” or “soft white” bulb, which incorporates a coating to help scatter light rays more evenly. By testing the light quality during the evening hours, you can quickly identify hotspots and adjust the position of your shades to ensure a smooth, uniform, and comfortable glow that elevates the room’s mood.

Sustainable Lighting Practices

Sustainability is no longer an alternative; it is the standard for modern lighting design. High-quality LED technology has reached a point where it perfectly replicates the warmth of vintage incandescent bulbs while consuming approximately 80-90% less energy. Modern LEDs are not only energy-efficient but are now designed to be fully dimmable and flicker-free, solving the common issues associated with early-generation smart bulbs.

When upgrading, look for bulbs with a high Color Rendering Index (CRI). A CRI of 90 or higher ensures that colors in your room appear true-to-life under your warm lighting, preventing the “washed out” look that cheaper, low-CRI bulbs often produce. These bulbs are rated for 25,000+ hours of use, meaning that an investment in high-quality LEDs today will likely serve your home for a decade or more. By choosing these sustainable options, you contribute to a smaller carbon footprint while maintaining the luxury of a designer-lit home. Making the transition is a simple, cost-effective step that pays dividends in both electricity savings and the overall comfort of your living space.

FAQ

Q: What is the ideal color temperature for a cozy home?

For a cozy, warm, and inviting atmosphere, use light bulbs with a color temperature between 2700K and 3000K. This range provides a golden, soft light that mimics the traditional warmth of incandescent bulbs and enhances the natural tones of your furniture.

Q: Why does my room feel “flat” even with lights on?

A room feels flat when all light sources are at the same height, creating a lack of depth and shadow. To fix this, incorporate a mix of tall floor lamps, mid-height table lamps, and low-level accent lighting to guide the eye through the vertical space.

Q: How do I avoid glare from my light bulbs?

Glare occurs when the bright filament of the bulb is directly visible to your eyes. You can prevent this by using opaque lampshades that fully shield the bulb, or by switching to frosted or soft-white LED bulbs that help diffuse light more evenly throughout the space.

Q: Are dimmer switches compatible with all bulbs?

Not all bulbs are dimmable; you must check the packaging of your LED bulbs to ensure they are marked as “dimmable.” Additionally, ensure you are using a modern LED-compatible dimmer switch to prevent flickering and humming caused by incompatible hardware.

10 Clever Small Bedroom Ideas for Renters

10 Clever Small Bedroom Ideas for Renters

To transform a small rental bedroom, focus on maximizing vertical storage with tension rods and adhesive hooks, selecting multi-functional furniture, and implementing layered lighting to create an illusion of space. These non-permanent, damage-free strategies allow renters to personalize and declutter their rooms without violating lease agreements or risking security deposits.

Maximizing Vertical Space Without Damage

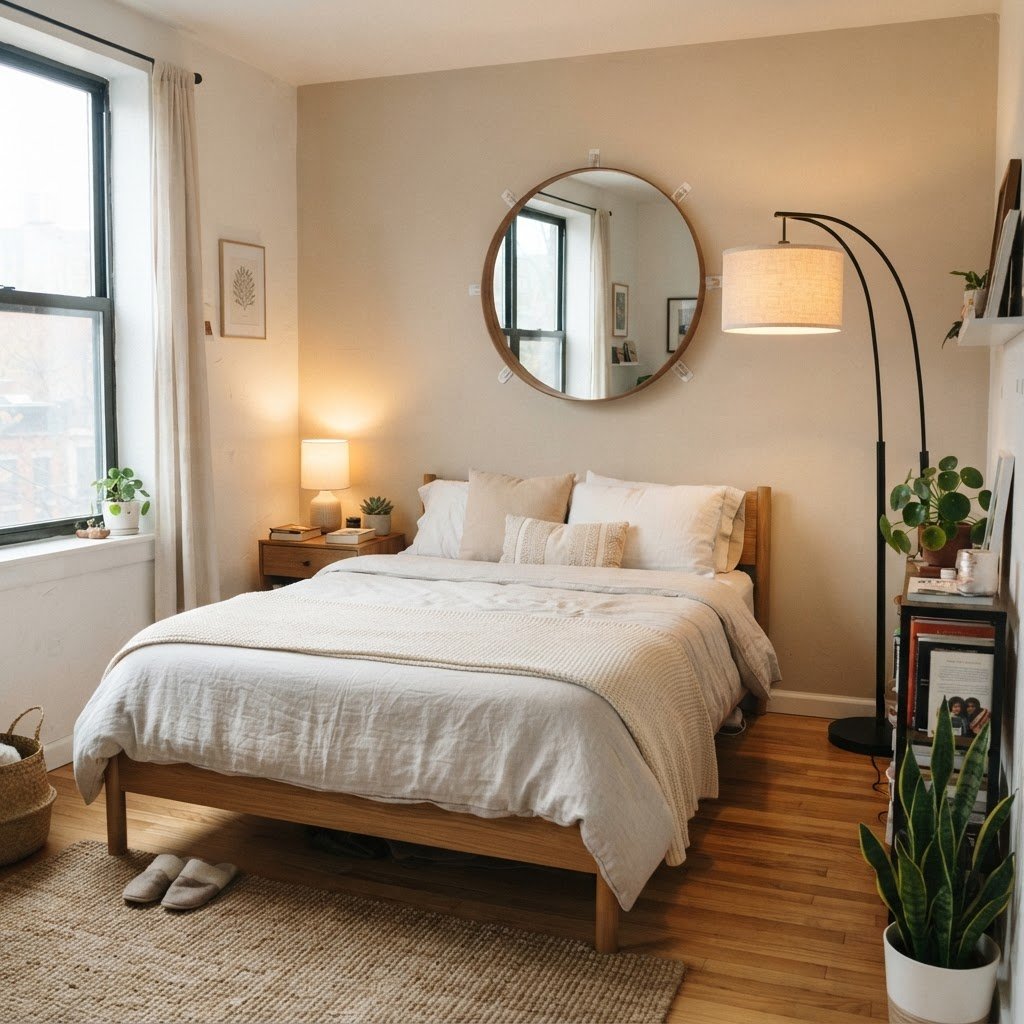
Maximize space with clever wall decor and layered lighting.

When floor space is at a premium, looking upward is the best strategy for expanding your usable living area. Most renters shy away from drilling holes, but you can achieve high-impact organization using clever, non-permanent alternatives that bypass landlord restrictions entirely. Think of your walls as a canvas for storage that does not require a power drill, allowing you to reclaim square footage that is often ignored in traditional layouts.

Utilizing Over-the-Door Solutions

One of the most underutilized areas in any bedroom is the back of the door. Over-the-door organizers are lifesavers for small bedrooms; they can store up to 24 pairs of shoes or double as an accessory station. If you want a more aesthetic look, choose tiered racks or decorative hooks that sit securely over the top edge of the door without needing hardware. This method is 100% reversible and requires zero installation time, making it ideal for temporary residents.

Command Hooks and Tension Rods

Adhesive hooks have revolutionized the world of rental living by allowing users to hang items up to 15 pounds without damaging drywall. Use them to hang lightweight artwork, mirrors, or fabric wall hangings. Tension rods are another secret weapon; they can be placed inside closets to create double-hanging space or even mounted between window frames to create a makeshift curtain partition or display rack for clothing. By moving items off the floor and onto the walls, you can increase your effective storage capacity by up to 40%.

Solution Best For Installation Type
Tension Rods Closets/Windows Pressure-mounted
Adhesive Hooks Decor/Accessories Peel-and-stick
Over-the-door Rack Shoes/Bulky Items Gravity-hung

Smart Furniture Choices for Tiny Rooms

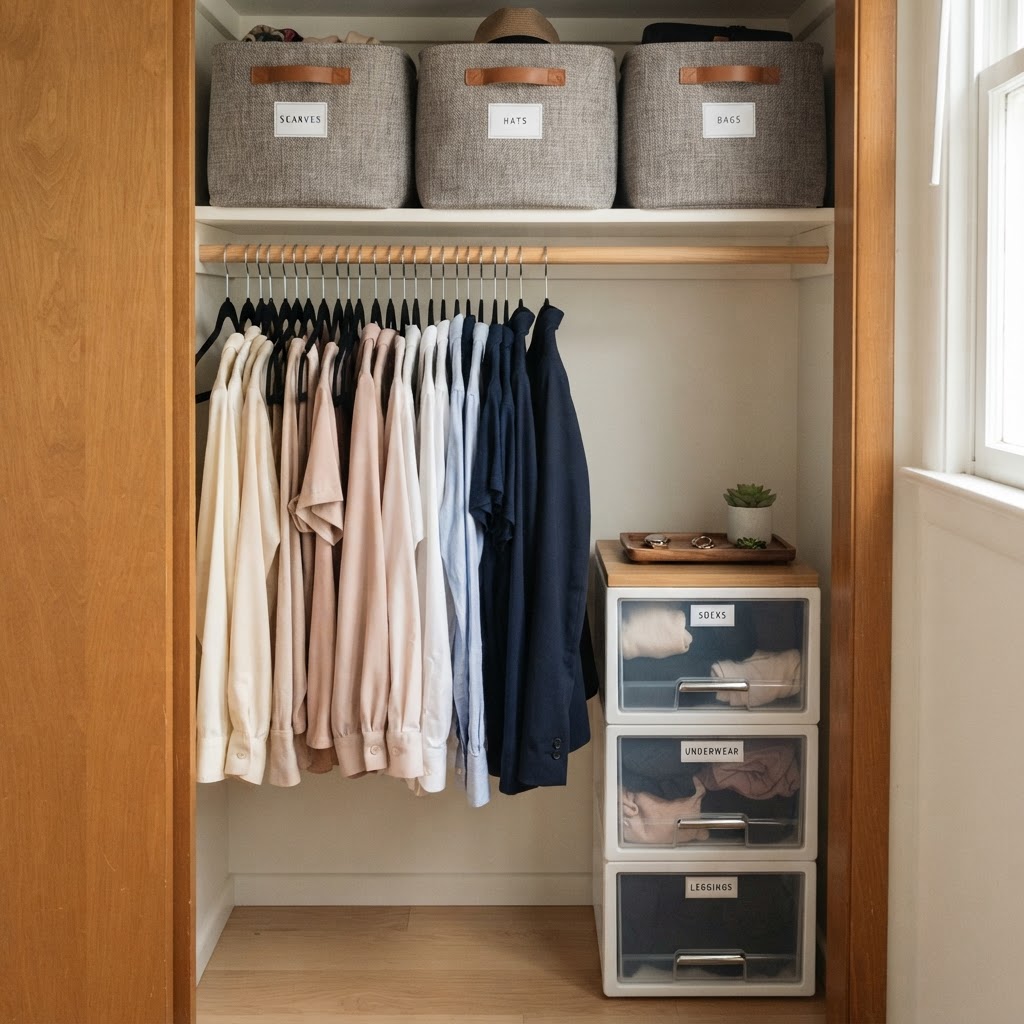
Organize your small closet like a pro with slim hangers and storage bins.

Selecting the right furniture is critical when you have limited space, as you want pieces that serve multiple purposes while maintaining a light visual profile. Avoid clunky, oversized dressers that swallow up your floor space; instead, look for furniture that “floats” on legs, as seeing more of the floor makes a room feel instantly larger. A general rule of thumb for small bedrooms is to ensure that at least 30% of your floor remains visible to maintain a sense of airiness.

The Power of Multi-Functional Pieces

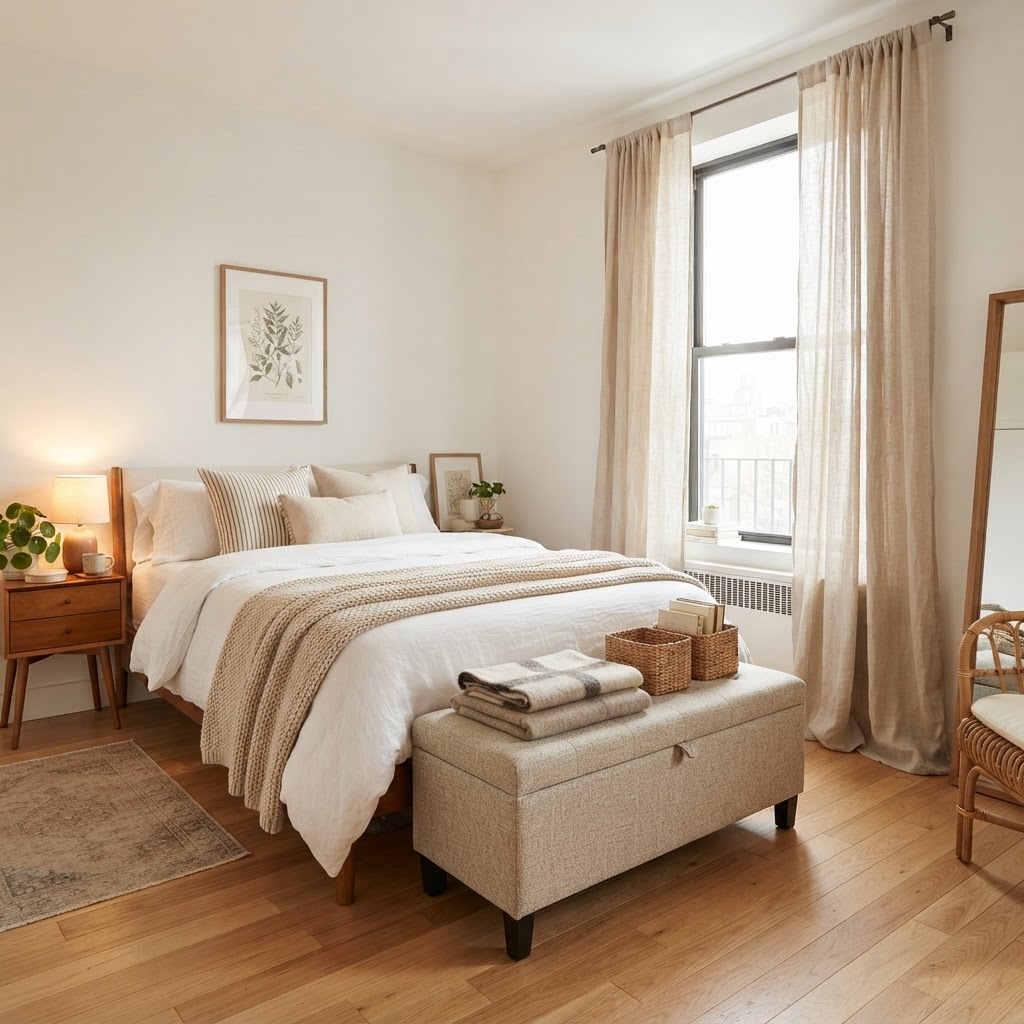
Invest in items like storage ottomans, bed frames with built-in drawers, or nightstands with shelving. A storage ottoman can provide approximately 3 to 5 cubic feet of hidden storage for linens or off-season clothing while serving as extra seating. By choosing furniture that hides your clutter, you keep the visual chaos to a minimum, which is essential for a relaxing bedroom environment. When purchasing, prioritize pieces under 30 inches in height to prevent the room from feeling closed in.

Lighting Techniques to Open Up the Room

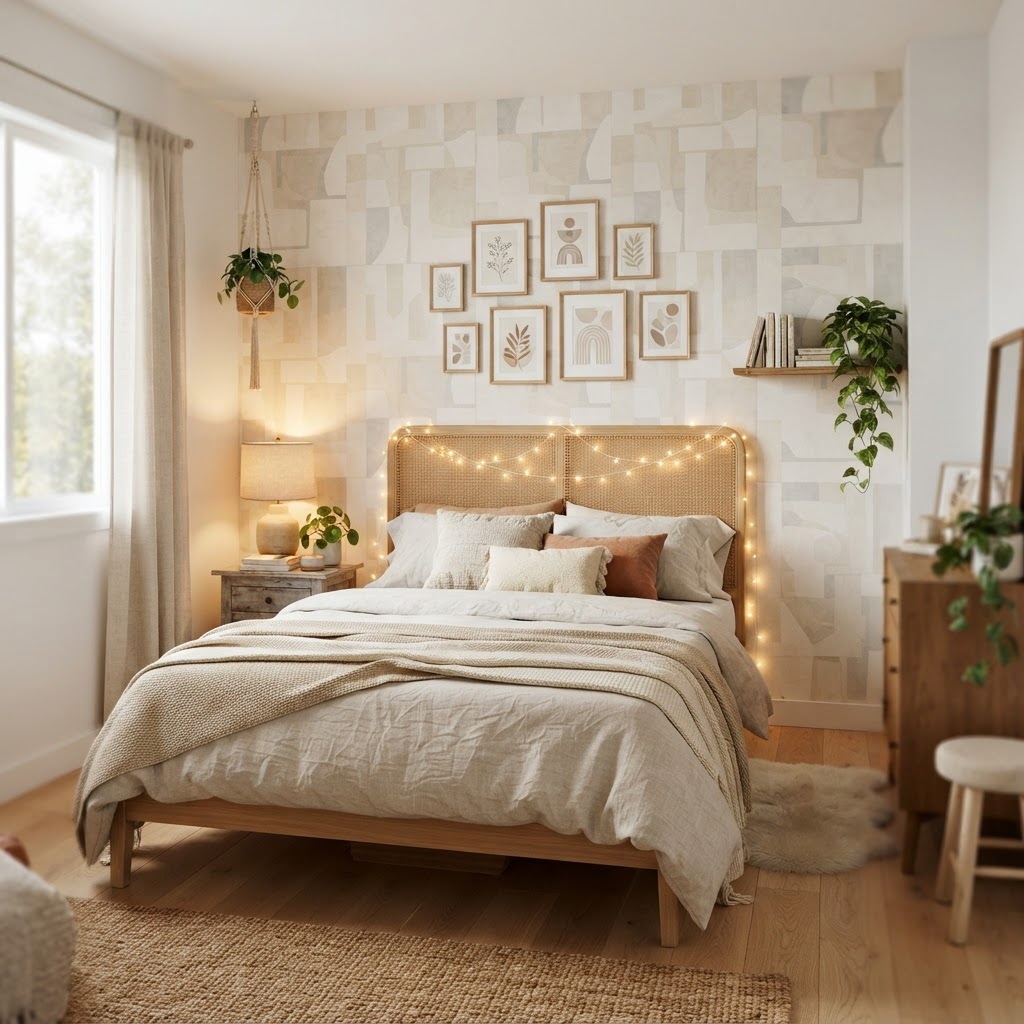
Transform your walls with damage-free removable wallpaper.

Lighting is often overlooked in rental units, but it is one of the most effective ways to change the mood of a space and visually expand the room. Standard “boob lights” are usually unflattering and harsh; since you likely cannot rewire the ceiling, focus on layered lighting using floor lamps and table lamps to create a warm, inviting glow that mimics natural light.

Layering for Atmosphere

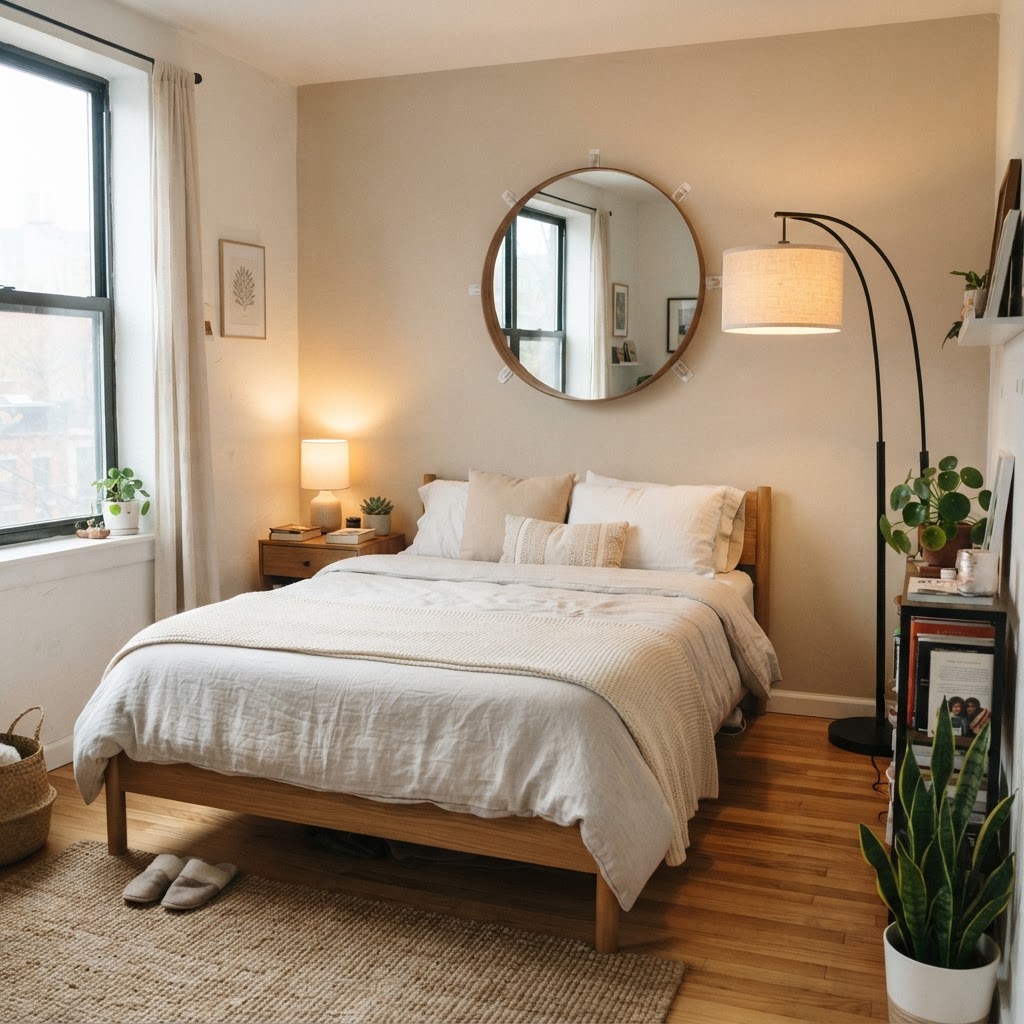
Create depth by placing lamps at different heights. Use a tall floor lamp in one corner to draw the eye upward, and place a task lamp on your nightstand for reading. String lights or LED strips tucked behind the headboard or under furniture can create a soft glow that makes the room feel cozy rather than cramped. Research shows that layering three distinct light sources—ambient, task, and accent—can make a small room appear 20% larger than one lit by a single overhead fixture.

Textiles and Color Palettes

Create a functional, airy sanctuary with smart furniture choices.

Your choice of bedding and window treatments defines the room’s aesthetic, with lighter tones often expanding the visual boundaries of a tight space. In small rooms, it is usually better to opt for light, neutral colors like off-white, light gray, or beige to reflect natural light. However, you can add personality through texture, such as chunky knit throws, velvet pillows, and linen curtains, which add dimension without the visual weight of dark colors.

The Importance of Window Treatments

Rental apartments often come with cheap, plastic blinds that can make a room feel boxy. Replace them with curtains hung from a tension rod or a removable adhesive bracket to elevate the room instantly. Floor-to-ceiling curtains draw the eye up and can make a window appear significantly larger than it actually is. By placing the rod as close to the ceiling as possible, you create an illusion of added height, which is a classic designer trick that is completely reversible.

Creative Storage for Small Closets

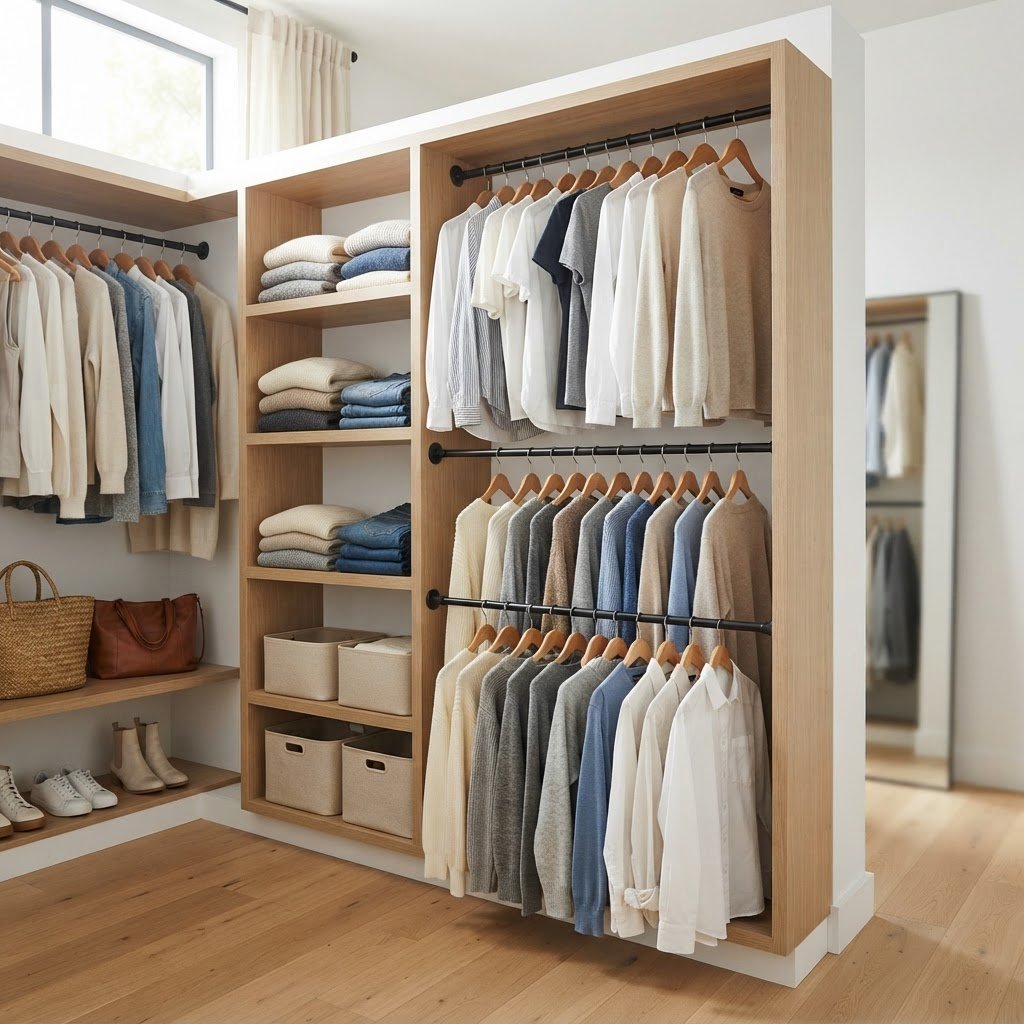
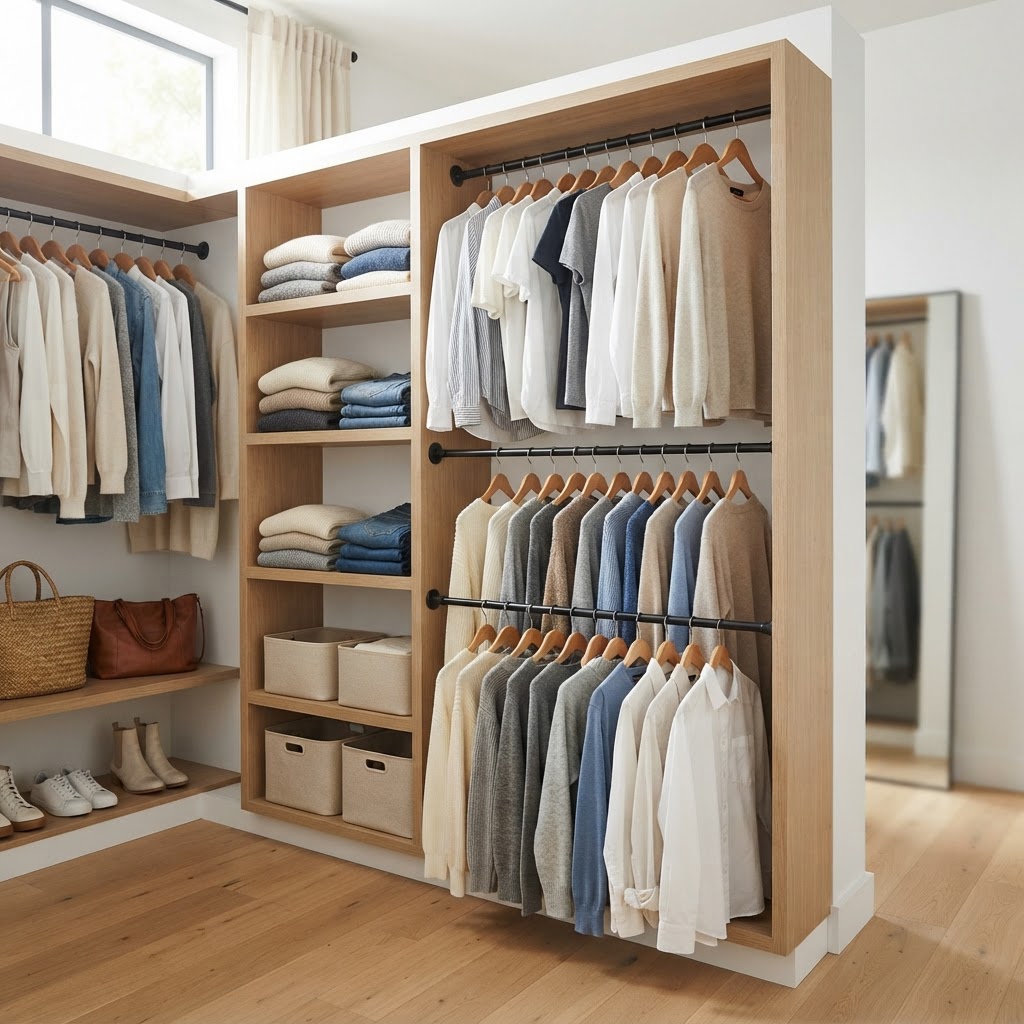
If your closet is tiny, it is time to optimize every inch by utilizing vertical volume rather than just floor space. Do not let the “dead space” at the top of the closet go to waste; add a stackable shelf unit or use storage bins to hold items you don’t reach for daily. Slim velvet hangers are another game-changer, as they allow you to fit approximately 30% more garments into the same amount of rod space compared to traditional plastic ones.

Organizing Like a Professional

Sort your clothes by category and color to create a sense of order that makes your space look intentional. If you have extra floor space under your hanging clothes, add a small stackable drawer unit. Keep your most-worn items at eye level to streamline your morning routine, and keep off-season clothes in vacuum-seal bags—which can reduce clothing volume by up to 75%—tucked under the bed.

Personalizing Walls Without Paint

Many leases strictly forbid painting, which can leave a room feeling sterile, but there are many ways to add color and pattern without touching the walls. Removable wallpaper is the gold standard for renters who want a bold look; it can be purchased in various patterns and is designed to peel off without leaving residue. This single change can shift a room’s entire energy for a cost of roughly $50–$100 per feature wall.

Removable Solutions for Personality

If wallpaper feels like too much work, consider large-scale peel-and-stick decals or gallery walls using adhesive strips. You can also use temporary tapestries to cover an entire wall, which has the added benefit of softening the acoustics of the room. This makes your bedroom feel much more intimate and personalized, providing a high-impact transformation that takes less than an hour to complete.

Keeping It Organized and Decluttered

Even the most well-designed room will feel small if it is messy, making decluttering an essential part of the design process. The most important of our small bedroom ideas for renters is maintaining a strict “one in, one out” policy. Because you have less storage space, you must be intentional about what stays in your home; regularly purge items you no longer use or need to keep your bedroom feeling peaceful.

Maintaining the Vibe

Dedicate five minutes each night to tidying up your surfaces. When surfaces are clear and clothes are put away, the room will naturally feel more expansive. Focus on keeping your nightstand clear of anything that isn’t essential for your sleep, which creates a better environment for relaxation. A clutter-free surface area is proven to lower cortisol levels and improve sleep quality in compact living environments.

FAQ

Q: What is the best way to add storage to a rental bedroom without drilling holes?

Utilize tension rods inside closets, over-the-door hanging organizers for shoes, and adhesive hooks for wall decor. These solutions provide significant storage utility while being completely removable, ensuring you can restore the room to its original condition before you move out.

Q: Can I paint my walls if I am renting?

Most leases prohibit permanent paint, but you can use high-quality peel-and-stick removable wallpaper to add color and texture. This allows for total customization of your bedroom aesthetic while remaining 100% compliant with standard rental agreements.

Q: How do I make a tiny bedroom look bigger?

Maximize floor visibility by choosing furniture on legs and use floor-to-ceiling curtains to draw the eye upward. Additionally, incorporating a large mirror can reflect light and create a sense of depth, effectively doubling the visual space of a cramped room.

Q: Are tension rods strong enough to hold heavy curtains?

Yes, provided you purchase high-tension spring-loaded rods designed for heavy fabric. Ensure the tension is tightened correctly against the door or window frame, and consider lightweight linen or cotton curtain panels to minimize the overall weight load on the rod.

How to Style an Apartment Entryway on a Tight Budget

To style an apartment entryway on a tight budget, prioritize vertical storage with wall-mounted hooks, implement clever plug-in lighting solutions, and define the area with a durable runner rug. These tactical choices maximize limited square footage while creating a functional, organized transition zone that reflects your personal style without requiring expensive renovations.

Assessing Your Entryway Needs

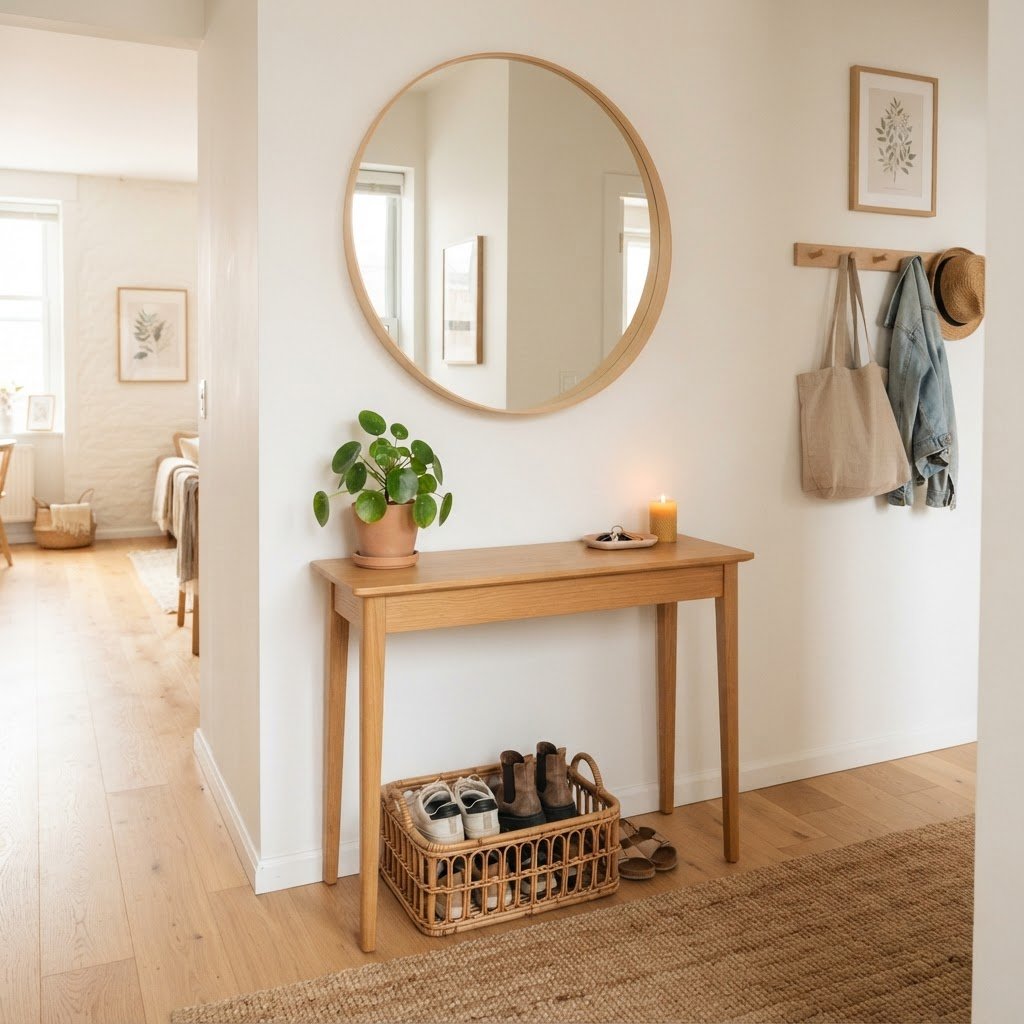
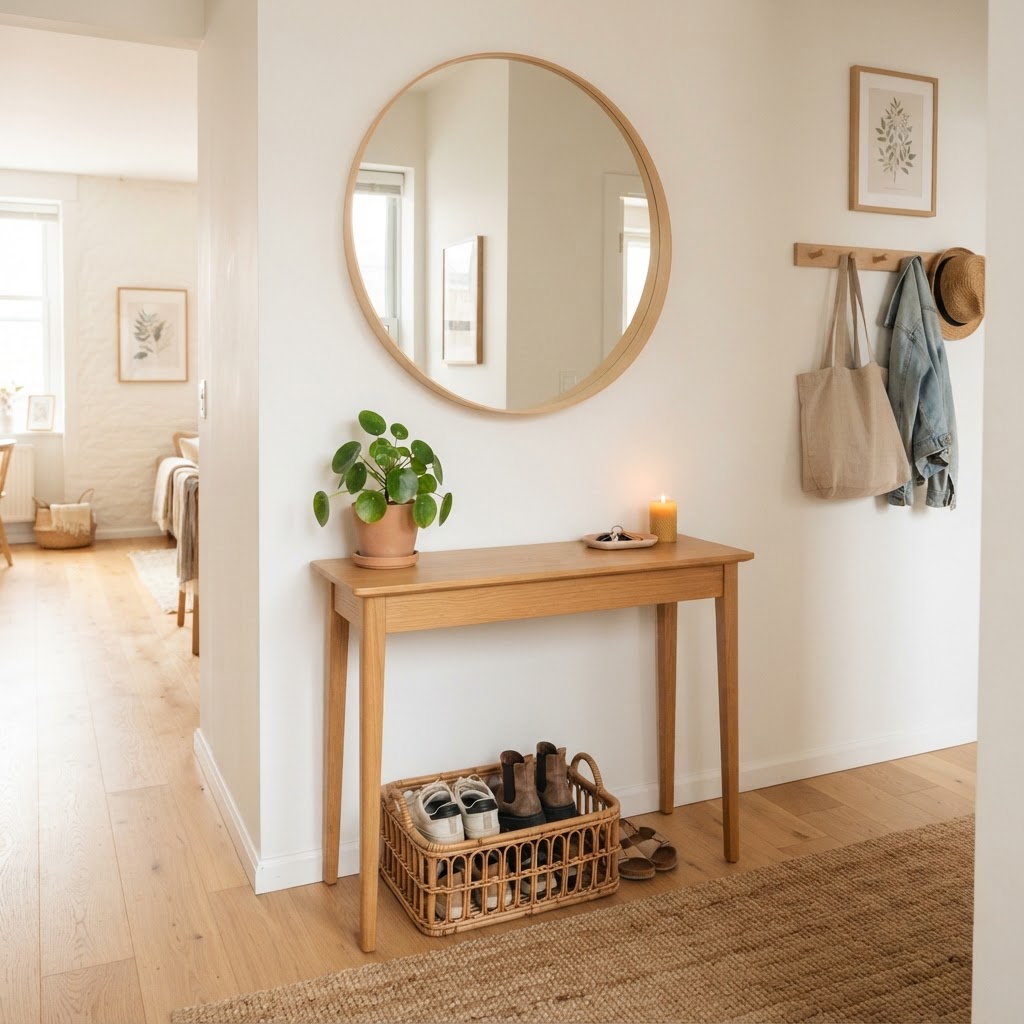
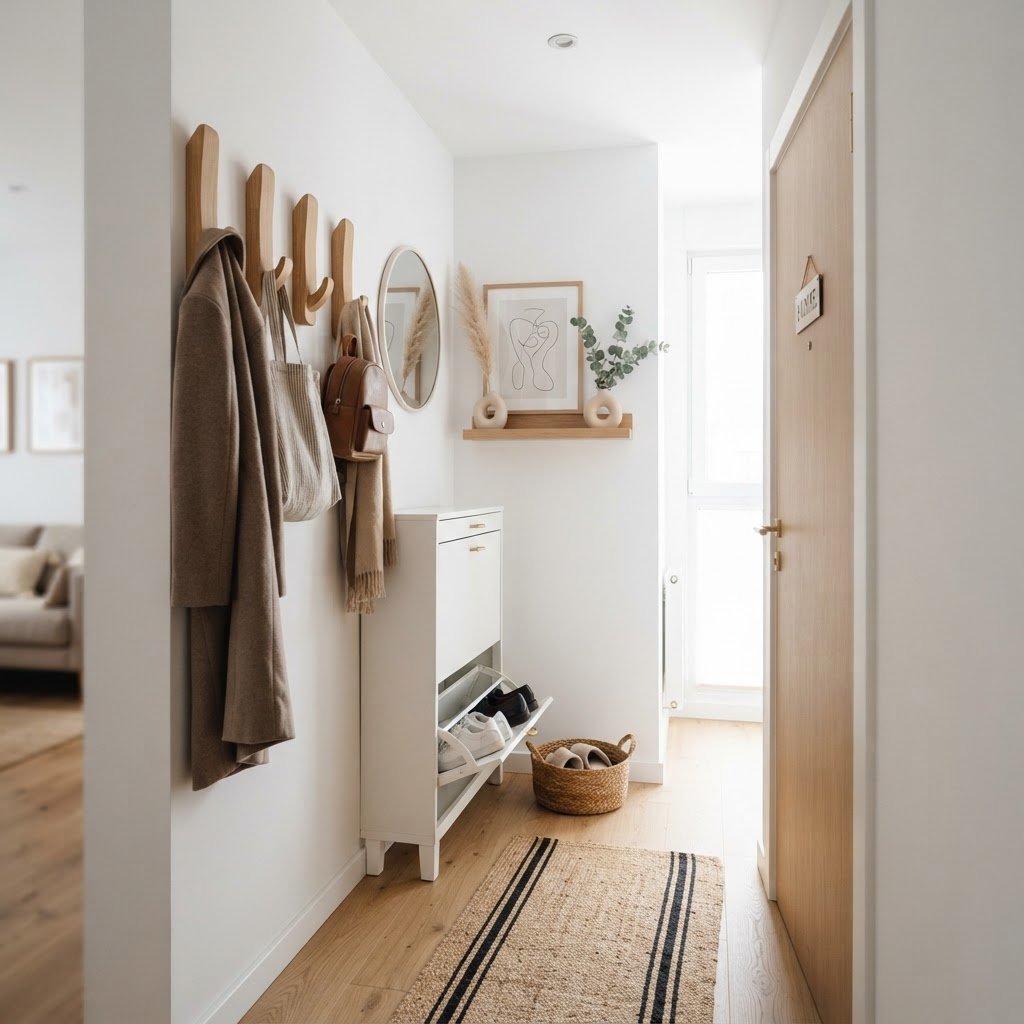
A welcoming apartment entryway doesn't require a large budget, just smart furniture choices.

Before you start shopping for decor, you must understand what your entryway needs to do for you. Every person uses their home entrance differently. Do you need a place to store bulky winter boots, or are you primarily looking for a spot to drop your sunglasses and phone? Identifying the specific pain points—like lack of storage or insufficient lighting—is the first step in effective space planning. Once you define the function, you can prioritize your budget toward items that solve these problems.

Feature Low-Budget Solution Investment Option
Storage Adhesive hooks/baskets Custom built-in cabinetry
Lighting Battery-powered puck lights Hardwired designer sconce
Surface Repurposed side table Marble console table
Decor DIY gallery wall Original gallery art

Take a moment to measure your space carefully. Many apartment dwellers assume their entryways are too small to hold furniture, but a narrow console table or a slim wall-mounted shelf can often fit where you least expect it. By clearing out existing clutter, you will likely find that you have more floor space than you initially realized. A clean slate is essential for low-budget transformations, as it allows you to visualize potential layout changes without the interference of unnecessary items.

The Power of Vertical Storage

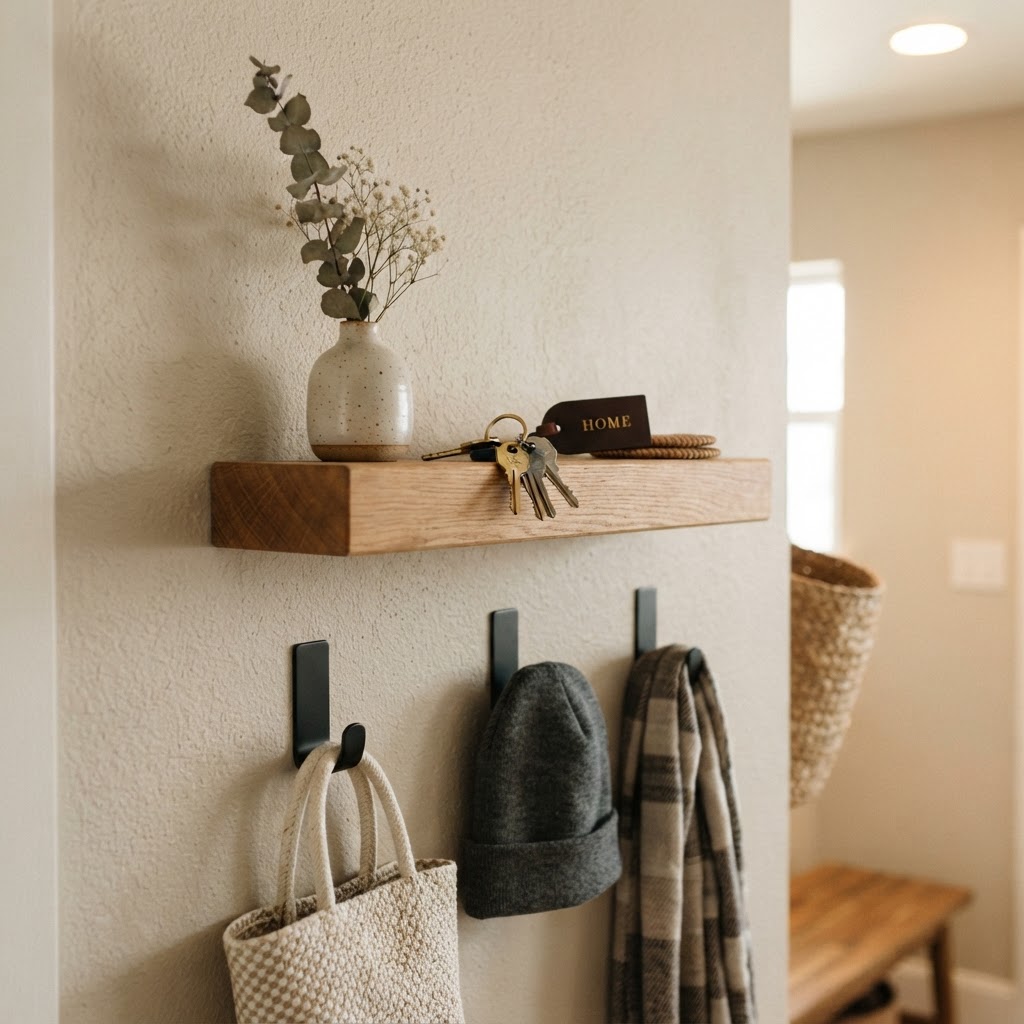
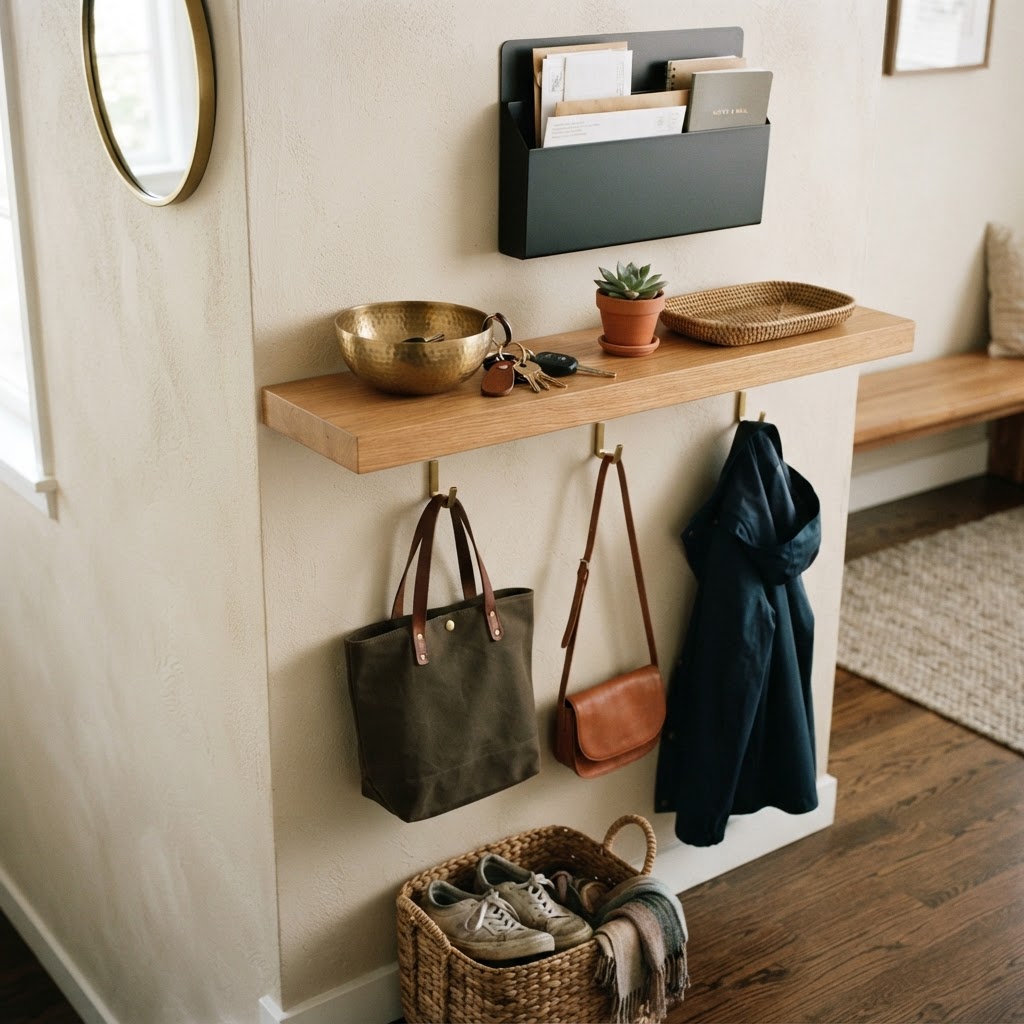
Utilize vertical wall space with hooks and shelves to keep your entryway floor clear.

When floor space is at a premium, looking up is the best strategy for maintaining an organized and aesthetic foyer. Vertical storage is a game-changer for anyone learning how to style an apartment entryway on a tight budget because it clears your walking path while providing ample room for essentials. Wall-mounted hooks are incredibly affordable and can be arranged in artistic patterns to serve as both a decorative focal point and a functional coat rack. For instance, spacing hooks at least 6 inches apart prevents the wall from looking visually crowded while accommodating bulky winter coats.

Consider installing a floating shelf beneath your hooks to create a ‘landing strip’ for smaller items. This creates a dedicated spot for items that usually get lost, such as keys, wallets, and hand sanitizer. Using inexpensive brackets and a piece of wood from a hardware store can save you significant money compared to buying pre-made furniture sets. Painting or staining these DIY shelves to match your apartment’s existing wood trim or door frames ensures they look like built-in features rather than temporary additions. This structural approach typically costs under $30, compared to $150+ for mass-market retail entry benches.

Maximize Wall Space with Hooks

If you are renting, look for heavy-duty adhesive hooks or over-the-door solutions that do not require drilling into walls. You can find stylish metallic or wooden options that look high-end without the high price tag. Arrange them at varying heights to accommodate both long coats and smaller bags or umbrellas, creating a dynamic visual flow on your wall.

Incorporating Budget-Friendly Lighting

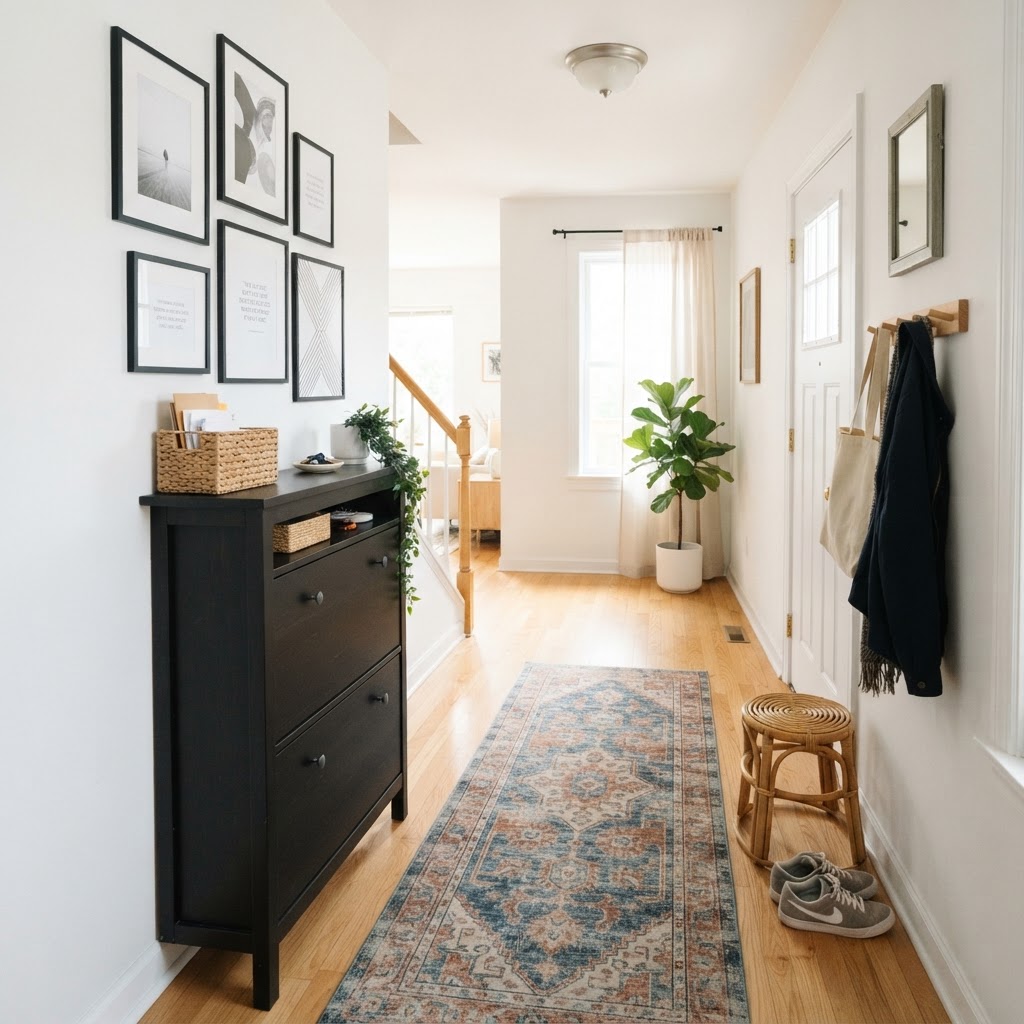
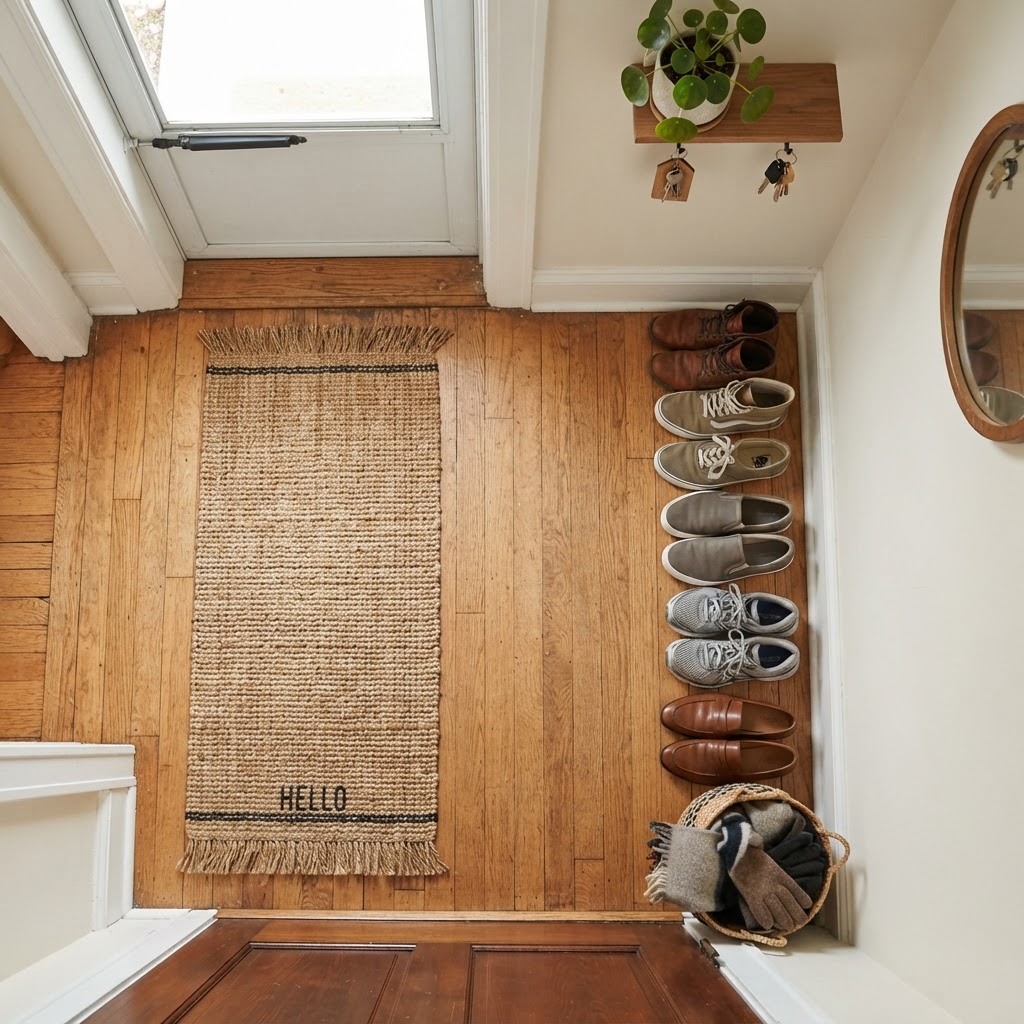
Use rugs and wall art to add character and define the space in a small apartment.

Lighting is the secret ingredient in professional interior design, yet it is frequently ignored in apartment entryways. If your foyer feels dark and uninviting, it is likely because it lacks adequate illumination. Since you likely cannot rewire the apartment, you must get creative with plug-in solutions. An affordable floor lamp tucked into a corner can provide warm, ambient light that makes the space feel larger and more welcoming. Research suggests that warm light (around 2700K) creates a 30% more inviting atmosphere in small transition zones compared to clinical, cool-toned lighting.

Alternatively, consider using LED strip lights or rechargeable puck lights under floating shelves to create a high-end, custom look. These are inexpensive, costing as little as $15 per unit, easy to install, and create a sophisticated atmosphere at night. By layering light sources—combining an overhead light with a secondary lamp or wall-mounted sconce—you add depth and character to an otherwise plain area of your apartment. This layered approach eliminates dark corners, making a 3×3 foot entryway appear physically larger to guests.

Bringing in Texture and Personality

Once the functional elements are in place, it is time to add personality to your apartment entryway through textures and decor. A rug is one of the most effective tools for defining a space and adding comfort, specifically for areas with high foot traffic. Choose a low-pile runner, ideally measuring 2×6 feet, that can handle high traffic while adding color or pattern to your foyer. If a new rug is outside your budget, consider upcycling a vintage find or using a durable, washable kitchen runner that is easy to clean.

Do not overlook the power of textiles and art to create warmth in otherwise sterile apartment halls. A small piece of framed art, or even a collection of dried flowers in a thrifted vase, adds instant charm and a sense of ‘home.’ If your walls are bare, a mirror is a functional must-have that also bounces light around, making the entryway feel double the size. Look for mirrors at thrift stores or garage sales, as they can be easily spray-painted to match your decor scheme for just a few dollars, often saving 70-80% off retail prices for new home goods.

Adding Greenery for Life

Plants breathe life into any space and improve indoor air quality. If your entryway gets some natural light, a sturdy pothos or snake plant can thrive in a corner or on a shelf. If you have a dim foyer, opt for high-quality faux greenery. The goal is to introduce natural textures that soften the sharp lines of furniture and walls, making your entryway feel like a curated living area rather than just a hallway.

Organization Hacks for Small Spaces

Organization is the bedrock of a well-styled entryway, preventing the common ‘catch-all’ syndrome that plagues most small apartments. Without a system, even the most beautifully decorated space will quickly become cluttered. Baskets are your best friend when it comes to low-cost organization, specifically woven seagrass or wire baskets which add texture while hiding clutter. Place a large basket on the floor for shoes or umbrellas, and smaller decorative boxes on a shelf for masks, mail, or dog leashes. Labeling these items can also add a touch of personal flair while ensuring everything stays in its place.
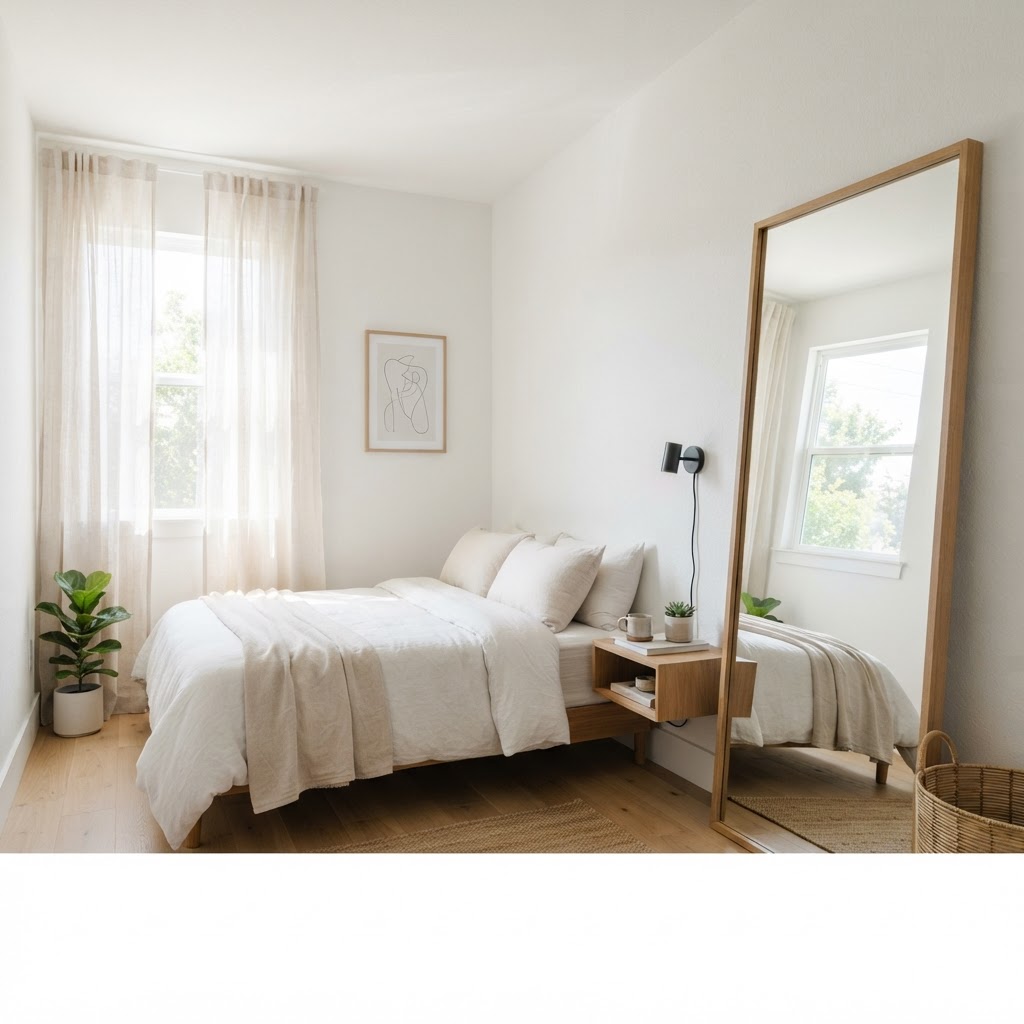
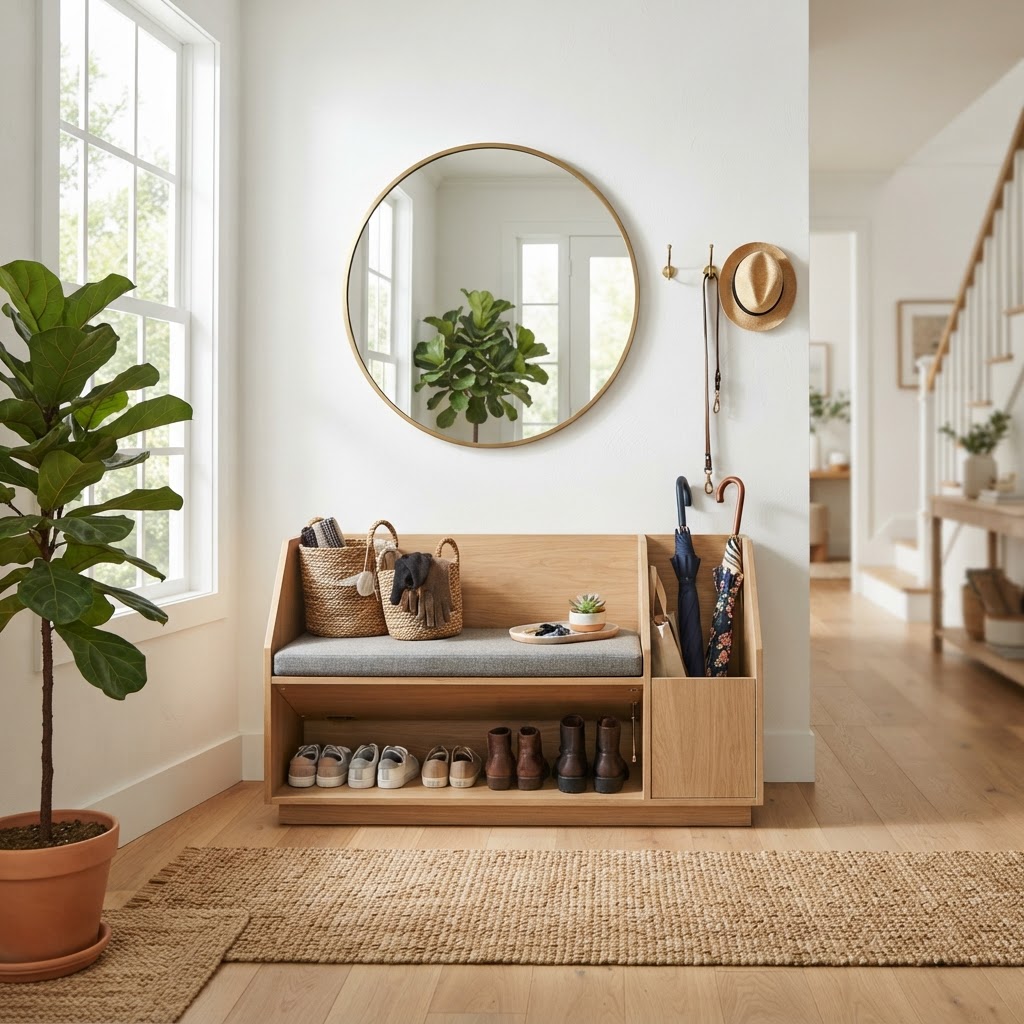
Think about modular systems. If you have a bit more budget, a shoe cabinet with a drop-down door is a fantastic way to hide clutter completely, often reducing visual noise by 90%. However, if that is too expensive, a simple wooden bench with a shelf underneath can serve the same purpose. By keeping the floor clear, you naturally draw the eye upward and create the illusion of a more expansive space, making your entrance feel intentional rather than haphazard.

Creative DIY Decor Projects

When you are on a budget, DIY projects allow you to customize your space exactly how you want it while maintaining a unique aesthetic. Creating a gallery wall is a fantastic way to fill a large empty wall without spending a fortune on expensive prints. You can print photos at home, cut out images from magazines, or display thrifted postcards in matching frames from a dollar store. The key to a cohesive gallery wall is using frames that share a similar color or style, which provides a high-end look for less than $40 total.

Another simple DIY is customizing an existing mirror or frame to match your color palette. Use gold leaf, paint, or even twine and seashells to give basic items a bespoke feel. If you are handy, painting your door a bold, welcoming color—assuming your landlord allows it—can completely transform the entryway with just a single quart of paint, typically costing under $20. These small, low-cost projects allow you to leave your stamp on the apartment without violating any rental agreements.

Essential Tools for DIY Success

  • Measuring tape: Always measure your walls and items before purchasing.
  • Painter’s tape: Crucial for clean paint lines and marking out furniture placement on floors.
  • Command strips: The renter’s best friend for hanging items without damaging walls.
  • Level: Nothing makes a DIY project look amateur faster than crooked shelves or frames.

FAQ

Q: How do I hide shoes in a small apartment entryway without a closet?

Use a slim shoe cabinet with a drop-down door or a wooden bench with an open shelf underneath. These pieces offer hidden storage while keeping the floor clear, which visually expands your space.

Q: What is the best way to add lighting to a rental entryway without wiring?

Utilize battery-operated LED puck lights or plug-in floor lamps. These solutions provide instant, professional-looking illumination without requiring any electrical work or landlord permission.

Q: How can I make a narrow entryway look bigger?

A large wall mirror is the most effective tool to make a narrow space feel twice as big. Placing it opposite a light source bounces natural and artificial light around the room, instantly creating an open, airy feeling.

Q: What are the best plants for a dark apartment entryway?

Snake plants and Pothos are ideal because they require minimal natural light to survive. If you have absolutely no light, high-quality faux silk plants provide the same greenery benefits without any maintenance.

Q: How can I hang decor without damaging my rental walls?

Use heavy-duty adhesive strips or tension rods. These products allow you to hang art, shelves, and hooks securely while ensuring you receive your full security deposit back upon move-out.

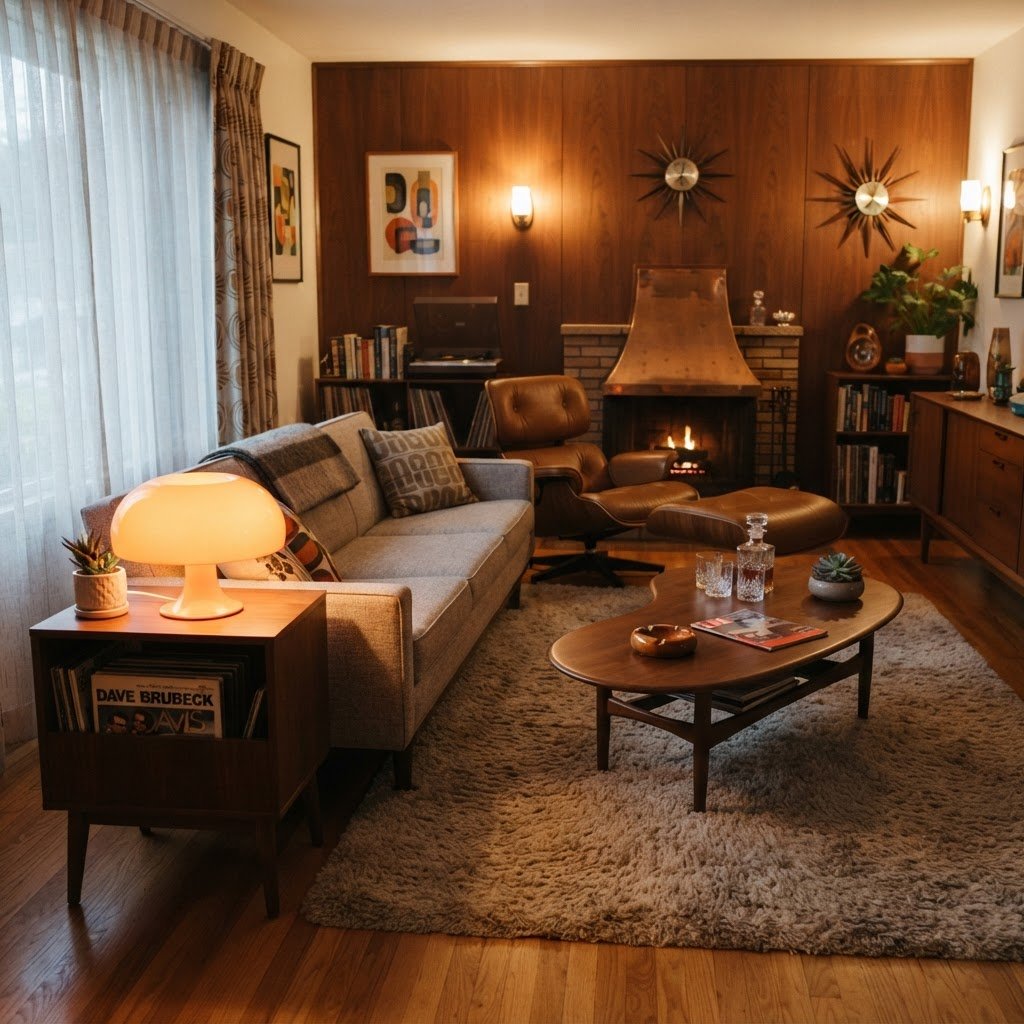
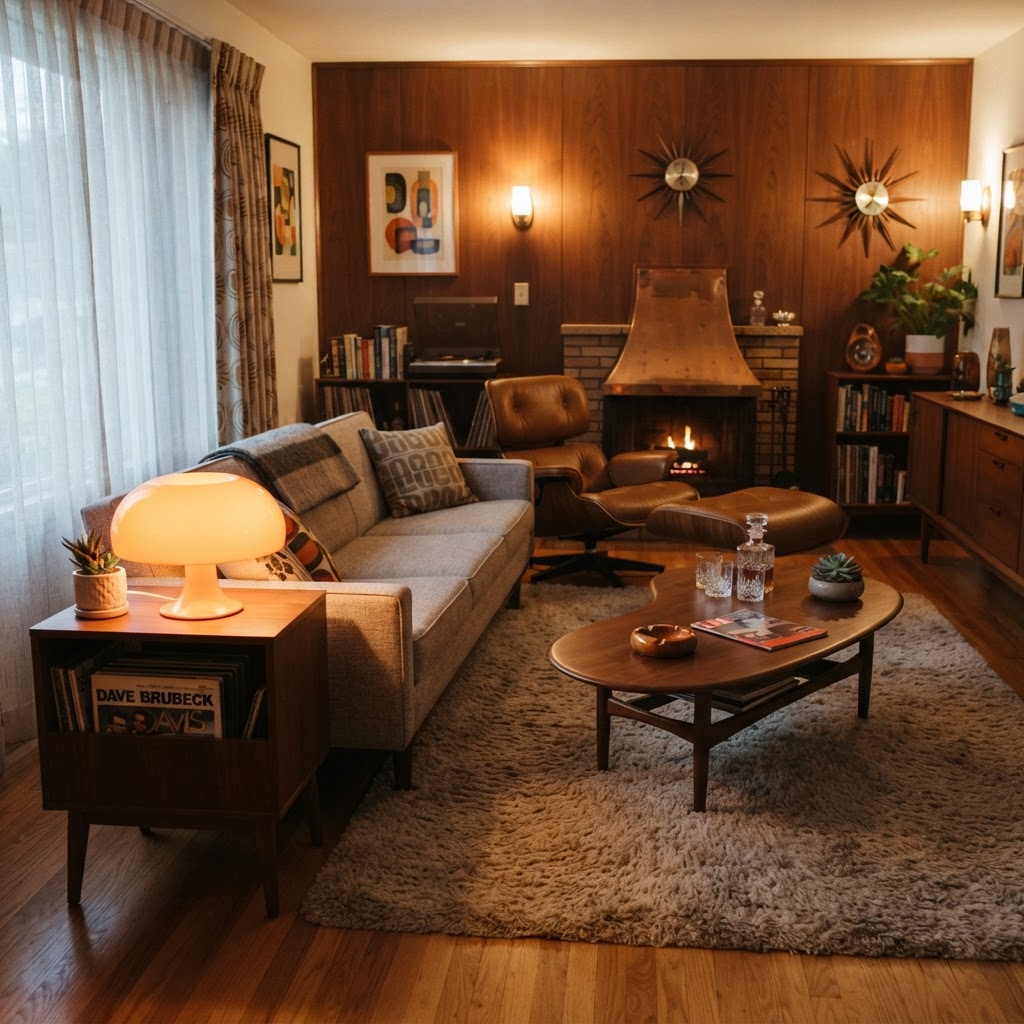
Retro Glow Lamps for a Stylish Mid-Century Living Room

Retro Glow Lamps for a Stylish Mid-Century Living Room

Retro glow lamps define a mid-century modern living room by providing soft, diffused ambient lighting through iconic 1950s silhouettes and materials like spun fiberglass. These fixtures bridge the gap between vintage art and functional illumination, serving as the essential visual anchor that grounds mid-century decor with nostalgic, human-centric warmth.

The Evolution of Mid-Century Lighting

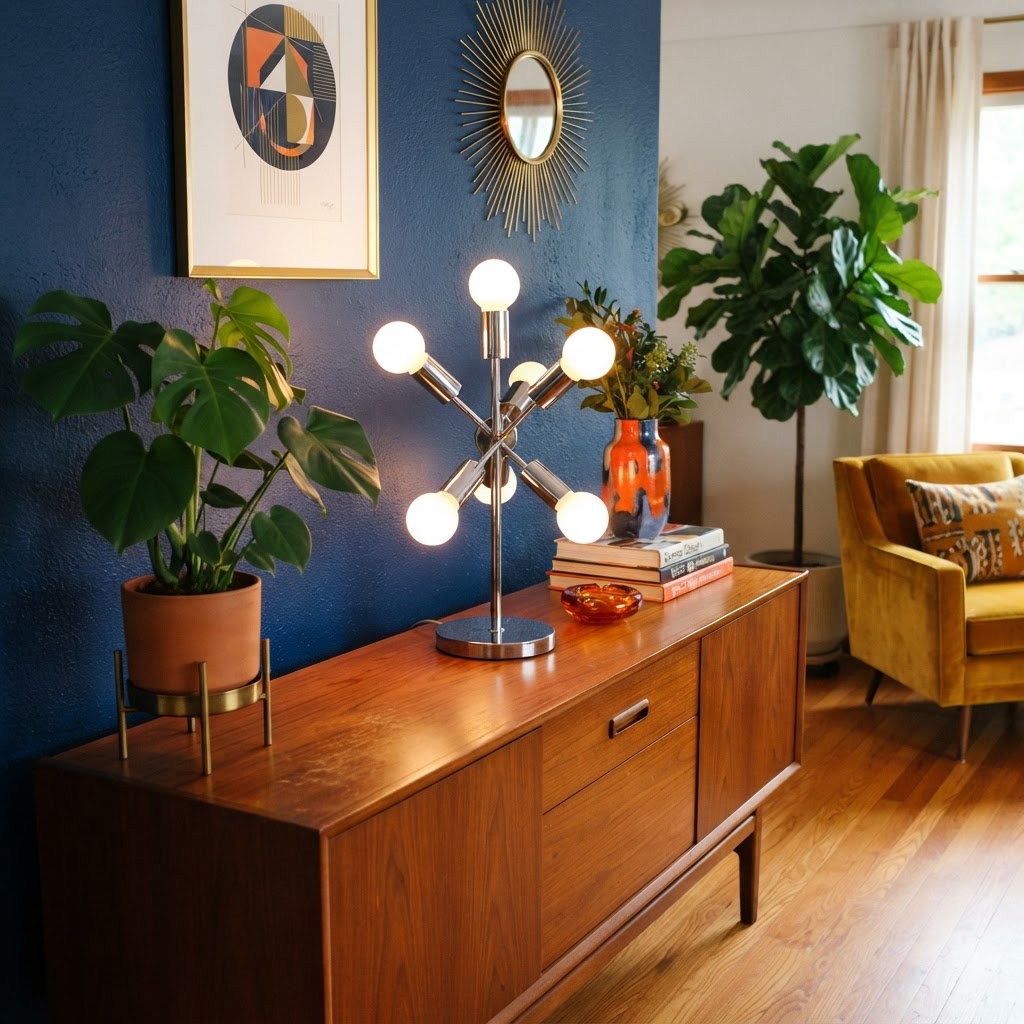
A classic retro glow lamp adds a touch of warmth to this mid-century corner.

Post-war lighting design underwent a radical transformation between 1945 and 1960, shifting from ornate, heavy fixtures to minimalist, space-age forms. This era utilized emerging industrial materials such as acrylic, heat-resistant fiberglass, and brushed aluminum to create lamps that prioritized diffused, soft-focus light over harsh direct beams. The “glow” effect became synonymous with the domestic comfort of the decade, as designers like George Nelson and Isamu Noguchi experimented with how light interacts with organic, sculptural shapes. By integrating these historic designs into modern spaces, you capture a specific era of optimism and technological wonder that remains highly sought after by collectors today. These pieces are more than just lamps; they are artifacts of a design revolution that valued affordability and mass-production aesthetics without sacrificing stylistic integrity.

Why Mid-Century Design Persists

Mid-century design remains a dominant force in modern interiors because its human-centric focus perfectly suits contemporary open-plan living. Unlike the rigid, formal rooms of the early 20th century, the mid-century aesthetic prioritizes how people move through and feel in a space. Lighting acts as a visual anchor in these open layouts, defining “zones” for reading, conversation, or relaxation. By incorporating a retro glow lamp, you add a historical layer that balances the sterility of modern smart-home lighting with a human, tactile history that contemporary furniture cannot replicate on its own.

Choosing the Right Retro Glow Lamp

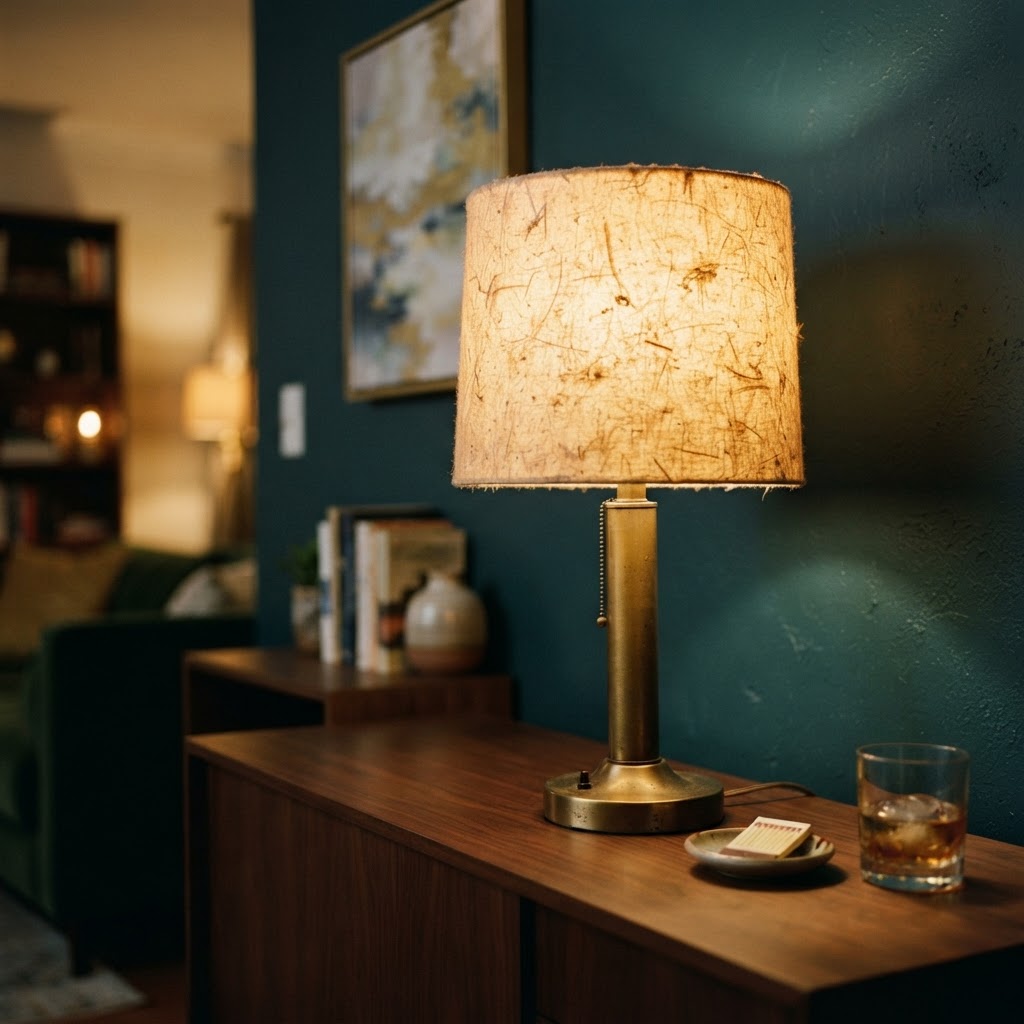
Textured fiberglass shades provide a soft, diffused ambiance.

Selecting the perfect retro lamp requires evaluating the balance between material authenticity, scale, and the specific lighting output needed for your living area. A floor lamp typically serves as a primary decorative statement piece, often measuring between 55 to 65 inches in height, whereas table lamps are optimized for side tables at roughly 18 to 24 inches. When shopping for authentic vintage pieces, prioritize items with original wiring inspections, as 60-year-old cords often degrade and fail safety codes. The best investment pieces feature solid teak wood or weighted brass bases, which provide the stability and high-end feel absent in cheap plastic imitations. Use the following table to compare key materials found in high-quality vintage and reproduction lamps.

Material Aesthetic Vibe Durability Best Use Case
Spun Fiberglass Soft, Warm Diffusion Moderate Living room corners
Solid Teak Organic, Natural High Sideboards/Tables
Polished Brass Luxury, Mid-Century Glam High Focal point floor lamps
Ceramic/Glaze Vibrant, Retro Pop Moderate Coffee table accents

Material Matters in Vintage Lighting

  • Brass and Gold Tones: Perfect for adding a touch of luxury to your mid-century living room.
  • Fiberglass Shades: These provide that distinct, warm diffusion iconic to 1950s lighting.
  • Teak and Walnut Bases: Offer the organic, natural warmth necessary to ground modern spaces.
  • Ceramic and Glazed Finishes: Often found in vibrant, retro colors like mustard yellow, teal, or burnt orange.

Integrating Lighting into Your Living Room Layout

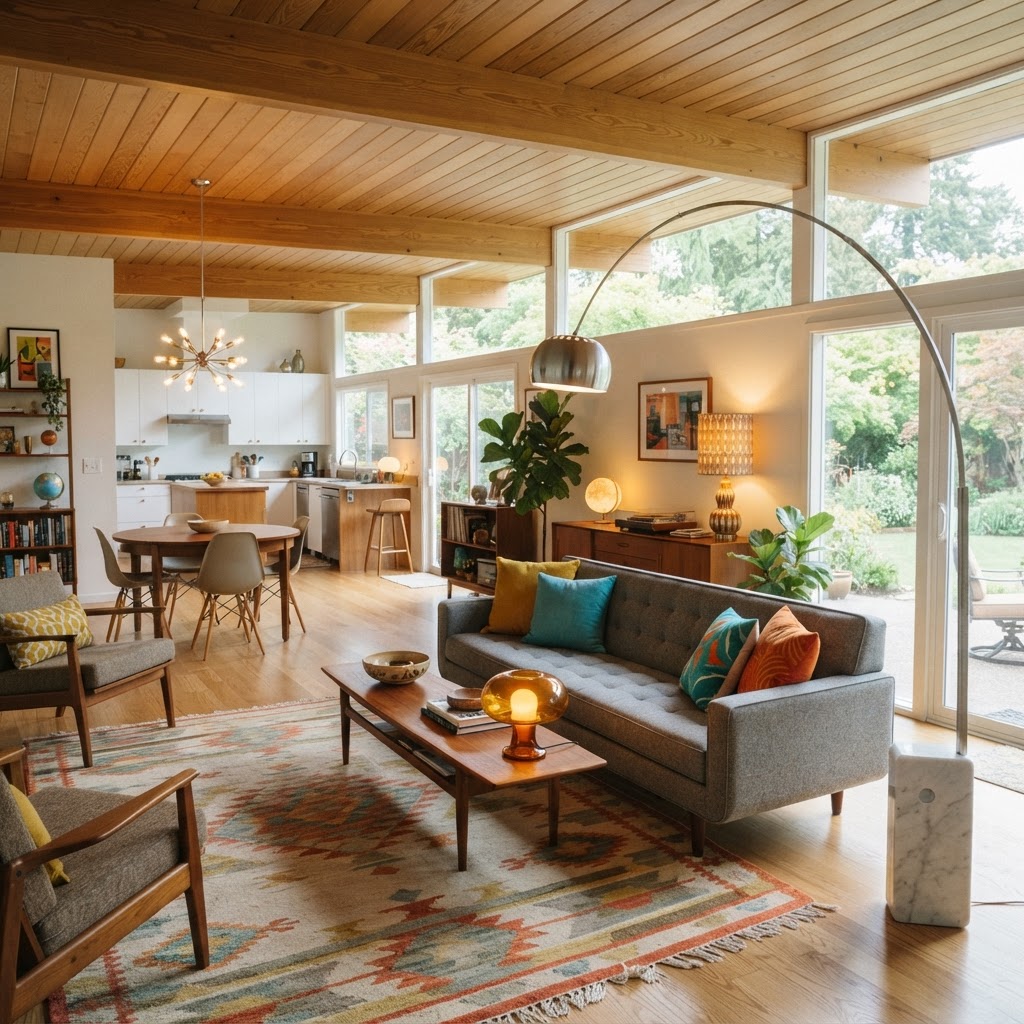
Layered lighting is essential for a balanced living room layout.

Effective lighting design in a mid-century space relies on the “Three-Layer Rule,” which combines general ambient lighting with specific task and accent glow lamps. To achieve a balanced look, your primary overhead fixture should provide general illumination, while your retro lamps function as task lighting in reading nooks or accent lighting to highlight structural features. Place your retro lamps at varying heights—mixing a 60-inch floor lamp with a 20-inch table lamp—to prevent the room from appearing flat or clinical. By carefully positioning these pieces behind or adjacent to your furniture, you create “visual pools” of light that define the space, inviting people to sit and linger rather than move through the room quickly.

Creating Focal Points with Light

Use your lamps as spotlights for your furniture collections rather than just as general light sources. Placing a glow lamp on a credenza behind a sofa creates a “frame” effect, drawing the eye toward the textures and wood grains of your furniture. This technique transforms a functional appliance into an essential component of your interior’s architectural narrative, ensuring the lamp feels like a supporting character rather than an afterthought.

Care and Maintenance of Vintage Pieces

Iconic silhouettes turn functional lamps into statement decor pieces.

Maintaining the structural and electrical integrity of vintage lamps ensures they remain safe for daily use in a modern home. Always perform a “cord check” upon purchase; if the insulation is brittle or cracking, have a certified electrician perform a rewire using UL-listed components. This typically costs between $50 and $150 and is a small price to pay to preserve an original piece. When cleaning, avoid harsh chemical cleaners on original fiberglass shades, as these can yellow or dissolve the material; instead, use a soft, dry microfiber cloth for dust and very light soap and water only if absolutely necessary. Upgrading to modern LED bulbs is the single most important maintenance step, as the lower heat output prevents damage to sensitive 1950s materials and lowers your energy consumption by up to 80%.

Mixing Styles with Retro Aesthetics

Mixing eras is the hallmark of a sophisticated, modern home, allowing you to blend the eclectic spirit of mid-century design with contemporary functionality. You do not need a “museum-perfect” room; rather, the most successful designs juxtaposition sleek, minimalist sofas with the organic, warm curves of a retro glow lamp. This dialogue between past and present adds character to neutral color palettes and breaks up the monotony of “big box” store furniture. Use the table below to help determine how to mix your lamp style with your current furniture profile.

Furniture Style Best Lamp Pairing Why it Works
Scandinavian Modern Teak Base/Neutral Shade Enhances minimalist textures
Industrial Loft Polished Brass/Metal Softens concrete/harsh edges
Bohemian/Eclectic Colorful Ceramic Base Adds a playful pop of color

Tips for the Eclectic Decorator

Pairing a bold, retro glow lamp with clean, neutral wall colors allows the lamp to serve as a high-contrast statement piece. If your space is already filled with color, choose a lamp with a classic neutral silhouette to provide continuity without creating visual clutter. Always experiment with placement; moving a single lamp just three feet can shift the light-pool from a decorative piece to a functional reading area, completely changing the mood of the room in seconds.

Budget-Friendly Alternatives

Achieving the mid-century aesthetic does not strictly require expensive, original 1950s pieces, as high-quality modern reproductions offer similar visual benefits at lower costs. Contemporary brands have refined the manufacturing of fiberglass-look materials and mid-century modern bases, offering options that include dimmable switches, smart-bulb compatibility, and updated electrical safety certifications. Reproductions are often the smarter choice for high-traffic living areas where safety and consistent brightness are priorities, allowing you to spend your budget on other vintage furnishings like chairs or credenzas.

FAQ

How can I tell if a retro lamp is an authentic vintage piece?

Authentic mid-century lamps often feature maker’s marks on the base or socket, heavy materials like solid brass or authentic teak, and electrical plugs that are non-polarized. Examine the manufacturing techniques, as genuine vintage pieces frequently show hand-crafted details like hand-spun fiberglass or hand-glazed ceramic finishes rather than mass-produced plastics.

Are retro glow lamps safe to use in modern homes?

Vintage lamps are generally safe if they have been rewired by a professional electrician and updated with modern, cool-running LED bulbs. Avoid using old incandescent bulbs, which generate high heat that can damage vintage shades, create fire risks, and cause brittle wiring to degrade further over time.

What is the best way to clean a vintage fiberglass lamp shade?

Clean a vintage fiberglass shade by gently wiping it with a dry, soft-bristled brush or a static-free microfiber cloth to remove dust. If the shade is heavily stained, use a tiny amount of mild dish soap diluted in water, but test a hidden spot first to ensure the color or material texture does not react poorly.

Can I mix mid-century lighting with modern minimalist furniture?

Absolutely, mixing mid-century lighting with modern minimalist furniture creates a sophisticated, eclectic aesthetic that adds warmth to a room. The contrast between sleek, clean modern lines and the organic, soft glow of a 1950s-inspired lamp prevents modern spaces from feeling too clinical or cold.

Why are LED bulbs recommended for vintage lighting?

LED bulbs are recommended because they emit virtually no heat, which preserves the structural integrity of fragile vintage materials like fiberglass or painted metals. Additionally, LED bulbs provide energy efficiency and, when paired with a smart dimmer, allow for precise control over the soft, ambient glow of the lamp.

How to Make a Tiny Bedroom Feel Twice as Big

How to Make a Tiny Bedroom Feel Twice as Big

To make a tiny bedroom feel twice as big, prioritize a monochromatic light color palette, incorporate floor-to-ceiling mirrors, and utilize “leggy” furniture that exposes the floor. These strategic design choices trick the human brain into perceiving greater depth and vertical height, effectively expanding the visual footprint of a cramped space.

The Power of a Strategic Color Palette

Strategic use of mirrors and light creates an expansive feel.

Color serves as the most effective tool for expanding a room visually by blurring boundaries and minimizing harsh transitions that highlight small dimensions. When you select colors for a small bedroom, aim for high-light-reflective values (LRV) above 60 to bounce natural light across the space. Pale blues, cool greys, and crisp off-whites are industry-standard choices because they appear to recede, effectively pushing walls outward.

Paint Technique Effect on Space Best For
Monochromatic Creates seamless flow Narrow rooms
Same-color Trim Hides wall boundaries Low-ceiling rooms
Dark Accent Ceiling Adds visual “height” Boxy spaces

Painting baseboards, door frames, and even ceilings the exact same shade as the walls creates a continuous “envelope” effect. This eliminates the sharp visual breaks usually caused by contrasting trim. Without these defining lines, the brain struggles to accurately measure the room’s limits, perceiving the area as significantly larger. If you prefer depth, restrict darker hues to the ceiling or a single accent wall, as painting all four walls in a dark color will contract the room by absorbing light rather than reflecting it. For optimal results, use a matte finish on walls to hide surface imperfections and a satin finish on trim for a subtle light-catching contrast.

Using Mirrors to Create Depth

Choosing furniture with legs makes the floor space look bigger.

Mirrors are the single most powerful tool for doubling the perceived size of a room because they reflect both light and space, creating a “window” effect where none exists. A well-placed mirror does more than just decorate; it creates an optical illusion that tricks the depth perception of anyone entering the room. For maximum impact, install a floor-to-ceiling mirror opposite a window. This captures outdoor light and green space, effectively importing the outdoors inside and removing the feeling of a “boxed-in” wall.

Beyond traditional wall-mounted mirrors, integrate reflection into your functional furniture. Mirrored closet doors are a classic design hack that turns a heavy, obstructive storage unit into a light-reflecting plane. By camouflaging the closet, you remove its visual weight from the room. Consider the following comparison to maximize mirror placement:

Mirror Placement Impact on Perception Installation Tip
Opposite Window Maximizes light & nature Align at eye level
Closet Doors Removes “bulky” furniture Use custom panels
Behind Lamps Doubles light output Angle toward center

When choosing mirrored pieces, avoid placing them directly across from your bed if you prefer a calming sleep environment, as excessive reflection can feel overstimulating. Instead, focus on reflective surfaces on nightstands or dresser fronts to maintain a cohesive, airy, and sophisticated aesthetic that keeps the eye moving throughout the space.

Mastering Light for Spatial Illusion

Layered lighting via wall sconces saves space and adds depth.

A layered lighting strategy is essential because a single overhead fixture casts harsh shadows in the corners of a room, which makes it feel smaller and more enclosed. To expand the space, you must eliminate these dark pockets by distributing light at multiple heights—ambient, task, and accent. Installing wall-mounted sconces on either side of the bed is a pro move that frees up surface area on nightstands while creating a balanced, high-end look.

Incorporate hidden LED strips behind your headboard or underneath floating shelves to cast a “halo” glow on the walls. This creates a floating effect for furniture, which makes the floor area appear larger by suggesting more negative space. Furthermore, always prioritize natural light by using sheer fabrics like linen or light-filtering cotton instead of heavy, room-darkening velvet. If you require privacy, install roller shades that roll completely into the header to expose the entire window frame. Drawing the eye to the window, rather than the wall, significantly increases the perceived size of the room.

Furniture Choices That Save Space

Vertical decor tricks draw the eye up to increase height perception.

Furniture selection for a small bedroom must prioritize visual “lift” and multi-functionality to avoid overwhelming the limited floor area. Choose pieces with slender, tapered legs—often called “leggy” furniture—to expose more of the floor. When the eye can track the floor continuously beneath a dresser or bed frame, the brain registers the room as having a larger footprint. Solid, floor-sitting furniture blocks the view of the floor, creating a visual “stop” that makes a room feel compressed.

Invest in multi-purpose items that hide your clutter, as a messy room will always feel smaller than it actually is. Look for beds with integrated hydraulic lift storage or ottomans that provide deep compartments for linens and out-of-season clothing. By concealing your belongings inside the furniture, you maintain a minimalist aesthetic that keeps the room open and breathable. A clutter-free space is not just organized; it is a design feature that allows the architecture of the room to shine through.

Maximizing Vertical Real Estate

Look up to maximize your square footage, as walls offer the most underutilized storage and aesthetic potential in any compact bedroom. By mounting items high on the wall, you force the eye to travel upward, creating an artificial sense of height. Install floating shelves near the ceiling to display decor, or use floor-to-ceiling curtains that skim the floor to elongate the windows.

Mounting curtain rods flush with the ceiling is a high-impact, low-cost trick. By hiding the wall space above the window, you create a seamless vertical line that makes windows look significantly larger. Ensure your shelves are not overloaded; a light, curated display of books or small art pieces is much better than a wall crammed with items. This strategy balances out a narrow floor plan by adding a third dimension of space.

Maintaining Minimalism to Prevent Clutter

Minimalism is the maintenance strategy required to keep a small bedroom from feeling claustrophobic. It is not about living with nothing; it is about keeping surfaces clear of the visual noise that makes a room feel cramped. The “one in, one out” rule is an effective system: for every new item you bring into your bedroom, you must donate or discard an old one.

Daily habits are crucial for success in small spaces. Make your bed every morning to immediately set an organized tone. Utilize under-bed storage containers to manage seasonal items so they do not take up closet or floor space. Keep bedside tables restricted to three items maximum (e.g., a lamp, one book, and a small plant). By keeping the horizontal surfaces clear, you prevent the feeling of “stuff” creeping into your personal sanctuary and overwhelming your space.

FAQ

What are the best colors to make a small room feel bigger?

Light, cool-toned colors like soft whites, pale blues, and light greys are the best for expanding a space. These colors reflect light effectively and make walls appear to recede. Using a monochromatic palette with matching trim further eliminates visual breaks that shrink a room.

Do mirrors actually make a room look bigger?

Yes, mirrors make a room feel larger by reflecting light and creating the illusion of a “window” or extra space. For the best result, place a large mirror directly across from a light source or a doorway to maximize the sense of depth in the room.

How high should I hang my curtain rods?

Always hang your curtain rods as close to the ceiling as possible, rather than right above the window frame. This vertical extension draws the eye upward, creates a sense of taller ceilings, and makes the windows appear significantly more dramatic and larger than they are.

What is “leggy” furniture and why does it help?

“Leggy” furniture refers to pieces with slim, elevated legs that reveal the floor underneath. Being able to see the floor continuously beneath a bed or dresser prevents the room from feeling crowded or heavy, which is essential for maintaining an airy and open atmosphere.

How can I declutter a very small bedroom?

Implement the “one in, one out” rule and prioritize multi-functional storage like under-bed drawers or wall-mounted floating shelves. Keeping horizontal surfaces clear of personal items and knick-knacks will instantly make your bedroom feel more spacious and serene.

6 Smart Ways to Use Tension Rods in a Rental Apartment

6 Smart Ways to Use Tension Rods in a Rental Apartment

Tension rods are the ultimate renter-friendly storage solution, allowing you to maximize space, organize cluttered areas, and create custom dividers without drilling holes or using permanent hardware. These spring-loaded tools provide structural support by utilizing friction, ensuring you can customize your apartment layout while protecting your security deposit.

Rethink Your Closet Storage

Maximize closet space by adding a secondary tension rod.

Closets in rental apartments are notoriously small and poorly configured, often wasting precious vertical space that can be reclaimed by adding a secondary tier of storage. By installing a heavy-duty tension rod beneath an existing clothing rail, you can increase your hanging capacity by approximately 40% for shorter items like shirts, skirts, or children’s clothing. This modification is ideal for optimizing your capsule wardrobe while keeping frequently worn items easily accessible at eye level.

To ensure your setup is secure, select rods with high-friction rubber end caps, which typically cost between $8 and $15. These pads prevent slippage under the weight of heavier garments. You can organize your closet by garment type—designating one rod for formal wear and the other for daily essentials—or by season. This non-permanent strategy creates a bespoke boutique feel without requiring any landlord approval or professional installation tools. By utilizing this vertical gap, you effectively double the square footage of your closet floor space, making the area feel significantly more spacious and orderly.

Maximize Vertical Space

Beyond hanging clothes, you can leverage the vertical depth of deep shelves by installing tension rods as dividers for handbags, clutches, or boot organizers. Placing a rod vertically between two shelves creates individual partitions that prevent items from tipping over or creating a cluttered, chaotic pile. This method is particularly effective for storing tall winter boots, which often lose their shape when left on a flat surface. By maintaining these items in a vertical orientation, you improve accessibility and extend the lifespan of your accessories by reducing wear and tear.

Create Temporary Privacy Screens

Keep kitchen cabinets tidy by hanging spray bottles on a rod.

Rental apartments often feature open-concept layouts where private areas like beds or kitchen clutter are visible from the entrance, but tension rods offer a sophisticated, flexible way to install privacy screens. Simply install a tension rod inside the frame of a doorway or between two parallel walls and drape a light-filtering fabric to create a functional room partition. This method avoids the need for permanent curtain tracks or ceiling mounts, which are often prohibited by strict lease agreements.

Screen Type Best Fabric Purpose
Bedroom Privacy Heavy Velvet Light Blocking & Sound Dampening
Laundry Niche Cotton Canvas Hiding Clutter
Home Office Linen Blend Soft Aesthetic & Airflow

For a professional look, choose fabrics that complement your existing furniture. A heavy velvet curtain can dampen sound, making it a perfect addition for a home office nook you want to “close off” after 5:00 PM. Alternatively, a breezy linen curtain can conceal an unsightly laundry area or open shelving unit while maintaining a clean, airy aesthetic. By adjusting the placement of your rods, you can reconfigure your floor plan as your needs change, proving that temporary solutions can be both stylish and highly effective at defining zones in smaller rental units.

Organize Your Cleaning Supplies

Use tension rods to create elegant, temporary privacy screens.

Under-sink cabinets are frequent targets for clutter, but installing a horizontal tension rod at the top of the cabinet allows you to hang spray bottles by their triggers to reclaim valuable floor space. This simple shift prevents bottles from crowding sponges and scrub brushes, making your cleaning supplies instantly visible and accessible. By utilizing the vertical headroom typically wasted at the top of a cabinet, you turn a chaotic dark corner into a highly organized, modular system.

Because the rod is held in place by friction, you can easily adjust the height to accommodate different bottle sizes, from small glass cleaner containers to taller specialty spray bottles. This hack also keeps liquids off the floor of the cabinet, which protects your cupboards from potential leaks or condensation damage. When choosing a rod for this space, look for moisture-resistant materials like tension-mounted steel or powder-coated aluminum to prevent rust in high-humidity bathroom or kitchen environments. Keeping the cabinet floor clear also makes it easier to clean the interior, helping you maintain a more sanitary living environment without spending more than $10 on organization supplies.

Level Up Your Kitchen Functionality

Organize baking sheets vertically with tension rod dividers.

Kitchen storage limitations often necessitate creative vertical thinking, and tension rods serve as excellent, adjustable dividers to keep heavy items like cutting boards, baking sheets, and muffin pans organized. By placing multiple tension rods vertically within a deep cabinet or drawer, you create customized slots that hold flat items upright. This prevents the frustrating “stacking” effect where you have to remove five items to reach the one at the bottom, thereby reducing noise and preventing surface scratches on your cookware.

DIY Under-Cabinet Storage

If your kitchen features open gaps between lower cabinets and the floor, you can use a tension rod to hang a fabric skirt, effectively concealing clutter like pet food bins or bulky appliances. This classic interior design trick creates a “modern farmhouse” or “shabby chic” look while hiding unappealing kitchen storage. The fabric curtain can be easily removed and machine-washed, making it a low-maintenance way to keep your kitchen looking tidy and cohesive. Choose a heavy-weight fabric, such as heavy-duty cotton or linen, to ensure the skirt holds its shape while masking the items behind it.

Upgrade Your Window Treatments

Standard rental blinds are often drab and prone to breakage, but you can upgrade your window treatments using tension rods to hang elegant curtains directly inside the window frame. This method provides superior light control compared to horizontal plastic slats and allows you to experiment with colors and textures that match your decor. Precision is critical; ensure you measure the width of your window frame to within 1/8th of an inch before purchasing your rod to ensure a stable, snug fit that won’t fall under the weight of thicker fabric.

Using a tension rod inside the frame also protects your walls from damage, as no mounting brackets or screws are required. You can choose sheer curtains for a bright, airy feel during the summer or swap them for heavy blackout curtains during the winter to improve your sleep quality and energy efficiency. For a layered look, use a double-rod setup or a single, extra-wide tension rod to host both a privacy sheer and a decorative drape. This cost-effective swap can elevate the entire aesthetic of your room for under $40, providing a significant visual impact for a minimal investment.
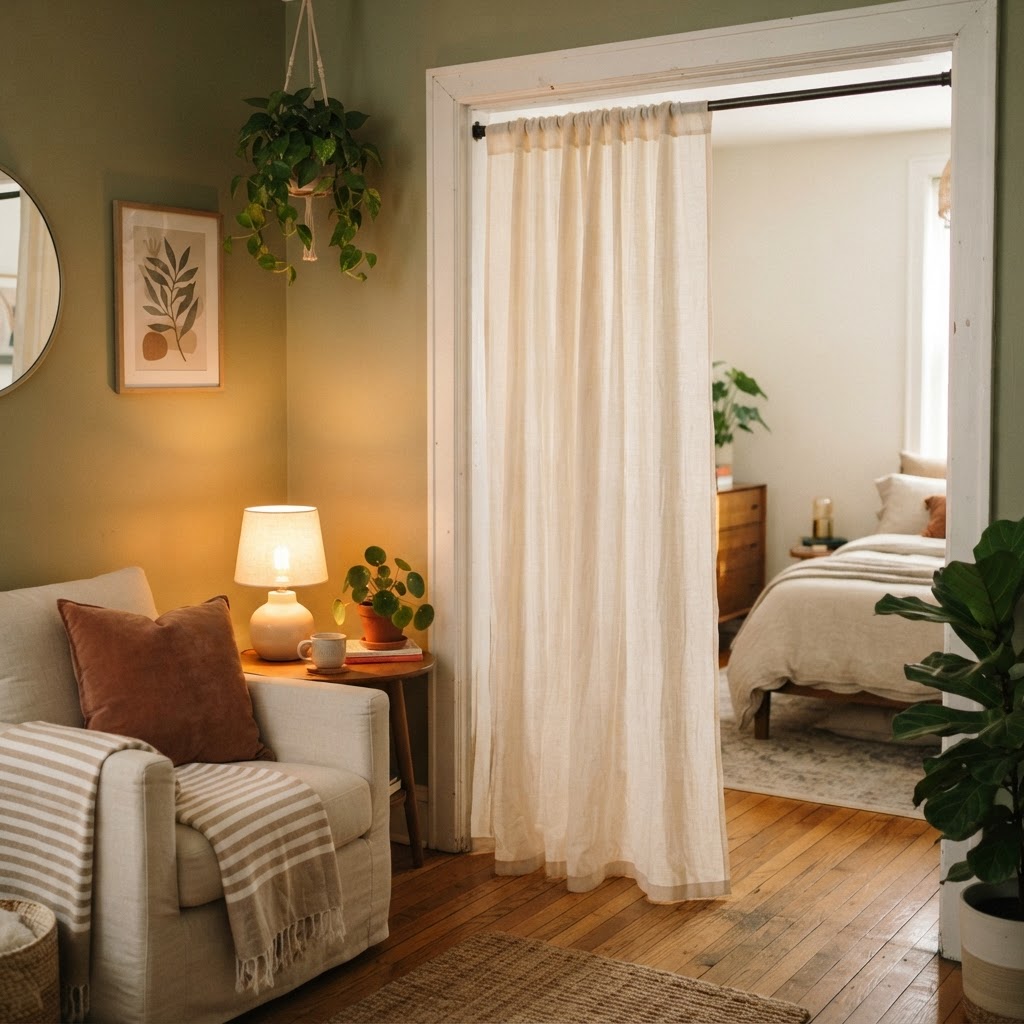
The Ultimate Bathroom Organization Hack

Bathroom storage in older rentals is frequently insufficient, but a tension rod placed strategically inside the shower can resolve your lack of ledge space. By mounting a rod above the shower curtain or along the back wall, you create a secondary rail for hanging essential items like bath toys, sponges, or even additional towels. This keeps wet items off the floor and away from the tub ledge, which reduces the buildup of soap scum and mineral deposits on your fixtures.

Drying Rack Utility

For residents in apartments without laundry access, a tension rod mounted inside the shower stall acts as an excellent, discrete drying rack for delicate sweaters or hand-washed items. Because the rod is placed directly over the tub, any dripping water is contained, preventing damage to flooring and eliminating the need for a bulky, space-consuming floor drying rack. This is a particularly effective solution for urban dwellers living in studios or one-bedroom units where every square inch of floor space is vital. By utilizing the vertical height of your shower, you maintain a clutter-free home while properly caring for your garments.

FAQ

Q: Can tension rods support heavy items like winter coats or wet towels?

Yes, tension rods can support heavy items if you choose a model specifically rated for high-tension weight, often labeled as “heavy-duty” or “extra-tension.” Always ensure the rod is installed on a solid surface, such as wood or metal door frames, rather than flimsy drywall, to maximize grip and load capacity.

Q: Do tension rods damage the paint or walls in a rental apartment?

Most high-quality tension rods feature protective rubber or foam end caps that are designed to prevent damage to paint and wall surfaces. If you are concerned about marks, place a small piece of felt or a silicone pad between the rod cap and the wall to provide extra cushioning and protection.

Q: How do I measure for a tension rod to ensure it won’t fall?

Measure the exact distance between the two walls where you plan to install the rod using a metal tape measure for maximum accuracy. Buy a rod that features a total length range where your measurement sits in the middle, providing enough internal spring travel to apply firm, secure pressure.

Q: Are there specific types of tension rods for different rooms?

Yes, select rods with specialized finishes like rust-resistant stainless steel for bathrooms or kitchens to prevent oxidation. For decorative purposes, such as curtains or privacy screens, you can find tension rods with decorative finials that blend seamlessly into your interior design style while maintaining their functional hold.

How to Organize a Micro Entryway: Keys, Bags, Mail & Shoes

Walking into a home should be a calming experience, yet for many living in apartments or tiny homes, the front door opens directly into a chaotic pile of footwear and forgotten mail. You can organize a micro entryway by installing vertical wall-mounted hooks, utilizing slim-profile tilt-out shoe cabinets, and establishing a dedicated landing strip for daily essentials like keys and mail within three feet of the entrance. This approach clears floor space, reduces visual noise, and creates a functional buffer zone between your home and the outside world.

The Psychology of the Micro Entryway

Vertical hooks and slim furniture maximize space in this micro entryway.

Your entryway acts as a psychological buffer zone between the chaos of the outside world and the sanctuary of your home. When this area is clogged with clutter, it creates a subconscious feeling of stress before you have even taken off your coat, as visual clutter is proven to elevate cortisol levels. The goal is to create a ‘drop zone’ that is intentional rather than accidental. In a micro entryway, there is zero margin for error; if you put one bag on the floor, it blocks the path, and if you leave a stack of mail on a chair, it becomes a permanent pile. The lack of surface area means that every single item needs a dedicated home. If an object does not have a designated spot, it will inevitably end up on the floor, contributing to the cycle of mess. Research suggests that keeping entryways clear improves mood, as individuals associate a tidy transition space with a successful shift from professional or social demands back into their private life. By viewing the entryway as a high-value zone rather than a storage closet, you can maintain a cleaner home with minimal daily effort.

Maximizing Vertical Wall Space

A dedicated drop zone for keys and mail prevents entryway clutter.

When floor space is non-existent, your walls become your most valuable real estate for storage and organizational efficiency. Many people make the mistake of focusing only on what can sit on the floor, but looking up is the secret to successful small-space living. By utilizing the vertical height of your wall, you can lift items off the ground and create a sense of openness. Consider installing a series of hooks at different heights; low hooks (approx. 36 inches from the ground) are perfect for bags and children’s items, while higher hooks (60 inches+) hold seasonal coats or umbrellas. Wall-mounted mail organizers, preferably placed 48 inches high, are game-changers for keeping surfaces clear. By shifting focus vertically, you reclaim 4-6 square feet of floor space in a typical micro-entryway layout.

Solution Best For Typical Depth
Wall-Mounted Hooks Coats & Bags 2–4 inches
Floating Mail Shelf Keys & Letters 5–7 inches
Vertical Rail System Multiple Accessories 1–3 inches

Mastering the Art of Shoe Storage

Dual-purpose furniture like storage benches are essential for tiny homes.

Shoes are usually the primary culprits in entryway mess, and in a micro entryway, you cannot simply toss them into a basket, as this quickly leads to a tangled, unhygienic mess. Instead, look for slim, closed storage units that prioritize efficiency over capacity. Tilt-out shoe cabinets are the industry standard for narrow hallways, as they are often less than 10 inches deep. These units typically hold 6–12 pairs of shoes while hiding them completely behind a sleek facade, preventing the visual clutter that open racks create. Another superior option is a floating shelf positioned just 4 inches off the ground, which allows you to slide shoes underneath without them crowding the floor surface. If your hallway is less than 36 inches wide, always prioritize wall-mounted solutions to ensure the walking path remains unobstructed and complies with basic safety egress standards.

Creating a Functional Key and Mail Drop Zone

Keep floor space clear to make a micro entryway feel larger.

Keys, wallets, and mail are small items that cause the most frustration when lost, and the secret is to establish a ‘landing strip’ the moment you walk through the door. If you have to walk ten feet into your home to put your keys down, they will likely end up on a kitchen counter or, worse, inside a random pocket. Ideally, your landing strip should be located within 3 feet of your front door. If you don’t have room for a full console table, use a small, wall-mounted floating shelf (12–15 inches wide). Pair this with a decorative bowl for your keys and a vertical file sorter for your mail. By keeping these items vertically aligned, you save precious square inches of surface space while ensuring every item has a specific home.

Drop Zone Feature Placement Strategy Benefit
Key Bowl Near Door (3ft) Instant Retrieval
Vertical Sorter Wall-Mounted Surface Clearance
Charging Hub Near Outlet Power Management

Managing Bags and Accessories

Bags often sit on the floor because they are heavy, but they are also magnets for clutter; therefore, choose hooks that are sturdy enough to support the weight of a laptop bag or a heavy tote. Most standard adhesive hooks fail under loads exceeding 3 pounds; instead, invest in heavy-duty metal wall hooks that are screwed directly into the studs, which can hold up to 25 pounds each. If you have a small closet near your entrance, install a door-back organizer to store purses and seasonal accessories like scarves or hats, which effectively doubles your storage capacity without taking up any footprint. For a cleaner, more modular look, use a long, continuous rail hook system that spans the width of your wall. This allows you to space items out, preventing the ‘crammed’ look while ensuring every bag has its own designated hanging point rather than being piled on a bench.

Establishing Daily Maintenance Habits

Organization is not a one-time event; it is a lifestyle, and even the most perfectly designed micro entryway will fail if you don’t practice daily maintenance. The ‘one-in, one-out’ rule is essential here: if you buy a new pair of shoes, consider which older pair can be moved to a closet or donated. Make it a habit to perform a five-minute reset every evening. Sort the mail into ‘action,’ ‘shred,’ and ‘recycle’ piles immediately, and hang up your keys as soon as you enter the house. Research indicates that habits are formed in 66 days on average; by dedicating just five minutes each day to tidying this space, you prevent the accumulation of items that eventually lead to a full-blown entryway disaster. Focus on resetting the ‘landing strip’ so that every morning starts with a clear, functional space rather than a chaotic pile of last night’s debris.
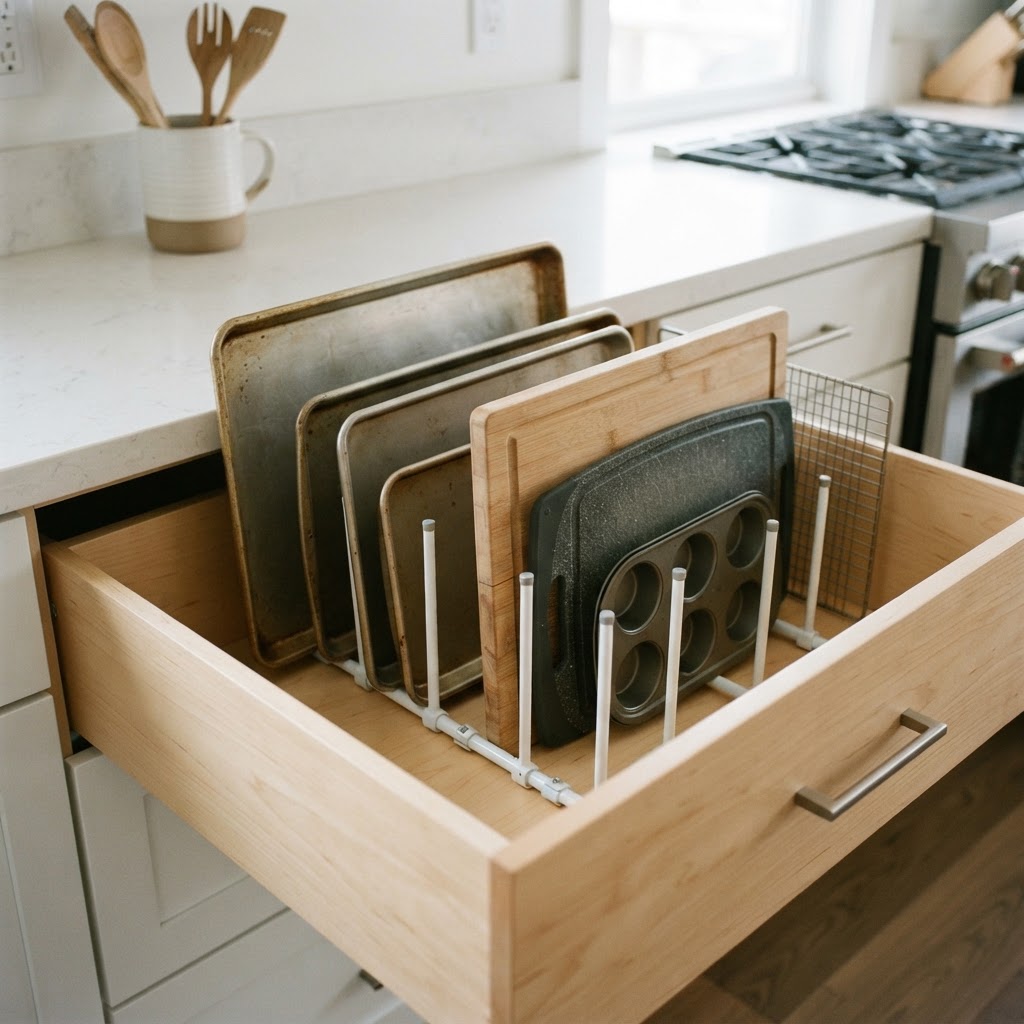
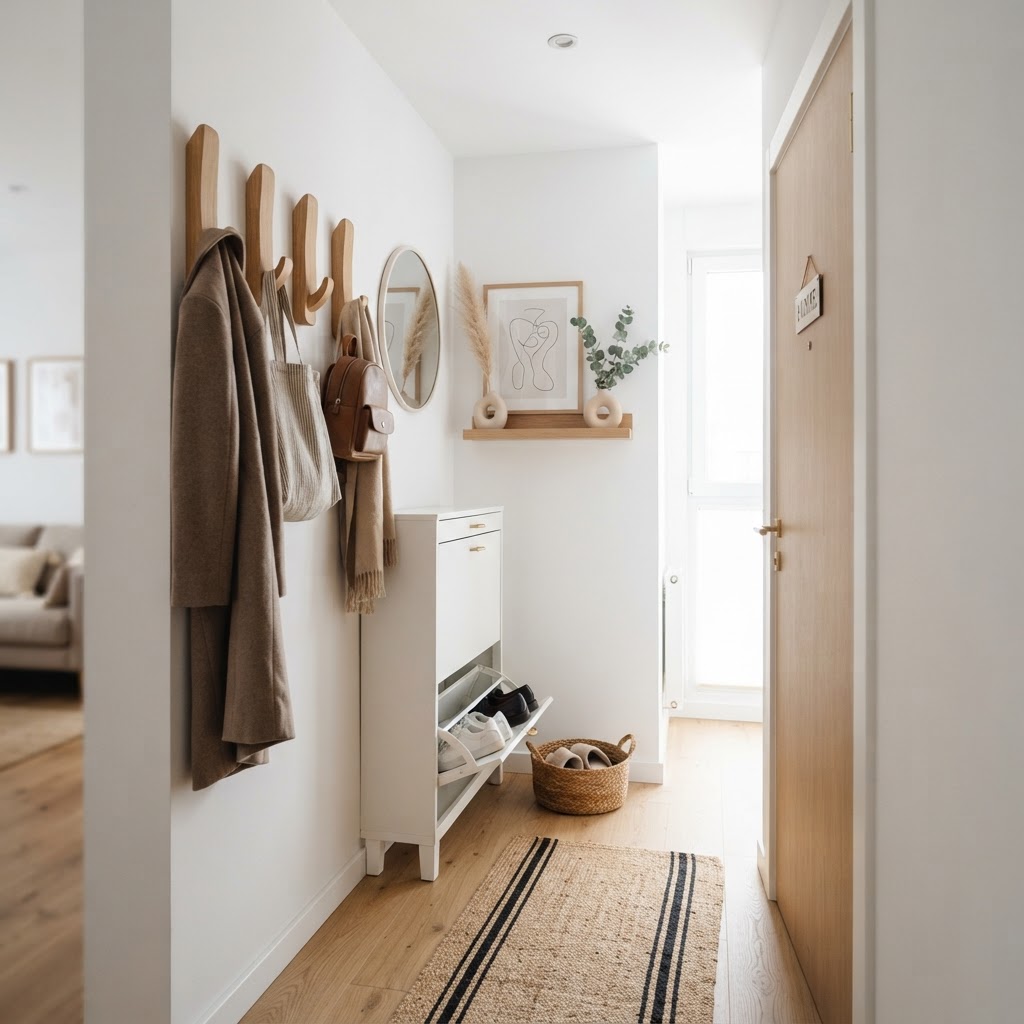
Selecting Furniture for Small Entryways

When buying furniture for a tiny foyer, look for pieces with dual purposes to maximize utility. A storage ottoman can serve as a place to sit while putting on shoes while also providing a bin for umbrellas or shopping bags. Furniture with legs often feels lighter than furniture that sits flat on the floor, as it allows your eyes to see more floor space, making the area feel larger. Additionally, adding a mirror to your entryway is a classic interior design trick. It not only allows you to do a final outfit check, but it also reflects light, making a small, dark entryway feel significantly brighter and more spacious. Combine this with warm, focused lighting (3000K color temperature is ideal for a welcoming glow) to create a defined atmosphere, even if it is just a small corner of a living room.

The Importance of Decluttering

Before you start organizing, you must declutter, as it is impossible to organize a micro space that is filled with items you don’t actually use. Take a moment to evaluate your current inventory: do you have shoes that hurt your feet, or mail that has been sitting there for three months? Create three categories: Keep, Donate, and Trash. If an item doesn’t serve a purpose or bring you joy, it has no business living in your high-traffic entry zone. By aggressively purging, you free up the space needed for items you actually use on a daily basis. Aim to remove at least 20% of your current entryway items to see an immediate change in traffic flow and accessibility.

FAQ

Q: What is the best way to store shoes in a very narrow entryway?

A: The best way to store shoes in a narrow entryway is by using tilt-out shoe cabinets, which are typically less than 10 inches deep. These units store shoes vertically, hiding them from view and keeping your walking path clear of hazards.

Q: How can I make my micro entryway look bigger?

A: You can make a micro entryway look bigger by adding a large mirror to reflect light and choosing furniture with exposed legs to show more floor space. Using light, neutral paint colors also creates a visual sense of expansion in cramped areas.

Q: Should I use adhesive hooks or screw-in hooks for my bags?

A: You should use screw-in, heavy-duty metal hooks for bags, as they are anchored into the wall studs and can hold significant weight. Adhesive hooks often fail under the weight of laptop bags, which can cause damage to the wall or the bag itself.

Q: What is the ‘landing strip’ concept?

A: The landing strip is a designated, clutter-free zone within 3 feet of your door where you immediately place your essentials like keys, mail, and wallet. Establishing this habit prevents these items from migrating to other surfaces in your home.

Q: How often should I declutter my entryway?

A: You should perform a light five-minute reset daily to clear out mail and trash, and a deep decluttering session once every three months. This quarterly purge helps remove items that have accumulated seasonally, such as old winter boots or outdated mail.