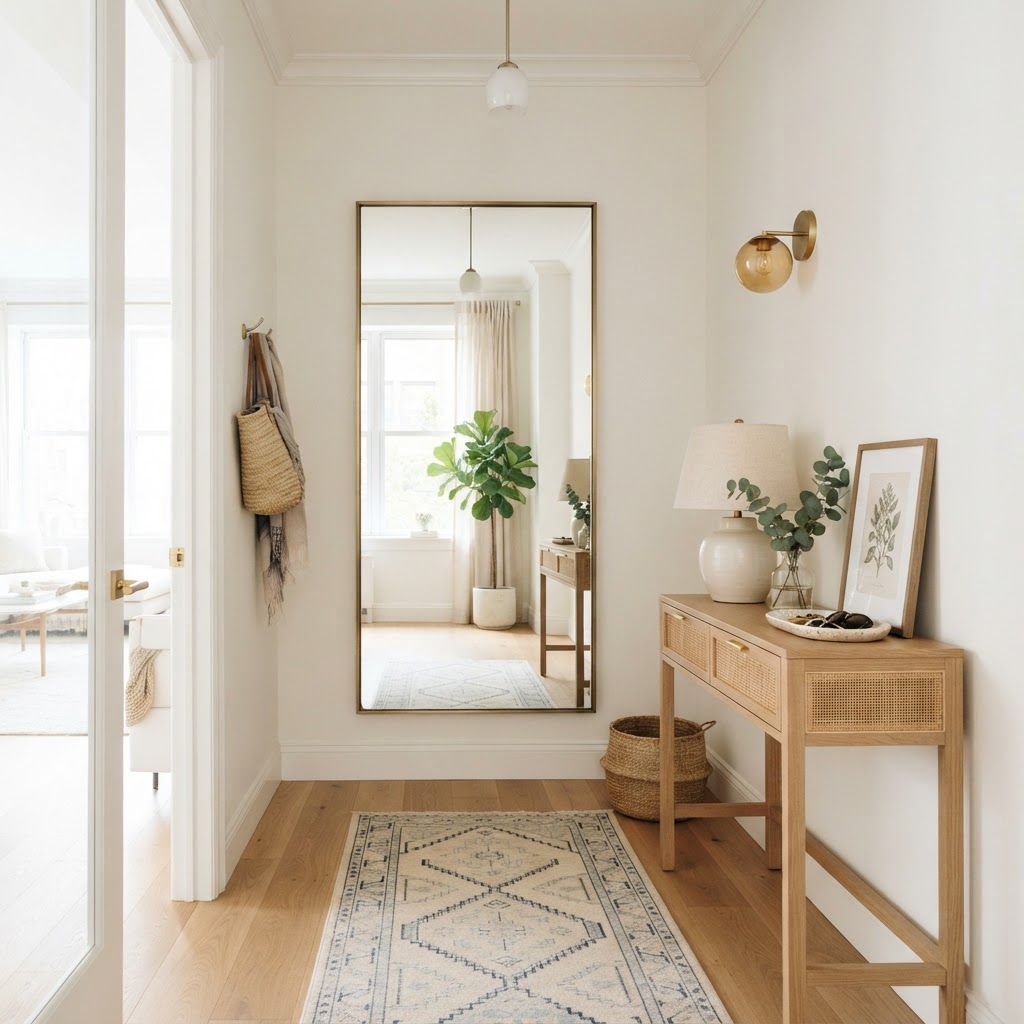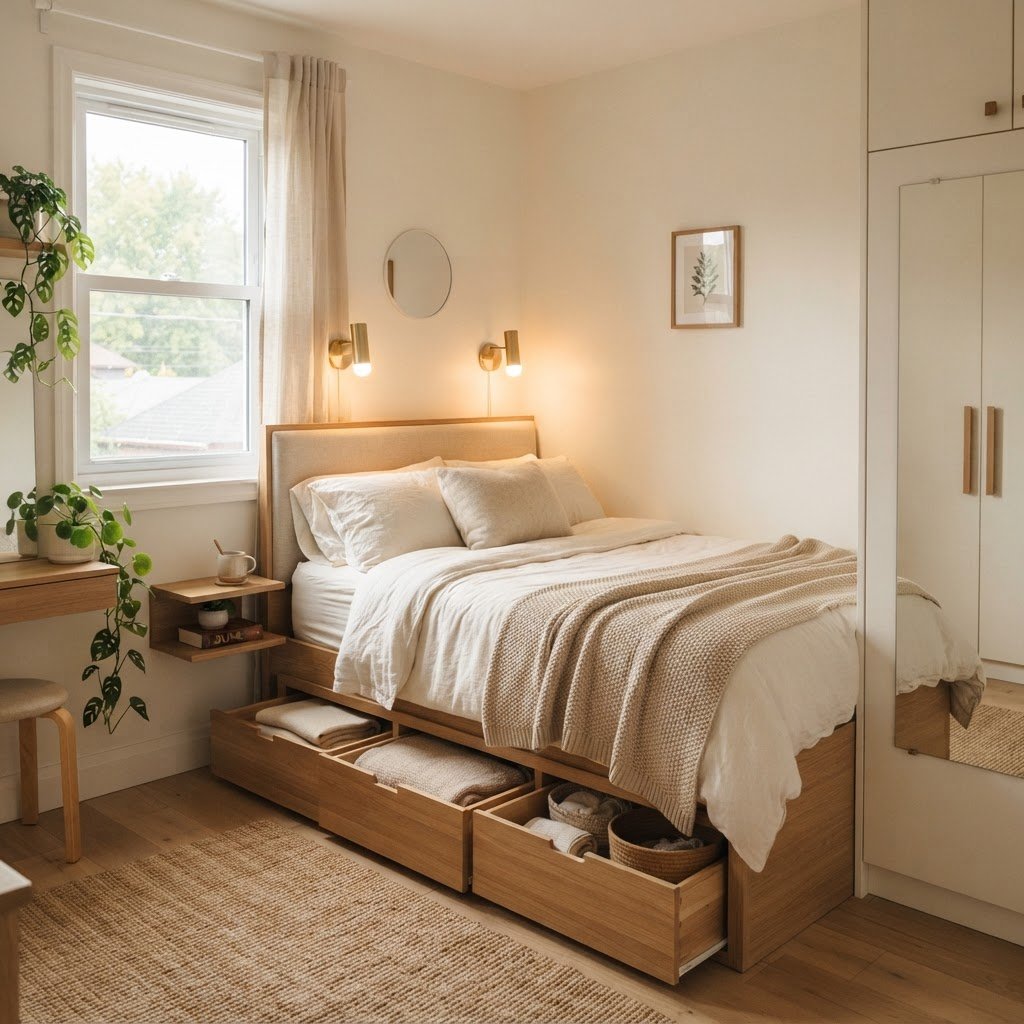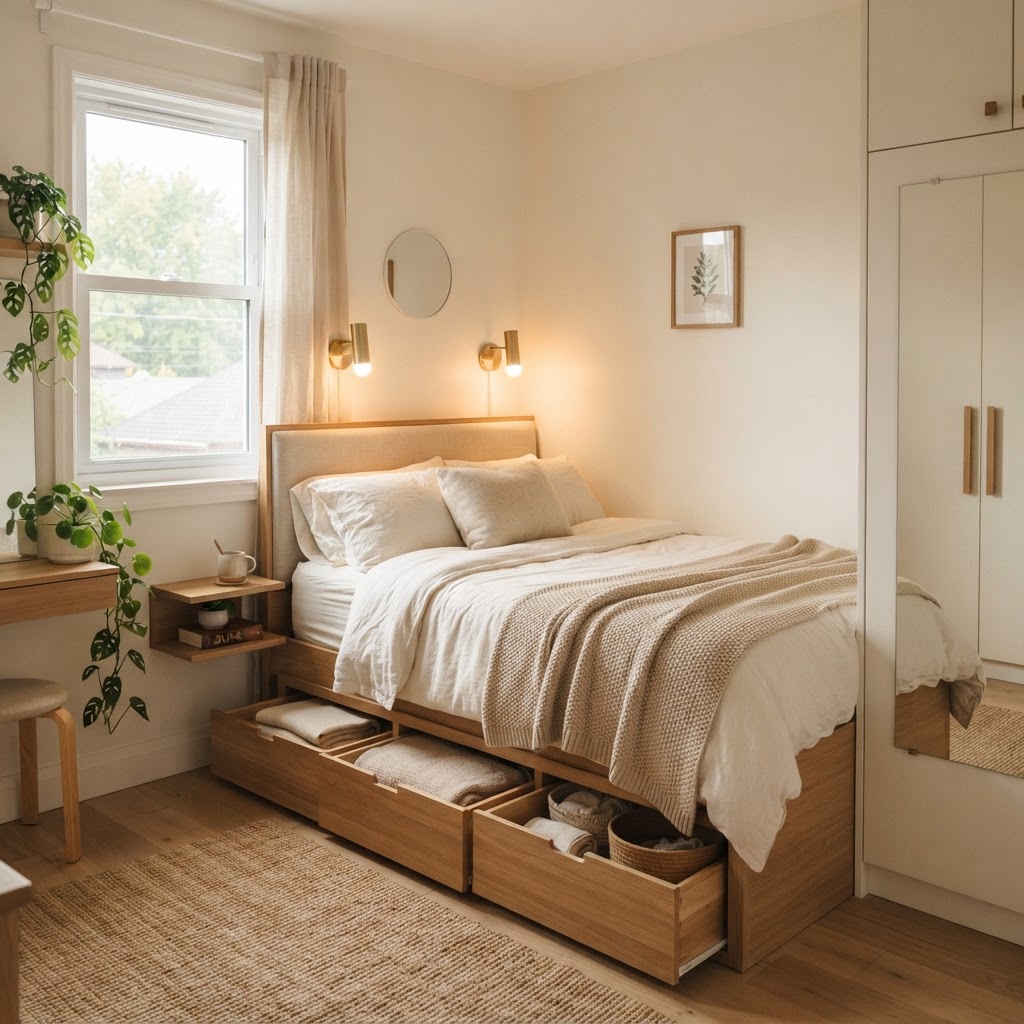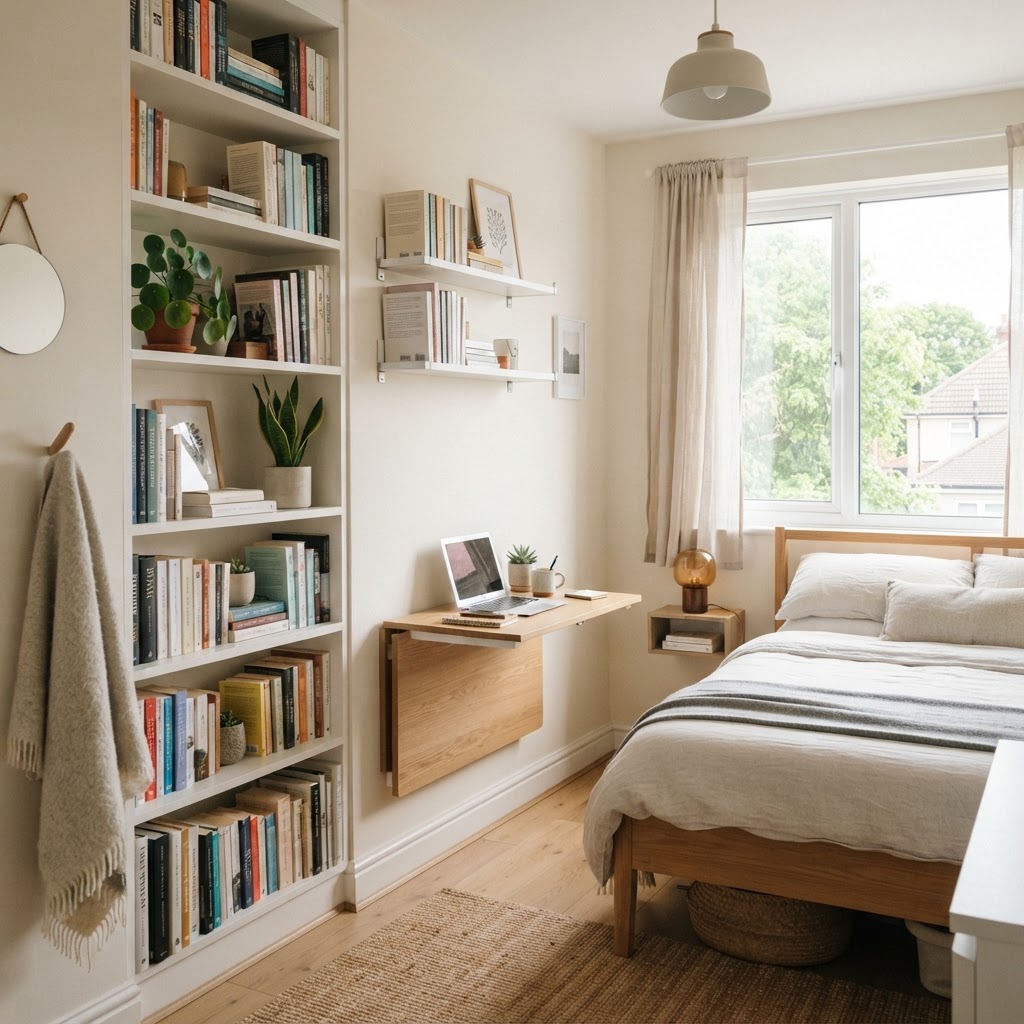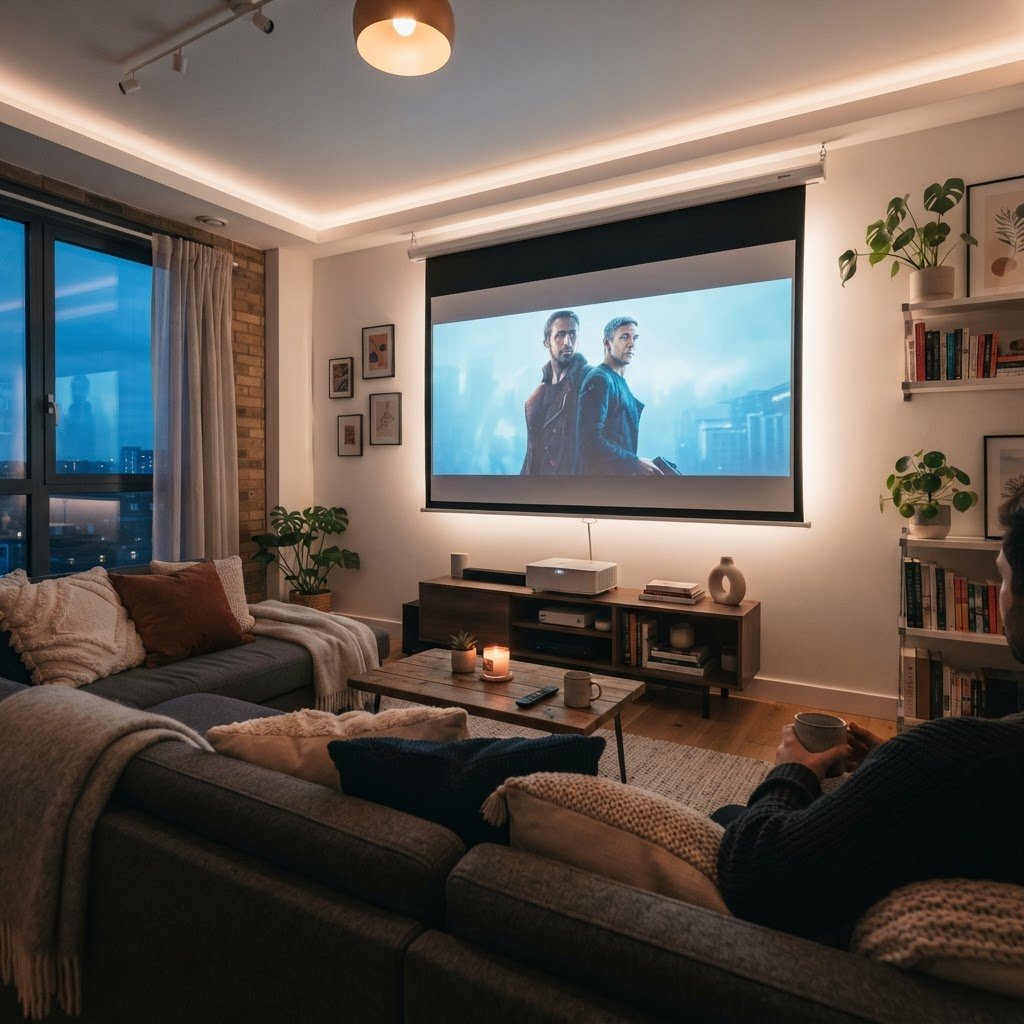
Cozy Small Apartment Living Room With Projector Setup
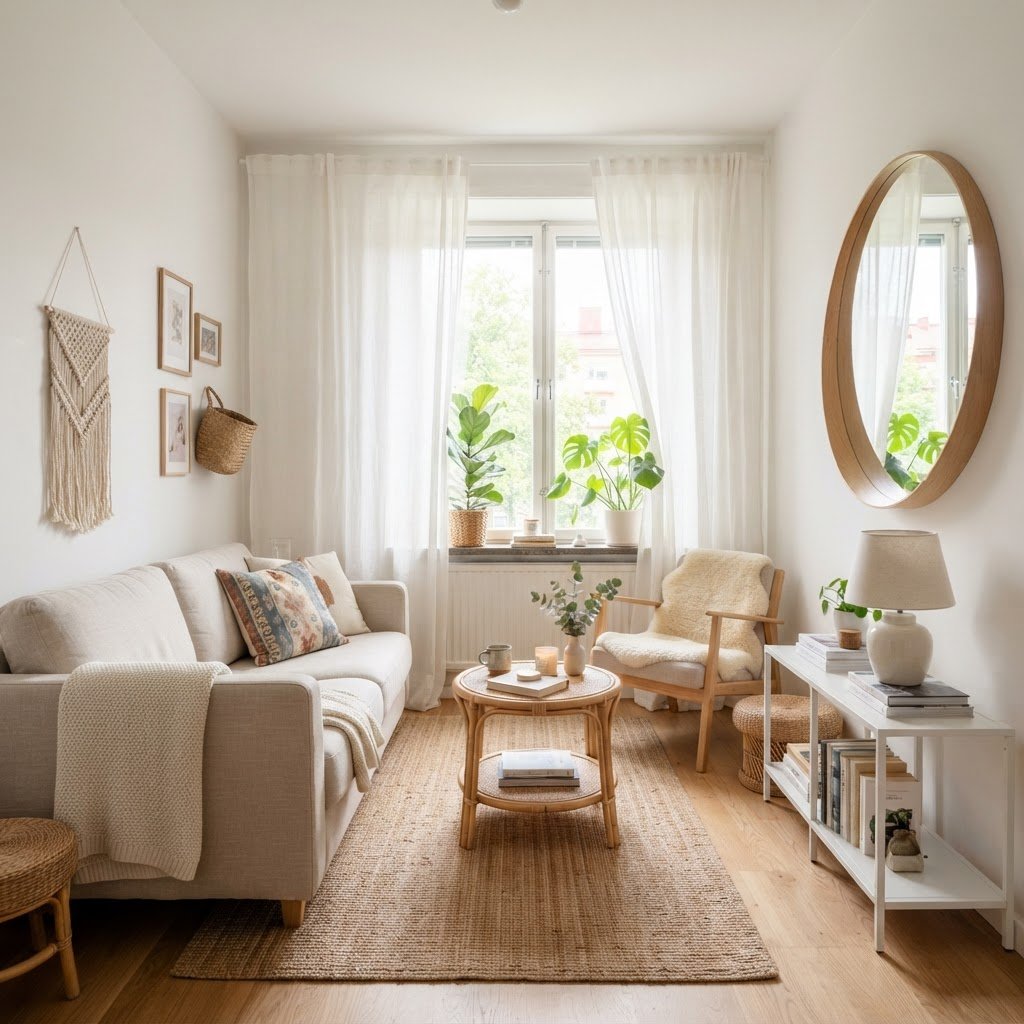
To create a cozy small apartment living room with a projector, prioritize an ultra-short-throw projector paired with a high-gain retractable screen to maximize floor space. By replacing a bulky television with a projection system, you eliminate visual clutter while creating a flexible, cinematic environment that functions as a theater or a minimalist lounge.
Rethinking Your Layout Without a TV
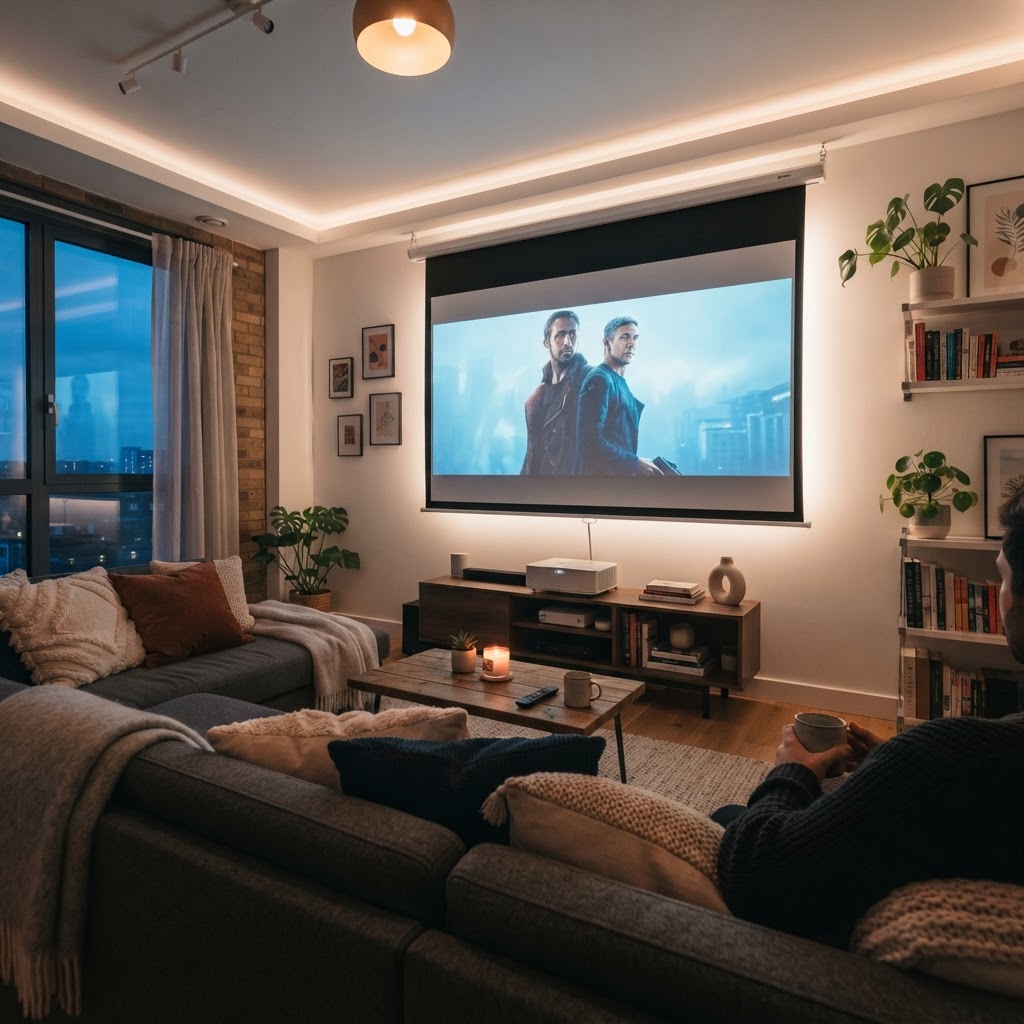
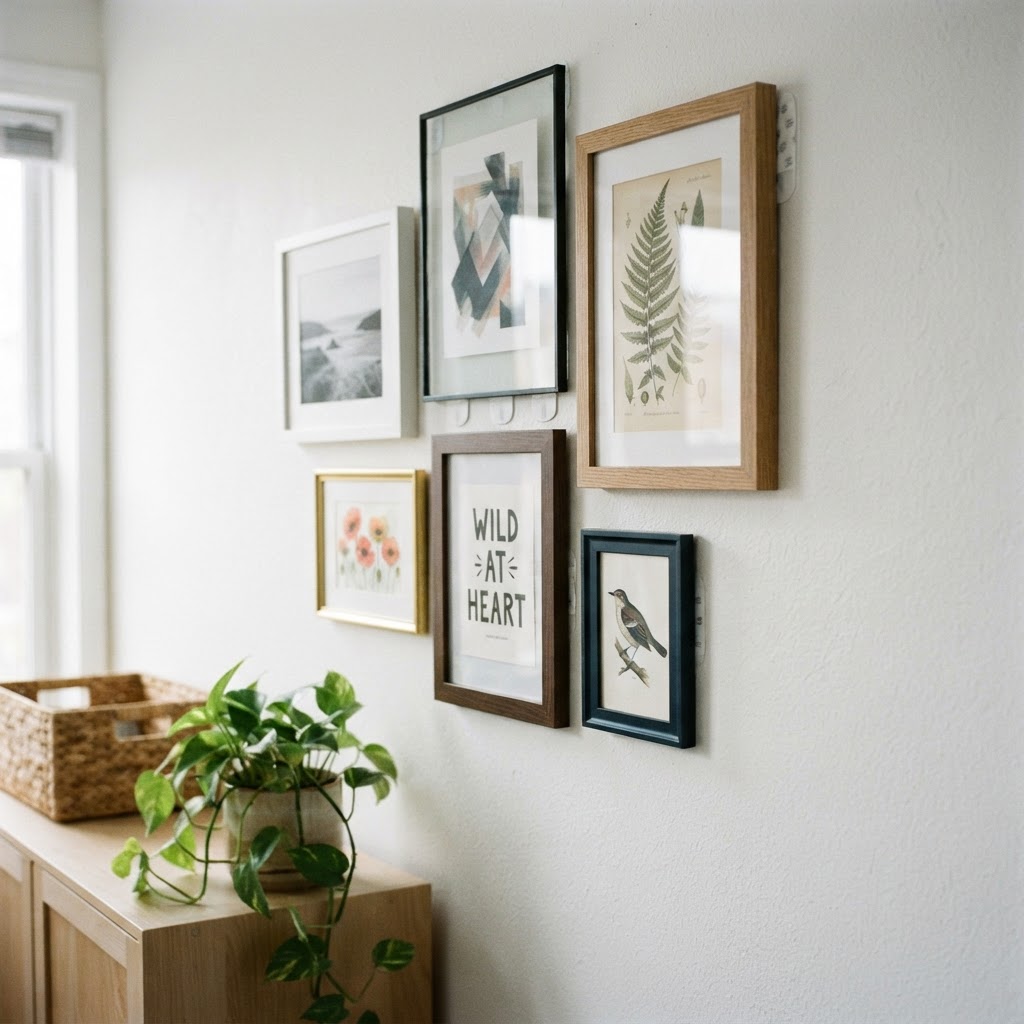
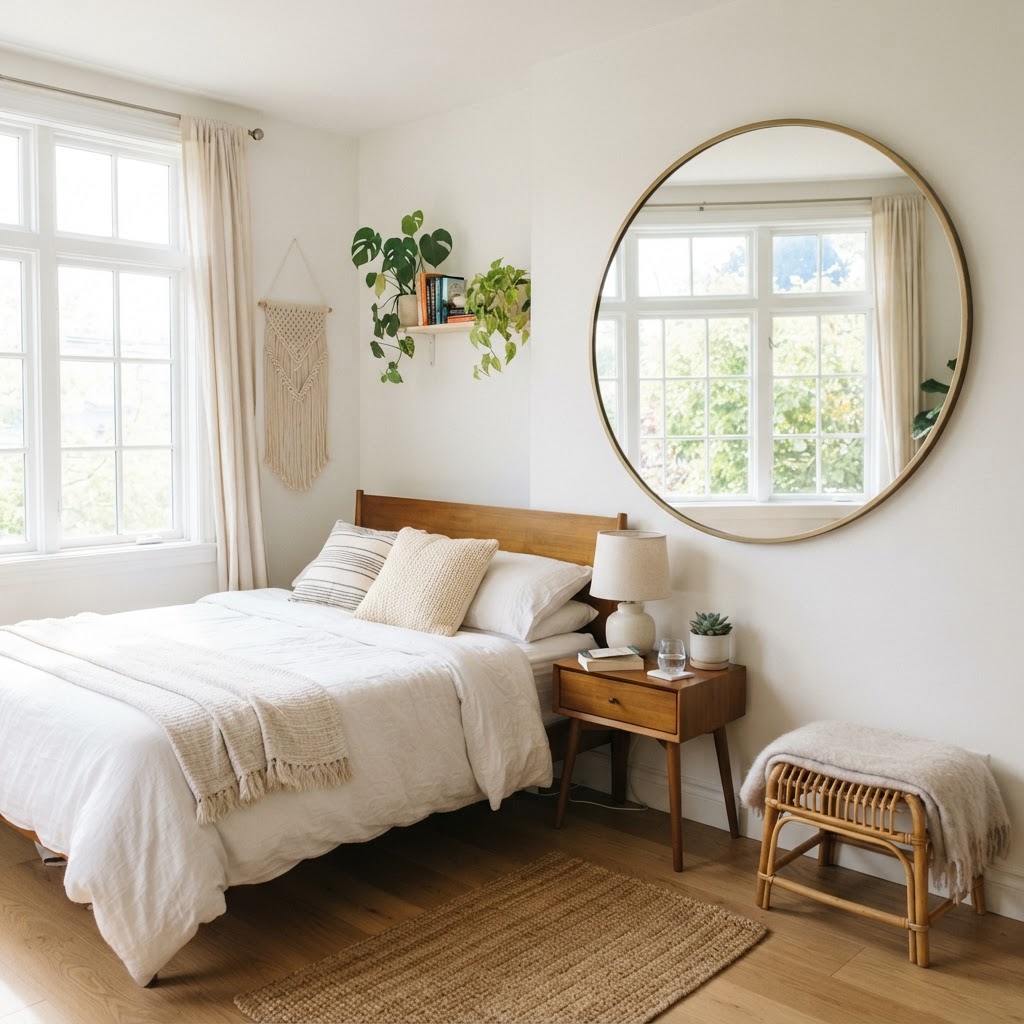
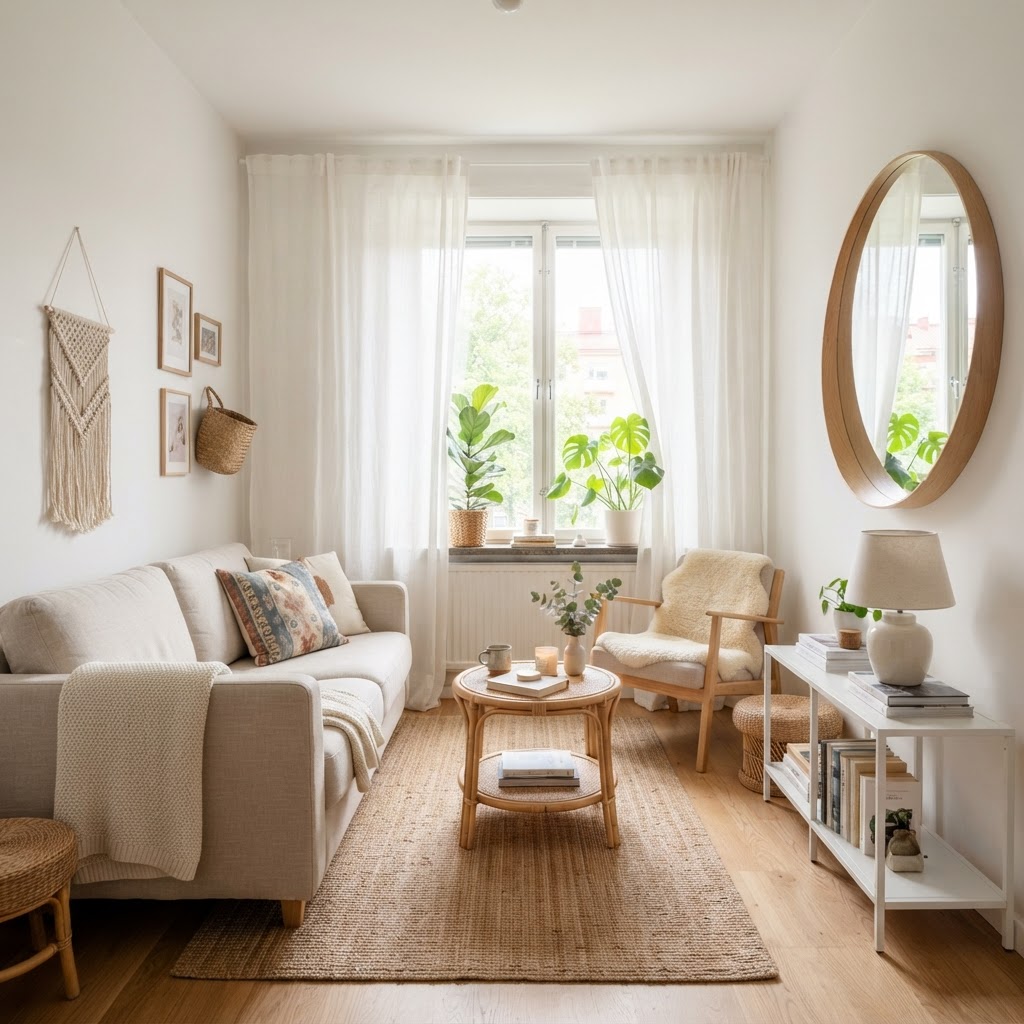
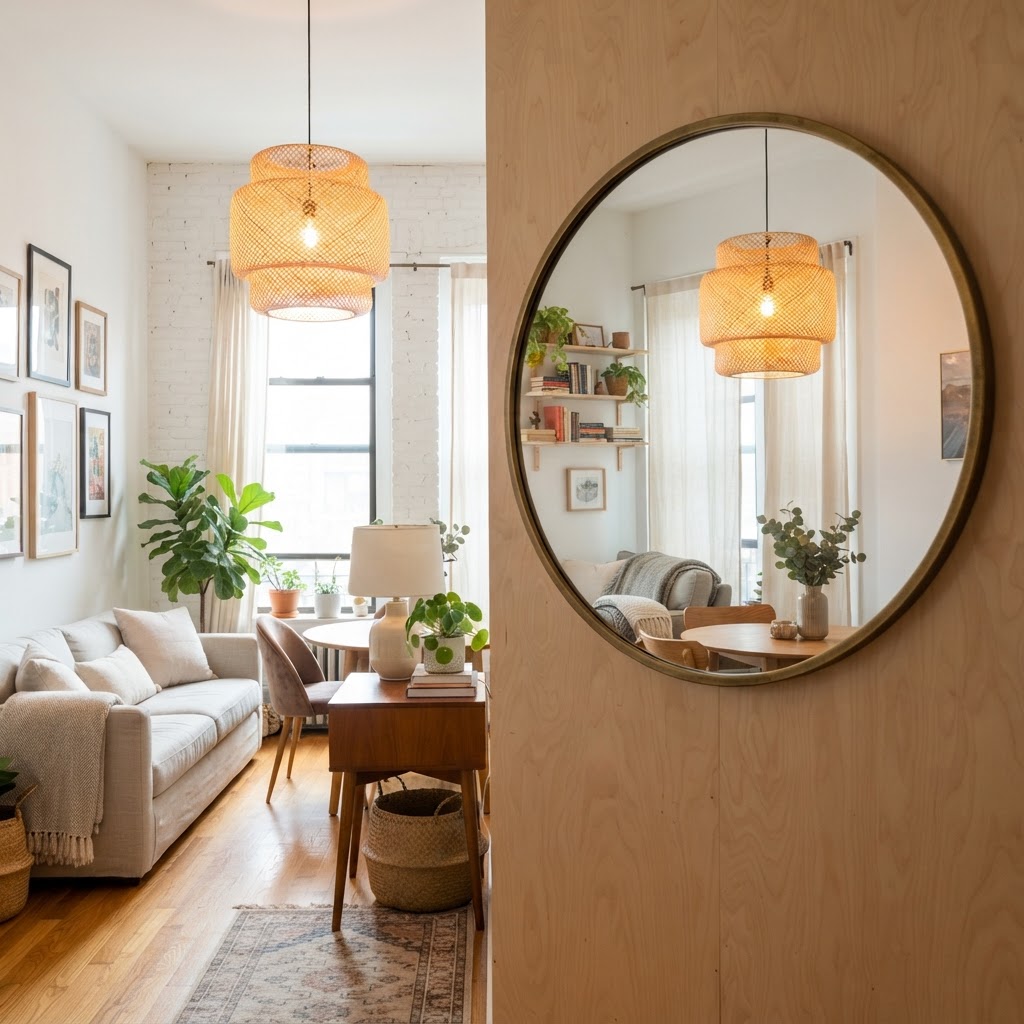
Most apartment layouts default to a “sofa facing the TV” configuration, but removing the television opens significant spatial possibilities. Without a permanent black screen dominating the room, you can arrange seating to focus on natural light, architectural features, or conversation areas. A projector setup allows your living room to remain multipurpose, as you only deploy the screen during active viewing sessions. When the screen retracts, you reclaim valuable square footage, allowing the room to breathe. This design choice is especially effective in studio apartments where the living area also serves as a home office or bedroom. By utilizing furniture with a lower profile, you can keep sightlines clear, ensuring that the room feels larger and more open. Replacing a 50-inch or 60-inch television with a retractable screen eliminates a permanent “dead zone” on your wall, giving you the freedom to hang art or mirrors that reflect light and enhance your home’s aesthetic appeal during the day.
The Benefits of Going Screen-Free
The primary benefit of a projector setup is versatility, as it transforms a high-tech entertainment hub into a clean, minimalist space in seconds. Projectors are ideal for small apartments because they offer a “hidden” technology aesthetic, preventing the glare and visual weight of a large, rigid TV frame.
Choosing the Right Projector for Small Spaces
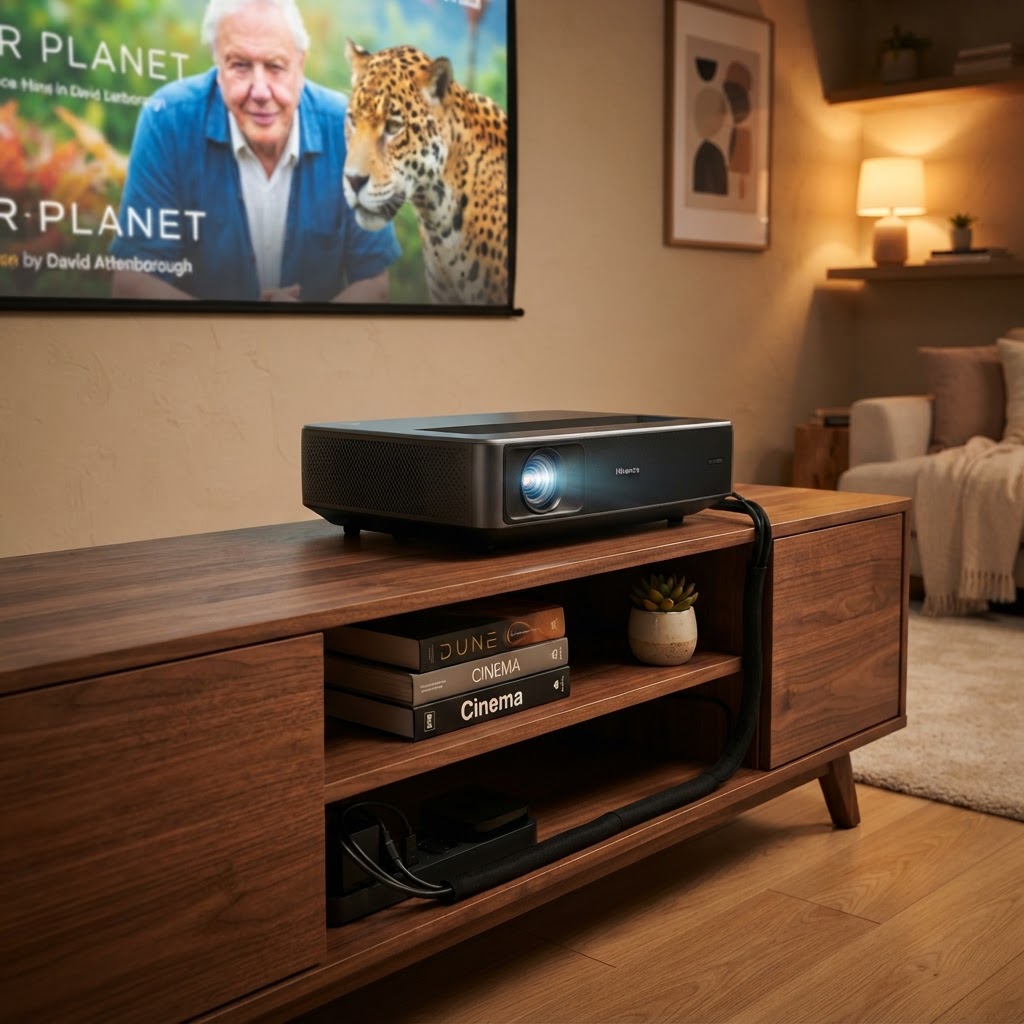
Selecting the right projector requires focusing on short-throw or ultra-short-throw (UST) technology, which is specifically engineered to project large images from a minimal distance. Traditional projectors require long-distance throws, which consume precious floor space and create trip hazards with cables running across the room. In contrast, UST projectors sit inches from the wall, allowing you to place them on a standard media console. When evaluating hardware, brightness is the most critical metric; aim for at least 2,000 to 3,000 ANSI lumens to maintain contrast during daylight hours. Additionally, prioritize projectors with built-in streaming platforms and Bluetooth 5.0, which reduce the need for external devices and extra cables. Check for keystone correction capabilities, as this allows you to square the image even if the projector is slightly off-center. Today’s market includes options ranging from budget-friendly $500 models to high-end $3,000 units, but for small apartments, laser light sources are preferred for their 20,000-hour lifespans, meaning you will not have to worry about replacing expensive bulbs for years.
Key Technical Considerations
- Brightness (Lumens): Ensure your projector has at least 2,500 ANSI Lumens to combat ambient light.
- Resolution: 1080p is the baseline, but 4K (Ultra HD) is recommended for screens over 100 inches.
- Connectivity: Prioritize HDMI 2.1, Wi-Fi 6, and Bluetooth 5.0 to minimize physical cable clutter.
Setting Up the Perfect Projection Surface
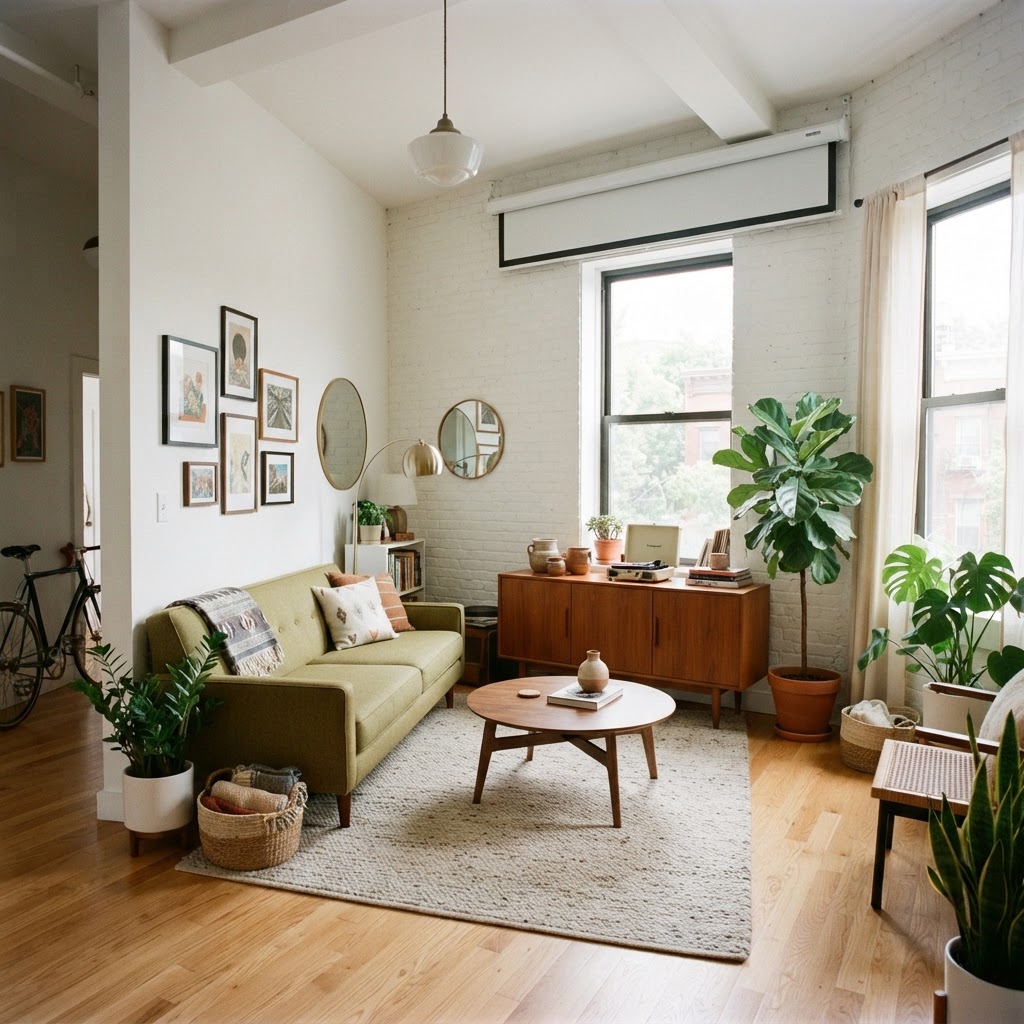
Projecting onto a wall may seem like a budget-friendly shortcut, but investing in a specialized retractable screen is essential for achieving professional-grade sharpness and color accuracy. Textured or eggshell-painted walls diffuse light, which kills contrast and makes the image appear washed out, even in dark rooms. A dedicated projection screen material is designed to reflect light back toward the viewer, significantly boosting perceived brightness and black levels. For small apartments, a ceiling-mounted or wall-mounted pull-down screen is the most efficient choice because it maintains a low profile when not in use. Some high-end screens feature “Ambient Light Rejection” (ALR) technology, which filters out light hitting the screen from the sides, allowing for better color reproduction during the day. By mounting your screen correctly—ideally at eye level when seated—you avoid neck strain and replicate a traditional cinema viewing experience. Always ensure your screen is tensioned correctly to prevent waves or wrinkles, which can distort the image and distract from the immersion of your favorite movies or shows.
Why a Retractable Screen Wins
A retractable screen is the ultimate space-saving solution for small apartments because it offers the “now you see it, now you don’t” functionality that keeps a living room feeling homey. When retracted, the screen stays protected inside its casing, shielded from the dust and accidental contact common in tight urban quarters.
Managing Cables and Electronics
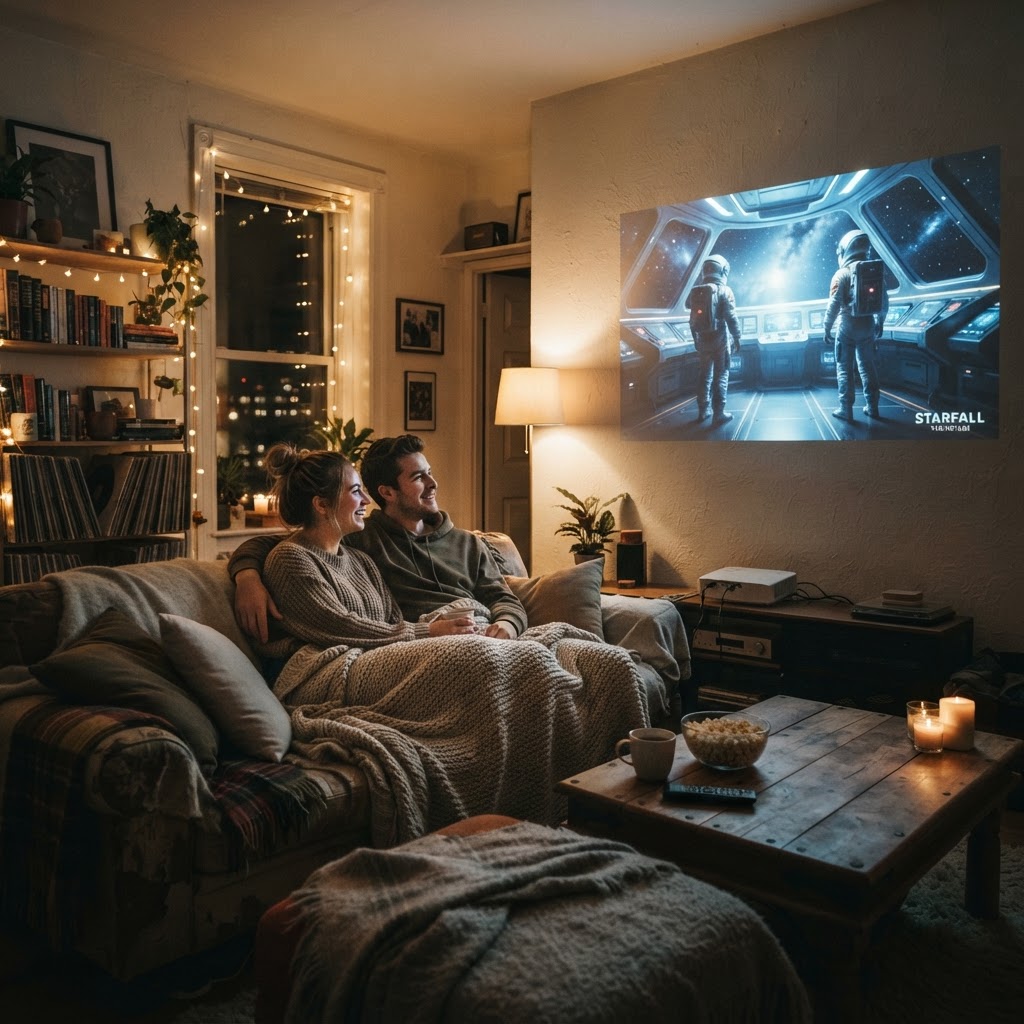
Effective cable management is the difference between a high-end cinema setup and a disorganized “tech mess,” particularly in compact spaces where every wire is visible. To maintain a clean, cozy vibe, route all HDMI and power cables through paintable cord covers that blend into your wall or hide them behind baseboards. Utilizing a dedicated media console underneath the projection area is the best strategy; this allows you to house your gaming consoles, streaming sticks (like Apple TV or Roku), and the projector itself in one central location. Use short, high-quality HDMI cables to keep the area behind the unit tidy. If your setup allows, rely on wireless transmission protocols for audio, such as eARC soundbars, which reduce the total number of cables running between devices. Regularly check your connections to ensure they remain secure, and consider using velcro ties rather than plastic zip ties, as these allow for easier hardware upgrades or cable rerouting without damaging the cords themselves. Keeping your setup wireless-leaning prevents visual clutter and makes the space feel intentional, sophisticated, and significantly more relaxing during your downtime.
Enhancing the Audio Experience
To bridge the gap between a small living room and a true theater experience, prioritize a soundbar system with a wireless subwoofer. Because space is limited, floor-standing speakers or complex 7.1 wired systems are often impractical and can overwhelm the floor plan. A modern soundbar equipped with Dolby Atmos creates a virtualized surround sound stage, bouncing audio off your ceilings and side walls to create an immersive, multidimensional soundscape. This setup provides deep, impactful bass—which is essential for movies—without the clutter of running speaker wire across your apartment. When placing your soundbar, ensure it is positioned directly below the center of your projected image to anchor the audio to the visuals. If your apartment has hard surfaces that create echo, use rugs or wall-mounted acoustic panels to dampen the sound, which will drastically improve clarity. Investing in a high-quality soundbar often costs less than a full multi-speaker setup, yet it provides a vastly superior audio experience to the built-in speakers found in most projectors, which are typically underpowered and lack range.
Styling for Comfort and Ambiance
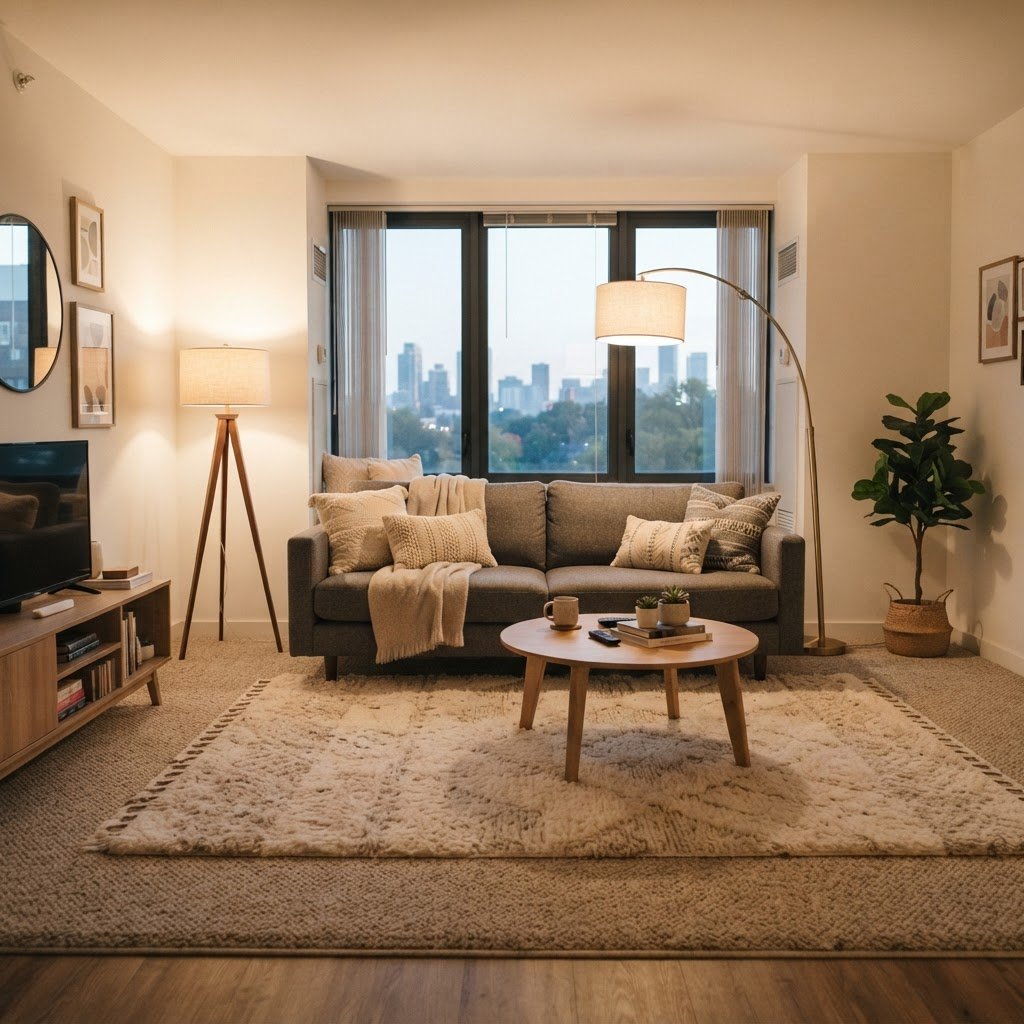
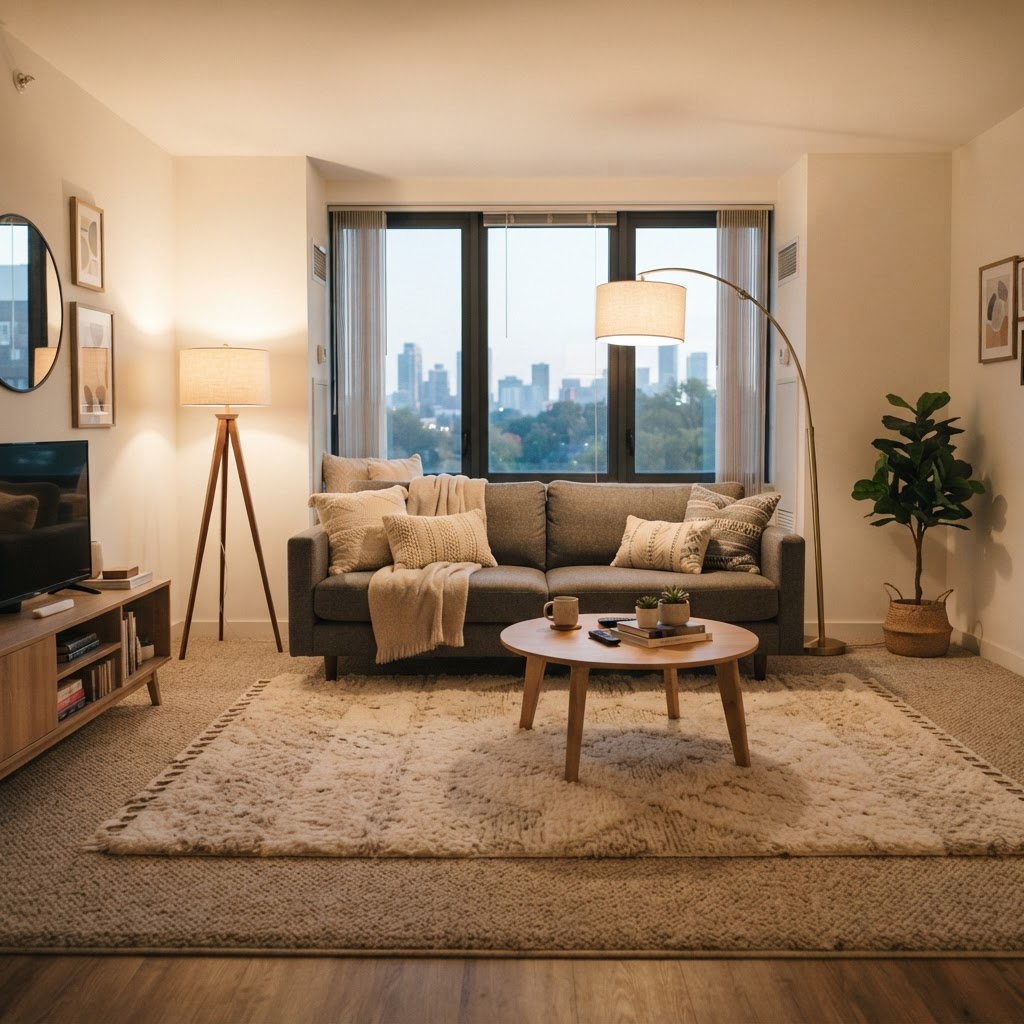
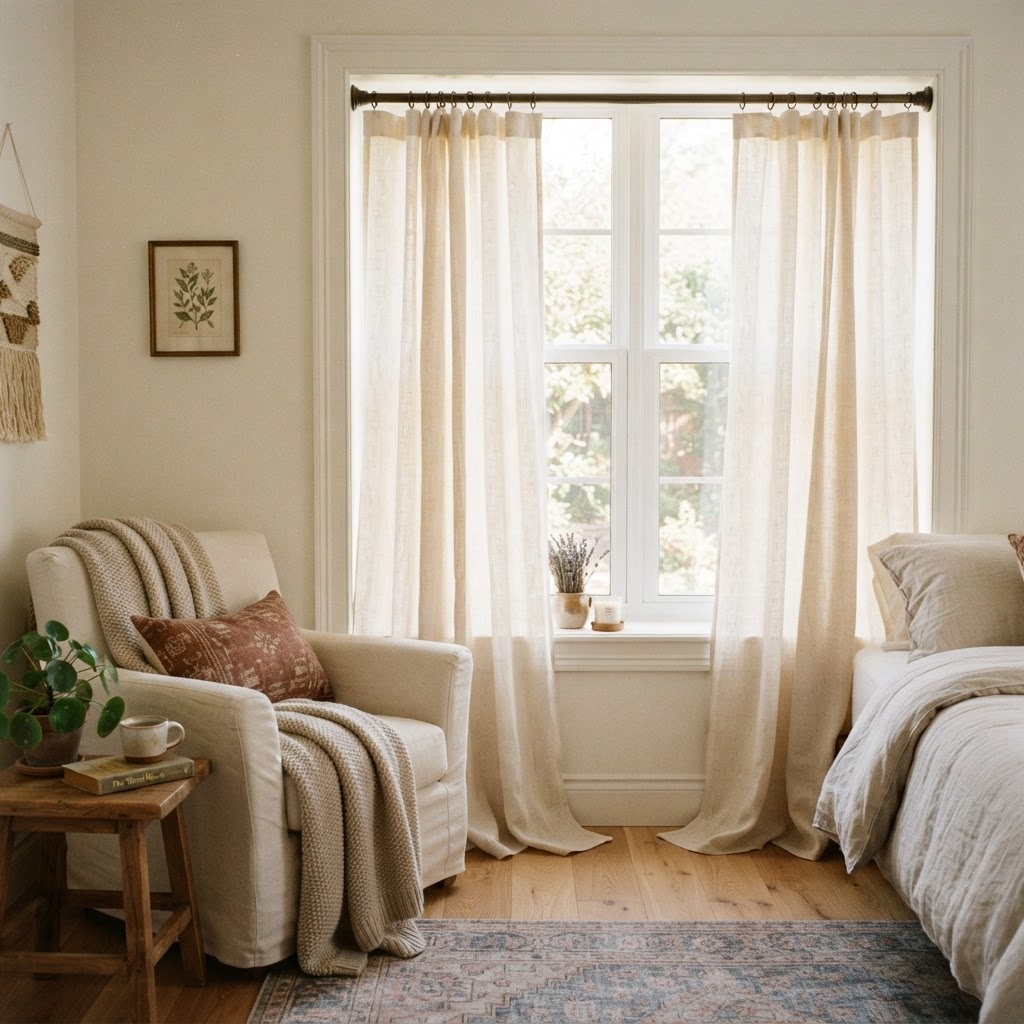
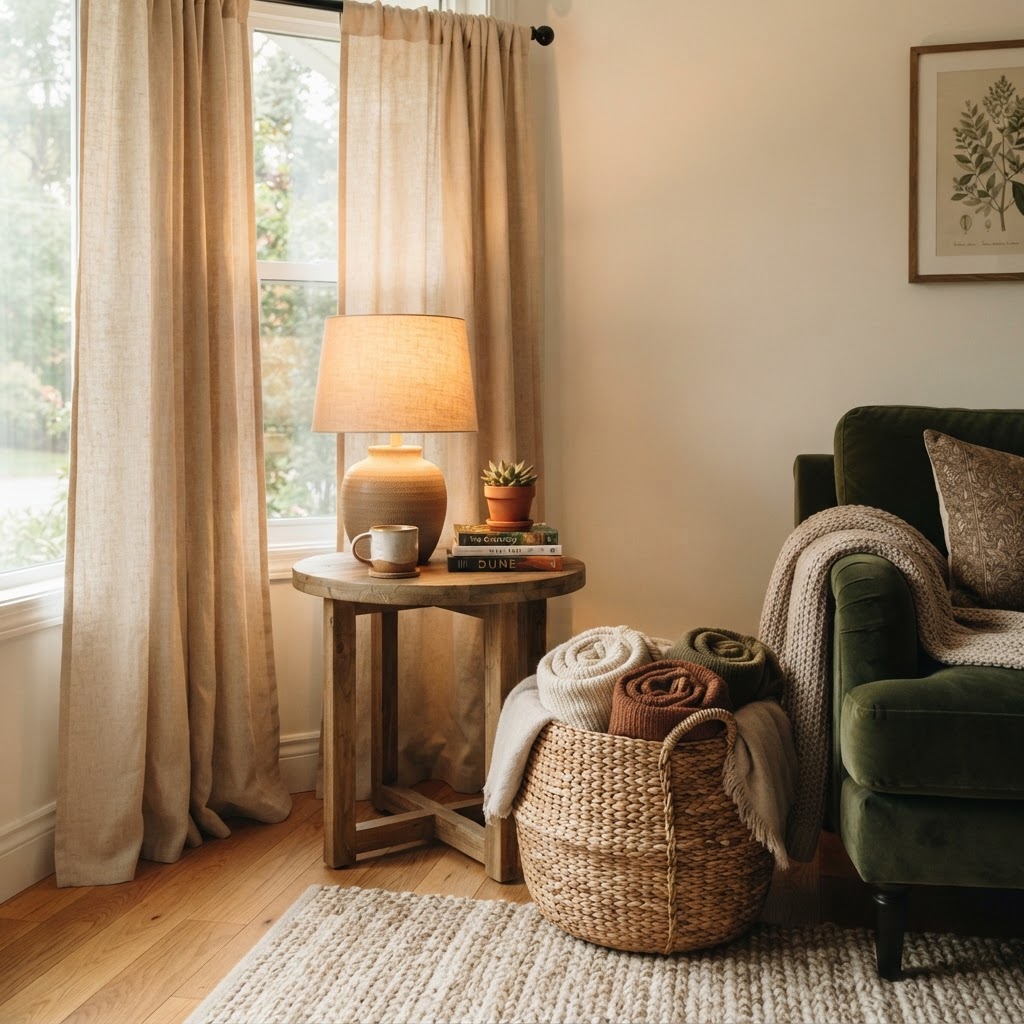
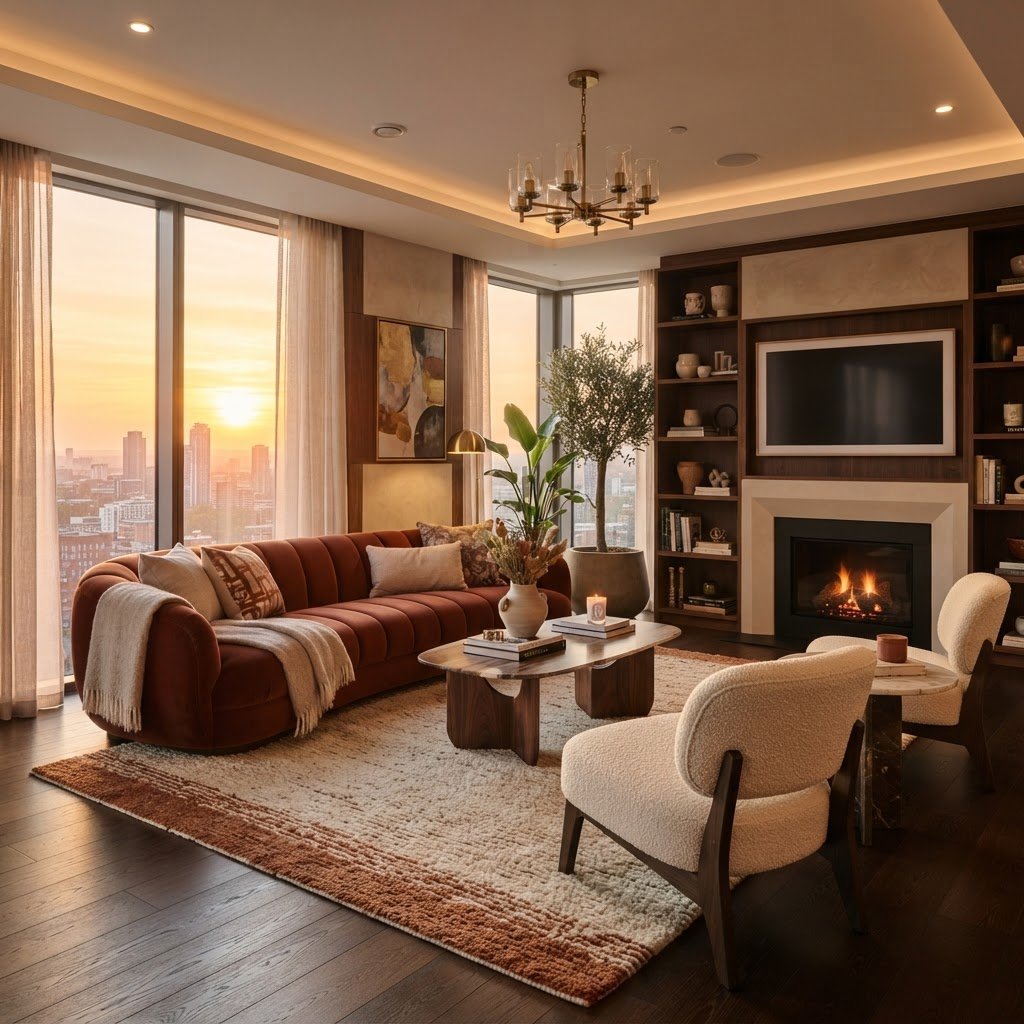
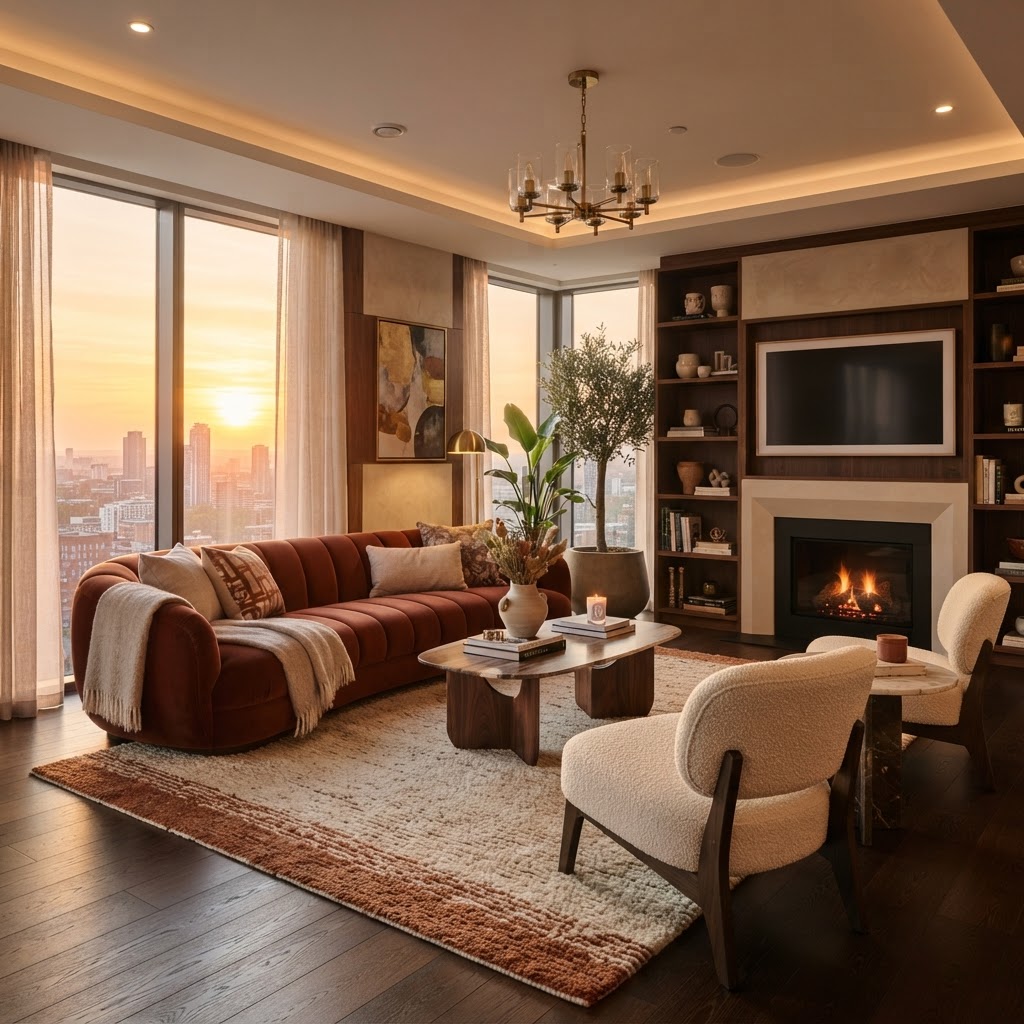
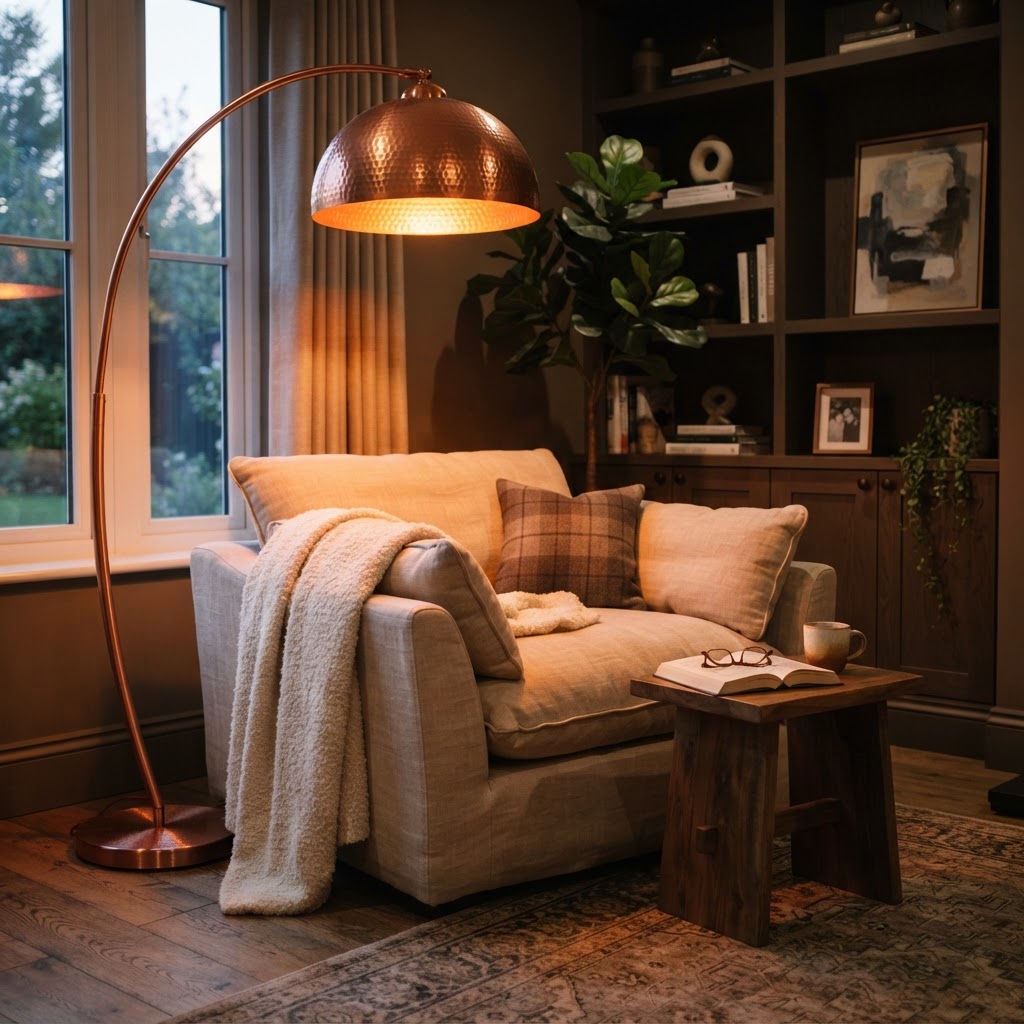
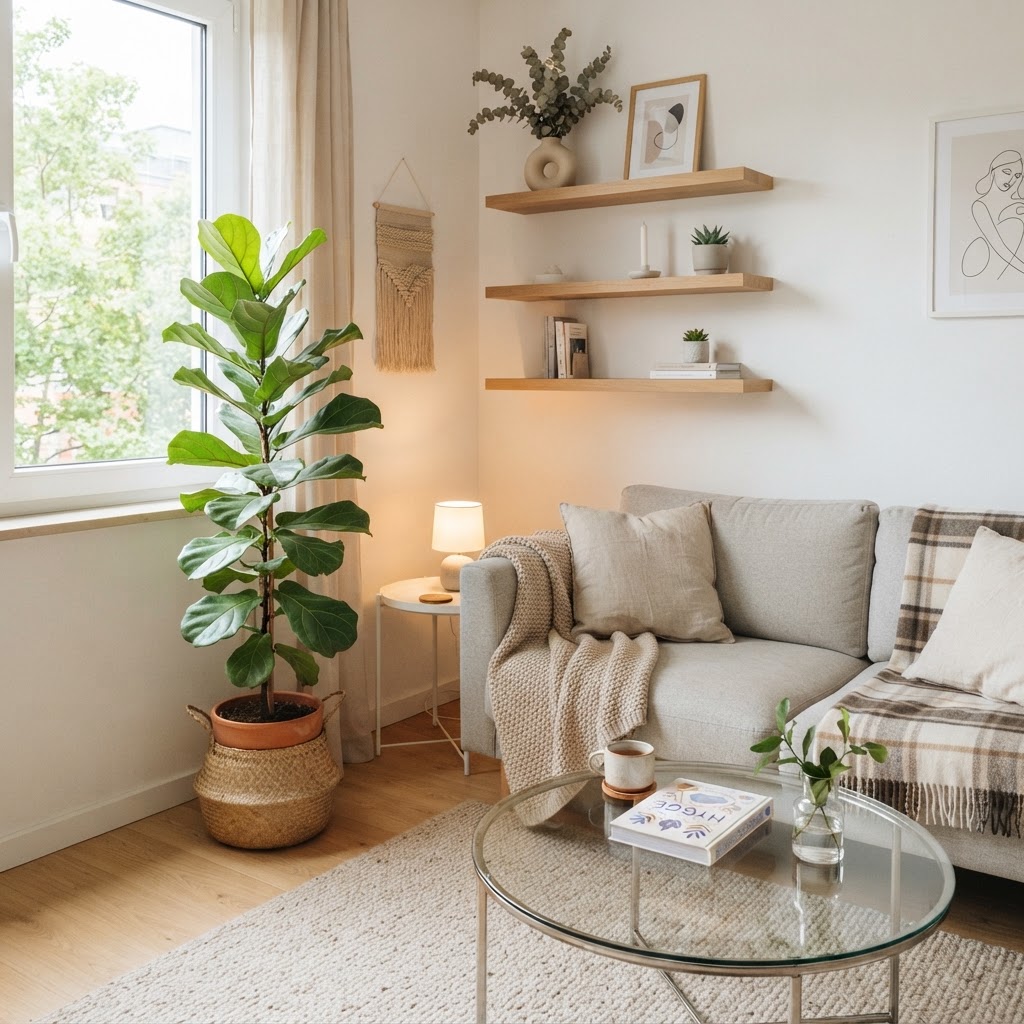
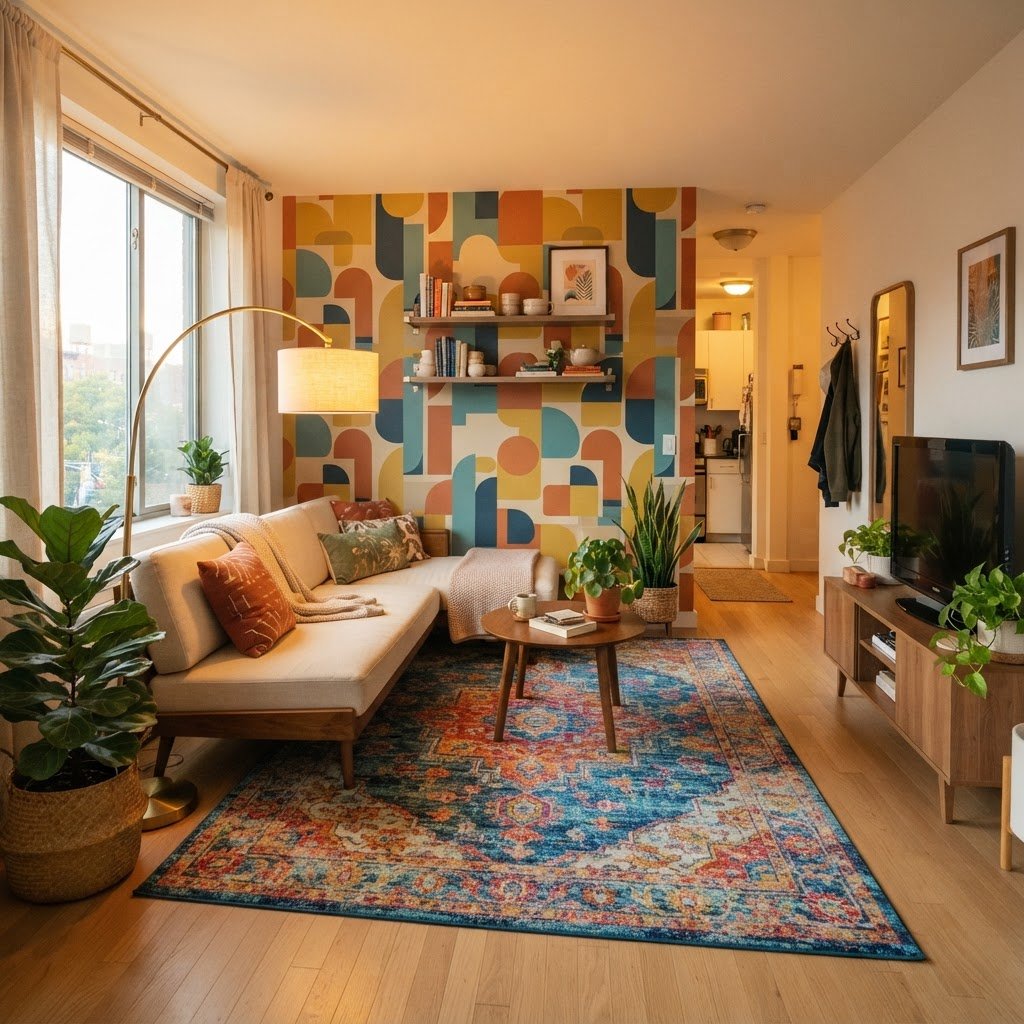
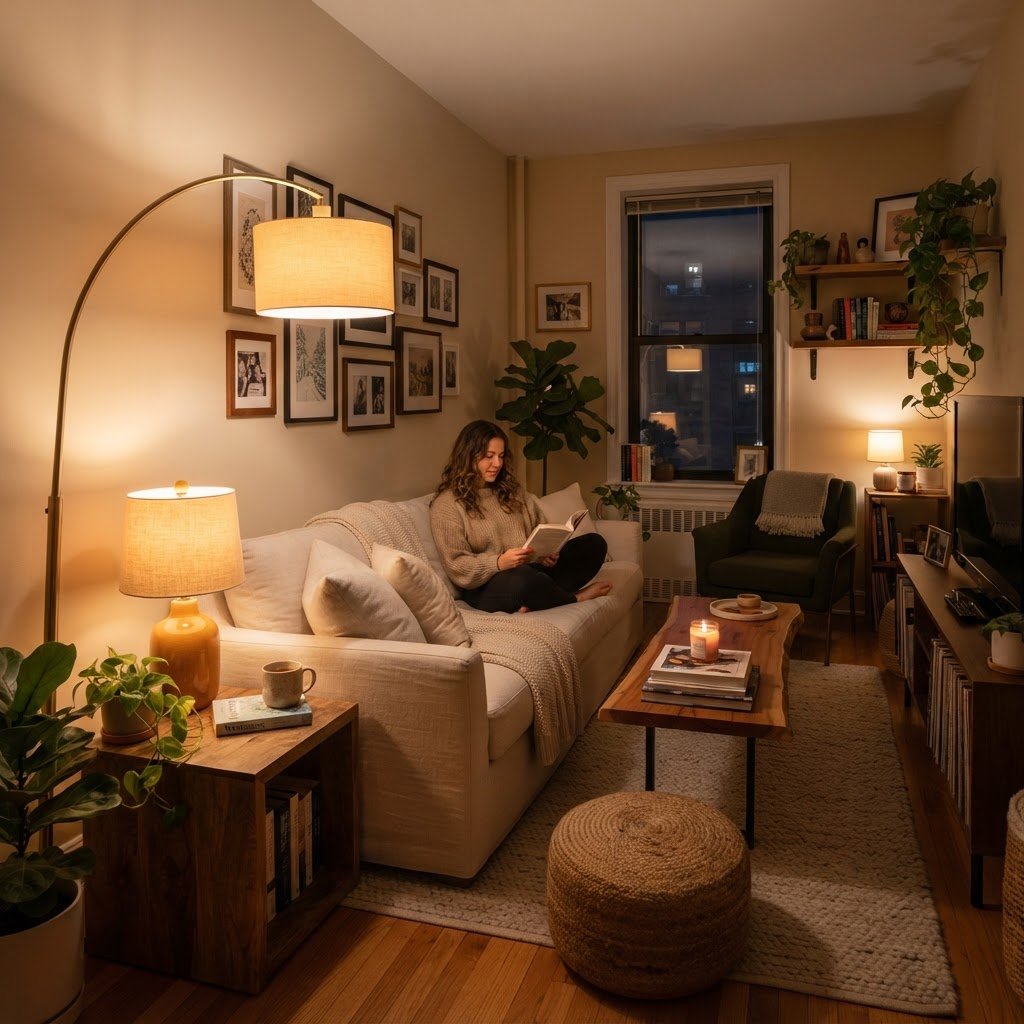
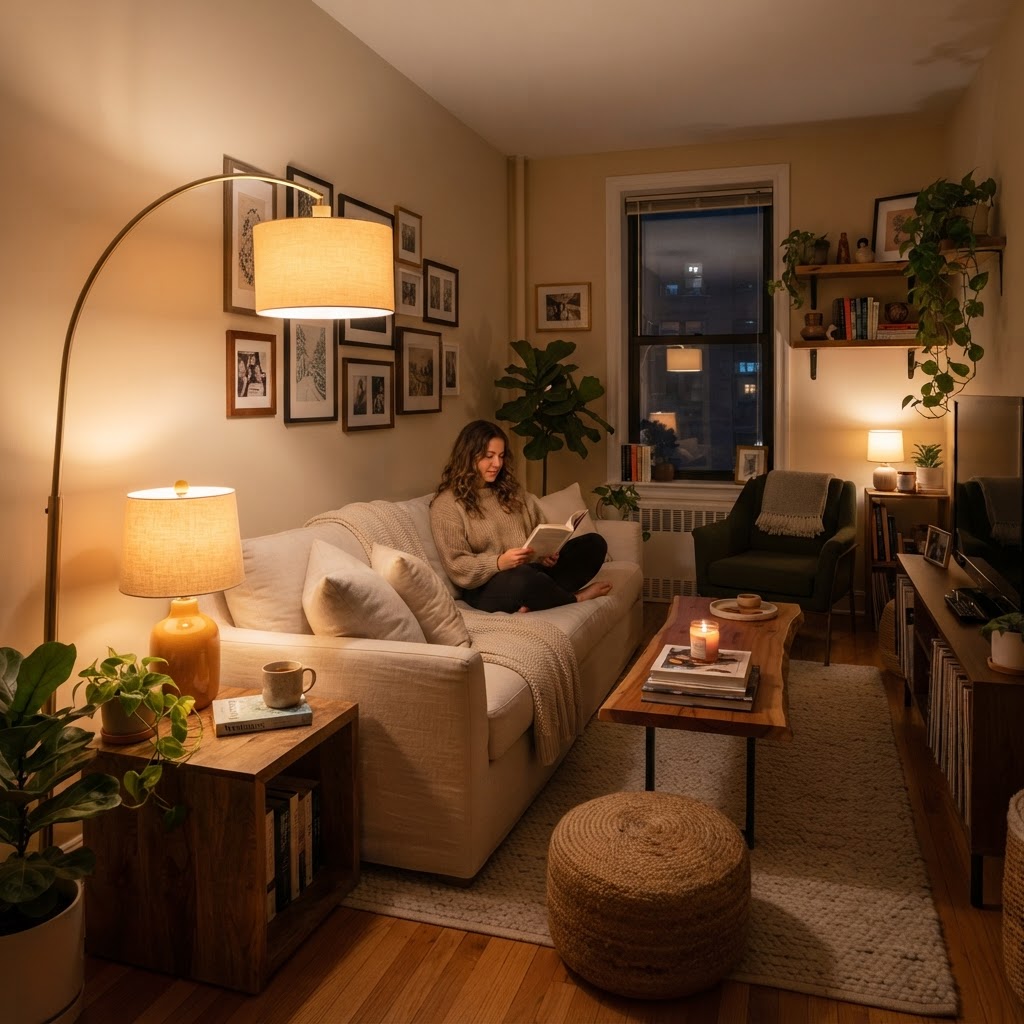
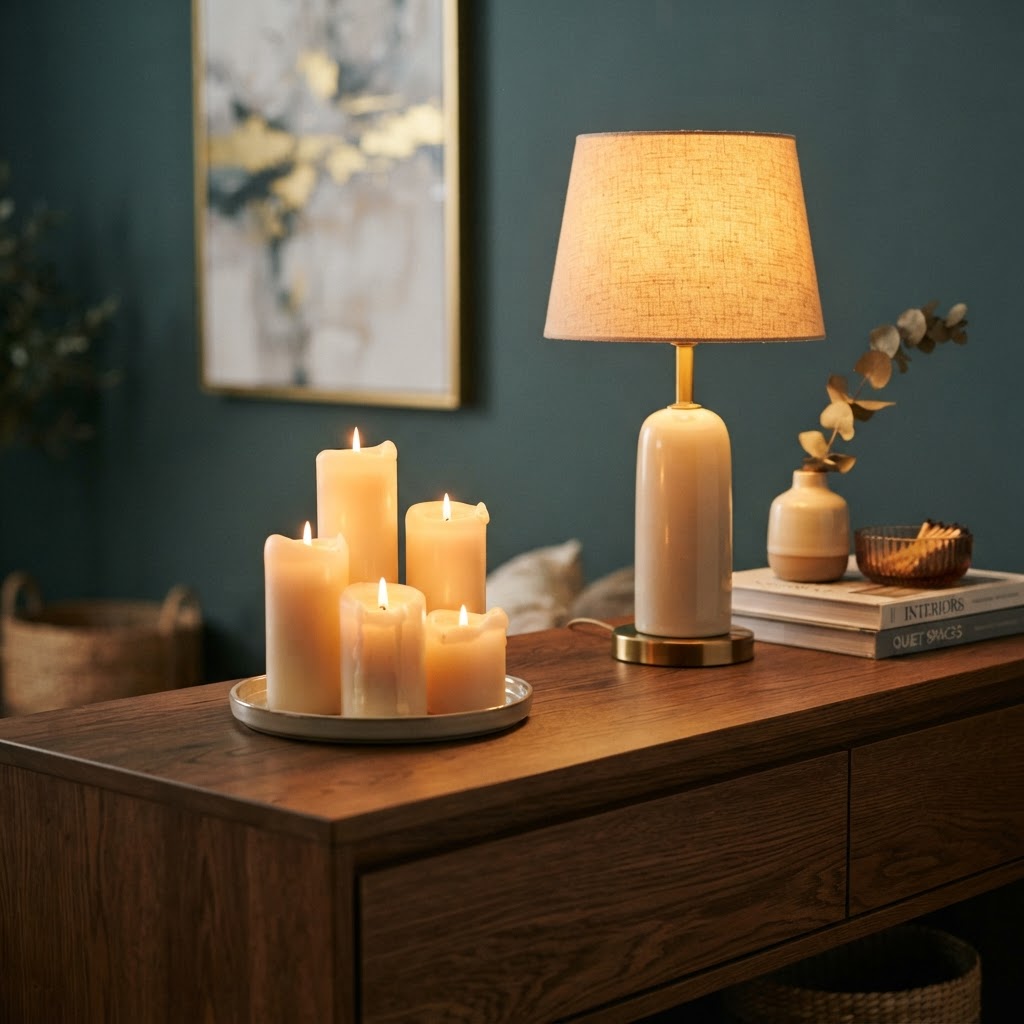
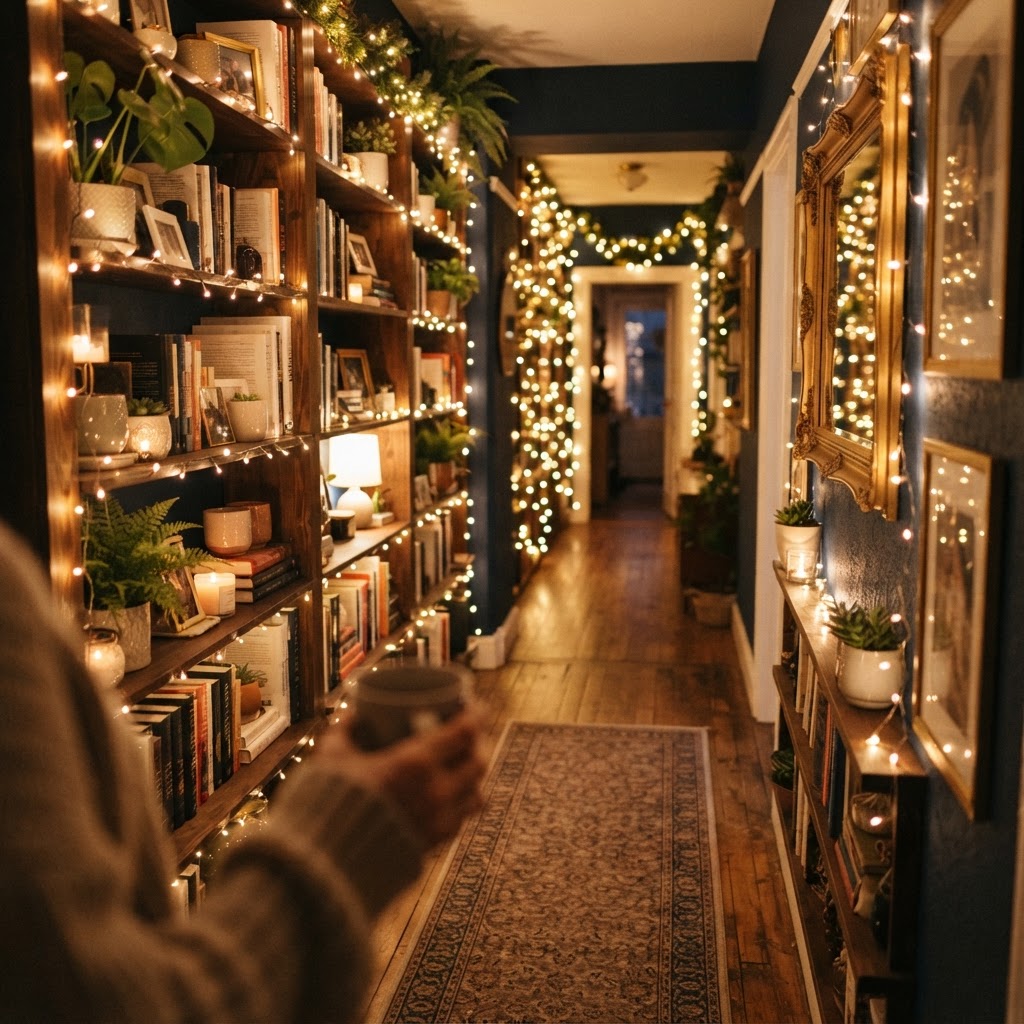
Styling your projector-centric living room requires balancing tech hardware with soft, tactile textiles to ensure the space remains a comfortable sanctuary. Since projectors often function better in darker environments, use blackout curtains to manage light during the day, which also adds a layer of plush texture to your windows. Add deep-seated furniture, heavy knit blankets, and oversized floor cushions to make the floor space usable and inviting. Because electronics can feel cold and sterile, introduce warm elements like wood accents, plants, or brass lamps that complement the tech without feeling buried by it. Dimmable smart lighting is a critical styling tool; consider warm-toned LED strips installed behind your media console or along the ceiling perimeter. These provide enough ambient light to move safely through the room during a movie without washing out the screen. By focusing on layered textures—rugs, pillows, and window treatments—you create an acoustic-friendly environment that feels like a curated home rather than a temporary electronics showroom, effectively bridging the gap between high-end function and everyday comfort.
Lighting Strategy for Movie Night
Use smart bulbs that support low-intensity warm light to minimize interference with projection contrast. A color temperature of 2700K is ideal for keeping the room cozy without creating the harsh blue-light glare that ruins color accuracy on your projected image.
Maintenance and Long-Term Care
Maintaining your projector and screen is straightforward if you adhere to a regular schedule, ensuring your equipment performs at its peak for years. In smaller apartments, air circulation is often more restricted, making dust buildup in intake vents a common cause of projector overheating and fan noise. Use a soft brush or compressed air canister every three months to clear these vents and keep your projector running efficiently. For your retractable screen, avoid using chemical cleaners or abrasive materials; a simple dusting with a dry, lint-free microfiber cloth is sufficient to keep the surface pristine. If a stain occurs, use a mild, diluted soap solution, but test a small, inconspicuous area first to ensure it does not affect the reflective coating. Treat your gear with care by retracting the screen immediately after use to protect it from dust and potential physical damage. Keeping the lenses clean with a dedicated optics cloth ensures your image remains sharp, preventing the “blurry” look that often leads people to think they need a hardware upgrade when they actually just need a little maintenance.
FAQ
Q: Can I use a projector in a small apartment with white walls?
Yes, you can project on a white wall, but you will lose significant contrast and sharpness compared to a dedicated screen. For the best image quality, use a screen with a high-gain surface specifically designed to reflect light effectively in smaller spaces.
Q: Are short-throw projectors better for small rooms?
Yes, short-throw and ultra-short-throw projectors are ideal for small rooms because they sit inches from the wall. This eliminates the need for bulky ceiling mounts or long-distance projection paths that would otherwise take up your limited floor space.
Q: How do I hide cables in a small living room?
Use adhesive cord covers that match your wall color to hide wires running along baseboards or walls. Placing your electronics on a low-profile media console directly under the projector also allows you to keep cables concealed within the furniture.
Q: Will the projector screen look bulky when retracted?
No, most modern retractable projector screens feature slim, minimalist housings that mount flush to the ceiling or wall. When retracted, they become nearly invisible, preserving the aesthetic of your living space and keeping the screen protected from dust.
Q: How much brightness do I need for a projector?
For most apartment living rooms, aim for at least 2,500 ANSI Lumens to ensure the image remains clear during daylight hours. If your living room has large windows with lots of natural light, consider a higher lumen count or high-quality blackout curtains.