Archives 2026

Deposit-Safe Secrets: Elevate Your 500-Sq-Ft Rental

Deposit-Safe Secrets: Elevate Your 500-Sq-Ft Rental

To make a 500-sq-ft rental feel high-end, prioritize layered warm lighting, scale-appropriate statement furniture, and non-permanent textural upgrades like peel-and-stick wallpaper and floor-to-ceiling curtains. These deposit-safe modifications disguise standard rental finishes while adding depth, sophistication, and a sense of permanence to your living space without requiring structural changes or landlord approval.

Rethinking Small Space Lighting
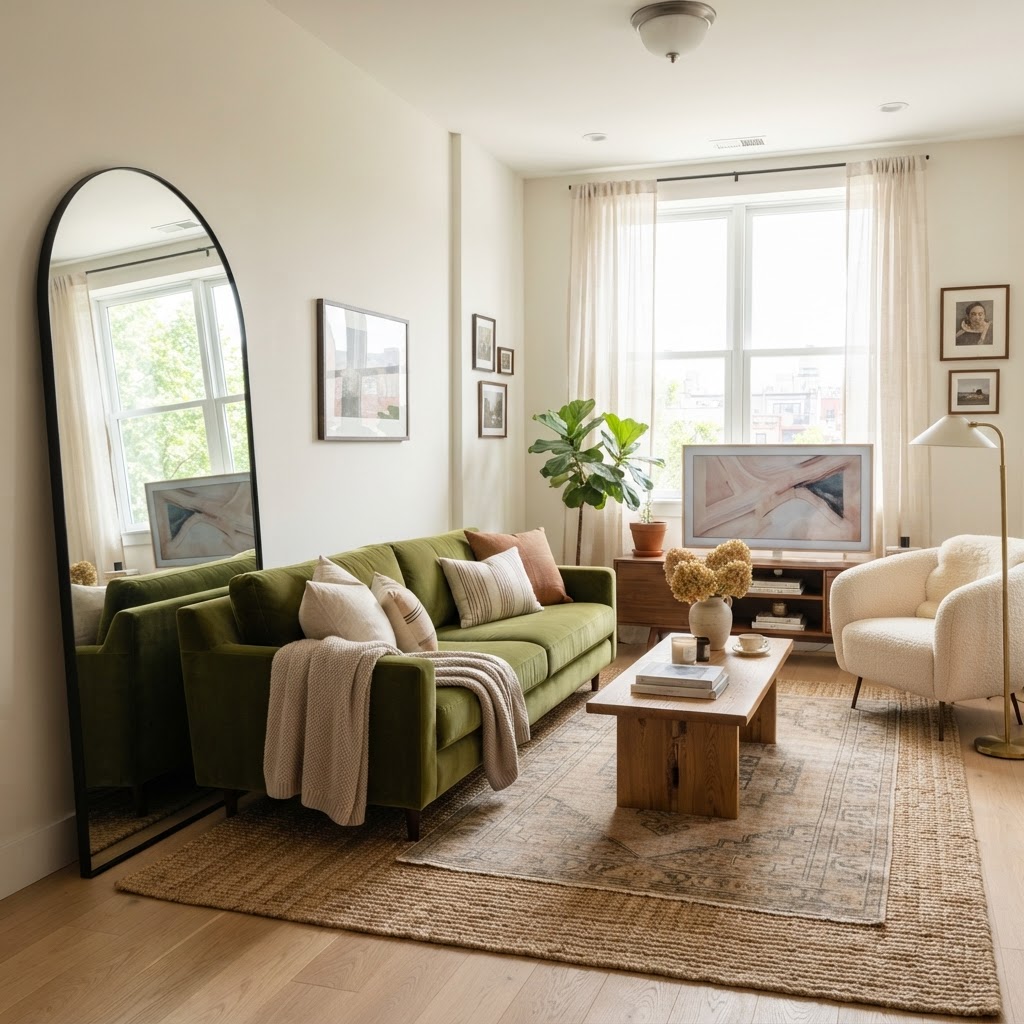
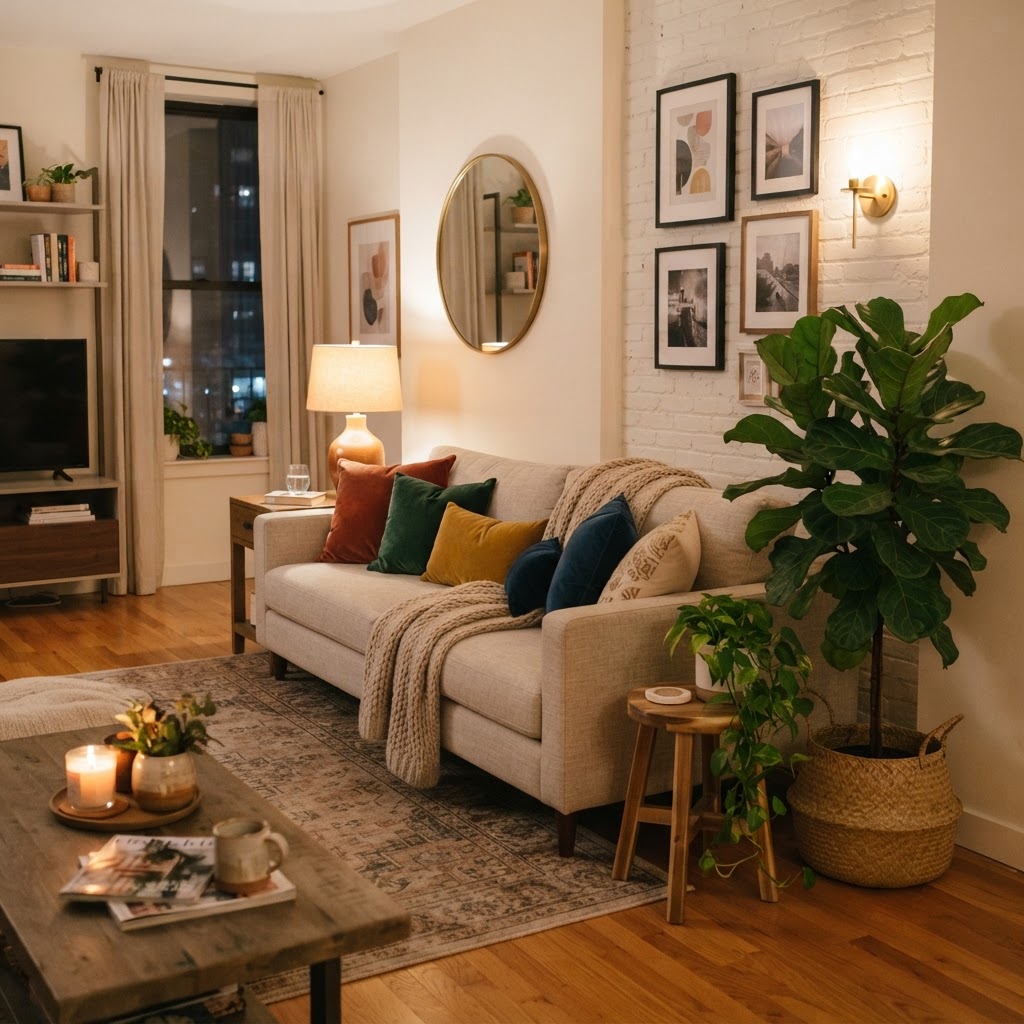
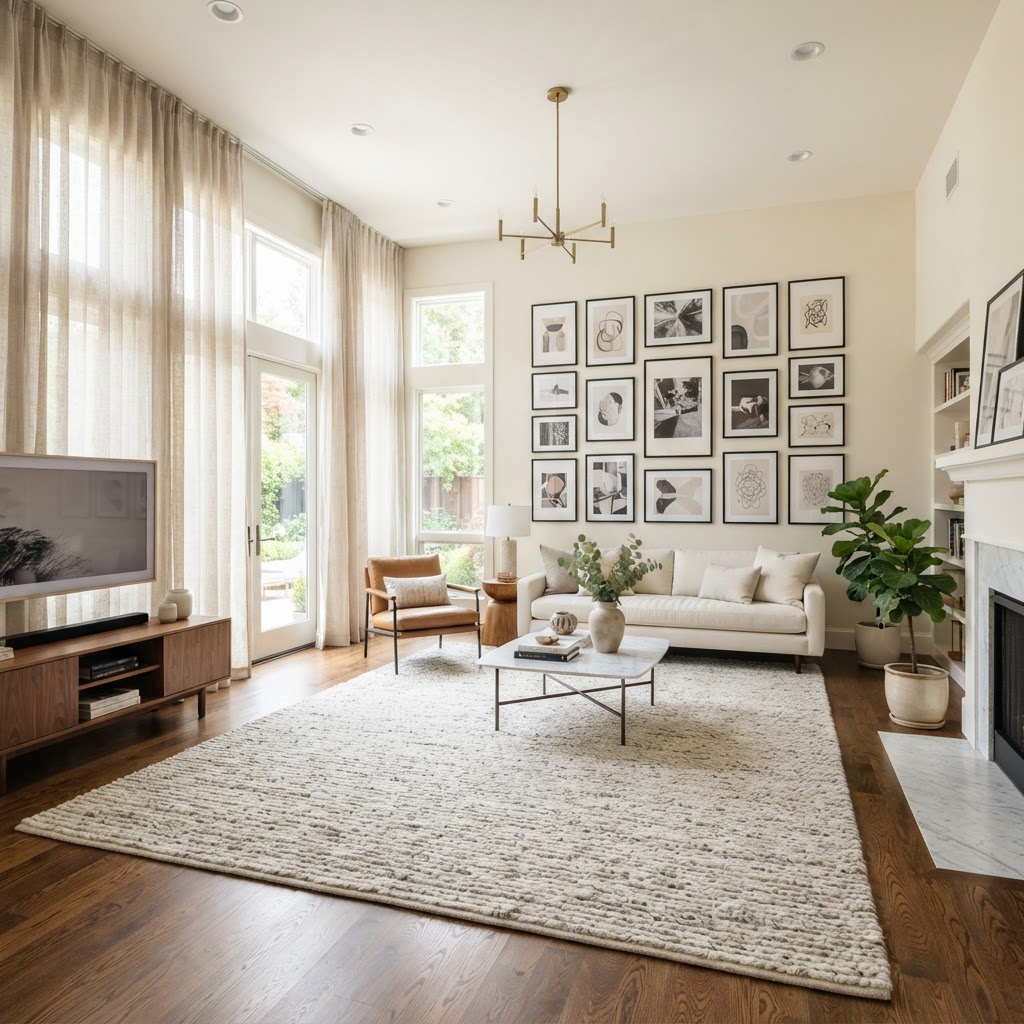
Large mirrors and layered rugs can make small rooms feel significantly larger and more expensive.

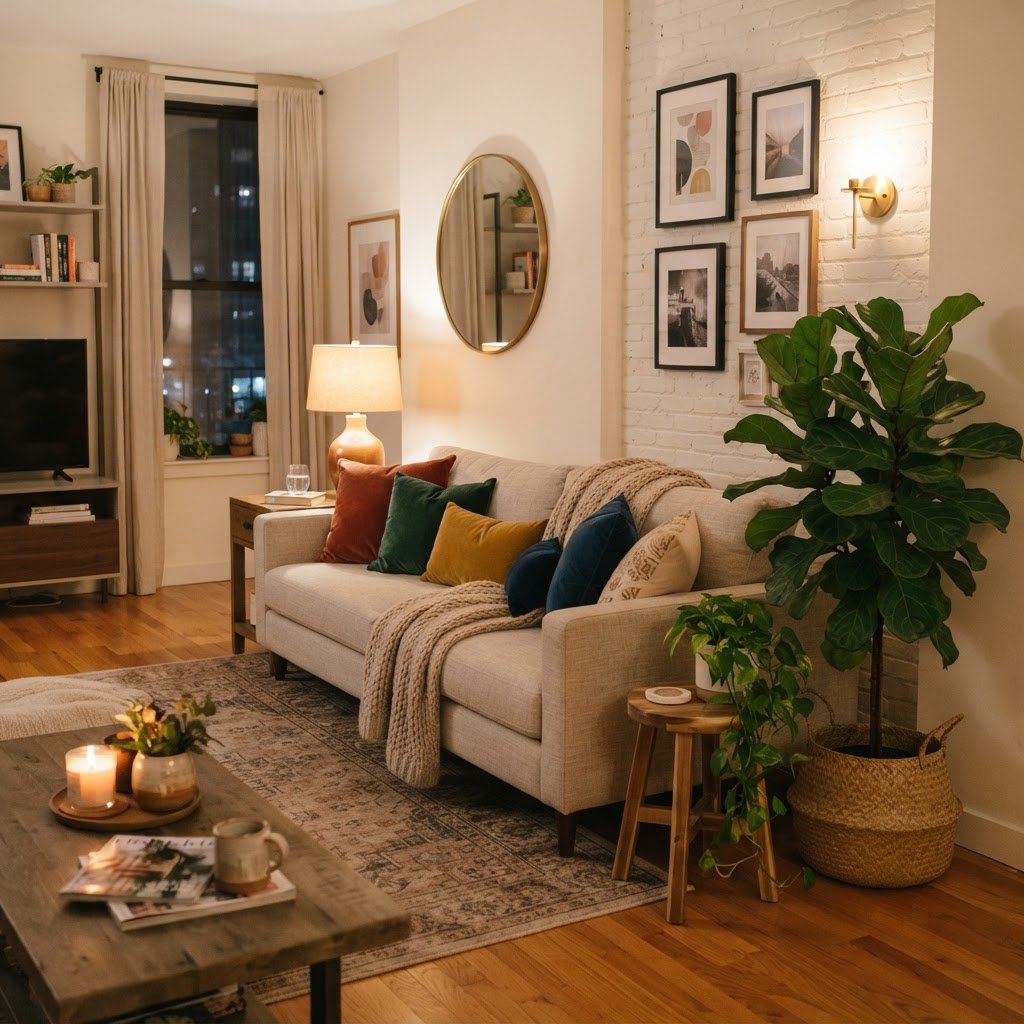
Lighting serves as the foundation of luxury design, and in a 500-sq-ft apartment, the secret lies in layered illumination rather than relying on harsh overhead fixtures. Rental units often feature clinical, high-kelvin overhead lighting that flattens a room’s aesthetic; replacing this with a three-point lighting plan using floor lamps, table lamps, and wall sconces creates professional-grade ambiance. Choose warm-toned LED bulbs in the 2700K to 3000K range to mimic the soft glow of a high-end hotel room. By placing lamps at different heights, you draw the eye around the room, which makes the square footage feel more expansive and purposeful.

Lighting Type Best Usage for Small Rentals Expected Impact
Floor Lamps Corners or behind seating Adds height and architectural drama
Table Lamps Nightstands and consoles Creates cozy, intimate zones
LED Strips Under cabinets or baseboards Provides modern, hidden depth

The Power of Cord Management

Clutter is the enemy of a high-end aesthetic, and visible cords break the illusion of a curated space. When you add multiple lamps, you must manage power distribution professionally to maintain a clean silhouette. Use cable sleeves, color-matched adhesive-backed clips, or even decorative fabric cord covers to hide wires along furniture legs. When the “machinery” of your room—the ugly plastic plugs and trailing wires—is completely invisible, the focus returns to your intentional design choices, instantly elevating the perceived value of your home.

Elevating Walls Without Paint
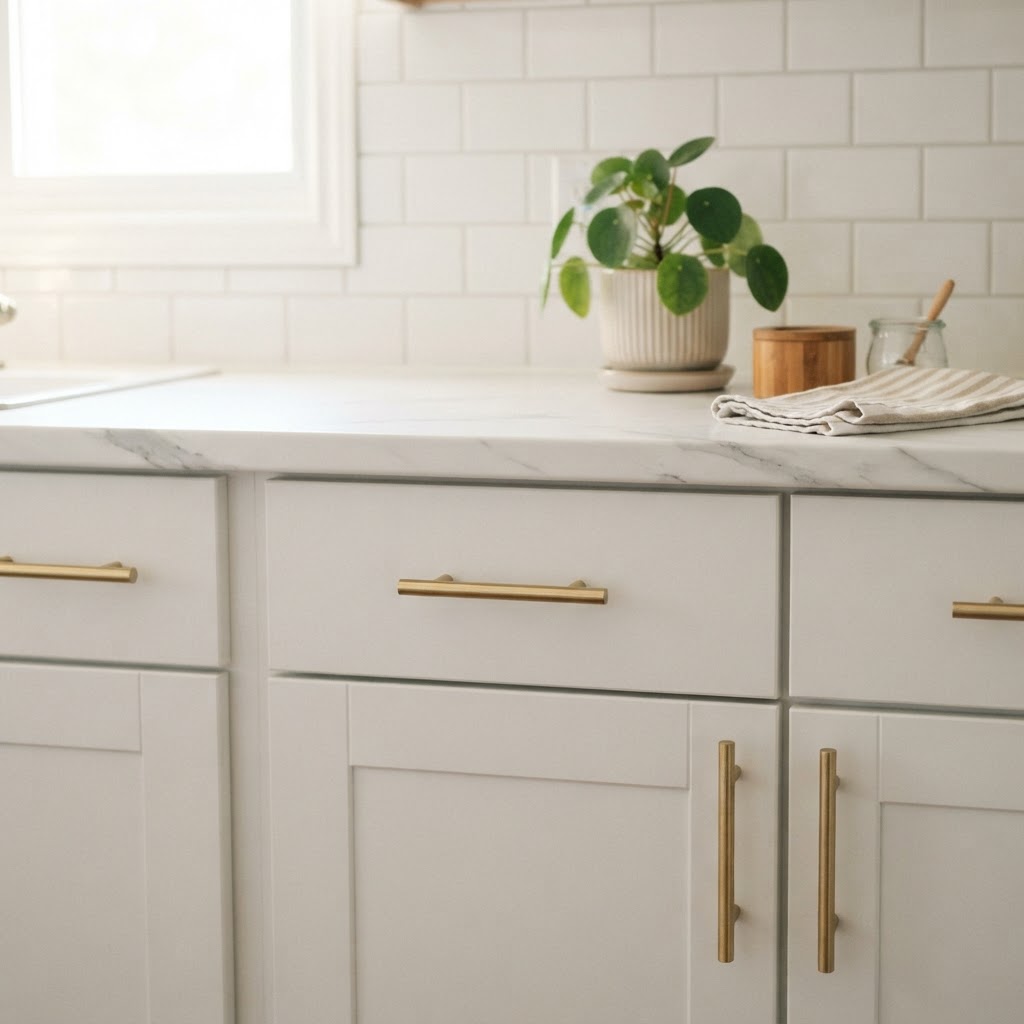
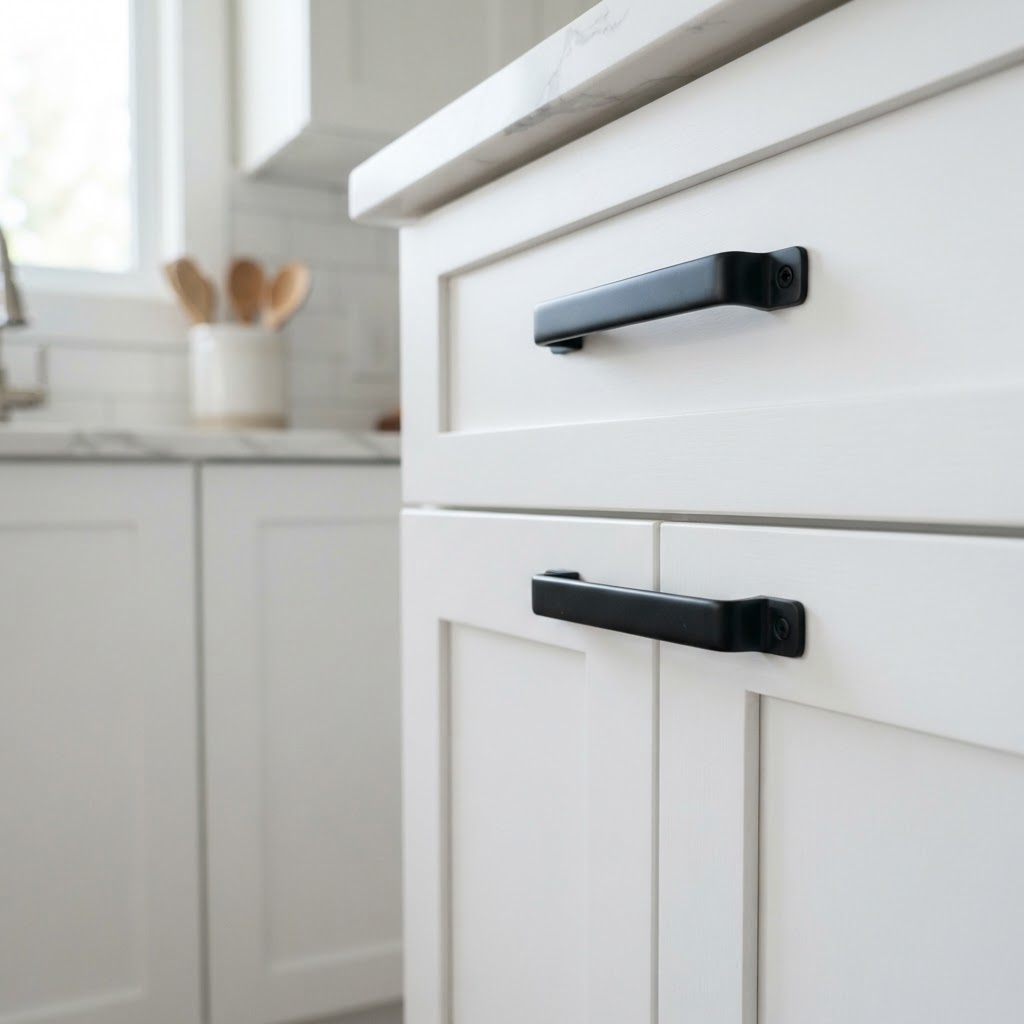
Swapping cabinet hardware is a simple, reversible upgrade that changes your kitchen's entire aesthetic.

Rental walls are often restricted to boring white or off-white paint, but high-quality, removable decor can transform these blank canvases into design statements. Peel-and-stick wallpaper has evolved significantly, now offering textured options like grasscloth or subtle geometric patterns that look indistinguishable from permanent coverings. By focusing on a single accent wall, you can create a high-end focal point that anchors the room’s color palette for an investment of typically $50 to $150. Beyond paper, utilize tension rods to install floor-to-ceiling curtains. By mounting rods as close to the ceiling as possible—well above the window frame—you create the visual illusion of vertical height, which makes a 500-sq-ft unit feel significantly larger and more grand.

Curating High-End Furniture Choices
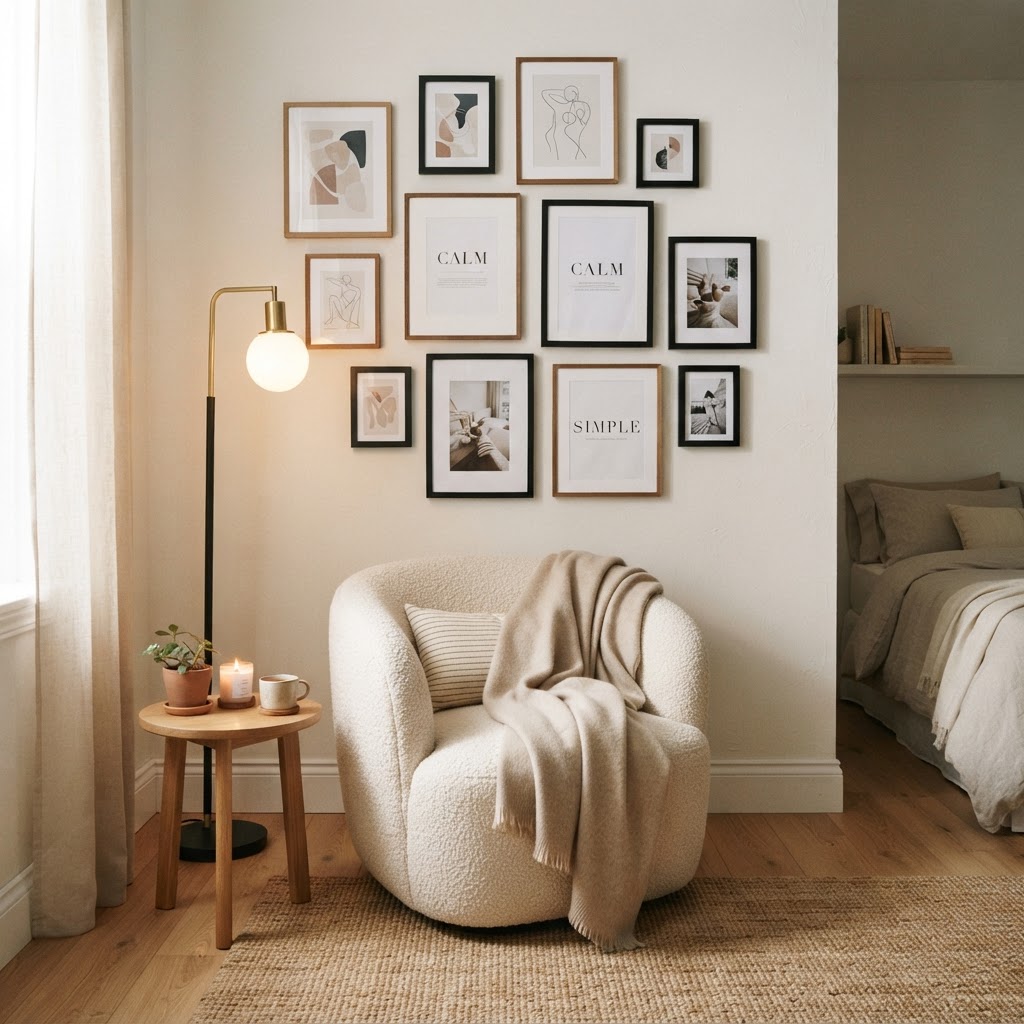
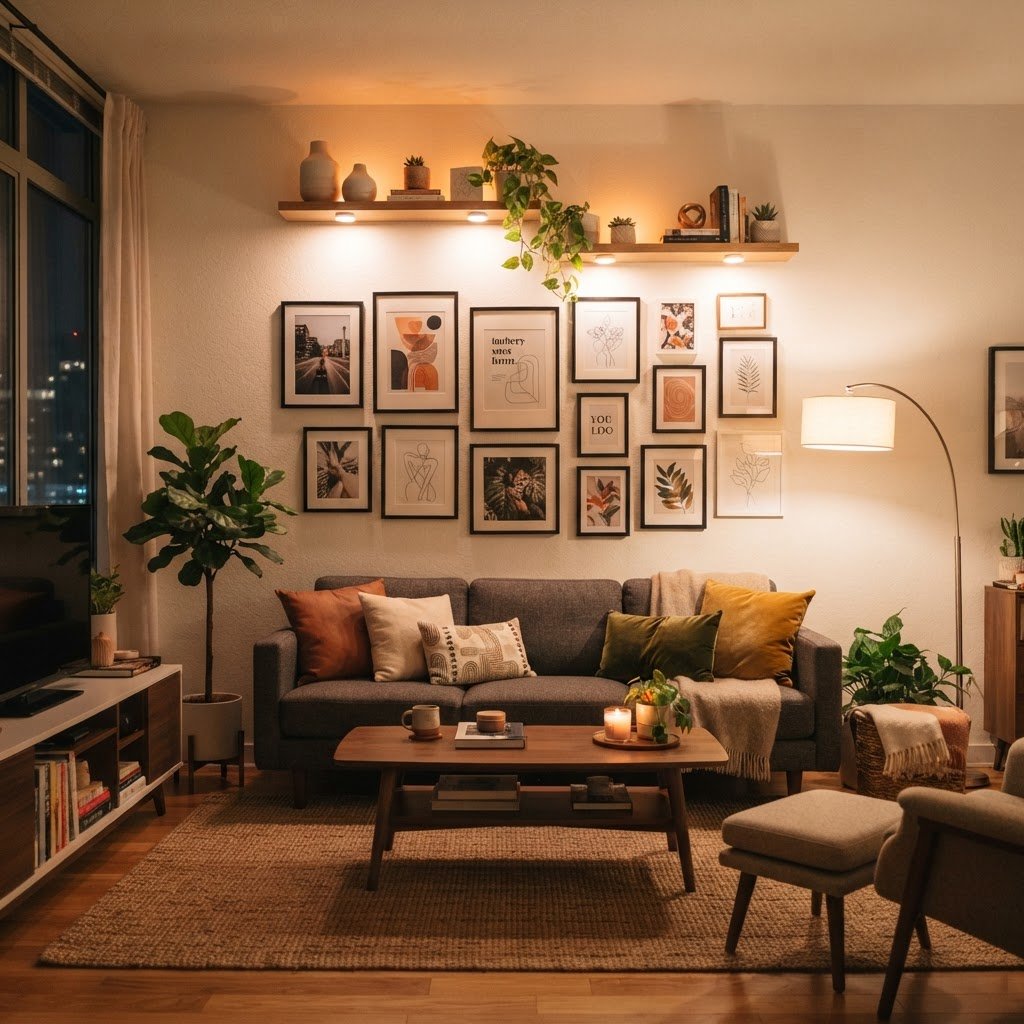
Gallery walls using non-damaging adhesive strips add a personalized and luxurious touch to any small wall.

Scale is the most common pitfall in small apartment design, as using only miniature furniture often makes a home look like a dollhouse. Instead of opting for dozens of tiny, low-quality items, invest in three or four substantial, high-quality “statement” pieces that ground the room. When selecting these pieces, prioritize designs that feature exposed legs; seeing the floor underneath your sofa, ottoman, or media console creates a sense of airiness that prevents the space from feeling cramped. Look for premium materials like velvet, boucle, or natural walnut wood, which offer tactile experiences that contrast with standard “flat-pack” laminate. A single velvet sofa can cost $800 to $1,500, but it provides a focal point that makes the entire room feel like a custom-designed residence rather than a generic rental unit.

Strategic Use of Mirrors and Art
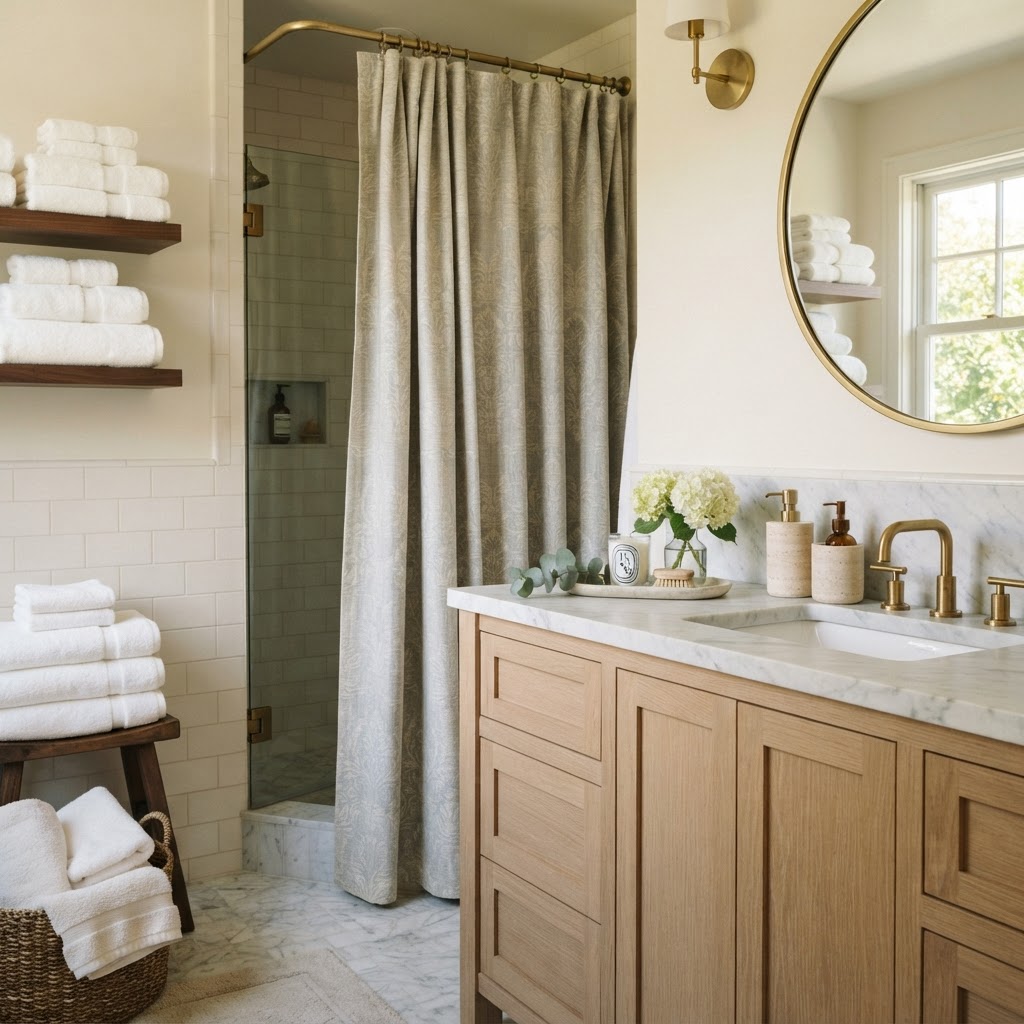
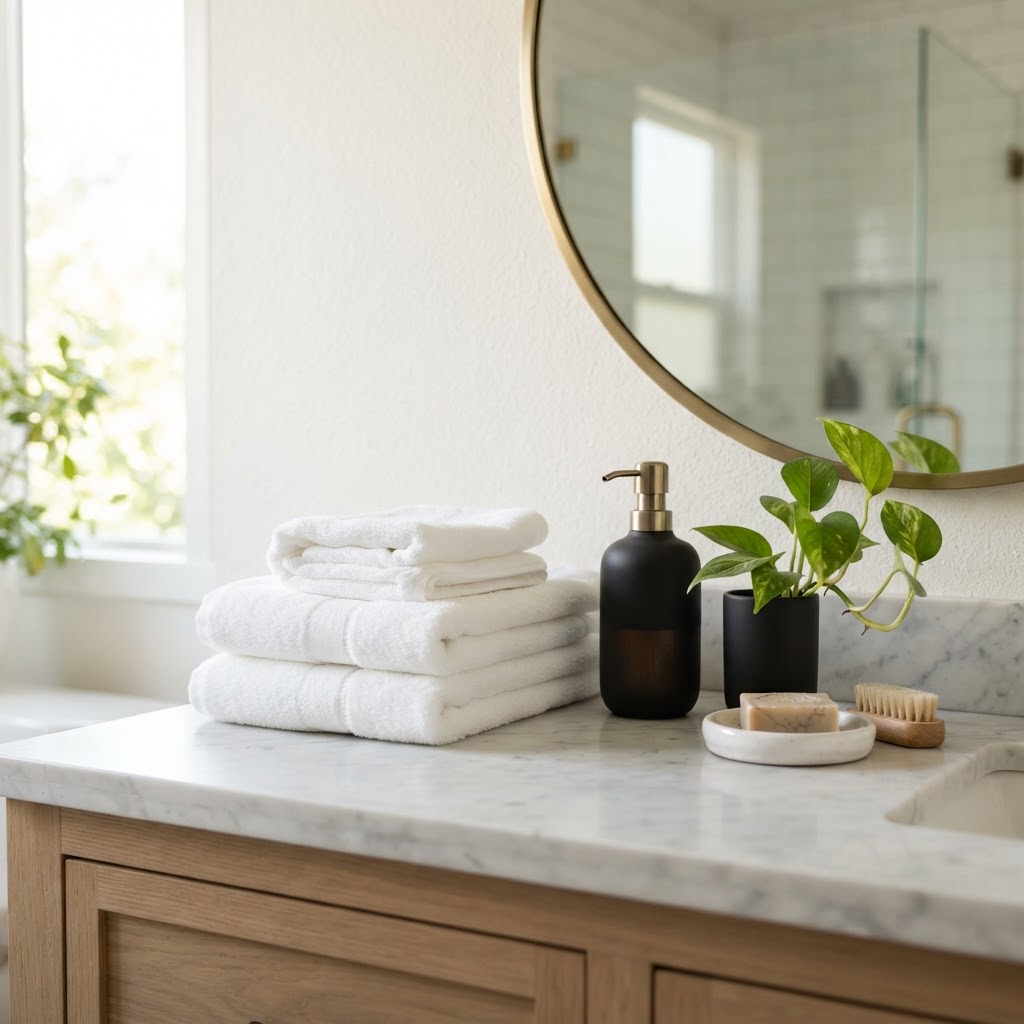
Coordinated accessories in the bathroom provide a professional, spa-like finish that hides standard rental fixtures.

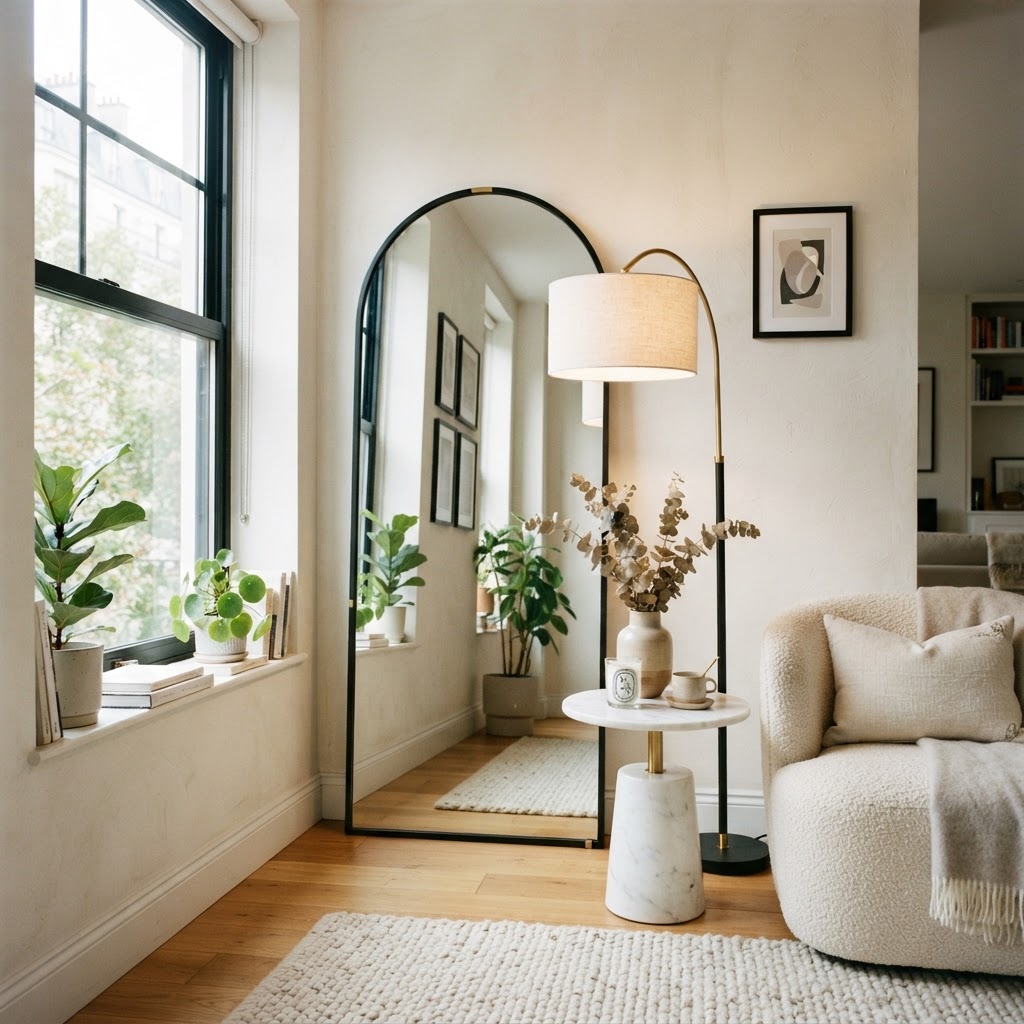
Mirrors function as both architectural tools and art, capable of doubling the perceived depth of a room while bouncing natural light into dark corners. To maximize this, place a large floor-length mirror directly opposite a window to amplify daylight; if the mirror features an ornate, metallic, or sculptural frame, it serves as a high-end decor piece in itself. Beyond reflection, art curation defines your personal style. Use gallery walls to group smaller pieces, ensuring a cohesive theme or color story that makes your collection look curated by a professional.

Gallery Wall Best Practices

Avoid permanent wall damage by utilizing heavy-duty adhesive strips rated for high weight capacities, such as Command or 3M systems. For a high-end look, maintain uniform spacing—typically 2 to 3 inches between frames—and keep your matting consistent. If you use diverse frames, paint them the same color to unify the collection. A gallery wall that spans from eye level upward draws the gaze toward the ceiling, further emphasizing vertical space in your 500-sq-ft floor plan.

The Magic of Textural Layering

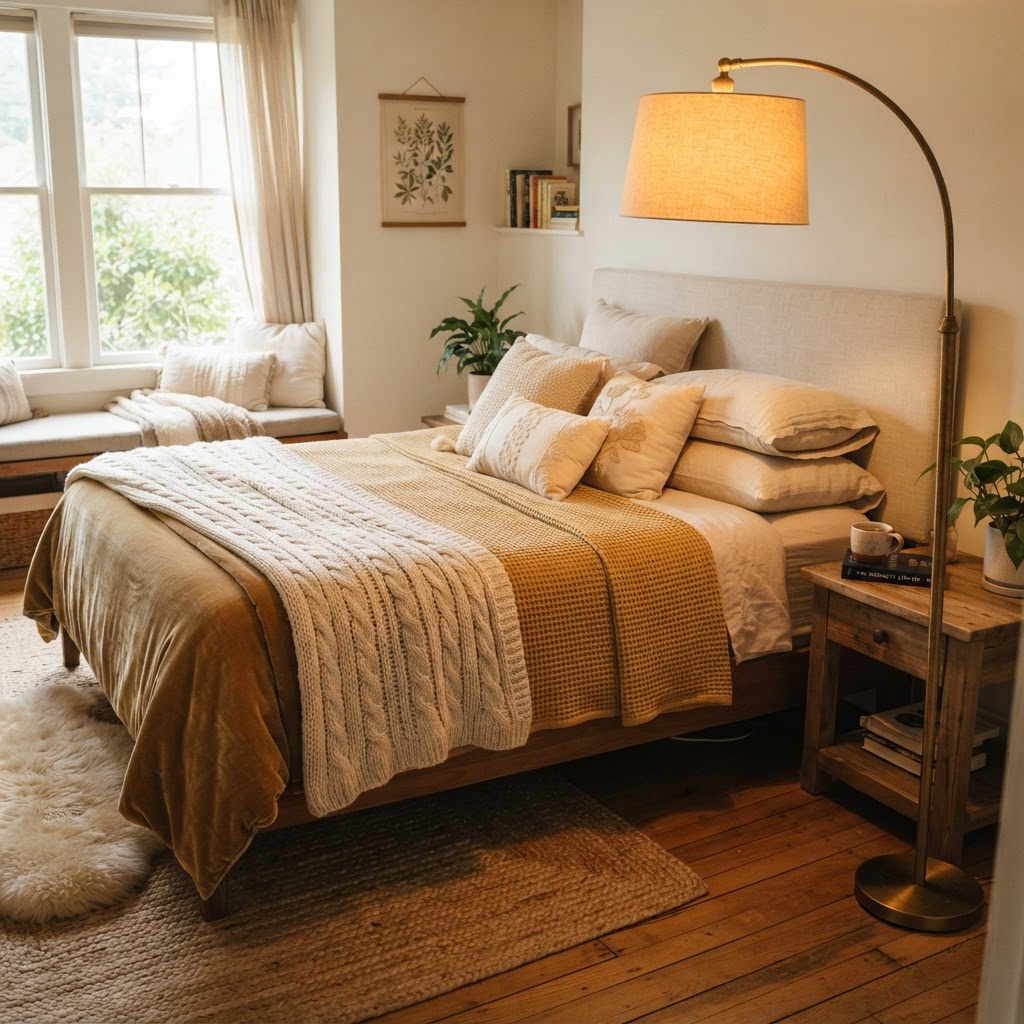
Luxury is defined as much by touch as it is by sight, and layering textiles is the most cost-effective way to achieve this. By incorporating a variety of finishes—such as a chunky knit wool throw, linen duvet covers, a natural jute rug, and smooth ceramic or stone accessories—you create a rich, multi-sensory environment. This depth distracts from standard “landlord-grade” finishes like generic beige carpet or vinyl. Layering is particularly effective for floors; placing a large, high-quality wool or patterned area rug over existing flooring hides the dated material while defining distinct “rooms” within an open-concept 500-sq-ft unit. This technique provides the plush underfoot feeling associated with luxury design while remaining fully removable when you move.

Smart Storage That Stays Stylish

Visual noise is the enemy of a premium aesthetic, making smart, beautiful storage essential for small-space living. Because you cannot install permanent built-ins, utilize vertical storage solutions like leaning bookcases or tension-pole shelving systems that reach the ceiling. These pieces provide high-capacity storage while maintaining a footprint that preserves floor space. Use uniform decorative baskets and bins to hide daily clutter like remotes, chargers, and mail. By keeping all horizontal surfaces clear, you mimic the minimalist, curated look of a boutique hotel suite, ensuring that every object in your apartment serves either a functional or an aesthetic purpose.

Kitchen and Bath Facelifts

While major renovations are off the table, swapping out visible hardware and accessories can modernize a dated kitchen or bath in under an hour. Remove standard, cheap-looking cabinet pulls and replace them with solid brass, matte black, or brushed nickel hardware; keep the original pieces in a Ziploc bag to reinstall before move-out. In the bathroom, replace the generic plastic shower curtain with a high-end fabric liner and a waffle-weave drape. Consistent, coordinated accessories—like matching soap dispensers, towel sets, and rugs—create a professional, spa-like finish that masks the standard builder-grade fixtures that come with most rental properties.

FAQ

Can I paint my rental walls without losing my deposit?

While traditional paint is usually prohibited, you can achieve a similar effect using high-quality, renter-friendly peel-and-stick wallpaper or temporary fabric wall coverings. These options are easy to remove and typically do not damage the underlying drywall, making them perfect for creating accent walls without violating your lease.

What is the best way to make a 500-sq-ft room look bigger?

To make a small room feel larger, use floor-to-ceiling curtains, strategically placed oversized mirrors, and furniture with exposed legs. These design choices draw the eye upward and create an illusion of depth, preventing the space from feeling cluttered or enclosed.

How do I hide electrical cords in a rental?

Use cable management products like adhesive-backed cord clips, fabric cord sleeves that match your walls or furniture, or heavy-duty cord covers that snap over wires. Keeping cords organized and hidden is a foundational step in creating a clean, high-end, and clutter-free living environment.

Is it worth investing in expensive furniture for a rental?

Yes, investing in high-quality statement pieces is worth the cost because they are portable and instantly elevate the “lived-in” feeling of any rental apartment. Unlike cheap flat-pack furniture, high-end pieces provide better ergonomics, lasting durability, and a more sophisticated aesthetic that you can take with you to your next home.

How do I replace rental hardware without damaging cabinets?

Simply unscrew the existing cabinet pulls or knobs and store them in a secure, labeled bag for reinstallation later. Replace them with high-end hardware using the same screw holes, ensuring no new drilling is required to upgrade the entire look of your kitchen or bathroom cabinetry.
21 Small Entryway Ideas That Maximize Every Inch

21 Small Entryway Ideas That Maximize Every Inch

Maximize a small entryway by utilizing vertical wall space for storage, incorporating multifunctional furniture with slim profiles, and using mirrors to create an illusion of depth. Implementing these design strategies can transform a cramped foyer into a highly organized, stylish transition zone while maintaining clear foot traffic flow.

Rethink Your Vertical Storage Potential

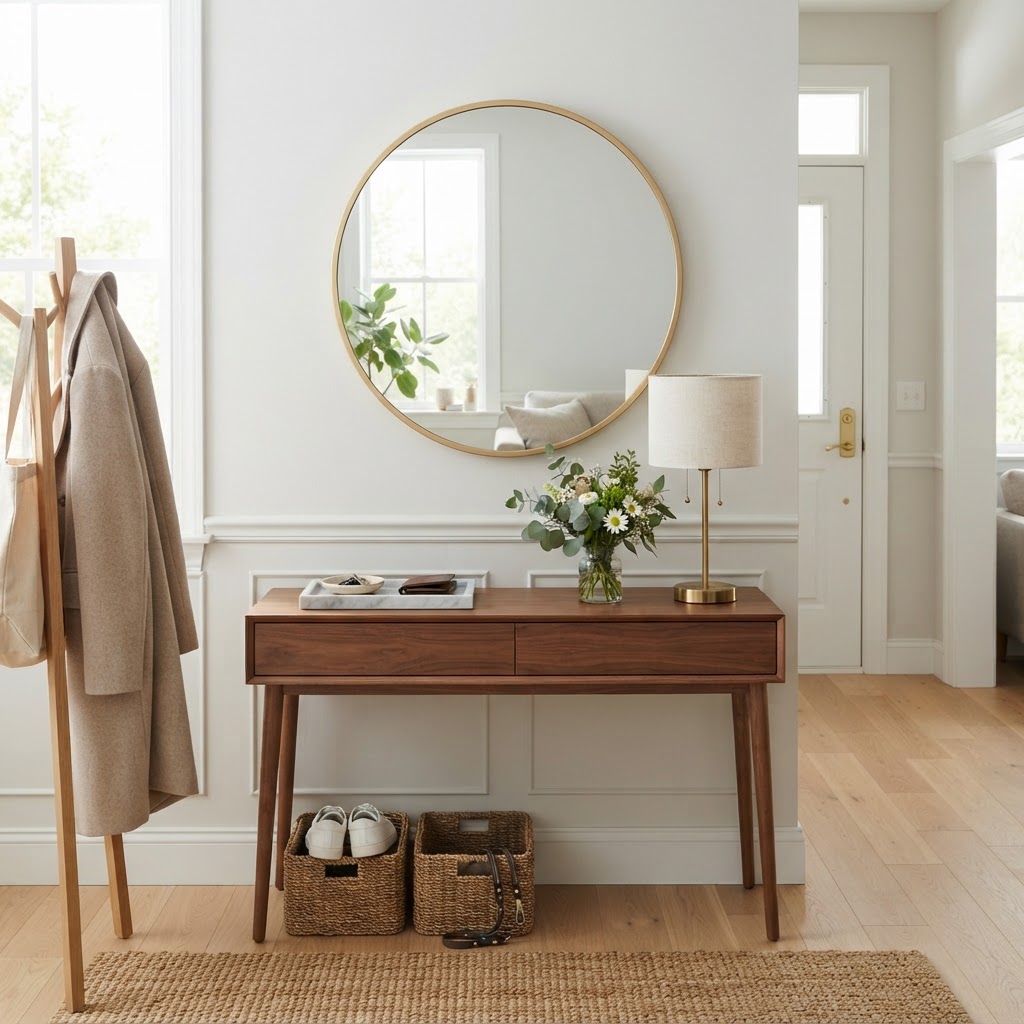
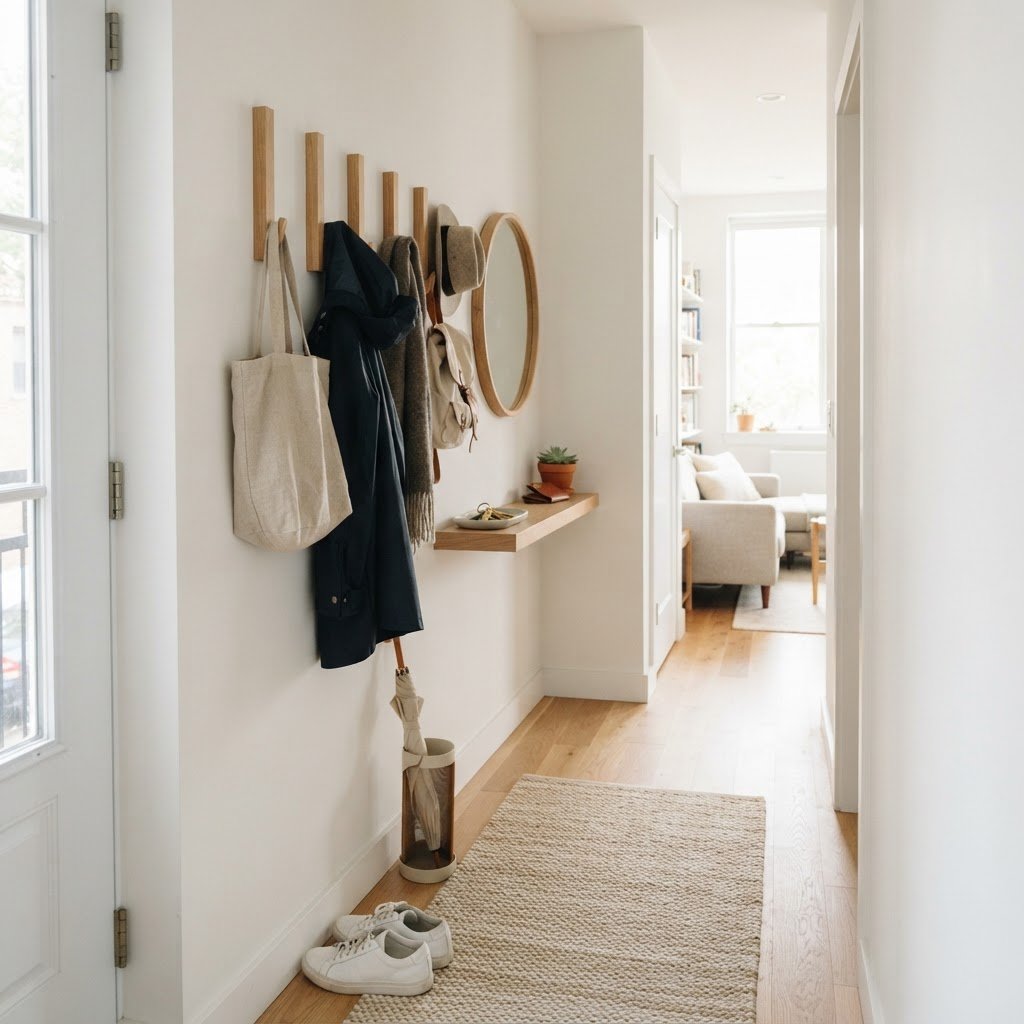
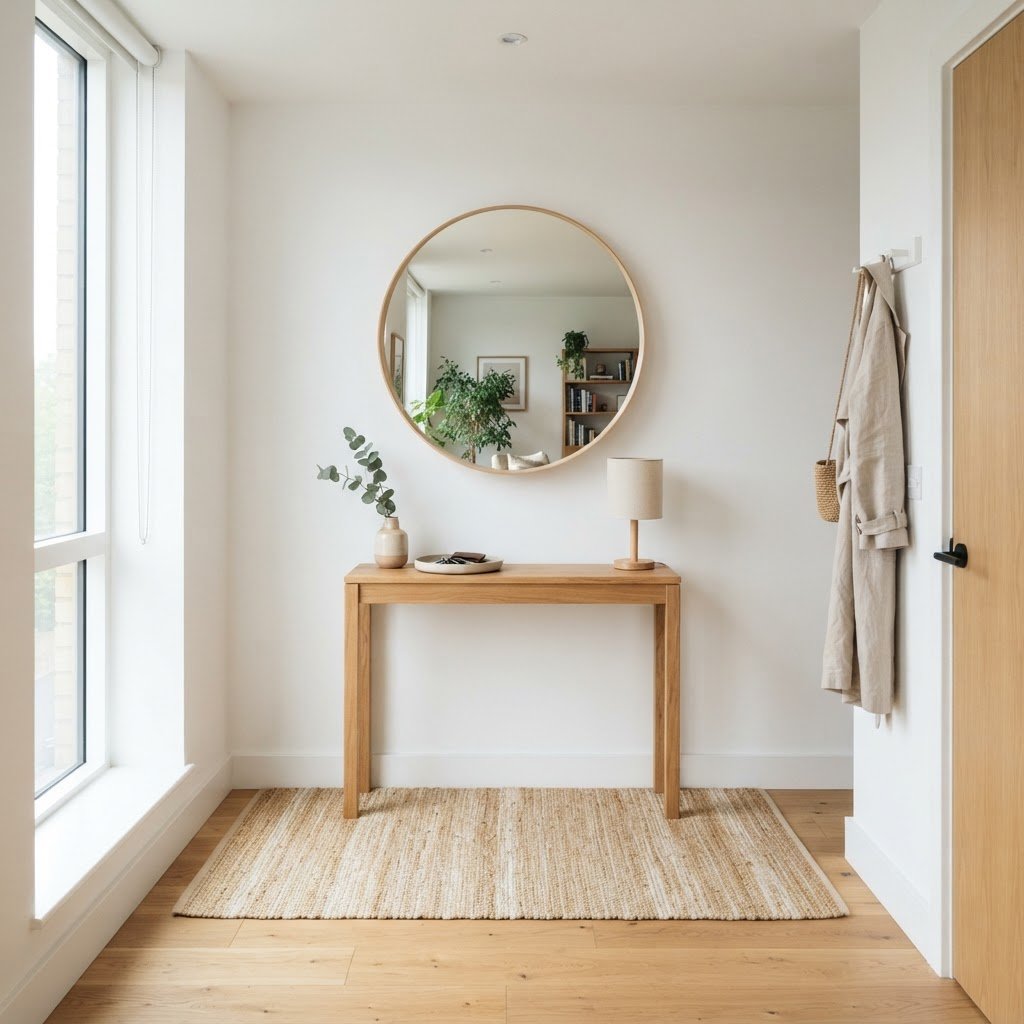
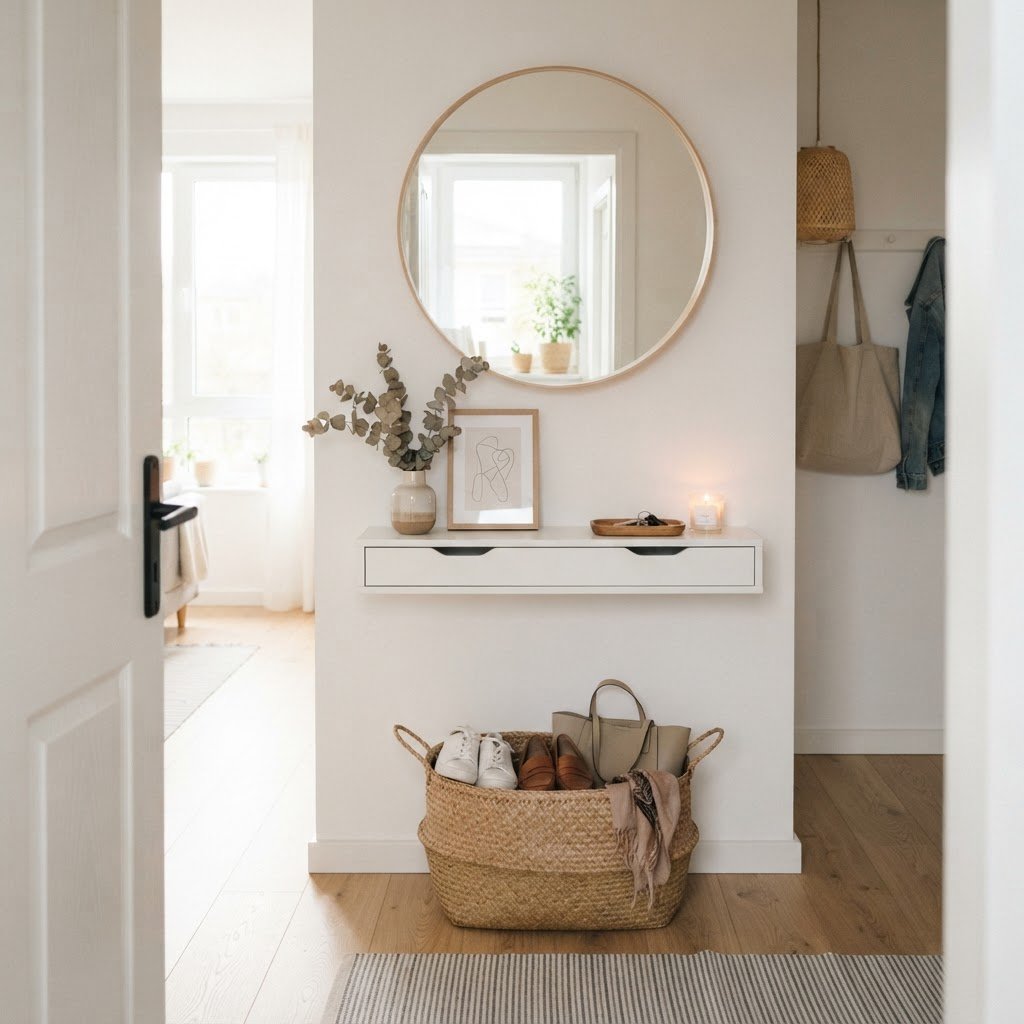
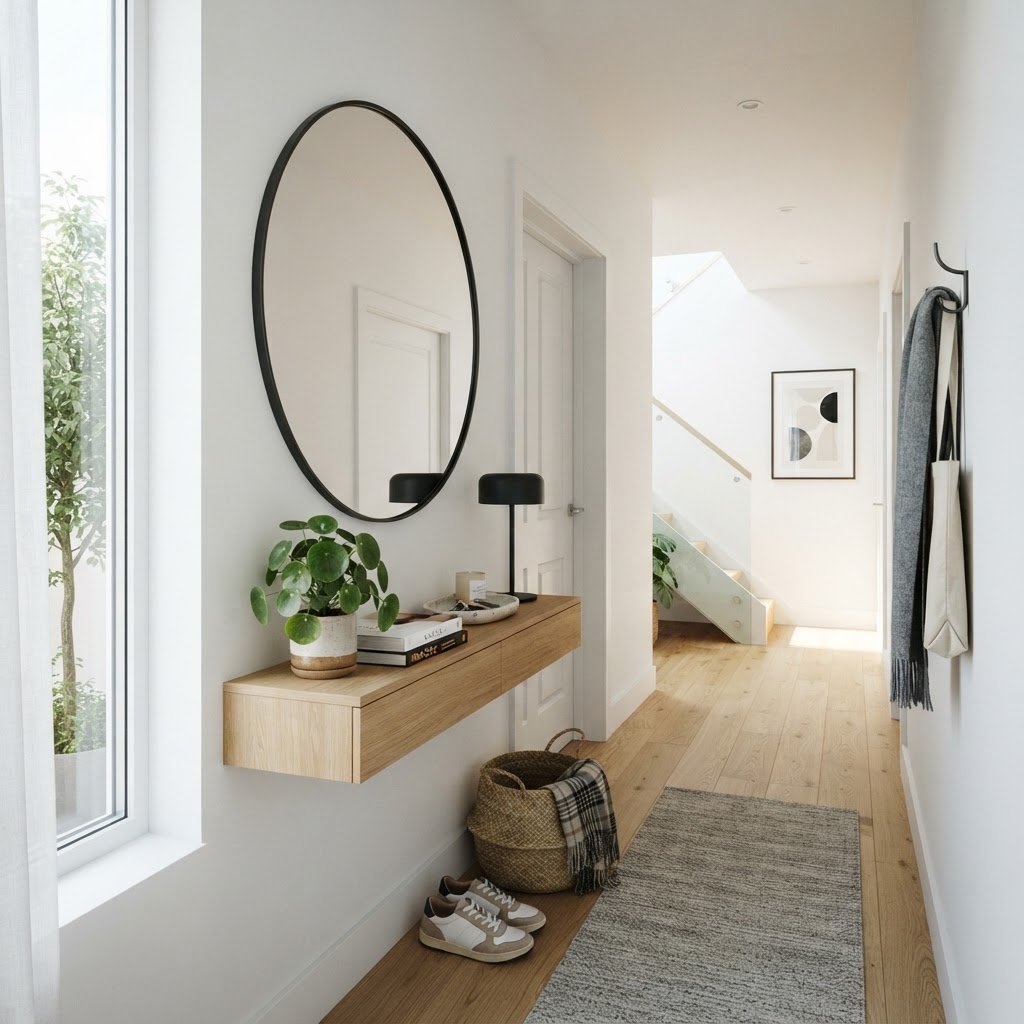
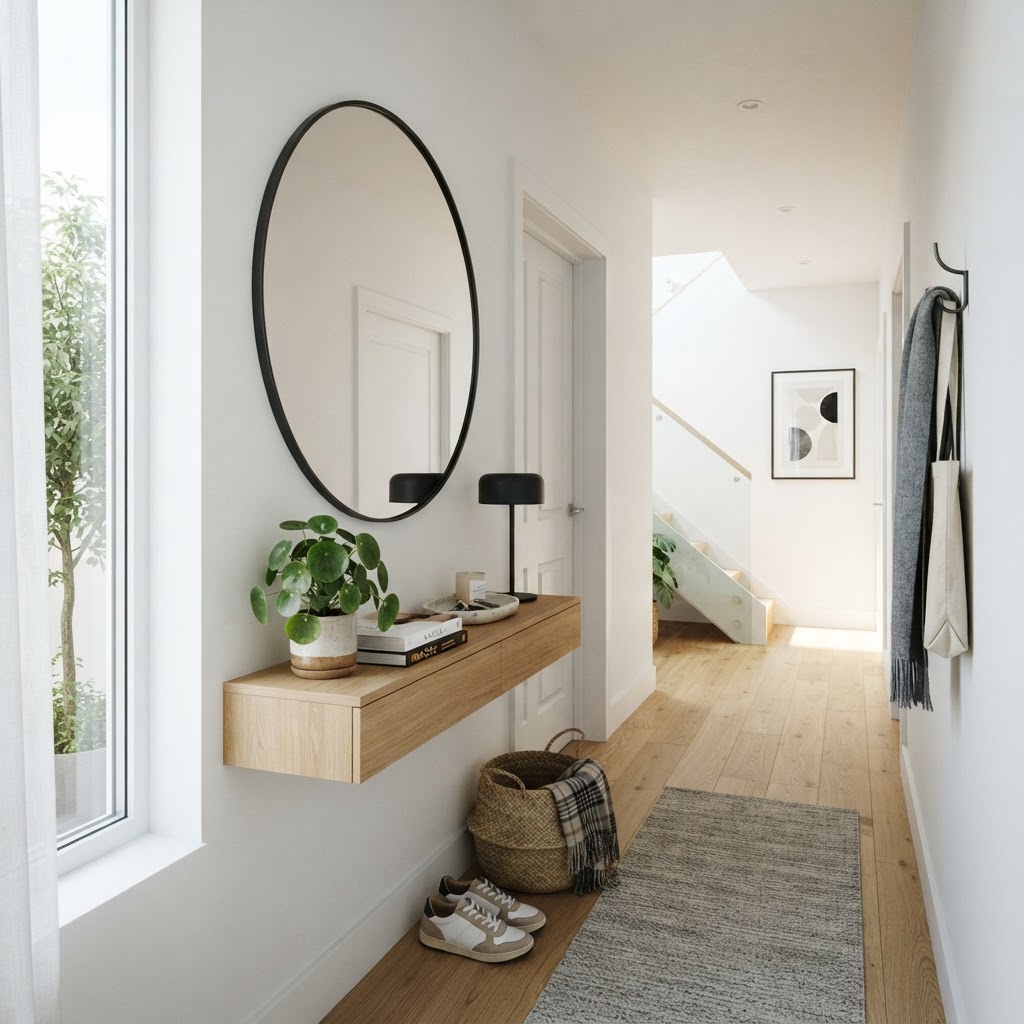
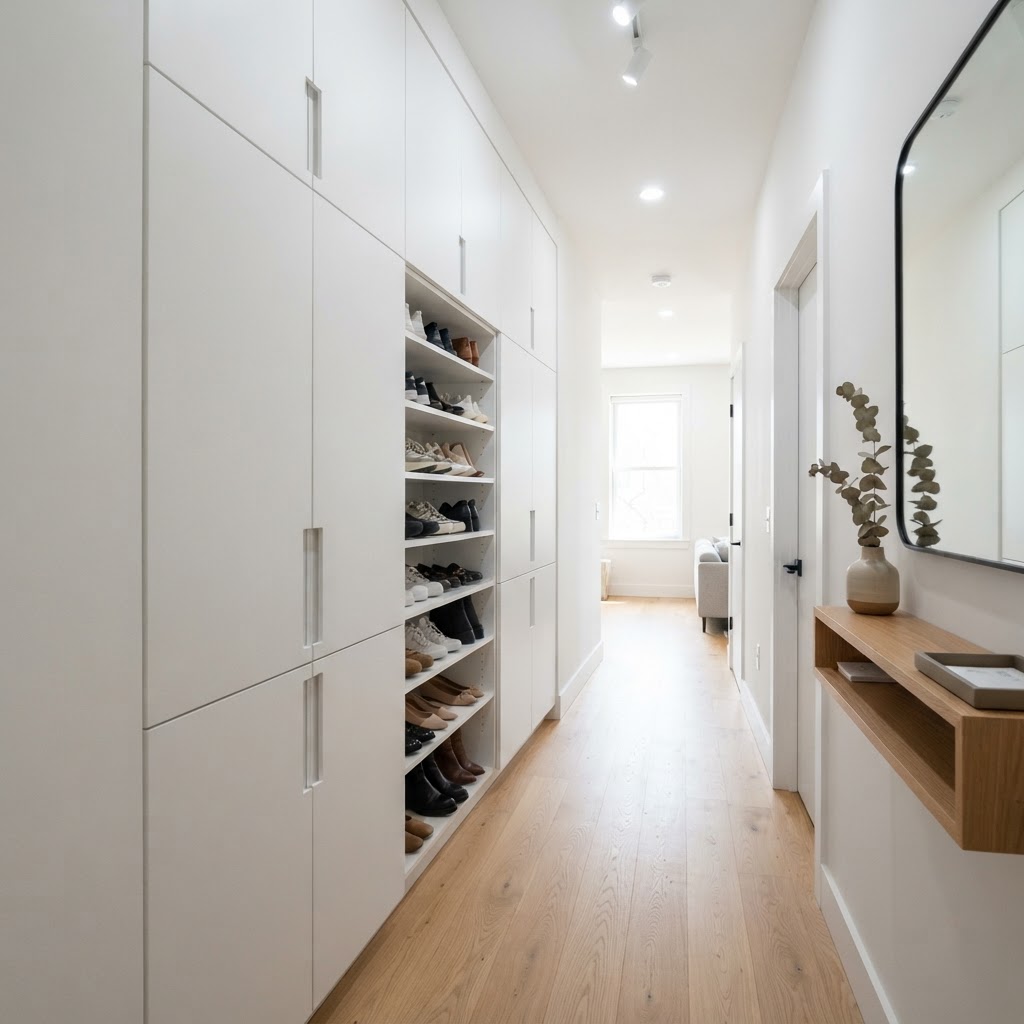
A well-organized narrow entryway uses a mirror to create depth.

When floor space is limited, the most effective strategy is to leverage vertical wall surfaces to keep essential items off the ground. Floor-to-ceiling shelving units, typically ranging from 10 to 14 inches in depth, provide massive storage capacity for seasonal gear while drawing the eye upward, which visually increases ceiling height by 10-15%.

Utilizing Wall Hooks and Peg Rails

Instead of bulky coat racks that consume precious floor footage, opt for sleek wall-mounted hook systems. A continuous peg rail running the length of your wall allows you to hang bags, coats, and hats exactly where you need them. This simple installation is inexpensive—often costing less than $40 for a DIY set—and can be painted to match your walls for a seamless, built-in appearance that blends perfectly into your decor.

Floating Shelves for Decor and Essentials

Floating shelves are life-savers in narrow spaces, offering a place to drop keys and mail without the bulk of a traditional console table. By keeping the floor clear underneath the shelf, you maintain an open, airy feeling that is critical in small-scale interior design. Use these surfaces to display small decorative items or to hold a shallow tray dedicated to the small items that usually cause clutter.

Storage Type Primary Benefit Best For
Peg Rails High capacity, low profile Coats, bags, hats
Floating Shelves Minimalist aesthetic Keys, wallets, decor
Floor-to-Ceiling Maximum volume Seasonal items, shoes

The Power of Multifunctional Furniture

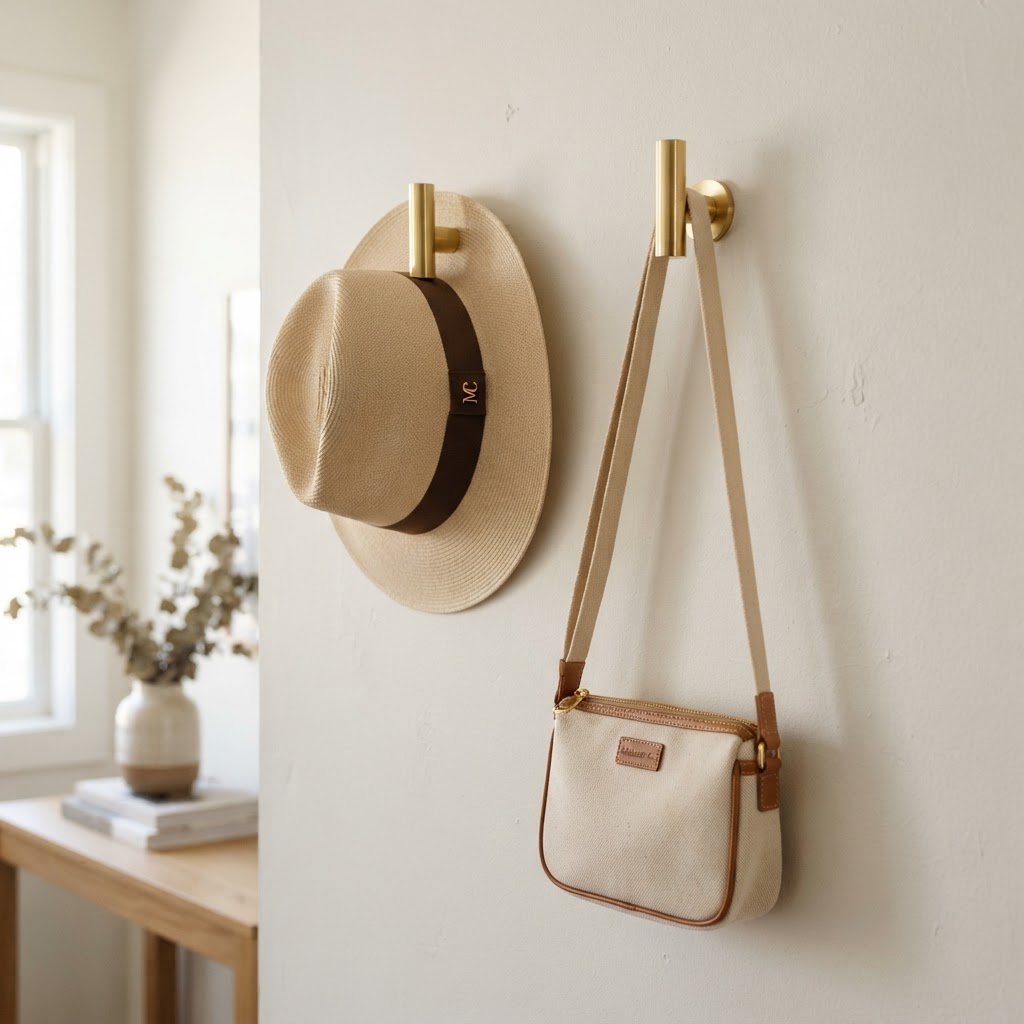
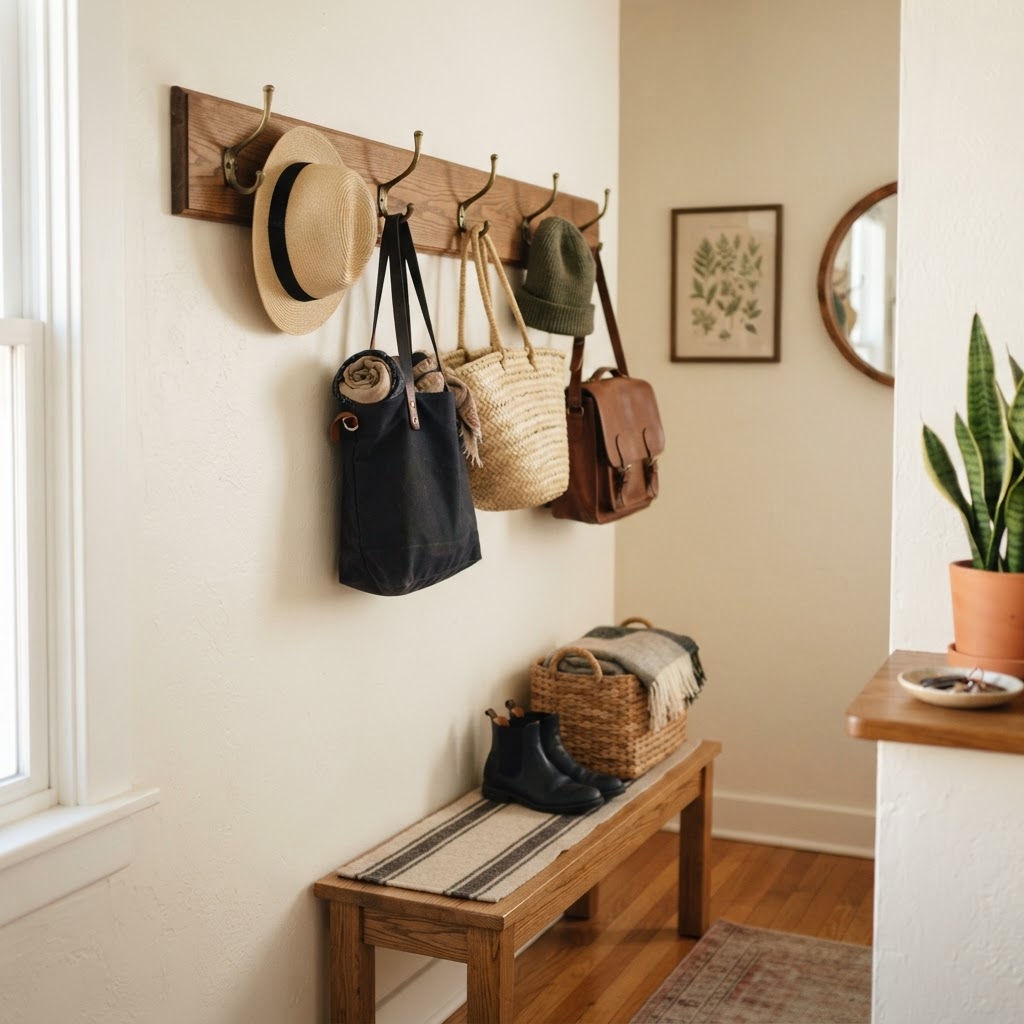
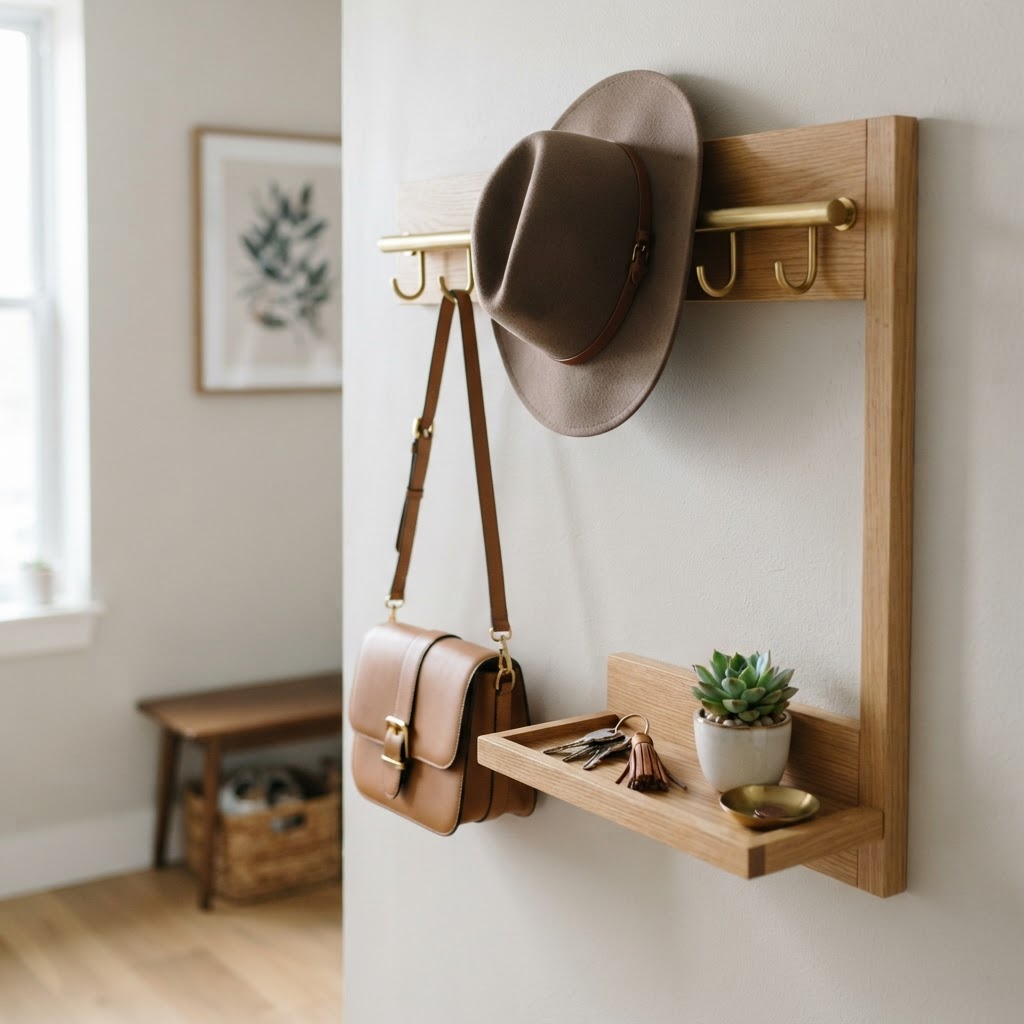
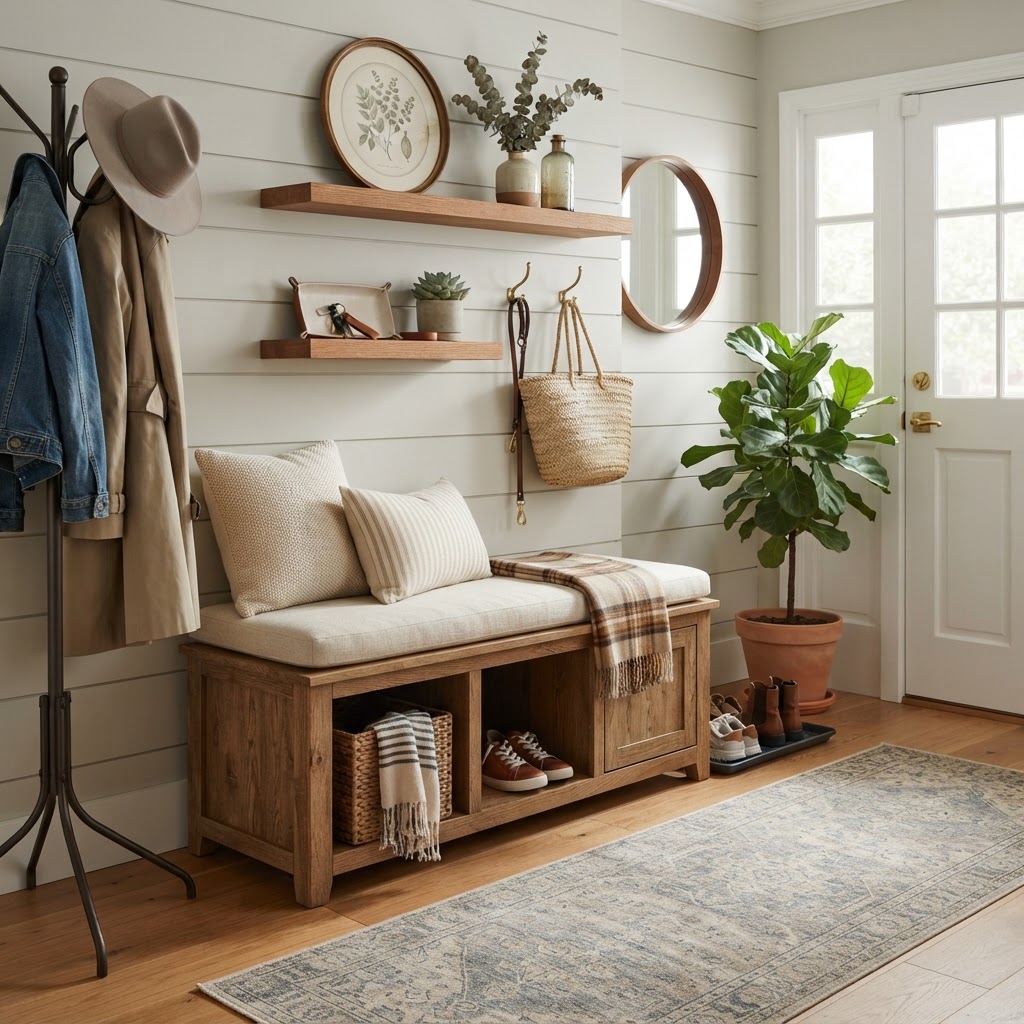
Gold peg hooks provide an elegant, space-saving storage solution.

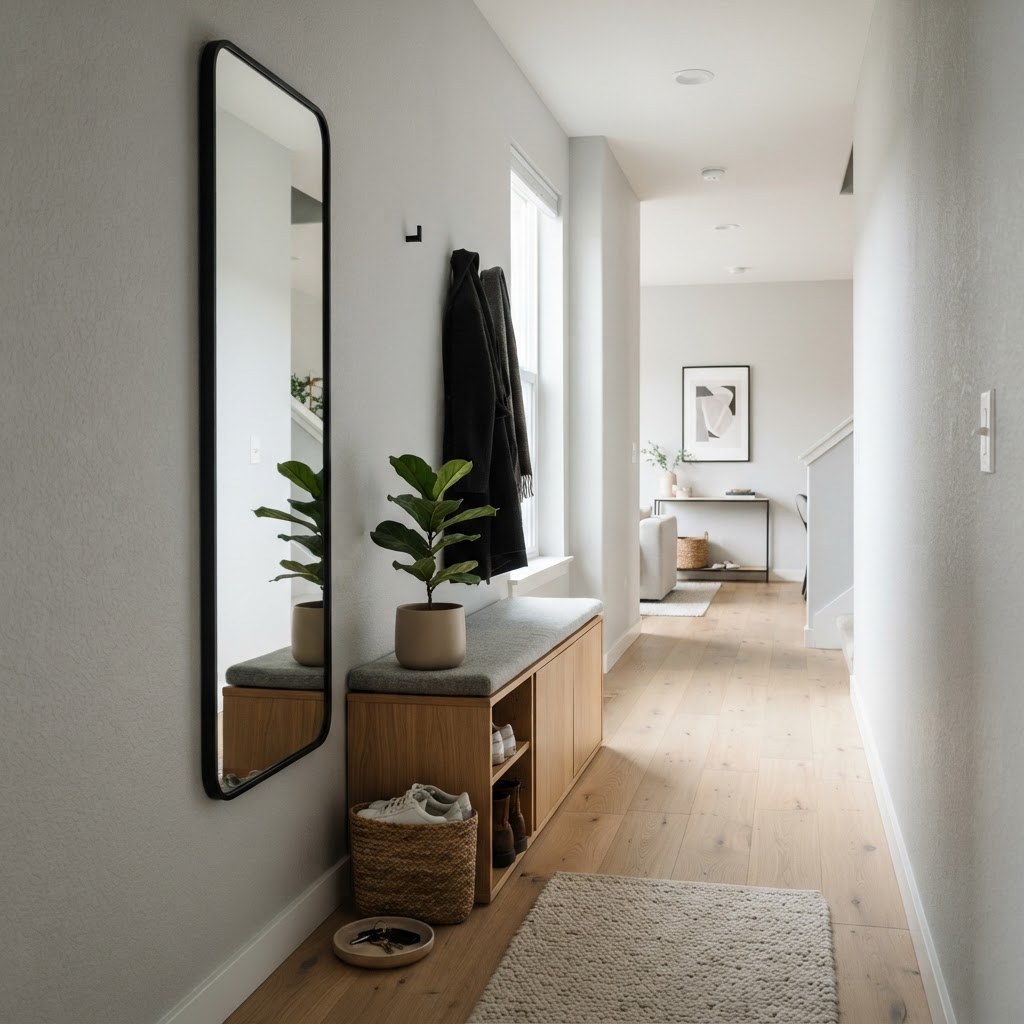
In a small space, every piece of furniture must earn its keep by providing at least two distinct functions, such as a bench that hides a shoe rack underneath. This approach keeps your hallway tidy while providing a convenient spot to sit while you put on your boots. Selecting a bench with a slim profile—ideally under 15 inches deep—ensures that it doesn’t obstruct the path, maintaining clear traffic flow through your main entrance.

For tight spaces, choose furniture pieces that feature hidden compartments or lift-top lids, which allow you to store umbrellas, dog leashes, or cleaning supplies out of sight. A bench should support at least 250 pounds if intended for seating, and utilizing materials like wood or durable rattan can add texture without visual weight. By consolidating your furniture footprint, you can often save up to 3 square feet of floor space in a standard 4-foot by 4-foot foyer.

Creating Illusions with Mirrors and Lighting

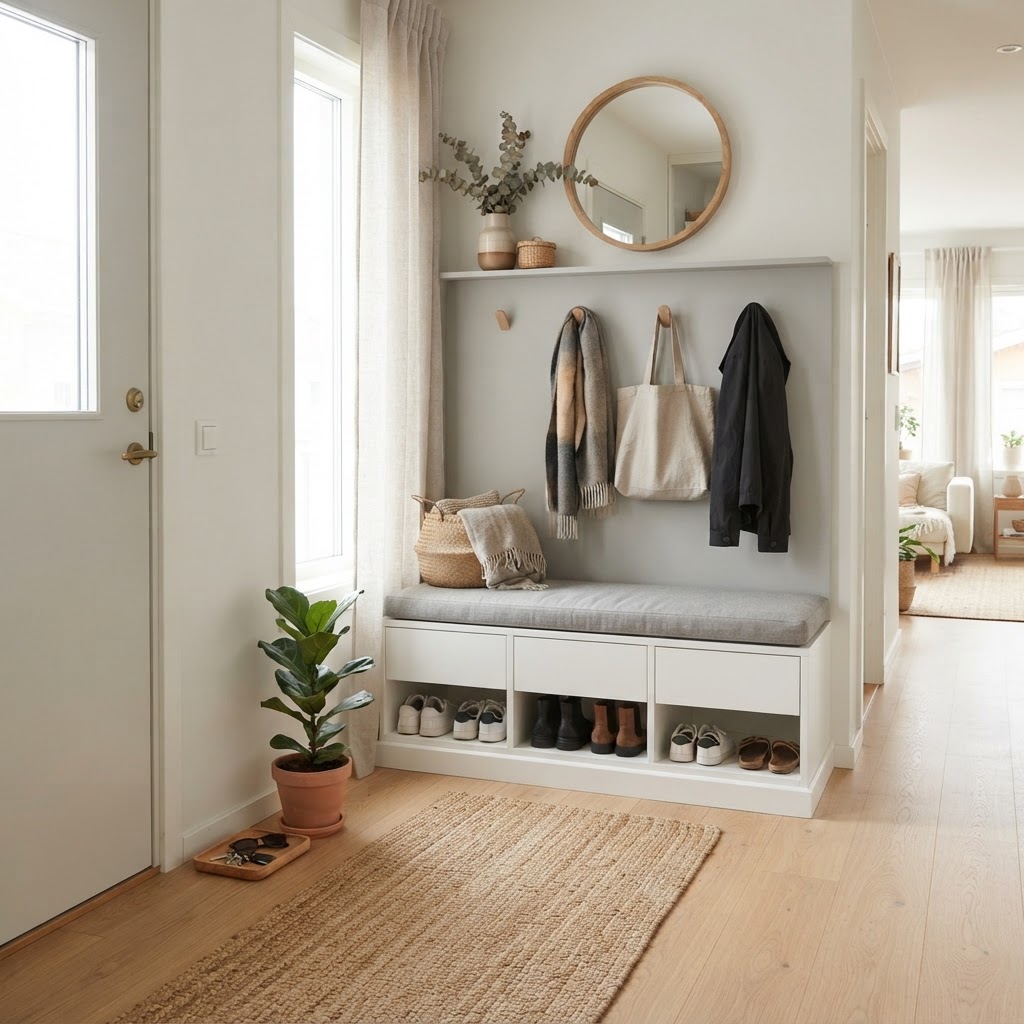
A shoe storage bench keeps footwear hidden and organized.

One of the oldest tricks in the design book is the use of large-scale mirrors to expand a room, as a floor-length mirror can effectively double the perceived depth of a cramped foyer. Furthermore, mirrors reflect natural light, which is essential for creating a bright, welcoming atmosphere in areas that often lack windows.

Choosing the Right Lighting Fixtures

Good lighting is non-negotiable for a functional entryway. If you have a low ceiling, avoid long, hanging chandeliers that make the space feel compressed. Instead, look for flush-mount fixtures or sleek wall sconces that provide ambient light without taking up visual volume. Task lighting near your door can also ensure you never fumble for your keys in the dark.

Lighting Type Installation Depth Best Effect
Flush Mount Under 6 inches Openness, low ceilings
Wall Sconces 4-8 inches Direct task lighting
LED Strips 0.5 inches Hidden ambient glow

Strategic Color Palettes for Expansion

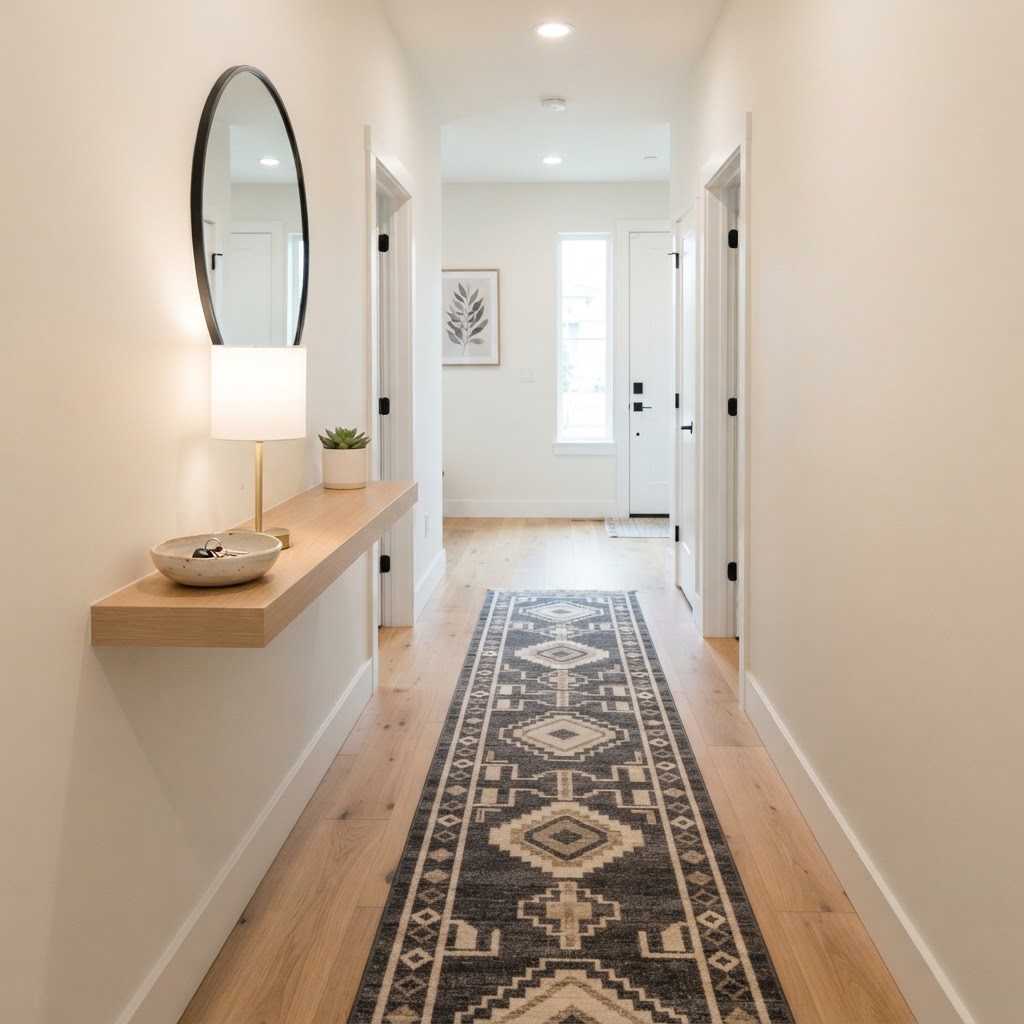
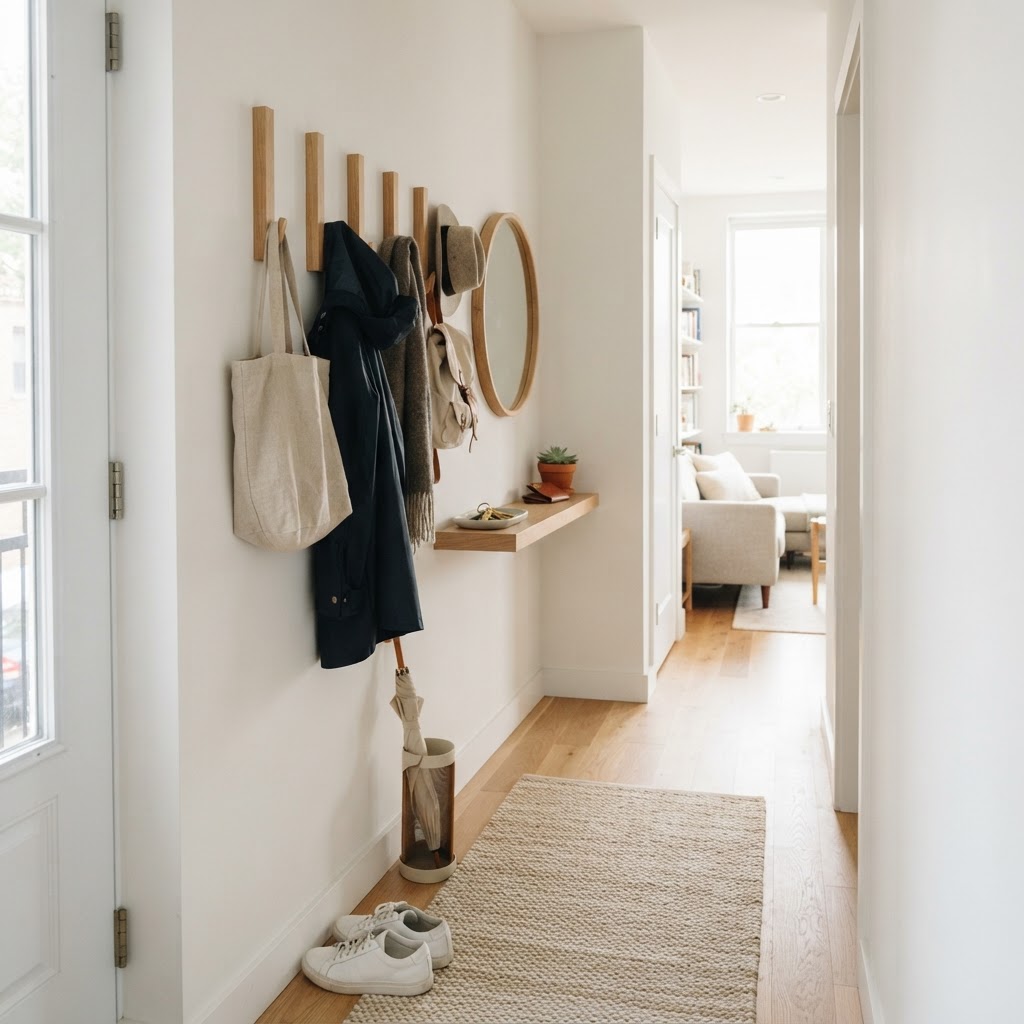
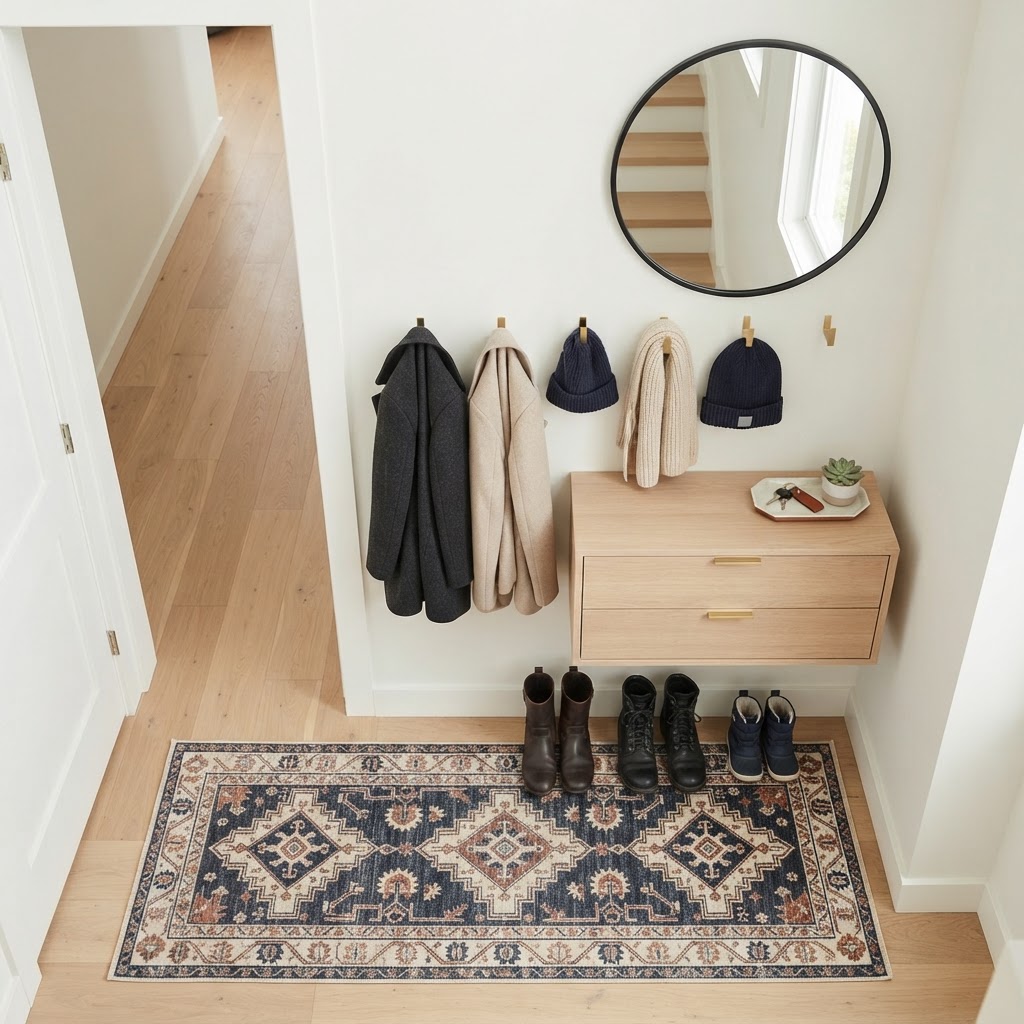
A runner rug and floating shelf define this small entrance area.

Choosing the right paint color can significantly impact how your entryway feels, as light, neutral tones like off-white, soft gray, or pale sage make walls seem to recede. If you prefer bolder designs, consider painting the trim and doors the same color as the walls to minimize visual interruptions and keep the focus on the architecture rather than the size of the room.

Experts often suggest using a monochromatic palette to remove hard visual lines, which can make a small room feel up to 20% larger. For higher-traffic areas, select paint with a semi-gloss or satin finish; these are not only easier to clean but also reflect more light than flat finishes. If you must use dark colors, apply them sparingly to an accent wall or the ceiling to create a “jewel box” effect, which adds personality without making the space feel closed in.

Selecting Slim-Profile Storage Solutions

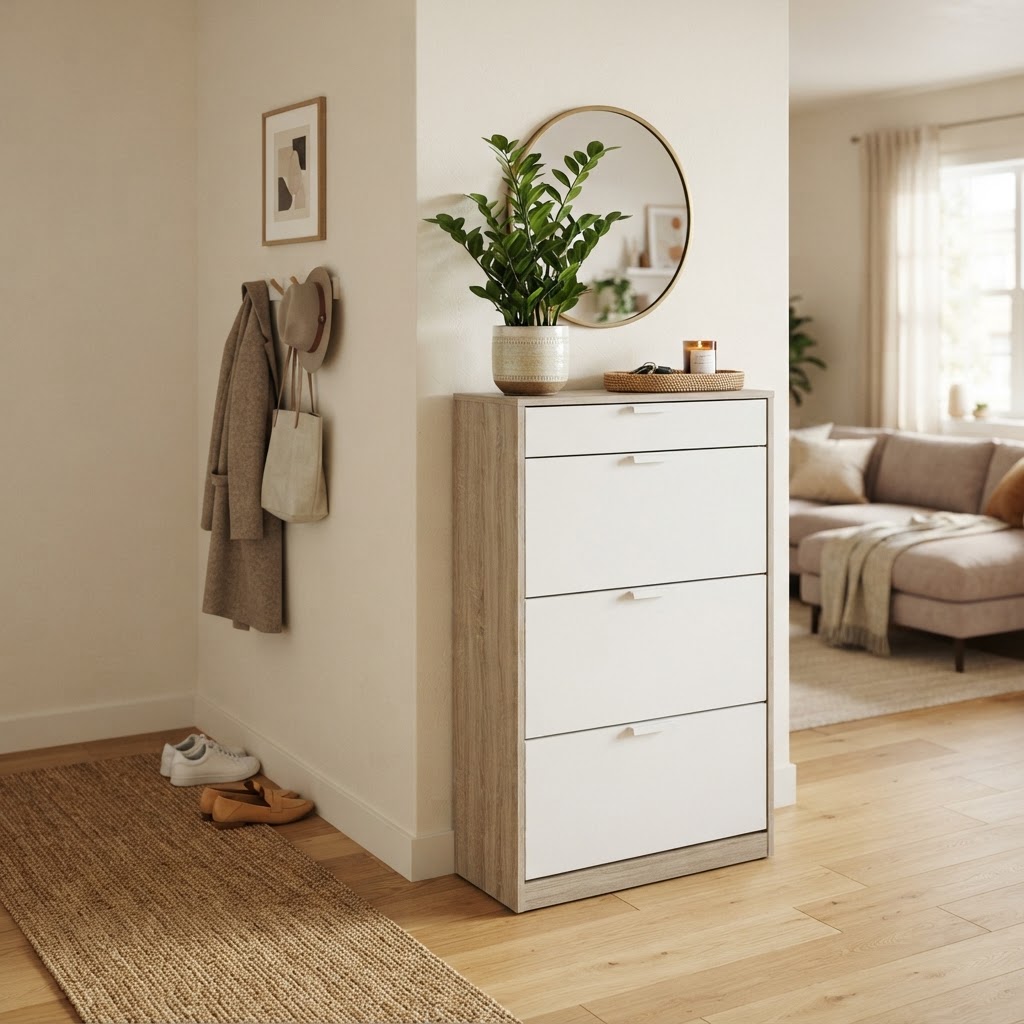
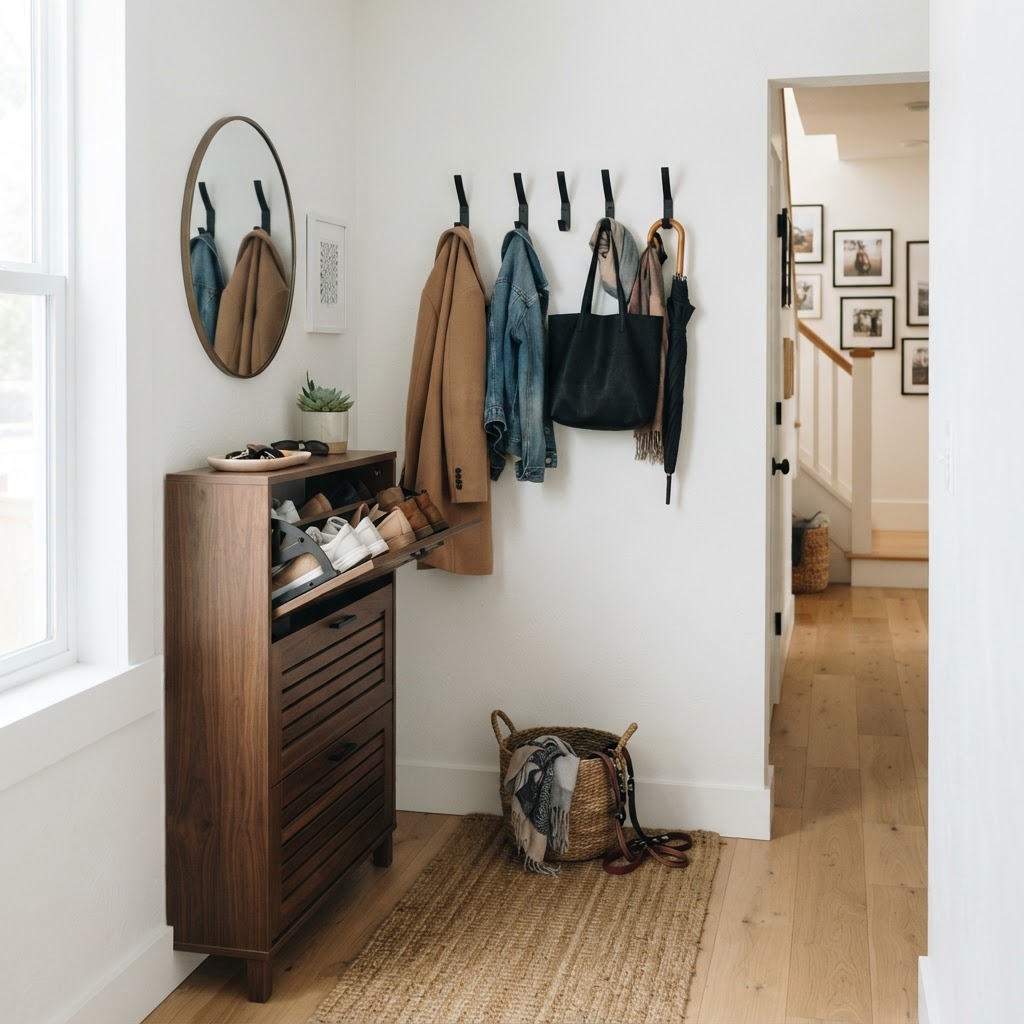
Standard furniture is often too deep for narrow hallways, so look for consoles specifically designed for tight spaces that are only 10-12 inches deep. These pieces are often sufficient to hold a decorative bowl or a lamp without blocking the walkway. You can also look for “shoe cabinets” which feature tilt-out drawers that hide bulky shoes behind a flat, elegant front, saving you from the “piles of sneakers” syndrome.

Many modern slim cabinets are designed to be wall-mounted, which further increases the “floor clearance” and makes the entire room feel more spacious. A standard tilt-out cabinet can typically store 8-12 pairs of shoes while protruding less than 8 inches from the wall. This is a massive improvement over traditional shoe racks, which often require 15-20 inches of depth and constantly leave footwear exposed to view.

Incorporating Rugs for Zonal Definition

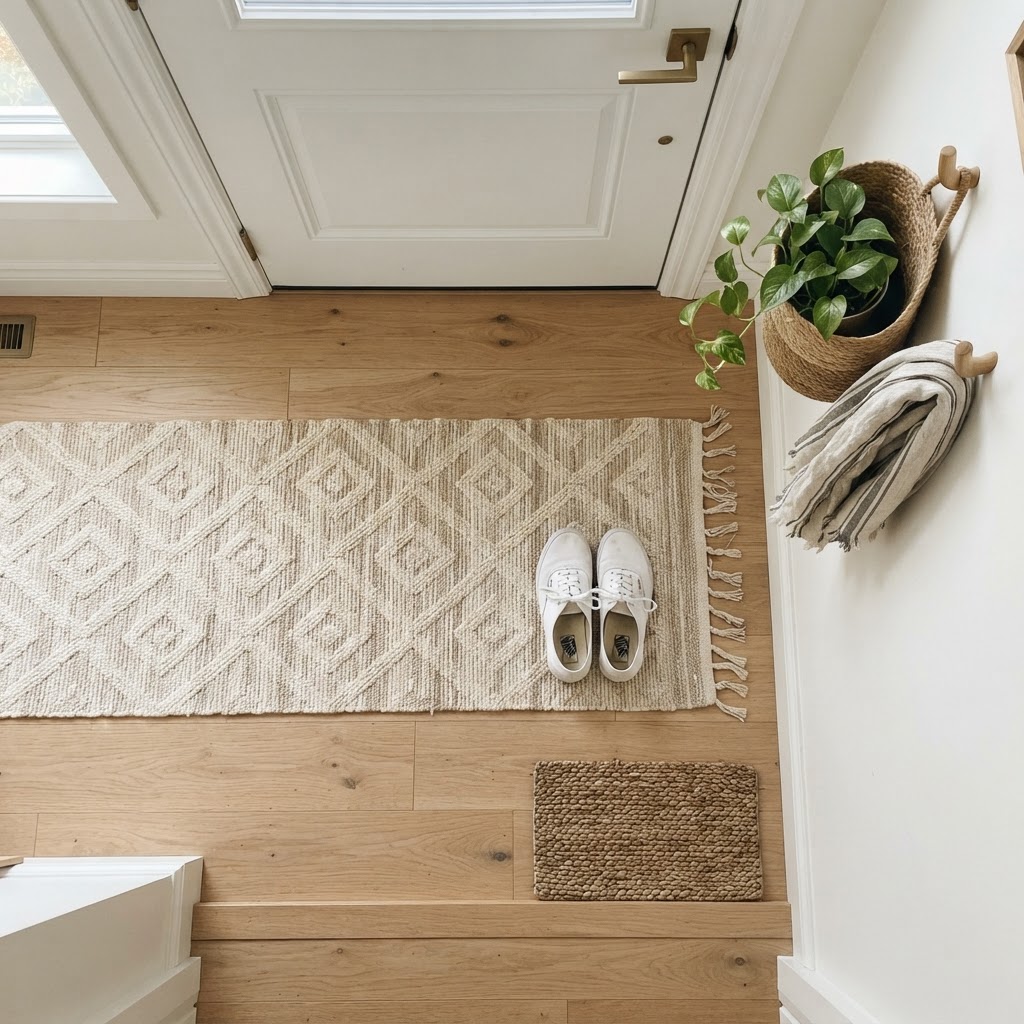
Even in a tiny entrance, a rug can serve an important purpose by defining the entryway as a distinct “room” even when it is physically open to your living area. Choose a durable, low-pile rug that can handle high foot traffic and is easy to clean. A runner with long horizontal stripes can help guide the eye along the length of the hall, making a narrow space feel significantly longer and more inviting.

When choosing a rug, look for materials like wool or high-quality synthetic fibers that have a low pile height (usually under 0.5 inches). This ensures the door can swing freely without catching on the rug edge. A rule of thumb is to allow for 2-3 inches of hardwood floor to show around the edges of the rug; this creates a border that prevents the room from feeling completely carpeted and helps keep the space looking larger.

Keeping It Decluttered with Daily Habits

No matter how brilliant your design, an entryway will fail if you don’t maintain it. The most successful spaces rely on a ‘one-in, one-out’ policy for footwear and outerwear. By keeping only the items you currently use in your entryway, you prevent the accumulation of out-of-season items that create chaos. Consider a secondary storage spot, such as a closet in another room, for items that don’t belong in the immediate entrance.

Establishing a daily 30-second reset habit—where you verify that only active items are present—can prevent the gradual buildup of clutter that plagues 70% of small households. If you do not have a secondary closet, use labeled bins stored under a bench to rotate items seasonally. This systematic approach ensures your entryway stays functional throughout the year, regardless of the weather outside.

Creative Hidden Storage Hacks

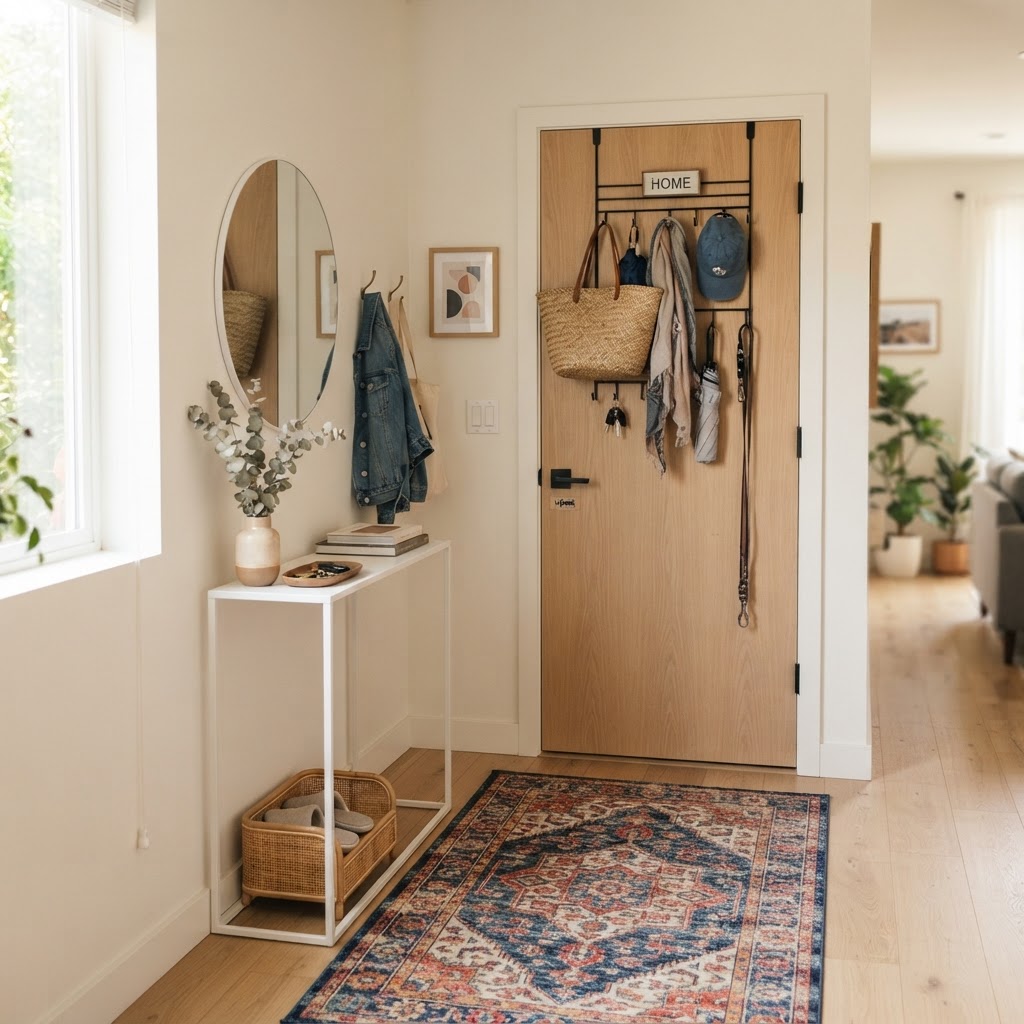
Sometimes, the best storage is hidden in plain sight by using the back of your front door as an anchor for an over-the-door organizer. This is perfect for light items like scarves, umbrellas, or dog leashes. You can also install a small basket under a floating console to hold seasonal items, effectively turning a dead space into a functional storage hub without sacrificing style.

Consider utilizing magnetic strips on the inside of cabinet doors to hold keys or small metal tools, or using wall-mounted adhesive hooks that require no drilling. These “hidden” solutions are excellent for renters who need non-permanent upgrades. Adding a small, decorative basket under a console table can hide up to 5 pounds of small accessories, effectively moving visual clutter off the main surface and into a contained, tidy unit.

Incorporating Personalized Decor

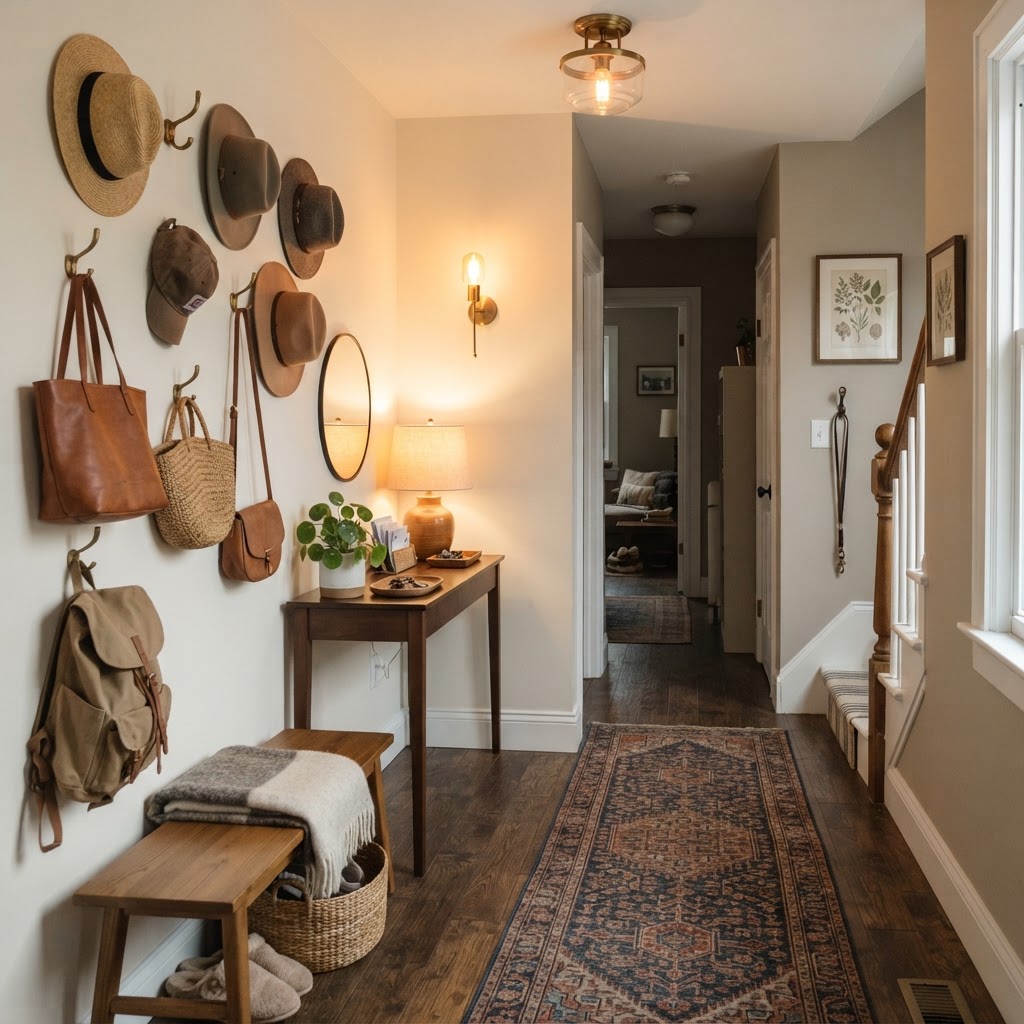
Just because a space is small doesn’t mean it should lack personality. Incorporate art, a small indoor plant, or a scented candle to make the entrance feel like a reflection of your home’s style. Small touches act as a signal that you have arrived home, turning a utilitarian storage area into a space that greets you with warmth and character. Remember, the goal of these 21 small entryway ideas is not just organization, but creating an entry experience that you actually enjoy.

Select decor pieces that serve a secondary function, such as a decorative bowl for keys or a piece of wall art that doubles as a hat hook. Keeping the decor minimal—limiting it to 3 main focal items—ensures that the space remains functional while showcasing your personal taste. By curating your items carefully, you avoid visual noise and ensure that every decorative element contributes to a welcoming and efficient atmosphere.

FAQ

Q: How can I make a narrow entryway look bigger?

Make a narrow entryway look bigger by using light, neutral paint colors and placing a large mirror on the wall. These elements reflect light and create a sense of depth, preventing the area from feeling like a claustrophobic hallway.

Q: What is the best way to store shoes in a small entry?

Use a slim-profile, wall-mounted shoe cabinet with tilt-out drawers to store footwear. These units usually protrude less than 8 inches from the wall, keeping the floor clear while hiding messy shoes behind a clean, decorative facade.

Q: Are floating shelves good for small entryways?

Floating shelves are excellent for small entryways because they utilize vertical wall space without the visual bulk of traditional console legs. This keeps the floor area visible, which helps maintain an airy, open feeling in tight transition zones.

Q: How do I organize a tiny apartment entryway?

Organize a tiny entryway by installing a vertical peg rail for bags and a small, multipurpose bench for hidden shoe storage. Focus on wall-mounted solutions to keep the floor clear, as floor space is the most valuable commodity in a compact home.

Q: What colors make a small hallway feel brighter?

Use off-white, light gray, or pale sage paint to make a small hallway feel brighter. Light-reflective colors bounce light around the room, making it appear more spacious and inviting compared to dark, heavy tones that absorb light.

Fastest No-Drill Ways to Make a Tiny Apartment Look Expensive

Fastest No-Drill Ways to Make a Tiny Apartment Look Expensive

To make a tiny apartment look expensive without drilling holes, focus on high-impact, non-damaging upgrades like floor-to-ceiling drapery, layered warm-toned lighting, and oversized area rugs. These strategies create visual depth and a sense of architectural intention that masks generic builder-grade finishes while staying entirely within typical rental lease agreements.

The Power of Statement Lighting and Ambiance

Layering textures and tall drapery creates a high-end look without any permanent changes.

One of the most effective ways to elevate a space is through lighting, as the standard overhead fixture in most rentals is notoriously unflattering. Since you cannot replace the electrical hardwiring without a landlord’s approval, focus on layering independent light sources to create a warm, golden glow that hides imperfections and adds architectural interest. Invest in sculptural floor lamps or oversized table lamps with fabric shades that act as pieces of art themselves. Studies show that using warm-toned lighting (between 2700K and 3000K) can make a small room feel significantly more inviting and high-end than harsh 5000K daylight bulbs.

Creating Depth Through Layered Lighting

Avoid relying on that single central light bulb. Instead, place lamps at three different heights around the room: one on a side table, one on a console, and one tall floor lamp near a dark corner. This technique mimics professional lighting design found in luxury hotels, drawing the eyes away from the floor and toward curated decor pieces.

Lighting Type Placement Impact Level
Floor Lamp Dark Corners High (Visual Height)
Table Lamp Consoles/Side Tables Medium (Ambiance)
Smart Bulbs Ceiling Fixtures High (Customization)

Utilizing smart bulbs with warm-toned settings can further simulate the appearance of custom-installed recessed lighting. When the lighting is soft and ambient, the mind perceives the space as larger and more expensive than it truly is, masking the generic nature of standard apartment finishes.

Elevating Walls Without Permanent Hardware

Tension-mounted shelving allows for custom built-in storage and boutique-style display.

Walls are the largest surface area in your home, and they are usually the biggest culprit in making a space feel cheap. Since you cannot hang heavy shelves or paint without permission, turn to command strips and tension systems to create a custom gallery wall that adds personality and height. The trick is to use uniform, high-quality frames in a single finish, such as matte gold or black, to create a cohesive ‘built-in’ look that feels curated rather than cluttered. According to interior design standards, keeping gallery frames spaced exactly 2 to 3 inches apart provides the most professional aesthetic.

The Art of Command Strips and Removable Wallpaper

If your apartment feels sterile, consider removable wallpaper or large-scale wall decals. These options provide the drama of a designer accent wall without the need for glue or paint. Pair these with large mirrors that reach near the ceiling; this trick maximizes natural light and creates the illusion of additional depth, which is the hallmark of a luxury small-space design.

Textile Mastery and High-End Fabrics

Mirrors and statement lighting make small spaces feel grand and expensive.

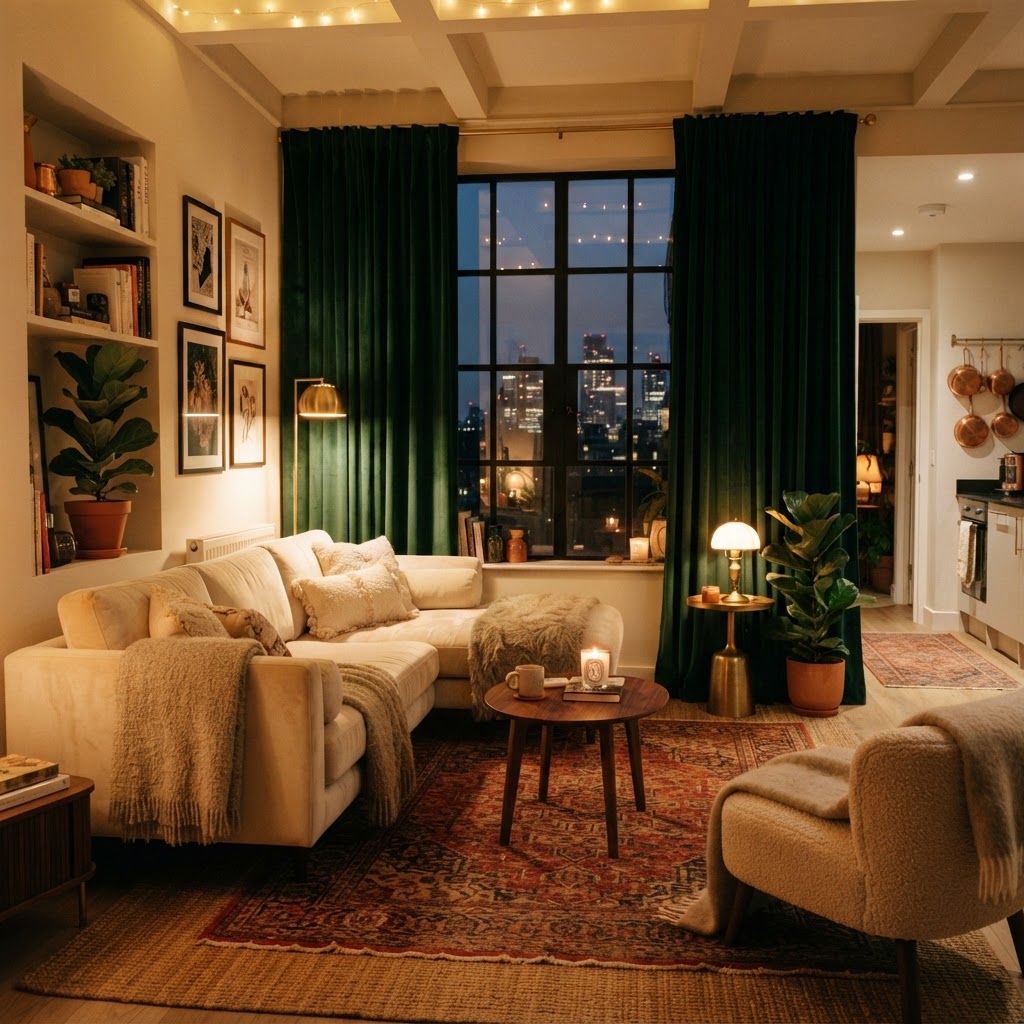
Nothing screams ‘budget’ like cheap, thin curtains or generic polyester throw pillows. To make your apartment feel expensive, you must curate a palette of rich textures like linen, velvet, faux mohair, and silk. Replace standard window blinds with long, floor-to-ceiling drapery panels that use tension rods installed inside the window frame or higher up on the wall using heavy-duty adhesive hooks. By hanging curtains at the ceiling line rather than the window frame, you can visually increase room height by up to 12 inches.

When choosing curtains, go for a floor-grazing length, as short curtains break up the vertical lines of a room and make it look smaller. The goal is to create a seamless column of fabric that adds drama and softness. Pair these with heavy throw blankets tossed casually over the sofa arm, which signals comfort and curated luxury to anyone entering the space.

The Illusion of Built-in Furniture

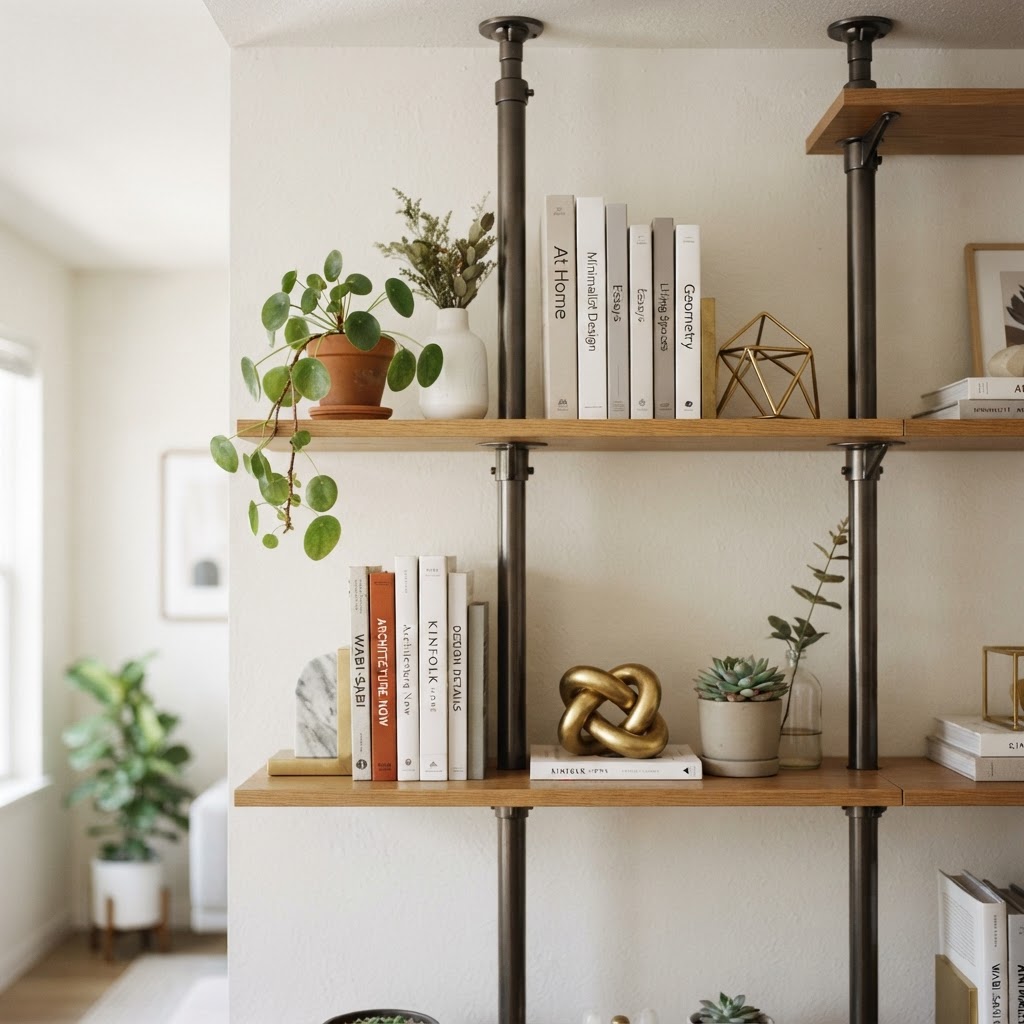
In tiny apartments, furniture that looks like it belongs to the house feels more expensive than pieces that look like they were dragged in from a big-box store. Look for ‘no-drill’ shelving units that use tension to stay in place, such as floor-to-ceiling pole systems that provide an instant library look. These pieces create the impression of custom carpentry, which is a classic high-end interior design feature. Aim for furniture with elevated legs; seeing the floor underneath the sofa or cabinet creates an open, airy feeling that is statistically proven to make tight spaces feel more expensive.

Styling Open Shelving for a Boutique Look

If you use a tension-mounted shelf, do not just fill it with books. Treat the shelves like a boutique display by alternating stacks of books with single sculptural objects, plants, and minimal glassware. Negative space is your best friend here; leaving parts of the shelf empty makes the entire arrangement look intentional and high-end rather than just a storage solution.

Floor Covering Strategies for Small Spaces

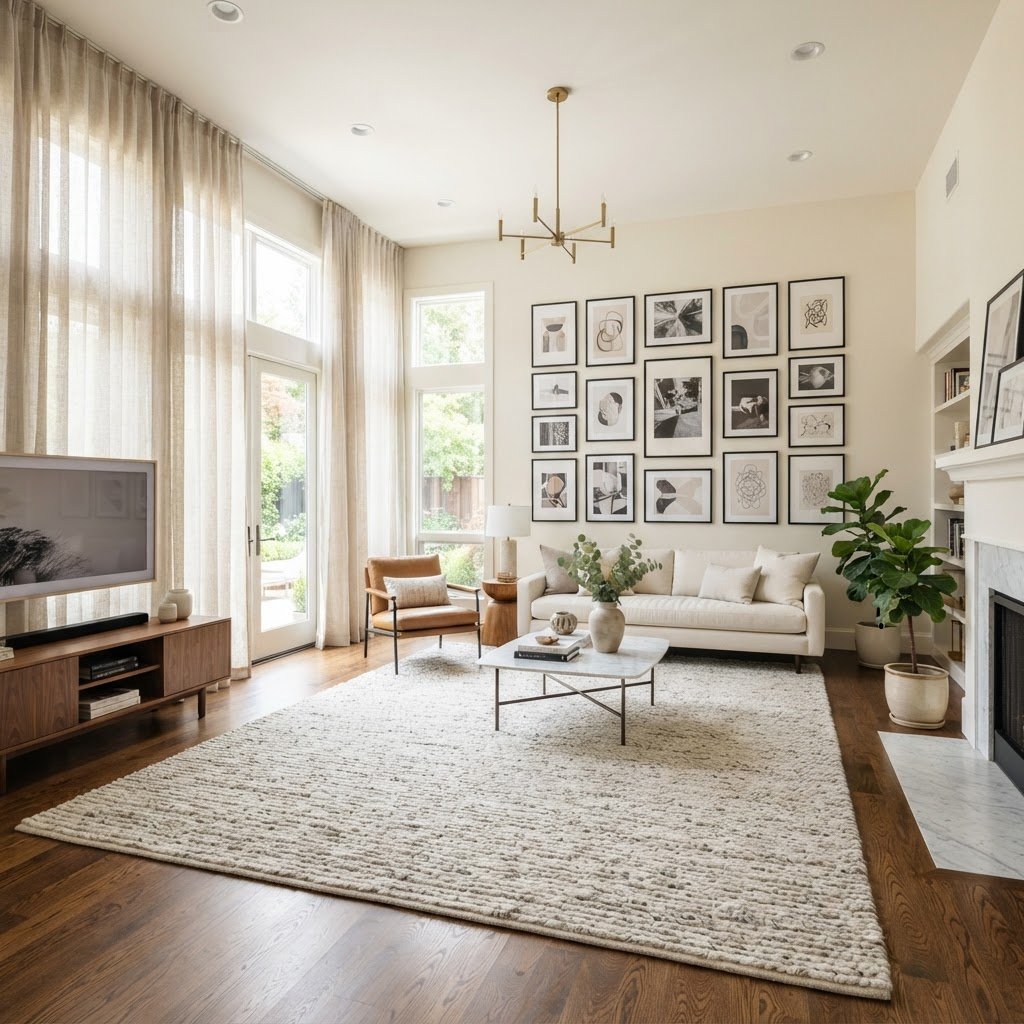
Rental flooring is often the most dated part of an apartment, and you can easily hide it with oversized rugs. Do not settle for small, postage-stamp-sized rugs that float in the middle of a room; instead, choose one large rug that anchors the entire seating area, ideally tucking under the front legs of your sofa and chairs. This creates a cohesive ‘island’ effect that defines the living zone and makes the room feel much larger than it actually is. Rugs covering at least 70% of the floor area in a room are standard for luxury interior design layouts.

For a truly expensive feel, consider layering rugs. Place a large, neutral jute or sisal rug down first for texture, then layer a smaller, patterned vintage-style rug on top. This depth of layering adds a level of sophistication typically seen in luxury homes and provides a cozy, sound-dampened feeling that standard vinyl or laminate flooring lacks.

Small Details That Create Big Impact

Sometimes the fastest no-drill ways to make a tiny apartment look expensive involve the smallest changes. Swap out standard, builder-grade outlet covers with sleek, modern versions in metal or matte black, which is a five-minute task that immediately upgrades the finish of the room. Additionally, curate your coffee table with a decorative tray that holds a candle, a stack of design books, and a small vase of fresh flowers.

Curating Your Sensory Experience

Luxury is not just visual; it is also about the scent and atmosphere of your home. Using a high-quality reed diffuser or a signature candle elevates the space as soon as someone walks through the door. Keeping your surfaces clear of clutter and your tech cables hidden using cable management clips (which use non-damaging adhesives) will ensure the ‘expensive’ vibe remains intact throughout the day.

FAQ

Q: What is the cheapest way to make a rental look high-end?

Installing floor-to-ceiling curtains and upgrading your lighting to warm, layered sources are the most cost-effective methods. These two changes drastically shift the atmosphere and perception of scale in a room for under $150 total.

Q: Can I hang things without a drill in a rental?

Yes, high-strength command adhesive strips, tension rods, and over-the-door hooks are excellent, non-damaging alternatives. Always verify weight limits on adhesive products before hanging heavy mirrors or gallery frames.

Q: How do I hide ugly rental floors?

Use large area rugs that cover the majority of the visible flooring to anchor your furniture. Layering a smaller vintage rug over a larger jute or sisal base adds significant visual depth and texture.

Q: Does lighting actually make a small space look more expensive?

Absolutely, lighting is the primary tool interior designers use to define mood and architectural style. By replacing cold, builder-grade bulbs with warm options and utilizing multiple lamps, you create a sense of professional design.

Q: How do I store items without drilling shelves?

Invest in floor-to-ceiling tension-pole shelving systems or modular, freestanding furniture units. These options provide the look of custom built-ins without any structural impact on the walls or ceiling.

10 Reversible Under-$30 Upgrades for Luxe Small Apartments

10 Reversible Under-$30 Upgrades for Luxe Small Apartments

You can achieve a high-end apartment aesthetic on a budget by prioritizing high-impact, reversible changes like swapping builder-grade hardware, installing warm 2700K lighting, and layering textures with premium-feel textiles. These under-$30 projects transform rentals by adding tactile luxury and intentional design without violating lease agreements or requiring permanent structural modifications.

The Power of Strategic Lighting Upgrades

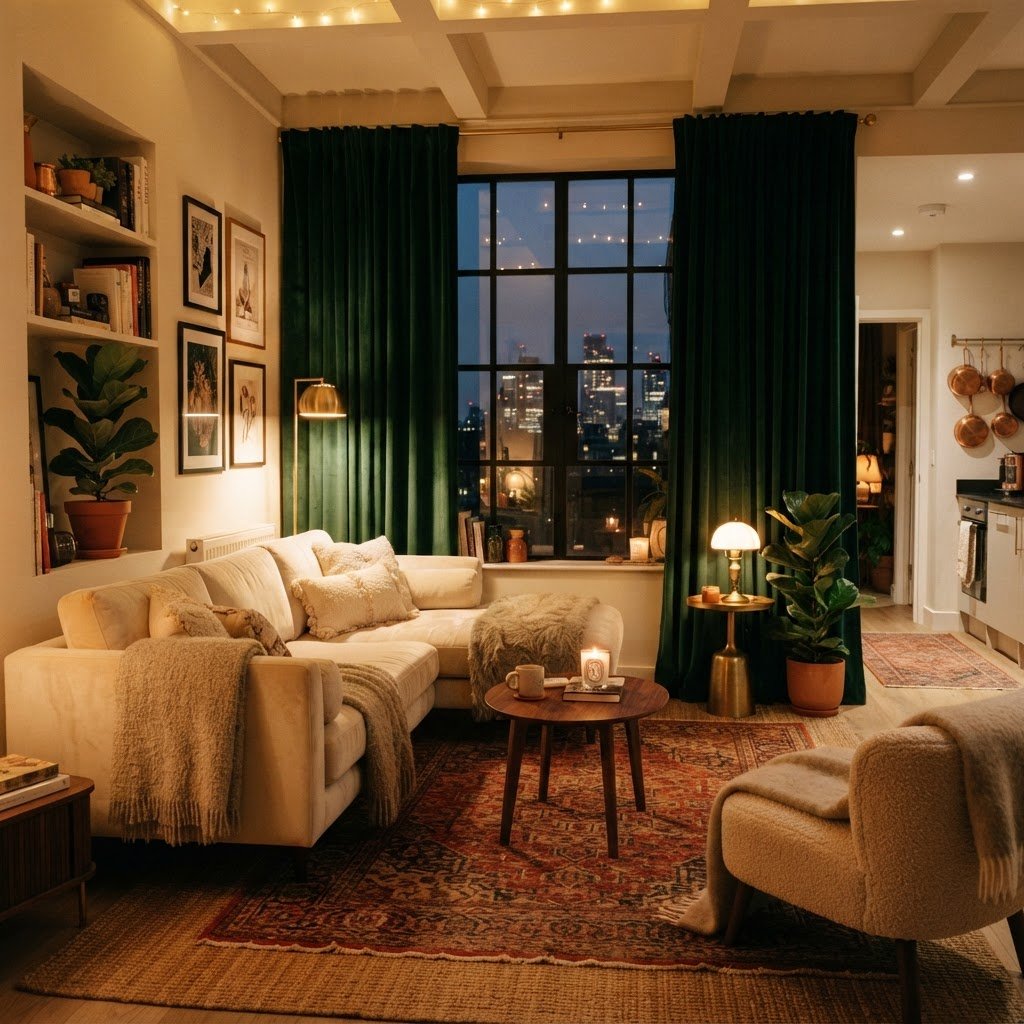
Warm lighting and texture transform a small living room into a cozy retreat.

Lighting is the most effective way to change a room’s mood because it dictates how surfaces and materials are perceived by the eye. Most rental units rely on cool-toned, 5000K overhead lighting that casts harsh shadows and flattens room depth. To achieve a luxury look, focus on layering three light sources: ambient, task, and accent lighting.

Swapping Out Generic Fixtures

If your lease permits, replacing a 90s-era ceiling fixture with a modern drum shade or pendant can serve as a room centerpiece for roughly $25 to $30. If you cannot swap the fixture, utilize plug-in wall sconces or sleek table lamps to bounce light off walls rather than shining it directly downward.

Choosing light bulbs with a Kelvin temperature between 2700K and 3000K creates an immediate “hotel-style” golden warmth that makes furniture look more expensive. This minor investment, typically under $10 for a pack, is the single highest-ROI change you can make to improve the atmosphere of a compact space. Avoid blue-tinted daylight bulbs, as they strip away the perceived value of your textiles and decor.

Lighting Strategy Cost Estimate Impact Level
2700K LED Bulbs $8 – $12 Extreme
Plug-in Sconces $25 – $30 High
Cord Covers $5 – $10 Medium

Elevating Your Hardware and Fixtures

Upgrading hardware is an easy, reversible way to elevate kitchen cabinetry.
Replacing standard, builder-grade hardware is the fastest way to add a custom, high-end feel to kitchen and bathroom cabinetry without professional assistance. These fixtures are frequently ignored by tenants, but their tactile nature makes them highly noticeable, making them a “touchpoint” for perceived quality in your home.

The Swap-Out Method

Always keep your original hardware in a labeled Ziploc bag inside a kitchen drawer to ensure you can reinstall them upon move-out. High-quality finishes like matte black, brushed brass, or oil-rubbed bronze provide an immediate visual upgrade against neutral cabinetry. When shopping, look for solid metal pieces rather than hollow plastic to ensure a weighted, premium feel in your hand.
Why Hardware Matters

Feature Impact Estimated Cost
Brushed Brass Knobs High $20 – $25
Matte Black Handles High $25 – $30
Adhesive Backsplash Medium $15 – $25

By focusing on these details, you shift the apartment’s personality from “temporary rental” to “designed home.” Even swapping out just the knobs on a vanity or kitchen island creates a sense of luxury that feels intentional, cohesive, and remarkably polished for less than the cost of a dinner out.

Curating Textiles for a Luxurious Feel

A stylish entryway mirror adds depth and brightness to a small apartment foyer.

Texture is the secret ingredient in professional interior design, used to create depth where architectural detail might be missing. When your rental space feels flat or sterile, layering fabrics adds softness and visual interest, which are hallmarks of high-end interiors.

Focus on your primary seating and sleeping areas by covering existing furniture with premium textiles. You do not need to purchase new upholstery; instead, use velvet pillow covers, a chunky knit throw, or a faux fur runner to obscure standard furniture patterns. These items are cost-effective, portable for renters, and immediately elevate the comfort level of the room. Aim for a mix of at least three different textures (e.g., linen, velvet, and wool) within a single seating area to achieve a professional designer look.

Temporary Wall Treatments and Art

Small details like luxury soap dispensers and fresh towels make a bathroom feel like a spa.

Blank walls are a symptom of a temporary apartment, but large-scale art and wallpaper can be achieved on a budget using temporary solutions. Peel-and-stick wallpaper has revolutionized the rental market, allowing you to create a high-fashion accent wall for under $30 per roll. Choose a classic pattern like a subtle damask, a geometric line, or a botanical print to anchor your furniture.

Alternatively, use large-format printable art to create a gallery wall. Purchasing digital files and printing them at a local office supply store costs significantly less than buying pre-made art. Frame these in matching, lightweight frames from big-box retailers; a grid of four or six identical frames creates a clean, architectural look that signals professional curation. When you move, these peel-and-stick applications and frames come down with zero damage, keeping your deposit secure.

Enhancing the Entryway and Bath

First impressions count, and your entryway is the first thing you see when you arrive home. Even if you have a tiny foyer, you can make it feel like a boutique hotel by adding a small mirror and a functional yet stylish catch-all tray. A mirror serves the dual purpose of bouncing light around the space and making the entrance feel larger.

In the bathroom, swap the plastic builder-grade shower head for a low-cost, high-pressure model that offers a spa-like spray. Additionally, invest in a plush, high-GSM (grams per square meter) bath mat in a neutral tone like charcoal or cream. These small upgrades change the tactile experience of the room, making it feel much more upscale than a standard apartment. Small, consistent upgrades in the bathroom signal a level of care that transforms the room from a utilitarian necessity to a private sanctuary.
Styling Your Surfaces and Shelves

Clutter is the enemy of luxury, and managing your surfaces effectively is key to a polished small apartment. Use the “one-in, one-out” rule to prevent accumulation and group decor items in odd numbers. Three items of varying heights—for example, a stack of books, a small plant, and a decorative candle—will look more professional than a random collection of trinkets.

Upgrade your storage bins by replacing plastic or cardboard with woven seagrass baskets or linen-wrapped boxes. These natural materials add warmth to a room while organizing essentials in a way that feels intentional and hidden from view. A clean, minimalist surface is a luxury in itself; it allows the eye to rest and highlights the curated decor pieces you choose to display. Ensure that every item on your shelf serves a purpose or adds genuine aesthetic value.
Greenery as a Design Statement

Plants are perhaps the most versatile and affordable luxury upgrade. A single large-leafed plant, such as a Snake Plant or a Fiddle Leaf Fig, can serve as a sculptural element in a room. Use a decorative basket as a pot cover to hide the standard plastic nursery container, which instantly upgrades the look of the plant without a permanent investment.

Plants not only purify the air but also soften the harsh corners of a modern apartment. If you have low light, look for high-quality silk or dried arrangements. Dried pampas grass or eucalyptus bundles in a ceramic vase can provide that architectural, high-end look without any of the maintenance or risk of death that living plants might pose. Grouping plants in varied heights can create a focal point that distracts from the size limitations of a small living space.

FAQ

Q: Can I really upgrade a rental kitchen without losing my security deposit?

Yes, you can upgrade a rental kitchen safely by choosing only reversible, non-permanent modifications. Keep all original hardware, outlet covers, and fixtures in a labeled container so you can restore the kitchen to its original condition before you move out.

Q: What is the best way to make a small apartment look more expensive?

The most effective way to make a small apartment look expensive is through lighting and texture. Replace harsh overhead bulbs with warm 2700K lighting and add layers of high-quality fabrics like velvet, linen, or chunky knits to create visual depth and a sophisticated, inviting atmosphere.

Q: How do I choose the right hardware for my cabinets?

Select hardware that matches the existing metal tones in your home or provides a high-contrast update like matte black. Ensure the screw hole spacing (center-to-center) matches your current hardware so you can install the new pieces without drilling new holes into your cabinets.

Q: Does peel-and-stick wallpaper really work on all walls?

Peel-and-stick wallpaper works best on smooth, clean, and dry surfaces, but it may struggle to adhere to heavily textured or porous walls. Always test a small, inconspicuous sample patch on your wall for 48 hours to ensure it sticks well and does not peel paint when removed.

Q: How much do I need to spend to see a difference in my home?

You can see a noticeable, high-impact change for under $100 total when targeting specific areas like lighting, hardware, and textiles. By focusing on one room or one surface at a time, you can spread these $30-or-less investments over several months to maintain a manageable budget.

How to Create a Functional Entryway in Just 3 Feet of Space

To create a functional entryway in just 3 feet of space, prioritize wall-mounted, slim-profile storage solutions that keep the floor completely clear. By utilizing vertical height, installing mirrors to reflect light, and incorporating a 4-pillar system—hooks, a key tray, a shoe organizer, and a mirror—you can maximize utility without sacrificing aesthetics.

Rethink the Layout of Your Entryway

Maximize vertical space with wall-mounted storage to keep floors clear.

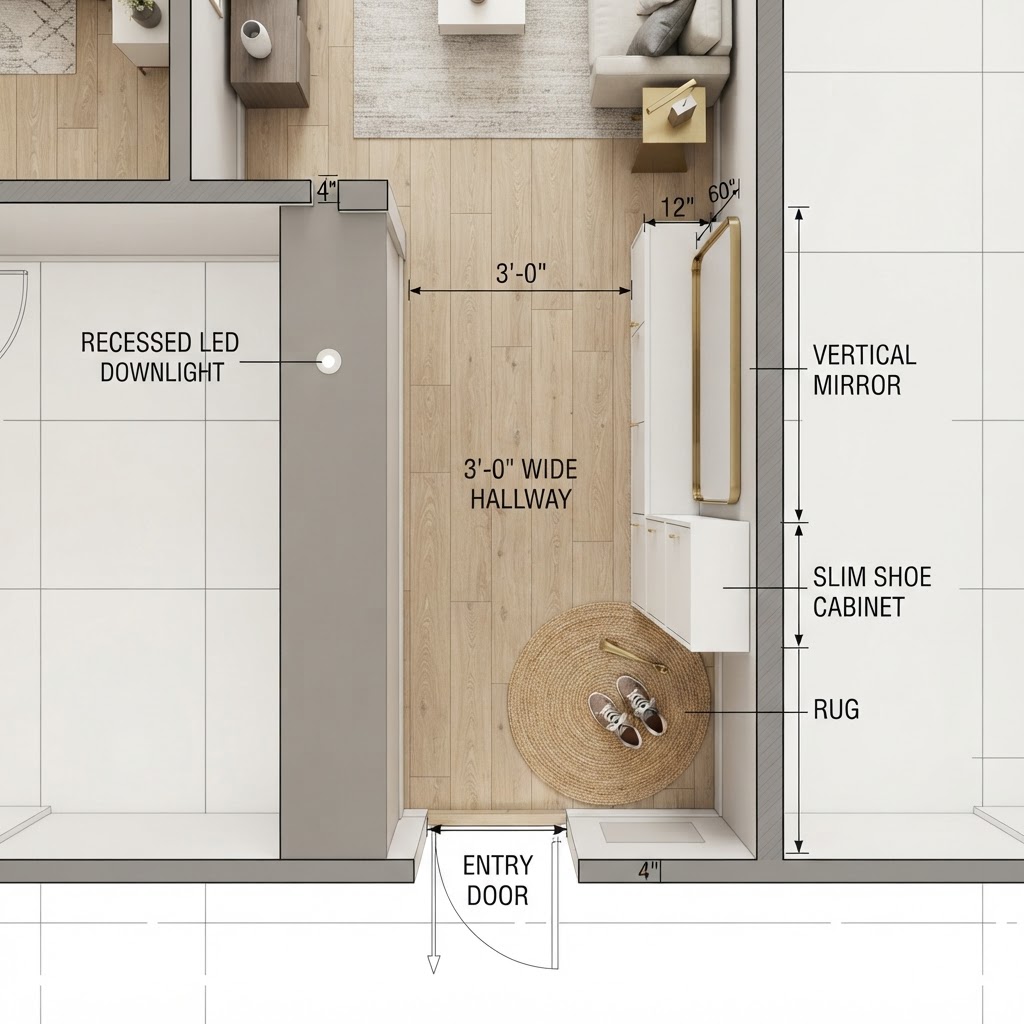
Successful design in a 3-foot wide area requires avoiding standard furniture, which often creates visual congestion and limits mobility. Instead, focus exclusively on pieces with a depth of 12 inches or less; this “slim-profile” rule is the foundation of a high-functioning landing zone. When you limit furniture depth, you ensure your circulation path remains clear, preventing the “chaotic collision” feel often associated with cramped apartments.

Consider the following comparison of common entryway furniture types for tight footprints:

Furniture Type Depth (Inches) Best Use Case
Standard Console 16″ – 20″ Wide hallways only
Floating Shelf 6″ – 10″ Maximum floor clearance
Slim Shoe Cabinet 5″ – 8″ Hidden shoe storage
Wall-Mounted Hooks 2″ – 4″ Bulk outerwear storage

Start by assessing your wall as a vertical grid rather than floor square footage. If you have 3 feet of horizontal width, install hardware at various levels: high for seasonal coats, mid-level for bags, and low-level for shoe racks. This vertical stratification allows you to store more items while maintaining a curated, minimalist aesthetic that makes the transition from outdoors to indoors feel purposeful rather than cluttered.

The Rule of Verticality

When floor space is at a premium, look up. Walls are your best friend in a narrow entryway. By installing shelves, coat racks, and organizers at varying heights, you draw the eye upward, which gives the illusion of a larger, more airy space. Use the wall behind your door if possible, as it is often a neglected “dead zone” that can handle a full rack of seasonal jackets or bags.

Choosing the Right Storage Solutions

A floor plan view demonstrating how slim furniture fits perfectly in narrow entryways.

Efficiency in a 3-foot entryway is achieved through multi-functional hardware that serves at least two purposes simultaneously. Since every square inch must earn its keep, avoid single-use items like bulky umbrella stands or traditional coat racks that occupy precious floor space. Instead, utilize “drop-zone” integrations such as a mirror with an attached shelf or wall-mounted cubbies that feature integrated hooks underneath.

For footwear, a wall-mounted, pull-out shoe cabinet is the gold standard for small spaces. These units typically range from 5 to 7 inches in depth, allowing you to store 6 to 12 pairs of shoes vertically behind a sleek, closed panel. This eliminates the visual noise of mismatched sneakers and boots cluttering your floor. If you must use baskets, choose wall-mounted wire or wicker wall pockets to keep the floor surface entirely free for easy cleaning. By designating specific homes for mail, keys, and accessories, you prevent the common “catch-all” pile that develops in transition spaces. Maintaining this disciplined organization ensures the entryway remains a high-functioning asset rather than a storage liability. Always prioritize hardware that uses recessed mounting to avoid snagging coats or bags, and stick to a monochromatic palette for your storage units to help them recede into the wall color, further enhancing the feeling of spaciousness.

Maximizing Lighting and Reflection

Create a welcoming and stylish arrival zone with well-placed decor.

Proper lighting and strategic mirror placement can effectively double the perceived size of a 3-foot wide entryway by bouncing light across the surface area. Because floor lamps are unsuitable for narrow corridors, wall-mounted sconces or rechargeable motion-sensor LED puck lights are the optimal lighting choice. Install these lights at eye level or just below shoulder height to provide task lighting for finding keys while creating a warm, ambient glow that feels inviting.

Mirrors should be the primary focal point. A large, frameless mirror measuring at least 24 by 48 inches will provide the best visual expansion. Place the mirror directly across from a natural light source if possible; if no windows exist nearby, pair the mirror with a warm-toned sconce to replicate the effect. In narrow spaces, a “full-length” vertical orientation is superior to horizontal options, as it elongates the wall and provides a functional check-point for your appearance. Consider a mirror with a thin brass or black metal frame to add a touch of sophistication without taking up visual weight. By combining these lighting and reflection tactics, you replace a dark “dead-end” feeling with a bright, open arrival zone that feels integrated into the home rather than an afterthought.

Essential Items for Your Mini Foyer

To ensure your entryway is truly functional, you need a checklist of absolute essentials. You do not need a bench or a closet; you just need these four pillars of organization:

  1. Hooks for outerwear and umbrellas.
  2. A small tray or bowl for keys and wallets.
  3. A vertical shoe organizer or slim cabinet.
  4. A mirror for final adjustments.

By keeping only these four categories of items in your 3-foot space, you prevent the area from becoming a dumping ground for junk mail or random household items. If an object does not serve a purpose in the transition between “outdoors” and “indoors,” it does not belong in your entryway.

Keeping the Space Clutter-Free

Maintaining a functional entryway requires a daily commitment to tidiness, as the proximity of the space means even one rogue item triggers a sense of disarray. Implement a “one-in, one-out” policy for your shoe storage; for every new pair you bring into the hallway, an old pair must be moved to a closet or donated. This prevents the cumulative effect of seasonal gear overrunning your slim-profile cabinets.

Utilize a “staging basket” for outbound items, such as returns or donations, to keep them out of sight until you are ready to leave. This basket should be placed on a low shelf or mounted to the wall to keep the floor clear. Additionally, perform a weekly “entryway audit” to remove any mail, flyers, or trash that has collected on your key tray. Keeping the surface of your entryway free of non-essential items is the most critical habit for ensuring the 3-foot space remains functional rather than becoming a repository for miscellaneous household clutter.

Small Entryway Makeover & Organization

Styling Tips for a Narrow Entryway

Even in a 3-foot space, style should not be sacrificed. You can make a bold statement with a single strip of accent wallpaper, a fun coat of paint, or a unique light fixture. Because the area is small, you can get away with more dramatic choices, like deep navy walls or a patterned tile floor, without overwhelming the entire house.

If you have a bit of floor space, a narrow runner rug can act as a bridge between your entryway and the rest of your living area. Choose a rug that is durable and easy to clean, as it will be the first thing your shoes touch when you walk in the door. A runner also adds a touch of warmth that makes the entryway feel like an intentional part of the home rather than just a hallway.

Creating a Functional Transition Zone

Ultimately, your entryway is a transition zone. It is where you shift from the demands of the world to the comfort of your home. By keeping your 3-foot area focused on function, you are actually creating a mental transition as much as a physical one. When you walk in and find your keys exactly where they belong and your coat hung up neatly, you feel more in control of your environment.

Think about the habits you want to form. If you always leave your bag on the floor, install a hook that is strong enough to hold your bag at shoulder height. If you hate digging for keys, make sure your tray is at eye level right next to the door. Small adjustments to your habits will reinforce the functionality of your design choices.

FAQ

Q: What is the ideal depth for furniture in a 3-foot entryway?

Keep furniture depth to 12 inches or less to maintain a clear walking path. Items like wall-mounted consoles or pull-out shoe cabinets are best, as they provide necessary storage without encroaching on the limited floor space available in narrow hallways.

Q: How do I store shoes without a bulky rack?

Use a wall-mounted pull-out shoe cabinet with a depth of 5 to 7 inches to hide footwear vertically. This keeps floors clear, prevents tripping hazards, and keeps your shoes organized in a sleek, compact, and hidden manner.

Q: Can I use mirrors to make a small entryway feel bigger?

Yes, a large frameless mirror installed on the wall will reflect light and trick the brain into perceiving the space as larger. Position the mirror across from a natural light source to maximize the brightening effect, which instantly makes a narrow area feel more open.

Q: How many hooks do I need for a functional entryway?

Aim for at least one hook per household member, plus two extra for guests. If space is tight, use a vertical coat rack or install multiple hooks at varying heights to stack outerwear efficiently without crowding the wall horizontally.

Q: What is the best way to prevent clutter in a small foyer?

Adopt a strict “one-in, one-out” policy and use a designated tray for small items like keys and mail. By assigning a specific home for every item and clearing non-essential mail immediately, you stop the accumulation of clutter before it overwhelms your 3-foot zone.

10 Small Entryway Storage Ideas for Apartment Renters

10 Small Entryway Storage Ideas for Apartment Renters

To organize a small apartment entryway, prioritize vertical wall-mounted organizers, multi-functional furniture like slim shoe cabinets, and under-console storage bins. These solutions maximize square footage, keep floor space clear, and ensure essential items remain accessible without requiring permanent drilling or structural modifications to your rental unit.

Rethink Your Vertical Space

A slim console table is perfect for small apartment entryways.

When floor space is at a premium, vertical storage is the most effective strategy for apartment dwellers looking to maximize utility. By keeping items off the floor, you create a visual sense of openness, making even narrow entryways feel significantly larger. High-quality adhesive hooks, rated for up to 10-15 pounds, allow you to hang heavy winter coats and bags securely without violating lease agreements by drilling into drywall.

The Power of Wall-Mounted Systems

Floating shelves transform dead wall space into functional storage zones for daily essentials. Installing shelves at heights between 36 and 48 inches ensures that items like keys, wallets, and mail are at natural reach. For maximum efficiency, mount a magnetic strip directly beneath your shelf to organize keys, preventing them from becoming lost in the shuffle of daily life.

Solution Type Best For Renter-Friendly?
Adhesive Hooks Coats/Bags Yes
Floating Shelves Mail/Decor Yes (with light anchors)
Over-the-Door Racks Accessories Yes
Pegboards Custom Layouts Yes

Renter-Friendly Furniture Hacks

Vertical wall storage saves precious floor space.

Selecting furniture designed for compact living is essential for maintaining a clean aesthetic in a rental environment. Slim entryway consoles, typically measuring 8 to 12 inches in depth, provide necessary surface area for decor and mail storage without obstructing narrow hallways. For those with significant footwear collections, a vertical shoe cabinet with a tilting door mechanism is a superior choice; these units generally occupy less than 1 square foot of floor space while holding up to 12-16 pairs of shoes, keeping your entryway free of tripping hazards.

Maximizing Hidden Storage Underfoot

Vertical shoe cabinets hide clutter effectively.

Floor space beneath furniture is an often underutilized asset in small apartment floor plans. By selecting a bench or console with open cubbies or built-in shelving, you create a dedicated “parking spot” for shoes, which prevents them from scattering across the entryway floor. Incorporating storage baskets into these cubbies adds a layer of organization that hides visual clutter, such as umbrellas, spare keys, or pet leashes. Using woven baskets for texture or metal bins for a modern industrial look keeps your space feeling intentional rather than chaotic.

Creating Zones in Small Hallways

A well-defined entryway zone creates a clean welcome.

Defining a functional entryway zone using rugs and lighting helps psychologically separate your living space from the entryway transition zone. A durable runner rug, specifically sized to fit your hallway width, acts as a barrier to catch dirt and debris before it reaches your living area, effectively keeping your floors cleaner for longer. Additionally, incorporating a floor mirror—securely anchored for safety—not only allows for a final appearance check but also bounces natural light around the room, which can double the perceived depth of a cramped hallway by up to 50%.

3 Small ENTRYWAY CHANGES Make a BIG Difference <em>Renter Friendly</em>” src=”https://img.youtube.com/vi/g5R75j4omF8/hqdefault.jpg” style=”display:block; margin:2.5em auto; max-width:100%; height:auto;” /></a></p>
<h2>Smart Hooks and Hanging Solutions</h2>
<p>Optimizing your wall and door space with the right hardware ensures that every square inch is functional. Folding hooks, which sit flush against the wall when not in use, are ideal for narrow hallways where traditional hooks might snag on clothing or bags. Beyond basic hooks, consider modular systems that allow you to swap configurations as your storage needs change, ensuring your hallway remains a high-efficiency transition point.</p>
<div style=

Feature Benefit for Small Spaces
Folding Hooks Prevents snagging in tight areas
Over-Door Organizers Utilizes “dead” space behind doors
Pegboards Infinite modular customization
Tiered Baskets Maximizes height for light items

Managing Seasonal Clutter

Maintaining an organized entryway requires a proactive approach to seasonal transitions that prevents storage overload. By implementing a “one in, one out” rule, you ensure that your storage capacity matches the specific season, such as removing winter boots during the spring or storing summer sandals in the fall. Rotate your seasonal items in labeled bins stored in a bedroom closet or under the bed to ensure the entryway remains clear of bulkier items that aren’t currently necessary for daily use.

DIY Organization and Customization

DIY projects offer the most cost-effective way to tailor storage to your specific apartment constraints without making permanent changes. Tension rods can be installed inside existing coat closets to create double-hanging space for scarves and smaller items. Similarly, utilizing peel-and-stick wallpaper on basic storage furniture allows you to customize the aesthetic of store-bought pieces, making them look high-end while keeping your investment low as you transition between apartments.

FAQ

Q: What is the best way to store shoes in a small entryway?

A: The best way to store shoes is using a vertical, tilt-out shoe cabinet that holds 12-16 pairs while maintaining a shallow depth of less than 10 inches. This keeps floors clear and protects your walking path from clutter.

Q: How do I decorate a tiny entryway without it looking cluttered?

A: Focus on vertical storage and reflective surfaces like mirrors to bounce light throughout the room. Keep the floor clear and limit decorative items to those that provide utility, such as a tray for keys or a slim bench for seating.

Q: Can I hang things in a rental without damaging the walls?

A: Yes, you can use heavy-duty adhesive hooks or over-the-door organizers to hang items securely. These products are designed to hold significant weight and can be removed without leaving residue or requiring holes in the drywall.

Q: How can I create an entryway where there is none?

A: You can create an entryway zone by using a runner rug to define the space and placing a slim console table or wall-mounted shelf near the door. This layout provides a functional drop zone for your everyday essentials.

Tiny Rental Glow-Up: No-Drill Finds Under $25

Tiny Rental Glow-Up: No-Drill Finds Under $25

Achieving a professional rental glow-up for under $25 is possible by utilizing damage-free adhesive strips, peel-and-stick contact paper, and tension-based storage systems. These temporary upgrades allow you to personalize your home without risking your security deposit, focusing on high-impact, low-cost modifications that are fully removable upon lease expiration.

Rethinking Your Rental Potential

Create a stunning gallery wall using damage-free adhesive strips.

Many renters assume that because they do not own the property, they cannot improve the aesthetic. This mindset is the biggest barrier to creating a home you truly love. When you approach your apartment with a strategy focused on tension, adhesion, and temporary overlays, you realize that your walls and floors are blank canvases waiting for your touch. The key to a successful tiny rental glow-up is focusing on high-impact, low-effort changes that can be removed in minutes when your lease is up. By curating a set of specialized tools, you ensure your deposit remains protected while your environment aligns with your personal style. Most designers recommend a 60/30/10 color rule even in rentals: 60% base wall color, 30% furniture/rugs, and 10% accent decor. This helps maintain cohesion without needing permanent changes like paint or wallpaper. Strategic use of removable items provides 100% of the visual satisfaction with 0% of the structural damage, allowing for complete customization of even the smallest square footage.

The Psychology of Rental Living

When your environment feels personalized, your mental well-being improves significantly. By using command strips, tension rods, and contact paper, you are not just decorating; you are reclaiming your space. These updates do not have to be expensive to be effective. In fact, most professional designers will tell you that the most dramatic transformations come from small, consistent changes that create a cohesive look across a room. Reducing visual clutter through vertical storage and ambient lighting helps lower cortisol levels, creating a genuine sanctuary atmosphere in a temporary space.

Lighting Hacks That Illuminate Style

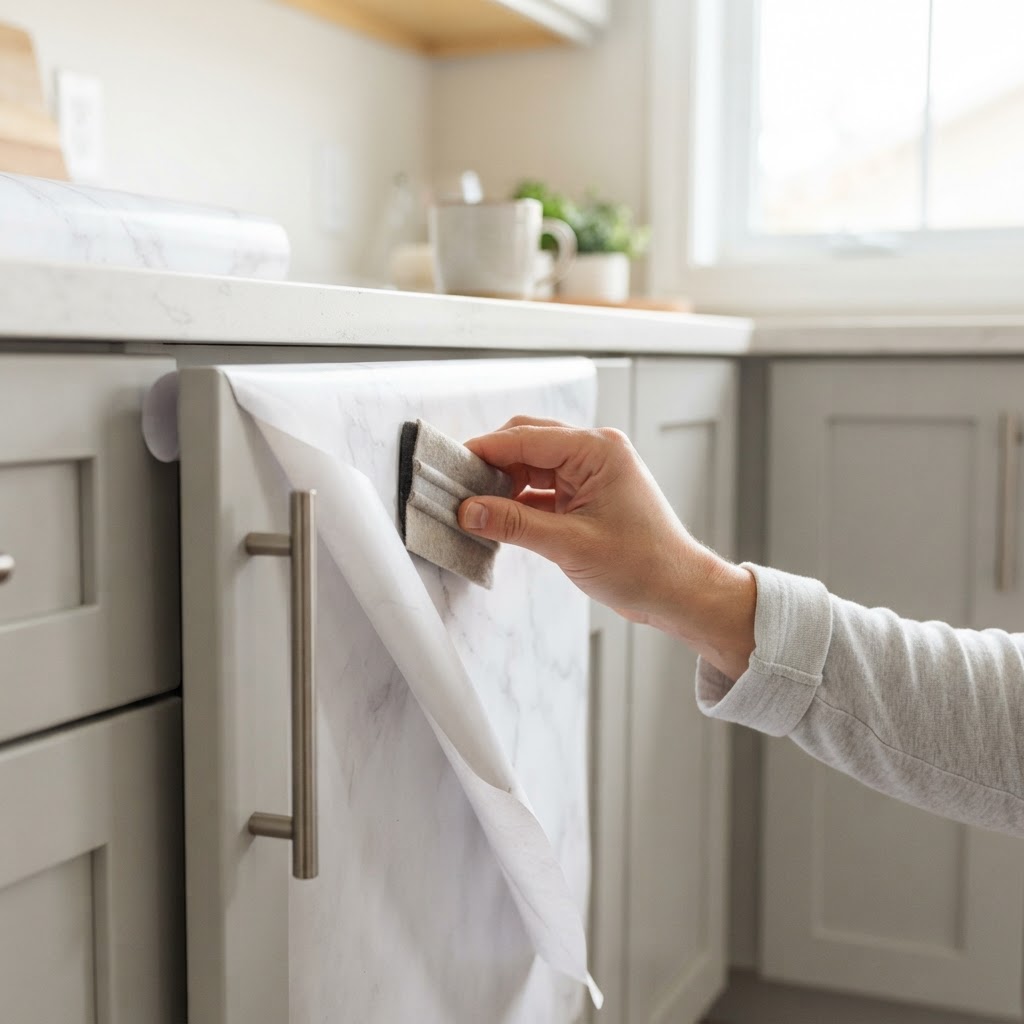
Give your cabinets an instant, budget-friendly makeover with contact paper.

Lighting is the single most important factor in how a room feels, yet most rentals come with harsh, unattractive overhead fixtures. You cannot change the wiring, but you can certainly change the aesthetic appeal of your lighting without a drill. Plug-in wall sconces and puck lights are your best friends when searching for affordable upgrades. Layering your lighting—combining general, task, and accent lighting—is the industry standard for high-end interior design, even on a sub-$25 budget. By using wireless LED puck lights, you can illuminate dark corners, highlighting artwork or interior shelving without running a single wire or installing permanent brackets. Most high-quality LED sets now offer remote control capabilities, color temperature adjustments, and dimming features that mimic expensive hardwired architectural lighting.

Lighting Option Primary Benefit Estimated Cost
LED Puck Lights Versatile, remote-controlled $15 – $22
Plug-in Sconces Dramatic aesthetic impact $20 – $25
Fairy Light Strings Creates cozy, warm ambiance $10 – $15

Adhesive Puck Lights

For under $25, you can purchase a set of remote-controlled, battery-operated puck lights. These can be placed inside dark closets, under kitchen cabinets, or even attached to the ceiling of a bookshelf to create an instant high-end look. They attach using strong double-sided tape that is specifically designed to be removed without damaging paint. The result is a layered lighting scheme that makes your apartment look professionally designed.

Damage-Free Wall Decor Solutions

Maximize vertical space in small entryways with clever over-the-door storage.

Blank walls are the hallmark of a temporary home, but you do not need to punch holes in the drywall to fix them. Adhesive strips have come a long way since their inception, and there are now specialized hooks and mounting kits designed for everything from heavy mirrors to gallery walls. These no-drill finds under $25 are the foundation of any serious rental glow-up. When mounting heavier items, always clean the surface with isopropyl alcohol before applying the adhesive to ensure a 90% stronger bond. This simple preparation step is the difference between a secure wall display and a failed project that could damage the surface upon removal. For a gallery wall, use a paper template on the floor first; this allows you to visualize the layout before moving to the wall, ensuring that you only apply the minimum number of adhesive strips required to support the weight of your frames.

The Gallery Wall Strategy

To create a gallery wall without damage, use heavy-duty adhesive strips rated for frames up to 10 pounds. Measure your space carefully with painter’s tape before applying the strips to ensure perfect alignment. By grouping art pieces with a consistent color theme, you can mask the “renter” feel of a small living room with a sophisticated focal point that draws the eye upward.

Finalizing Your Rental Transformation

Once you have your core elements in place, it is time to add the finishing touches. This is where your personality really shines through. Think of soft textiles, low-maintenance indoor plants in stylish cachepots, and scent profiles that make the place feel like a home. These items are portable, budget-friendly, and require no physical alteration to the structure of the apartment, making them the ultimate final step in your renovation journey. To keep your project under budget, create a list of priorities. Start with lighting, as it provides the most visual “bang for your buck.” Then move to wall decor, as it defines the room’s character. If you have leftover funds, invest in storage solutions that help maintain the tidiness of your space. Remember, you do not need to do everything at once. A slow, intentional approach to your apartment update will yield better results than a frantic buying spree.

FAQ

Q: How do I remove adhesive strips without damaging rental paint?

Heat the adhesive with a hairdryer for 30 seconds before pulling the release tab slowly against the wall. This softens the bond, allowing the strip to release cleanly without pulling off chunks of drywall or paint.

Q: Are peel-and-stick tiles safe for kitchen backsplashes?

Yes, but you must ensure they are rated for heat resistance and moisture. Avoid placing them directly behind a gas stovetop where open flames could pose a fire risk or compromise the adhesive integrity.

Q: Can tension rods support heavy items like plants?

Standard tension rods typically support 5–10 pounds depending on the length. For heavier items like hanging plants, look for “heavy-duty” tension rods that feature rubberized ends for extra grip on wall surfaces.

Q: What is the best way to hide ugly rental floor tile?

Use peel-and-stick vinyl floor decals or interlocking foam mats designed for high traffic. Both options are removable, waterproof, and can be cut with a utility knife to fit the exact dimensions of your floor.

Q: How can I update kitchen cabinets if I am on a strict budget?

Focus on changing cabinet pulls using adhesive-mounted hardware or simply apply a matte vinyl contact paper to the doors. This completely changes the color and texture of the cabinetry for under $25.

Tiny Apartment Entryway Ideas: Maximize Style and Space

Tiny Apartment Entryway Ideas: Maximize Style and Space

To maximize a tiny apartment entryway, focus on vertical storage, floating furniture, and strategic mirror placement to create the illusion of space. Implement a dedicated “drop zone” system to eliminate clutter, utilizing wall-mounted hooks and slim, tilt-out shoe cabinets that keep the floor clear and the visual field open.

Rethinking Your Vertical Space

A floating console keeps the floor clear for a spacious look.

When floor space is limited, your walls become your most valuable real estate for storage and visual design. Installing floor-to-ceiling shelving or heavy-duty hooks allows you to utilize the top 7 feet of wall space, which is often neglected in small apartments. By drawing the eye upward, these vertical elements effectively “lift” the room, creating an optical illusion that makes a cramped foyer feel significantly taller and more spacious than its actual square footage suggests.

The Power of Wall-Mounted Furniture

Wall-mounted console tables are a game-changer for those seeking tiny apartment entryway ideas that save floor space. Unlike traditional tables with four legs that create visual clutter, a floating piece keeps the floor clear, allowing the eye to see more surface area and making the entryway feel larger. You can opt for a slim design with a drawer to tuck away keys, wallets, and mail, keeping the surface free of daily debris.

Feature Traditional Table Floating Console
Floor Footprint 12-16 inches 0 inches
Visual Weight Heavy/Cluttered Airy/Minimalist
Storage Capacity High (open) Moderate (concealed)
Ease of Cleaning Difficult Easy (sweep underneath)

Why Floating Solutions Win

Floating shelves or cabinets are superior in small spaces because they avoid the bulky look of traditional furniture. They provide just enough surface area to hold a decorative vase or a bowl for essentials without dominating the room. Furthermore, their minimalist aesthetic complements a modern, airy interior design perfectly, ensuring that your home feels curated and intentionally styled. By keeping the floor clear, you reduce visual noise, which is essential for maintaining a sense of order in homes under 500 square feet.

Mirrors as Architectural Tools

Wall-mounted organizers are perfect for keeping essentials accessible.

Mirrors function as essential architectural tools in small entryways by reflecting light and depth, effectively doubling the visual size of a restricted hallway. A mirror placed strategically opposite your front door or a nearby window captures natural light, bouncing it back into darker corners to eliminate shadows. For the best result, consider an oversized mirror that covers at least 60% of a central wall, as this creates a “portal” effect that makes the space feel like an extension of the living room rather than a closed-off transition area.

Choosing the Right Mirror Shape

For a narrow hallway, a tall, rectangular mirror can emphasize height. If you want to soften the harsh edges of a square or rectangular apartment, choose an oversized circular mirror. The curvature breaks up the monotony of straight, boxy walls and adds a touch of elegance that makes the space feel more luxurious. Integrating a mirror with an integrated shelf can also provide a “two-in-one” benefit for checking your appearance and holding your keys.

Smart Storage for Shoes and Accessories

Floor-to-ceiling storage maximizes every square inch.

Shoes are the primary culprits behind entryway mess, but you do not need a massive closet to keep them under control if you use specialized slim storage furniture. Look for “shoe cabinets” that feature a tilt-out mechanism; these units are often less than 10 inches deep but can hold 12 to 24 pairs of shoes depending on the width. By concealing the clutter behind a clean facade, you maintain a polished entrance that doesn’t scream “messy apartment” to your guests.

Multi-Functional Seating

If you have even a tiny bit of room, a small stool or ottoman can serve a dual purpose. Look for ottomans with removable lids that offer hidden storage space inside. This gives you a place to sit while putting on your shoes while simultaneously housing items like scarves, umbrellas, or reusable shopping bags that often clutter up a small entryway. Choosing furniture on wheels can also offer the flexibility to slide your seat under a console when not in use.

Lighting and Color Schemes

Light walls and mirrors make small spaces feel open and inviting.

Lighting is the most impactful factor in altering the mood and perceived scale of a tiny entrance. Avoid heavy, dark fixtures; instead, aim for layered lighting using 3000K-3500K warm LED bulbs, which provide a welcoming glow without the clinical feel of cooler lights. Installing a sleek wall sconce is a strategic move when ceiling height is limited, as it keeps the visual field clear while providing adequate illumination for finding items in your bag or checking your look before heading out.

The Impact of Paint and Color

When it comes to paint, lighter shades like alabaster, soft gray, or off-white are generally better for small, windowless entryways. These colors reflect light beautifully and prevent the walls from feeling like they are “closing in” on you. However, do not be afraid of a bold wallpaper or a deep accent color if used correctly. Sometimes, adding a vibrant piece of art or a painted archway can create a defined ‘zone’ for your entrance, giving it a personality that makes it feel like its own distinct room.

Organizing the Daily ‘Drop Zone’

One of the most effective tiny apartment entryway ideas involves establishing a strict ‘drop zone’ to prevent clutter migration. Human beings are creatures of habit; by assigning a permanent home for keys, mail, and bags within reach of the door, you create a psychological “off-switch” for the workday. A wall-mounted organizer at a height of 48-52 inches works best for most people, ensuring that items are accessible but tucked away to maintain a clean aesthetic.

The Three-Tiered Approach

  • Upper level (60″+): Hooks for hats, bags, and coats.
  • Mid-level (36″-48″): A small shelf or tray for keys and daily essentials.
  • Lower level (below 24″): A tidy bin or slim rack for footwear.

Keeping it Minimal and Functional

Maintaining a tiny entryway requires a regular maintenance routine rather than just a one-time setup. Perform a monthly 5-minute audit of your space: rotate seasonal footwear to a closet, remove junk mail immediately, and ensure every item currently in your foyer has a functional purpose for your daily routine. Minimalism is about intentionality; if an item doesn’t serve you, it shouldn’t occupy your precious, limited entryway square footage.

The Power of Minimalism

Minimalism is not about having nothing; it is about having items that serve a purpose. In a tiny apartment, every single item in your entryway should have a job. If a piece of decor is just taking up space without adding visual joy, consider moving it or donating it. A clean, uncluttered surface sends a signal of peace to your brain the moment you walk through the door.

FAQ

How do I organize a tiny entryway without a closet?

Use vertical wall space by installing heavy-duty hooks for coats and slim, wall-mounted shoe cabinets that provide hidden storage. These solutions keep floor space clear and use height instead of width to manage your daily essentials effectively.

What are the best colors for a small entryway?

Light, reflective colors like off-white, cream, or light grey are ideal because they maximize natural light and make walls feel more distant. If you prefer color, use a high-gloss finish or bold artwork to create a focused “zone” without shrinking the room.

How can I make a narrow hallway look wider?

Install a large mirror opposite an entryway light source to reflect light and create a sense of depth. Additionally, keep the floor clear by using floating furniture, as seeing the full length of the floor helps the eye perceive the space as larger.

What is a good ‘drop zone’ for a small apartment?

A ‘drop zone’ is a dedicated area, such as a wall-mounted console or a series of hooks, where you place keys, mail, and bags immediately upon entering. By grouping these items in one spot, you prevent clutter from spreading into the rest of your apartment.

Cheap Renter Upgrades That Deliver an Expensive Look

Living in a rental property often feels like a balancing act between expressing your personal style and strictly adhering to lease agreements. However, achieving a high-end aesthetic does not require breaking the bank or knocking down walls. By focusing on cheap renter upgrades that deliver the biggest expensive look, you can transform a standard apartment into a curated, sophisticated home that feels truly yours.

The Power of Strategic Lighting Upgrades

Floor-to-ceiling curtains and an oversized rug define this luxury rental space.

One of the most overlooked cheap renter upgrades involves addressing the dreaded ‘boob light’ or generic builder-grade fixtures that haunt many rental units. Lighting dictates the mood and perceived quality of a space more than any other element. When you swap out a standard flush mount for something sculptural or metallic, you immediately elevate the room’s sophistication.

Swapping Fixtures Safely

You do not need to be an electrician to make these changes. Simply purchase a stylish pendant or flush mount, carefully remove the existing fixture, and store it in a labeled box in your closet. Ensure you keep all original hardware so you can reinstall the original pieces before you move out.

Why Hardware Matters

When you replace hardware, you are adding weight and tactile quality to surfaces you touch daily. The visual weight of a matte black handle against a light cabinet makes the unit feel high-end and designer-curated. Just like with lighting, keep the original hardware in a plastic baggie inside a cabinet so you can swap them back effortlessly upon departure.

Window Treatments as a Luxury Layer

Renters often settle for the flimsy plastic blinds provided by landlords, which are notorious for looking budget-focused. Replacing these with floor-to-ceiling drapery panels is one of the most effective cheap renter upgrades available. By mounting your curtain rod as high as possible—closer to the ceiling than the window frame—you draw the eye upward and make the ceilings feel significantly taller.

Selecting the Right Fabric

Choose heavy fabrics like velvet or linen blends. These materials drape beautifully and naturally carry a more expensive look than thin synthetics. Opting for neutral, floor-length curtains can ground a room, providing the softness and depth usually found in luxury residences.

Upgrade Your Floors with Large Area Rugs

If you are stuck with scratched laminate, dated linoleum, or worn-out carpet, you can hide the imperfections with a well-placed, high-quality area rug. A rug acts as the ‘anchor’ for your furniture, defining zones in an open-concept layout. Selecting an oversized rug that allows for all furniture legs to rest on its surface immediately makes a room feel larger and more cohesive.

Rug Layering Techniques

For an even more luxurious effect, try layering a smaller, patterned vintage-style rug over a large, neutral jute or sisal base. This texture play creates a designer look that feels layered and expensive, masking whatever flooring lies beneath.

Enhancing the Bathroom Experience

Bathrooms are rarely customizable, but you can inject a spa-like atmosphere through simple swaps. Replace the generic showerhead with a high-pressure, rainfall style fixture—this is a simple screw-on, screw-off task. Additionally, coordinate your accessories; matching soap dispensers, towel racks, and bath mats in a unified color palette transform a utilitarian room into a sanctuary.

Adding Natural Elements

Plants and organic textures are essential for removing that ‘sterile’ rental vibe. A tall snake plant in the corner of a bathroom or a small trailing ivy on a shelf adds life and color. These natural elements bridge the gap between indoor living and the outdoors, which is a hallmark of high-end home decor.

Curating Your Textiles

Never underestimate the transformative power of pillows, throws, and bedding. Cheap renter upgrades aren’t just about hard surfaces; they are about comfort. Invest in plush down or down-alternative pillow inserts and cover them with high-quality linen or velvet covers. A bed styled with multiple layers and a textured throw blanket will always look more expensive than a bed with just a single comforter. Keep the palette cohesive to ensure that your soft goods contribute to a sense of order and intentionality throughout your rental home.

Conclusion

Creating an expensive look in your rental doesn’t require a down payment or permanent modifications. By focusing on lighting, hardware, window treatments, and high-quality accessories, you can curate a space that feels personal, polished, and sophisticated. The key is to prioritize pieces that you can take with you when you move, ensuring your investment in your home follows you wherever you go. Start with one room, identify the biggest eyesores, and apply these simple changes to see an immediate difference. Which of these renter-friendly upgrades will you tackle first? Share your progress and transform your space today!

27 Genius Small Entryway Ideas That Instantly Hide Clutter

Walking through the front door should feel like a breath of fresh air, not a hurdle race through piles of shoes and scattered mail. If your foyer is constantly overwhelmed by chaos, you are certainly not alone. Finding 27 genius small entryway ideas that instantly hide clutter is the ultimate game-changer for homeowners struggling with limited space. By rethinking how you utilize vertical areas and hidden storage, you can turn a cramped landing into a serene, functional, and organized welcome zone that keeps your daily necessities tucked away but within reach.

The Power of Vertical Storage Solutions

A slim console and mirror open up this small entryway.

When floor space is at a premium, the only way to go is up. Vertical storage is one of the most effective ways to manage mess because it draws the eye upward and keeps essential items off the ground. By installing wall-mounted organizers, you eliminate the “floor pile” phenomenon entirely.

Maximize Wall Space with Hooks and Shelves

Wall hooks are not just for coats; they are a versatile storage tool. Consider installing a row of decorative hooks at different heights to accommodate children’s gear alongside adult coats. Above these, adding a floating shelf provides a dedicated spot for keys, wallets, and sunglasses, preventing the dreaded “junk drawer” effect on your entryway console.

Creating a Command Center

Integrate a small magnetic whiteboard or a corkboard above your console table. This keeps mail, coupons, and reminders off surfaces. When you have a dedicated “landing strip” for paper clutter, it is much easier to maintain a clean aesthetic.

Rethinking Furniture for Tiny Foyers

Bench storage is the perfect way to hide shoes.

Standard entryway furniture is often too bulky for small apartments or narrow hallways. To hide clutter effectively, you need pieces that do double duty or provide concealed storage compartments that keep your life organized.

Choosing Multi-Functional Pieces

A bench with built-in cubbies or drawers is the gold standard for small entryways. It provides a spot to sit while putting on shoes, while the storage beneath holds bins full of umbrellas, seasonal accessories, and stray bags. Look for slim-profile designs that don’t block traffic flow.

The Magic of Slim Consoles

If you lack space for a full bench, a wall-mounted console table with a single drawer can work wonders. Keep the surface clear of everything except a small decorative tray for mail, and use the drawer to house items that would otherwise look like clutter. Opting for pieces with tapered legs makes the area feel larger and more open.

Concealing Footwear Like a Pro

Tilt-out cabinets provide hidden storage for shoes.

Shoes are the primary culprits in most messy entryways. Finding ways to store them discreetly is essential for a clean look. The goal is to move shoes off the floor and into enclosed storage to prevent visual noise.

Using Tilt-Out Shoe Cabinets

Tilt-out cabinets are incredibly narrow, making them perfect for cramped hallways. They house shoes vertically, allowing you to store a significant amount of footwear in a footprint that is often less than a foot deep. By closing the door on your shoes, you instantly hide the clutter that often dominates the entryway floor.

Under-Bench Baskets

If you prefer an open look, use uniform woven baskets or bins beneath a bench. Labeling them ensures that every family member knows exactly where their shoes go. This system makes it easy to “hide” shoes at the end of the day by simply sliding the bin under the seat.

Clever Hidden Storage Hacks

Minimalist wall-mounted furniture maximizes floor space.

Sometimes the best storage is the kind you don’t see at all. By utilizing dead space or installing clever organizers, you can keep your home entrance looking pristine without sacrificing utility.

Utilizing the Door Back

Don’t ignore the space behind your door. Over-the-door organizers can hold everything from dog leashes to lightweight rain gear. By placing items here, they are hidden from view whenever the door is open, effectively clearing your line of sight as soon as you step inside.

Floating Cabinets and Drawers

Wall-mounted drawers create a clean, minimalist look. By floating the unit off the floor, you create a sense of spaciousness, and you can easily tuck floor-cleaning equipment or slippers underneath. It turns a functional storage piece into an architectural feature.

Lighting and Mirrors to Enhance Space

A cramped, dark entryway always feels more cluttered than it actually is. By using design tricks that maximize light, you can make the area appear more airy, which helps hide the feeling of confinement that often accompanies small, messy spaces.

The Strategic Use of Mirrors

Place a large mirror directly across from the entry or on a side wall. This reflects light and creates the illusion of depth, making a small entryway feel twice as big. A clean, mirrored surface also forces you to keep the area tidy, as the reflection will amplify any clutter left behind.

Brightening the Area

Replace dim overhead lighting with something warmer and brighter. A stylish flush-mount fixture or a set of wall sconces can highlight your storage solutions rather than casting shadows that emphasize piles of objects. Proper lighting makes even the smallest space look intentional.

Essential Decluttering Habits for the Foyer

Having the right storage is only half the battle. To keep your entryway clean, you must implement a “one in, one out” policy. Every item that enters the home must have a designated home, or it must be processed immediately.

The Daily Sweep

Make it a habit to clear the entryway every single evening. Take two minutes to return shoes to their bins, hang up coats, and sort the mail. This tiny habit prevents clutter from snowballing into a weekend-long cleanup project.

Seasonal Rotation

Your entryway should only house items you need for the current season. Store winter boots in the summer, and vice-versa, in a dedicated bin in your closet or basement. By rotating your inventory, you free up physical and visual space, ensuring your entryway stays functional throughout the year.

Creating a Welcoming Ambiance

Once the clutter is hidden, focus on the details that make the space inviting. An entryway is the “hello” of your home, and it should reflect your personality. Add a small plant or a piece of art to give the area character.

The Importance of Color and Texture

Choose light colors to paint your walls, which helps open up the visual space. Incorporate natural textures like jute rugs or wood grain storage units to add warmth without adding “visual noise” that makes a space look busy.

Conclusion

Mastering your foyer doesn’t require a renovation; it simply requires the right strategy. By implementing these 27 genius small entryway ideas, you can reclaim your space, hide the clutter, and create an entrance that makes you feel happy to be home. From vertical wall storage and tilt-out cabinets to the simple power of daily habits, you have everything you need to transform your home. Start small, pick one or two of these tips, and watch as your entryway becomes the most organized room in your house! Ready to get started? Pick your first storage project today and reclaim your calm entryway.