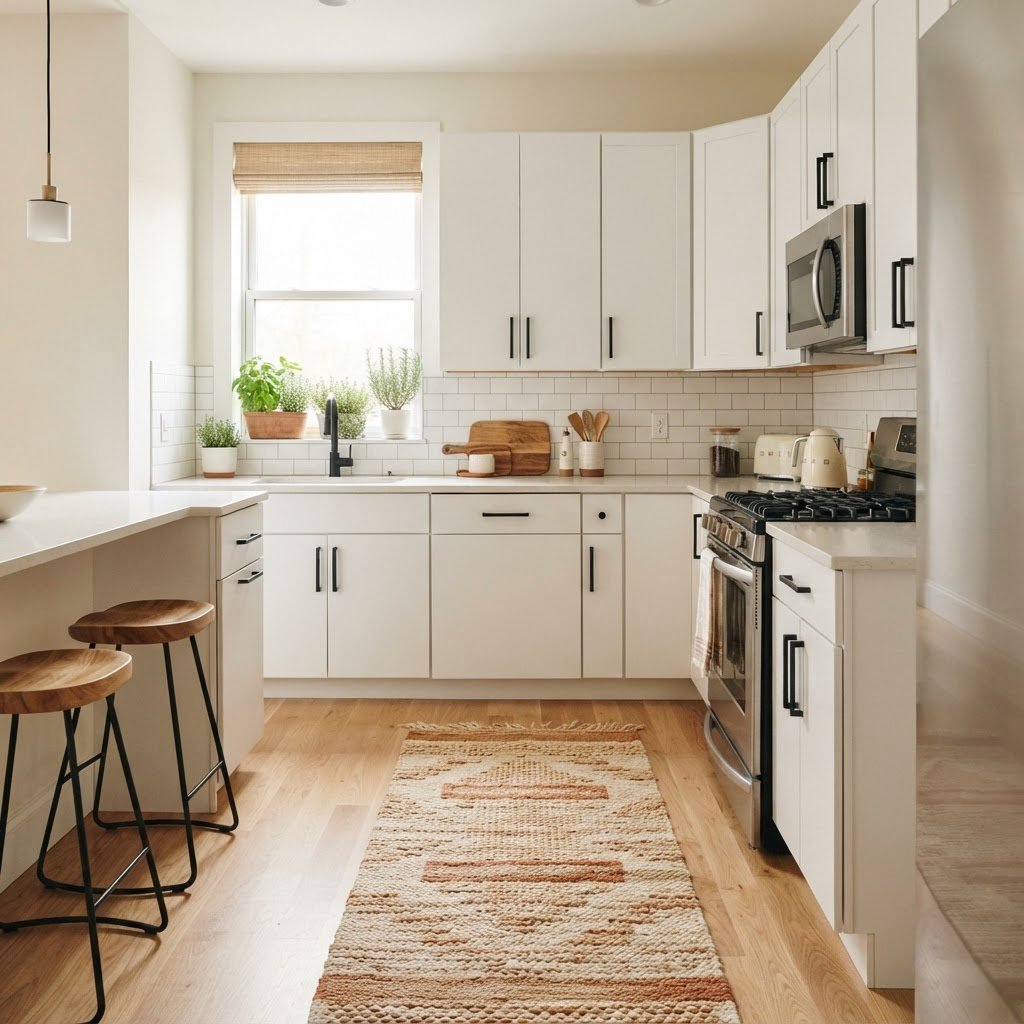
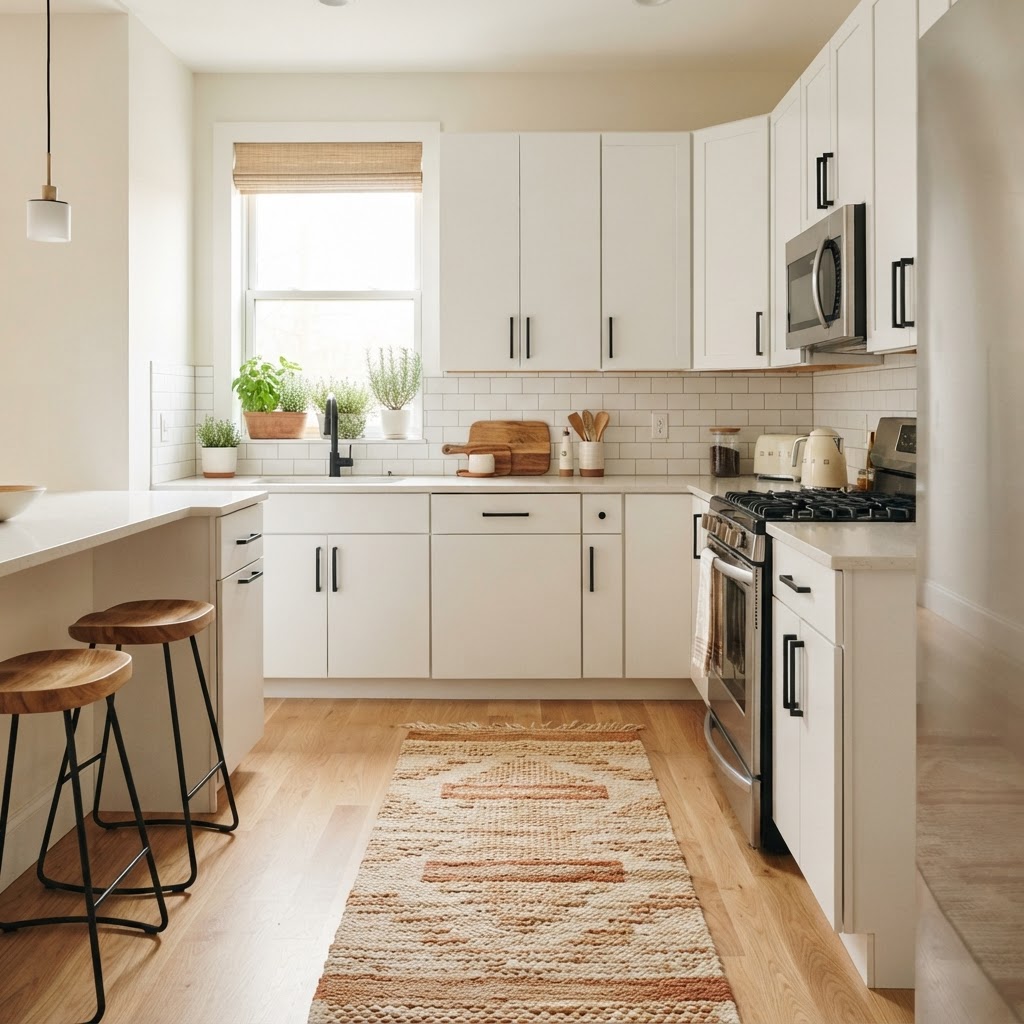
Living in a rental home often feels like a creative constraint, especially when you are staring at drab cabinets and lackluster hardware. Fortunately, you can achieve a high-end look with chic kitchen updates renters can undo in minutes. The secret lies in choosing temporary solutions that prioritize style without requiring a toolbox or a permanent commitment. Whether you are dealing with ugly backsplash or boring fixtures, there are plenty of ways to reclaim your kitchen’s aesthetic.
The Power of Removable Hardware
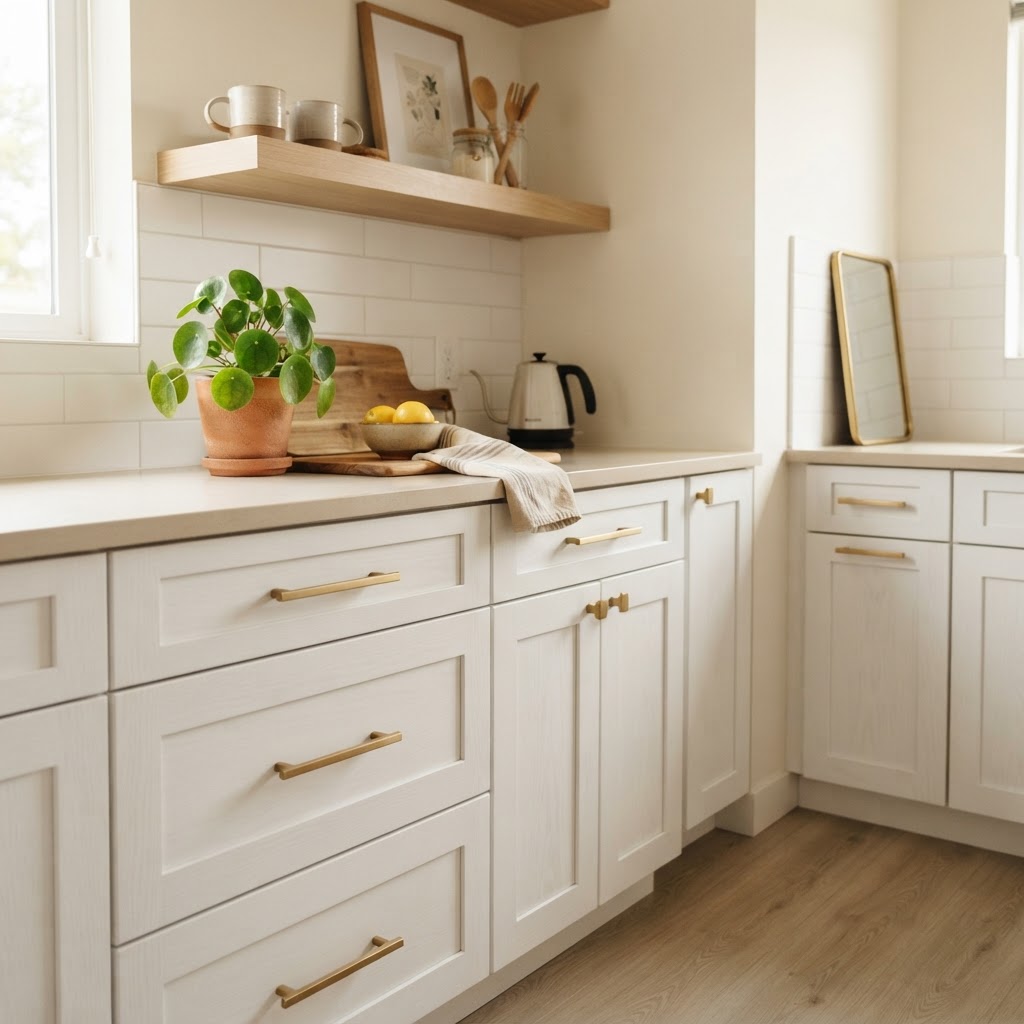
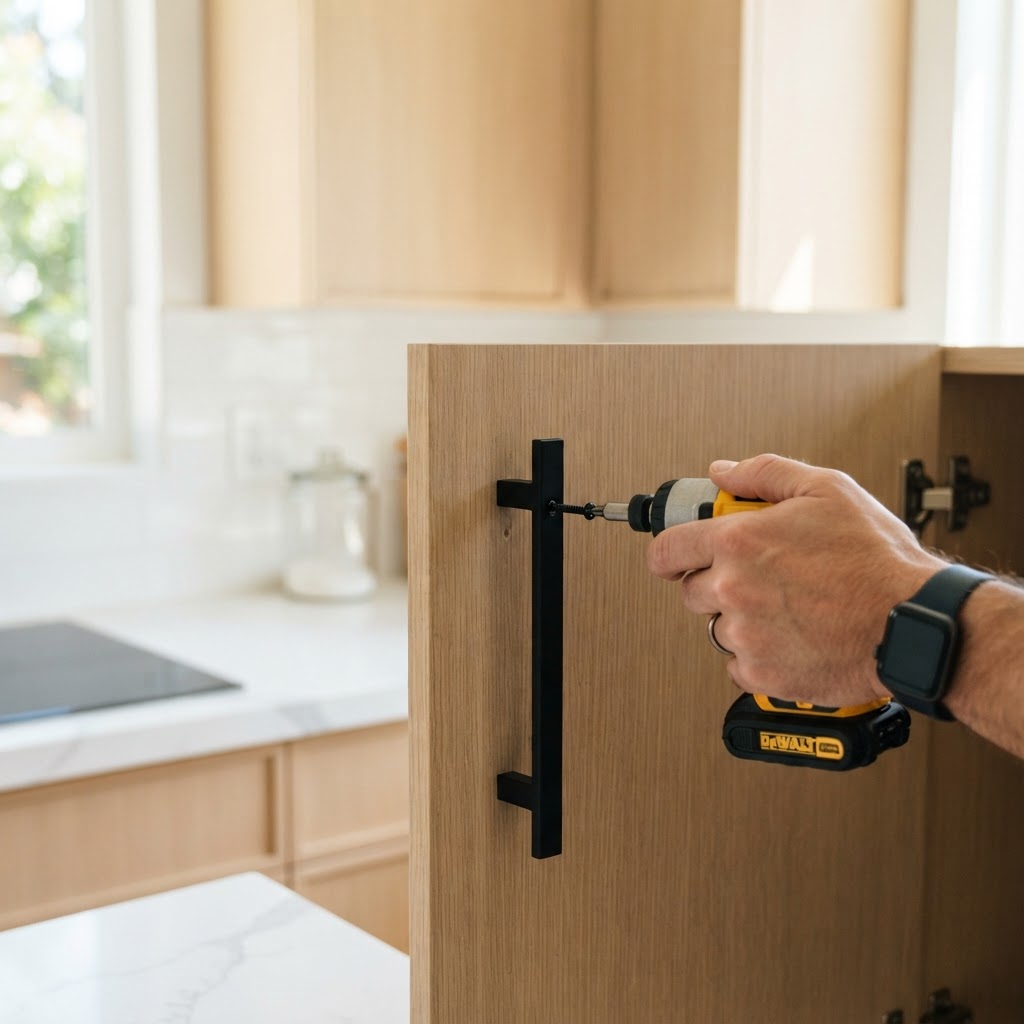
The quickest way to change the personality of a kitchen is to swap out the cabinet hardware. Most landlords are happy for you to update knobs and pulls as long as you keep the originals in a safe place. This small change acts like jewelry for your cabinets, instantly making the space feel more curated and modern. Look for sleek matte black handles or brushed gold pulls to elevate a standard builder-grade kitchen.
Why Hardware Swaps Work
Hardware swaps are the quintessential non-permanent upgrade. You simply unscrew the existing hardware, store it in a labeled bag, and install your new choices. When it is time to move, swap them back, and your landlord will never know the difference. It takes less than twenty minutes to transform an entire wall of cabinets.
If you hate the dated tile or blank wall behind your counter, peel-and-stick tiles are your best friend. These high-quality vinyl sheets come in various patterns, from classic subway tile to bold, geometric Moroccan styles. They are designed to withstand heat and humidity, making them perfect for a kitchen environment.
Installation Tips for Best Results
Ensure your surface is perfectly clean and dry before application. Use a level to guide your first row, and overlap the edges slightly for a seamless look. These products peel off cleanly when you move, provided you use high-quality, reputable brands that feature renter-friendly adhesive backings.
Dressing Up Countertops with Vinyl Wrap
Damaged or unsightly countertops are a common complaint in rentals. While you cannot replace the stone or laminate, you can cover it using contact paper or dedicated vinyl wrap. Marble-look or matte concrete vinyl wraps can make an old, scratched countertop look brand new and incredibly sophisticated.
These wraps are water-resistant and durable enough to handle daily meal prep. Be sure to use a smoothing tool to get rid of air bubbles during application. If you have any seams, use a clear silicone caulk or decorative trim to keep the edges crisp and prevent water seepage. This is one of the most effective chic kitchen updates renters can undo in minutes when the lease is up.
Lighting Without Electrical Work
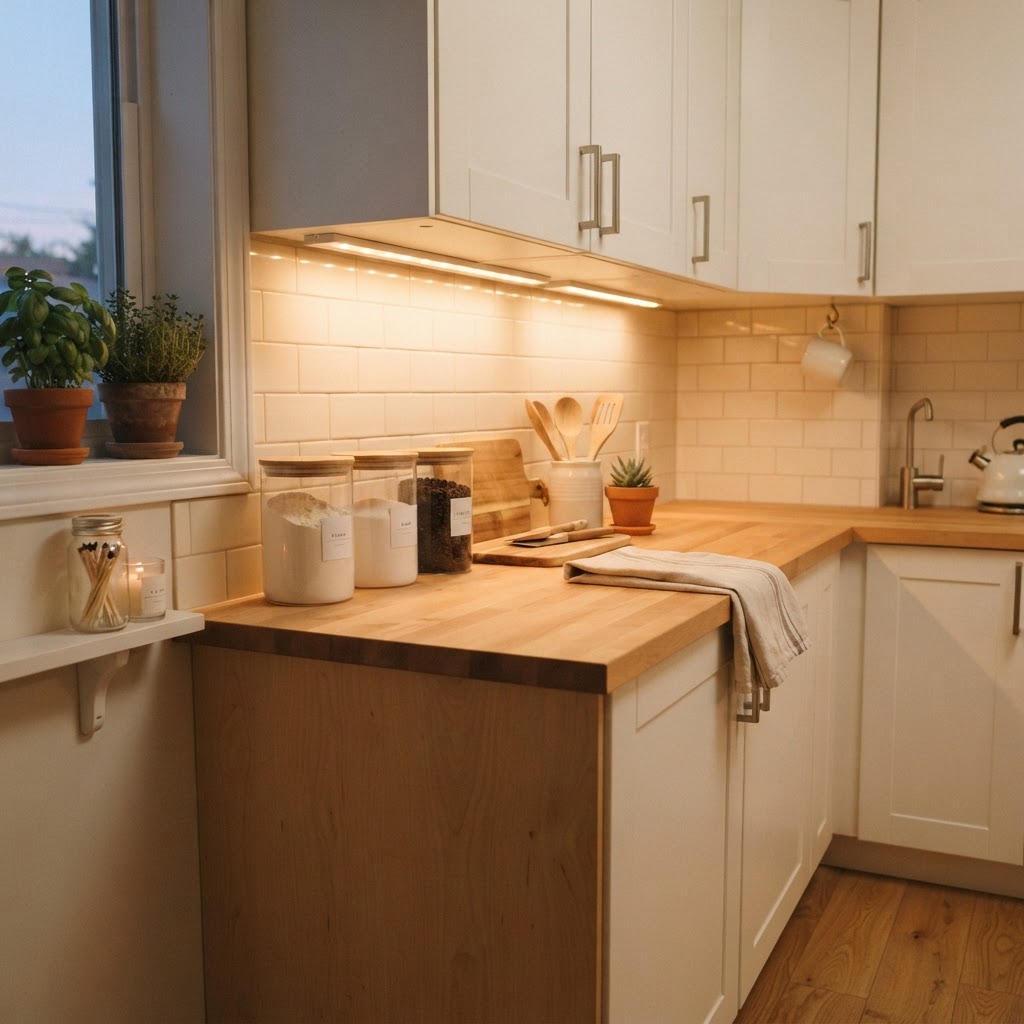
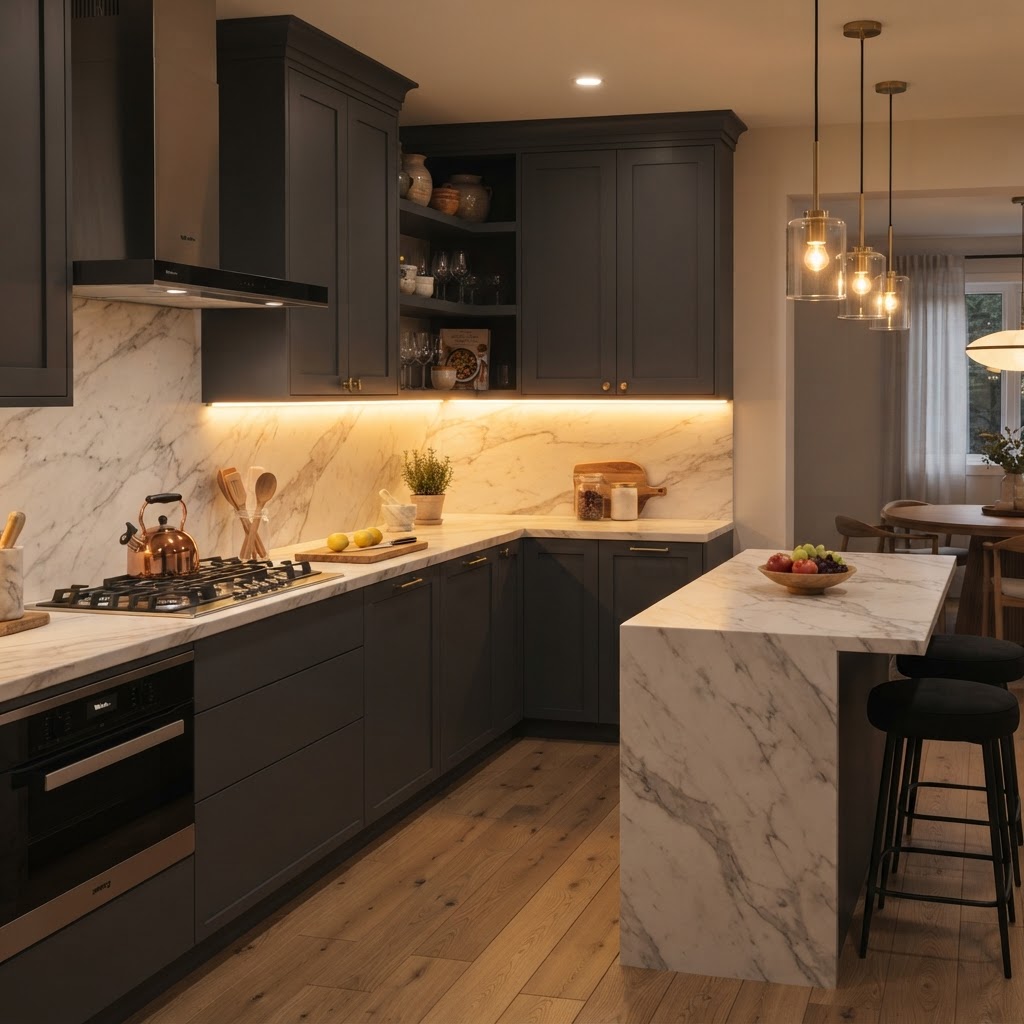
Lighting plays a huge role in kitchen ambiance, but electrical work is strictly off-limits for renters. Skip the hard-wired fixtures and opt for plug-in sconces or battery-operated under-cabinet LED lights. Placing these strips under your upper cabinets creates a warm, professional glow that makes your kitchen look like a high-end designer space.
Creative Ways to Brighten Up
Battery-operated puck lights are an easy way to illuminate dark corners or add functional task lighting to your workspace. You can also hang stylish pendant lamps using adhesive hooks or tension rods, creating a focal point above an island or breakfast nook. Always look for “no-drill” mounting kits that use heavy-duty command strips for peace of mind.
Adding Personality with Rugs and Textiles
A bare floor can make a kitchen feel cold and sterile. A washable, low-pile runner is a perfect way to add color, texture, and pattern to your space. Choose a material that is stain-resistant and can handle heavy foot traffic. A well-placed rug hides scuffed linoleum and adds a layer of comfort while you are standing at the sink.
Don’t forget the power of window treatments. A simple bamboo shade or a café curtain can soften the lines of a window and provide privacy. Like other upgrades, these can be installed using tension rods, which avoid any need for drilling into the window frame.
Storage Hacks for Style and Function
Clutter is the enemy of a chic kitchen. Use open shelving, aesthetic canisters, and tiered organizers to keep your countertops clear and your ingredients organized. Using matching glass jars for dry goods creates a visually cohesive look that mimics professional pantry organization. It is not just about looks; it is about creating a workflow that feels effortless and inviting.
The Art of Curated Display
Select a few beautiful items, such as a wooden cutting board, a decorative ceramic pitcher, or a fruit bowl, to leave on the counter. Everything else should have a home inside the cabinets. This “less is more” approach ensures your kitchen remains a sanctuary rather than a storage locker.
Protecting Your Security Deposit
While these chic kitchen updates renters can undo in minutes are designed to be temporary, always exercise caution. Test a small, inconspicuous area with any adhesive before applying it to the entire surface. If you ever have a doubt about a potential project, ask your landlord for permission in writing before proceeding. Most landlords appreciate responsible tenants who improve the property at their own expense.
Always document the original state of the kitchen with photos before you start your project. Keep all the original hardware, shelves, and fixtures in a labeled bin. Being organized during the renovation process makes the move-out process significantly easier, ensuring you get your full security deposit back while enjoying a beautiful home in the meantime.
Conclusion
Transforming your rental kitchen into a space you truly love does not require a massive budget or permanent renovations. By focusing on peel-and-stick backsplashes, hardware swaps, and smart lighting, you can easily achieve a designer look that respects your lease terms. These chic kitchen updates renters can undo in minutes prove that you do not need to own a home to enjoy a beautiful, functional cooking space.
Start with one small project today—like changing your cabinet knobs or adding a runner rug—and see how it changes the vibe of your home. Your kitchen is the heart of your living space; give it the love and style it deserves. Ready to get started on your own rental transformation? Share your progress on social media or tell us which hack you are most excited to try in the comments below!
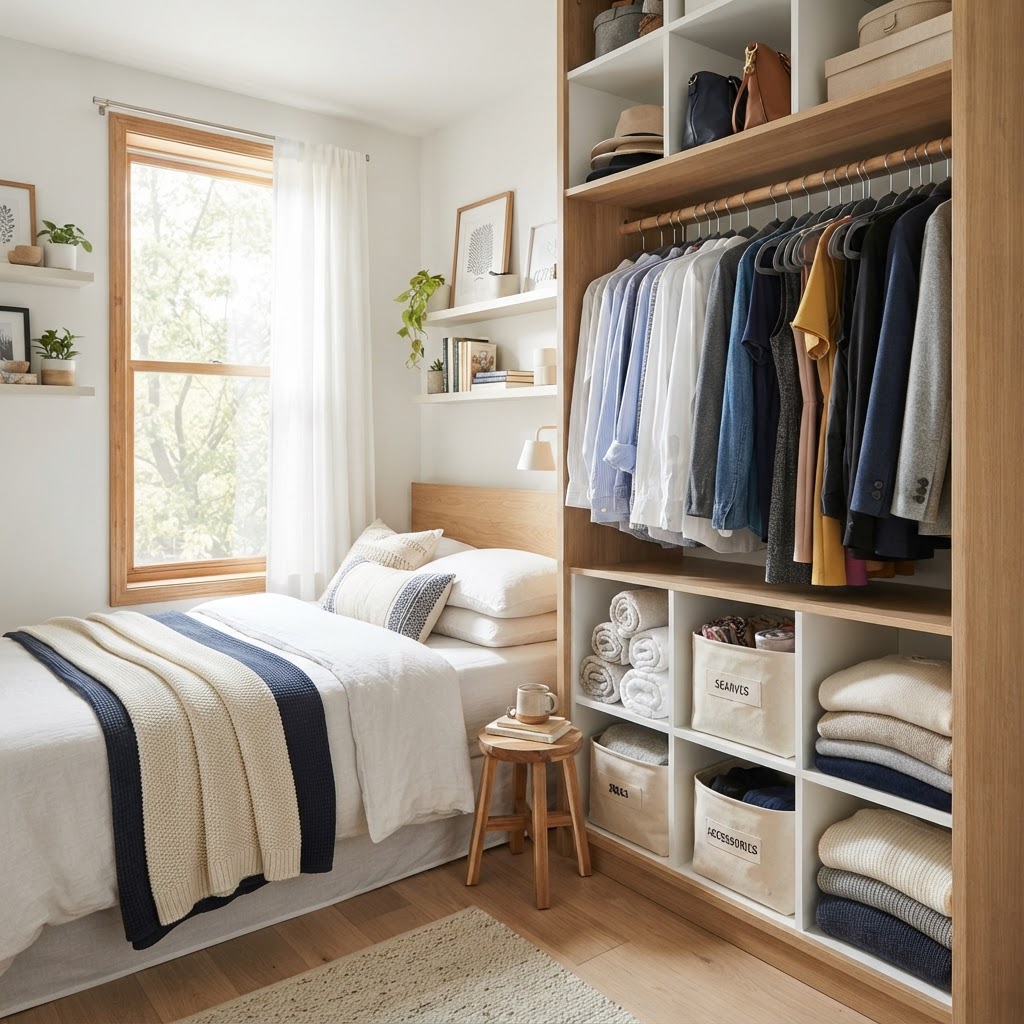
Creating a sanctuary in your home starts with the bedroom, but maintaining that peaceful atmosphere is often derailed by unsightly clutter. If you are struggling with limited space, integrating clever bedroom storage solutions that disappear into the design is the perfect way to maintain order without sacrificing style. By utilizing custom cabinetry, hidden compartments, and multi-functional furniture, you can reclaim your space and focus on rest rather than messes.
The Power of Built-In Cabinetry
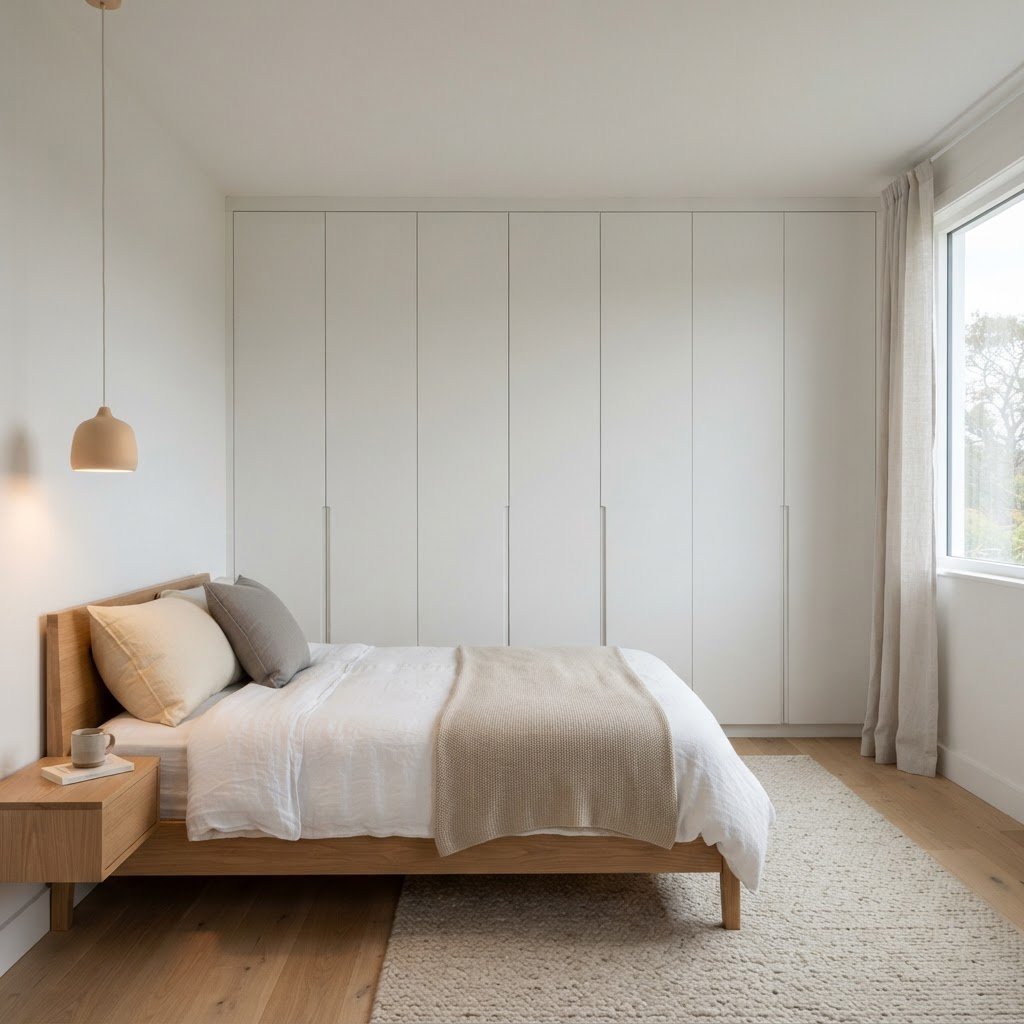
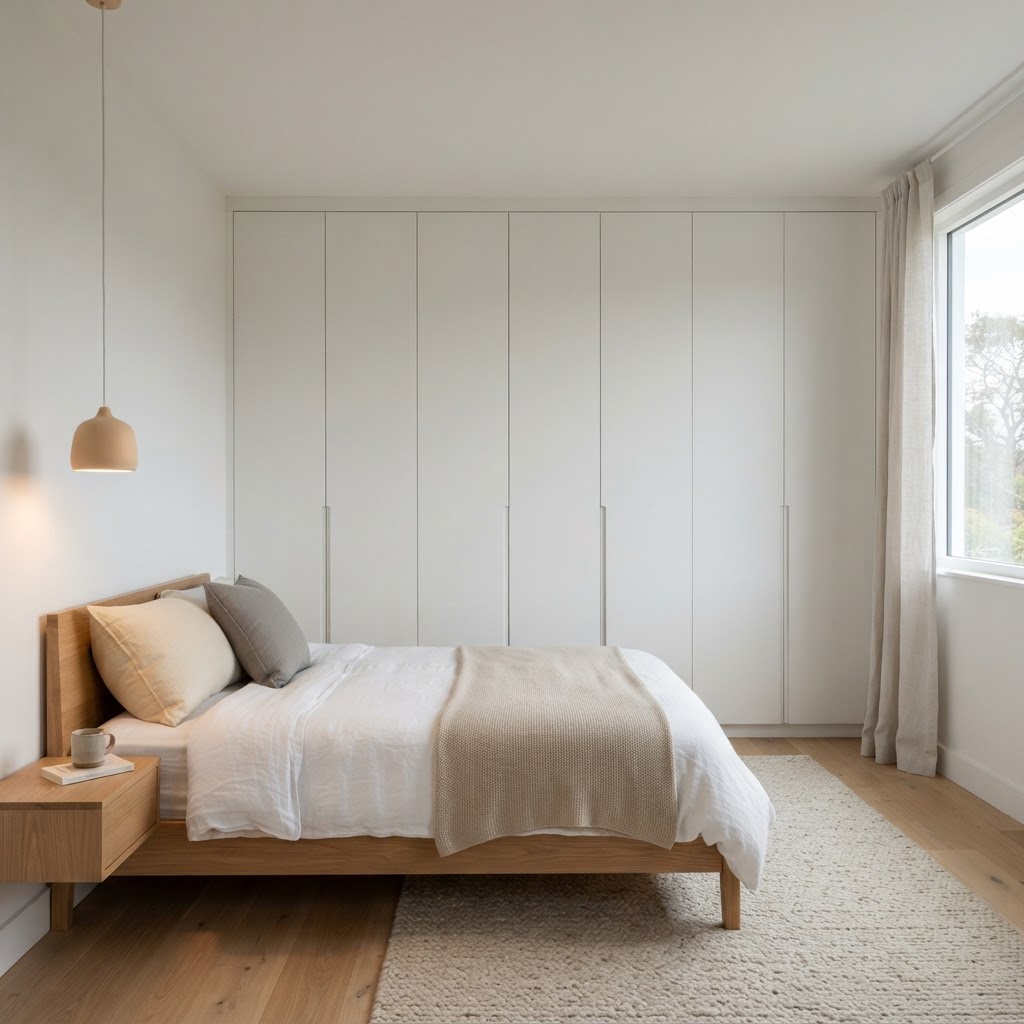
One of the most effective ways to hide storage is to make it look like a permanent architectural feature. Built-in wardrobes that extend from floor to ceiling can be finished in the same color as your walls, effectively allowing them to vanish into the room’s backdrop.
Matching Wall Colors for Seamless Integration
When you paint your storage unit the same shade as your wall—whether it is a moody charcoal or a soft off-white—the visual weight of the furniture is drastically reduced. This technique draws the eye upward, making the room feel taller while keeping your belongings securely tucked away behind handleless, push-to-open doors.
Customizing Interior Configurations
Inside these cabinets, you can install pull-out shoe racks, jewelry drawers, and double hanging rods to maximize every inch of available space. Because the exterior is seamless, the room maintains a minimalist aesthetic, even if the interior is packed with clothes.
Under-Bed Storage Realized
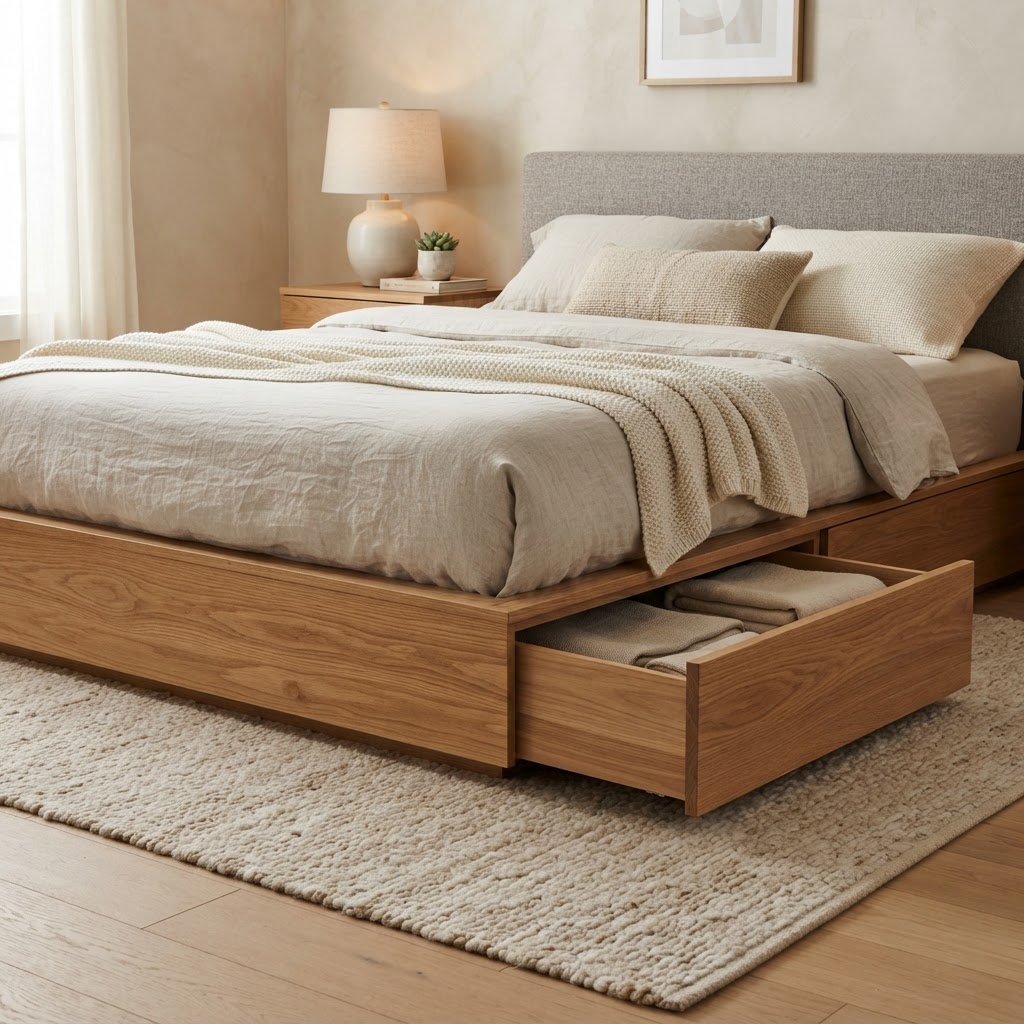
The area beneath your bed is often an untapped goldmine for organizational potential. While simple bins are a start, true design integration involves choosing a platform bed with built-in drawers that mirror the design of the headboard or side tables.
Choosing Platform Beds with Integrated Drawers
Opting for a platform bed that features concealed drawers allows you to store seasonal bedding, heavy sweaters, or extra pillows without needing a bulky dresser. Ensure the finish matches your other bedroom furniture to keep the aesthetic cohesive and calm.
Hydraulic Lift Beds
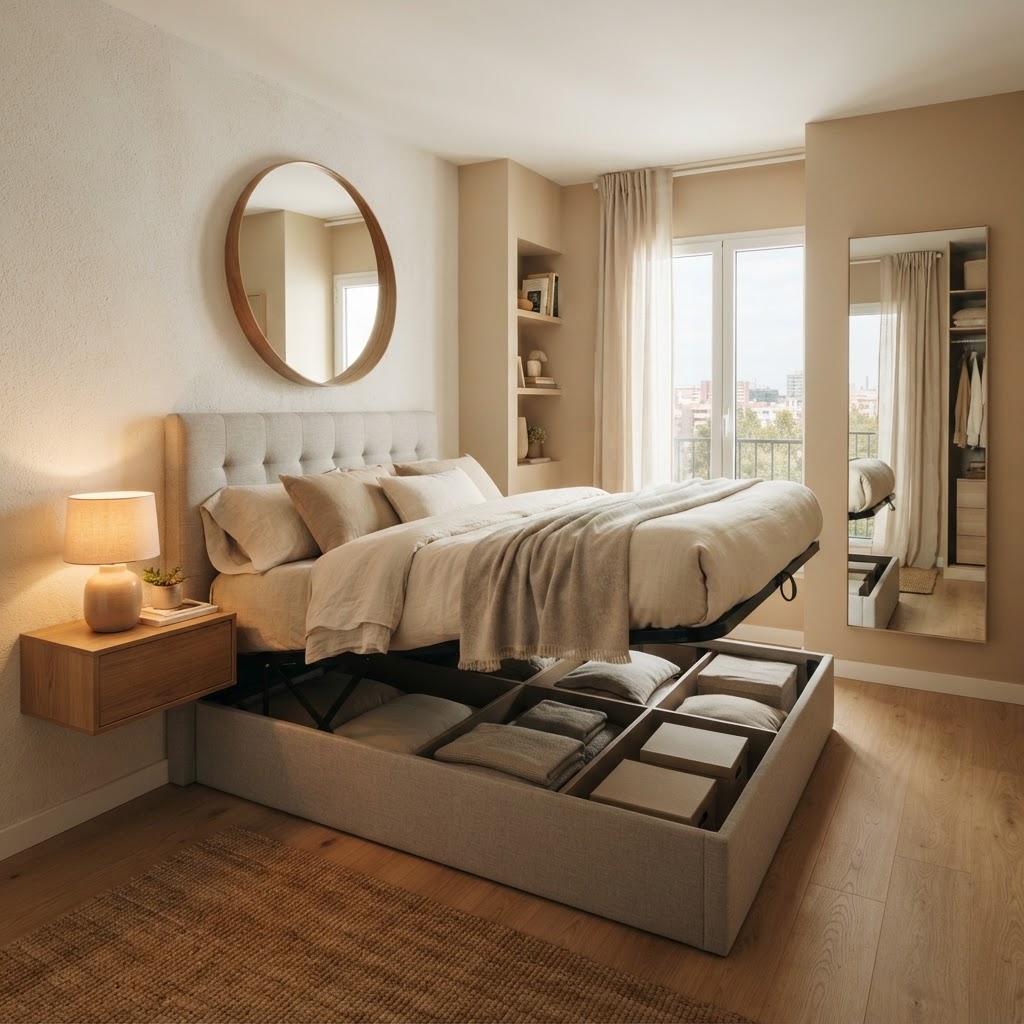
If you prefer a cleaner look without visible drawer seams, consider a hydraulic lift mattress base. This mechanism allows you to lift the entire top of the bed, exposing a massive storage cavity underneath that remains completely hidden when the bed is closed.
Utilizing Dead Space with Headboard Storage
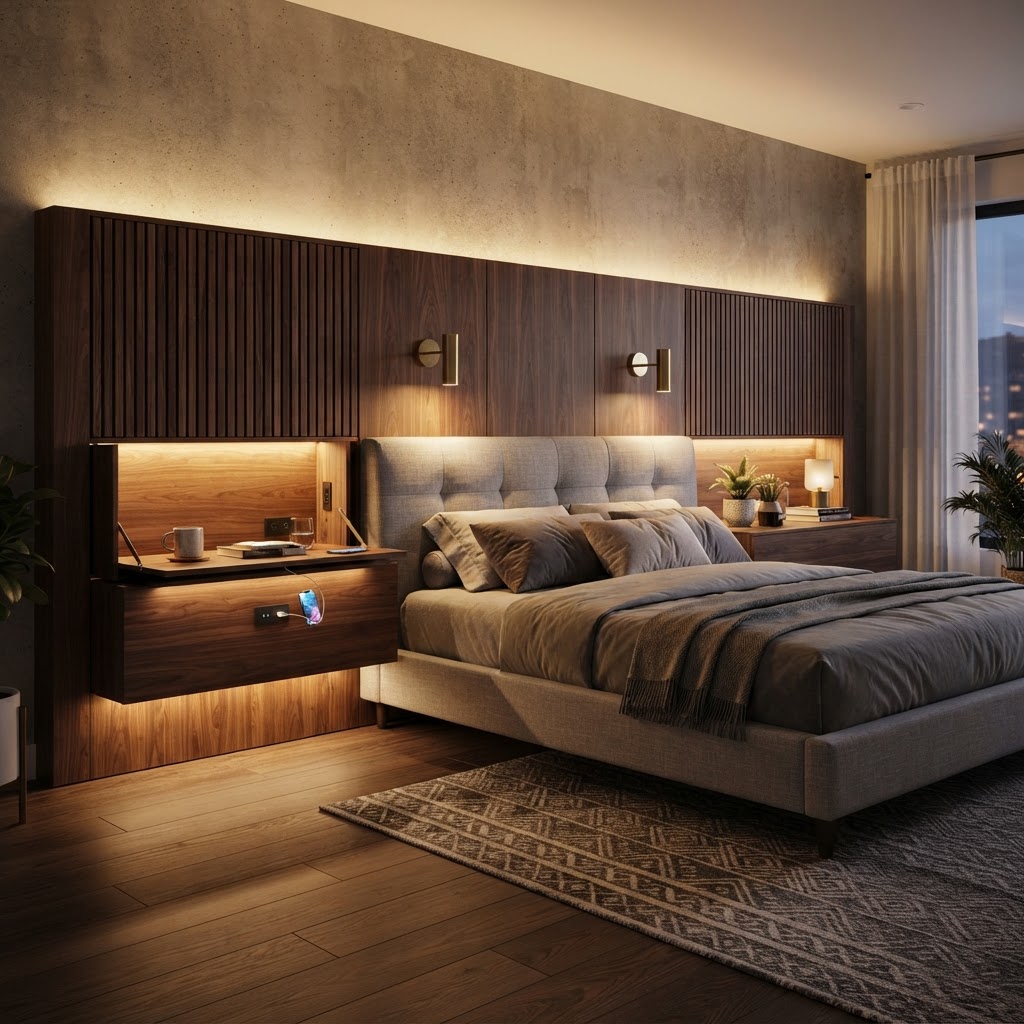
Most people treat their headboard as a purely aesthetic element, but it can be one of the most brilliant bedroom storage solutions available. A custom-built headboard unit can extend to the width of the wall, providing hidden niches, pull-out shelves, or even side cabinets.
Hidden Bedside Tables
Integrating your nightstands into a larger headboard unit eliminates the need for extra legs and surfaces. By creating flush panels that reveal shelving for books or charging stations, you minimize the “visual noise” that keeps the bedroom from feeling like a true retreat.
Discreet Mirror and Wall Panel Storage
Walls provide significant real estate that is often underutilized. By installing mirrored panels that conceal shallow shelving, you can turn a functional necessity into a storage powerhouse. This is particularly effective for storing smaller items like perfumes, skincare, or accessories.
Mirror-Fronted Jewelry Cabinets
Full-length floor mirrors that pivot or slide to reveal a hidden cabinet are perfect for the fashion-conscious individual. Because they look like decorative elements, they maintain the design integrity of the room while keeping your jewelry safe and organized.
Sliding Wall Panels
For those who prefer a modern look, consider sliding wall panels that hide a shallow closet or open shelving. These can be finished with fabric or wood veneer to match the room’s decor, making the storage component look like a sophisticated design choice rather than a utilitarian box.
Multi-Functional Furniture Pieces
To keep a room feeling spacious, every piece of furniture should pull its weight. Multi-functional pieces, such as ottomans with interior storage or vanity tables that fold down into slim consoles, are essential tools for a clutter-free lifestyle.
The Versatile Storage Ottoman
An ottoman placed at the foot of the bed offers a place to sit, a surface to put a tray, and deep storage for blankets. By selecting a fabric or material that complements your bedding, you ensure it feels like a deliberate design element.
Convertible Desks and Vanities
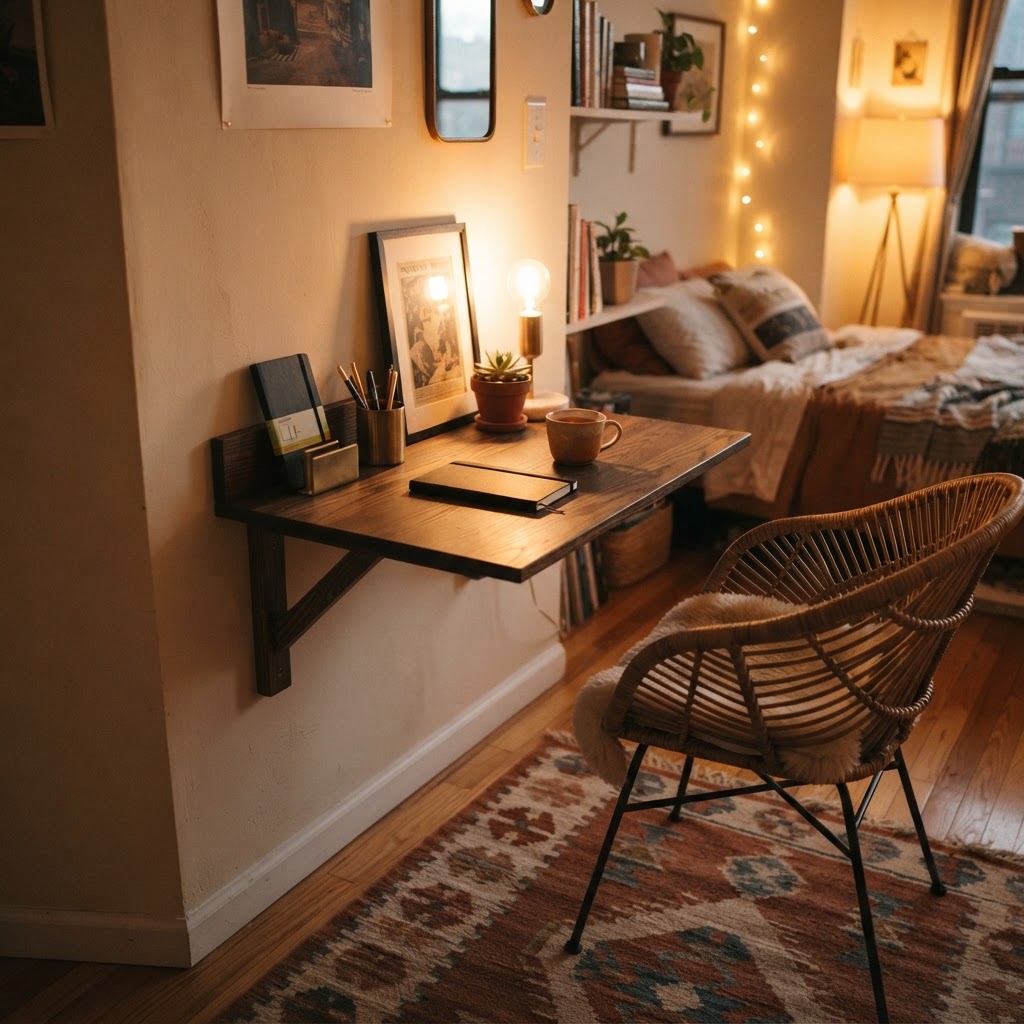
If you use your bedroom as a workspace, a fold-down desk that mimics a wall cabinet is a game-changer. Once the workday is over, you simply close the desk, tuck away the chair, and the “office” completely disappears into the room’s architecture.
Mastering Closet Organization Systems
Even with the most clever external storage, the actual closet remains the heart of bedroom organization. A truly “disappearing” design approach focuses on interior systems that eliminate the need for overflow furniture in the rest of the room.
Decluttering Before Organizing
Before installing any new system, take a hard look at what you own. Use this simple process to maintain a clutter-free closet:
Categorize all items into Keep, Donate, and Toss piles.
Utilize vertical space with double-hanging rods to double your capacity.
Install pull-out baskets for loose items like belts and scarves.
Designate a specific spot for off-season items using vacuum-seal storage bags.
Lighting as a Design Feature
Incorporating LED strip lighting inside your closet or storage units doesn’t just make it easier to find clothes; it adds a layer of luxury. When the lighting is automated to turn on when doors open, it makes the experience of accessing your storage feel seamless and high-end.
Conclusion
Achieving a peaceful, organized bedroom does not mean you have to embrace a sparse, empty look. By choosing bedroom storage solutions that disappear into the design, you can keep all your necessary belongings close at hand while maintaining a sleek, serene aesthetic. Whether you opt for custom built-ins, clever under-bed storage, or hidden vanity units, the key is consistency in color, texture, and materials. Start by identifying one area in your room that feels cluttered and apply one of these strategies to reclaim your peace of mind. Your bedroom should be your sanctuary—make sure your storage works for you, not against you.
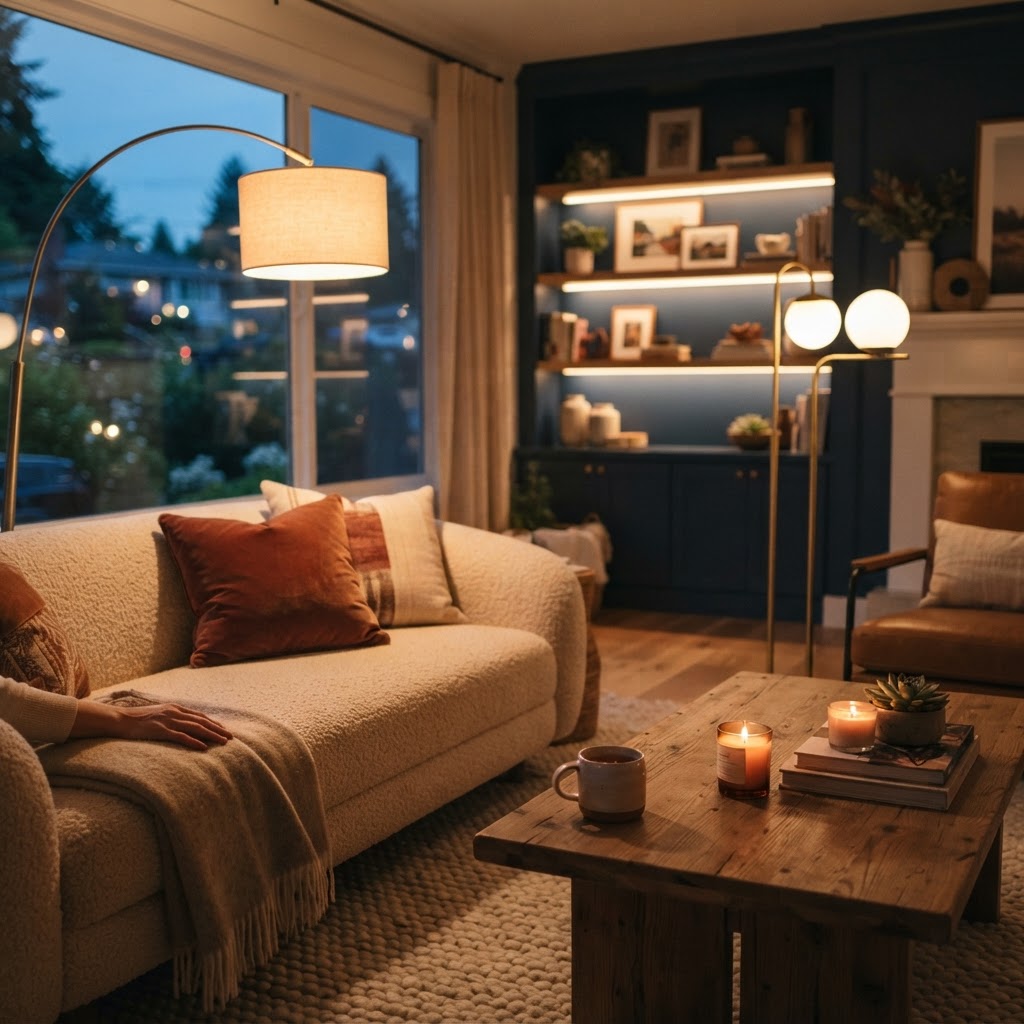
Creating the perfect ambiance in your living space doesn’t require a professional designer or an unlimited budget. Many homeowners struggle with sterile, overly bright spaces, but the secret to luxury lies in the glow. By incorporating budget-friendly warm lighting ideas, you can instantly transform any room from flat and uninviting to rich, layered, and sophisticated. The key is to shift your focus from overhead glare to intentional, diffused light sources that define the mood of your home.
The Power of Color Temperature in Interior Design
Before you buy a single fixture, you must understand the science behind warm home lighting. Color temperature is measured in Kelvins (K). Most standard bulbs found in hardware stores are set to 4000K or higher, which emits a bluish, clinical light. For a high-end feel, you should aim for bulbs between 2700K and 3000K. This range mimics the golden hour of sunset, providing a comforting, intimate atmosphere.
Why Kelvins Matter
When you walk into a luxury hotel lobby, you rarely see harsh fluorescent lighting. You see layers of 2700K light. By simply swapping your existing cool-toned LED bulbs for warmer alternatives, you immediately increase the perceived value of your home. It is perhaps the single most affordable upgrade you can make to improve your interior design.
Layering Your Light for Depth
Luxury design is all about layers. You should never rely on a single central light source in a room. Instead, aim to have at least three sources of light at different heights: floor level, table level, and accent level. This approach is fundamental to achieving high-end results on a budget.
The Three-Layer Rule
Ambient lighting: The base layer that provides overall room illumination.
Task lighting: Focused light for activities like reading, cooking, or working.
Accent lighting: Decorative light used to highlight architectural features or artwork.
Transforming Fixtures with DIY Upgrades
One of the most effective budget-friendly warm lighting ideas is to customize what you already own. You do not need to buy expensive, designer lamps to achieve a high-end look. A basic floor lamp from a big-box store can look like a boutique find with a few simple modifications.
Customizing Lamp Shades
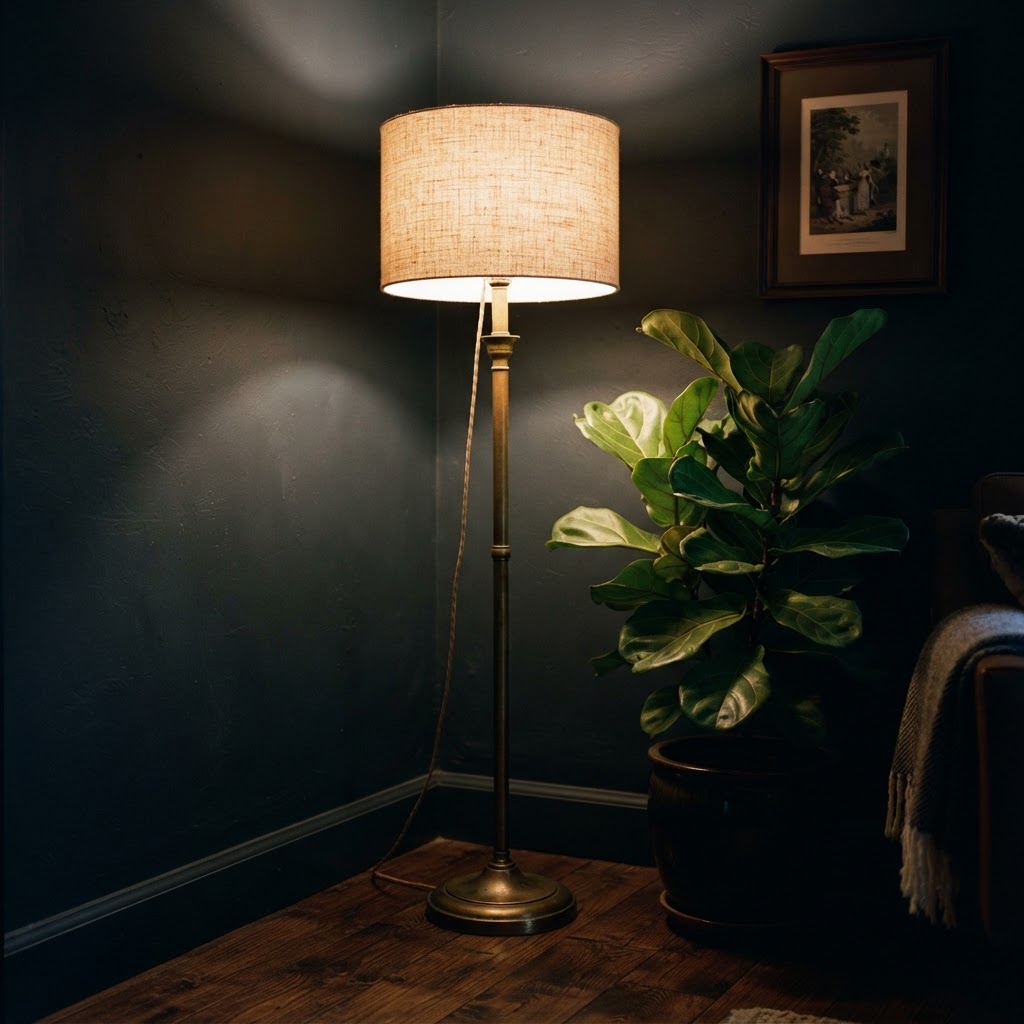
Consider wrapping a plain drum shade in high-quality linen or a textured fabric that diffuses light more softly. If you have a dated brass fixture, a simple can of matte black or antique bronze spray paint can make it look like a high-end architectural piece. Ensure the paint is rated for heat to maintain safety standards while elevating the aesthetic.
Utilizing Smart Bulbs for Flexible Ambience
Smart lighting technology has become incredibly accessible. Instead of spending thousands on a new wired lighting system, invest in a handful of smart bulbs. These allow you to adjust the warmth and brightness from your phone or voice assistant. This level of control is synonymous with high-end “smart home” features and adds an element of luxury to your daily routine.
Setting the Scene
You can program your lights to automatically dim at 8:00 PM, signaling a shift from productivity to relaxation. This kind of automation creates a seamless, curated experience that feels much more expensive than the cost of a few smart bulbs. It is a subtle but powerful way to enhance the functionality and luxury of your space.
Strategic Use of Undercabinet and Accent Lighting
Lighting hidden beneath cabinets or behind bookshelves creates a “floating” effect that is often seen in architectural digests. You do not need professional electrical work to achieve this. LED strip kits are incredibly affordable and easy to install, often coming with adhesive backings that stick to any clean surface.
Tips for Installation
Hide the strip: Always place the LED strip so the individual diodes aren’t visible, aiming for a soft glow reflected off the wall or counter surface.
Warm white only: Stick to warm white LED strips to avoid a cheap, neon appearance.
Use diffusers: If you can see the strips directly, place them inside an aluminum channel with a frosted plastic diffuser to soften the output.
Incorporating Candles and Faux Alternatives
Nothing beats the authentic, flickering warmth of candlelight. While candles are a traditional way to bring coziness into a home, high-quality, battery-operated LED candles can achieve a similar effect without the fire hazard. Placing a group of varied-height candles in a fireplace or on a coffee table adds an instant sense of warmth and character.
Why Candles Elevate the Space
Candlelight provides a warm, organic movement that standard bulbs cannot replicate. When styled in elegant holders—perhaps sourced from a thrift store—they contribute to a high-end, lived-in aesthetic. Mixing real candles with realistic, wax-coated LED pillars creates a safe, reliable, and sophisticated lighting display for any occasion.
Lighting as Art: Statement Pendants on a Budget
Sometimes, all a room needs is one statement piece. You can find unique, sculptural pendant lights at estate sales, online marketplaces, or even through creative DIY projects involving natural materials like rattan, paper, or wire. A large, oversized pendant light placed low over a dining table creates a “wow” factor that draws the eye and anchors the room.
Choosing the Right Scale
When buying a budget statement piece, focus on scale. A tiny light fixture in a large room will look cheap, but a larger-than-expected fixture feels intentional and expensive. Even if the lamp itself is inexpensive, its presence commands attention and creates a focal point that defines the entire room’s design language.
Conclusion
Achieving a luxury look through lighting is less about your bank account and more about your attention to detail. By selecting warmer color temperatures, layering your sources, and using creative DIY tactics, you can master the art of cozy, high-end design. Lighting is the jewelry of the home; it has the power to elevate everything it touches. Start by swapping your bulbs today and see how quickly the atmosphere changes. Which of these techniques will you try first? Share your results and start crafting your own warm, inviting sanctuary today.
Moving into a new apartment often brings the excitement of a fresh start, but the strict rules of landlords can quickly dampen your creative spirit. If you are focused on decorating a rental without risking your deposit, you are not alone; many tenants struggle to balance personal style with strict lease terms. The good news is that you do not need to settle for stark, white walls or uninspired layouts just to ensure you get your money back. With a little creativity and the right tools, you can transform your temporary housing into a cozy, stylish sanctuary that feels uniquely yours.
Understanding Lease Agreements and Limitations
Before you pick up a paintbrush or hammer, it is crucial to review your lease agreement with a critical eye. Most landlords have specific clauses regarding modifications, often prohibiting permanent changes like painting, drilling large holes, or swapping out light fixtures. Understanding these boundaries is the first step toward successful interior design in a temporary space.
If you are unsure about what counts as normal wear and tear versus damage, consult your local landlord-tenant laws. Generally, small holes from picture hooks are acceptable, but large anchors or unauthorized structural changes are not. Always document the state of the apartment when you move in, taking high-quality photos of any existing damage to protect yourself later.
The Magic of Temporary Wall Coverings
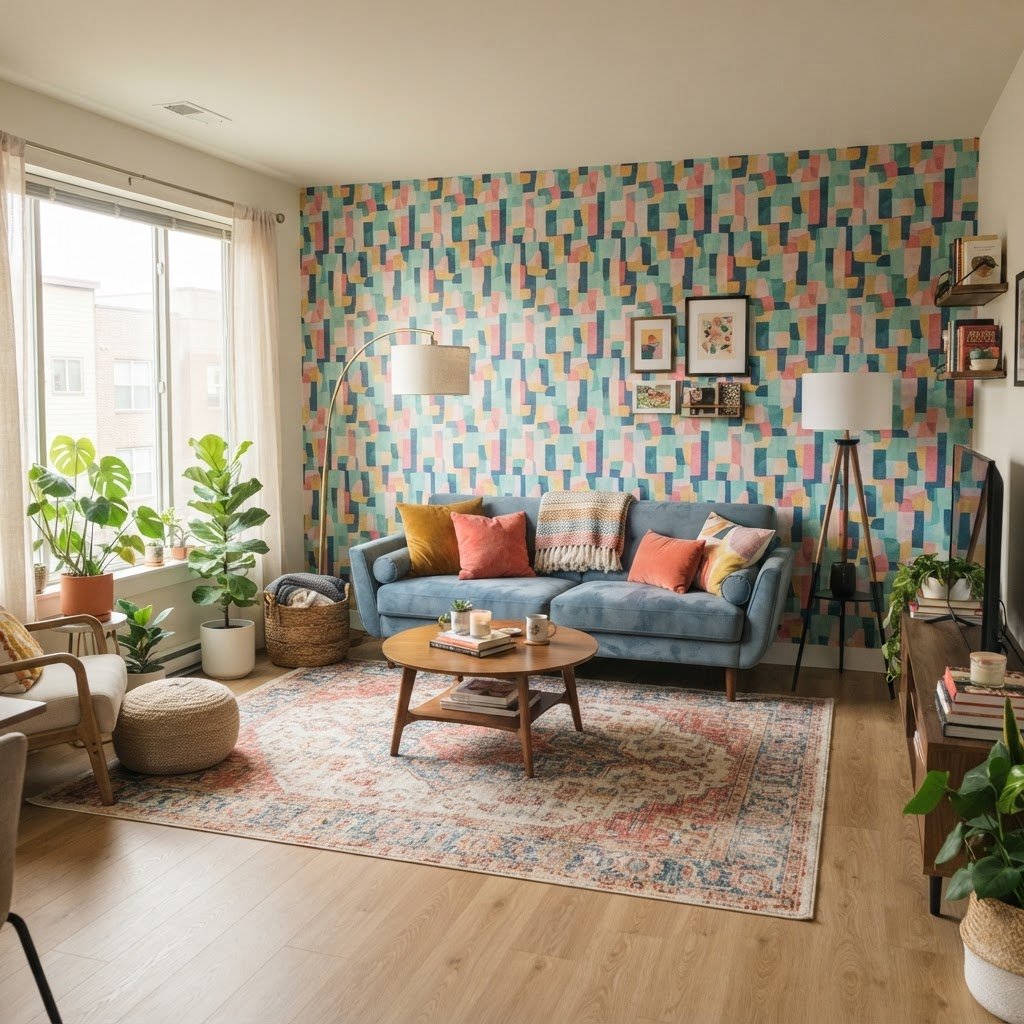
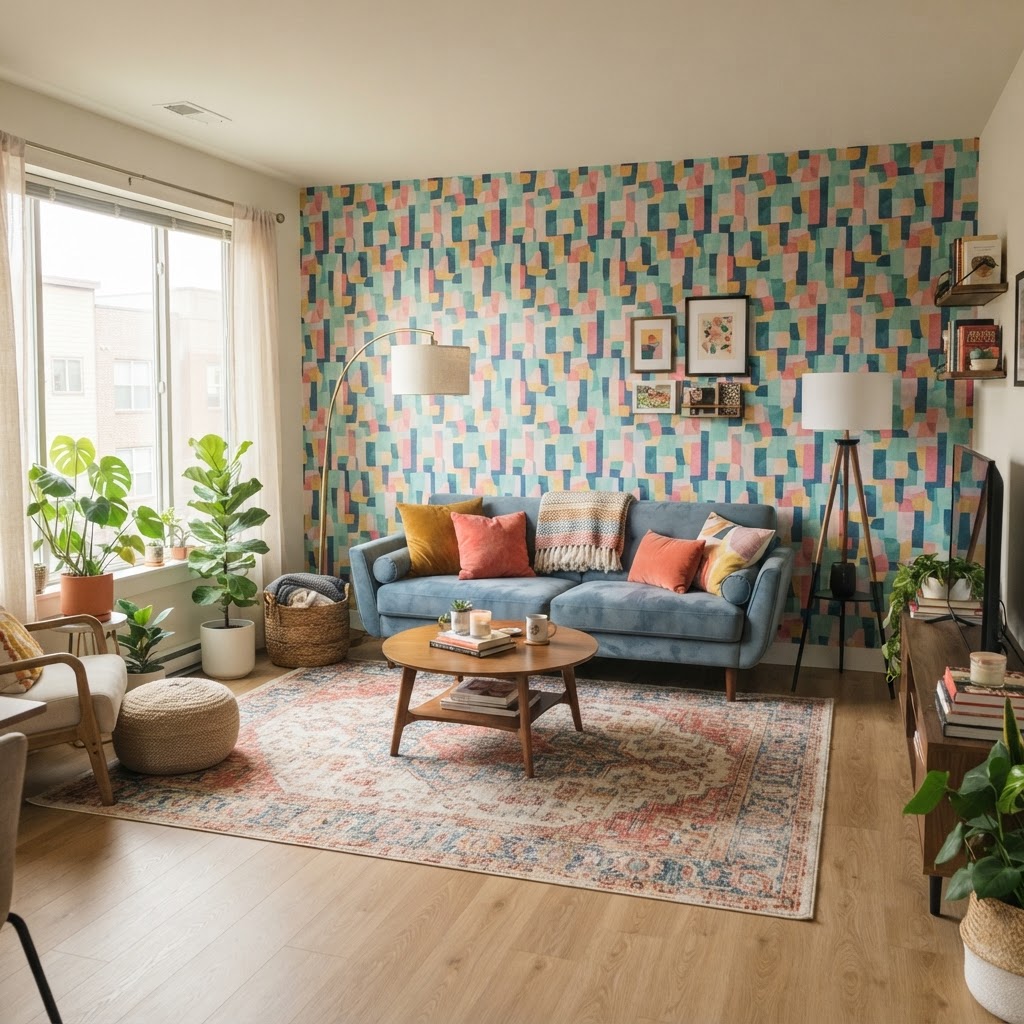
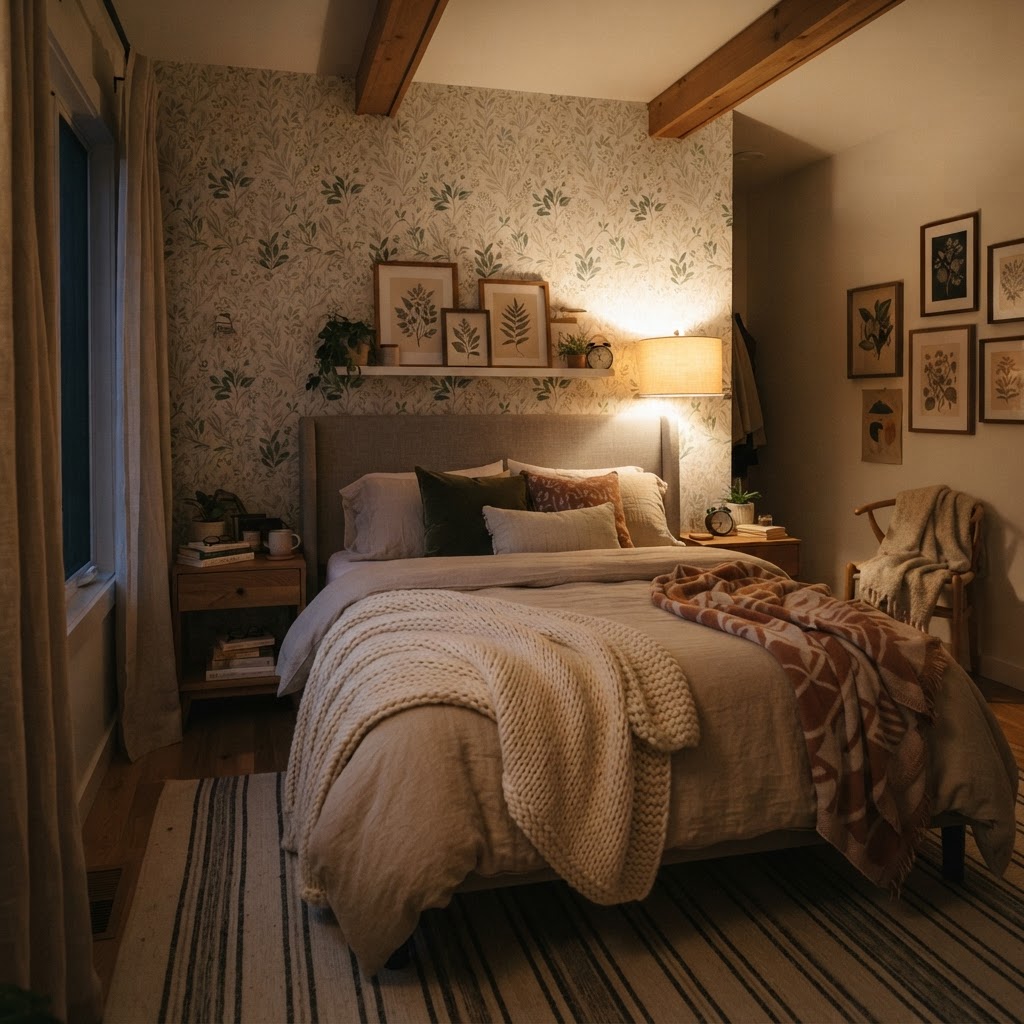
One of the most effective ways to make a significant visual impact is through temporary wallpaper. Peel-and-stick options have revolutionized the way we approach decorating a rental without risking your deposit. These products come in a vast array of patterns and textures, allowing you to create an accent wall that can be removed in minutes when your lease ends.
Choosing the Right Adhesive
When selecting peel-and-stick wallpaper, verify that it is specifically designed for rental use and uses a low-tack adhesive. Cheap, low-quality alternatives can sometimes leave a gummy residue or strip away paint when removed. Test a small, inconspicuous patch behind a door or inside a closet before committing to a full wall.
Elevating Lighting Without Electrical Work
Standard “boob lights” and generic ceiling fixtures are the bane of many renters. While you might want to swap these for trendy pendants, doing so can violate electrical safety codes and your lease. Instead, rely on floor lamps and table lamps to create layers of ambient lighting that shift the focus away from unappealing overhead fixtures.
Consider plug-in wall sconces that attach with small, damage-free command strips. By placing these at eye level, you draw the eye toward your decor rather than the ceiling. Smart bulbs also allow you to change the warmth and brightness of your space, instantly making a cold, clinical apartment feel warmer and more inviting.
Damage-Free Wall Decor Strategies
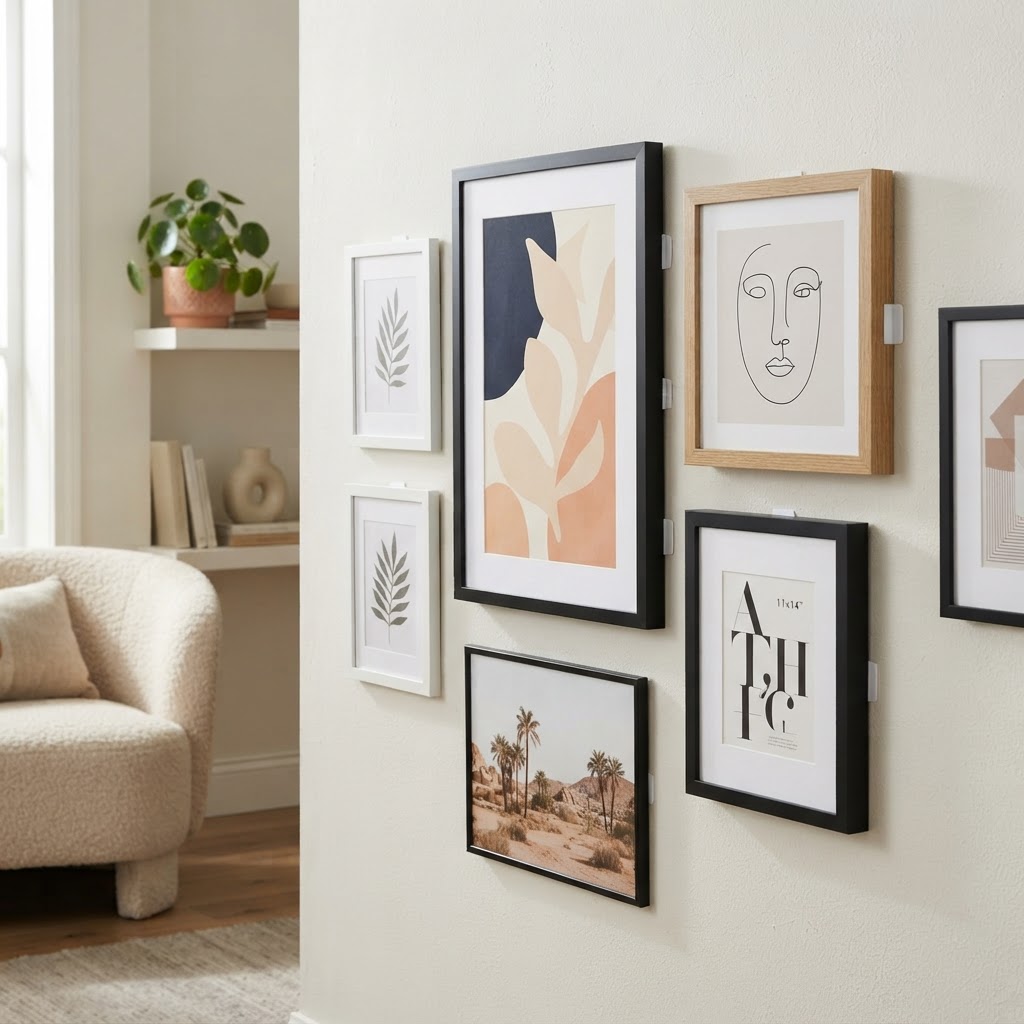
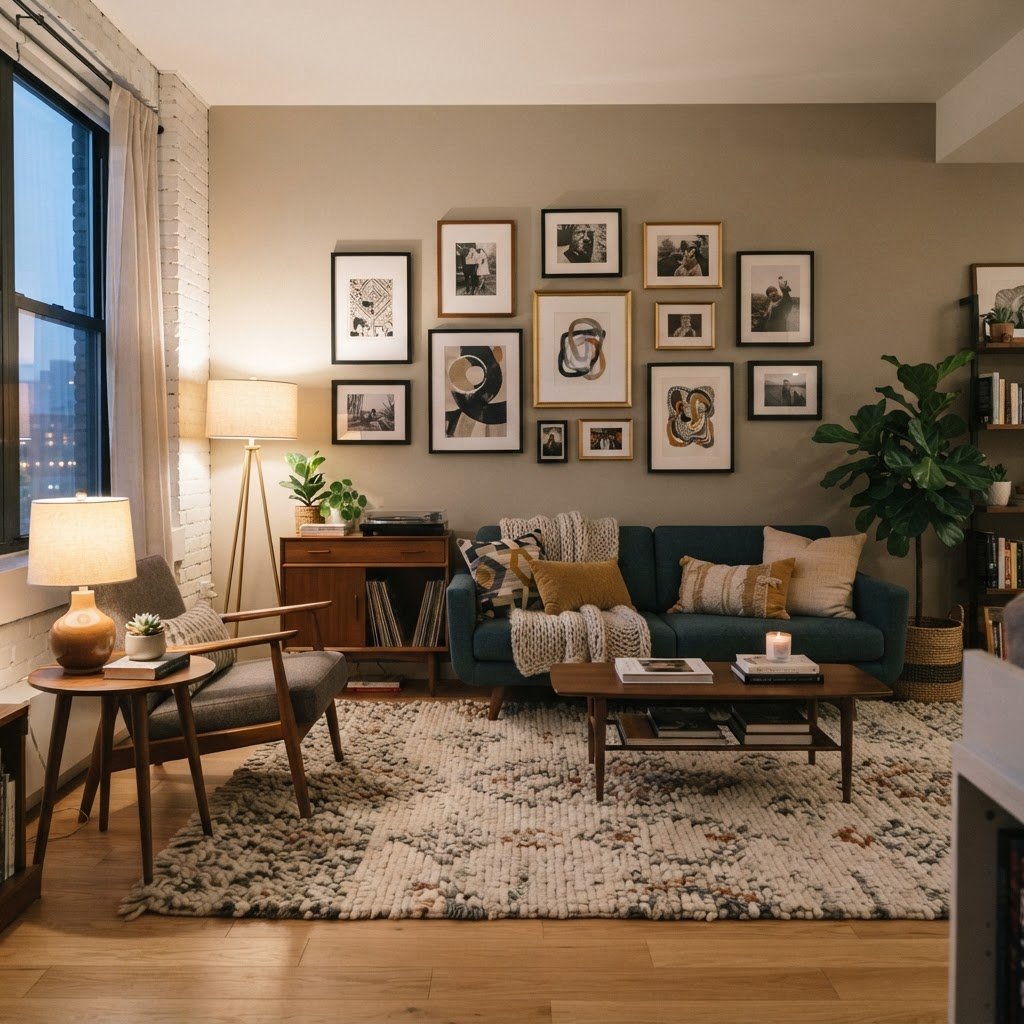
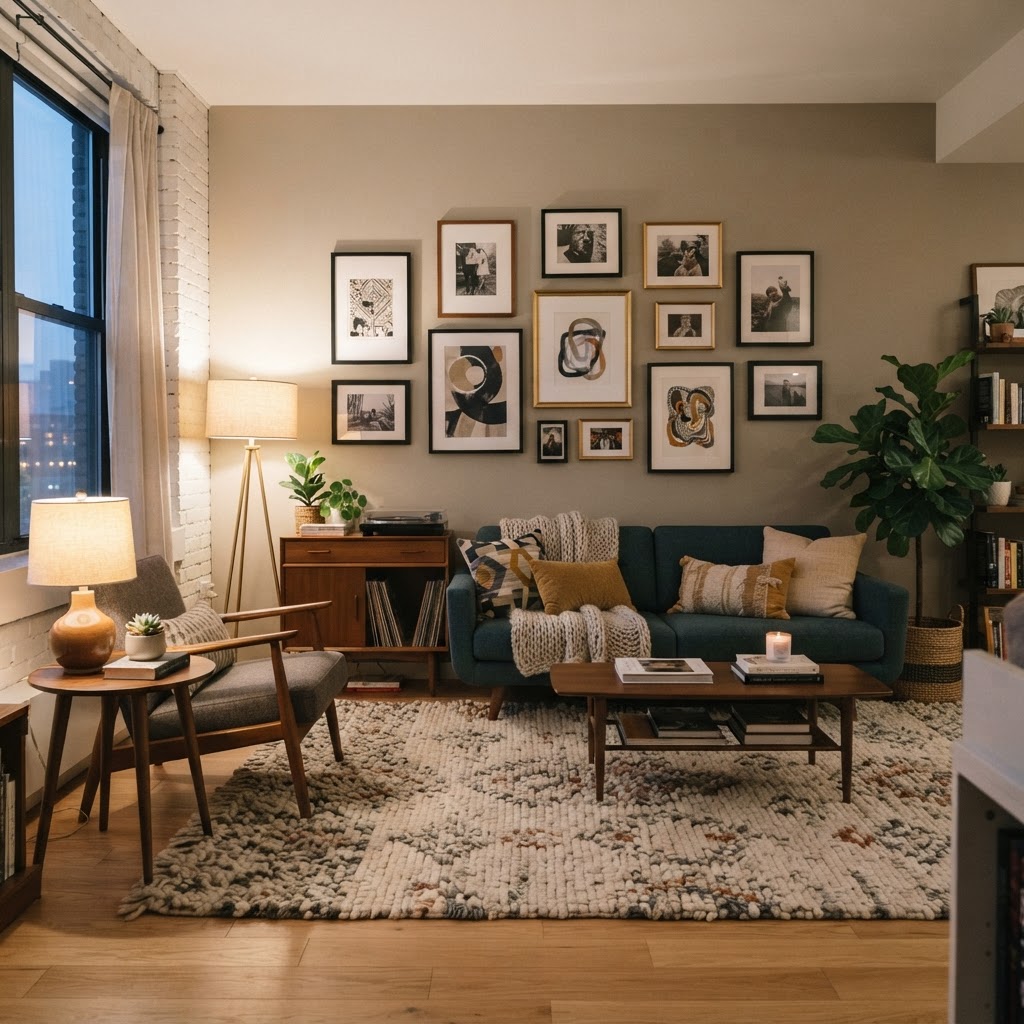
Empty walls are often the biggest culprit for making a place feel “unlived in,” but filling them requires careful consideration of the hardware used. Command hooks and strips have become the gold standard for decorating a rental without risking your deposit, as they provide a secure hold without the need for nails or screws.
Gallery Wall Best Practices
If you want to create a large gallery wall, organize your layout on the floor first. Measure the spacing between each frame to ensure symmetry. Using painter’s tape can help you map out the arrangement on the wall before you start sticking your hardware in place, ensuring your art is perfectly centered and balanced.
Creative Storage Solutions That Save Space
Rental apartments often suffer from a lack of built-in storage. Instead of installing permanent shelving, look for freestanding units that can be moved from room to room. Vertical storage, such as leaning bookshelves or tall cabinets, utilizes height without requiring you to drill into the walls.
Consider furniture with hidden storage, like ottomans with lids or bed frames with drawers underneath. These pieces serve double duty, helping you organize your clutter while maintaining a clean, minimalist aesthetic. By keeping surfaces clear of excess items, you make even the smallest apartment feel larger and more intentional.
Soft Furnishings and Textiles
If you cannot change the floors or walls, use textiles to inject color and personality into your home. A high-quality area rug can cover up dated or worn carpet, instantly modernizing the look of a living room. Layering rugs is another great trick, especially if you have a neutral base that feels a bit boring.
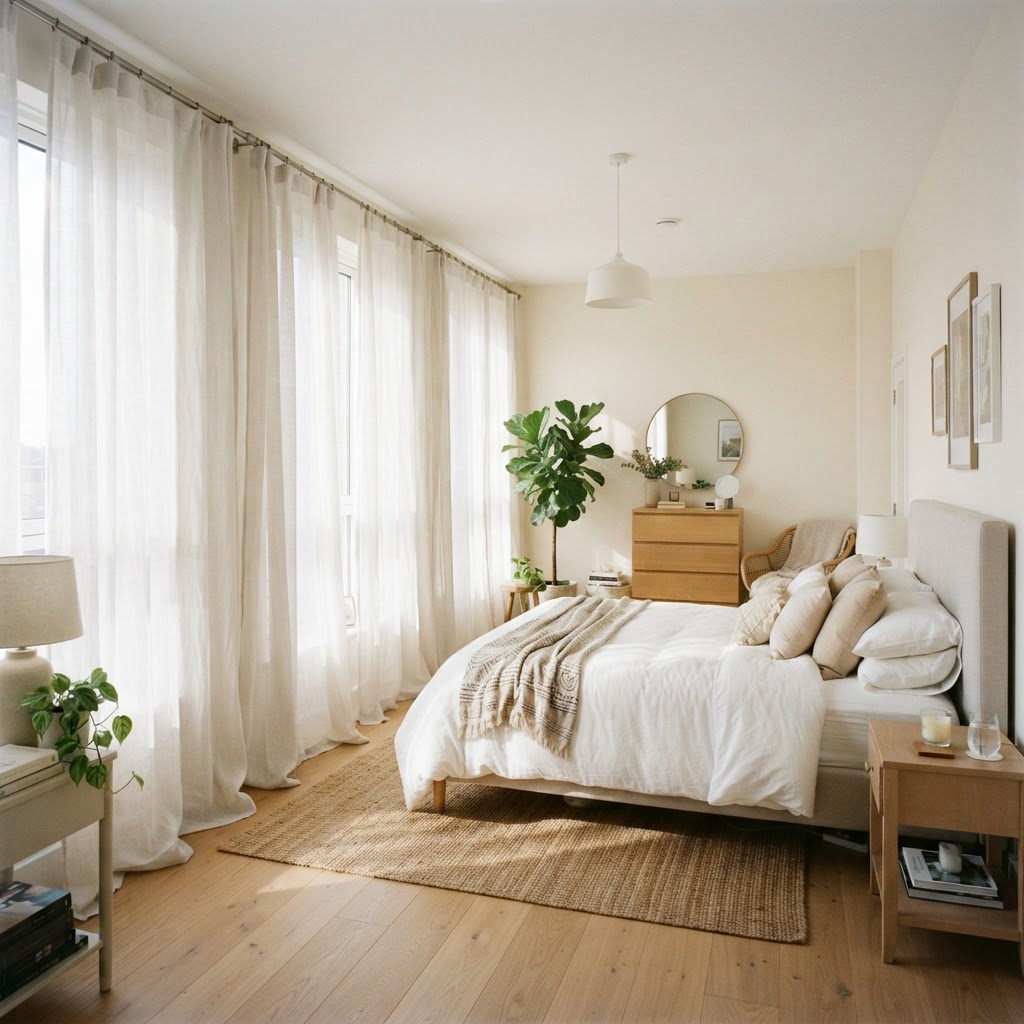
Curtains are another game-changer. Use a tension rod inside the window frame to hang curtains if you are worried about drilling into the window casing. Choose floor-to-ceiling drapes to make your windows appear larger and add a sense of luxury to the space. Don’t be afraid to mix patterns and textures with throw pillows and blankets to soften the overall environment.
Small Scale Upgrades for High Impact
Sometimes the smallest changes yield the biggest results. Swap out the hardware on kitchen or bathroom cabinets—just make sure you save the original knobs or pulls in a labeled bag. Replacing dated drawer pulls with sleek matte black or brushed brass hardware can make a standard kitchen look like a custom renovation.
Another simple trick is upgrading your shower head. Most standard shower heads are easily unscrewed and replaced with a high-pressure, spa-like alternative. Just be sure to keep the original fixture to reinstall before you move out, ensuring you leave the place exactly as you found it.
Conclusion
Successfully decorating a rental without risking your deposit requires a blend of creativity and caution. By prioritizing non-permanent solutions like peel-and-stick wallpaper, floor lamps, and clever furniture arrangements, you can create a home that feels uniquely yours. Remember, the key is to always think about how easily you can undo your changes before you start a project. Start with one room, take your time, and enjoy the process of turning your rental into a true reflection of your personality. Ready to get started? Pick one of the tips from this guide and transform your favorite room this weekend!
Living in a home with a cramped sleeping area can feel restrictive, but implementing extremely small bedroom ideas can turn a tiny footprint into a luxurious sanctuary. The key to successful small-room design lies in shifting your perspective from floor square footage to the total volume of your room. When you lack horizontal room to spread out, your walls and ceiling become your greatest assets for storage and style. By rethinking how you organize, choose furniture, and utilize vertical planes, you can craft a space that feels open, airy, and incredibly efficient.
The Philosophy of Vertical Thinking
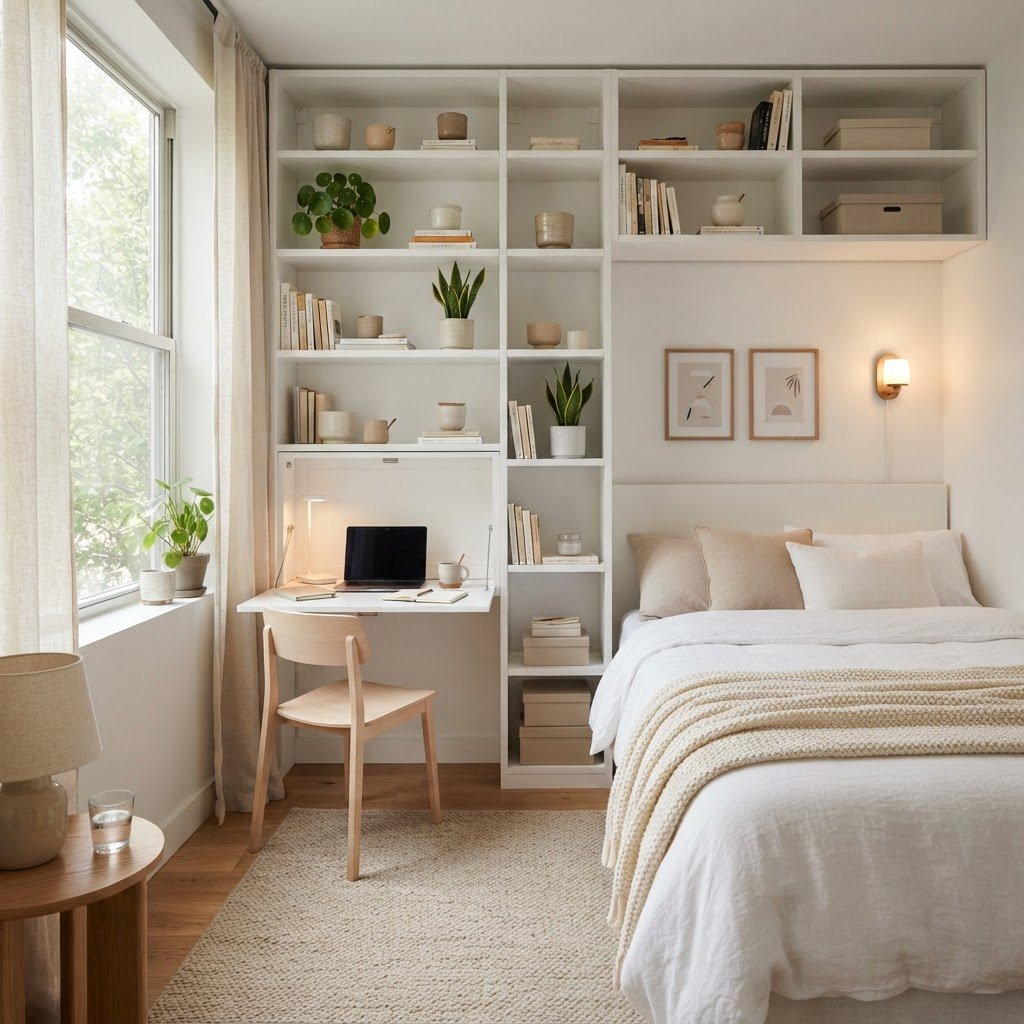
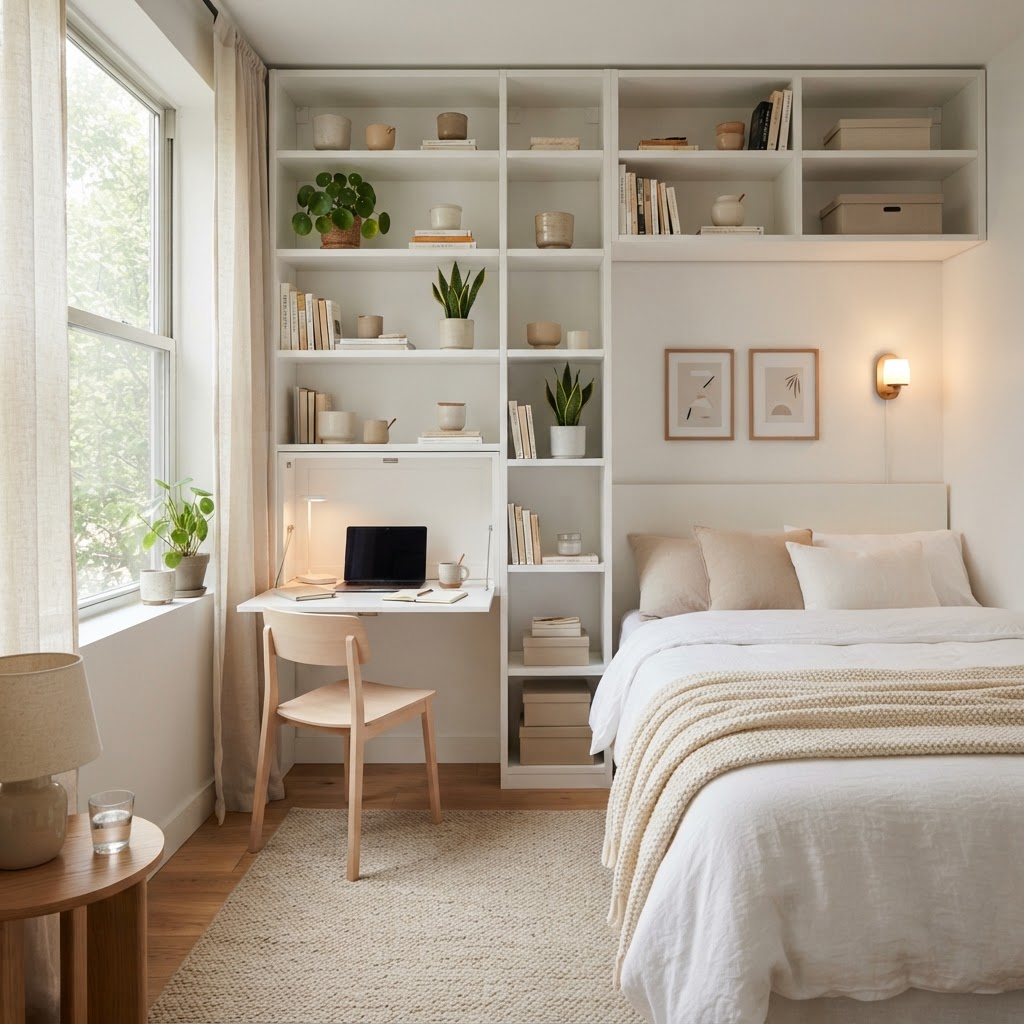
When floor space is at a premium, the most common mistake is ignoring the vast potential of your walls. Vertical storage is the secret weapon for anyone researching extremely small bedroom ideas, as it clears the floor and draws the eye upward to create the illusion of height. Think of your walls as a canvas for functional art, incorporating open shelving, wall-mounted desks, and tall, slim cabinets.
Installing Floor-to-Ceiling Shelving
One of the most effective ways to maximize utility is installing floor-to-ceiling shelving units. These units act as both storage and a design feature, forcing you to use the entire height of the wall for books, decor, or seasonal items. By keeping your most frequently used items at eye level, you maintain ease of access while tucking away clutter on the high, harder-to-reach shelves.
Choosing the Right Hardware
Always opt for wall-mounted shelving rather than bulky standing bookcases. This prevents the room from feeling “boxed in” and keeps the floor visible, which is a major psychological trick for making a room look larger. If you are renting, look for tension-rod shelving systems that provide the same sleek look without damaging the walls.
Rethinking Your Bed and Base
Your bed is likely the largest piece of furniture in the room, making it the most significant variable in your space-saving equation. Choosing a bed frame that offers hidden utility is essential. Consider beds with integrated drawers, under-bed cubbies, or even hydraulic lift-up frames that reveal a massive storage compartment underneath the mattress.
Why a Lift-Up Bed is a Game Changer
If you have a very limited closet, a lift-up storage bed is indispensable. It essentially functions as a shallow closet for off-season clothing, extra linens, or luggage. Since this space is completely hidden from view, your bedroom will instantly appear more organized and tranquil.
Multipurpose Furniture for Small Spaces
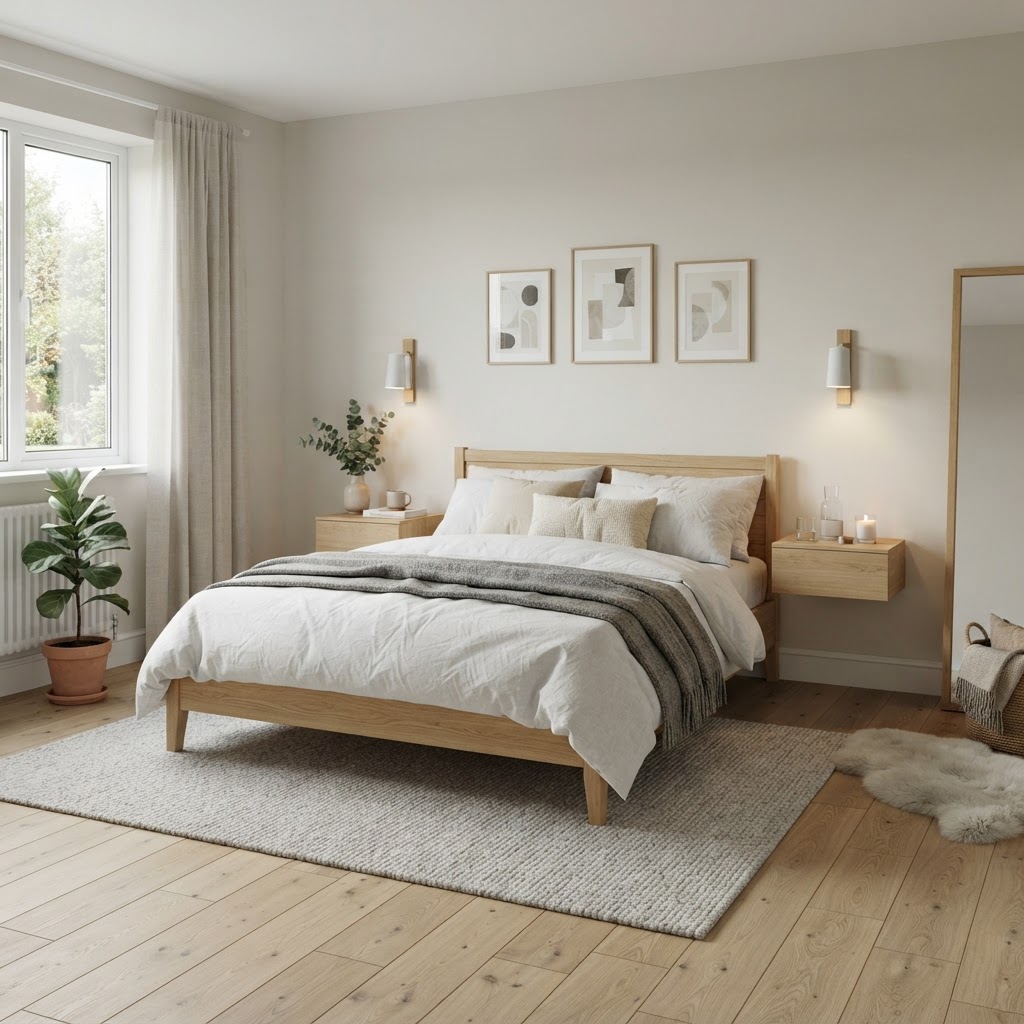
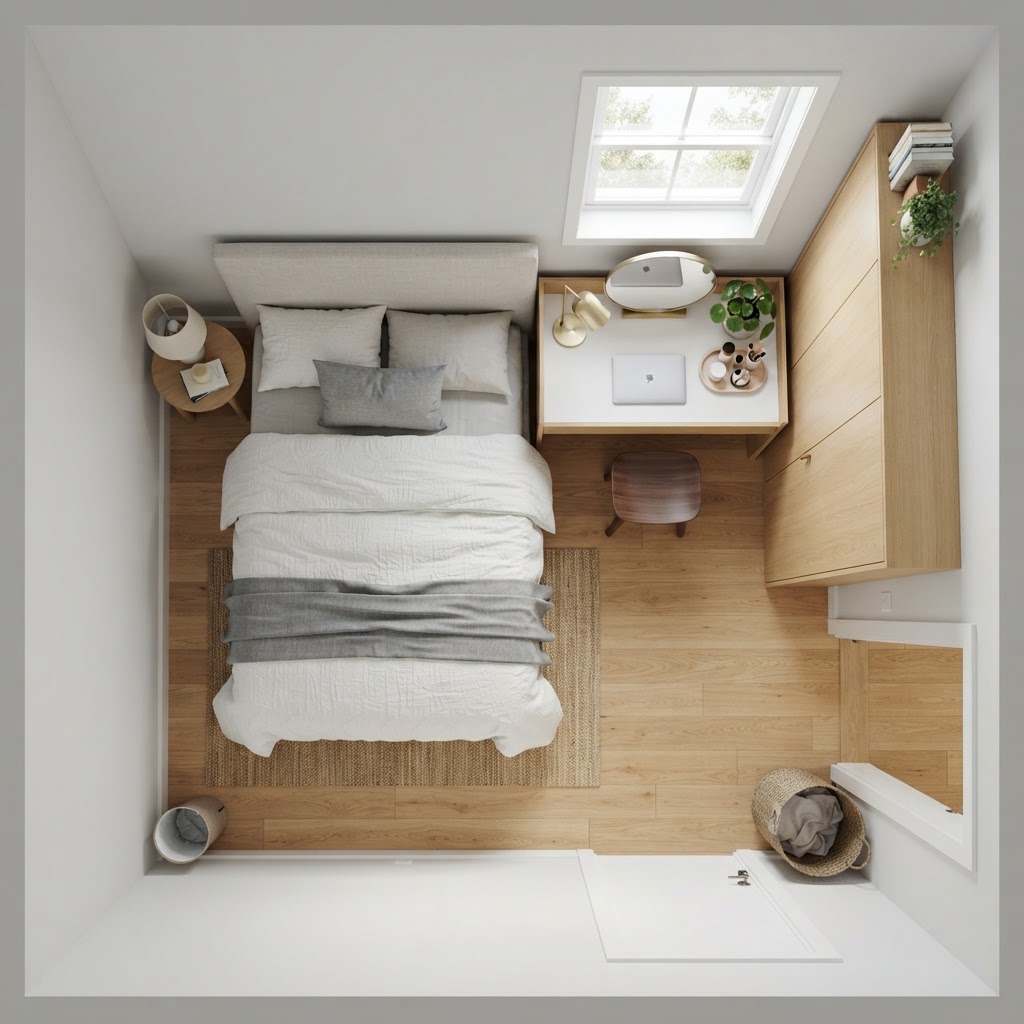
In a tiny bedroom, every piece of furniture must earn its keep by serving at least two functions. If a nightstand is just a surface for a lamp, it is missing an opportunity. Swap traditional bedside tables for wall-mounted floating shelves or narrow, tall dressers that can double as a vanity station.
Folding and Disappearing Desks
With remote work becoming standard, finding space for a desk is difficult. Use a wall-mounted fold-down desk that can be tucked away against the wall when not in use. This transforms your sleeping area into a functional office during the day, maintaining the “reset” button for your evening sleep cycle.
Illusion Techniques and Visual Expansion
Even with the best storage solutions, a room can feel small if it is cluttered visually. Light and color play a massive role in how we perceive scale. Stick to a monochromatic or light-toned color palette to blur the boundaries of the walls, effectively pushing them back in the viewer’s eye.
The Magic of Mirrors
Mirrors are a classic trick for a reason: they double the perceived depth of your room. Placing a large mirror across from a window will reflect natural light, brightening even the darkest corners. For a high-impact look, try a floor-to-ceiling mirror or a mirrored closet door to expand the room’s footprint instantly.
Intelligent Closet Organization
If your closet is small, you are likely not using the vertical space within it effectively. Most closets come with one bar and one shelf, leaving half the space wasted. Doubling your hanging rods, adding floor-to-ceiling cubbies, or using velvet slim-line hangers can double your storage capacity immediately.
Categorizing Your Storage
Use this simple system to organize your space:
High shelves: Off-season items and luggage.
Mid-level: Daily clothing and frequently used accessories.
Lower level: Shoes, folded items in baskets, or laundry hampers.
Door: Hooks for bags, belts, or hats.
Lighting and Decorating Wisely
Lighting is often an afterthought, but it is critical for creating an atmosphere in small spaces. Avoid large, heavy floor lamps that steal valuable floor space. Instead, opt for wall-mounted sconces on either side of the bed or sleek pendant lights that hang from the ceiling.
The “Less is More” Decor Rule
When exploring extremely small bedroom ideas, remember that a few large, bold pieces of art or decor are better than a dozen small trinkets. Too many small objects create visual clutter, which makes a room look crowded. Pick one focal point, such as a large statement headboard or a unique lighting fixture, and keep the rest of the room clean and minimal.
Maintenance and Daily Habits
Maintaining a small space requires more discipline than a large one because a single misplaced item can make the entire room feel like a mess. Establish a “one-in, one-out” rule for your belongings. Every time you bring a new item into the room, something else must be donated or moved to another part of the home.
Daily Reset Rituals
Spend five minutes every evening clearing your surfaces. By waking up in a clean space with clear surfaces, you start your day feeling refreshed rather than overwhelmed. Use organizers for your cables, chargers, and small items to ensure they always have a home.
Conclusion
Transforming your tiny room into an efficient, beautiful space is entirely possible when you stop viewing limitations as obstacles and start seeing them as design challenges. By prioritizing vertical storage, selecting multifunctional furniture, and keeping your visual footprint minimal, you can craft a home environment that feels larger than life. Start with one of these extremely small bedroom ideas today—perhaps installing a floating nightstand or decluttering your closet—and enjoy the immediate sense of freedom that comes with a well-organized, optimized space. Which area of your room will you tackle first?
You can personalize a basic apartment on a budget by using renter-friendly upgrades like peel-and-stick wallpaper, swapping cabinet hardware, installing floor-to-ceiling curtains, and incorporating layered lighting. These high-impact, non-permanent changes allow you to transform a sterile space into a unique sanctuary without violating lease agreements or losing your security deposit.
Lighting Upgrades for Instant Ambience
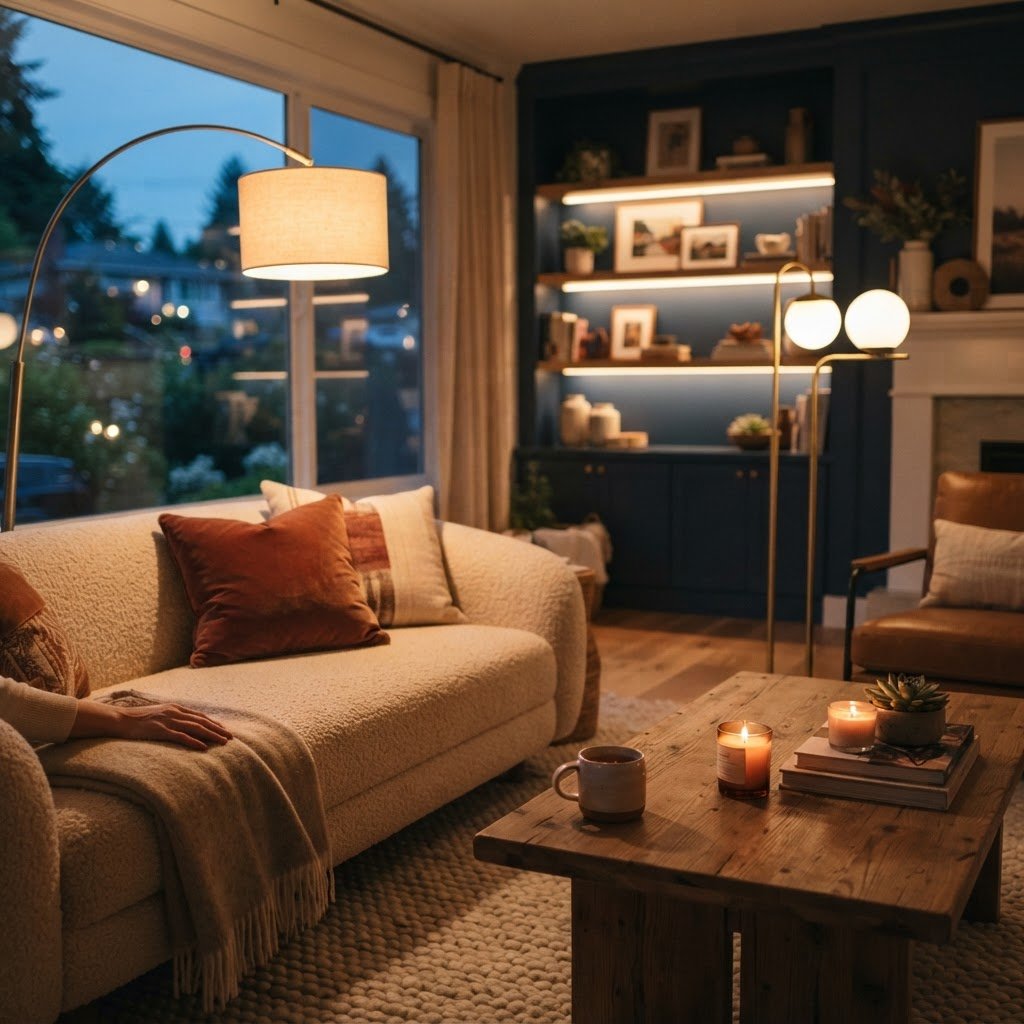
Lighting is the most effective way to eliminate the clinical feel of standard “boob lights” and fluorescent overhead fixtures. By creating a layered lighting scheme using floor lamps, table lamps, and plug-in sconces, you can replace harsh, singular light sources with a warm, ambient glow that defines specific zones within your living area.
To maximize impact, place lamps at varying heights—ideally between 30 and 60 inches from the floor—to draw the eye upward and soften the room’s edges. Look for fixtures with fabric shades to diffuse light, or select sculptural metal bases to serve as functional decor. Investing in smart bulbs, which typically cost between $10 and $25 each, allows you to adjust color temperatures to match the time of day, effectively mimicking natural circadian rhythm lighting. This transition from cool, generic overhead light to warm, task-oriented lighting is a proven interior design hack that makes small square footage feel significantly larger and more intentional.
Why Lighting Matters
Proper lighting creates layers. By placing lamps at different heights throughout a room, you eliminate dark corners and create a warm, inviting glow that makes any square footage feel more intentional. Look for lamps with fabric shades to diffuse the light, or choose bold sculptural bases to serve as functional art pieces in your living room.
Introduce Removable Wallpaper and Decals
Peel-and-stick wallpaper is the industry-standard solution for renters seeking to cover generic beige walls without the permanence of traditional paste-based adhesives. These high-quality vinyl or fabric-based papers offer immediate transformation for an average cost of $30 to $60 per roll, allowing you to create a high-impact accent wall in under two hours.
Before purchasing, calculate your wall square footage (Length x Height) and add a 10-15% buffer for pattern matching. Decals are an even more budget-friendly alternative, often retailing for under $20, and are ideal for temporary accents behind headboards or mirrors. Because these materials are designed for easy removal with minimal residue, they remain the safest way to customize a rental unit while ensuring full return of your security deposit.
Feature
Peel-and-Stick Wallpaper
Wall Decals
Typical Cost
$30 – $60 per roll
$10 – $25 per set
Coverage
Full wall / Entire room
Accent focal points
Installation Time
1-3 hours
15-30 minutes
Removal Risk
Low (Heat with hairdryer)
Minimal
Curate Textiles for Texture and Depth
Textiles are the most versatile tools for mitigating the echoey, cold atmosphere often found in newer “modern” apartments with laminate flooring and sterile walls. Integrating high-pile area rugs, which range from $50 to $200 for standard 5×7 sizes, helps dampen sound and provides immediate visual warmth, effectively masking unappealing base-level flooring.
To achieve a professional designer aesthetic, focus on “textural layering.” Combine coarse materials like jute or seagrass with softer fabrics such as velvet, linen, or chunky wool. For instance, pairing a heavy, velvet-backed curtain with a lightweight linen sheer allows for light control while adding architectural depth to your windows. By adhering to a strict 60-30-10 color rule—60% primary color, 30% secondary, and 10% accent—you can ensure that throw pillows, blankets, and rugs look curated rather than cluttered, creating a cohesive, well-designed environment.
Gallery Walls and Vertical Storage
Gallery walls provide a high-personality focal point that utilizes under-leveraged vertical wall space, making your room feel intentionally designed. To save money, skip custom professional framing and instead source second-hand frames from thrift stores, which can be found for $1 to $5 each, then unify the look by painting them a singular matte black or crisp white.
Utilizing non-damaging adhesive strips instead of nails or heavy-duty anchors allows you to display art safely without requiring wall repairs before you move. For added interest, incorporate non-photo items like lightweight woven baskets, flat metal wall art, or even mirrors. A well-balanced gallery wall should start at eye level, roughly 57 inches from the floor, and extend to about two-thirds of the wall height to maintain proper scale.
Tips for a Seamless Gallery Wall
Use painter’s tape to layout your design on the floor first.
Stick to a consistent theme or color story for your frames.
Mix in non-photo elements like baskets, hats, or metal wall art.
Upgrade Functional Hardware
Swapping out standard, builder-grade cabinet hardware is the single fastest way to increase the perceived value of your rental kitchen or bathroom. Standard hardware often looks cheap due to thin plastic or basic metal finishes; replacing these with solid brass, matte black, or brushed nickel pulls creates a tactile, premium experience that elevates the entire room’s aesthetic.
Most cabinet pulls are standard sizes (typically 3-inch or 4-inch hole spacing), making it easy to swap them without drilling new holes. Always keep the original hardware in a clearly labeled Ziploc bag tucked away in a kitchen drawer or cabinet; this ensures you can perform the swap back to the original state in less than 15 minutes upon move-out. A set of 10 modern handles can typically be sourced for under $40, providing a dramatic “before and after” contrast that rivals much more expensive renovations.
Bring Nature Indoors
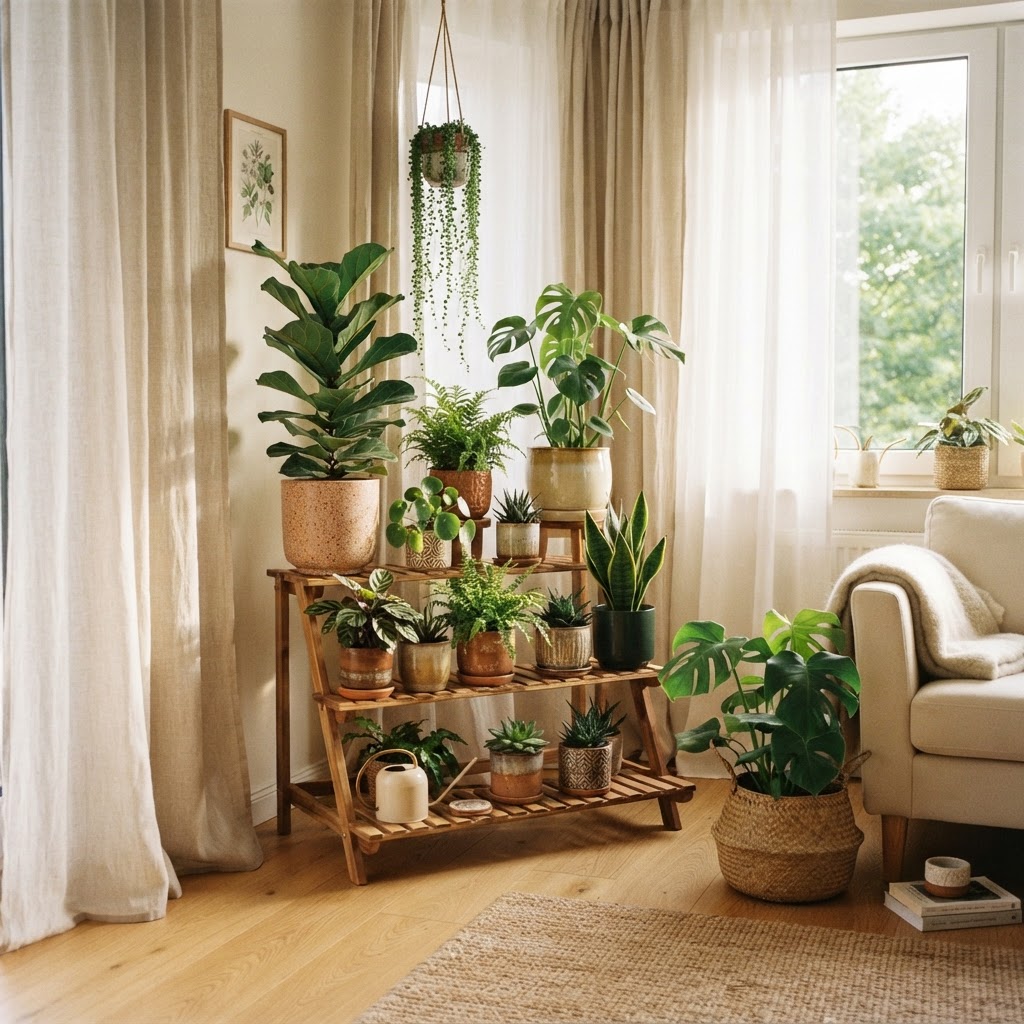
Plants are an investment in both home health and aesthetic appeal, as they act as natural air purifiers while adding organic color and texture. For low-light apartment corners, resilient species like Sansevieria (snake plants) or Zamioculcas zamiifolia (ZZ plants) thrive in minimal light, making them perfect for beginners who may lack a green thumb.
To make plants look more intentional, avoid scattering them randomly across surfaces. Instead, group them in clusters of three, using pots of varying heights and textures. Utilizing plant stands to elevate one plant and hanging baskets to draw the eye toward the ceiling creates a dynamic vertical display that makes your room feel more spacious and alive. Integrating natural elements is the most effective way to neutralize the harsh, sterile lines of contemporary apartment construction.
Customizing Your Furniture Layout
Rearranging your furniture is a zero-cost way to dramatically shift the function and flow of your apartment. Many renters follow the “default” layout dictated by wall outlets or radiator placement, but floating furniture—pulling sofas or beds away from the wall—can create more sophisticated, boutique-hotel style room dividers that define specific living and working zones.
Strategy
Benefit
Best For
Floating Furniture
Creates flow/zones
Larger living rooms
Vertical Storage
Maximizes floor space
Small studios/bedrooms
Multi-functional pieces
Reduces clutter
Tiny apartments
Investing in multi-functional furniture, such as storage ottomans or nesting tables, helps keep your space free of visual clutter. In a small apartment, the goal is to optimize every square foot so that the room serves multiple purposes, such as a corner desk area that doubles as a vanity or a storage ottoman that serves as a coffee table.
Choosing the Right Bed Frame
Your bed is likely the largest piece of furniture you own and should double as your primary storage hub. Select a bed frame featuring integrated hydraulic lift storage or deep-set drawers, which can add up to 15-20 cubic feet of hidden storage capacity. Opting for a frame with an upholstered headboard that features hidden cubbies allows you to eliminate the need for bulky, separate bedside tables entirely, freeing up critical floor space.
Mastering Storage with Modern Precision
Effective storage in a modern small bedroom requires an “invisible” approach where organizational tools blend seamlessly into the wall architecture. Custom built-ins are the gold standard here; by painting these units the exact same shade as your walls, you minimize visual noise, which prevents the furniture from overwhelming the room. Utilizing high-quality wall-mounted nightstands instead of traditional floor-resting ones creates a floating effect, which studies show increases the perceived size of a room by revealing more of the floor plane.
Storage Feature
Benefit for Small Spaces
Recommended Usage
Under-bed Drawers
Maximizes hidden floor area
Seasonal items, linens
Wall-Mounted Nightstands
Enhances sense of floor space
Phones, books, chargers
Floor-to-Ceiling Built-ins
Maximizes vertical footprint
Clothes, decor, books
Multi-functional Bench
Adds seating and storage
End-of-bed utility
Color Palettes and Lighting Strategies
Color choices dictate the perception of volume, with light, reflective palettes acting as a primary tool to make a room feel larger. White, soft greys, or muted earth tones bounce natural light across the space, reducing the feeling of being closed in. To introduce depth without darkening the room, use high-texture fabrics like velvet or linen pillows, which provide sensory warmth without the “visual weight” of dark, heavy patterns.
Layered lighting is critical because single overhead sources create harsh, depth-flattening shadows that make rooms appear smaller. By integrating a three-tier system—recessed ambient lighting, a task-oriented pendant or lamp, and warm accent LEDs—you create depth and character. Strategically placing these lights can highlight the edges of the room, naturally drawing the eye outward and away from the center.
Multi-Functional Furniture Hacks
Small bedrooms demand furniture that serves at least two distinct purposes to remain efficient. A desk that doubles as a nightstand is a classic example of space-saving engineering that supports a hybrid remote-work lifestyle. By choosing modular pieces, you gain the ability to reconfigure your room based on the time of day, ensuring the space is never locked into a single, restrictive layout.
Selecting Transformable Pieces
When shopping for transformable furniture, prioritize durability—specifically items with high-quality metal hinges or pneumatic lifts—that will withstand daily use. A bench with internal storage can serve as both a seat for changing shoes and a repository for seasonal throws. These multi-purpose choices ensure that every item in your room earns its place through utility, rather than simply taking up space.
The Role of Textiles and Decor
Textiles are the final layer that bridges the gap between a “cramped” feel and a “sanctuary” vibe. By utilizing high-quality linens and soft, plush blankets, you create a tactile environment that feels luxurious rather than claustrophobic. Cohesion is the key here: keeping your textile colors within a tight, monochromatic, or low-contrast palette prevents the eyes from darting around the room, which helps maintain a serene and spacious mental atmosphere.
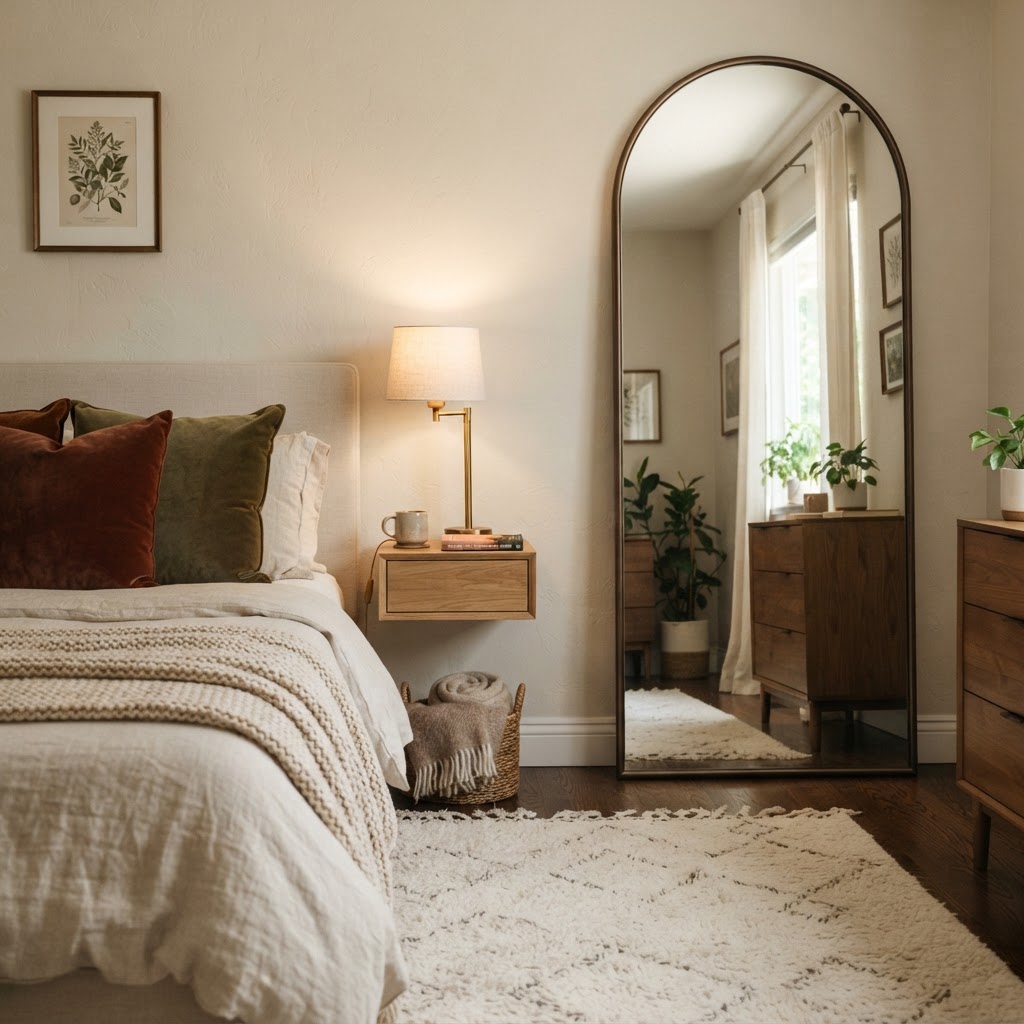
Mirrors are the most cost-effective tool for doubling the perceived size of a room. A large floor mirror placed directly opposite a window will reflect natural light back into the space, effectively acting as an artificial window. This trick not only increases luminosity but also creates a visual break in the wall, preventing it from feeling like a solid, encroaching barrier.
Technology and Comfort Integration
Modern bedroom design leverages smart technology to enhance the quality of rest without the need for additional furniture. Smart blinds, which can be programmed to sync with your sleep-wake cycle, replace bulky curtains that often trap light and occupy space. Similarly, smart thermostats manage temperature zones to ensure your sleep environment is optimal without needing manual intervention or extra portable fans/heaters.
Cable management is the secret to a high-end, calm aesthetic in a small bedroom. Visible wires cause “visual clutter,” which elevates stress levels. Utilize cable management boxes or bed frames with integrated USB charging ports to keep all power needs tucked away. A clear nightstand surface is essential for mental clarity and should be the primary goal of your technology integration strategy.
Maintenance and Daily Habits
Maintaining a small bedroom requires strict, daily discipline to prevent the rapid accumulation of clutter. Making your bed every morning is the most effective way to reset the visual anchor of the room. Using designated storage bins for smaller, frequently used items prevents them from collecting on surfaces, which is the fastest way to make a small room feel chaotic and unmanaged.
Regularly auditing your belongings ensures that your space only contains items that serve a clear function or provide joy. Experts recommend the “one-in, one-out” rule: for every new item you bring into your small bedroom, one must be donated or discarded. This habit keeps your inventory lean and ensures your sanctuary remains a purposeful, restful space.
FAQ
What are the best colors for a small bedroom?
Light, neutral colors like soft white, pale grey, or muted earth tones are the best for small bedrooms. These shades reflect natural light and create an airy, open feel that makes walls appear further away than they actually are, preventing the “cramped” sensation of darker rooms.
How can I add more storage to a tiny bedroom?
Utilize vertical space with floor-to-ceiling shelving and prioritize furniture with integrated storage, such as under-bed drawers or headboards with cubbies. By getting items off the floor and onto the walls, you maintain clear floor space, which is essential for making a room look and feel larger.
Does a large mirror make a small room look bigger?
A large mirror significantly increases the perception of space by reflecting light and creating the illusion of depth. When positioned strategically across from a window, it doubles the natural light in the room, which helps to remove dark corners that usually make a small bedroom feel closed in.
How should I arrange furniture in a very small bedroom?
Prioritize a layout that keeps the walking path to the bed clear and ensures furniture does not block natural light sources like windows. Aim to place your largest piece of furniture, the bed, against the longest wall, and use wall-mounted lighting to save valuable nightstand space for essential items.
What is the best way to keep a small bedroom organized?
The most effective method is to maintain a daily habit of tidying surfaces and utilizing a strict “one-in, one-out” inventory rule. Use hidden storage organizers and cable management tools to keep all personal belongings tucked away, ensuring the room remains a clean, uncluttered, and peaceful sanctuary for rest.
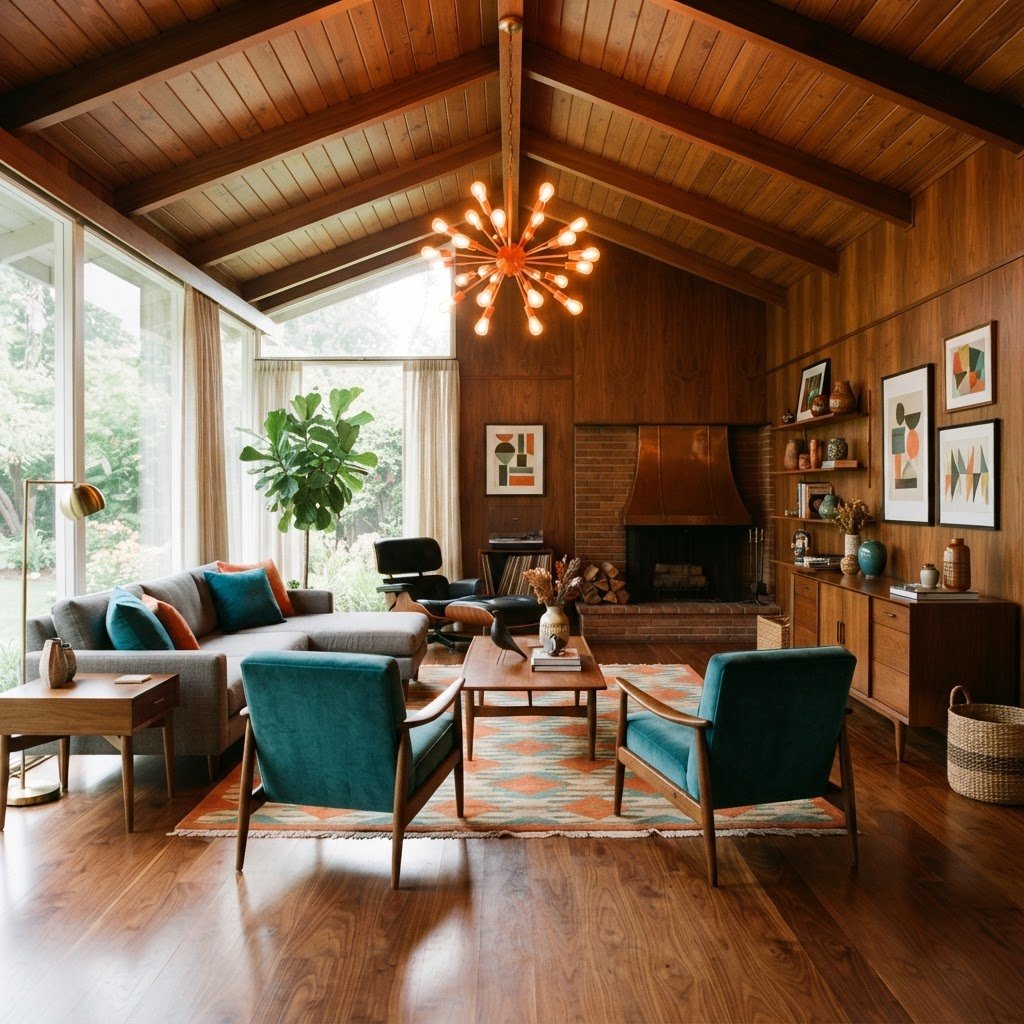
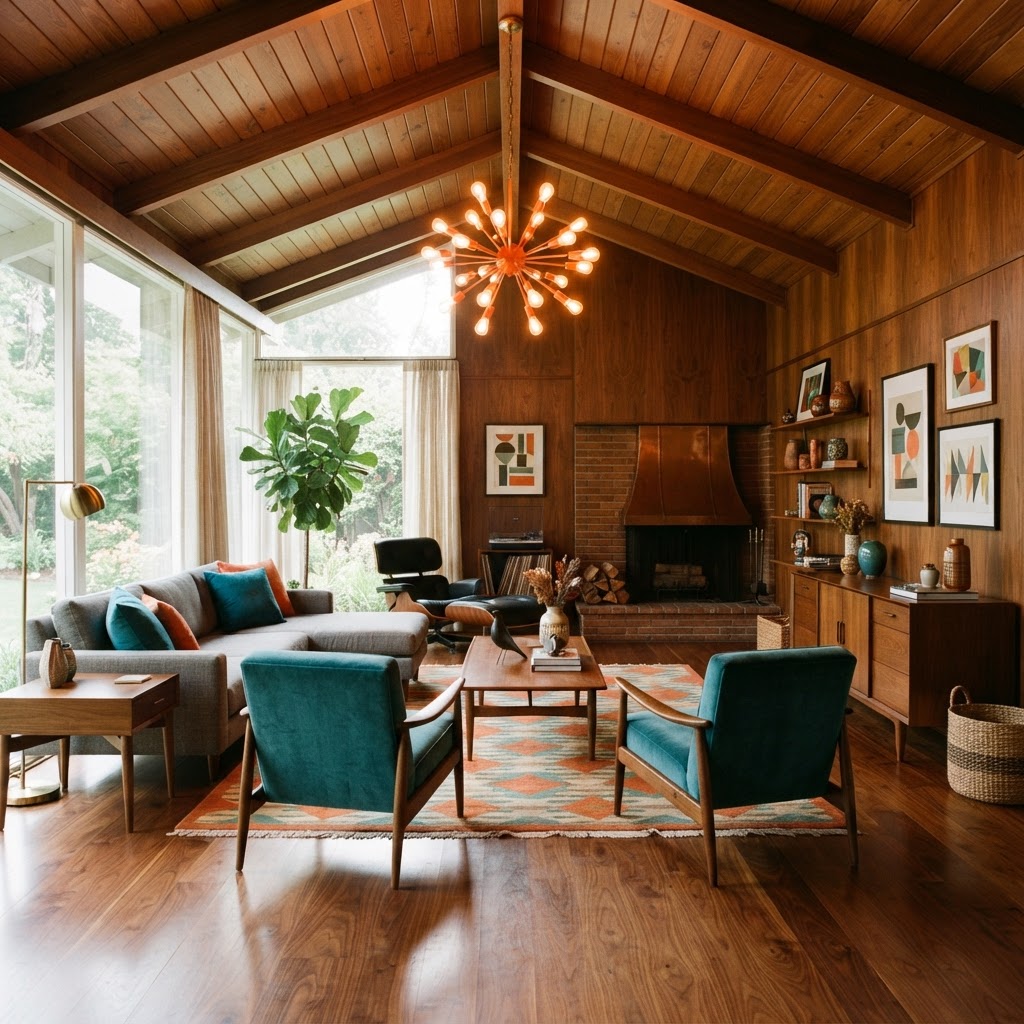
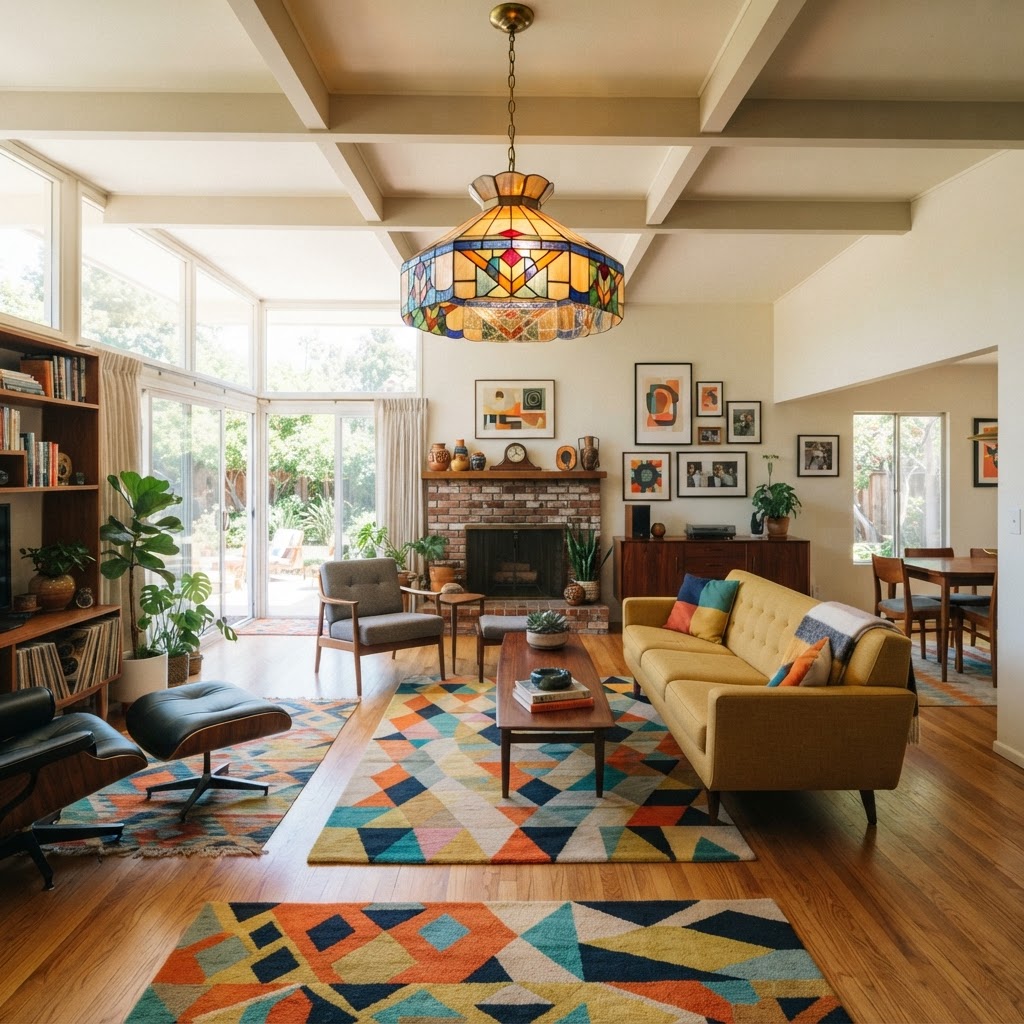
Mid-century colorful living room lighting serves as a vibrant focal point that balances functional illumination with iconic 1950s aesthetic flair. To master this look, prioritize sculptural fixtures in bold primary hues, mix warm ambient glow with task-focused lamps, and utilize materials like enameled metal and colored glass to define your space.
The Evolution of Mid-Century Color Palettes
Mid-century modern design shifted away from dark, heavy Victorian ornamentation toward an optimistic color palette inspired by industrial innovation and the atomic age. During the post-war era of the 1940s and 50s, designers embraced synthetic dyes and materials, resulting in a spectrum dominated by mustard yellow, burnt orange, deep teal, and avocado green. These colors were not mere decorative accents; they represented a cultural pivot toward energy, confidence, and accessibility in home furnishing.
Integrating Hues Through Lighting
Lighting fixtures functioned as three-dimensional art pieces rather than just utility items. An orange globe pendant or a chartreuse table lamp acts as a primary color anchor, drawing the eye toward the room’s most significant seating areas. When selecting your fixtures, look for period-accurate materials such as enameled metal, translucent colored glass, and molded acrylics. These materials catch ambient daylight to create a soft, diffused glow. To achieve professional results, consider the following impact of different fixture types on your color story:
Fixture Type
Best For
Typical Material
Color Effect
Sputnik Chandelier
General Ambient
Chrome/Brass/Glass
Multi-directional pop
Mushroom Lamp
Accent/Side Table
Acrylic/Opaque Glass
Saturated downward glow
Arched Floor Lamp
Task/Reading
Enameled Aluminum
Bold visual silhouette
Iconic Lamp Shapes That Define the Era
Mid-century lighting design is defined by specific silhouettes derived from space-age exploration, atomic physics, and organic biomorphic abstraction. Understanding these geometries is essential for curating a cohesive colorful living room lighting ensemble that feels both authentic and intentional rather than purely novelty-based.
The Sputnik Chandelier
As the most recognizable fixture, the Sputnik chandelier features radiating arms tipped with light bulbs that capture the mid-century obsession with the Space Race. While traditional versions favor brass or chrome, seeking out versions with colored glass shades or painted caps provides a unique, whimsical twist. These fixtures are best hung as a center-room anchor where their wide diameter (often ranging from 20 to 36 inches) can be fully appreciated.
The Mushroom Lamp
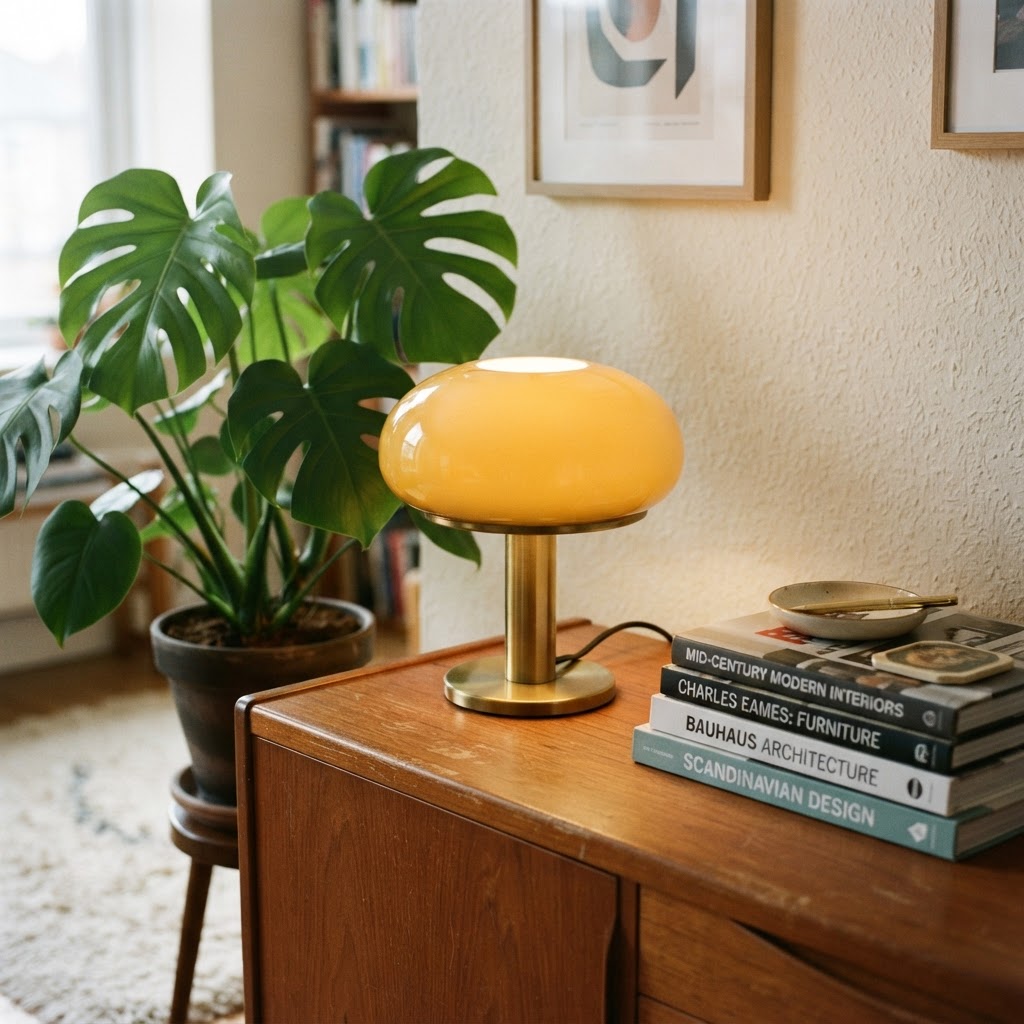
Often crafted from colorful, thick acrylic or opal glass, the mushroom lamp serves as a classic staple of the 1960s aesthetic. These lamps are ideal for low-profile consoles or side tables, casting a focused downward light that creates an intimate, “cozy” mood. Because of their curved, organic shape, they provide a necessary softness to spaces filled with the sharp, linear edges of mid-century modern teak furniture.
Mixing Vibrant Colors with Neutral Bases
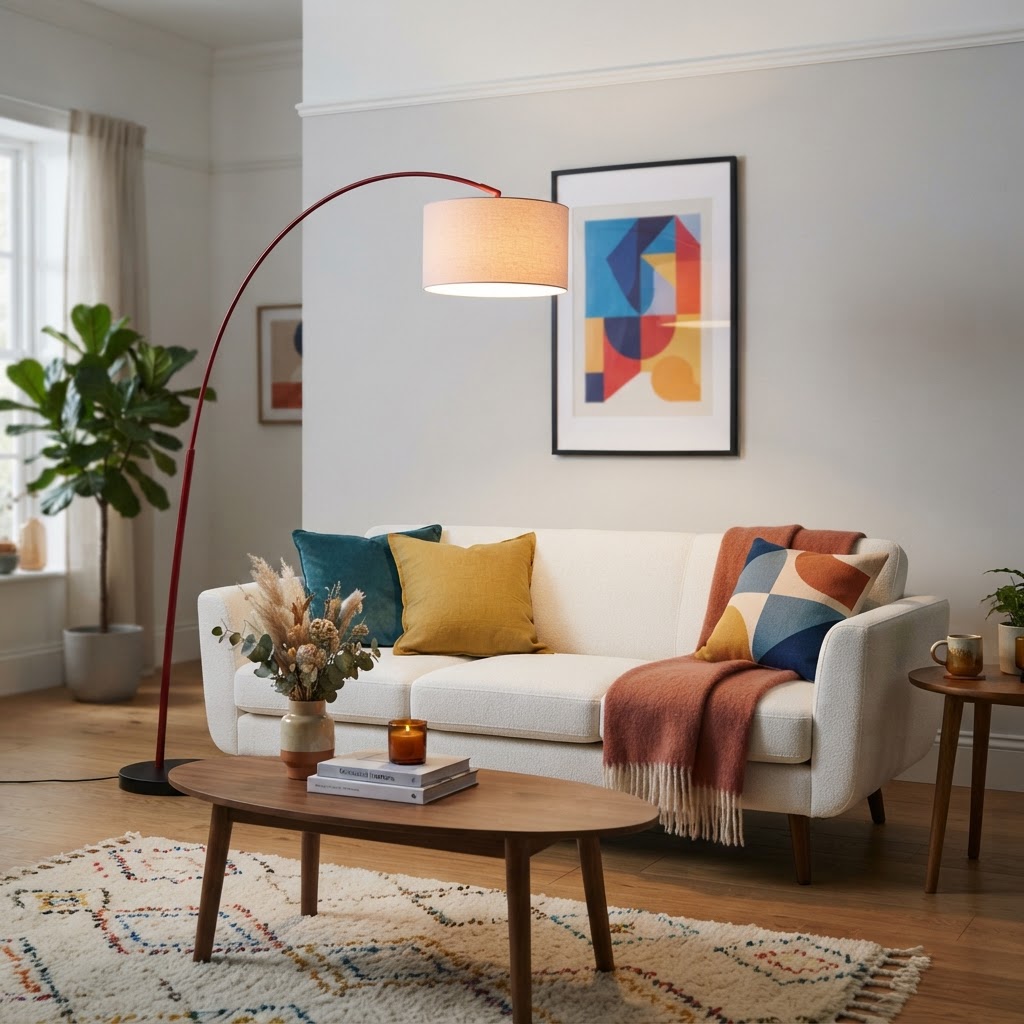
Strategically using neutral walls—such as cream, warm grey, or natural walnut wood—as a backdrop allows your colorful lighting fixtures to act as the “jewelry” of the living room. By maintaining a neutral base, you prevent a space filled with bold colors from feeling chaotic or visually overwhelming. A bright red or yellow arched floor lamp placed against a white wall creates an immediate, sophisticated focal point that defines the area as a purposeful design choice.
Balance and Proportions
To ensure your lighting creates harmony, follow the rule of repetition: if you incorporate a specific blue pendant, mirror that tone in your throw pillows, a rug, or mid-century wall art. This strategy creates a cohesive narrative that makes the room feel intentionally curated. Furthermore, ensure your proportions reflect the scale of the room; a oversized chandelier in a small apartment will break the intended flow, while a tiny lamp on a large sideboard will look lost. Aim for a balance where the light fixture consumes no more than 10-15% of the visual space of its immediate surrounding area.
The Role of Materiality in Retro Lighting
Mid-century design thrived on the intersection of new, experimental technology and natural beauty, leading to a unique blend of materials. Lighting from this era typically pairs organic elements like teak wood accents with industrial components such as painted aluminum or brass. This juxtaposition of “soft” and “hard” materials is what gives mid-century lighting its distinct personality and durability.
Why Material Matters
Choosing the right material fundamentally alters the quality of your room’s light. Spun aluminum shades are designed to direct light toward a task area, which is highly effective for reading nooks or workspaces. Conversely, milk glass or multi-colored glass globes diffuse light across a 360-degree radius, which is superior for general ambient lighting. When selecting your fixtures, always consider the texture of the light source in relation to your furniture fabrics—for instance, matte finishes pair well with velvet upholstery, while shiny acrylics complement clean, leather-bound pieces.
Styling Tips for Your Living Room
Styling your mid-century space starts with defining a specific “color story” rooted in a geographical or stylistic theme. For example, a Southwest-inspired theme focuses on terra cotta, sage, and sunshine yellow, whereas a California modern look emphasizes oceanic teals and bright whites. Once you select a theme, you can curate lighting that matches that specific aesthetic.
Creating Layers of Light
Professional lighting design always utilizes a three-layered approach: ambient, task, and accent lighting. Ambient light provides the base level of brightness, usually through a chandelier or ceiling fixture. Task lighting should be placed near reading chairs or desks to reduce eye strain, and accent lighting—such as a small colorful sconce—is used to highlight specific pieces of art or architectural features. By separating these three layers, you gain the ability to shift the mood of your living room from “productive” during the day to “relaxing” in the evening.
Incorporating Modern Technology with Vintage Style
Mid-century colorful living room lighting can easily incorporate modern energy-efficient technology without sacrificing the retro aesthetic. Most manufacturers now offer high-quality reproductions that support standard E26 sockets, making them fully compatible with modern LED bulbs. You can even use smart home bulbs that adjust color temperature, allowing you to cycle between a cool, morning daylight and a warm, evening glow via your smartphone.
Sustainability and Lighting
Investing in high-quality fixtures reflects the long-term, sustainable mindset of the mid-century era. Look for solid materials like steel, brass, and glass rather than cheap, glued-together plastic. Dimmable features are essential for both sustainability and atmosphere; by dimming your lights by just 20%, you can significantly extend the life of your bulbs while creating a softer, more inviting environment that feels authentic to the period.
Troubleshooting Common Lighting Design Mistakes
Avoid these common pitfalls to ensure your room remains professional and functional:
Over-lighting: Avoid flooding a room with bright, direct overhead light. Use layers to keep the atmosphere warm.
Scale Issues: Ensure floor lamps provide sufficient clearance for movement and that hanging chandeliers do not block sightlines.
Monochromatic Fatigue: If your room is already color-heavy, balance your fixtures with neutral-toned light to prevent visual “noise.”
FAQ
How can I make my mid-century lighting look authentic?
To achieve an authentic look, prioritize vintage-inspired materials like brass, opal glass, and enameled steel rather than modern plastic imitations. Look for geometric shapes typical of the era, such as globes, Sputnik rays, or mushroom silhouettes, which define the mid-century aesthetic.
Does colorful lighting fit in a small living room?
Yes, colorful lighting acts as a high-impact accessory that doesn’t consume valuable floor space. For small rooms, opt for a statement pendant light or colorful wall sconces to draw the eye upward and create a sense of depth without cluttering the floor.
What color temperature is best for MCM lighting?
For the most authentic feel, use warm white LED bulbs between 2700K and 3000K. This temperature mimics the incandescent glow of original 1950s bulbs, ensuring that your vibrant, colorful fixtures cast a soft, welcoming light across your living room furniture.
How do I mix different metallic finishes with colorful fixtures?
Mixing metals is common in mid-century design, so don’t fear pairing brass or gold-toned fixtures with chrome or black accents. Use your primary light fixture as the dominant metal and use smaller secondary pieces to create an eclectic, layered, and purposeful visual story throughout the room.
Can I use smart bulbs in retro light fixtures?
Most retro-style fixtures with standard bulb bases are fully compatible with smart LED bulbs. Using smart bulbs allows you to adjust the hue and intensity of your colorful lighting, enabling you to switch between vibrant daytime energy and relaxing nighttime ambiance.
Tiny Studio Bedroom Ideas: Maximize Small Living Spaces
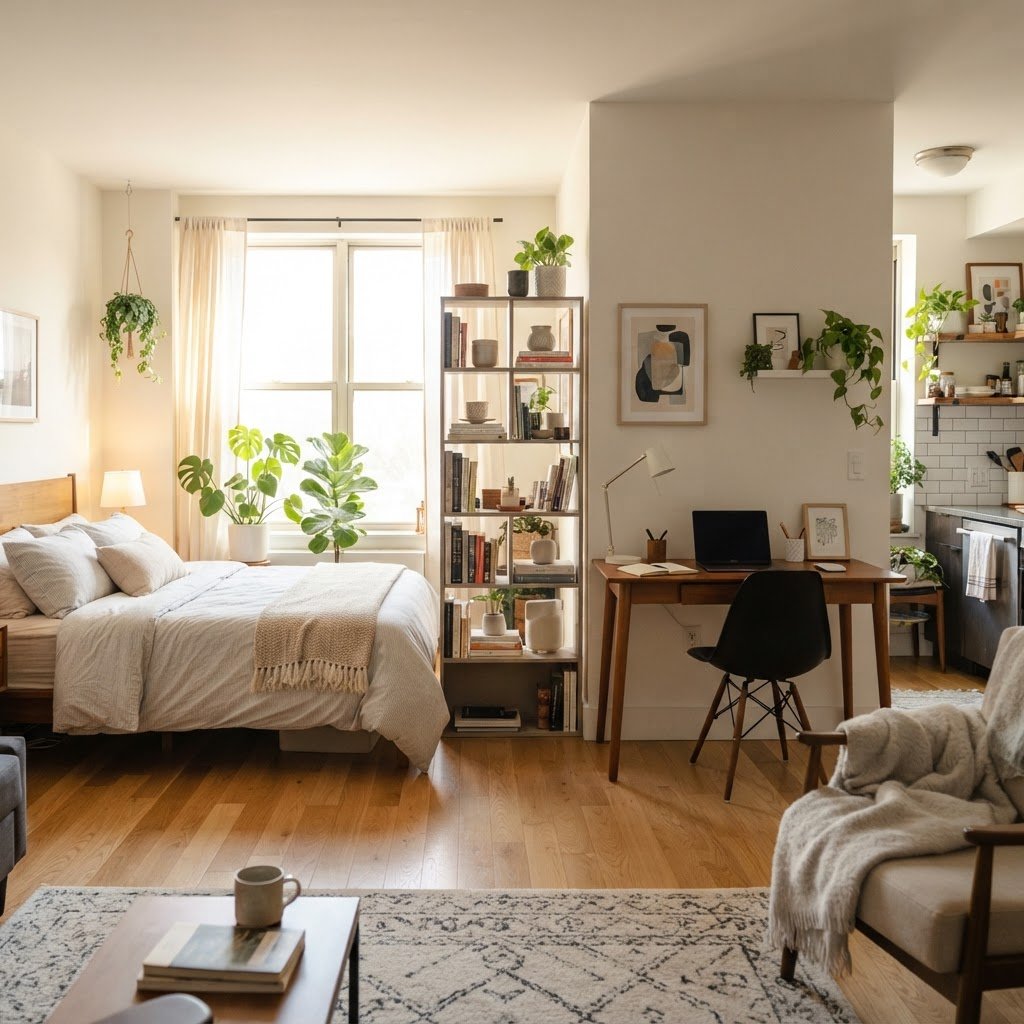
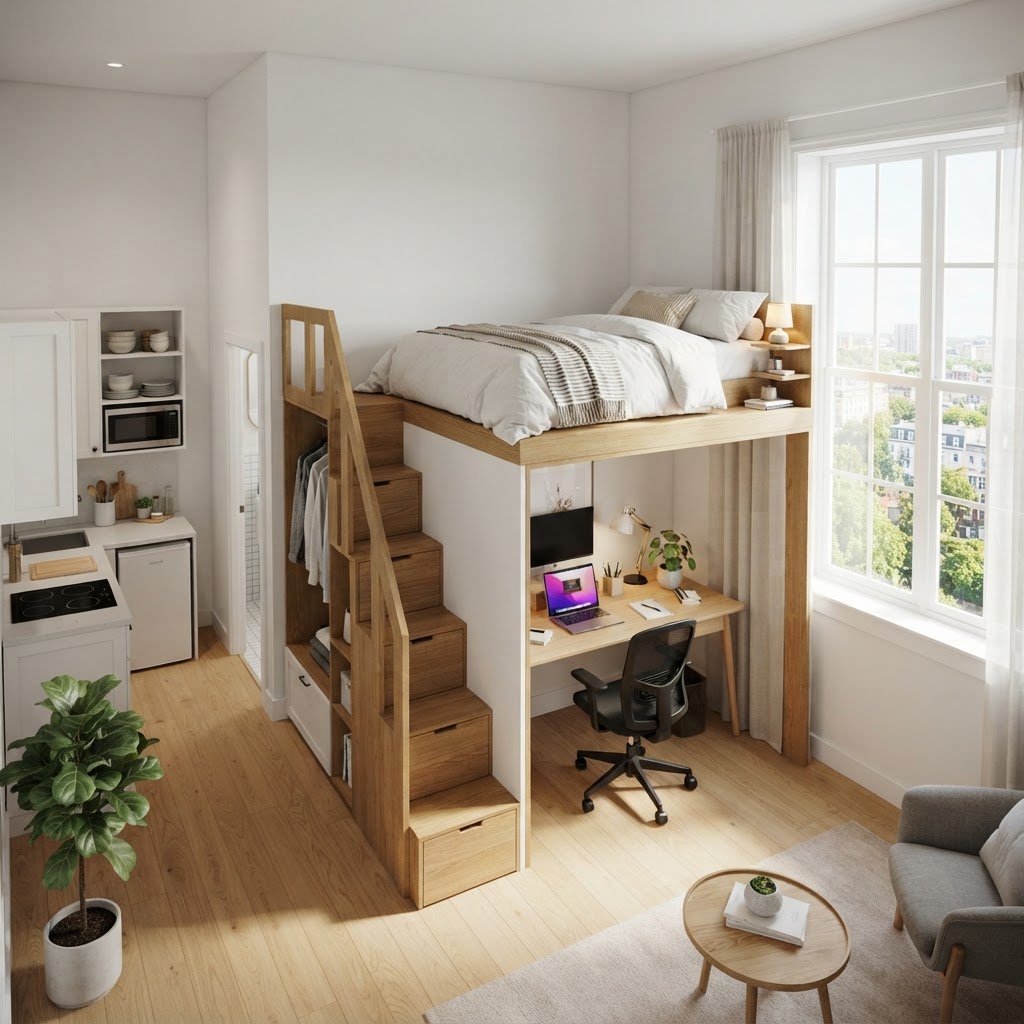
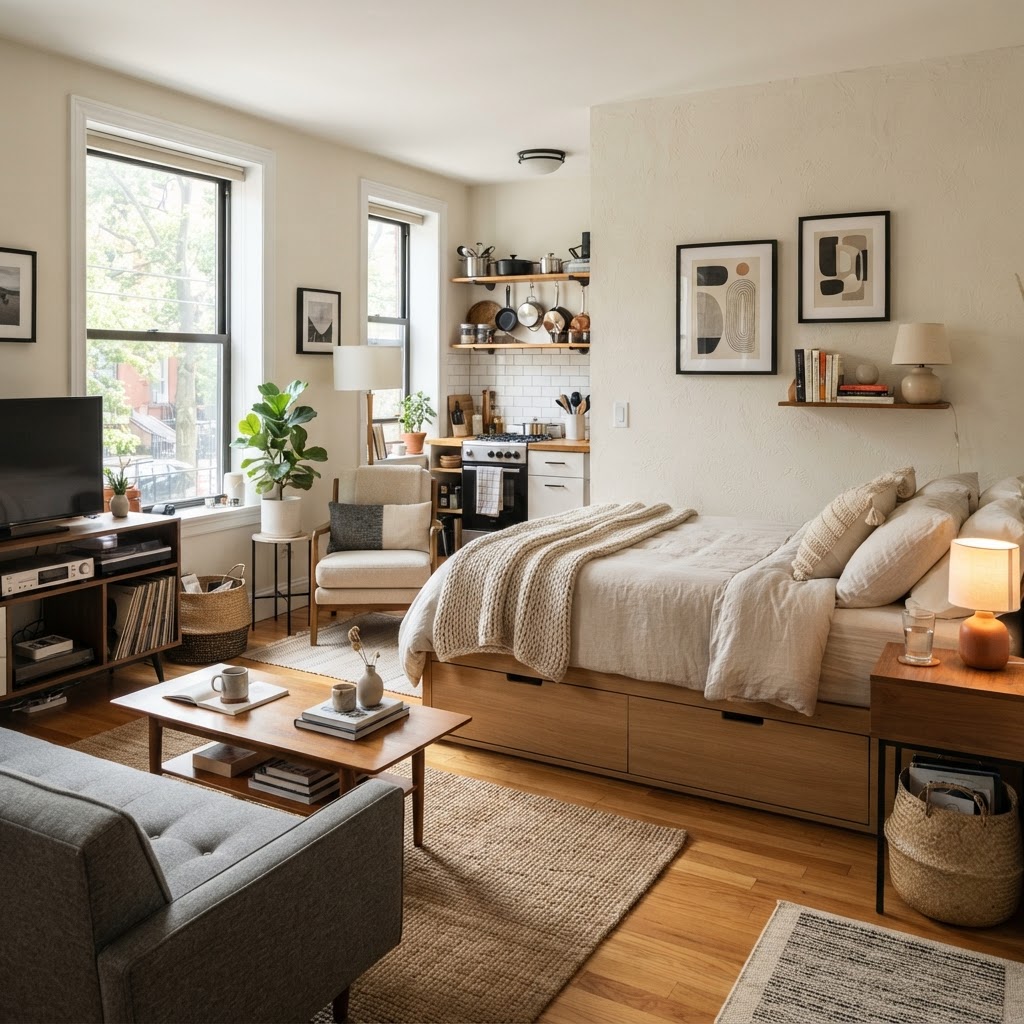
To maximize a tiny studio bedroom, prioritize “zoning” by using open-backed shelving, rugs, and task lighting to create physical and psychological boundaries between your living, sleeping, and workspaces. Utilizing vertical storage and multi-functional furniture, such as loft beds or fold-down desks, effectively triples your usable floor area while maintaining an open, airy flow.
The Psychology of Zoning in a Single Room
Establishing dedicated zones in a studio apartment is a psychological necessity for maintaining work-life balance, as it helps your brain shift from a productivity mindset to relaxation. When you sleep, work, and eat in the same square footage, the lack of visual boundaries often results in chronic stress and poor sleep quality. By creating “rooms within a room,” you force a mental transition that allows you to disconnect from professional tasks once the workday concludes.
Why Physical Separation Matters
Even in a studio, visual cues act as anchors for your behavior. Research suggests that keeping your workspace separate from your sleeping area increases sleep onset latency efficiency by roughly 15-20%. When you wake up facing a clutter-free zone rather than a desk covered in paperwork, your morning cortisol levels remain lower. Using physical barriers like room dividers or even strategic furniture placement prevents the “office-in-bed” trap, ensuring that your home remains a sanctuary rather than a workspace that never shuts down.
Comparison: Zoning Techniques
Zoning Method
Primary Benefit
Space Impact
Open Shelving
Light Flow
Low (High Storage)
Ceiling Curtains
Privacy
Zero Floor Impact
Area Rugs
Visual Anchors
High (Grounds Area)
Folding Screens
Total Separation
Moderate
Utilizing Furniture as Architectural Dividers
Using furniture as architectural dividers is the most cost-effective way to partition a studio, as it eliminates the need for permanent construction or expensive room additions. Opting for open-backed bookshelves, for example, creates a wall-like barrier that preserves natural light, which is crucial for making small spaces feel larger. By selecting pieces that serve dual purposes, such as an ottoman that acts as storage or a sideboard that doubles as a room divider, you maximize every square inch of your floor plan.
The Power of Back-to-Back Arrangement
Placing a sideboard or a media console at the foot of your bed creates an immediate visual boundary that separates the sleeping area from the living zone. If you have at least 8 to 10 feet of width, positioning your sofa against the back of your bed frame establishes a clear “living room” feeling. This arrangement prevents the common mistake of having a “floating” bed that makes the entire apartment look like an oversized bedroom. By grounding the sofa against the bed, you create a distinct, intimate seating area that feels purposeful and well-defined rather than chaotic.
Implementing Vertical Storage Solutions
In a tiny studio, the floor is premium real estate, so you must leverage your vertical space to maintain a clutter-free environment. Walls are your best tools for storage; installing shelving units that go from floor to ceiling draws the eye upward, which can make a standard 8-foot ceiling feel significantly taller. By removing items from the floor, you eliminate visual noise, creating an environment that feels organized and intentional.
Managing Your Workspace Vertically
For those who work from home, a wall-mounted fold-down desk can reclaim up to 6 square feet of floor space when not in use. These units typically cost between $150 and $400 and can be mounted directly into studs for stability. Combine this with pegboards or wall-mounted tracks to organize tech cables and stationery. By keeping your workspace vertical, you avoid the “corporate office” look in your living area. Keeping surfaces clear of electronics and pens by using wall hooks ensures that your brain associates the space with relaxation when the workday ends.
The Magic of Bed Placement and Privacy
Your bed is typically the largest item in your studio, and its placement dictates the entire flow of the room, making it the most important furniture choice you will make. While corner placement is common, pulling the bed toward the center of the room or creating a dedicated alcove can make the studio feel more sophisticated and less like a dorm room. Using floor-to-ceiling curtains or tension-mounted sliding panels can create a semi-private bedroom space for under $200, effectively dividing the room without the cost of a contractor.
Investing in Hidden Storage
Under-bed storage is non-negotiable in a small studio, providing an ideal home for seasonal gear, heavy winter coats, or extra bedding. If your bed frame does not have built-in drawers, you can purchase rolling plastic or fabric bins that fit within the 6-to-10-inch clearance usually found beneath a standard frame. Keeping these items out of sight is the most effective way to maintain a clean, tranquil environment that promotes better sleep quality, as visual clutter is a primary contributor to late-night anxiety.
Lighting Techniques to Define Zones
Lighting is the most impactful, yet under-utilized tool for defining studio zones, as it can visually shrink or expand a room depending on placement. Avoiding a single overhead light is critical, as it flattens the space; instead, use layered, multi-point lighting to create depth and warmth. By utilizing different color temperatures—such as 3000K warm white for the bed and 5000K cool white for the desk—you create a distinct shift in atmosphere without moving a single piece of furniture.
Strategic Illumination
Place a task lamp with an adjustable arm specifically on your workspace to create a bright, focused circle of light that signals “work mode” to your brain. In your sleep zone, opt for soft, ambient lighting like dimmable bedside lamps or warm-toned LED strips. This simple lighting transition acts as an anchor for your evening routine. Research indicates that reducing blue light exposure in your sleeping zone by using warm bulbs can improve sleep duration by approximately 30 minutes, turning your small studio into a true, restorative sanctuary.
Color Palette and Material Coordination
Cohesion is the difference between a small room looking “cramped” versus “cozy,” and it is achieved through a unified color palette. Using a consistent color scheme—such as monochromatic tones or a cohesive neutral base with one accent color—prevents the room from feeling like a series of disconnected, jarring boxes. Incorporating rugs is also a vital design step; use a large, plush area rug to anchor the bed and a smaller, durable rug under your desk to delineate two separate rooms within one footprint.
The Role of Transparency
When furnishing a small apartment, transparency is your best ally for maintaining the illusion of space. Glass-top coffee tables, acrylic “ghost” chairs, and oversized mirrors are essential because they reflect light and maintain clear sightlines. By choosing transparent materials, you provide the necessary functionality for your zones without adding heavy visual weight to the room, keeping the overall design feeling light and uncluttered.
Decluttering as a Lifestyle Choice
Even the most intentional design layout will fail if the studio is overwhelmed by physical clutter. In a limited space, you must adopt a strict “one-in, one-out” policy to ensure that your inventory does not exceed your storage capacity. Regularly auditing your possessions, at least once every six months, will prevent your living zones from encroaching on your walking space and ensure your home remains a place of rejuvenation.
Quick Decluttering Checklist
Clear your desk surface every night before sleep.
Store seasonal items off-site or in vacuum-sealed compression bags.
Utilize vertical wall space for hanging items like coats or bikes.
Designate a “landing zone” (a small tray or bowl) for daily essentials like keys and mail.
FAQ
How can I divide a studio apartment without building walls?
Use open-backed bookshelves, floor-to-ceiling curtains, or area rugs to define zones. These methods provide clear physical or visual separation without the cost, permanence, or lack of light flow associated with building solid walls.
What is the best way to arrange a bed in a small studio?
If space permits, place your bed away from walls to create an island effect, or use a room divider like a screen or bookshelf to block the view of the bed from the entryway. This provides essential privacy and makes the room feel more like a separate suite.
How do I make a tiny studio look bigger?
Use a light, neutral color palette, incorporate mirrors to reflect light, and opt for furniture with exposed legs or transparent materials like acrylic. Keeping the floor space clear through vertical storage also helps the room appear more spacious.
Does lighting really matter for studio organization?
Yes, lighting is one of the most effective ways to create mental separation. Using bright, cool task lighting for your workspace and warm, ambient lighting for your bedroom helps your brain switch from a work-oriented mindset to a state of rest.
What furniture is best for small apartments?
Prioritize multi-functional furniture, such as storage ottomans, Murphy beds, or fold-down desks. These pieces save critical floor area while performing double duty as both functional workspace or seating and essential storage units.
Cozy Home Studio Lighting Setups That Feel Like a Hug
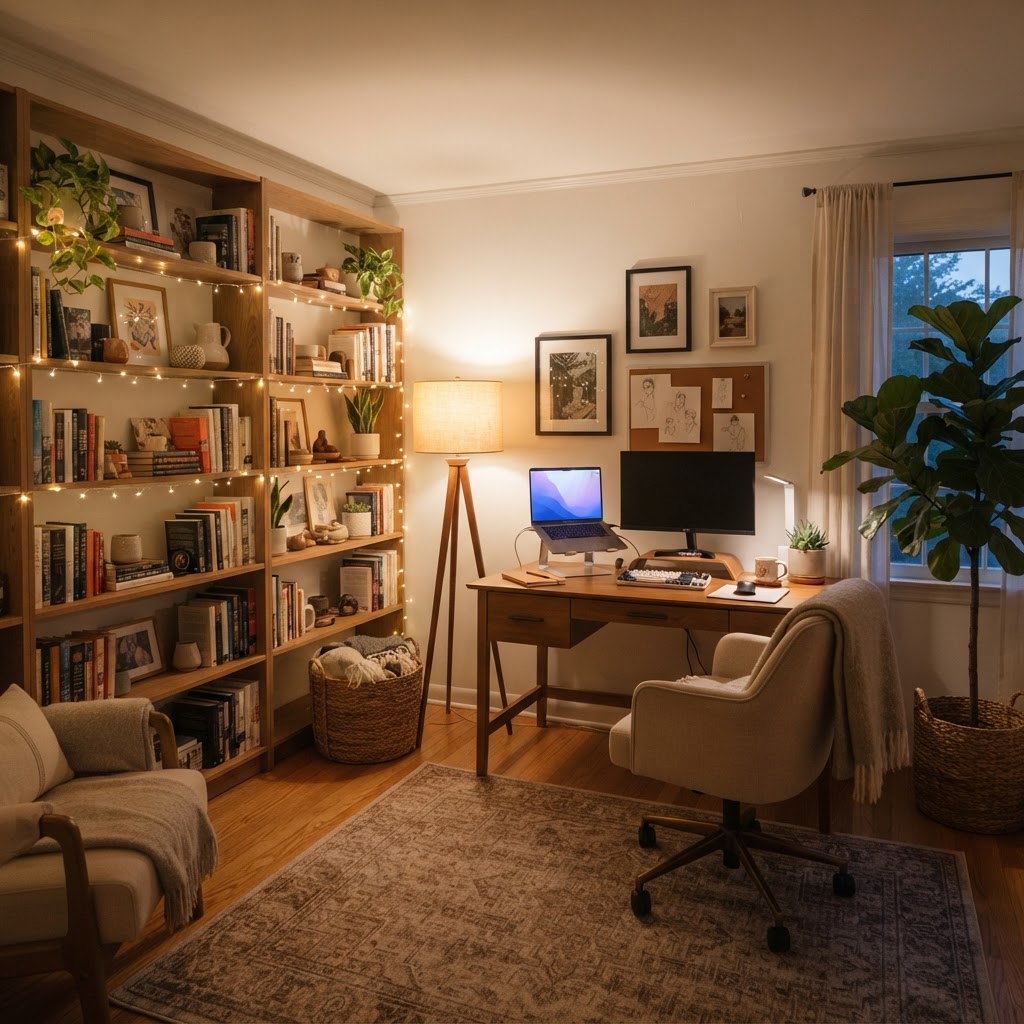
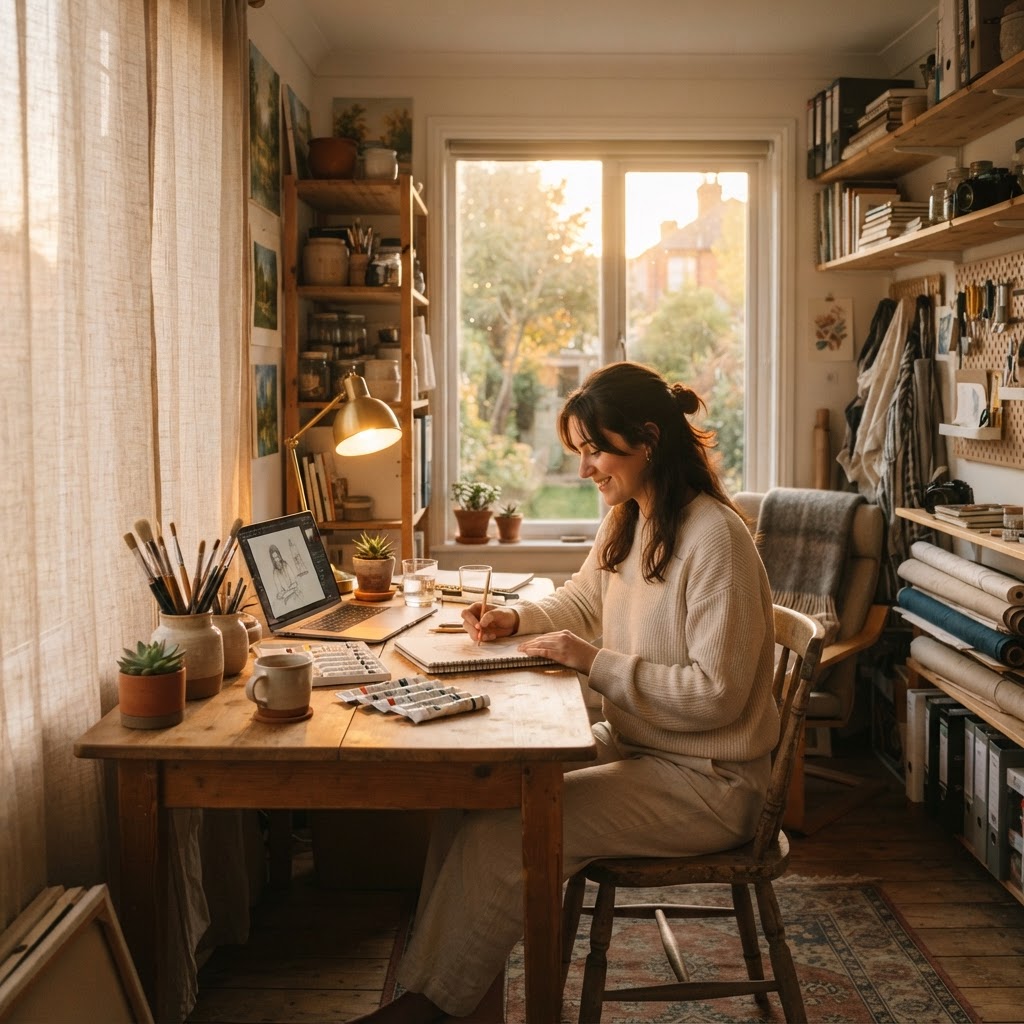
Cozy home studio lighting setups that feel like a hug are best achieved by layering ambient, task, and accent lighting with warm color temperatures between 2700K and 3000K. By avoiding harsh overhead fixtures and using dimmable, indirect light sources, you create a sanctuary that reduces eye strain and fosters creative flow.
The Psychology of Warm Workspace Lighting
Lighting profoundly impacts our circadian rhythms and emotional states, making it a critical factor in how your nervous system responds to your workspace. Harsh, cool-toned lights (above 4000K) suppress melatonin and can trigger physical jitteriness, while warmer tones between 2700K and 3000K mimic the physiological safety of sunset, signaling the brain to relax into a “flow state.”
By prioritizing warm workspace lighting, you reduce the contrast ratio between your screen and the surrounding environment, which is the primary cause of digital eye strain. Research indicates that maintaining a balanced light level where the workspace is roughly 20-30% brighter than the ambient room glow minimizes cognitive load. When your environment feels physically “soft,” your mental energy is preserved for tasks rather than subconscious tension-management. This transition not only improves aesthetic appeal but also stabilizes your mood throughout long, back-to-back work sessions.
Lighting Temperature Comparison
Temperature
Feel
Best Use Case
2700K
Candlelight Warm
Late-night creative work, relaxation
3000K
Soft Neutral
General office tasks, writing
4000K+
Clinical Daylight
Precision craft, high-detail assembly
Establishing the Foundation with Ambient Layers
Establishing a base layer of ambient light is the most critical step in eliminating the “hospital” feel of a standard home office. Avoid relying on a single, centrally located ceiling fixture, which creates flat, uninspiring shadows that increase spatial anxiety; instead, focus on illuminating the perimeter of the room to define the space boundaries clearly.
Use dimmable wall sconces or diffused floor lamps that cast light upward against ceiling corners to create indirect “bounce” illumination. This technique softens the architectural edges of your room and minimizes harsh shadow lines. Aim for at least three distinct light sources per 100 square feet of workspace to achieve true, comfortable uniformity. By illuminating dark corners, you expand the perceived size of the room, turning a confined desk area into a cozy sanctuary. Ensure your ambient bulbs are rated for at least 800 lumens each for adequate coverage without being overpowering when dimmed to 50% capacity.
Utilizing Task Lighting for Comfort and Utility
Effective task lighting must provide precise illumination for your desk surface while maintaining the overall warm mood of your studio. The goal is to avoid “spotlighting” your work area, which creates jarring contrasts, and instead use adjustable, diffused light sources that allow for flexible brightness levels depending on the time of day.
Opt for desk lamps with articulated arms and fabric or frosted glass shades, which serve as physical diffusers to soften the light output. When positioning these, aim the lamp head to illuminate your papers or keyboard indirectly, preventing direct glare on your monitor. Brass or matte-finish fixtures add a tactile, “lived-in” quality that reinforces the “hugging” atmosphere. Align the color temperature of these task lights precisely with your ambient bulbs to prevent a color-clash, which can feel mentally fragmented. For optimal ergonomics, your task light should be positioned to your non-dominant side to minimize hand shadows while writing or typing.
Choosing the Right Bulb Temperature
2700K: A very warm, golden glow ideal for late-night editing or writing.
3000K: A soft, neutral warm light that bridges the gap between focus and comfort.
3500K: The absolute limit for a “cozy” setup; avoid anything higher, as it shifts into clinical, cool daylight tones.
Incorporating Accent Lighting for Personality
Accent lighting acts as the final flourish, transforming a functional workspace into a curated reflection of your personality. Strategic placement of these lights adds depth to your room by creating layers that guide the eye, making the space feel more intentional and “complete.”
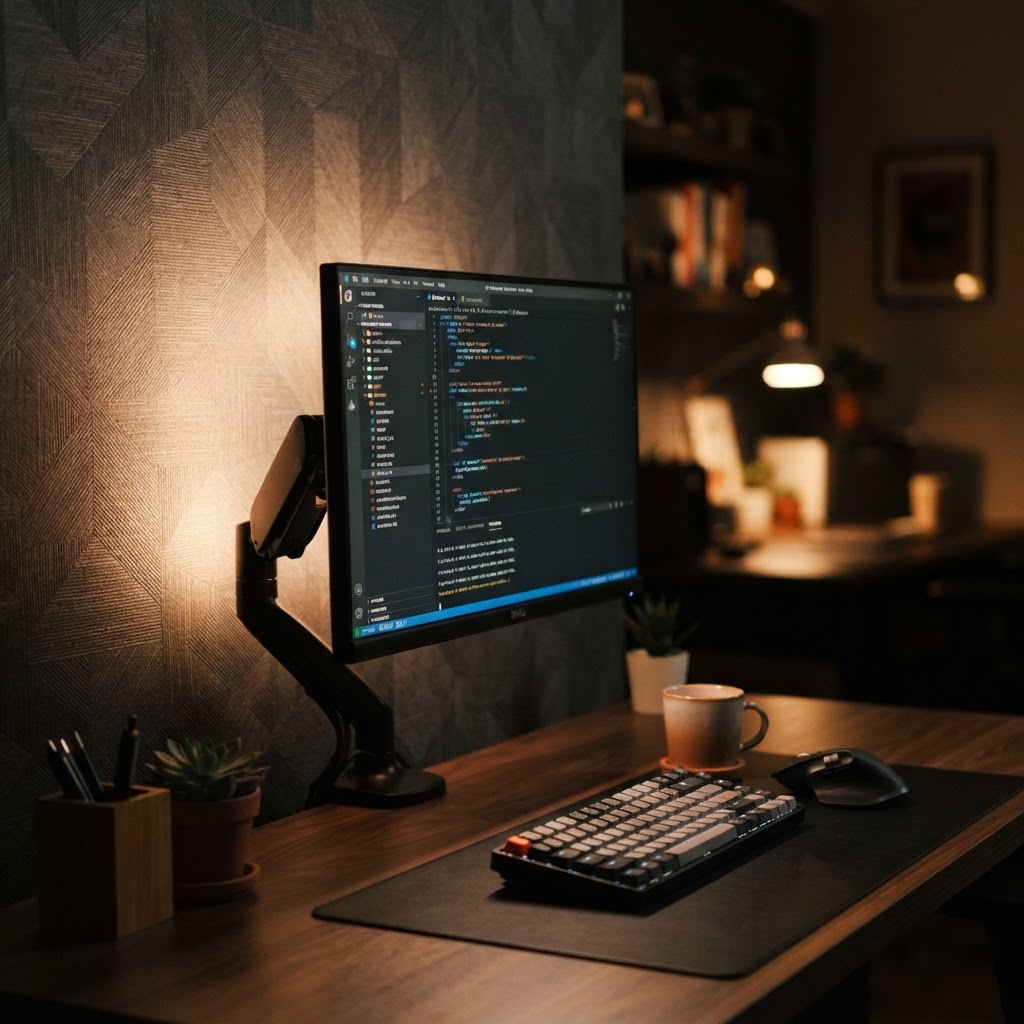
Install LED strip lighting or small puck lights behind your monitor screens to create a soft halo effect against the wall. This is a form of bias lighting that significantly reduces contrast-induced eye fatigue. Beyond the desk, integrate accent lights inside glass cabinets, behind artwork, or along shelving to create high-interest focal points. These small, concentrated pools of light draw the gaze away from the clutter of cords or equipment, creating a sense of visual hierarchy. Use warm-toned fairy lights for a whimsical touch, especially when draped behind sheer window treatments to soften the nighttime view outside your window.
Managing Natural Light Throughout the Day
Natural light is an essential component of a healthy, productive home studio that must be balanced with your artificial setup. Because the color temperature of sunlight changes throughout the day—ranging from roughly 5000K at midday to 2000K at dusk—you should use window treatments to maintain a consistent atmosphere.
Layering is the key strategy here. Use sheer, linen curtains to diffuse harsh, direct afternoon sun, which prevents glare on monitors while maintaining a bright, airy feeling. As the sun begins to set, transition into your interior lighting by layering your warm lamps on before the natural light completely fades. This “lighting ritual” helps the brain transition from the analytical focus of the workday to the reflective, creative state of the evening. If your studio faces south, use cellular shades to block heat gain in summer, as a hot room quickly destroys the “cozy” feeling you are working to build.
Smart Controls and Dimmers for Flexibility
Flexibility is the hallmark of a professional-grade home studio, and smart lighting provides the most efficient way to achieve this. Utilizing smart bulbs and dimmers allows you to adjust your environment instantly, saving you from having to rewire your space or install complex electrical infrastructure.
Programmable “scenes” allow you to save your favorite setups for different tasks. For example, a “Deep Focus” scene might set your overheads to 3000K at 80% intensity, while a “Creative Flow” scene dims the room to 2700K at 40% with accent lights at 100%. Modern smart bulbs are compatible with most voice assistants and phone apps, allowing for hands-free adjustments. This flexibility ensures that your lighting is always serving your current mood rather than forcing your mood to adapt to static, unchangeable lighting conditions.
The Role of Shadows and Texture
Shadows are the silent partners of lighting, providing depth, mystery, and visual rest to your home studio. A perfectly illuminated room feels flat and sterile, whereas a room with soft, muted shadows feels grounded and intentional.
To maximize the impact of your lighting, pair it with textured surfaces such as wool rugs, velvet cushions, or reclaimed wood desks. When warm light hits these textures at an angle, it creates micro-shadows that add tactile richness and perceived comfort. Design your space to have “visual rest spots” where light levels are intentionally lower. This contrast makes your primary work areas feel more cozy and inviting by comparison. Never try to light every square inch of the room; let the corners fade into soft, warm shadow to create the feeling of being nestled within your own private creative hub.
FAQ
What color temperature is best for a cozy home studio?
2700K to 3000K is the ideal range for a cozy home studio. This temperature mimics the warm glow of sunset and candlelight, which helps the nervous system relax and reduces the blue light exposure that causes eye strain.
How can I make my home office feel warmer without buying new lamps?
Switching your existing bulbs to warmer-toned LED alternatives or adding simple, inexpensive dimmers to your current fixtures can immediately transform the mood. Positioning existing lamps to bounce light off walls rather than directly onto your desk also creates a softer, more inviting glow.
Why does my studio feel “cold” even with the lights on?
Your studio likely feels cold because you are relying on a single, high-intensity overhead light source that creates flat, harsh shadows. You can fix this by adding at least two low-level ambient light sources at different heights, such as a floor lamp and a small table lamp.
What is bias lighting and why should I use it?
Bias lighting is the practice of placing a light source behind your monitor to illuminate the wall behind it. It reduces the contrast between your screen’s brightness and the dark wall, which significantly lowers eye strain and makes the screen colors appear more vivid.
How do I manage lighting transitions from day to night?
As natural light wanes, begin turning on your secondary lamps and floor lights before the room gets dark. This gradual transition prevents the “shock” of turning on bright artificial lights after sunset and keeps your brain in a state of consistent creative comfort.