Category Rental-Friendly Apartment Decor

12 Easy Apartment Decorating Ideas That Require Zero Drilling

Moving into a new place is exciting, but the restrictions of a rental contract can feel like a creative cage. Most landlords strictly forbid making holes in the walls, which often leaves renters wondering how to add personality to their living space. Fortunately, you can easily elevate your environment with 12 easy apartment decorating ideas that require zero drilling. Whether you want to add color, texture, or functional storage, there are countless ways to make your apartment feel like a home without forfeiting your security deposit.

Use Command Strips and Hooks for Wall Art
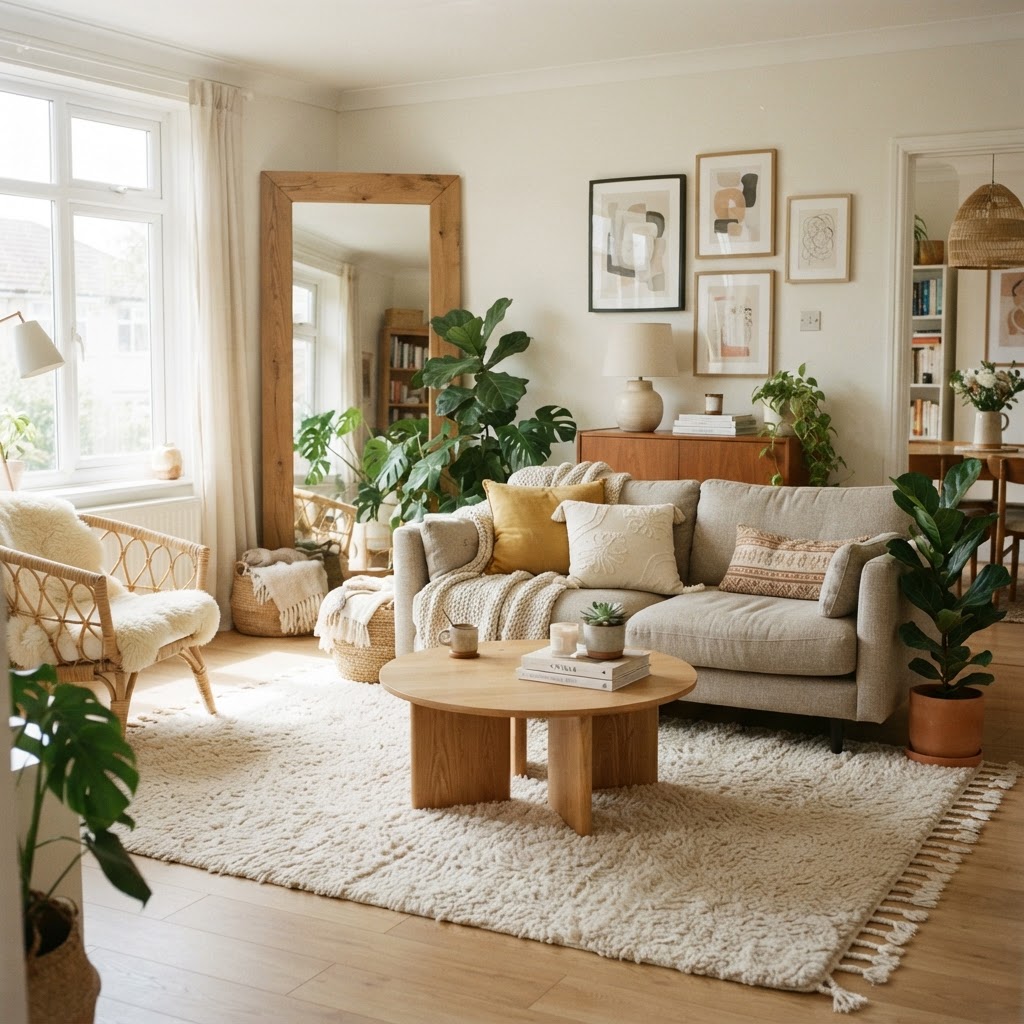
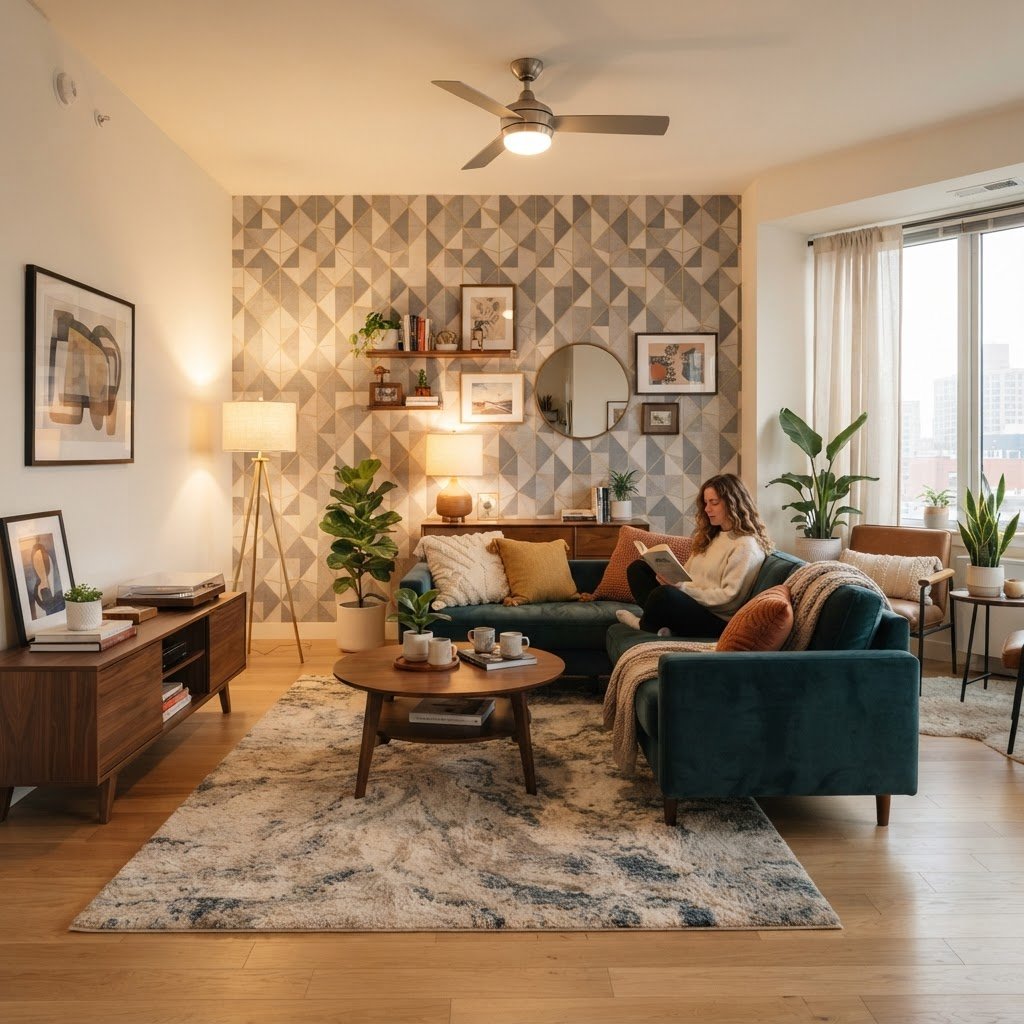
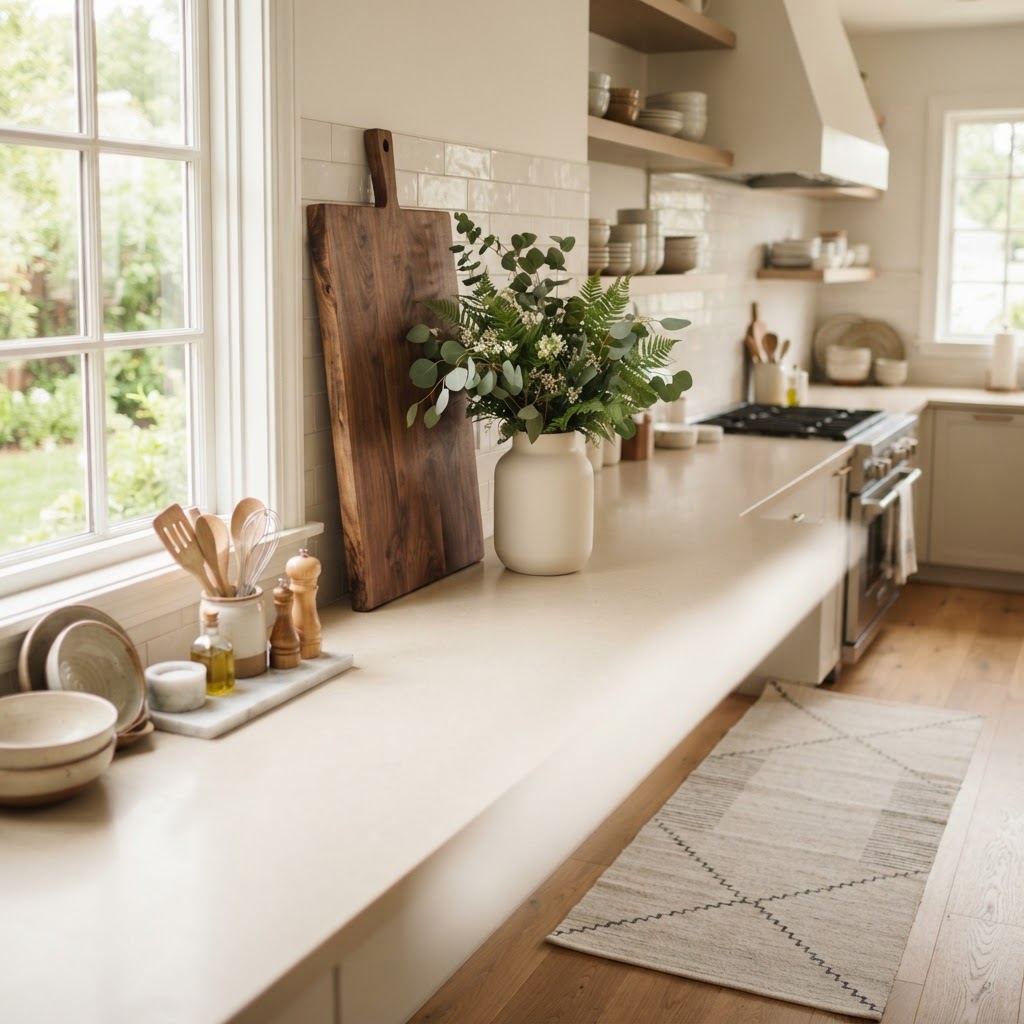
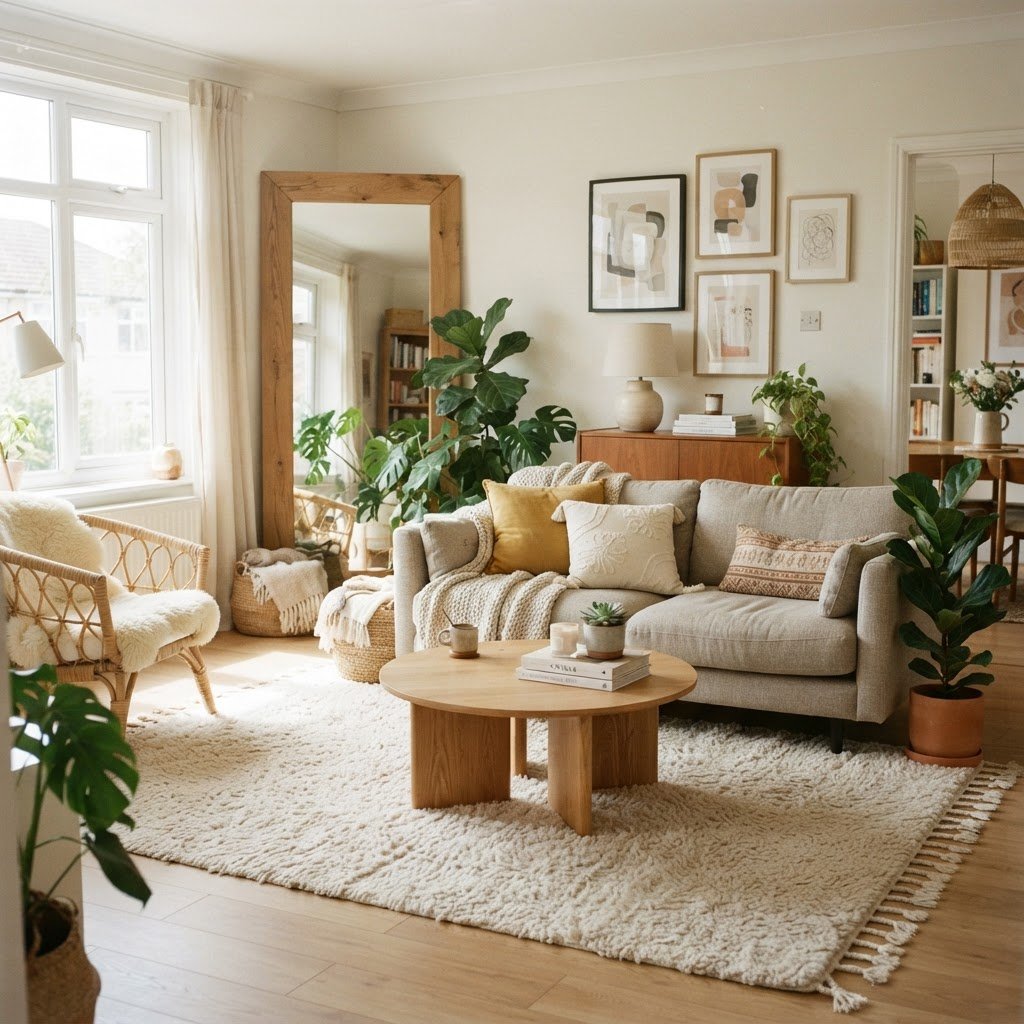
A leaning mirror and area rug add style to a rental without wall damage.

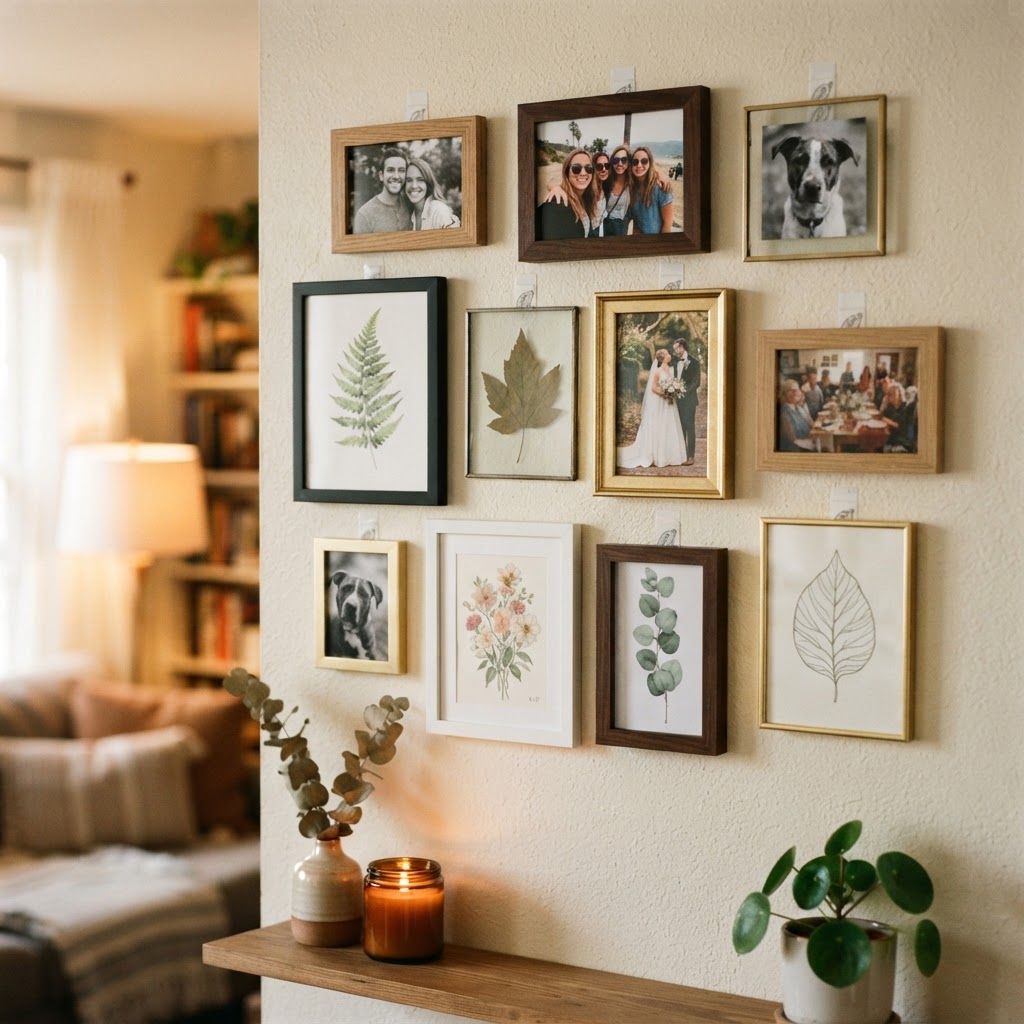
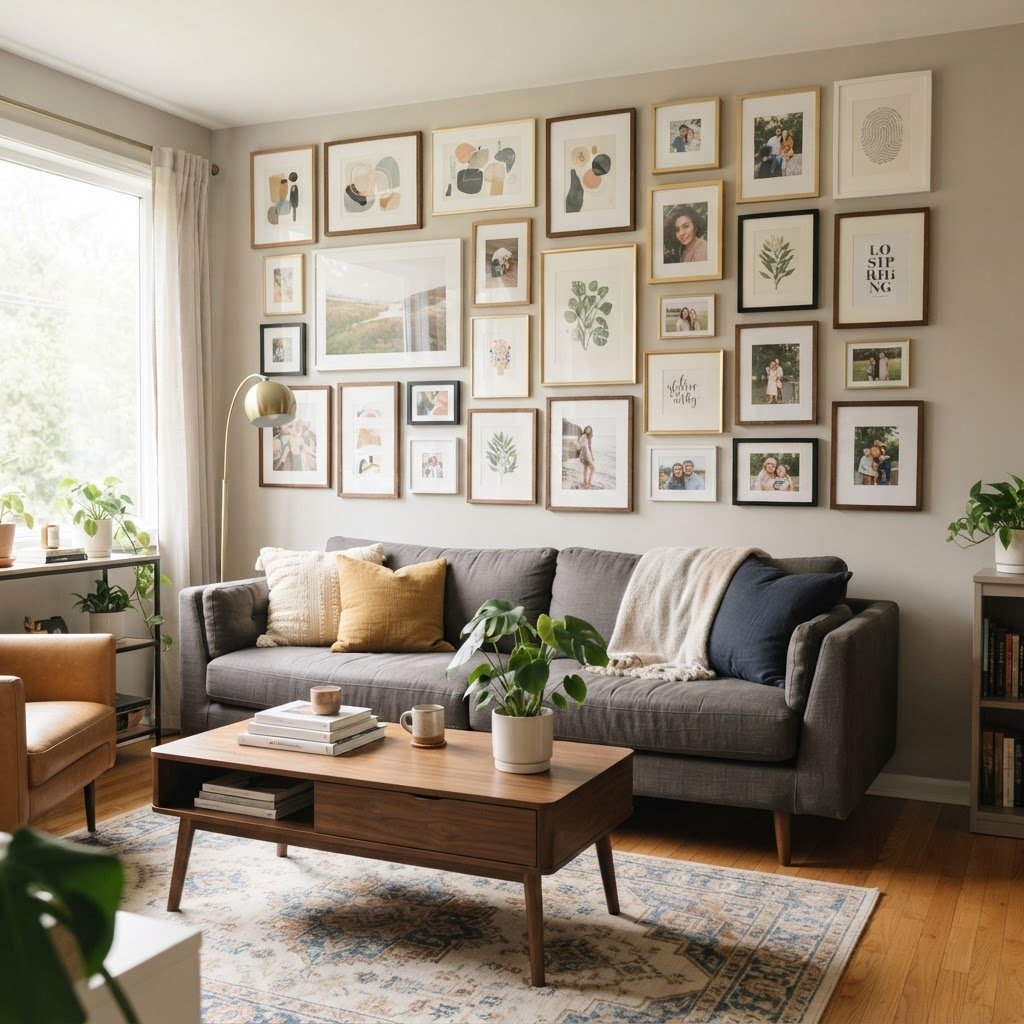
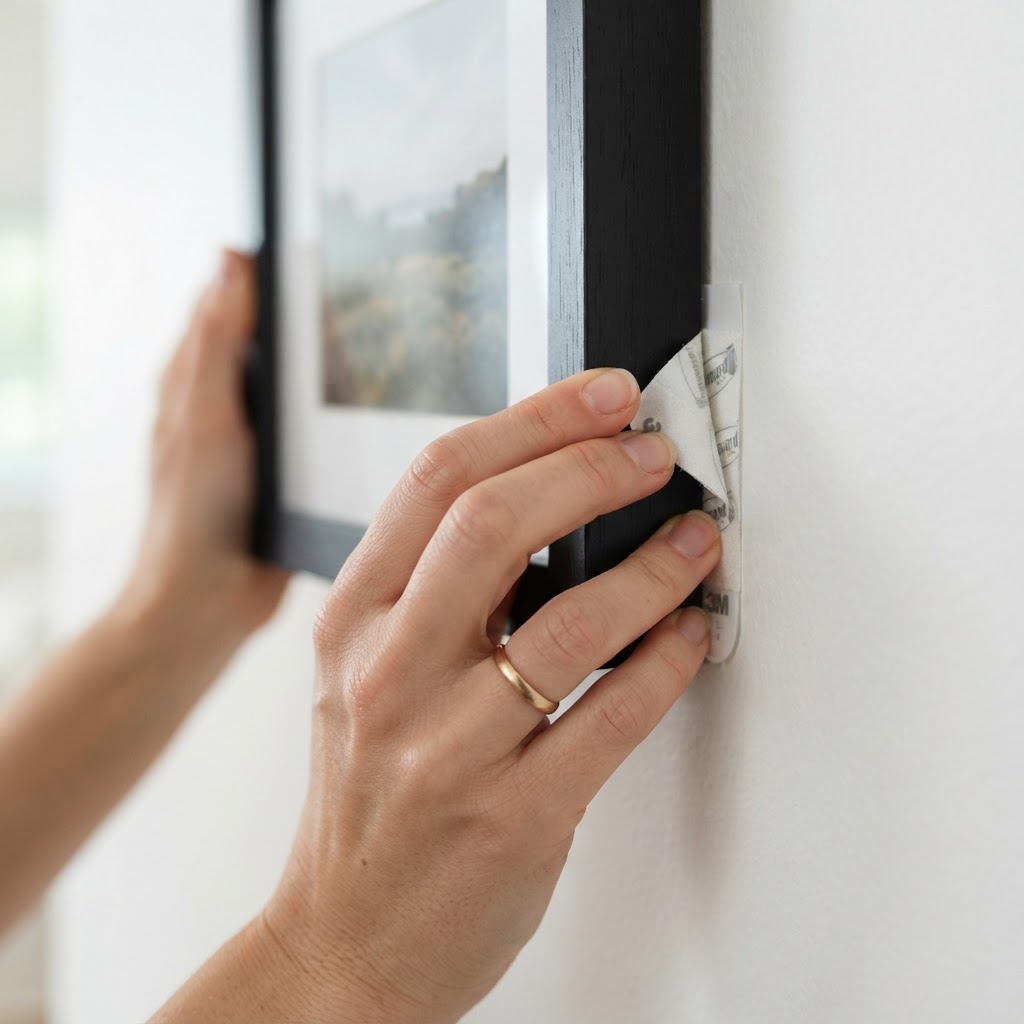
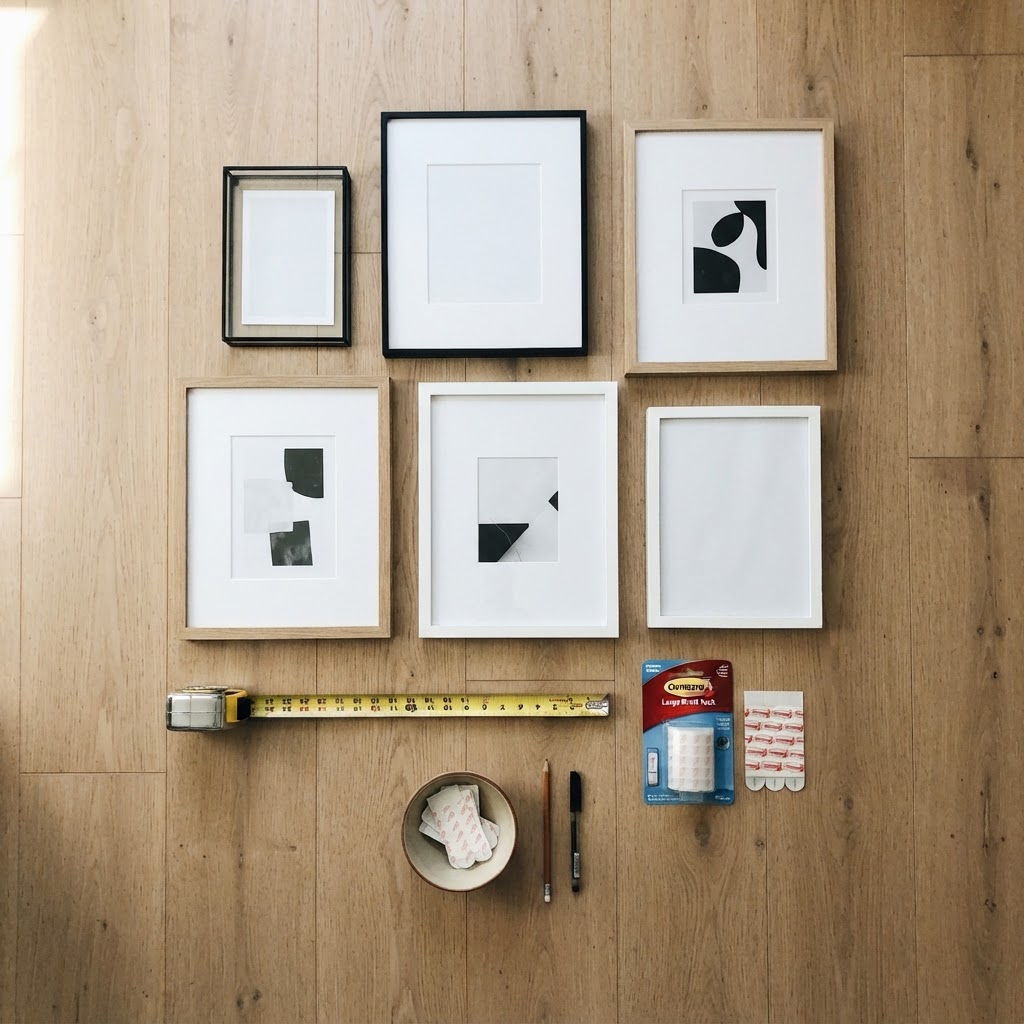
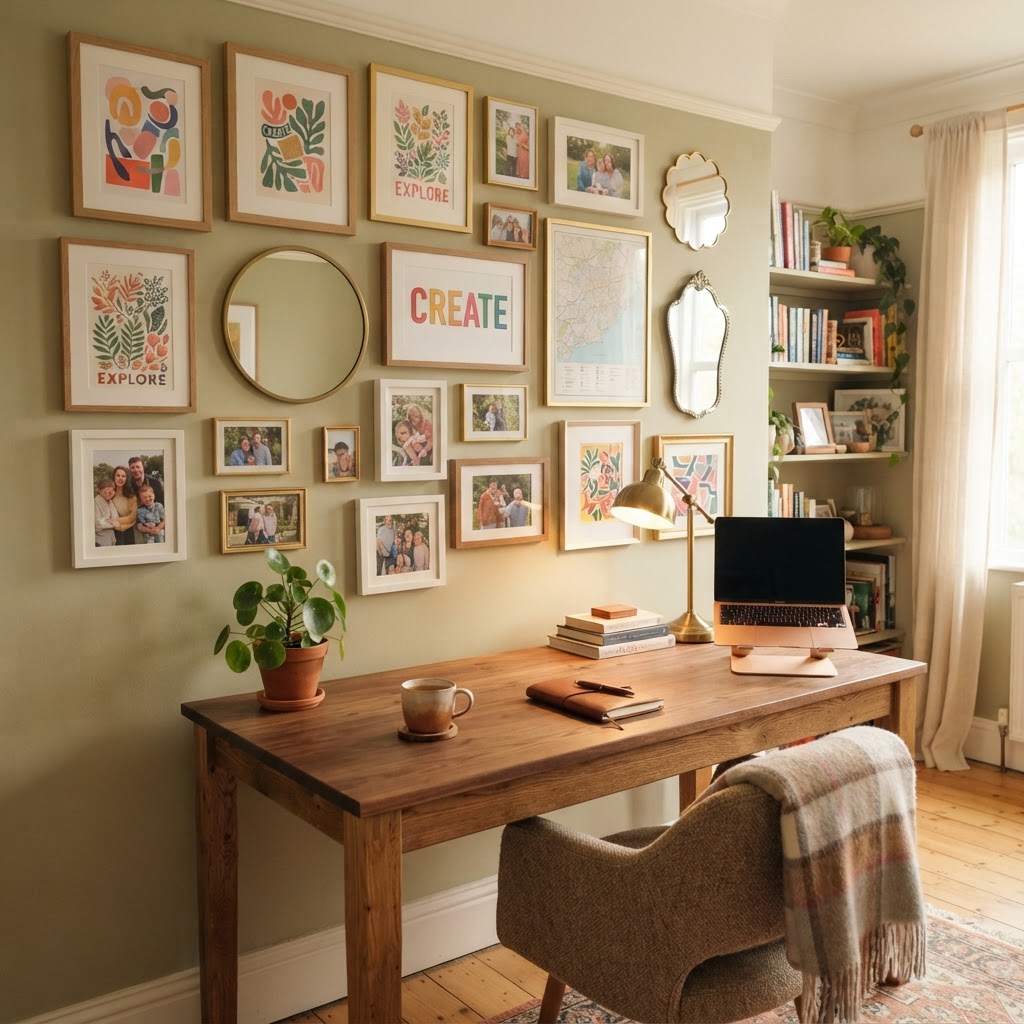
The golden rule of renting is to keep the walls pristine, and Command products are the ultimate lifesaver. These adhesive strips allow you to hang frames, canvases, and mirrors without a single hammer or drill bit. When planning your gallery wall, start by laying out your arrangement on the floor to ensure a balanced look before applying the adhesives to your wall.

Creating a Professional Gallery Wall

To achieve a polished look, focus on consistent frame spacing and cohesive color palettes. Use a mix of larger statement pieces and smaller photographs to add visual depth to your living area. Just remember to clean the wall surface thoroughly with rubbing alcohol before applying the strips to ensure maximum hold. This method is one of the most popular apartment decorating ideas for those who crave a permanent aesthetic without the permanent damage.

Upgrade Your Lighting with Floor Lamps
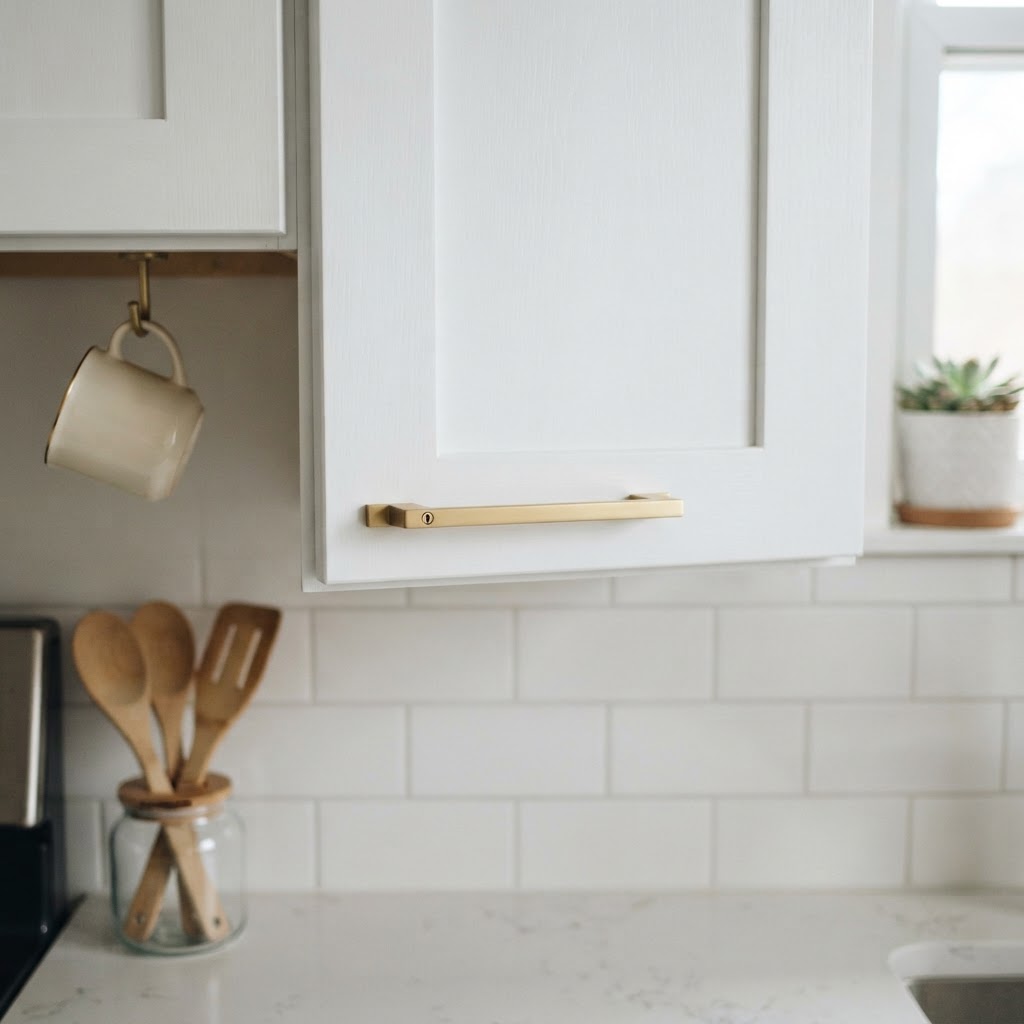
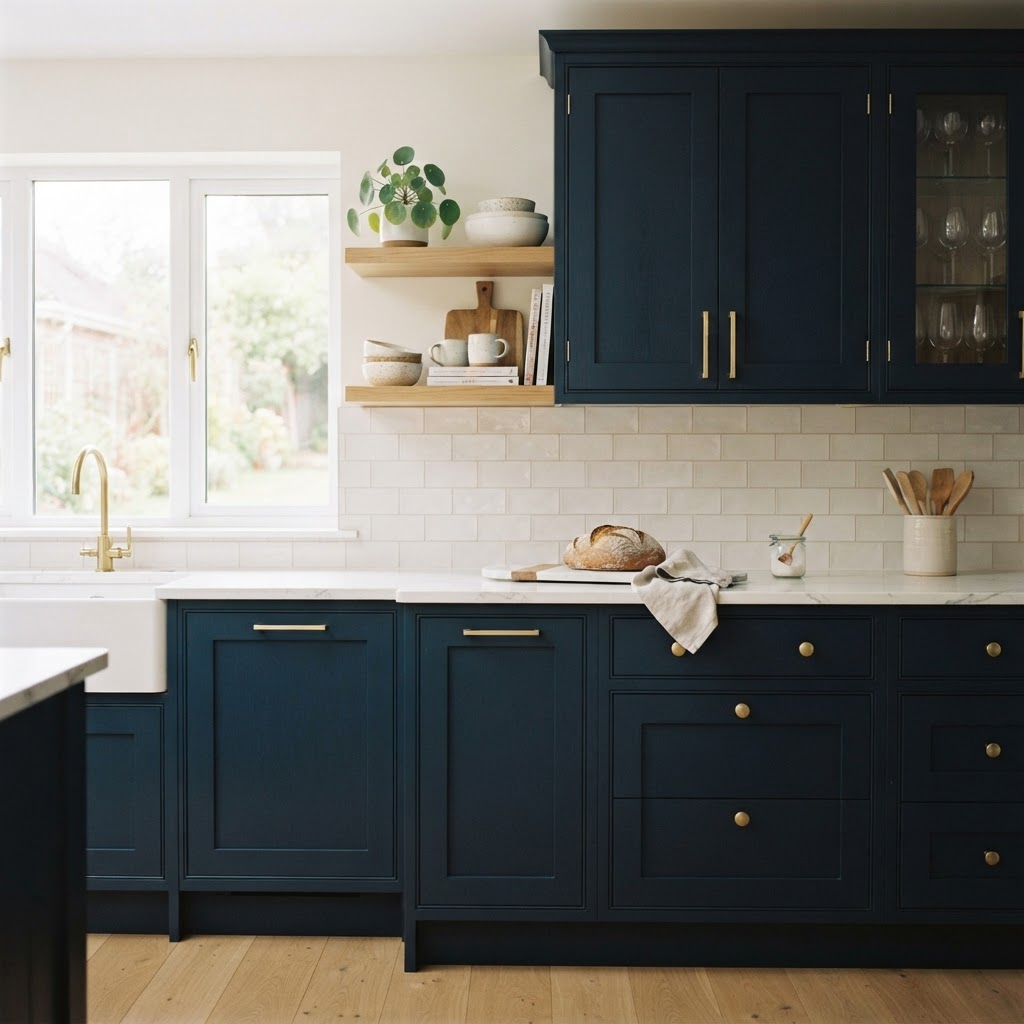
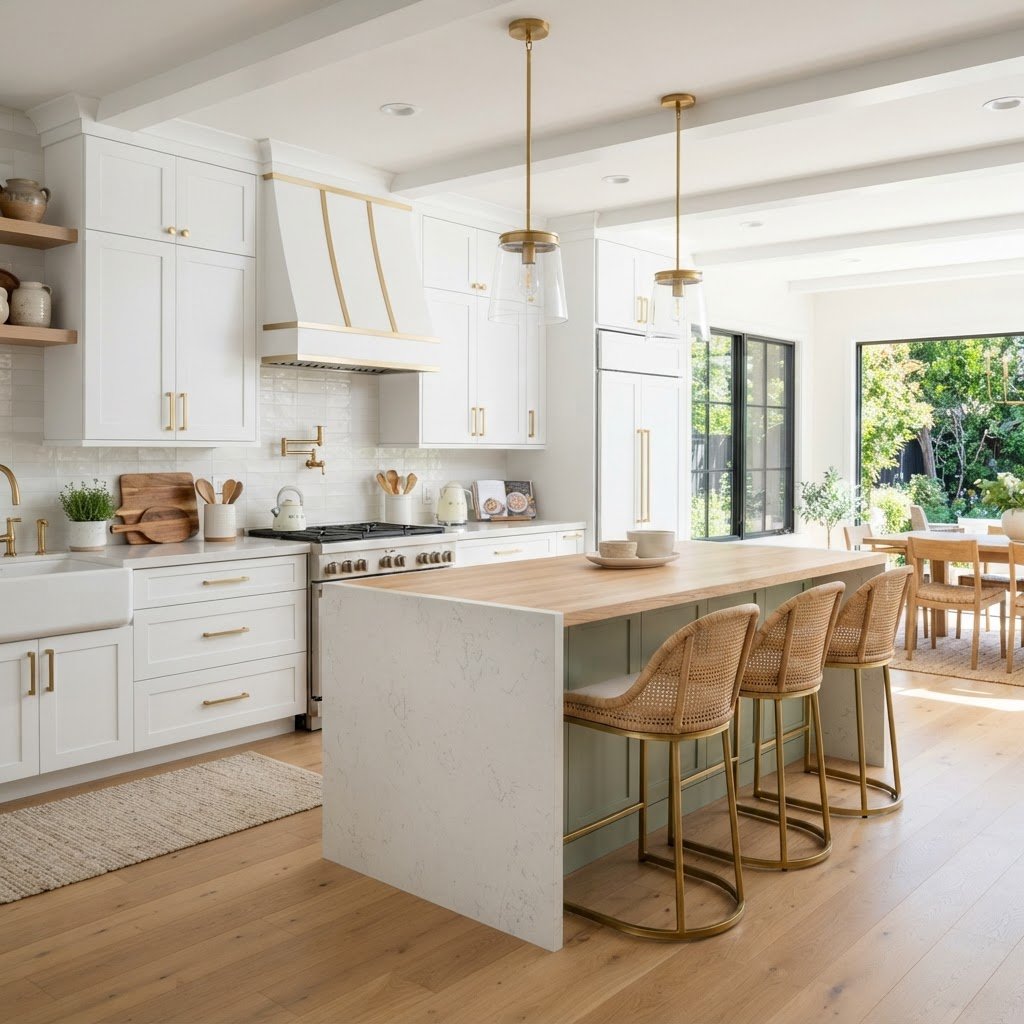
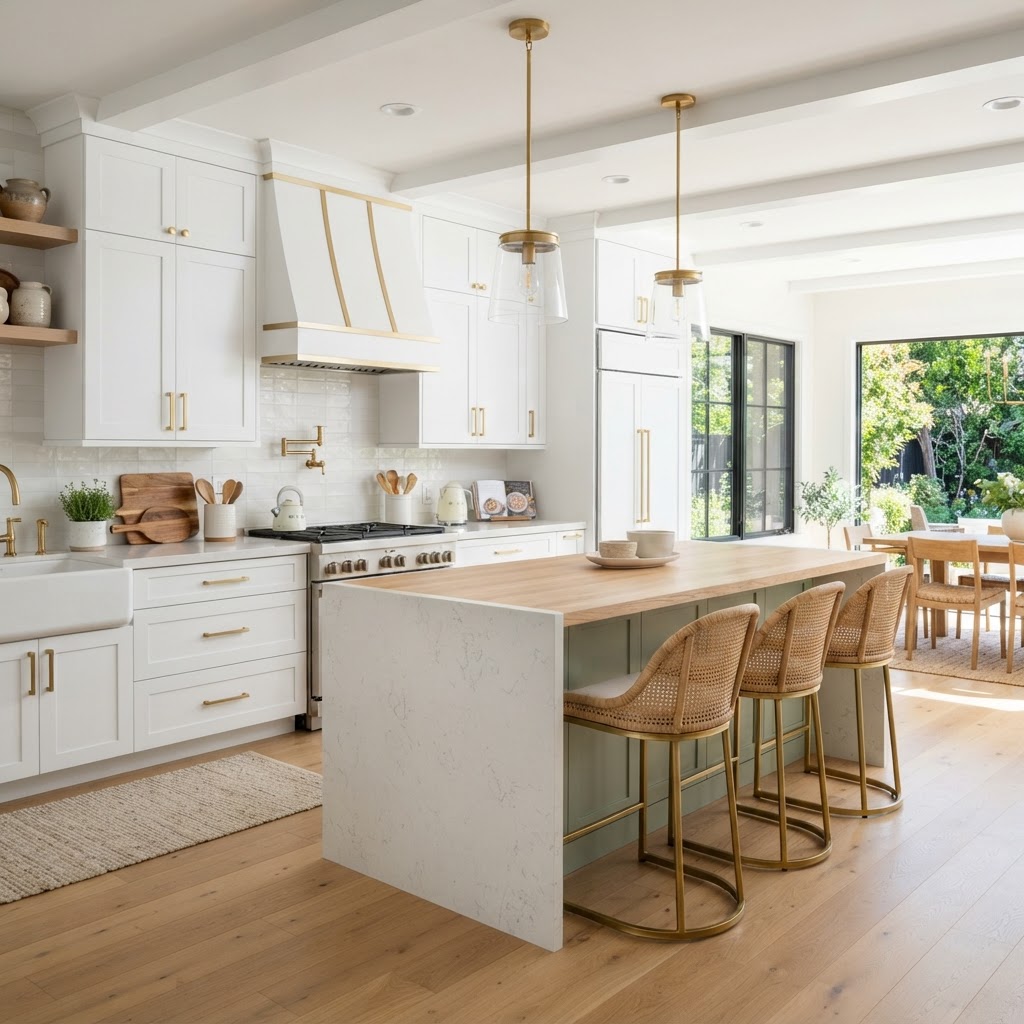
Swapping cabinet hardware is an easy way to upgrade your kitchen instantly.

Many apartments suffer from outdated or inadequate overhead lighting that casts a harsh, uninviting glow. Since you cannot rewire the unit, floor lamps are your best friend for ambient lighting. A stylish arc lamp can hang over your sofa to create a cozy reading nook, while task lamps provide focused light for workspaces. Layering different light sources creates a warm atmosphere that distracts from the plainness of rental ceilings.

Utilize Tension Rods for Window Treatments
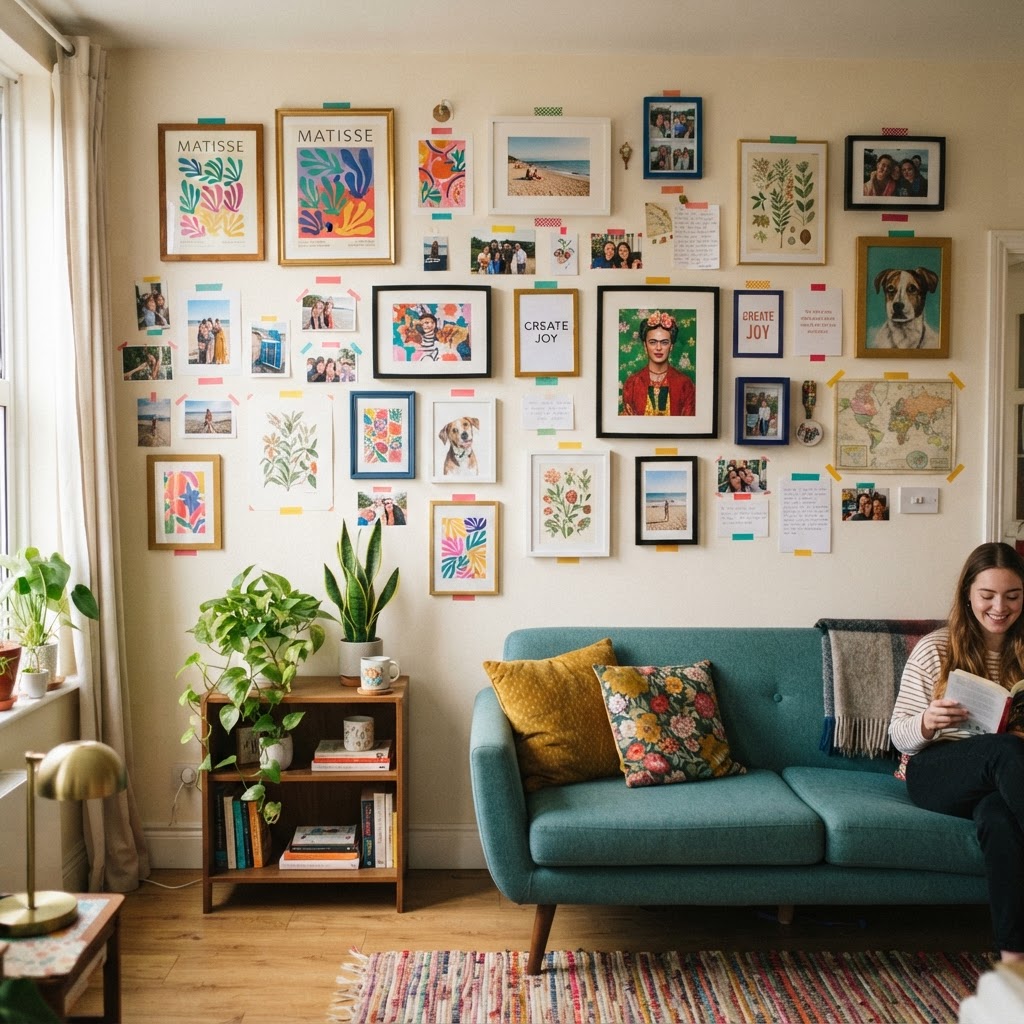
Use adhesive strips to design a gallery wall that is 100% rental friendly.

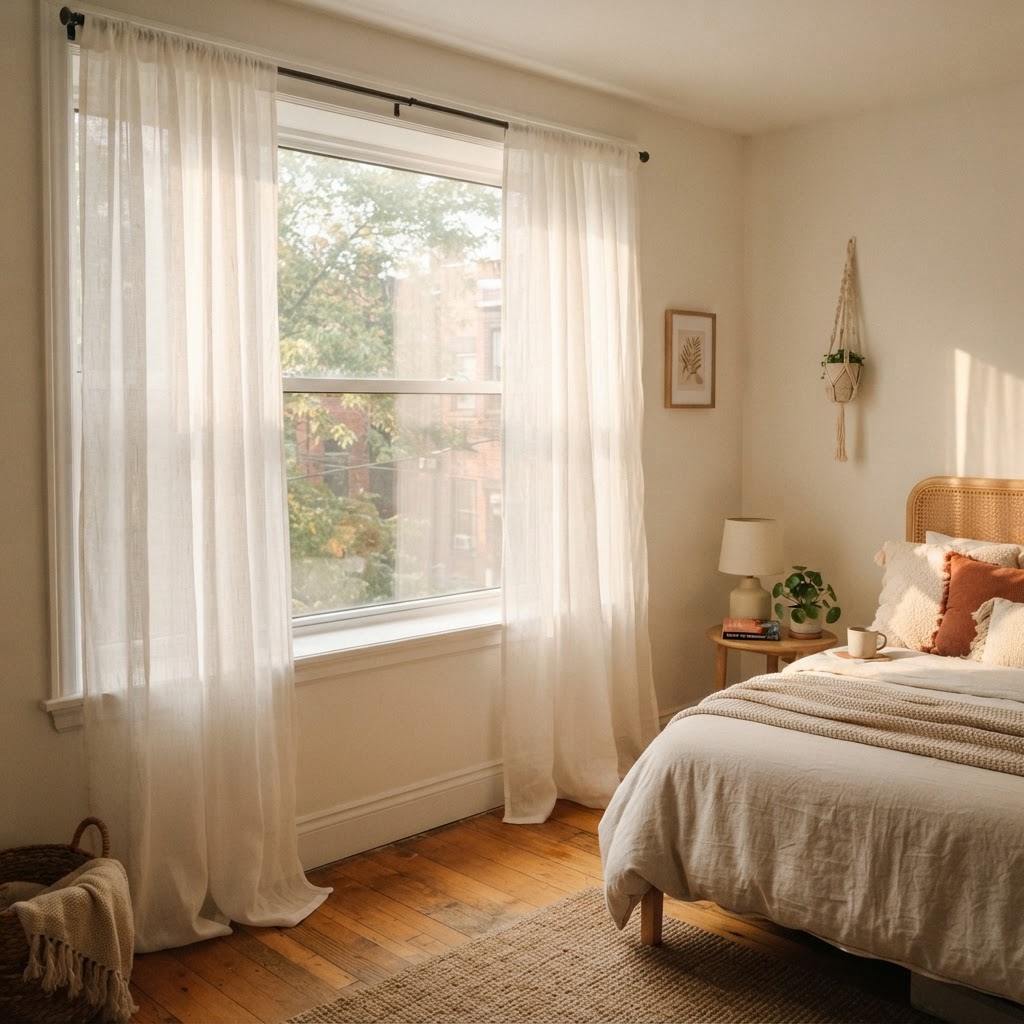
Drilling into window frames to install curtain rods is a major lease violation in most buildings. Tension rods offer a clever solution by fitting snugly inside the window casing using spring-loaded pressure. You can hang sheer curtains for privacy or heavy blackout drapes for better sleep quality. This is a simple, non-invasive way to add color and texture to your windows while making the ceilings appear higher.

Adhesive Wallpaper and Contact Paper
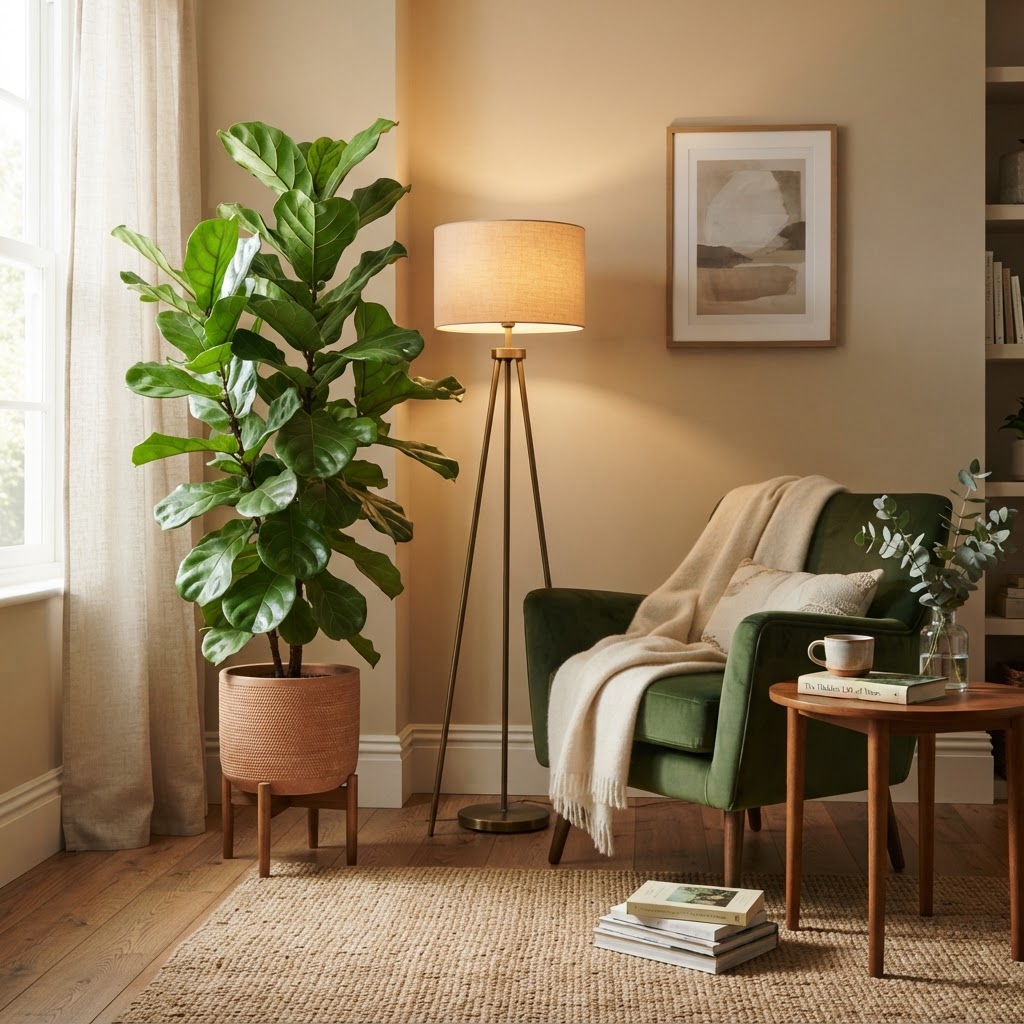
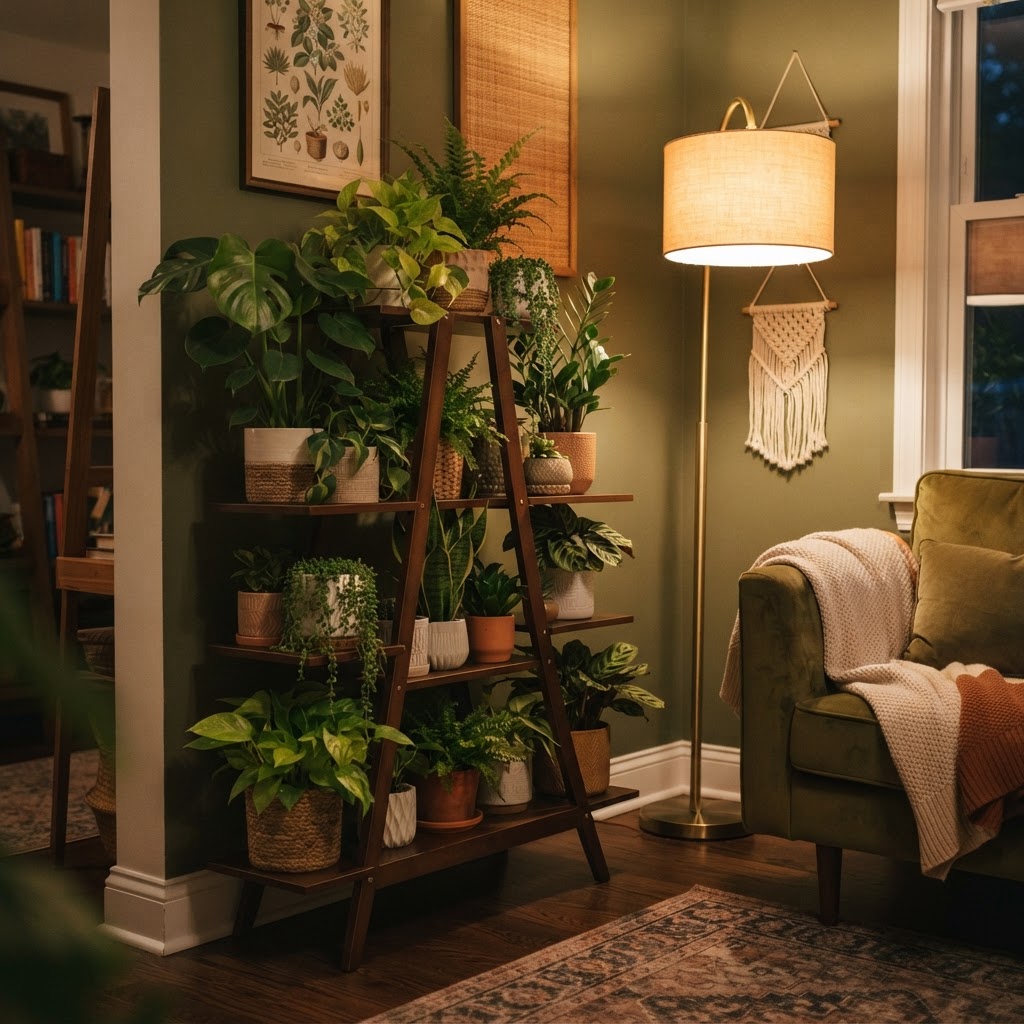
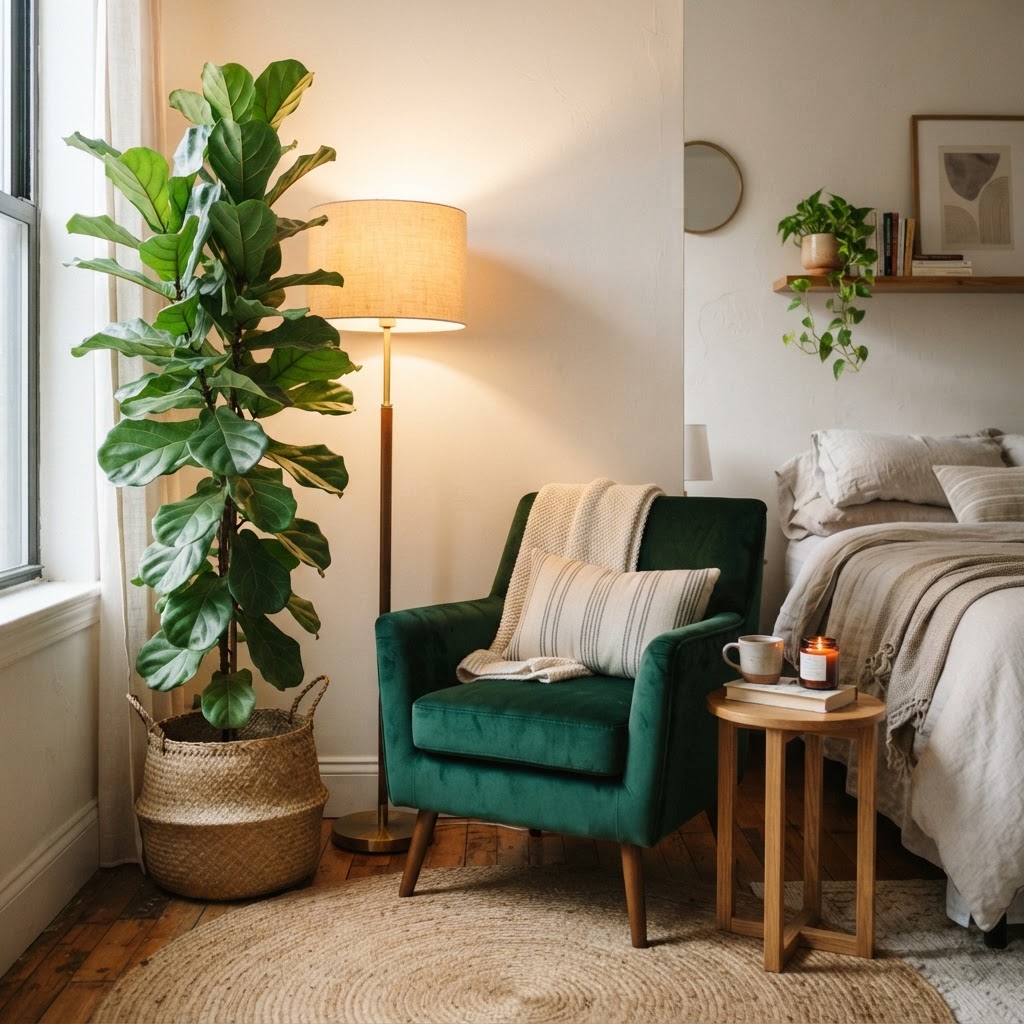
Large plants fill empty corners and bring life to any apartment interior.

If your kitchen cabinets look dated or your bathroom walls are drab, peel-and-stick wallpaper is your best friend. It comes in a variety of patterns and textures that can completely transform a room in an afternoon. Because the material is removable, you can easily strip it off when your lease is up. It is arguably the most impactful way to use no-drill wall decor to personalize your space.

Create Vertical Storage with Over-the-Door Solutions

Space is often limited in rentals, so going vertical is essential. Use over-the-door hooks for towels, robes, or bags to keep clutter off the floor. There are also high-quality, over-the-door shoe organizers that can be repurposed for pantry items or bathroom toiletries. By maximizing these unused spaces, you keep your surfaces clean and your floor clear, which makes any room feel significantly larger and more organized.

Swap Out Standard Cabinet Hardware

Sometimes the smallest changes yield the biggest results in a kitchen or bathroom. You can swap standard, builder-grade drawer pulls and cabinet knobs for modern alternatives that suit your style. Just be sure to keep the original hardware in a small Ziploc bag tucked away in a drawer. When you move out, simply screw the old knobs back on, and your landlord will never know the difference.

Incorporate Large-Scale Plants

Plants are living decor that can fill empty corners, add height to a room, and improve air quality. Since you don’t need to mount anything to the wall, you can use tall floor planters to create natural partitions between living and dining areas. A large Fiddle Leaf Fig or a classic Monstera acts as a focal point that draws the eye away from bland walls. This is one of those timeless apartment decorating ideas that breathes life into any environment.

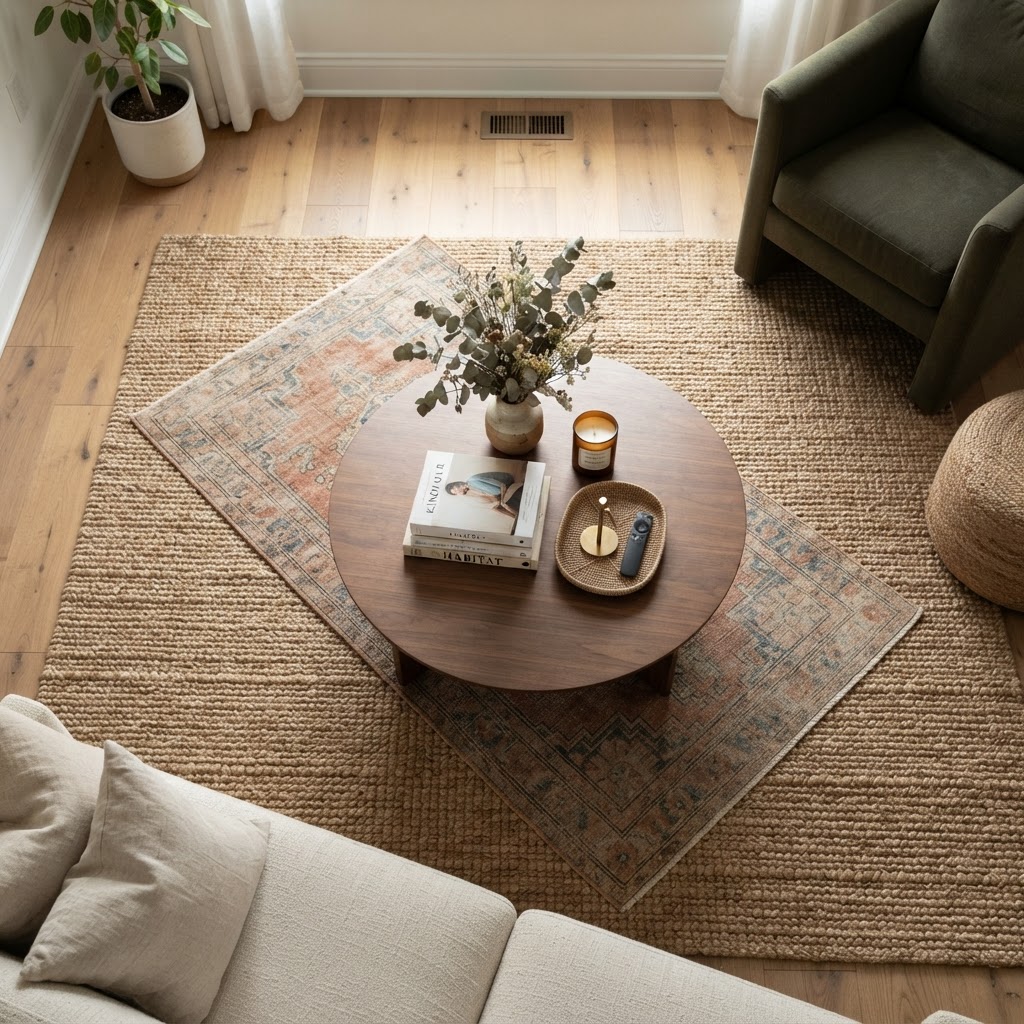
Use Rugs to Define Zones

Rental apartments often have boring carpet or outdated laminate flooring that you can’t replace. Large area rugs are the perfect tool to cover ugly floors while adding texture and warmth to your home. By choosing rugs with distinct patterns or colors, you can effectively “zone” your open-concept living area into dedicated spaces for dining, relaxing, and working. It anchors your furniture and keeps the room from feeling like a sterile, empty box.

Lean Your Mirrors and Art

Instead of hanging heavy mirrors, invest in large-scale floor mirrors that lean against the wall. A tall, leaning mirror not only adds a touch of elegance but also creates an optical illusion of extra square footage. Similarly, large art prints can be leaned against the wall on console tables or floating shelves, creating a relaxed, bohemian vibe that looks intentional and artistic.

Use Folding Screens for Privacy

If you live in a studio or need to create a private workspace within a shared bedroom, folding screens are a functional decor piece. They act as room dividers that don’t require any installation or construction. You can find screens made of rattan, wood, or fabric that complement your existing furniture. They are also excellent for hiding messy areas like laundry piles or gaming setups when guests are over.

Add Floating Shelves (The No-Drill Way)

Wait, didn’t we say no drilling? While traditional shelves require wall anchors, modern adhesive shelving technology has come a long way. You can purchase heavy-duty adhesive floating shelves that hold books and light decor items. Alternatively, use a sturdy bookcase against the wall and add baskets to the shelves to create a “built-in” look without touching the drywall.

Curate a Cozy Textile Collection

Sometimes, the best decorating strategy involves focusing on what you touch rather than what you look at. By layering plush throw blankets, decorative pillows, and soft area rugs, you create a tactile experience that makes a space feel high-end. Focus on varying fabrics like velvet, linen, and wool to add visual interest. Since textiles are portable, they are the perfect investment for a renter who plans to move in the future.

Conclusion

Decorating a rental shouldn’t feel like a compromise between your style and your security deposit. By focusing on smart, temporary solutions like adhesive products, floor-based storage, and clever textile choices, you can create a home that feels uniquely yours. Remember, the key to successful decorating without drilling is to choose items that are easily removable and versatile enough to move with you to your next home. Start by implementing one or two of these ideas this weekend and watch your apartment transform. Do you have a favorite damage-free hack? Share it in the comments below and start building the home you have always wanted today!
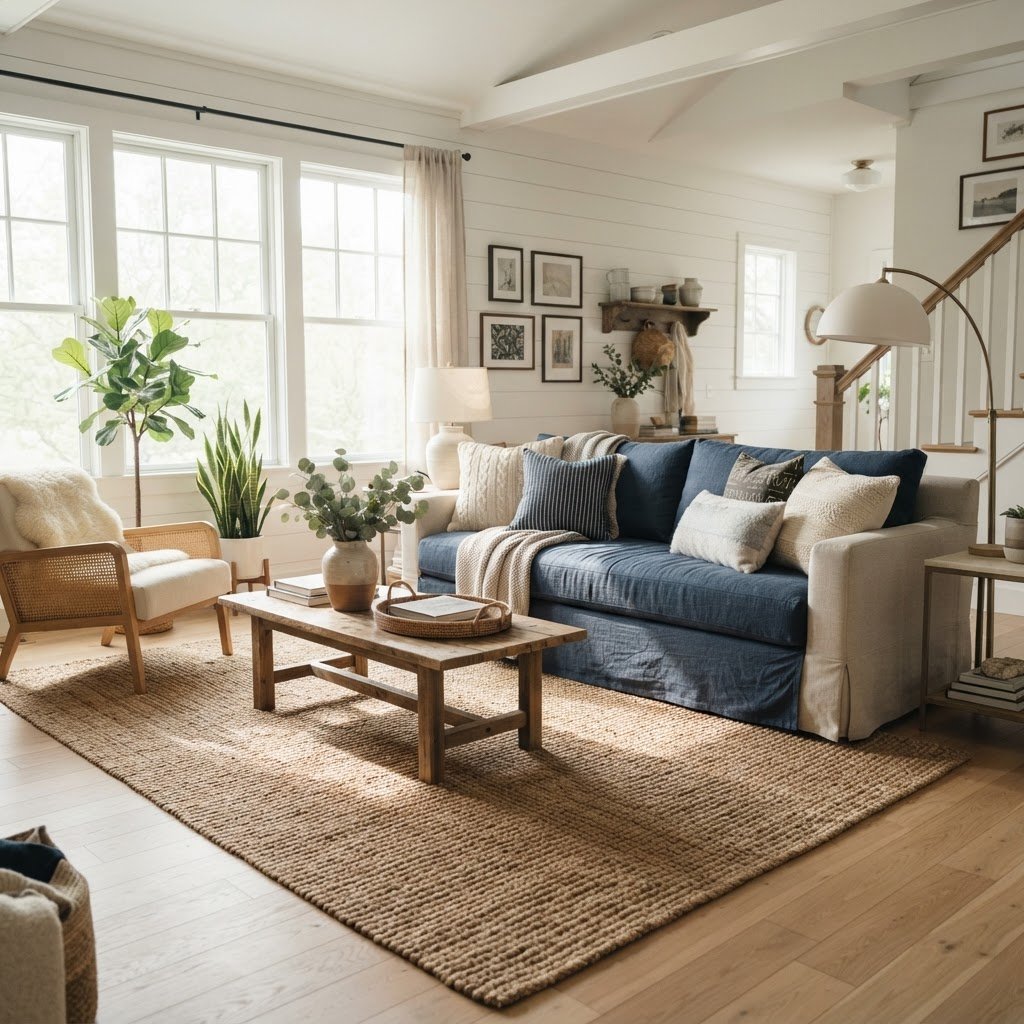
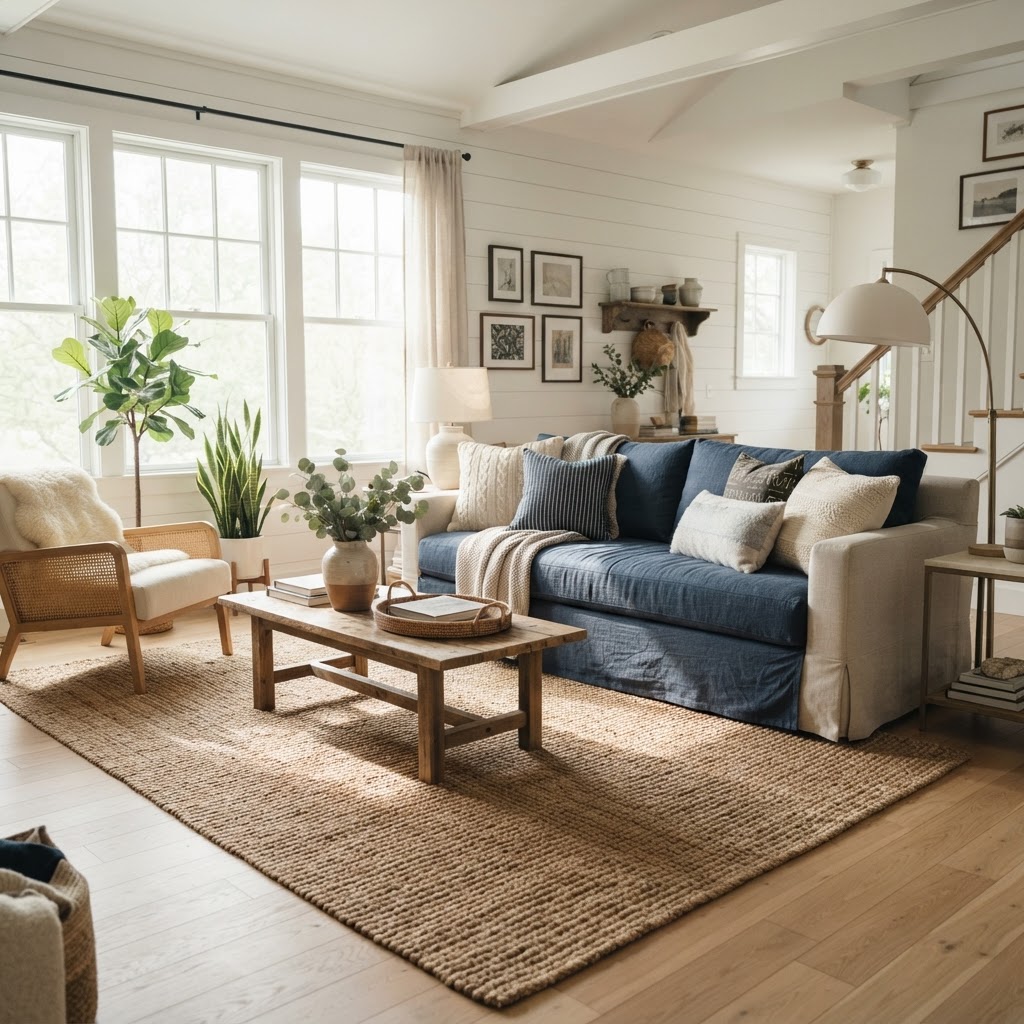
5 Fully Reversible Living Room Makeovers Under $100

Giving your home a fresh look doesn’t have to require a massive renovation or a permanent commitment. Whether you are living in a rental unit or just looking to experiment with your style, achieving fully reversible living room makeovers under $100 is entirely possible with a bit of creativity and strategic planning. By focusing on non-permanent solutions that won’t damage walls or floors, you can create a beautiful space that feels entirely new without forfeiting your security deposit or spending a fortune.

Understanding the Art of Reversible Design

Transform your furniture instantly with a stylish, removable slipcover.

Reversible design is all about prioritizing temporary aesthetic changes that can be removed as easily as they were installed. The goal is to focus on layers rather than structural changes. When you are looking for living room makeovers under $100, the secret lies in textiles, lighting, and temporary surface treatments that can easily be packed up when it is time to move or refresh the space again.

The Rules of Temporary Decorating

First, you must avoid anything that requires heavy-duty hardware or permanent adhesives. Instead, rely on tension rods, command strips, painter’s tape, and furniture-based styling. By using decor that stands on its own, you eliminate the risk of leaving behind marks, holes, or residues that can be expensive to repair later.

Why Budget-Friendly Matters

Spending less than $100 forces you to be resourceful, which often leads to more creative design choices. You stop relying on expensive store-bought furniture and start looking at how items can be repurposed. It pushes you to focus on the “big impact” areas, such as color palette and lighting, which dictate the mood of the room far more than expensive luxury items ever could.

Strategy 1: The Power of Textile Overlays

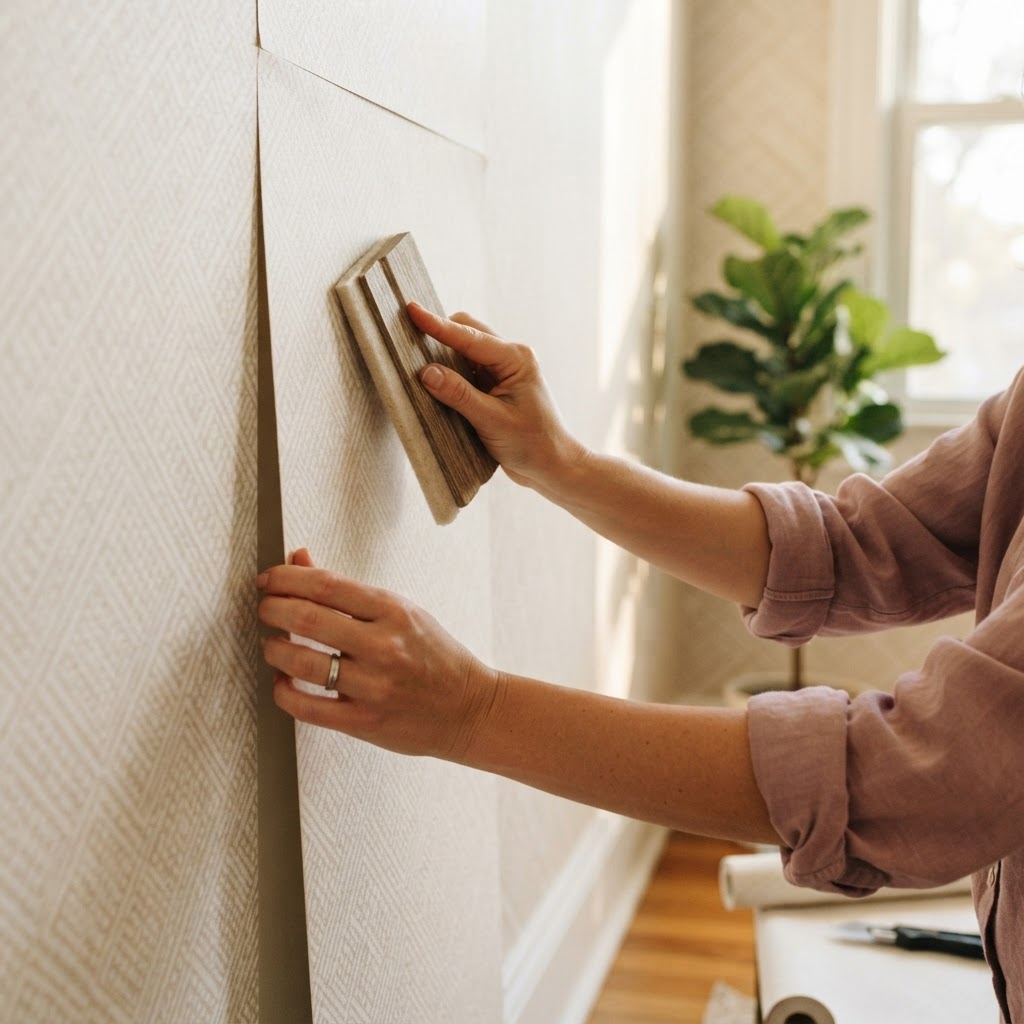
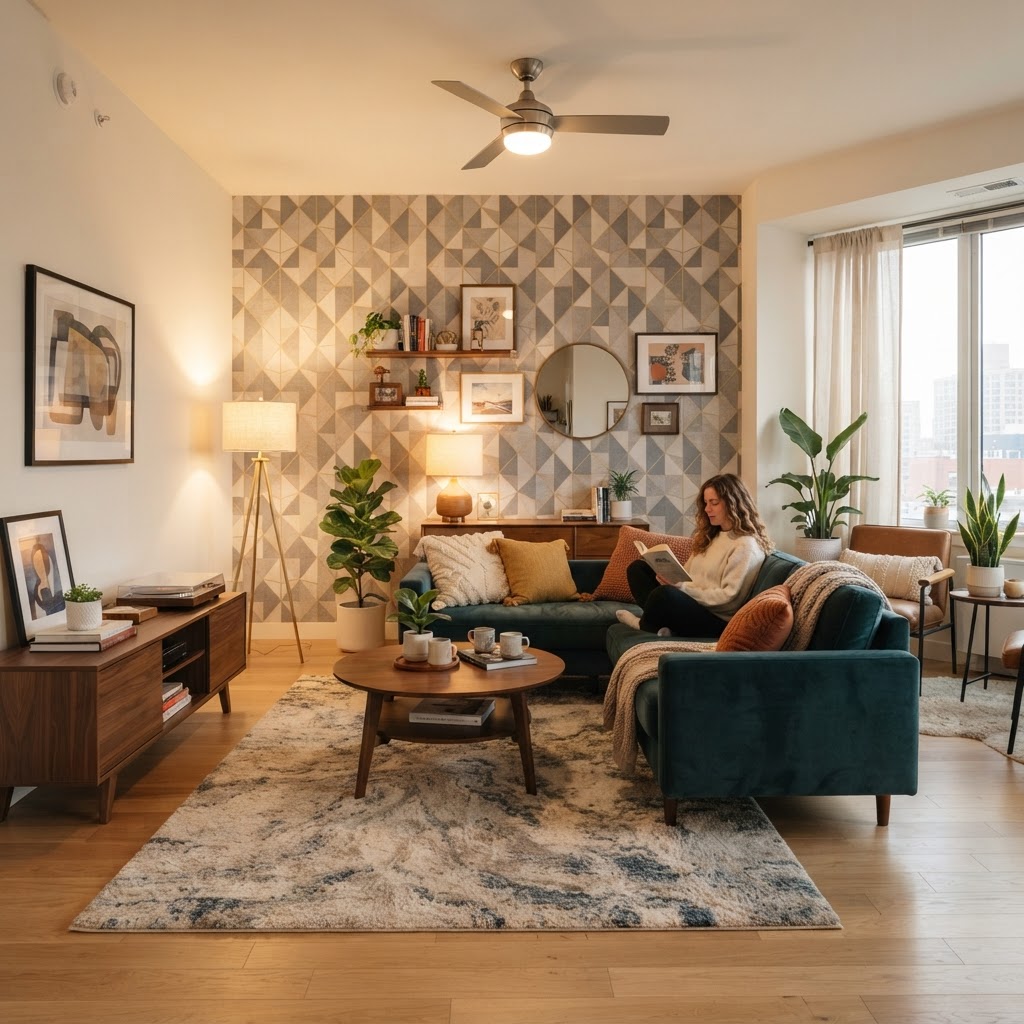
Peel-and-stick wallpaper is the ultimate renter-friendly decor hack.

One of the most effective ways to change the mood of a room is to alter the largest pieces of furniture without actually replacing them. For under $100, you can purchase high-quality slipcovers for your sofa or armchairs. A neutral-toned couch can be transformed into a moody, modern piece with a deep charcoal slipcover, or a light and airy sanctuary with a linen-colored cover.

Layering with throw blankets and accent pillows further reinforces this change. Look for patterned throw pillows that pick up colors from your slipcover to create a cohesive look. By purchasing covers instead of new furniture, you save thousands, and when you move, the slipcovers can go with you, leaving your original furniture exactly as it was.

Strategy 2: Temporary Wall Treatments

Strategic lighting and greenery instantly elevate the mood of any space.

Walls often feel like the biggest limitation, especially in rentals. However, you can achieve a massive shift in aesthetic through non-permanent wall decor. Peel-and-stick wallpaper is a game-changer for budget-conscious decorators. It is affordable, easy to apply, and can be peeled off without stripping paint when applied correctly to a primed surface.

Creating a Focal Point

Rather than doing a whole room, focus on a single accent wall behind your television or couch. A geometric print can modernize a dated room, while a subtle botanical pattern can bring warmth to a stark, white box. Combine this with framed art using “washi tape” to create a custom gallery wall that feels high-end but costs almost nothing to remove.

Strategy 3: Lighting and Ambiance Shifts

Lighting is frequently overlooked, yet it is the most crucial element in any professional interior design project. Harsh overhead lighting can make even the most beautiful room feel sterile. Under your $100 budget, you can source two or three floor lamps and table lamps that fit your aesthetic.

Focus on the “three-lamp rule”: ensure you have at least three sources of soft, warm light in your living room to create depth. Use smart bulbs that can change color temperatures to shift from a crisp morning workspace to a warm, cozy evening retreat. This adds personality and comfort to the room without requiring a single nail in the wall.

Strategy 4: The Magic of Rug Layering

Flooring is often the most neglected part of a room, but a large, budget-friendly area rug can anchor your furniture and cover up worn carpet or dated tiles. Look for flat-weave rugs that are durable and easy to clean. If you want a more luxurious feel, consider layering a smaller, plush faux-sheepskin rug over a larger, neutral jute rug.

This adds texture and visual interest. By using a rug pad, you ensure that the rug stays in place, protecting the floor underneath from scratches or furniture marks. This is one of the most reliable methods for living room makeovers under $100, as the rug acts as a portable foundation for your entire interior design layout.

Strategy 5: Styling and Curated Decor

Finally, the items you choose to display on your shelves and coffee table change the story of your home. Incorporate natural elements like indoor plants, which provide a major psychological boost and aesthetic upgrade. You can find beautiful pots that serve as decor pieces themselves.

Create “vignettes” on your surfaces—grouping items in odd numbers usually looks most professional. Place a tray on your coffee table to corral remote controls and coasters, adding a touch of organization to your new, stylish look. These small accessories are fully reversible, meaning you can pack them away in a single box when it is time to change your style or move out.

The Checklist for Your $100 Refresh

To help you stay on track, follow this budget breakdown for your project:

  1. Slipcovers (Universal fit): $40
  2. Peel-and-stick wallpaper (1-2 rolls): $25
  3. Warm LED floor lamp: $20
  4. Decorative tray and small plants: $15

Total: $100

This simple shopping list provides the essential building blocks for a completely transformed aesthetic that feels intentional, cohesive, and entirely your own.

Conclusion

Achieving stunning living room makeovers under $100 is not about having a large budget; it is about having a vision and the right techniques to execute it. By focusing on slipcovers, wall treatments, lighting, rugs, and thoughtful accessories, you can create a space that reflects your personality without violating your lease. Start your transformation this weekend—pick one of these strategies and see how quickly your living room begins to feel like a high-end designer space. Which area of your living room will you tackle first?

How to Make a Small Bathroom Feel Organized and Aesthetic

Designing a functional yet beautiful room can be a challenge, but learning how to make a small bathroom feel organized and aesthetic is entirely possible with the right approach. Whether you are dealing with a cramped apartment washroom or a tiny guest bath, the key lies in balancing clever storage solutions with thoughtful design choices. By maximizing vertical space and keeping surfaces clear, you can transform a chaotic room into a serene, spa-like sanctuary that feels much larger than it actually is.

The Philosophy of Small Space Design

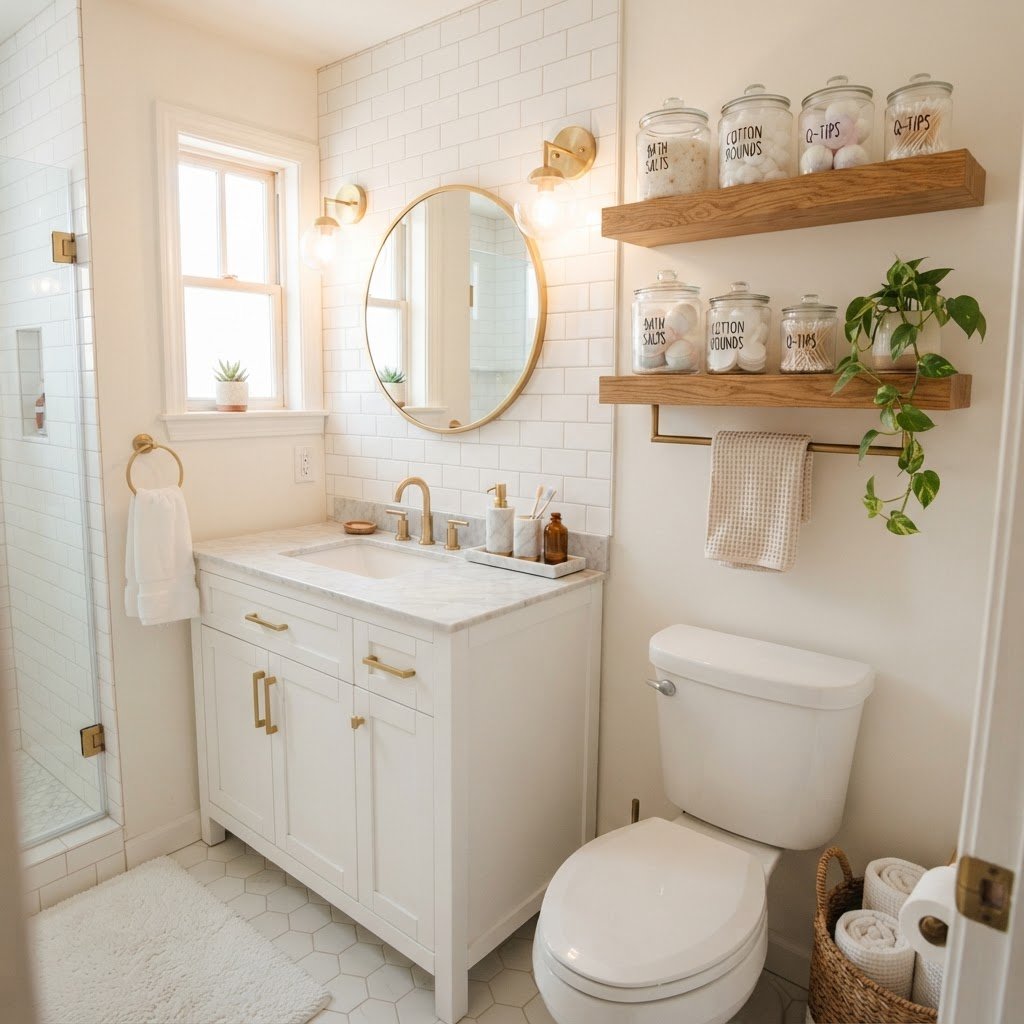
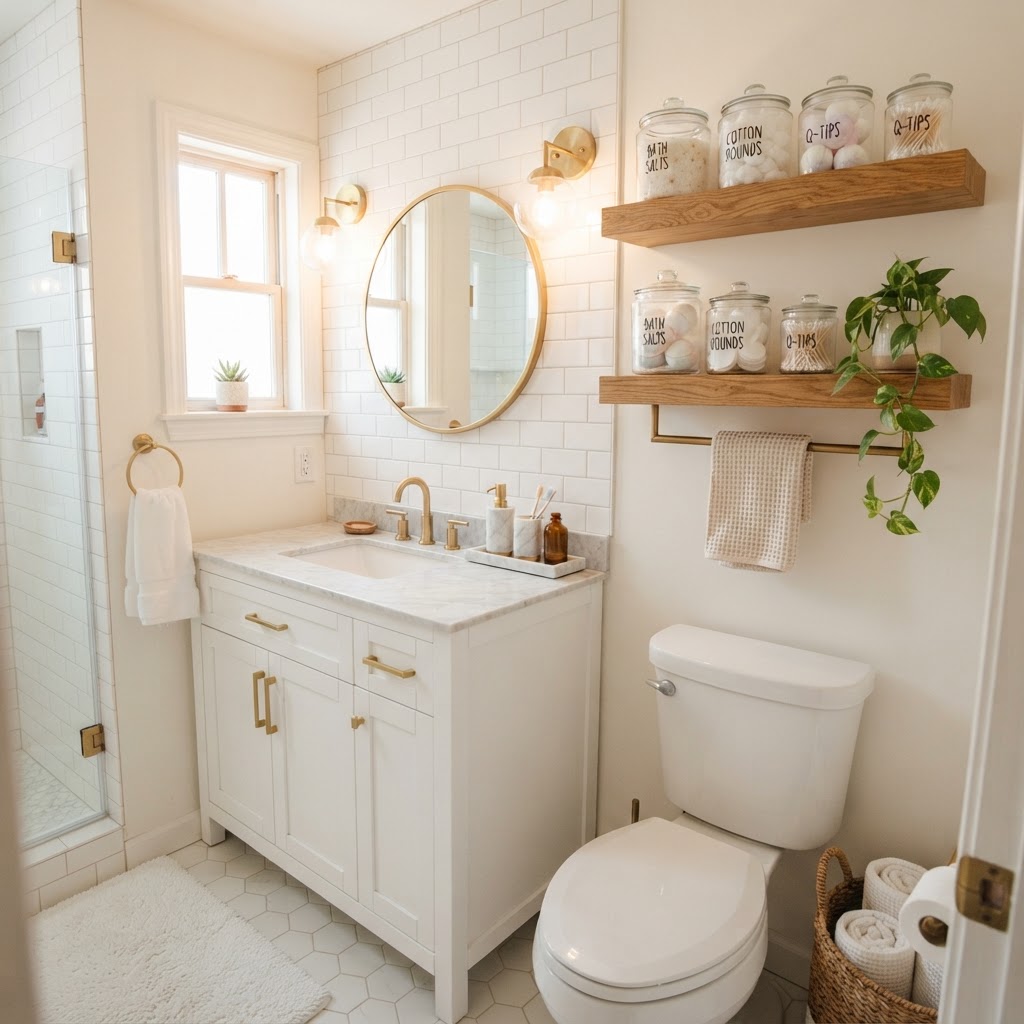
Maximize vertical space with floating shelves and uniform containers.

When you are working with limited square footage, every inch counts. The primary goal of small bathroom organization is to ensure that everything has a home, preventing the countertop clutter that makes a room feel suffocating. Minimalism is your best friend here; the less “visual noise” you have, the more expansive the room will feel.

Focus on a cohesive color palette, preferably light and neutral tones, to reflect light and create an airy atmosphere. A monochromatic look helps the eye move seamlessly around the space without hitting harsh interruptions, which is a classic trick used by professional interior designers to maximize the perceived size of a room.

Maximizing Your Vertical Storage Potential

Recessed cabinets and light colors make small spaces feel bigger.

One of the most effective ways to reclaim floor space is to look up. If you aren’t utilizing your walls, you are losing valuable storage opportunities. Installing floating shelves above the toilet or vanity is a simple yet impactful way to store essentials like rolled towels, plants, or decorative apothecary jars.

Choosing the Right Shelving

When selecting shelves, aim for materials that blend with your wall color to make them feel integrated rather than stuck on. Glass or acrylic shelves are excellent for this because they offer storage without adding visual weight to the room, keeping the aesthetic light and open.

Hooks and Rails

Don’t forget the back of the door or unused wall space for towel hooks or a slim rail system. These are far more efficient than bulky towel bars, which take up significant wall space and often lead to damp towels being piled on the floor. Adding a set of matte black or brushed gold hooks can also serve as an aesthetic detail that elevates the overall look of the room.

Clever Hidden Storage Solutions

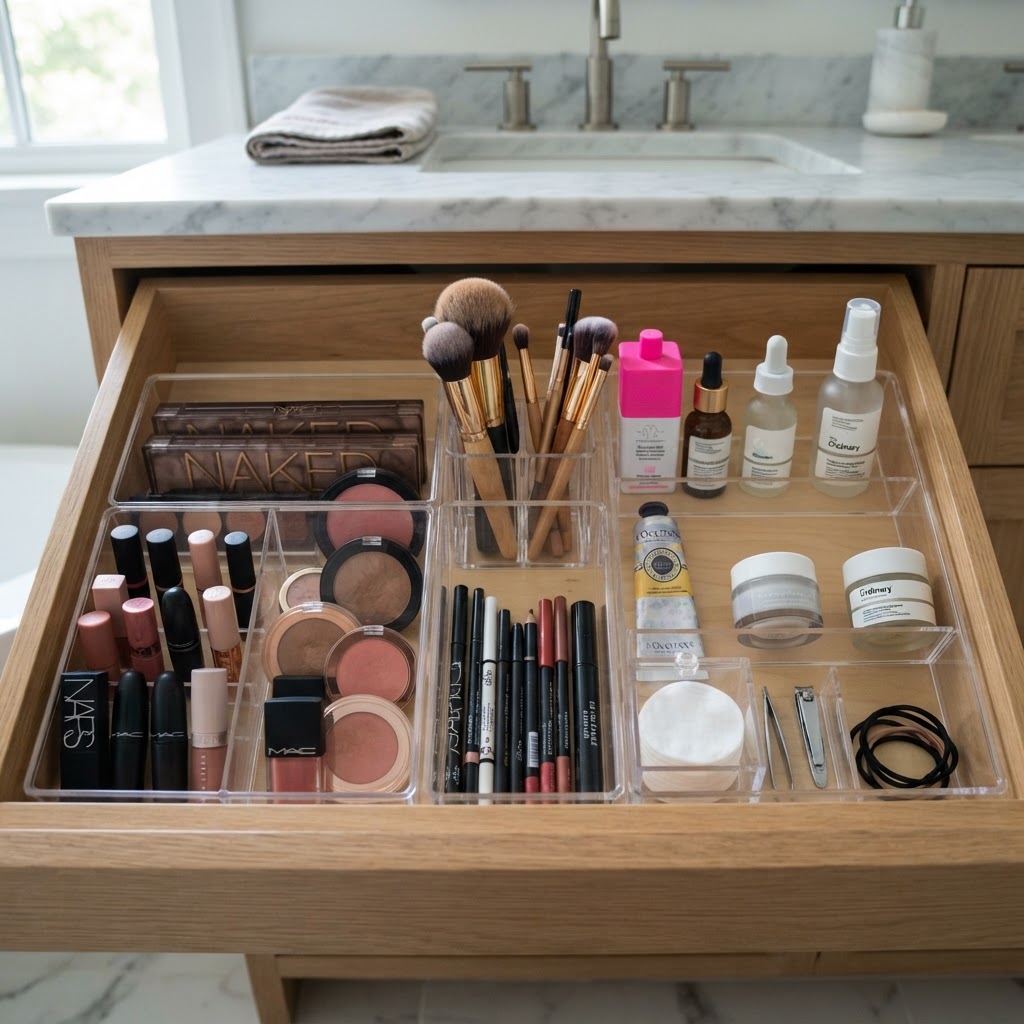
Drawer dividers are essential for keeping small items from cluttering surfaces.

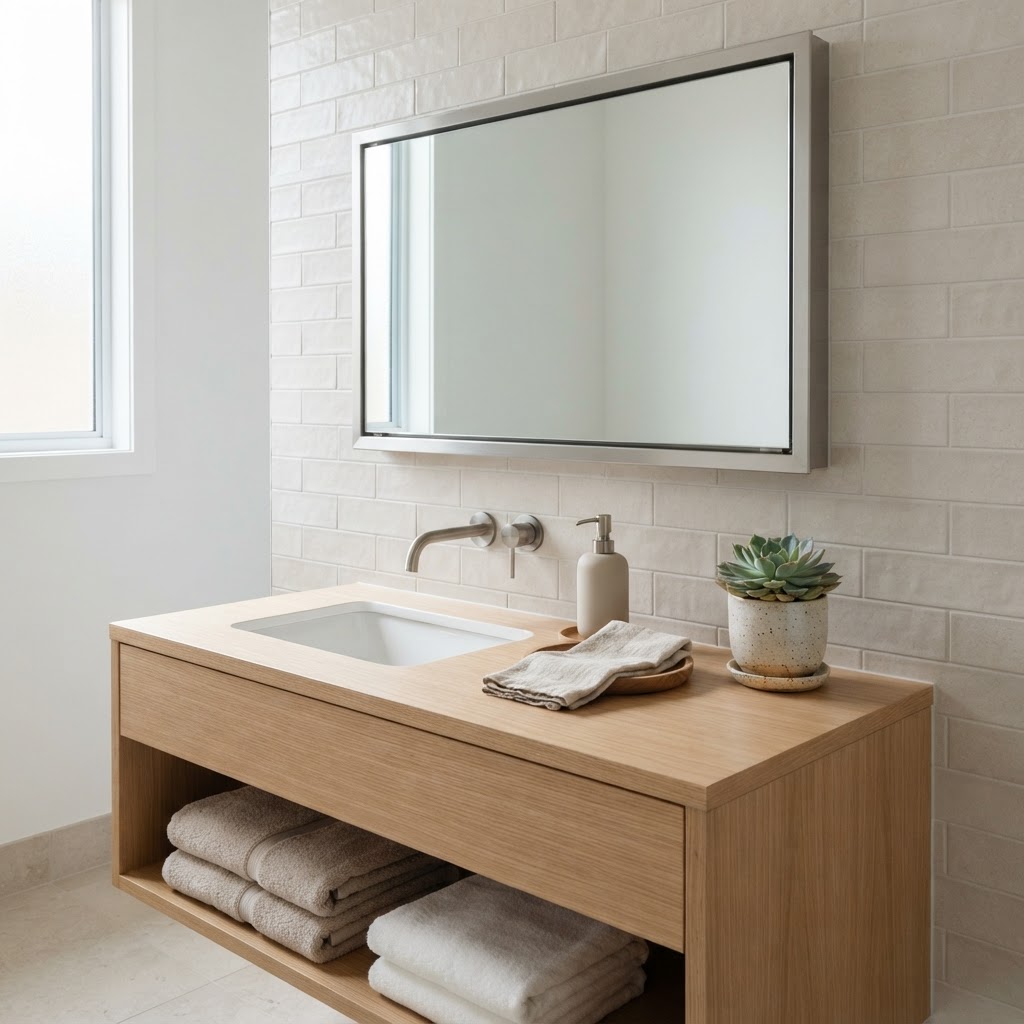
If you want your room to look truly curated, hidden storage is essential. The best small bathroom organization is the kind that keeps personal items out of sight. A recessed medicine cabinet is a superior choice over a surface-mounted mirror because it sits flush with the wall, providing hidden depth for toiletries while maintaining a clean, modern aesthetic.

Under-sink storage is often underutilized or misused. Instead of tossing bottles into a deep, dark cabinet, invest in clear acrylic pull-out drawers or lazy Susans. These tools allow you to see exactly what you have at a glance, preventing the accumulation of expired products that often clutter cabinets.

Creating an Aesthetic Through Cohesion

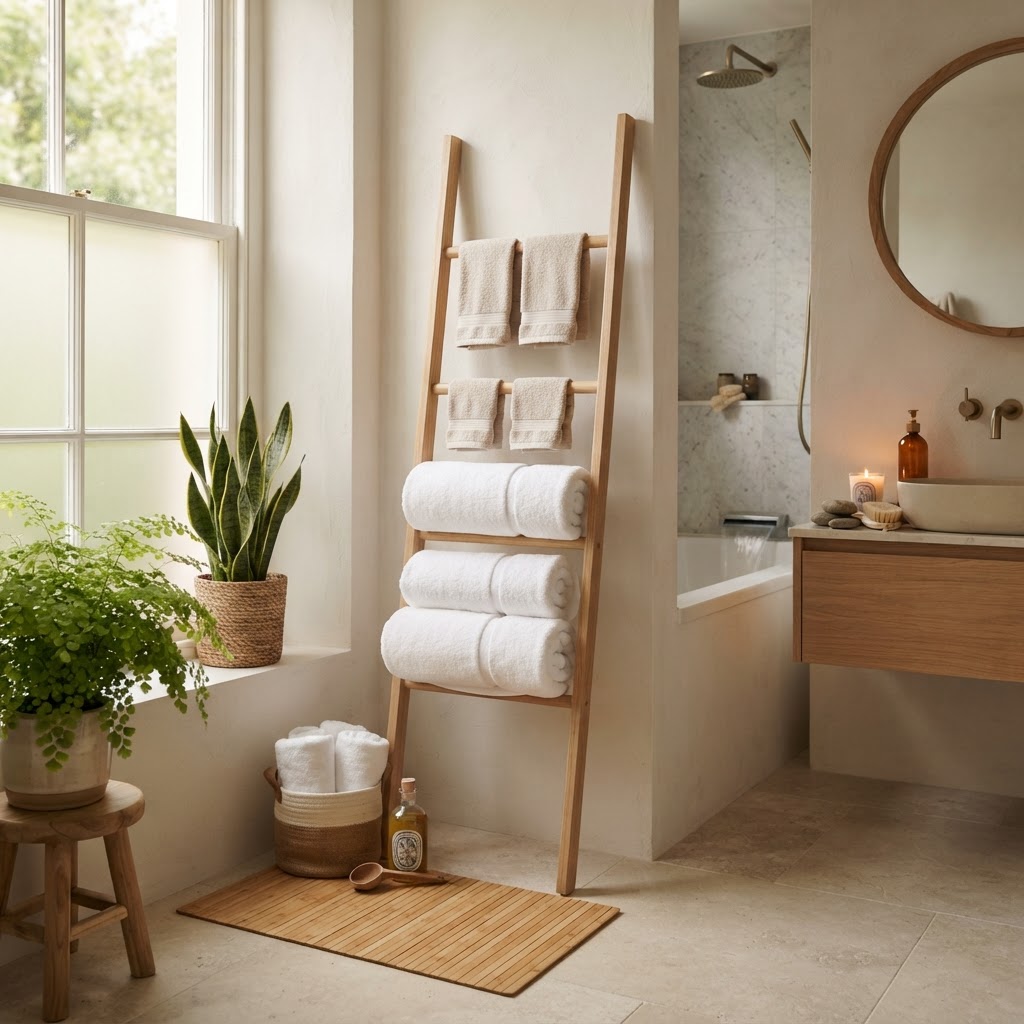
Add warmth and texture with bamboo and plush textiles to enhance the aesthetic.

To make a small bathroom feel aesthetic, you need to curate your accessories. Replace mismatched plastic soap dispensers and cluttered toiletry packaging with uniform containers. Glass pump bottles, bamboo organizers, and ceramic trays create a high-end, hotel-like vibe that instantly makes a small space look more expensive and intentional.

The Power of Textiles

Your choice of textiles can either make or break the design. Opt for plush, high-quality towels in a single color that complements your scheme. A high-quality bath mat not only provides comfort but also acts as a visual anchor, grounding the room. When everything is coordinated, the room feels organized, even if it is physically small.

Lighting and Mirrors as Tools of Illusion

Lighting plays a massive role in how we perceive space. In a small bathroom, you should aim for layers of light rather than a single harsh overhead fixture. Wall sconces placed at eye level on either side of the mirror provide flattering illumination and help expand the space by drawing the eye horizontally.

Mirrors are the oldest trick in the book, but they remain the most effective. A large mirror—or even a wall of mirrors—doubles the light in the room and creates a sense of infinite depth. Choosing a frame that reflects your style, whether it is a thin gold rim or a rustic wood frame, can add a significant decorative touch without sacrificing space.

Routine Decluttering and Maintenance

Even the best storage system will fail if it isn’t maintained. Make it a habit to audit your bathroom cabinets every season. Throw away empty bottles, expired medicine, and products you no longer use. The more you keep, the harder it will be to keep the space organized.

The ‘One In, One Out’ Rule

To prevent clutter from creeping back in, adopt a simple rule: every time you bring a new product into the bathroom, one old product must leave. This keeps your inventory manageable and ensures your small bathroom organization remains functional year-round.

Essential Bathroom Organization Checklist

To keep yourself on track, use this checklist for maintaining your small space:

  • Clear off the countertops daily for a ‘fresh start’ feeling.
  • Use labels on baskets to keep items categorized.
  • Utilize drawer dividers for small tools like makeup brushes or grooming kits.
  • Keep cleaning supplies in a designated, easily accessible bin.
  • Rotate seasonal decor to keep the aesthetic feeling fresh.

Why Less Really Is More

Ultimately, learning how to make a small bathroom feel organized and aesthetic is about making conscious choices about what you keep and how you display it. By investing in multi-functional furniture, utilizing vertical space, and committing to regular decluttering, you can turn your cramped room into a beautiful, functional retreat. A small space does not mean you have to sacrifice style or comfort; it simply requires a more disciplined and creative design approach.

Conclusion

Designing a bathroom that is both organized and aesthetic is a journey of refinement. By prioritizing clean lines, smart storage, and cohesive decor, you can transform your small bathroom into a room you genuinely enjoy spending time in. Remember, the goal isn’t just to hide clutter, but to create a space that inspires peace and relaxation. Start small by tackling one drawer or shelf today and notice how much lighter your space feels once you eliminate the excess. Do you have a favorite storage hack for your own home? Share it with us in the comments below and start your bathroom makeover this weekend!

8 Affordable Lighting Upgrades That Transform a Rental

Living in a rental property often means dealing with sterile, generic overhead lighting that does little to create a cozy atmosphere. Fortunately, you do not need to perform major electrical work to change the look and feel of your home. By implementing a few affordable lighting upgrades that transform a rental, you can add personality, warmth, and function to your space while ensuring everything remains completely reversible for when you eventually move out.

The Power of Layered Lighting

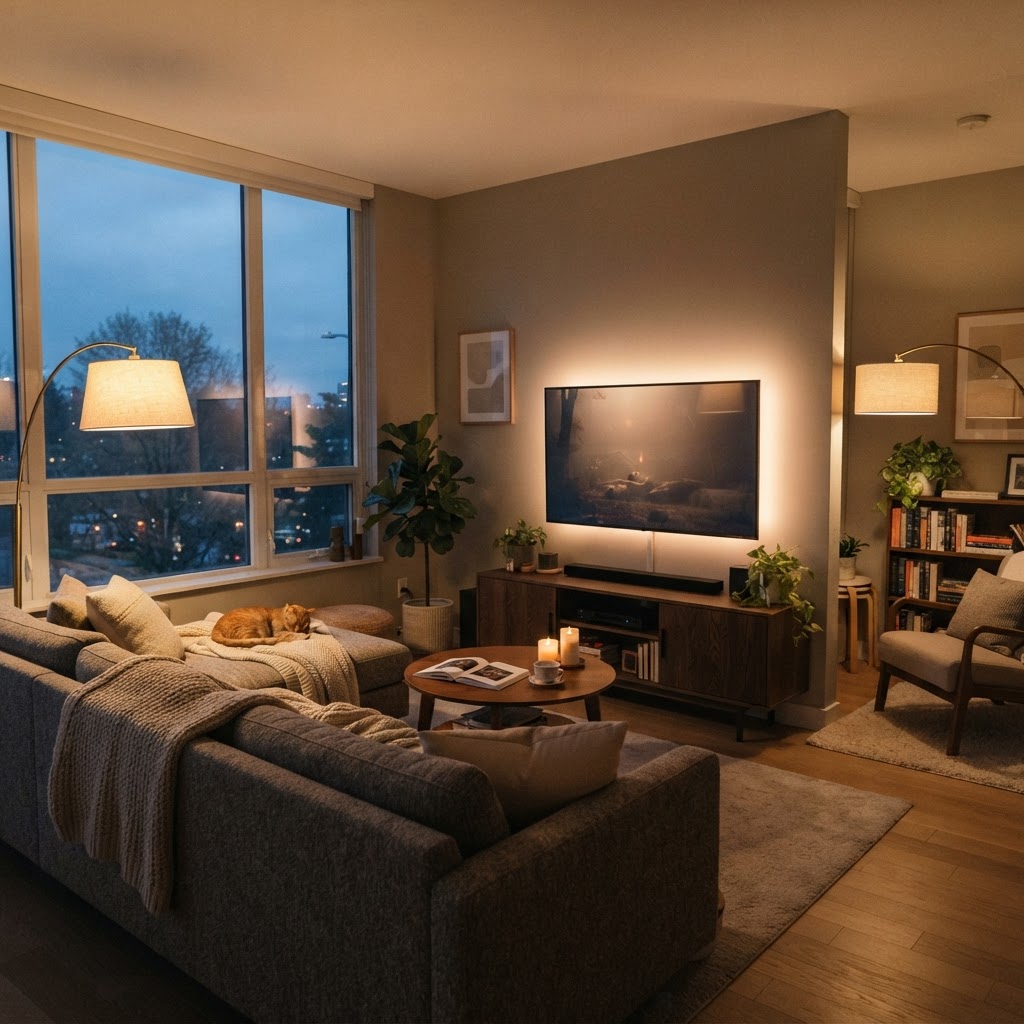
Layering floor lamps creates a cozy atmosphere.

Most rentals suffer from a lack of light layering, which results in a harsh, flat environment. To change this, you need to incorporate three types of illumination: ambient, task, and accent lighting. Ambient lighting provides general illumination, task lighting helps you focus on specific activities, and accent lighting highlights decor or architectural features.

Focusing on these layers allows you to control the mood of each room independently. Even without hardwiring new fixtures, you can achieve this by plugging in multiple sources throughout the room. Start by assessing where your current light falls short and prioritize those dark corners first.

Swapping Out Basic Light Bulbs

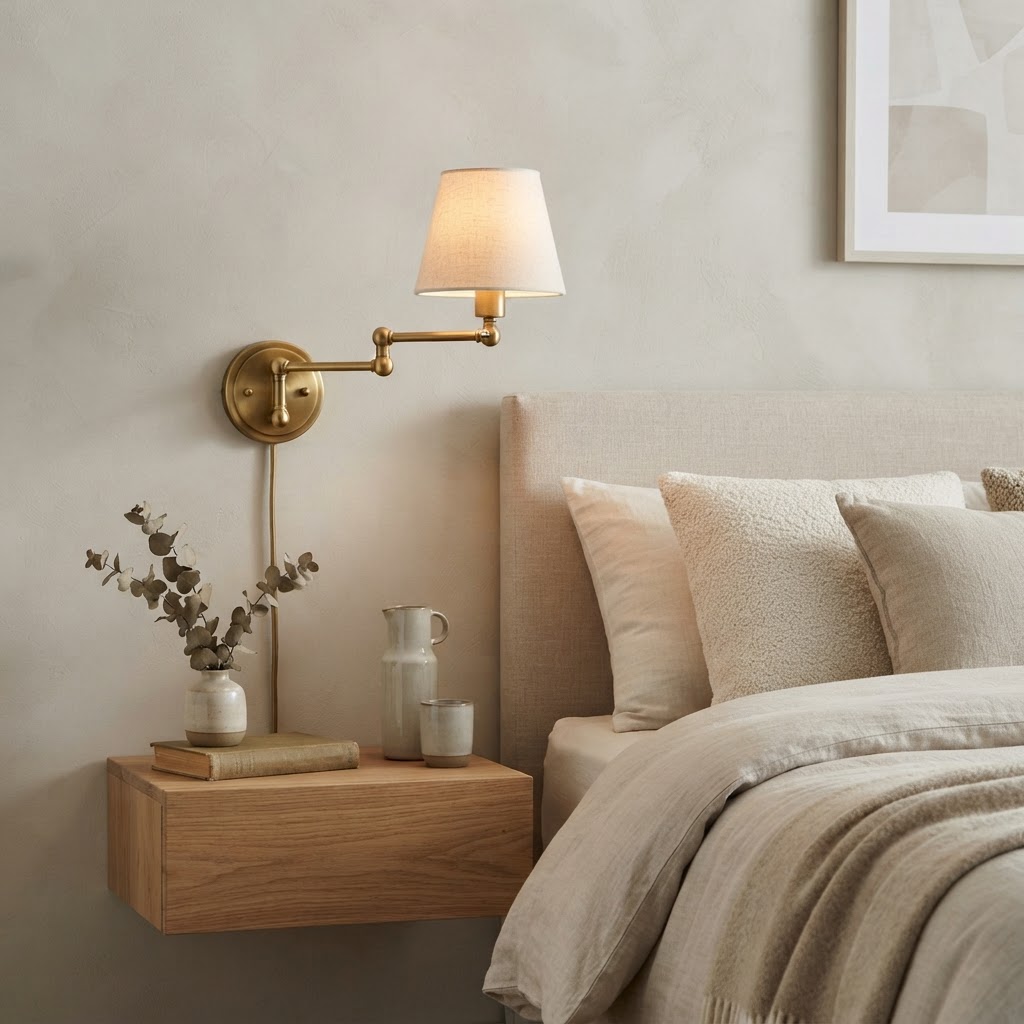
Plug-in sconces add sophistication to any bedroom.

The quickest and most cost-effective way to change your space is to replace the standard, cool-toned bulbs provided by your landlord. Many rentals come with harsh 5000K daylight bulbs that can make a living room feel like a sterile office. Switching to warm white bulbs, typically in the 2700K to 3000K range, immediately creates a softer, more inviting glow that mimics candlelight.

Why Color Temperature Matters

Color temperature is measured in Kelvin, and it dictates the “vibe” of the light. Lower numbers yield warmer, yellow-orange light, while higher numbers produce cooler, blueish light. By standardizing your bulbs throughout your apartment, you create a cohesive visual flow that makes smaller spaces feel larger and more intentional.

Utilizing Plug-In Sconces

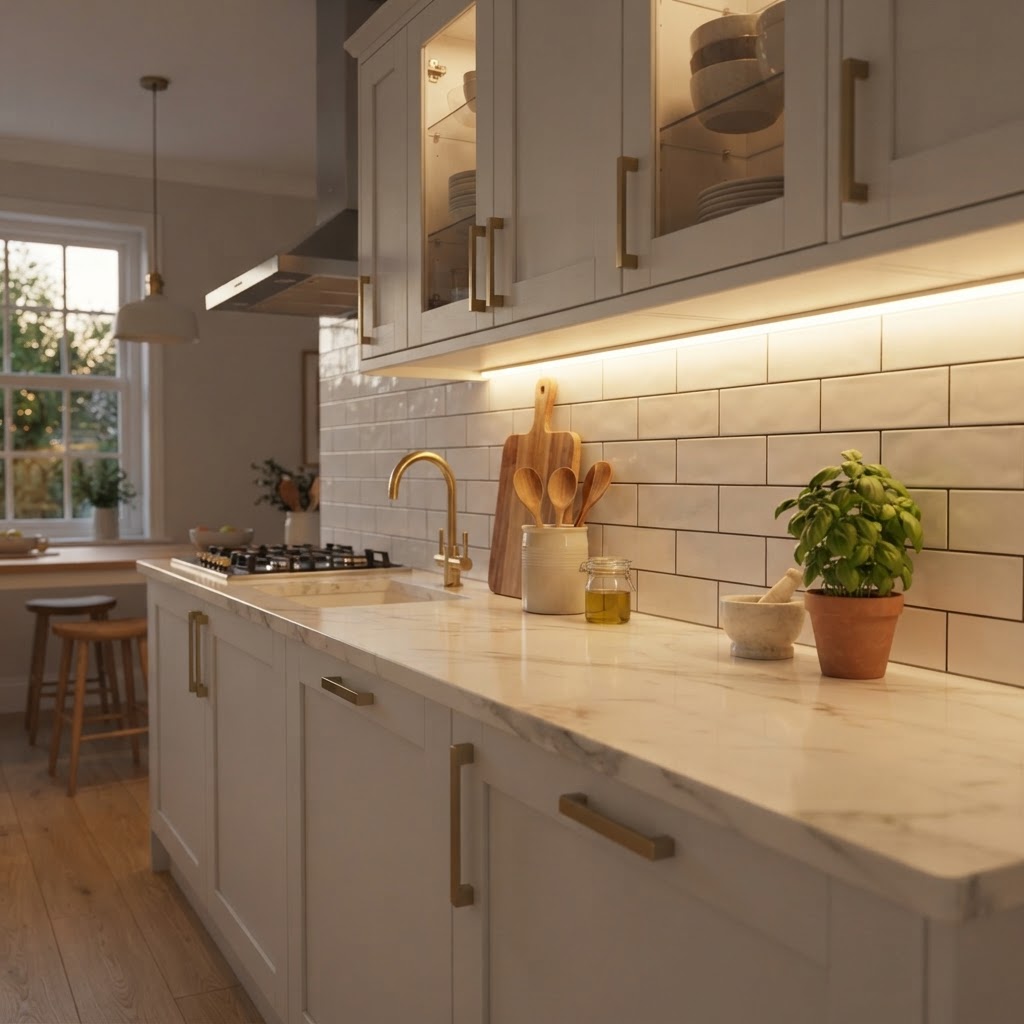
Under-cabinet LED strips make cooking easier.

Wall sconces add an instant sense of sophistication to any bedroom or living room, but hardwiring is usually out of the question for renters. Fortunately, plug-in wall sconces have become a staple in the design world, offering a high-end look without needing to touch existing electrical boxes. These fixtures attach to your wall using simple screws or even heavy-duty adhesive hooks, and their cords can be easily hidden with cable covers.

Choose models that feature adjustable arms or swing-out mechanics to provide directed task lighting over a reading nook or bedside table. These pieces serve as functional art, elevating the aesthetic of your walls while providing essential illumination exactly where you need it most.

Incorporating Smart Lighting Systems

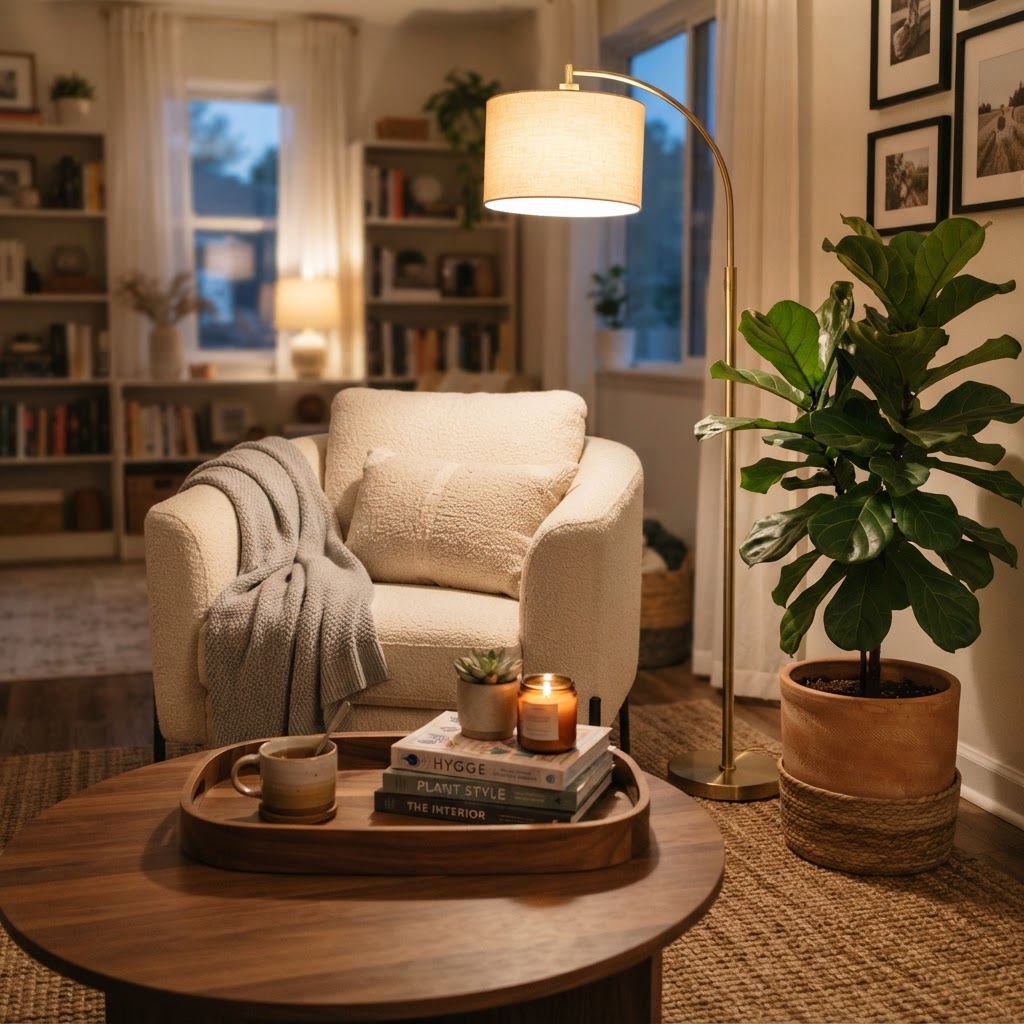
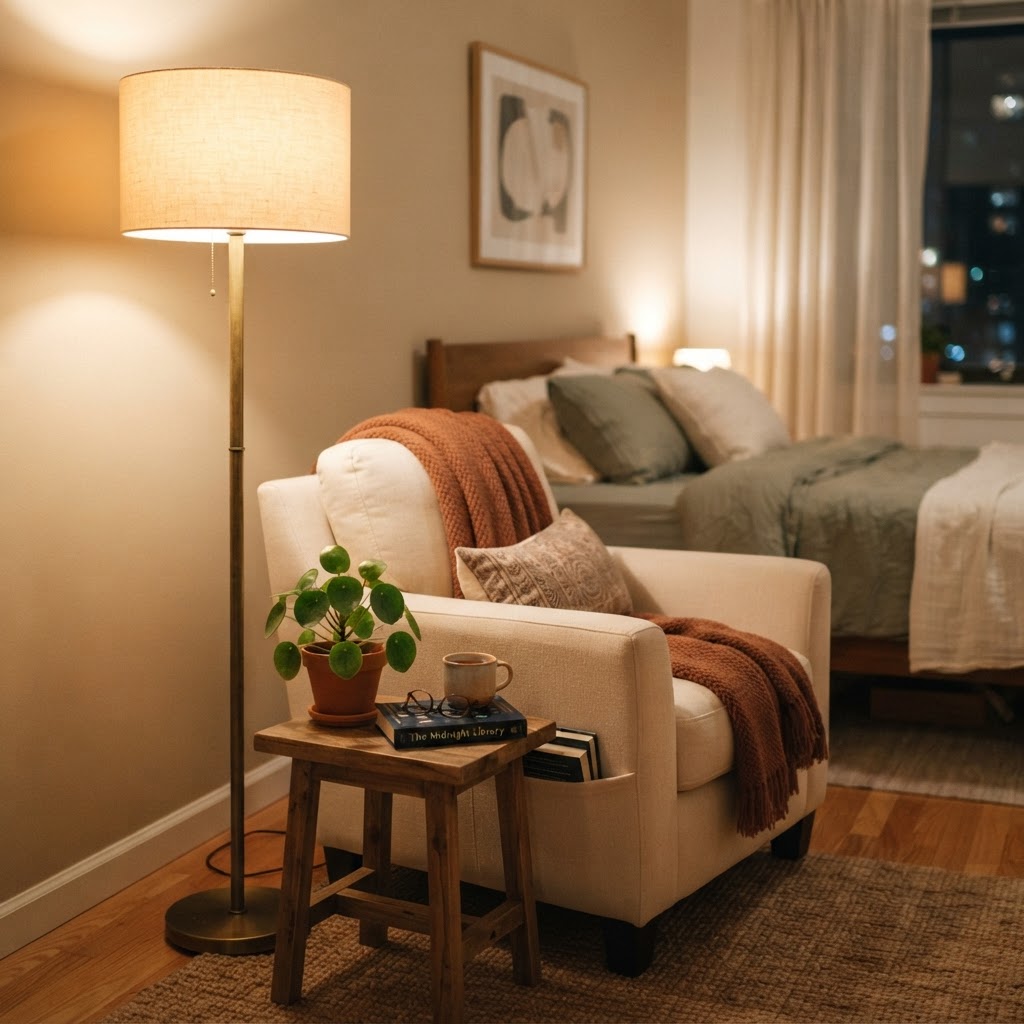
A well-placed floor lamp defines your reading nook.

Smart bulbs and light strips are among the most versatile affordable lighting upgrades that transform a rental apartment because they do not require any physical installation changes. With systems like Philips Hue or Govee, you can change the color, intensity, and schedule of your lights using just your smartphone or voice commands.

Why Smart Lighting Wins

Smart bulbs allow you to create “scenes,” such as “Movie Night” or “Morning Routine,” by adjusting the color temperature and brightness of individual fixtures simultaneously. This technology is a game-changer for multi-purpose rooms where you need bright task lighting during the day and dim, relaxing light in the evening.

Maximizing Floor and Table Lamps

When overhead lighting is non-negotiable or outdated, floor lamps and table lamps become your best friends. They provide a “grounding” effect in a room, drawing the eye downward and making ceilings feel higher. Look for lamps with sculptural bases or unique shades that match your personal interior design style.

Strategic Lamp Placement

To make the most of your lamps, place them in the corners of your room to bounce light off the walls. This technique fills in dark voids and creates a soft, diffused ambient glow that makes a room feel more spacious and well-lit. Consider placing a lamp behind a large plant or beside a bookshelf to add depth to your decor.

Installing LED Strip Lighting

LED light strips are perfect for renters because they come with peel-and-stick adhesive backings that are easy to remove later. You can install these behind your television to create a cinematic bias lighting effect or underneath kitchen cabinets to serve as under-cabinet task lighting for cooking.

Because these strips are low-profile, they remain hidden from view, providing a clean, professional finish. They are particularly effective in kitchens where the lack of under-cabinet lighting makes counter work difficult and frustrating. You can find options that are battery-operated or plug-in, making them suitable for any area of your rental.

Adding Decorative Fairy Lights

For a whimsical or bohemian touch, consider adding high-quality fairy lights or string lights to your living space. While they are often associated with dorm rooms, when used tastefully, they can add a romantic and cozy ambiance to a bedroom or balcony.

Choose lights with copper wire or warm white bulbs for a clean, minimalist look. You can drape them over curtain rods, weave them through a headboard, or place them inside a large glass jar to create a portable, decorative light feature that brings warmth to your home.

Using Cord Management Solutions

One of the main aesthetic drawbacks of adding extra lighting to a rental is the mess of visible electrical cords. Managing these cables is crucial to ensuring your lighting upgrades look professional rather than cluttered. Use adhesive cord clips, paintable raceways, or decorative cord covers that match your wall color to keep everything tidy.

Hiding Cords Creatively

You can also camouflage cords by running them behind heavy furniture, through a hollow curtain rod, or by wrapping them in decorative rope to turn the cord itself into a design element. By tidying up the wiring, your lighting upgrades will feel like integrated design choices rather than temporary additions.

Conclusion

Transforming your rental does not require expensive renovations or landlord approval. By focusing on these eight affordable lighting upgrades that transform a rental, you can create a beautiful, custom space that feels like a true home. Remember to start with warm-toned bulbs, layer your lighting with lamps, and use smart technology to get the most out of your setup. Your home should be a reflection of your personality—start experimenting with these simple light solutions today and see the difference it makes in your daily life. If you found these tips helpful, subscribe to our newsletter for more renter-friendly home decor inspiration!

7 Renter-Friendly Ways to Hide Ugly Apartment Features

Finding the perfect apartment often involves a compromise between location, budget, and aesthetics. While the layout might be ideal, many tenants eventually find themselves staring at unsightly quirks like outdated linoleum floors, peeling cabinets, or exposed wiring. Fortunately, there are plenty of renter-friendly ways to hide ugly apartment features that allow you to personalize your home without risking your security deposit. With a bit of creativity and the right temporary materials, you can turn a dated space into a stylish sanctuary that feels uniquely yours.

The Power of Removable Wallpaper and Contact Paper

Removable wallpaper can turn a boring wall into a stunning focal point.

One of the most effective tools in any renter’s arsenal is removable wallpaper. Whether you are dealing with dated accent walls or damaged drywall, peel-and-stick wallpaper offers a massive visual impact that is easily reversed when your lease ends. It comes in an endless array of patterns, textures, and even faux-material designs like marble or shiplap, making it a versatile choice for any room in your apartment.

Transforming Surfaces with Contact Paper

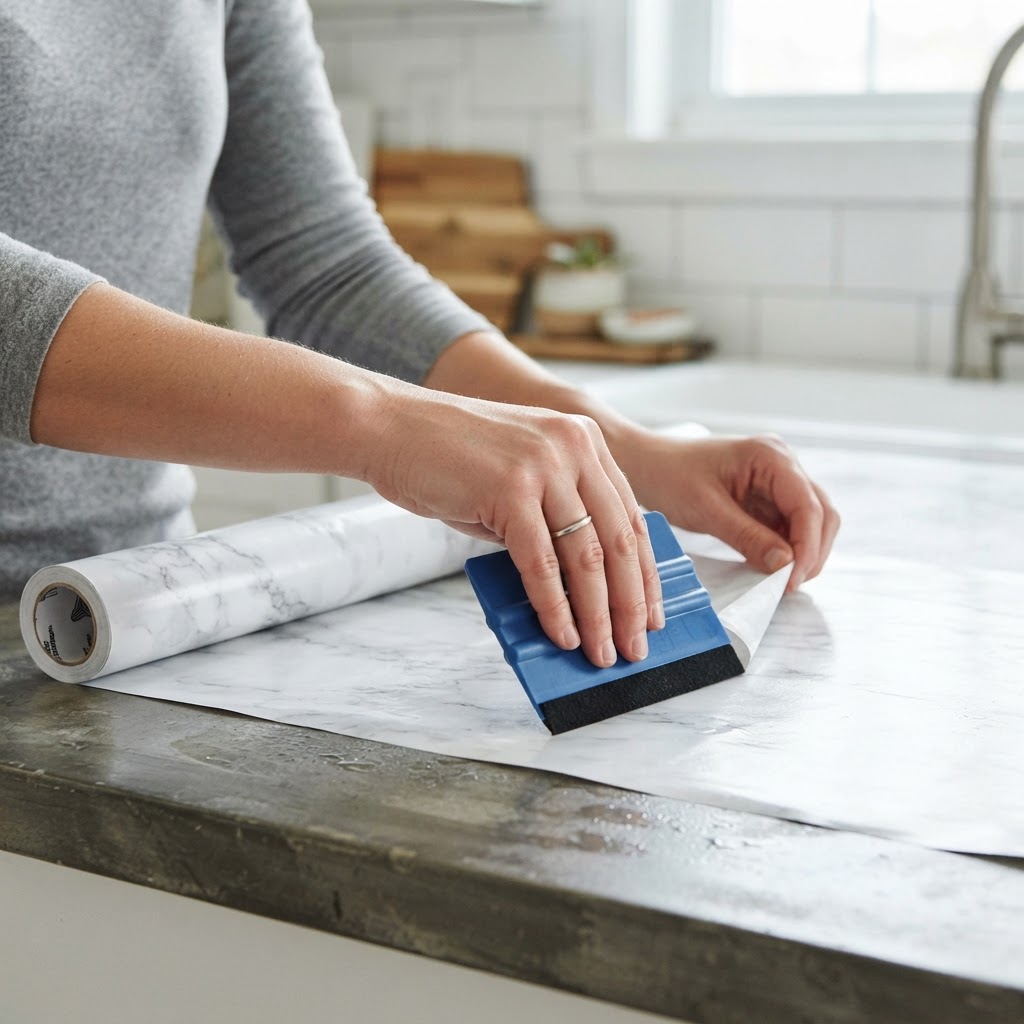
While wallpaper is great for walls, heavy-duty contact paper is the secret weapon for concealing ugly countertops and cabinetry. If your kitchen suffers from drab, stained laminate or chipped wood, a layer of high-quality adhesive vinyl can make the surfaces look brand new. Make sure to clean the surface thoroughly with degreaser before application to ensure the adhesive sticks properly.

Masking Ugly Floors with Rugs and Tiles

Use marble contact paper to give old laminate countertops a luxury makeover.

Flooring is perhaps the most difficult aspect to change in a rental because you cannot rip out carpet or hardwood. However, you can easily cover up dated or damaged flooring using large area rugs or peel-and-stick floor tiles. For high-traffic areas like the kitchen or entryway, durable vinyl stick-on tiles are an excellent way to hide unsightly linoleum without using permanent glue.

Layering for Depth and Style

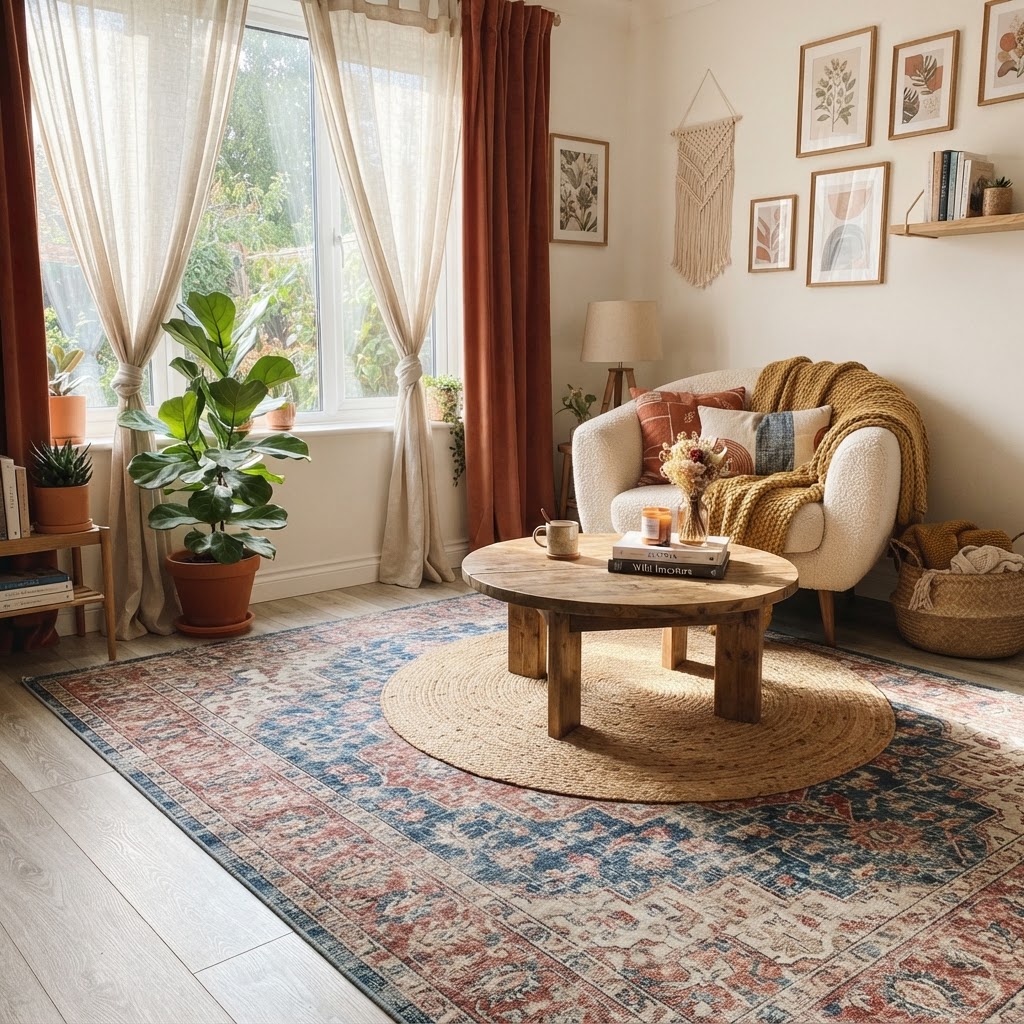
If you prefer to keep the base layer intact, use rugs to anchor your furniture and draw the eye away from the floor. Layering a smaller, decorative rug over a large, neutral jute rug can add texture and interest to a room. This technique not only conceals ugly patches of carpet or scratched wood but also adds sound insulation, which is a major bonus in multi-unit buildings.

Using Window Treatments to Hide View Issues

Layered rugs are perfect for covering up worn-out flooring in style.

Sometimes the problem isn’t inside your apartment, but what is visible through the window. Ugly brick walls, neighbor views, or harsh lighting can be distracting. Using floor-to-ceiling curtains is the best way to frame a window and draw attention away from the glass. By hanging curtains higher and wider than the actual window frame, you can make the entire wall feel more luxurious.

Choosing the Right Hardware

Since you likely cannot drill holes into the wall, look for tension rods that fit inside the window frame or use heavy-duty adhesive hooks to hold lightweight curtain rods. These options ensure that your window dressings are stable while remaining completely removable. Choosing light-filtering fabrics can also soften the incoming daylight, making your room feel warmer and more inviting.

Camouflaging Exposed Wiring and Ugly Hardware

Swapping hardware is an easy, reversible way to modernize cabinets.

Apartments often have awkward placement of electrical outlets, exposed cords, or dated light fixtures. To hide ugly apartment features like these, you have to think about visual distraction. Use cord covers that match your wall color, or create a ‘gallery wall’ around the eyesore to shift focus toward art, photos, and decorative frames instead of the mess.

Refreshing Outdated Cabinets and Drawers

If you are stuck with hideous, dated kitchen cabinets, you don’t have to live with them. Swapping out the hardware is the single fastest way to modernize a kitchen. Keep the original handles in a labeled plastic bag, and replace them with sleek, modern pulls or knobs. This minor change, combined with contact paper on the doors, can completely alter the aesthetic of your cooking space.

The Magic of Cabinet Decals

If the cabinet faces themselves are in bad condition, consider temporary cabinet decals. These are essentially stickers designed for high-wear areas that mimic wood grains or solid matte colors. They are inexpensive and can be removed with a hairdryer and some patience when moving day arrives.

Creating Focal Points with Large Art and Mirrors

When a specific wall or corner of your apartment is an eyesore, the best strategy is to cover it up entirely. Large, lightweight mirrors are perfect for this because they reflect light and make the space feel bigger while physically obscuring the wall behind them. You can also use large canvases or hanging tapestries to cover up damaged paint or awkward wall cutouts.

Managing Light and Ambiance

Lighting plays a huge role in how we perceive the ‘ugliness’ of a room. Harsh, overhead ‘boob lights’ or clinical-looking fluorescent tubes can make even a well-decorated room look cheap. Investing in floor lamps, table lamps, and smart bulbs allows you to control the mood and hide dark, unappealing corners that gather dust.

Utilizing Leaning Decor

The most effective way to utilize height without drilling is through leaning decor. Large-scale artwork, leaning mirrors, and even tall floor lamps act as vertical anchors. When you lean a oversized mirror against a wall, it not only creates an illusion of depth but also reflects light, instantly brightening the room. This technique draws the eye upward, mimicking the effect of wall-mounted shelves or art without a single hole.

Why Leaning Works for Depth

Leaning pieces adds a casual, sophisticated aesthetic that feels curated rather than forced. It breaks the monotony of “perfectly centered” decor and introduces an organic flow to your living room. By varying the sizes of your leaning pieces, you create a layered look that feels like a professional designer was involved.

Rethinking Your Furniture Placement

Tiered plant stands offer height and natural color without needing wall mounts.

Sometimes, the secret to an inviting atmosphere isn’t what you hang, but how you arrange what sits on the floor. Furniture placement dictates the flow of conversation and the “coziness factor” of your space. Most people push all their furniture against the walls to make the room feel larger, but this actually creates a dead zone in the center that feels hollow.

Instead, try pulling your sofa a few inches away from the wall to create a sense of floating. If you have an open floor plan, use your furniture to create distinct “zones.” This simple adjustment helps define the living area as a distinct space, making it feel more intimate and purposefully designed. It is a fundamental part of the simple no-drill trick that makes any living room feel inviting by ensuring the furniture works for the occupants, not just the perimeter of the room.

The Layering Technique: Textiles and Texture

Layering rugs is a perfect way to add texture and define your living space.

Texture is the unsung hero of a welcoming home. You can transform a plain room into an inviting sanctuary by layering rugs, throws, and cushions. Layering is entirely wall-damage-free and relies on comfort to make the room feel lived-in and warm. Start with a neutral base rug, then add a smaller, patterned rug on top to create visual interest underfoot.

The Role of Soft Furnishings

Soft furnishings like oversized knit blankets and plush velvet pillows invite people to sit, stay, and relax. When a room looks too clean or too rigid, it feels unapproachable. By introducing soft, tactile elements, you soften the hard edges of your room and create a sensory experience that feels deeply personal and safe.

Lighting Without Electrical Upgrades

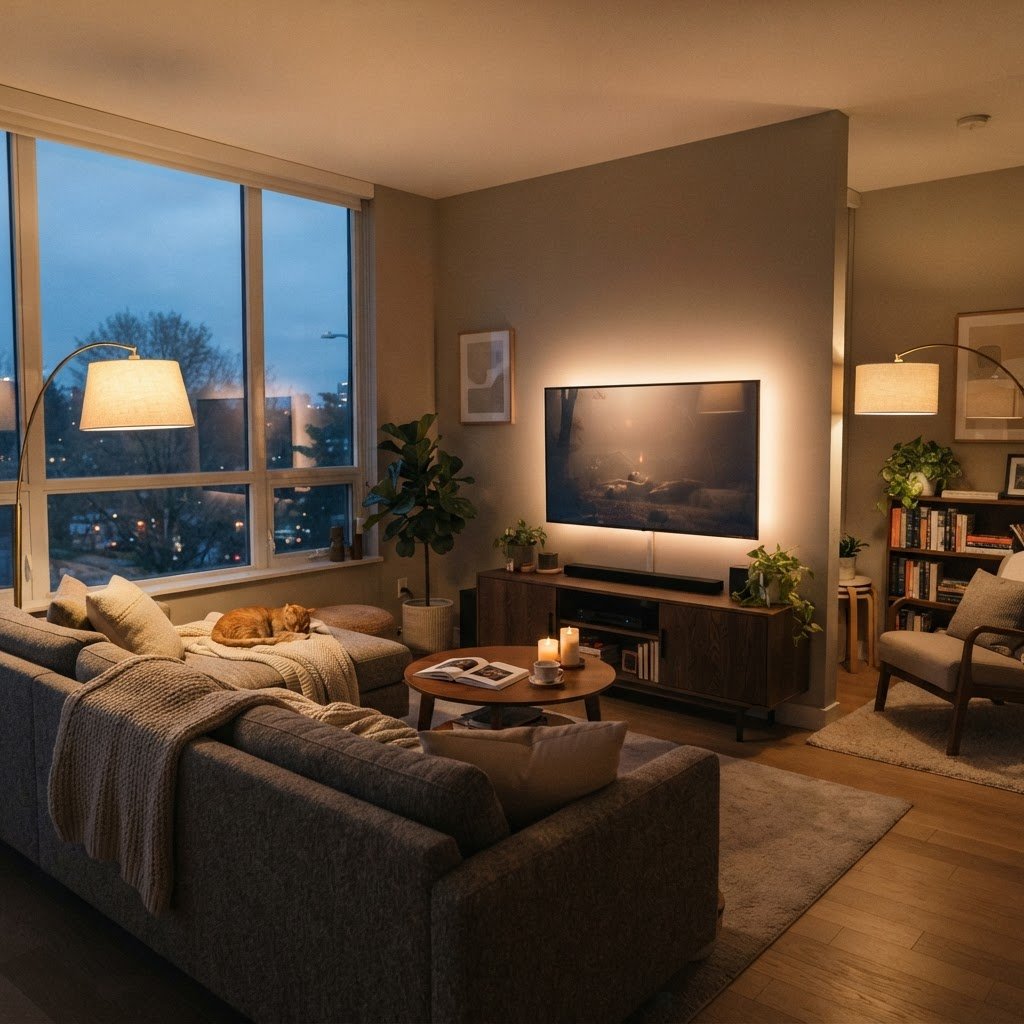
Lighting is perhaps the most important element for setting the mood. If your living room feels stark or cold, it is often due to harsh overhead lighting. The no-drill approach to lighting involves using floor lamps and portable table lamps to create pools of light throughout the room. By placing light sources at varying heights, you draw attention away from bare walls and toward the cozy pockets of your living space.

Warmth Through Ambient Glow

Look for lamps with warm-toned bulbs and fabric shades that diffuse light softly. You can even use smart light strips tucked behind media consoles or bookshelves to create an ambient glow that makes the room feel high-end. This is an essential aspect of the simple no-drill trick that makes any living room feel inviting because it completely alters the atmosphere of the room the moment the sun goes down.

Greenery and Natural Elements

Bringing nature indoors is an age-old design secret, but you don’t need wall-mounted planters to make it happen. Use tiered plant stands or tall fiddle-leaf figs to fill corners and add vertical interest. Large plants act as “living sculptures” that add height and color to your room without needing to be attached to the architecture.

Selecting Plants for Every Corner

  1. Snake plants for low-light corners
  2. Monstera deliciosa for a dramatic, large-scale leaf look
  3. Hanging pothos placed on high bookshelves (gravity-based)
  4. Fiddle-leaf figs for high-ceiling impact

These plants provide a calming influence that naturally lowers stress levels, making your home feel like a retreat from the outside world. Plus, the organic shapes of plants contrast beautifully with the linear nature of sofas and coffee tables, adding a necessary softness to the environment.

Creating Cozy Vignettes

Vignettes are small, intentional groupings of objects that tell a story. You can create these on side tables, mantels (if you have one), or even directly on the floor. Grouping items in odd numbers—three is usually the magic number—creates a balanced, pleasing aesthetic that feels intentional rather than cluttered. This method is perfect for showcasing your personality.

Balancing Personal and Aesthetic Items

Your vignettes should include a mix of items: something tall (like a vase or candle), something medium (like a stack of books), and something small (like a decorative object or a small plant). This variety keeps the eye moving and makes your space feel curated and sophisticated without requiring you to drill holes for shelving or heavy wall decor.

Conclusion: Your Home, Your Rules

Transforming your living space into a sanctuary doesn’t have to be a major construction project. By focusing on the simple no-drill trick that makes any living room feel inviting—layering textures, utilizing vertical floor-based decor, and optimizing your lighting—you can achieve a beautiful space that feels like ‘you.’ The beauty of this approach is its flexibility; if you get bored of a look, you can rearrange it in an afternoon without patching a single hole.

Take the first step today by pulling your sofa away from the wall or leaning that piece of art you’ve been nervous to hang. You will be amazed at how quickly your room transforms from a house into a home. Share your results with us or let us know which of these tips helped you the most in the comments below!

10 Cozy Bedroom Decor Ideas for First-Time Renters

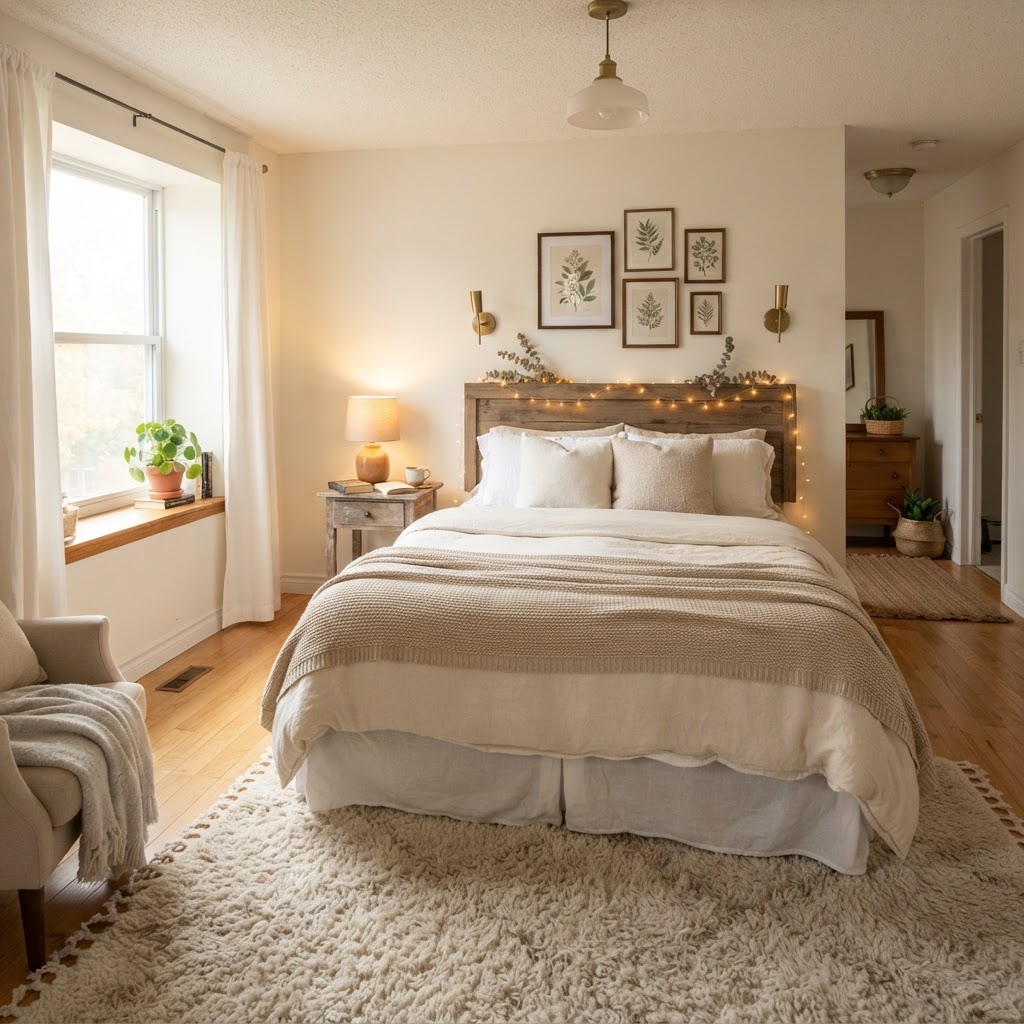
Moving into your very first apartment is an exhilarating milestone, but staring at those blank, neutral walls can feel a bit daunting. You want your new home to feel like a personal sanctuary, yet you are often restricted by strict leasing agreements that prohibit painting or major renovations. Fortunately, finding the right cozy bedroom decor ideas for first-time renters is entirely possible without losing your security deposit. By focusing on textures, lighting, and versatile textiles, you can transform a sterile box into a warm, inviting retreat that feels uniquely yours.

Understanding the Rental Decor Mindset

Layering textures is a key strategy for a cozy rental bedroom.

The most important lesson for any first-time renter is learning how to embrace temporary design solutions. When you cannot make permanent structural changes, your goal should be to layer elements that add depth and character. The key is to prioritize pieces that are lightweight, removable, and easy to transport when you eventually move to your next home. This approach saves you money and reduces the stress of decorating.

Effective rental design is all about the illusion of transformation. Even if you cannot change the flooring or the wall color, you can change the mood of the room through soft furnishings and clever organizational tricks. Think of your space as a blank canvas where every addition serves a dual purpose: aesthetic appeal and practical comfort.

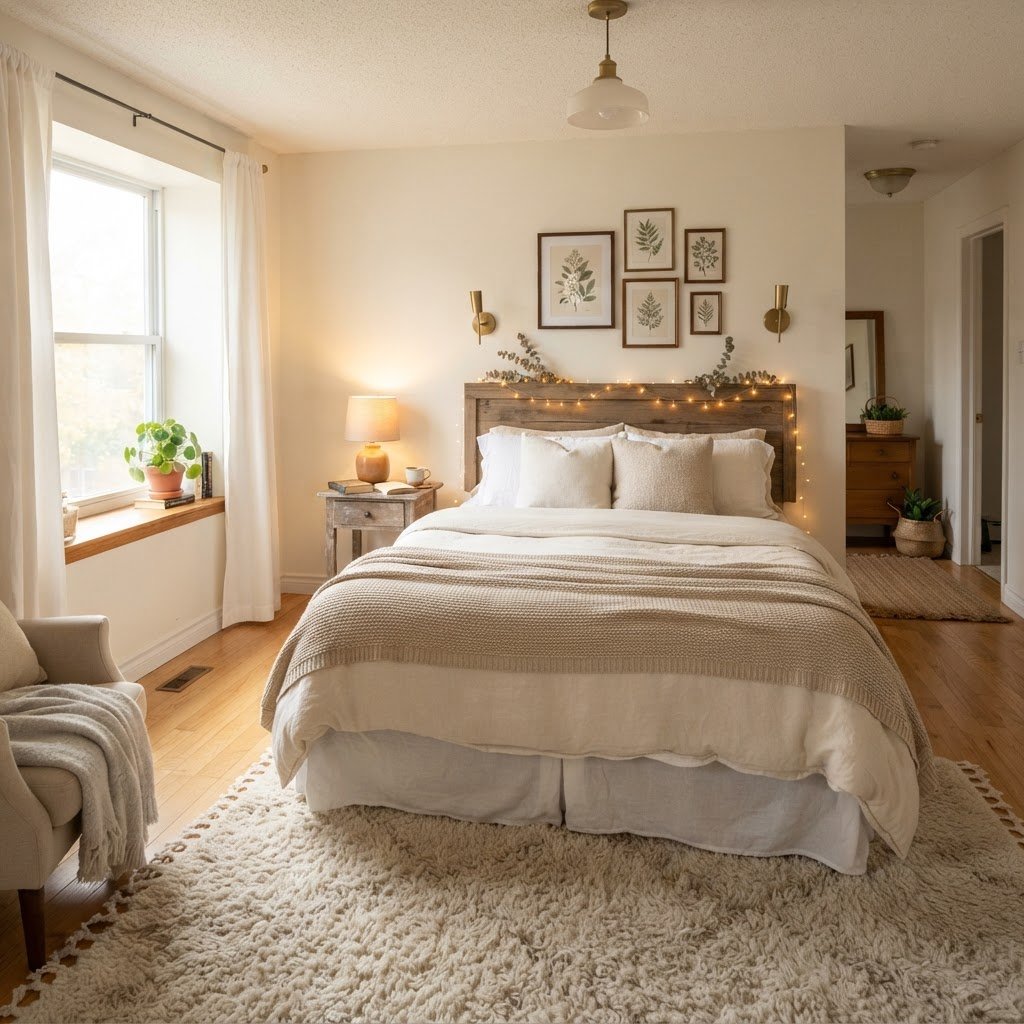
1. Master the Art of Layering Bedding

Add life to your room with low-maintenance houseplants.

Your bed is the focal point of the room, so it deserves the most attention. Layering is one of the most effective cozy bedroom decor ideas for first-time renters because it creates an immediate sense of luxury and comfort. Start with a neutral base, such as white or light gray sheets, and then build up using different textures like faux fur, knit blankets, and various linen pillow covers.

Experimenting with textures makes a small room feel much more expensive than it actually is. Try placing a chunky cable-knit throw at the foot of your bed to ground the space. When you mix materials—silk, wool, cotton, and velvet—you create a tactile experience that makes you want to curl up and stay a while.

2. Incorporate Renter-Friendly Lighting Solutions

Gallery walls are a damage-free way to personalize your space.

Harsh overhead lighting is the quickest way to kill a cozy vibe. Most rentals come with standard “boob lights” that provide cold, unappealing illumination. To combat this, invest in a variety of floor lamps, table lamps, and wall-mounted plug-in sconces. These allow you to customize the atmosphere of your room based on the time of day.

Types of Ambient Lighting

  • Floor Lamps: Great for filling empty corners and providing height.
  • Table Lamps: Essential for nightstands to provide warm reading light.
  • String Lights: Perfect for hanging above the bed or along curtain rods for a whimsical, soft glow.
  • Smart Bulbs: Allow you to change the color temperature of your lights to match your mood.

By using multiple low-light sources, you eliminate shadows and create a warm, golden aura throughout your bedroom. Warm-toned light bulbs are non-negotiable if you want to achieve that “cozy” feel.

3. Utilize Removable Wallpaper for Instant Drama

Floor-to-ceiling curtains make any rental feel more luxurious.

One of the most transformative cozy bedroom decor ideas for first-time renters is the use of peel-and-stick wallpaper. Unlike traditional wallpaper, this modern alternative is completely removable, leaving your walls pristine when your lease ends. You can choose a bold botanical print for an accent wall or a subtle textured pattern to add depth.

Application is straightforward, but it does require some patience. Take your time aligning the patterns and smoothing out bubbles as you go. Even a single accent wall behind your headboard can completely change the personality of the room, making it feel like a custom-designed space rather than a generic rental unit.

4. Bring in Life with Indoor Plants

Plants are essential for any cozy space. They improve air quality and add a sense of life to an otherwise static room. For renters, choose plants that are relatively low-maintenance, such as snake plants, pothos, or ZZ plants. These varieties thrive in various light conditions and can be easily moved.

Use stylish baskets to house your planters, which adds another layer of texture. If you have limited floor space, consider hanging planters from ceiling hooks (if your lease allows) or using a tall plant stand to draw the eye upward. The pop of green against neutral walls is the ultimate finishing touch.

5. Soften the Floor with Large Area Rugs

If you are dealing with unattractive or cold rental carpeting or flooring, a large area rug is your best friend. A high-quality rug can anchor your furniture and provide an immediate sense of warmth underfoot. It covers unsightly floor imperfections and adds a much-needed layer of insulation.

Choose a rug that is large enough to extend past the sides of your bed. This makes the room feel larger and more cohesive. Consider rugs with soft fibers like wool or high-pile synthetic materials to maximize the cozy factor. When you eventually move, you can simply roll up your rug and take it with you to your next place.

6. Personalize Your Walls with Damage-Free Art

Empty walls are cold and uninspiring. You don’t need a massive budget to create a gallery wall, but you do need to use the right tools. Adhesive strips and removable wall hooks are essential for hanging art without making holes in the drywall. You can mix framed prints, canvas art, and personal photos to create a space that feels like it belongs to you.

When planning your gallery wall, lay your frames out on the floor first to get the composition right. Keep the spacing consistent between frames to maintain a clean, professional look. Incorporating mirrors into your art arrangement is another brilliant trick; it reflects light and makes a small bedroom feel significantly more spacious.

7. Maximize Vertical Storage with Open Shelving

Small rental bedrooms often lack adequate closet space. Instead of stuffing everything into drawers, use decorative open shelving to display your favorite books, plants, and decor items. This makes your items part of the decor itself rather than just “stuff” taking up space.

Wall-mounted shelves that use heavy-duty adhesive or minimal nails can offer great storage without causing permanent damage. Keeping your surfaces clear of clutter is crucial for maintaining a cozy, relaxing environment. When everything has a designated home, your bedroom naturally feels more organized and peaceful.

8. Focus on Soft Window Treatments

Standard rental blinds are often functional but ugly. Replacing them with elegant curtains can instantly elevate your space. Use a tension rod inside the window frame if you cannot drill holes for a curtain rod. This allows you to add floor-to-ceiling fabric panels that block light and add privacy.

Choose velvet or heavy linen for a luxury feel, or sheer cotton for a light, airy, bohemian vibe. Layering curtains over the existing blinds allows you to control the light perfectly while masking the less-than-desirable rental fixtures. Remember to mount your curtain rod as high as possible—closer to the ceiling—to create the illusion of taller walls.

Conclusion

Creating a sanctuary as a first-time renter is entirely achievable with a little creativity and the right mindset. By utilizing these cozy bedroom decor ideas, you can ensure that your apartment feels like a true home, regardless of how long you plan to stay. Remember, the most important part of decorating is making choices that bring you joy every time you walk through the door.

Start with the essentials like bedding and lighting, and slowly add layers of personality through plants, rugs, and art. Don’t be afraid to experiment with different styles until you find what feels right. Now that you have a roadmap to transformation, take that first step today and start making your space your own. Happy decorating!

5 Chic Kitchen Updates Renters Can Undo in Minutes

Living in a rental property often means settling for a kitchen design that doesn’t quite match your aesthetic or personality. Many tenants feel trapped by sterile cabinets, bland backsplashes, and outdated hardware, but you do not have to endure a boring cooking space. Implementing chic kitchen updates renters can undo in minutes is entirely possible with the right approach. Whether you are dealing with peeling laminate or uninspired tile, these temporary modifications allow you to express your style while keeping your landlord perfectly happy and your security deposit intact. In this guide, we will explore how to revitalize your culinary space without making permanent changes.

Swapping Out Cabinet Hardware

Upgrading cabinet hardware is a quick way to add a premium feel to any kitchen.

One of the most impactful ways to change the look of your kitchen is to replace the existing cabinet pulls and knobs. Builders often choose generic, budget-friendly hardware that lacks character, but upgrading these small pieces can make your kitchen look custom and expensive. It is a simple task that requires nothing more than a screwdriver and a bit of patience.

Finding the Perfect Fit

Before you run to the hardware store, you need to measure the distance between the screw holes on your existing handles. Most standard pulls come in “center-to-center” measurements, such as 3 inches, 3.75 inches, or 96mm. If you buy hardware that does not match these measurements, you will end up having to drill new holes, which is a major “no-no” in the world of renting.

Once you have your new hardware, store your original pulls and knobs in a labeled plastic bag inside a kitchen drawer or closet. When it comes time to move out, simply swap the original pieces back on. This quick switch is one of the most effective renter friendly kitchen upgrades available because it instantly modernizes a dated aesthetic.

Applying Peel-and-Stick Backsplash Tiles

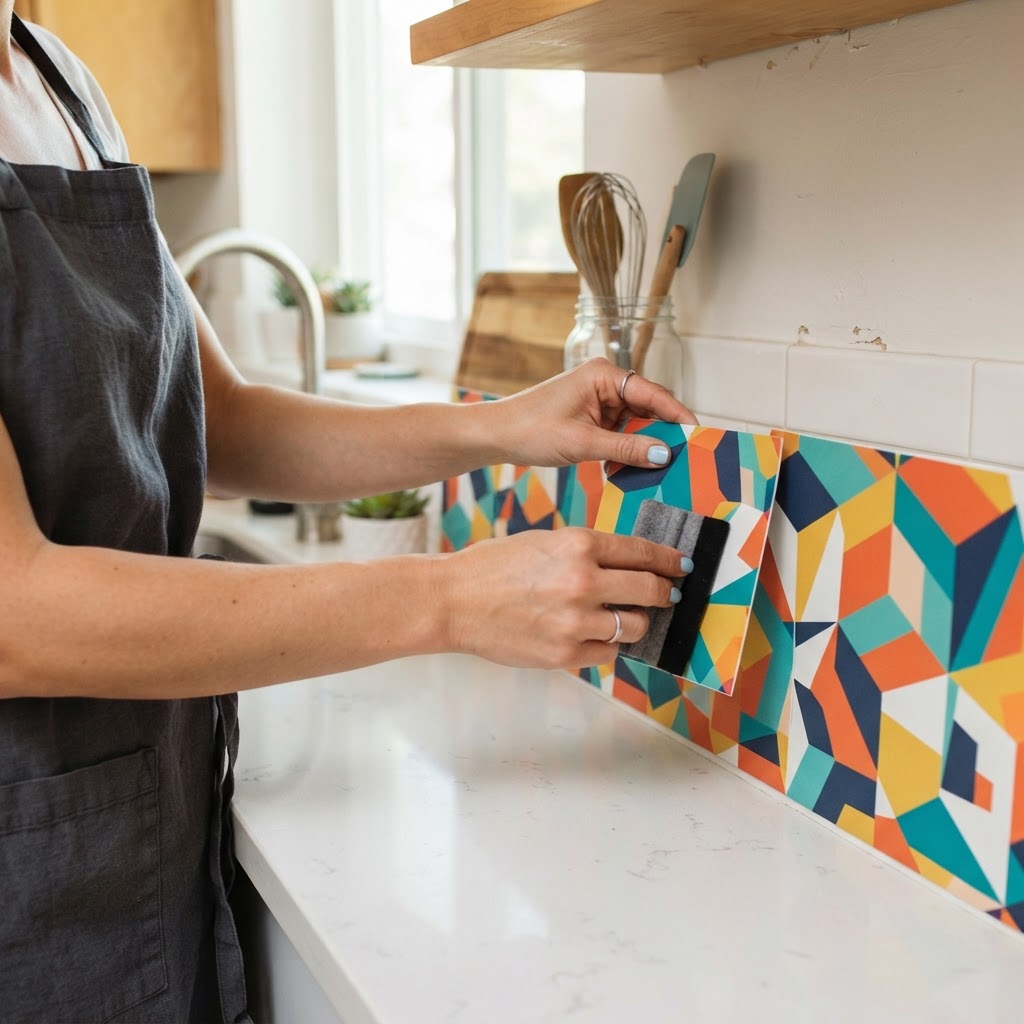
Peel-and-stick tiles are a mess-free way to refresh an outdated backsplash.

If you are staring at a drab, stained, or ugly tile backsplash, peel-and-stick tiles are your best friend. These vinyl or gel-based tiles are designed specifically for renters who want to add color, texture, or a modern pattern to their space without using mortar or grout. They come in sheets that you can easily cut with a utility knife to fit around outlets and corners.

When choosing these tiles, opt for high-quality, heat-resistant, and water-resistant versions. Cheaper alternatives may not hold up well to the humidity of a kitchen environment. When you are ready to move out, you can usually peel them off with the help of a hairdryer to loosen the adhesive, leaving the original wall perfectly clean and untouched.

Utilizing Adhesive Countertop Covers

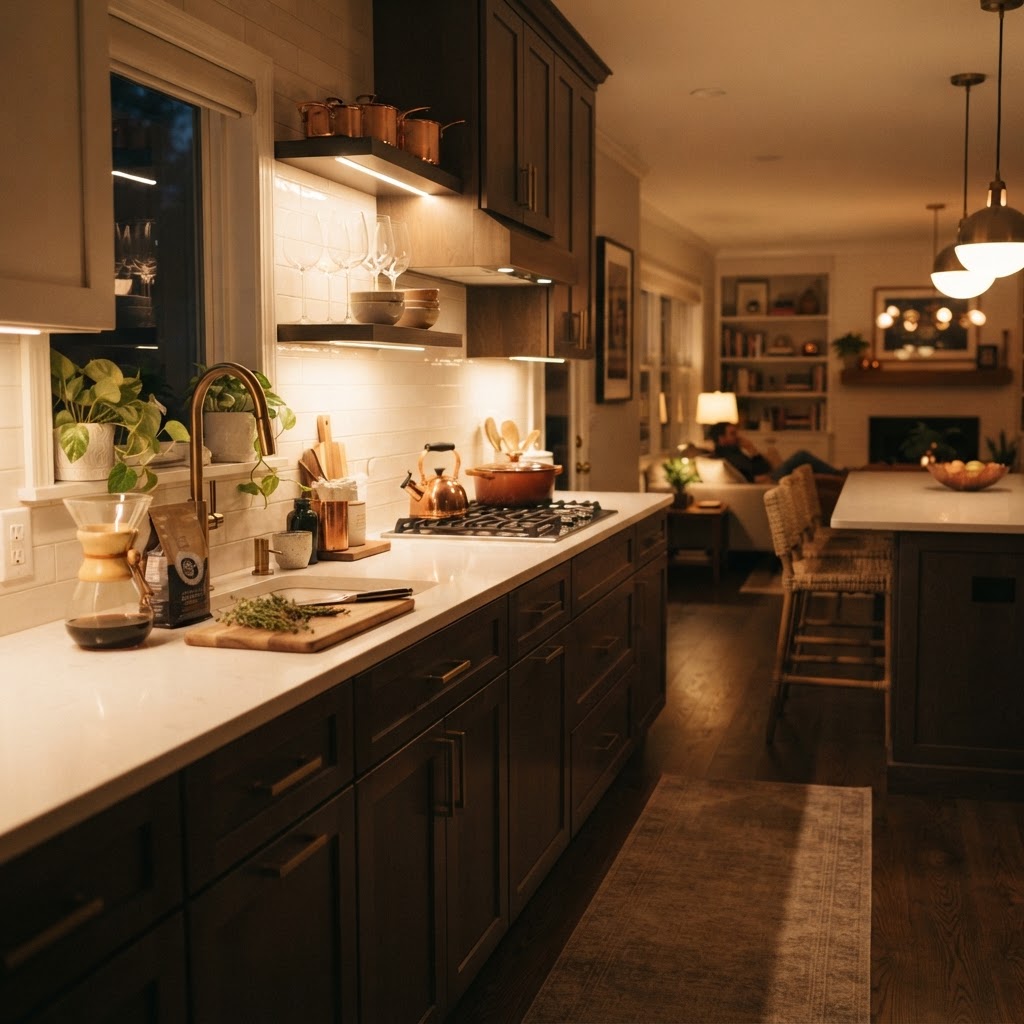
Battery-operated LED lights add both function and a cozy ambiance.

Kitchen countertops are often the hardest surfaces to change in a rental because they are usually fixed in place and made of laminate that scratches easily. However, contact paper specifically designed for surfaces has evolved significantly in recent years. You can find faux marble, concrete, or wood grain patterns that look surprisingly realistic.

Applying these sheets requires a steady hand and a smoothing tool to prevent air bubbles, but the result is a completely transformed work surface. It acts as a protective layer for your existing counters as well. Just be sure to use a cutting board when chopping food, as the contact paper can be cut by sharp knives, which would defeat the purpose of protecting the underlying surface.

Installing Temporary Lighting Solutions

Thoughtful decor accessories can cover imperfections while adding personal flair.

Lighting plays a crucial role in the atmosphere of any room, yet most rental kitchens are cursed with harsh, clinical fluorescent ceiling fixtures. Because changing hardwired fixtures is usually against the lease, you need to think creatively about task and accent lighting. Battery-operated LED strips or magnetic under-cabinet puck lights can make a world of difference.

Adding Warmth with LED Strips

Under-cabinet lighting provides both functionality and a high-end feel. You can purchase peel-and-stick LED strips that are motion-activated or remote-controlled. These lights create a warm, inviting glow that makes the kitchen feel more luxurious during the evening hours. Since they are battery-powered or plug into existing outlets, you avoid any electrical work that would require landlord approval.

Customizing with Removable Wall Art and Decor

Sometimes, the simplest decor choices have the biggest impact. If you have open wall space, consider hanging art or installing open shelving using non-damaging adhesive strips. These strips have revolutionized the way renters decorate, allowing you to hang everything from heavy frames to floating shelves without driving a single nail into the wall.

Beyond wall art, consider bringing in decorative elements that serve a double purpose, such as a stylish dish rack, an oversized cutting board that hides a scratched section of the counter, or a vibrant runner rug that covers an unsightly floor. These items add texture and color to your kitchen without modifying the structure of the space at all.

Maintaining Rental Compliance

While all these suggestions are meant to be temporary, it is essential to prioritize your lease agreement above all else. Always check your contract before beginning any project. Most landlords are fine with changes that do not involve paint, drilling, or permanent glue, but it never hurts to send a quick email to ask for clarification if you are unsure.

Additionally, always keep a “rental toolkit” that contains all original parts, extra adhesive removers, and the specific cleaning supplies needed to restore the kitchen to its original state. By documenting the condition of the kitchen before you start, you protect yourself from any potential disputes regarding your security deposit.

Conclusion

Creating a kitchen that feels like home is not just for homeowners. With a bit of creativity and the right materials, these chic kitchen updates renters can undo in minutes provide a fantastic way to elevate your rental space. Whether you start with just a set of new drawer pulls or go all in with peel-and-stick tiles, the result will be a more inviting and functional cooking environment. Do not let your rental status limit your design potential—start planning your transformation today and enjoy a kitchen that finally reflects your unique style!

How to Create a Stylish Gallery Wall With Command Strips

Creating a beautiful gallery wall with Command Strips is the perfect way to infuse personality into your home without the stress of power drills or permanent wall damage. Whether you are living in a rental or just want the flexibility to rearrange your art on a whim, mastering this technique is a game-changer for your interior design efforts. Gone are the days when hanging a curated collection of frames required precise measurements, drywall anchors, and a leap of faith; now, you can achieve a polished look that feels professional and intentional. In this guide, we will walk you through the essential steps to plan, arrange, and securely hang your art using these adhesive wonders, ensuring your space looks curated rather than cluttered.

Why Use Command Strips for Your Gallery Wall

A perfectly curated gallery wall adds depth and personality to any room.

When planning a gallery wall, the biggest hurdle for most homeowners is the fear of commitment. Traditional nails leave unsightly holes that require patching, sanding, and painting whenever you want to move a frame or change the aesthetic. Using adhesive strips eliminates this issue entirely, making your decor truly dynamic.

The Benefits of Adhesive Hanging

Beyond the lack of damage, these strips offer a level of precision that nails simply cannot match. You can adjust the frame slightly to ensure it is perfectly level or shift the entire layout if it looks off-center after hanging. Furthermore, they are incredibly easy to use, requiring zero specialized tools like hammers, levels, or drills, which makes the project accessible to everyone regardless of their DIY skill level.

Planning Your Gallery Wall Layout

Ensure the surface is clean for the best adhesive grip.

Before you even touch an adhesive strip, you must have a solid plan. A chaotic collection of frames can look messy if there is no underlying structure or theme. Start by gathering all the pieces you want to display and laying them out on a large area of floor space to experiment with different configurations.

Finding the Right Arrangement

Consider the balance between large statement pieces and smaller accents. You can try a grid formation for a modern, clean look, or a more eclectic “salon style” where frames vary in size and frame material. Pro tip: trace your frames onto kraft paper and cut out the shapes. You can then use painter’s tape to stick these paper templates to your wall, allowing you to visualize the final outcome before you commit to the actual hanging process.

Selecting the Right Command Strips

Lay out your frames on the floor to test your composition.

Not all adhesive strips are created equal, and choosing the wrong weight capacity is a recipe for disaster. Command Strips come in various sizes, each designed to support a specific weight range. Check the back of your frames to estimate their total weight accurately.

Understanding Weight Capacity

Always err on the side of caution. If a frame feels borderline in weight, use more strips rather than fewer. You should also take into account the frame material; metal frames with thin edges can be trickier to adhere to than wooden ones. Make sure to clean the surface of the frame and the wall with rubbing alcohol before application to remove dust or oils, which is a critical step for maximum bond strength.

Step-by-Step Installation Process

Mixing textures and frame sizes keeps the display engaging.

Once your templates are on the wall and your strips are ready, it is time to move to the main event. Start with the center frame of your collection. This anchor piece will dictate the spacing for everything else. By getting the center piece perfect, you set the tone for the symmetry of the entire wall.

Applying the Strips Correctly

Separate the strips and press them together until they click. Peel off the liner on one side and press it firmly onto the frame. Once all strips are attached, peel the remaining liners and press the frame against your wall location for 30 seconds. You must then carefully peel the frame away from the wall, leaving the wall-side strip attached, and press firmly on those strips for an additional 30 seconds to activate the adhesive. Wait at least an hour before re-attaching the frame to the wall.

Styling Tips for a Professional Look

To make your gallery wall look like it was curated by a pro, focus on the “negative space” between the frames. A standard spacing of two to three inches between frames usually creates the most cohesive appearance. Keeping the spacing consistent helps the eye move across the display smoothly without getting overwhelmed by the gaps.

Mixing Mediums and Sizes

Don’t be afraid to mix different types of art. You can include framed prints, canvas art, mirrors, and even small decorative objects to add texture. The contrast between these different mediums provides visual interest and prevents the display from feeling like a sterile catalog layout. Remember, a gallery wall should tell a story, so include items that have personal meaning to you.

Maintaining and Adjusting Your Display

Over time, you might feel the urge to refresh your home decor. One of the greatest advantages of using Command Strips is how simple it is to swap out a frame or update your gallery. Because the strips are removable, you can take a frame down without damaging your paint, allowing you to replace the art within seconds.

Long-Term Care

If you find that a frame has shifted slightly due to humidity or temperature changes, simply remove it, replace the strips, and re-hang. It is a good practice to occasionally check the stability of your larger pieces to ensure the adhesive bond remains strong. If you ever need to remove the strips entirely, pull the tab straight down slowly, parallel to the wall, to ensure the paint remains pristine.

Troubleshooting Common Issues

Sometimes, things do not go exactly according to plan, but don’t get discouraged. If a frame keeps falling, it is likely due to either an uneven surface, dust on the wall, or exceeding the weight limit. Ensure you are using the heavy-duty versions if your frame has glass, as glass adds significant weight compared to acrylic or canvas.

Avoiding Damage and Falls

Always ensure your wall surface is smooth. These strips do not perform well on heavily textured wallpaper or loose, flaking paint. If you have textured walls, consider hanging your frames using a different method or applying a smooth adhesive patch first. If you followed all the instructions and the strip still failed, replace the adhesive with a brand new set, as re-using old adhesive will never provide the same holding strength.

Conclusion

Creating a stunning gallery wall with Command Strips is an empowering DIY project that proves you do not need heavy machinery to elevate your living space. By following these steps—meticulous planning, choosing the right products, and taking your time during the application—you can transform any blank wall into a focal point that reflects your personal style. The freedom to rearrange and evolve your home decor without the fear of damaging walls is the ultimate luxury for renters and homeowners alike. Now that you have the knowledge and the confidence, pick your favorite frames and start building your own beautiful wall display today!
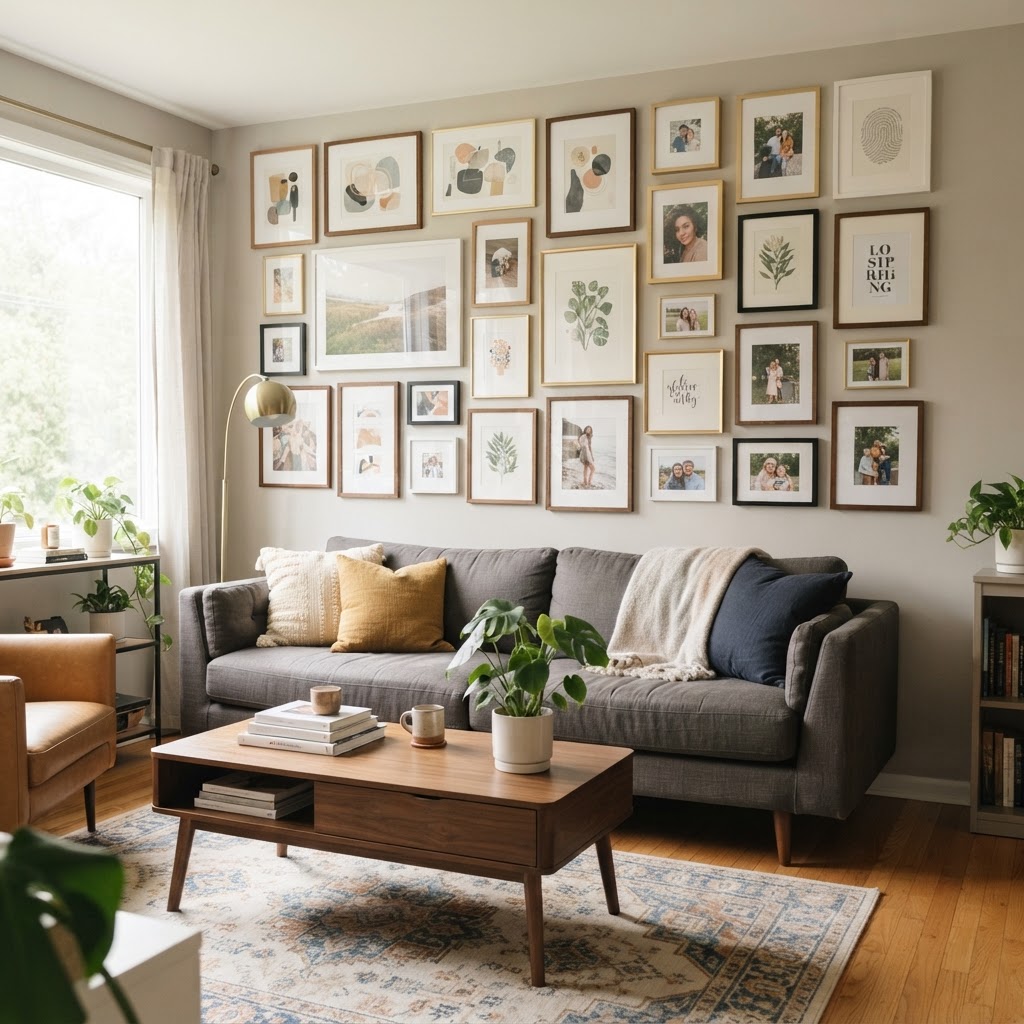
9 No-Tools Storage Solutions for Tiny Apartments

Living in a compact urban studio or a cozy rental often comes with the frustration of limited closet space and cramped surfaces. Finding effective no-tools storage solutions for tiny apartments is the ultimate game-changer for those who want to keep their home organized without risking their security deposit. Whether you are dealing with a lack of shelving or an overflow of daily essentials, you can transform your space using simple, gravity-defying, and modular techniques that require zero power tools. By rethinking how you interact with your furniture and wall space, you can unlock hidden capacity you never knew existed.

Rethinking Vertical Space with Tension and Gravity

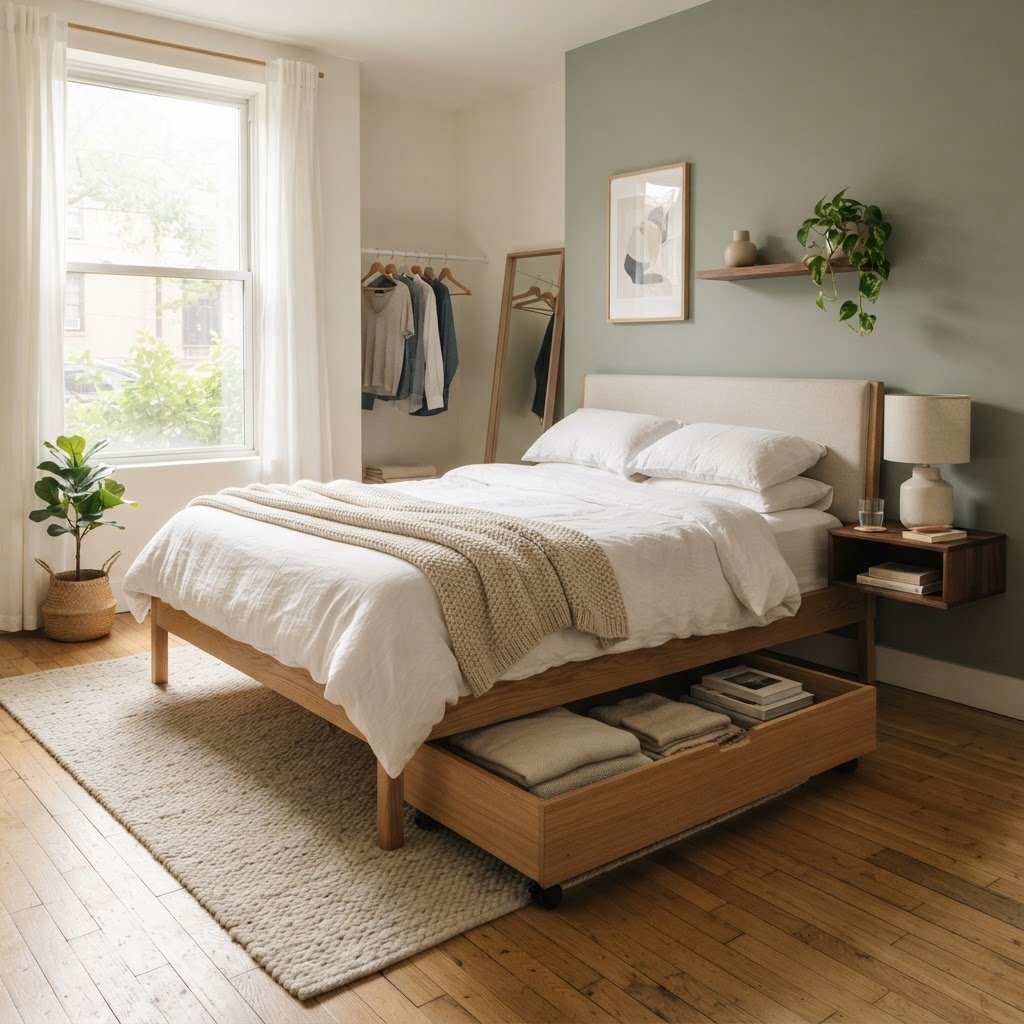
Utilizing the space beneath your bed is a perfect way to clear out your closet.

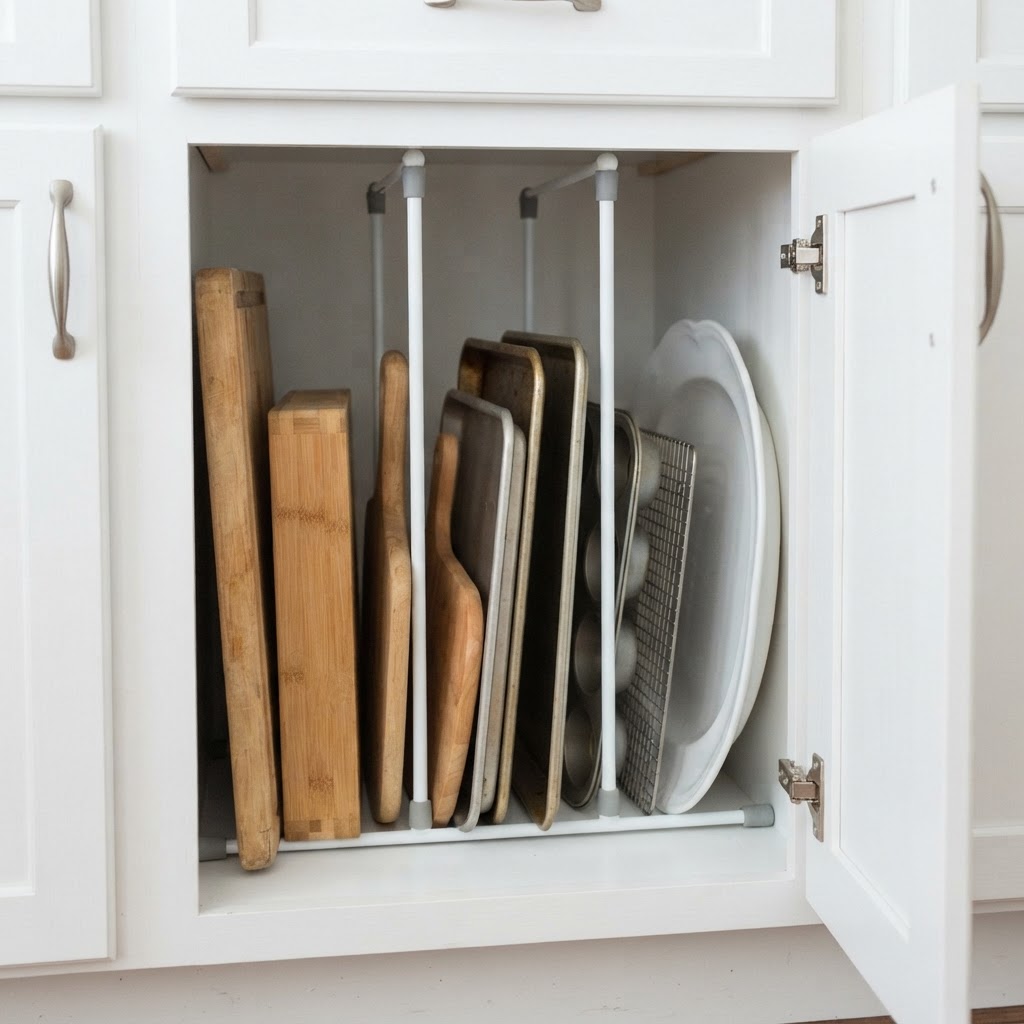
The most overlooked asset in any tiny room is the height of your walls. When you cannot drill holes for shelving, you have to lean into tension-based products and over-the-door solutions. Tension rods, typically used for shower curtains, are perhaps the most versatile tool in an organizer’s arsenal. You can place them inside kitchen cabinets to create upright storage for cutting boards, baking sheets, and even cleaning supplies. They turn dead space into highly functional vertical organizers that require nothing more than a firm twist to hold in place.

The Magic of Over-the-Door Organizers

Over-the-door racks are not just for shoes anymore. By using high-quality over-the-door hooks or hanging pocket organizers, you can clear off your countertops and floors entirely. These systems use the “hidden” side of a door, which is often the most underutilized real estate in a studio apartment. You can store everything from pantry items and beauty products to scarves and charging cables, keeping your living area pristine and clutter-free.

Maximizing Closet Capacity Without Renovations

Tension rods turn dead space into perfect vertical storage for kitchen items.

Most apartment closets are poorly designed, featuring a single rod that leaves half the vertical space empty. You can double your hanging capacity instantly by using cascading hangers, which allow you to hang multiple garments on a single vertical chain. This simple hack ensures that your seasonal wardrobe takes up significantly less width, leaving room for a rolling garment rack or a small shelf unit beneath your clothes.

Utilizing the Floor and Ceiling

If you have a gap between the top of your closet rod and the ceiling, utilize stackable clear bins. These bins allow you to see what you are storing while keeping items protected from dust. When you avoid heavy-duty shelving units, you can easily pull these bins down when the seasons change, ensuring that your storage remains flexible and mobile.

Furniture as a Secret Storage Weapon

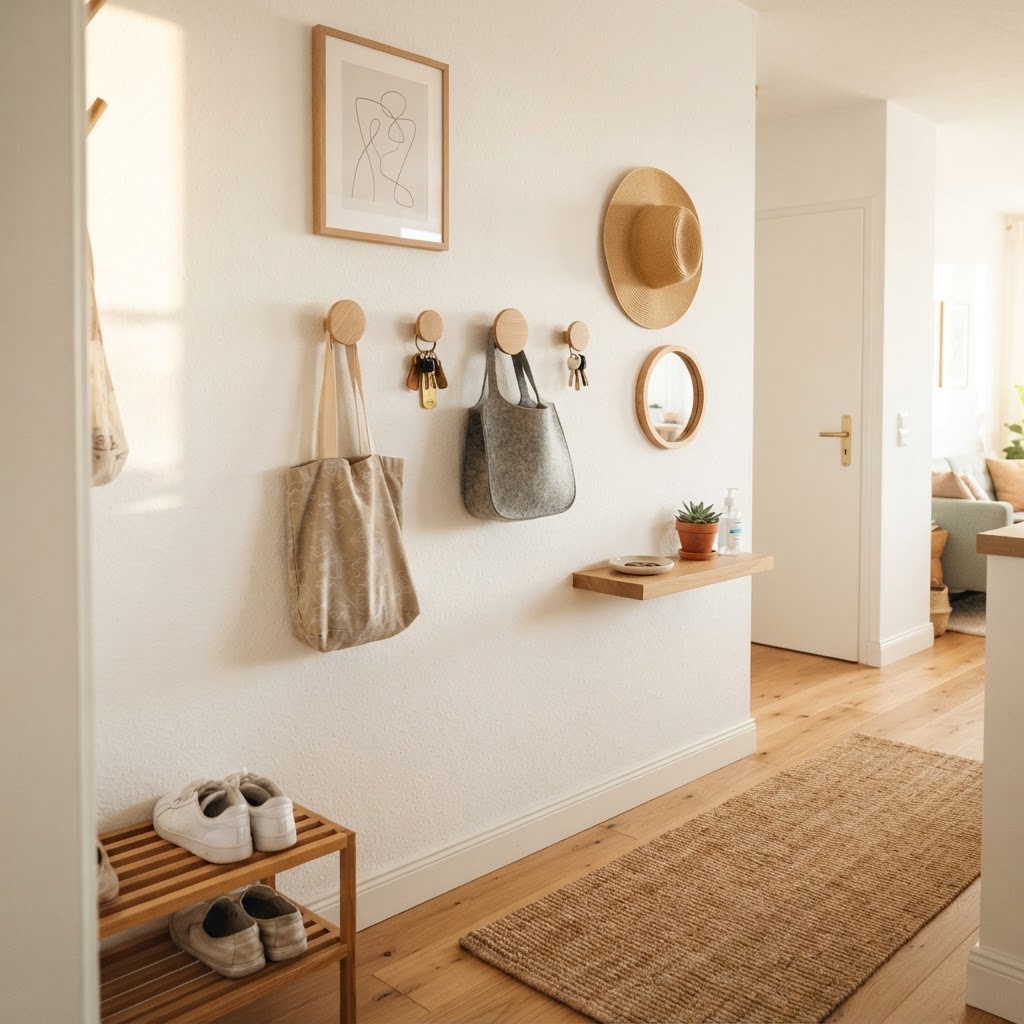
Adhesive hooks are a renter-friendly way to organize your entryway.

Your furniture should always do double duty when you live in a small space. If you are shopping for a new coffee table, prioritize options that have built-in drawers or a hollow interior for blankets and books. If you cannot replace your furniture, look for ways to optimize what you already own. For instance, using heavy-duty fabric bins underneath a sofa or a bed can hide away items that you do not need to access daily.

Creative Use of Magnetic Surfaces

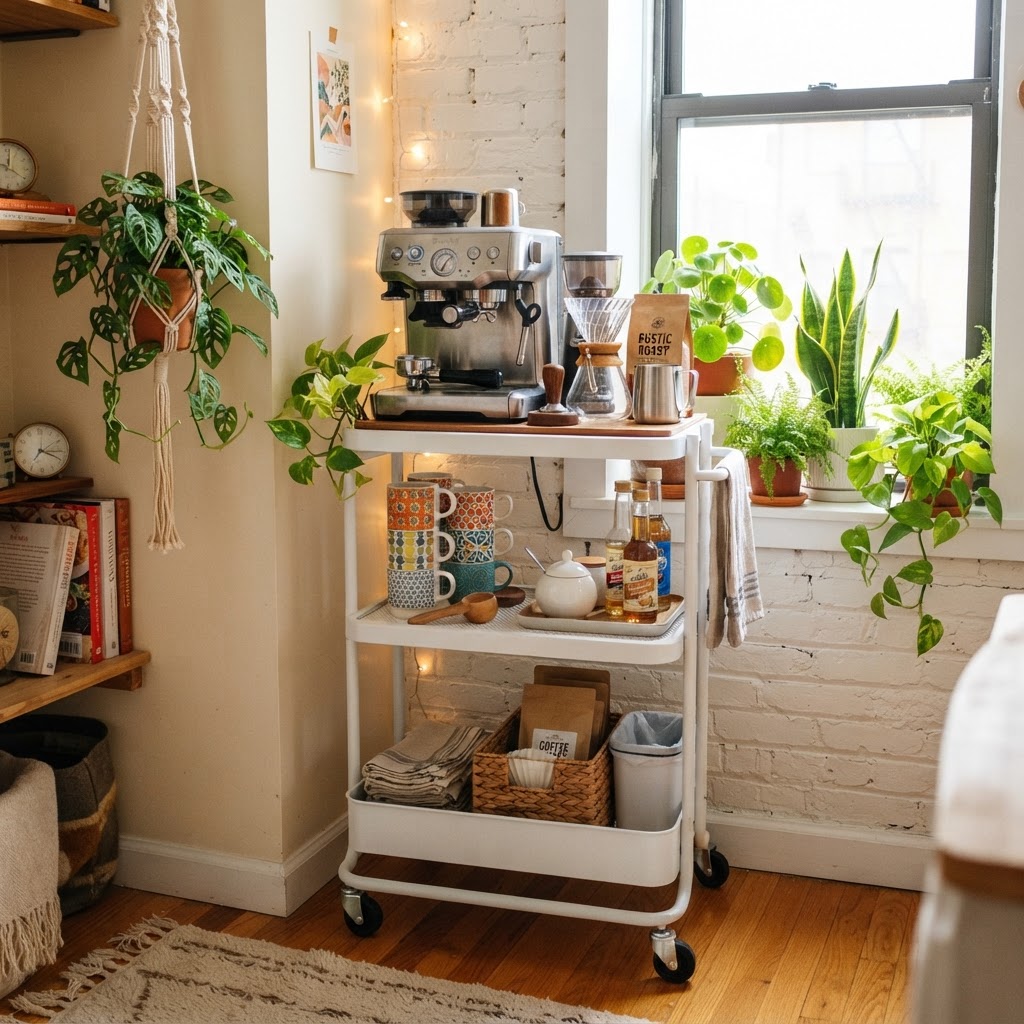
A rolling cart adds flexible, mobile storage to any corner of your apartment.

One of the most effective no-tools storage solutions for tiny apartments is the use of adhesive magnetic strips. These can be placed inside kitchen cabinets or on the side of a metal fridge to hold knives, spice tins, or even makeup containers. Since most of these strips use command-style adhesive, they come off clean when it is time to move, making them a perfect solution for the modern renter who needs to keep their kitchen counters clear.

Expanding Your Kitchen Efficiency

In tiny kitchens, the back of the cabinet door is prime real estate. By attaching small magnetic plates or hook systems, you can ensure that your most-used tools are accessible but out of sight. This strategy keeps the aesthetic of your kitchen minimal while providing ample space for the items that usually cause countertop clutter.

Command Hooks and Adhesive Brilliance

Command hooks are the gold standard for renter-friendly organization. You can create an entire “landing zone” near your entryway by using a series of hooks for keys, bags, coats, and even umbrellas. By mapping out a functional wall grid, you ensure that every item has a specific home, preventing the dreaded “junk chair” or “piles on the floor” syndrome that often plagues small apartments.

Designing Your Command Station

Think about the flow of your apartment. Where do you dump your stuff when you first walk in? By placing a wall-mounted magazine file or a sturdy set of hooks at eye level, you can keep your mail, wallets, and keys contained. This effectively removes the friction of daily life and makes your tiny home feel significantly more spacious.

Incorporating Modular Rolling Carts

Rolling utility carts are arguably the most essential item for small apartment dwellers. Because they require no installation, you can move them from the kitchen to the bathroom or the home office as your needs change. They act as mobile islands for your kitchen, extra shelving for your bedroom, or dedicated stations for your craft hobbies. Their ability to glide into tight corners when not in use makes them a superior alternative to fixed furniture.

The Power of Under-Bed Storage

Your bed is likely the largest piece of furniture in your room, and the space beneath it is often neglected. Instead of letting dust bunnies rule that area, invest in low-profile, long-format storage bins on wheels. These are perfect for tucking away bulky items like winter sweaters, extra linens, or specialized hobby equipment. By utilizing this massive footprint, you can clear out your closets and dresser drawers, creating a sense of openness throughout the room.

Conclusion

Finding the right no-tools storage solutions for tiny apartments is about creativity and intentionality. You do not need expensive renovations or professional organizers to create a home that feels open, clean, and functional. By utilizing vertical space, choosing multi-functional furniture, and leveraging adhesive-based tools, you can maximize every square inch of your apartment effectively.

Start by assessing one area of your home today, perhaps your entryway or a cluttered closet, and implement one of these hacks. Once you see how much space you can reclaim without picking up a single tool, you will be motivated to organize every corner of your home. If you enjoyed these tips, subscribe to our newsletter for more weekly small-space hacks and home organization advice!