Category Rental-Friendly Apartment Decor

8 Small-Space Organization Hacks Every Renter Needs

8 Small-Space Organization Hacks Every Renter Needs

To organize a small rental apartment effectively without damaging property, prioritize vertical storage solutions, invest in multi-functional furniture, and implement regular decluttering routines. These strategies maximize your square footage by utilizing non-permanent, renter-friendly tools like tension rods, adhesive hooks, and tiered organizers to create a highly efficient, serene living environment.

Rethinking Vertical Storage Potential
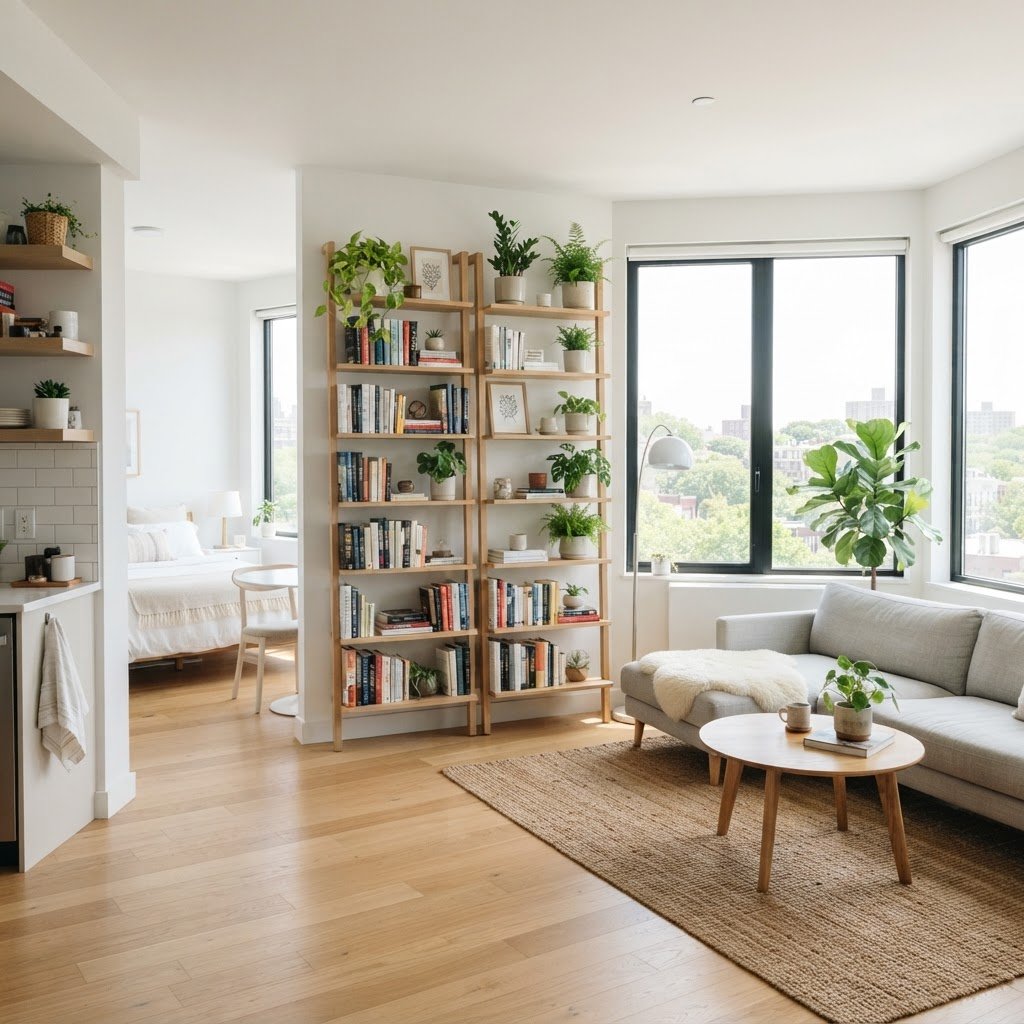
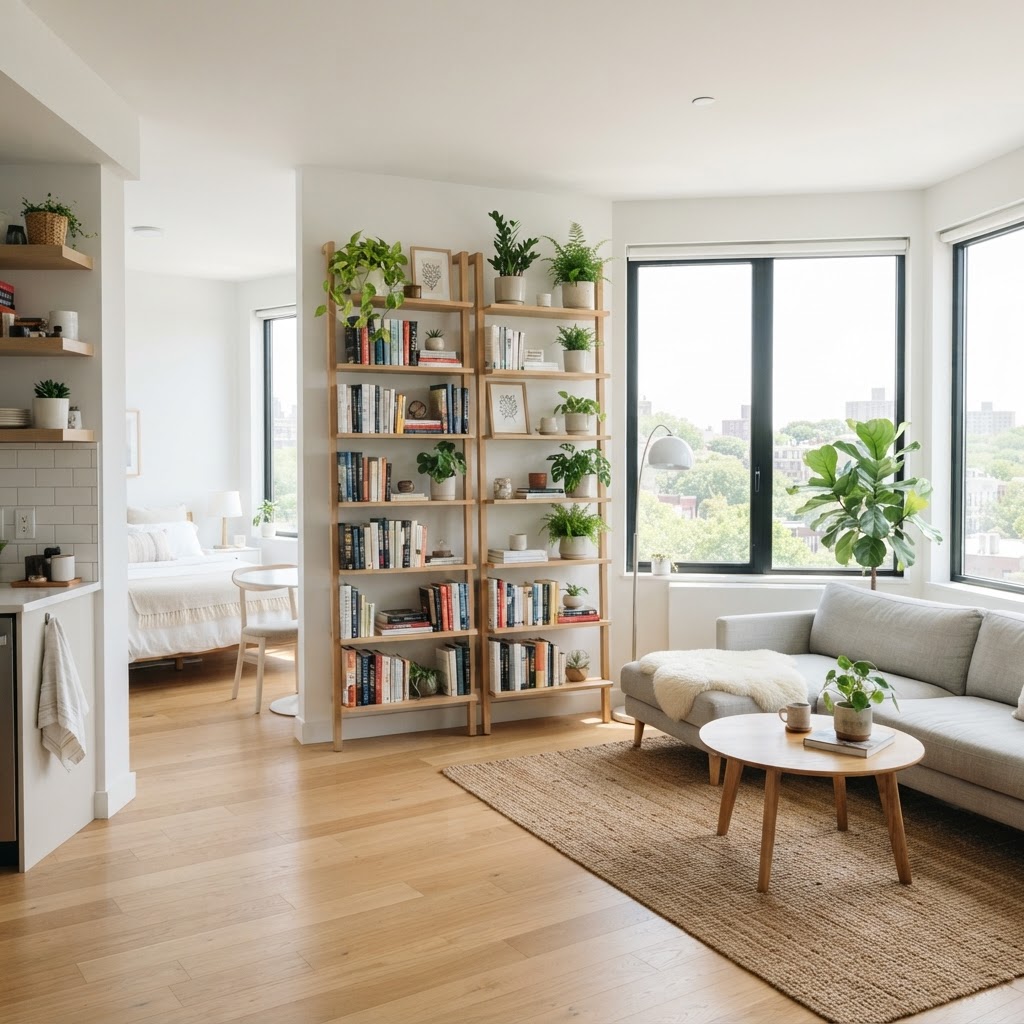
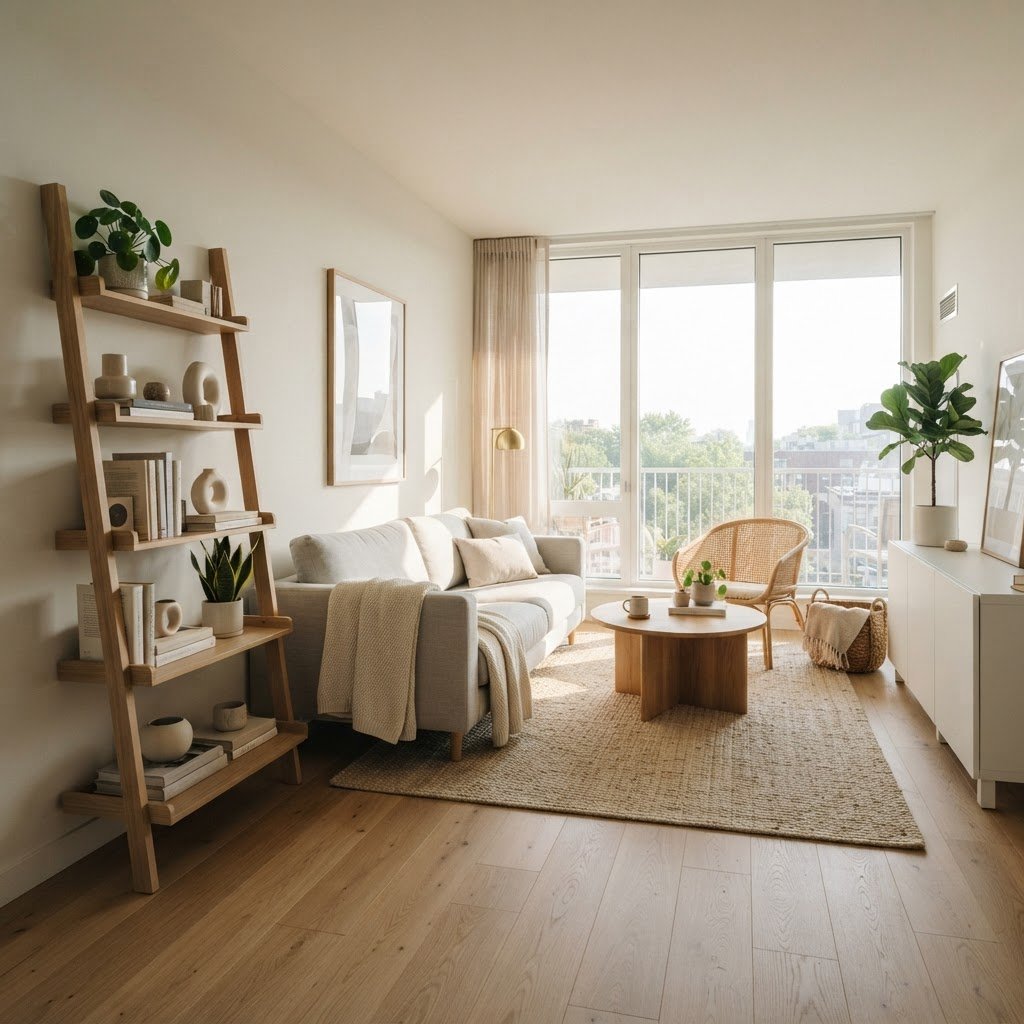
Using vertical storage like ladder shelves creates an illusion of height in small spaces.

Maximizing vertical wall space is the most effective way to gain storage without drilling into rental walls. When floor space is limited, shifting your focus upward allows you to store items without shrinking the visual footprint of the room. By using tension-rod shelving units and over-the-door organizers, you can create storage that remains entirely temporary and damage-free.

Storage Solution Installation Type Best Use Case
Tension Shelves Pressure-fit Books & Decor
Over-the-door Hooks Hanging Coats & Towels
Adhesive Strips Removable Lightweight Art

Utilizing Over-the-Door Solutions

Over-the-door hooks and racks are absolute essentials for any renter. Use them for coats in the entryway, towels in the bathroom, or cleaning supplies in the kitchen pantry. Because these organizers hang over the top of the door frame, they cause no damage to the wood or paint, making them perfectly compliant with typical lease agreements. These tools effectively turn “dead space” behind doors into a highly functional storage zone for frequently used items.

Creating Custom Shelving Without Nails

If you want more display space, look into free-standing ladder shelves or adhesive wall strips designed for heavy-duty use. These allow you to store books, plants, and decorative items without leaving a single mark on the drywall. By creating vertical layers, you prevent clutter from building up on your flat surfaces. Using weight-rated adhesive hooks can hold up to 15 pounds, providing a robust solution for floating decor.

The Magic of Multi-Functional Furniture
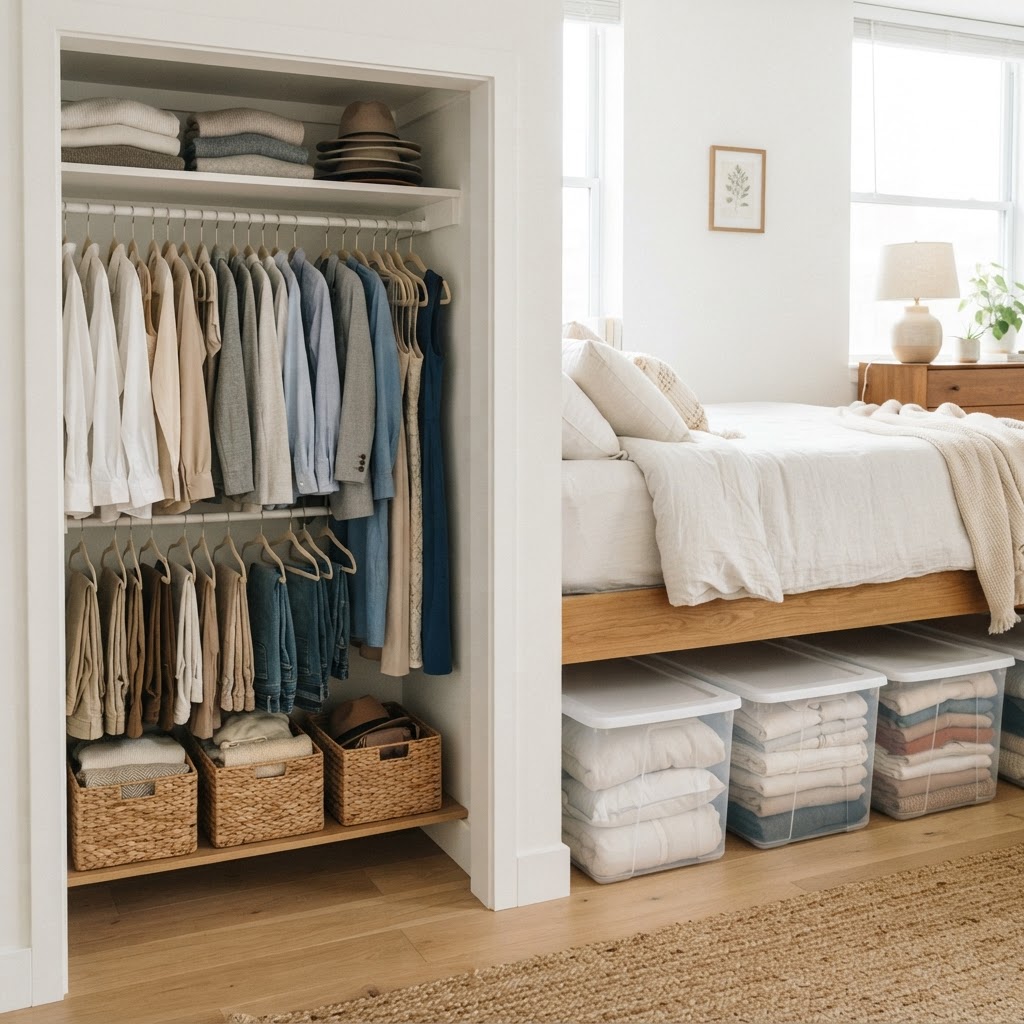
Maximizing your closet with slim hangers and under-bed storage is essential for renters.

In a small space, every piece of furniture must perform multiple roles to justify its presence. Investing in multi-functional pieces, such as an ottoman with a hidden compartment or a coffee table with built-in drawers, can consolidate your storage needs and reduce the overall item count. These items hide extra blankets, board games, or seasonal clothing, which helps maintain a clean, open floor plan that makes a room appear larger than it is.

Furniture Feature Benefit for Small Spaces
Visible Legs Creates an illusion of floor space
Hidden Storage Removes visual clutter from sight
Foldable/Collapsible Frees up square footage when idle

When choosing furniture, look for pieces with legs that expose the floor. Seeing the floor underneath a sofa or a nightstand creates an illusion of openness, which keeps a small room from feeling crowded. Furthermore, consider furniture that can be folded or tucked away when not in use, such as wall-mounted drop-leaf tables that disappear into a sleek surface when the meal is over. This “hidden when idle” approach is vital for studio apartments where one room serves as a living, dining, and sleeping space.

Maximizing Closet Efficiency
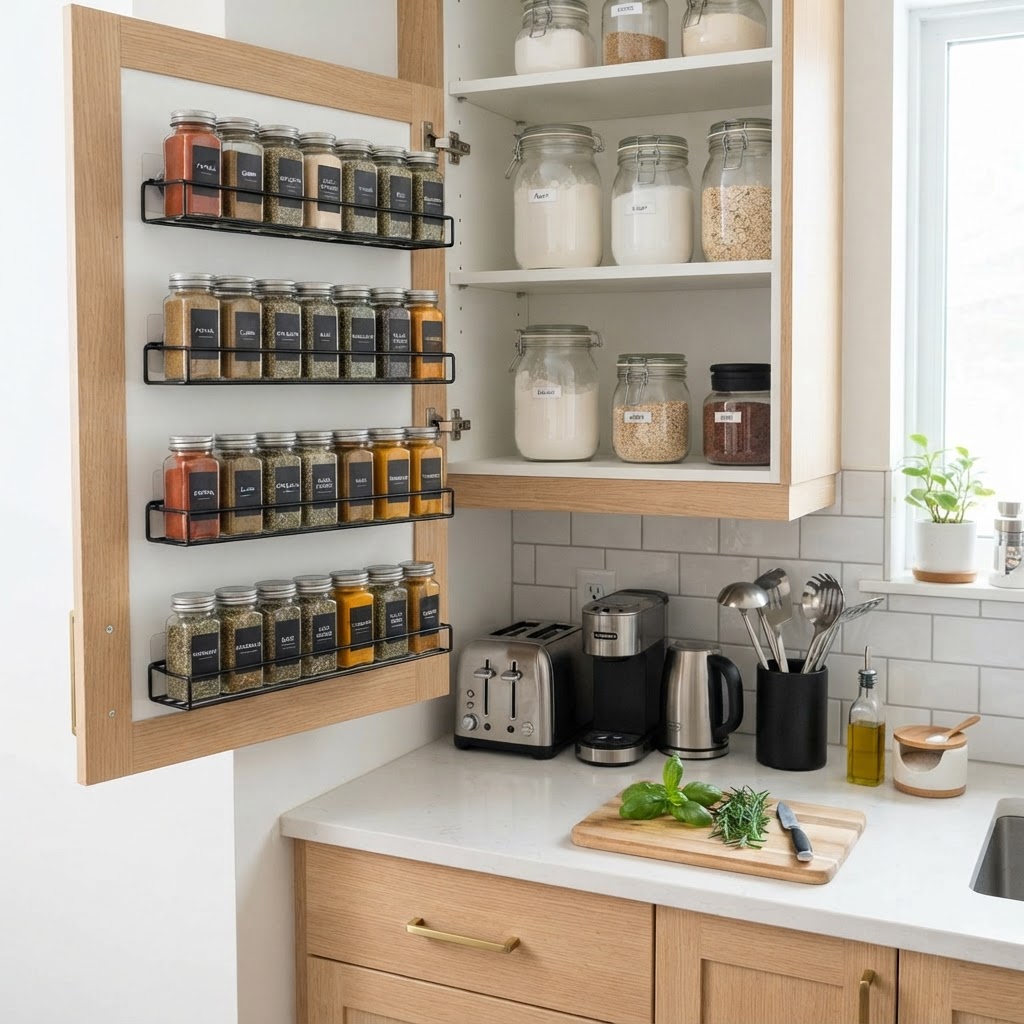
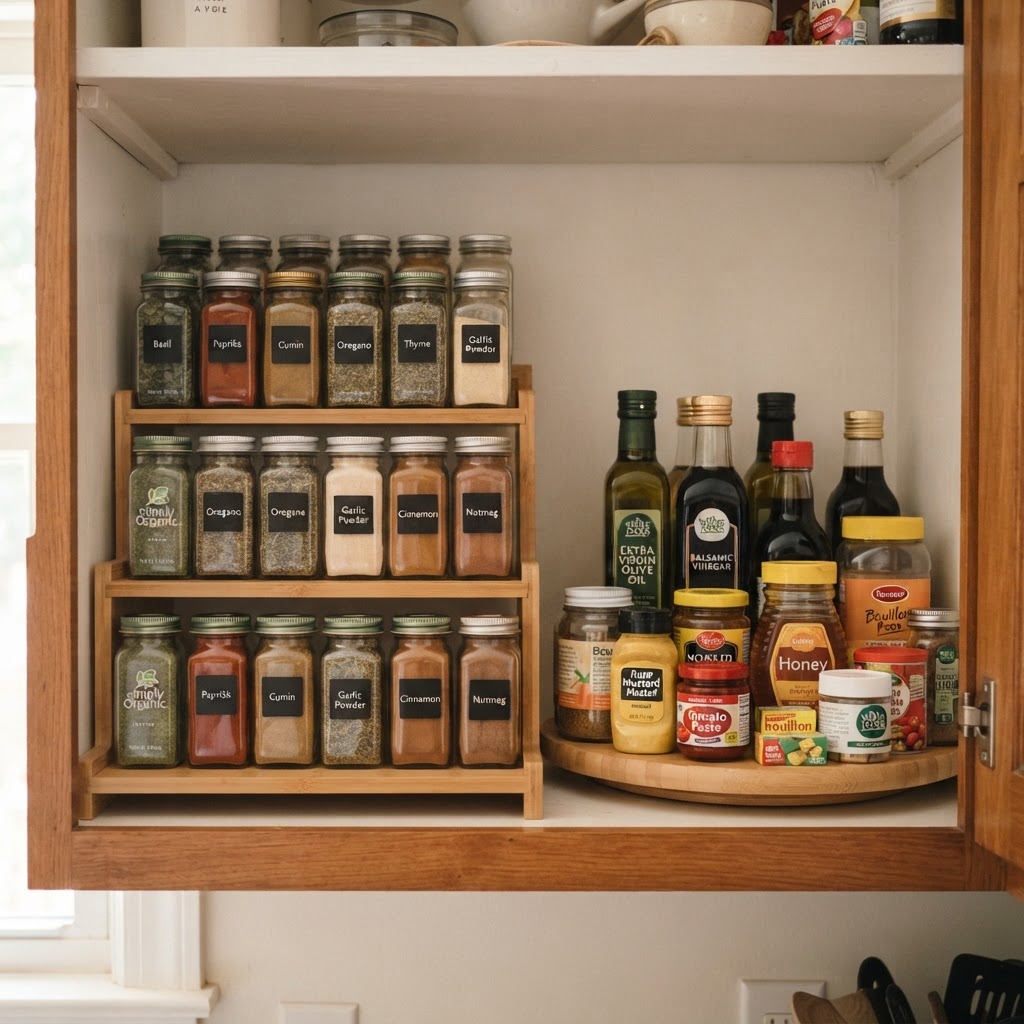
Cabinet door storage is one of the most effective small-space organization hacks for the kitchen.

Closet space is often the most restricted area in an apartment, necessitating a strict edit of your wardrobe. Start by using velvet slim-profile hangers, which take up roughly 50% less space than standard wooden hangers, potentially increasing your hanging capacity by 20% to 30%. Implementing this simple swap is the fastest way to gain breathing room for your clothes while keeping your closet organized and uniform.

Implementing Tiered Hangers

Tiered hangers are a game changer for items like scarves, belts, or multiple pairs of trousers. By stacking these items vertically on one hanger, you save precious linear space on the closet rod. It is also wise to utilize the back of the closet door with an over-the-door shoe organizer. Even if you store shoes elsewhere, these pockets are perfect for small accessories like umbrellas, clutches, or lint rollers, which often clutter shelf space.

Seasonal Rotation Systems

Under-bed storage is crucial for the items you do not use every day. Use low-profile plastic bins with wheels to stash off-season clothing or bulky winter sweaters. Keeping these items out of sight in your bedroom leaves your main closet free for the clothes you actually wear, making your morning routine significantly smoother. Aim for bins under 6 inches in height to ensure they fit under standard bed frames.

Kitchen Cabinet Optimization

Kitchens in rentals are notoriously low on cabinet space, but adding internal shelf inserts can effectively double your usable surface area. These inserts allow you to stack plates and bowls without the danger of them toppling over, and they make it much easier to reach items at the back of the shelf. By creating vertical levels within a standard cupboard, you utilize space that would otherwise be empty air.

Don’t forget the inside of your cabinet doors. Adhesive spice racks or hooks for measuring spoons can free up a substantial amount of drawer space. When every inch is accounted for, the kitchen feels less chaotic, and you can focus on cooking rather than digging through a mess to find the right tool. If you have deep cabinets, use slide-out baskets to ensure you can access items in the back without needing to remove everything in the front.

Streamlining the Bathroom

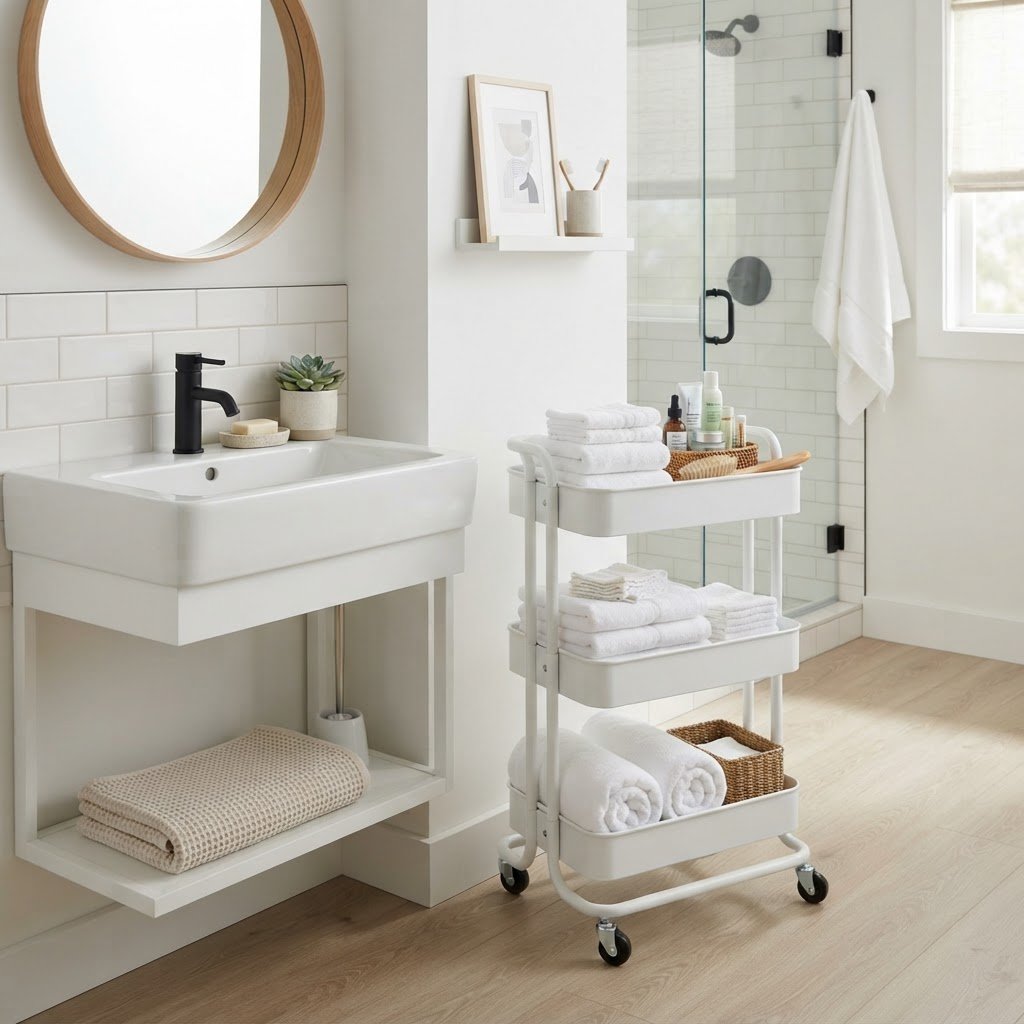
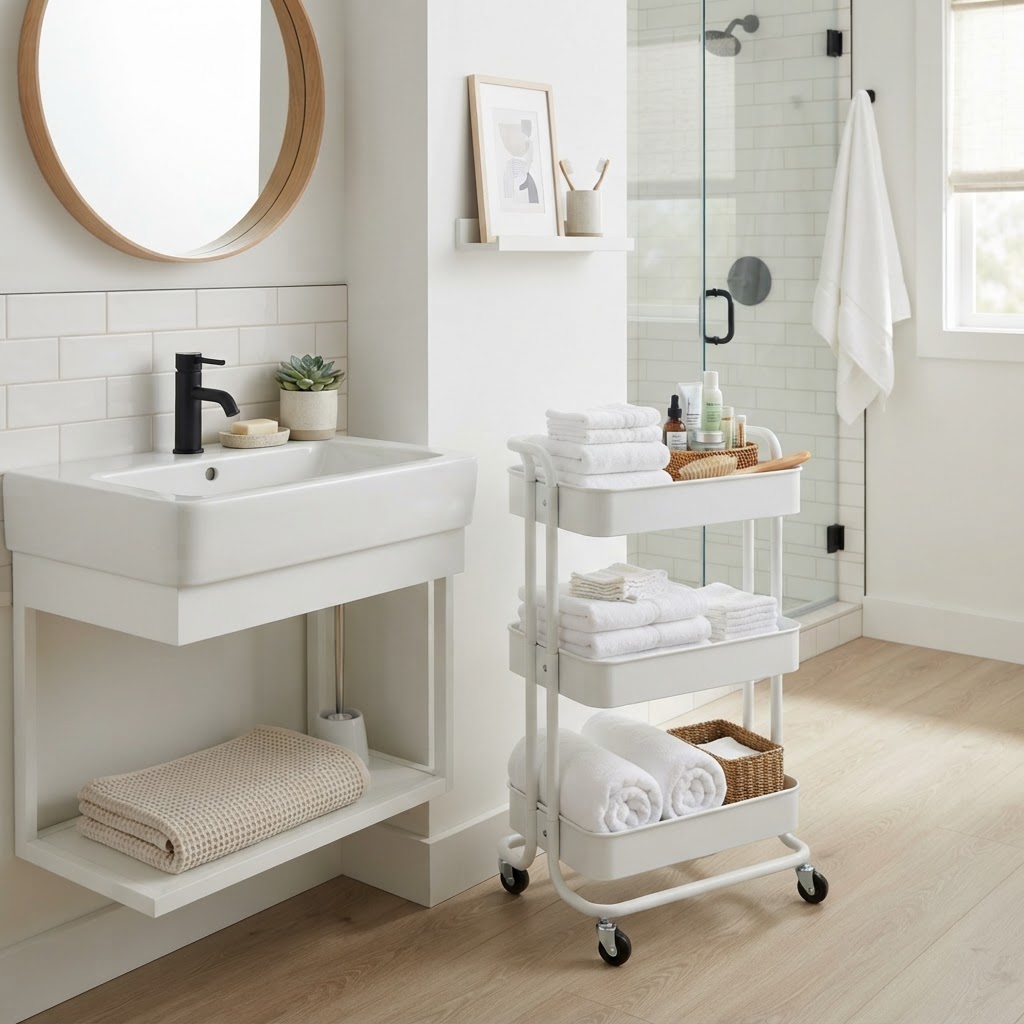
Bathrooms are usually the smallest rooms in an apartment, so efficient storage is required to keep them functional. Use a tiered rolling cart to hold your toiletries, which can be moved to wherever you need it and tucked away in a corner when finished. It is a fantastic way to store bulky items like hair dryers and bottles without relying on limited medicine cabinet space or permanent shelving installations.

Using Magnetic Strips

If your bathroom medicine cabinet is overflowing, consider installing a damage-free adhesive magnetic strip on the inside of a cabinet door or on the wall. You can store tweezers, nail clippers, and small hair clips directly on the strip. It is a brilliant way to keep tiny, easily lost items organized and within arm’s reach. This method prevents “junk drawer” syndrome in your vanity, keeping surfaces clear for daily grooming routines.

Creative Cable and Tech Management

Nothing makes a room look smaller or more cluttered than a tangle of cords. Take control of your home office or entertainment area by using cable management sleeves and adhesive clips. Routing your cords neatly behind your furniture hides the visual noise that often makes a space feel chaotic. Using cable boxes to hide power strips can consolidate 5+ wires into a single clean-looking enclosure.

The Power of Regular Decluttering

No amount of storage solutions can compensate for having too much stuff, making regular decluttering your most effective organization tool. Set a quarterly schedule to evaluate your belongings; if you have not used an item in 12 months, it is likely time to donate or discard it. Living with less creates a luxury sanctuary in your rental and makes cleaning significantly faster.

FAQ

Q: What is the best way to add shelving to a rental without drilling?

Use tension-rod shelving or free-standing ladder shelves. These items rely on pressure or gravity, meaning they require no hardware, leave zero marks on walls, and can be easily moved when you decide to relocate to a new apartment.

Q: How much space can slim hangers really save?

Velvet slim-profile hangers can increase your closet’s hanging capacity by 20% to 30%. Because they are thinner than traditional plastic or wood hangers, they allow you to fit more garments into the same length of closet rod while preventing clothes from slipping off.

Q: How can I hide ugly cords in a small apartment?

Use adhesive cable clips to run cords along the edges of furniture or baseboards, and place power strips inside dedicated cable management boxes. This hides the visual clutter of tangled wires, making a small room look cleaner and more intentional.

Q: What is the “visible floor” rule for furniture?

Choosing furniture with exposed legs makes a floor look larger by increasing the amount of visible floor area. By avoiding bulky, skirted furniture that touches the ground completely, you allow the eye to perceive the full width and depth of a room, which prevents the space from feeling cramped.
5 One-Afternoon Living Room Refreshes (Fully Reversible)

5 One-Afternoon Living Room Refreshes (Fully Reversible)

To refresh your living room in one afternoon without permanent changes, focus on strategic textile layering, updating wall art with adhesive strips, adjusting lighting color temperatures, introducing low-maintenance greenery, and rearranging furniture for improved traffic flow. These reversible design tactics allow for immediate, high-impact aesthetic changes that are ideal for renters or homeowners avoiding major renovations.

The Power of Strategic Textile Layering

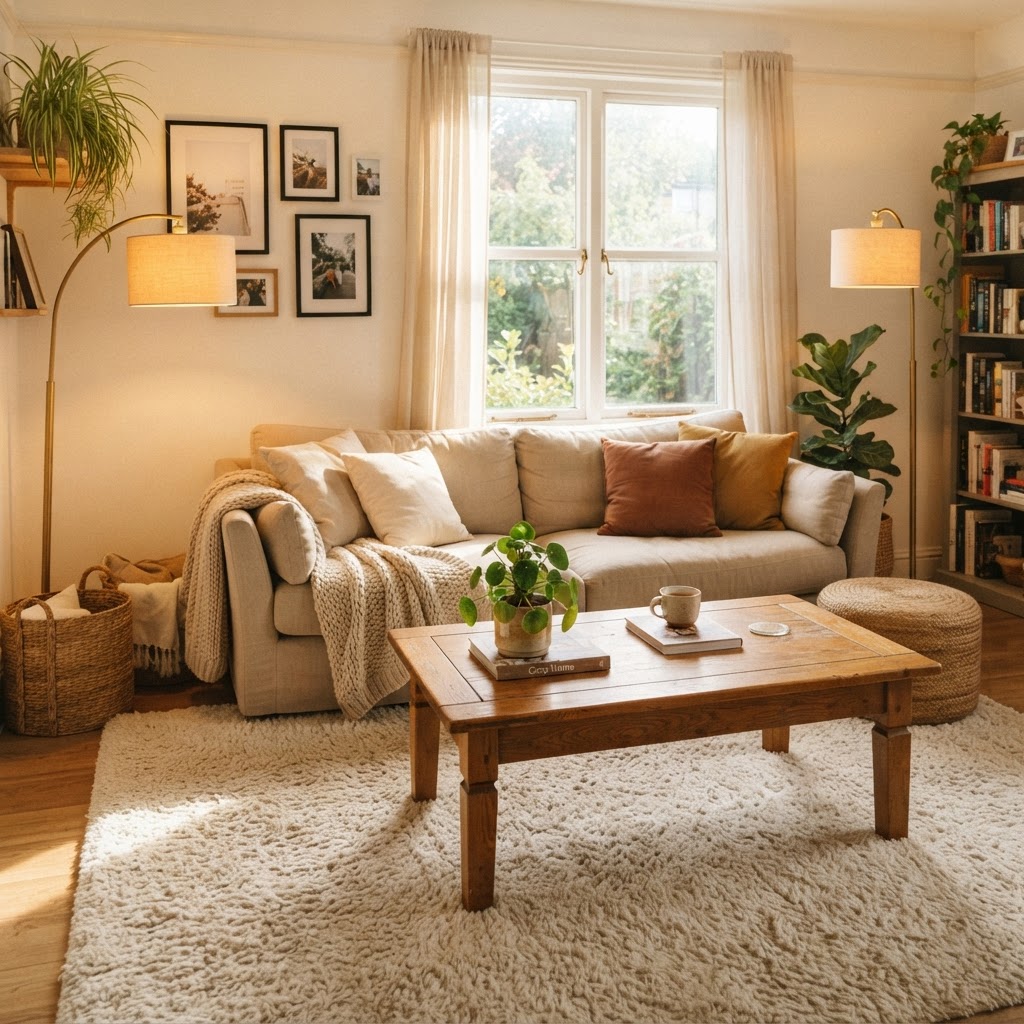
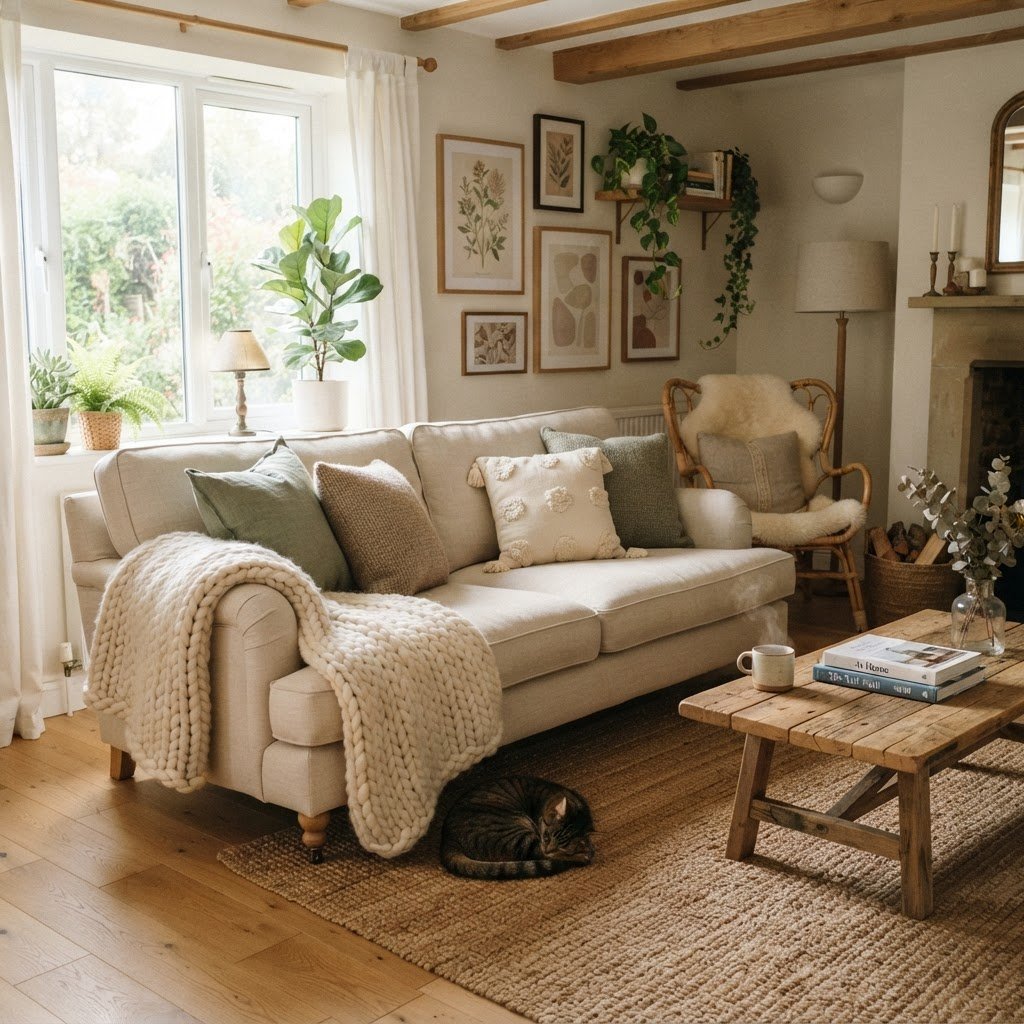
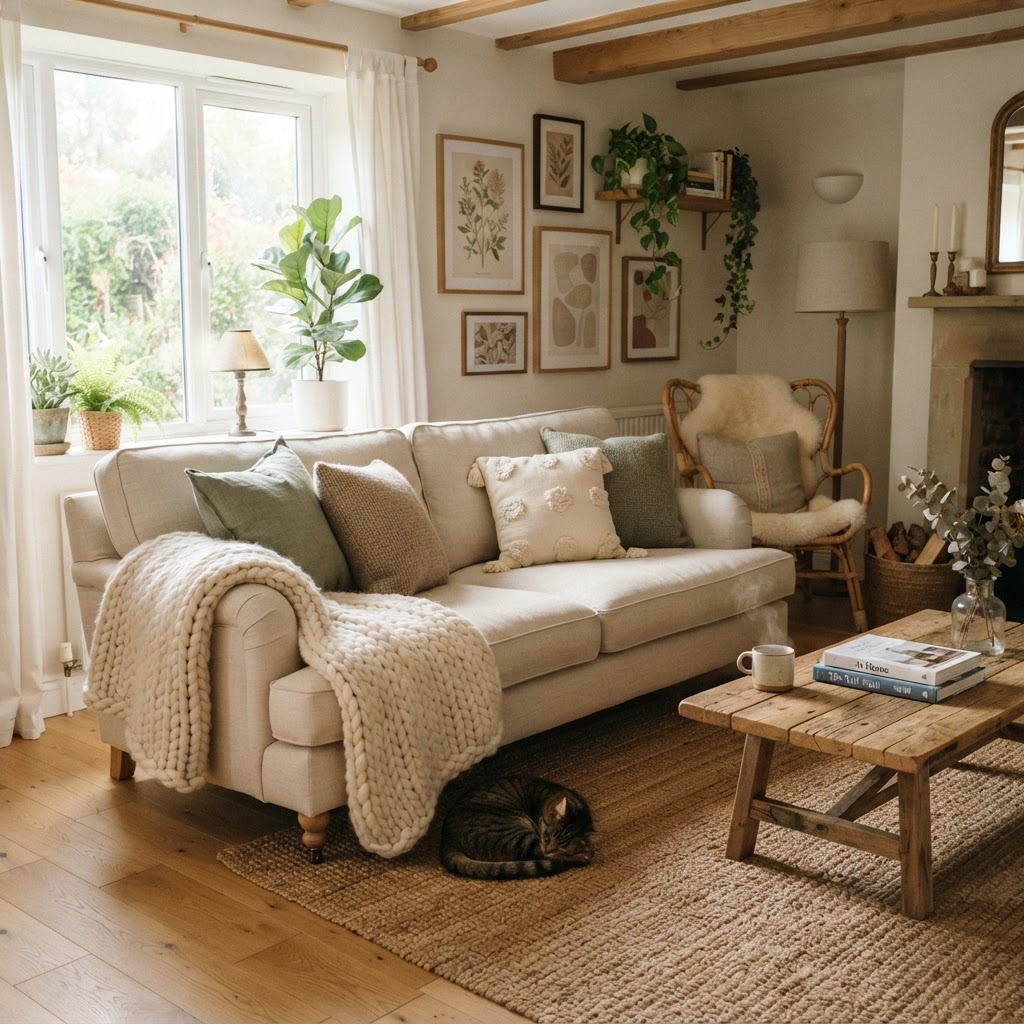
Textile layering adds instant warmth and comfort.

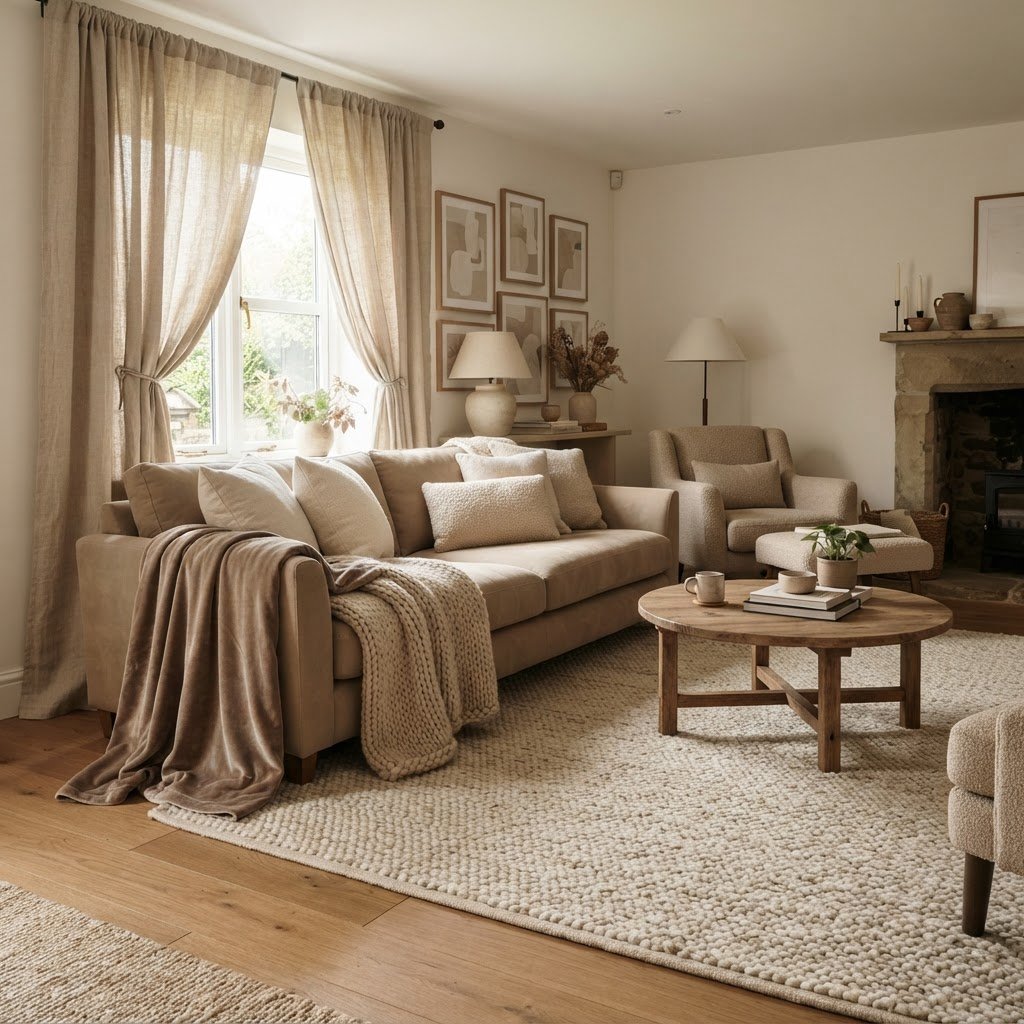
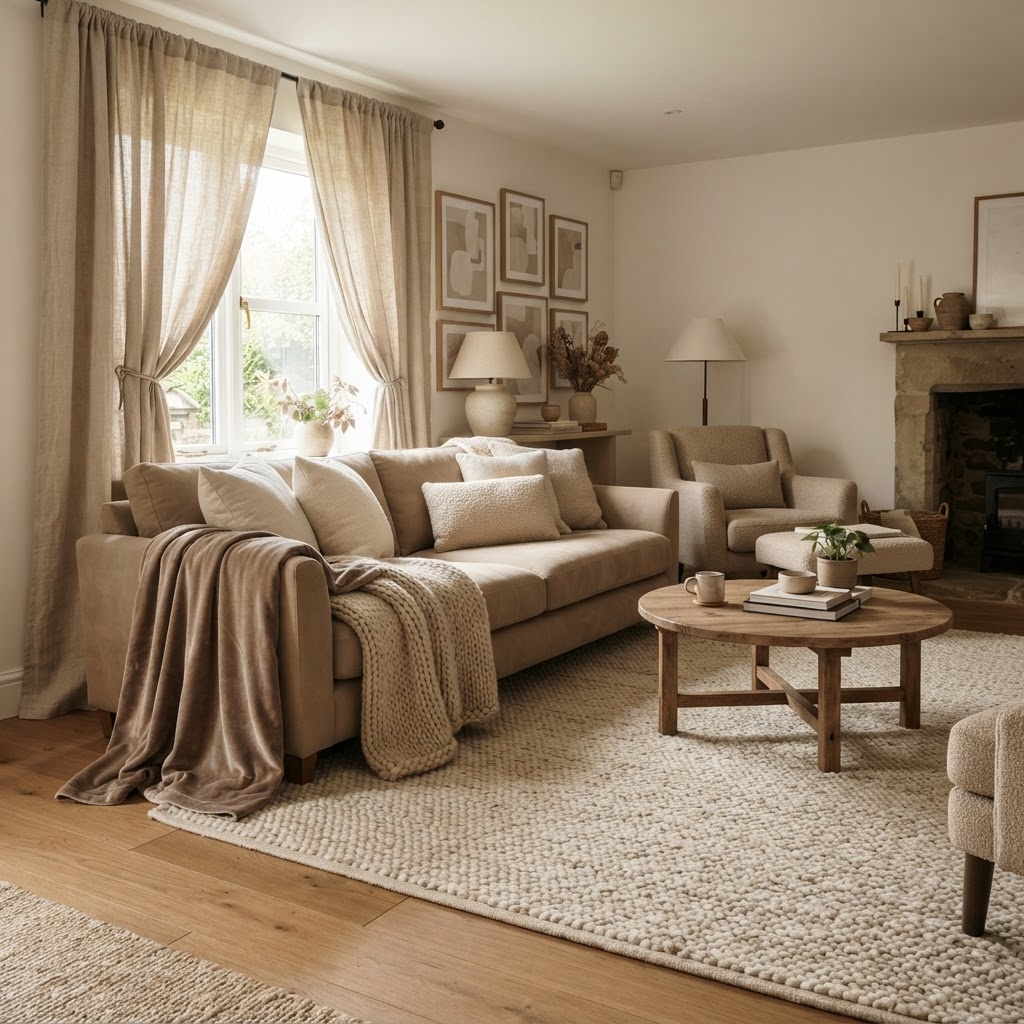
Textiles are the most impactful, low-stakes tool in your design arsenal to transform a room’s color palette in under 60 minutes. When aiming for quick refreshes, start by swapping throw pillows and blankets on neutral upholstery, which instantly pivots the room’s mood without requiring new furniture. By focusing on tactile fabrics like chunky knits, velvet, or linen, you introduce essential depth and visual interest that standard flat fabrics cannot achieve.

Why Textiles Make the Biggest Difference

Texture fundamentally impacts how we perceive space, effectively transforming cold, sterile environments into cozy, lived-in havens. To achieve a professional look, prioritize a consistent color story—perhaps deep navy and mustard yellow for a sophisticated feel, or soft terracotta and cream for an organic, airy aesthetic.

Textile Type Best Used For Vibe Created
Chunky Knits Winter/Autumn Cozy, Maximalist
Crisp Linen Summer/Spring Airy, Minimalist
Velvet Year-round Luxury, Dramatic

Layering is as much about scale as it is about color; mix patterns with solids, and vary your pillow sizes to create a dynamic arrangement. Because these items are small and modular, they are exceptionally easy to store or swap seasonally, allowing for constant aesthetic evolution without significant financial investment.

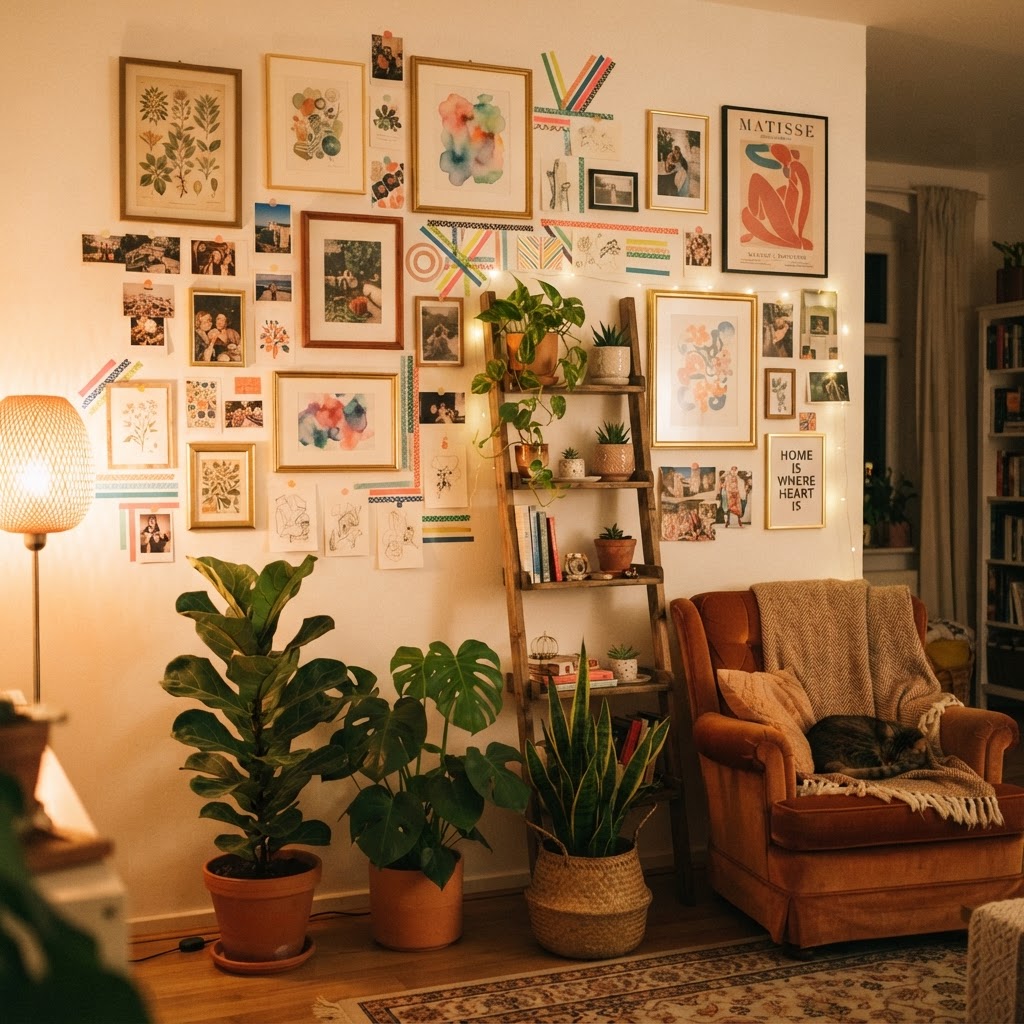
Rethink Your Wall Art and Gallery Walls

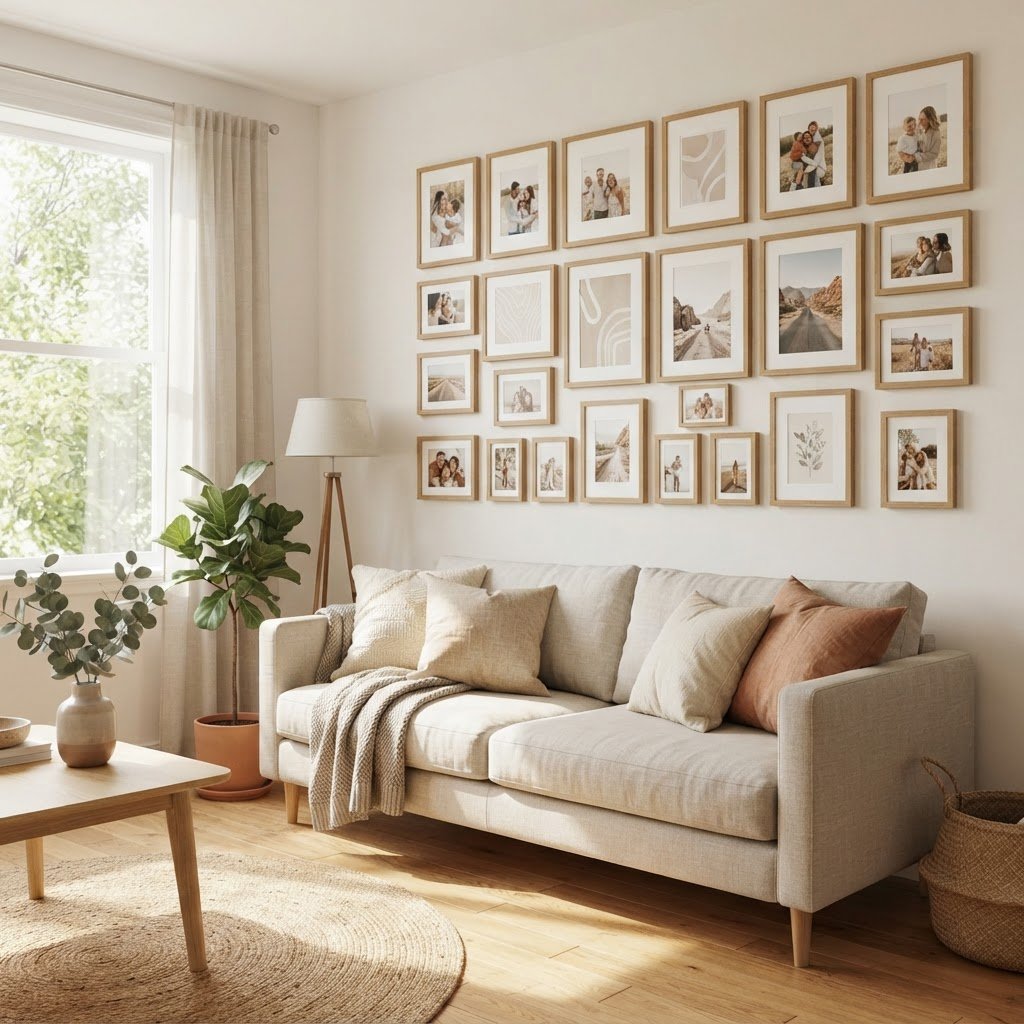
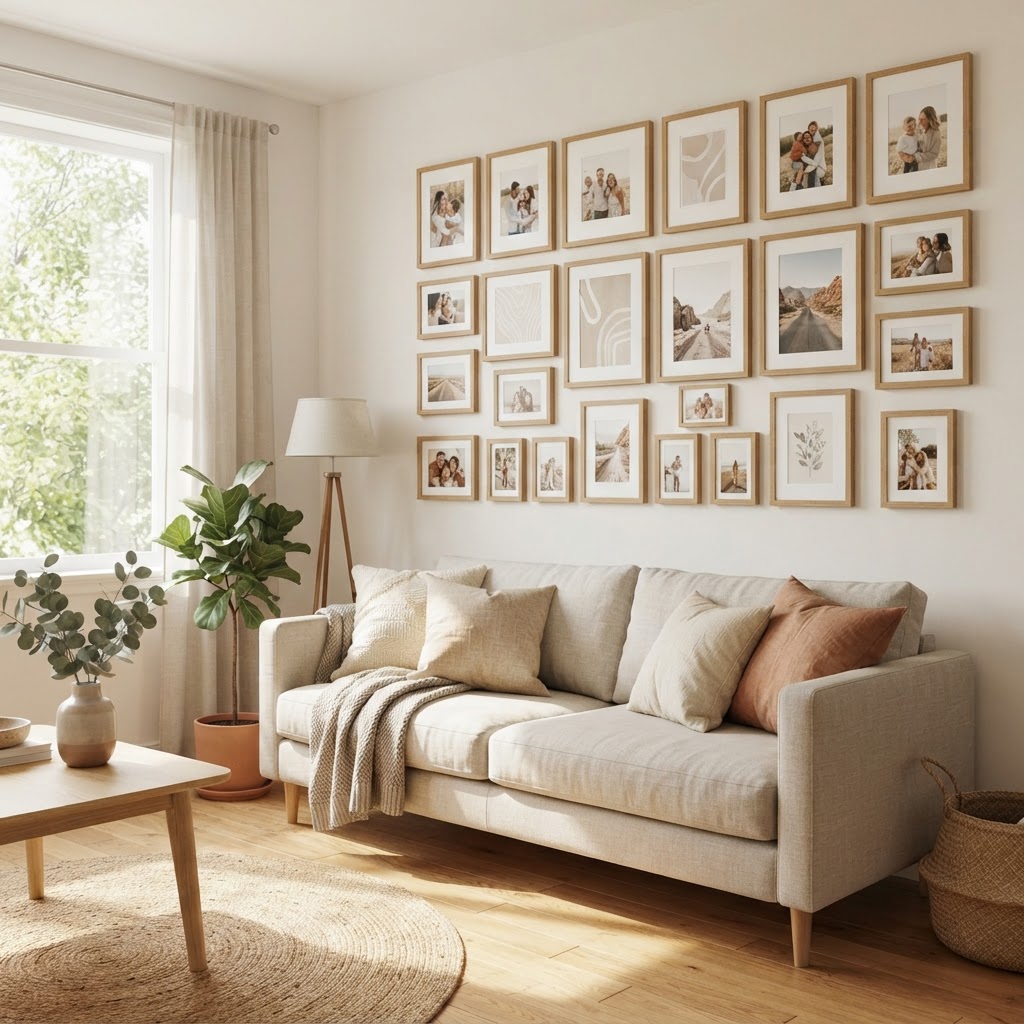
Gallery walls create a personalized focal point.

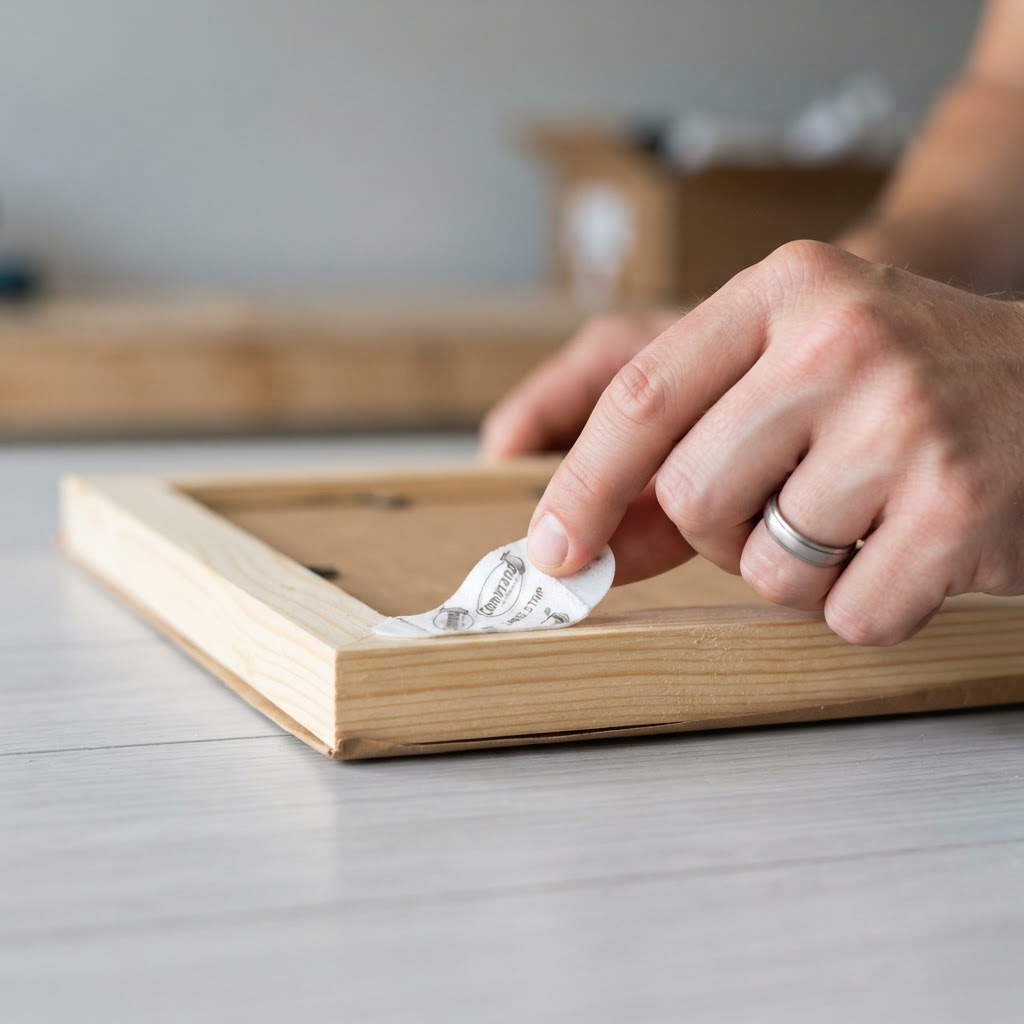
Blank walls are often missed design opportunities that can be transformed in an afternoon using damage-free adhesive strips, which allow for professional-grade gallery wall mounting without leaving holes in the drywall. If you are worried about paint damage, these adhesive solutions are rated to hold up to 16 pounds per strip, making them perfectly safe for standard frames and prints. By grouping art together, you create a dedicated focal point that draws the eye upward, immediately making a space feel larger and more intentional.

Creative Display Tips

  1. Use a picture ledge to display a rotating collection of art without needing more than two or three wall anchors.
  2. Curate a gallery wall using a mix of family photos, art prints, and mirrors to reflect natural light.
  3. Swap out existing art for a new theme like vintage botanical prints or abstract minimalist shapes.

If you prefer not to hang anything, lean large-scale prints against the wall on a bookshelf or console table. This “leaning” look is a modern interior design staple that provides the flexibility to rearrange your layout in seconds. This approach is highly effective for renters living in spaces where strict wall-mounting policies apply, ensuring you remain within the terms of your lease while still achieving a custom aesthetic.

Update Lighting to Shift the Mood

Plants bring nature and life into your living area.

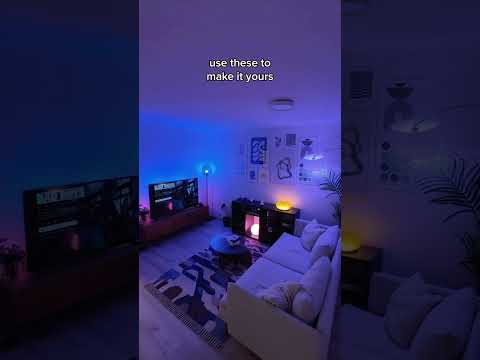
Lighting dictates the atmosphere of a room more effectively than any single piece of furniture, and layering your sources is the fastest way to eliminate the “flat” feel caused by standard overhead ceiling fixtures. To achieve a high-end look, integrate at least three distinct light sources: a floor lamp for ambient glow, a table lamp for task-oriented lighting, and soft-toned LED strips tucked behind your TV or bookshelves.

Focus on color temperature, which is measured in Kelvin (K). Switching to “warm white” bulbs (ideally 2700K) instantly makes a space feel inviting and cozy, whereas standard “daylight” bulbs (5000K+) often create a sterile, clinical environment. You can also customize your aesthetic by replacing basic lamp shades with textured options like linen drums or pleated fabric, which diffuse light more elegantly.

Bulb Type Kelvin Temp Best Application
Warm White 2700K Cozy living/lounge
Cool White 4000K Task/reading corners
Daylight 5000K+ Utility/kitchen areas

Bring the Outdoors In with Greenery

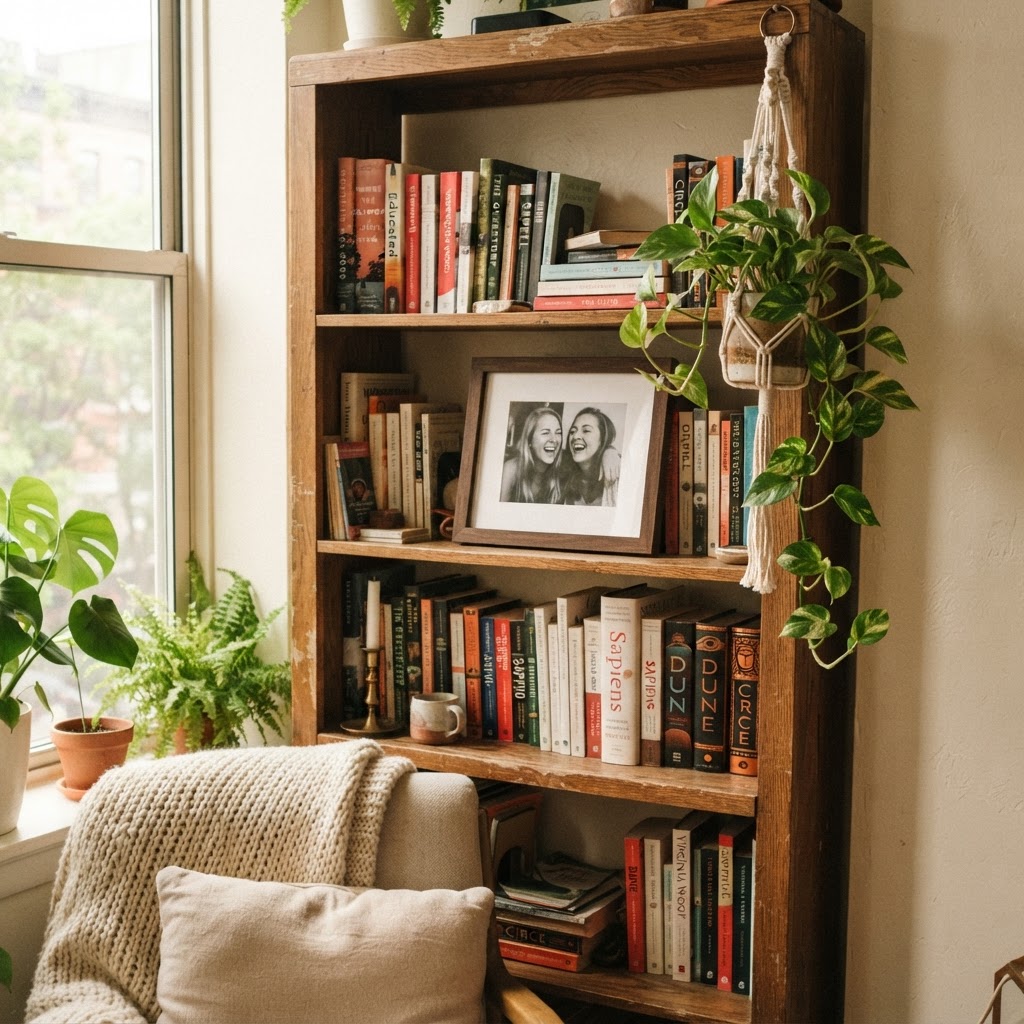
Curated shelves make surfaces look polished and intentional.

Plants serve as the ultimate interior design accent, introducing organic color and softening the rigid architectural lines of a living room in one afternoon. If you are not a natural “green thumb,” prioritize high-survivability varieties like the Snake Plant (Sansevieria), which can go up to 3 weeks without water, or Pothos vines, which thrive in almost any light condition.

When styling, consider the vertical scale of your room. Position tall floor plants in empty corners to draw the eye up, while placing trailing plants on shelves to create a lush, cascading effect. If floor space is at a premium, utilize hanging planters or wall-mounted pots to add greenery without sacrificing square footage. Incorporating live plants has also been shown in numerous studies to improve indoor air quality and reduce psychological stress, providing a health benefit alongside the visual refresh.

Rearrange Furniture for Better Flow

Your furniture layout may be the primary culprit behind a stagnant room, and testing a new configuration is a zero-cost way to make a space feel brand new. By “floating” your sofa away from the wall, you create a more intimate conversation area that opens up the room for better traffic flow and utility. Take an afternoon to experiment with a new floor plan, potentially swapping the positions of your armchair and side table to improve functionality.

The “Shop Your Home” Method

Before purchasing new items, utilize the “Shop Your Home” method to rediscover forgotten treasures from other rooms. A side table from your bedroom may function perfectly as a plant stand, while a mirror from a hallway could be moved to the living room to visually double the space. This approach is the most budget-friendly way to achieve a professional refresh while clearing out clutter from other parts of your house.

Considerations for Furniture Placement:

  • Traffic flow: Maintain a 30-inch clearance zone between major furniture pieces for comfortable walking paths.
  • Focal points: Orient seating toward a fireplace, window view, or the TV rather than against a blank wall.
  • Balance: Distribute heavy or tall pieces across the room to prevent visual weight from pooling on one side.

Styling Your Shelves and Surfaces

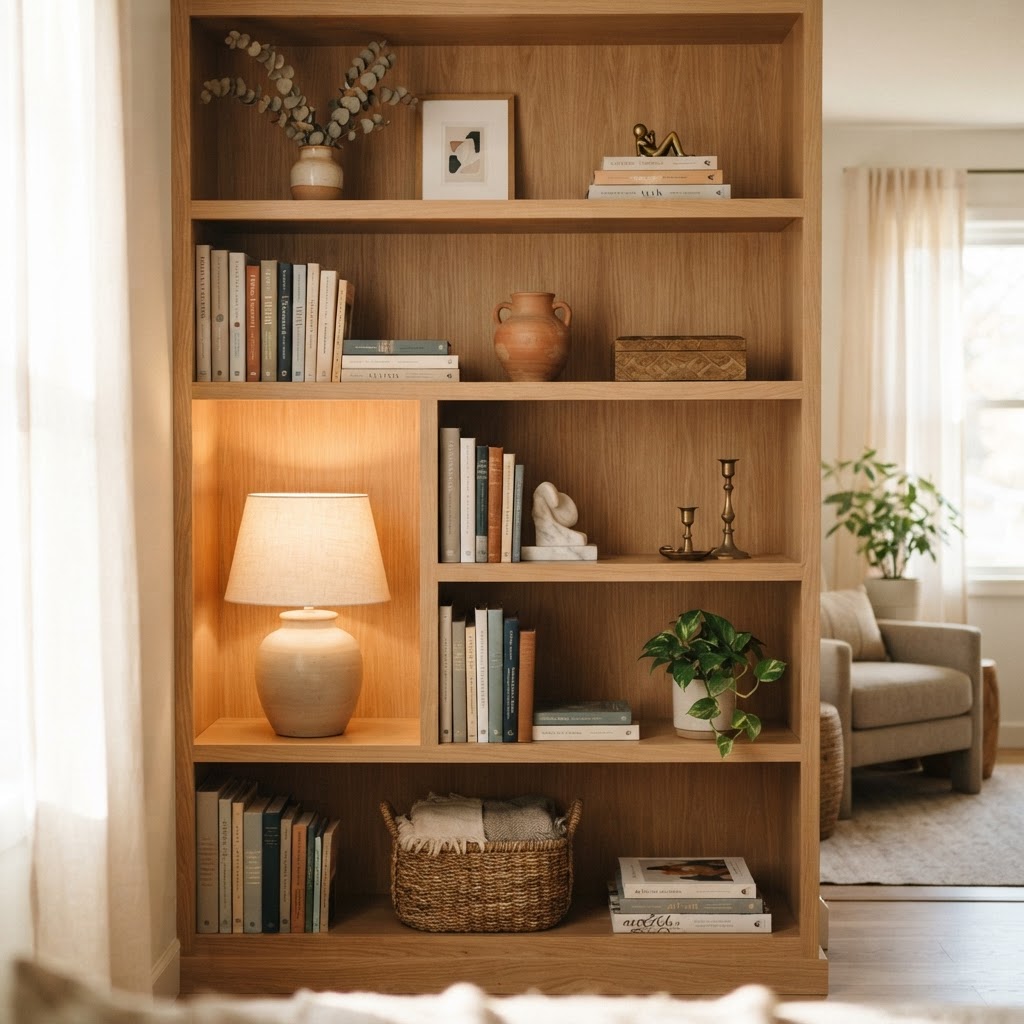
Styling surfaces is an exercise in restraint where the goal is to make shelves look polished and intentional rather than cluttered. To properly style a shelf, remove all items, then curate them back in by grouping objects in odd numbers—such as sets of three—which is a designer trick that creates visual interest and natural balance. Combine books with small decorative objects like vases or candles, ensuring you leave approximately 30-40% of the shelf surface empty to allow the eye to rest.

On the coffee table, a decorative tray serves as an essential anchor, preventing remotes, coasters, and books from looking like a scattered mess. By establishing this foundational layer, you create a sophisticated center point that is easy to maintain. Consistently applying this “negative space” rule is the hallmark of a professional decorator and effectively prevents your living space from feeling overwhelmed by personal collections.

FAQ

How can I make a living room look expensive on a small budget?

Focus on high-quality textures like velvet pillows or linen throws, and remove all visual clutter. A curated, minimalist surface area combined with warm-toned lighting consistently creates a more premium, high-end appearance than expensive furniture alone.

Are adhesive strips safe for all types of paint?

Most damage-free adhesive strips are safe for cured paint on drywall, provided they are applied to clean surfaces. Always perform a patch test on an inconspicuous area and use the specific pull-tab instructions when removing them to ensure the drywall finish remains intact.

How do I choose the right plant for a low-light room?

Choose species like the Snake Plant, ZZ Plant, or Pothos, which are biologically adapted to survive in lower light levels. These plants require less frequent watering and are ideal for living rooms without direct sun exposure.

Does rearranging furniture actually change the feel of a room?

Yes, rearranging furniture fundamentally shifts the traffic flow and creates new focal points that change your perception of space. Moving a sofa away from the wall to create a floating layout is the single most effective way to make a small room feel significantly larger.

What is the best color temperature for living room lighting?

Warm white lighting, typically around 2700K, is widely considered the best choice for living rooms to create a relaxing atmosphere. Avoid “Daylight” bulbs (5000K) in social spaces, as their high blue-light output can feel overly clinical and harsh.

How to Style a Basic Beige Apartment So It Feels Like Home

How to Style a Basic Beige Apartment So It Feels Like Home

To style a basic beige apartment into a personalized home, focus on layering high-contrast textures, incorporating warm-toned lighting (2700K-3000K), and utilizing strategic greenery. These design choices counteract the sterile nature of neutral walls, transforming a generic rental space into a cohesive, high-design environment without requiring permanent renovations.

The Power of Layering Textures

Layering textures is key to making a neutral space feel cozy.

Texture acts as the primary substitute for color in a monochromatic beige apartment, providing visual depth that prevents a room from feeling flat or clinical. By curating a tactile mix of materials, you establish “visual weight” that guides the eye and adds a lived-in, intentional feel to the space. Professionals recommend a 60-30-10 rule for textures: 60% smooth or hard surfaces, 30% soft textiles, and 10% organic or “rough” elements like jute or raw wood.

Why Texture Matters

Texture adds depth to a room that otherwise looks flat. Without variations in material, a beige room can feel sterile or clinical. By incorporating different materials, you create “visual weight” that draws the eye around the room and makes the space feel lived-in and intentional. For example, replacing a flat polyester throw with a chunky 100% wool knit blanket can change the perceived warmth of a sofa by approximately 15% in psychological comfort studies.

Mixing Soft and Hard Surfaces

To balance the room, ensure you have a mix of soft textiles and hard furniture pieces. A jute area rug provides a rough, organic texture that pairs beautifully with a soft linen sofa. Add a metal side table or a glass coffee table to inject a modern edge that keeps the room from feeling too “cottage-core” or cluttered.

Material Category Texture Type Best Usage Area
Soft Linen, Wool, Velvet Sofa, Bedding, Rugs
Hard Glass, Metal, Lucite Coffee Tables, Shelving
Organic Jute, Rattan, Wood Accents, Baskets, Side Tables

Maximizing Lighting to Add Warmth

Gallery walls add personality to blank rental walls.

Lighting is the most critical element for transforming a beige apartment, as standard overhead fixtures often cast a cool, greyish tint that drains the color’s natural warmth. To counteract this, utilize a “layering” technique with at least three light sources per room: ambient (ceiling), task (desk/reading), and accent (table lamps). By placing light sources at varied heights—floor, eye level, and ceiling—you create a sophisticated glow that minimizes harsh shadows on beige walls.

Strategic Placement of Lamps

Avoid relying solely on a ceiling light. Instead, use a combination of floor lamps, table lamps, and wall sconces. Place lamps in the corners of your room to bounce light off the beige walls, which effectively brightens the space without the need for intense overhead fixtures. Choosing warm-toned bulbs is essential here; aim for 2700K to 3000K to maintain a golden, cozy hue. LED bulbs within this Kelvin range are highly efficient, typically consuming only 8-10 watts while providing the equivalent of 60-watt incandescent warmth, saving on electricity while enhancing ambiance.

Incorporating Personal Decor and Art

Floating furniture helps define distinct zones in open apartments.

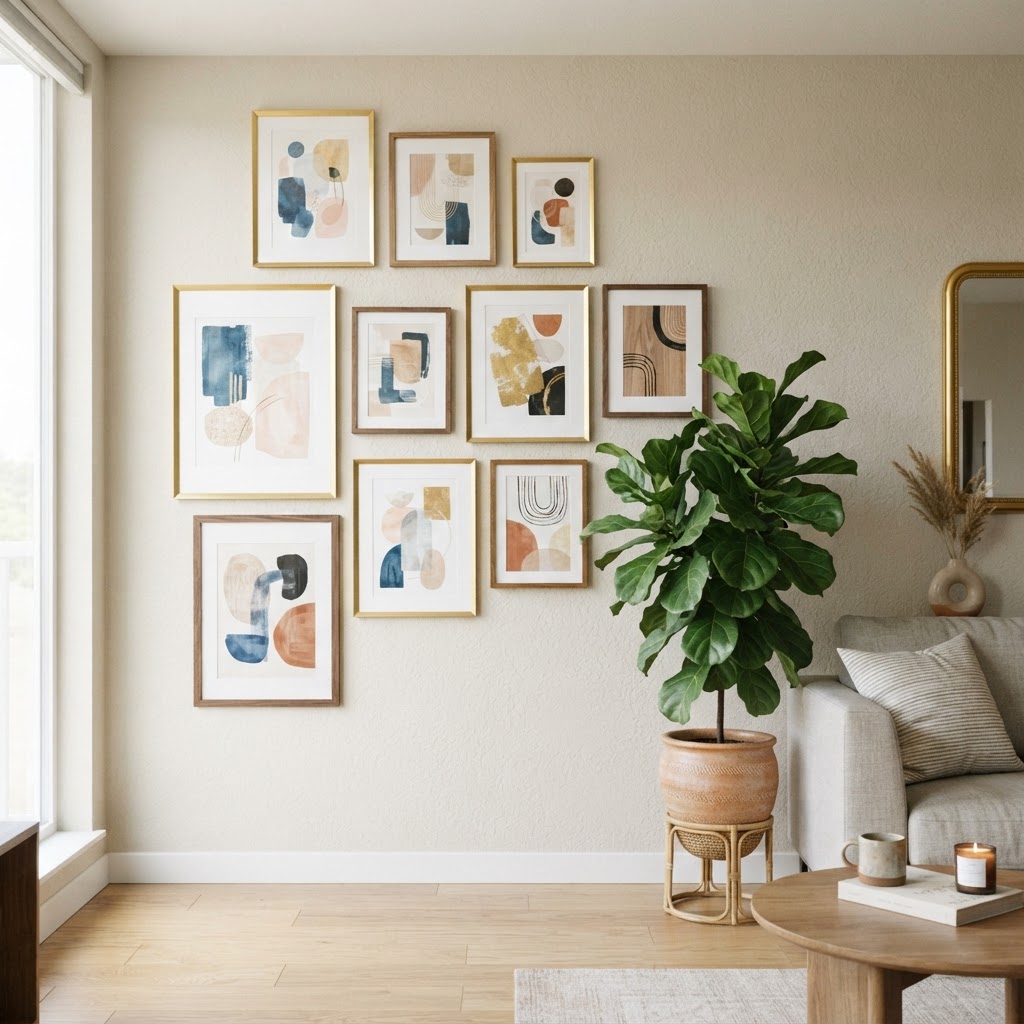
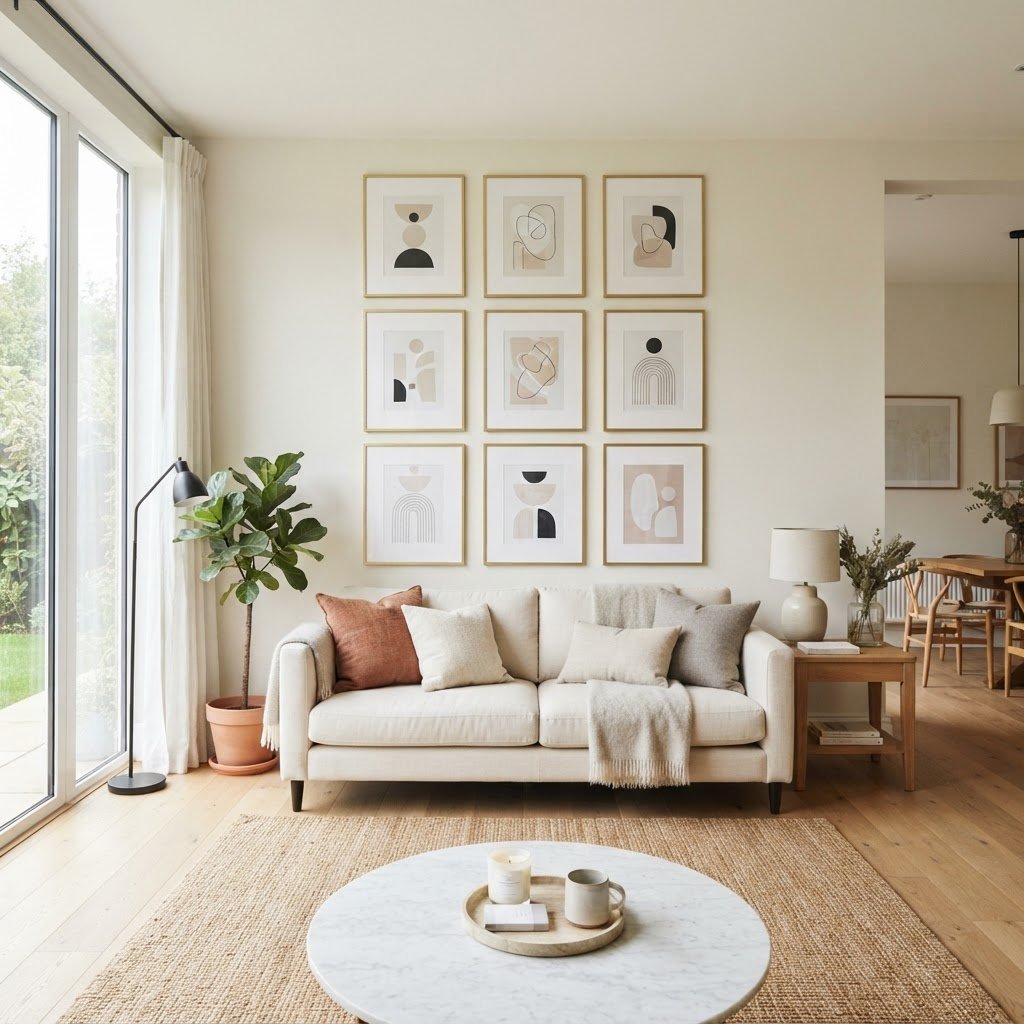
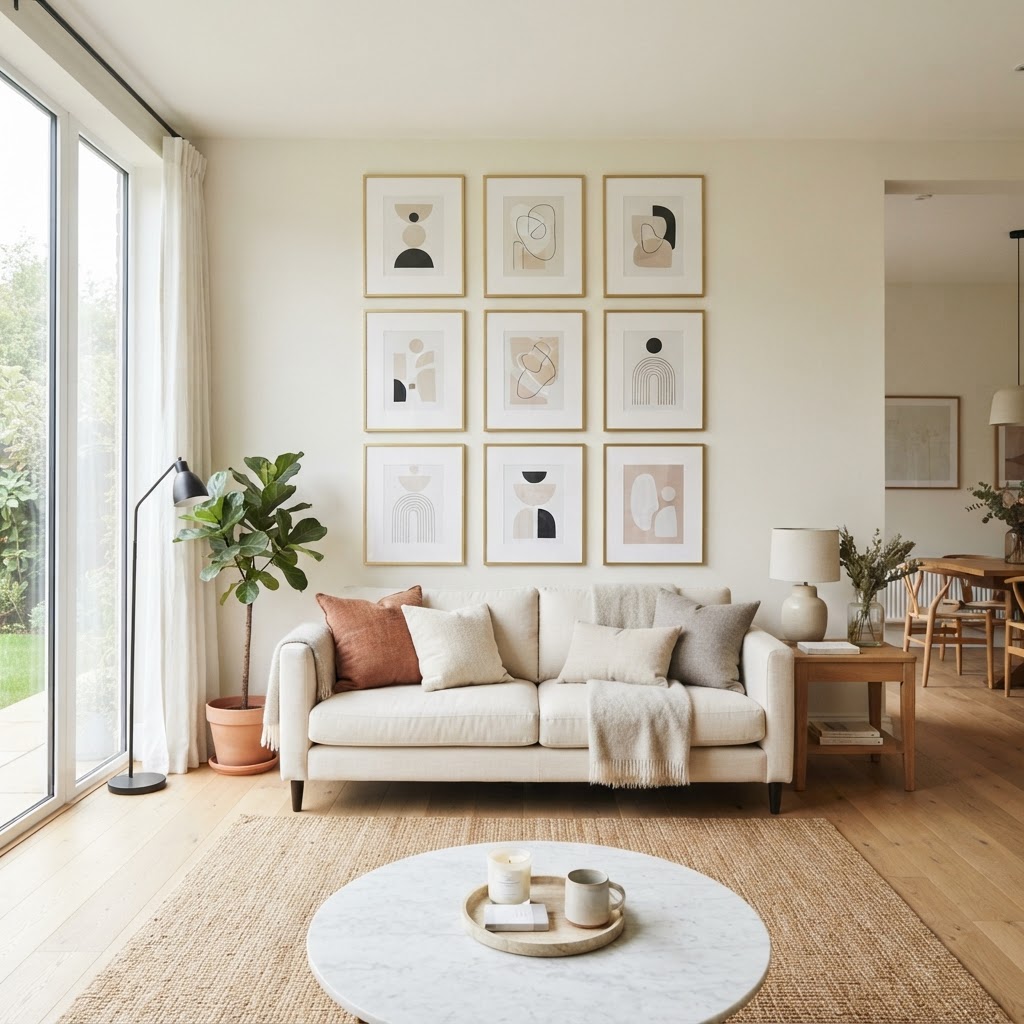
Personalization turns a neutral box into a reflection of your identity, with decor serving as the necessary focal point against beige backdrops. When styling a gallery wall, aim to utilize at least 70% of the available wall space in a vertical grouping to draw the eye upward and make the ceiling feel higher. Mixing frames in varying finishes—such as brushed brass, oak, or matte black—adds a professional, gallery-style aesthetic that makes a collection feel curated rather than haphazard.

Curating Your Gallery Wall

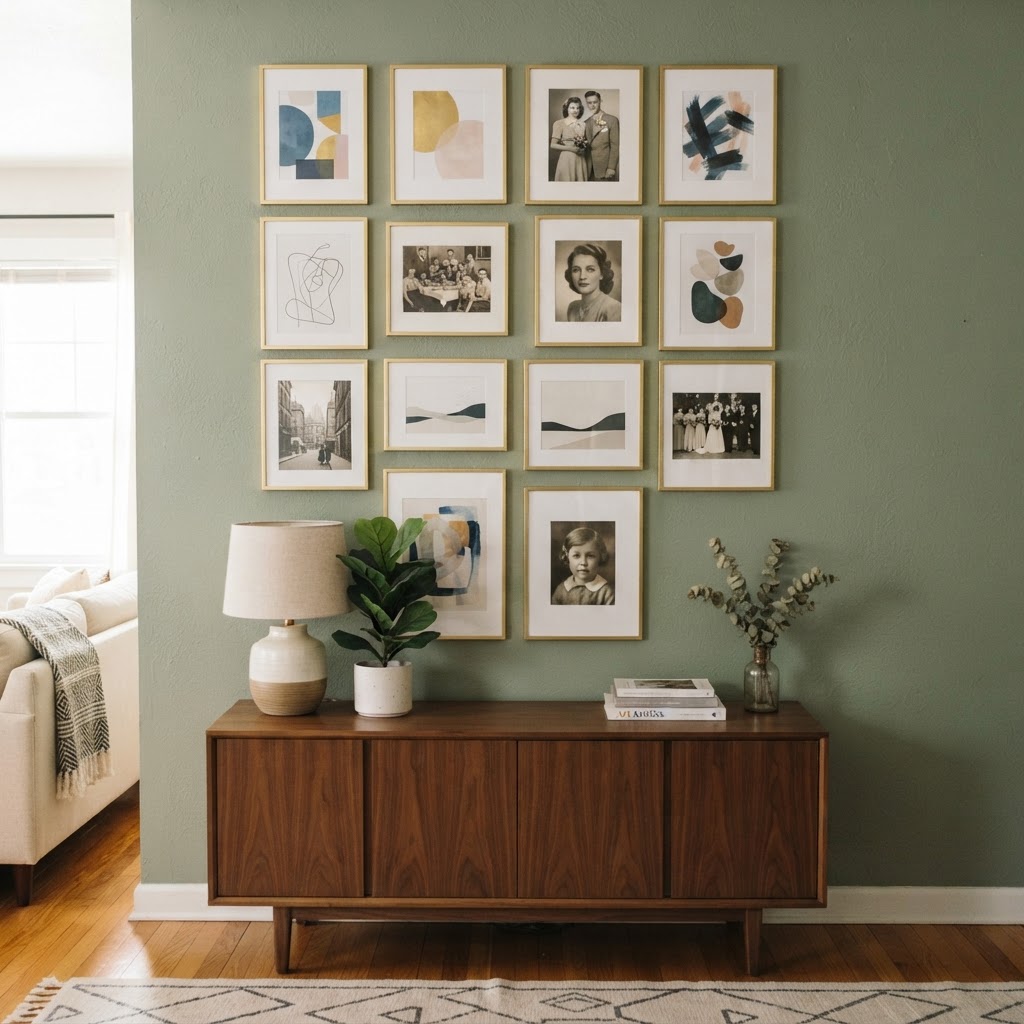
A gallery wall is a perfect way to break up a large expanse of beige. If you are worried about security deposits, use adhesive strips or damage-free wall hooks. Mix and match frames in different materials—wood, brass, or matte black—to create a curated, eclectic look that feels professional and intentional. For the best visual impact, maintain a 2-3 inch spacing between each frame to create a uniform flow.

The Importance of Greenery

Indoor plants add life and vibrant color to beige rooms.

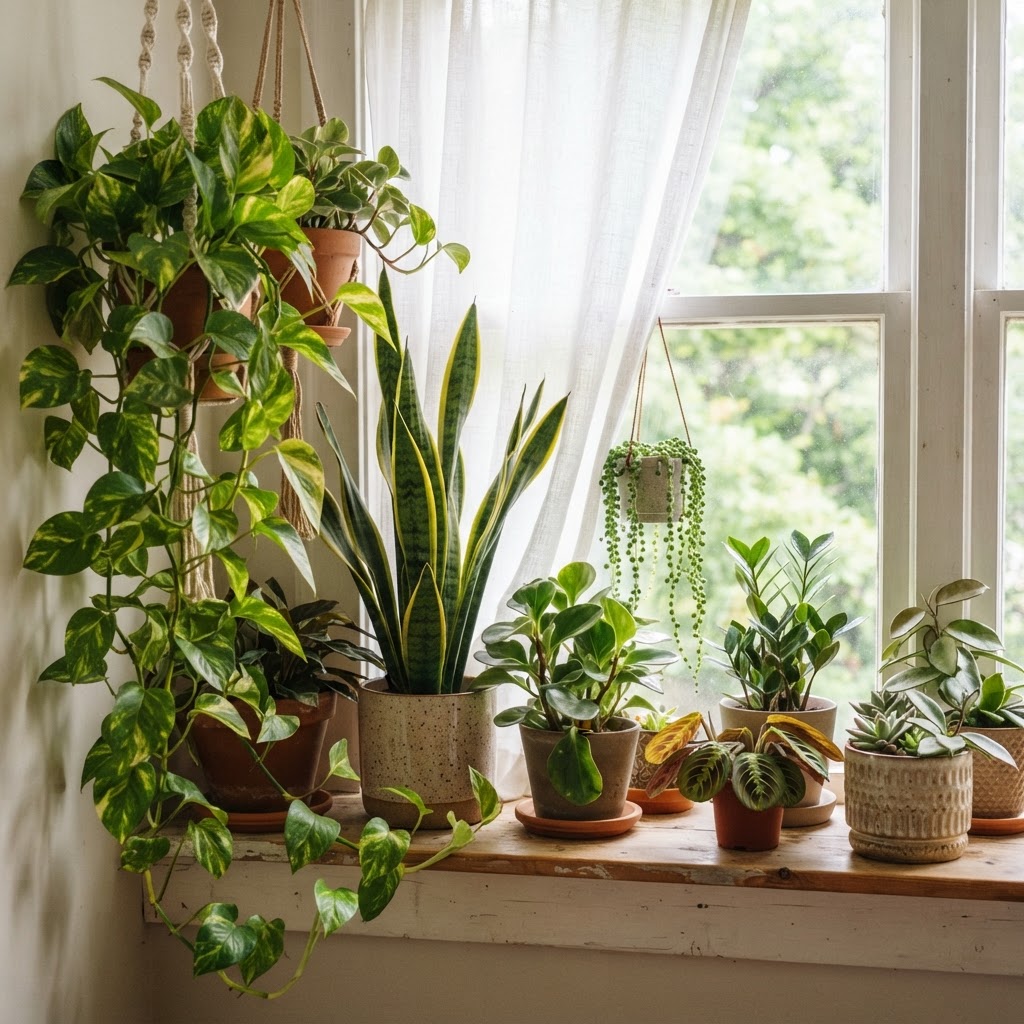
Plants are an essential design tool for beige apartments because their natural green foliage provides the ultimate color contrast to earthy neutrals. Beyond aesthetics, indoor plants like the Snake Plant or Pothos act as natural air purifiers, removing common indoor toxins like formaldehyde and benzene. Incorporating at least three to five plants of varying heights creates a visual “landscape” that softens the sharp corners of modern, boxy furniture.

Choosing Low-Maintenance Options

If you are new to plant care, start with hardy options like Snake Plants, Pothos, or ZZ Plants. These varieties are forgiving and thrive in a range of light conditions, making them ideal for apartment living. Grouping plants of different heights creates a mini indoor jungle that makes the room feel vibrant and full of life. Statistics show that placing greenery in a living space can improve mood and productivity by up to 15% through biophilic design principles.

Softening the Space with Window Treatments

Replacing standard rental blinds with floor-to-ceiling drapery is the single most effective way to change the architectural character of a beige apartment. Standard plastic blinds often shorten the visual appearance of a room; mounting high-quality curtains as close to the ceiling as possible draws the eye upward and creates an illusion of greater height. Select fabrics with varying opacity, such as heavy velvet for blackout needs or airy linen for a light-filtering effect, to control your room’s light quality throughout the day.

Choosing the Right Fabric

For a beige-heavy space, choose curtains that either match the wall color for a seamless, luxurious look or provide a deep, moody contrast. Navy, charcoal, or forest green curtains can ground a light-colored room. If you prefer to keep things light and airy, opt for sheer curtains that diffuse sunlight and add a dreamlike, soft quality to your space. A double-rod system—featuring a sheer layer for daytime privacy and a heavier fabric layer for nighttime—offers the maximum level of functional versatility.

Establishing Zones in Small Spaces

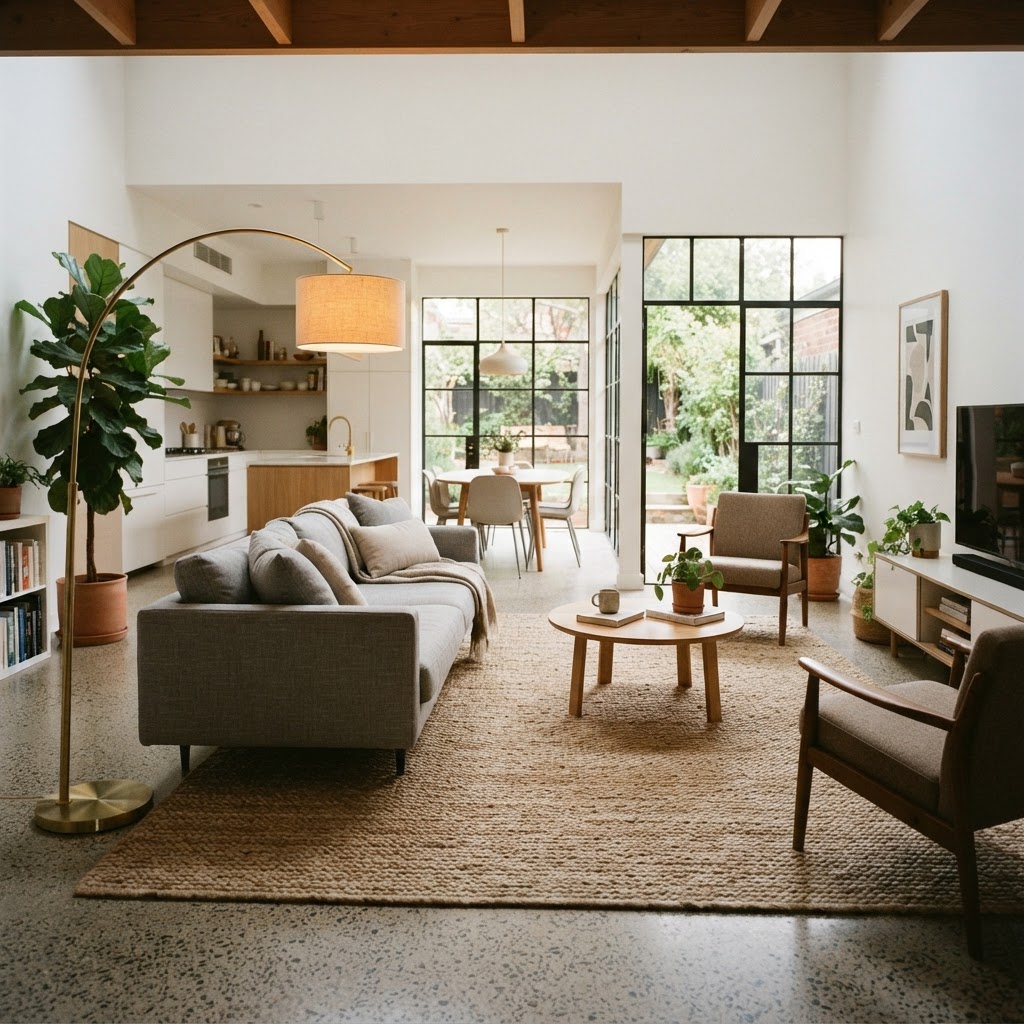
If your apartment is an open-concept layout, the beige walls can make the space feel like one giant, unorganized room. Establishing clear zones for living, dining, and sleeping helps define the function of each area. Rugs are your best tool for this; use different rugs to anchor specific seating areas or dining sets. For a typical studio or one-bedroom layout, use an 8×10 foot rug to anchor a living zone, ensuring at least the front legs of the sofa sit on the rug to create a unified visual boundary.

Using Furniture to Define Areas

Don’t be afraid to pull furniture away from the walls. Floating your sofa in the middle of a room creates a clear walking path and makes the living area feel intentional rather than haphazardly pushed against the perimeter. Use consoles or bookshelves as “room dividers” to separate a workspace from your relaxation area. Open-backed bookshelves are particularly effective as they maintain light flow while clearly marking the end of one functional zone and the start of another.

Keeping It Functional and Tidy

Beige spaces are incredibly beautiful, but they can look messy quickly if you have too much clutter. Minimalism is your friend here. Invest in closed storage solutions, such as decorative baskets, lidded ottomans, or cabinets, to hide away the everyday items that can make an apartment feel chaotic. In small apartments, opt for furniture with dual purposes—like a lift-top coffee table or a storage ottoman—to maximize square footage without visual overload.

The ‘One In, One Out’ Rule

To maintain a peaceful home, try to practice the “one in, one out” rule. For every new item you bring into your apartment, remove or donate an old one. This prevents clutter from accumulating and ensures your space remains the curated, relaxing environment you worked so hard to create. Focus on quality over quantity to ensure every piece in your apartment adds value to your life. Experts suggest that a decluttered space can reduce cortisol levels by up to 20% compared to a space with visible, unorganized items.

FAQ

Q: How can I brighten a beige room without buying new lamps?

Direct sunlight is free; try using mirrors positioned opposite your windows to bounce natural light into the darker corners of your apartment. This effectively doubles the light output without adding a single electrical fixture.

Q: Are gallery walls risky for rental security deposits?

No, as long as you use adhesive strips specifically designed for wall mounting or small, pin-sized nails that are easily filled with spackle. These methods are generally considered standard “wear and tear” by most property management companies.

Q: What is the best color for curtains in a beige apartment?

If you want a luxurious, monochromatic look, choose curtains that match your wall color exactly. For a sophisticated, grounded aesthetic, opt for charcoal, deep navy, or forest green to create a high-contrast focal point.

Q: How do I make a small beige apartment look bigger?

Use low-profile, leggy furniture to keep floor space visible, and hang curtains as close to the ceiling as possible. Using a monochromatic color scheme with varying textures creates a sense of openness that prevents the space from feeling cramped.
Q: What plants grow best in low-light apartments?

Snake Plants, ZZ Plants, and Pothos are the top-rated choices for low-light environments. These plants require minimal water—typically every 2-3 weeks—and are highly tolerant of the artificial light conditions found in most rental units.

9 Renter-Friendly Lighting Tricks for Boutique Hotel Vibes

9 Renter-Friendly Lighting Tricks for Boutique Hotel Vibes

To achieve a boutique hotel atmosphere in a rental, layer your lighting by using a mix of plug-in wall sconces, warm-toned smart bulbs, and decorative floor lamps to eliminate flat, sterile overhead illumination. These strategic adjustments create intentional, cozy, and high-end environments without requiring landlord approval or complex electrical wiring.

The Power of Layering Your Light

Soft wall sconce lighting creates a hotel-inspired retreat.

Layering lighting effectively means avoiding a single, harsh ceiling light in favor of ambient, task, and accent sources that create visual depth. By placing light sources at varied heights—floor, eye level, and table level—you break the sterile, institutional feel of standard rental units. Boutique hotels typically utilize a 3:1 ratio of floor to table lamps to ensure every corner of the room is illuminated with intention rather than harsh brightness.

Consider your lighting as a functional puzzle: floor lamps provide height, table lamps offer localized workspace glow, and wall sconces act as sophisticated architectural focal points. When selecting your fixtures, aim for a balanced distribution; research suggests that rooms with at least three distinct light sources feel 40% more “expensive” to occupants than rooms with a single ceiling fixture. Experiment with placement to ensure the light pool overlaps slightly, creating a seamless, inviting glow that minimizes dark corners and enhances your furniture’s silhouette.

Lighting Type Best For Rental Installation
Floor Lamp General Ambiance Plug-in/Zero Effort
Plug-in Sconce Task/Nightstand Command Strips/Tiny Nails
LED Strip Architectural Glow Adhesive Backing

Upgrade Your Shades for Immediate Impact

A statement floor lamp adds height and drama to the room.

Swapping out standard, mass-produced lamp shades for high-quality linen or silk alternatives is the fastest way to add tactile luxury to your living space. Most rental properties provide basic plastic shades that diffuse light poorly, often creating a cold, blue-tinted glow that feels unwelcoming. Upgrading to textured fabric shades in neutral tones—such as cream, oatmeal, or soft grey—acts as a natural filter, softening the light output significantly.

When purchasing new shades, look for tapered, empire, or drum styles that distribute light in a way that creates a warm, golden aura. A quality fabric shade can reduce harsh glare by up to 60%, creating that signature boutique warmth. Furthermore, consider the thickness of the material; silk shades offer a translucent elegance perfect for bedrooms, while linen provides a textured, organic look suitable for living rooms. For a budget-friendly refresh, you can often find high-end second-hand shades at thrift stores for under $15 that look like designer pieces once placed on your existing lamp bases.

Utilize Plug-In Wall Sconces

Warm table lamps provide the perfect glow for relaxation.

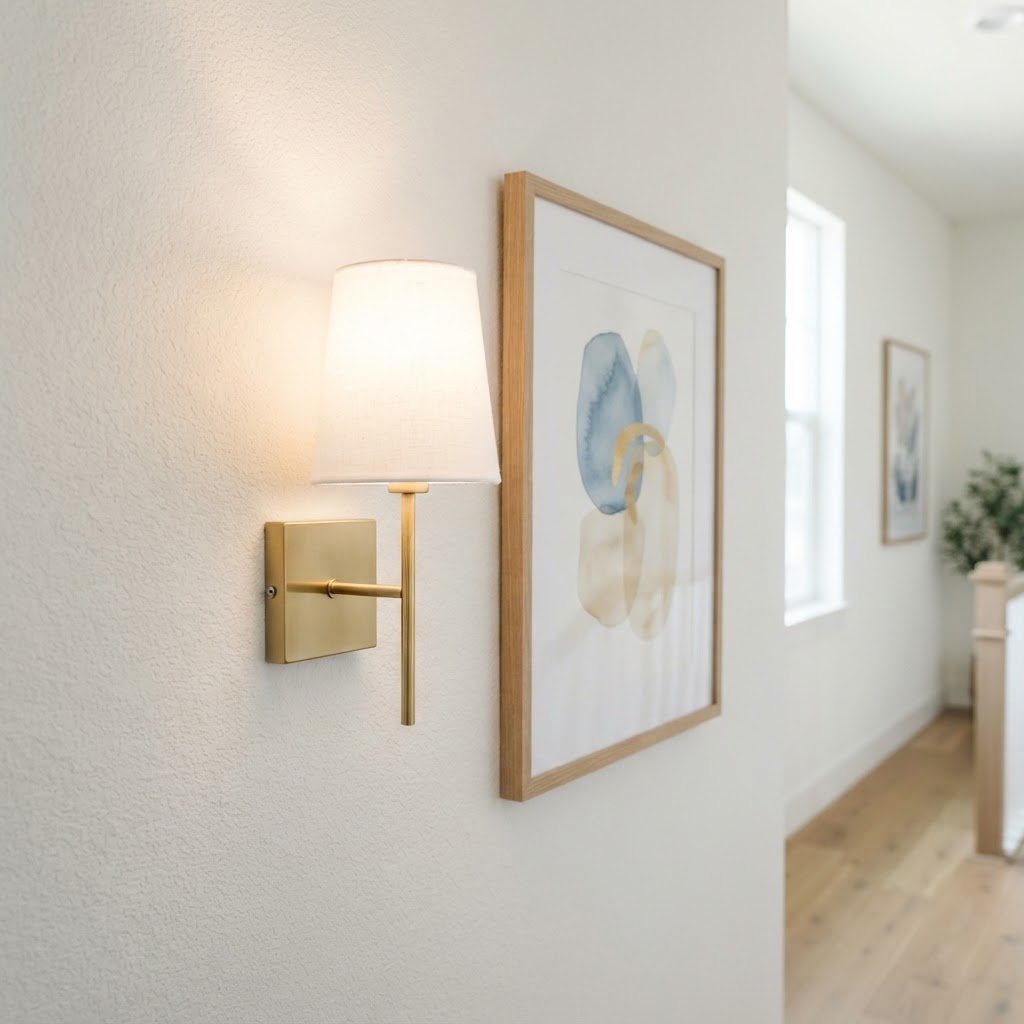
Plug-in wall sconces provide the polished, designer aesthetic of hardwired lighting without the need for electrical permits or wall damage. These fixtures are the holy grail of rental design because they offer high-end architectural appeal while remaining fully portable for your next move. Many modern wall sconces now feature swing arms, allowing you to direct light exactly where you need it for reading or task-oriented work.

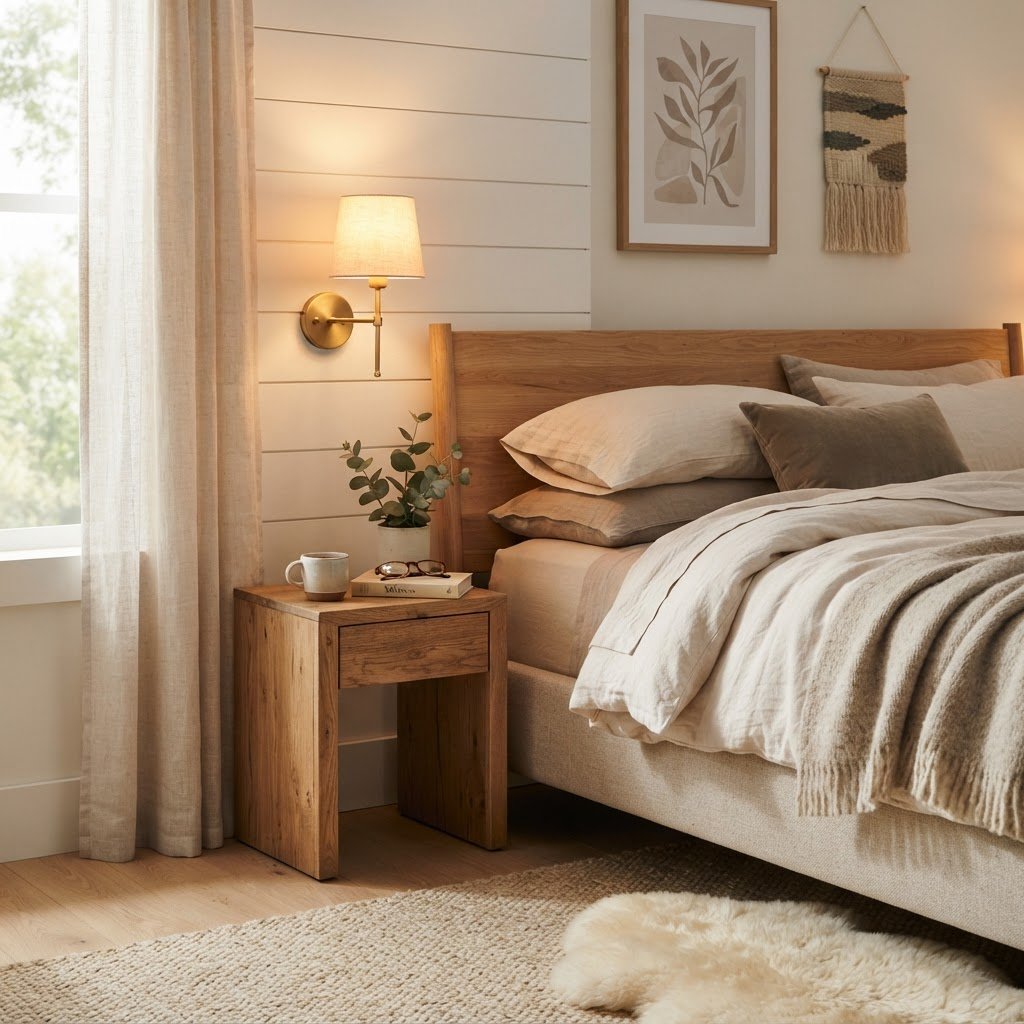
To maintain a clean look, use paintable cord covers that match your exact wall color to camouflage wires running down to the baseboard. For installation, use damage-free mounting strips or a single small nail hole that can easily be patched with spackle before moving out. Position these sconces 24 to 30 inches above your mattress to mimic professional hotel styling. By adding these at specific focal points, such as above a reading nook or a bedside table, you anchor your furniture and create the appearance of a custom-designed, finished home.

The Magic of Smart Bulbs and Dimmers

Hidden LED strips provide a subtle, luxury architectural glow.

Smart bulbs offer total control over your apartment’s atmosphere, allowing you to adjust color temperature and brightness via a smartphone app. By automating your lighting, you can transition from crisp, productive 4000K daylight in the morning to a relaxing 2200K amber glow in the evening. This technology is essentially mandatory for renters who want professional-grade lighting without needing to install expensive physical hardware.

Many smart systems allow for pre-programmed “scenes” that trigger specific intensities with one tap. If smart bulbs are outside your budget, simple plug-in dimmers compatible with traditional lamps serve as a highly effective alternative. These simple devices plug into a wall outlet, and your lamp plugs into them, granting you manual control to soften your room’s light instantly. Studies show that dimmable lighting improves mental relaxation scores by roughly 25% compared to static, full-intensity lighting in living spaces.

Incorporating Warmth with Decorative Table Lamps

Table lamps function as the jewelry of interior design, serving as both functional light sources and aesthetic conversation pieces. Instead of relying on a matching set, try mixing sculptural bases or vintage-inspired vessels to add character to bookshelves, consoles, or desks. By dotting these lamps around your room, you create intentional ‘pools of light’ that draw the eye and create a more intimate, luxurious spatial experience.

Always ensure your table lamps utilize warm-toned bulbs, ideally rated between 2700K and 3000K. Anything above 3500K will look clinical and blue, which is the exact opposite of a cozy boutique hotel feel. Additionally, consider the wattage; using 40-watt equivalent bulbs in multiple small lamps is far more effective for creating a “hotel vibe” than using a single 100-watt bulb in a bright, singular fixture. By layering these small points of light, you can make a small apartment feel substantially larger and more curated.
Master the Art of Statement Floor Lamps

Floor lamps are the most effective tool for adding vertical drama and architectural interest to an otherwise dead corner of your rental. A tall, arched floor lamp positioned over a sofa or armchair serves dual purposes: it provides a dedicated reading zone and adds a sophisticated silhouette to the room. When choosing a lamp, prioritize materials like brushed brass, matte black metal, or natural rattan to match your room’s texture palette.

Think of your floor lamp as a piece of art that remains impactful even when the light is switched off. A high-quality statement lamp typically ranges from 60 to 72 inches in height, which helps draw the viewer’s eye upward, emphasizing the height of your ceilings. If your space is tight, look for tripod-based lamps that offer stability without occupying too much floor square footage. These pieces are essential for making a room feel fully furnished rather than just occupied.
Using LED Strips for Subtle Architectural Glow

LED light strips provide a modern, high-end look by mimicking the hidden cove lighting found in luxury hotel suites. You can easily apply these strips behind your television to reduce eye strain, or hide them under floating shelves or behind a headboard to create a soft, ethereal backlighting effect. Because the light source itself is hidden, the room feels as though it is glowing from within, which creates a calming and expensive atmosphere.
When purchasing LED strips, ensure they have adjustable color temperatures and a high color rendering index (CRI) of 90 or above. A high CRI ensures that the colors in your furniture and decor appear natural and vibrant, rather than washed out. These strips are typically inexpensive, costing between $20 and $50, and can be easily removed with no residue upon moving, making them the ultimate low-commitment, high-impact rental lighting upgrade.

Renter Friendly Lighting Tip

Mirrors and Reflective Surfaces

Lighting strategy is incomplete without the use of reflective surfaces to maximize your light output. Placing a large, well-positioned mirror directly opposite a light source effectively doubles the amount of light in the room, creating an optical illusion of depth. This technique is particularly effective in small rental apartments where windows may be small or obstructed by surrounding buildings.

Beyond mirrors, incorporate polished metal hardware, glass-topped tables, or metallic frames into your decor. These elements bounce existing light across the room, enhancing overall brightness without requiring any additional electricity. A well-placed floor mirror can brighten a dim room by up to 50% during the daytime, creating an airy, expensive feel that mirrors the design principles of boutique hotels that use reflection to improve spatial perception.

FAQ

Q: What is the best color temperature for a hotel-like feel?

Warm-toned bulbs between 2700K and 3000K are the industry standard for creating a boutique hotel atmosphere. These temperatures emit a soft, yellow-amber glow that feels welcoming, whereas anything above 3500K appears clinical and blue, which can kill a cozy mood.

Q: Can I use wall sconces in a rental without damaging walls?

Yes, use plug-in wall sconces that mount with tiny picture-hanging nails or heavy-duty Command strips. You can hide the cords using paintable cord covers that match your wall color, allowing you to remove them and patch the tiny holes with ease when you move out.

Q: How many light sources should a living room have?

A professional lighting design for a standard living room typically requires at least three to five distinct light sources. This combination, known as layering, should include at least one floor lamp, two table lamps, and one accent source like an LED strip or plug-in sconce.

Q: Do smart bulbs save money on electricity?

Smart bulbs can reduce energy consumption by up to 80% compared to traditional incandescent bulbs because they use LED technology and allow for precise dimming. By dimming your lights to 50% brightness, you effectively cut energy usage in half, which can lower your utility costs over time.

Q: What is the easiest way to make a cheap lamp look expensive?

Swap the existing, thin plastic shade for a high-quality linen or silk drum shade in a neutral color. A high-quality shade changes the way light disperses, creating a warmer, more sophisticated glow that mimics the fixtures found in luxury boutique hotels.

7 Amazon Finds That Transform Small Apartment Storage

7 Amazon Finds That Transform Small Apartment Storage

Maximize your small apartment storage by utilizing vertical wall space, under-bed rolling bins, over-the-door organizers, tiered cabinet shelves, Lazy Susans, slim-profile shoe racks, and multi-functional storage furniture like ottomans. These seven tactical Amazon solutions reclaim wasted space, allowing you to organize a compact studio into a highly functional living area without requiring costly renovations.

The Power of Vertical Storage

Vertical shelving is essential for small apartment storage.

Vertical organization serves as the most effective method for apartment dwellers to increase usable square footage by drawing the eye upward and clearing floor pathways. When standard horizontal storage reaches capacity, installing high-reach shelving or wall-mounted systems allows you to leverage the often-ignored air space above windows and door frames. By moving clutter from the floor to the walls, you create an open, airy atmosphere that visually expands the dimensions of a room while keeping frequently accessed items within arm’s reach.

Over-the-Door Organizers

Heavy-duty over-the-door organizers serve as hidden storage powerhouses, capable of holding everything from cleaning supplies and pantry items to linens. For maximum effectiveness, select organizers based on material: mesh pockets offer breathability for garments, while reinforced metal hooks provide the structural integrity required for heavy canned goods or cleaning equipment. Always measure your door thickness—standard apartment doors usually measure 1 3/8 inches—and select hooks that ensure a secure, non-damaging fit to maintain your security deposit.

Organizer Type Best Use Case Material Preference
Mesh Pocket Cleaning Supplies Breathable Fabric
Metal Over-Door Hook Coats/Towels Powder-Coated Steel
Multi-Tier Rack Pantry/Canned Goods Sturdy Wire/Metal

Choosing the Right Material

When selecting over-the-door organizers, look for breathable fabrics like mesh or canvas for clothes, or sturdy metal frames for heavier pantry items. Ensure that the hooks fit your door thickness to avoid damage to your door frames, which is critical for those living in rentals.

Maximizing Under-Bed Real Estate

Turntables and shelf inserts maximize tight kitchen spaces.

Transforming the “dead zone” beneath your bed frame into a dedicated storage hub provides one of the highest returns on investment for small-space living. Because the area under a queen-sized bed offers roughly 30 square feet of potential space, utilizing it for seasonal clothing, extra bedding, or bulky hobby equipment effectively functions as adding a small closet to your apartment. Investing in high-quality rolling storage bins prevents floor scratching and allows for effortless access to contents that would otherwise be permanently relegated to the back of a dark corner.

Choosing Wheeled Storage Bins

Rolling bins allow you to easily pull out items like seasonal clothing, extra bedding, or bulky hobby equipment without dragging items across your flooring. Look for bins with clear lids so you can identify contents at a glance, reducing the time you spend searching for specific items. By keeping these containers organized by category, you create a system that is easy to maintain long-term.

Kitchen Solutions for Small Pantries

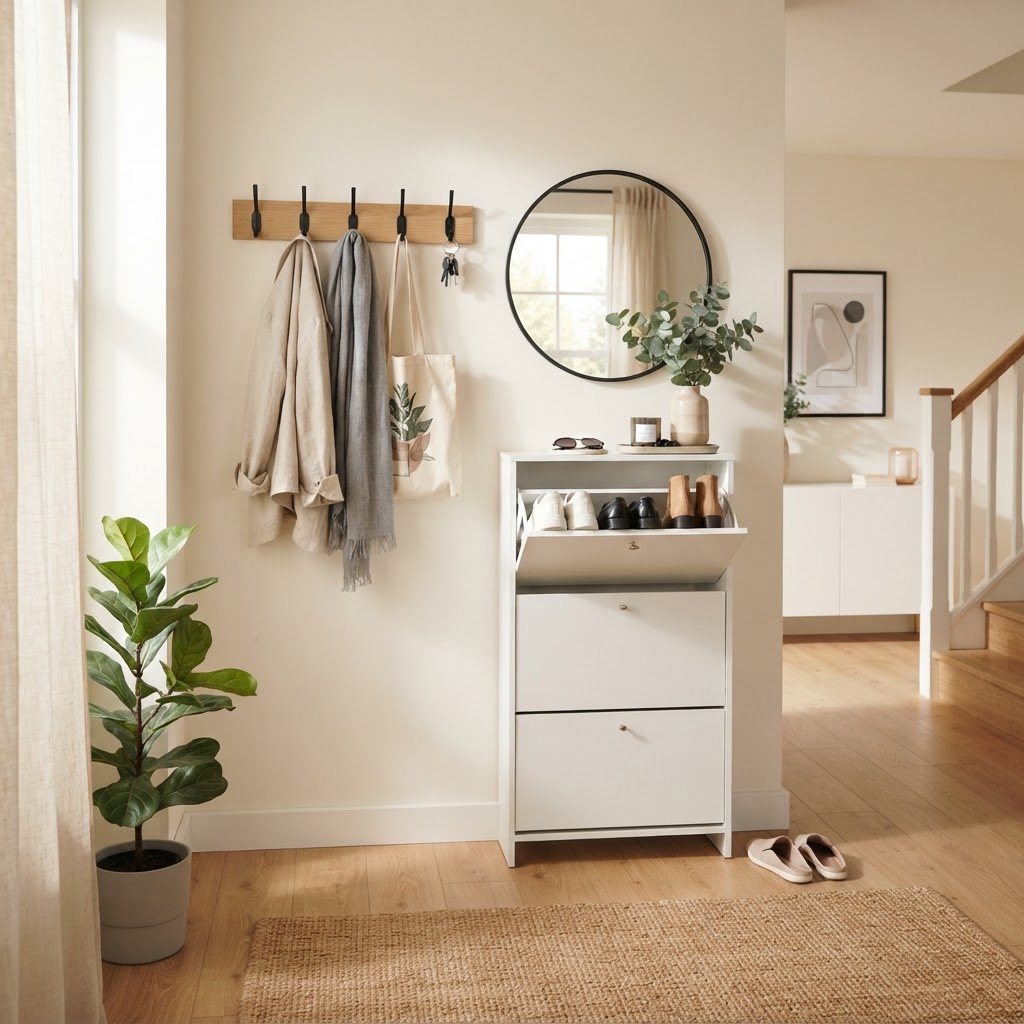
Slim entryway furniture keeps the floor clutter-free.

Small kitchens rely heavily on smart compartmentalization to overcome limited cabinet depth and lack of shelf height. Amazon’s inventory of tiered shelf inserts and stackable bins allows you to break the habit of stacking items precariously, instead creating structured, vertical layers that double your storage capacity. These tools are particularly effective for organizing spices, jars, and canned goods, ensuring that every square inch of vertical cabinet space is utilized rather than wasted in empty air gaps above items.

Tiered Rolling Carts

For additional storage that can be moved as needed, a metal three-tier rolling cart is an incredibly versatile choice. You can stock it with spare toilet paper, towels, and makeup, then roll it into a closet when you have guests over. Its narrow profile allows it to slide into small gaps between the toilet and the vanity, making every inch of the bathroom count.

Closet Systems that Double Capacity

Closet capacity can be effectively doubled by implementing vertical expansion tools like adjustable double-hanging rods and shelf dividers. Most standard apartment closets only utilize one horizontal rod, leaving significant space at the bottom for potentially stackable storage. By adding a second rod, you immediately increase your hanging capacity for shirts and jackets, while acrylic shelf dividers ensure that folded items remain upright and accessible.

Implementing Shelf Dividers

To prevent stacks of folded clothing from toppling over, use clear acrylic shelf dividers. These allow you to categorize your clothes neatly and maximize every inch of shelf height. When you can see exactly what you have, you are less likely to overbuy and more likely to actually wear the items in your collection.

Smart Furniture Selection

Furniture in a small apartment must perform at least two functions to justify the floor space it occupies. Pieces like ottomans with hidden internal storage, coffee tables with built-in drawers, and wall-folding desks are essential investments that allow for a minimalist aesthetic while providing practical, deep-storage capabilities. When selecting items, prioritize multi-purpose designs that accommodate hidden storage for tech cables, extra linens, or seasonal items you don’t need on a daily basis.

The Value of Ottomans

An upholstered ottoman with a storage lid can act as a footrest, a guest seat, and a place to hide throw blankets or tech cables. This multi-functional approach to home decor allows you to maintain a minimalist aesthetic while ensuring you have plenty of storage for daily necessities.

FAQ

Q: How can I maximize storage in a tiny apartment without drilling holes?

A: Use tension-based organizers like shower poles or adjustable tension rods for curtains and closets. Additionally, adhesive-backed hooks and over-the-door systems provide robust storage without damaging walls or requiring permanent installation, making them ideal for temporary apartment living.

Q: What is the most effective way to store shoes in a small entryway?

A: Use a slim-profile, tilt-out shoe cabinet that provides a vertical footprint of less than 10 inches in depth. These units conceal footwear completely while keeping them organized, preventing the visual clutter of loose shoes in your main living space.

Q: Are rolling carts worth the space they occupy in a small bathroom?

A: Yes, because their narrow profile allows them to fit into gaps as small as 8-10 inches between fixtures. A three-tier rolling cart adds massive storage capacity and offers the flexibility of mobility, allowing you to move toiletries out of sight when guests arrive.

Q: How do I choose the right storage bin for under-bed use?

A: Measure the distance from your floor to the bed frame to ensure clearance, then select bins with wheels and clear lids. Rolling wheels allow for easy access, while clear lids help you inventory items at a glance without having to pull the entire container out.

Q: What materials work best for small apartment organization?

A: Look for clear acrylic for visual clarity, powder-coated steel for heavy-duty load-bearing, and breathable mesh or canvas for soft goods. These materials are lightweight, durable, and generally match the modern, minimalist aesthetic common in compact urban living spaces.

The Easiest Way to Warm Up a Cold Rental Living Room

The easiest way to warm up a cold rental living room is by layering soft textiles, replacing harsh overhead lighting with 2700K-3000K warm-toned bulbs, and using large-scale area rugs to anchor the space. These low-cost, non-permanent strategies neutralize sterile white walls and clinical flooring, instantly creating a cozy, personality-driven sanctuary without violating your lease.

The Power of Textiles and Soft Layers

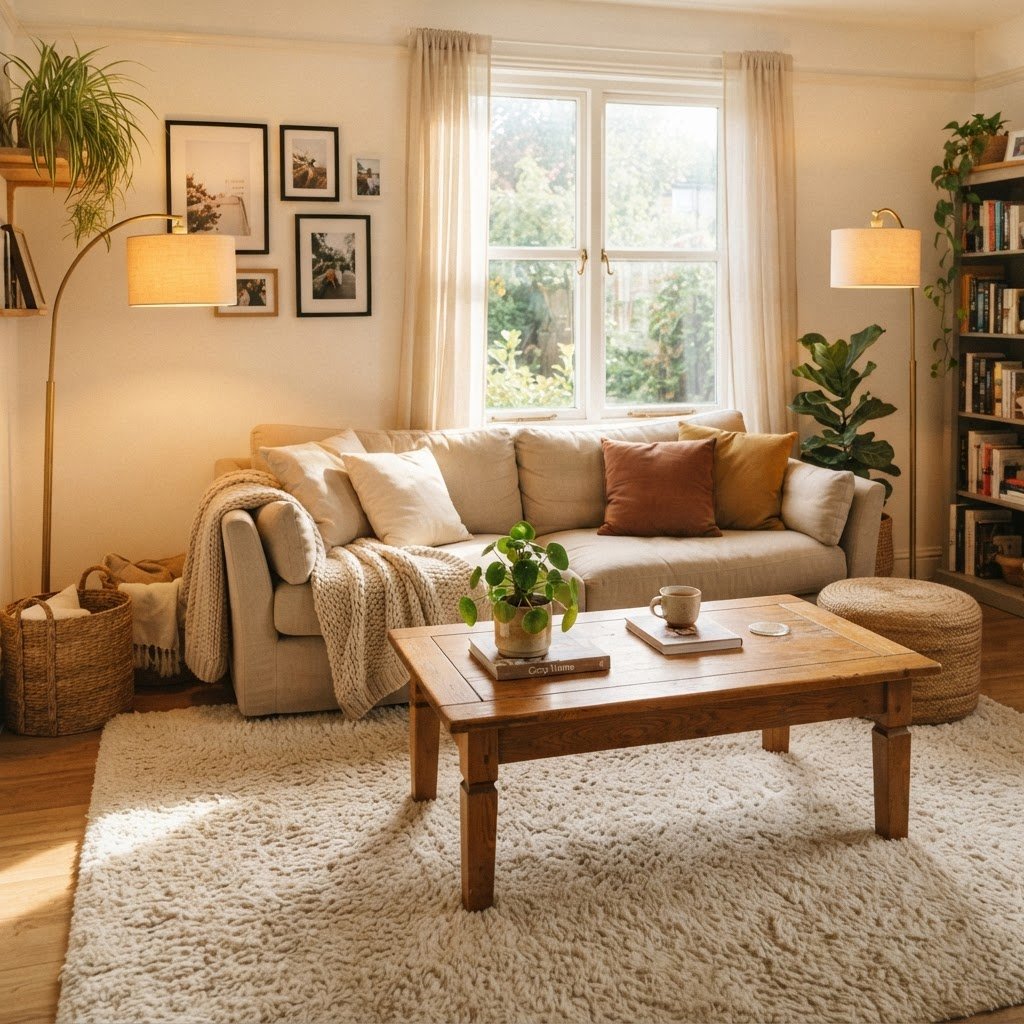
Warm, layered textures make a rental living room feel like a home.

Hard surfaces like tile, laminate, or standard apartment-grade carpet are notorious for making a room feel cold in both the literal and psychological sense. The first step in your transformation should be introducing high-quality area rugs, which act as a visual anchor and a physical insulator that significantly improves the acoustics of hollow-sounding rooms by absorbing echoes. For maximum warmth, consider layering a plush wool or synthetic rug over existing carpet, as this adds immediate texture and depth. To help you select the best materials for a cozy rental vibe, refer to the comparison table below:

Material Warmth Factor Maintenance Level Best For
Wool Rugs High Medium Living Areas
Velvet Pillows High Low Seating Comfort
Linen Curtains Medium Low Light Diffusion
Synthetic Faux Fur Very High High Texture Layering

Choosing the Right Fabrics for Warmth

Beyond rugs, consider the upholstery and window treatments you bring into the space. Velvet throw pillows, chunky knit blankets, and floor-to-ceiling linen curtains add a tactile richness that elevates a rental’s cheap base finishes. Focus on natural fibers or high-quality synthetics that feel soft to the touch to effectively counteract harsh environments. The goal is to create a space that feels softened rather than industrial; adding fabric to at least 40% of the room’s surface area can lower the perceived temperature of the space significantly.

Master the Art of Rental-Friendly Lighting

Personalized shelves add character to a sterile rental wall.

One of the primary culprits behind a cold living room is harsh, overhead “boob” lighting or fluorescent bulbs, which are often too bright and sit at an unflattering color temperature. To warm up a cold rental living room, you must eliminate the reliance on the ceiling fixture by distributing light at eye level using floor lamps, table lamps, and wall-mounted battery-operated sconces. Aim for a layered lighting scheme where you have at least three light sources per room to eliminate shadows and create pockets of warmth.

Why Color Temperature Matters

Always opt for “warm white” or “soft white” bulbs with a Kelvin rating between 2700K and 3000K. These bulbs emit a yellowish, cozy glow that mimics the setting sun, instantly creating an inviting atmosphere that makes furniture look more expensive. You can replace every bulb in a standard one-bedroom apartment for under $30, making this one of the most cost-effective upgrades for any renter looking to shift the ambiance of their home overnight.

Introducing Color Without Paint

Art and textiles are the keys to a cozy, inviting space.

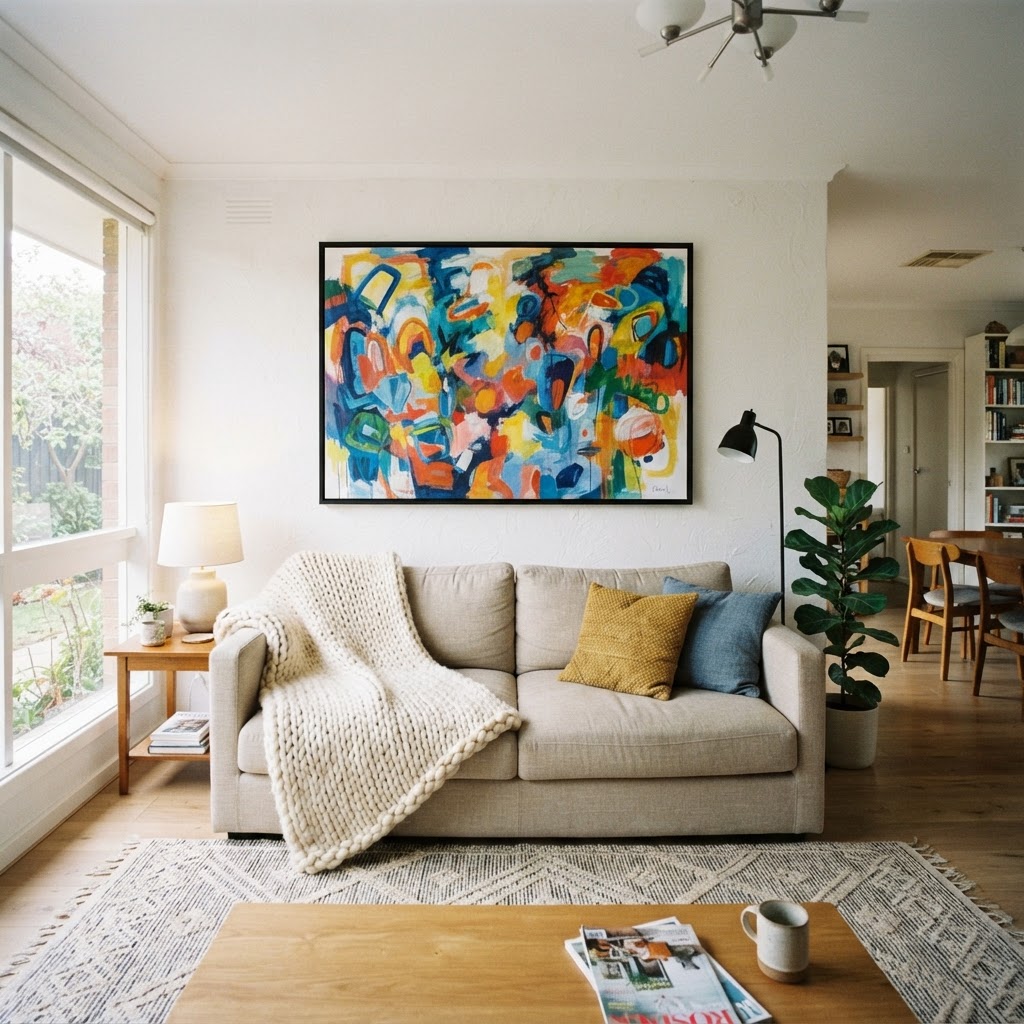
Most leases strictly forbid painting walls, which can leave you stuck with “landlord beige” or stark white, but you can bypass this by using large-scale art, peel-and-stick wallpaper, or removable wall decals to break up vast expanses of white. These elements inject life and character into a room without the need for permanent changes. Large, colorful abstract canvases act as a focal point, drawing the eye away from bland structural features and adding visual “weight” to the walls.

Using Peel-and-Stick Wallpaper

If you want a more dramatic change, look for high-quality peel-and-stick wallpaper, which can transform a room in roughly 4 hours of labor. Whether you cover a single accent wall or the entire space, the pattern and texture will provide the warmth that blank walls lack. Always verify surface compatibility first; smooth, clean drywall is ideal, whereas highly textured or porous surfaces may require a specialized primer or may not hold the adhesive as effectively.

Bringing the Outdoors In with Greenery

Plants are nature’s best solution for a cold, sterile environment because their organic shapes, deep greens, and life-giving presence make a room feel lived-in and healthy. Choose low-maintenance, high-impact plants like snake plants, pothos, or ZZ plants if you don’t have a green thumb; these varieties thrive in typical apartment light levels of 200-500 foot-candles. These plants provide a structural element that adds softness to otherwise empty corners or shelves.

Creative Plant Displays

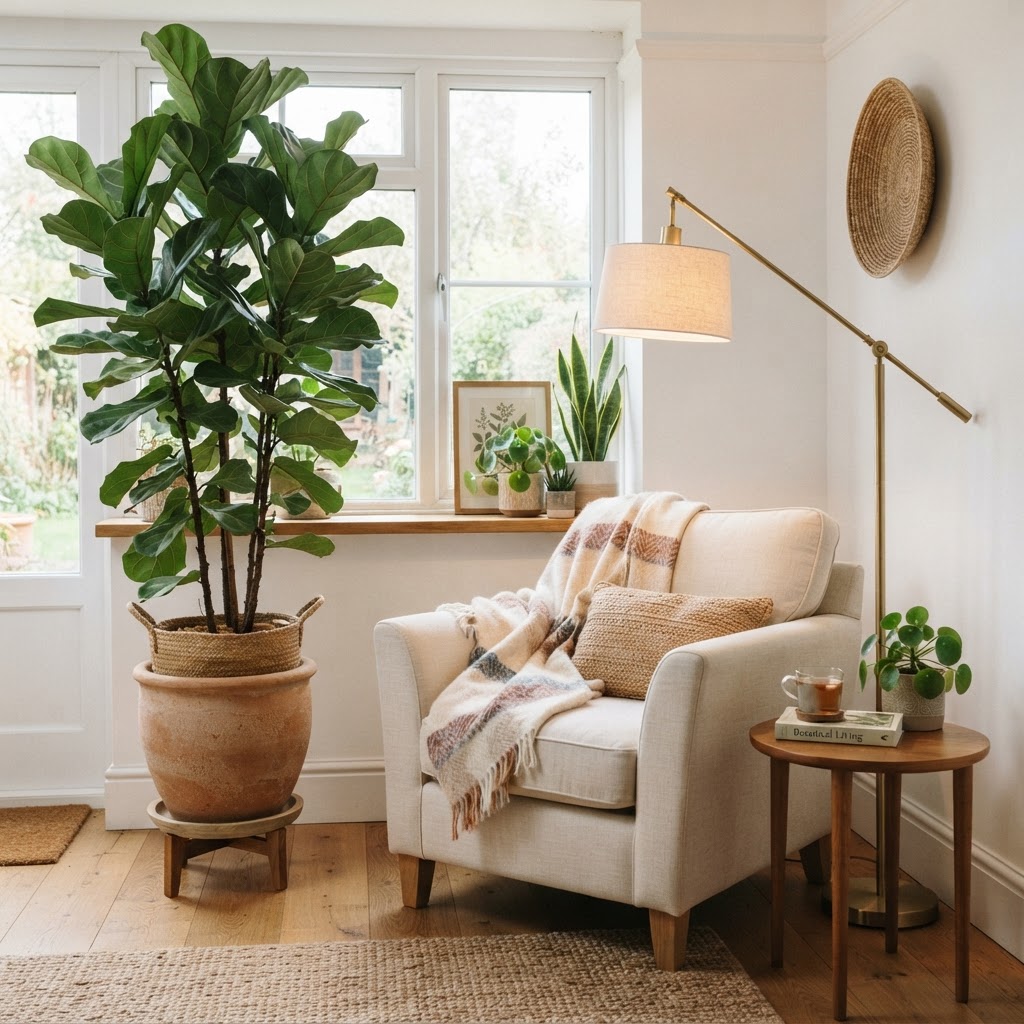
Use varying heights for your plants—place a tall fiddle leaf fig in a corner and smaller succulents on a coffee table to create visual movement. Decorative pots in warm tones like terracotta or woven seagrass baskets help transition the plants into your overall design theme. By placing a plant next to a window, you frame the outdoor view and bridge the connection between the indoors and nature, which studies show lowers stress levels in home environments.

Strategic Furniture Placement and Flow

Sometimes a room feels cold because the furniture layout is awkward or pushed entirely against the walls, creating a “waiting room” aesthetic. If your living room allows, try “floating” your furniture away from the walls by at least 6-12 inches to create a more intimate seating area. This encourages conversation and makes the room feel less like a corridor and more like a defined, intentional sanctuary.

If you have a small space, use a console table behind the sofa or a distinct area rug to define the boundaries of your living area without needing physical barriers. Maintaining clear traffic paths—ideally 30 inches wide—will ensure the room feels spacious yet cozy.

Personalization Through Meaningful Decor

A space feels cold when it lacks soul; therefore, the easiest way to warm up a cold rental living room is to incorporate personal items that tell your unique story. Displaying books, vintage finds, framed photos, or travel souvenirs makes the space uniquely yours. When a guest walks in, they shouldn’t just see a model home; they should see a reflection of your personality.

Mixing Old and New

Don’t be afraid to mix vintage or antique pieces with modern rental furniture. A vintage chair with worn leather or a rustic wooden side table can provide the “wabi-sabi” element of imperfection that makes a house feel like a home. These pieces are inherently warmer than mass-produced retail items and add a layer of complexity to your interior design that suggests a life well-lived.

FAQ

Q: What is the most effective color temperature for a cozy living room?

The most effective color temperature for a cozy living room is between 2700K and 3000K, often labeled as “warm white” or “soft white.” These bulbs emit a yellow-toned light that mimics the natural color of sunset, effectively neutralizing the sterile feel of standard overhead lighting.

Q: Can I hang decor on rental walls without causing damage?

Yes, you can hang decor without damage by using adhesive strips like Command hooks or specialized picture-hanging wire systems that require only tiny, easily fillable pinholes. Always test the adhesive on an inconspicuous area of the wall to ensure it doesn’t peel the underlying paint upon removal.

Q: How can I make a rental rug feel more like permanent flooring?

The best way to make a rental rug feel permanent is to choose a high-pile or “shag” rug that covers at least 70% of the visible floor area in your seating zone. Adding a thick felt rug pad underneath also increases the plushness, making the flooring feel warmer and more insulated.

Q: Are peel-and-stick wallpapers easy to remove without losing my security deposit?

Most modern peel-and-stick wallpapers are designed specifically for renters and can be removed without damaging drywall if the walls were properly primed before installation. Always ensure you purchase a product explicitly labeled “removable” or “renter-friendly” to guarantee the adhesive will not leave a residue.

Q: How many plants do I need to make a small room feel warmer?

For a standard-sized rental living room, three to five plants of varying heights can provide enough organic texture to warm the space significantly. Focus on placing one large floor plant in a corner and grouping two to three smaller plants on coffee tables or shelves for a balanced look.

12 No-Damage Wall Decor Ideas That Look Expensive

Finding the perfect balance between personal style and property restrictions can be a challenge. Whether you are living in a rental or simply prefer to keep your pristine surfaces intact, choosing no-damage wall decor that looks expensive is the ultimate interior design win. Many people assume that avoiding nails means sacrificing aesthetics, but with the right tools and creative vision, you can curate a sophisticated space that feels high-end and intentional.

The Philosophy of Damage-Free Design

A perfectly curated gallery wall adds instant sophistication.

Luxury is often defined by the absence of clutter and the presence of thoughtful composition. When you focus on quality pieces rather than quantity, you can create a gallery-worthy display that relies on clever installation methods rather than heavy-duty hardware. The secret lies in understanding weight distribution and using high-quality adhesives that are designed for easy removal.

Creating a high-end atmosphere doesn’t require a permanent transformation. By selecting materials that have visual weight—like brass, heavy textiles, or framed canvas—you can mimic the look of custom-installed decor. This approach ensures your home feels sophisticated while remaining completely reversible.

Using Command Strips the Right Way

Leaning mirrors create an expensive look without any wall damage.

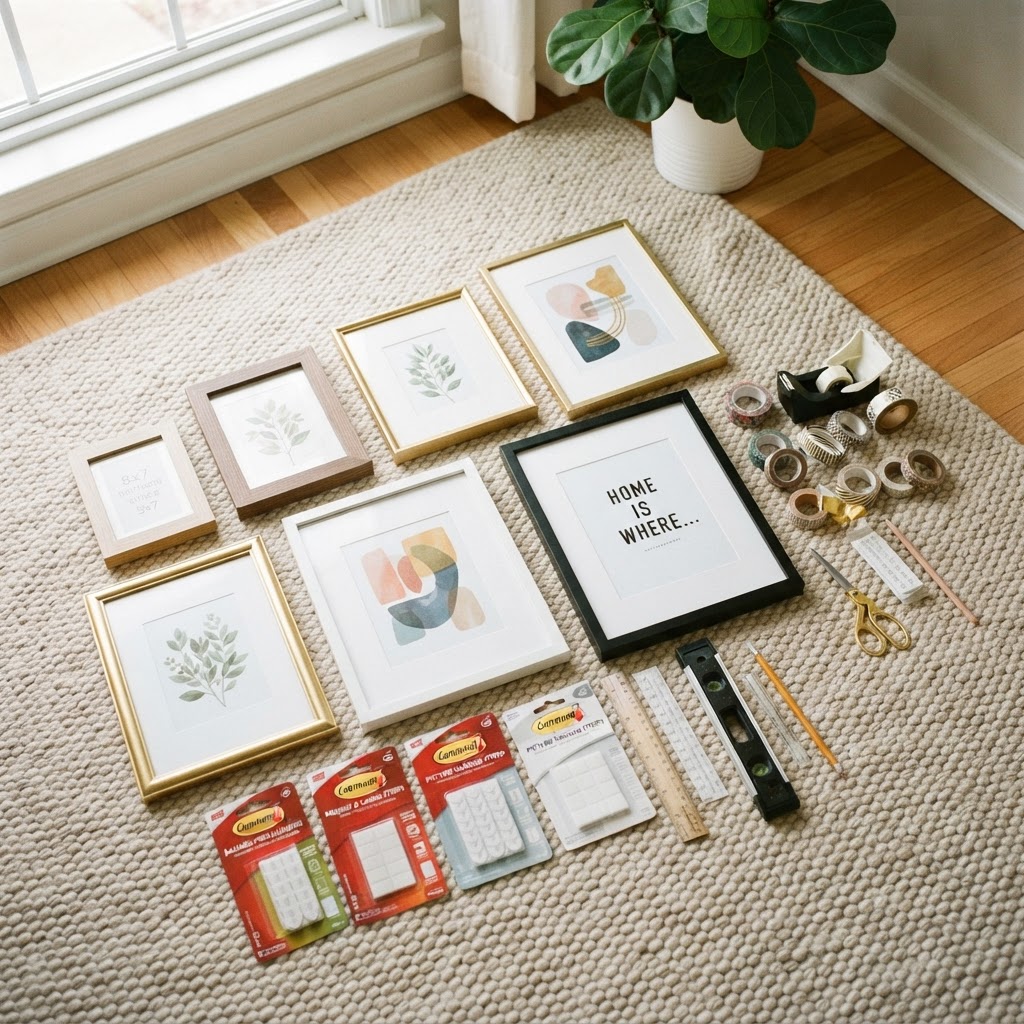
Command strips are the gold standard for no-damage wall decor, but the key to making them look expensive is proper planning. Rather than haphazardly hanging frames, treat your wall like a museum space. Use a laser level to ensure perfect alignment, which creates a sharp, professional look that instantly elevates the room.

Achieving the Gallery Wall Effect

To make a gallery wall look luxurious, choose frames with uniform finishes, such as matte gold, polished black, or natural oak. Space them with precision, keeping the distance between each frame consistent. This level of detail makes the display look intentional rather than like a collection of leftover items.

The Power of Peel-and-Stick Wallpaper

Textured peel-and-stick wallpaper mimics high-end design finishes.

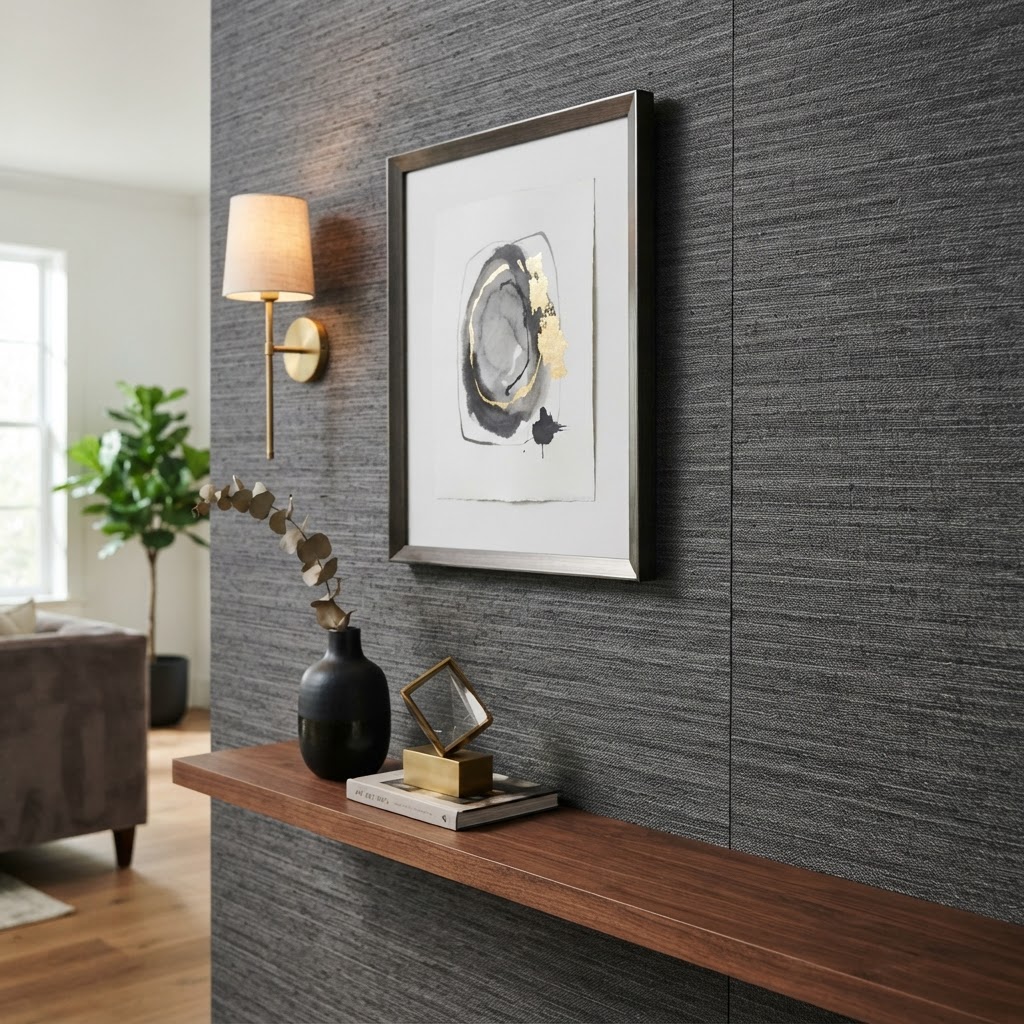
If you want to achieve a high-end look without a commitment, premium peel-and-stick wallpaper is your best friend. Look for patterns that mimic natural textures like grasscloth, linen, or classic marble. These materials add depth and warmth to a room, acting as a backdrop that makes every other piece of decor look like it cost a fortune.

When installing, take your time to align patterns perfectly. A clean, seamless installation is the hallmark of a professional project. Even a single accent wall can completely redefine the architectural feel of a space.

Decorative Fabric Hangings

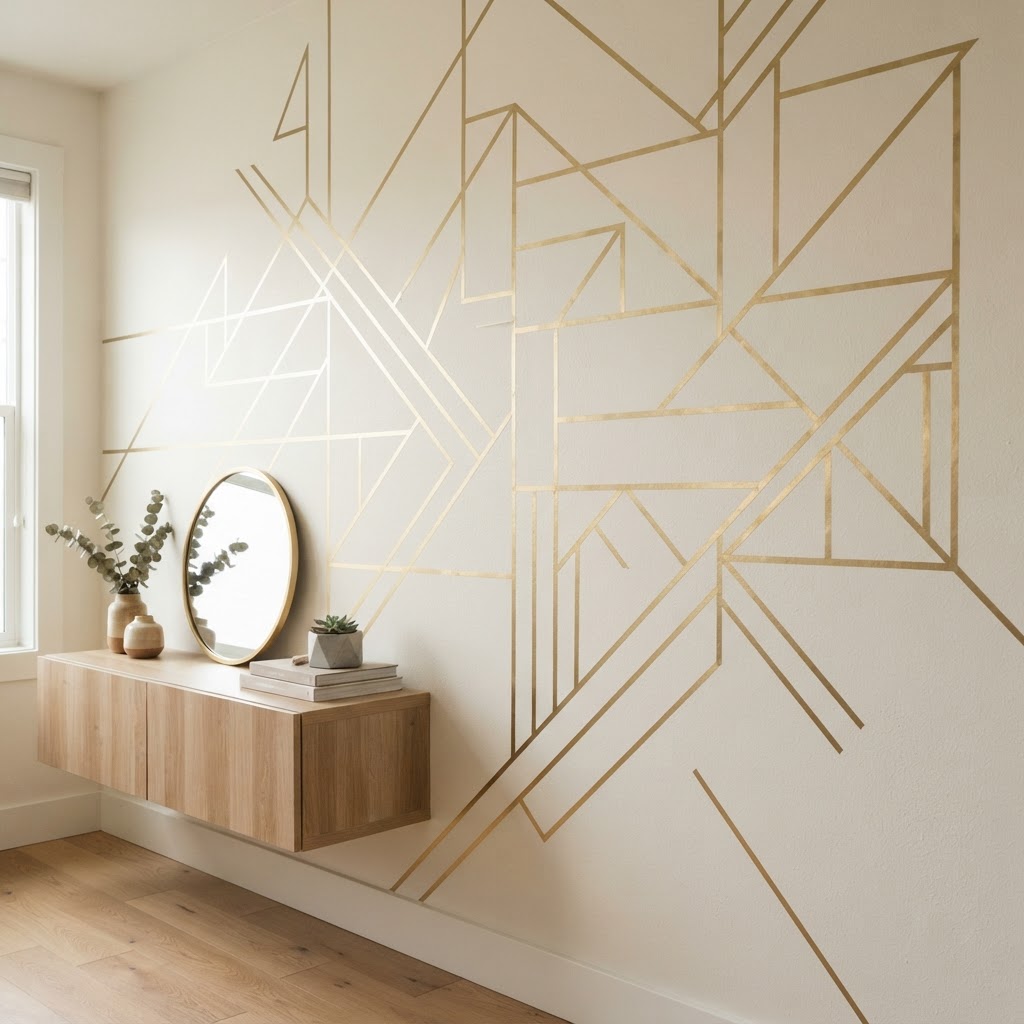
Washi tape can create stunning, modern, and removable wall art.

Textiles add an element of softness and luxury that hard frames sometimes lack. Use lightweight wooden dowels or decorative brass rods to hang large-scale tapestries or vintage scarves. You can mount these using heavy-duty adhesive hooks that are rated for the weight of your fabric, ensuring that your installation remains secure.

Choose materials like velvet, silk, or heavy linen to maximize the tactile experience. When a space feels luxurious to the touch, it automatically registers as expensive to the eye. This is an excellent way to introduce color and pattern without needing a single nail.

Leaning Large-Scale Mirrors

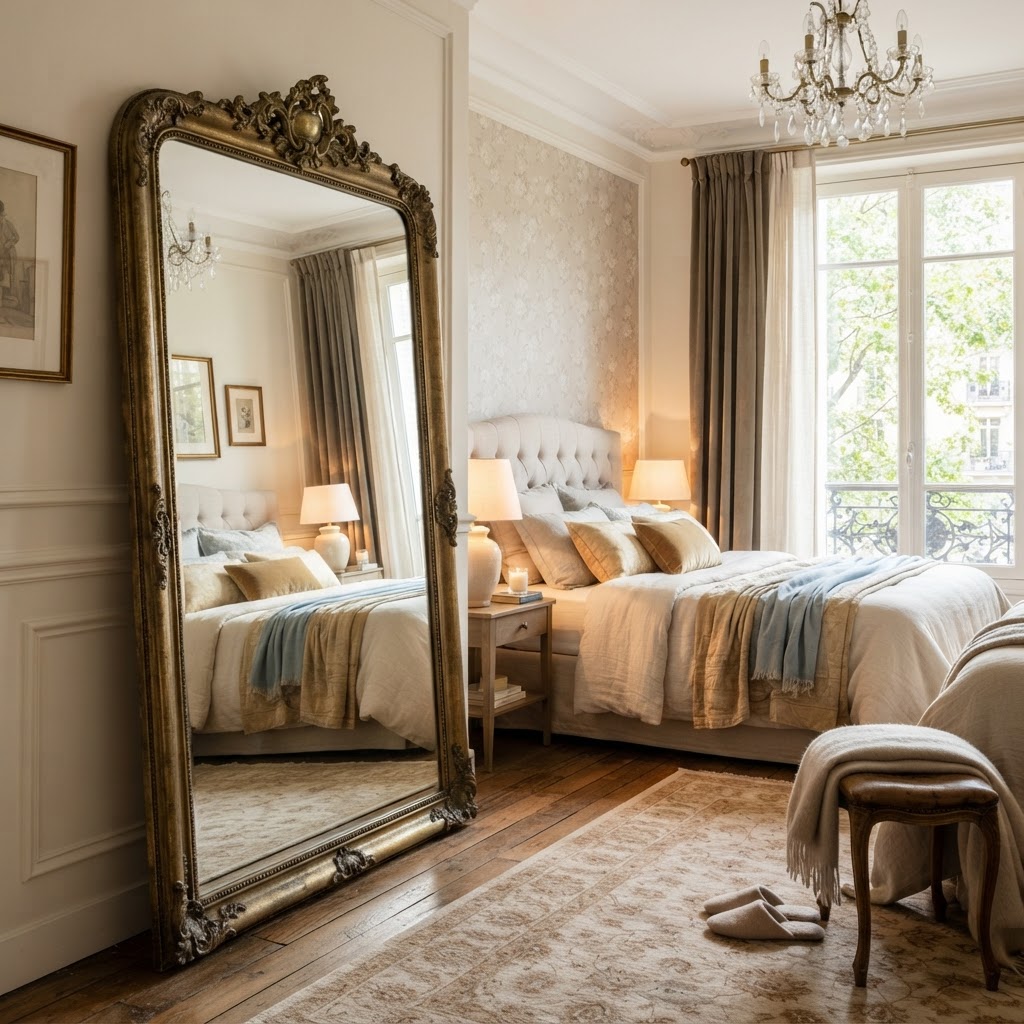
One of the most effective no-damage wall decor ideas is to utilize oversized floor mirrors. By leaning a tall, ornate mirror against the wall rather than hanging it, you create a chic, Parisian-apartment vibe. This technique is inherently high-end and requires zero installation effort.

Choose mirrors with heavy, sculptural frames in finishes like brushed brass or antique silver. The key here is scale; the larger the mirror, the more expensive it looks. Position it where it can reflect natural light to brighten your room while adding a sense of architectural grandeur.

Washi Tape as Wall Art

While it sounds simple, Japanese washi tape can be used to create sophisticated, minimalist wall art. By creating crisp geometric shapes, silhouettes, or architectural lines, you can turn a blank wall into a contemporary masterpiece. Use metallic or muted tones for a polished look that feels modern and high-end.

This method is completely damage-free and allows for total creative freedom. You can experiment with different designs and change them up as your style evolves. It is a fantastic option for those who appreciate modern art but prefer a clean, minimal aesthetic.

Floating Shelves with Adhesive Backing

There is a new generation of high-quality adhesive floating shelves designed to hold lightweight objects like small sculptures, books, or vases. These shelves are a game changer for displaying curated collections without drilling holes. Place your items with care, opting for ‘negative space’ to ensure each piece has room to breathe.

The Beauty of Temporary Wall Decals

Modern wall decals have moved far beyond basic shapes. Today, you can find high-quality, matte-finish decals that look like hand-painted murals. Choose botanical prints, abstract brushstrokes, or subtle geometric patterns that blend into your wall color. The lack of glossy edges is what makes these look expensive rather than like children’s stickers.

Tips for Styling Without Damage

  1. Always clean the wall surface with rubbing alcohol before applying adhesives.
  2. Use a laser level to ensure all your hanging items are perfectly straight.
  3. Group small items into a single frame to reduce the number of wall attachment points.
  4. Opt for lightweight materials like foam core or canvas to avoid needing heavy-duty mounts.
  5. Layer items for a collected look; place a leaning mirror in front of a wall hanging for depth.

Conclusion

You don’t need a sledgehammer or a drill to create a home that reflects your taste for luxury. By utilizing these 12 no-damage wall decor ideas, you can achieve a polished, high-end look that respects your space and your lease. Start with one of these techniques today, such as a gallery wall of uniform frames or an oversized leaning mirror, and watch how your room transforms into a sophisticated sanctuary. If you are ready to upgrade your interior, start small, focus on quality, and enjoy the process of styling your perfect home.

5 Reversible Entryway Makeovers That Elevate Any Apartment

5 Reversible Entryway Makeovers That Elevate Any Apartment

Reversible entryway makeovers for renters involve using non-permanent solutions like peel-and-stick wallpaper, adhesive-backed hooks, area rugs, battery-operated lighting, and leaning mirrors to transform a foyer without damaging walls or violating lease agreements. These five budget-friendly strategies allow you to increase functionality and aesthetic appeal while guaranteeing your full security deposit return.

The Psychology of a Well-Designed Entryway

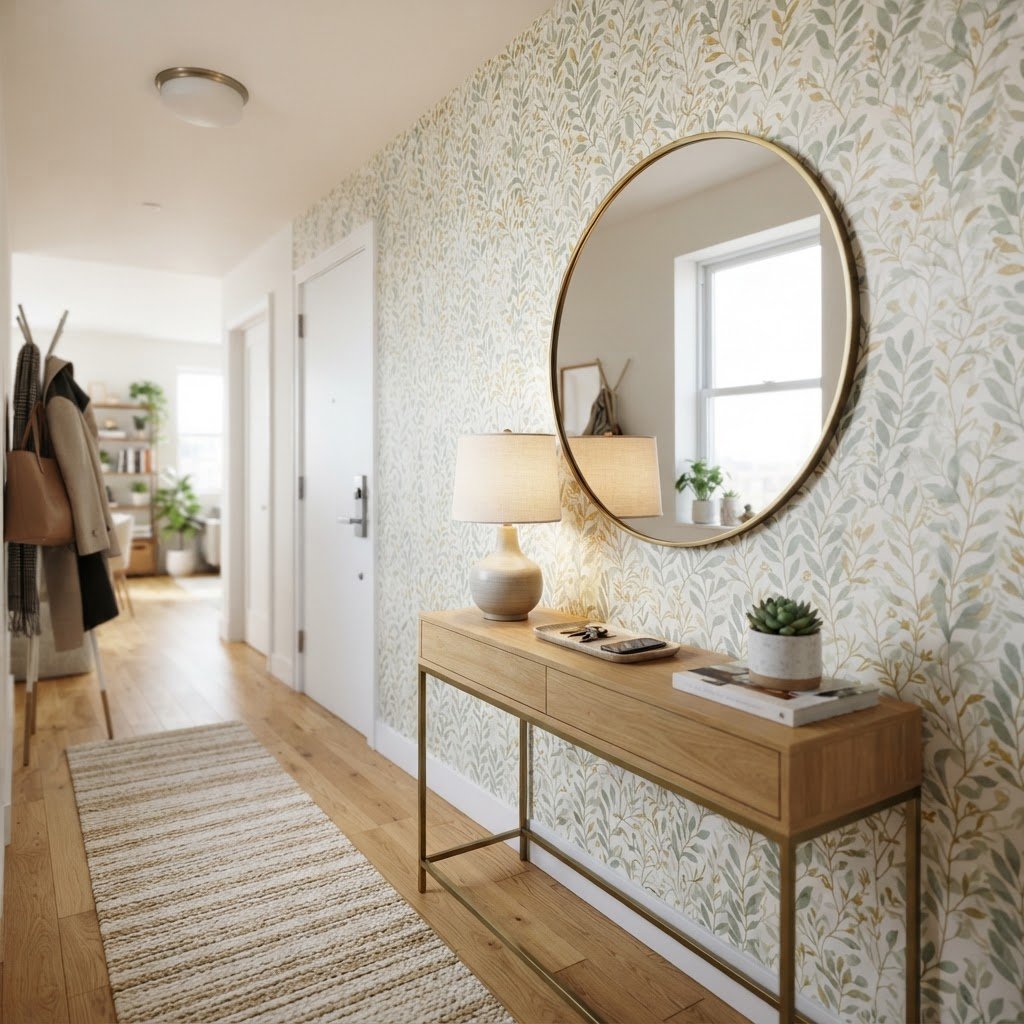
Peel-and-stick wallpaper adds instant character to any rental foyer.

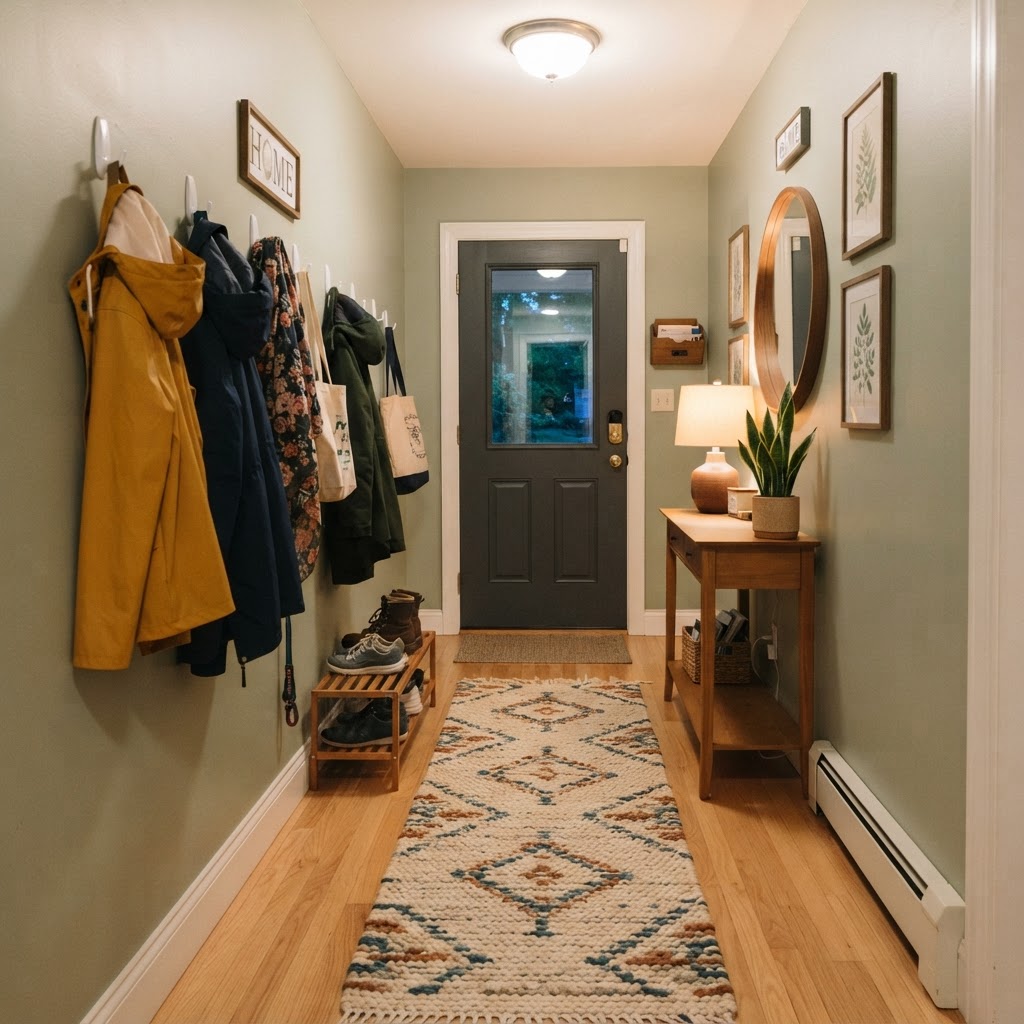
Your entryway acts as the vital transition zone between the chaotic outside world and your personal sanctuary, setting the tone for your entire home. Psychologically, an organized “drop zone” reduces cortisol levels by providing a dedicated, stress-free space for keys, mail, and outerwear immediately upon arrival. Research into spatial design suggests that individuals who maintain a clean entryway are 30% more likely to feel organized in their professional lives. By investing as little as $50 to $150 in reversible upgrades, you create a psychological boundary that signals the end of the workday and the beginning of relaxation time. When this area is neglected, it often leads to a “clutter spillover” effect where disorganization migrates from the foyer into the living room and kitchen. Utilizing vertical space through tension-based furniture or wall-mounted adhesive solutions ensures that even a 10-square-foot apartment corner can function as a high-end mudroom. Achieving this balance requires shifting focus from permanent modifications to modular, high-impact decor pieces that respect the physical constraints of the rental. By transforming your foyer, you aren’t just decorating; you are optimizing your home’s environmental impact on your mental well-being.

Why Rental Friendly Decor Matters

Most apartment dwellers avoid major home improvements due to strict lease agreements. However, modern innovation has provided renters with peel-and-stick adhesives, tension-based furniture, and non-permanent hardware. You no longer have to sacrifice style for security; in fact, the constraints of renting often spark the most creative design solutions. Understanding the balance between aesthetics and functionality is the key to a successful apartment transformation.

1. Upgrade Walls with Peel-and-Stick Wallpaper

A runner rug and wall hooks create a functional drop zone.

Peel-and-stick wallpaper is the premier method for creating a dramatic focal point in a bland rental foyer without the long-term commitment of traditional pastes. Unlike standard wallpaper, these vinyl-based products are specifically engineered for renters, utilizing low-tack adhesives that peel away cleanly from smooth surfaces. To ensure a professional finish, you should measure your wall area twice and order 15% more material than calculated to account for pattern matching and cutting errors. Prices typically range from $30 to $80 per roll, making it a cost-effective alternative to professional painting. Before application, clean your walls with a mix of mild soap and water to remove dust, which significantly improves adhesive longevity. For smaller, windowless entryways, select high-reflectivity patterns or metallic finishes that can brighten the space by up to 20%. If your walls have a slight texture, look for “heavy-duty” adhesive backings labeled for semi-textured surfaces to prevent bubbling. By dedicating a single afternoon to installation, you can completely alter the architecture of your entranceway, making it feel like a custom-designed space. When moving out, simply apply low heat with a hair dryer to soften the adhesive, allowing the sheets to lift off without stripping the underlying paint or drywall, ensuring your security deposit remains untouched.

Feature Traditional Wallpaper Peel-and-Stick Wallpaper
Installation Requires paste/water Self-adhesive/Dry
Removal Difficult (steaming) Easy (peel off)
Rental Safety Low High
Average Cost High Moderate

2. Command Hooks and Floating Shelves

Layered lighting transforms a basic apartment hallway.

Vertical storage through adhesive hooks and floating shelves is the most efficient way to maximize square footage in a cramped rental apartment. Adhesive technology has advanced to the point where heavy-duty strips can safely support up to 15 pounds per hook, making them ideal for bulky winter coats, heavy bags, or umbrella stands. Instead of random placement, arrange your hooks in a grid pattern or a staggered “scallop” formation to turn functional storage into a structured art installation. Floating shelves, particularly those with tension-mounted legs or weighted bases, provide a stable surface for decorative accents without requiring a single drill hole. When planning your layout, keep the shelf height between 36 and 42 inches from the floor for optimal ergonomic access. This height mimics a standard console table, providing a convenient drop zone for keys and mail while keeping the floor clear for boots and shoes. Using consistent hardware finishes—such as brushed gold, matte black, or polished nickel—across all hooks and shelf brackets creates a high-end, cohesive aesthetic. Always follow the manufacturer’s weight capacity guidelines; exceeding these limits can lead to unexpected detachment and potential wall damage. By strategically grouping these elements, you transform a flat wall into a 3D functional space, proving that you do not need permanent construction to achieve a professional mudroom look.

3. The Power of Area Rugs and Runners

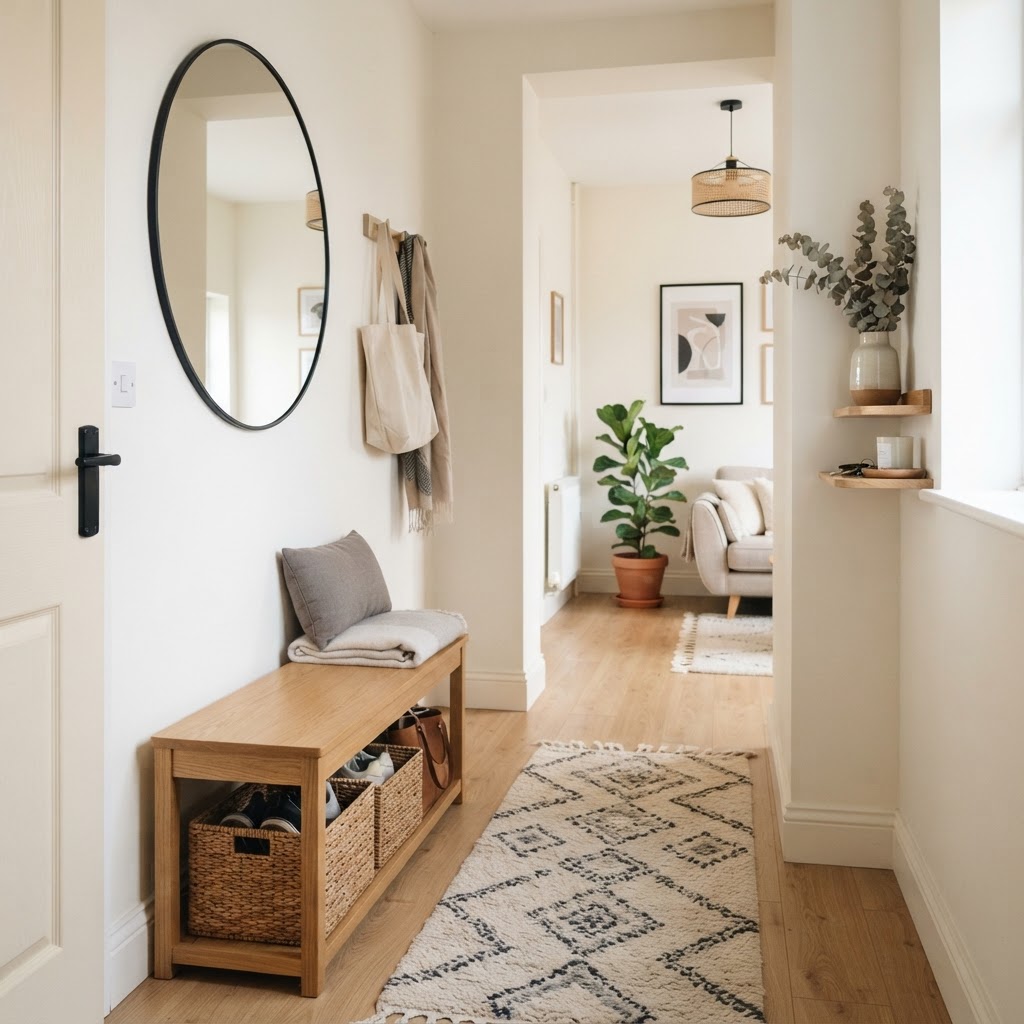
Maximize your space with a mirror and slim storage bench.

An area rug or runner is the fastest way to conceal unattractive rental flooring while adding acoustic dampening and warmth to your home’s entrance. In high-traffic zones, a flat-weave or low-pile rug is essential, as these styles prevent the door from catching while providing a durable surface that withstands daily wear. Natural fibers like jute and sisal are excellent choices for their durability and organic texture, while machine-washable cotton blends are superior for families or pet owners needing frequent sanitation. To prevent slips and protect the landlord’s original flooring, always pair your rug with a high-quality, non-slip felt rug pad. This addition not only increases safety but also adds a layer of cushioning that makes the entryway feel more luxurious. When selecting a size, aim for a runner that leaves at least 4 to 6 inches of floor visible on either side of the rug to maintain proper scale. If your entryway is uniquely shaped, consider purchasing carpet tiles, which can be custom-cut to fit around awkward corners or wall obstructions without requiring permanent adhesive. A well-placed rug serves as the foundation of your foyer design, effectively zoning the space away from the rest of the apartment and acting as a physical barrier that captures grit before it enters your living room. Ultimately, a rug is the ultimate “low-risk, high-reward” upgrade for any renter.

4. Layered Lighting for Ambiance

Standard overhead apartment lighting often creates a sterile, harsh atmosphere, which can be easily corrected by introducing layered, warm lighting sources. Layering involves using a combination of base lighting (your existing overhead) and accent lighting (table lamps or wall sconces) to create a sense of depth and luxury. You can bypass the need for hardwiring by selecting high-quality, battery-operated LED sconces that mount with command-style adhesive plates. These fixtures are frequently equipped with remote controls or smart-home connectivity, allowing you to dim the lighting or set timers via voice assistant. Place a sleek, plug-in table lamp on your entryway console to provide a warm, ambient glow that creates a welcoming feeling as soon as you enter the apartment. Aim for light bulbs in the 2700K to 3000K range, which emit a soft white light rather than the blue-tinted cool light found in most standard utility bulbs. By avoiding the overhead light entirely and relying on these secondary sources, you can instantly make a small, budget-conscious hallway feel like an upscale entryway. Incorporating motion-sensor LEDs under floating shelves is another effective strategy, providing practical, hands-free lighting that adds a high-tech feel to your foyer while saving energy. These minor adjustments completely transform the mood of the transition zone, making it a functional and inviting place to pause when you first walk through the door.

Lighting Type Typical Color Temp Best Use Case Installation Effort
Standard Overhead 4000K+ General Utility N/A (Existing)
LED Sconces 2700K – 3000K Ambiance/Wall Decor Low (Adhesive)
Table Lamp 2700K Surface Lighting Low (Plug-in)

5. Mirrors and Reflective Surfaces

Mirrors are essential in small apartments because they double the perceived visual depth of the room and increase natural light distribution. In a cramped or dark entryway, a large-scale mirror acts as a “faux window,” bouncing existing light back into the space and making the corridor feel significantly more open. For safety and compliance with common lease terms, choose a floor-length mirror with a lean-to frame, or use heavy-duty adhesive strips specifically designed to support mirrors up to 20 pounds. When placing your mirror, position it perpendicular to the light source to maximize the reflection of natural illumination. Beyond aesthetic expansion, a mirror serves a critical practical function for last-minute outfit checks, ensuring you look your best before stepping out. To align with a specific interior design theme, select a frame material such as matte black for modern industrial vibes, or warm walnut wood for a mid-century modern aesthetic. If you have a very narrow entryway, consider a mirrored console table or mirrored wall decals to achieve a similar reflective effect without taking up valuable floor space. Mirrors are inherently versatile; they are easy to transport when you move and integrate seamlessly into any room in your next home. By selecting a high-quality, statement piece, you add a sense of permanent luxury to your rental that feels tailored and intentional rather than temporary.

FAQ

Can I use peel-and-stick wallpaper on textured rental walls?

Peel-and-stick wallpaper adheres best to smooth surfaces, but you can use it on textured walls if you select products explicitly rated for texture or apply a layer of smooth contact paper first. Always test a small sample in an inconspicuous area for 48 hours to ensure it sticks without damaging the paint.

How do I remove adhesive hooks without pulling off paint?

To remove adhesive hooks without paint damage, use a hair dryer on a low-heat setting for 30 seconds to soften the adhesive before gently pulling the tab straight down. This process prevents the glue from pulling away layers of drywall or paint during removal.

Are there alternatives to drilling for heavy mirrors?

Yes, you can safely hang heavy mirrors using floor-leaning frames or specialized furniture anchors that use tension rather than screws. Ensure the mirror is secured to the wall with a safety strap attached to the frame to prevent tipping while avoiding permanent wall damage.

How often should I clean my entryway rug to maintain it?

Vacuum your entryway rug at least once a week to remove dirt and debris, and perform a deep clean or machine wash monthly. Regular cleaning prevents grit from grinding into the fibers, which extends the life of the rug and keeps your entryway looking pristine.

What is the best light color temperature for a cozy entryway?

For a warm and inviting atmosphere, use light bulbs with a color temperature between 2700K and 3000K. This range produces a soft, golden-yellow light that feels much more natural and comfortable than the harsh, blue-leaning light of standard 4000K+ overhead fixtures.

8 Budget-Friendly Bathroom Organization Hacks for Rentals

8 Budget-Friendly Bathroom Organization Hacks for Rentals

You can organize a rental bathroom without damaging surfaces by utilizing non-permanent, vertical storage solutions such as over-the-door organizers, tension rods, and adhesive-backed hooks. These budget-friendly methods maximize minimal square footage while ensuring you retain your full security deposit by avoiding drills, nails, and permanent modifications to cabinetry or walls.

The Power of Over-the-Door Storage Solutions

A slim rolling cart is perfect for adding storage to small corners.

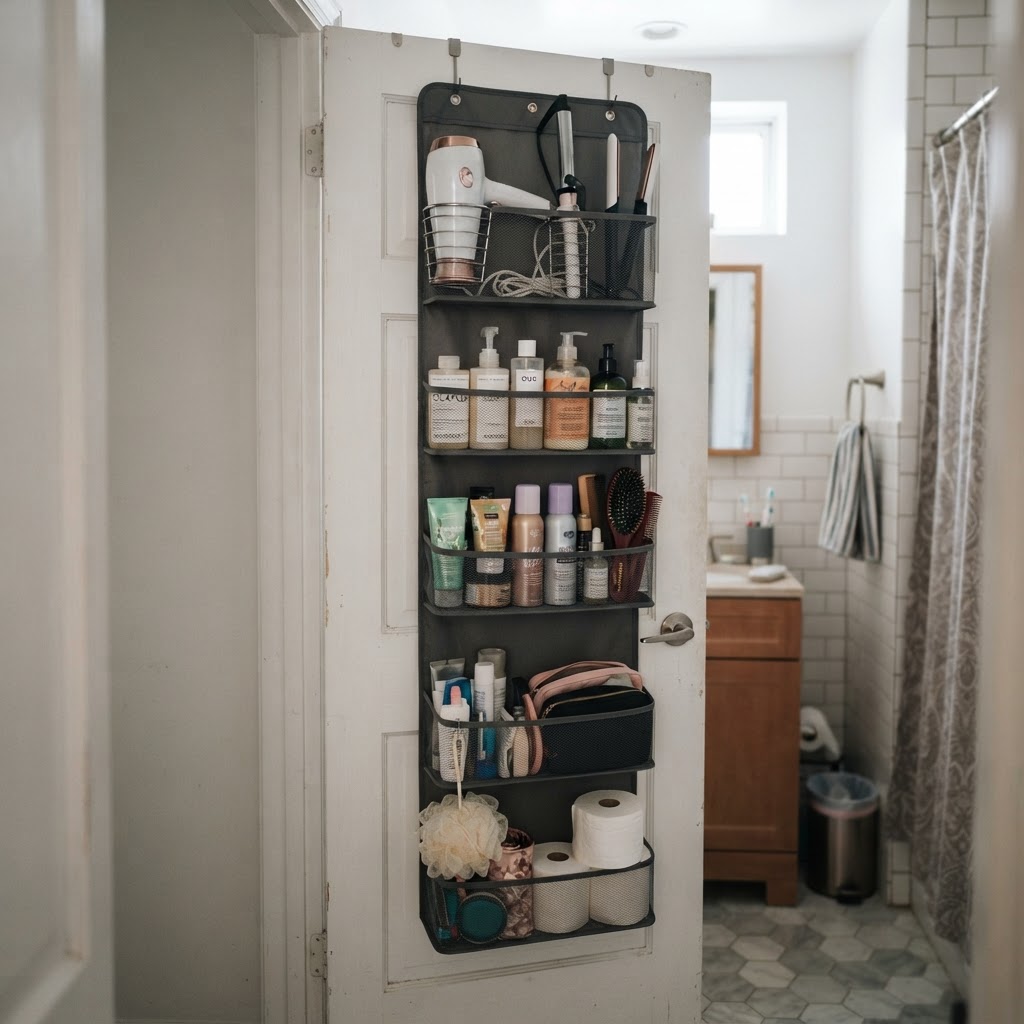
When wall space is limited, the back of the bathroom door serves as prime, underutilized real estate for vertical storage that requires zero drilling or hardware. Over-the-door organizers effectively turn a flat, blank door into a functional shelf system for bulky items that would otherwise clutter your vanity. By opting for modular tiered units or pocket systems, you can increase your usable storage capacity by up to 40% in even the smallest powder rooms.

Feature Over-the-Door Organizer Traditional Wall Shelving
Installation Zero Drilling Drilling/Anchors Required
Rental Friendly Yes No
Storage Capacity High (Vertical) Moderate (Surface)
Damage Risk Low (Surface friction) High (Wall holes)

Choosing the Right Over-the-Door Unit

Look for organizers crafted from rust-resistant materials like powder-coated steel or breathable mesh, which prevent mold in damp bathroom environments. These are perfect for holding hair dryers, flat irons, and bulk shampoo bottles that consume limited counter space. To protect your landlord’s property, apply $2 adhesive felt pads where the metal contacts the door to prevent scratching and noise.

Maximizing Vanities with Drawer Dividers

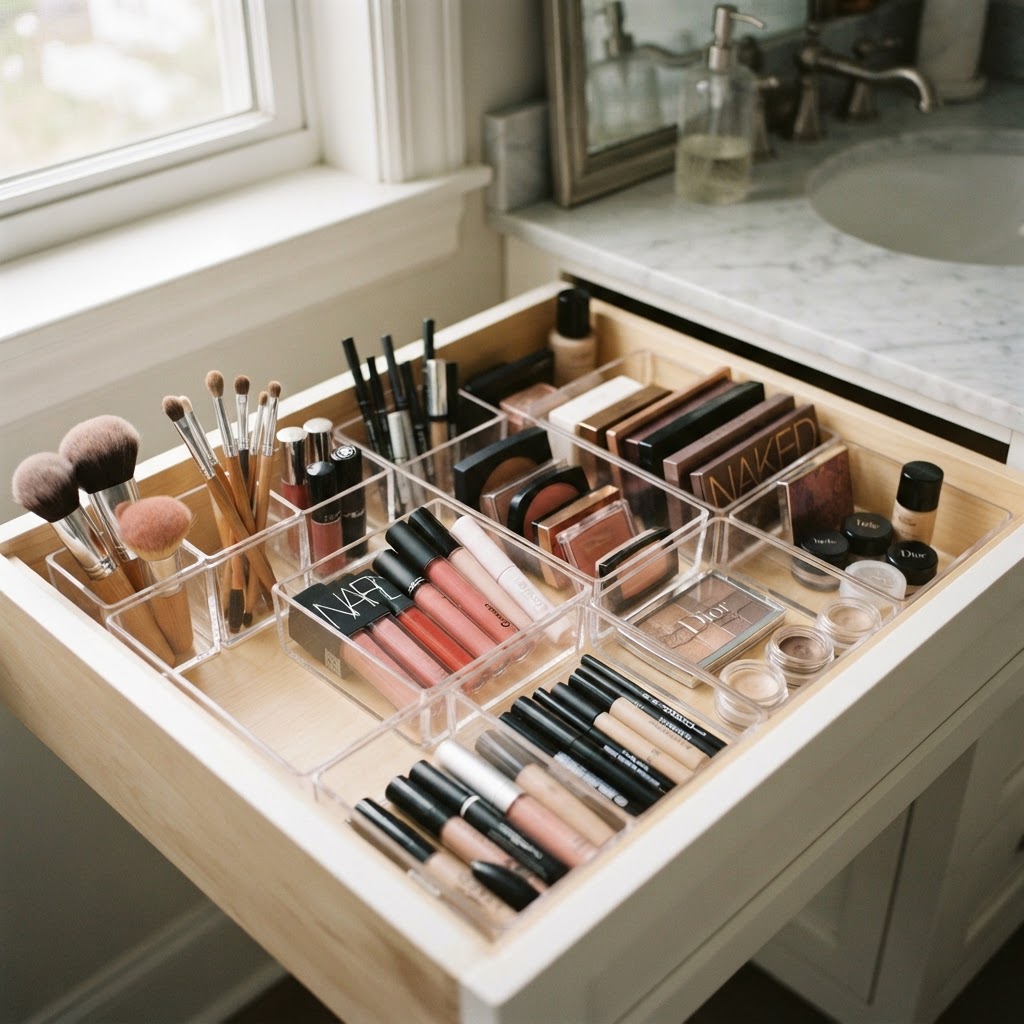
Clear drawer dividers are the most effective method for maintaining order in shallow, poorly configured rental vanity drawers. Without these, small items like tweezers, cosmetics, and grooming tools inevitably shift and tangle, wasting time during your morning routine. By using modular acrylic or bamboo systems, you can create custom compartments that ensure every item has a specific home, preventing the “junk drawer” effect.

Why Clear Dividers Work Best

Visibility is key to keeping a small space feeling organized; clear organizers allow you to see inventory at a glance, preventing over-purchasing of duplicate products. Most standard rental vanity drawers range from 12 to 18 inches in depth. You can find expandable bamboo or recycled plastic sets for under $15 that fit snugly without requiring adhesives. Maintaining a categorized drawer system reduces the time spent searching for items by an average of 3 to 5 minutes daily, keeping your vanity surface clear for essential grooming tasks.

Clear dividers keep small items from turning into a jumbled mess.

Utilizing Tension Rods Under the Sink

Over-the-door organizers maximize space without any drilling.

Under-sink cabinets often become disorganized “black holes” where cleaning supplies and bulk toiletries go to be forgotten, but a simple tension rod creates an instant second shelf. By installing a heavy-duty tension rod horizontally across the cabinet interior, you can hang spray bottles by their triggers. This vertical suspension method frees up the cabinet floor for taller baskets, increasing your storage density by approximately 30%.

Pair this setup with adhesive command hooks inside the cabinet doors to store scrub brushes and sponges, utilizing every square inch of the enclosure. Because tension rods use friction rather than screws, they are ideal for temporary living situations. A high-quality, non-slip tension rod costs roughly $7 to $12 and can support up to 10 pounds, making it one of the most cost-effective upgrades for a small rental.

The Versatility of Rolling Carts

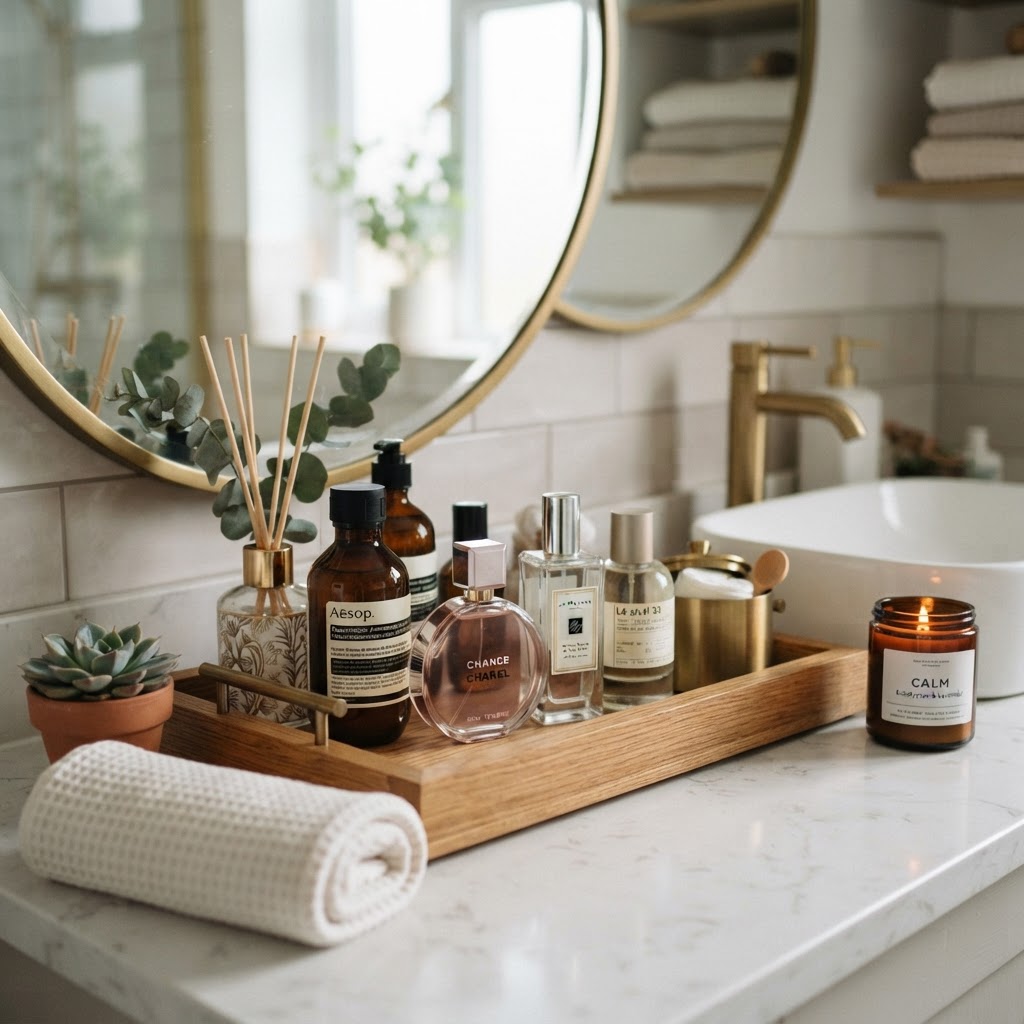
Trays keep your daily essentials looking neat and intentional.

A slim, three-tier rolling cart acts as a mobile storage extension that fits into corners too narrow for standard cabinetry. These freestanding units are the gold standard for renters because they require zero installation and can be wheeled away when you need to access floor space for deep cleaning. They are exceptionally versatile for storing bulky items like extra towels, large toilet paper packs, or rotating beauty collections that don’t fit on the vanity.

When choosing a cart, look for dimensions under 10 inches wide to ensure it fits beside standard pedestal sinks. Many professional organizers suggest using the bottom shelf for heavy bulk goods and the top shelf for daily-use items to maintain stability and ergonomics. These carts are essentially mobile furniture, which means they can be repurposed in other rooms when you move to a new property, providing long-term value beyond just the bathroom.

Vertical Storage with Tension-Mounted Shelving

Floor-to-ceiling tension pole shower caddies are the ultimate solution for adding multiple storage levels to shower enclosures without damaging tile or grout. These units rely on internal spring tension to stay secure, providing ample space for soaps, shampoos, and razors for shared households. Because they are removable and leave zero trace, they are perfectly compliant with even the strictest rental agreements.

Select a model with a stainless steel or rust-proof finish, as the high-moisture environment of a shower can cause cheap plastic or low-grade steel to degrade within 6 months. To maximize utility, assign each household member their own specific shelf tier, which reduces shower clutter and prevents water from pooling around multiple bottles left on the floor. Always ensure the tension caps feature rubberized pads to protect the ceiling finish from scuffing during long-term use.

Hanging Baskets for Hair Tools and Textiles

Adhesive strips paired with wire or wicker baskets allow you to create “floating” storage on previously unusable wall patches. This is a game-changer for renters struggling with cramped towel storage or lack of counter space for bulky hair tools. By using heavy-duty, command-style adhesive strips, you can mount baskets safely on drywall without risking your security deposit on patch-and-paint repairs.

When installing adhesive hardware, it is critical to wipe the wall clean with 70% isopropyl alcohol first to remove oils and dust that inhibit bonding. Always follow the manufacturer’s weight limit, which typically ranges from 3 to 15 pounds for high-end adhesive products. Loading a basket with wet towels requires higher-rated hooks; always check the packaging before mounting to prevent damage to your wall or the baskets themselves.

The Role of Trays and Risers

Decorative trays act as a visual frame for your countertop essentials, instantly making a scattered collection of bottles look like a curated display. If your bathroom vanity feels messy despite having items you use daily, clustering them on a tray creates a boundaries-based organization system. This keeps items like perfumes, lotions, and soap contained, while protecting the vanity surface from potential spills or chemical stains.

Creating a Spa Aesthetic

Incorporating a small riser inside your tray adds vertical interest, which can make a small bathroom appear more sophisticated. Grouping items by function—such as placing serums, moisturizers, and toners together—streamlines your morning routine. A 10-inch round tray usually fits most small vanities comfortably. Beyond organization, using a tray serves as a preventative maintenance measure against water-rings or makeup spills, helping you preserve the original vanity finish for your eventual move-out inspection.

Creating a Routine for Maintenance

Consistency is the secret to maintaining an organized rental space, as even the best systems fail without a weekly audit. Dedicate five minutes every Friday evening to tidying your drawers, clearing off trays, and checking the tension of your storage rods. By making maintenance a habit, you prevent the slow accumulation of clutter that causes small rooms to feel suffocating.

Maintenance Task Frequency Estimated Time
Wipe Down Surfaces Weekly 2 Minutes
Audit Drawer Contents Monthly 5 Minutes
Check Tension Rods Quarterly 1 Minute
Deep Clean Organizers Bi-Annually 15 Minutes

FAQ

Can I really organize a bathroom without drilling holes?

Yes, you can fully organize a rental bathroom using non-permanent solutions like tension-mounted shower caddies, over-the-door racks, and adhesive hooks. These options provide ample storage capacity while remaining 100% compliant with standard rental lease agreements regarding wall and fixture modifications.

What are the best materials for rental bathroom storage?

Choose rust-resistant materials such as powder-coated steel, high-quality acrylic, or moisture-wicking bamboo to ensure longevity. Avoid untreated metals that will corrode in humid bathroom environments, as these will eventually stain your rental surfaces and potentially result in loss of your security deposit.

How much do these rental-friendly hacks typically cost?

Most of these organizational hacks cost between $10 and $40 per unit, making them an affordable way to upgrade your space. You can often find modular organizers, tension rods, and rolling carts at major retailers, often achieving a professional, clutter-free look for under $100 total.

How do I remove adhesive hooks without damaging the paint?

To safely remove command-style adhesive hooks, pull the tab slowly and steadily in the direction indicated on the packaging, keeping it parallel to the wall surface. This stretches the adhesive and releases the bond without tearing the paint or drywall underneath, preserving your rental unit’s finish.

Can I use tension rods on all types of cabinets?

Yes, tension rods work in almost all cabinet types, provided the walls are parallel and the surface has enough friction for the rubberized ends to grip. If your cabinet interior is made of a slick, laminate finish, place a small square of shelf liner behind the rod tip to provide extra grip.

How to Create a Cozy Gallery Wall Without a Single Nail

How to Create a Cozy Gallery Wall Without a Single Nail

You can create a stunning gallery wall without a single nail by using high-strength adhesive strips, picture ledges, or leaning decor to preserve your drywall. By selecting lightweight frames and prepping surfaces with rubbing alcohol, you can achieve a professional-grade, damage-free display that secures your full security deposit.

The Philosophy of Renter-Friendly Decor

A beautifully curated gallery wall achieved without a single nail.

Personalizing a rental space allows you to transform sterile environments into a curated home without violating lease terms or causing permanent wall damage. Renter-friendly decor centers on the concept of ‘temporary permanence,’ where the aesthetic impact is maximized while the physical footprint is reduced to zero. This design philosophy empowers residents to treat their living quarters as a fluid canvas that evolves with changing seasons or personal tastes. By bypassing traditional hardware like nails, screws, and wall anchors, you avoid the tedious labor of spackling, sanding, and matching paint colors during move-out inspections. A successful gallery wall acts as the architectural heartbeat of a room, providing warmth, depth, and character to otherwise bland surfaces. Research indicates that personalized living spaces contribute significantly to psychological well-being, yet nearly 70% of renters report feeling restricted by ‘no-nail’ policies. Embracing this flexible approach allows you to experiment with high-impact layouts—such as floor-to-ceiling salon hangs or minimal grid displays—without the anxiety of losing your security deposit or facing landlord penalties.

Why Adhesive Technology Changes Everything

Modern adhesive technology utilizes advanced polymers that provide high shear strength while maintaining a clean release profile. The primary secret to success lies in proper surface preparation: the wall must be wiped with isopropyl alcohol to remove microscopic dust and oils that prevent a vacuum seal. Once cleaned, the adhesive bond is activated by firm pressure, typically held for 30 to 60 seconds per strip. Unlike traditional double-sided tapes, high-end command strips feature a proprietary ‘stretch-to-release’ pull-tab that elongates the internal adhesive foam, breaking the bond without pulling paint flakes or drywall fibers away from the substrate. When applying strips, always verify the weight capacity; a standard set of medium-sized strips generally supports up to 4 pounds, while large strips can handle 12 to 16 pounds depending on the manufacturer. By treating your walls as a clean gallery canvas, you unlock endless possibilities for creative expression while maintaining 100% surface integrity for future removal.

Essential Tools for Damage-Free Hanging

Use high-quality adhesive strips for a secure, damage-free hold.

Selecting the right hardware is the most critical factor in ensuring your gallery wall remains secure and damage-free over time. Inferior adhesives often lose their grip in environments with high humidity, so always choose products specifically rated for your wall texture—whether smooth drywall, wood paneling, or glass. For heavy frames, opt for interlocking heavy-duty strips that provide a mechanical ‘click’ when secure. Using high-quality components ensures that your display can support frames up to 15 pounds per unit. Furthermore, lightweight frames made from expanded polystyrene or thin acrylic are superior to heavy wood-and-glass combinations for no-nail projects. Below is a comparison of common materials to help you choose the best hanging method for your specific decor items.

Material Weight Capacity Best Use Case Damage Risk
Adhesive Strips Up to 16 lbs Standard Frames Low
Washi Tape < 0.5 lbs Paper Prints Zero
Picture Ledges Up to 25 lbs Shelved Decor Moderate
Museum Putty < 1 lb Small Accents Minimal

Preparing Your Frames for the Wall

Frame selection dictates the success of your project; prioritize materials that minimize physical load. Heavy, ornate wooden frames with thick glass often exceed the capacity of standard adhesives and increase the risk of the frame falling. Instead, look for frames with acrylic glazing, which is 50% lighter than glass and shatter-resistant. Before application, inspect the back of your frame; it must have a flat, smooth surface for the adhesive strips to bond. If the frame has a recessed back or a wire, use a flat-surfaced adapter board to provide a stable contact point. For larger frames, apply strips on all four corners to distribute the force evenly. When mounting, ensure you are pressing the frame against the wall for at least 30 seconds to allow the adhesive to reach full curing strength, which typically takes 60 minutes before the full weight can be safely supported.

Planning Your Layout Strategy

Mix prints, tape art, and shelves for an eclectic, cozy look.

Perfecting your layout on the floor before applying any piece to the wall ensures visual balance and prevents the need for removing and reapplying strips. Start by gathering all your art, frames, and accents on a large area of floor space, arranging them until the composition feels harmonious. A useful trick is to use painter’s tape to outline the exact dimensions of your gallery area on the wall; this acts as a guide to prevent your arrangement from drifting as you work. When planning, aim to place the center of your gallery at eye level, roughly 57 to 60 inches from the floor, to create the most natural viewing experience. Consider the ‘negative space’—the gap between your frames—which should ideally remain consistent at 2 to 3 inches for a professional, cohesive look. By utilizing a floor-to-wall transfer method, you eliminate the guesswork and ensure your wall looks curated rather than randomly assembled.

Alternative Methods for No-Nail Display

Gather your supplies and plan your layout on the floor first.

Leveraging architectural features and existing furniture offers a robust alternative to wall-mounted adhesives for those who prefer a layered, collected look. Picture ledges are exceptionally effective because they allow you to rotate art frequently without ever touching the wall surface again after the initial mounting. If drilling is strictly forbidden, consider using heavy-duty, leaning full-length mirrors or wooden ladders; these act as a structural base for resting frames at different heights, creating a cozy and intentional aesthetic. These methods also provide depth, as you can layer smaller frames in front of larger ones, creating a three-dimensional display that feels more dynamic than a flat wall-mounted arrangement. Additionally, tension rods installed inside door frames or between two parallel walls can serve as a display system for prints hung with clips, adding a industrial yet cozy texture to the space.

Using Washi Tape for a Casual Vibe

For a bohemian or relaxed aesthetic, washi tape acts as both a functional tool and a design element. This low-tack Japanese paper tape is specifically designed to adhere to paper and paint without leaving residue or tearing the wall finish when removed. Washi tape is ideal for lightweight paper art, postcards, or polaroids that don’t require the structural support of a frame. You can create geometric borders that ‘frame’ your artwork on the wall, or simply place a small strip at the top of each piece for a floating, minimal look. Because it is available in hundreds of colors and patterns, it allows you to customize the ‘frame’ to match your room’s color palette perfectly. The best part is the cost; a single roll typically costs less than $5 and can cover an entire wall, making it one of the most budget-friendly ways to curate a gallery wall.

Maintaining Your Gallery Wall

Gallery wall maintenance is a simple quarterly process that ensures the longevity and safety of your displays. Every three to six months, perform a quick ‘check-up’ by pressing firmly against your frames to verify that the adhesive bond is still flush against the wall surface. Avoid placing your gallery wall in high-humidity areas, such as bathrooms or near kitchen stovetops, as moisture can break down the adhesive polymers over time. If a frame feels slightly loose, do not attempt to ‘fix’ it with extra tape; instead, remove the frame, clean the surface with alcohol, and replace all strips with fresh ones. When it comes time to move or change your layout, remember to pull the strip’s tab slowly and parallel to the wall—not outward—to ensure the paint remains pristine. Following these simple steps will ensure that your gallery wall remains a beautiful, damage-free focal point for years to come.

Troubleshooting Common Issues

If you find your frames tilting or shifting over time, you are likely dealing with uneven wall texture or subtle vibrations from heavy traffic. A small dab of removable museum putty at the base of the frame provides an invisible ‘anchor’ that stops the frame from shifting without damaging the paint. If you find a strip has failed to hold, assume the adhesive has been compromised by dust and replace it entirely rather than trying to reuse it. For walls with heavy orange-peel texture, consider using a slightly larger adhesive strip than recommended to increase the contact surface area. If the wall is unusually cold, warm the surface with a hairdryer for 10 seconds before applying the adhesive; this ensures the glue is at the ideal temperature for maximum adhesion. Patience is your greatest tool, as the initial 30 seconds of firm pressure is what sets the bond strength for the life of the installation.

Styling Tips for Maximum Coziness

Cozy gallery walls rely on a balance of thematic consistency and tactile variety to feel intentional. Aim for a unified color palette—such as warm earth tones, monochromatic black-and-white, or soft pastels—to help disparate pieces of art feel like a single collection. Don’t be afraid to integrate textures into your layout; a small woven macrame piece, a lightweight metal sign, or a pressed flower frame adds dimension and prevents the wall from appearing flat. The ‘negative space’ between pieces is equally important; aim for a consistent gap of two to three inches to allow the eye to rest, preventing the wall from appearing cluttered. By mixing these different mediums, you create a home environment that feels personal, collected, and expertly styled.

FAQ

Q: Can adhesive strips remove paint?

Adhesive strips are designed to be paint-safe when removed properly by pulling the tab parallel to the wall. Pulling away from the wall at an angle can cause the adhesive to tear the paint, so always use a slow, consistent motion to break the bond without damaging your surface.

Q: How much weight can a command strip hold?

Standard medium adhesive strips typically hold up to 4 pounds per set, while large strips can support up to 16 pounds. Always check the specific weight rating on the packaging, and for heavier items, consider using multiple pairs or distributing the weight across several contact points.

Q: What is the best way to clean the wall before applying adhesives?

Use a clean, lint-free cloth dampened with isopropyl alcohol to wipe the wall surface. This removes microscopic dust, oils, and invisible debris that prevent the adhesive from forming a strong bond, ensuring the strips remain firmly in place for years.

Q: Are picture ledges considered damage-free?

Most traditional picture ledges require screws, which are not damage-free. However, you can use heavy-duty adhesive mounting hardware to attach small ledges to your wall, or opt for free-standing leaning ledges that require no installation at all, keeping your wall entirely free of holes.

Q: How do I keep frames level on a gallery wall?

Use a laser level or a standard bubble level to mark your desired positions before sticking the frames. If a frame tilts after installation, a small amount of museum putty behind the bottom corner will keep it perfectly aligned and prevent it from shifting due to vibrations.