Category Rental-Friendly Apartment Decor

7 Renter-Friendly Ways to Hide Ugly Apartment Features

7 Renter-Friendly Ways to Hide Ugly Apartment Features

You can hide ugly apartment features using non-permanent solutions like peel-and-stick wallpaper, large area rugs, removable vinyl cabinet wraps, and strategic lighting. These methods allow you to disguise dated finishes, mask floor imperfections, and draw attention away from architectural eyesores without violating your lease or losing your security deposit.

Use Peel-and-Stick Wallpaper for Dated Walls
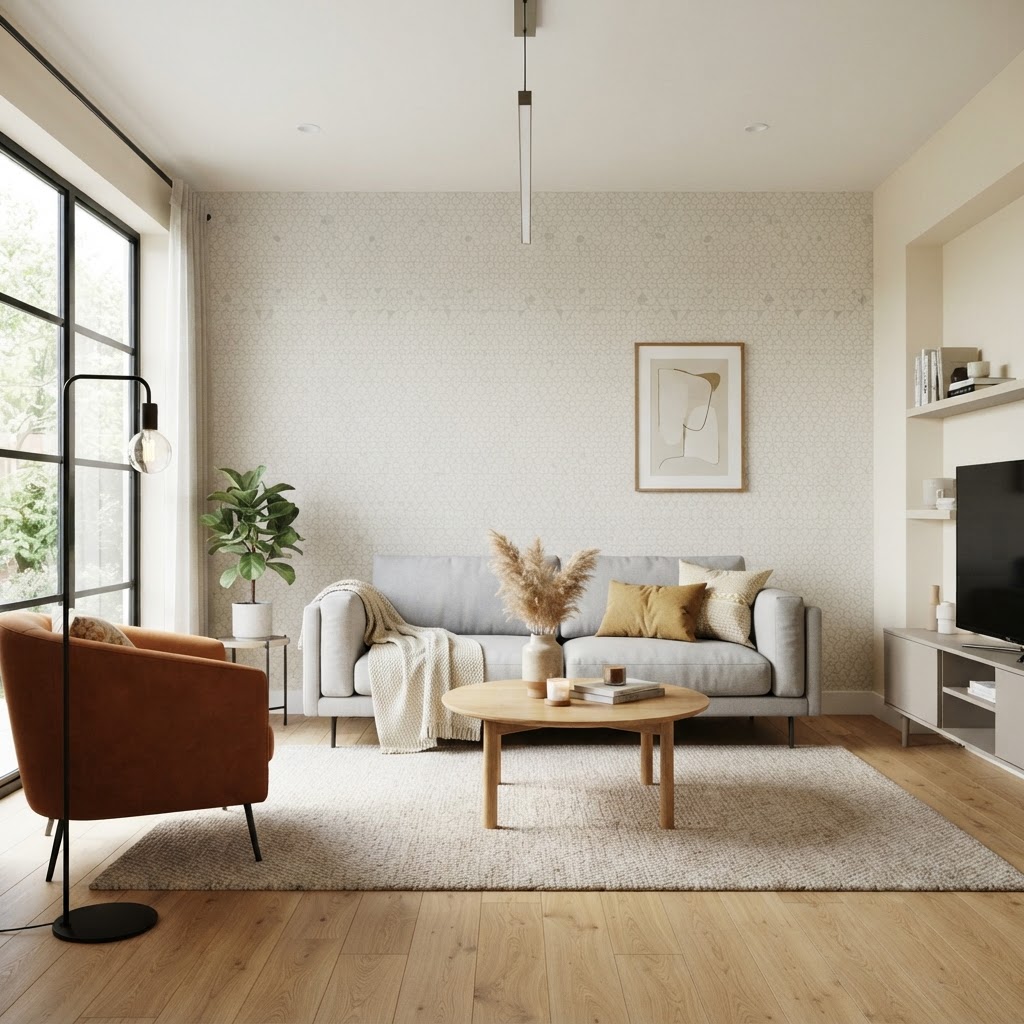
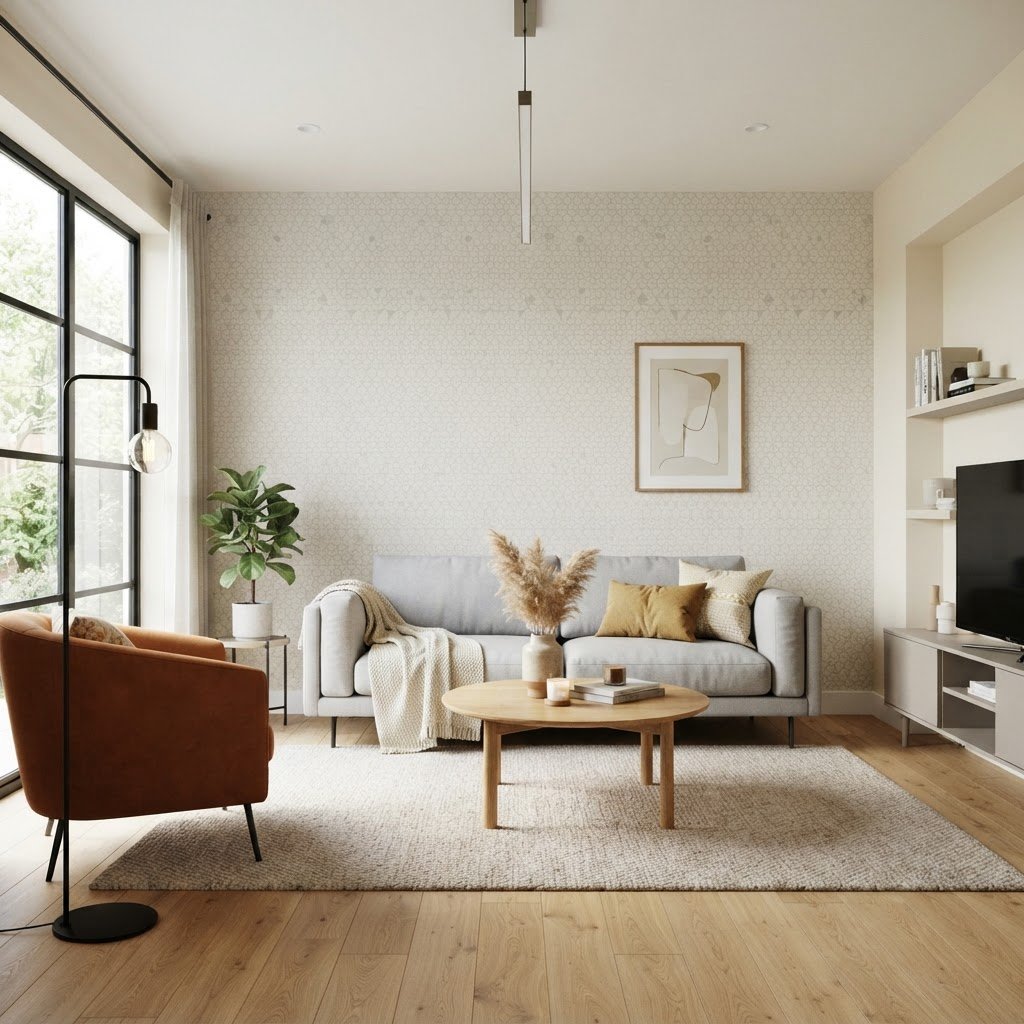
Peel-and-stick wallpaper can completely refresh a dull, textured wall.

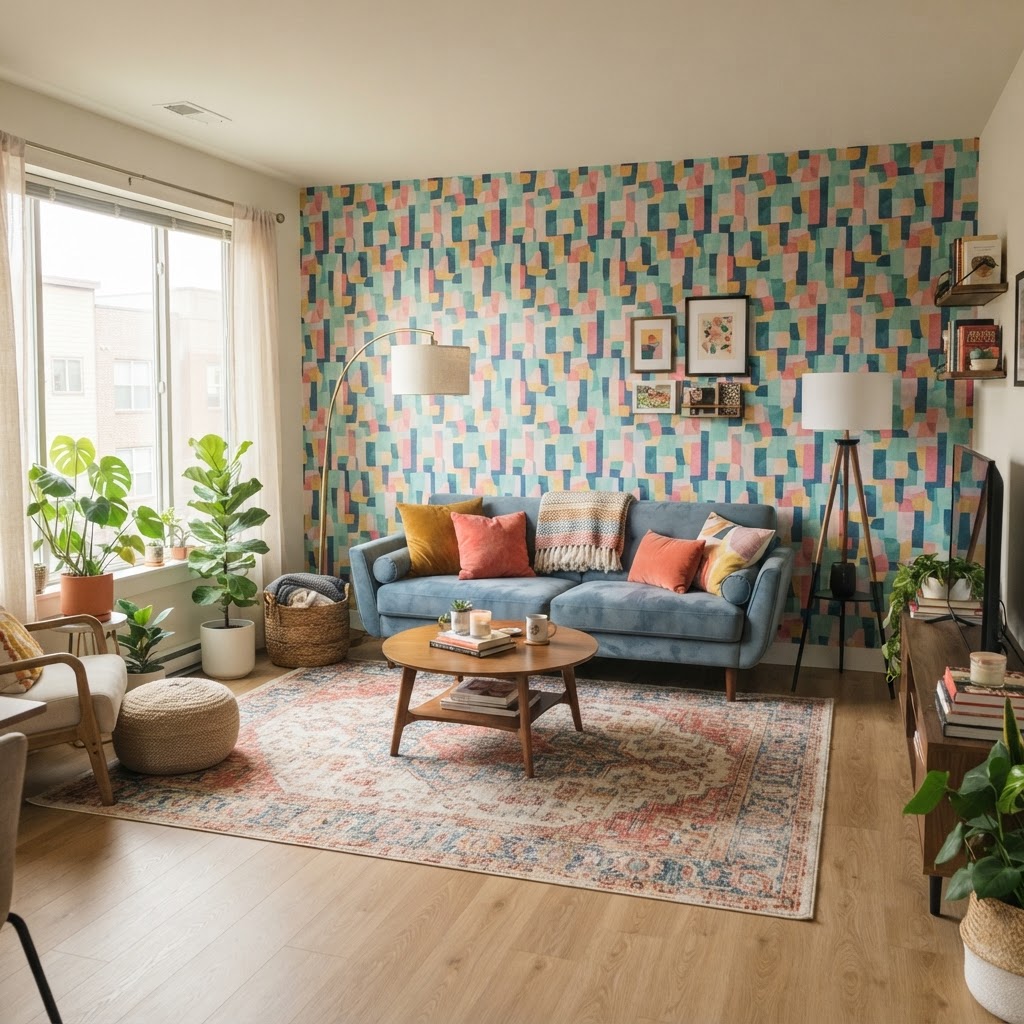
One of the most effective renter-friendly ways to hide ugly apartment features is the use of removable peel-and-stick wallpaper, which effectively conceals textured, damaged, or discolored walls. High-quality vinyl wallpaper typically costs between $30 and $60 per roll, offering a significantly cheaper alternative to professional painting while remaining 100% reversible.

Choosing the Right Pattern

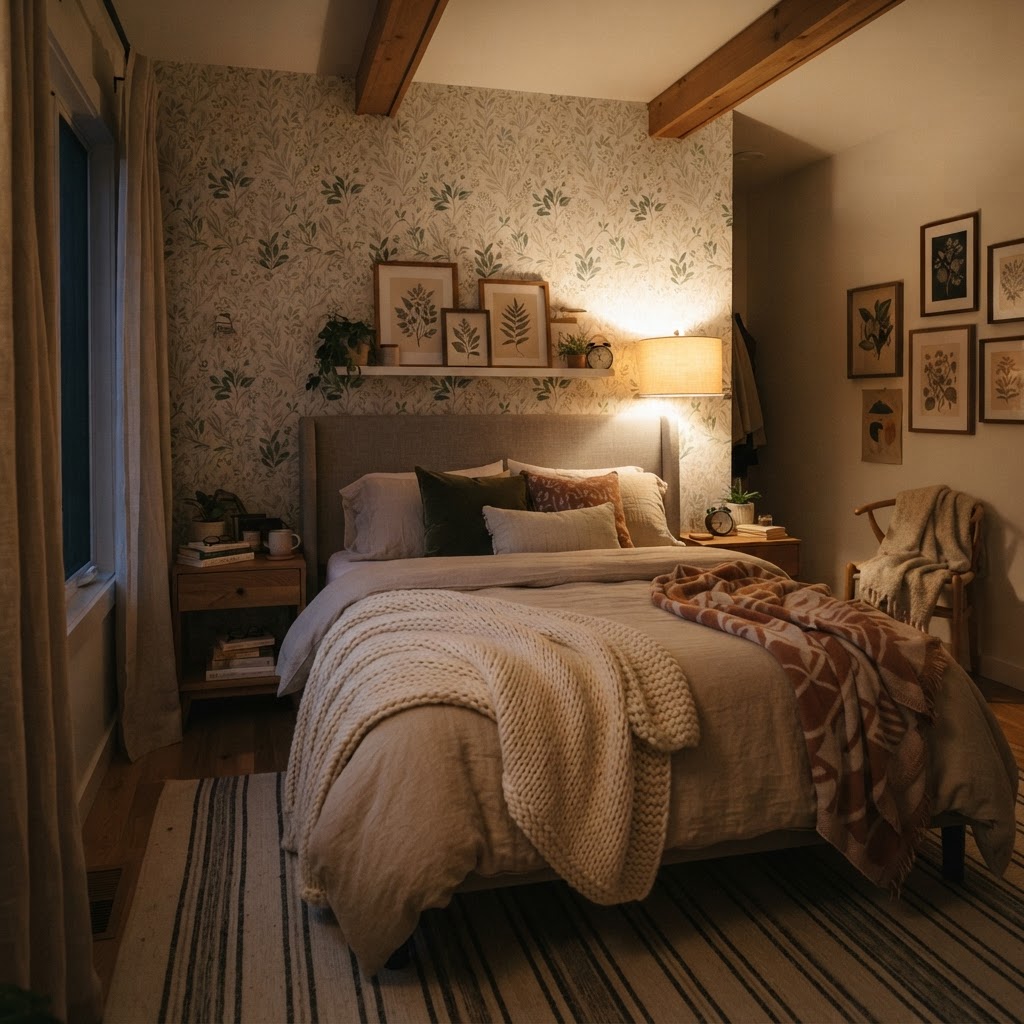
When selecting a pattern, consider the scale of your room. If you are dealing with a cramped bedroom, lighter colors and subtle geometric patterns can make the space feel larger. For a bold statement, try a botanical print in a hallway or a small accent wall behind your bed. The key is to ensure the surface is clean and dry before application to avoid air bubbles or peeling. When applying, use a plastic smoother to remove trapped air, working from the center toward the edges to ensure a flat, professional-looking bond that leaves no residue upon removal.

Comparison: Wallpaper Options

Feature Peel-and-Stick Vinyl Traditional Wallpaper Contact Paper
Installation Easy (DIY) Difficult (Professional) Moderate
Removal Damage-free Potential wall damage Easy
Cost Moderate High Low

Cover Unsightly Flooring with Area Rugs
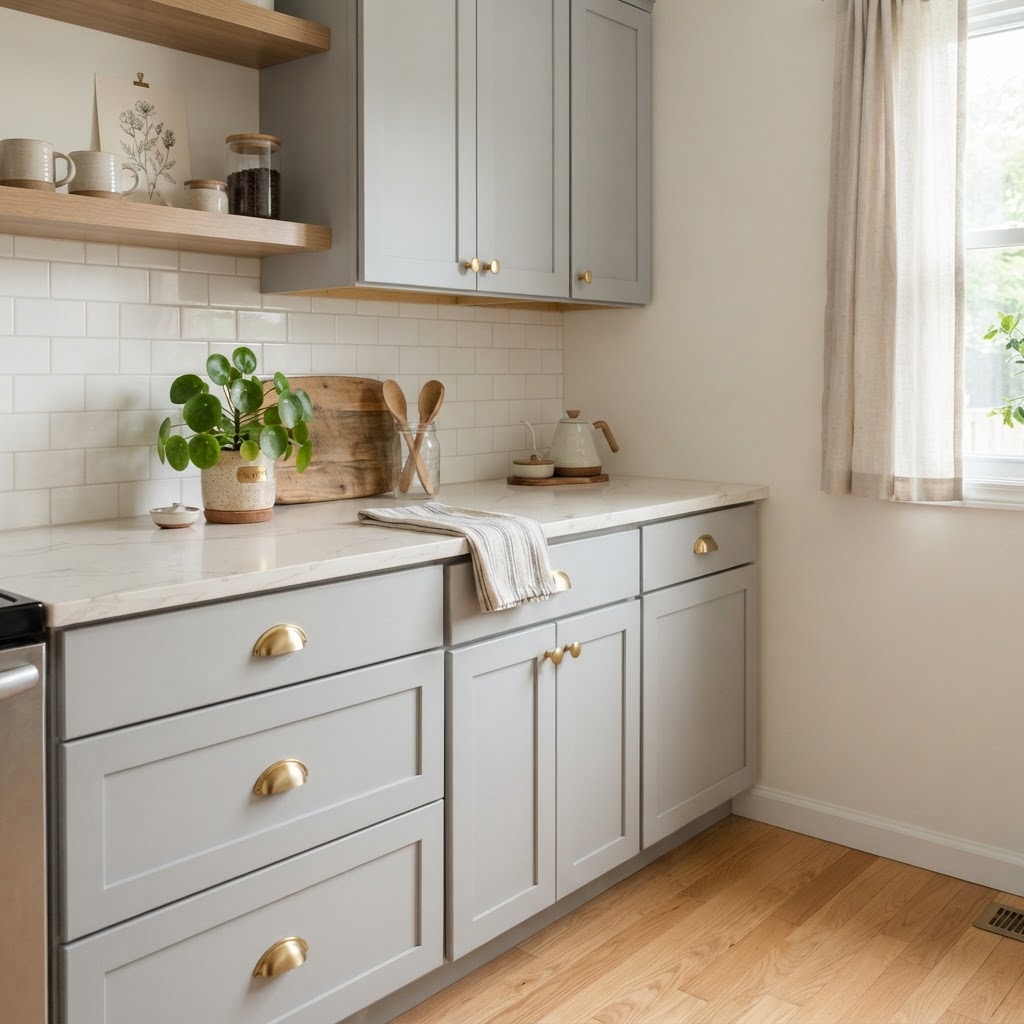
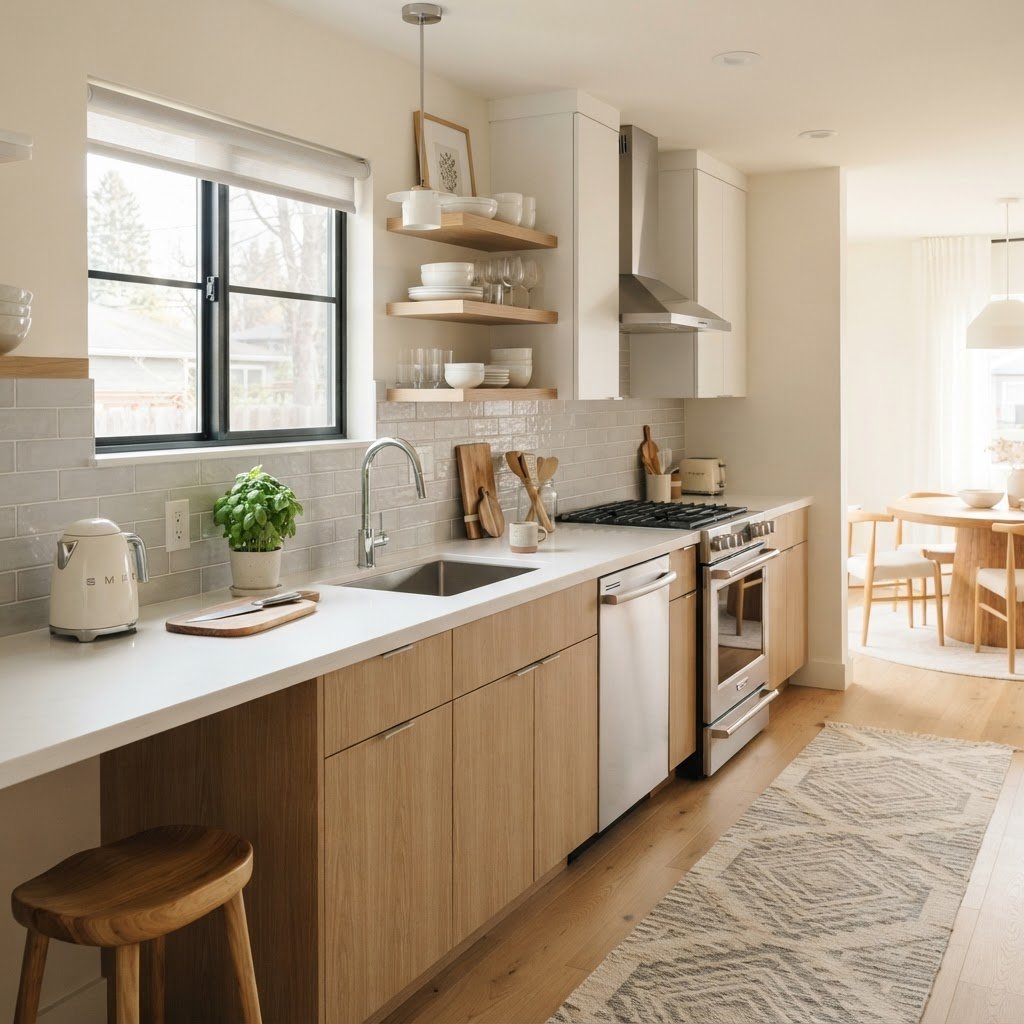
Removable vinyl wrap gives outdated kitchen cabinets a modern, high-end look.

Rental apartments often come with worn-out carpet or mismatched vinyl flooring that detracts from your furniture, but large area rugs can cover these eyesores while protecting the base flooring. A standard 8×10 foot area rug can completely obscure a stained carpet or cracked linoleum, shifting the visual focus toward your furniture and decor rather than the foundation of the room.

Layering for Depth

If one rug is not enough, try layering. Placing a natural fiber rug like jute underneath a colorful patterned rug can add texture and dimension to a boring floor. This technique is particularly effective in high-traffic areas like entryways or dining rooms where you want to protect the existing flooring while adding personality to your space. By using a rug pad underneath, you increase the lifespan of your rug by 30-50% and provide additional cushioning that makes dated floors feel softer and more luxurious underfoot.

Mask Old Cabinets with Removable Vinyl
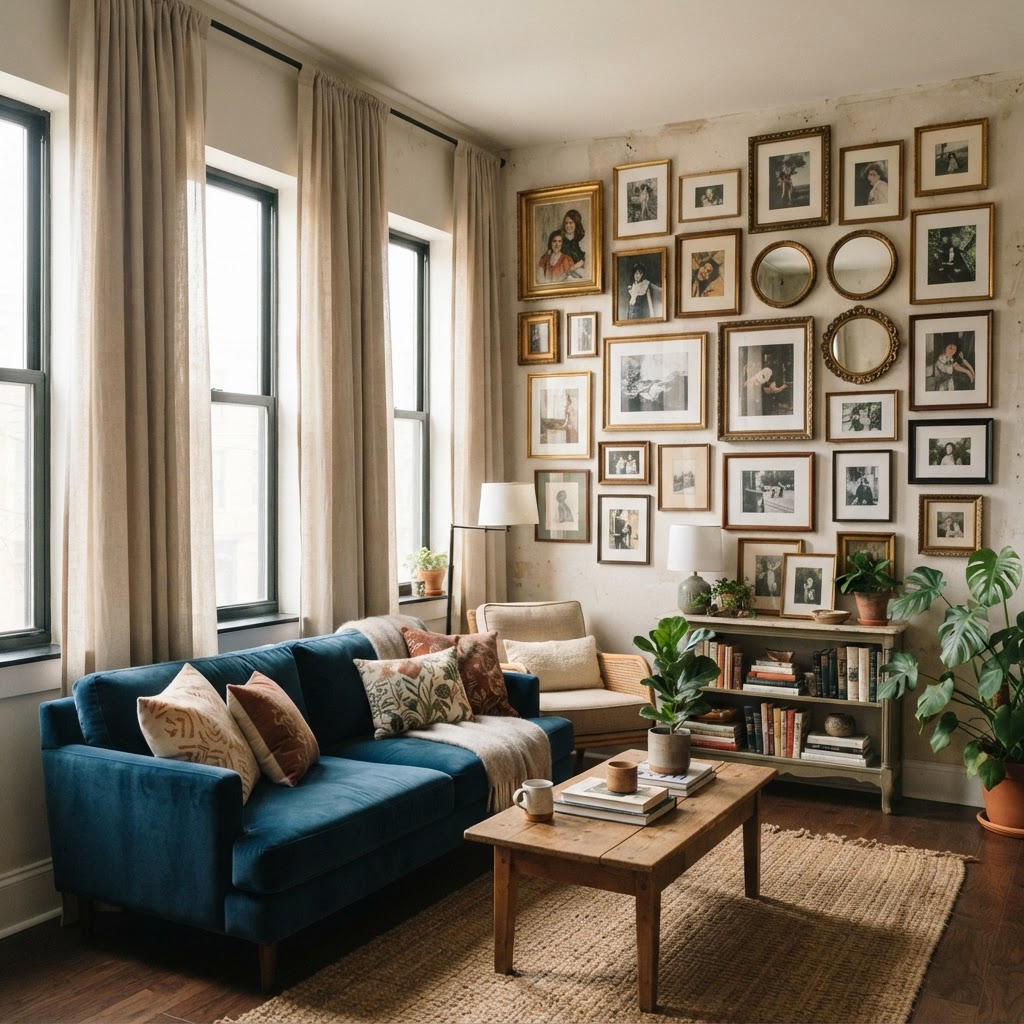
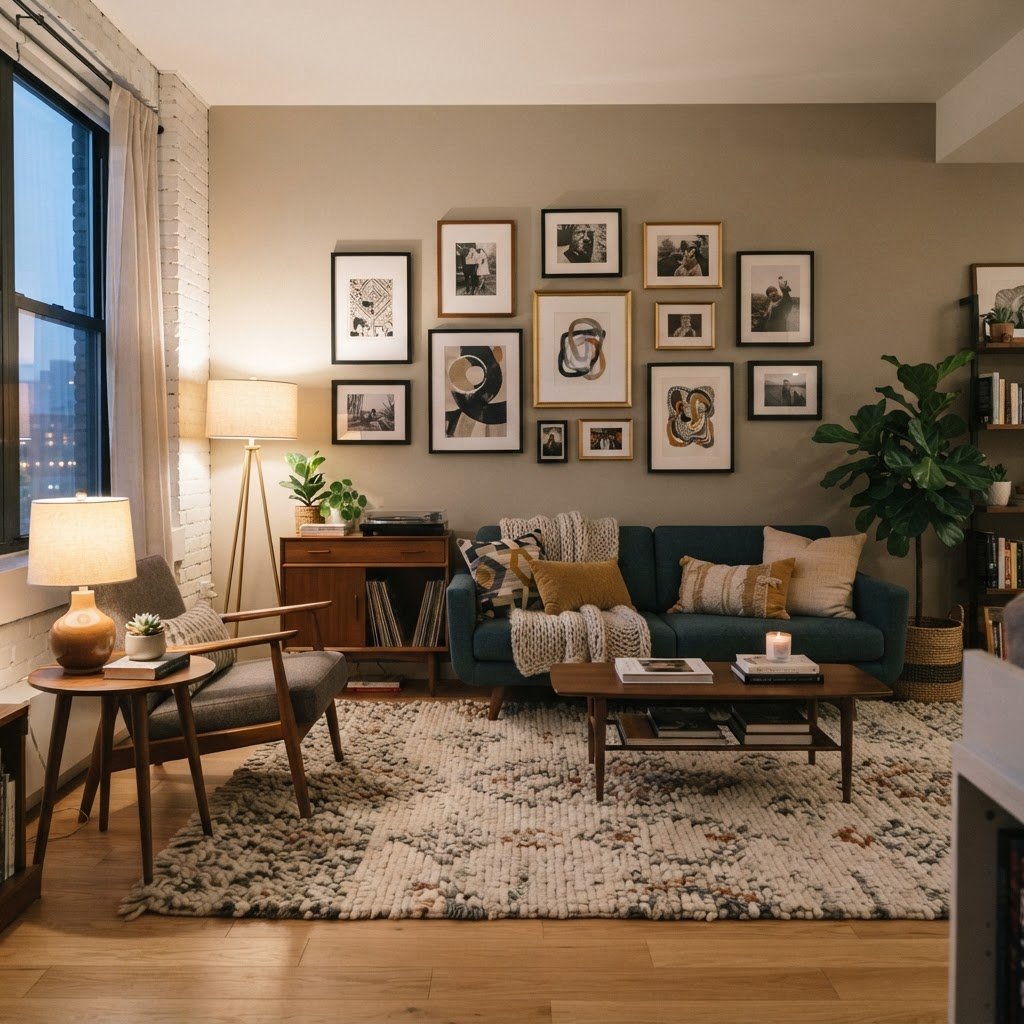
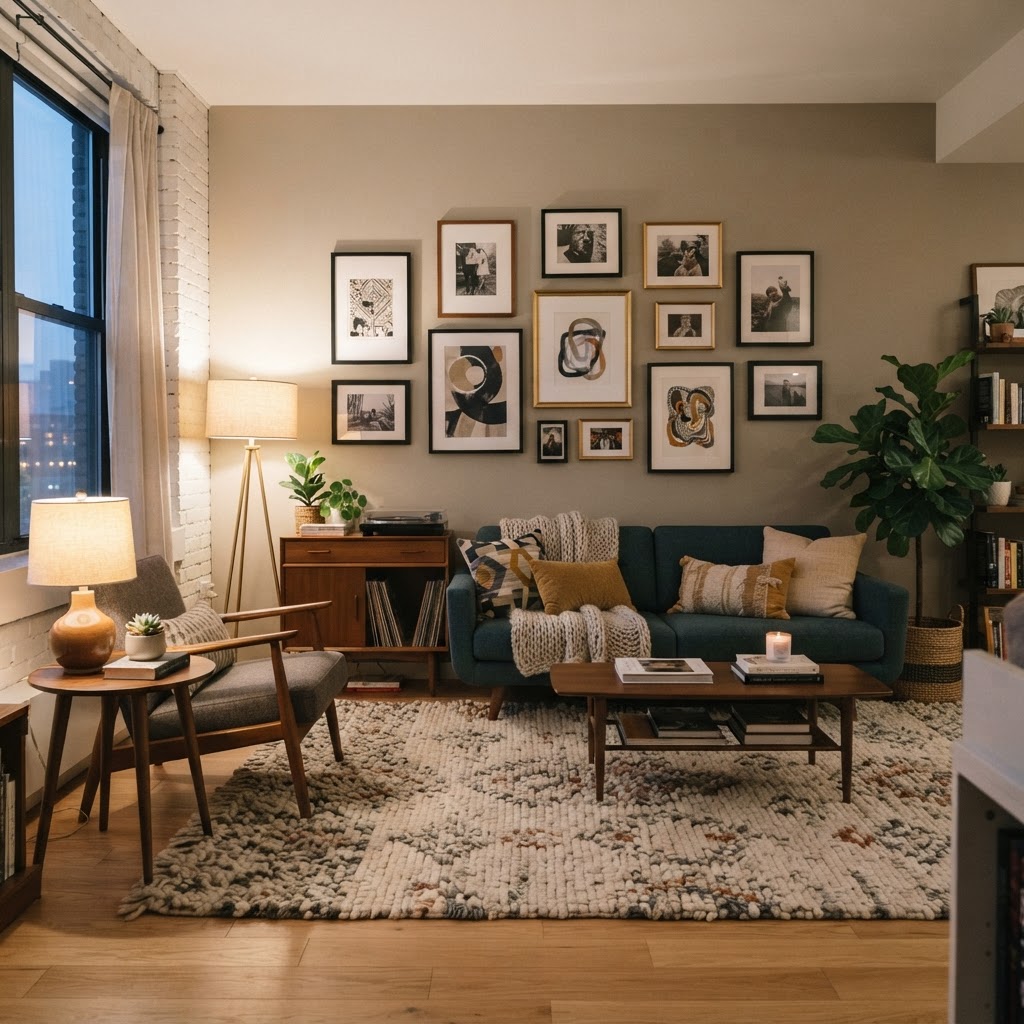
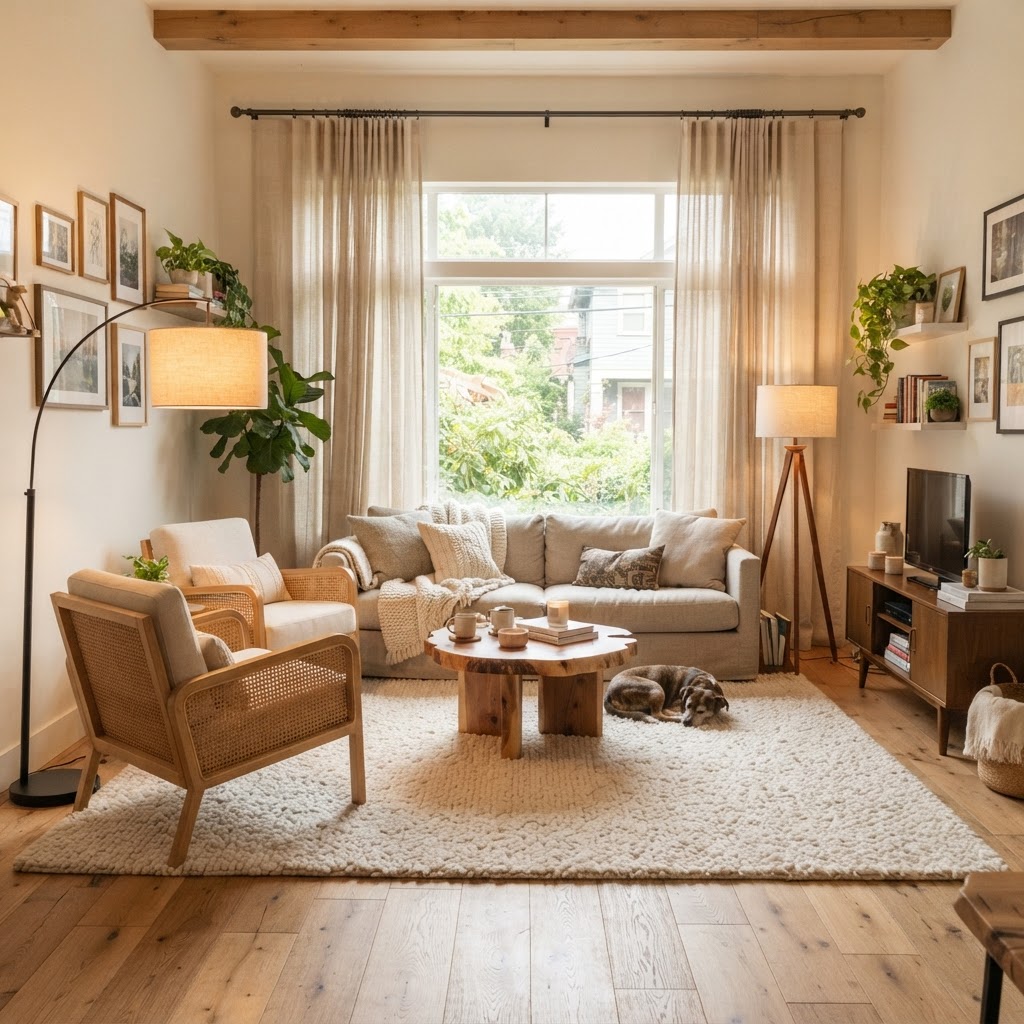
Floor-to-ceiling curtains and gallery walls are perfect for masking wall flaws.

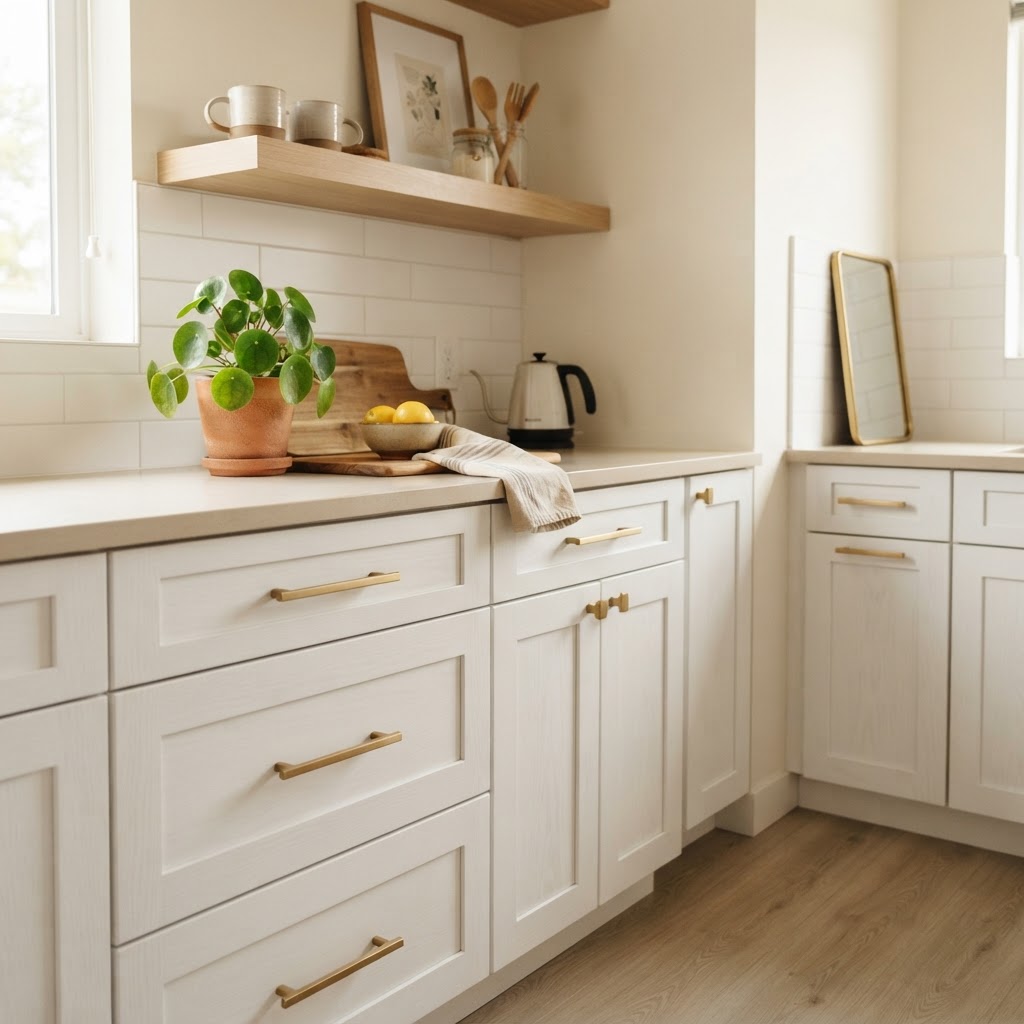
Kitchens are notorious for being the least customizable room in an apartment, but you can transform stained or cheap-looking cabinets using removable contact paper or architectural vinyl. This is one of the most popular renter-friendly ways to hide ugly apartment features because it provides a polished, high-end look without requiring any permanent paint or hardware changes, often costing less than $100 for a standard kitchen upgrade.

Tips for a Seamless Finish

Take your time measuring each cabinet door precisely. Use a sharp utility knife to trim excess material, and a hair dryer to help the vinyl wrap tightly around the edges. If your cabinets have outdated hardware, simply unscrew the knobs and replace them with stylish modern pulls; just be sure to keep the original hardware in a plastic bag so you can swap them back when you move out. For the best results, wipe cabinets down with isopropyl alcohol to remove all grease before applying the vinyl, ensuring a long-lasting adhesive bond.

Upgrade Ugly Lighting with Plug-in Fixtures
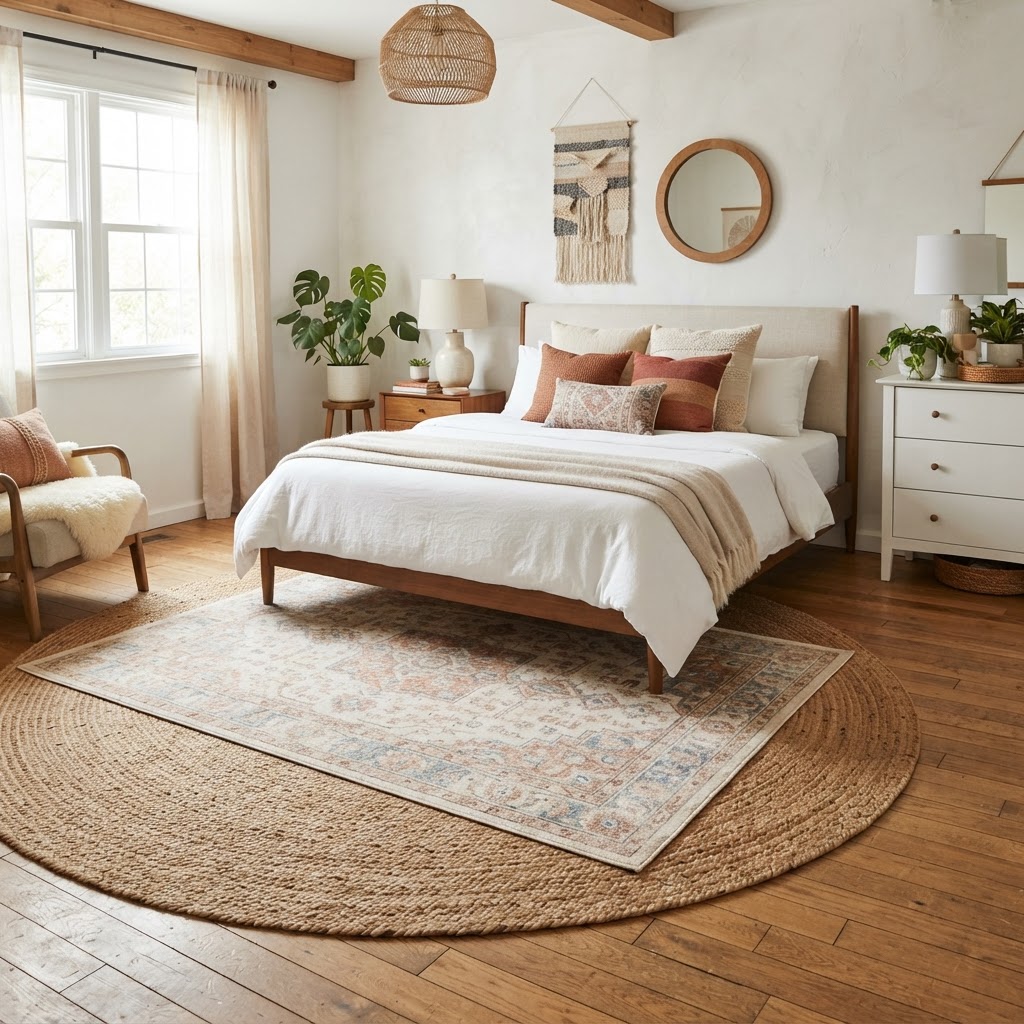
Layering area rugs adds warmth and covers unattractive flooring effortlessly.

Fluorescent “boob lights” and dated brass chandeliers are common in many rentals, but you can neutralize these eyesores by using plug-in pendant lights or floor lamps to dictate the room’s atmosphere. Electrical work can be risky and may violate your lease agreement, so creating layers of light is a safer, more effective strategy to redirect attention away from ceiling fixtures.

Creating Ambient Lighting

By adding floor lamps, table lamps, and LED strip lights behind furniture, you create layers of light that make the room feel cozy. When the main, ugly ceiling light is turned off, the ambient lighting becomes the focal point. This creates a warm, welcoming environment that completely hides the visual clutter of dated light fixtures. Aim for at least three light sources per room—a general overhead, a task lamp, and an accent lamp—to achieve professional-level lighting design that diminishes the impact of unwanted architectural features.

Use Window Treatments to Camouflage Walls

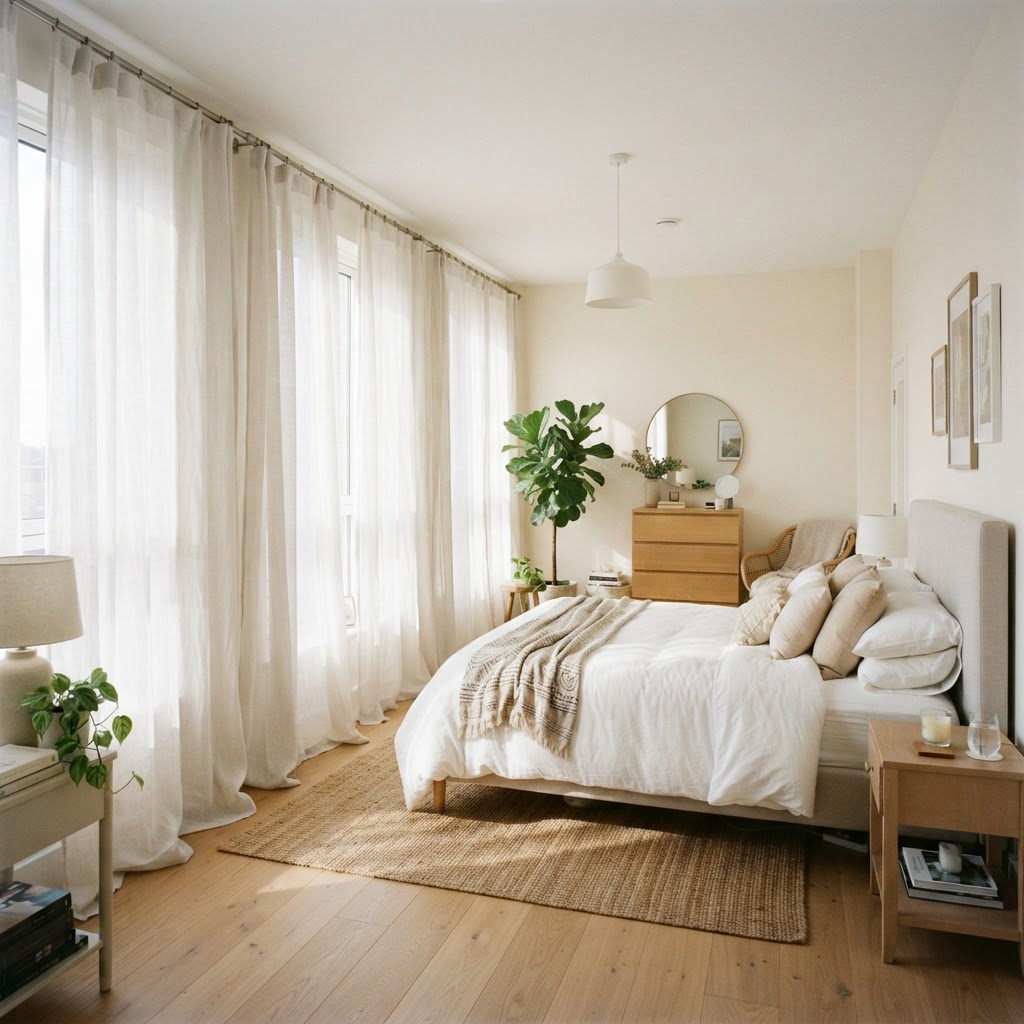
Sometimes, the issue isn’t just the walls, but the windows themselves, where cheap plastic blinds can make an entire room feel sterile or office-like. Floor-to-ceiling curtains are a game-changer because they draw the eye upward and cover not only the blinds but also the surrounding wall space, creating an illusion of grandeur in even the smallest of apartments.

Choosing the Right Rod

If you cannot drill holes, look for tension rods designed for heavy curtains. By installing the rod closer to the ceiling rather than just above the window frame, you create the illusion of taller ceilings and larger windows. This adds elegance to your space and effectively hides unattractive window casings or mismatched trim. When shopping for curtains, look for thermal-lined options, which can help regulate room temperature and reduce energy costs by up to 10% in older apartment buildings.

Create a Gallery Wall to Hide Wall Imperfections

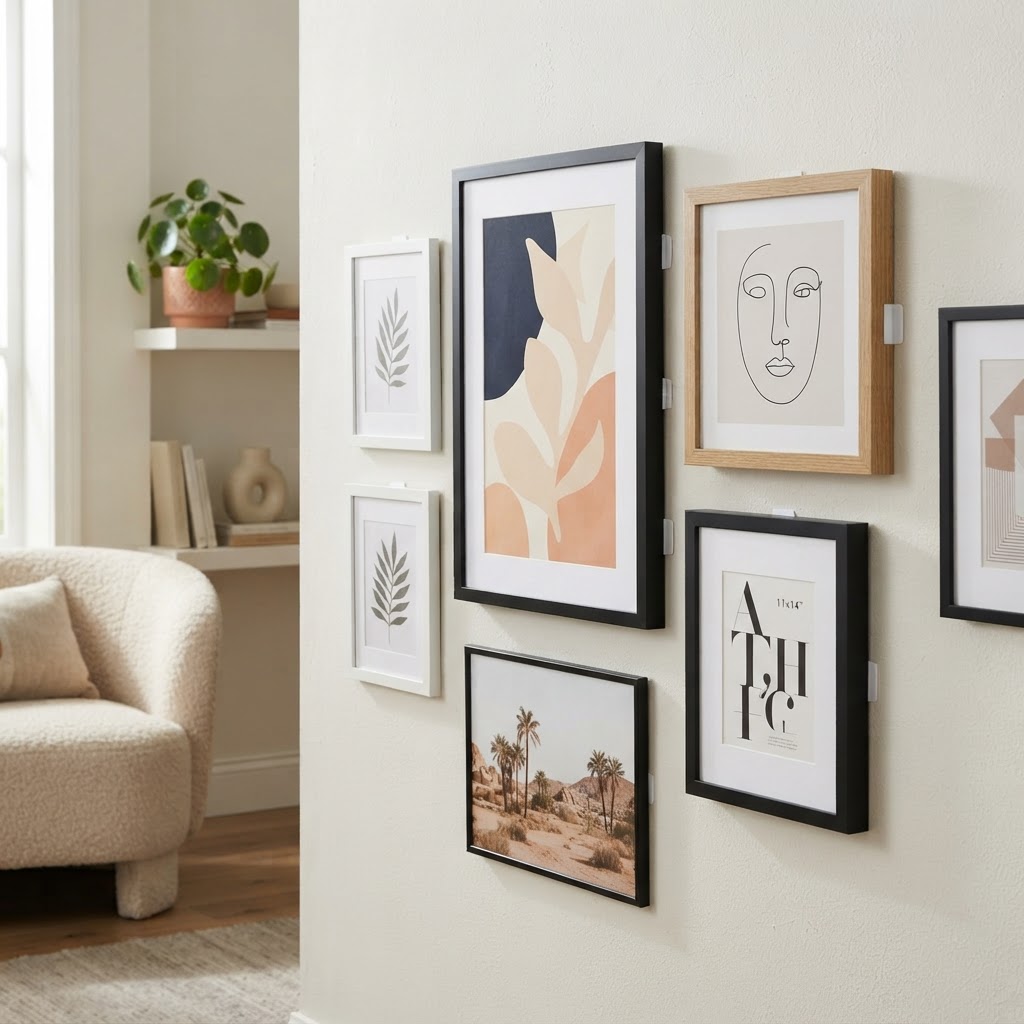
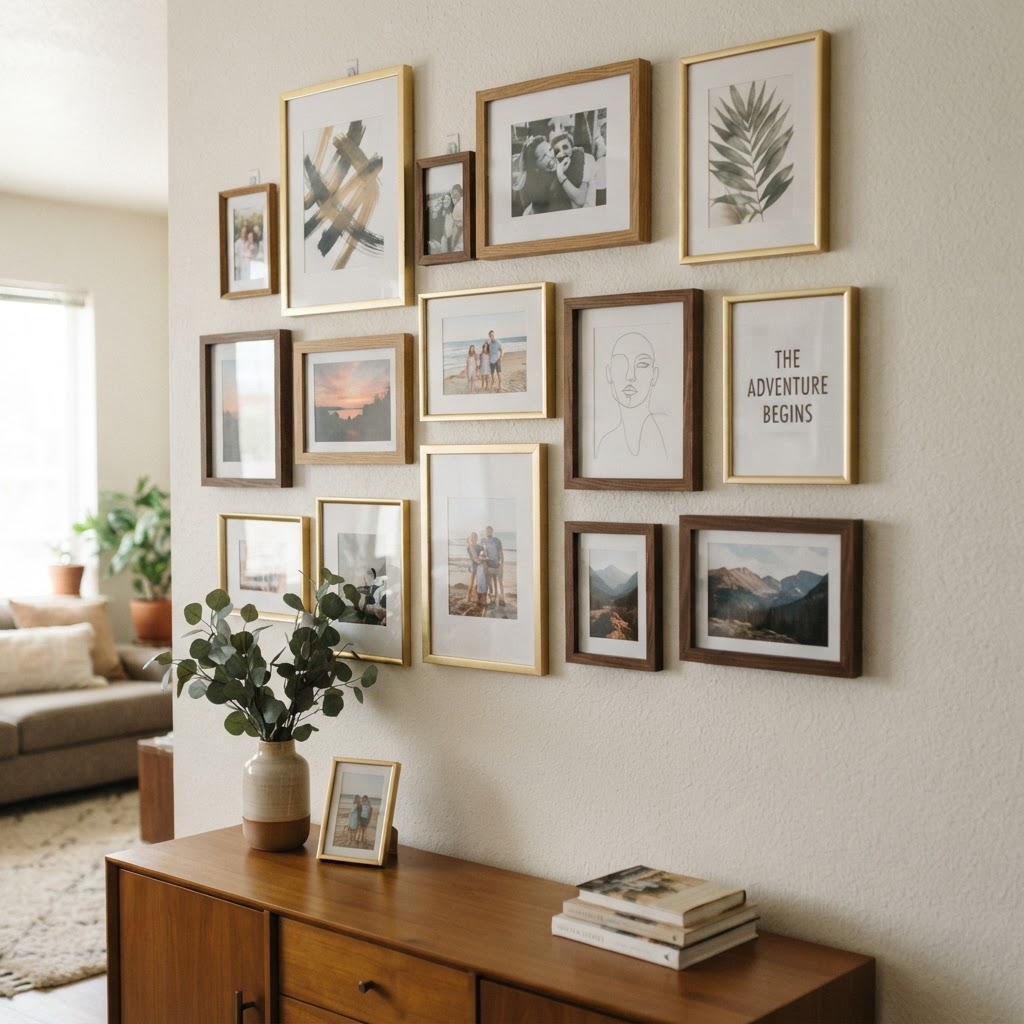
If your apartment has ugly wall patches, nail holes, or textured plaster, a gallery wall is your best friend for obscuring damage without needing to patch or repaint the surface. Instead of trying to fix the wall, decorate it with a collection of framed art, photos, and mirrors. You can use command strips to hang items, which prevents damage to the drywall and allows you to customize the arrangement as much as you like.

Mixing Mediums

Do not feel limited to just photos. Incorporate mirrors to bounce light, woven wall hangings for texture, or empty frames for a modern, minimalist vibe. A well-curated gallery wall acts as a massive focal point, drawing the attention of guests to your carefully curated collection rather than the underlying wall surface. If you want a symmetrical look, use a paper template for each frame before sticking it to the wall to ensure even spacing, ideally keeping frames at least 2-3 inches apart for a cohesive display.

Use Furniture to Obscure Bad Layouts

Sometimes, the problem is not a specific finish but a bad architectural choice, such as a radiator or a low-quality closet door, which can be easily hidden with clever furniture placement. A decorative room divider or screen is often enough to mask a radiator, while a tall bookshelf can completely block a closet door that you rarely use, turning a negative feature into a functional storage solution.

Strategic Placement

Before you commit to a layout, walk through your apartment and identify the areas that consistently draw your attention for the wrong reasons. Can you place a piece of accent furniture, such as a console table or a tall plant, in front of that area? By using your furniture to create paths and block views, you can effectively manage the flow and aesthetic of your apartment. Ensure that any large furniture pieces are placed at least 12 inches away from radiators or heaters to prevent fire hazards and ensure proper airflow, which is critical for apartment safety.

FAQ

Q: Can I use peel-and-stick wallpaper on textured walls?

Peel-and-stick wallpaper typically adheres best to smooth surfaces, but you can use it on light texture if you apply a strong adhesive primer or ensure the wall is meticulously cleaned first. For heavy popcorn or orange-peel textures, the adhesive may fail or show bumps.

Q: Will command strips really hold up a heavy gallery wall?

Yes, if you follow the weight rating guidelines specified on the packaging for each strip, command strips are highly reliable. Always clean the wall surface with rubbing alcohol before applying the strip to ensure a secure bond that can hold frames weighing up to 15 pounds.

Q: Are there ways to cover carpet without buying a giant rug?

If you cannot afford a large area rug, you can use carpet tiles which are modular and often cheaper than one large piece. Carpet tiles are easy to install, can be cut to fit odd-shaped rooms, and are easily removable when your lease ends.

Q: Can I paint my apartment cabinets if I have a landlord’s permission?

If you have written permission, painting is an option, but you may be required to restore them to the original color upon moving out. To avoid this burden, most renters prefer using removable vinyl contact paper, which offers a similar aesthetic without the need for restoration labor.

Q: How do I hide an ugly radiator without causing a fire hazard?

To hide a radiator safely, use a metal or wooden radiator cover that allows for proper airflow and heat distribution. Never place flammable furniture, curtains, or contact paper directly against a radiator, as the intense heat can cause damage or ignite nearby materials.
The No-Drill Trick That Makes Any Living Room Feel Inviting

Creating an inviting living room often feels like a daunting task that requires hardware, tools, and potentially damaging your walls. Many homeowners and renters alike assume that high-end design is only possible through permanent installations, but the truth is that the most impactful changes are often the ones that require no tools at all. By mastering the simple no-drill trick that makes any living room feel inviting—the strategic layering of textiles and vertical floor-standing elements—you can completely overhaul your space without leaving a single hole behind. This approach focuses on softening hard edges and creating depth, which are the fundamental pillars of a truly cozy environment. Whether you are in a temporary rental or a forever home, these non-invasive design strategies will help you achieve a high-end look with minimal effort. In this guide, we will explore how to reclaim your space using clever placement, light management, and texture rather than relying on mounting hardware. Let us dive into the art of transforming your living area into a sanctuary of comfort and style.

The Power of Vertical Floor Decor

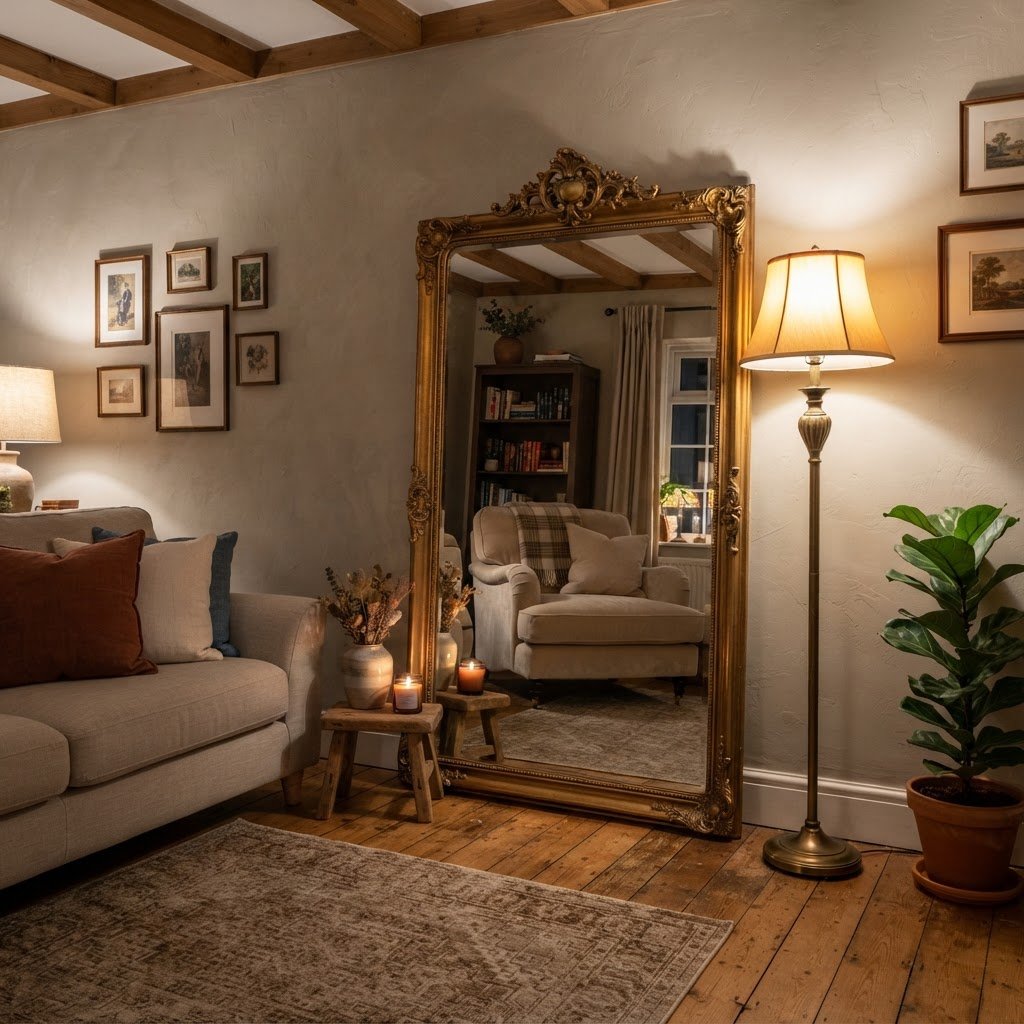
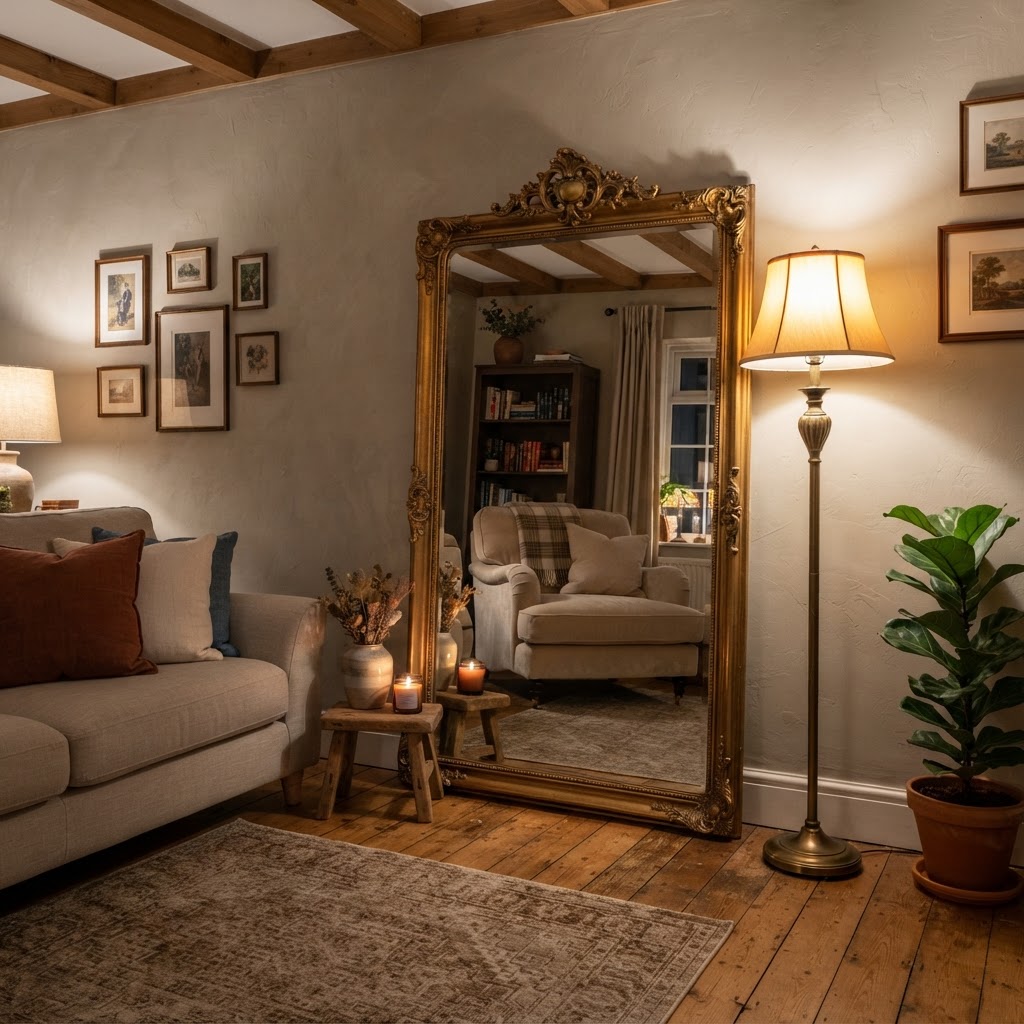
A leaning floor mirror adds depth and height without damaging your walls.

The most common mistake people make when trying to decorate a large wall is thinking that art must be hung. This mindset leads to a “wall-hugging” aesthetic that can feel sterile or unfinished. Instead, consider using floor-standing leaning decor as the primary no-drill trick that makes any living room feel inviting. Large, heavy-duty floor mirrors or oversized leaning art pieces create a sense of architectural interest without requiring a single nail. When you lean a piece against a wall, it creates a subtle shadow line that adds depth, making the room feel larger and more intentional.

Why Leaning Works Better Than Hanging

When you hang art, it sits flush against the wall, which can sometimes make the space feel flat. Leaning an object, such as a large wooden-framed mirror, introduces a slight angle that interacts with your living room lighting in dynamic ways. It also allows you to swap out decor pieces seasonally without the need to fill holes or repaint. This versatility is essential for maintaining a fresh look that evolves with your lifestyle.

Softening the Geometry of Your Space

Layering different fabrics and textures instantly makes a space feel more comfortable.

Living rooms are naturally filled with rigid, boxy shapes—your sofa, your coffee table, and your television are all rectangles. To make a space feel truly inviting, you must introduce curves and soft edges to counteract these harsh lines. This is a crucial element of the no-drill trick that makes any living room feel inviting, as it humanizes the architecture of the house. You can achieve this easily by incorporating oversized floor poufs, rounded side tables, or even large, trailing house plants that soften the corners of the room.

The Importance of Organic Shapes

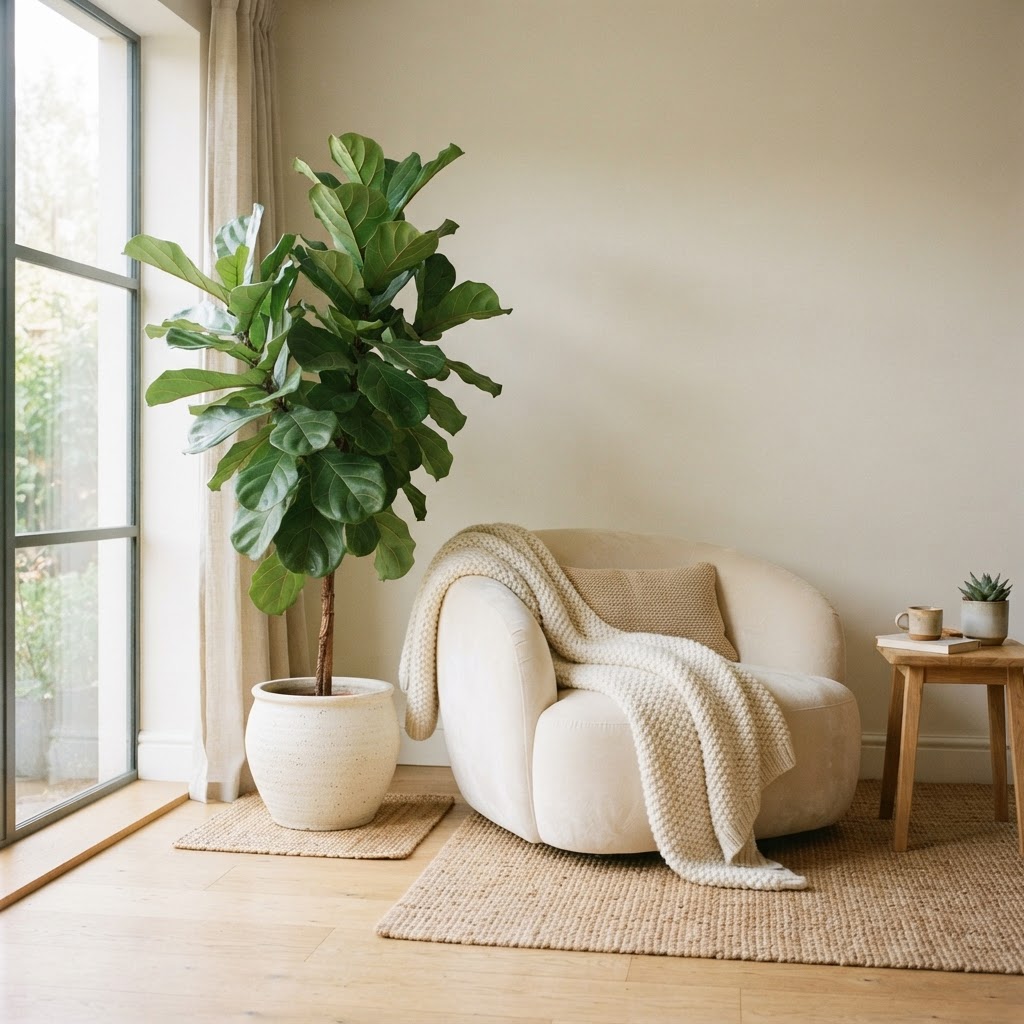
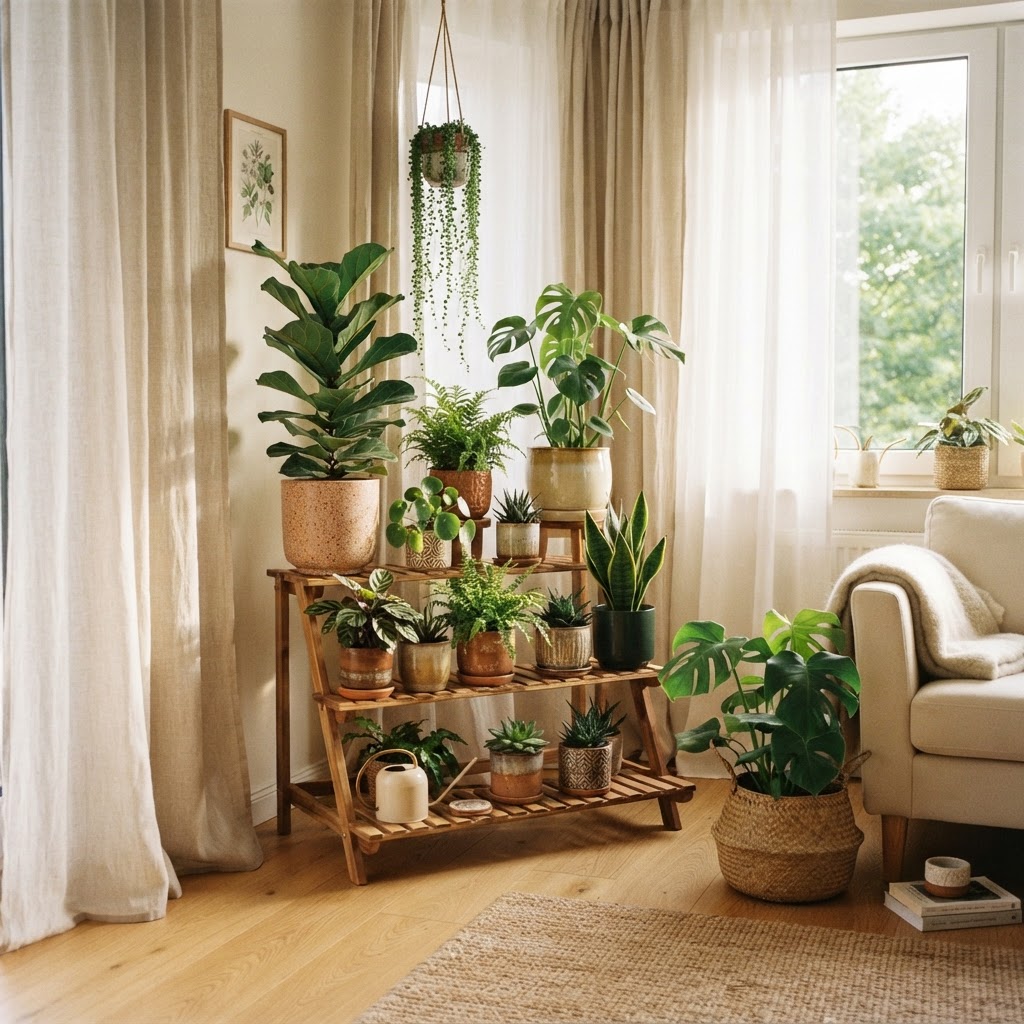
By placing an organic, shapeless object like a large fern or a woven basket in a sharp corner, you break the line of sight. This subtle visual break tells your brain to relax, signaling that the space is a place for rest rather than rigid productivity. Layering these items in clusters creates a focal point that draws the eye away from blank wall space and toward natural elements.

Mastering Light Without Installation

Use organic shapes like plants to soften the hard, boxy angles of a room.

Lighting is often the biggest culprit behind a sterile living room. Harsh, overhead lighting rarely creates an inviting atmosphere, yet many people feel stuck with their room’s existing fixtures because they cannot afford to rewire or install new wall sconces. However, you do not need an electrician to fix your lighting. The strategic use of floor lamps and battery-operated “puck” lights can recreate the look of custom hardwired sconces.

The “Lamp Layering” Method

To maximize the warmth of your room, you should have at least three light sources at varying heights. A floor lamp, a table lamp, and a subtle accent light in a bookcase create a triangle of illumination. When you place a battery-operated sconce above a piece of art or a floating shelf, you get the sophisticated look of a custom design with zero wiring.

Texture as a Design Foundation

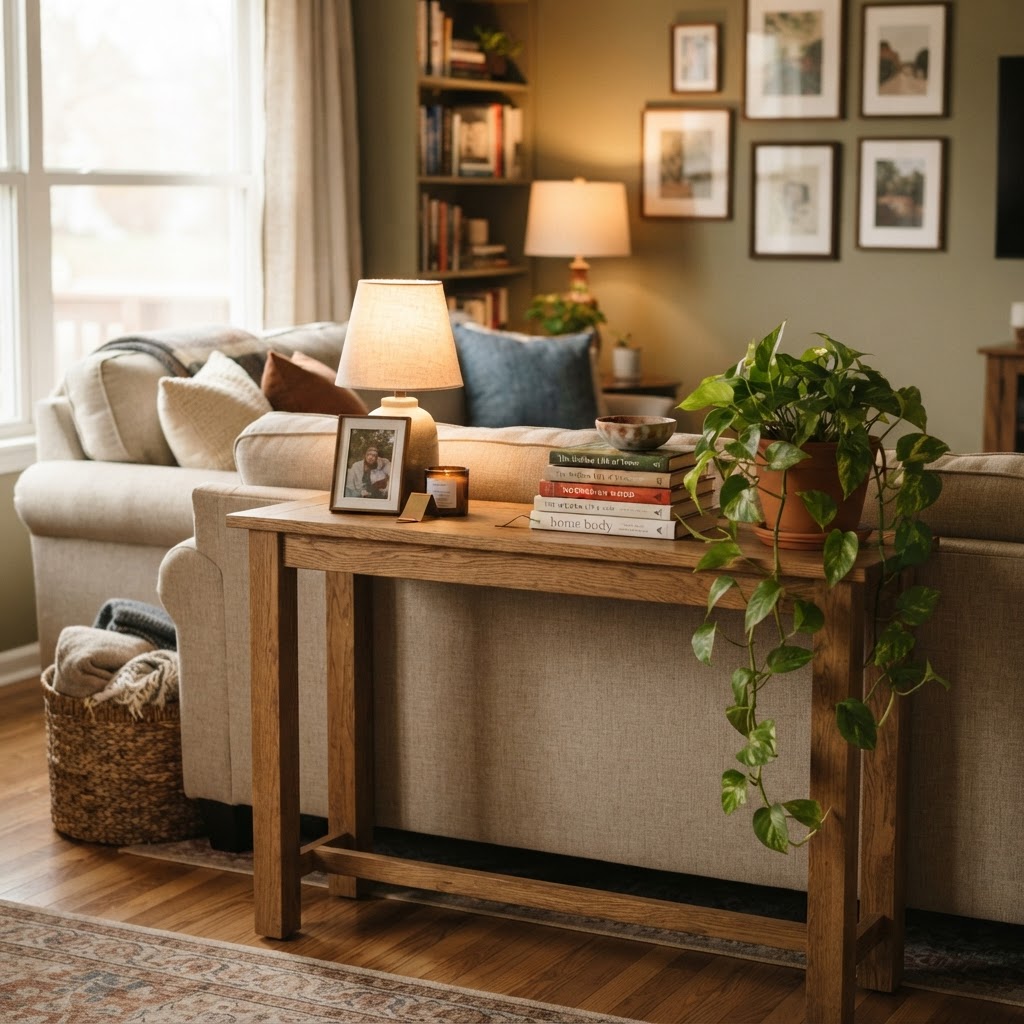
A console table behind the sofa creates a cozy, functional nook for lighting and decor.

If you want an inviting living room, you must think about how the room feels, not just how it looks. Texture is the secret weapon that makes a space feel lived-in and comfortable. Without texture, a room feels like a hotel lobby; with it, a room feels like a home. Focus on layering materials that contrast with your main furniture items.

Checklist for Texture Layering

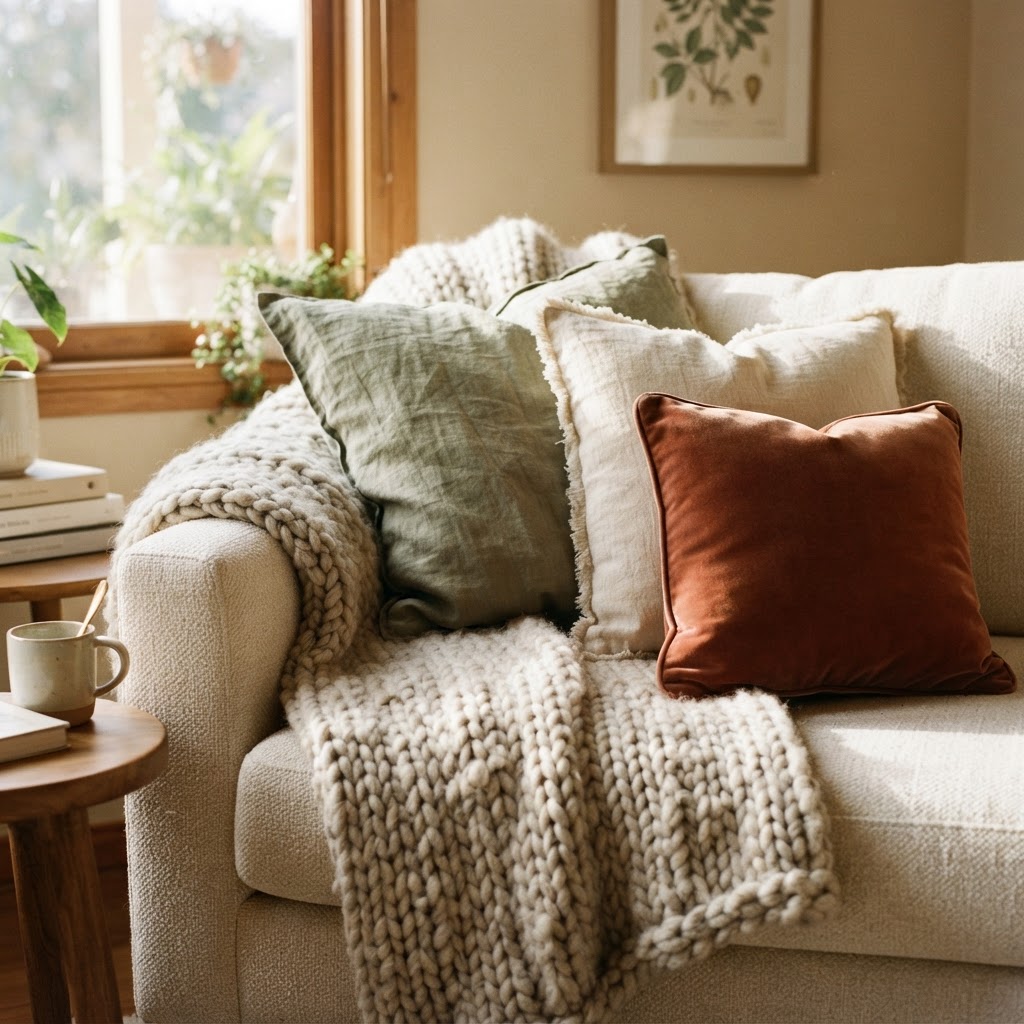
  • Add a chunky knit throw blanket to the back of your sofa.
  • Mix leather, velvet, and linen pillows on your seating areas.
  • Introduce a jute or sisal rug underneath a softer, plush area rug for added depth.
  • Use wooden decorative bowls to ground your coffee table arrangement.

The Psychology of Negative Space

One of the most overlooked aspects of design is the deliberate use of negative space. An inviting room should not feel cluttered; it should feel curated. When you avoid drilling holes to hang excessive wall art, you naturally open up more negative space. This “breathing room” allows the focal points of your room to stand out more clearly. Instead of filling every wall, choose one or two areas to anchor with your no-drill techniques.

Creating Cozy Nooks with Existing Furniture

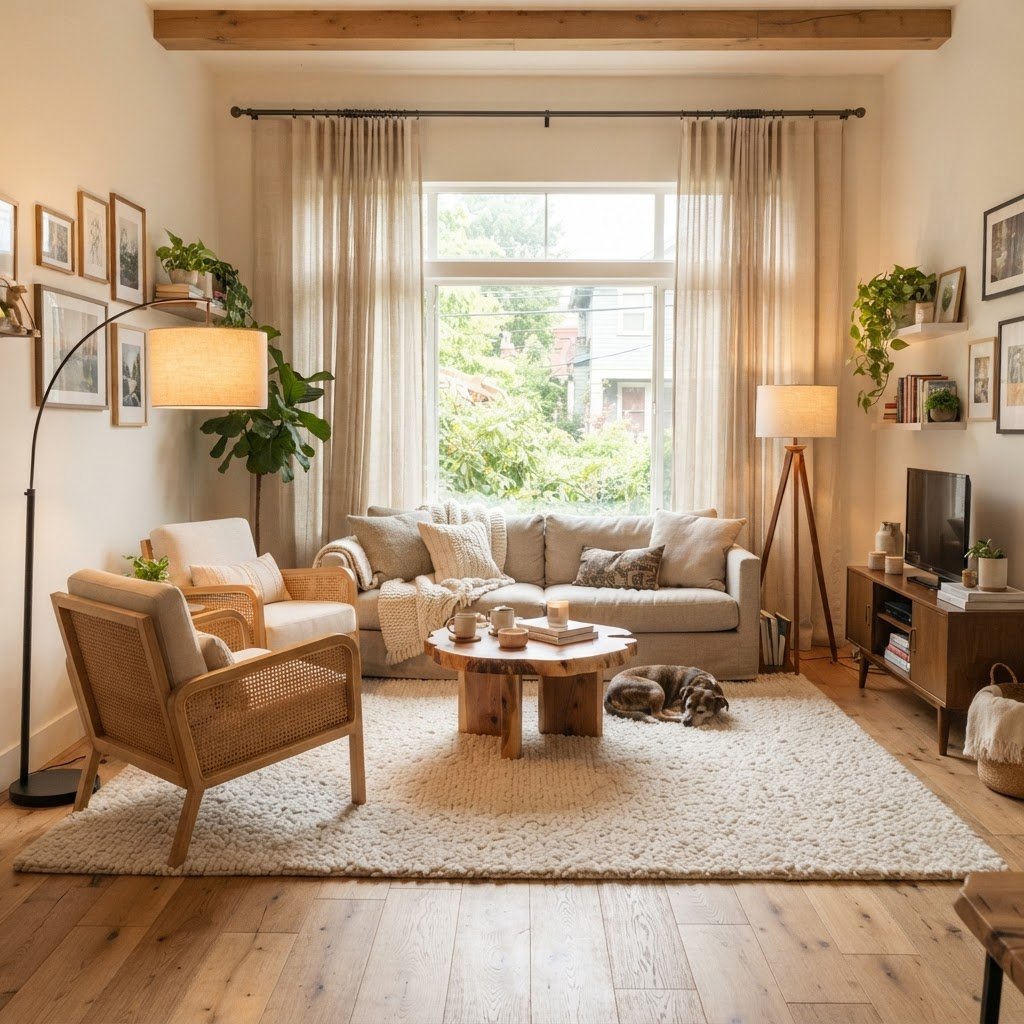
Often, the way our furniture is arranged works against the feeling of comfort. If your sofa is pushed entirely against a wall, you might be losing an opportunity to create a cozy nook behind it. By pulling furniture slightly away from the walls, you create a sense of intimacy and flow. This simple shift, combined with a floor-standing lamp placed in the newly created space behind the sofa, adds an immediate layer of warmth and sophistication without any hardware required.

How to Arrange for Flow

If you have a small room, floating your furniture toward the center can actually make the space feel larger by exposing the baseboards and creating a path for traffic. Use a console table behind the sofa to anchor the space and provide a surface for candles or books, further enhancing the cozy factor without needing to touch the walls.

Common Myths About Wall Decor

Many people believe that without wall art, a room looks “cheap.” This is a myth. A room that has been thoughtfully styled with textiles, lighting, and floor decor will always look more expensive than a room filled with poorly hung, mass-produced wall art that has left dozens of holes in the drywall. Choosing quality over quantity—and choosing placement methods that don’t damage your surfaces—is a hallmark of professional interior design.

Maintenance and Seasonal Updates

Because your new no-drill setup is non-permanent, you are in a unique position to change your decor as the seasons shift. In the autumn, swap your linen throws for heavier wool options. In the spring, switch your lamp shades to lighter fabrics or add fresh botanical elements. Because you haven’t relied on nails or screws, your walls remain in pristine condition, allowing you to reconfigure the layout whenever the inspiration strikes.

Conclusion

Achieving an inviting living room doesn’t require a toolbox or professional help. By leaning into the power of vertical floor decor, layering textures, and mastering the art of non-invasive lighting, you can create a space that feels personal and professional. Remember that the goal of a great living room is to foster comfort and connection. By focusing on these simple, no-drill techniques, you aren’t just decorating—you are cultivating an atmosphere that welcomes you home every single day. Start by moving one piece of furniture or adding a lamp to a corner, and watch how quickly your room transforms. Which area of your living room are you going to tackle first?

10 Cozy Bedroom Decor Ideas for First-Time Renters

Moving into your first apartment is an exciting milestone, but it often comes with a blank, uninspiring canvas that feels more like a temporary box than a sanctuary. Finding the right cozy bedroom decor ideas for first-time renters is essential because your bedroom is the one place where you can truly unwind after a long day. Even with strict landlord rules and limited budgets, you can transform a sterile rental room into a personalized haven that reflects your unique style and provides ultimate comfort.

The Power of Layered Lighting

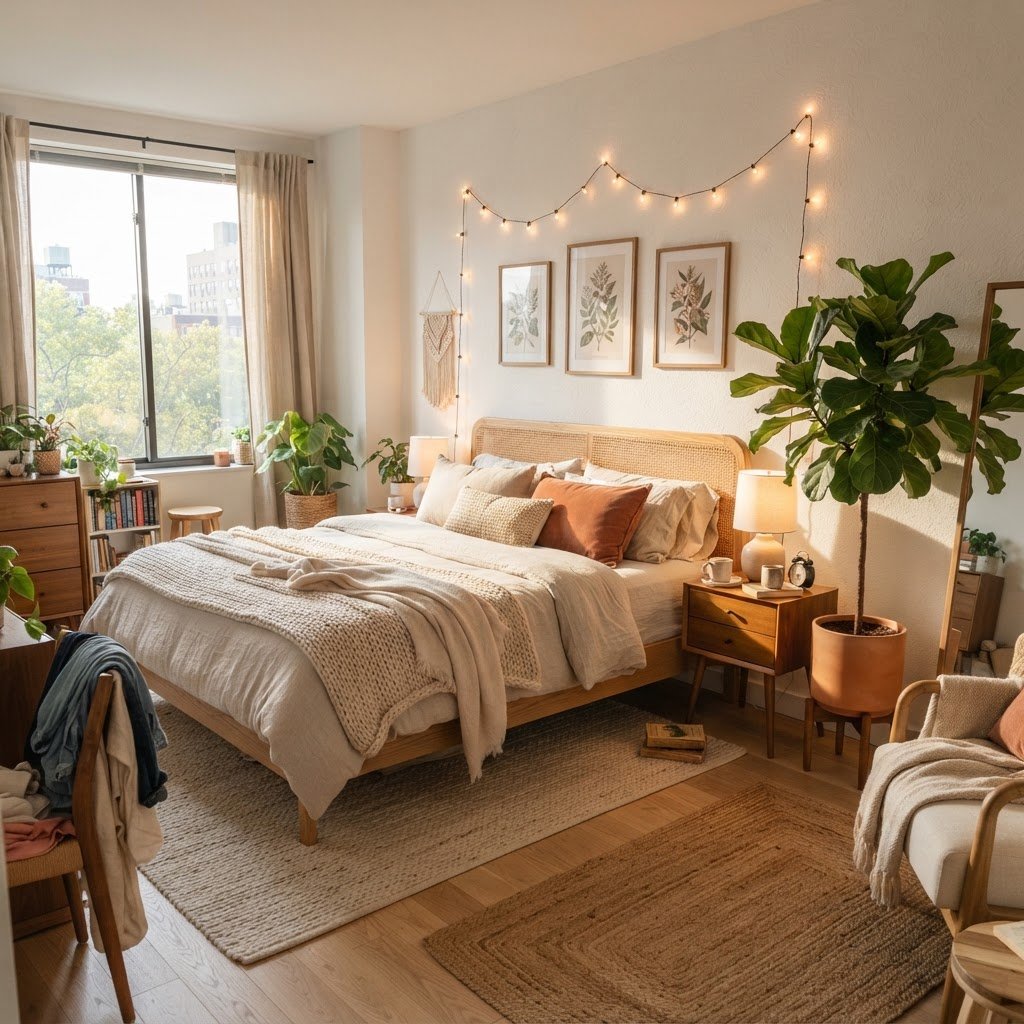
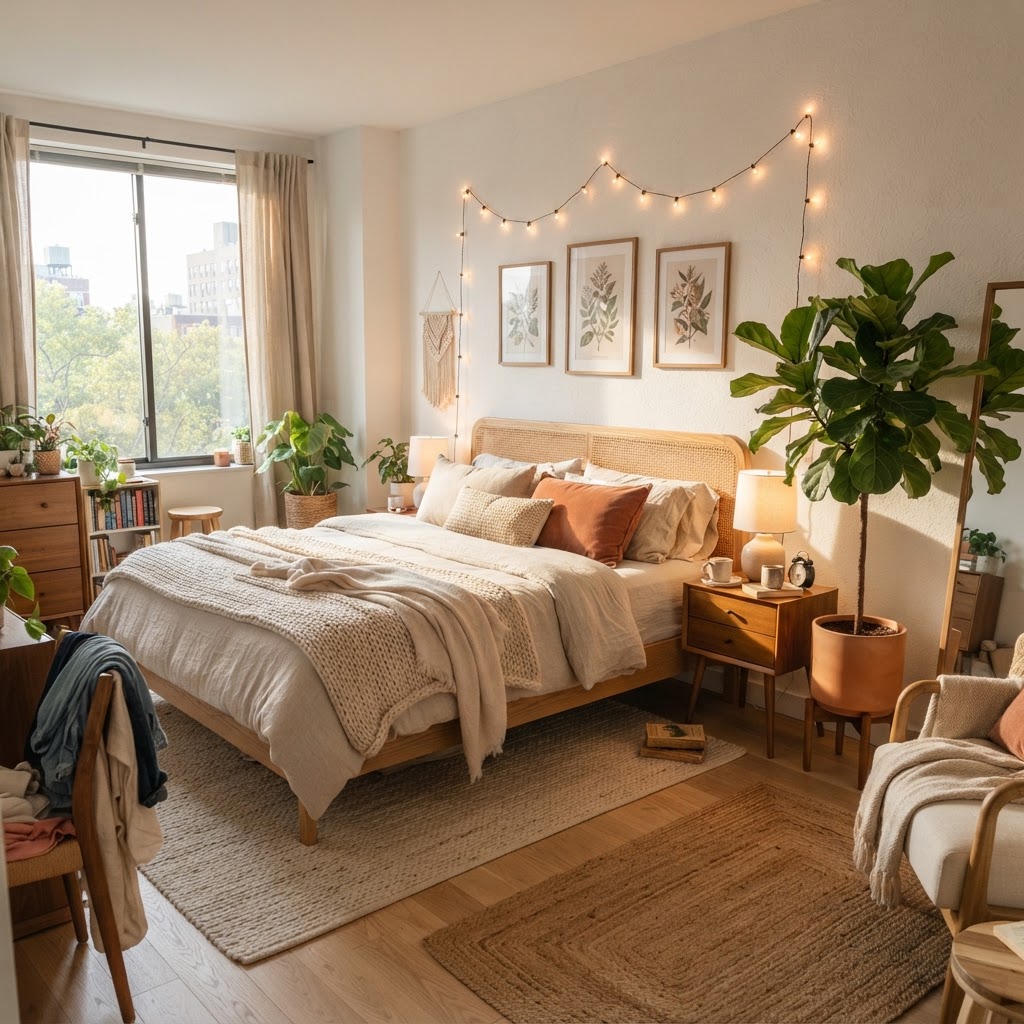
Layering textures and warm lighting creates an inviting retreat.

Lighting is the secret ingredient to turning any space into a cozy retreat, yet it is often the most overlooked element in rental units. Most apartments come with harsh overhead “boob lights” that do little to set a relaxing mood. Instead of relying on a single source of light, focus on layering to create depth and warmth in your room.

Types of Renter-Friendly Lighting

Warm-Toned Lamps

Switching to warm-toned bulbs can immediately change the vibe of your bedroom. Consider adding a bedside lamp with a fabric shade or a floor lamp tucked into a corner to provide a soft, ambient glow that is much gentler on the eyes than overhead fixtures.

String Lights and LEDs

For a touch of whimsy, string lights are the gold standard for renters. Use command hooks to drape them behind your headboard or along the ceiling perimeter. They provide a magical, soft atmosphere that makes any space feel infinitely more inviting and intimate.

Textiles: The Softness Factor

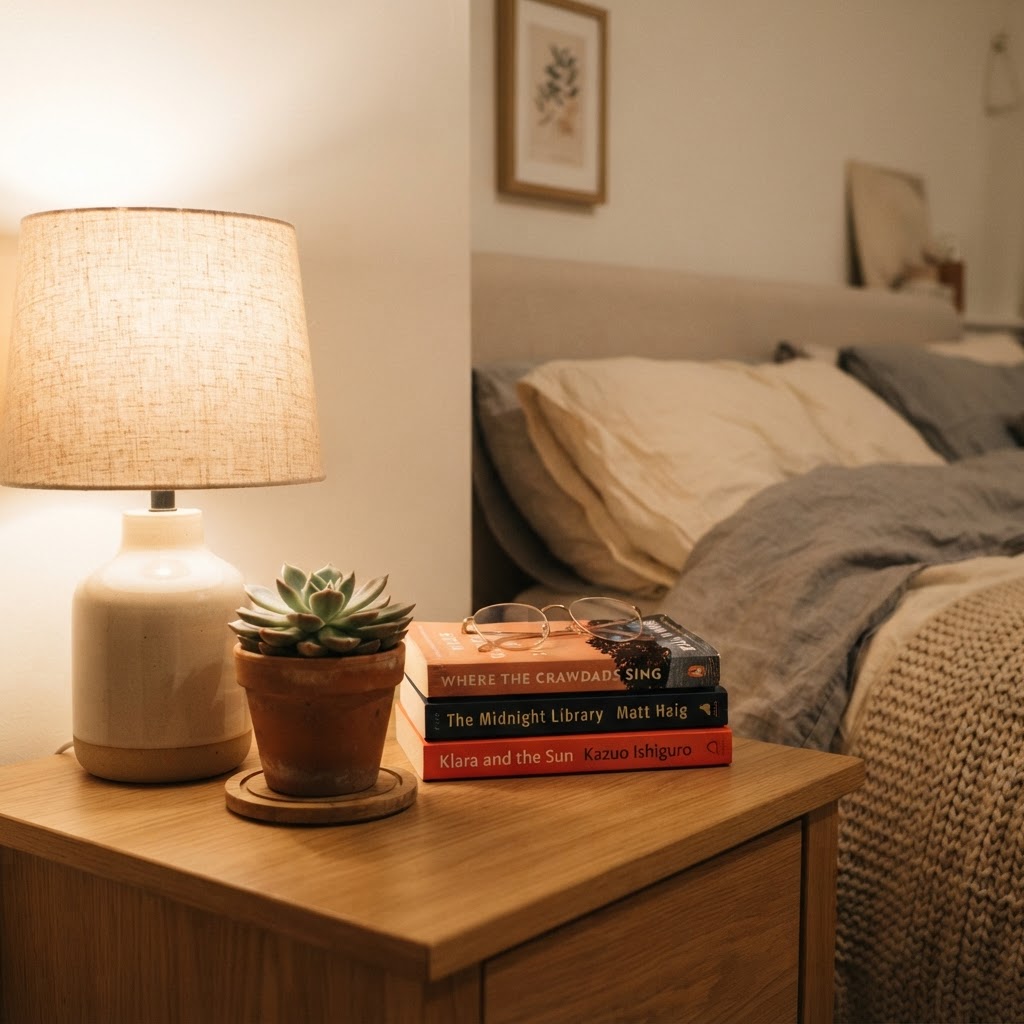
Thoughtful bedside styling makes a space feel personalized.

Nothing says “cozy” quite like layers of soft textures. When you are decorating as a first-time renter, prioritize high-quality bedding and plush accessories that you can easily take with you when you eventually move out. A thick duvet, a chunky knit throw, and an abundance of decorative pillows will instantly make your bed look like a high-end retreat.

Mixing Patterns and Materials

Don’t be afraid to mix and match materials to add visual interest. Combining velvet throw pillows with a cotton duvet and a faux fur rug creates a tactile experience that makes the room feel expensive and curated. Focus on a cohesive color palette, even if you are mixing different fabrics, to ensure the room feels balanced rather than cluttered.

Incorporating Personal Art Without Damage

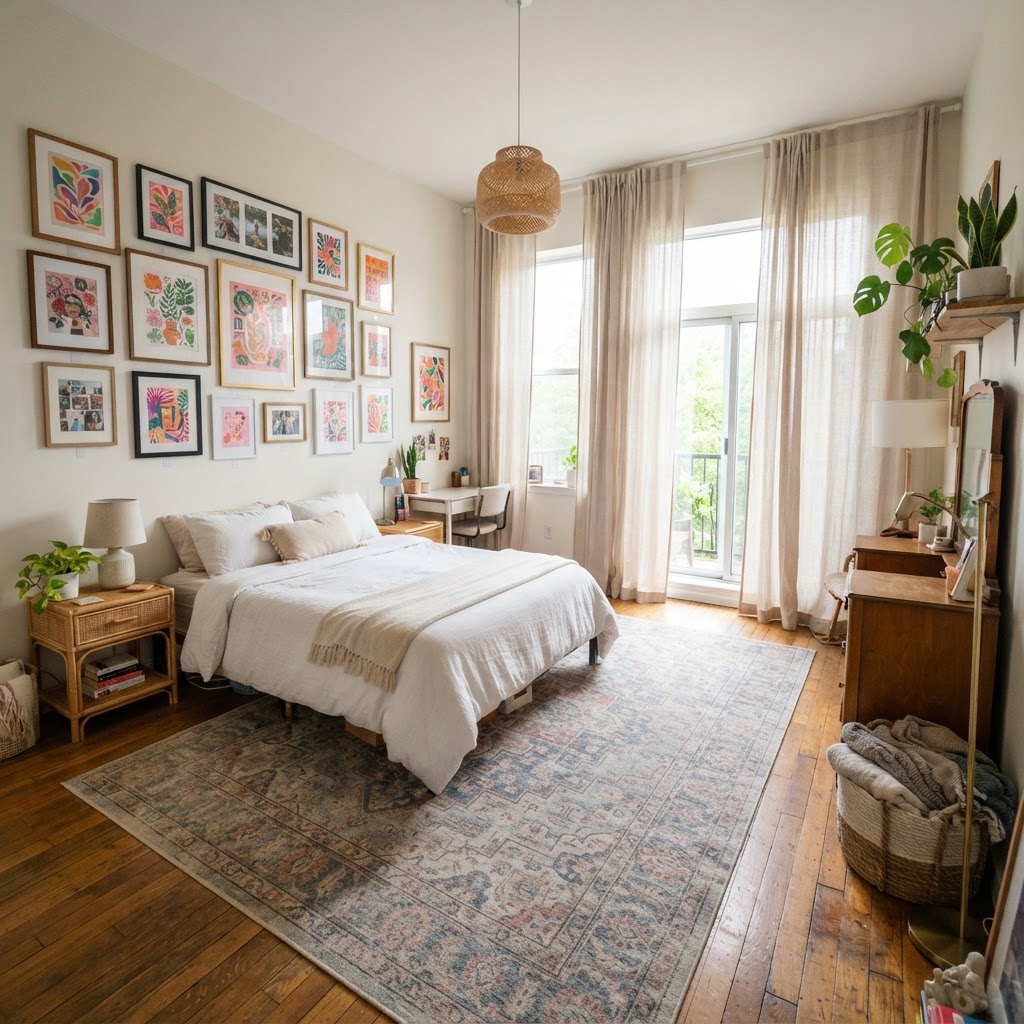
Use temporary decor to add personality to rental walls.

Blank white walls are the hallmark of a rental, but they don’t have to stay that way. Adding personal artwork is one of the most effective cozy bedroom decor ideas for first-time renters because it immediately stamps your personality onto the room. Since you likely cannot hammer nails into the walls, command strips and adhesive putty are your best friends.

Gallery Wall Strategies

Create a gallery wall using lightweight frames or unframed prints. You can group photos, postcards, and illustrations together to create a focal point above your bed or across from it. If you are worried about the weight, consider leaning larger frames against the wall on top of a dresser or even on the floor for a more relaxed, bohemian aesthetic.

Bringing Nature Indoors with Plants

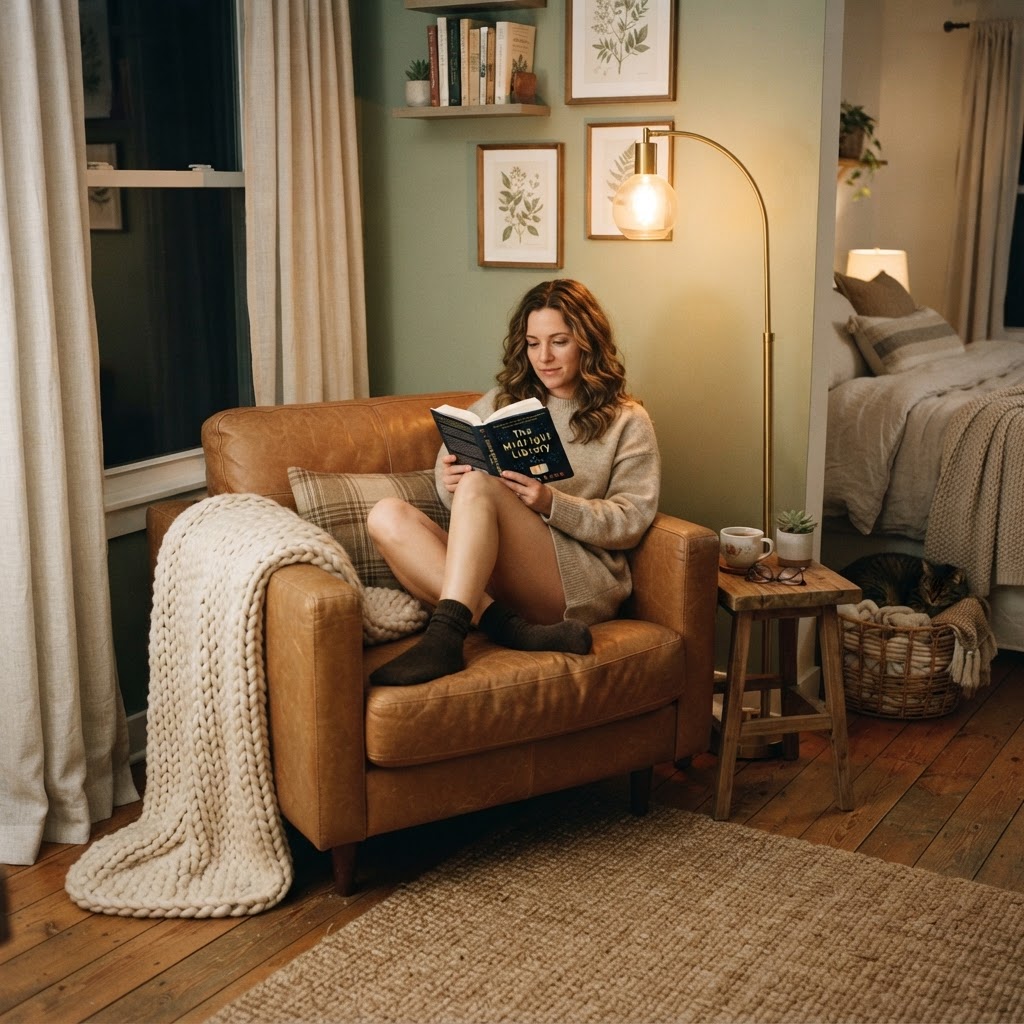
A cozy reading nook adds function and style to a small bedroom.

Plants are not just for aesthetics; they breathe life into a space and improve air quality, making your bedroom feel fresh and alive. Even if you don’t have a green thumb, there are plenty of low-maintenance varieties that thrive in apartment settings. Snake plants, pothos, and ZZ plants are notoriously difficult to kill and look beautiful on windowsills or bookshelves.

Rethinking Window Treatments

Many rentals come with standard, builder-grade plastic blinds that are functional but far from beautiful. Swapping these out for floor-to-ceiling curtains can completely transform the scale of your room and add a layer of luxury. You can use a tension rod to install curtains inside the window frame without ever needing to drill a hole in the wall.

Personalizing Floors with Area Rugs

If your apartment has cold, institutional-looking carpet or worn-out wood floors, a stylish area rug is the perfect solution. A large rug grounds the furniture and adds an immediate layer of warmth to the space. Choose a rug that extends at least halfway under your bed to anchor the furniture and create a cozy frame around your sleeping area.

Choosing the Right Size

A common mistake first-time renters make is buying a rug that is too small, which can make the room feel disjointed. Opt for an 8×10 rug if possible, or use a runner on the side of the bed if your space is particularly tight. Always use a rug pad underneath to prevent slipping and add extra cushion for your feet in the morning.

Utilizing Multi-Functional Furniture

Space is often at a premium in your first apartment. To maintain a cozy environment, avoid clutter at all costs. Invest in furniture pieces that pull double duty, such as an ottoman with storage inside or a bed frame with built-in drawers. Keeping your surfaces clear of miscellaneous items allows the “cozy” elements—like your lamps and plants—to take center stage.

The Art of Scent and Sound

Cozy decor is not just about what you see; it is about how the room feels and smells. Establish a sensory routine by using an essential oil diffuser or high-quality soy candles to create a calming atmosphere. A white noise machine can also be a game-changer if you are living in an apartment building with thin walls, helping you achieve a restful night of sleep regardless of the environment outside your door.

Conclusion

Creating a sanctuary as a first-time renter is entirely possible with a bit of creativity and strategic planning. By focusing on lighting, textures, non-damaging wall decor, and greenery, you can easily turn a temporary space into a home that feels uniquely yours. Remember, the best cozy bedroom decor ideas are the ones that make you feel relaxed, comfortable, and truly at peace the moment you walk through the door. Start with one or two of these tips today, and watch as your room begins to transform into the retreat you deserve. What project will you tackle this weekend to make your space feel more like home?

Chic Kitchen Updates Renters Can Undo in Minutes

Living in a rental home often feels like a creative constraint, especially when you are staring at drab cabinets and lackluster hardware. Fortunately, you can achieve a high-end look with chic kitchen updates renters can undo in minutes. The secret lies in choosing temporary solutions that prioritize style without requiring a toolbox or a permanent commitment. Whether you are dealing with ugly backsplash or boring fixtures, there are plenty of ways to reclaim your kitchen’s aesthetic.

The Power of Removable Hardware

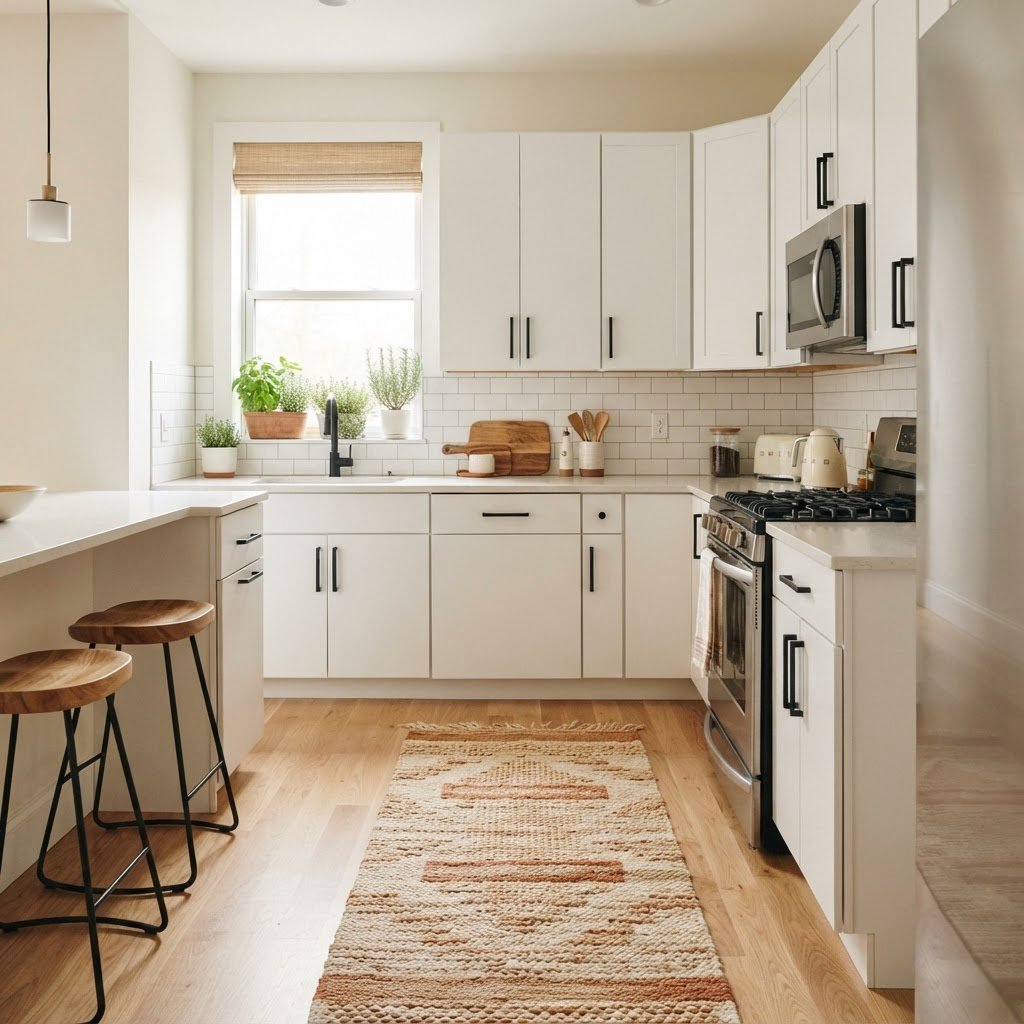
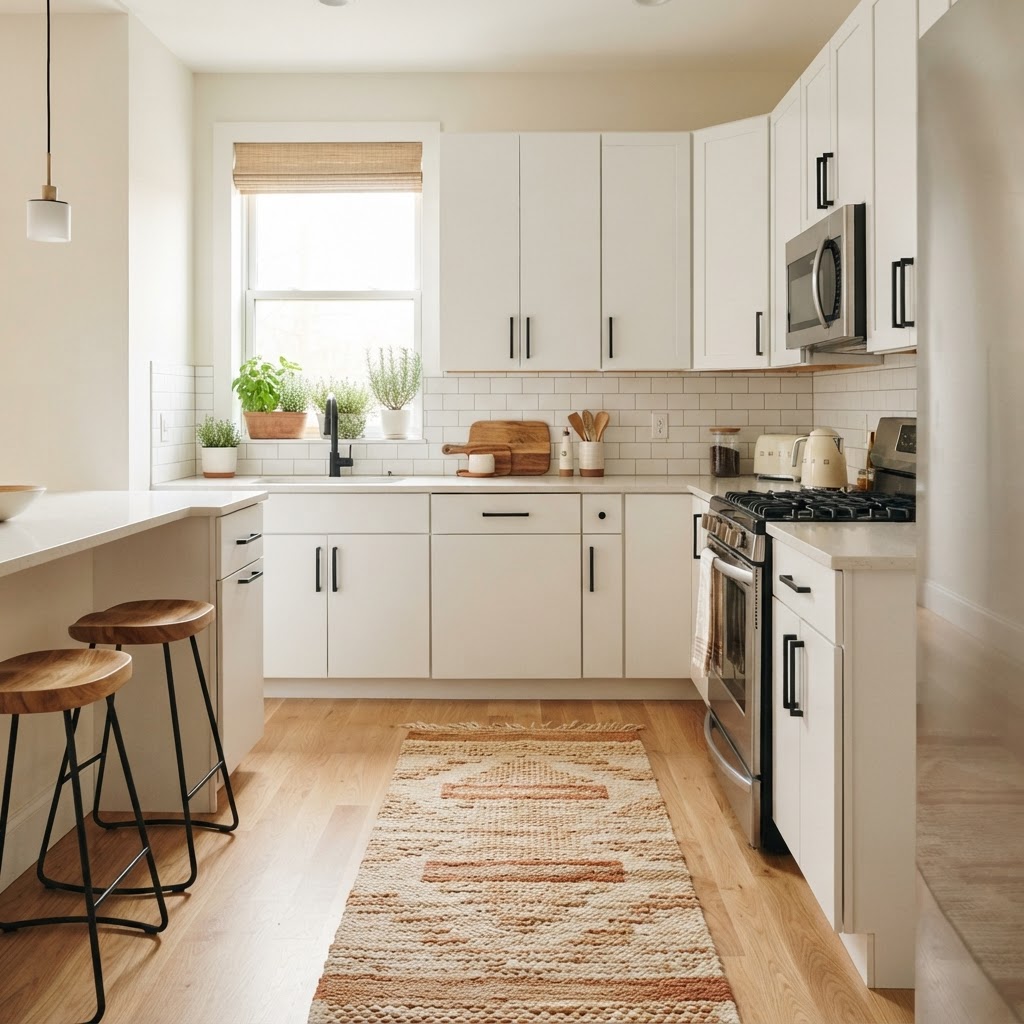
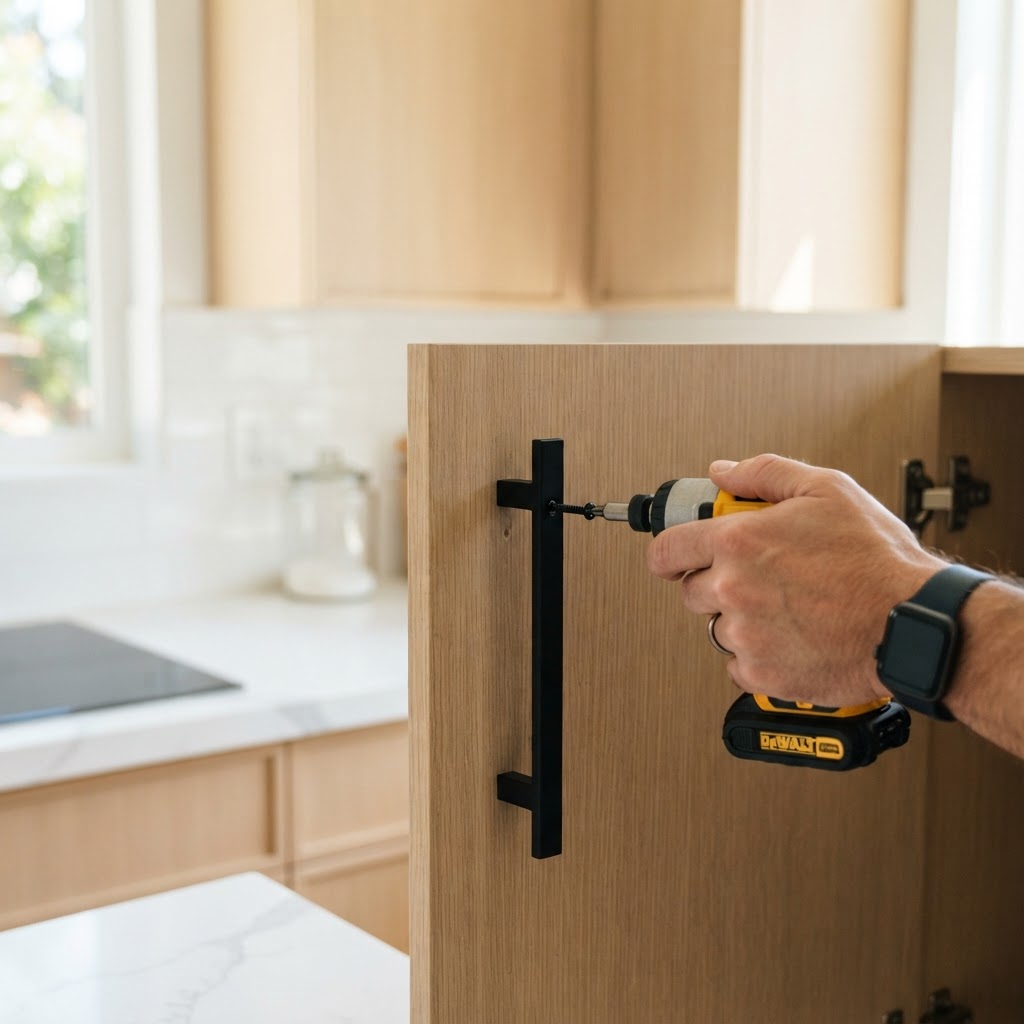
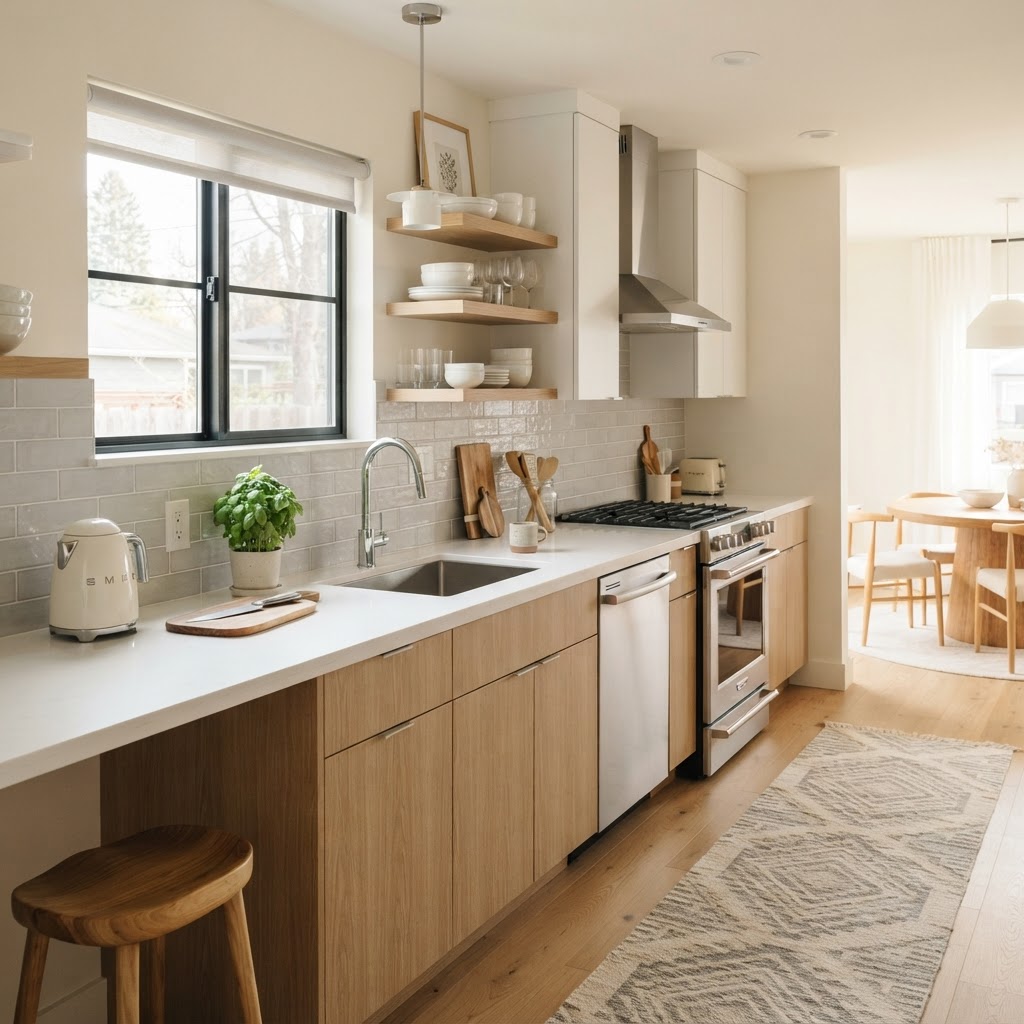
A refreshed rental kitchen featuring modern hardware and a faux-tile backsplash.

The quickest way to change the personality of a kitchen is to swap out the cabinet hardware. Most landlords are happy for you to update knobs and pulls as long as you keep the originals in a safe place. This small change acts like jewelry for your cabinets, instantly making the space feel more curated and modern. Look for sleek matte black handles or brushed gold pulls to elevate a standard builder-grade kitchen.

Why Hardware Swaps Work

Hardware swaps are the quintessential non-permanent upgrade. You simply unscrew the existing hardware, store it in a labeled bag, and install your new choices. When it is time to move, swap them back, and your landlord will never know the difference. It takes less than twenty minutes to transform an entire wall of cabinets.

These wraps are water-resistant and durable enough to handle daily meal prep. Be sure to use a smoothing tool to get rid of air bubbles during application. If you have any seams, use a clear silicone caulk or decorative trim to keep the edges crisp and prevent water seepage. This is one of the most effective chic kitchen updates renters can undo in minutes when the lease is up.

Lighting Without Electrical Work

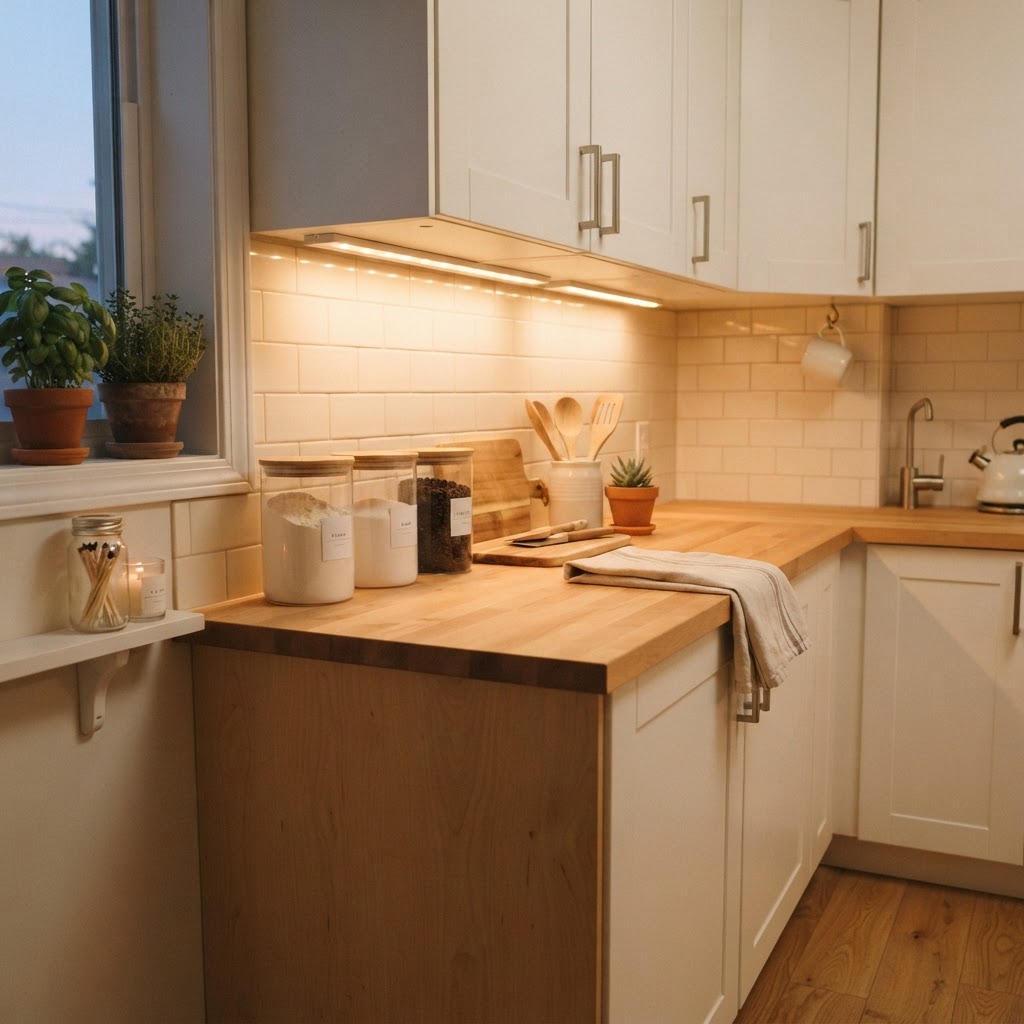
Lighting plays a huge role in kitchen ambiance, but electrical work is strictly off-limits for renters. Skip the hard-wired fixtures and opt for plug-in sconces or battery-operated under-cabinet LED lights. Placing these strips under your upper cabinets creates a warm, professional glow that makes your kitchen look like a high-end designer space.

Creative Ways to Brighten Up

Battery-operated puck lights are an easy way to illuminate dark corners or add functional task lighting to your workspace. You can also hang stylish pendant lamps using adhesive hooks or tension rods, creating a focal point above an island or breakfast nook. Always look for “no-drill” mounting kits that use heavy-duty command strips for peace of mind.

Adding Personality with Rugs and Textiles

A bare floor can make a kitchen feel cold and sterile. A washable, low-pile runner is a perfect way to add color, texture, and pattern to your space. Choose a material that is stain-resistant and can handle heavy foot traffic. A well-placed rug hides scuffed linoleum and adds a layer of comfort while you are standing at the sink.

Don’t forget the power of window treatments. A simple bamboo shade or a café curtain can soften the lines of a window and provide privacy. Like other upgrades, these can be installed using tension rods, which avoid any need for drilling into the window frame.

Storage Hacks for Style and Function

Clutter is the enemy of a chic kitchen. Use open shelving, aesthetic canisters, and tiered organizers to keep your countertops clear and your ingredients organized. Using matching glass jars for dry goods creates a visually cohesive look that mimics professional pantry organization. It is not just about looks; it is about creating a workflow that feels effortless and inviting.

The Art of Curated Display

Select a few beautiful items, such as a wooden cutting board, a decorative ceramic pitcher, or a fruit bowl, to leave on the counter. Everything else should have a home inside the cabinets. This “less is more” approach ensures your kitchen remains a sanctuary rather than a storage locker.

Protecting Your Security Deposit

While these chic kitchen updates renters can undo in minutes are designed to be temporary, always exercise caution. Test a small, inconspicuous area with any adhesive before applying it to the entire surface. If you ever have a doubt about a potential project, ask your landlord for permission in writing before proceeding. Most landlords appreciate responsible tenants who improve the property at their own expense.

Always document the original state of the kitchen with photos before you start your project. Keep all the original hardware, shelves, and fixtures in a labeled bin. Being organized during the renovation process makes the move-out process significantly easier, ensuring you get your full security deposit back while enjoying a beautiful home in the meantime.

Conclusion

Transforming your rental kitchen into a space you truly love does not require a massive budget or permanent renovations. By focusing on peel-and-stick backsplashes, hardware swaps, and smart lighting, you can easily achieve a designer look that respects your lease terms. These chic kitchen updates renters can undo in minutes prove that you do not need to own a home to enjoy a beautiful, functional cooking space.

Start with one small project today—like changing your cabinet knobs or adding a runner rug—and see how it changes the vibe of your home. Your kitchen is the heart of your living space; give it the love and style it deserves. Ready to get started on your own rental transformation? Share your progress on social media or tell us which hack you are most excited to try in the comments below!

Decorating a Rental Without Risking Your Deposit: A Guide

Moving into a new apartment often brings the excitement of a fresh start, but the strict rules of landlords can quickly dampen your creative spirit. If you are focused on decorating a rental without risking your deposit, you are not alone; many tenants struggle to balance personal style with strict lease terms. The good news is that you do not need to settle for stark, white walls or uninspired layouts just to ensure you get your money back. With a little creativity and the right tools, you can transform your temporary housing into a cozy, stylish sanctuary that feels uniquely yours.

Understanding Lease Agreements and Limitations

Transforming walls with removable wallpaper is a game-changer.

Before you pick up a paintbrush or hammer, it is crucial to review your lease agreement with a critical eye. Most landlords have specific clauses regarding modifications, often prohibiting permanent changes like painting, drilling large holes, or swapping out light fixtures. Understanding these boundaries is the first step toward successful interior design in a temporary space.

If you are unsure about what counts as normal wear and tear versus damage, consult your local landlord-tenant laws. Generally, small holes from picture hooks are acceptable, but large anchors or unauthorized structural changes are not. Always document the state of the apartment when you move in, taking high-quality photos of any existing damage to protect yourself later.

The Magic of Temporary Wall Coverings

Use command strips for a damage-free gallery wall.

One of the most effective ways to make a significant visual impact is through temporary wallpaper. Peel-and-stick options have revolutionized the way we approach decorating a rental without risking your deposit. These products come in a vast array of patterns and textures, allowing you to create an accent wall that can be removed in minutes when your lease ends.

Choosing the Right Adhesive

When selecting peel-and-stick wallpaper, verify that it is specifically designed for rental use and uses a low-tack adhesive. Cheap, low-quality alternatives can sometimes leave a gummy residue or strip away paint when removed. Test a small, inconspicuous patch behind a door or inside a closet before committing to a full wall.

Elevating Lighting Without Electrical Work

Simple hardware swaps elevate any rental kitchen instantly.

Standard “boob lights” and generic ceiling fixtures are the bane of many renters. While you might want to swap these for trendy pendants, doing so can violate electrical safety codes and your lease. Instead, rely on floor lamps and table lamps to create layers of ambient lighting that shift the focus away from unappealing overhead fixtures.

Consider plug-in wall sconces that attach with small, damage-free command strips. By placing these at eye level, you draw the eye toward your decor rather than the ceiling. Smart bulbs also allow you to change the warmth and brightness of your space, instantly making a cold, clinical apartment feel warmer and more inviting.

Damage-Free Wall Decor Strategies

Tension rods make hanging beautiful curtains easy.

Empty walls are often the biggest culprit for making a place feel “unlived in,” but filling them requires careful consideration of the hardware used. Command hooks and strips have become the gold standard for decorating a rental without risking your deposit, as they provide a secure hold without the need for nails or screws.

Gallery Wall Best Practices

If you want to create a large gallery wall, organize your layout on the floor first. Measure the spacing between each frame to ensure symmetry. Using painter’s tape can help you map out the arrangement on the wall before you start sticking your hardware in place, ensuring your art is perfectly centered and balanced.

Creative Storage Solutions That Save Space

Rental apartments often suffer from a lack of built-in storage. Instead of installing permanent shelving, look for freestanding units that can be moved from room to room. Vertical storage, such as leaning bookshelves or tall cabinets, utilizes height without requiring you to drill into the walls.

Consider furniture with hidden storage, like ottomans with lids or bed frames with drawers underneath. These pieces serve double duty, helping you organize your clutter while maintaining a clean, minimalist aesthetic. By keeping surfaces clear of excess items, you make even the smallest apartment feel larger and more intentional.

Soft Furnishings and Textiles

If you cannot change the floors or walls, use textiles to inject color and personality into your home. A high-quality area rug can cover up dated or worn carpet, instantly modernizing the look of a living room. Layering rugs is another great trick, especially if you have a neutral base that feels a bit boring.

Curtains are another game-changer. Use a tension rod inside the window frame to hang curtains if you are worried about drilling into the window casing. Choose floor-to-ceiling drapes to make your windows appear larger and add a sense of luxury to the space. Don’t be afraid to mix patterns and textures with throw pillows and blankets to soften the overall environment.

Small Scale Upgrades for High Impact

Sometimes the smallest changes yield the biggest results. Swap out the hardware on kitchen or bathroom cabinets—just make sure you save the original knobs or pulls in a labeled bag. Replacing dated drawer pulls with sleek matte black or brushed brass hardware can make a standard kitchen look like a custom renovation.

Another simple trick is upgrading your shower head. Most standard shower heads are easily unscrewed and replaced with a high-pressure, spa-like alternative. Just be sure to keep the original fixture to reinstall before you move out, ensuring you leave the place exactly as you found it.

Conclusion

Successfully decorating a rental without risking your deposit requires a blend of creativity and caution. By prioritizing non-permanent solutions like peel-and-stick wallpaper, floor lamps, and clever furniture arrangements, you can create a home that feels uniquely yours. Remember, the key is to always think about how easily you can undo your changes before you start a project. Start with one room, take your time, and enjoy the process of turning your rental into a true reflection of your personality. Ready to get started? Pick one of the tips from this guide and transform your favorite room this weekend!

8 Budget-Friendly Ways to Personalize a Basic Apartment

You can personalize a basic apartment on a budget by using renter-friendly upgrades like peel-and-stick wallpaper, swapping cabinet hardware, installing floor-to-ceiling curtains, and incorporating layered lighting. These high-impact, non-permanent changes allow you to transform a sterile space into a unique sanctuary without violating lease agreements or losing your security deposit.

Lighting Upgrades for Instant Ambience

A well-curated gallery wall and textured rug can anchor any living space.

Lighting is the most effective way to eliminate the clinical feel of standard “boob lights” and fluorescent overhead fixtures. By creating a layered lighting scheme using floor lamps, table lamps, and plug-in sconces, you can replace harsh, singular light sources with a warm, ambient glow that defines specific zones within your living area.

To maximize impact, place lamps at varying heights—ideally between 30 and 60 inches from the floor—to draw the eye upward and soften the room’s edges. Look for fixtures with fabric shades to diffuse light, or select sculptural metal bases to serve as functional decor. Investing in smart bulbs, which typically cost between $10 and $25 each, allows you to adjust color temperatures to match the time of day, effectively mimicking natural circadian rhythm lighting. This transition from cool, generic overhead light to warm, task-oriented lighting is a proven interior design hack that makes small square footage feel significantly larger and more intentional.

Why Lighting Matters

Proper lighting creates layers. By placing lamps at different heights throughout a room, you eliminate dark corners and create a warm, inviting glow that makes any square footage feel more intentional. Look for lamps with fabric shades to diffuse the light, or choose bold sculptural bases to serve as functional art pieces in your living room.

Introduce Removable Wallpaper and Decals

Indoor plants add life and color to any small rental apartment.

Peel-and-stick wallpaper is the industry-standard solution for renters seeking to cover generic beige walls without the permanence of traditional paste-based adhesives. These high-quality vinyl or fabric-based papers offer immediate transformation for an average cost of $30 to $60 per roll, allowing you to create a high-impact accent wall in under two hours.

Before purchasing, calculate your wall square footage (Length x Height) and add a 10-15% buffer for pattern matching. Decals are an even more budget-friendly alternative, often retailing for under $20, and are ideal for temporary accents behind headboards or mirrors. Because these materials are designed for easy removal with minimal residue, they remain the safest way to customize a rental unit while ensuring full return of your security deposit.

Feature Peel-and-Stick Wallpaper Wall Decals
Typical Cost $30 – $60 per roll $10 – $25 per set
Coverage Full wall / Entire room Accent focal points
Installation Time 1-3 hours 15-30 minutes
Removal Risk Low (Heat with hairdryer) Minimal

Curate Textiles for Texture and Depth

Swapping out hardware is a simple, high-impact DIY upgrade.

Textiles are the most versatile tools for mitigating the echoey, cold atmosphere often found in newer “modern” apartments with laminate flooring and sterile walls. Integrating high-pile area rugs, which range from $50 to $200 for standard 5×7 sizes, helps dampen sound and provides immediate visual warmth, effectively masking unappealing base-level flooring.

To achieve a professional designer aesthetic, focus on “textural layering.” Combine coarse materials like jute or seagrass with softer fabrics such as velvet, linen, or chunky wool. For instance, pairing a heavy, velvet-backed curtain with a lightweight linen sheer allows for light control while adding architectural depth to your windows. By adhering to a strict 60-30-10 color rule—60% primary color, 30% secondary, and 10% accent—you can ensure that throw pillows, blankets, and rugs look curated rather than cluttered, creating a cohesive, well-designed environment.

Gallery Walls and Vertical Storage

Peel-and-stick wallpaper provides a renter-friendly way to add personality.

Gallery walls provide a high-personality focal point that utilizes under-leveraged vertical wall space, making your room feel intentionally designed. To save money, skip custom professional framing and instead source second-hand frames from thrift stores, which can be found for $1 to $5 each, then unify the look by painting them a singular matte black or crisp white.

Utilizing non-damaging adhesive strips instead of nails or heavy-duty anchors allows you to display art safely without requiring wall repairs before you move. For added interest, incorporate non-photo items like lightweight woven baskets, flat metal wall art, or even mirrors. A well-balanced gallery wall should start at eye level, roughly 57 inches from the floor, and extend to about two-thirds of the wall height to maintain proper scale.

Tips for a Seamless Gallery Wall

  • Use painter’s tape to layout your design on the floor first.
  • Stick to a consistent theme or color story for your frames.
  • Mix in non-photo elements like baskets, hats, or metal wall art.

Upgrade Functional Hardware

Swapping out standard, builder-grade cabinet hardware is the single fastest way to increase the perceived value of your rental kitchen or bathroom. Standard hardware often looks cheap due to thin plastic or basic metal finishes; replacing these with solid brass, matte black, or brushed nickel pulls creates a tactile, premium experience that elevates the entire room’s aesthetic.

Most cabinet pulls are standard sizes (typically 3-inch or 4-inch hole spacing), making it easy to swap them without drilling new holes. Always keep the original hardware in a clearly labeled Ziploc bag tucked away in a kitchen drawer or cabinet; this ensures you can perform the swap back to the original state in less than 15 minutes upon move-out. A set of 10 modern handles can typically be sourced for under $40, providing a dramatic “before and after” contrast that rivals much more expensive renovations.

Bring Nature Indoors

Plants are an investment in both home health and aesthetic appeal, as they act as natural air purifiers while adding organic color and texture. For low-light apartment corners, resilient species like Sansevieria (snake plants) or Zamioculcas zamiifolia (ZZ plants) thrive in minimal light, making them perfect for beginners who may lack a green thumb.

To make plants look more intentional, avoid scattering them randomly across surfaces. Instead, group them in clusters of three, using pots of varying heights and textures. Utilizing plant stands to elevate one plant and hanging baskets to draw the eye toward the ceiling creates a dynamic vertical display that makes your room feel more spacious and alive. Integrating natural elements is the most effective way to neutralize the harsh, sterile lines of contemporary apartment construction.

Customizing Your Furniture Layout

Rearranging your furniture is a zero-cost way to dramatically shift the function and flow of your apartment. Many renters follow the “default” layout dictated by wall outlets or radiator placement, but floating furniture—pulling sofas or beds away from the wall—can create more sophisticated, boutique-hotel style room dividers that define specific living and working zones.

Strategy Benefit Best For
Floating Furniture Creates flow/zones Larger living rooms
Vertical Storage Maximizes floor space Small studios/bedrooms
Multi-functional pieces Reduces clutter Tiny apartments

Investing in multi-functional furniture, such as storage ottomans or nesting tables, helps keep your space free of visual clutter. In a small apartment, the goal is to optimize every square foot so that the room serves multiple purposes, such as a corner desk area that doubles as a vanity or a storage ottoman that serves as a coffee table.

The Art of Selecting Finishes

Consistency in metal finishes is the hallmark of a professional interior design scheme, so choose one finish, such as matte black, and repeat it across all hardware to create a unified design language. Avoid mixing metals, as excessive variation creates visual clutter that cheapens the room’s impact; instead, ensure your faucet, soap dispenser, and towel rack share a common metallic tone.

Installation Tips for Success

Proper surface preparation is mandatory for a 20lb+ weight-bearing capacity; scrub the installation area with 70% isopropyl alcohol to remove hidden soap scum or silicone residue. Once clean, apply the adhesive fixture with firm pressure for a full 60 seconds and strictly adhere to a 24-hour curing period before placing weight on the unit to ensure the chemical bond is fully set.

Upgrade 2: The Magic of Boutique-Style Lighting

Peel-and-stick tiles completely transform floor surfaces.

Lighting functions as the jewelry of the bathroom, and you can achieve a soft, ambient glow by integrating battery-operated, motion-sensor LED wall sconces that mimic the look of hardwired fixtures. These wireless units often include aesthetic mounts that hide the battery compartment, allowing you to place “wall-mounted” lighting anywhere without hiring an electrician or punching holes in drywall.

Warmth vs. Cool Tones

For a luxury aesthetic, strictly control your color temperature by selecting bulbs or LED strips in the 2700K to 3000K range, which eliminates the sterile, clinical appearance of standard 5000K daylight-toned bathroom bulbs. Additionally, installing a thin, adhesive-backed LED strip under the vanity edge creates a sophisticated “floating” effect, providing soft, indirect illumination that adds depth to the floor area and enhances the room’s overall high-end ambiance.

Upgrade 3: Elevating the Vanity with Decorative Storage

Strategic lighting and long curtains add elegance.

Clutter is the primary enemy of a luxury bathroom; you can reclaim your space by using high-end, no-drill storage solutions like natural stone trays, woven rattan baskets, or minimalist glass canisters. By consolidating miscellaneous personal care items into organized vessels, you transform a disorganized counter into a curated, boutique-style display that feels intentional and clean.

For the shower area, skip the over-the-shower-head plastic racks and invest in a high-tension corner pole caddy finished in brushed nickel or matte black. These units use a spring-loaded tension system to bridge floor-to-ceiling gaps, providing stable, multi-tier storage that keeps the shower floor clear of bottles, maintaining a minimalist, upscale silhouette.

Upgrade 4: Peel-and-Stick Tile Decals

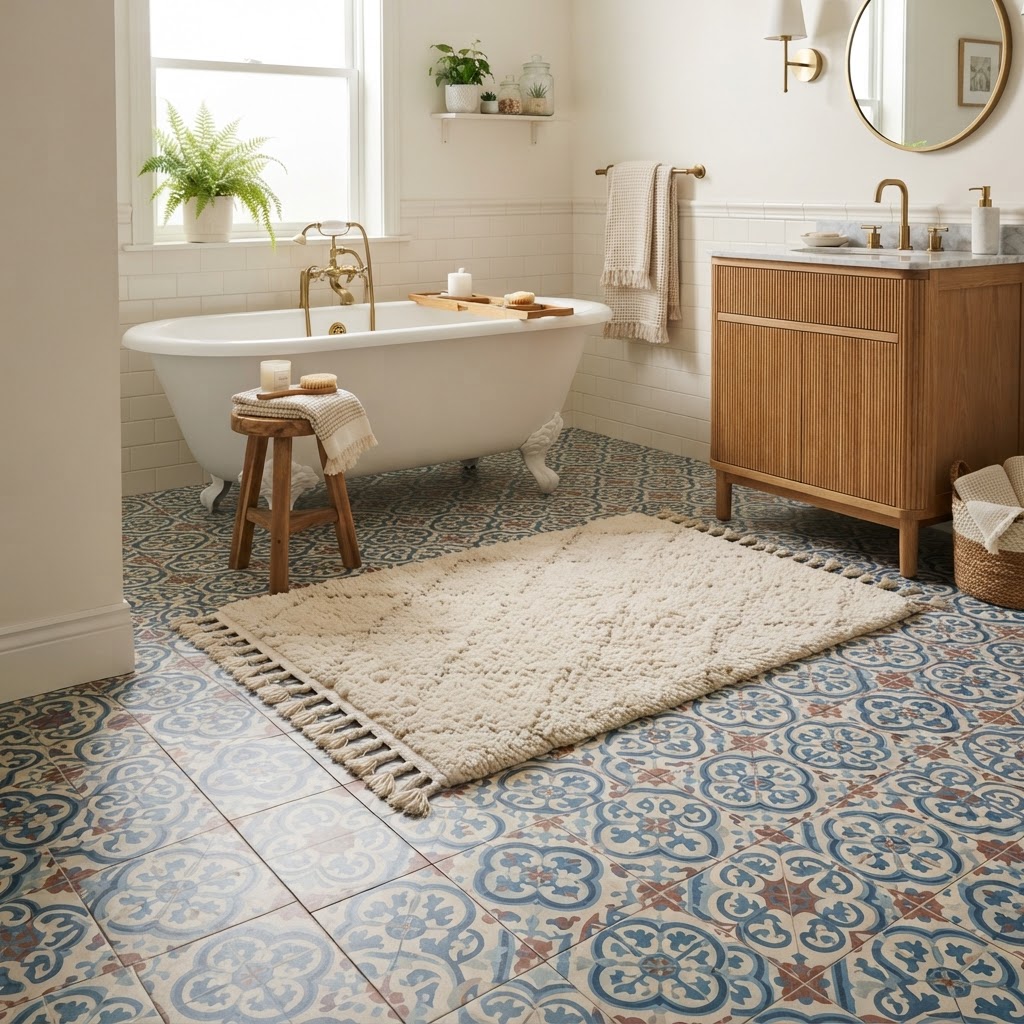
Peel-and-stick vinyl tiles or floor decals offer a dramatic, reversible transformation that covers dated or stained flooring with professional-looking patterns like encaustic cement or marble. These high-grade vinyl products are specifically treated to be waterproof and heat-resistant, making them capable of withstanding the high-humidity environment of a bathroom while providing the look of an expensive tile installation at a fraction of the cost.

Why Decals Work for Renters

Decals are the ultimate low-risk upgrade because they are entirely non-destructive; when you are ready to move, you can use a standard hairdryer on a medium heat setting to soften the adhesive, allowing the sheets to peel away cleanly without leaving residue or damaging the original floor. When selecting decals, prioritize thick, textured vinyl (typically 0.3mm or higher) to ensure the seams remain invisible and the finish looks authentic rather than sticker-like.

Upgrade 5: Textiles and the Spa Factor

Luxury is defined by the tactile experience, meaning the softness of your towels and the weight of your rugs determine the perceived comfort level of the room. Upgrade your collection to plush, hotel-quality cotton towels with a GSM (Grams per Square Meter) count of at least 600, sticking to a cohesive, neutral color palette such as slate gray, cream, or crisp white to foster a high-end spa aesthetic.

The Layering Technique

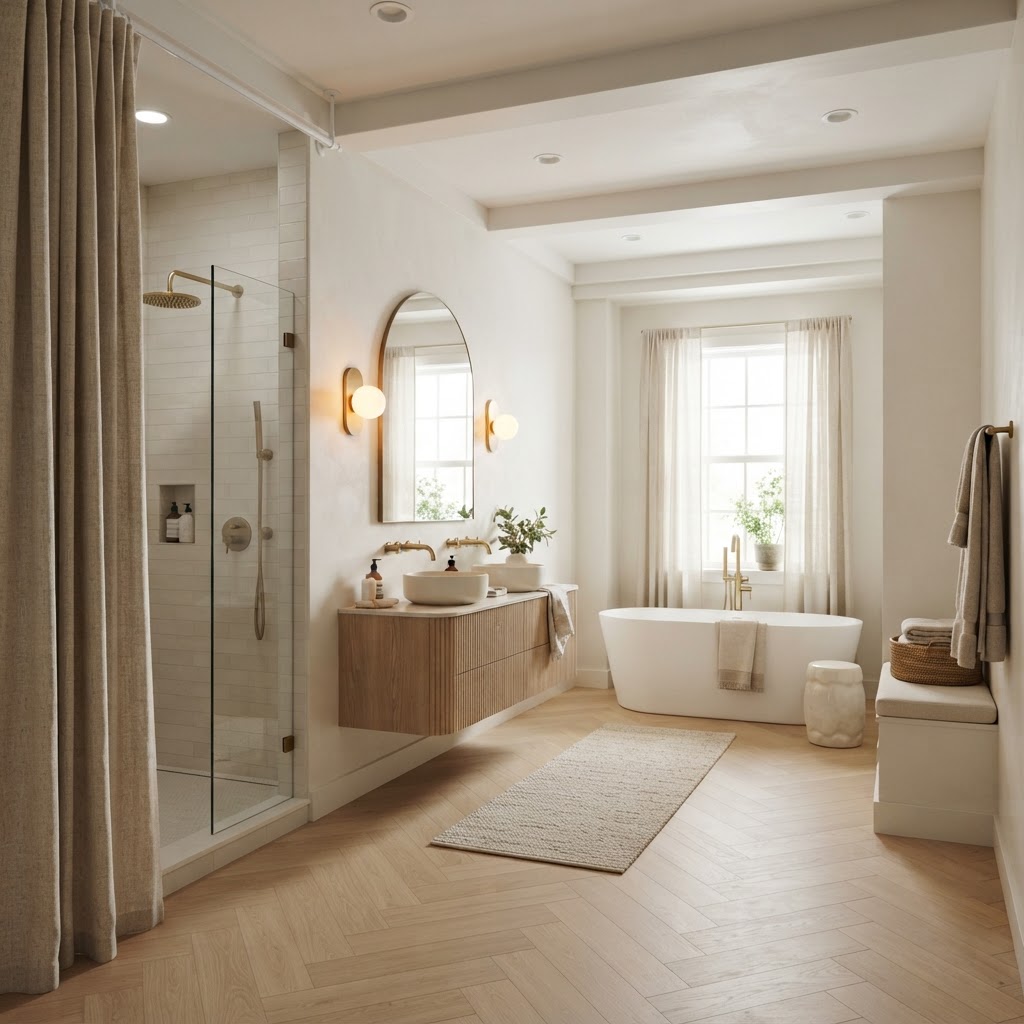
Incorporate a grounding element like a genuine teak wood mat or a heavy-duty cotton rug to add texture and warmth to cold tile surfaces. Further enhance the height of the room by using a ceiling-mounted tension rod that holds your shower curtain at the highest point of the ceiling, which creates a vertical visual line that makes even small bathrooms appear taller and more spacious.

A Quick Reference Guide for No-Drill Upgrades

Upgrade Category Material Choice Luxury Effect
Towel Rods Matte Black Modern Minimalist
Shower Storage Brushed Gold Spa-Inspired
Floors Marble Vinyl High-End Renovation
Lighting Warm LED Boutique Atmosphere
Textiles Egyptian Cotton Resort Comfort

Common Mistakes to Avoid

Even when you are not drilling, you can still fall into design traps. The most common mistake is failing to declutter before installing new items; adding expensive organizers is counterproductive if they are overflowing, so always curate your product collection down to the essentials. Another mistake is choosing items that are too trendy or neon-colored; instead, opt for timeless colors and matte metallic finishes to ensure your bathroom retains its elegant, expensive appearance for years rather than needing a redesign next season.

Furthermore, never overlook the impact of small, curated accents; replacing a plastic soap pump with a heavy glass dispenser or placing a low-maintenance Pothos plant on a shelf breathes life into a stale space. These minor touches require zero installation effort but significantly enhance the sensory experience of the room, effectively bridging the gap between a standard bathroom and a luxury sanctuary.

FAQ

Q: Do adhesive bathroom fixtures actually stay on tile?

Yes, modern high-strength adhesive backings are designed to hold over 20 pounds on non-porous surfaces like tile or glass. The key is proper surface prep using isopropyl alcohol to remove all residue and allowing the adhesive to cure for at least 24 hours before hanging items.

Q: Will peel-and-stick floor decals damage my existing tiles?

No, high-quality vinyl floor decals are designed to be removable without damaging underlying surfaces. By using a standard hairdryer to warm the vinyl before peeling, you soften the adhesive, which prevents it from pulling up the finish of the original tile or leaving sticky residue behind.

Q: How do I make wireless lighting look expensive?

To achieve a high-end look, choose motion-sensor LED fixtures that feature minimalist, metallic housings rather than visible plastic battery packs. Always pair them with warm-toned bulbs (2700K–3000K) to avoid the clinical blue glow typical of cheap vanity lighting, as warm light creates an inviting, premium aesthetic.

Q: What is the best way to hide clutter in a small bathroom?

Use vertical tension-pole shelving systems or countertop organizers made of natural materials like wood, stone, or resin to keep surfaces clear. The secret is to limit the number of items left on the counter, as hiding products behind cabinet doors or inside decorative vessels maintains a clean, minimalist silhouette.

Q: Should I mix different metal finishes in my bathroom?

For the most “expensive” look, avoid mixing metal finishes, as doing so often creates visual chaos that detracts from a cohesive design. Stick to one finish, such as matte black or brushed gold, for every element—from towel hooks and faucet handles to light fixtures and soap dispensers.

How to Make Your Rental Living Room Feel Custom and Cozy

How to Make Your Rental Living Room Feel Custom and Cozy

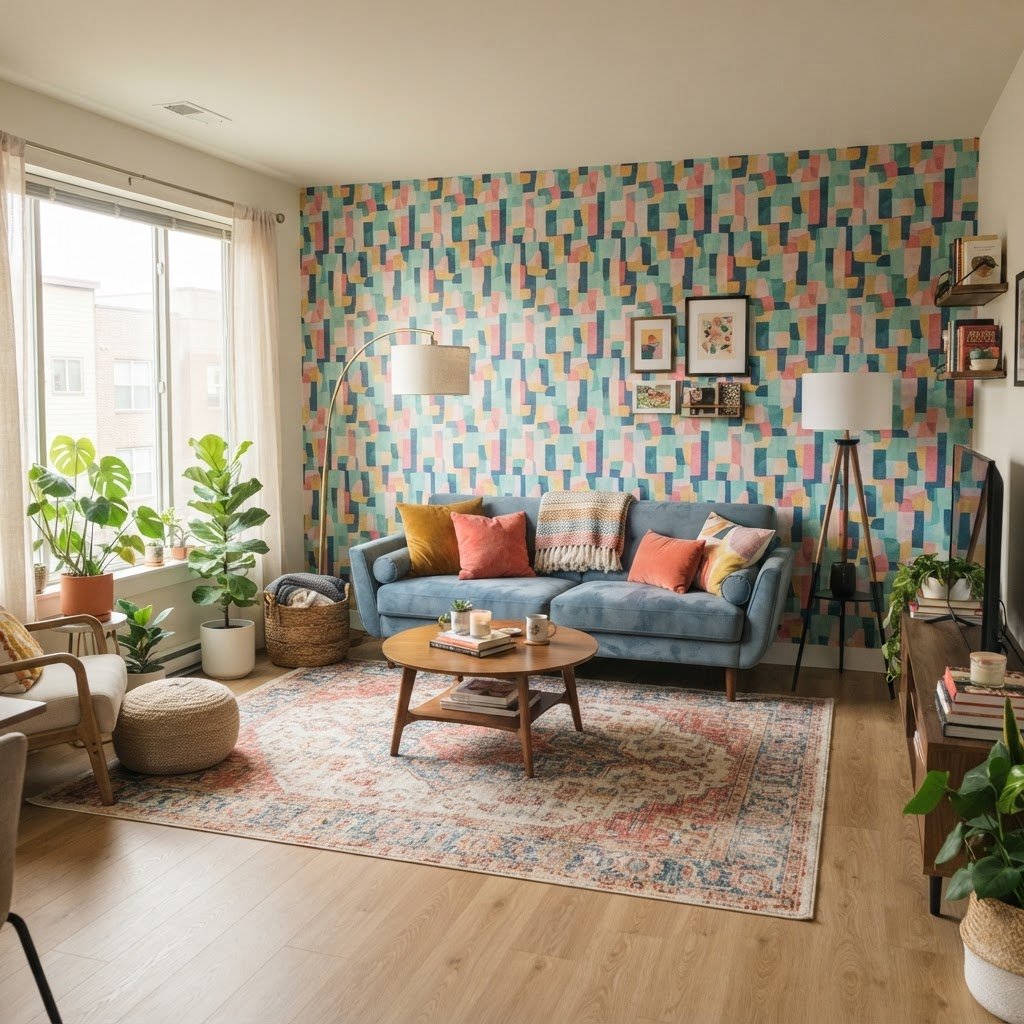
To make a rental living room feel custom and cozy, prioritize layering warm ambient lighting, utilizing peel-and-stick wallpaper for visual interest, and defining spaces with high-quality area rugs. These strategic, non-permanent design choices effectively mask standard rental features like sterile white walls and worn flooring while adding personal character.

The Power of Layered Lighting

Layering textures like rugs and curtains creates a cozy foundation.

Most rental units come with harsh, overhead lighting that does little to create a relaxing atmosphere, so replacing this with layered, warm-toned lighting is the fastest way to elevate your space. Aim for a mix of at least three light sources in your living room—floor lamps, table lamps, and accent lighting—to eliminate dark corners and create a bespoke, moody ambiance.

Incorporating Ambient and Task Lighting

To achieve a custom aesthetic, move beyond a single ceiling fixture. Incorporate floor lamps with warm-toned bulbs (ideally 2700K to 3000K) to add height and texture to corners. Table lamps on side tables help create “pools” of light that make a room feel smaller and more intimate. By placing these lamps at different heights, you draw the eye around the room rather than focusing on the standard ceiling light.

Dimmable Solutions

If your apartment lacks dimmers, use smart bulbs or plug-in dimmers. These small additions provide instant control over your mood, making the room feel more like a bespoke space rather than a sterile rental. Smart bulbs often cost under $15 each and can be adjusted via your smartphone, allowing you to transition from bright cleaning light to a cozy evening glow without professional electrical work.

Lighting Type Benefit for Renters Cost Range
Smart Bulbs Custom color/brightness control $10 – $25
Plug-in Dimmers Retrofits existing lamps $15 – $30
Floor Lamps Adds vertical visual interest $50 – $200

Refreshing Walls Without Permanent Paint

Gallery walls add personal style without damaging rental walls.

One of the biggest hurdles for renters is the inability to paint walls, but modern peel-and-stick wallpaper provides a high-impact, damage-free alternative. This material is typically made from vinyl or fabric, allowing you to cover large areas that can be removed in minutes when your lease expires without leaving behind residue or needing a paint touch-up.

Using Temporary Wall Treatments

Choose a peel-and-stick pattern that complements your furniture. Whether you opt for a bold geometric print or a subtle grasscloth texture, this simple change makes your rental living room feel custom and cozy instantly. If you are hesitant about wallpapering an entire room, consider creating a single focal wall behind your sofa, which usually requires only 2 to 3 rolls of standard 24-inch wide wallpaper. Ensure your wall is clean and dry before application to maximize adhesion and longevity for the duration of your stay.

Maximizing Comfort With Textiles

Plants bring life and organic shape to a neutral rental space.

Textiles are the soul of any cozy room, and since you cannot change permanent flooring or architectural details, rugs and curtains are your primary tools for transformation. A high-quality area rug acts as the room’s foundation, providing acoustic dampening and warmth, while curtains offer a sense of height and luxury that standard metal blinds simply cannot achieve.

Layering Rugs and Curtains

Invest in a high-quality area rug that covers most of your floor space; a 6×9 or 8×10 rug is often necessary to properly anchor a standard sofa. If the existing carpet is worn, a thick wool or high-pile synthetic rug hides imperfections while adding softness underfoot. Similarly, hanging floor-to-ceiling curtains on a tension rod or a non-damaging command-hook curtain rod makes your windows look larger and adds an architectural element that feels high-end and custom.

Texture and Color Palette

Incorporate throw blankets and pillows in varying textures like velvet, linen, or chunky knits. A monochromatic palette (using varying shades of the same color) can make a room feel larger and more cohesive, while deep, warm colors add that signature cozy vibe. Aim to mix at least three different textures (e.g., leather, wool, and cotton) to keep the space visually interesting without needing to add extra items.

Furniture Placement for Flow and Function

How you arrange your furniture determines how a space functions, and strategic placement can turn a cramped apartment into an efficient, custom-feeling environment. In a rental, you want to avoid “floating” furniture in the middle of a room unless it serves a distinct purpose, such as acting as a walkway guide or defining a specific activity zone.

Zoning Your Living Space

Use your rug to anchor your seating area by ensuring at least the front legs of all furniture pieces are placed on the rug. Position your sofa, armchairs, and coffee table so they create a conversational circle rather than pushing all furniture against the walls. If you have an open floor plan, place a console table behind the sofa to delineate the living area from the dining area. This simple act of organization creates a sense of intentionality that feels custom-made, separating your “living” zone from the rest of the floor plan.

Incorporating Personal Touches and Art

Blank walls are a renter’s biggest enemy, but you don’t need to put holes in the drywall to display art. Use damage-free adhesive strips or large floor mirrors leaning against the wall to create a custom gallery feel that adds depth to your room.

Curating a Meaningful Display

Displaying personal items, travel souvenirs, and books makes a space feel like a home rather than a temporary dwelling. Consider using picture ledges that require only a few small holes—which are easily patched with spackle later—or simply lean your frames on a bookshelf or mantle. By grouping smaller items in odd-numbered clusters, you create a professional-looking display that highlights your personality without the commitment of wall-mounted shelves.

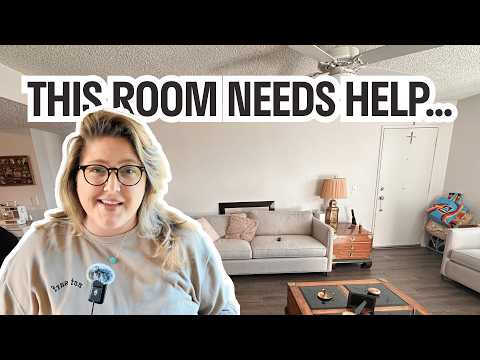
Fixing This Messy Gray Rental Living Room | Complete Living Room Makeover

Greenery and Natural Elements

Nothing breathes life into a rental living room faster than house plants, as they provide scale, color, and a sense of calm that helps a rental feel like a custom-designed home. Plants effectively bridge the gap between indoor and outdoor aesthetics, softening the harsh corners often found in modern apartment construction.

Choosing the Right Plants

Select plants based on your lighting conditions. A tall Fiddle Leaf Fig or a cascading Pothos can dramatically transform a corner, often taking up dead space that would otherwise feel empty. Pair them with stylish, elevated planters that add height and interest to your room’s visual layout. Elevating a plant on a stand not only makes it a focal point but also allows for better air circulation around the pot.

Summary of Renter-Friendly Upgrades

  • Install dimmer switches or use smart light bulbs for mood lighting.
  • Utilize peel-and-stick wallpaper to create a custom feature wall.
  • Hang floor-to-ceiling curtains to elevate the look of standard windows.
  • Use large area rugs to cover unattractive or worn flooring.
  • Choose furniture with legs to make the space feel lighter and more spacious.
  • Add house plants to bring texture and organic shape to your room.

FAQ

Q: Does peel-and-stick wallpaper really come off without damaging walls?

Yes, high-quality peel-and-stick wallpaper is specifically designed to be removed cleanly from standard drywall. If you heat the material slightly with a hair dryer during removal, the adhesive softens, making it even easier to peel off without stripping the underlying paint.

Q: What is the best way to hang heavy curtains without drilling holes?

Use heavy-duty tension rods or adhesive-backed curtain rod brackets designed for renters. These solutions can support most standard-weight curtain panels and allow you to achieve the high-end floor-to-ceiling look without leaving permanent marks on your window frames or walls.

Q: How can I make a small rental living room look bigger?

Focus on a light, monochromatic color palette and use mirrors to reflect light around the room. Choosing furniture with exposed legs instead of solid bases allows the eye to see more floor space, which tricks the brain into perceiving the area as larger than it actually is.

Q: Is it possible to change rental lighting without an electrician?

Yes, you can easily upgrade lighting by using plug-in wall sconces or smart LED bulbs in existing fixtures. If you choose a rental-friendly plug-in sconce, you can mount it using adhesive strips or a simple nail, avoiding any complex wiring changes while gaining focused task lighting.

Q: How many plants do I need to make an impact in a living room?

Start with three plants of varying sizes—one large statement plant, one medium-sized plant for a table, and one trailing plant for a shelf. This “rule of three” creates a balanced, organic look that instantly makes any room feel curated and vibrant.

6 Peel-and-Stick Ideas That Instantly Upgrade a Rental Kitchen

6 Peel-and-Stick Ideas That Instantly Upgrade a Rental Kitchen

You can transform a rental kitchen into a high-end space without permanent renovations by utilizing peel-and-stick backsplash tiles, vinyl cabinet wraps, and removable countertop films. These budget-friendly solutions offer a professional aesthetic that is entirely temporary, allowing renters to secure their security deposit while achieving a personalized, modern culinary environment.

The Power of Temporary Upgrades

A clean, updated backsplash makes a world of difference.

Many renters feel stuck with outdated cabinets, dull backsplashes, and worn countertops. Fortunately, the market for adhesive home decor has exploded in recent years, offering durable and realistic alternatives to permanent materials. Whether you are dealing with ugly tiling or lackluster laminate, there is a peel-and-stick product designed to mask these imperfections effectively. Data indicates that simple cosmetic upgrades, such as cabinet resurfacing or backsplashes, can increase perceived rental value by up to 15% in tenant satisfaction surveys. Choosing the right materials is the first step toward success. Look for high-quality, water-resistant vinyl specifically designed for high-heat environments like kitchens. When installed correctly, these temporary upgrades can last for years while remaining easy to remove with a simple hairdryer, which softens the adhesive for a clean pull. When budget planning, expect to spend between $50 and $200 for a standard-sized rental kitchen refresh. Always check the adhesion strength on a test patch to ensure no residue is left behind on original cabinetry or wall surfaces before committing to the full project.
Upgrade Type Average Cost Effort Level Longevity
Backsplash Tiles $30-$80 Moderate 3-5 Years
Cabinet Vinyl Wrap $50-$150 High 2-4 Years
Countertop Film $40-$100 Moderate 1-3 Years
Appliance Decals $20-$60 Low 2-5 Years

1. Transforming Backsplashes with Adhesive Tiles

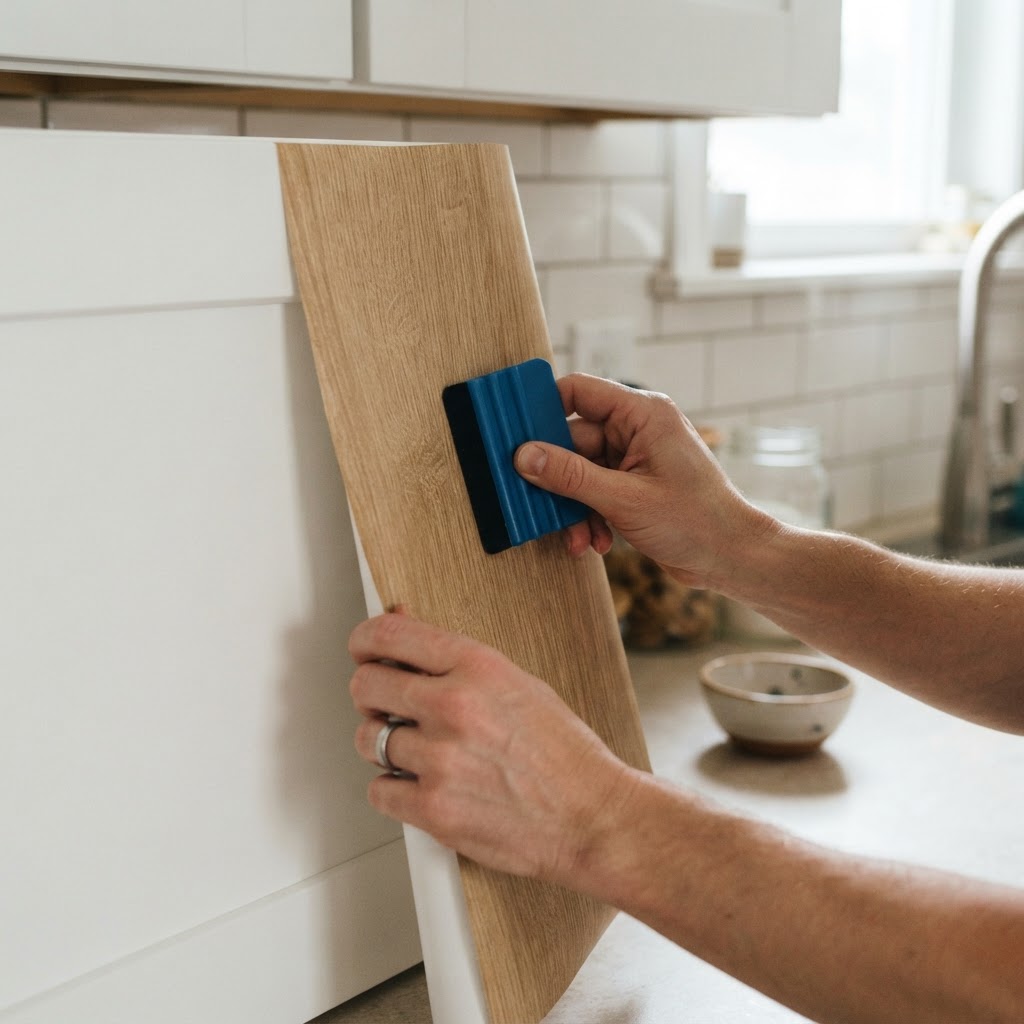
Using a squeegee ensures a smooth, bubble-free finish.

Peel-and-stick backsplash tiles represent the most effective way to change the visual character of a rental kitchen by covering outdated, stained, or boring tile with realistic textures. These tiles often feature 3D depth, mimicking premium materials like Carrara marble, slate, or classic subway ceramic without the need for grout or heavy mortar. Preparation is key; you must ensure the surface is thoroughly cleaned with a degreaser to remove lingering cooking oils, as the adhesive will not bond to greasy surfaces. Once clean, measure your space accurately and use a professional-grade utility knife or a metal straight edge to trim tiles for a seamless fit around electrical outlets and switches. When applying, start from a bottom corner and work upward, overlapping the seams by approximately 1/16th of an inch to prevent water seepage. If you live in a high-humidity climate, consider adding a thin bead of clear silicone caulk along the bottom edge where the backsplash meets the countertop to ensure complete protection against moisture buildup. Investing in high-heat-resistant tiles is non-negotiable if your stove is near the backsplash area, as cheaper plastic versions can warp or discolor when exposed to heat consistently. By following these steps, you can complete an average kitchen backsplash in under four hours, significantly upgrading the room’s aesthetic with minimal investment and zero risk to the property structure.

2. Revitalizing Cabinets with Vinyl Wraps

Faux marble contact paper creates an expensive look on a budget.

Vinyl cabinet wraps serve as a total game-changer for renters looking to hide dark, dingy, or outdated cabinets without the commitment or mess of traditional paint. Unlike paint, which can be difficult to reverse and often requires sanding or priming, vinyl contact paper provides a crisp, professional finish that remains entirely removable. You can choose from solid matte colors, realistic wood grain textures, or high-gloss finishes to suit your design preference. To achieve a bubble-free, factory-like finish, always use a dedicated squeegee tool during application to press out air. Start from the center of the door panel and work your way toward the edges, applying firm, even pressure. For cabinet corners and rounded edges, a hair dryer or heat gun set on low is essential; applying gentle heat makes the vinyl pliable enough to wrap smoothly around those difficult spots without bunching or wrinkling. If you are a beginner, try wrapping the smaller drawer fronts first before tackling large pantry doors to build confidence. Experts recommend removing cabinet hardware—like knobs and pulls—before installation to ensure clean lines. You can easily upgrade the look further by installing temporary, stylish hardware that uses the existing screw holes, allowing you to swap back to the original knobs before you move out. This project is ideal for those seeking a high-impact, low-cost renovation.

3. Refreshing Countertops with Faux Stone Film

Countertops take the most abuse in a kitchen, often showing deep scratches, heat marks, and stubborn stains that cannot be removed by cleaning. Heavy-duty, high-grade adhesive vinyl films act as a protective barrier that can cover these imperfections completely while adding a layer of sophistication. Look for “marble,” “granite,” or “butcher block” patterns that feature a textured finish, as these are better at hiding minor installation bubbles than high-gloss options. These materials are generally water-resistant and easy to wipe down, though you should strictly use cutting boards to prevent damage to the film. When installing, clean the countertop with 70% isopropyl alcohol to remove all residue. Overlap the film at the seams by roughly half an inch to prevent water ingress. If you are covering a laminate countertop that has a rounded bullnose edge, apply extra heat to the material as you wrap it around the curve to ensure a permanent bond. While these films are quite durable, they are not intended to replace granite or quartz; they are specifically designed for cosmetic enhancement. With proper care, these films can remain intact for several years. For the best result, avoid using harsh scouring pads or heavy chemicals for daily maintenance, opting instead for a damp microfiber cloth to keep the surface pristine. This is the fastest way to modernize a kitchen for under $50.

4. Using Removable Wallpaper for Accents

Removable wallpaper is a versatile tool for renters, allowing you to create a high-impact focal point without the permanence of standard wall coverings. You can easily add visual interest by wallpapering a single feature wall or the space between upper and lower cabinets. Choose bold geometric patterns to make a modern statement, or soft, botanical prints to foster a cozy, farmhouse atmosphere. When working with patterned wallpaper, always calculate the “repeat”—the distance between identical elements in the design—to ensure you order at least 15-20% extra material to account for waste and pattern matching. Before applying, use a level to draw a light pencil line on the wall as a guide for your first panel to ensure the entire wall remains perfectly straight. Align the edges meticulously, as even a 1/8th-inch gap can become noticeable across a large surface. If you accidentally stretch the wallpaper during installation, let it rest for 24 hours to see if it shrinks back to its original shape before trimming the excess. This technique transforms a sterile, white rental kitchen into a designer-inspired space in just a few hours. It is easily removed by peeling slowly from a top corner, leaving the original paint beneath perfectly intact for your landlord’s next inspection.

5. Covering Appliances with Decorative Vinyl

If your rental comes with dated or mismatched appliances, you can achieve a modern, cohesive look by covering the fronts with specialized appliance-grade vinyl. Stainless steel look-alike wraps or matte black finishes are particularly popular, as they instantly modernize a room without the significant expense of buying new machines. Before wrapping your fridge, dishwasher, or microwave, consult the manufacturer’s manual or sticker guidelines to confirm that the surface is compatible with adhesive vinyl. Some newer fingerprint-resistant or textured coatings can be difficult for standard adhesives to grip, so testing a small, inconspicuous patch behind the appliance is a crucial step for any renter. To apply, remove handles if possible, spray a light mist of soapy water on the appliance surface to allow for repositioning, and squeegee the water out from beneath the film as you go. This method virtually eliminates the risk of air bubbles. Always ensure that air vents on the sides or top of your appliances remain unobstructed by the vinyl to prevent overheating. With the right care, an appliance wrap can look professional for up to five years, making it an excellent investment for long-term renters who want to personalize their space while avoiding the massive costs of hardware replacement.

6. Creating Custom Drawer Liners and Accents

Small details often make the biggest impact in a rental kitchen, and custom drawer liners provide a hidden luxury that is both functional and aesthetic. Use colorful or patterned contact paper to line the interior of your drawers or the back of open shelving to add a personal touch that is incredibly easy to swap out whenever your style changes. This keeps your cutlery and kitchen tools organized while protecting the original wood or metal of the drawers from scratches. When selecting patterns, consider the scale of your kitchen; in a small, galley-style layout, oversized prints can feel overwhelming, whereas a tiny, busy pattern in a large, open kitchen might disappear. Balance is essential for a design that feels intentional rather than cluttered. For a cohesive look, choose a color palette that matches the vinyl you used for your cabinets or backsplashes. You can also use remnant scraps from your larger projects to create a unified design scheme throughout the entire room. This is a “no-stakes” project that takes less than an hour and costs pennies per drawer, yet it adds a high-end, custom-built feeling to your rental kitchen every time you open a cabinet. It is the perfect entry-level project for those nervous about larger installations.

Maintaining Your Upgraded Kitchen

Even though these adhesive products are durable, they require specific care to remain in top condition throughout your lease. Avoid using harsh chemical cleaners, bleach, or abrasive scouring pads, which can easily scratch, melt, or discolor the surface of your vinyl or wallpaper. A simple mixture of mild dish soap and warm water is generally sufficient to keep your upgrades looking fresh and clean. If a stain is stubborn, use a soft microfiber cloth and a gentle touch, rather than scrubbing forcefully, to avoid peeling the edges of your film. If you notice an edge starting to lift due to steam or heat, you can often re-adhere it using a touch of clear vinyl cement or a quick application of heat from a hair dryer to reactivate the original adhesive. Regularly checking your installations—especially after high-moisture cooking sessions—will ensure your upgrades stay pristine. By following these basic maintenance rules, you ensure that your rental modifications remain in excellent condition for years, protecting your investment and ensuring you get your full security deposit back at the end of your rental term.

FAQ

Q: Does peel-and-stick vinyl damage rental cabinets?

Generally, no. High-quality vinyl is designed to be removed with heat (a hair dryer), which softens the adhesive and prevents damage to the factory finish underneath, provided the original cabinets are in good, sound condition.

Q: Can I use peel-and-stick tiles behind a gas stove?

It is not recommended. Most standard peel-and-stick tiles are made of plastic or vinyl and will melt or deform when exposed to direct heat from a gas flame, so always check the product’s heat-resistance rating before installation.

Q: How do I remove residue if it stays on the surface?

If any adhesive residue remains after you peel off your vinyl, use a citrus-based cleaner or a small amount of rubbing alcohol on a soft cloth to gently dissolve the remaining bond without damaging the underlying surface.

Q: Are these upgrades actually renter-friendly?

Yes, they are considered reversible modifications. Because they do not require drilling, nailing, or permanent adhesive, they comply with most standard rental agreements that prohibit permanent renovations like painting cabinets or tiling walls.
Q: How much should I budget for a full kitchen upgrade?

For a standard 10×10 kitchen, you can expect to spend between $150 and $300 to cover your backsplashes, countertops, and appliances with high-quality adhesive films, depending on the brand and material complexity chosen.

The Best Storage Cart for Small Apartment Organization

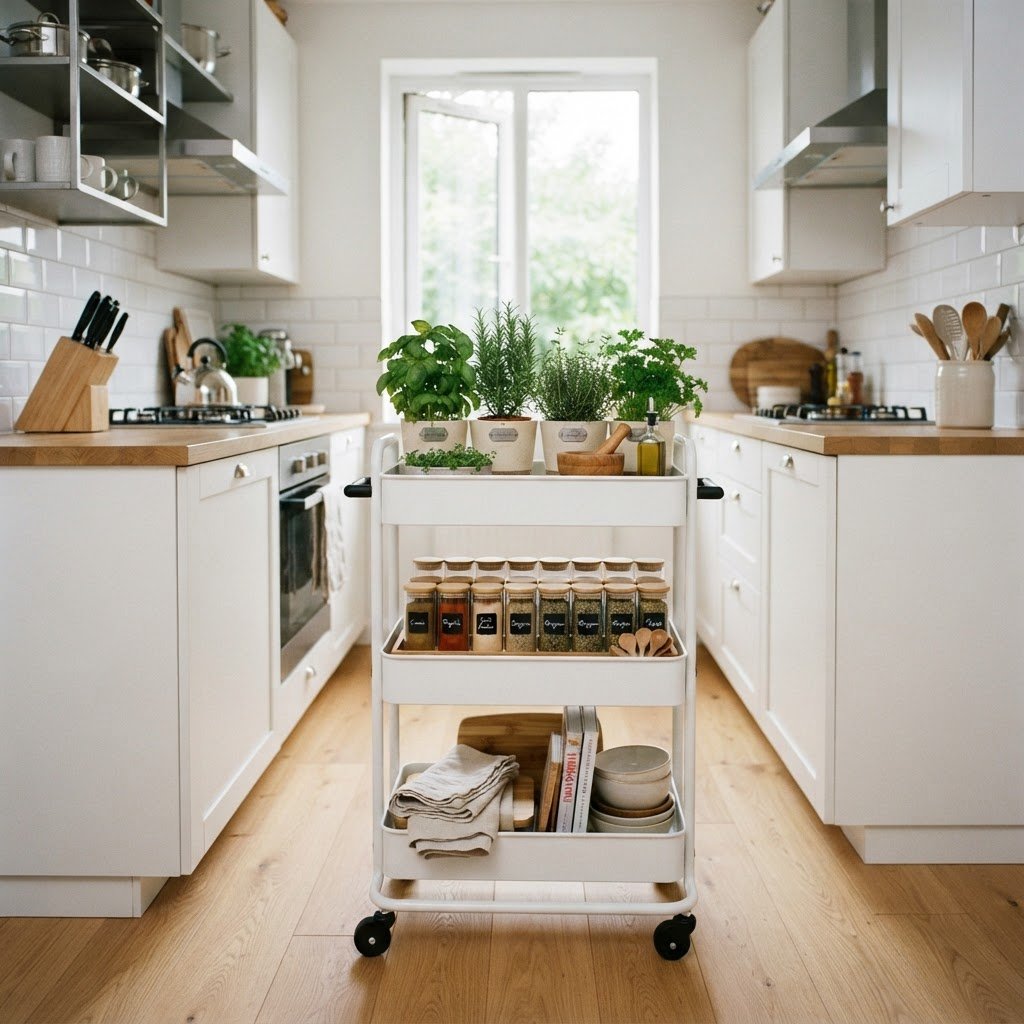
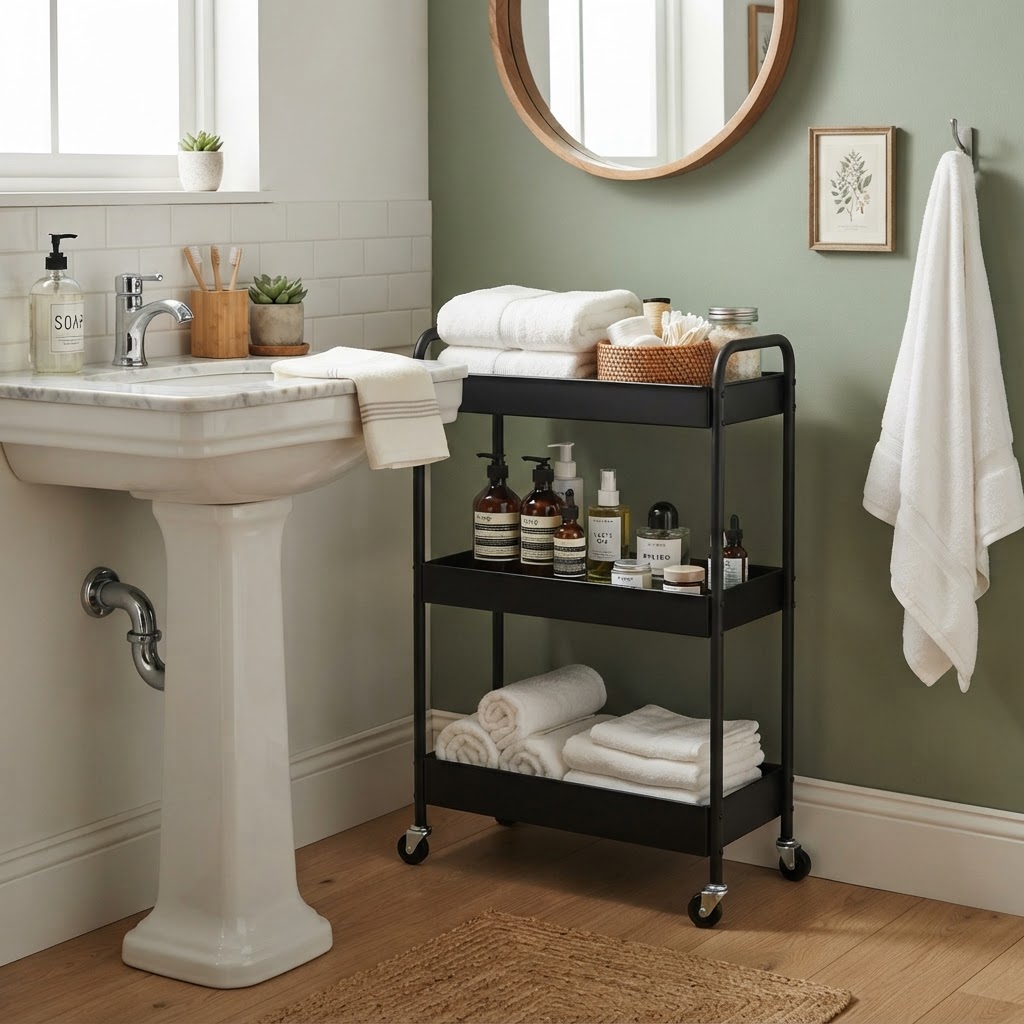
The best storage cart for small apartment organization is a multi-level rolling utility cart, offering flexible, mobile storage that maximizes vertical space and clears cluttered surfaces. This versatile solution transforms compact living areas by providing dedicated homes for essentials and expanding functional workspace.
The Psychology of Mobile Storage

Clutter in a small apartment significantly increases cognitive load, making spaces feel smaller and more chaotic. A rolling storage cart combats this by giving every item a designated place, freeing up valuable counter and floor space. This visual order directly contributes to a calmer mental state and a more functional living environment. Unlike static shelving, a mobile cart offers unparalleled flexibility. It can adapt to your needs, moving from the kitchen to the bathroom or office as required. This adaptability is particularly beneficial for renters, allowing for efficient space utilization without permanent alterations.

Psychological Benefits of Decluttering with a Cart:

  • Reduced Cognitive Load: Less visual clutter leads to a clearer mind.
  • Enhanced Sense of Control: Organizing belongings fosters a feeling of command over your environment.
  • Improved Focus: Clear workspaces can lead to better concentration during tasks.
  • Increased Perceived Space: An organized room always feels larger.

This psychological uplift is crucial for well-being in compact living situations, making a rolling cart a powerful tool for both physical and mental organization.

Anatomy of the Ideal Rolling Cart

When selecting a rolling storage cart for optimal small apartment organization, prioritize durability, accessibility, and thoughtful design. Look for carts constructed from powder-coated steel, offering a balance of industrial aesthetic, lightweight maneuverability, and robust support for substantial items. High-quality casters are essential for smooth gliding across different floor surfaces, ensuring the cart is easy to move even when fully loaded. A standard three-tier cart is often ideal, providing ample vertical storage without overwhelming the space, typically measuring around 35-40 inches in height with shelves spaced 12-15 inches apart.

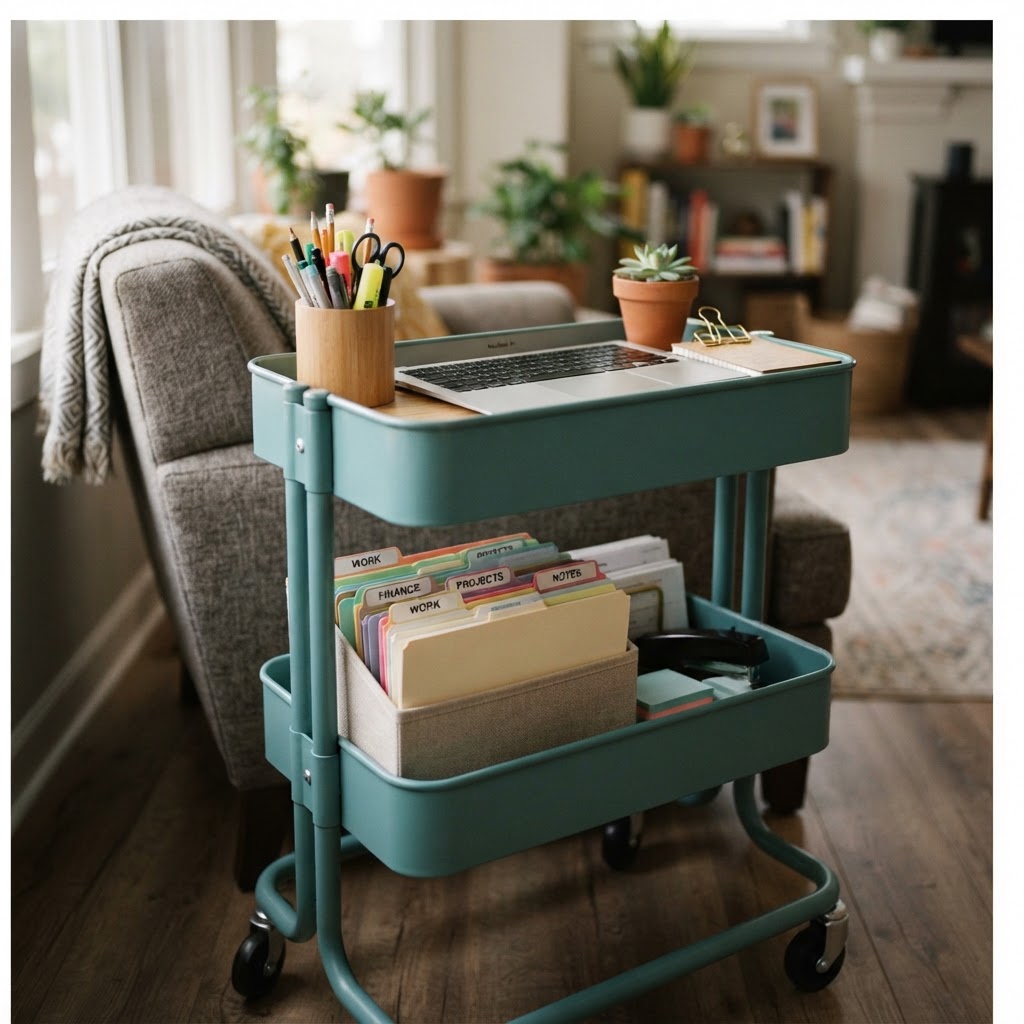
Keep your home office supplies organized and mobile.

Ventilated shelves are a critical feature, especially for storing pantry items, linens, or plants, as they prevent moisture buildup and dust accumulation, promoting better air circulation and hygiene. The dimensions of the shelves should accommodate your specific needs; deeper shelves are better for larger appliances or bulkier items, while shallower ones are perfect for smaller, frequently used products. Consider carts with a weight capacity of at least 50-60 pounds per shelf to ensure they can handle a variety of items reliably.

Key Features to Look For:

Feature Benefit
Powder-coated Steel Durability, Rust Resistance, Sleek Aesthetic
High-Quality Casters Smooth Mobility, Easy Maneuvering
Ventilated Shelves Airflow, Moisture Prevention, Dust Reduction
Tier Spacing Accommodates Various Item Heights (e.g., bottles, appliances)
Weight Capacity Supports Heavier Items (e.g., kitchen appliances, books)
Customizable Add-ons Enhances Functionality (hooks, dividers, magnetic strips)

These elements combine to create a storage solution that is not only practical but also adaptable to evolving organizational needs within a small living space.

Customization Options for Every Nook

One of the most significant advantages of modern utility carts is their inherent customizability, transforming a simple storage unit into a bespoke organizational system. Manufacturers offer a growing array of accessories designed to enhance functionality and tailor the cart to specific uses. Side hooks are invaluable for hanging utensils, towels, cleaning supplies, or even bags, effectively utilizing the exterior surface area. Magnetic strips can hold small metal items like scissors or clips, while various bin and basket attachments can corral smaller, loose objects, keeping shelves tidy and items easily accessible. For home offices, a cart can be outfitted with pen holders, file organizers, and document trays. In the kitchen, it can become a mobile spice rack with tiered organizers or a coffee station with designated spots for mugs, sugar, and coffee makers. The ability to personalize the cart means it can adapt to any room or hobby, making it an exceptionally versatile storage solution for small apartments where every inch counts.

Optimizing Your Kitchen Efficiency

For small apartments, the kitchen often presents the biggest organizational challenge due to limited cabinet and counter space. A rolling storage cart serves as a vital extension of your kitchen’s capacity, acting as a mobile pantry, prep station, or appliance hub. It can house frequently used items like spices, oils, and utensils, keeping them within easy reach during cooking. Placing items such as a coffee maker, toaster, or air fryer on the cart frees up valuable counter real estate, creating a more streamlined and visually appealing cooking environment. This not only makes meal preparation less stressful but also enhances the overall functionality and enjoyment of your kitchen space, even in the most compact layouts.

A rolling utility cart can double your kitchen counter space.

Consider the cart as a dynamic element that can be repositioned based on your workflow. Need extra space for chopping vegetables? Roll it closer to your primary prep area. Preparing a morning coffee? Move it next to your designated coffee corner. This mobility allows you to create temporary workspaces exactly where you need them, maximizing efficiency. A well-organized cart can hold up to 50-70% more kitchen essentials than a comparable amount of fixed shelving, depending on the size and depth of the tiers. For instance, a 17-inch deep cart can easily accommodate standard-sized small appliances or multiple rows of spice jars.

Kitchen Cart Organization Strategies:

  • Top Tier: Frequently used spices, oils, salt, pepper, and cooking utensils.
  • Middle Tier: Small appliances like coffee makers, blenders, or toasters; or a prep station with cutting boards and knives.
  • Bottom Tier: Bulkier items such as paper towels, bags of flour, or a small trash bin.

This structured approach ensures that your kitchen remains functional, clutter-free, and a pleasure to cook in, regardless of its size.

Transforming the Bathroom Oasis

Bathrooms in small apartments are often a significant organizational hurdle due to their inherently limited square footage. A slim-profile rolling cart is an ideal solution, capable of fitting into narrow gaps, such as between a toilet and a vanity or a washing machine and a wall. It provides essential storage for toiletries, towels, cleaning supplies, and first-aid kits, keeping bathroom surfaces clear and contributing to a spa-like, serene atmosphere. This mobile storage unit can hold approximately 10-15 bath towels on its lower shelves or a comprehensive array of skincare and haircare products on its upper tiers, offering substantial utility in a compact footprint.

Maximize tiny bathroom storage with a vertical rolling cart.

Mobile Vanity Benefits:

  • Visibility: Seeing all your products reduces the likelihood of purchasing duplicates, saving money.
  • Accessibility: Keeps essential items for your morning or evening routine within easy reach.
  • Categorization: Allows for neat grouping of items (e.g., face care, body care, hair care).
  • Space Saving: Utilizes vertical space in otherwise awkward or unused areas.

By organizing your bathroom essentials on a rolling cart, you transform a potentially cluttered space into an efficient and calming sanctuary. The cart’s mobility also allows for easy cleaning of the bathroom floor, ensuring hygiene and maintenance are less of a chore.

The Ultimate Home Office Solution

For those working from home in small apartments, a dedicated office space is often a luxury. A rolling storage cart emerges as a powerful tool for creating a functional and flexible home office. It can neatly store a laptop, essential files, stationery, and other work-related items. The true advantage lies in its mobility: at the end of the workday, the entire office setup can be rolled away into a closet, behind a door, or into a corner, creating a clear physical and mental separation between work and personal life. This separation is vital for maintaining work-life balance and preventing the feeling of living perpetually in a workspace, allowing your apartment to revert to a space for relaxation and rejuvenation.

A well-organized home office cart can significantly boost productivity by keeping everything you need within reach. Consider a cart that can hold a standard 15-inch laptop on the top shelf, with ample space below for binders, notebooks, and even a small printer. The ability to pack up your workspace at the end of the day, taking perhaps only 60 seconds, is invaluable for mental decompression. This physical act of putting away work helps reinforce the end of the workday, improving overall well-being. The cart’s dimensions, often around 17″ W x 14″ D x 35″ H, make it easy to tuck away without consuming excessive space.

Home Office Cart Configuration:

  • Top Tier: Laptop, important documents, or a monitor stand.
  • Middle Tier: Notebooks, binders, files, and stationery.
  • Bottom Tier: Printer, extra supplies, or cables and chargers.

This setup transforms any corner into a temporary, efficient workspace that can be seamlessly integrated and then hidden away, preserving the serenity of your living space.

Maintenance Tips for Long-Term Clutter Control

While a rolling storage cart is an excellent tool for organization, it requires ongoing maintenance to prevent it from becoming a repository for accumulated clutter. Implementing a regular decluttering routine is essential. Aim for a monthly audit of the items on each tier. Be decisive about removing anything that is no longer used, needed, or has a clear purpose in its current location. This proactive approach ensures the cart remains a functional organization solution rather than a passive collector of miscellaneous items. The goal is to maintain the cart’s ability to provide structure and accessibility, supporting your small apartment’s tidiness and your peace of mind.

A simple strategy is to categorize items by frequency of use. Place daily essentials on the top tier for quick access. Items used occasionally can be stored on the middle tier, while bulkier or less frequently accessed items belong on the bottom tier for stability and to keep the upper shelves clear. This tiered approach not only optimizes space but also makes retrieval and replenishment more efficient. For example, keeping frequently used spices on the top shelf of a kitchen cart makes cooking more convenient. Consistent, brief audits prevent the buildup of unnecessary items, keeping the cart effective.

Item Type Suggested Tier Purpose
Daily Essentials Top Tier Quick Access, High Visibility
Occasional Use Middle Tier Easy Reach, Moderate Access
Bulk Storage Bottom Tier Stability, Less Frequent Access

By adhering to these maintenance principles, your rolling cart will continue to be a valuable asset in your small apartment’s organization strategy for years to come.

Strategic Placement and Aesthetic Appeal

The strategic placement and aesthetic integration of a rolling storage cart are key to maximizing its utility and visual harmony in a small apartment. Choosing a cart in a color that complements your existing décor—such as matte black, soft white, brushed nickel, or muted pastels—can transform it from a utilitarian item into a subtle design element. If blending in is a priority, consider placing the cart within an open closet, behind a sofa, or tucked under a console table to keep it discreetly out of sight when not in immediate use. This thoughtful placement ensures that the cart contributes to the overall ambiance rather than detracting from it.

To further enhance the aesthetic, consider using uniform baskets or bins on each shelf. This