10 Stylish Renter-Friendly Decor Ideas for Your Home
You can transform a rental apartment by utilizing temporary, non-permanent solutions such as peel-and-stick wallpaper, adhesive wall hooks, tension-mounted shelving, and swapped hardware. These 10 renter-friendly methods allow you to personalize your living space without violating lease agreements, damaging surfaces, or risking the loss of your security deposit.
The Power of Removable Wallpaper and Decals
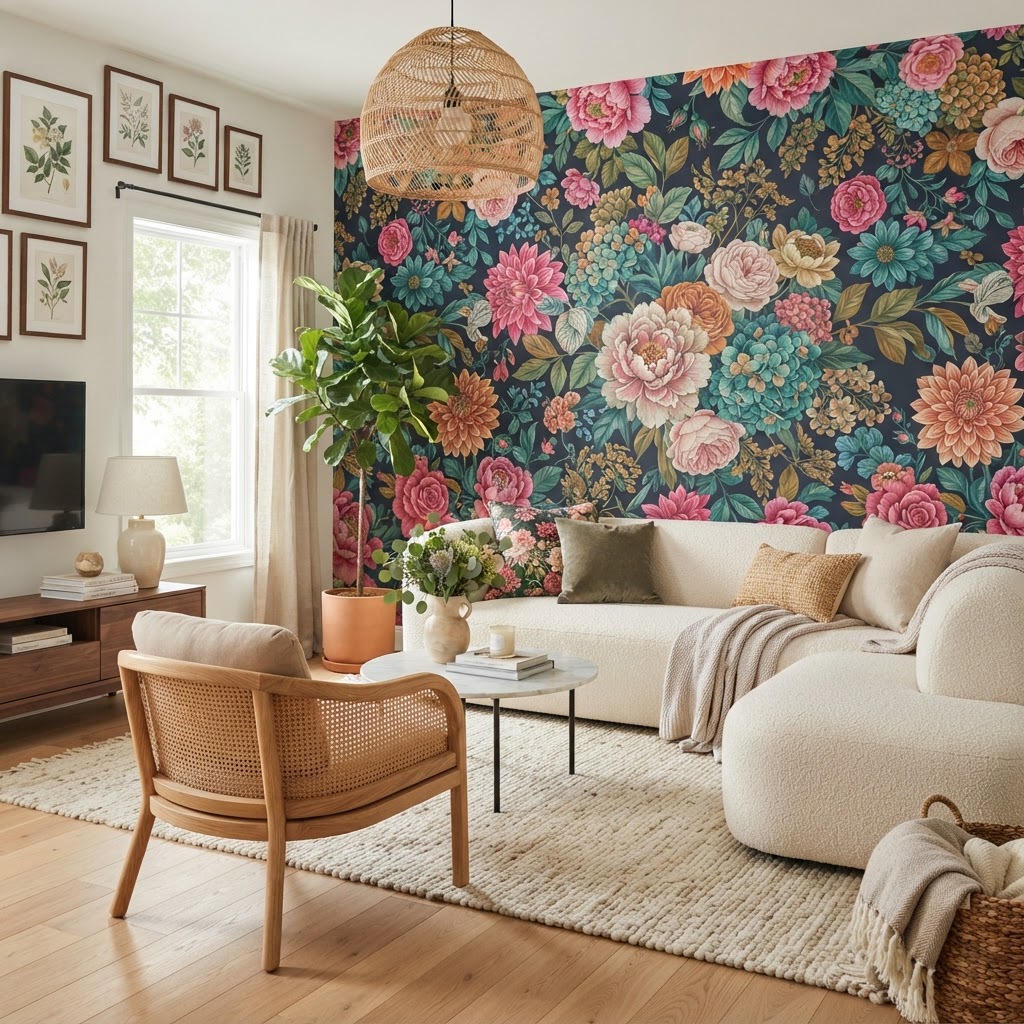
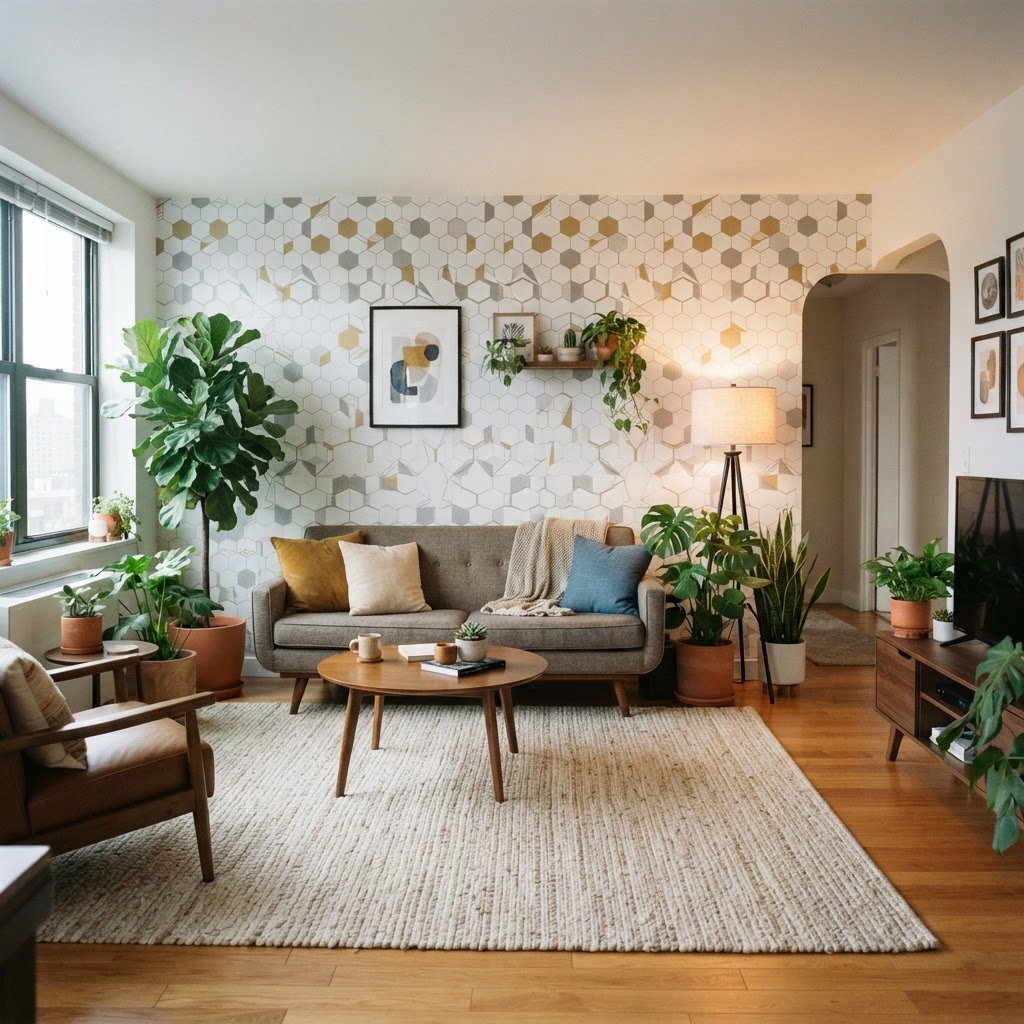
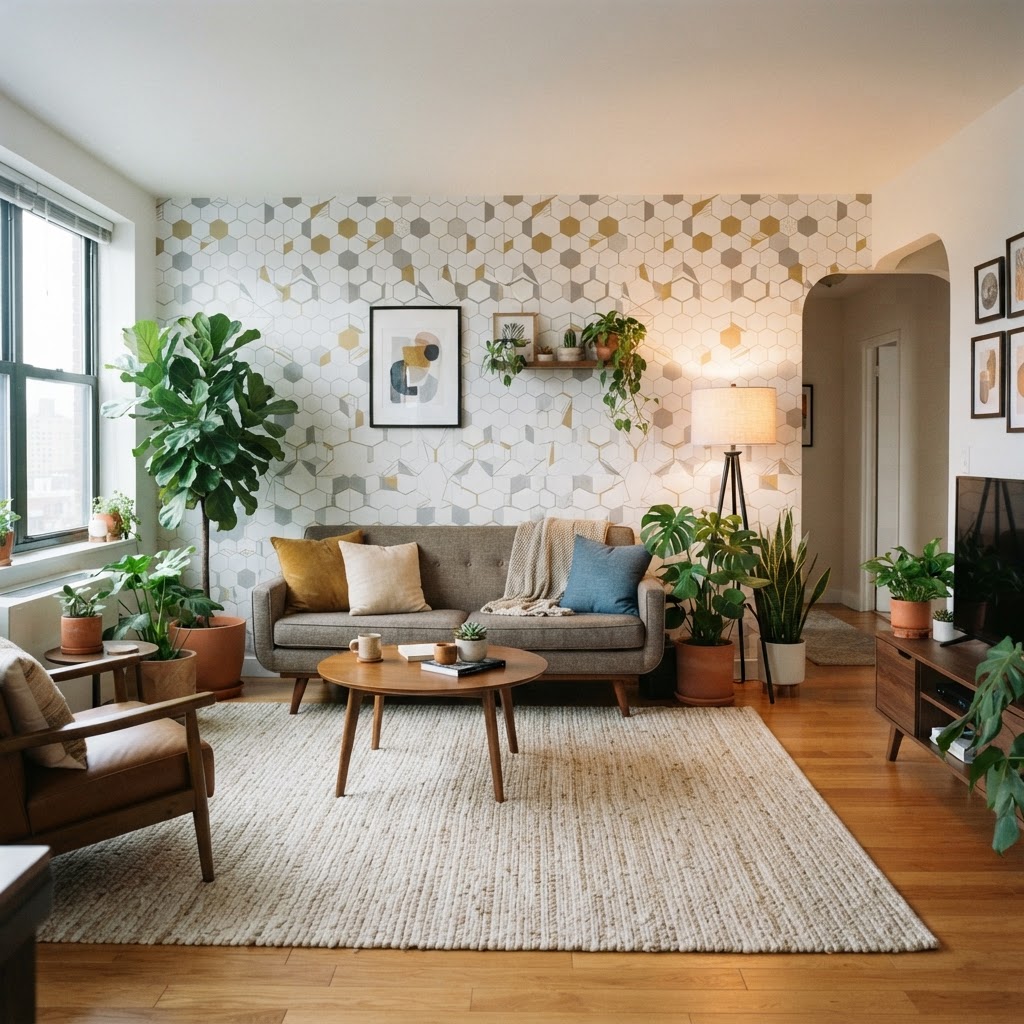
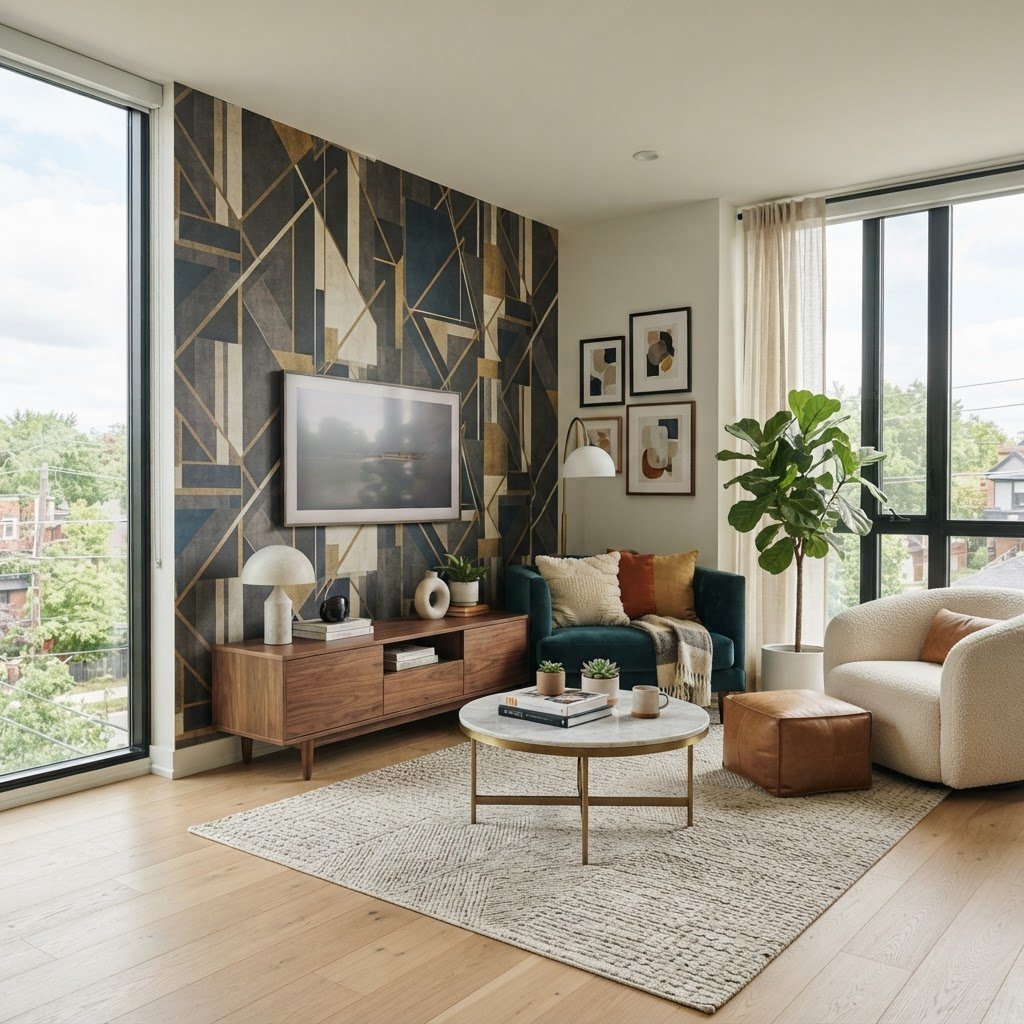
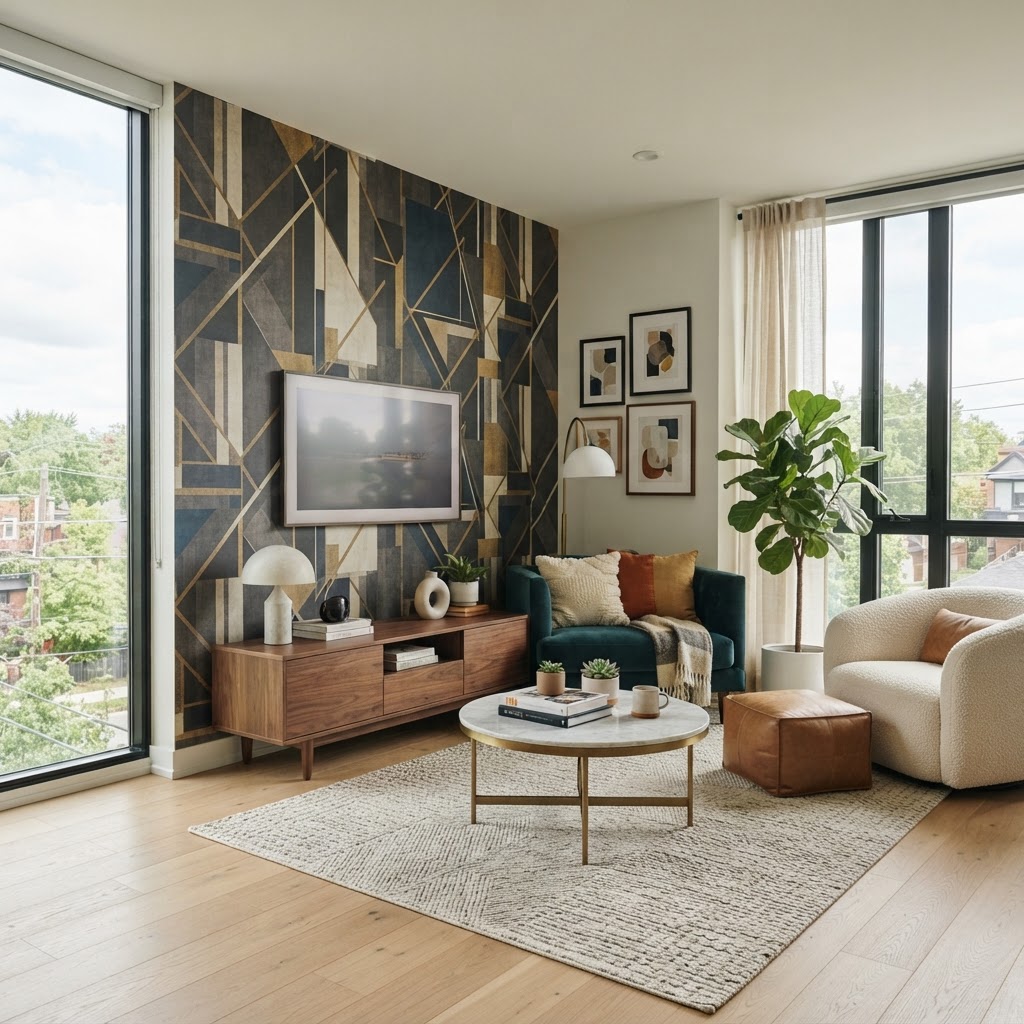
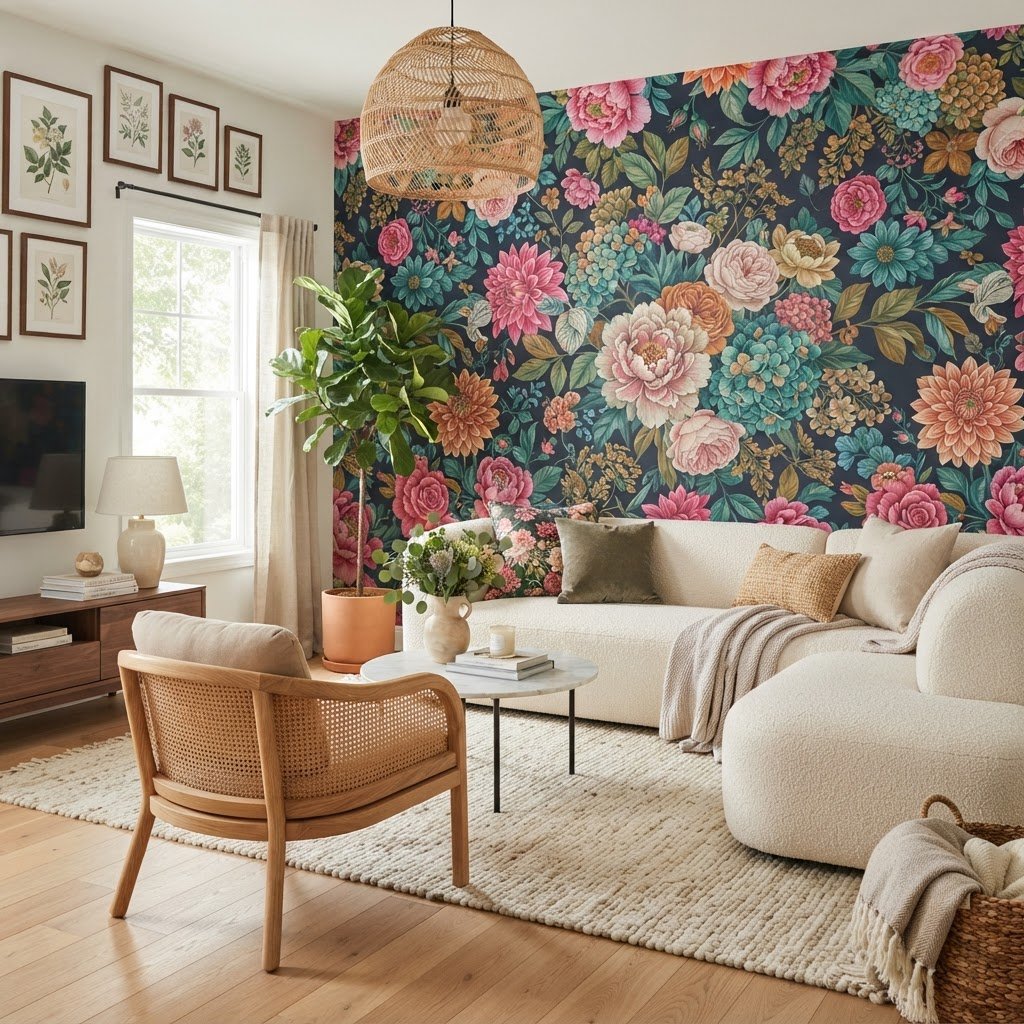
Removable, vinyl-based peel-and-stick wallpaper is the industry-standard solution for renters looking to cover plain walls without the permanence of traditional paint. When applied correctly to clean, flat surfaces, these wall coverings can last for the duration of a standard 12-month lease without peeling or damaging the underlying drywall. To ensure success, always purchase high-quality, “apartment-safe” rated products which are designed to leave zero residue. Before committing to a full wall, apply a small 4×4 inch test patch behind a door for 48 hours to confirm the adhesive is compatible with your specific wall texture. If you are dealing with heavily textured walls or brick, consider using wall decals or vinyl stickers instead, as these require less surface contact and are easier to reposition. You can typically transform a standard 10×10 foot accent wall for between $100 and $250, making it one of the highest-impact budget renovations available. By avoiding cheaper paper-based alternatives, which often tear upon removal, you protect your security deposit while achieving a professional designer finish that mimics traditional wallpaper aesthetics.
Choosing the Right Adhesive
When selecting removable wallpaper, always look for high-quality, vinyl-based products specifically labeled as apartment-safe. Cheaper paper versions can sometimes rip or leave behind sticky residues that are difficult to remove when it is time to move out. Test a small, inconspicuous area behind a door or inside a closet to ensure your wall surface is compatible with the adhesive.
For those who want a subtler look, wall decals are a fantastic alternative. These can be used to create patterns, borders, or even realistic murals without the commitment of full-wall coverage. Because they are individual pieces, they are incredibly easy to apply and remove, making them the perfect entry-level project for someone new to DIY home decor.
Elevating Your Lighting Game
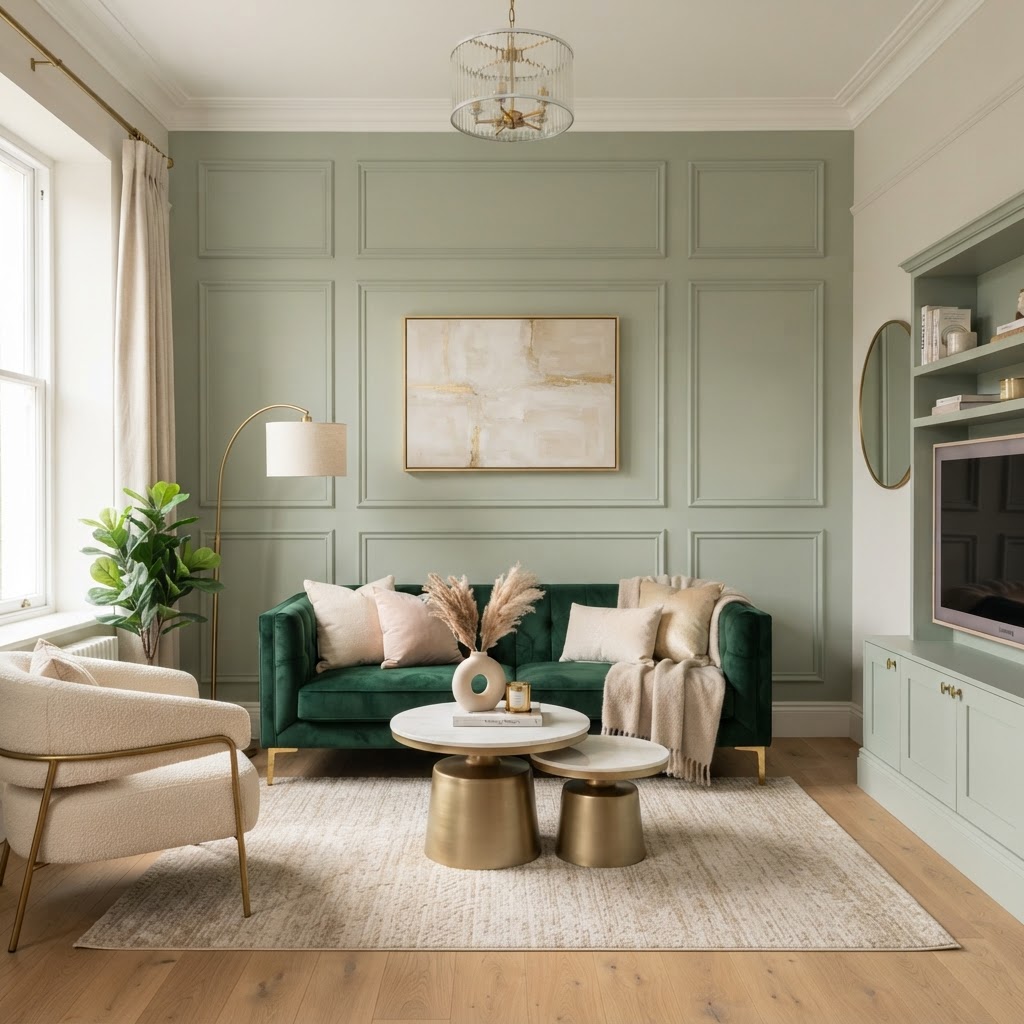
Replacing standard “boob lights” or builder-grade flush mounts is the fastest way to add luxury to a rental unit, provided you follow proper storage protocols. Most modern fixtures use a standard universal mounting bracket, which means you can swap out a generic fixture for a statement pendant or chandelier in about 30 minutes using only a screwdriver. The most critical step is the preservation of the original fixture; place the old unit, all screws, wire nuts, and mounting plates into a sealed, labeled box stored in a closet. Renters often fear electricity, but as long as the breaker for that specific circuit is turned off at the main electrical panel—which you should verify with a $15 non-contact voltage tester—the task is safe for most beginners. If your lease strictly prohibits modifying hardwired connections, opt for “plug-in” chandeliers that use decorative swag chains to hook into a standard ceiling screw or simple wall-mounted plug-in sconces. These plug-in alternatives offer the same visual weight and illumination profile as hardwired versions without requiring any electrical code compliance or permanent modification. By spending $50 to $150 on a stylish fixture, you can dramatically improve the Kelvin color temperature of your space by choosing bulbs in the 2700K-3000K range for a warm, inviting residential glow.
Installation Best Practices
When swapping light fixtures, it is absolutely essential to store the original light in a safe, labeled box. You will need to reinstall the original fixture before you move out, so keep all the hardware, screws, and even the original instruction manual in one place. If you are uncomfortable handling electrical work, consider hiring a professional for an hour or using plug-in wall sconces instead of hardwired fixtures.
Creative Plug-in Alternatives
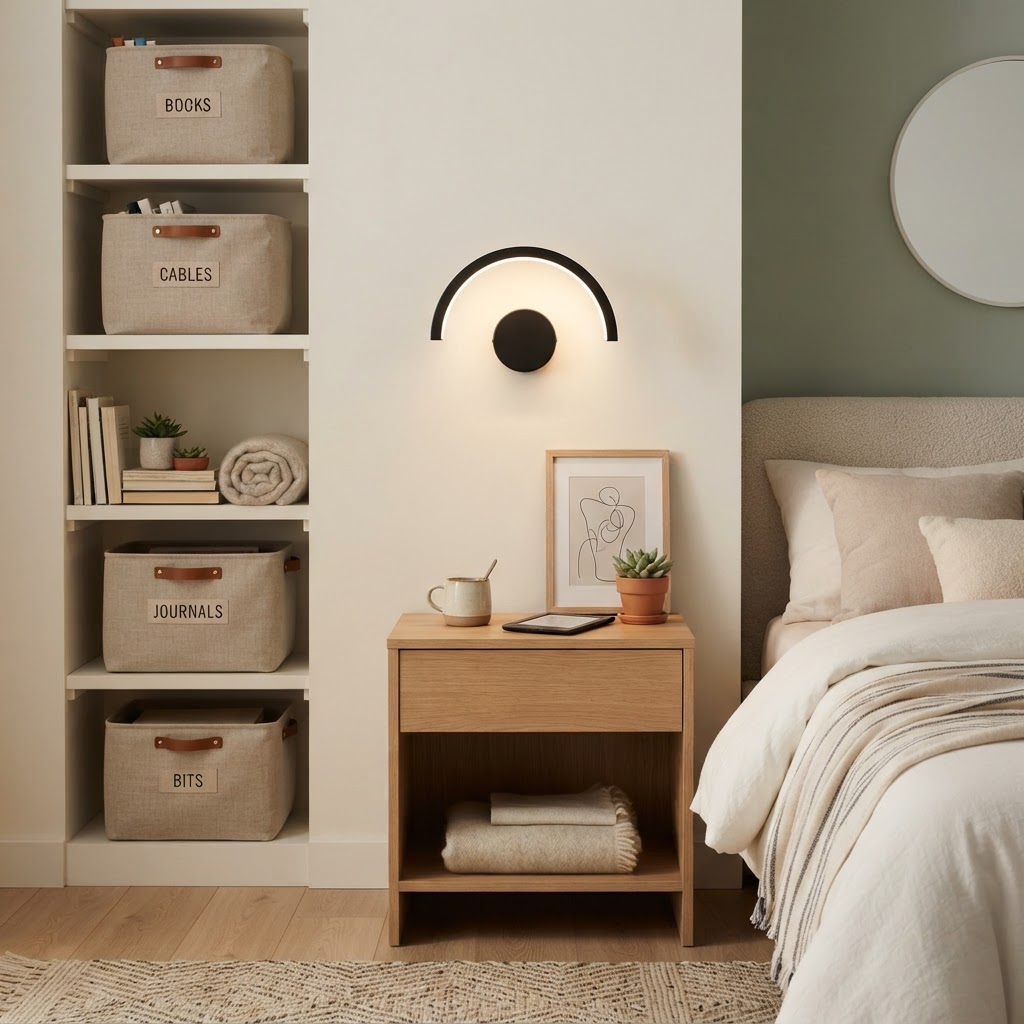
If changing the hardwiring feels too daunting, plug-in wall sconces are a brilliant solution. Many modern brands now offer high-end sconces that simply plug into a standard outlet, complete with cord covers that can be painted to match your wall color. This adds the ambiance of professional lighting without any complex installation required.
Upgrading Cabinetry Without Renovation
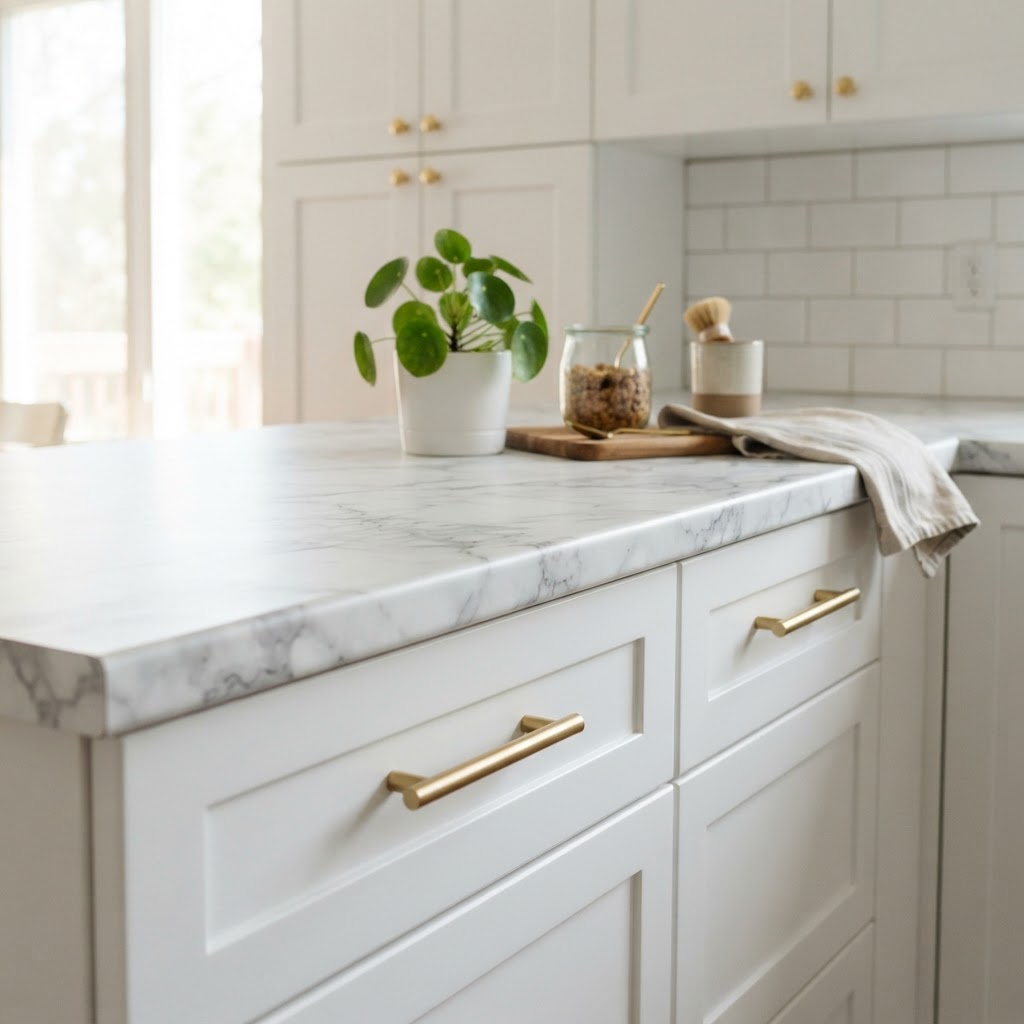
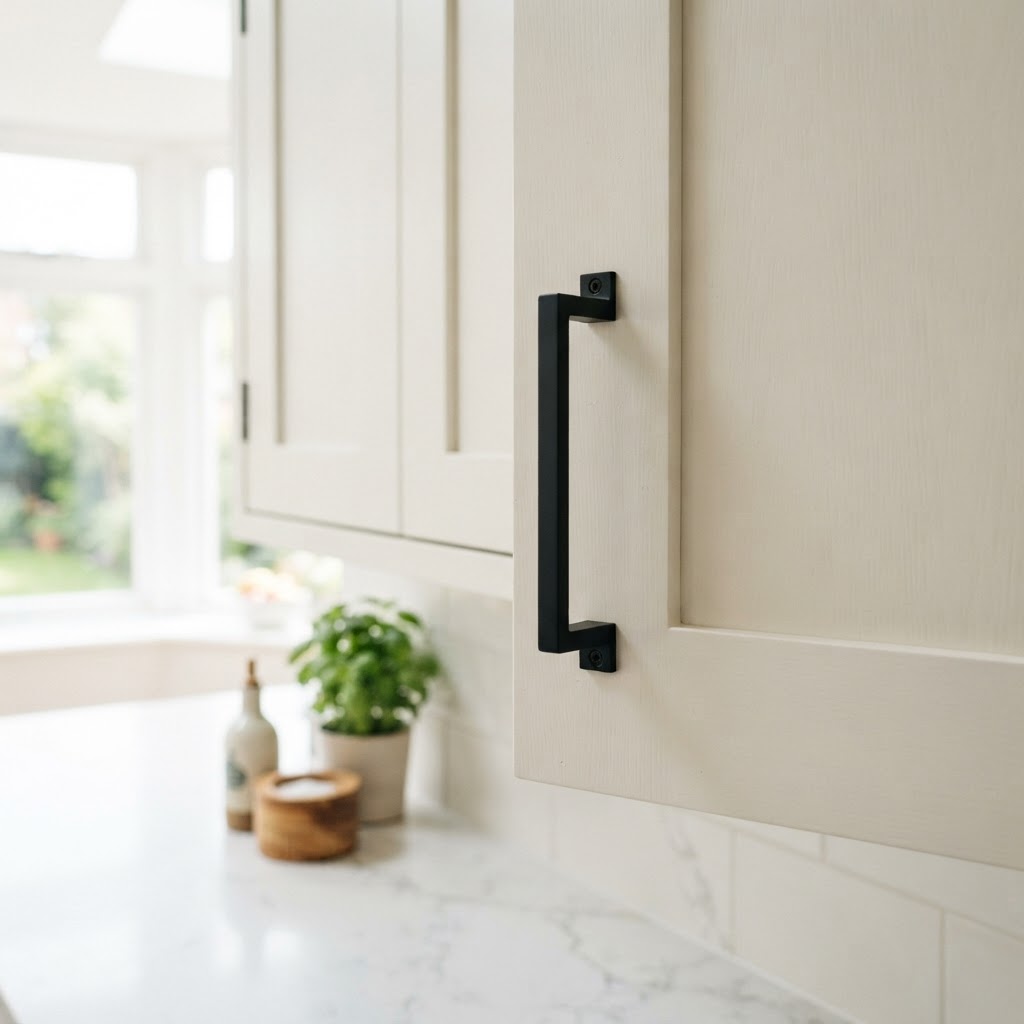
Kitchen aesthetics can be entirely redefined simply by swapping generic cabinet pulls for custom hardware that fits your style profile. Because most factory-drilled cabinets use a standard 3-inch or 96mm center-to-center hole spacing, it is easy to purchase replacement handles online that install in minutes using existing holes. Replacing 20 handles in a small kitchen costs roughly $80 to $150, yet this minor adjustment changes the entire perceived value of the space. To prevent damage to the cabinets, store the original hardware in a labeled plastic bag inside a kitchen drawer; this ensures you can revert the kitchen to its original state within 10 minutes before moving out. For cabinets that lack holes entirely, use adhesive-backed knobs or tension-mounted systems that do not require drilling. If your cabinets have outdated laminate surfaces, consider using contact paper in a matte finish to change the color of the doors; ensure you select a heat-resistant, grease-proof contact paper specifically designed for kitchen environments. While this requires more patience to apply smoothly, it is a reversible solution that allows you to hide ugly wood grain or dated colors. Combining new metal hardware with a neutral contact paper finish can make a 20-year-old kitchen look as if it underwent a professional remodel for less than $200 total.
Adding Textiles and Layering
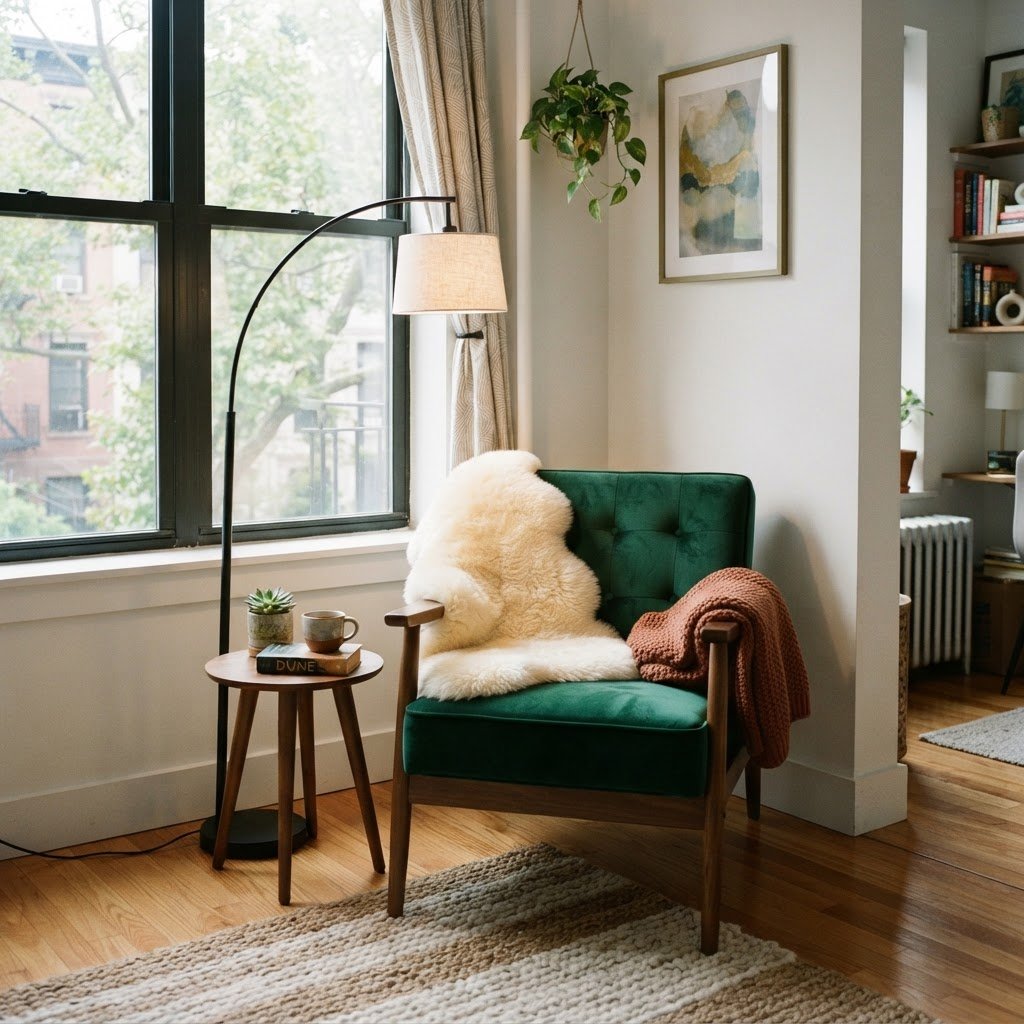
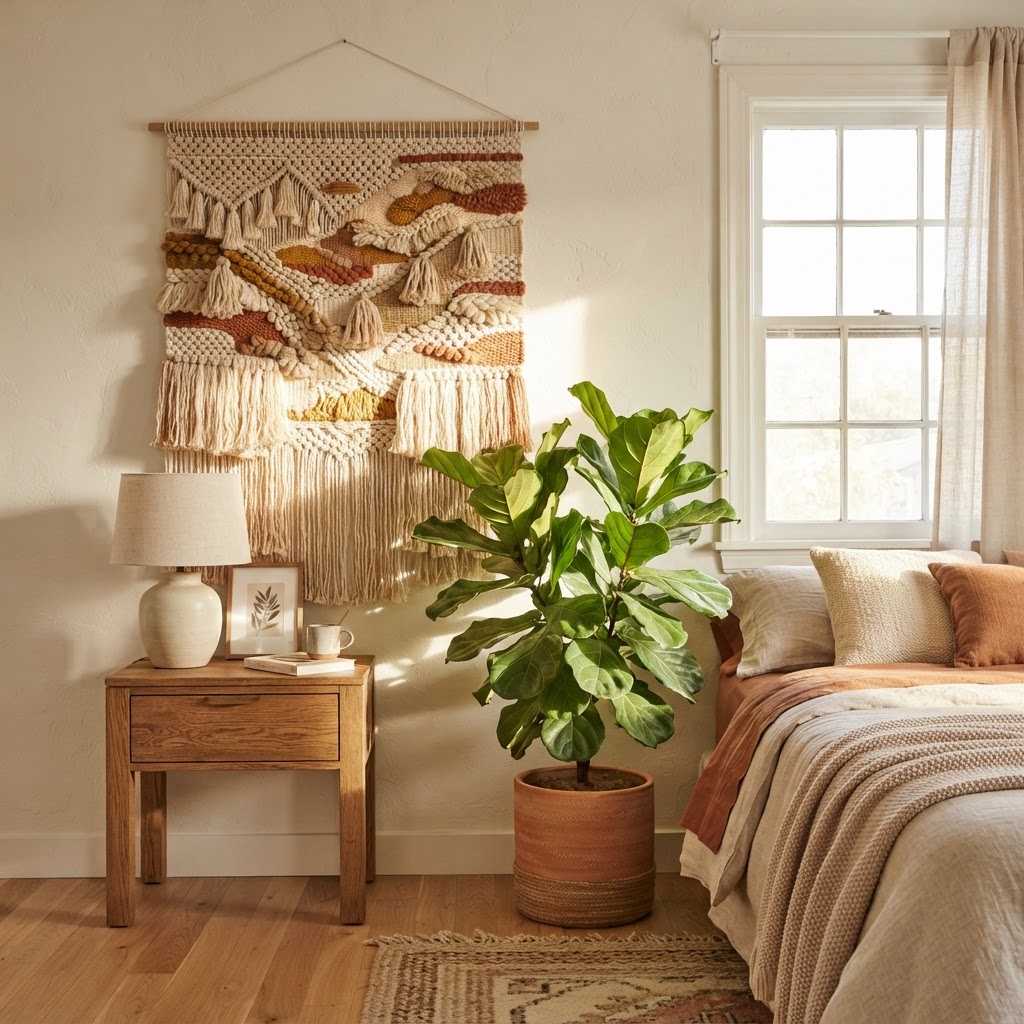
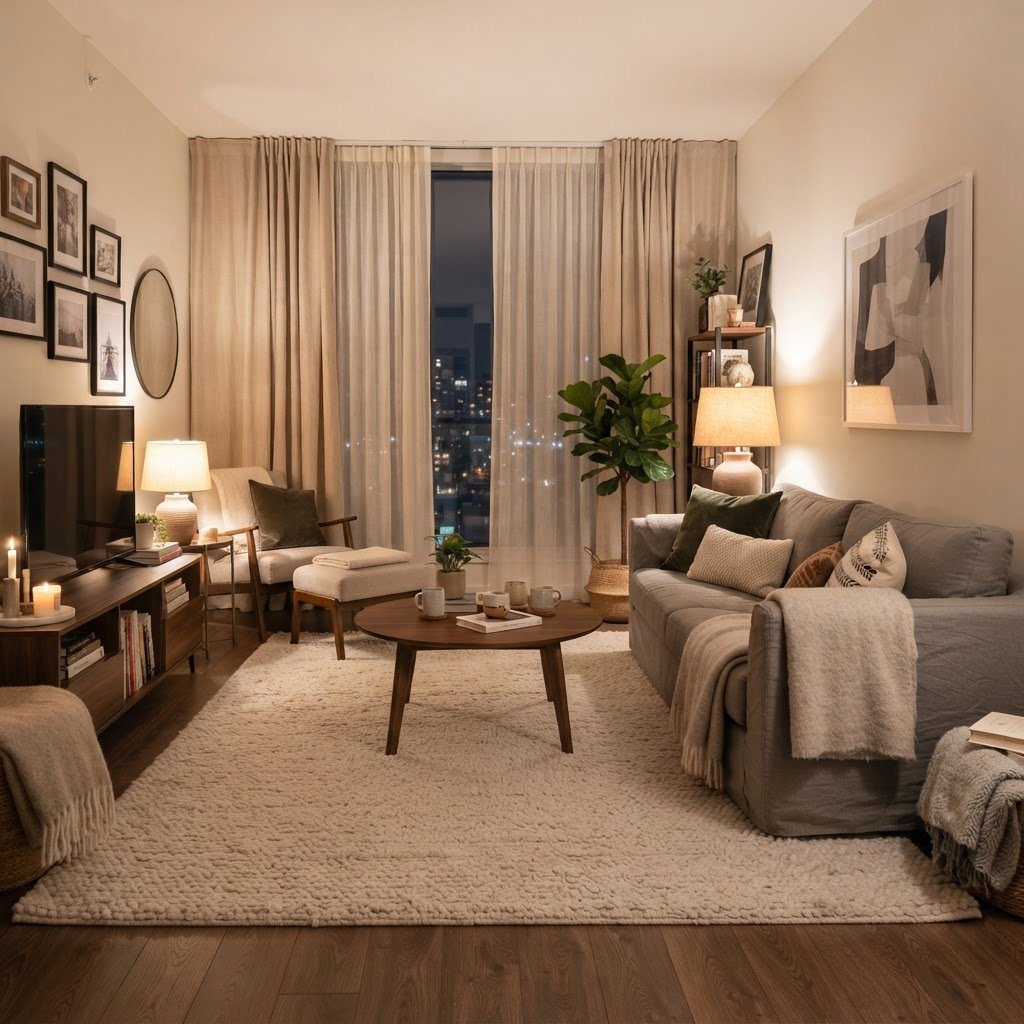
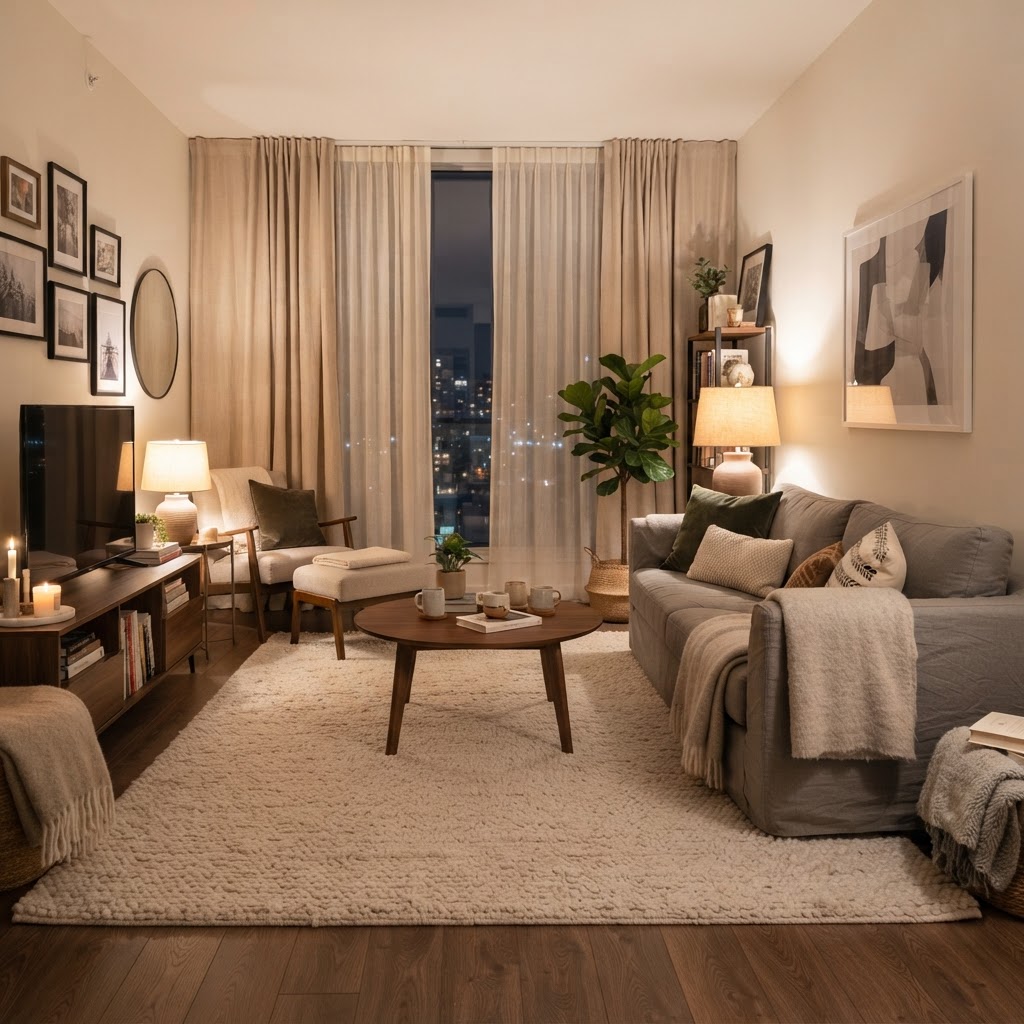
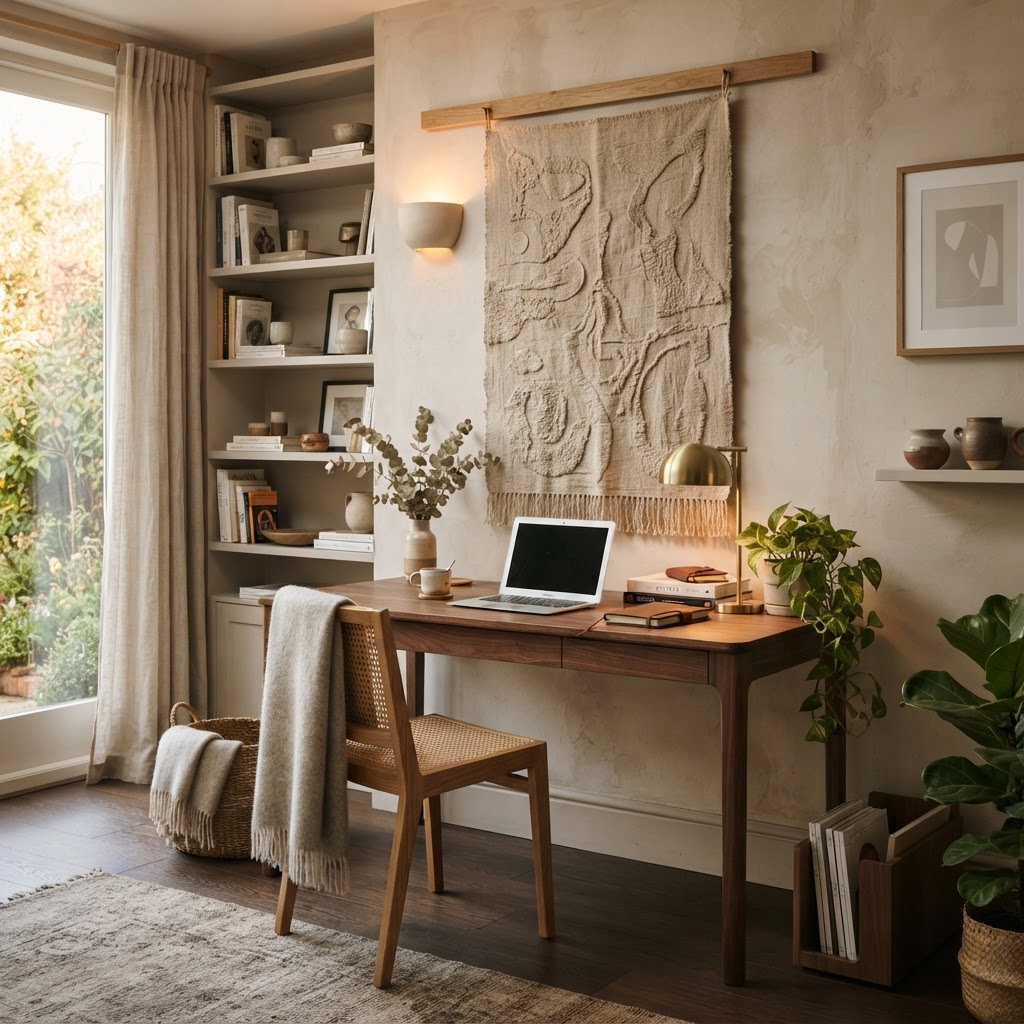
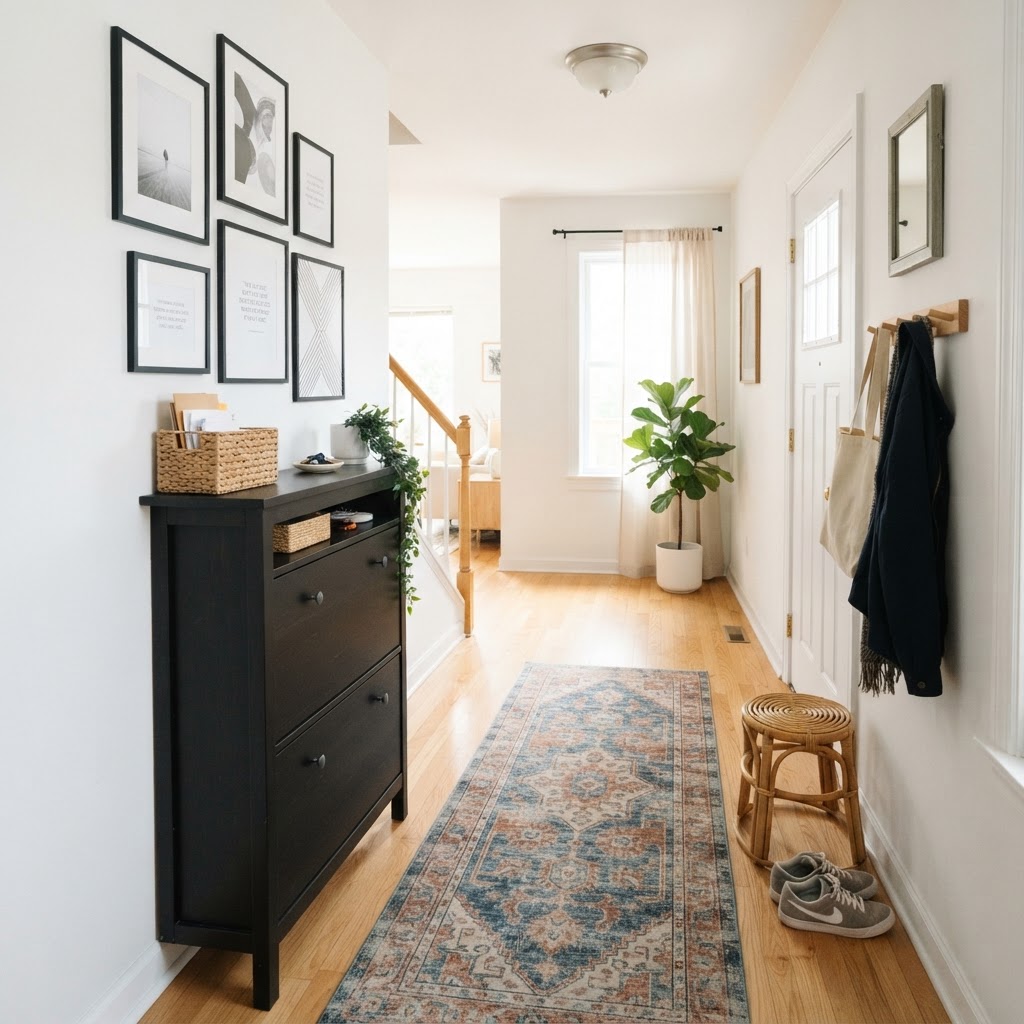
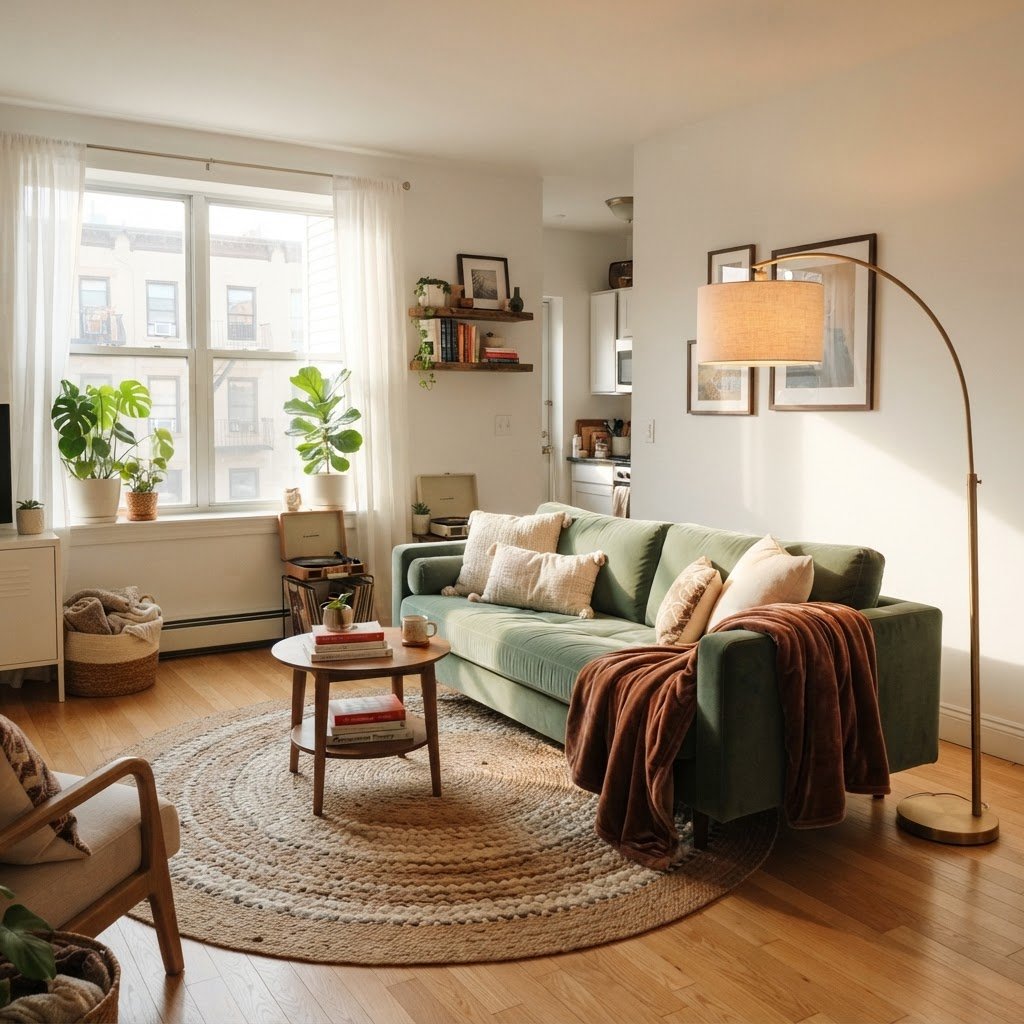
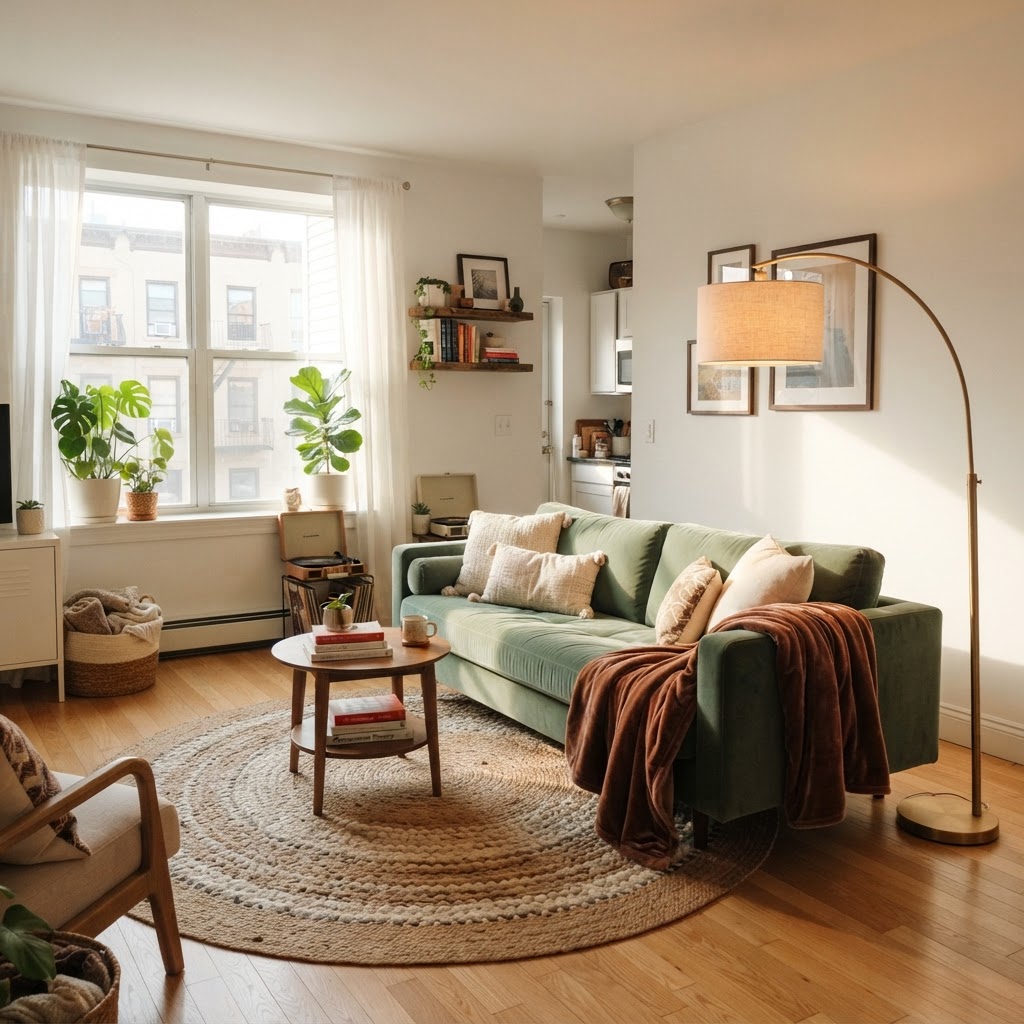
Textiles serve as the most effective, non-invasive design tools for renters, allowing you to conceal unattractive features like stained carpets or laminate flooring while adding acoustic dampening to echoey rooms. Placing a high-quality 8×10 foot area rug over existing flooring not only anchors your furniture layout but also provides a layer of protection against daily wear and tear for the landlord’s original flooring. To maximize the luxury feel, always use a thick felt rug pad beneath your area rug; this adds significant cushioning and prevents the rug from sliding, which makes the space feel more substantial. Beyond floor coverage, floor-to-ceiling drapery is a game-changer for changing the proportions of a room. By using heavy-duty tension rods installed inside the window casing or between two walls, you can hang curtains that span the entire height of the wall. This trick hides dated vertical blinds—which should be safely stored during your tenancy—and adds a designer look by elongating the windows. You can typically find 96-inch long curtains at big-box retailers for under $40, providing an instant upgrade to the room’s “softness” and privacy. Layering different textures—such as a jute rug topped with a plush wool accent rug, or sheer curtains paired with blackout drapes—creates visual depth that masks the “builder-grade” sterility of most rental apartments.
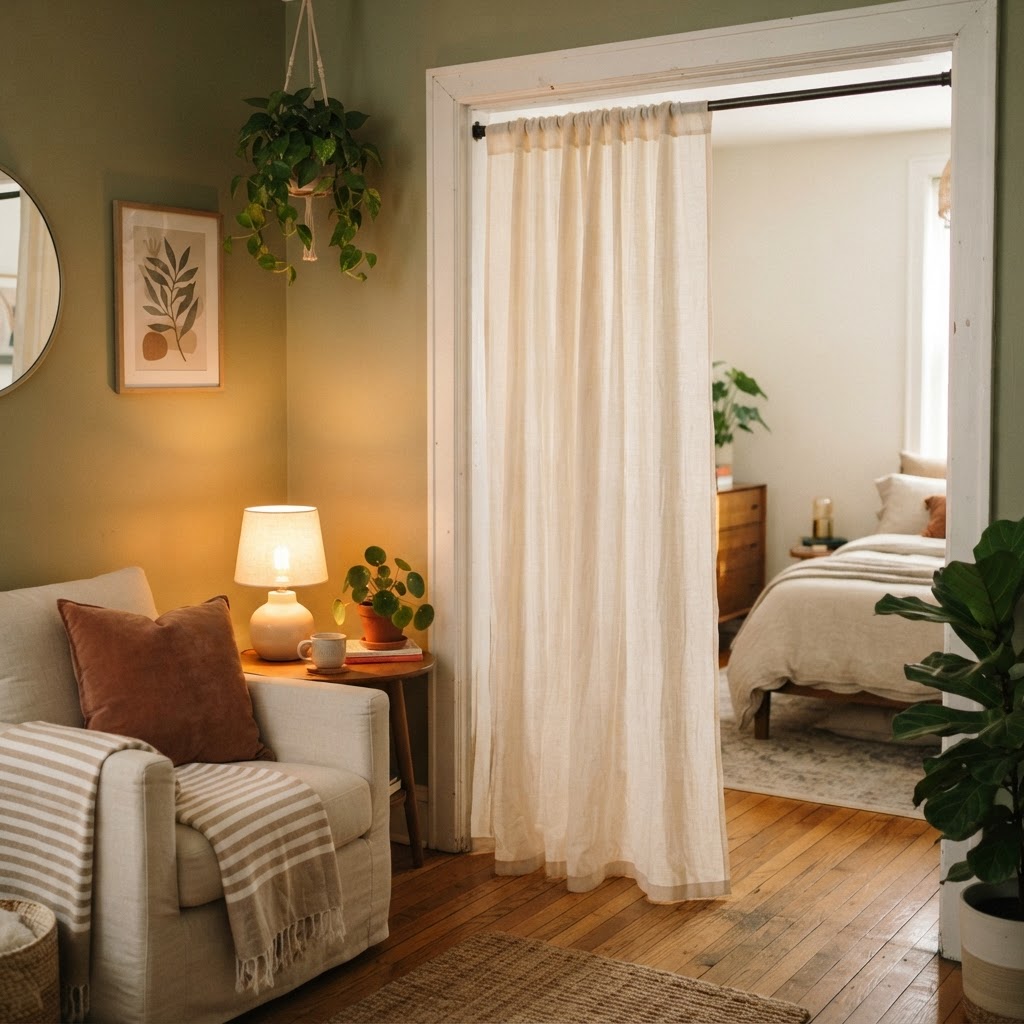
Beyond floor coverings, consider using curtains to redefine the boundaries of your space. Installing tension rod curtain systems allows you to hang floor-to-ceiling drapery without drilling into the ceiling or walls. These curtains can hide unsightly closets, serve as room dividers in studio apartments, or simply frame your windows to make them appear larger and more luxurious.
Vertical Storage and Display Solutions
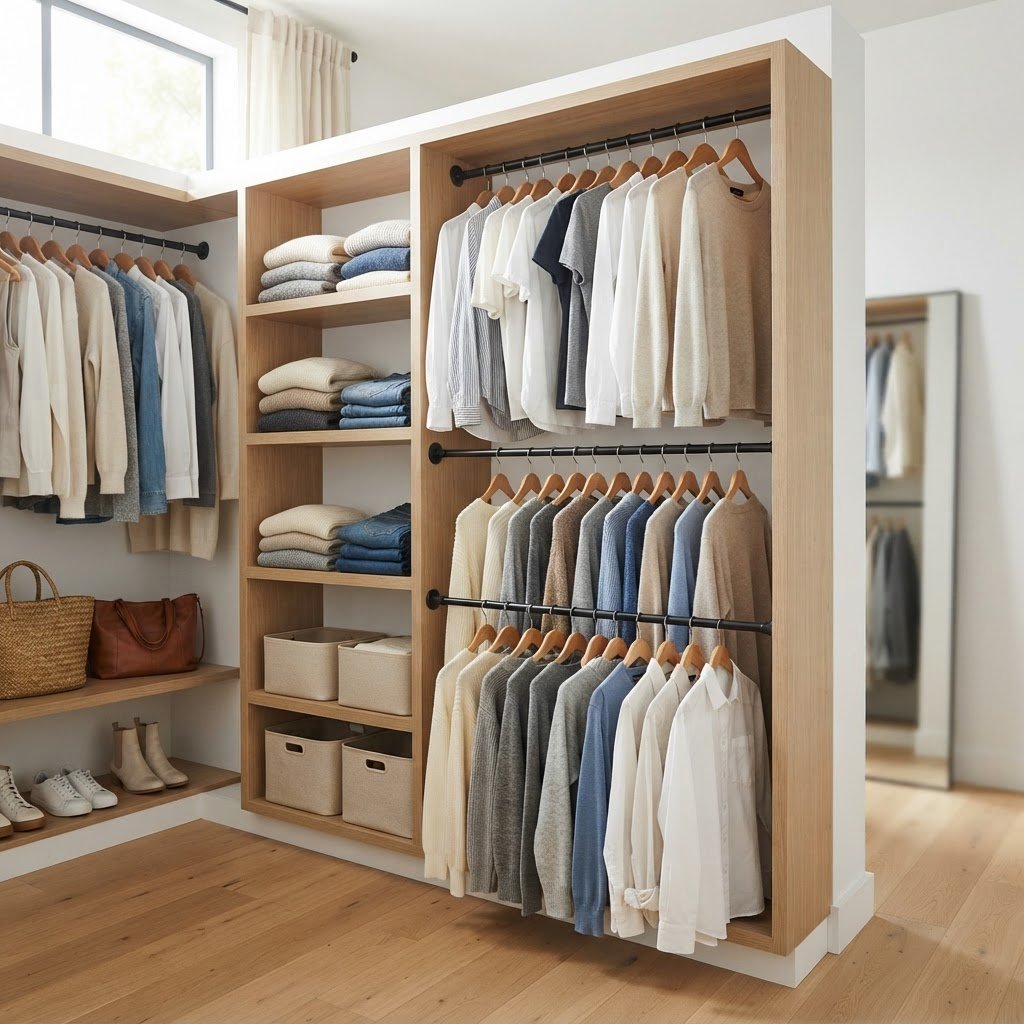
Thinking vertically is the only way to manage clutter in small, footprint-restricted rentals, and it is achieved best through pressure-mounted systems. Tension-pole shelving units are the gold standard for storage here, as they use spring-loaded mechanisms to lock between the floor and ceiling, requiring zero screws or nails. These systems can hold up to 50 pounds per shelf, making them sturdy enough for books, kitchen supplies, or display items. When installing these, ensure they are placed on a level surface; if the floor is carpeted, use a flat wood shim beneath the base to ensure stability. For smaller storage needs, consider stackable modular cubes or modular wire grids that click together, allowing you to customize the configuration to fit your specific wall height. These units are highly portable and often serve as the first pieces of “real” furniture a renter invests in, as they provide storage that can grow with your living situation. To keep the display from looking cluttered, follow the “60-30-10” rule: 60% of the shelf space for functional storage, 30% for decorative items like vases or art, and 10% for negative space to let the eye rest. This approach creates a high-end, curated feel that distracts from the apartment’s architectural limitations.
Bookshelf Styling 101
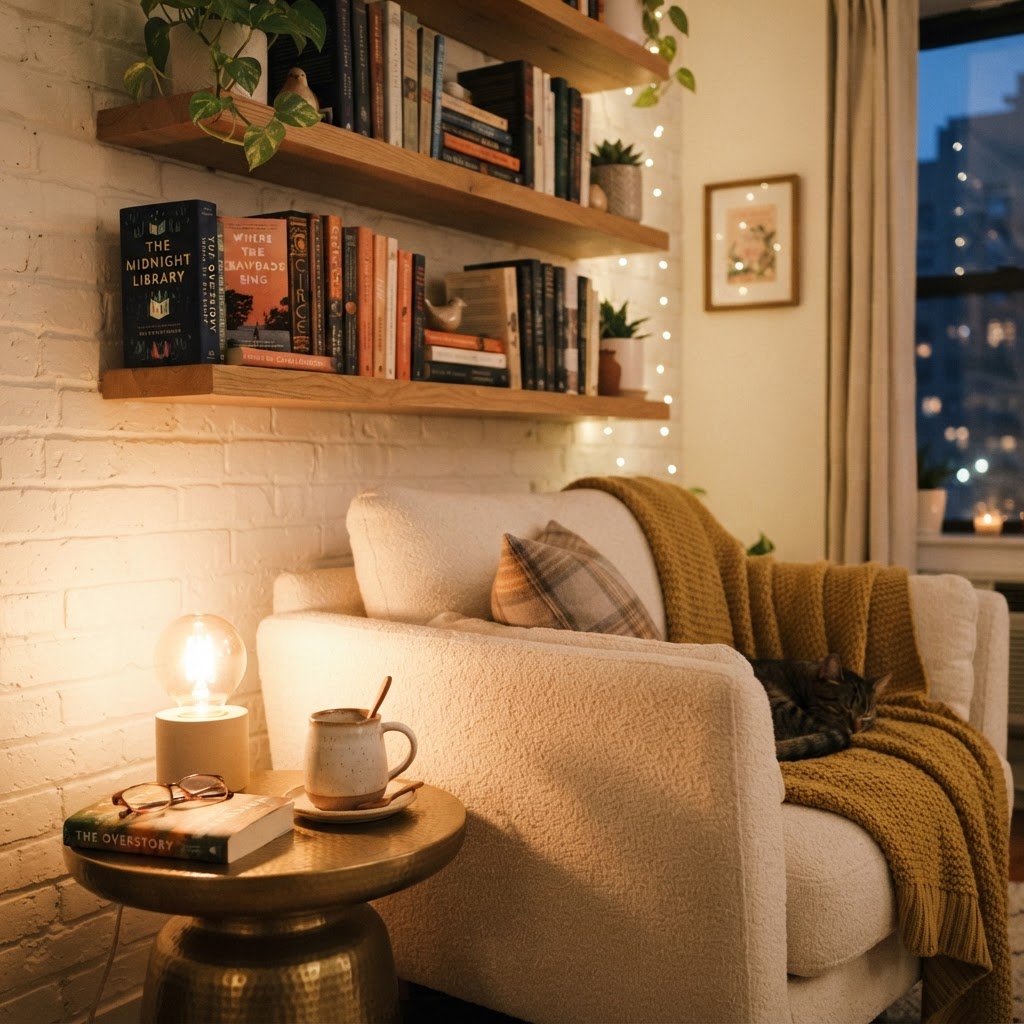
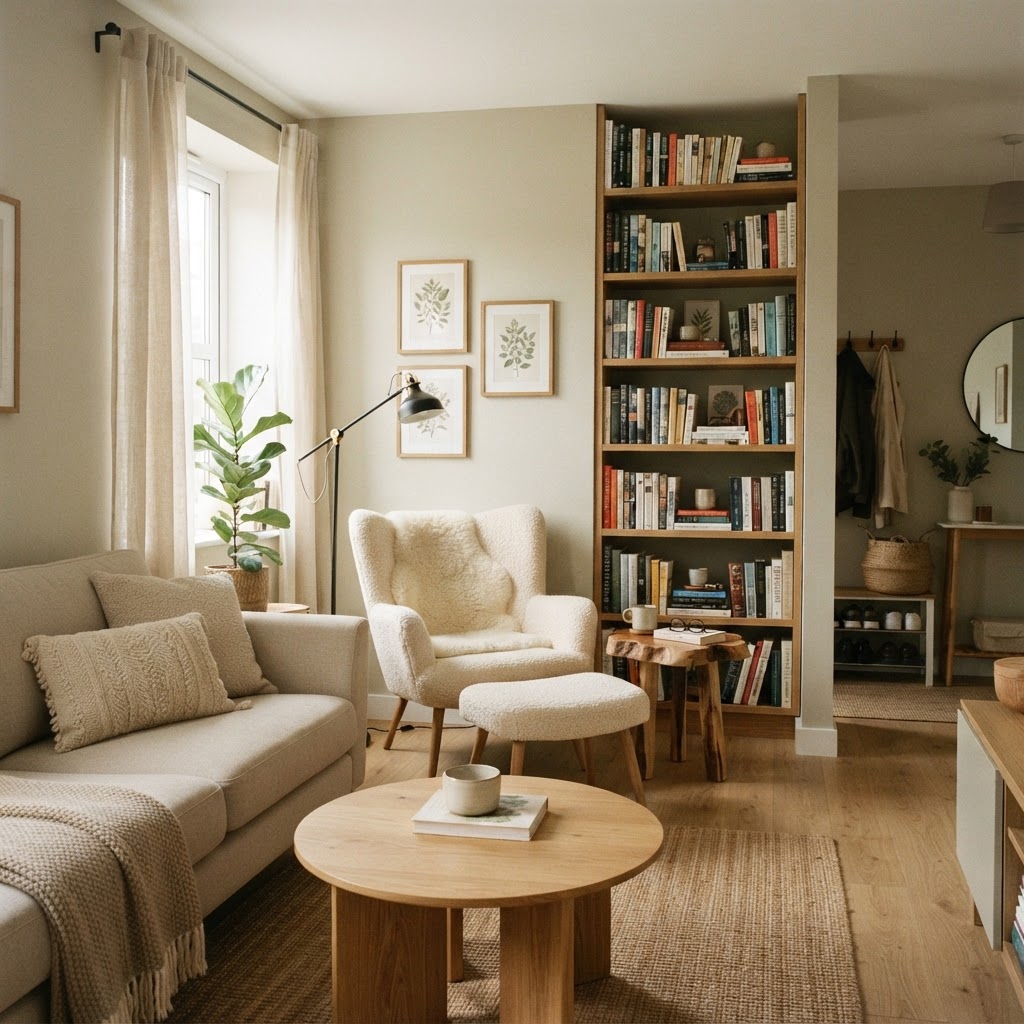
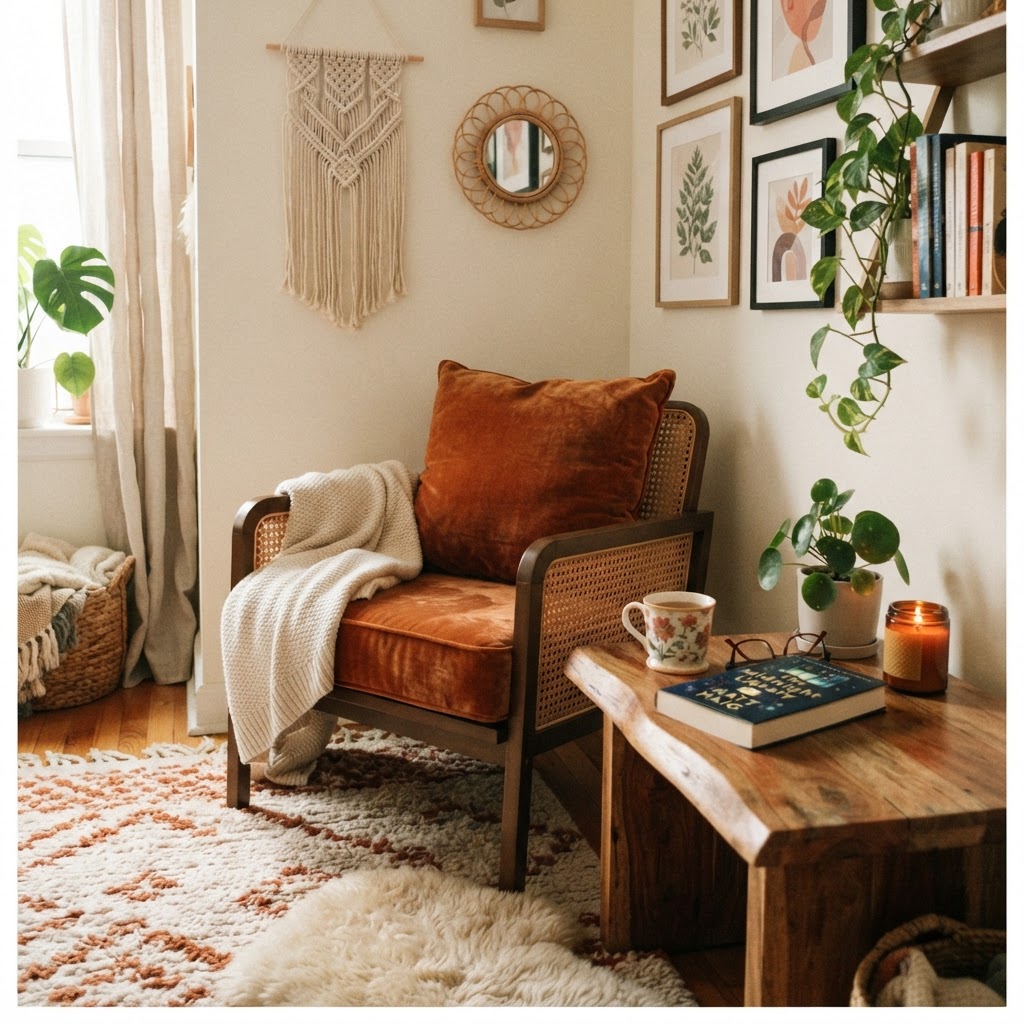
When using freestanding bookshelves, treat them like a curated display rather than just a storage unit. Incorporate decorative objects, plants, and art alongside your books to make the unit feel like a intentional piece of furniture. Use baskets to contain smaller, less aesthetically pleasing items, keeping the overall look clean and organized.
Utilizing ‘Command’ Hooks for Gallery Walls
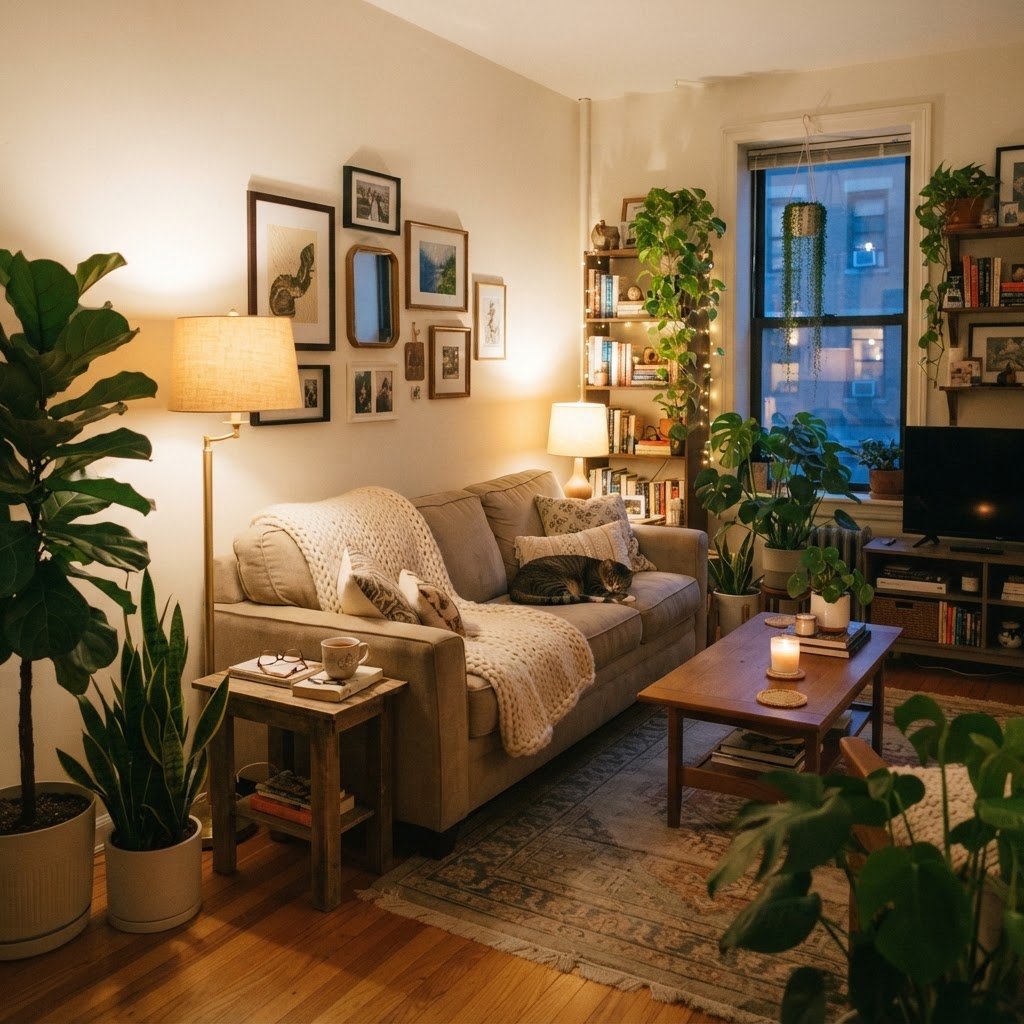
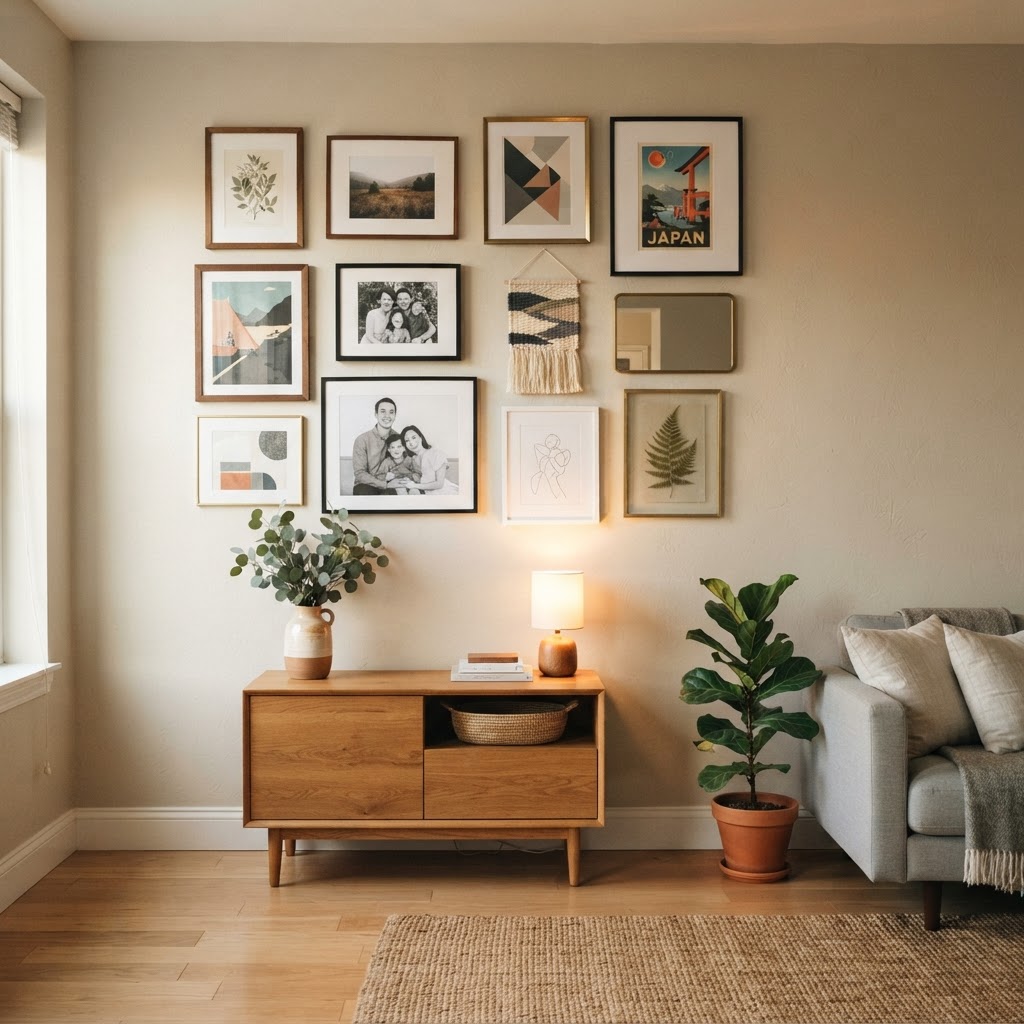
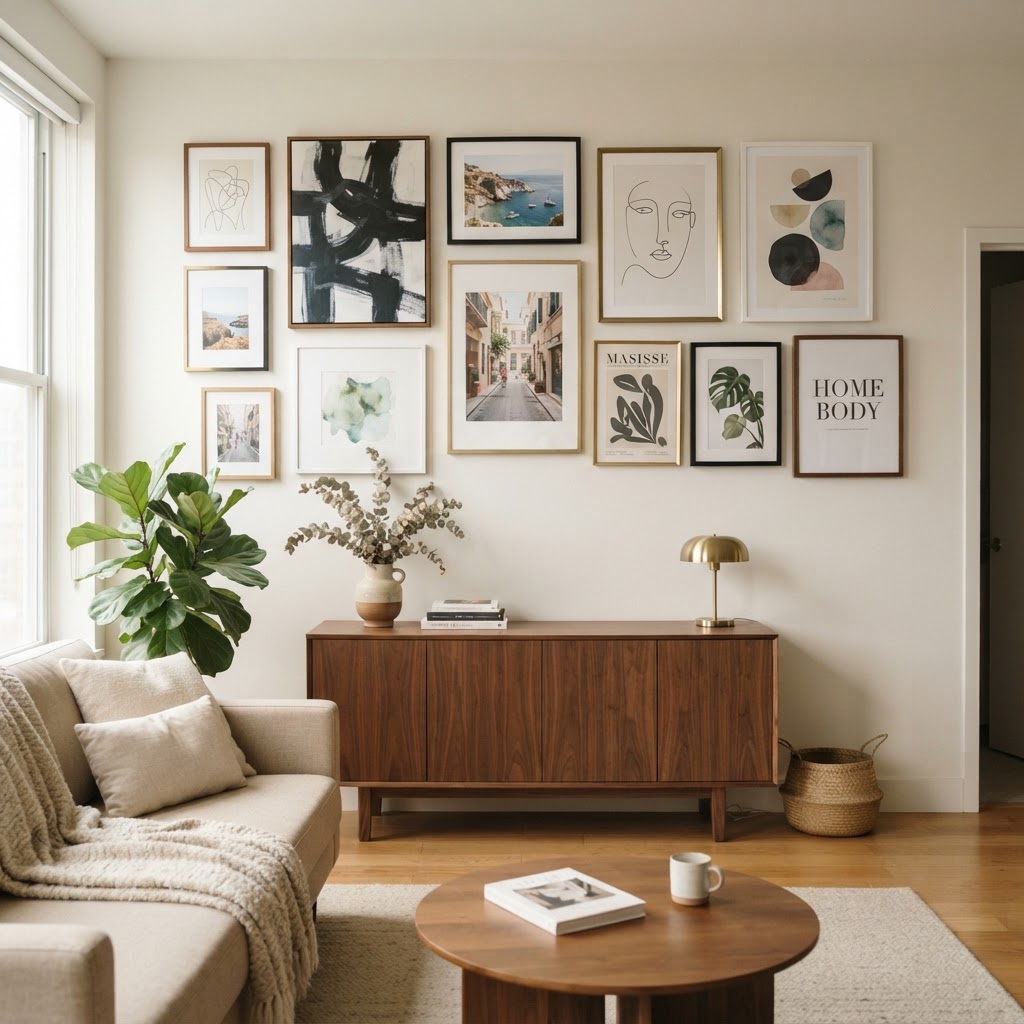
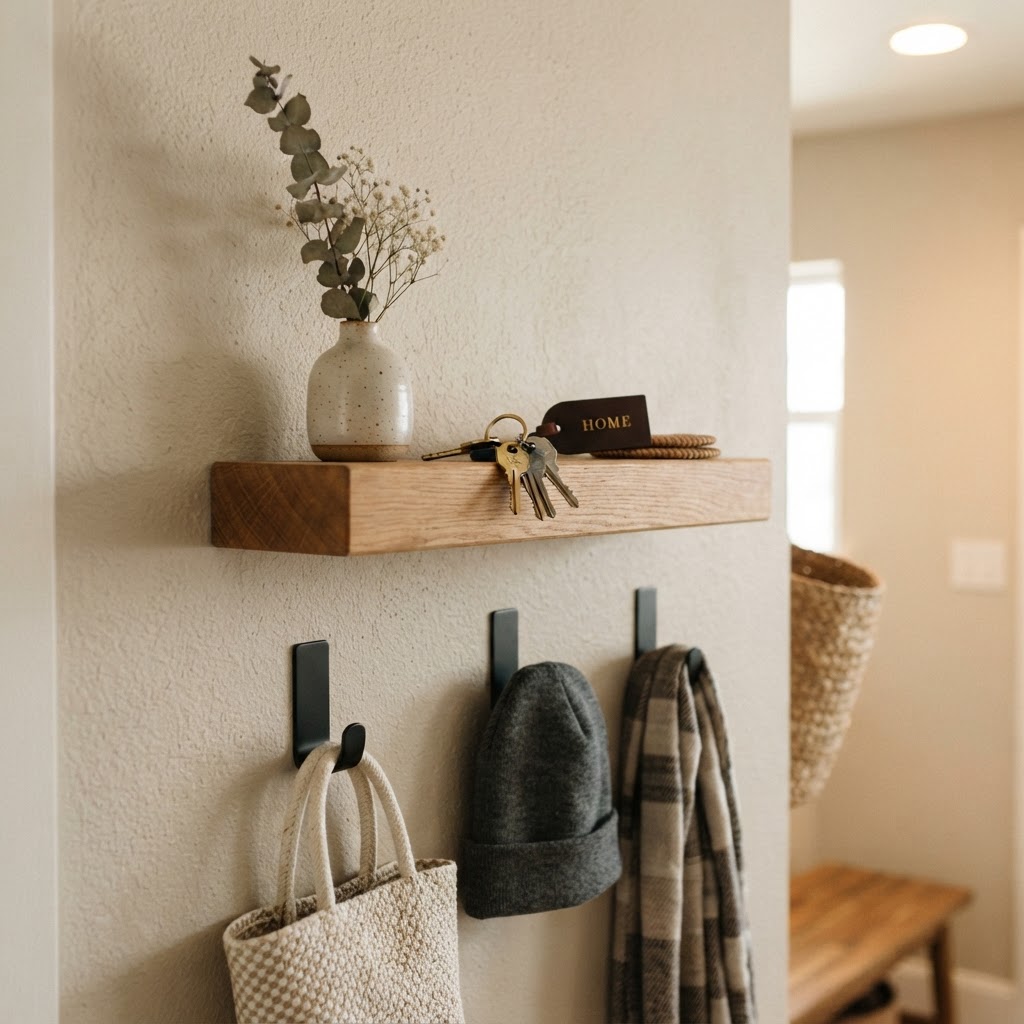
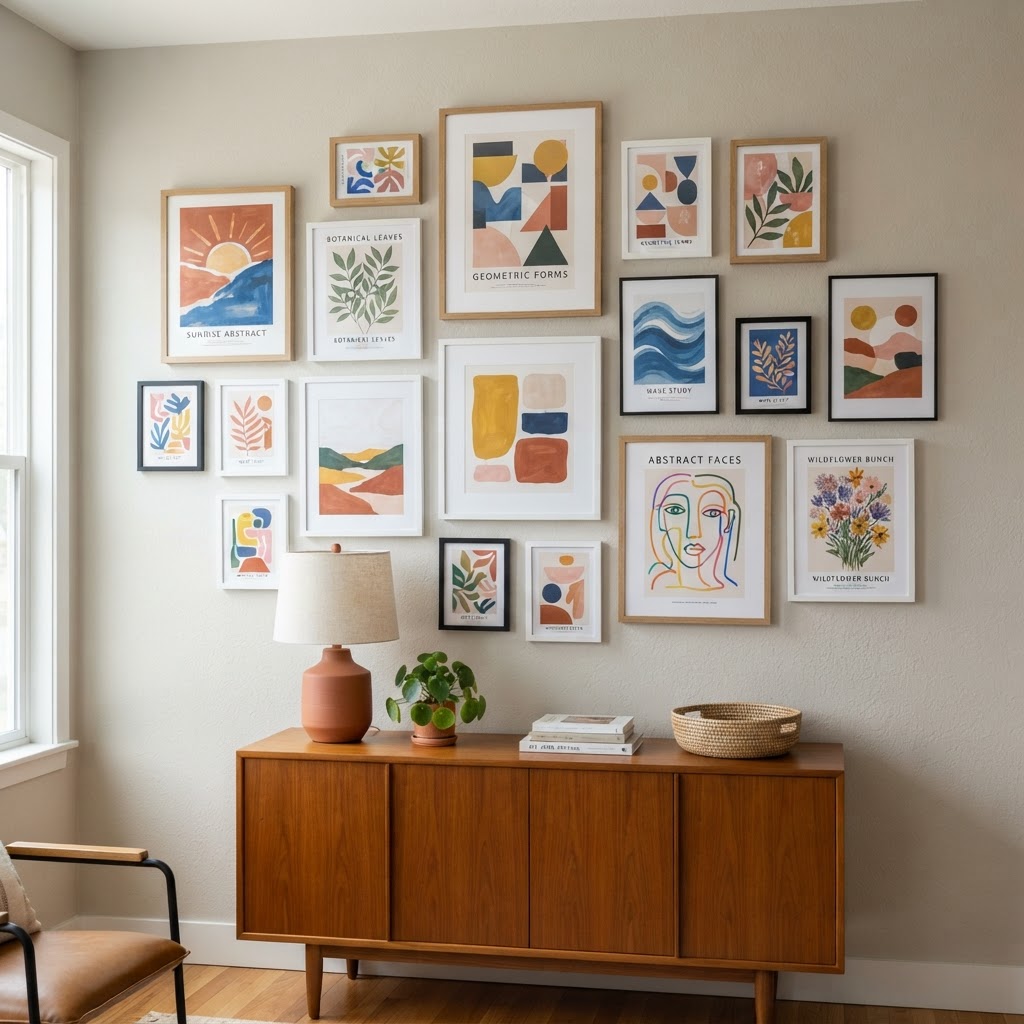
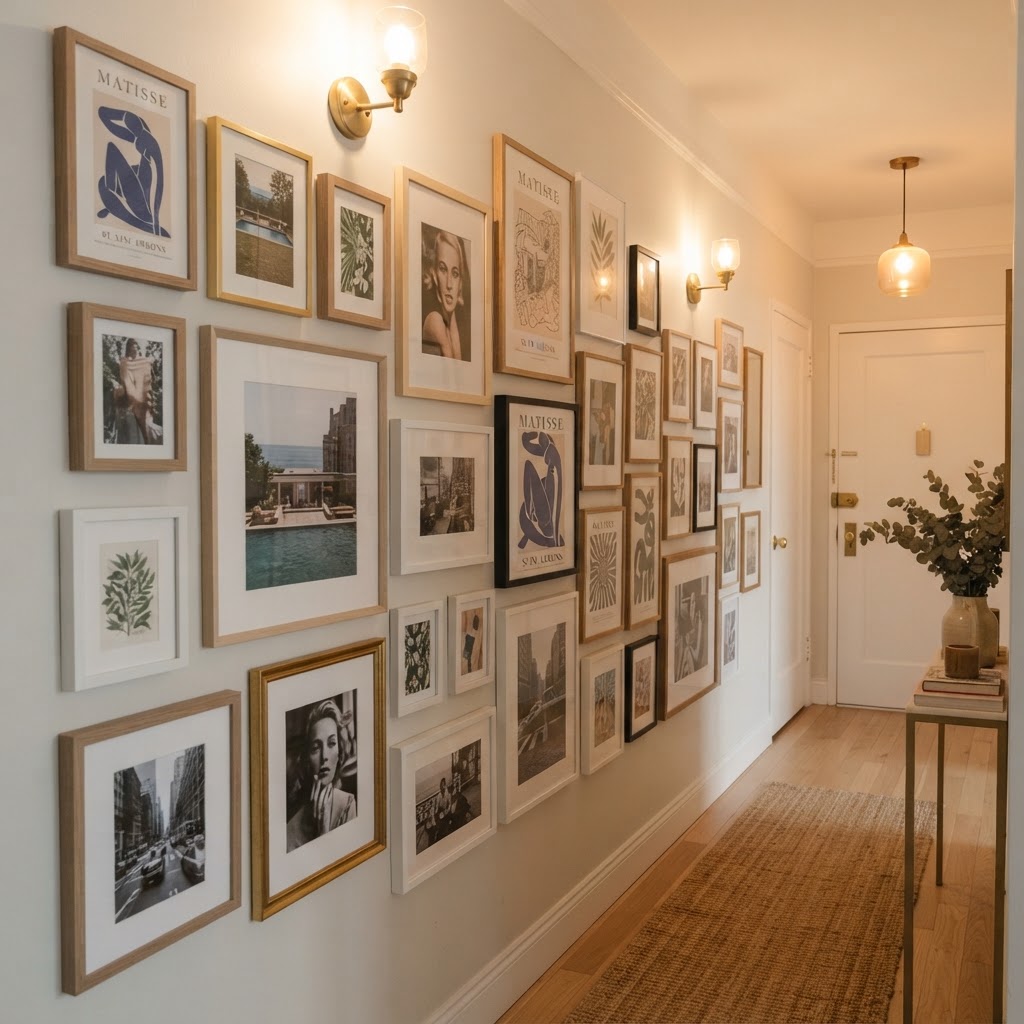
Adhesive-backed mounting strips allow you to curate professional-grade gallery walls without the need for drills, nails, or spackle. To create a successful gallery wall, use high-strength, double-sided adhesive strips that can hold up to 16 pounds per pair. Planning is the most crucial part of this process: lay your frames on the floor and experiment with at least three different configurations before committing to the wall layout. Use blue painter’s tape to mark the center point of each frame on your floor layout; this allows you to calculate the precise distance between pieces to ensure the final result is perfectly symmetrical. Before applying strips to the wall, clean the surface with a small amount of isopropyl alcohol to remove dust and oils, which is a major factor in preventing premature peeling. When it is time to move, pull the tabs on the adhesive strips slowly and parallel to the wall to release the tension, which prevents the paint from peeling or tearing. By following this method, you can hang 10 to 15 frames in a weekend without leaving a single permanent mark behind, keeping your security deposit entirely intact while showcasing your personality.
Planning Your Gallery Wall
To ensure your gallery wall looks intentional rather than chaotic, lay out your artwork on the floor first. Arrange your pieces by size and subject matter until you find a balance that appeals to you. Use a template made of kraft paper to map out where your hooks should go before applying them to the wall, ensuring perfect spacing every time.
The Impact of Mirrors and Plants
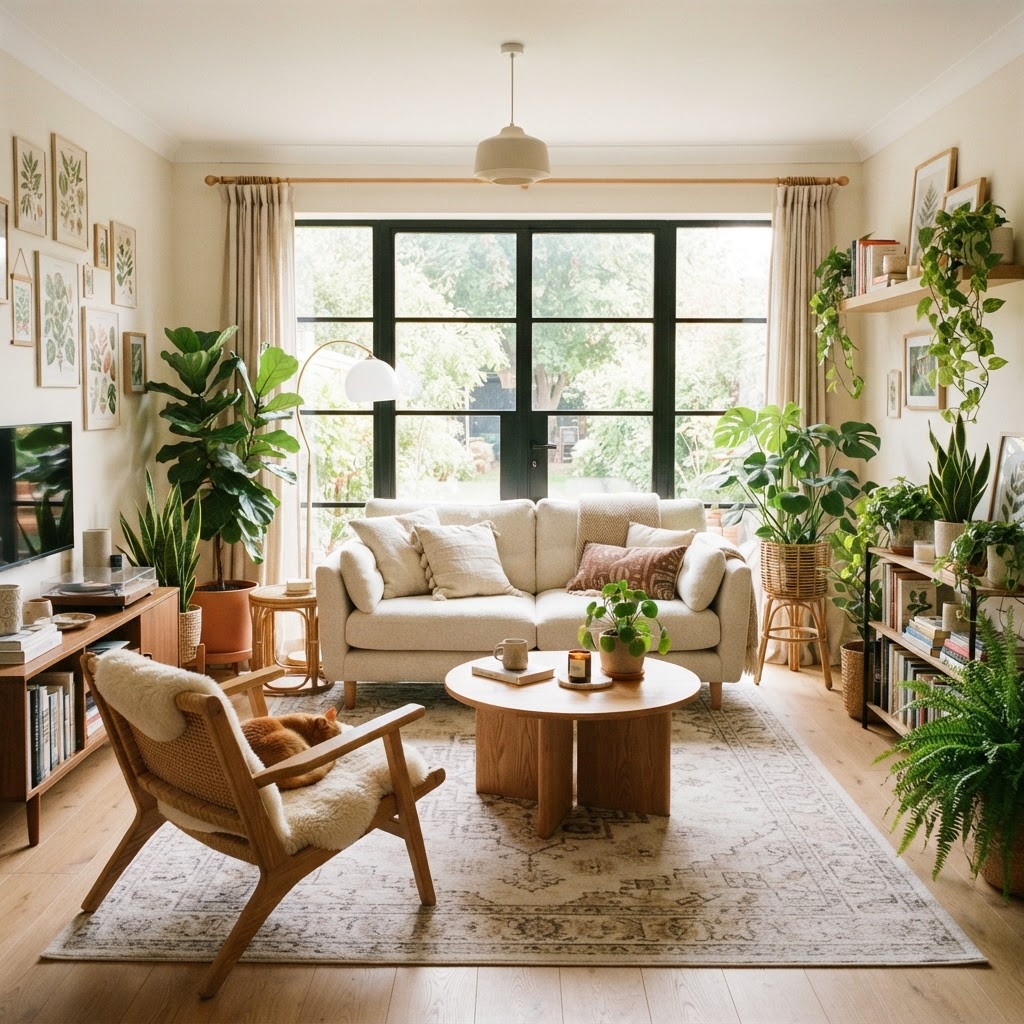
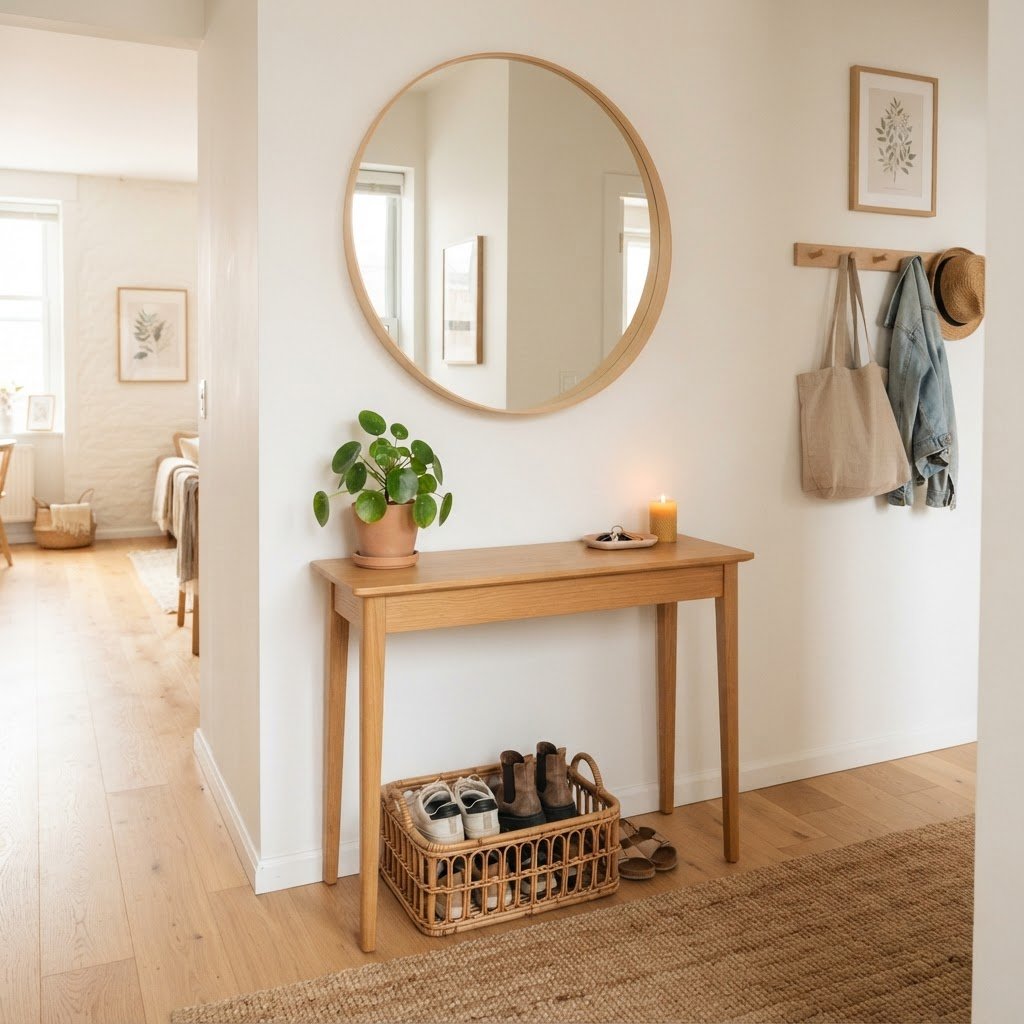
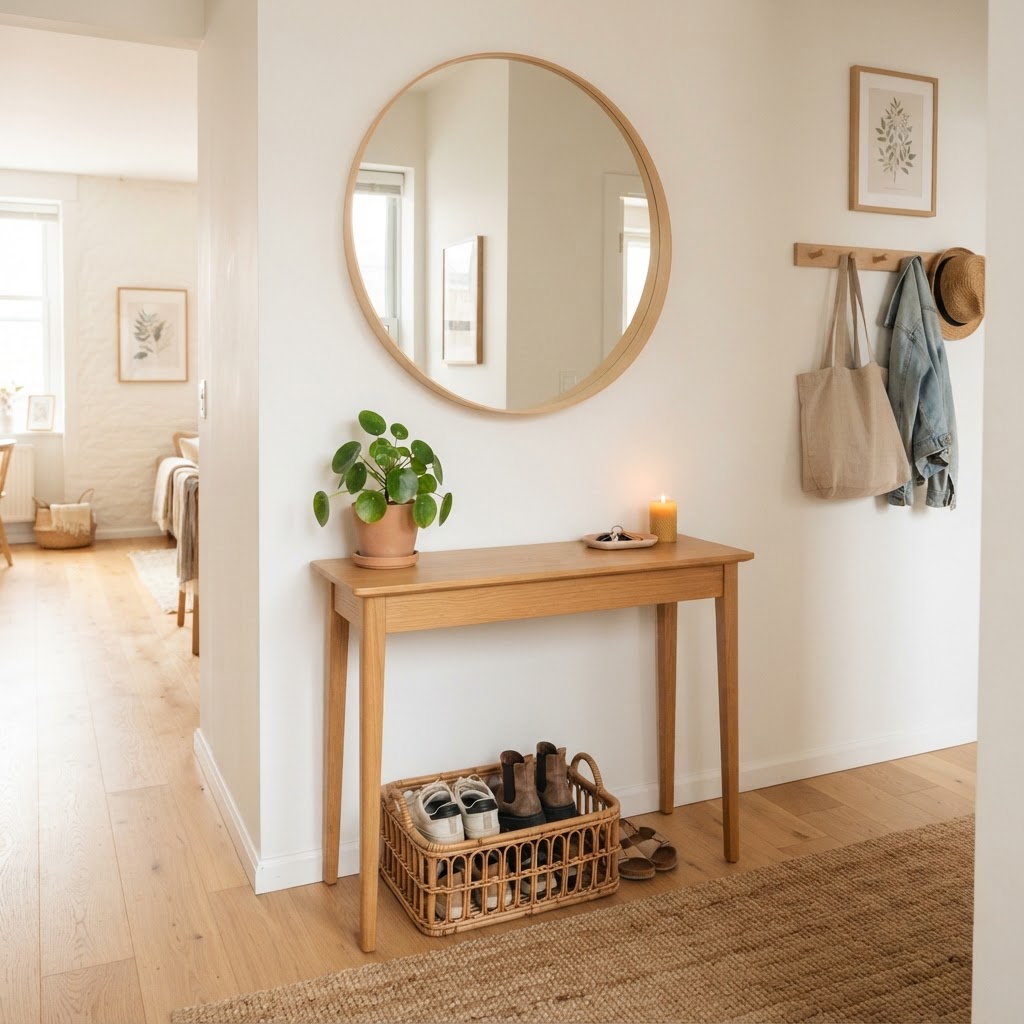
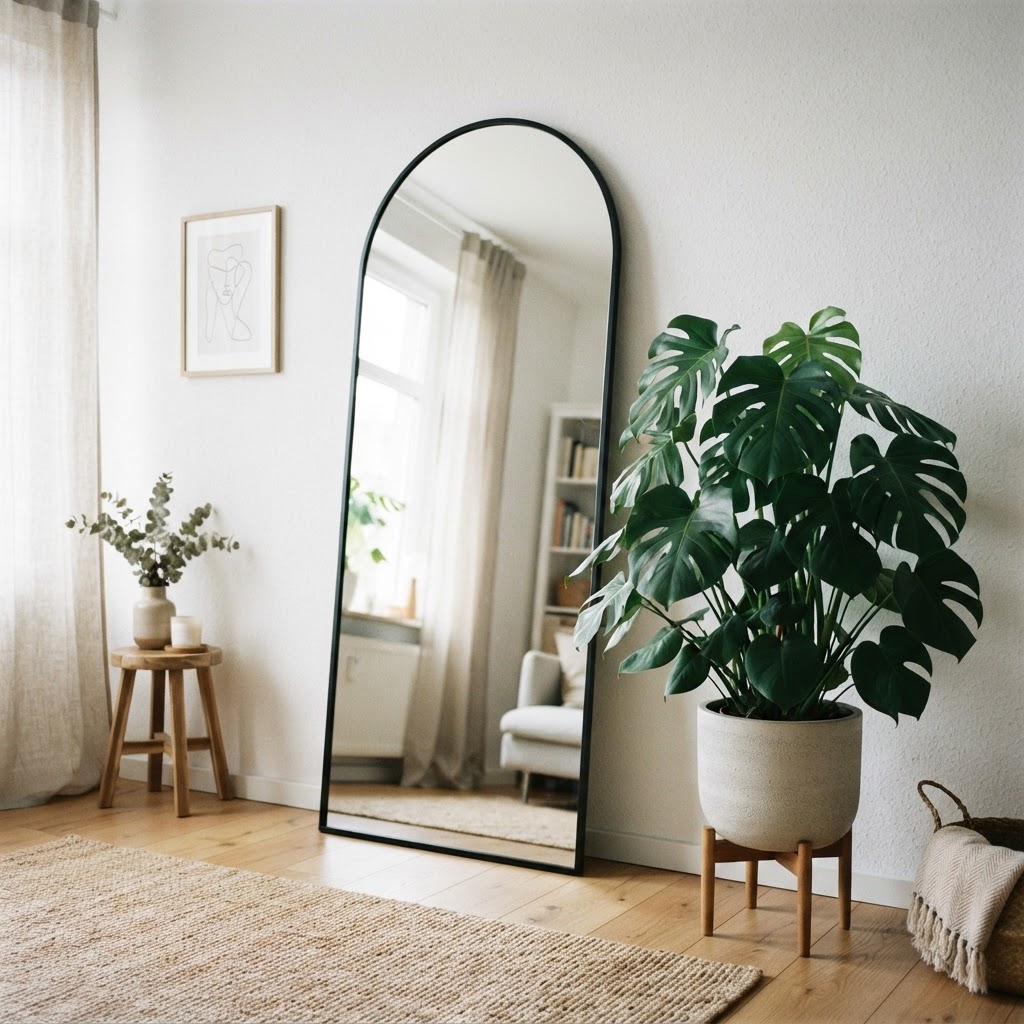
Large-format mirrors and indoor greenery are two of the most cost-effective ways to increase the perceived square footage and overall “vibe” of an apartment. A floor mirror, ideally 60 to 72 inches tall, can effectively double the natural light in a dark rental by reflecting light from windows into deeper corners of the living area. When using a floor mirror, choose one with a sturdy easel back or a weighted base to ensure it remains stable without being anchored to the wall. Pair this with a selection of low-maintenance indoor plants like Snake Plants (Sansevieria) or ZZ Plants, which thrive in varied lighting conditions and require minimal water. To protect rental surfaces from moisture damage, always place plants in decorative ceramic pots that sit inside waterproof saucers. If you have limited table space, use adjustable-height plant stands to vary the levels of your greenery, creating a “jungle” effect that draws the eye upward and masks unattractive corners. Budget-wise, you can find quality mirrors at discount home goods stores for $80 to $150 and healthy houseplants for $15 to $40, making this an extremely affordable way to add life to a sterile, white-walled rental unit.
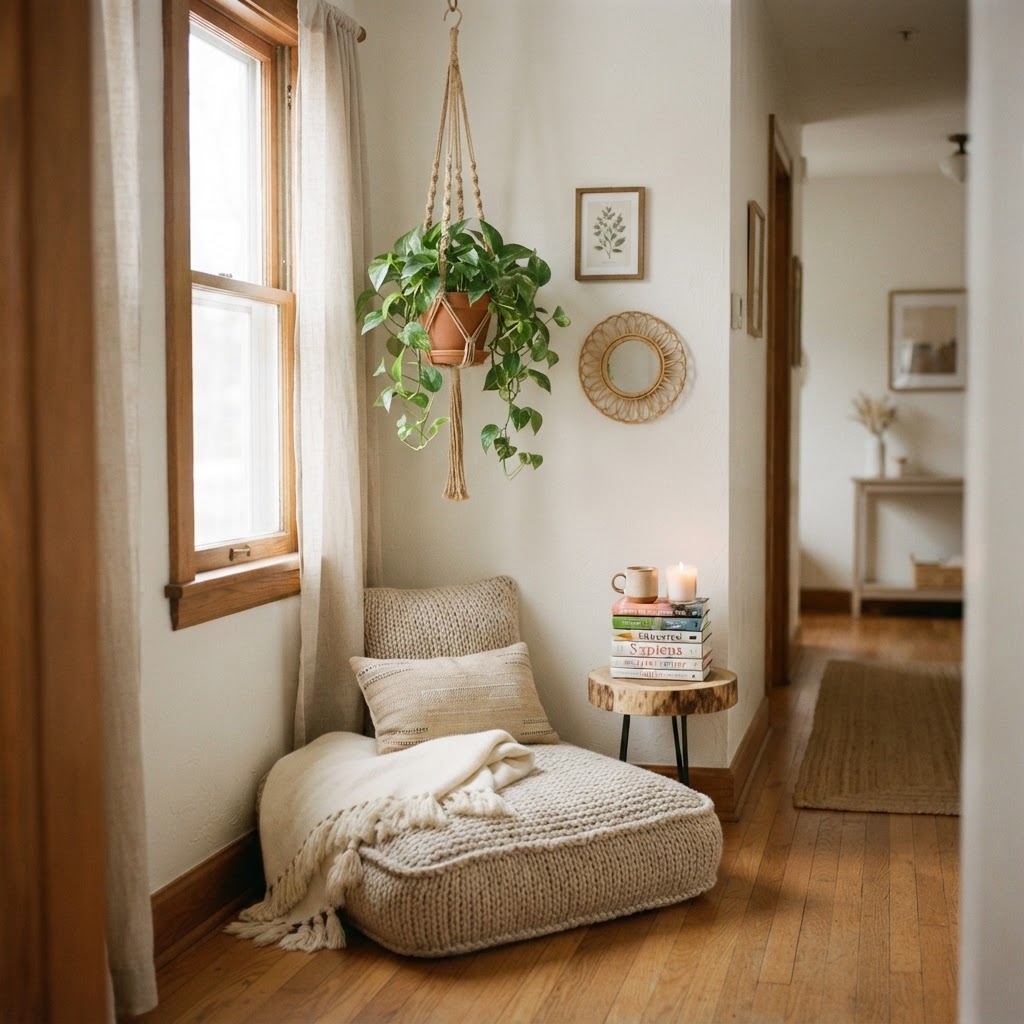
Finally, never underestimate the power of greenery. Plants bring life to a rental, act as natural air purifiers, and add a organic sculptural element to any room. If you are worried about surface damage from water, invest in stylish decorative trays or plant stands that elevate your greenery and protect your floors and tables from moisture.
FAQ
Q: Can I paint my rental walls if I promise to paint them back?
Most landlords do not allow painting even if you agree to return it to the original color, as the risk of poor coverage or paint drips is too high. Always consult your lease agreement; if painting is prohibited, use removable wallpaper or peel-and-stick vinyl decals to change your wall color without permanent damage.
Q: Are tension-mounted shelves safe for rental walls?
Yes, tension-mounted shelves are generally safe because they rely on friction and pressure rather than mechanical fasteners like screws or nails. Ensure you place protective felt pads between the pole ends and the wall/ceiling to prevent any scuffing or indentation of the surface material.
Q: How do I hang heavy art without nails?
Use high-capacity adhesive mounting strips specifically rated for heavy-duty applications, often designed to hold 15 to 20 pounds per set. Before applying to the wall, verify the weight of your art, clean the surface with rubbing alcohol, and allow the adhesive to cure for at least one hour before attaching the frame.
Q: Is it okay to swap out kitchen cabinet hardware?
Yes, swapping cabinet hardware is one of the most common and accepted renter upgrades, as it involves no permanent modifications to the structure. Store the original hardware in a labeled bag to ensure easy reinstallation, and always match the screw length to the original hardware to prevent damaging the interior of the cabinet door.
Q: What is the best way to hide ugly rental floors?
Large area rugs are the most effective way to cover dated flooring, and using a thick felt rug pad beneath them will add comfort and prevent the rug from sliding. If the room is large, you can layer smaller rugs together to create a cohesive look that masks damaged laminate or stained carpet.