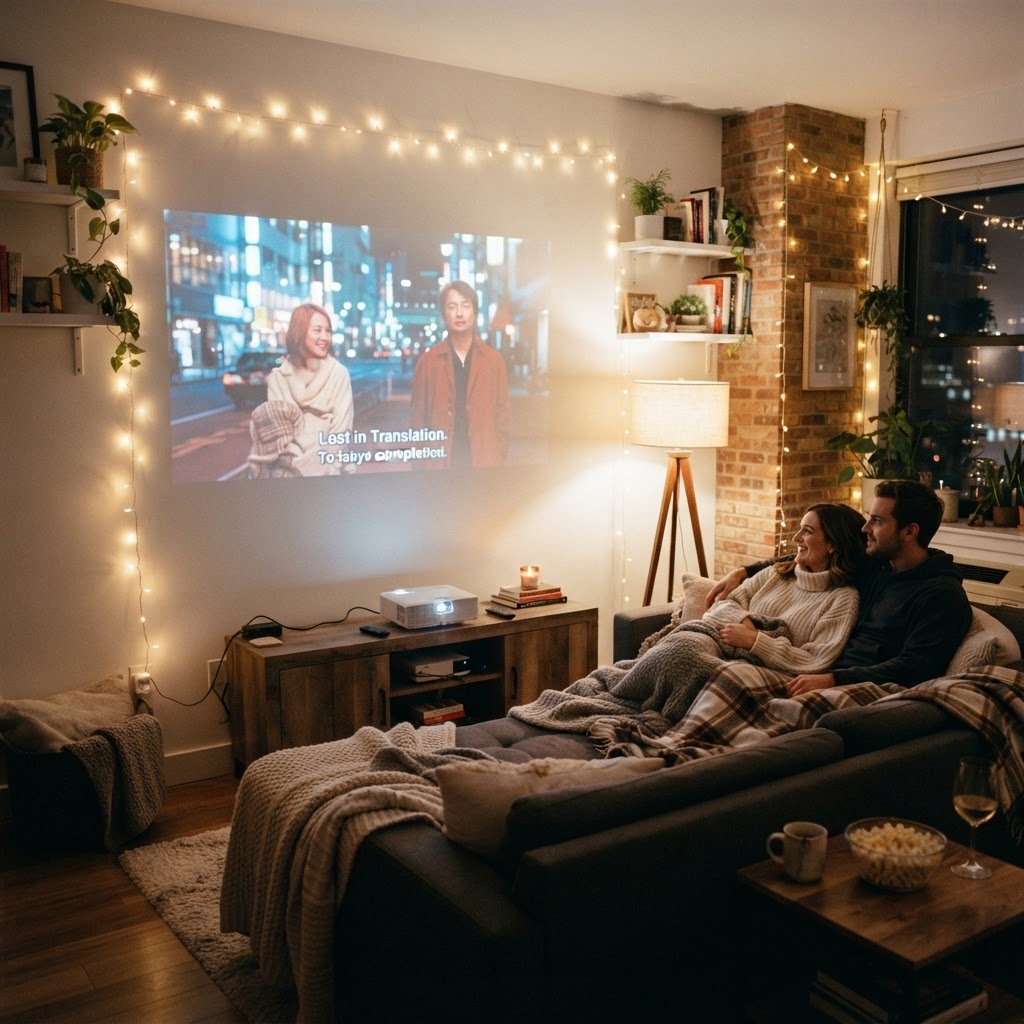
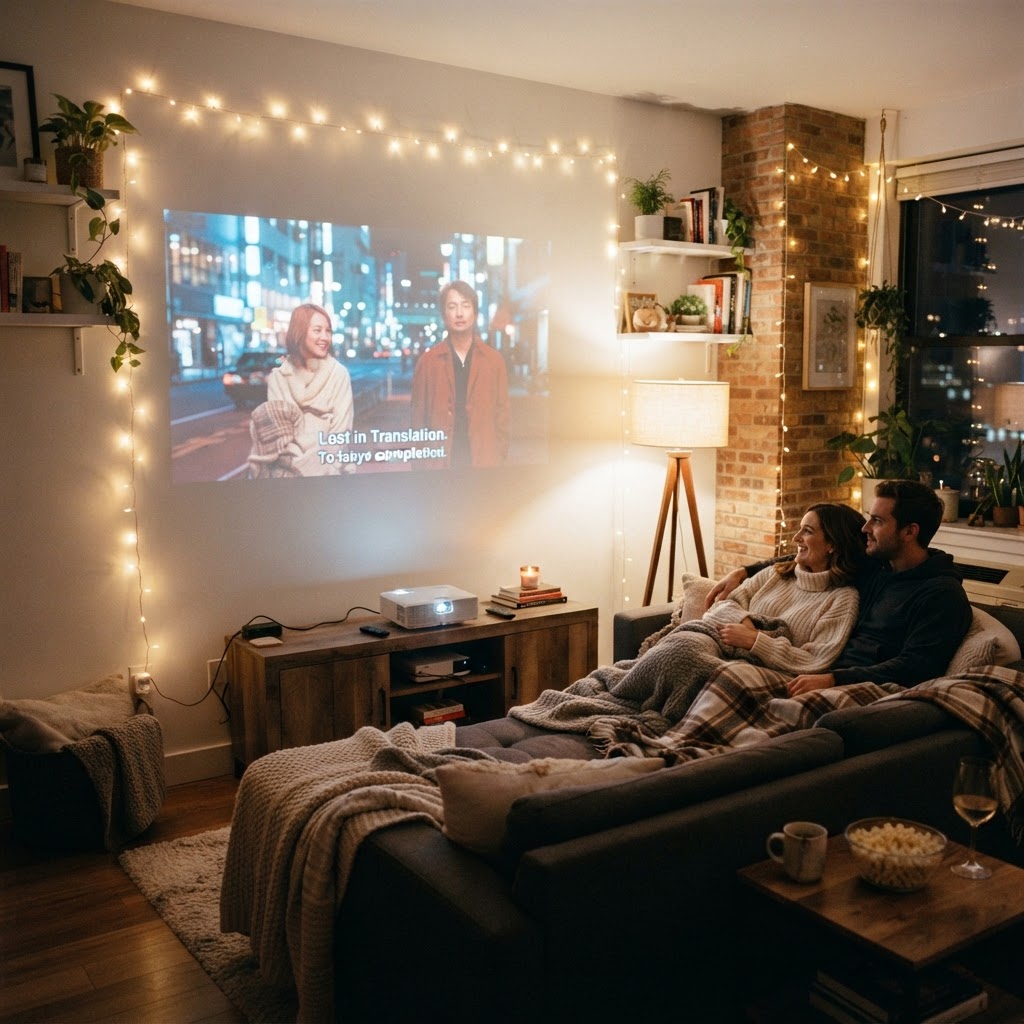
Projector + Warm Lights: Perfect Small-Space Movie Night
To create a professional cinematic experience in a small space, use a short-throw projector placed inches from the wall and ambient warm lighting (2000K–3000K) to reduce eye strain. This combination transforms tight apartments into immersive theaters by maximizing limited square footage without requiring bulky equipment or dedicated media rooms.
Choosing the Right Projector for Small Rooms
Selecting the correct projector is the most critical step for small-room cinema, as traditional devices struggle with tight throw distances. A short-throw projector is essential; these units cast a 100-inch image from as little as 1.5 feet away, making them ideal for studio apartments. When shopping, prioritize high contrast ratios and at least 2,500 ANSI lumens to combat ambient light interference common in multi-use living spaces. Full HD 1080p resolution is the standard baseline, but if you have a budget over $800, upgrading to a 4K laser projector significantly improves pixel density for closer viewing distances.
Beyond the lens, verify the presence of built-in vertical and horizontal keystone correction. This technical feature allows you to distort the image into a perfect rectangle even if your projector must sit on an off-center side table. Finally, ensure the device supports modern streaming standards like HDR10 or HLG, which enhance the color depth of your favorite films. Always measure your available wall space before purchasing to ensure the projection size matches your room’s scale.
The Role of Warm Lighting in Atmosphere
Warm lighting effectively converts a utilitarian bedroom or living room into a cozy theater by introducing soft, diffused glow that minimizes the harsh contrast of a bright screen. For optimal results, aim for a color temperature between 2000K and 3000K, which provides the inviting amber tones necessary for a cinematic feel. Avoid harsh overhead lighting at all costs, as it washes out the projection and contributes to mental fatigue. Instead, prioritize “bias lighting” by placing LED strips behind your screen or display surface; this specific technique illuminates the wall behind the image, reducing pupil dilation strain and making the picture appear significantly sharper to the human eye.
Strategically layering your light sources allows for a transition from functional task lighting to immersive mood lighting. Use dimmable floor lamps or smart bulbs connected to a centralized hub to create custom scenes. By keeping your lighting at roughly 10% brightness during the feature presentation, you maintain enough visibility to move safely without disrupting the deep blacks on your screen. When choosing hardware, look for CRI (Color Rendering Index) ratings above 90 to ensure the warm light doesn’t skew the colors of your furniture or textiles. This approach balances aesthetic luxury with practical viewing comfort, ensuring your small space feels like a boutique screening lounge rather than a makeshift tech hub.
Designing Your Cozy Seating Nook
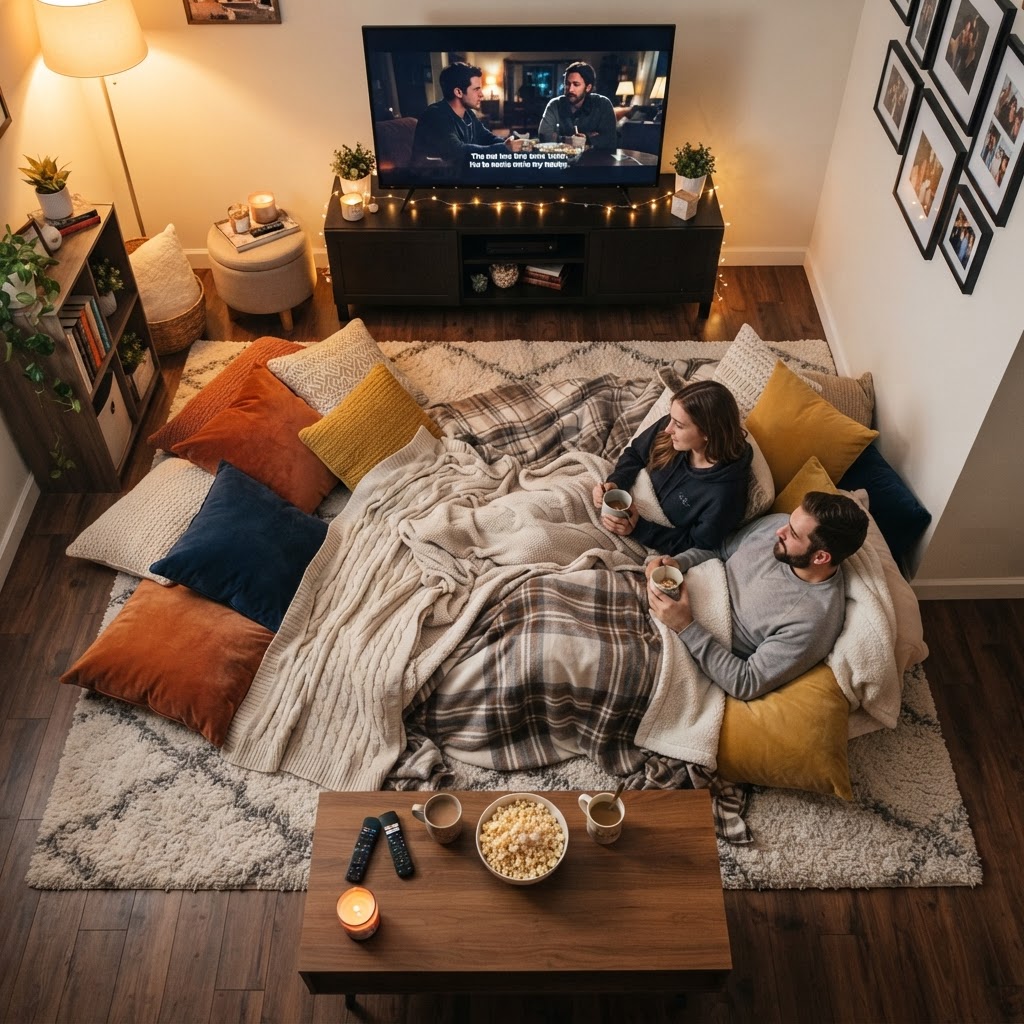
Maximizing comfort in a tight footprint requires dual-purpose, low-profile furniture that anchors your viewing area without obstructing the projector’s beam path. For small rooms, a sectional with hidden storage or a floor-level modular sofa is superior to traditional upright armchairs, as it lowers your eyeline to be more in tune with the projected image. Incorporate textiles like faux fur or weighted blankets, which do more than just provide warmth—they absorb excess sound reflections, effectively improving the room’s acoustics. Focus on “nesting” arrangements where seating pieces can be pushed against walls or tucked under bed frames when the movie ends to restore your living area’s functionality.
Maximize Comfort in Tight Quarters
- Utilize modular furniture that can be pushed against walls when not in use.
- Use floor cushions that can be tucked under the bed during the day.
- Incorporate soft, weighted blankets to enhance the cozy atmosphere.
- Use a low ottoman as a central coffee table that won’t obstruct the projector beam.
Cable Management for a Clean Look
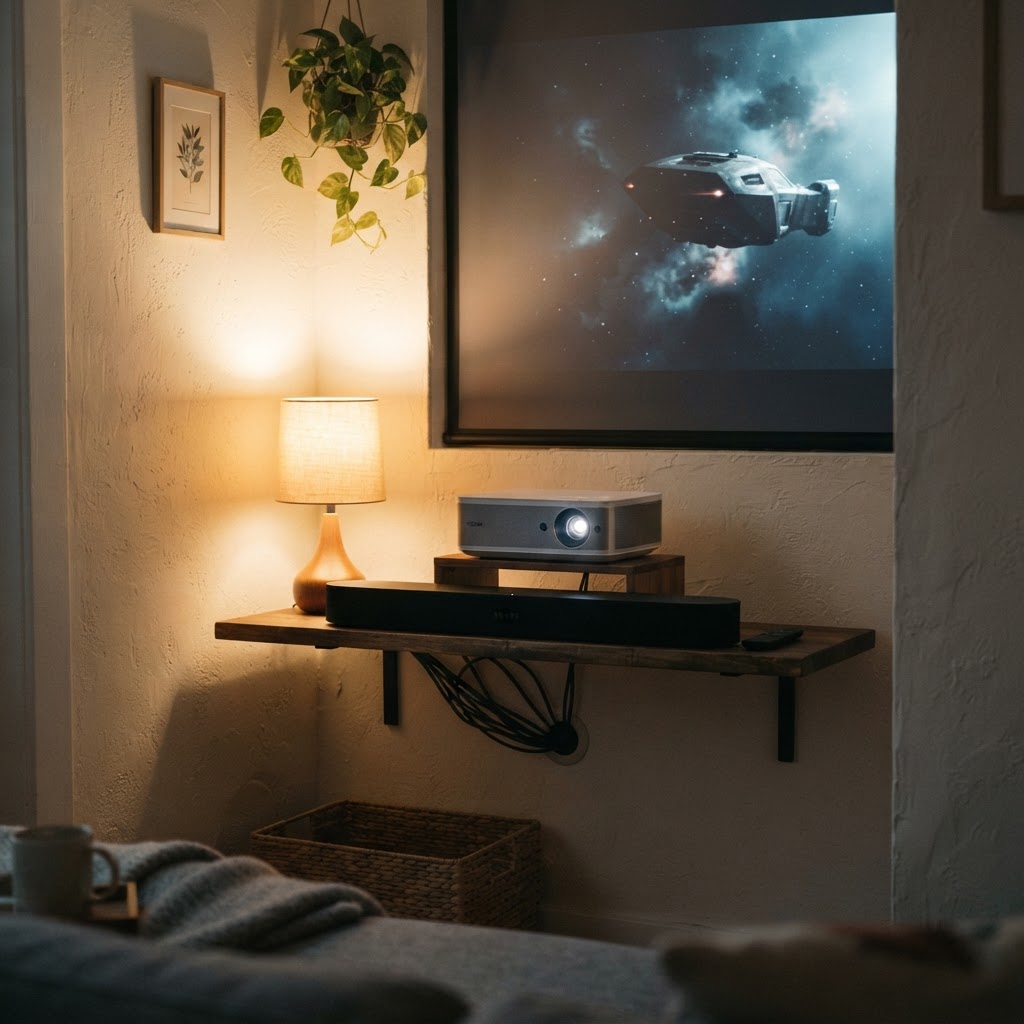
Effective cable management is non-negotiable in small spaces because clutter accumulates visually, making a 200-square-foot room feel significantly smaller than it is. To achieve a professional, “invisible” setup, utilize self-adhesive cable raceways that match your wall color to route HDMI and power cords directly to the projector. If your device sits centrally, use decorative braided sleeves to bundle multiple wires into a single clean line. For a truly seamless look, install a power strip hidden inside a fabric storage bin or a dedicated media console drawer; this ensures your projector, soundbar, and streaming stick all draw power from a single, organized focal point, effectively eliminating the “spaghetti wire” aesthetic that ruins immersion.
Enhancing Sound Quality Without Bulk
Achieving cinematic audio in a small apartment requires moving away from traditional floor-standing speakers toward high-performance, compact audio solutions. A 2.1-channel soundbar with a wireless subwoofer is the gold standard for small spaces, as the sub can be hidden in a corner or under a couch to provide deep bass without occupying visible floor real estate. If you live in a building with thin walls, consider using high-end wireless headphones with Dolby Atmos support; these offer a private, immersive experience that delivers theater-grade detail without disturbing neighbors. When mounting, keep speakers at ear level to ensure audio clarity, utilizing small wall brackets to free up your remaining surface space.
Integrating Smart Home Controls
Integrating your projector and lights into a smart home ecosystem elevates a casual movie night into an automated, high-end experience that requires zero manual adjustments. By using platforms like HomeKit, Alexa, or Google Home, you can create a “Movie Time” macro that performs three critical tasks simultaneously: lowering your smart shades, dimming your 2500K warm lights to 5%, and powering on your projector system. This automation removes the friction of fumbling for remotes in the dark, allowing you to trigger the entire atmosphere via a single voice command. This setup is particularly effective for small spaces where hardware is often hidden away, as your smartphone essentially becomes the universal controller for every piece of cinema gear in the room.
Curating the Perfect Viewing Experience
Beyond hardware, the secret to a high-end cinematic experience is the ritual of the environment, which is easily managed through clever storage. Use a small, rolling bar cart to house your snacks and drinks; this allows you to “bring the theater” to your seating area only when needed, keeping the rest of the room clutter-free. Dedicate a specific drawer in your media console for movie night essentials, like blue-light blocking glasses or throw blankets. By keeping your “movie kit” organized in a specific zone, you reinforce the mental transition from a work or living area to a dedicated, cozy screening sanctuary, making the ritual feel intentional and luxurious.
FAQ
Q: Can a projector be used in a room with windows?
Yes, you can use a projector in a room with windows if you use a high-lumen device and blackout curtains. Look for a projector with at least 3,000 ANSI lumens and install thick, light-blocking curtains to prevent exterior daylight from washing out the contrast of your image.
Q: How close can I sit to a projector screen?
Ideally, you should sit at a distance that is 1.2 to 1.5 times the width of the projected image. For a 100-inch screen, sitting approximately 8 to 10 feet away is usually the sweet spot for maximum immersion without seeing individual pixels.
Q: What is bias lighting and why do I need it?
Bias lighting is the practice of placing light behind your display screen to reduce eye strain. By illuminating the wall behind your projector image, the light creates a softer transition between the bright screen and the dark room, significantly increasing perceived contrast and comfort.
Q: Do I need a special screen or can I project onto a wall?
While projecting on a white wall works in a pinch, a specialized projector screen is significantly better for image quality. Walls often contain texture or imperfections that distort light; a screen uses a reflective coating to enhance brightness, color accuracy, and overall sharpness.
Q: How do I manage cables in a rental apartment?
For rentals where you cannot drill holes, use adhesive cable management clips and white plastic cable raceways. These are damage-free and paintable, allowing you to route cords along baseboards or wall corners so they disappear into the background without violating your lease terms.

Leave a Reply