Archives August 2026

10 Renter-Friendly Finds That Make Small Spaces Feel Premium

10 Renter-Friendly Finds That Make Small Spaces Feel Premium

To make a small apartment feel premium without renovations, focus on high-impact, non-permanent upgrades like swapping generic hardware, layering warm lighting, and utilizing floor-to-ceiling textiles. These strategic changes distract from limited square footage, create visual depth, and instill a custom, high-end aesthetic that is entirely reversible for your security deposit.

Lighting: The Instant Mood Elevator
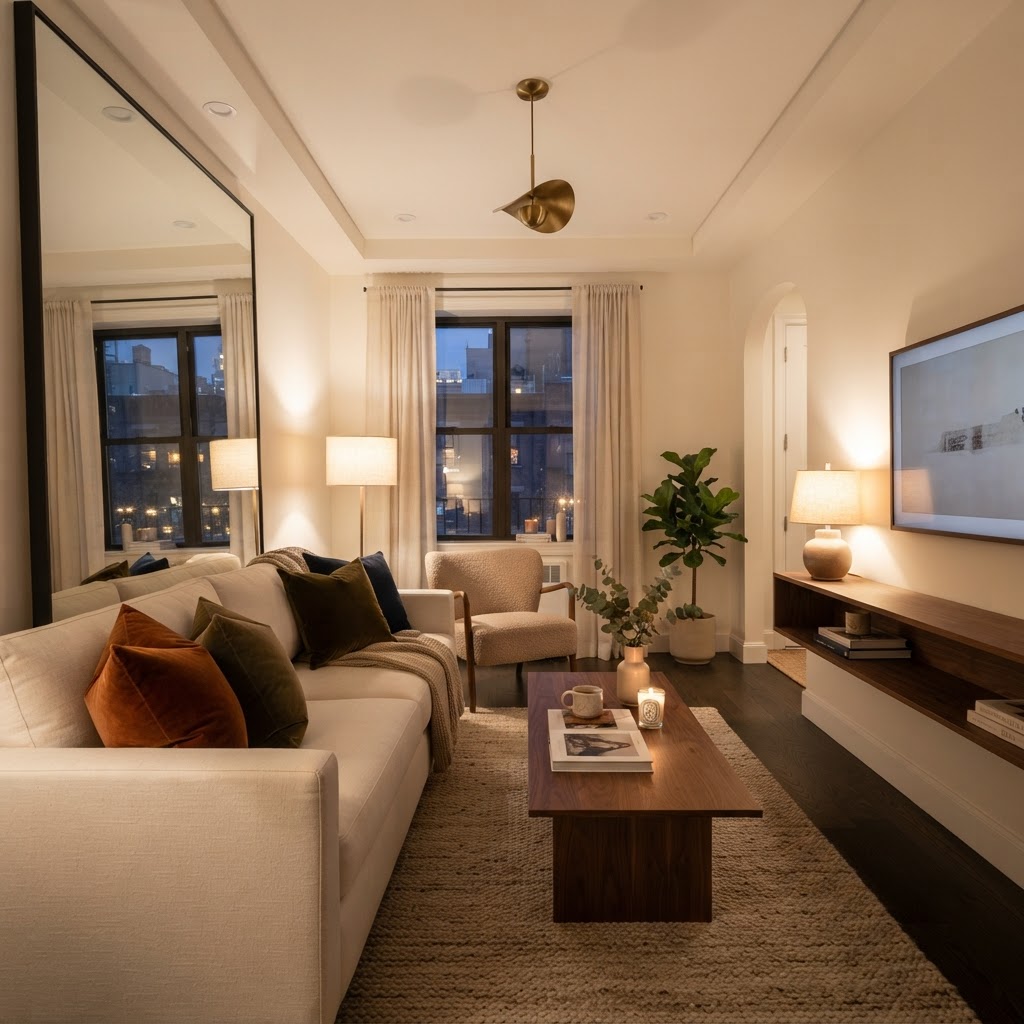
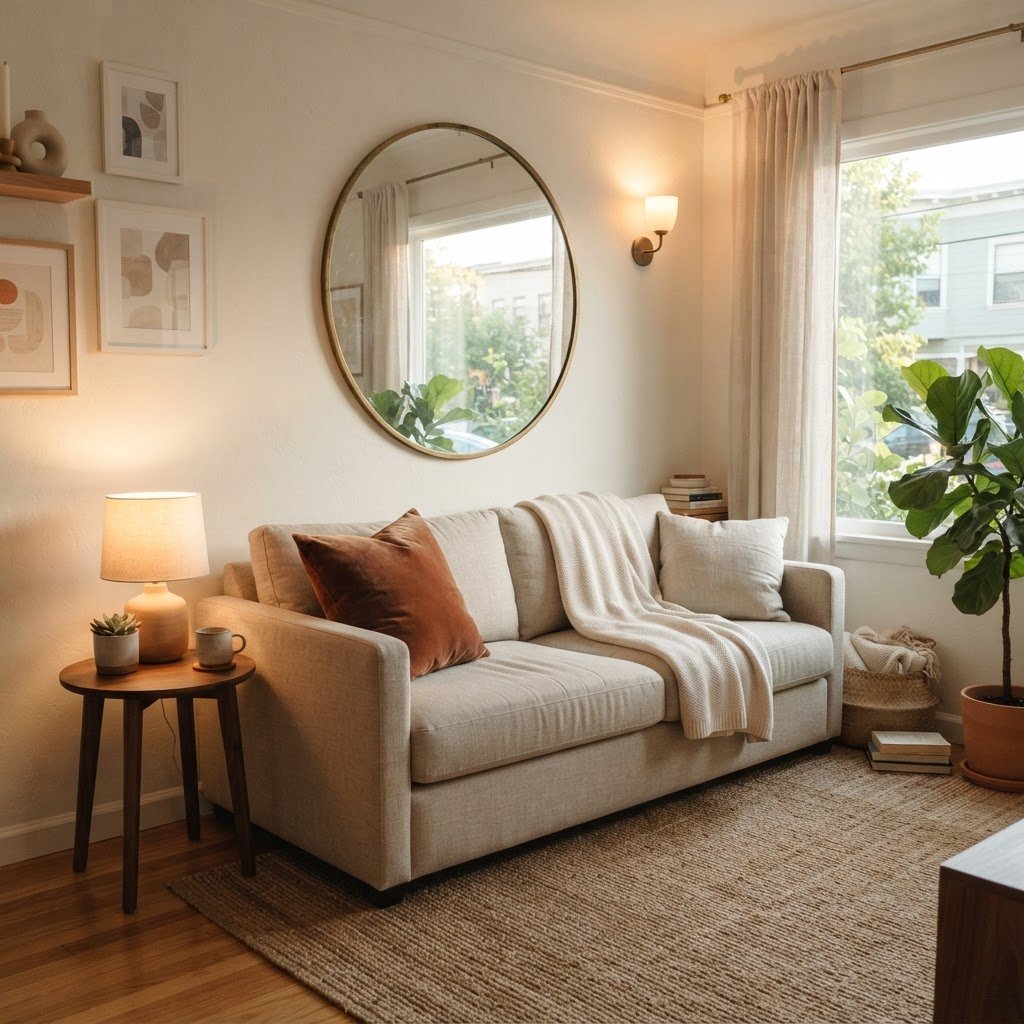
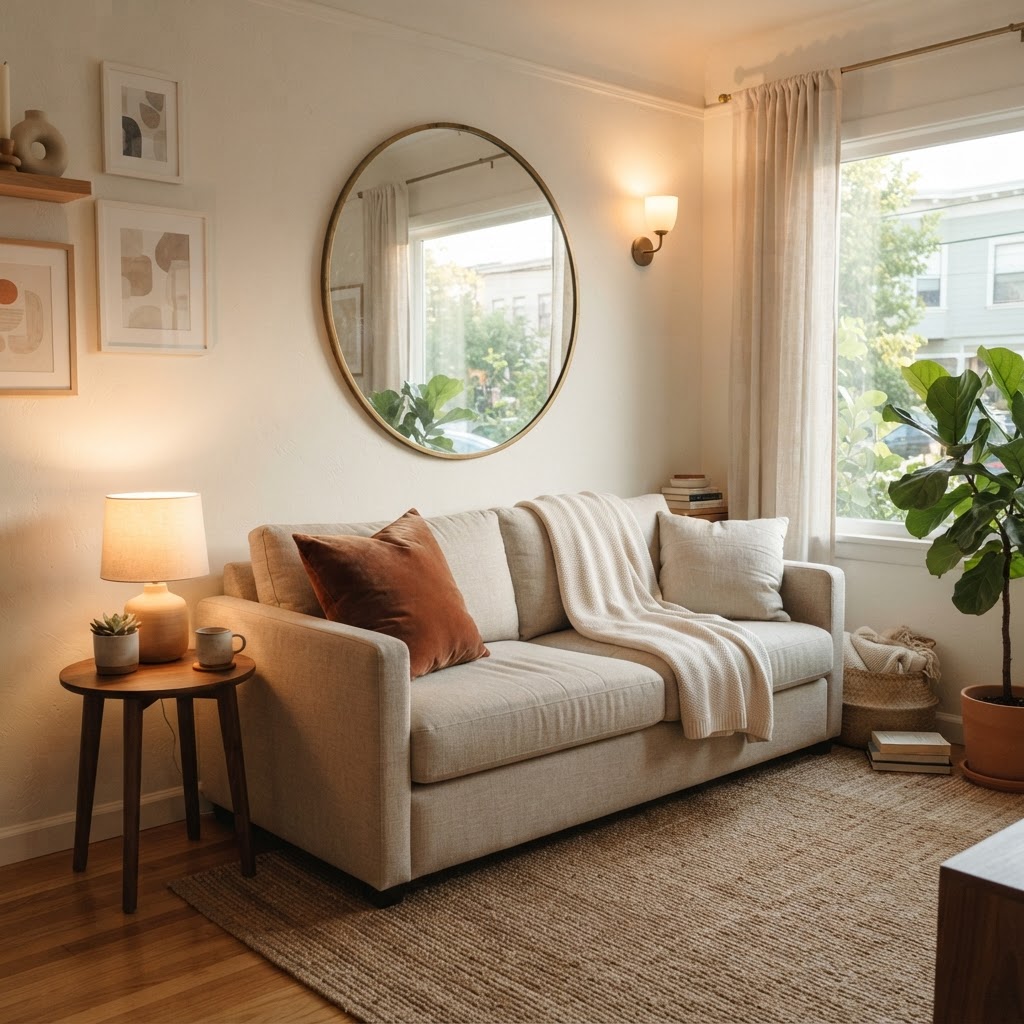
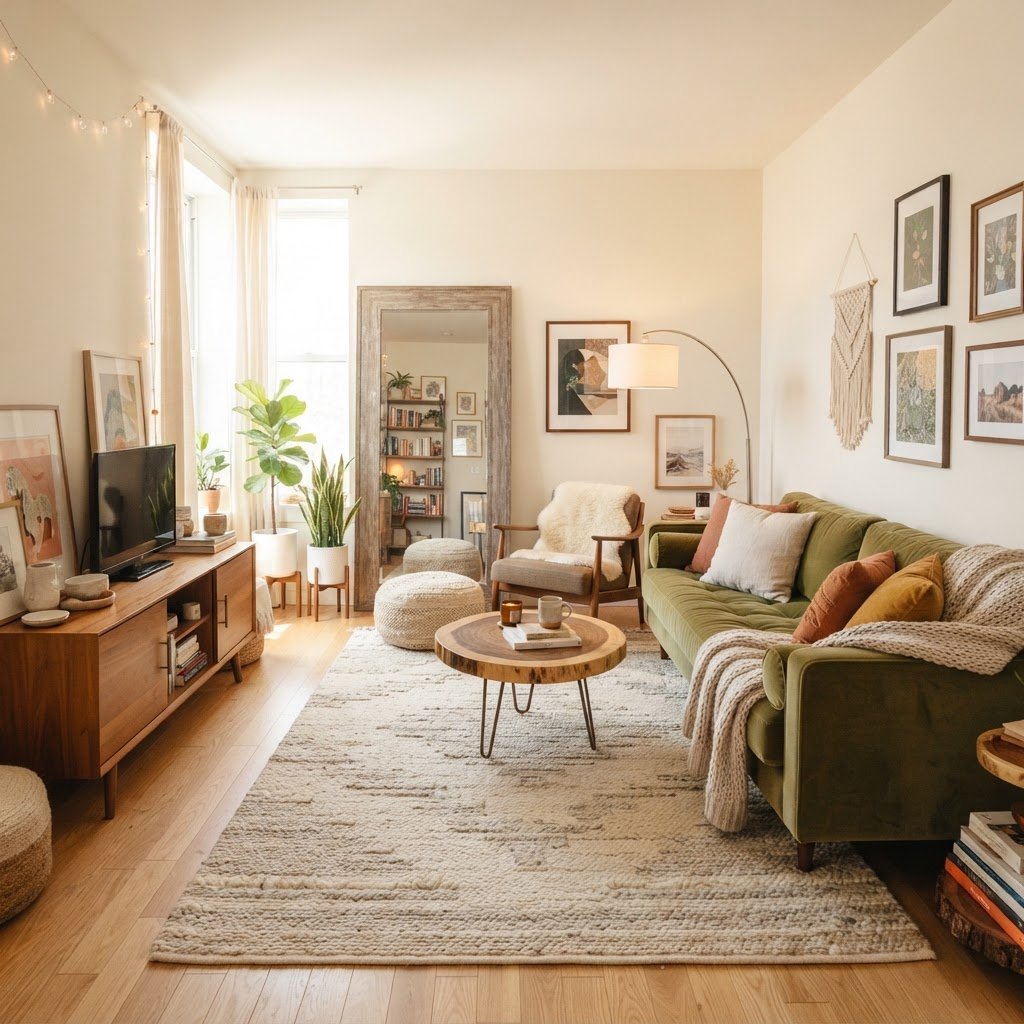
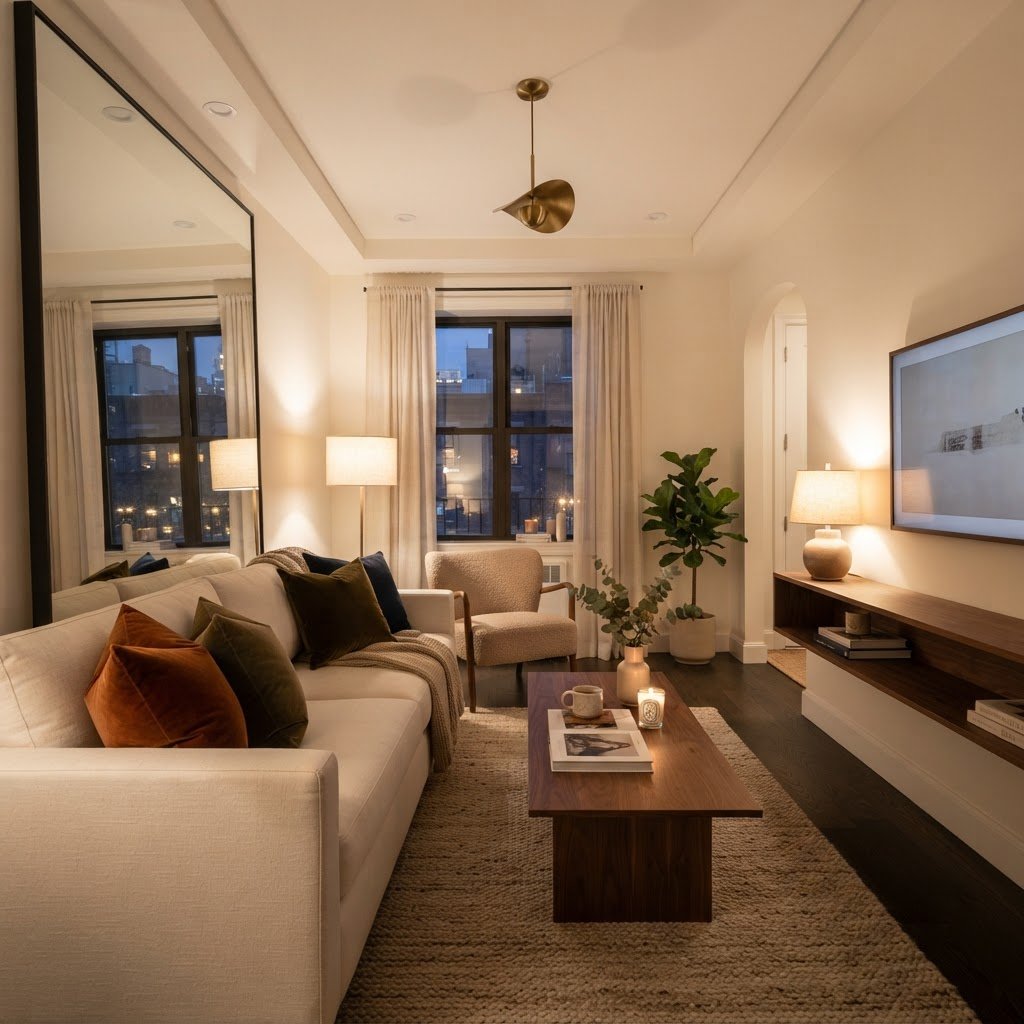
Layering lighting and using mirrors can drastically increase the perceived size of a small room.

One of the most common mistakes in small rentals is relying solely on the lackluster overhead lighting that comes pre-installed. Builders often prioritize function over form, leaving you with cold, clinical bulbs that drain the character from your decor. Investing in floor lamps with sculptural shapes or table lamps with warm, fabric shades can instantly soften the room. Research shows that layering lighting temperatures between 2700K and 3000K creates a more luxurious, “hotel-style” ambiance compared to standard 4000K daylight bulbs.

Layering Light for Depth

Instead of one bright source, treat your space like a professional interior designer would. Use three-point lighting: a main floor lamp for tasking, a secondary ambient lamp for warmth, and perhaps a dimmable LED strip behind a TV or under a floating shelf. This depth tricks the eye into perceiving the room as larger and more expensive than it truly is. By positioning light sources at varying heights—eye level, floor level, and ceiling-grazing—you effectively eliminate dark corners that visually shrink your floor plan.

Lighting Type Best For Visual Impact
Floor Lamps Task lighting & Height High
Dimmable LEDs Ambience & Drama Very High
Table Lamps Warmth & Texture Moderate

Mirror Magic: Expanding Visual Boundaries
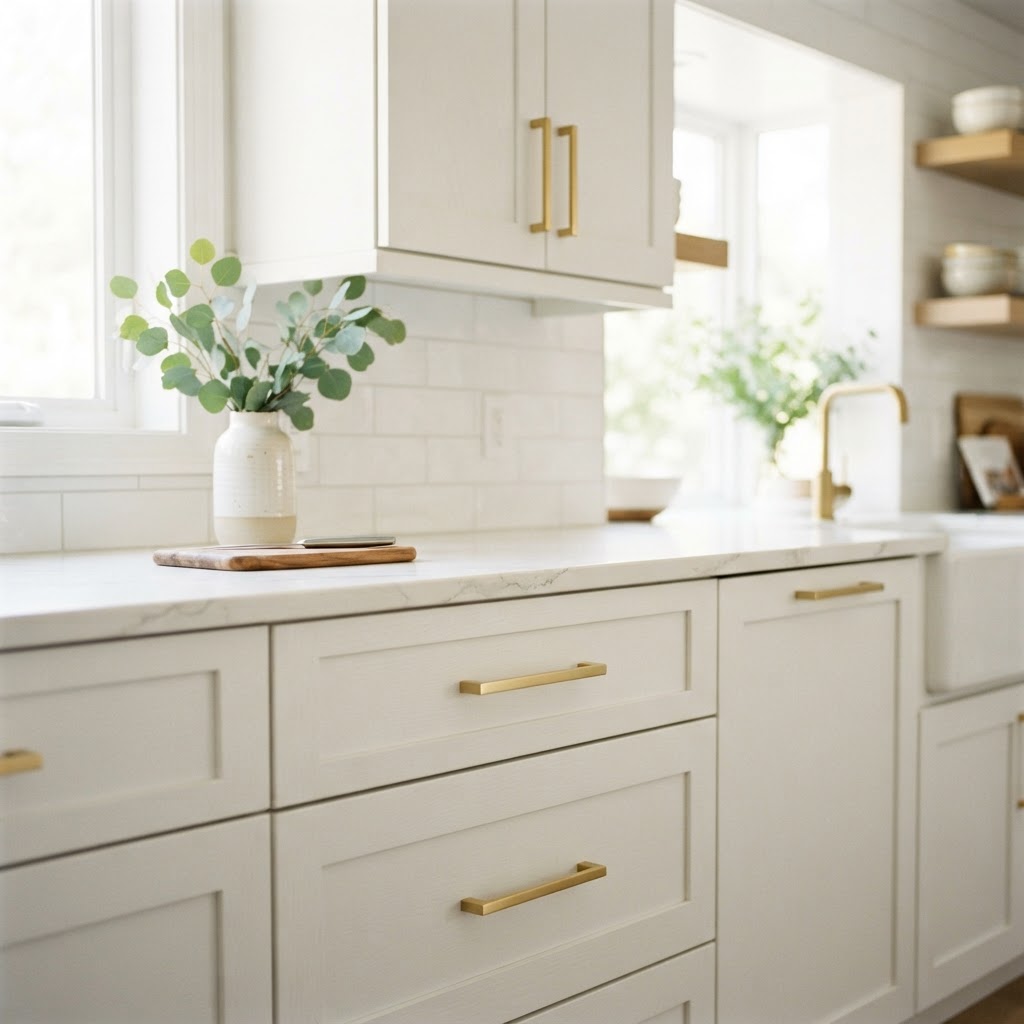
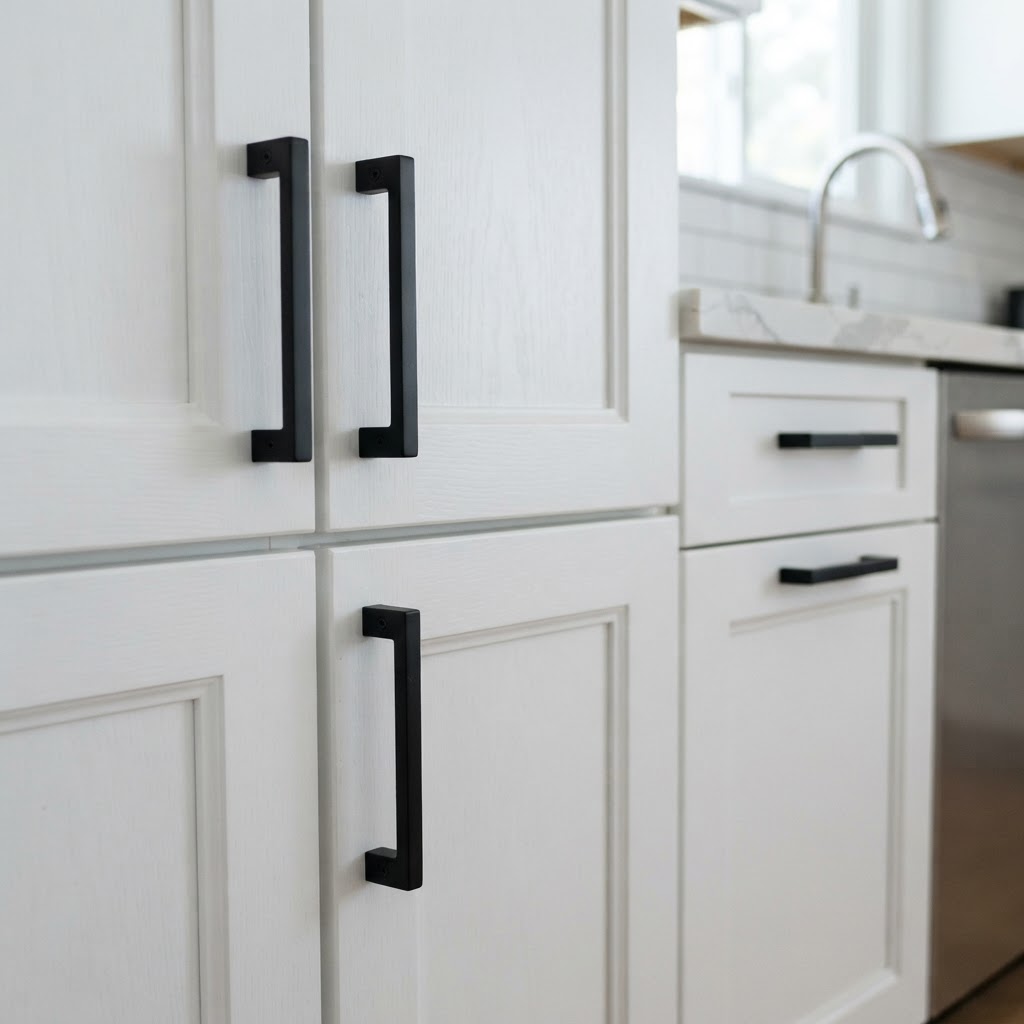
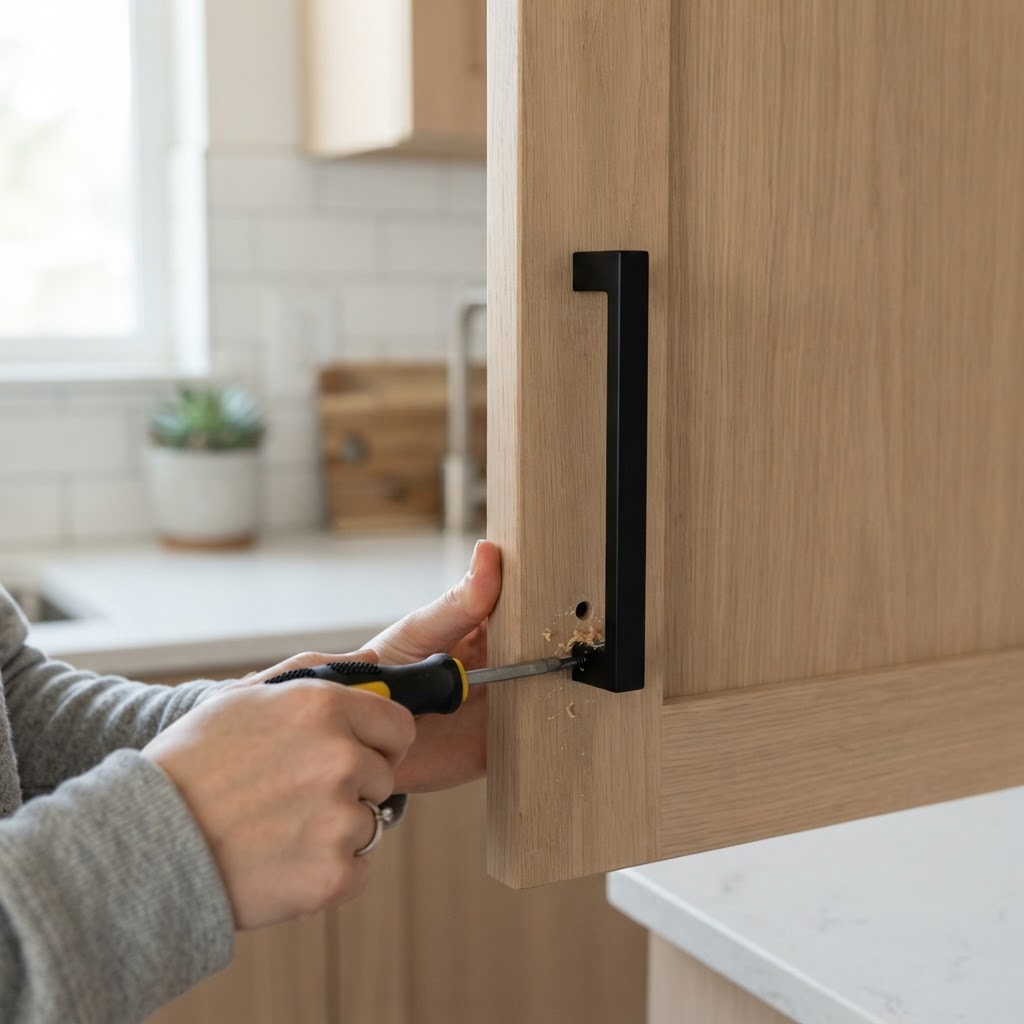
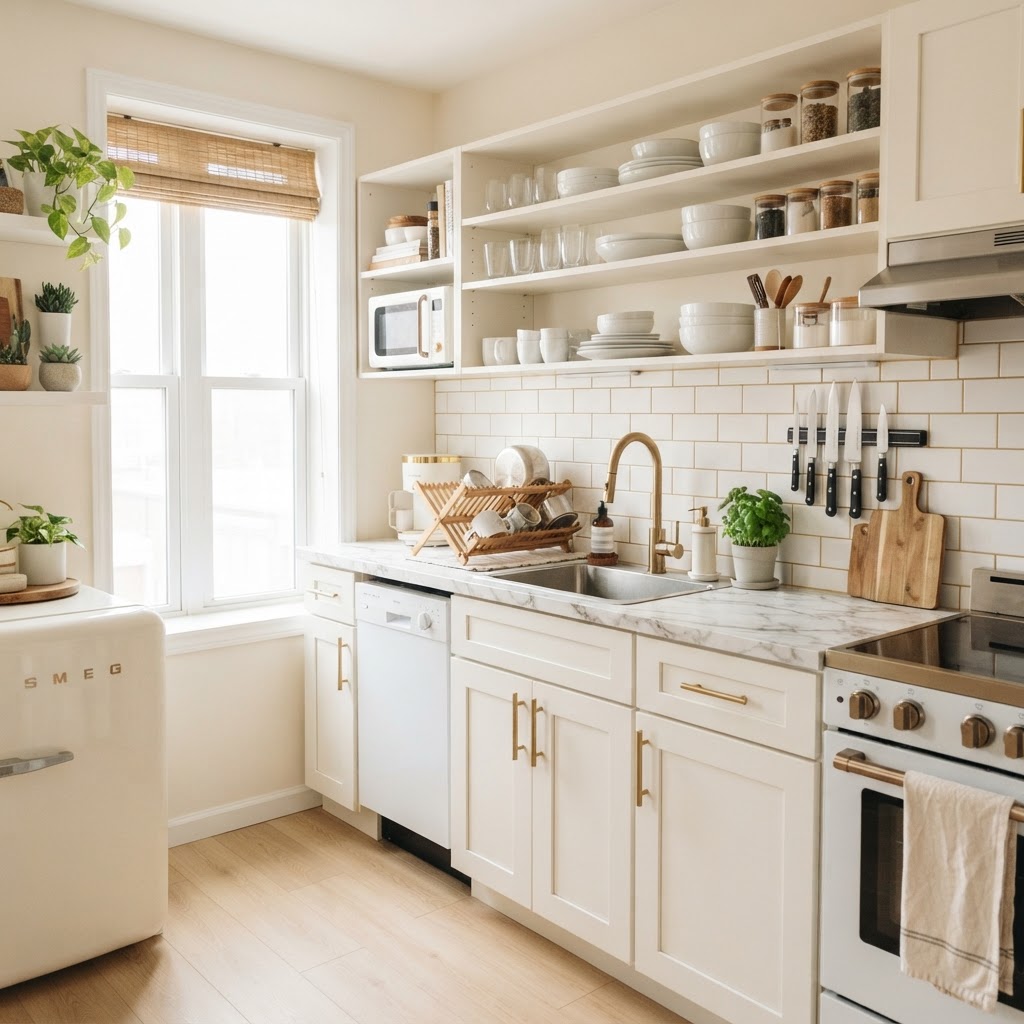
Small hardware swaps offer a high-impact, low-cost way to make a kitchen feel custom.

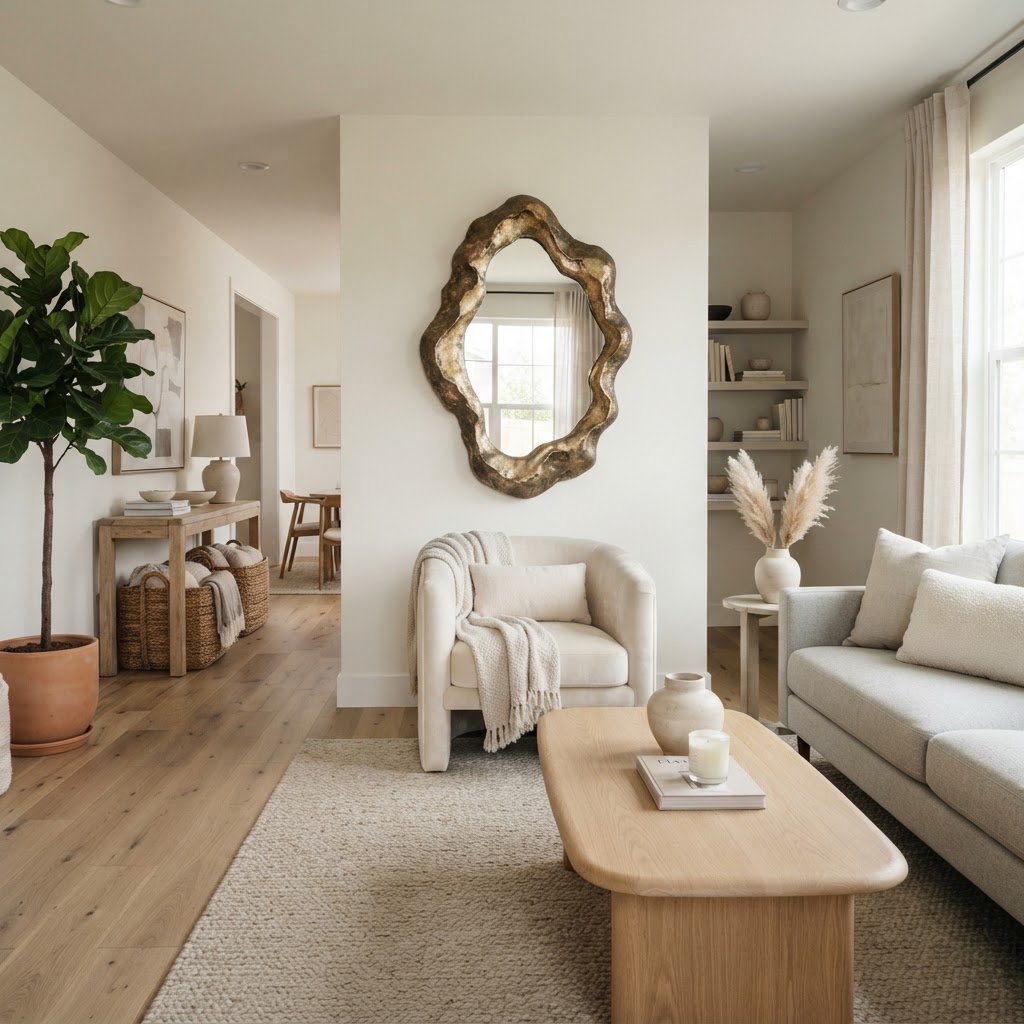
Mirrors are the oldest trick in the book, yet they remain one of the most effective renter-friendly finds for small spaces. A large, floor-length mirror leaning against a wall adds architectural interest and reflects light throughout the apartment. By bouncing light into dark corners, mirrors eliminate the “closed-in” feeling that often plagues cramped floor plans. Opting for a mirror that is at least 60 inches tall can create a “window” effect, effectively doubling your perceived wall space.

When shopping for mirrors, look for frames that match the tone of your existing furniture. A brass or gold frame introduces a touch of metallic luxury, while a black metal frame offers a modern, industrial edge. If you are worried about security deposits, use heavy-duty command strips or simply opt for a sturdy floor-leaning design that does not require hardware. Professional stagers often suggest placing mirrors perpendicular to windows to maximize natural light refraction across the entire room.

Elevating Your Surfaces with Textiles
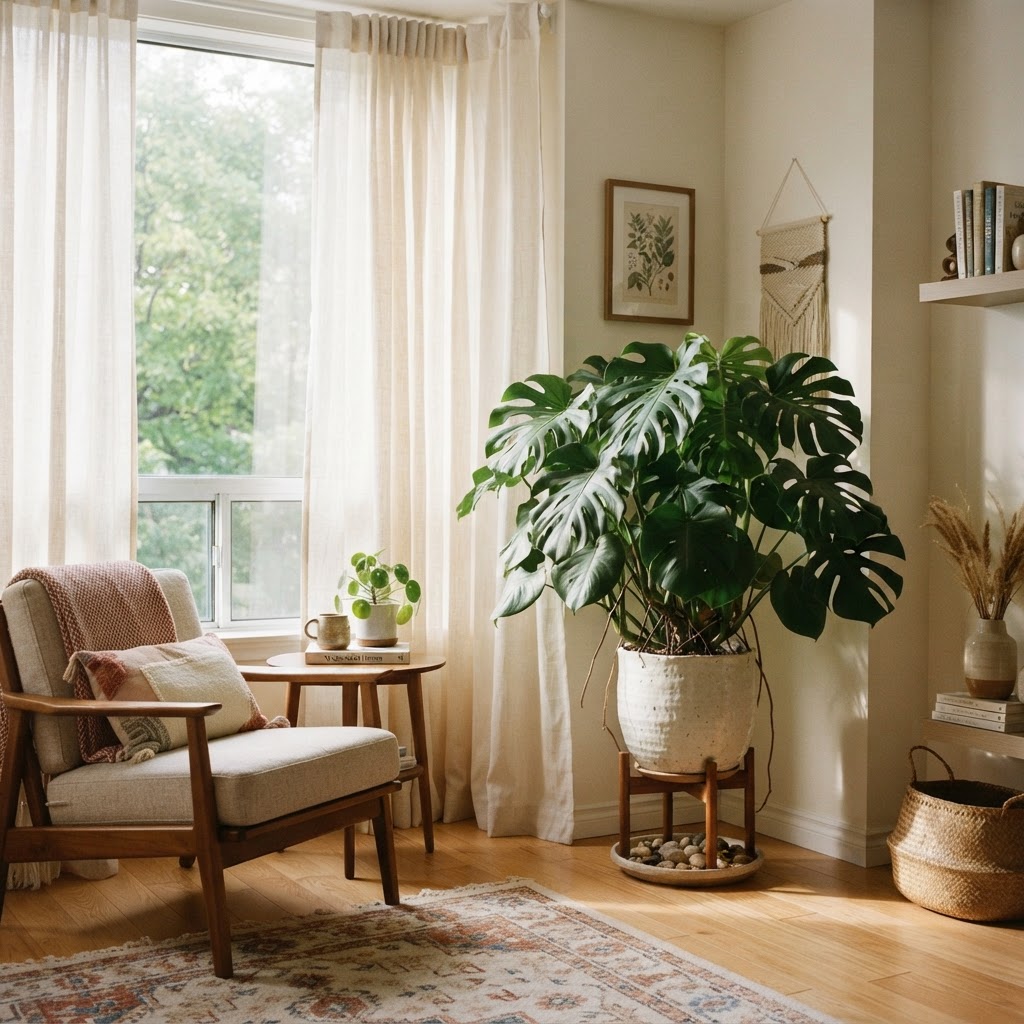
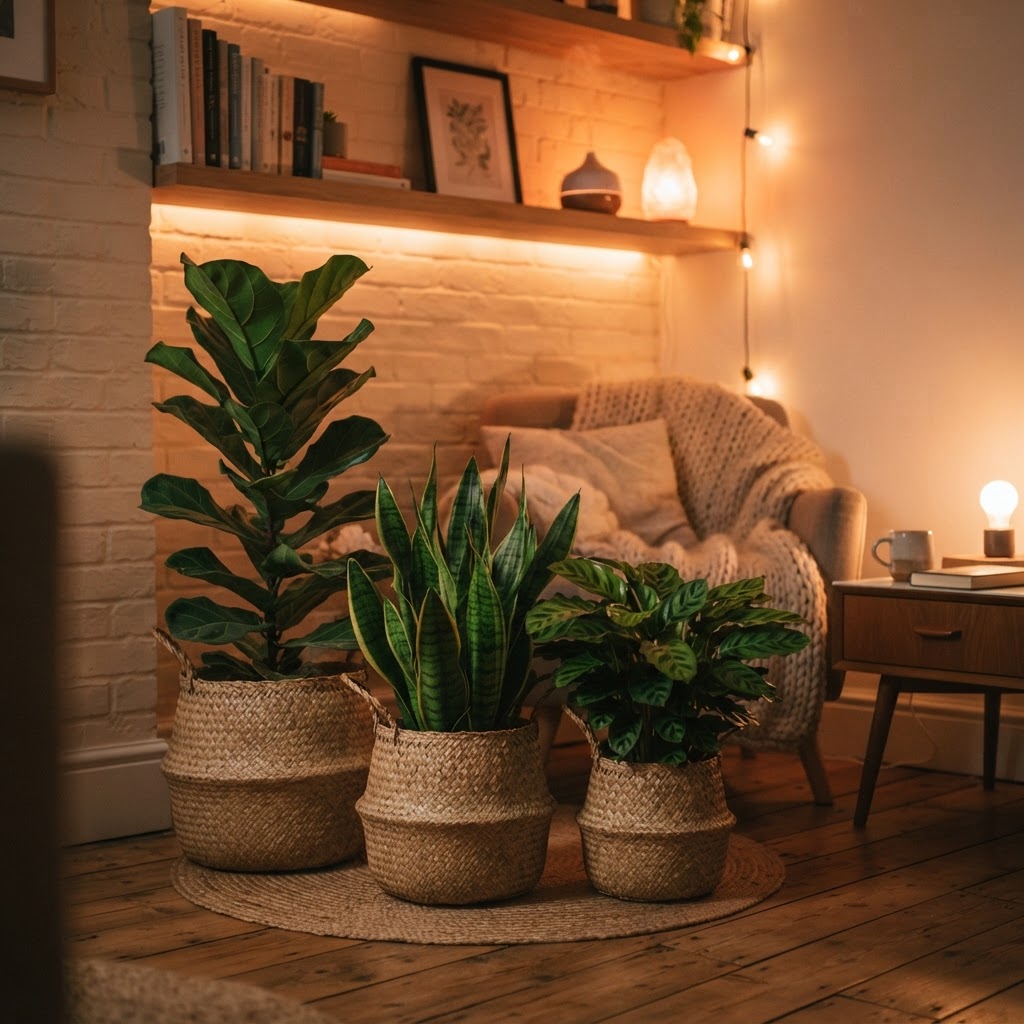
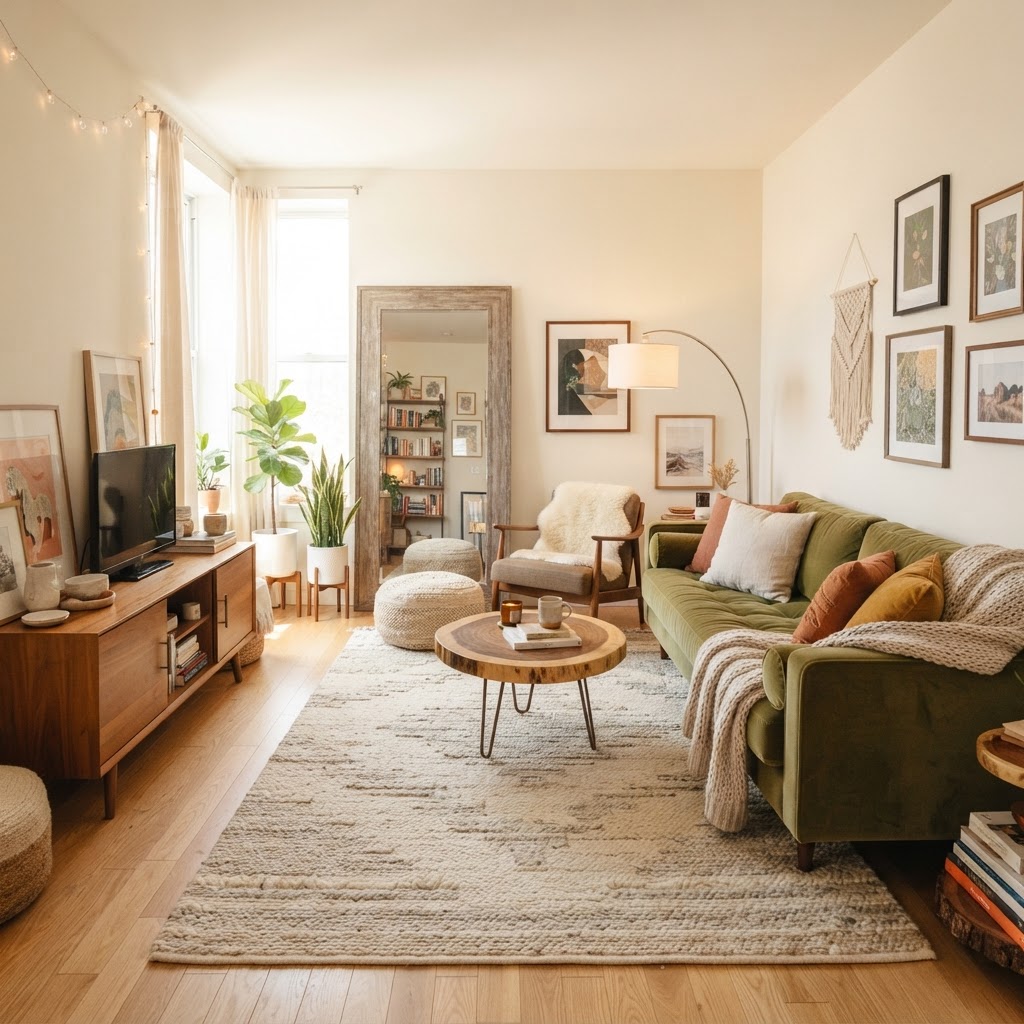
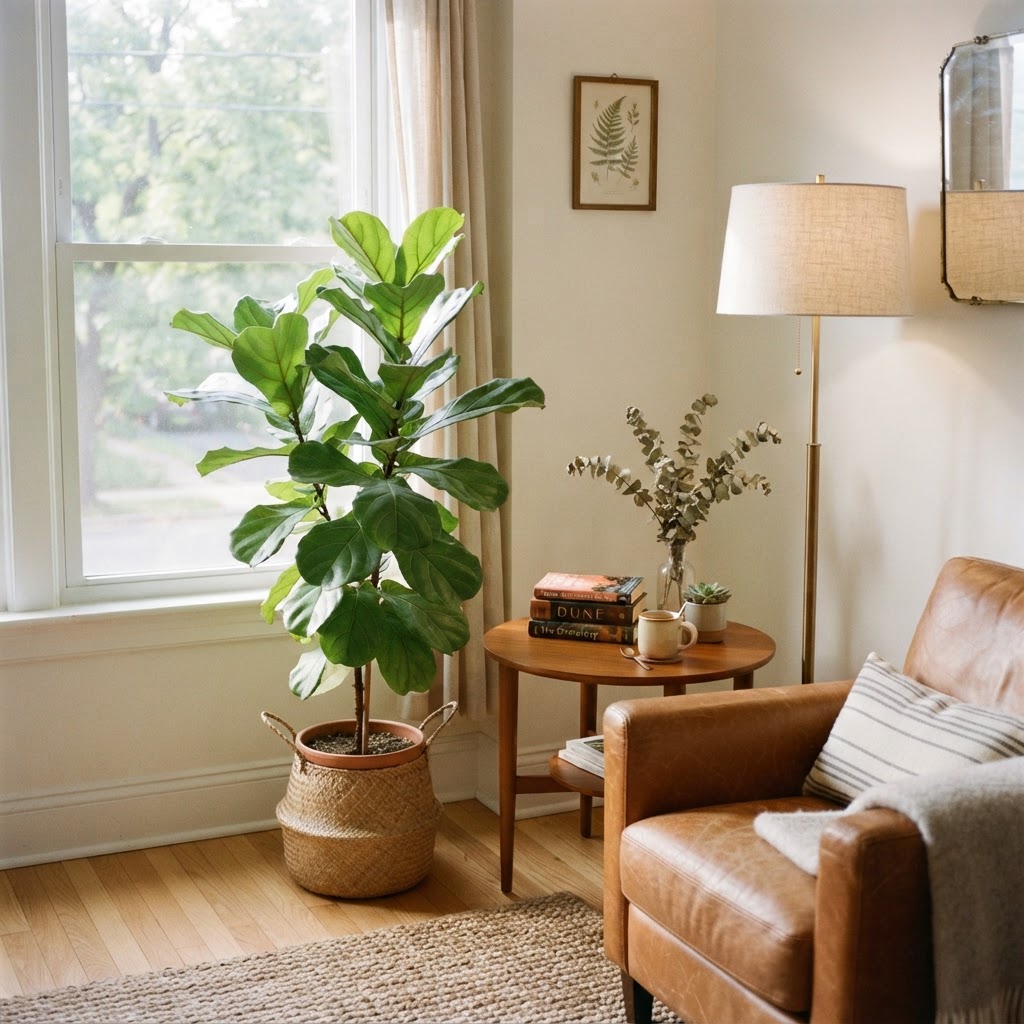
Incorporating one large statement plant adds a touch of organic luxury to any small space.

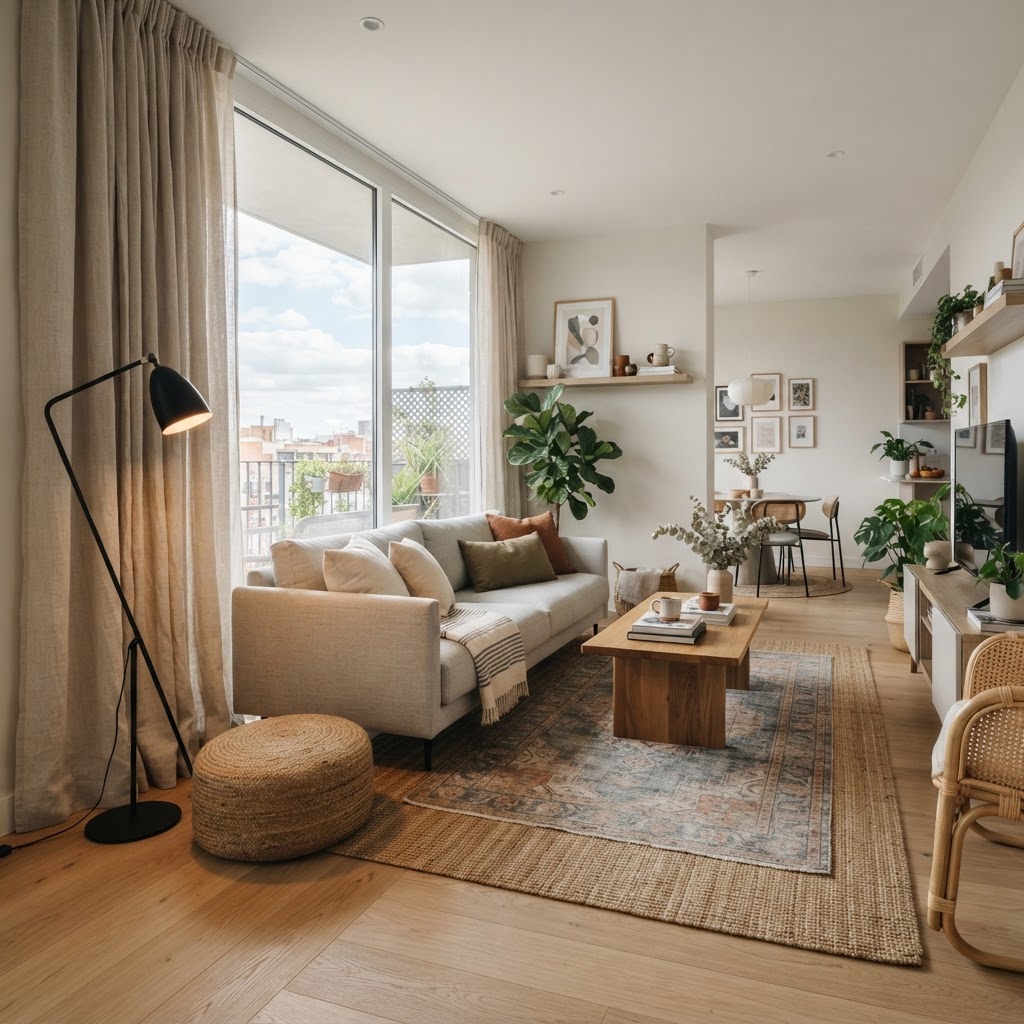
Texture is the difference between a college dorm and a curated home. In a small apartment, you might not have room for oversized furniture, so you must rely on high-quality textiles to do the heavy lifting. Swap out thin, flat-weave rugs for plush, high-pile area rugs that add weight to the room. Adding a heavy-duty rug pad underneath your area rug—which costs around $30-$50—can make even a budget-friendly rug feel like a high-end investment piece while protecting rental floors.

Selecting the Right Fabric Palette

Stick to a monochromatic or neutral palette to make the room feel cohesive, then introduce luxury through material variety. Think velvet throw pillows, linen curtains, and faux-fur blankets. These elements invite touch, which inherently makes a space feel more premium and thoughtful. By layering textures within a single color family, you create a sophisticated “monochromatic luxury” aesthetic that makes the limited space feel intentional rather than cramped.

The Art of Vertical Storage and Shelving

Clutter is the enemy of a premium aesthetic. When floor space is limited, the only way to go is up. Tension-rod shelving units or modular wall systems that don’t require permanent drilling are excellent renter-friendly finds. These systems allow you to display curated decor while keeping your essentials organized and off the floor. Utilizing vertical space up to 8 feet high draws the eye upward, which can make ceilings appear significantly higher than their actual measurement.

Curating Your Display

Don’t just shove items onto shelves. Treat your storage like a gallery. Group items by color or height, and leave “negative space” between objects. A shelf that is 50% empty feels significantly more expensive than one that is packed to the brim with knick-knacks. Use baskets to hide the ugly necessities like chargers or remote controls. Incorporating woven baskets or lidded storage boxes adds both tactile interest and a clean, organized look that mimics high-end retail displays.

Hardware Swaps: The High-Impact Hack

Most landlords provide basic, plastic or cheap metal cabinet hardware in kitchens and bathrooms. This is the first thing people notice, and it is usually the first thing that makes an apartment feel “rental-grade.” By swapping these out for high-quality brass, matte black, or brushed nickel pulls, you instantly change the look of your cabinetry. A set of 10 modern handles can typically be found for under $40 and takes less than 15 minutes to install with a standard screwdriver.

Keep the original hardware in a labeled baggie inside your junk drawer. When it is time to move out, simply swap them back. It is a five-minute project that provides a massive return on investment, allowing you to personalize your kitchen without permanently altering the landlord’s property. Choosing hardware with a substantial weight or a solid metal construction will immediately elevate the tactile experience of using your kitchen.

Window Treatments: Beyond the Plastic Blinds

Nothing screams “temporary” quite like standard-issue white plastic blinds. They are often flimsy, prone to breaking, and rarely look good. Replacing them with floor-to-ceiling curtains can completely transform a room. Mount your curtain rod as high as possible—closer to the ceiling than the window frame—to create the illusion of taller walls. Extending the rod 6-10 inches beyond the window frame on each side also allows more natural light to enter when the curtains are open.

Choosing Your Curtains

For a premium look, opt for heavy-weight fabrics like velvet or linen blends. Ensure your curtains are long enough to just kiss the floor; puddling on the floor looks romantic but can attract dust, while curtains that hang too short look like they were meant for a different house. Light-filtering or blackout options also provide the added benefit of temperature control. Using double curtain rods allows you to layer sheer curtains for privacy during the day and heavy fabric curtains for a dramatic, luxury aesthetic at night.

Curtain Fabric Best Feature Maintenance
Velvet Light blocking/Luxury Dry Clean
Linen Breathable/Natural Low
Synthetic Blend Wrinkle-free Machine Wash

Choosing the Right Slim Shoe Cabinet Material
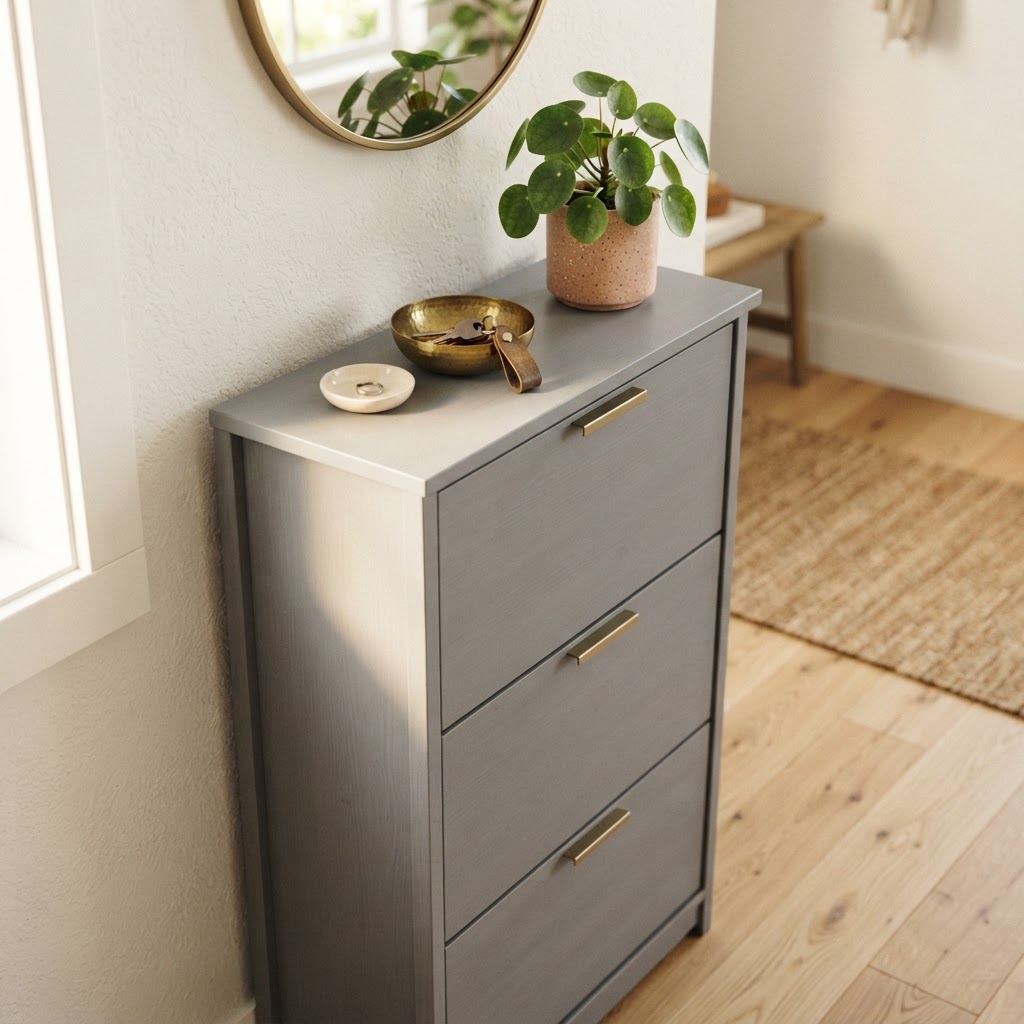
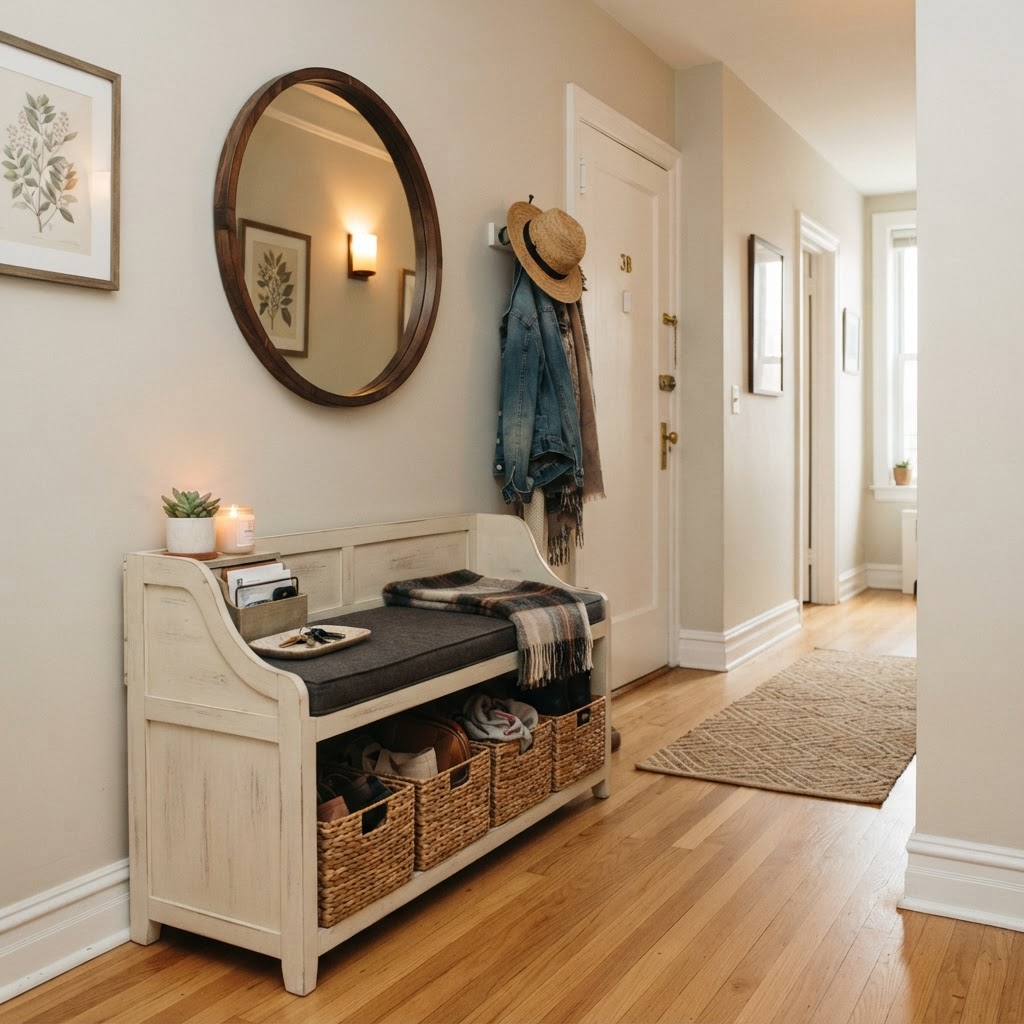
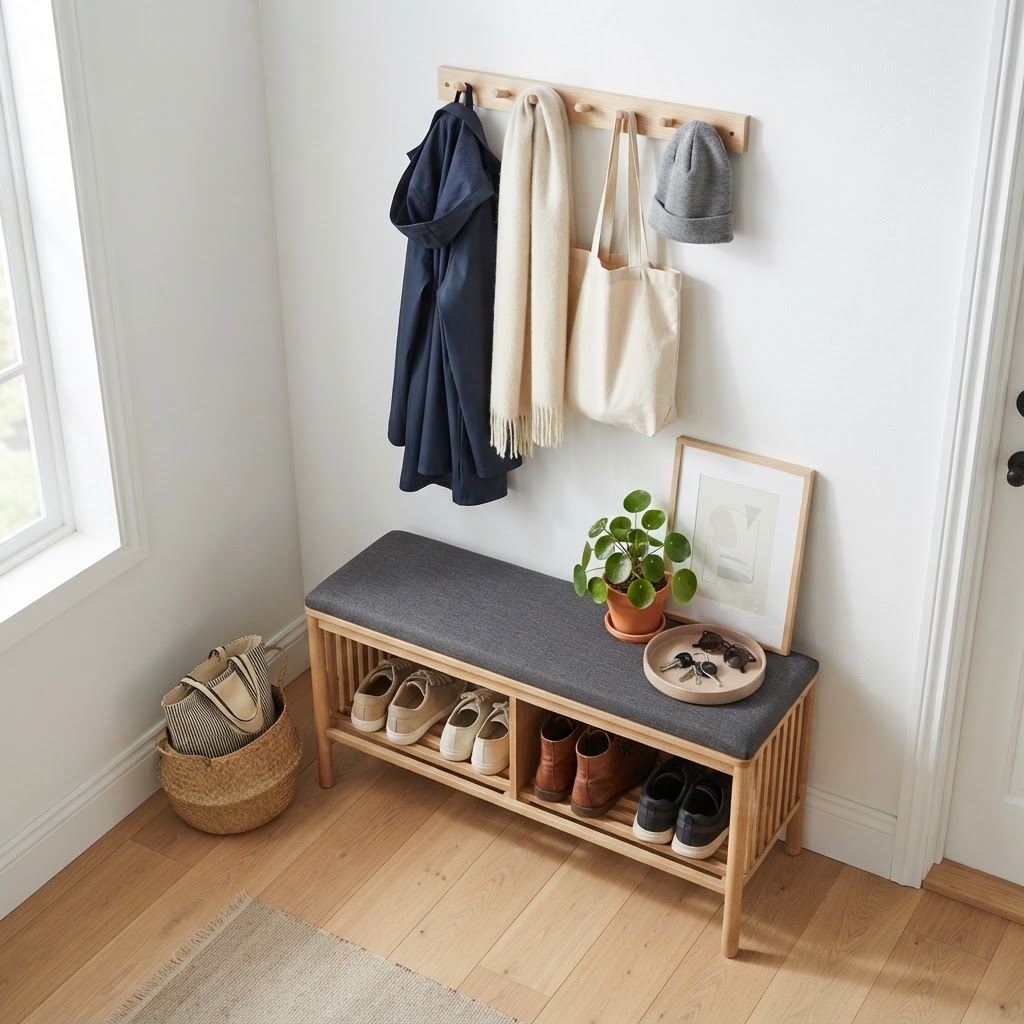
Small details like plants and trays elevate your shoe storage.

Material choice impacts both the durability and the visual weight of your entryway furniture, with lighter materials generally outperforming dark, heavy finishes in small spaces. For small areas, you generally want to avoid heavy, dark woods that can make a cramped hallway feel even smaller. Instead, consider lighter woods like oak, high-gloss whites, or mirrored finishes that reflect light and create the illusion of extra space. If your home features an industrial theme, metallic or matte black finishes can provide a sharp, clean look that grounds the space without being overwhelming. High-gloss finishes are particularly effective in windowless hallways because they bounce ambient light around the room, reducing the “tunnel” effect.

Benefits of Mirrored Fronts

One of the most effective tricks in interior design is using mirrors to expand a room, especially in hallways under 5 feet wide. A slim shoe cabinet with mirrored drawer fronts acts as a functional piece of art while making your hallway appear twice as long. This dual-purpose design is perfect for those who want to check their outfit before heading out the door while keeping their shoe collection perfectly hidden. By reflecting your lighting and artwork, the mirror also helps brighten up windowless entryways, increasing the perceived brightness of the area by up to 20%.

15 Innovative Slim Shoe Cabinet Concepts
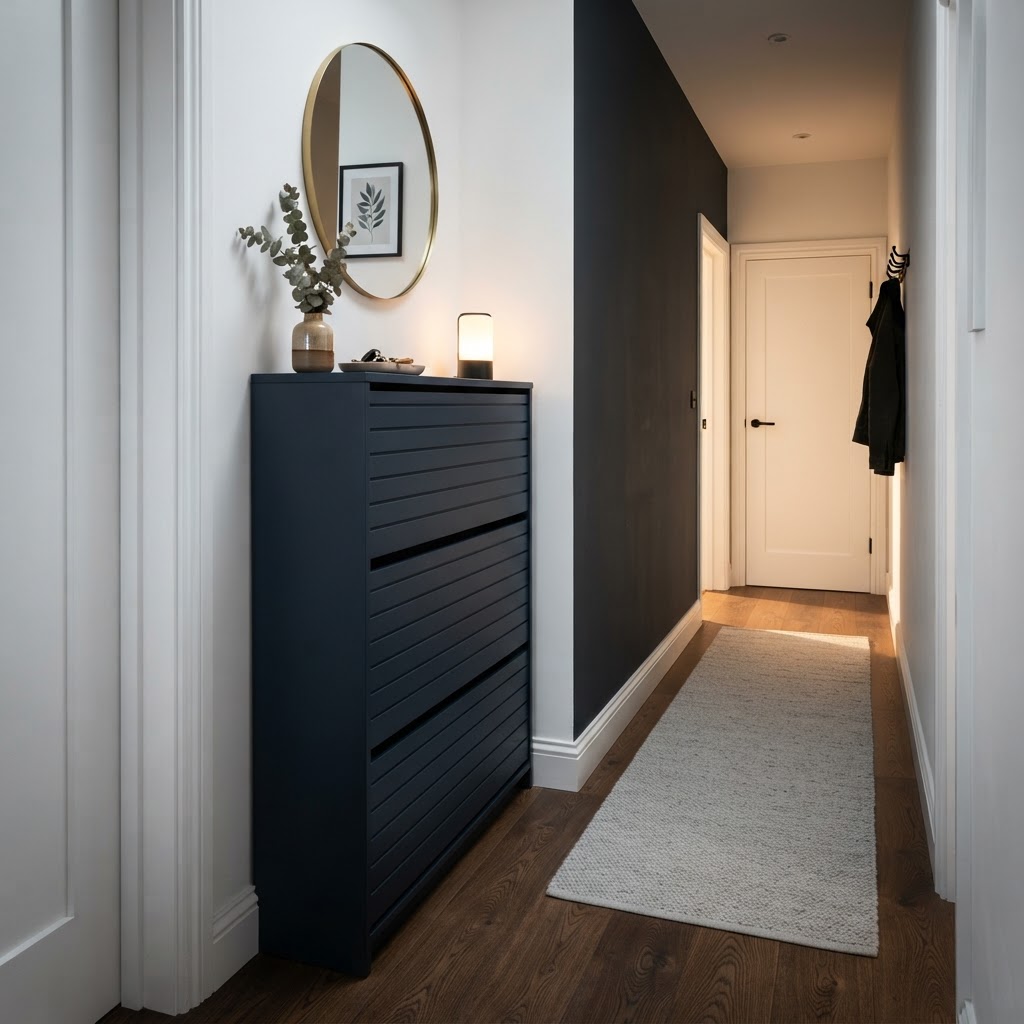
Vertical storage is essential for maximizing narrow hallway space.

Finding the perfect fit involves looking at a variety of styles that prioritize function without sacrificing aesthetic. First, consider the wall-mounted floating cabinet, which keeps the floor visible and makes the room feel airier. Second, look for dual-row tipping bins, which double your capacity in the same footprint. Third, opt for a cabinet with an integrated bench top, providing a place to sit while you lace up. Fourth, utilize a tall vertical column style that stretches to the ceiling. Fifth, choose a modular system that allows you to add units as your collection grows. Sixth, try a rattan-faced cabinet to add texture. Seventh, select a design with a hidden top drawer for keys and mail. Eighth, utilize a bench with tilt-down compartments. Ninth, explore minimalist metal wire designs for an industrial look. Tenth, consider a cabinet with open shelving for daily-wear shoes and closed storage for seasonal items. Eleventh, look for rotating shoe columns. Twelfth, implement a slim console-style cabinet with patterned doors. Thirteenth, choose a unit with a built-in mirror. Fourteenth, try a corner-fit slim unit to maximize dead space. Finally, the fifteenth idea is a custom built-in unit that mimics your wall color to blend in seamlessly.

Implementing Vertical Storage Solutions
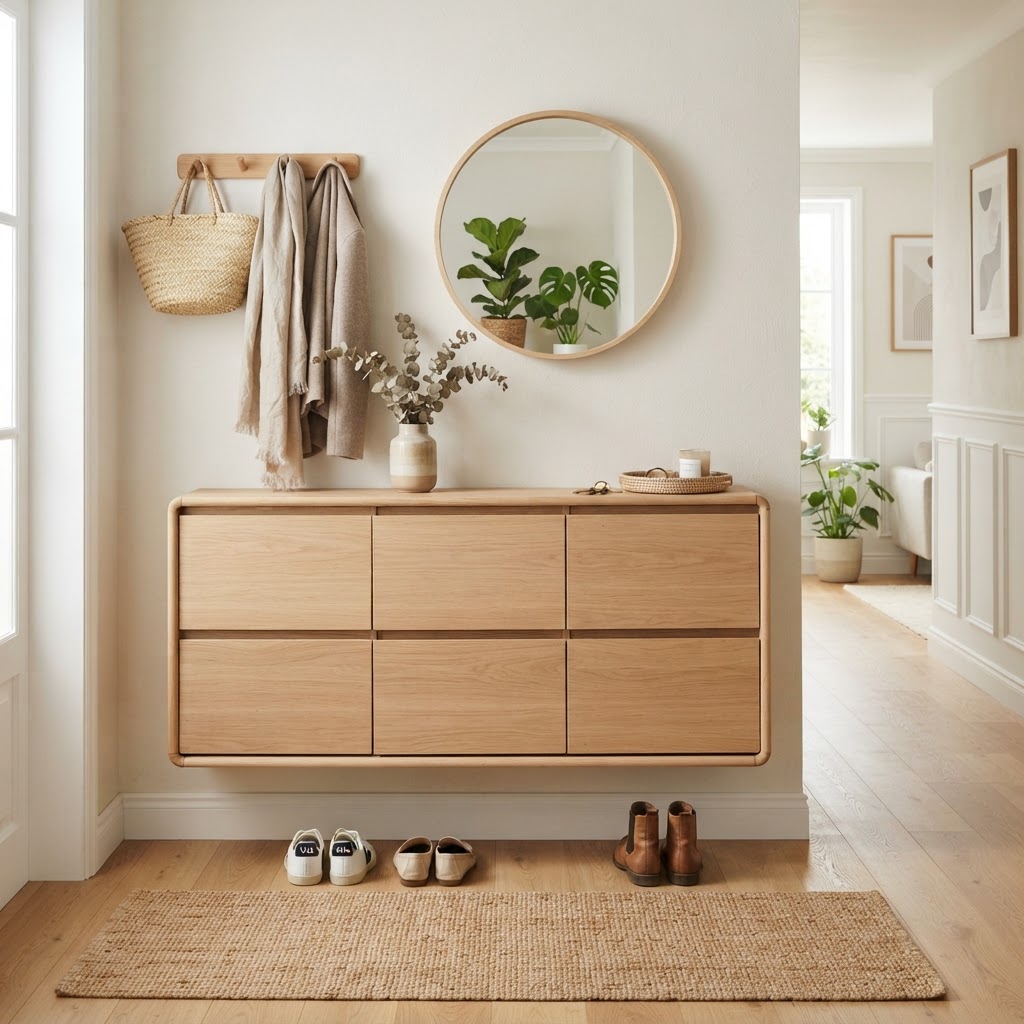
Floating cabinets keep the floor clear and the room feeling large.

When floor space is non-existent, look toward the walls, as vertical storage is the secret weapon of professional organizers. By installing a slim cabinet that reaches higher up your wall, you free up the floor beneath it for umbrellas or decorative floor baskets. This “stretching” of the furniture helps draw the eye upward, making your ceilings appear higher and the overall entryway feel more expansive. Professional interior designers recommend leaving at least 6-8 inches of clearance from the floor for floating units, which creates the visual “weightlessness” that makes tight hallways feel larger.

Aesthetic Integration and Decor Tips

Your shoe storage should look like a planned part of your interior design, rather than a bulky afterthought. Treat the top surface of your slim shoe cabinet as a display area by incorporating a consistent decor theme. Use a small tray for keys, a decorative bowl, a table lamp, or a vase of fresh flowers to make the piece feel intentional. By adding a piece of art above the cabinet, you shift the focus from the utility of the object to the style of your home, effectively camouflaging its primary purpose.

Balancing Function and Style

To ensure your entryway remains welcoming, maintain a consistent color palette between the cabinet and the wall. If your walls are neutral, a cabinet in a matching tone will help it disappear into the background. Conversely, if you want your shoe storage to be a statement piece, choose a bold color or a unique hardware finish that complements your hallway rug or lighting fixtures. The balance between function and style is what defines a truly organized home, and opting for brass or matte gold hardware can elevate a standard white cabinet to a high-end look.

Maintenance and Organization Hacks

Once you have your new cabinet, keeping it organized is the next step in long-term success through a strict rotation system. Use the “one-in, one-out” rule to prevent clutter from overwhelming your new system, meaning for every new pair you buy, an old pair must be donated or moved to a closet. Periodically rotate your footwear based on the season—storing winter boots in the bottom compartments during summer and swapping them once the temperature drops. This ensures your most frequently used shoes are always at the easiest height for access, typically between 30 and 45 inches from the floor.

Customization vs. Pre-made Units

Deciding between pre-made furniture and custom cabinetry often comes down to budget and specific architectural constraints. Pre-made units are excellent for quick fixes, typically costing between $150 and $400, and offer a wide variety of styles at affordable price points. However, if your hallway has architectural quirks like floor vents, electrical outlets, or unusual angles, custom carpentry might be the best investment. A custom-built unit can ensure that every inch of your wall is utilized, providing a bespoke look that perfectly fits your home, though this typically ranges from $1,000 to $3,000+ depending on the materials used.

FAQ

What is the ideal depth for a slim shoe cabinet?

The ideal depth for a slim shoe cabinet in a narrow entryway is between 6 and 12 inches. This range is sufficient to accommodate most shoe sizes using a tipping-door mechanism without obstructing the walking path of your hallway.

How do you organize shoes in a narrow hallway?

Organize shoes by prioritizing the most frequently worn items in the easiest-to-reach cabinet tiers. Use the “one-in, one-out” rule to keep the total volume of shoes manageable and swap seasonal footwear into different storage locations when not in use.

Do floating shoe cabinets save more space?

Yes, floating shoe cabinets save more space by keeping the floor clear, which visually expands the footprint of a narrow hallway. By removing legs or bases, you create a sense of openness and make cleaning the floor underneath much easier.

Can I fit boots in a slim shoe cabinet?

Yes, you can fit boots in a slim cabinet by selecting a model with removable dividers or adjustable shelves to accommodate varying shaft heights. Ensure the internal height of the compartment is at least 15 inches if you plan to store tall riding or rain boots.

How much clearance should I have for a slim shoe cabinet?

Aim for at least 30 to 36 inches of clearance in front of your cabinet to allow for comfortable operation and room to maneuver while putting on shoes. Always measure your front door swing radius to ensure the cabinet does not block entry.
Highest-ROI No-Drill Upgrades for Tiny Apartments Under $30

Highest-ROI no-drill upgrades for tiny apartments under $30 include swapping generic bulbs for 3000K LEDs, installing tension-rod curtains to create height, replacing cabinet hardware with modern pulls, and utilizing adhesive hooks for vertical storage. These low-cost, reversible modifications instantly modernize rental spaces, improve functionality, and ensure the full return of your security deposit.

Rethinking Your Lighting Strategy

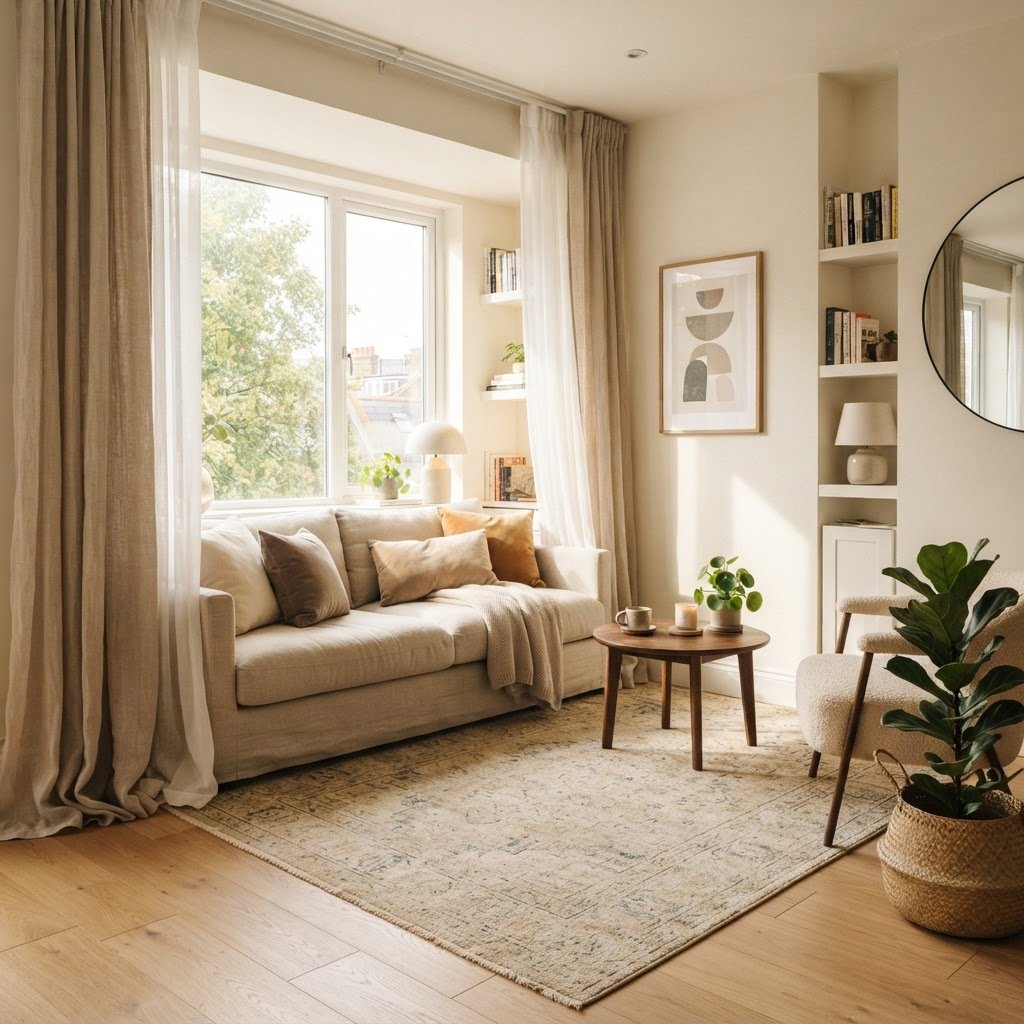
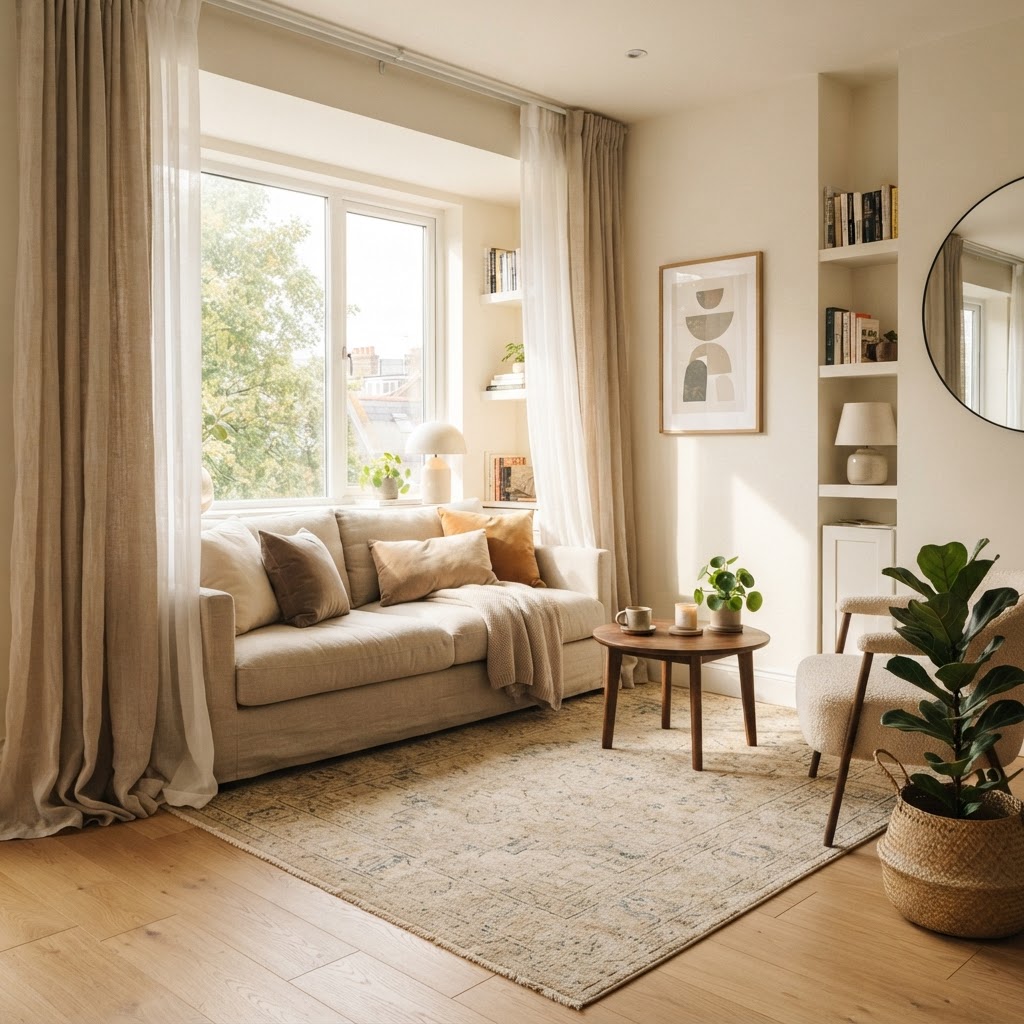
Floor-to-ceiling curtains instantly add height and elegance to any rental apartment.

Lighting is the single most impactful factor in how large or small a room feels, yet it is frequently ignored in rental properties. Standard builder-grade fixtures often cast clinical, unflattering light that shrinks the room and highlights architectural shortcomings. By focusing on color temperature and light layering, you can fundamentally transform the atmosphere of a studio apartment for less than $20.

The Power of Warmth

Transitioning from cool-toned, 5000K daylight bulbs to warmer 2700K or 3000K bulbs makes a sterile, white-walled apartment feel like a curated sanctuary. Smart bulbs that plug into existing lamps are well under the $30 mark and allow for smartphone-controlled brightness, eliminating the need for expensive, permanent lighting fixtures. To optimize your space, aim for a ‘layered’ lighting approach:

Lighting Type Placement Best For
Ambient Ceiling Fixture Overall Room Glow
Task Desk/Kitchen Focused Work
Accent Corner/Shelf Depth & Drama

Lighting should never be treated as an afterthought in small space living. By creating layers—floor lamps, table lamps, and under-cabinet LED strips—you draw the eye to different corners of the room, effectively expanding the perceived boundaries of the space.

Command Strips and Adhesive Storage

Swapping cabinet hardware is a quick, budget-friendly way to modernize a kitchen.

When square footage is at a premium, the most effective solution is to go vertical using non-damaging adhesive technology. Because you cannot drill shelves into the walls, heavy-duty adhesive hooks and mounting strips act as the modern renter’s best friend for clearing floor and counter space.

Maximizing Vertical Utility

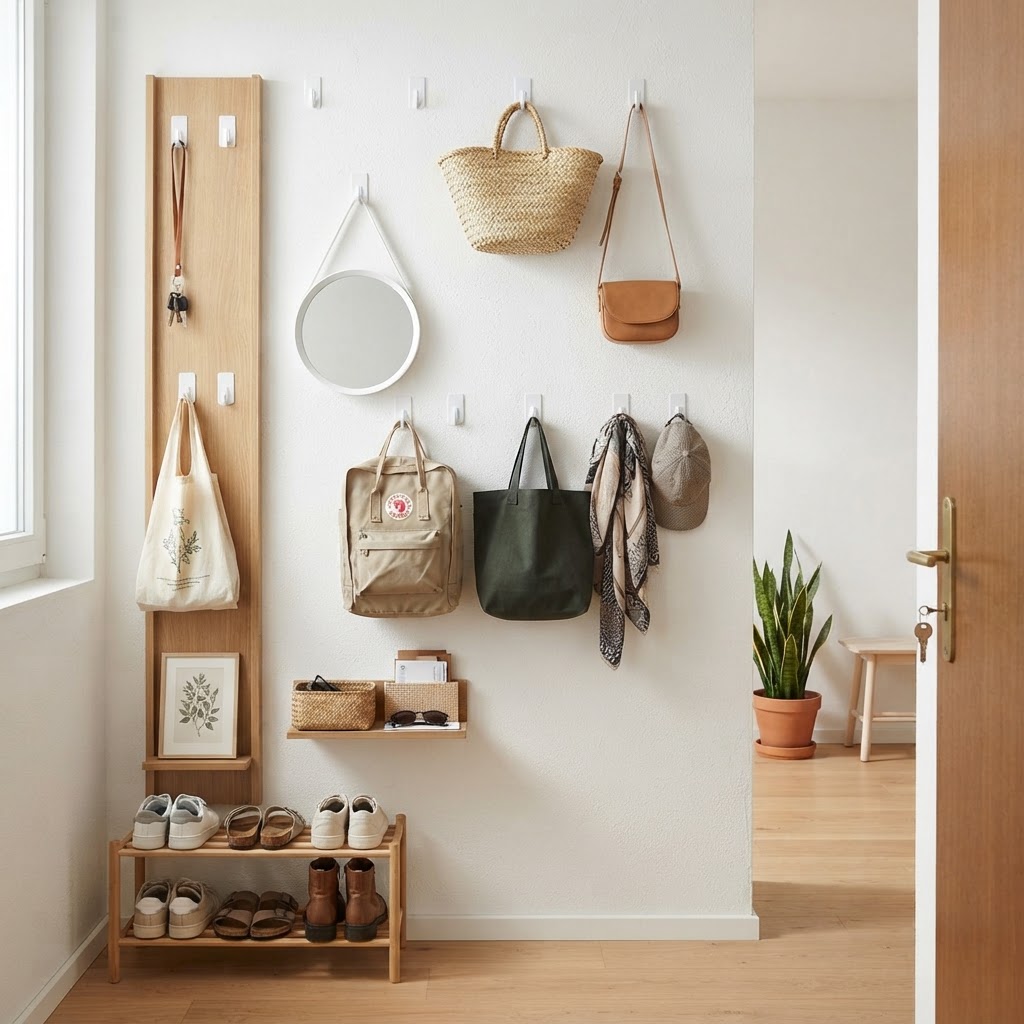
Use adhesive hooks behind closet doors to store scarves, bags, or lightweight cleaning supplies. For entryway management, mount a lightweight mesh organizer on the wall to hold mail, keys, and transit passes. These items, usually priced between $5 and $15, are completely removable, ensuring you get your deposit back while gaining critical storage. To maximize success, always follow the manufacturer’s prep instructions: clean the wall surface with isopropyl alcohol before application, and wait at least one hour for the adhesive to cure before hanging items to ensure the weight capacity is fully maintained.

Upgrading Cabinetry Without Paint

Grouping plants creates a lush focal point that breathes life into tight corners.

If your kitchen cabinets are stuck in the 1990s, you do not need to commit to a permanent, expensive paint job to make them look custom. One of the highest-ROI no-drill upgrades for tiny apartments is simply swapping out the original hardware for modern, brushed gold or matte black pulls. Most rental cabinets use standard screw spacing (often 3-inch or 96mm), making it incredibly easy to find modern hardware that fits existing holes.

Always keep the original hardware in a labeled baggie stored in a kitchen drawer so you can swap them back before moving out. This thirty-minute project can make a kitchen look thousands of dollars more expensive than it is. Pair these new pulls with removable, waterproof contact paper on the backsplashes for a full, temporary kitchen refresh that stays well under your $30 budget. For best results, use a screwdriver with the correct drive (Phillips or flathead) to avoid stripping the existing rental screws.

Creating Dedicated Zones with Textiles

Adhesive hooks are a renter-friendly way to maximize vertical storage.

In a tiny apartment, where the bedroom serves as the living room and home office, you must define zones to prevent the space from feeling like a cluttered storage unit. High-quality textiles are the most affordable, non-intrusive way to create visual boundaries and distinct “rooms” without using bulky physical partitions.

Place a low-cost runner rug between your dining area and your couch to act as a “floor wall” that signals where one functional space ends and the next begins. These rugs are often available for under $30 and add sound dampening to reduce noise for neighbors. Pair your rug with a set of textured velvet or linen cushion covers to add luxury to your seating area, making the space feel intentionally curated rather than haphazard. Textiles introduce softness, which is essential for counterbalancing the hard, flat surfaces common in modern rental apartments.

Removable Window Treatments

Standard plastic blinds are a hallmark of temporary rental living; they are often dusty, flimsy, and visually unattractive. You can replace them entirely with tension-rod curtains, which require zero mounting hardware and can be installed in five minutes without leaving a single mark on the window casing.

Purchase two inexpensive tension rods and hang floor-to-ceiling curtains in a light, airy fabric. This visual trick encourages the eye to move vertically, making ceilings feel higher than they actually are. By extending the curtain rod slightly wider than the window frame, you allow more natural light to enter the room, which is essential for making a tiny home feel expansive. For maximum effect, choose light-filtering or sheer fabrics to maintain privacy while maximizing the airy, open feel.

The Psychology of Surface Clutter

Small spaces look messy significantly faster than large ones, where a single pile of mail or a stray set of headphones can make an entire room feel like a disaster zone. The most effective upgrade for any small apartment is implementing a strict ‘every item has a home’ policy using budget-friendly, uniform storage bins.

When your storage is color-coordinated or matches the color palette of your room, it recedes into the background, reducing visual noise. Invest in a few woven baskets or fabric bins that fit under your bed or on top of your wardrobe. This keeps the eye line clear and allows your decor, rather than your daily belongings, to take center stage. By limiting surface items to three or fewer objects per area, you create a sense of calm and order that makes a small footprint feel far more intentional.

Plants as Architectural Elements

Plants are more than just home decor; they act as living sculptures that break up the monotony of flat, white apartment walls. Hanging plants from existing shower curtain rods or using inexpensive plant stands allows you to create height in corners that would otherwise remain empty.

Choose hearty varieties like Pothos, Snake Plants, or ZZ Plants, which are inexpensive ($10-$20) and thrive in varying light conditions. By grouping three plants of varying heights together, you create a professional, intentional focal point. This is a high-ROI upgrade because it improves indoor air quality while adding massive aesthetic value for minimal cost, effectively bringing life and texture into a small, potentially sterile rental unit.

FAQ

Can I install curtains without drilling holes?

Yes, you can use heavy-duty tension rods that fit securely inside the window frame. These require zero hardware and hold curtains firmly in place without damaging the wall, making them perfect for rental properties.

What are the best cheap ways to organize a small kitchen?

Use adhesive hooks to hang utensils and towels, and install an over-the-door rack for spices or cleaning supplies. Utilizing the space inside cabinet doors for organization maximizes your storage capacity without permanent installation.

How can I make a small room look bigger for under $30?

Focus on verticality: use floor-to-ceiling curtains and place mirrors or reflective surfaces to bounce light. Clear all floor clutter and use uniform storage containers to reduce visual density and create an open, airy atmosphere.

Will changing cabinet hardware affect my security deposit?

No, changing cabinet hardware is generally considered a minor, reversible modification. As long as you keep the original hardware in a labeled bag and reinstall it before you move out, your security deposit will remain safe.

What is the best light color for a cozy apartment?

Use 2700K to 3000K (warm white) LED bulbs to create a cozy, inviting atmosphere. Avoid 5000K (daylight) bulbs, as they can feel clinical and harsh, making small spaces feel cold and uninviting.

Tiny Entryway Makeovers That Transform Your Apartment

Tiny Entryway Makeovers That Transform Your Apartment

To transform a tiny entryway, prioritize vertical storage, wall-mounted surfaces, and high-impact lighting to eliminate clutter while maximizing floor space. By replacing floor-standing furniture with floating consoles and using mirrors to reflect light, you create a functional, organized transition zone that makes small apartments feel significantly larger and more inviting.

The Psychology of the Entryway

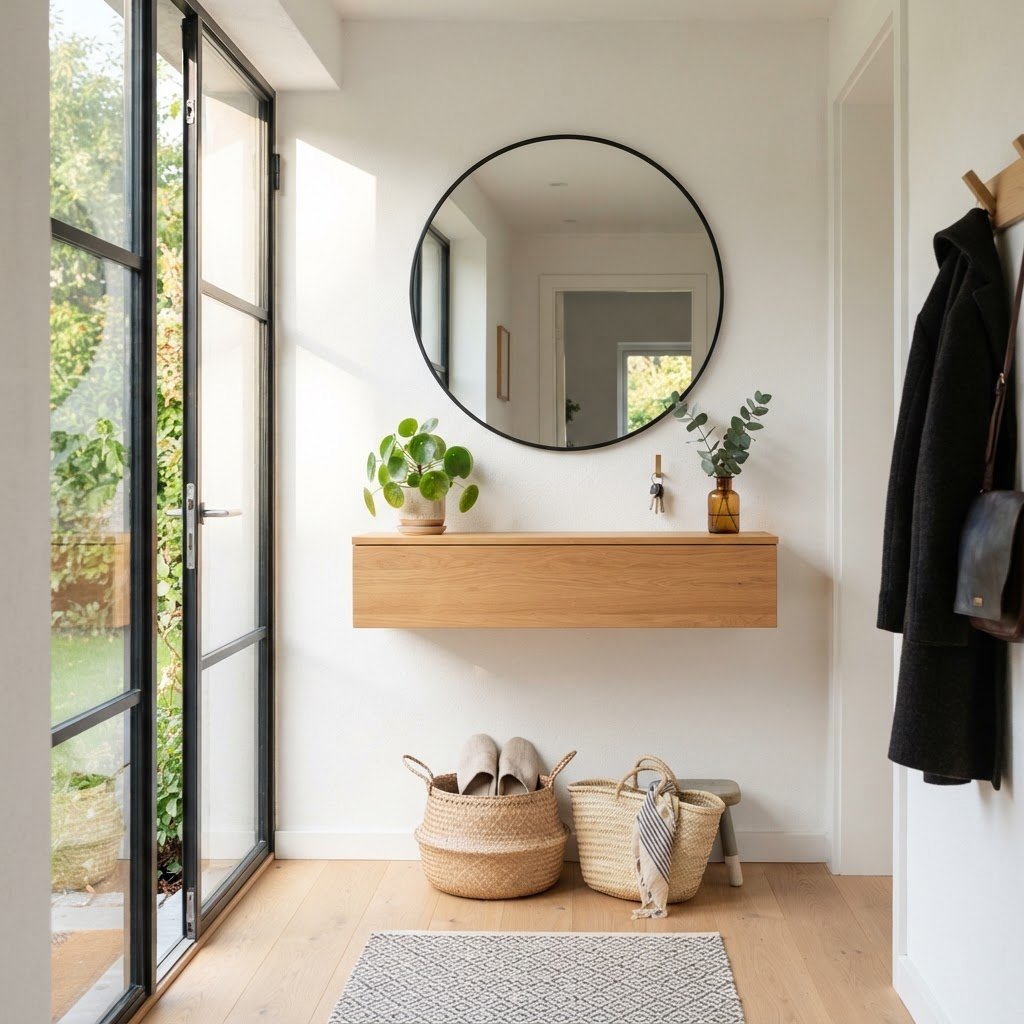
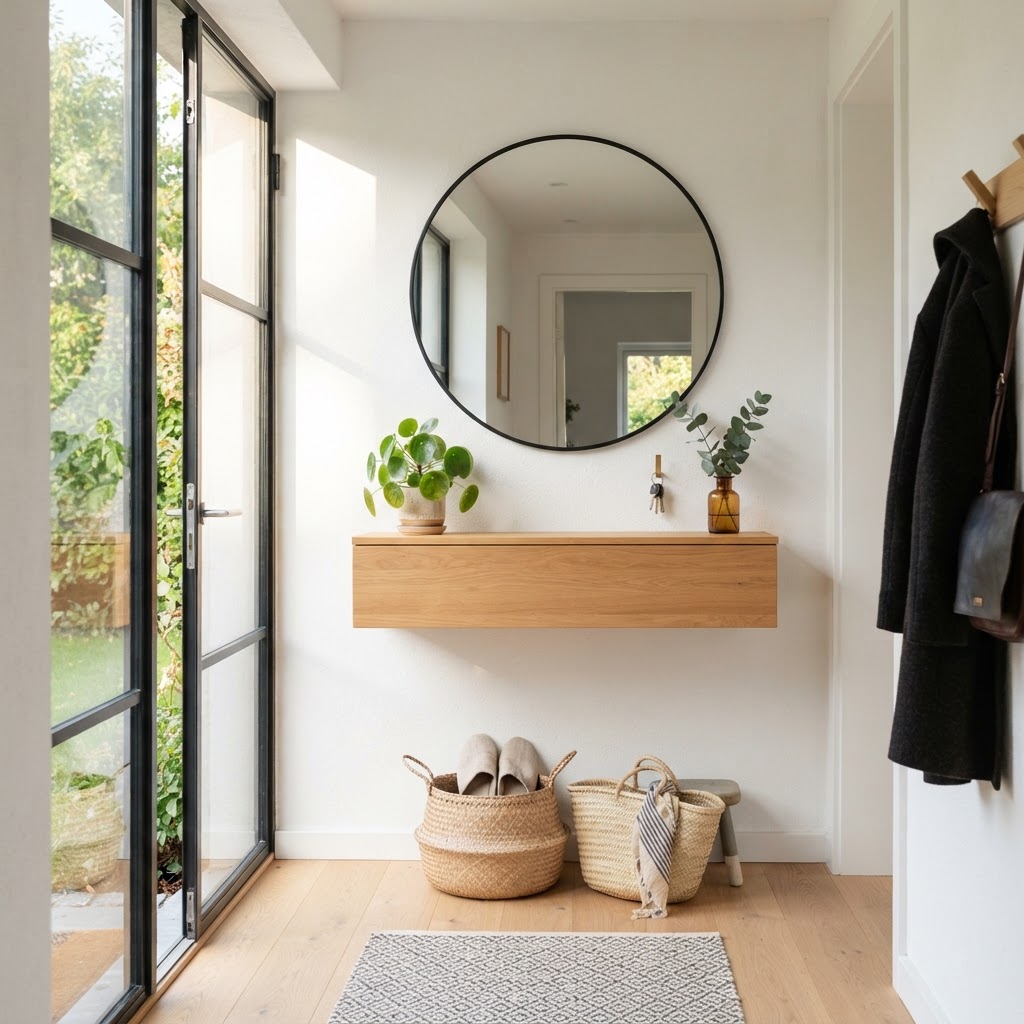
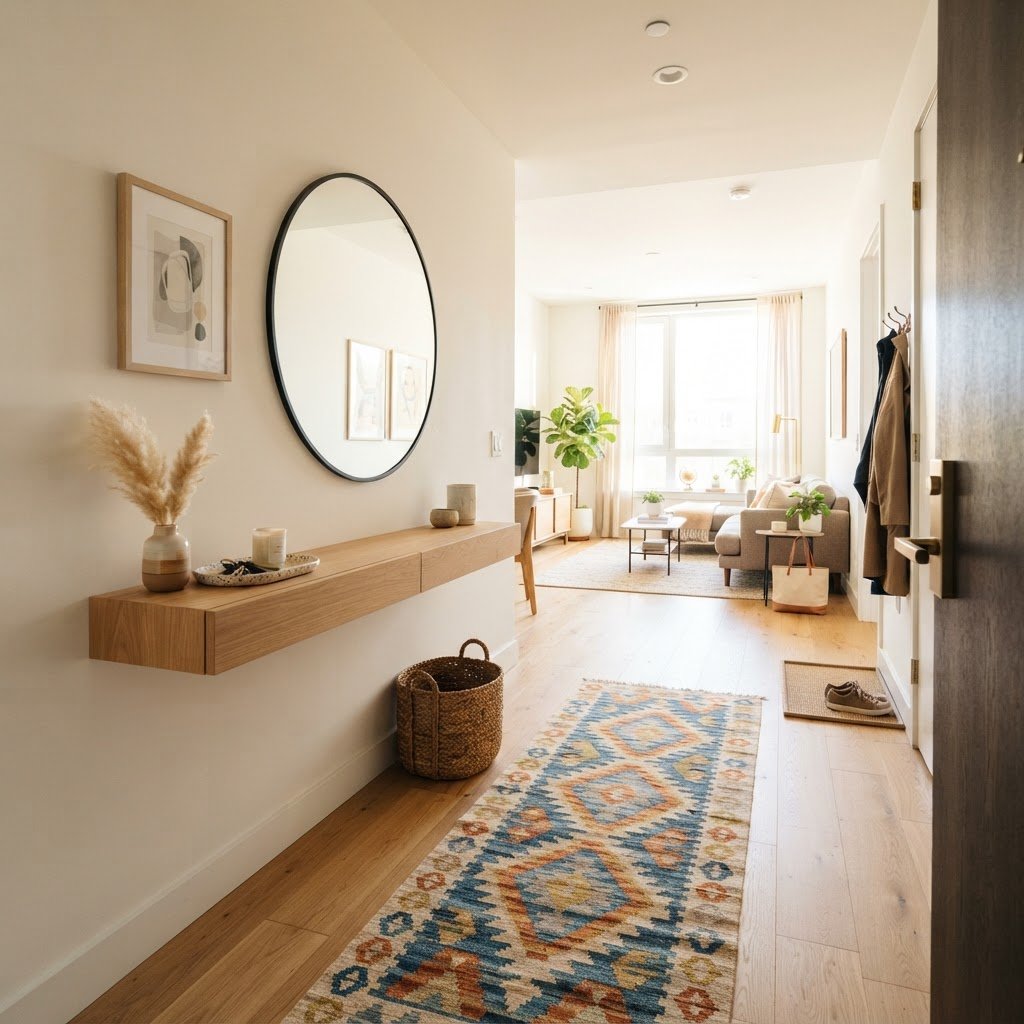
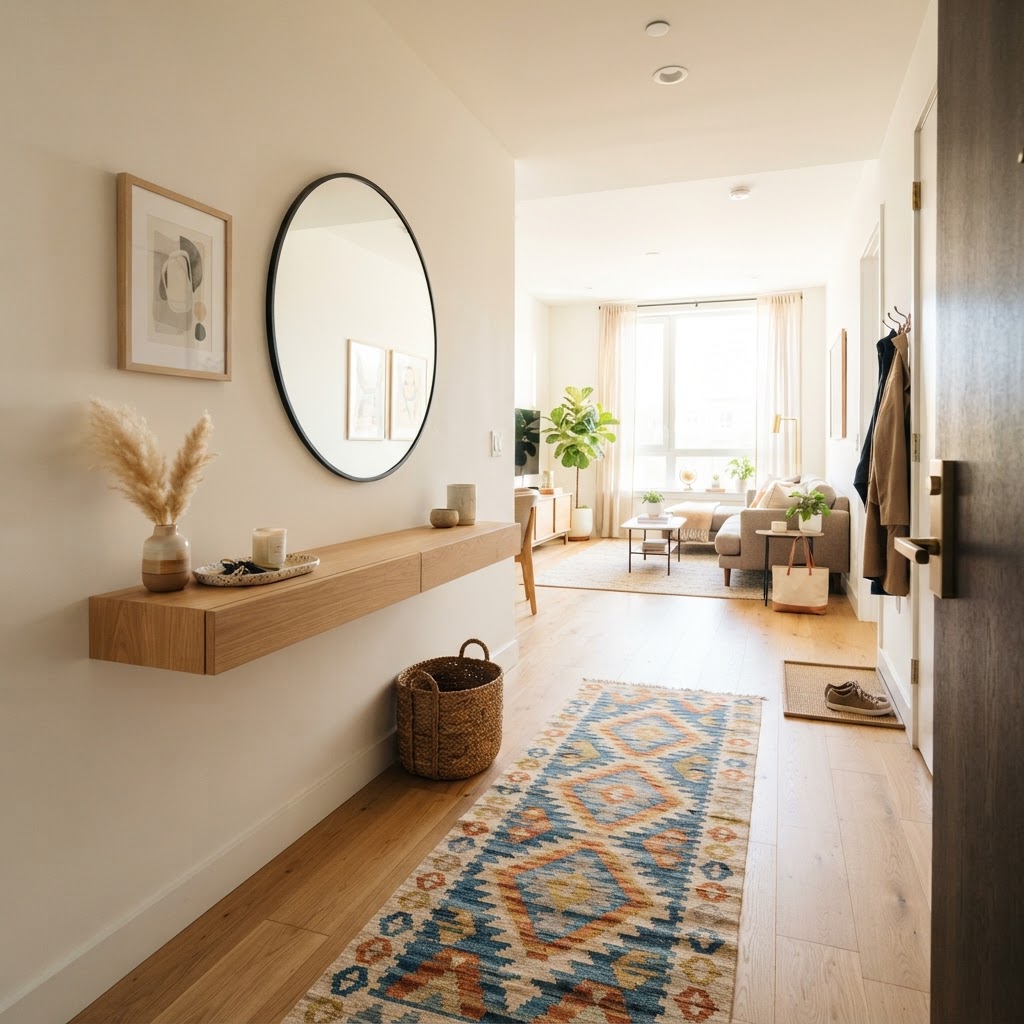
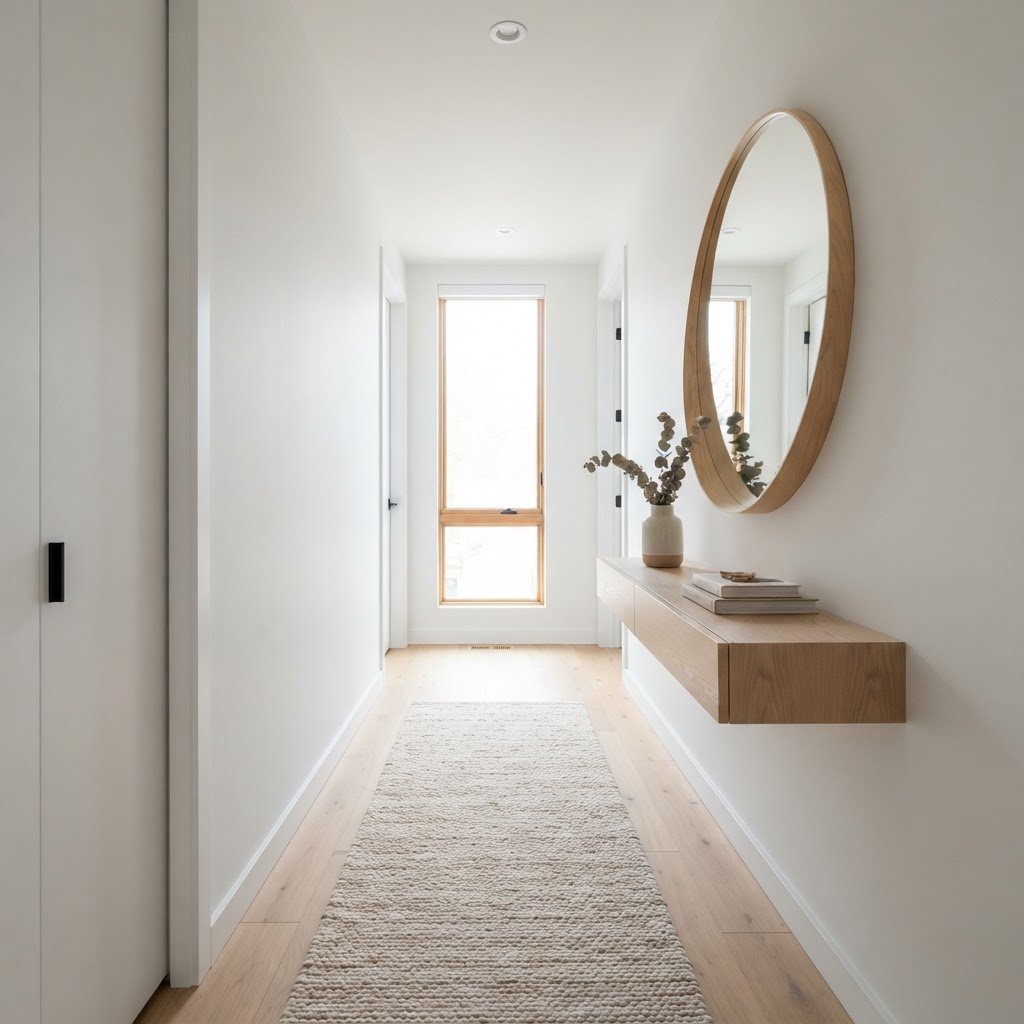
A floating console and mirror can make even the smallest entryway feel spacious and bright.

The entryway serves as a psychological airlock between the chaos of the outside world and the sanctuary of your home. When this space is clogged with shoes, bags, and mail, it subconsciously raises your stress levels; studies suggest that clear visual pathways reduce cortisol levels by creating a sense of immediate order upon arrival. Tiny entryway makeovers focus on reducing this visual noise so your brain can instantly relax. By curating what is visible, you create a sense of calm that ripples throughout your entire apartment.

Start by assessing the “landing zone” needs of your household. Do you need a place for keys, a drop-off spot for mail, or a bench for putting on shoes? Identifying these requirements allows you to prioritize functionality over purely decorative items. Remember, in apartments where every square inch counts, nothing should exist in a small entryway without a specific purpose or a significant aesthetic contribution. Aim to keep surfaces at least 70% clear to maintain that airy, organized feeling.

Entryway Problem Immediate Solution Impact Score (1-10)
Cluttered Floor Wall-mounted hooks 9
Dark/Cramped Hallway Large statement mirror 10
Lack of Surface Space Floating console table 8
Visual Noise Decorative storage bins 7

Essential Storage Solutions for Small Spaces

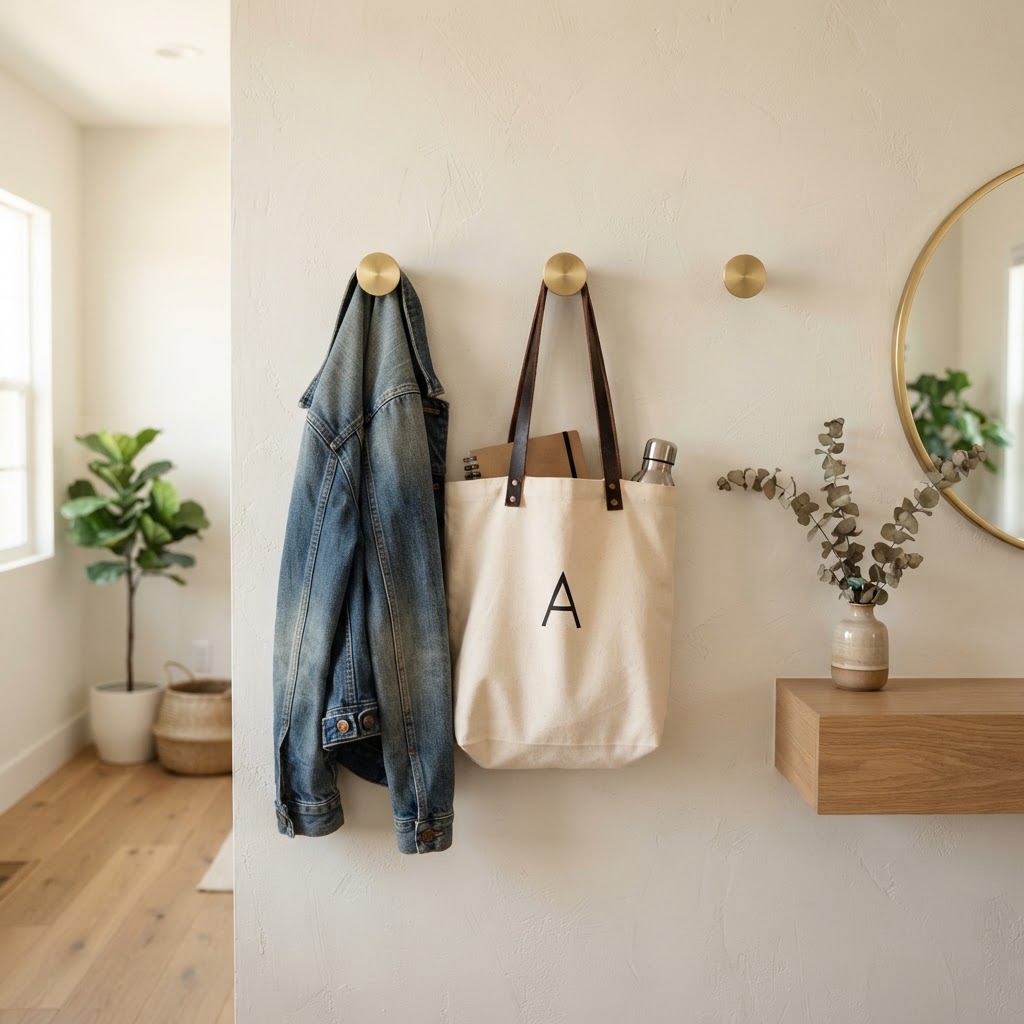
Minimalist brass hooks are a perfect space-saving solution for coats and bags.

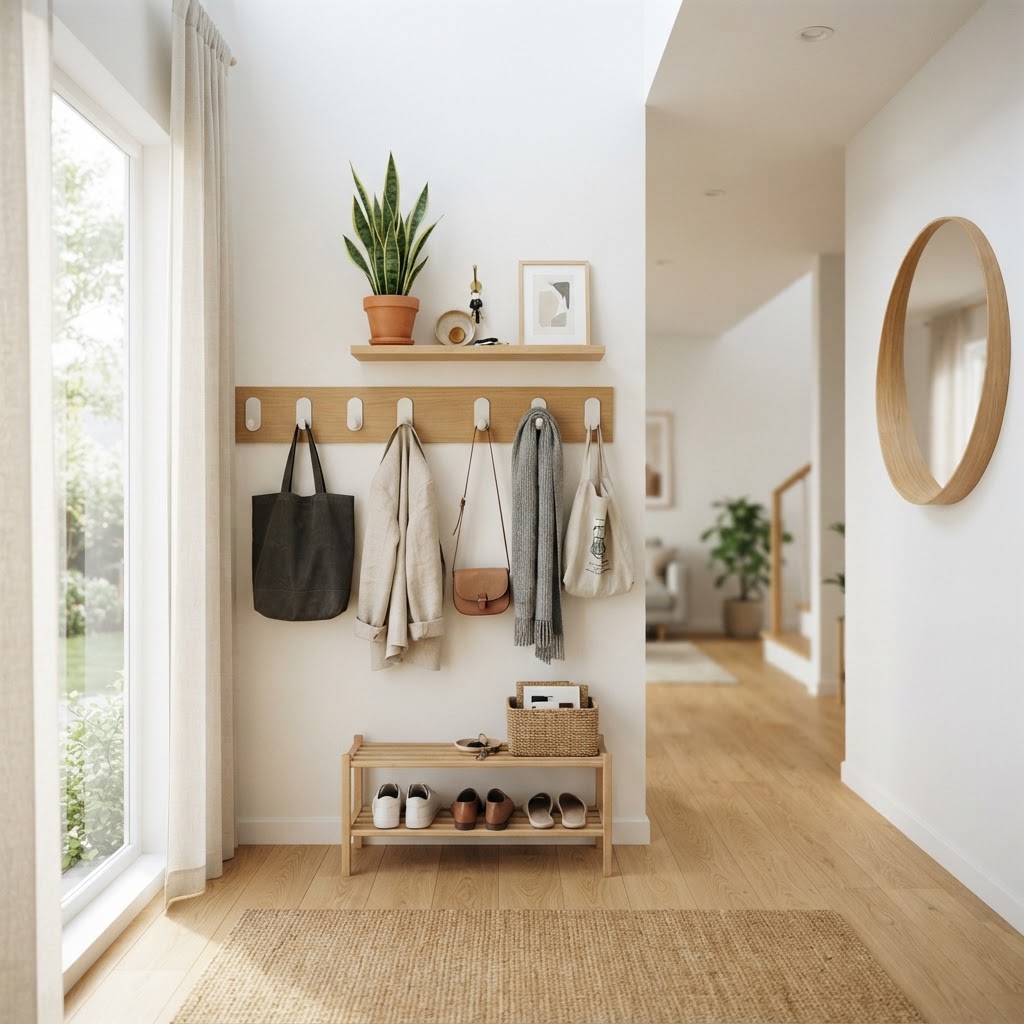
Verticality is your best friend when space is at a premium, requiring you to look upward rather than outward to solve storage deficits. If you cannot expand your entryway outwards, you must expand it upwards by utilizing wall-mounted coat hooks, floating shelves, or tall, narrow cabinets that reclaim floor space while providing ample storage for daily essentials. Efficient storage design ensures that your belongings are off the ground, which makes cleaning easier and the room look larger.

Choose a frame that complements your apartment’s overall style, whether that is modern, rustic, or industrial. For a more dramatic effect, consider a floor-to-ceiling mirror or a cluster of smaller decorative mirrors that create a gallery-style feature wall. This approach turns a utilitarian item into a bold focal point, reinforcing the theme of your tiny entryway makeovers. When mounting, ensure the center of the mirror is at 57 inches from the floor, which is the industry standard for optimal viewing height.

Organization Hacks for the Entryway

Maintaining your new entryway requires a strict “one in, one out” policy, especially when dealing with limited storage. Utilize decorative baskets or bins to corral smaller items like sunglasses, gloves, and pet leashes, which tend to create visual clutter when left loose on surfaces. By assigning every item a permanent home, you ensure that the entryway does not revert to a junk drawer.

Item Storage Solution Benefit
Shoes Tiered wall-mounted racks Saves floor space
Keys/Mail Wall-mounted organizers Eliminates surface clutter
Coats/Bags Sturdy wall hooks Keeps floor clear
Accessories Decorative baskets Hides small items

Implement a “drop zone” tray on your console or shelf specifically for keys, mail, and other pocket clutter. By keeping these items contained, you ensure that they never migrate to other areas of your home, keeping your apartment feeling organized and purposeful from the moment you step through the door. Keeping surfaces clean of “paper creep” is vital for maintaining a modern aesthetic in tight spaces.

Incorporating Personal Touches and Decor

A small entryway does not have to be clinical or strictly functional; it is the perfect place to make a big impact with limited decor. Since the space is small, you can afford to use bolder colors, patterns, or artwork that might feel overwhelming in a larger living area without breaking your budget.

Consider adding a small, durable rug or runner to define the space and add texture. A patterned runner can also draw the eye through the hallway, making the area feel longer and more intentional. Add a small plant or a piece of framed artwork to inject life and color into the space, reinforcing the idea that your entryway is a welcoming transition zone.

Ensure that the colors you choose harmonize with the rest of your apartment. Using a consistent color palette between the entryway and the main living space creates a cohesive flow, making the transition feel seamless rather than abrupt. Using a high-gloss finish on a small console or door frame can also help bounce light, adding to the illusion of extra space.

FAQ

Q: How do I make a tiny entryway look bigger?

Using a large mirror, light-reflecting paint, and keeping the floor clear of items are the fastest ways to expand a small entryway. By mounting storage to the walls and utilizing glass or acrylic furniture, you remove visual barriers that make the space feel cramped.

Q: What is the best storage for small entryways?

Wall-mounted hooks and floating shelves are the best storage solutions for tiny entryways. They move your daily essentials off the floor, which creates an open, clean look while maintaining full functionality for your keys, coats, and mail.

Q: How can I brighten a dark apartment entryway without electricity?

Use a large mirror opposite an existing light source to reflect brightness into the dark corners of the hall. You can also add battery-operated motion-sensor LED strips or lamps, which are inexpensive, wire-free, and provide immediate, welcoming light when you arrive home.

Q: Should I use a rug in a small entryway?

A runner rug is ideal for a small entryway because it defines the space as a distinct zone and adds texture to the room. Opt for a low-pile, washable rug to ensure it fits under the door and remains easy to clean as people walk in and out.

Q: What is the “one in, one out” rule?

The “one in, one out” rule means that for every new item you bring into your entryway, such as a new pair of shoes or a bag, you must remove or store an old item elsewhere. This prevents clutter buildup and maintains the minimalist aesthetic of your home.

Cheap Changes That Make Rentals Look Expensive

Cheap changes that make rentals look expensive include upgrading hardware, installing peel-and-stick wallpaper, layering lighting, and using high-quality textiles like floor-to-ceiling curtains. These reversible modifications allow renters to enhance their space’s aesthetic without damaging walls or forfeiting security deposits, effectively turning builder-grade units into high-end, curated living environments.

Rethink Your Lighting Strategy

Layering textures and tall drapery makes a small rental room feel grand and expensive.

Replacing standard “builder-grade” lighting fixtures is the single most effective way to elevate a rental space from sterile to sophisticated. Most apartments feature glaring flush-mount lights that lack character; swapping these for stylish alternatives, like a modern pendant or chandelier, immediately changes the room’s architecture. Since these installations are temporary, store the original hardware in a labeled box to reinstall before move-out. To maximize the luxury effect, focus on “layering” your light sources by incorporating at least three levels of illumination: ambient, task, and accent. For example, pair a primary ceiling light with floor lamps in corners and wall sconces near seating areas. This avoids the flat, clinical look of overhead lighting and mimics the warm, inviting atmosphere found in high-end hotels.

The Power of Warm Bulbs

One of the cheapest changes that make rentals look expensive is simply switching out harsh, cool-toned fluorescent bulbs for soft, warm white LEDs. A Kelvin rating between 2700K and 3000K creates an ambient glow that instantly mimics high-end hotel lighting. Avoid the clinical blue light that exposes every imperfection and instead opt for bulbs that flatter your furniture and decor.

Bulb Type Kelvin Rating Best Use Case
Warm White 2700K – 3000K Living Rooms & Bedrooms
Neutral White 3500K – 4000K Kitchens & Bathrooms
Daylight 5000K+ Utility Areas & Garages

Elevate Your Walls Without Paint

Upgrading hardware is a simple, reversible hack that adds significant luxury.

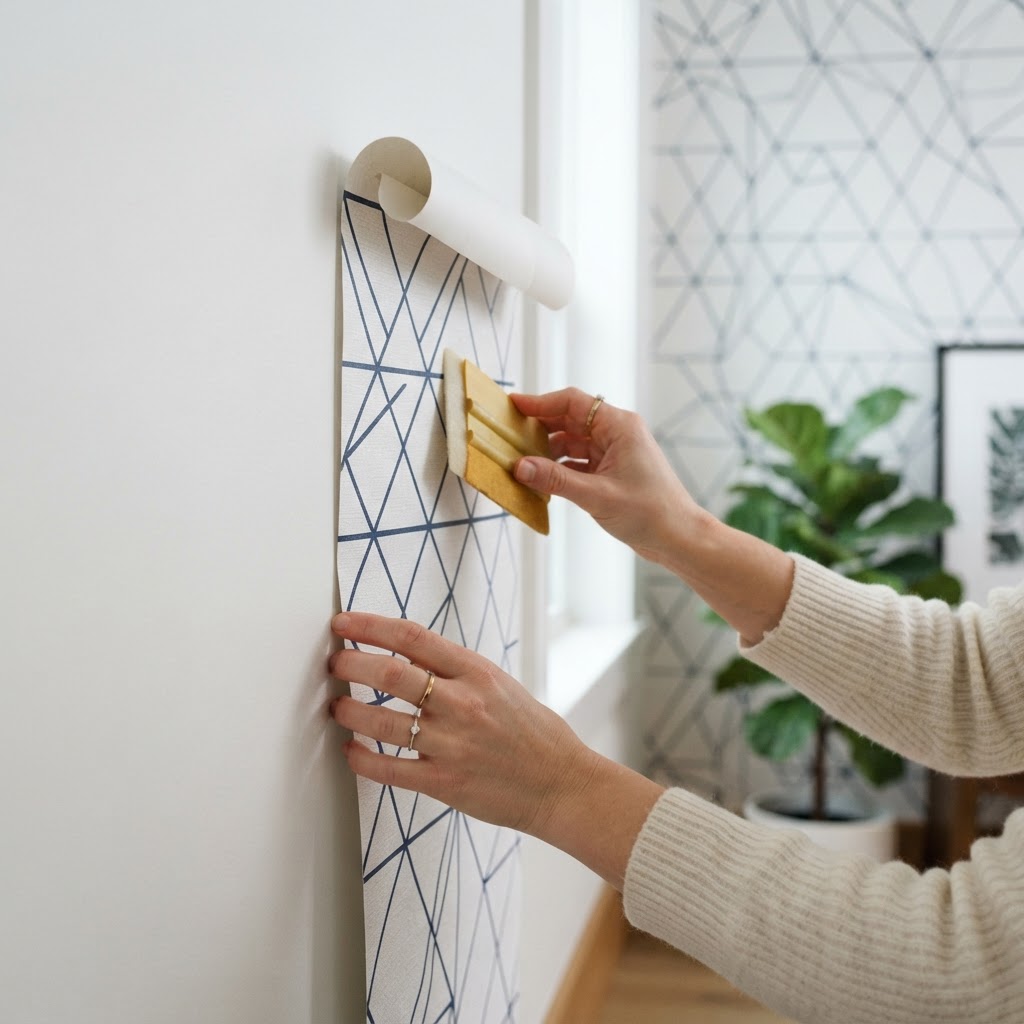
Rental apartments often feature bland, “landlord-white” walls that can be transformed into sophisticated design features using non-permanent treatments. Removable peel-and-stick wallpaper is the industry standard for renters; it offers high-impact pattern and texture without the labor or permanent commitment of traditional wallpaper. When choosing a brand, look for options that are “breathable” and feature a non-residue adhesive to ensure zero damage to the underlying drywall. Beyond wallpaper, ceiling-mounted drapery is a secret weapon for architectural elevation. By installing a tension rod or a removable command-strip curtain hook as close to the ceiling as possible, you draw the eye upward, creating an illusion of increased ceiling height. Using heavy, floor-length velvet or linen curtains adds a tactile, luxurious weight to the room that standard plastic blinds simply cannot achieve, effectively masking the mundane window frames found in most rental units.

Creative Wall Treatments

Consider using large-scale art or gallery walls to distract from unappealing paint colors. Using adhesive strips instead of nails minimizes wall repair costs when you move. Textured wall hangings or large-scale mirrors can further break up the monotony of blank walls, adding a custom, intentional feel to the space.

Upgrade Hardware and Small Fixtures

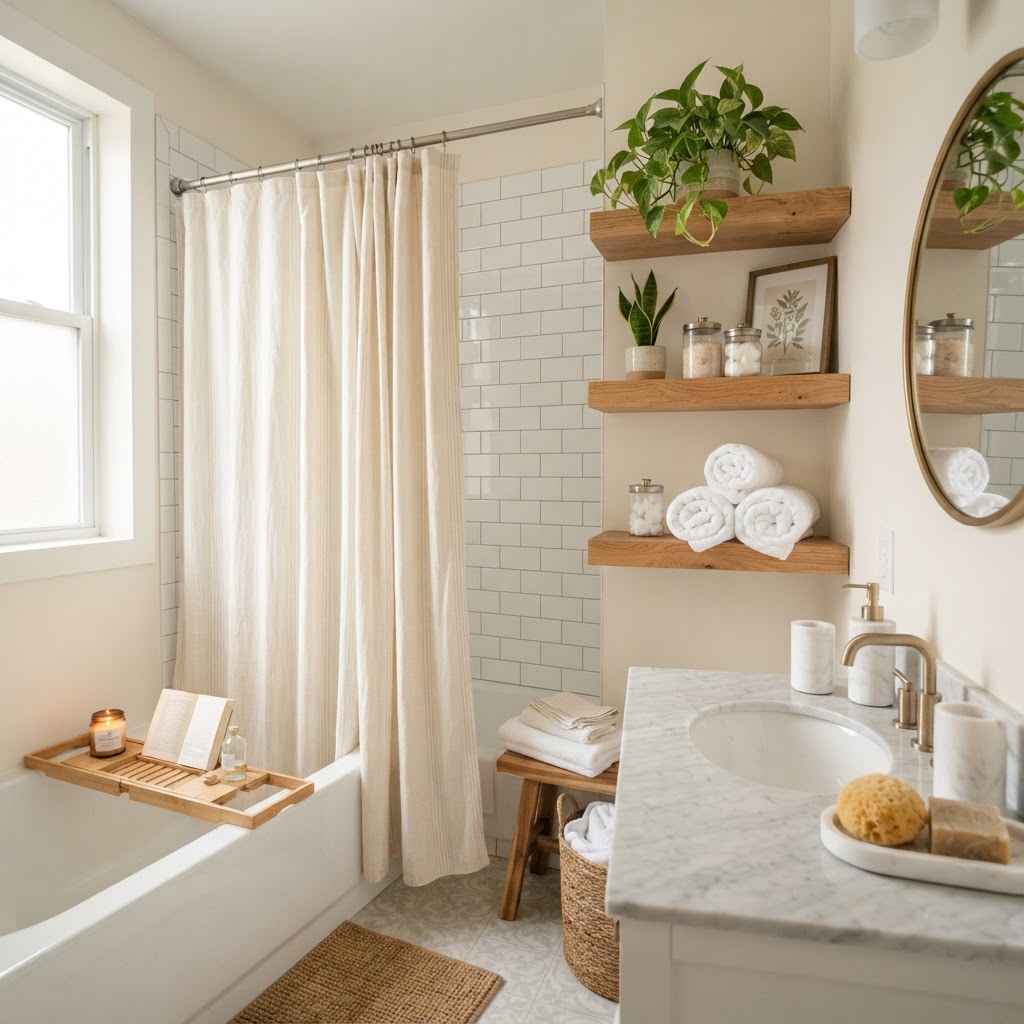
A few intentional accessories can turn a standard rental bathroom into a private spa.

Replacing standard, mass-produced cabinet pulls and drawer knobs is a high-ROI upgrade that makes a massive difference in your kitchen and bathroom. Builders typically install low-cost, plastic, or flimsy metal hardware; by swapping these for solid brass, matte black, or brushed nickel options, you introduce a tactile quality that signals luxury. These small, tactile upgrades indicate attention to detail, which is a hallmark of high-end design. The installation process is straightforward, requiring only a screwdriver, and you can store the original builder-grade hardware in a secure bag for easy replacement upon moving out. To ensure a cohesive look, try to match the finish of your new hardware to other metallic accents in the room, such as lighting fixtures or bathroom faucets.

Cabinet Transformations

For cabinets with dated finishes, temporary vinyl contact paper serves as an excellent, budget-friendly aesthetic fix. Simply measure your drawer fronts, cut the contact paper to size, and apply with a squeegee to remove air bubbles. This is fully reversible and can modernize a kitchen in under three hours.

Introduce High-End Textiles

One statement furniture piece acts as a focal point to elevate the entire room.

High-end homes are defined by a sophisticated layering of textures, which is a technique easily replicated in rentals using rugs, pillows, and throws. A large, high-pile area rug is essential for masking scratched or outdated rental flooring, effectively grounding your furniture and creating a “zone” that feels intentional rather than haphazard. Aim for a rug size that allows at least the front legs of all major seating pieces to sit on the fabric, which expands the perceived volume of the floor space. To achieve a professional interior design look, layer a neutral, large-scale natural fiber rug (such as jute or sisal) underneath a smaller, patterned or vintage-style rug. This combination adds depth and visual interest, covering more square footage at a fraction of the cost of one massive, high-end designer carpet.

The Art of Layering

Complement your rugs with high-quality throw pillows and blankets. Fabrics such as velvet, boucle, and heavy linen add significant luxury. To keep the look intentional, stick to a monochromatic or complementary color palette to avoid visual clutter and ensure the room feels curated.

Refresh the Bathroom Aesthetic

Bathroom transformations often yield the highest satisfaction for renters because these small rooms are easily overhauled with minor accessories. The biggest offender in a rental bathroom is usually the shower space; replace the standard clear or flimsy plastic liner with a floor-length, heavy-fabric shower curtain. Ensure it is hung on a high-quality rod, which creates a hotel-like experience. To further elevate the space, introduce a matching set of accessories, such as marble or ceramic soap dispensers, to hide the branding on generic plastic bottles. Adding a bamboo bath mat or an over-the-toilet storage unit can provide both utility and a sense of warmth, transforming a sterile bathroom into a private, spa-like sanctuary that reflects your personal style rather than the landlord’s original vision.

Spa-Like Details

Focus on cohesion by matching your metal finishes. If your hardware is chrome, ensure your towel bars and vanity lighting match. Keeping your toiletries organized in clean, minimalist containers also prevents the “cluttered” look that makes rental bathrooms feel small.

Invest in Statement Furniture

Budget-conscious design doesn’t mean purchasing cheap, flimsy furniture; instead, invest in one or two “hero” pieces that serve as the focal point of a room. A high-quality piece, such as an architectural velvet armchair, a solid stone side table, or an oversized sculptural floor mirror, elevates the surrounding pieces by association. When you anchor a space with a premium-looking item, the eye is drawn to that feature, which creates a “halo effect” that makes even less expensive furniture feel intentional. For example, a heavy, dark-wood coffee table or a high-back upholstered dining chair can make an otherwise plain apartment feel like a permanent, custom-designed home. If you are on a tight budget, look for these “hero” items at estate sales or online marketplaces where high-quality vintage items are often priced lower than modern mass-market alternatives.

Utilize Vertical Wall Storage Effectively

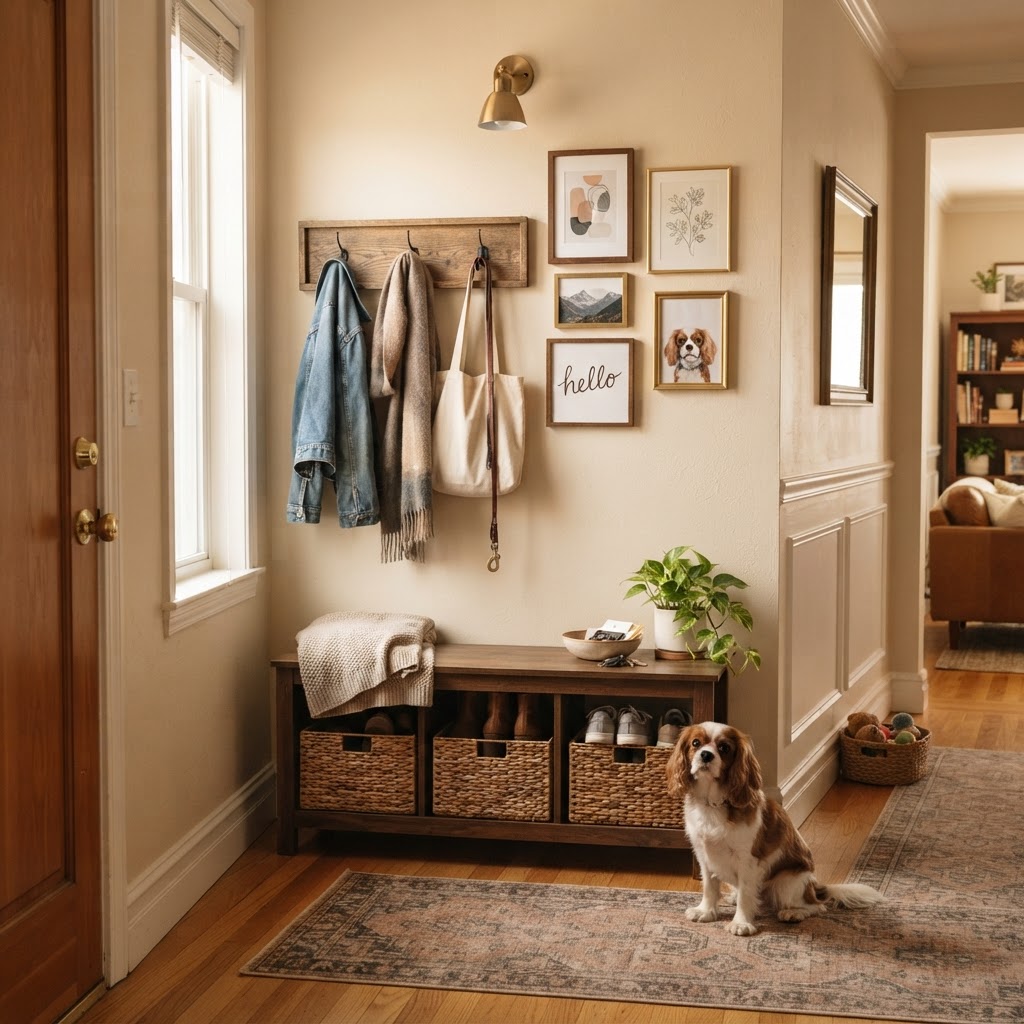
Storage benches provide seating and hidden capacity.

Walls represent the most underutilized real estate in any small home, and maximizing them is the most effective way to clear the floor immediately. When you cannot expand your footprint outward, you must leverage the vertical axis to host high-frequency items like coats, hats, and umbrellas.

Pegboards and Floating Shelves

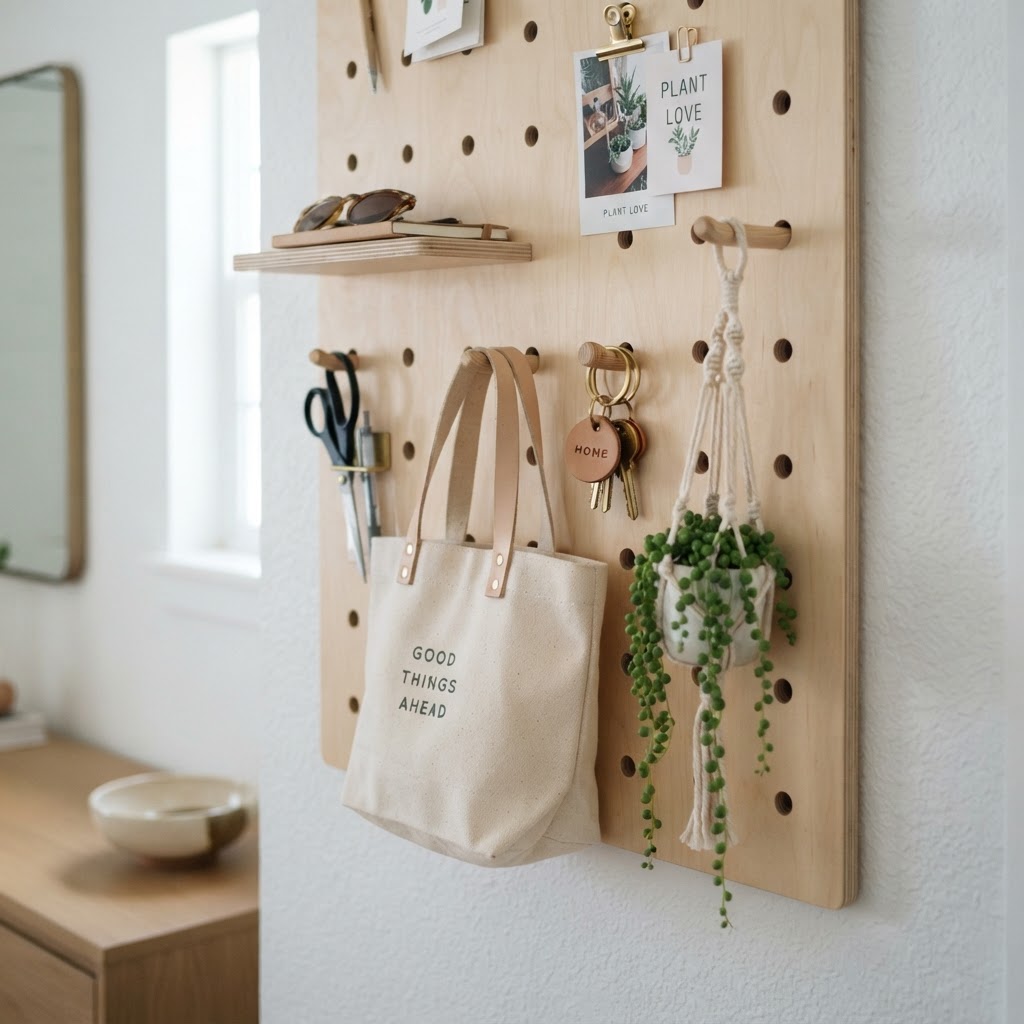
Pegboards are incredibly versatile for small entryways, offering a customizable grid that supports up to 20 pounds per square foot depending on the mounting hardware. You can adjust the pegs to accommodate bulky winter gear or light summer accessories as the seasons shift. Unlike bulky cabinets, floating shelves add storage depth of only 6 to 8 inches, providing a “display” area for keys and mail without encroaching on walking paths. This modularity allows your storage to evolve alongside your lifestyle requirements.

Over-the-Door Solutions

Never overlook the space behind your entry door, which often accounts for 6 to 10 square feet of ignored storage potential. Over-the-door hooks or pocket organizers are perfect for items that you reach for daily, such as scarves or reusable shopping bags. By utilizing this hidden vertical space, you ensure that bulky items are tucked away from view when the door is open, keeping the transition area looking clean and professional for guests.

Storage Method Space Efficiency Installation Difficulty Capacity
Wall Hooks Very High Low Low
Pegboards High Medium Medium
Floating Shelves Medium Medium Medium
Over-Door Rack Very High Very Low Low

Clever Shoe Storage Techniques

Pegboards offer flexible vertical storage for daily items.

Shoes are usually the primary culprits behind floor clutter, often creating a tripping hazard that occupies 3 to 4 square feet of premium floor space. The secret to a clean entryway is selecting storage that hides footwear while maintaining a slim, unobtrusive profile.

Slim Shoe Cabinets

Many modern shoe cabinets are designed to be less than 10 inches deep, fitting perfectly behind doors or in narrow hallway gaps. These “tilt-out” mechanisms allow you to store 12 to 18 pairs of shoes vertically, consuming significantly less floor footprint than a traditional tiered rack. By keeping shoes behind a solid door, you eliminate visual chaos entirely.

Under-Bench Drawers

If you have room for a small bench, ensure it offers dedicated storage underneath, such as pull-out baskets or drawers. These storage units allow you to quickly toss shoes into a concealed spot, keeping the floor clear while providing a convenient place to sit. A standard 36-inch wide bench can house up to 6 pairs of shoes comfortably when organized with interior dividers, preventing the dreaded “pile-up” effect.

The Power of Multi-Functional Furniture

Console tables create a landing zone for small essentials.

In tiny spaces, every piece of furniture must work twice as hard by providing storage alongside utility. Investing in dual-purpose items ensures that your entryway remains functional without the need for additional shelving that consumes valuable circulation space.

Storage Ottomans and Benches

A storage ottoman is a life-saver in a cramped hallway because it acts as a seat, a footrest, and a hidden container for items that lack a permanent home. Look for models with a sturdy hinged lid, as these can store up to 2 cubic feet of miscellaneous items like umbrellas, pet supplies, or cleaning gear. By opting for a fabric-covered ottoman, you also soften the visual lines of the room, making it feel warmer and more inviting.

Console Tables with Baskets

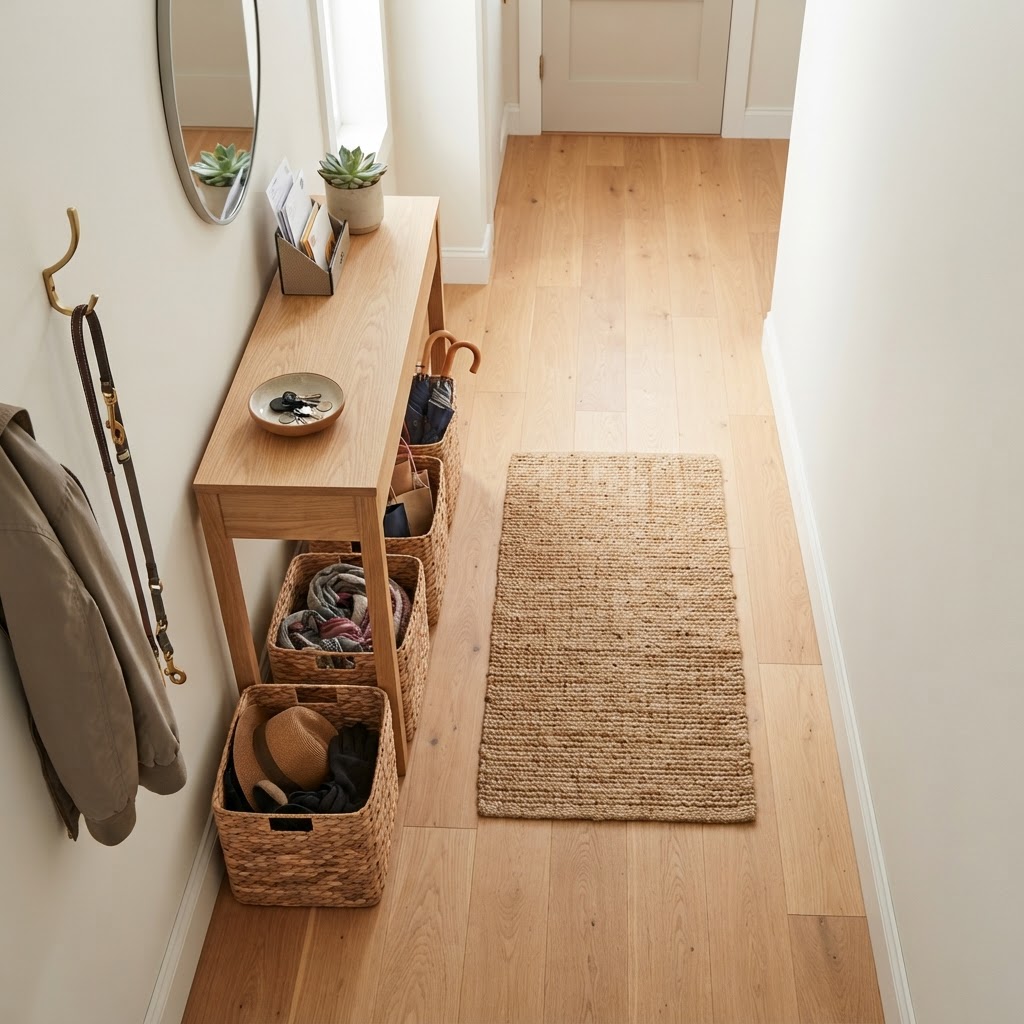
A narrow console table is ideal for slim hallways, providing a surface for essential daily items while leaving the wall clear above. By placing decorative bins or woven baskets on the lower shelf, you create organized “landing zones” for mail, keys, and accessories. This two-tier system separates items by frequency of use: high-use items go on top, while low-frequency items remain tucked in lower storage baskets. Maintaining this organization ensures that surfaces stay clear, preventing the “clutter creep” that happens when loose paper and keys accumulate.

Implementing Drop-Zone Habits

Storage hardware is only 50% of the equation; the remaining 50% depends on building daily maintenance habits. A successful drop zone must be intentional, requiring you to establish a designated ‘landing strip’ for mail and keys the very second you enter your home.

The One-In, One-Out Rule

For every new pair of shoes or winter coat you acquire, one item must be donated or moved to a secondary storage location like a bedroom closet. This prevents your entryway from becoming a museum of everything you have ever owned. Keeping a “donations bin” in your closet can make this process seamless, allowing you to cycle items out as soon as they are no longer in active use.

Weekly Reset Rituals

Dedicate exactly five minutes every Sunday evening to a full entryway reset. Move shoes back into their cabinets, empty the mail tray into a shredder or filing system, and hang up coats that have migrated to other rooms. This small investment of time ensures that your Monday morning starts without the frustration of searching for lost items, significantly reducing your morning stress levels.

Customizing Your Space for Seasonal Needs

Small space entryway organization hacks must be inherently adaptable to handle shifting gear requirements throughout the year. Your needs in winter, when you deal with heavy coats and boots, differ drastically from your summer needs, requiring a rotating storage system to stay organized.

The Rotating Storage System

Invest in a vacuum-seal storage bin kept in an off-season closet to manage your seasonal overflow. Swap out the contents of your entryway hooks and shelves every 6 months to ensure that only the items you currently use are present. During summer, store your heavy winter boots in that bin and replace them with lighter essentials like flip-flops, sun hats, or rain gear, ensuring you never waste space on dormant items.

Magnetic Boards for Small Items

Loose items like keys, receipts, and appointment reminders often land on the floor or a table, creating visual clutter that is difficult to manage. A small magnetic board or corkboard near the door keeps these items contained on the wall, removing them from flat surfaces. This technique is particularly effective for households with multiple people, as it centralizes information in a single, high-traffic location where it cannot be ignored.

Feature Winter Setup Summer Setup
Primary Gear Heavy Coats, Boots Light Jackets, Sneakers
Storage Needs High Capacity Low Capacity
Floor Space Boot Tray Required Clear Floor
Secondary Gear Gloves, Scarves Sunglasses, Umbrellas

Decorative Elements That Add Utility

Just because your space is small doesn’t mean it has to be purely utilitarian; you can incorporate decor that doubles as an organizer to maximize aesthetic appeal. These elements bridge the gap between form and function, ensuring your home feels designed rather than cramped.

Mirrors and Hooks

Mounting a mirror with integrated hooks creates a visual focal point that reflects light and makes your entry appear up to 20% larger. It also provides a final spot to check your appearance before leaving while giving you an immediate, designated place to hang your bag or keys.

Using Vertical Planters

If you want to add greenery, utilize wall-mounted planters to introduce life into your entryway without taking up any floor space. A touch of nature can make even the smallest space feel like an intentional design choice. Select low-maintenance indoor plants like Pothos or Snake plants, which thrive in low-light entryway conditions and help clean the indoor air as you enter from the outside.

FAQ

What is the best way to hide shoes in a tiny entryway?

Use a tilt-out shoe cabinet that is less than 10 inches deep to store shoes vertically against a wall. This method hides the mess behind a panel and saves valuable square footage compared to traditional horizontal racks.

How often should I reorganize my entryway?

A weekly five-minute reset is the most effective frequency to keep your entryway organized. Dedicate time each Sunday to clear mail, put shoes away, and rotate out any items that have drifted into the wrong room.

Are pegboards actually effective for small homes?

Yes, pegboards are highly effective because they allow for modular, customizable storage that can hold a variety of items including backpacks, umbrellas, and coats. They occupy zero floor space and can be adjusted as your organizational needs change.

How can I make a small entryway look larger?

Incorporate large mirrors, light-colored paint, and “leggy” furniture that shows floor underneath. By reducing visual clutter and reflecting light, you can create the illusion of a larger, more breathable entrance area.

No-Tools Upgrades Under $25 for Tiny Spaces

You can transform a tiny space without power tools or high costs by focusing on lighting, vertical storage, and reflective surfaces to maximize perceived square footage. Effective upgrades under $25 include switching to warm-toned LED bulbs, using adhesive cord management clips, incorporating peel-and-stick mirrors, and layering textiles to create depth and luxury.

Rethink Your Lighting Atmosphere

Small spaces feel larger with the right lighting and strategic mirror placement.

Lighting is the most significant factor in interior design, especially in small rooms where natural light is limited. You can bypass expensive electrical work by replacing standard, harsh light bulbs with warm-toned 2700K-3000K LED bulbs, which cost roughly $3 to $5 each and instantly create a soft, inviting atmosphere. These bulbs are energy efficient, lasting up to 25,000 hours, which adds long-term value beyond the initial $25 budget.

Adding battery-operated puck lights under kitchen cabinets or inside bookshelves serves as a professional-grade hack for illuminating dark corners. These adhesive-backed lights typically retail for $15-$20 for a multi-pack and require zero hardware. By highlighting these deep zones, you visually push walls back, increasing the perceived depth of your room. Properly illuminated surfaces prevent the “cramped” feeling often associated with shadows in small footprints.

Lighting Option Cost Installation Time Key Benefit
Warm LED Bulbs $3-$5 1 minute Mood & Atmosphere
Adhesive Puck Lights $15-$20 5 minutes Depth & Focus
LED Strip Lights $10-$25 10 minutes Ambient Glow

The Power of Cord Management

Clutter acts as the primary antagonist to a designer-curated aesthetic, and visual noise from tangled power cords makes small rooms feel chaotic. You can utilize adhesive cable clips, typically sold for under $8 for a pack of 20, to route wires along baseboards or behind furniture legs. This specific organization technique clears the floor plane, allowing the eye to travel across the entire space uninterrupted. Maintaining clear floor lines is a fundamental architectural principle that makes rooms appear larger than their actual square footage.

Elevate Your Hardware and Accents

Curated vignettes create a high-end designer look on any table surface.

Refreshing dated hardware is a high-impact, low-cost upgrade that requires only a screwdriver or, in some cases, nothing but adhesive. If you have cabinet pulls, you can replace them with gold, matte black, or brushed nickel options found on marketplaces for roughly $2 to $4 per handle. This simple swap updates a kitchen or bathroom style instantly without the need for a professional renovation budget.

For rental-friendly spaces, utilize peel-and-stick hooks, which support up to 5-10 pounds each, to clear floor space and organize belongings. Installing a row of uniform hooks near an entryway provides a dedicated landing zone for bags and coats, which prevents surface clutter. Choosing a consistent finish—such as matte black or polished chrome—creates a high-end, “built-in” aesthetic that feels intentional. By keeping surfaces clear of everyday items, you reinforce the feeling of a curated, rather than cramped, environment.

Create Illusions with Reflective Surfaces

Maximize your entryway with smart, adhesive-based storage solutions.

Designers have utilized mirrors for centuries to expand spatial perception by doubling available light and depth. You do not need to mount heavy, permanent hardware; lightweight, frameless adhesive mirrors are available in various shapes for under $25 and can be applied directly to drywall or door surfaces.

Strategic placement is the secret to success: mounting a mirror directly across from a window allows it to catch natural light and bounce it deep into the center of the room. This technique effectively mimics the effect of an extra window, significantly brightening dark corners. For a bolder, artistic approach, use adhesive mirror tiles to construct a geometric pattern on a focal wall. This creates a striking, modern focal point that reflects light while remaining entirely removable, making it an ideal choice for tenants looking to enhance their living area without violating lease agreements.

Refresh Your Textiles and Soft Furnishings

Textiles serve as the most effective tool for injecting high-end luxury into a compact living space through layered textures. Purchasing pillow covers in rich fabrics like velvet, heavy cotton, or linen for $10 to $15 each allows you to upgrade existing cushions without buying new inserts. By adhering to a tight, neutral color palette, you foster visual harmony that makes a small room feel cohesive and professional.

Consider adding a decorative throw blanket, such as a chunky knit or faux fur, which adds essential tactile contrast. These blankets are widely available at discount retailers for $15 to $25 and can be draped over an armchair to soften hard, boxy room lines. Layering these soft textures adds depth to a room’s composition, moving the overall aesthetic from basic, builder-grade housing to a boutique-style sanctuary.

Curate Your Display Surfaces

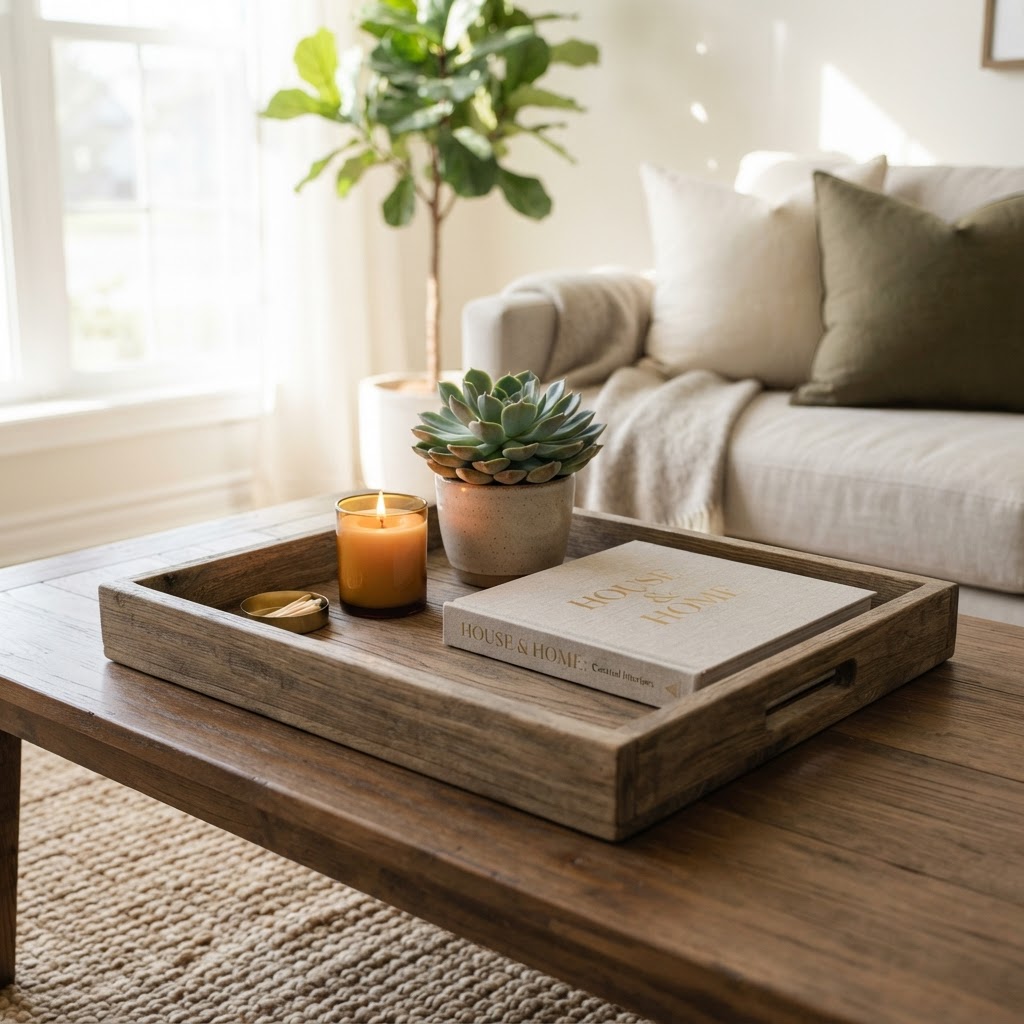
In a tiny home, surfaces like coffee tables and nightstands must be styled with intention to avoid creating a sense of clutter. Use a decorative tray—often found for $5 to $15 at thrift stores—to act as a boundary for your items, transforming a pile of objects into a styled “vignette.”

Success in curation relies on the “rule of three,” which involves grouping items in odd numbers to create visual interest. For instance, pair a 6-inch candle with a 3-inch succulent and a book to achieve a balanced, professional arrangement. You should always prioritize varying the heights and textures of your chosen objects to keep the display dynamic. By treating your surfaces as gallery spaces rather than storage areas, you significantly elevate the sophistication of your home.

Utilize Vertical Space for Decor

Vertical space is an underutilized asset in small apartments that, when addressed, draws the eye upward and heightens the perception of ceiling reach. Adhesive wall strips or command-style floating ledges can hold lightweight art and decor without requiring a drill. Creating a gallery wall of art using 8×10 or 11×14 prints is an affordable way to add personality; public domain art printed locally and framed in thrifted frames costs less than $20 per piece.

When hanging art, choose a larger, single-statement piece rather than numerous small frames to keep the space looking clean and organized. A large-scale piece provides a focal point that anchors the room, whereas too many small items can make a wall feel messy. This “less is more” strategy is a hallmark of designer homes and remains one of the most cost-effective ways to change the mood of a room.

Introduce Indoor Greenery

Plants introduce organic, irregular shapes that soften the rigid, geometric lines of small, modern rooms. Low-maintenance varieties like Pothos, Snake Plants, or Spider Plants thrive in varied indoor light and typically cost between $8 and $15 at local garden centers. These plants offer a pop of natural color that breathes life into the square footage.

For elevated styling, use a suction-cup wall mount or an adhesive hook to hang a planter, keeping your valuable floor space open. Using woven baskets or clean ceramic pots further enhances the design by adding a layer of texture that harmonizes with your existing decor. A single, well-placed plant can act as a natural centerpiece, making the room feel lush, vibrant, and well-cared for.

FAQ

Q: How can I make a tiny apartment look expensive on a budget?

Focus on consistency in color and material. Use high-quality covers for existing pillows, stick to a unified metallic finish for hardware, and keep all surfaces clear of clutter to create an intentional, designer-curated aesthetic.

Q: Are adhesive hooks safe for rental wall paint?

Yes, if you choose high-quality “command-style” strips, they are designed to be removable without damaging paint or drywall. Always clean the wall surface with rubbing alcohol before application to ensure the adhesive bond is secure.

Q: What is the best way to light a small room without tools?

Replace standard light bulbs with warm-toned LEDs and add battery-operated adhesive puck lights to dim areas like bookshelves or under cabinets. This combination creates a layered lighting effect that makes the space feel larger and more sophisticated.

Q: How do I arrange decor without it looking like clutter?

Use the rule of three by grouping items in odd-numbered sets and placing them on a tray. This defines the display area, separates it from other clutter, and allows you to create a cohesive vignette that looks intentional.

Q: Where should I place a mirror in a small room?

Mount or lean your mirror directly across from a natural light source, such as a window. This placement reflects light back into the space and creates the optical illusion of added depth and room volume.

Apartment Entryway Ideas for Homes With No Real Foyer

Apartment Entryway Ideas for Homes With No Real Foyer

To create an entryway in an apartment with no foyer, use a rug to define the floor space, mount floating storage on walls to maximize vertical height, and place a narrow console or bench for a landing zone. These tactical additions create a physical transition between your front door and your living area.

The Psychology of the Transitional Space

Use a runner rug and a console table to define your entrance area.

Designers often talk about the importance of a ‘landing strip’ to act as a psychological buffer between the chaotic outside world and your private sanctuary. This dedicated area allows you to shed the day’s burdens—dropping your keys, hanging your coat, and kicking off your shoes—before entering your living space. By creating a visual boundary, you prevent clutter from spilling into your dining or kitchen areas, which is vital in apartments under 700 square feet where every square inch serves multiple purposes. When your keys have a permanent home and your coat isn’t draped over a dining chair, the entire apartment feels more spacious and intentional. The goal is to maximize every vertical inch to create a high-functioning ‘micro-foyer’ that serves your daily needs without encroaching on your living room floor plan. Establishing this zone reduces daily stress by creating a repeatable habit for your incoming items, turning a transition point into a functional asset.

Feature Entryway Strategy Best For
Floor Rug Visual Zoning Open floor plans
Wall Hooks Vertical Storage Narrow hallways
Console Table Surface Area Storing keys/mail
Bench Seating/Hidden Storage Tight door clearances

Establishing a Visual Boundary

Maximize vertical space with wall-mounted storage to keep floors clear.

One of the most effective ways to designate a foyer where one does not exist is by using floor coverings to establish a clear “landing zone.” A durable, low-pile area rug acts as a physical ‘floor mat’ that signals to guests—and yourself—that you have arrived at your destination. By choosing a rug with a bold pattern or a different texture than your living room flooring, you create a psychological and visual separation that anchors the space. If your door opens into a narrow stretch of wall, use a 2×6 foot runner to guide traffic, while a 3-foot circular rug works best in corner entries to soften sharp edges. This simple switch changes the flow of the room instantly, preventing the “living room spillover” effect. Additionally, painting the wall immediately surrounding your door a contrasting shade—such as a deep charcoal or navy—creates a ‘color-blocking’ effect that acts as a formal architectural frame, effectively carving out a distinct foyer through paint alone.

Vertical Storage Solutions

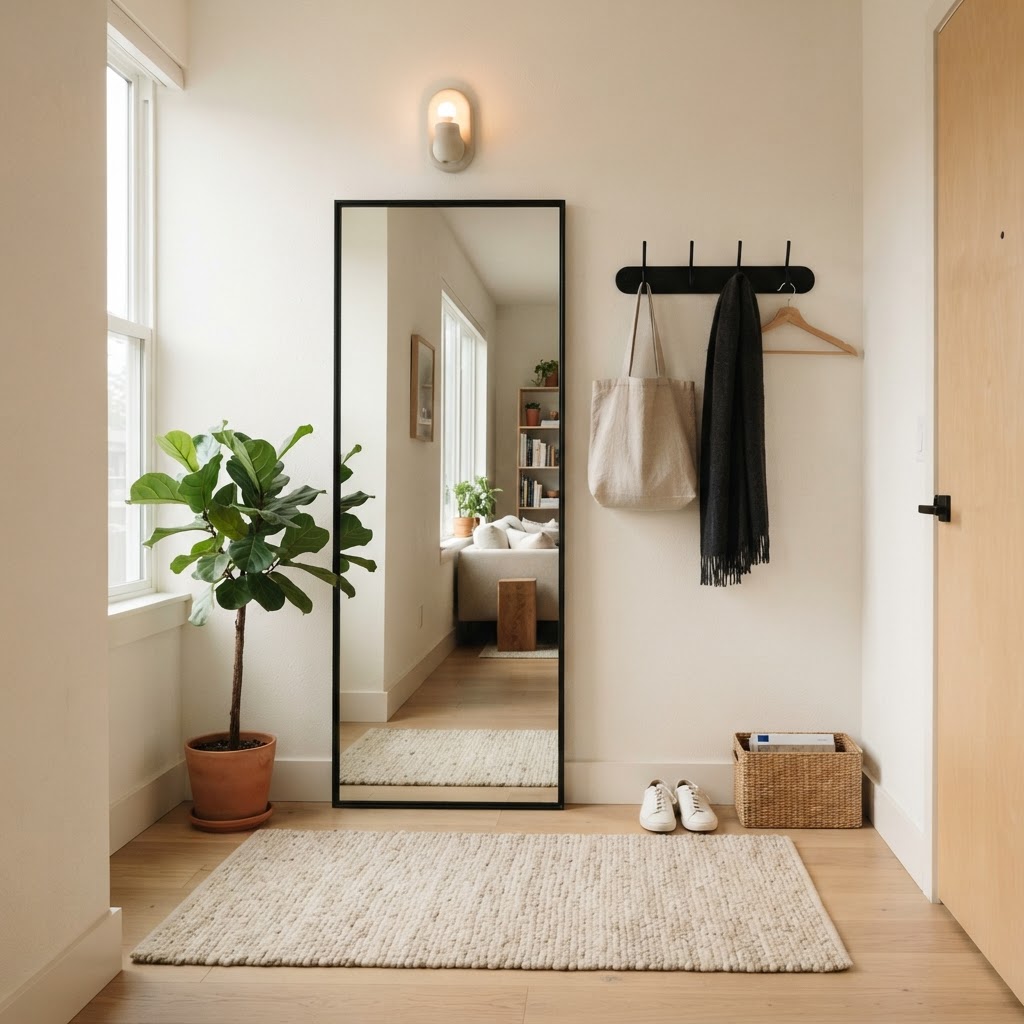
Large mirrors help expand the visual size of a small entryway.

When you lack floor space, the only way to go is up, making wall-mounted storage the cornerstone of successful apartment entryway design. Instead of bulky furniture that blocks walking paths, opt for sleek hooks, floating shelves, or wall-mounted cabinets that sit at least 32 inches off the ground to keep sightlines open. Install a series of uniform wall hooks at varying heights (standard spacing is 6 inches apart) to accommodate jackets, bags, and umbrellas while adding a decorative, rhythmic element to your wall. If you prefer a cleaner look, use a wall-mounted console table with a hidden drawer. These slim pieces, often only 8 to 10 inches deep, provide a surface for keys and mail without the footprint of traditional furniture. To keep your entrance functional, use a ‘drop zone’ system: place a 5-inch wide catch-all tray for keys, a dedicated basket for mail, and a small bin for shoes to ensure that clutter doesn’t migrate to other rooms. Keeping these items contained within this vertical ‘entry zone’ is the key to maintaining a peaceful home.

Choosing Multi-Functional Furniture

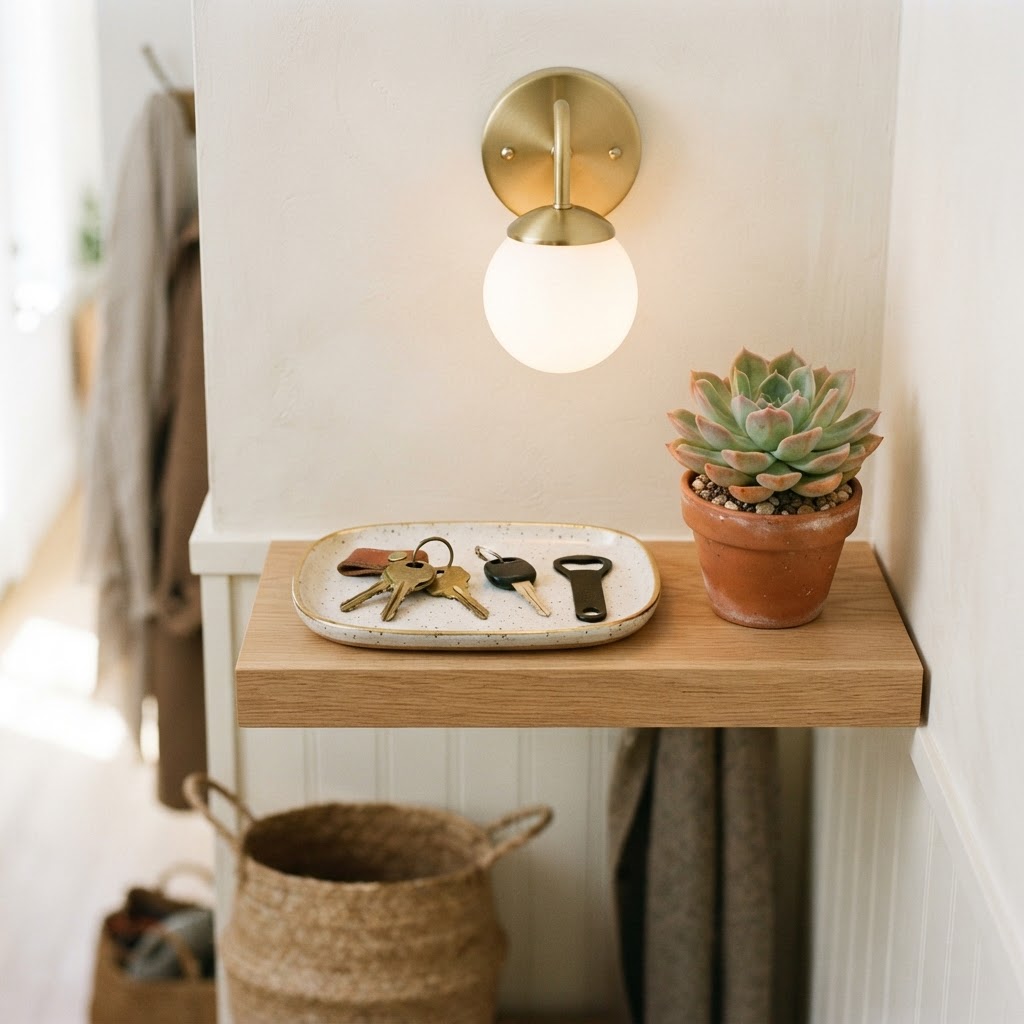
A designated drop zone keeps your keys and mail organized.

In an apartment, every piece of furniture must earn its keep by serving at least two functions, such as seating and hidden storage. If you have a sliver of wall space near your door, a narrow bench with integrated storage underneath is the gold standard for small-space living, offering a place to sit while putting on shoes and a home for out-of-season accessories. Look for benches with lidded tops or drawers, which are ideal for tucking away bulky items like scarves and gloves. If a bench is too deep for your walkway, a slim, wall-mounted drop-leaf table can serve as a makeshift desk or console, folding away entirely when you need extra floor space for entertaining. Furthermore, mirrors are non-negotiable in small entryways; a large mirror placed near the door not only allows for a final outfit check but also reflects light and depth, making the entire room feel roughly 20-30% larger. Opt for an oversized floor mirror leaning against the wall or a decorative wall-mounted piece to draw the eye upward and brighten dim corners.

Lighting the Way Home

Entryways often suffer from poor lighting in apartments without foyers, making them feel like an afterthought rather than a deliberate space. Since you likely lack a dedicated hallway ceiling fixture, you may be relying on harsh living room lights; instead, try adding a battery-operated wall sconce or a small, plug-in table lamp on your console to create a warm, inviting glow. Soft lighting with a temperature of 2700K to 3000K helps create a welcoming atmosphere the moment you step through the door. It adds a layer of sophistication that makes your small apartment feel like a curated home rather than just a place to store your belongings. For those with absolutely no outlet space, modern motion-sensor LED strips can be mounted under floating shelves to illuminate your “landing strip” the moment you walk inside. This provides both safety for night-time arrivals and an immediate sense of arrival, transforming a utilitarian drop zone into a thoughtful design statement while highlighting your art and greenery.

Common Pitfalls to Avoid

Avoid the urge to clutter your entrance with too many items; the ‘no foyer’ setup is inherently fragile, and over-decorating can quickly result in a cramped, claustrophobic appearance. Stick to a ‘less is more’ approach, keeping your surfaces clear of everything except daily essentials like keys and mail. Always test the path from the door to the living room by ensuring you have at least 30 inches of clearance for comfortable walking; if you find yourself bumping into your new console table, it is likely too deep. Prioritize circulation over extra storage space, as blocking your primary entry path can make a small home feel significantly smaller and less functional. Furthermore, avoid using oversized coat racks that tower over the space, as they can block natural light from the living area. Always double-check your furniture measurements against your entryway clearance before purchasing to ensure your new storage solutions actually enhance, rather than obstruct, the flow of your apartment.

FAQ

Q: How can I define an entryway in an open-concept apartment?

Use a low-pile runner rug and a dedicated wall hook station to create a physical and visual boundary. These two elements act as a “landing zone” that separates your entry from the living room, helping your brain acknowledge the change in space.

Q: What is the best furniture for a narrow entryway?

A narrow, wall-mounted console table or a slim bench with integrated storage is best for narrow entryways. These pieces provide surface space for keys and mail without obstructing walkways, which is essential in apartments with limited square footage.

Q: How do I keep a small entryway from looking cluttered?

Maintain a strict “one-in, one-out” policy for your entryway surfaces and use vertical storage like hooks to keep the floor clear. Only keep daily essentials like keys, wallets, and seasonal coats in the immediate entry area to prevent clutter migration.

Q: Can mirrors really make a small entryway feel bigger?

Yes, large mirrors placed near the entryway reflect light and depth, which can make the area appear 20% to 30% larger. They also serve a functional purpose by allowing for a final outfit check before you head out the door.

Q: What lighting works best in a foyer-less apartment?

Use battery-operated wall sconces or warm-toned (2700K) plug-in table lamps to create a cozy atmosphere. Motion-sensor LED strips are also excellent for small spaces, as they provide instant light when you walk in without needing permanent electrical work.

Budget Renter Hacks to Transform Boring Apartments

Budget renter hacks include using peel-and-stick wallpaper to cover drab walls, swapping standard cabinet hardware for modern alternatives, and layering ambient lighting to replace harsh overhead fixtures. These high-impact, non-permanent modifications allow you to customize your space while staying within lease terms and protecting your security deposit without requiring professional construction or high costs.

The Psychology of Temporary Design

Layering textures and using floor-to-ceiling mirrors makes small rooms feel open.

When you rent, you are essentially living in a space designed for the masses. The goal of landlord-friendly updates is to counteract the ‘generic’ aesthetic without causing a single scratch or hole that could cost you your security deposit. It is about understanding that your home is an evolution, not a final product. Focus on creating an intentional environment that improves your mental well-being by reducing visual clutter and injecting personal style. Research suggests that personalized living spaces can improve mood and productivity by up to 20% compared to sterile, institutional environments. By shifting your mindset from “temporary housing” to “current sanctuary,” you make choices that prioritize comfort. These high-impact changes are fully reversible, meaning you can pack your investments into a few boxes for your next move, ensuring that no budget is wasted on non-reclaimable property improvements.

Feature Permanent Renovation Renter-Friendly Hack
Wall Treatment Paint / Tile Peel-and-stick Wallpaper
Fixtures Plumbed Faucet Temporary Faucet Covers
Lighting Hardwired Fixtures Plug-in Lamps / Puck Lights
Flooring New Hardwood Large Area Rugs

Maximizing Space Through Layout Shifts

Removable wallpaper is the best way to add personality to a rental wall.

Small apartments often suffer from bad flow, where the furniture dictates how you live rather than your needs dictating the furniture. The most effective way to transform a room is to rethink the floor plan entirely by identifying the ‘traffic lane’—the natural path you walk through the room every day. Start by floating your sofa at least 6-12 inches away from the wall to create a more sophisticated, designer-like layout that improves airflow and creates visual depth. Use area rugs, sized at least 5×8 feet for living zones, to anchor furniture and define distinct rooms in an open-concept studio. By keeping at least 30 inches of clearance for main walkways, you prevent the cramped feeling typical of small urban apartments. This strategic furniture placement is free, reversible, and instantly makes a space feel custom-tailored to your lifestyle without drilling a single hole.

Wall Treatments That Leave No Trace

Upgrading cabinet hardware provides a high-end look for a low cost.

One of the biggest pain points for renters is the inability to paint, but modern peel-and-stick wallpaper offers a realistic, renter-safe solution. Quality removable wallpaper uses low-tack adhesive technology designed to release cleanly from drywall for up to 3 years. When installing, always order 10% more material than the total wall square footage to account for pattern matching. For those who want a less intensive option, large-scale art prints held by heavy-duty Command strips are the industry standard for wall decor. Leaning a large mirror, ideally over 60 inches in height, against a wall creates a dramatic focal point that bounces natural light into dark corners, increasing the perceived size of a room by nearly 40%.

Choosing the Right Adhesive

Not all wallpaper is created equal. Look for ‘renter-friendly’ or ‘removable’ backing to ensure that the adhesive does not pull off the drywall finish when you move out. Always buy an extra roll for matching patterns.

Other Wall Alternatives

Beyond wallpaper, consider using oversized art prints or gallery walls. Use heavy-duty command strips to avoid nails entirely. If you have a large mirror, leaning it against the wall instead of mounting it creates a dramatic, high-end design element that reflects light and makes your tiny room feel twice as large.

Lighting: The Secret Ingredient for Ambiance

The right lighting and greenery can instantly elevate a boring corner.

Apartment lighting is often limited to a single, harsh overhead fixture, but you can counteract this by layering at least three light sources at varying heights. Standard “big light” fixtures often use 5000K daylight bulbs, which can be jarring; replacing these with 2700K-3000K warm-toned LED bulbs instantly softens the space. Place a floor lamp in one corner to illuminate the ceiling, a table lamp on a side table for mid-level tasks, and battery-operated puck lights inside bookcases to create depth. This “layering” technique mimics professional interior design standards. Investing in smart bulbs that can change color temperature allows you to transition the room from a productive office space to a relaxing evening lounge for under $50 total. By bypassing the harsh overhead light entirely, you shift the mood of the entire home for a fraction of the cost of a full renovation.

Upgrading Fixtures Without Renovating

Landlords rarely upgrade cabinet hardware or faucets, but you can swap these features to modernize a kitchen in under an hour. Replace standard plastic or dated brass knobs with matte black or brushed gold hardware, which usually costs between $3 and $7 per handle. Keep the original hardware in a clearly labeled Ziploc bag taped inside the cabinet so you can revert the changes upon move-out to ensure your deposit remains secure. For bathrooms, a high-quality, 72-inch long fabric shower curtain hung from a tension rod installed at ceiling height will draw the eye upward, creating the illusion of higher ceilings. This simple “visual trick” can make a 5×8 foot bathroom feel significantly larger. If the faucet itself is unsightly, focused styling with luxury hand soaps and vanity trays can distract the eye from the fixture.

Soft Furnishings and Textile Layers

Nothing says ‘temporary’ like a room full of hard surfaces, so you must incorporate soft textures to improve acoustics and comfort. Layer a large rug over existing wall-to-wall carpet to introduce pattern and color, which is especially effective in rentals with worn flooring. Use velvet, blackout, or linen floor-to-ceiling curtains to add a sense of luxury and architectural interest to windows. Mix textures like wool, cotton, and faux fur through throw pillows to make the space feel curated rather than mass-produced. Plants are essential for organic movement in a rigid apartment; a tall Fiddle Leaf Fig or trailing Pothos can fill empty corners and naturally clean the air. Research indicates that indoor plants can reduce stress levels by up to 15%, making them a functional design element for your mental health as well as your home’s aesthetic.

Organizing the Invisible Clutter

Clutter is the fastest way to make a space feel smaller, so every storage solution must be aesthetically pleasing. If your storage is visible, choose uniform baskets made from natural fibers like seagrass or rattan to maintain a cohesive, clean look. Invest in floor-to-ceiling shelving units that use vertical space rather than floor space, effectively doubling your storage footprint in a tight studio. When selecting furniture, prioritize pieces with hidden storage, such as ottomans or bed frames with drawers, to keep “invisible clutter” out of sight. Keep your floor surface as clear as possible; studies show that having 60% of floor space visible makes a room feel significantly more spacious and orderly to the human eye, regardless of actual square footage.

The Vertical Advantage

When you cannot build out, build up. Use tall bookcases or wall-mounted tension rods to store items higher up. Keeping the floor clear makes a room feel expansive and breathable, which is essential for studio living.

Addressing Kitchen and Bath Boredom

Kitchens and bathrooms are often the most boring parts of an apartment, but you can mask dated surfaces using non-permanent contact paper and tile stickers. Apply high-quality vinyl contact paper to laminate countertops to mimic a marble or wood grain finish; ensure it is rated for heat resistance to prevent bubbling. For backsplashes, peel-and-stick adhesive tiles provide a realistic texture that can withstand bathroom humidity and kitchen grease. If you have unsightly vinyl flooring, cover it with a large-format area rug or a runner; this not only hides the dated material but also protects the original flooring from damage. A budget of $100-$200 is typically sufficient to refresh the aesthetic of a standard 10×10 kitchen using these methods, providing a dramatic change without violating your lease agreement.

FAQ

Q: Does peel-and-stick wallpaper damage apartment walls?

Most high-quality, renter-friendly wallpapers use water-based adhesives that are specifically designed to peel off without damaging the drywall surface or paint underneath. Always test a small, hidden corner of the wall for 48 hours before applying to ensure the paint type is compatible.

Q: What is the best way to light a rental without overhead fixtures?

Use a combination of floor lamps, table lamps, and smart LED strips to create layers of light at varying heights. By using warm 2700K bulbs and focusing light on walls or artwork, you can eliminate the need for the harsh, cold “big light” found in most rental units.

Q: Can I change the hardware on my apartment cabinets?

Yes, you can safely replace cabinet knobs and handles as long as you keep the original hardware and reinstall it before you move out. This is a non-permanent update that does not require drilling new holes, making it a perfectly acceptable modification for most lease agreements.

Q: How do I cover ugly rental floors without installing new ones?

Use large area rugs or peel-and-stick vinyl floor tiles to cover dated flooring. Area rugs are the most renter-friendly option as they require no adhesive, while high-quality vinyl tiles can be installed over existing hard surfaces and removed with a bit of heat from a hairdryer.

Q: What are the best ways to hang art without nails?

Use heavy-duty adhesive strips like Command strips, which are rated for various weights and can be removed without pulling off paint. For very heavy mirrors or large art pieces, consider leaning them against the wall on a sturdy console table or directly on the floor for a high-end designer look.

Narrow Hallway Entryway Ideas That Actually Work

Narrow Hallway Entryway Ideas That Actually Work

To optimize a narrow hallway, prioritize vertical storage solutions, slim-profile furniture under 12 inches deep, and strategic lighting to create the illusion of width. By combining wall-mounted shelving with reflective surfaces like mirrors and maintaining a disciplined “one-in, one-out” clutter policy, you can transform a cramped corridor into a functional, sophisticated transition space.

Assess Your Space and Needs

A clean, bright entryway design.

Before you start shopping for furniture or paint, you must look at your hallway with an analytical eye. Understanding exactly how you use your entrance—do you need a place for dog leashes, mail, heavy winter coats, or simply a spot to drop your keys?—will dictate your design strategy. Measure the width of your hallway at its narrowest point to ensure that any furniture you add leaves at least 30 to 36 inches of clearance for a comfortable walk-through. Anything less than 30 inches can make the space feel like an obstacle course rather than a welcoming home entrance.

Feature Recommended Depth Purpose
Slim Console 10-12 inches Keys, mail, decor
Storage Bench 14-16 inches Shoes, bags, seating
Wall Hooks 3-4 inches Coats, hats, umbrellas

Define Your Goals

Are you looking to hide clutter, or do you want to create a grand first impression? For most, it is a blend of both. Prioritize the items that currently cause the most chaos at your front door, and plan your storage solutions around those specific objects. If you live in a climate with changing seasons, your storage needs will shift throughout the year, so prioritize modular solutions that can adapt to your needs. For instance, install a double-tier hook system where high hooks are for winter coats and low hooks are accessible for children or daily accessories.

Master the Art of Vertical Storage

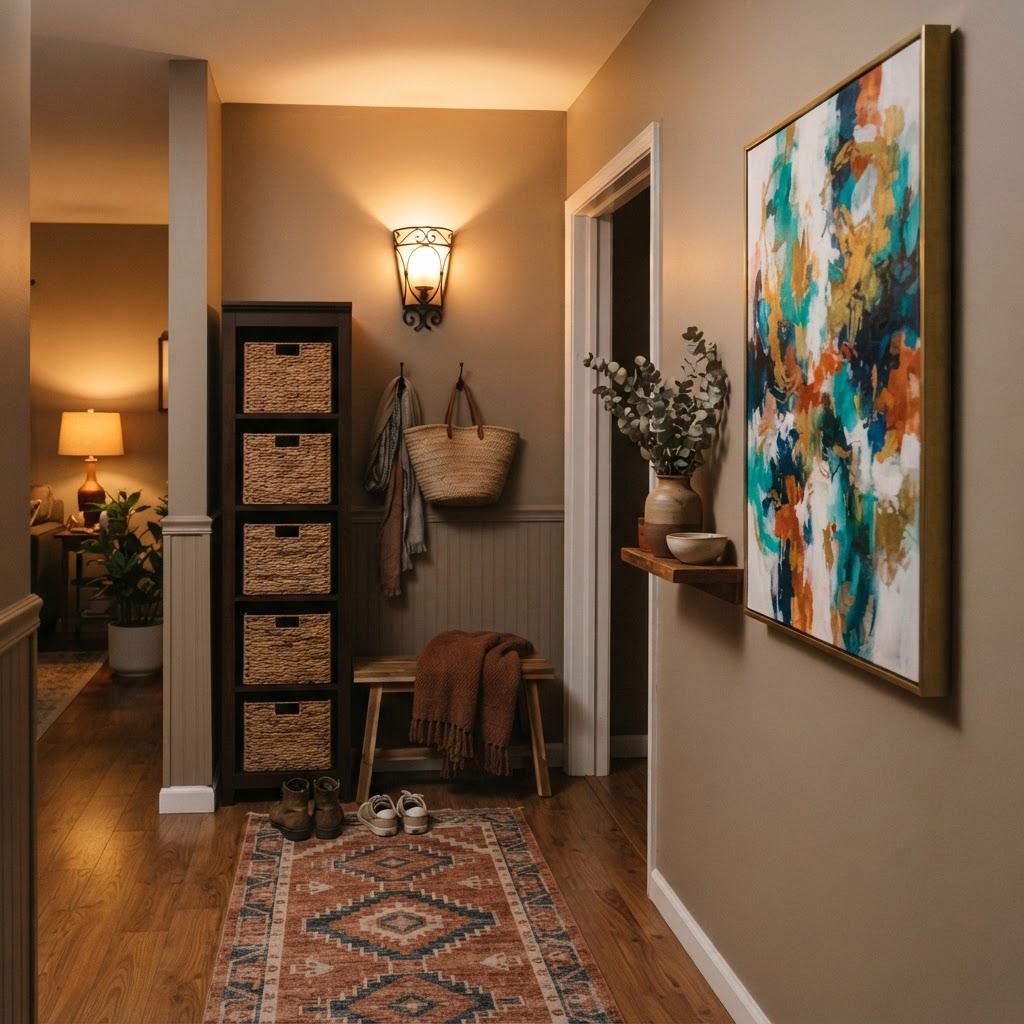
Adding warmth to a narrow space.

When floor space is at a premium, the only way to go is up to maintain a clean aesthetic. Utilizing your wall space is one of the most effective narrow hallway entryway ideas available to modern homeowners, as it keeps the floor clear to prevent a “closed-in” feeling. Wall-mounted consoles, floating shelves, and tall, slim cabinetry can offer significant storage without taking up precious square footage on the floor. Look for units that extend toward the ceiling to draw the eye upward, which paradoxically makes the ceiling feel higher and the room feel more expansive.

Floating Consoles and Shelves

Floating furniture is a game-changer in narrow environments because it preserves floor line continuity. Because the floor remains visible beneath the unit, the visual weight is reduced, making the space feel less cramped. A slim, floating shelf provides a perfect landing strip for mail and keys, while a wall-mounted hook rack underneath keeps coats off the floor. This two-tier approach maximizes the utility of a single wall section without creating a barrier to movement. Aim to mount shelves 30-32 inches from the floor for optimal reach and visual balance.

Incorporate Reflective Surfaces and Lighting

Functional storage with a modern bench.

Lighting and mirrors are the secret weapons of interior design when dealing with tight quarters. A large, well-placed mirror can bounce light around the room and create the illusion of double the space. When you are looking for effective narrow hallway entryway ideas, consider installing a floor-to-ceiling mirror or a wide landscape mirror above a console table to open up the hallway visually. By reflecting light from opposite windows or existing fixtures, you effectively “borrow” light to brighten darker corners.

The Power of Ambient and Task Lighting

In a narrow hallway, lighting is often an afterthought, but it should be a priority to avoid tunnel-vision aesthetics. Avoid large, bulky pendants that dominate the ceiling, as they consume vertical clearance. Instead, opt for flush-mount light fixtures, wall sconces, or LED strip lighting tucked into recessed shelves to create a warm, inviting glow. A well-lit hallway feels wider and more intentional, whereas a dim hallway can feel like a dark, tunnel-like passage that you just want to walk through as quickly as possible. Aim for at least 300-500 lumens in a standard 6-foot hallway for adequate illumination.

Choose Slim-Profile Furniture

Moody and dramatic entryway styling.

If you simply must have furniture in your hallway, look for pieces specifically designed for small footprints to prevent bottlenecks. Standard console tables are often too deep for narrow entryways, creating an obstruction. Look for “demi-lune” or “slim-profile” consoles that measure 10 to 12 inches in depth. These pieces provide just enough surface area for a small tray and a vase of flowers without impeding your path. Ensure there is at least 30 inches of space remaining for traffic flow after placing your furniture.

Multi-Functional Seating

If you have a small niche or a slightly wider section of the hallway, consider a slim bench with built-in storage. A bench provides a place to put on shoes, while the interior serves as a hidden home for umbrellas, bags, or extra pairs of boots. Look for a bench with a hinged top or open cubbies beneath to keep the area organized. Ensure that the seat is shallow enough that it doesn’t force people to shimmy past it when entering your home, ideally staying within the 14-inch depth range.

Simplify Your Color Palette

Color has a massive impact on the perceived size of a room, directly affecting your psychological comfort in the space. For narrow hallways, light and neutral tones are generally the safest and most effective choice. White, off-white, light gray, or soft beige paint colors reflect light and make walls feel as though they are receding. If you want to add personality, consider a subtle monochromatic scheme where the wall color, baseboards, and door trim are painted in the same hue, which eliminates visual breaks and creates a seamless, streamlined look.

Bold Design Choices

If you are feeling brave, a dark, moody color can also work in a narrow space if applied correctly to create architectural drama. While light colors expand, dark colors can create a sense of cocooning and intimacy, often used in professional interior design to make a small space feel intentional. If you go this route, ensure your lighting is exceptional, as a dark hallway without proper illumination will quickly turn into an uninviting cave. Pairing dark walls with high-contrast metallic accents or bright artwork can elevate the space into a dramatic transition area.

Establish a Minimalist Entry Strategy

Sometimes, the best narrow hallway entryway ideas are about what you don’t include, as clutter is the primary culprit of cramped aesthetics. Implement a “one-in, one-out” policy for your entryway storage to ensure that old coats, broken umbrellas, and unnecessary mail don’t pile up. Use decorative baskets to house items that need to be hidden away, and keep the surface of your console or shelf as clear as possible to maintain a sense of calm and order.

Organizational Habits

  • Assign a dedicated spot for every item, such as a tray for keys and a specific hook for bags.
  • Implement a mail sorter near the door to stop paper clutter before it enters the living room.
  • Use seasonal rotation to store winter accessories during the summer months.
  • Keep floors clear of shoes; use a small hidden bin or a wall-mounted rack to elevate them.

Create Visual Interest Through Texture

While space is limited, personality doesn’t have to be, and texture provides depth without adding bulk. Use texture to add depth to your narrow hallway without taking up physical space. A slim, high-quality runner rug can ground the space, add warmth, and guide guests toward the rest of your home. Choose a durable, low-pile material that can withstand high traffic and is easy to clean. You can also experiment with subtle wallpaper textures, like a grasscloth or a Tone-on-Tone pattern, to add tactile interest that doesn’t overwhelm the visual field.

FAQ

How wide should a narrow hallway console be?

A narrow hallway console should be between 10 and 12 inches deep to ensure it does not obstruct traffic. This depth provides enough surface area for essential items like keys, wallets, and small decor while keeping the walking path clear for guests.

Does painting a narrow hallway white make it look bigger?

Yes, painting a narrow hallway in light, neutral tones like white, soft gray, or off-white reflects more light and makes walls appear to recede. This reduces the “tunnel” effect and creates a brighter, more expansive atmosphere in small corridors.

How can I store shoes in a narrow entryway without clutter?

You can store shoes in a narrow entryway by using wall-mounted flip-down shoe cabinets that are only 6 to 9 inches deep. Alternatively, utilize a slim bench with built-in cubbies or an under-console storage basket to keep the floor surface clear and organized.

What is the best type of lighting for a cramped hallway?

Flush-mount ceiling fixtures, wall sconces, and recessed LED strip lighting are the best options for narrow hallways. These low-profile lighting solutions provide adequate illumination without taking up vertical headroom or making the ceiling feel lower than it actually is.

How do I stop mail clutter in my entryway?

To stop mail clutter, install a wall-mounted mail sorter directly above your console table or near the front door. This gives you an immediate place to sort incoming mail, preventing stacks from building up on flat surfaces and keeping the entryway tidy.

Can dark colors work in a small, narrow hallway?

Yes, dark colors can work in a narrow hallway if you use them to create a “cocooning” effect, provided you have excellent lighting. Pair dark walls with metallic accents or bright artwork to prevent the space from feeling uninviting or cave-like.