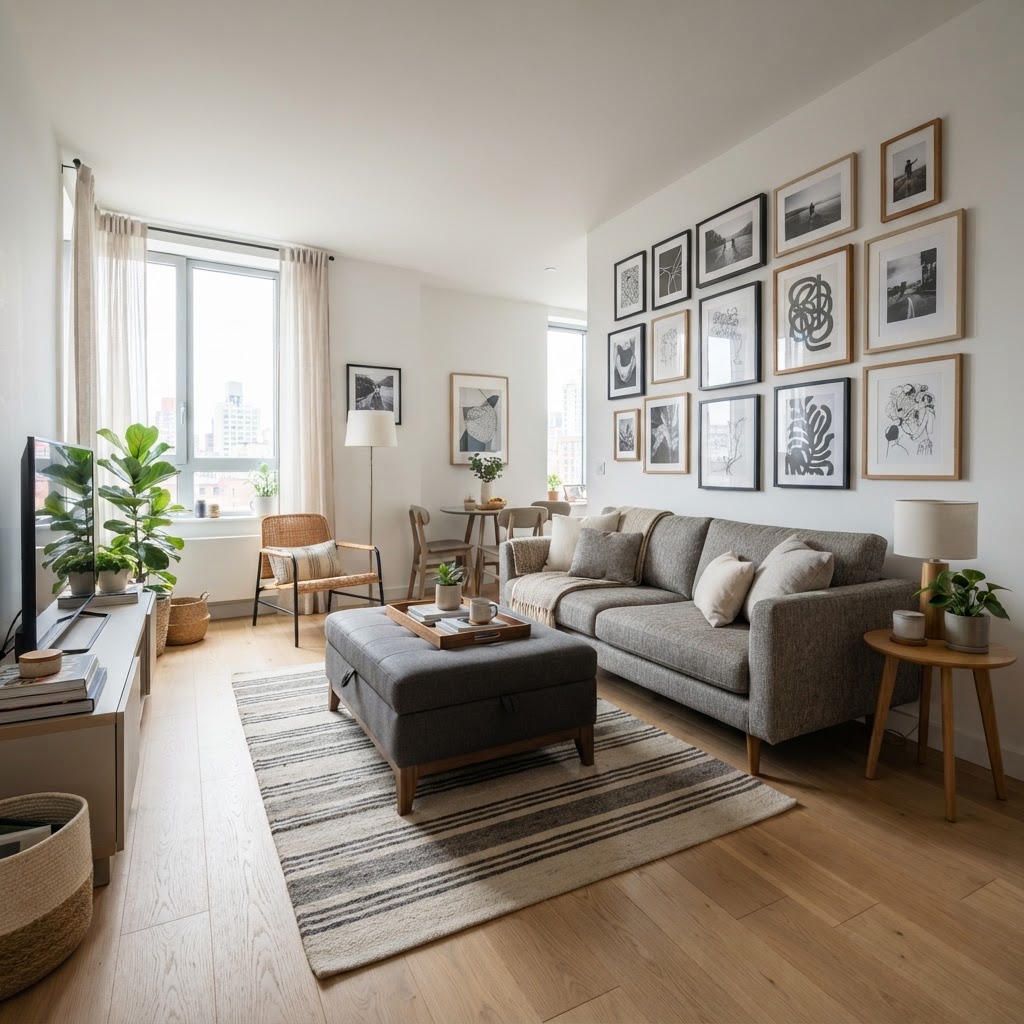
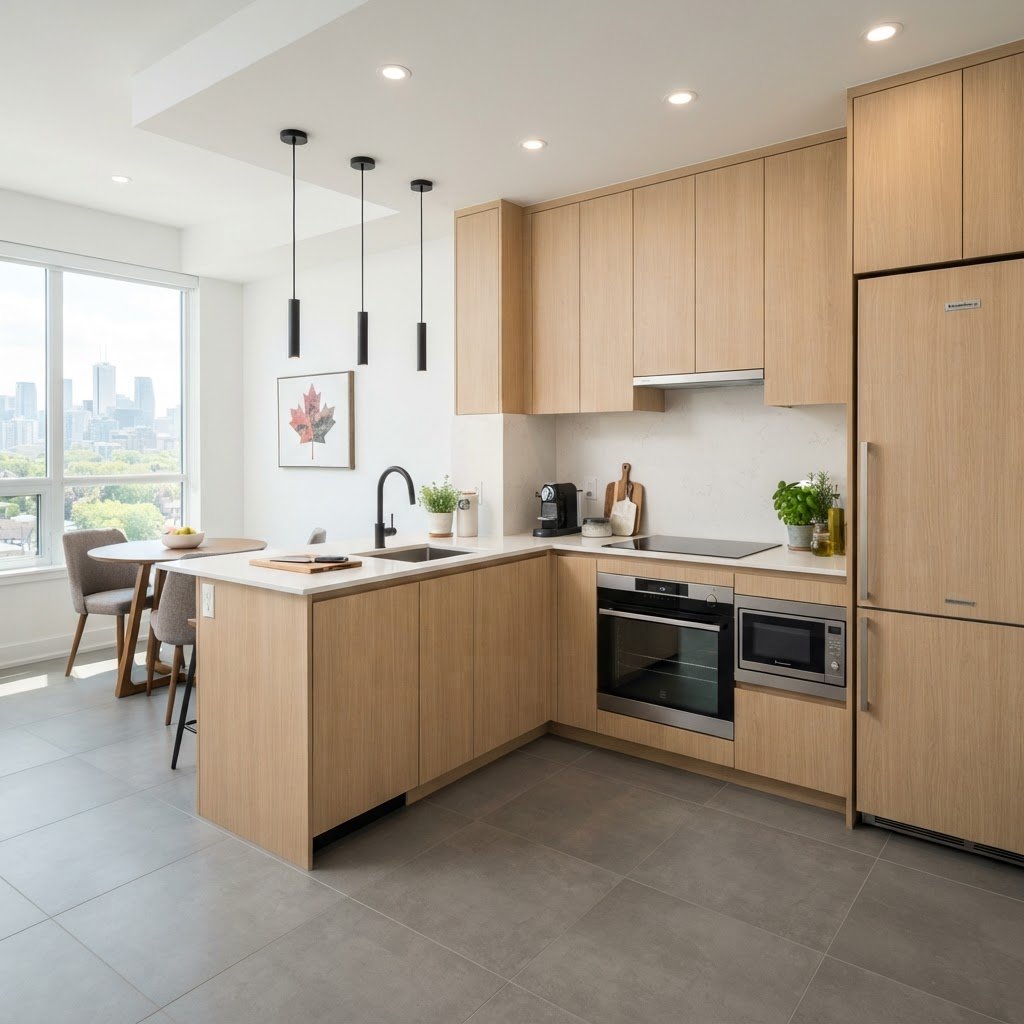
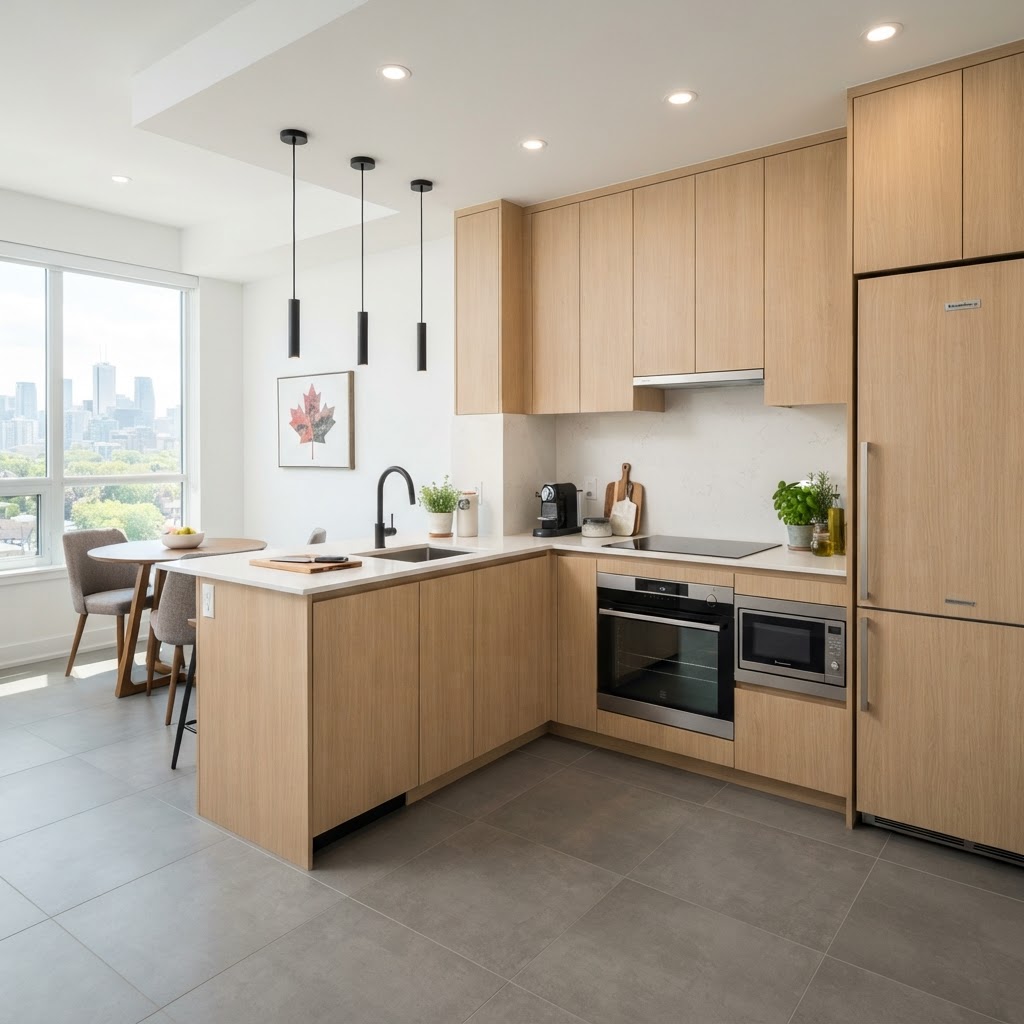
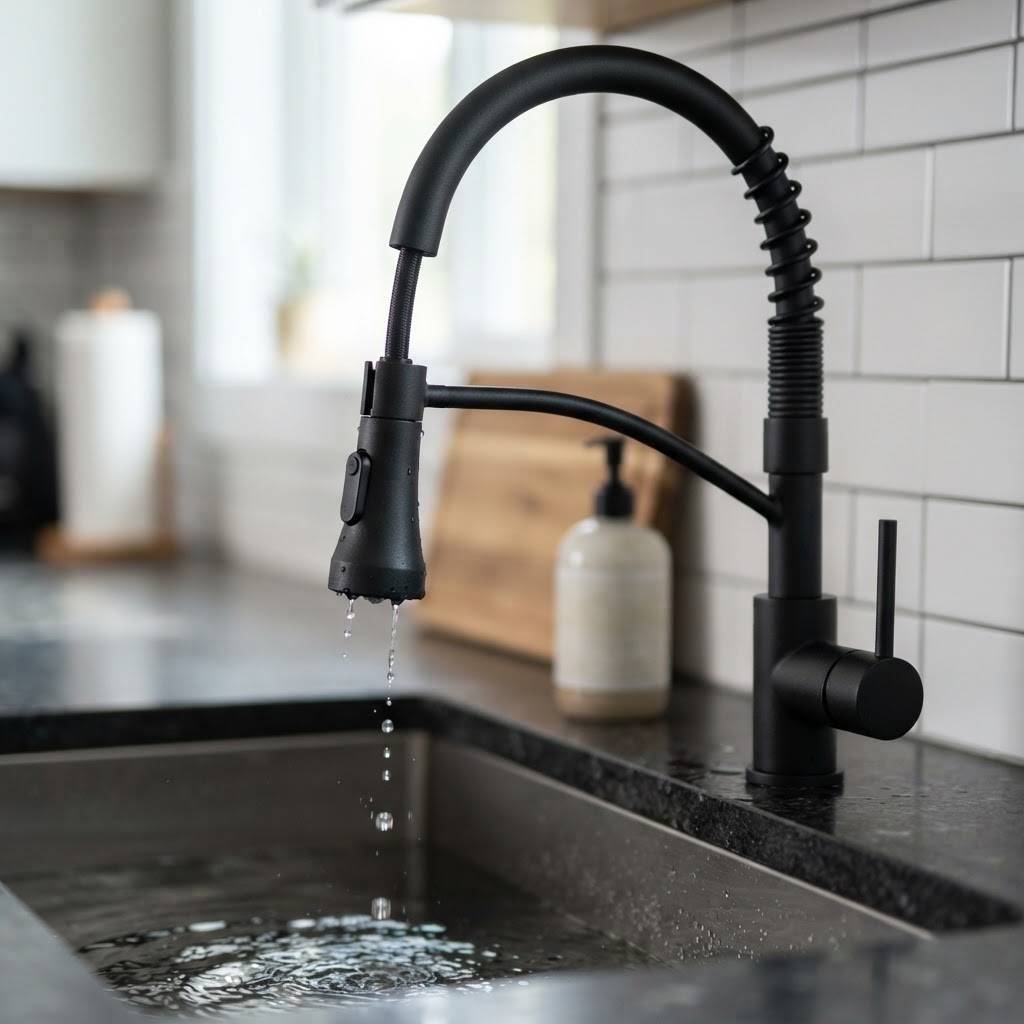
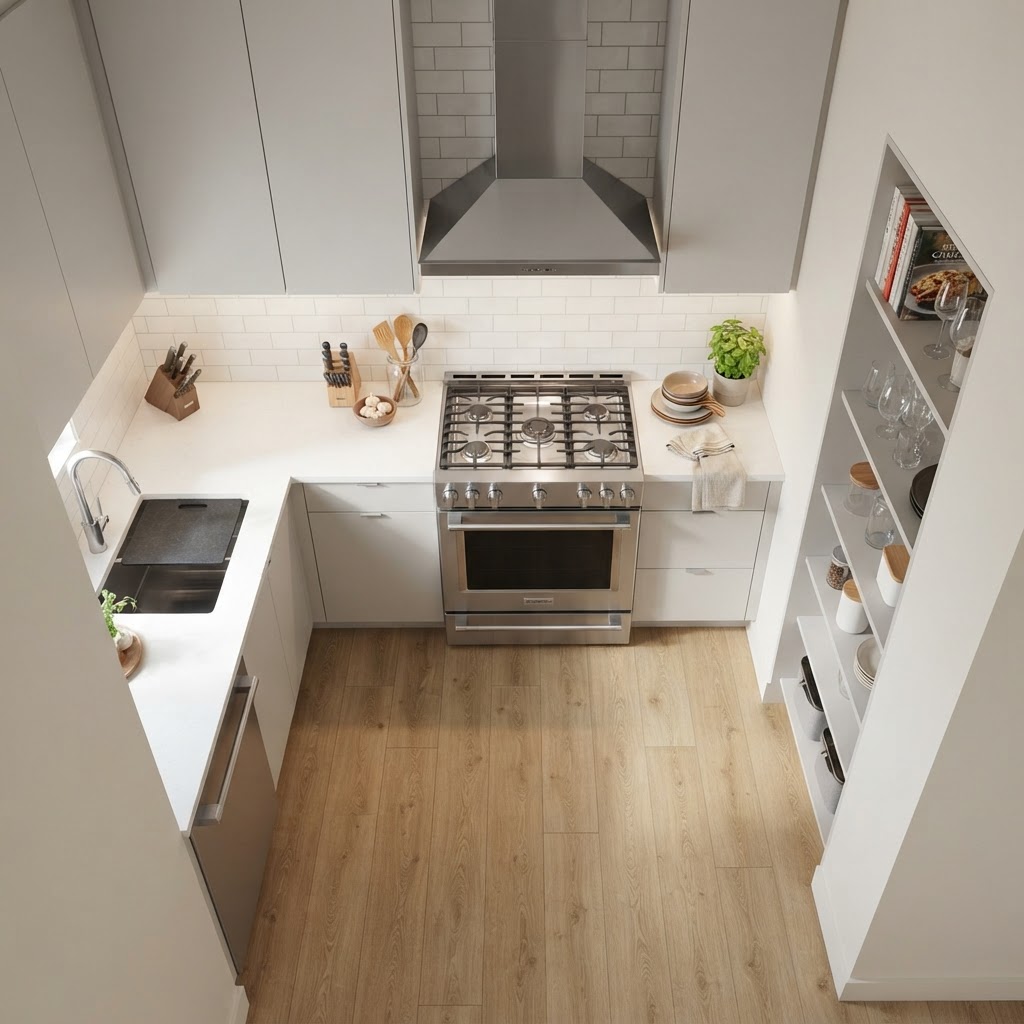
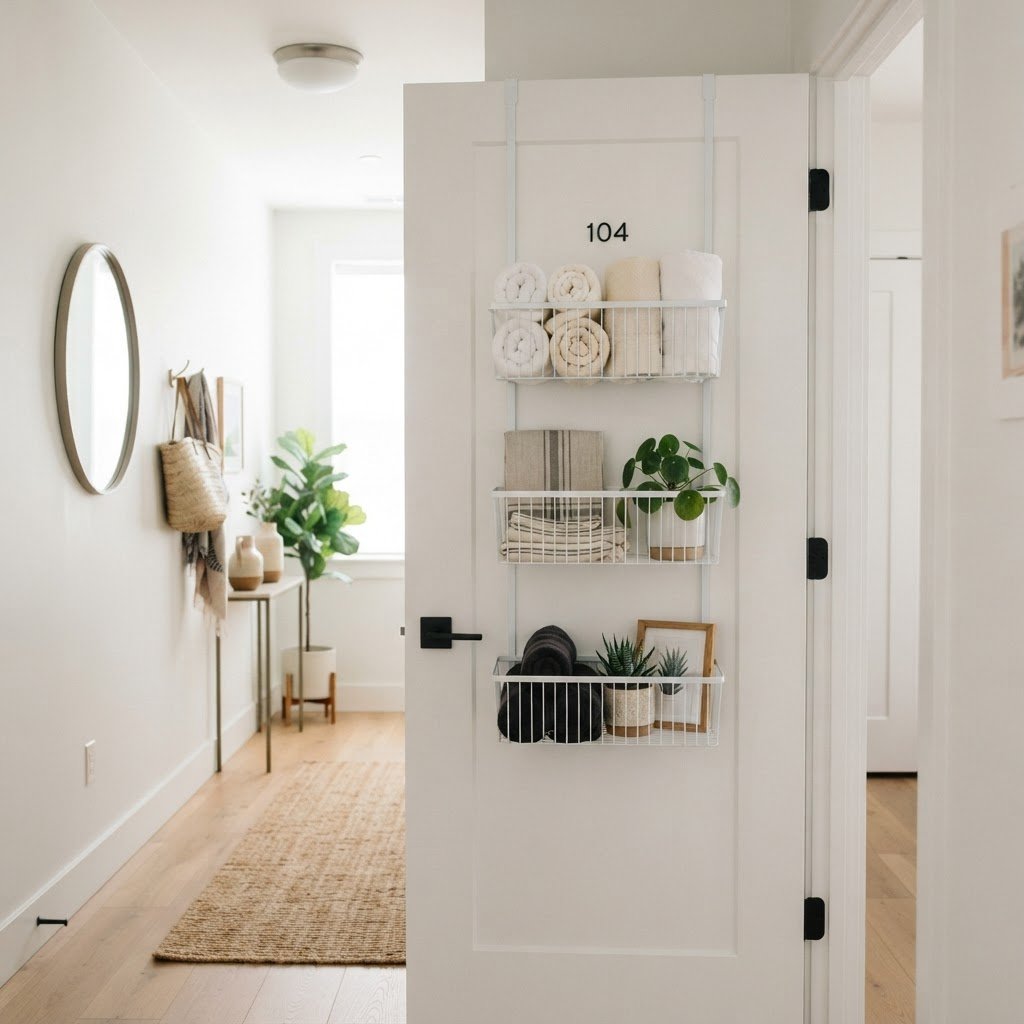
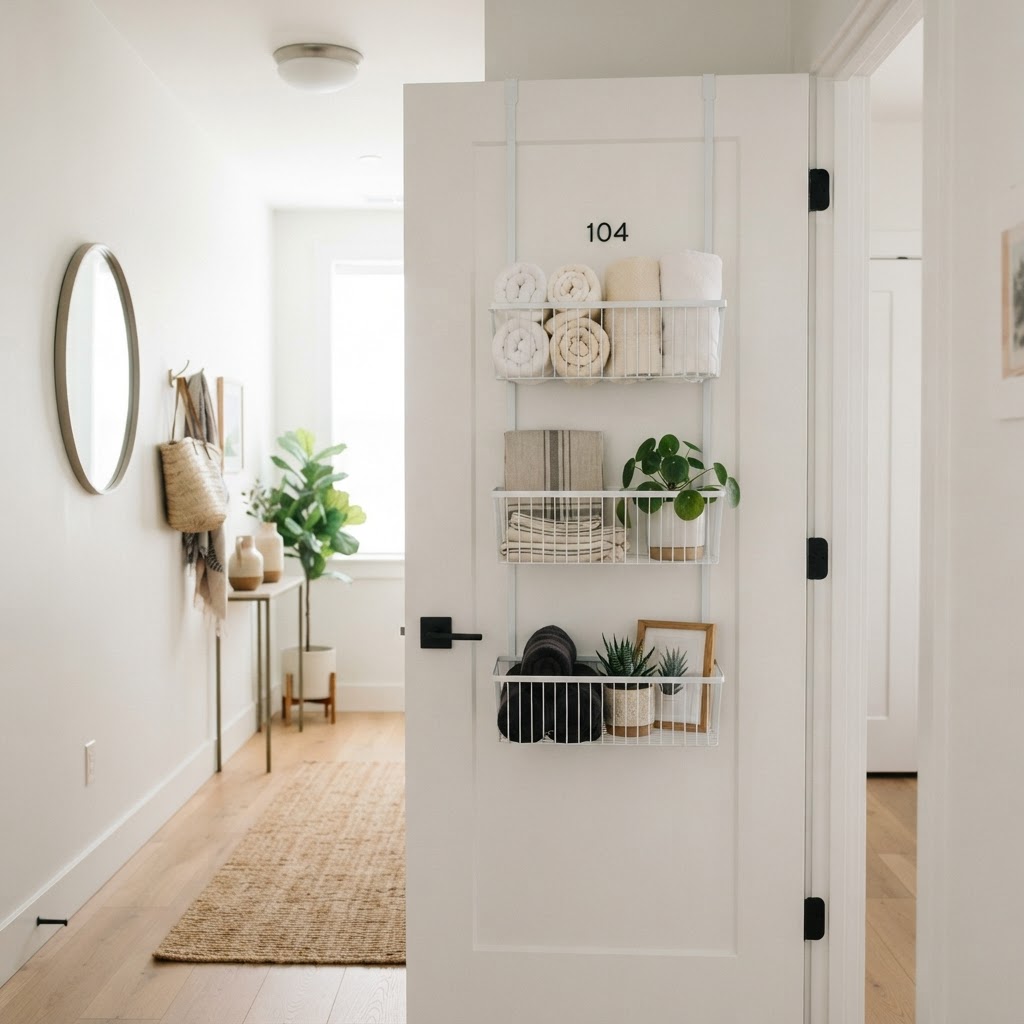
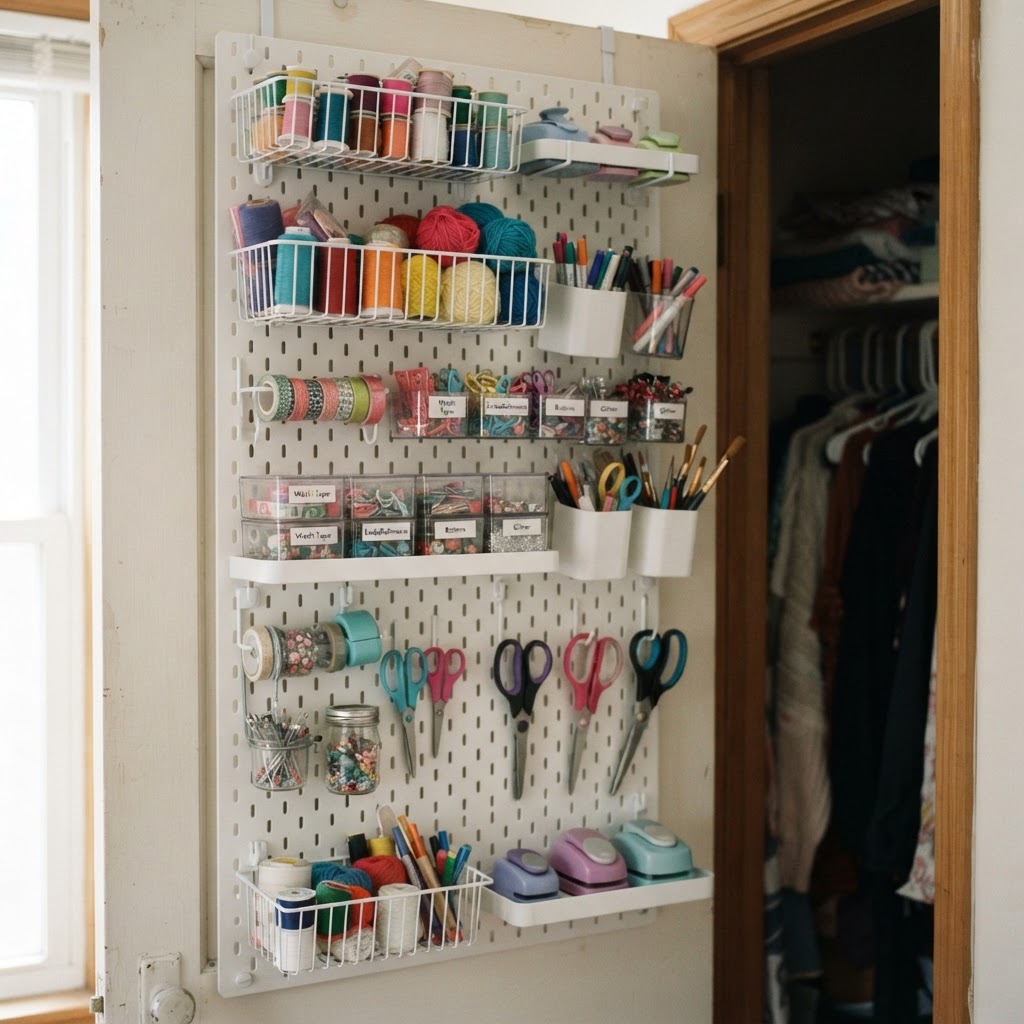
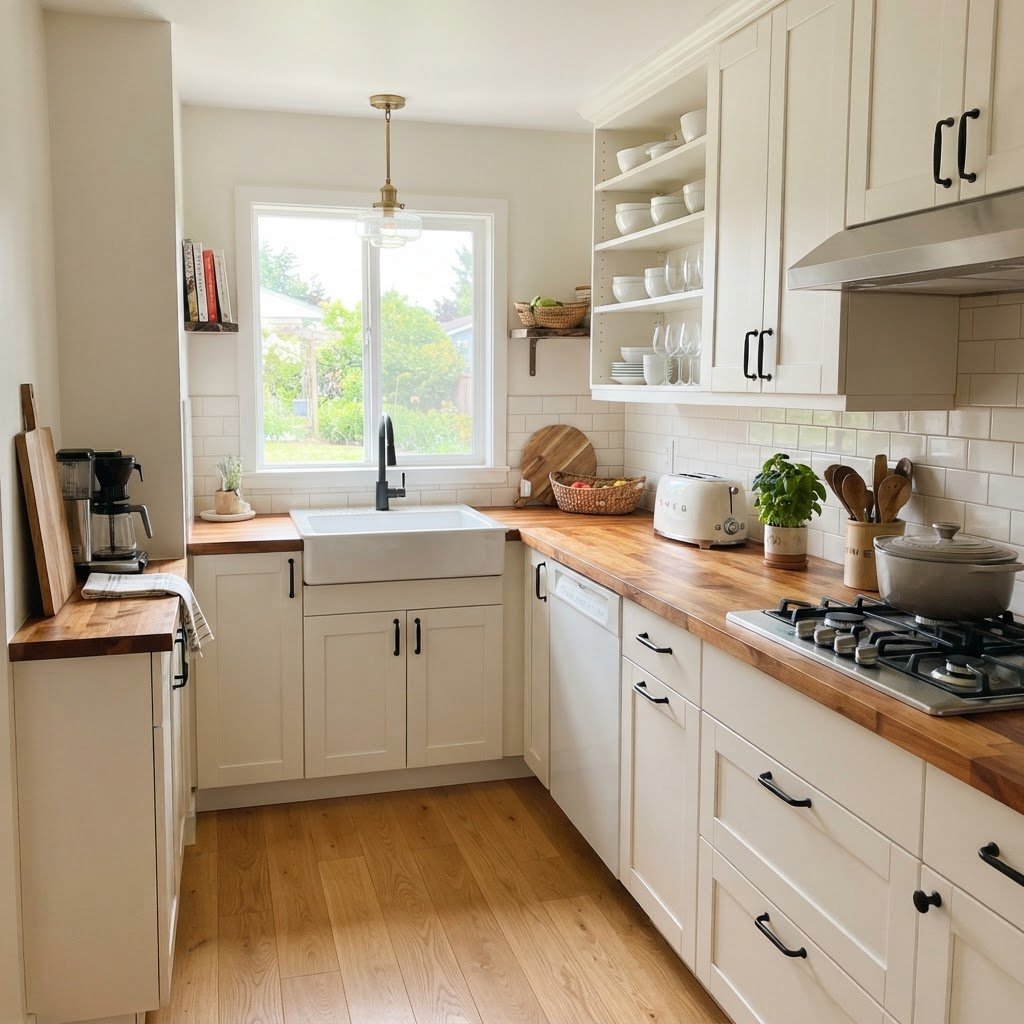
Designing a functional cooking space when you are limited by square footage can feel like a daunting task. However, you can use color psychology tricks that make small kitchens feel bigger and brighter without needing a full-scale renovation. By understanding how light interacts with hues and how our brains perceive depth through color, you can trick the eye into seeing a much more expansive environment. This guide explores the science behind color and how you can apply these principles to your home today. ## The Science of Space and Perception At the core of interior design lies the relationship between light reflection and color. Dark colors absorb light, which can cause a small room to feel claustrophobic and cave-like. Conversely, lighter shades reflect light, bouncing it around the room and creating an airy, open atmosphere. Understanding this simple physics-based principle is the foundation for visual expansion. Beyond simple reflection, color psychology impacts how we feel in a space. Light blues and soft greens are known to have a calming effect, while crisp whites feel clean and clinical. When you use these colors in a small kitchen, you aren’t just changing the decor; you are influencing the user experience. You can also maximize storage in a small apartment kitchen to help minimize the visual weight of cabinets and appliances, making the room feel like it has more “breathing room.” ## The Power of Monochromatic Schemes One of the most effective color psychology tricks for tight spaces is the use of a monochromatic color scheme. By painting your walls, cabinets, and even trims in variations of the same color, you eliminate the visual boundaries that usually chop up a room. When the eye doesn’t have to pause at contrasting lines, it perceives the space as a continuous, uninterrupted surface. ### Achieving the Seamless Look To make this work effectively, you need to play with texture and tone rather than distinct colors. Start with a light base, such as soft pearl or antique white. Use a flat finish for walls and a satin or semi-gloss finish for your cabinetry. This slight difference in sheen adds depth without creating the harsh contrast that makes small kitchens feel segmented and cramped. ## Strategic Use of Cool Tones Cool colors, such as light blues, teals, and soft grays, have a unique property: they appear to recede away from the viewer. While warm colors like red or orange seem to advance toward you, cool tones create an optical illusion of depth. This makes them perfect for small kitchens where you want the walls to feel further away than they actually are. Consider using a pale, icy blue on your walls. This color is associated with the sky and water, which naturally evokes feelings of openness and peace. When paired with bright, reflective hardware, the kitchen instantly feels more expansive. Avoid heavily saturated cool tones, however, as too much intensity can have the opposite effect by overwhelming the senses. ## Creating Focal Points with Accents Just because you want a kitchen to feel big doesn’t mean you have to avoid color entirely. A completely stark space can feel uninspired and cold. The trick is to use “pop” colors strategically to draw the eye to specific areas, creating a focal point that distracts from the actual lack of floor space. #### Where to Place Your Accents Think about adding a single piece of vibrant wall art, a collection of colorful ceramics, or even a brightly painted window frame. By concentrating color in one specific spot, you control the gaze. When the eyes are occupied by a beautiful accent, they pay less attention to the narrow footprint of the room. Keep these accents limited to ensure you don’t clutter the visual field, as too many points of interest will counteract your efforts to make the kitchen feel larger. ## The Role of Reflective Surfaces While color is the hero, reflective surfaces are the sidekick that makes the magic happen. Light colors need something to bounce off of. Incorporating glass cabinet doors, polished stone countertops, or even metallic backsplashes amplifies the effect of your chosen color palette. These materials effectively double the light in your room, making even the smallest corners feel luminous. ### Maximizing Natural Light Always ensure that your light-colored walls are not obstructed by heavy window treatments. If you need privacy, opt for light-filtering roller shades rather than dark, heavy drapes. The more natural light you can invite into the space, the more effective your lighter wall colors will become, as they will capture that sunlight and brighten the entire kitchen. ## Color Zoning for Functionality Even in a tiny kitchen, you can create the feeling of distinct “zones” through color, which adds to the perceived complexity and size of the room. Using a slightly darker shade on the floor and a very light shade on the ceiling tricks the brain into thinking the room is taller and more expansive. This vertical gradient is a powerful tool in any small room design strategy. When zoning, keep the transitions between colors subtle. A sharp break in color can highlight the limits of the room, whereas a soft fade or a deliberate choice of colors that sit next to each other on the color wheel creates a harmonious, flowing transition that keeps the room feeling cohesive and large. ## Common Mistakes to Avoid Many homeowners fall into the trap of thinking that “brightening” means strictly using stark white everywhere. While white is a great tool, too much of it can result in a sterile environment. It is essential to mix in warm textures—like wood grain or woven baskets—to add humanity to the room. Without these elements, a small, all-white kitchen can feel cold and uninviting, which arguably makes it feel smaller because you want to spend less time in it. Another mistake is neglecting the power of lighting fixtures. You can paint a kitchen the perfect shade of sky blue, but if the lighting is yellow or dim, the color will look muddy. Invest in high-CRI (Color Rendering Index) LED bulbs that mimic natural daylight. This will ensure that the color psychology tricks you have implemented remain effective throughout the evening, not just during the peak daylight hours. ## Conclusion Making a small kitchen feel larger is entirely possible when you leverage the right design strategies. By utilizing cool-toned palettes, embracing monochromatic designs, and maximizing the reflection of light, you can turn a cramped galley or corner kitchen into an airy, welcoming hub of the home. Remember, the goal is to create a space that feels intentional and bright, allowing you to focus on the joy of cooking rather than the limitation of the floor plan. Ready to transform your home? Start by picking one of these color psychology tricks today—perhaps a simple paint refresh or a change in your cabinet hardware—and watch how quickly your small kitchen begins to feel like a spacious oasis. For more design inspiration and daily tips, subscribe to our newsletter and join our community of home improvement enthusiasts!
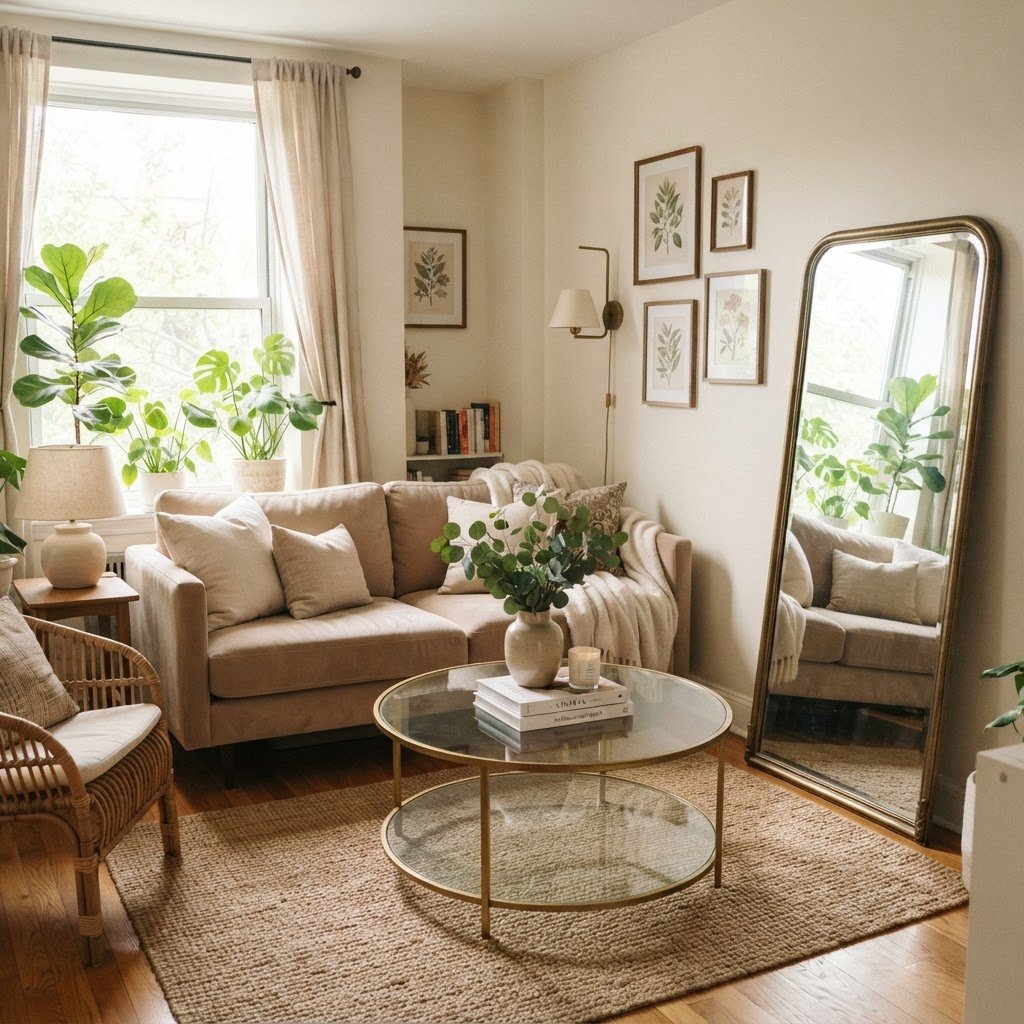
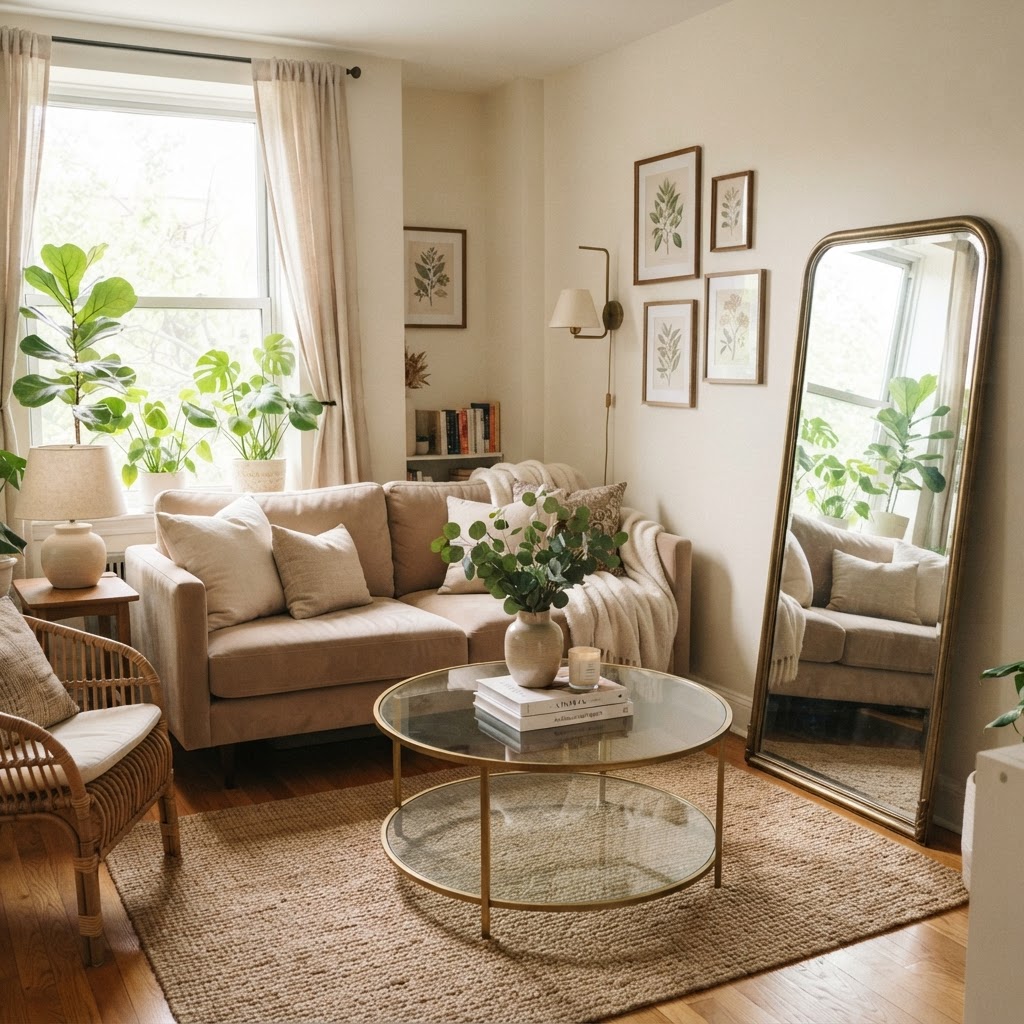
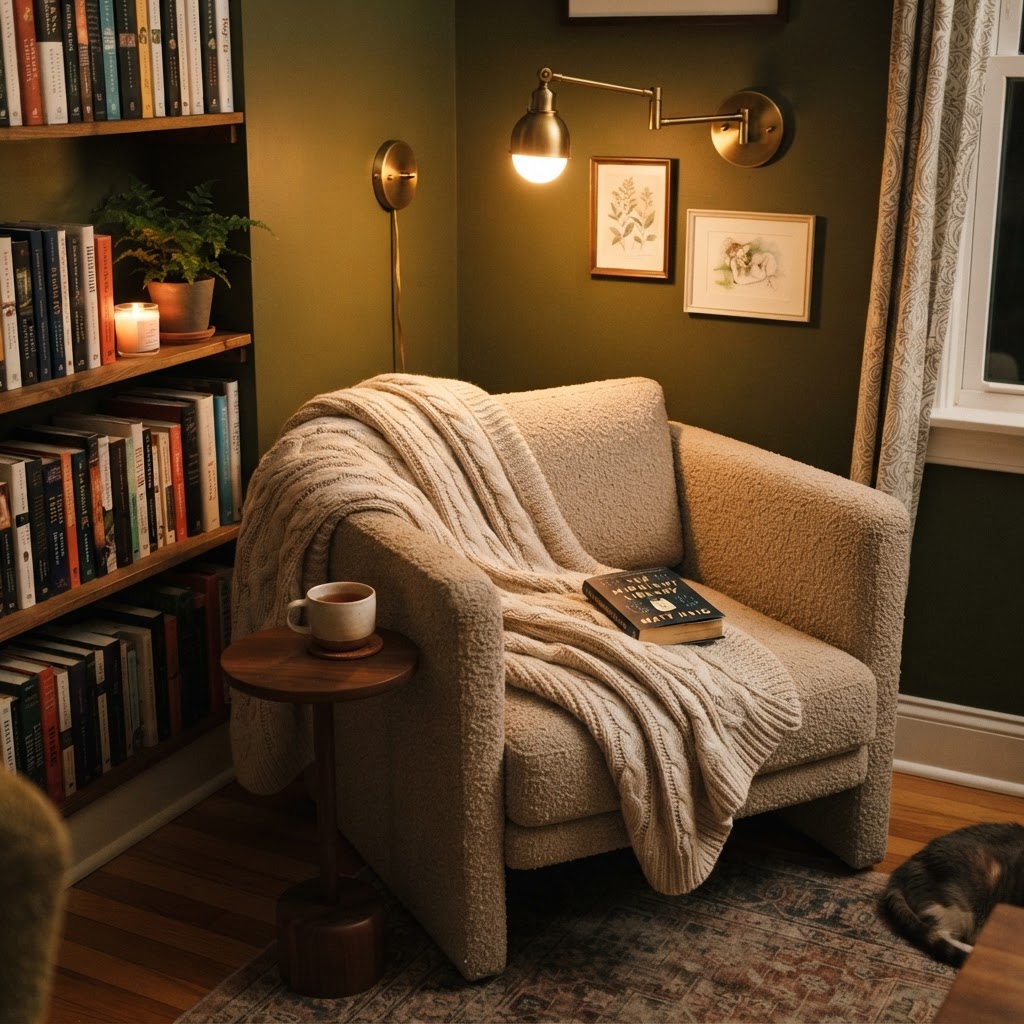
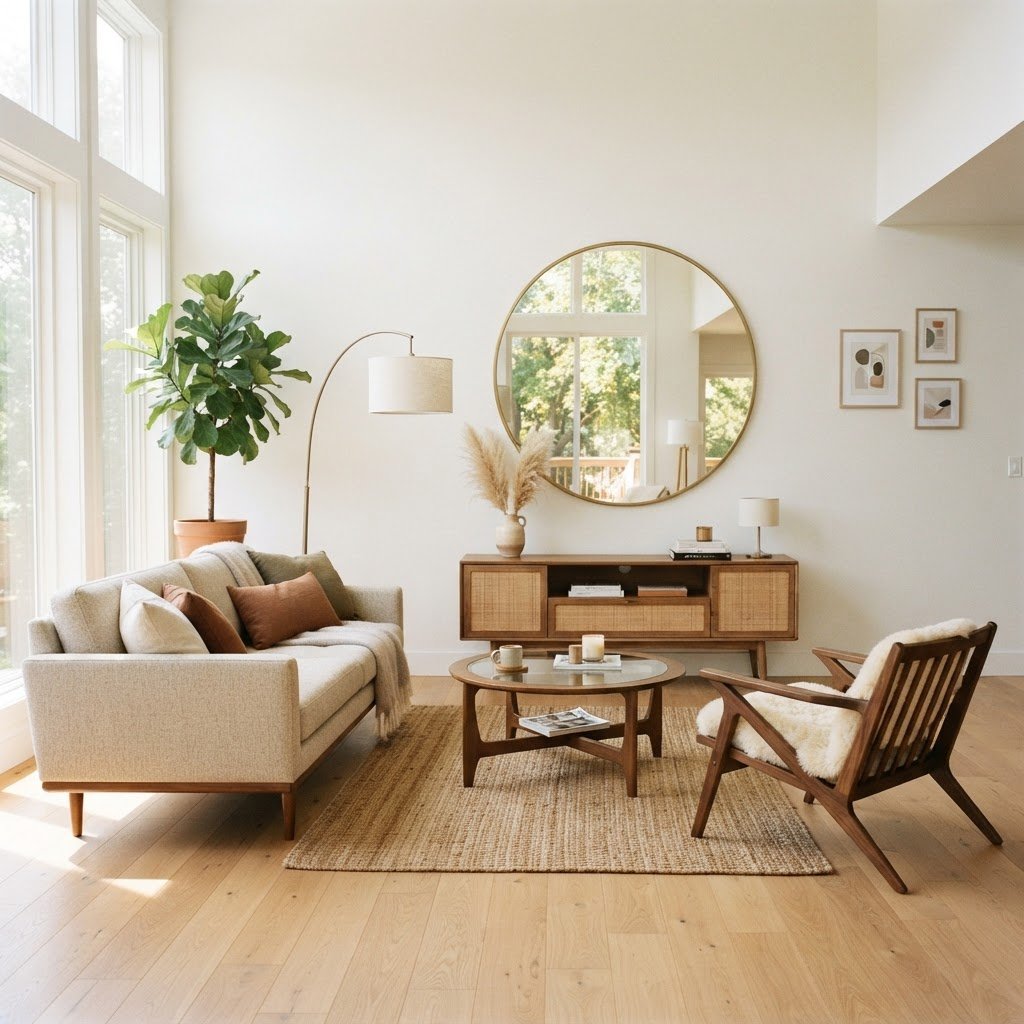
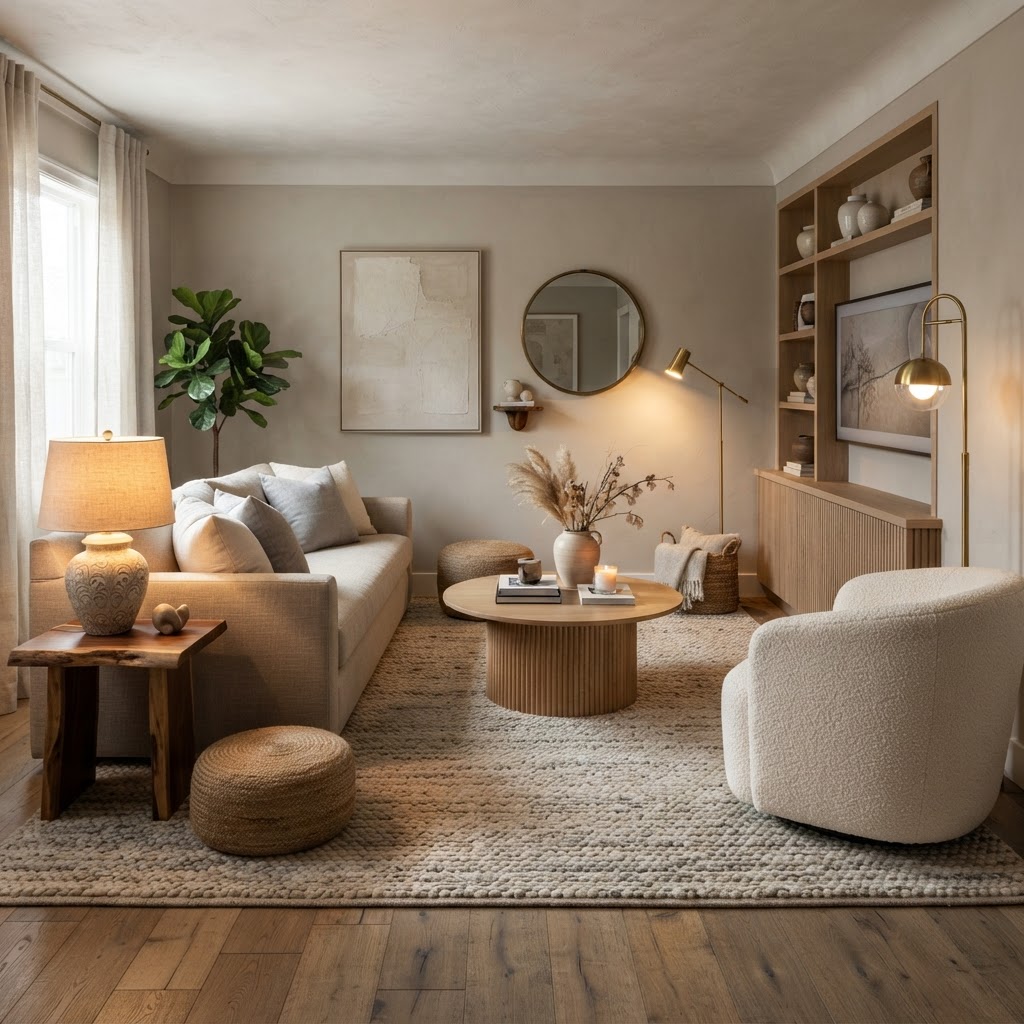
Creating a sanctuary within a compact floor plan starts with a neutral foundation. Cozy beige living room ideas for small spaces rely on the power of layering, texture, and light to transform a cramped area into a serene retreat that feels expansive yet intimate. Beige is far from boring; it is the ultimate canvas for those seeking a tranquil and sophisticated aesthetic. By mastering the art of monochromatic layering, you can make a small living room feel both warm and breathable, ensuring that your furniture and decor complement rather than overwhelm your limited square footage. ## The Psychology of the Beige Palette Why do designers consistently turn to beige when tackling small areas? It boils down to the way light interacts with neutral surfaces. Unlike darker tones that absorb light and make walls feel closer, beige reflects light, effectively pushing the boundaries of your room and making it appear larger. Beyond its light-reflecting properties, beige offers an unparalleled sense of calm. In a world of constant stimulation, a neutral living space provides a much-needed visual reprieve. It serves as the perfect backdrop for personal expression, whether you lean toward Scandinavian minimalism or modern organic farmhouse styles. ### Creating Depth Through Texture One of the most important aspects of using a single color family is avoiding flatness. To keep your living room from feeling sterile, you must incorporate a variety of textures. Think chunky knit throw blankets, velvet accent pillows, bouclé armchairs, and natural fiber rugs like jute or sisal. Mixing these materials adds sensory interest without needing to introduce bold, distracting colors. A smooth leather sofa paired with a soft sheepskin rug instantly elevates the tactile experience of the room, creating that essential cozy factor that everyone craves. ## Strategic Furniture Selection for Compact Layouts When choosing furniture for a small space, scale is everything. Avoid oversized, bulky sofas that take up the entire footprint of the room. Instead, look for pieces with “legs” or lifted bases, as seeing the floor underneath the furniture tricks the eye into perceiving more available space. To keep these spaces functional, explore these clever living room storage ideas to ensure every item has its place without sacrificing your neutral, airy aesthetic. Consider multi-functional pieces that pull double duty. An ottoman with hidden storage can serve as a coffee table, extra seating, or a place to tuck away blankets and magazines. Similarly, nesting tables are a lifesaver for small apartments, as they can be tucked away when not in use and expanded when hosting guests. ## Maximizing Light and Vertical Space Lighting is the secret weapon of any successful interior design project. In small rooms, rely on a layered lighting approach rather than a single harsh overhead light. Use floor lamps, table lamps, and wall sconces to create pools of light that brighten dark corners and define different zones within your living area. Vertical space is often an overlooked asset. By mounting curtains high above the window frame and choosing tall, slim bookshelves, you draw the eye upward. This simple trick adds height to the room and makes the ceiling feel significantly higher than it actually is. ### Mirrors as Design Tools Never underestimate the transformative power of a well-placed mirror. A large floor mirror or a collection of smaller wall mirrors can amplify natural light, effectively doubling the visual depth of your living room. Position them opposite a window to capture the view and push it back into the heart of the home. ## Choosing the Right Shade of Beige Not all beige is created equal. Understanding the undertones of your paint color is essential for achieving a cohesive look. Some beiges lean toward yellow or “gold,” while others have cooler, gray undertones—often referred to as ‘greige’. For north-facing rooms with less natural light, opt for a warmer, cream-based beige to prevent the space from feeling chilly. In south-facing rooms that receive plenty of bright, golden sunlight, a cooler, muted greige can help balance the intensity and keep the space feeling fresh and airy. ## Incorporating Natural Elements To prevent your beige sanctuary from feeling too artificial, bring the outside in. Natural wood tones, stone accents, and living plants are essential for grounding a neutral room. A light oak coffee table or a rattan side chair adds organic warmth that contrasts beautifully with a beige palette. Houseplants not only improve air quality but also provide a splash of vibrant green that acts as a natural focal point. In a small space, choose a tall, slender plant like a fiddle leaf fig or a hanging planter to save floor space while still introducing life and color to the room. ### A Quick Checklist for Small Spaces Keep the floor clear of excess clutter. Use monochromatic color schemes to blur room boundaries. Choose furniture with exposed legs to maintain an open feel. Incorporate at least three types of light sources. * Select curtains that match your wall color for a seamless look. ## Managing Clutter in a Neutral Space In a small, beige living room, clutter is your worst enemy. Because the color palette is so calming and intentional, even a small amount of mess can disrupt the visual harmony. Invest in closed storage solutions to keep remotes, cords, and everyday items out of sight. Focus on a “less is more” philosophy. Instead of decorating every surface with small trinkets, choose a few high-quality, large-scale decor pieces. A single, beautiful piece of sculptural art or a large ceramic vase makes more of a statement than a dozen small items that clutter the shelves. ## Bringing in Personality with Neutrals Many people worry that a beige room will feel personality-free, but that couldn’t be further from the truth. Use your neutrals to highlight unique architectural details or your favorite collections. A gallery wall with black-and-white photography can stand out beautifully against a soft beige wall without overwhelming the senses. Consider changing the finish of your accents to add luxury. Matte finishes feel cozy and soft, while polished nickel or brass hardware can add a subtle touch of glamour. These small details are what make a space feel truly designed and curated rather than just “decorated.” ## Conclusion Creating a beautiful space is not about the square footage you possess, but how you choose to curate the area you have. By focusing on high-quality textures, multi-functional furniture, and a thoughtful beige color palette, you can transform even the smallest living room into a cozy, inviting, and sophisticated retreat. Remember to prioritize light, keep your surfaces clear of unnecessary clutter, and select pieces that speak to your personal style. Start with one of these cozy beige living room ideas for small spaces today and watch your home transform into the relaxing sanctuary you deserve. Which of these tips are you going to try first? Let us know in the comments below!
Living in a small apartment often means that the kitchen is the first place to suffer from a lack of storage. When every square inch counts, finding the right tools to manage your clutter becomes a necessity rather than a luxury. By choosing the right space-saving kitchen cabinet organizers that actually fit, you can turn a chaotic jumble of pots and pans into a functional, streamlined culinary space. This guide explores the most effective ways to reclaim your kitchen without needing a full-scale renovation.
## The Philosophy of Vertical Storage
One of the biggest mistakes made in small apartment storage is failing to utilize the vertical space inside cabinets. Most cabinets come with only one shelf, leaving a large gap of wasted air above your stacked plates or canned goods. Installing tiered shelves or riser inserts is the simplest way to double your usable surface area. Beyond simple shelf inserts, there are many expert strategies to help you maximize cabinet space in a small kitchen.
### Adjustable Tension Shelves
Tension shelves are a game-changer for those who cannot drill holes into their rental cabinets. These adjustable units expand to fit the width of your interior space, creating immediate levels for stacking cups and bowls. By segmenting your cabinet height, you ensure that no vertical space is left empty.
### Stackable Pantry Bins
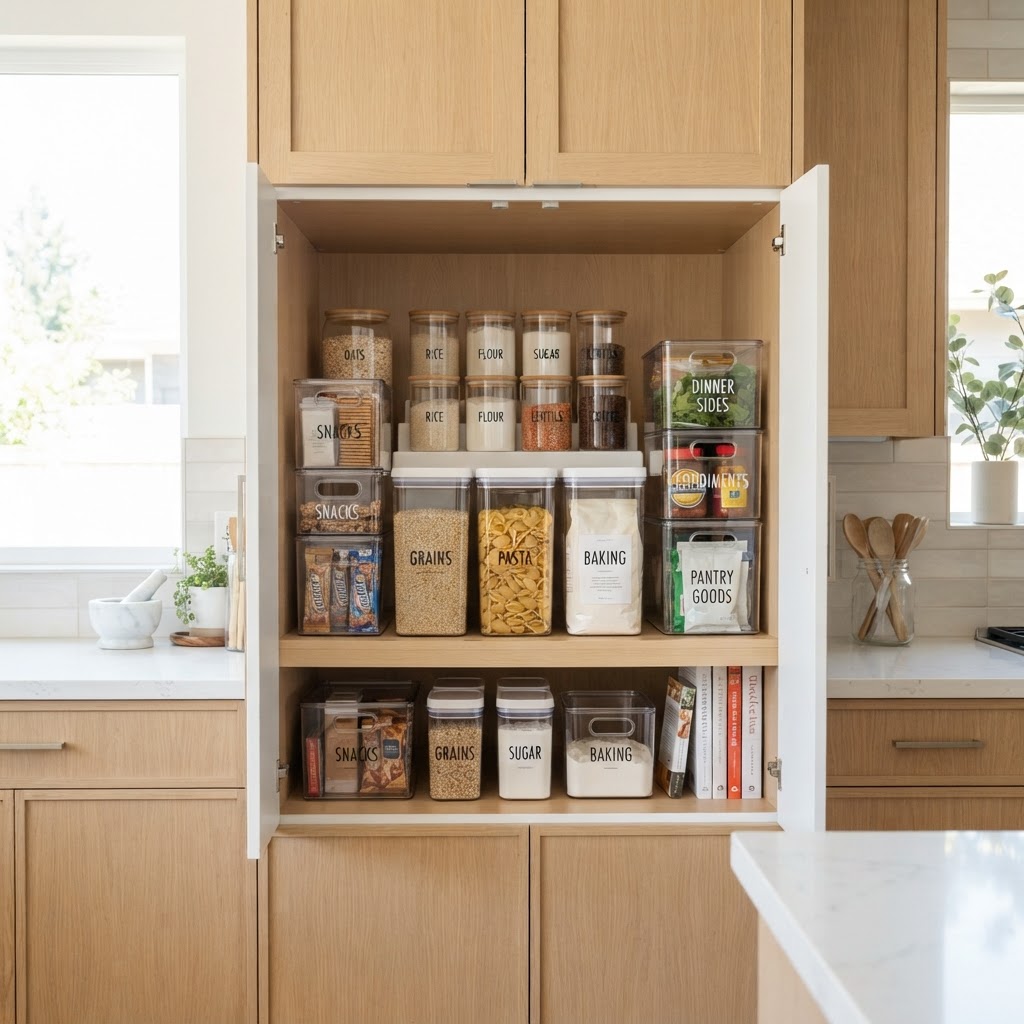
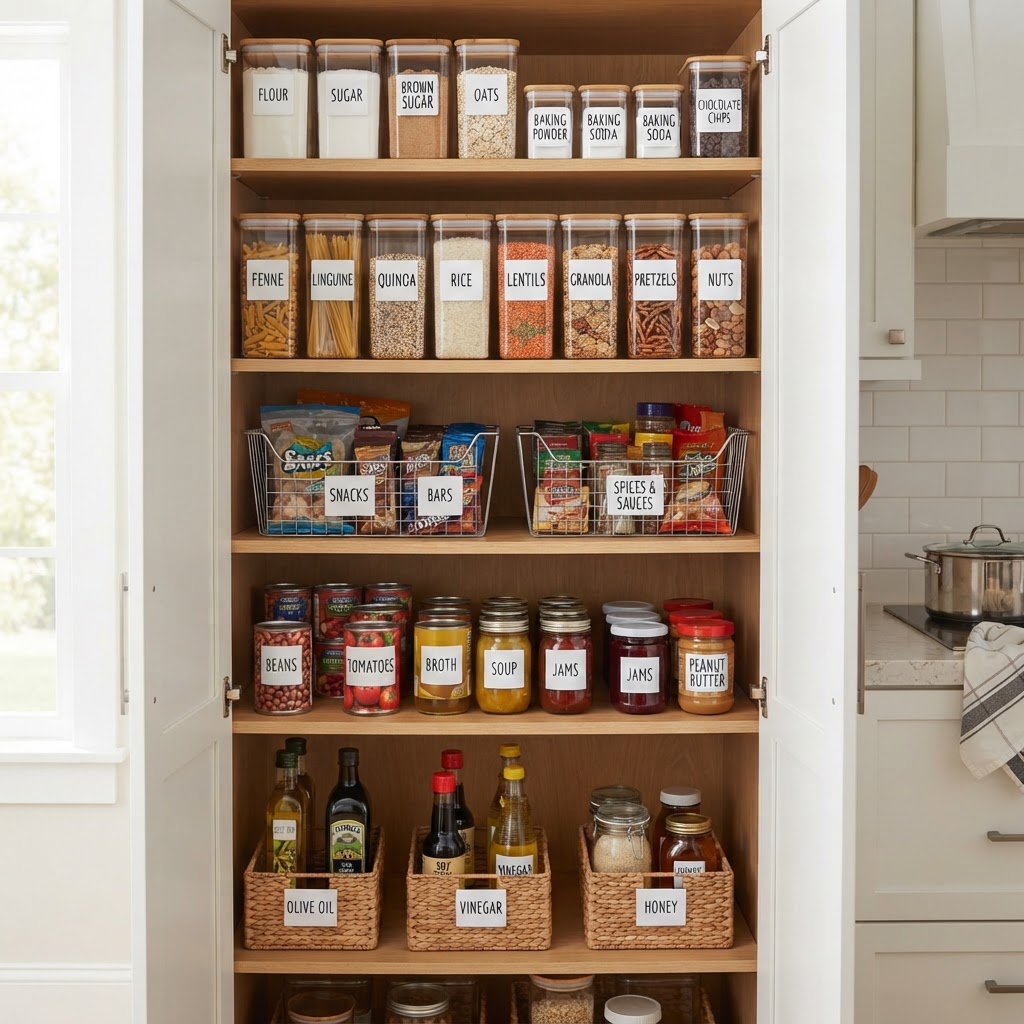
Clear, stackable bins allow you to see exactly what you have while maximizing the depth of your shelves. When buying these, always measure the height of your cabinet interior to ensure you have at least two inches of clearance above your tallest stack. This prevents the frustration of knocking over a tower of goods every time you reach for an ingredient.
## Maximizing Cabinet Door Potential
The backs of your cabinet doors are prime real estate for small apartment storage. By utilizing this often-overlooked area, you can move bulky items out of the main shelving zone, leaving more room for the essentials you use every day.
### Over-the-Door Organizers
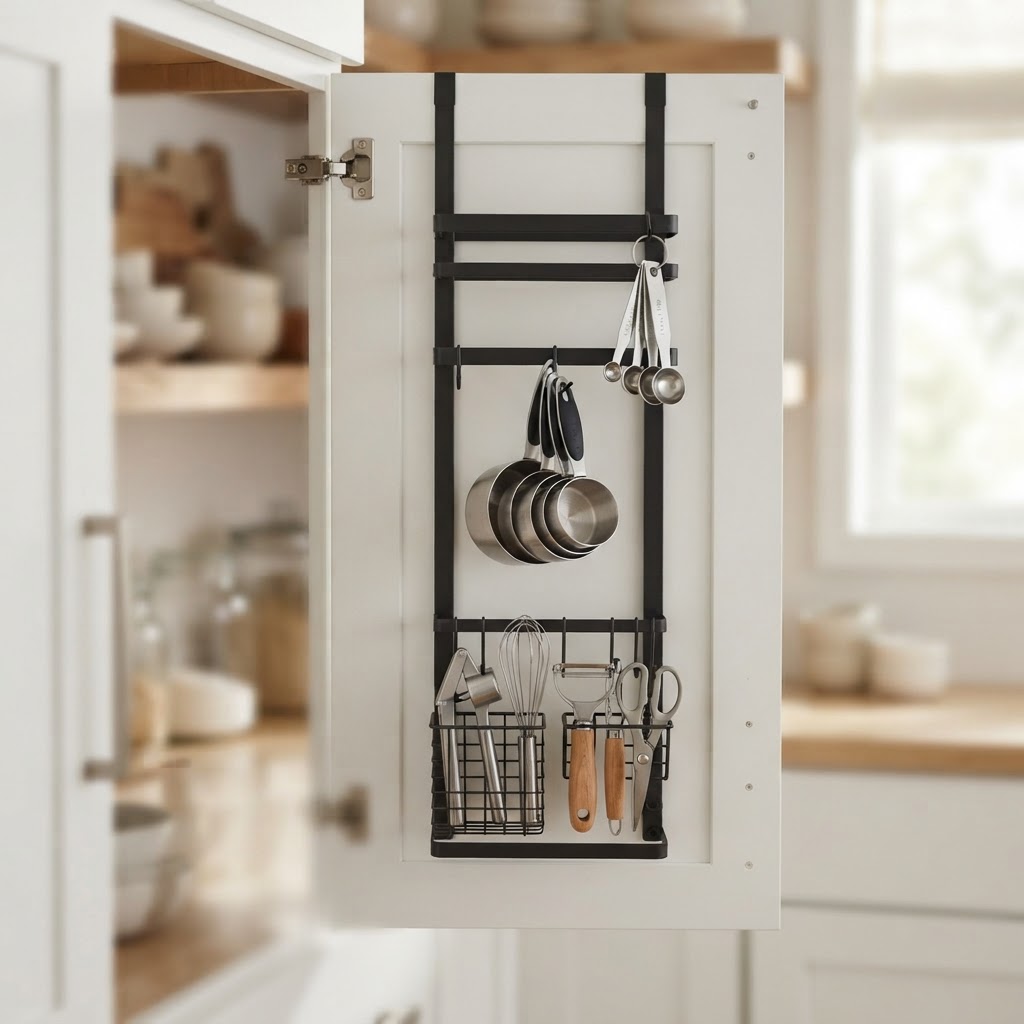
Whether it is a rack for your plastic wrap, aluminum foil, or a set of hooks for measuring cups, over-the-door organizers keep frequently used tools within reach. Ensure your hardware is low-profile so that the door can still close fully against the cabinet frame.
### Adhesive Magnetic Strips
If you have a metal spice tin or small metal tools, consider mounting magnetic strips to the inside of a door. This keeps your spices organized and frees up valuable shelf space for larger mixing bowls or bulky appliances. Always test the adhesive strength on a small, inconspicuous spot to avoid damaging the cabinet finish.
## Pull-Out Drawers for Deep Cabinets
Deep cabinets are notoriously difficult to organize because items pushed to the back are essentially lost forever. Installing pull-out drawers, or gliders, brings the contents of the cabinet to you. This is essential for effective kitchen organization tips that focus on accessibility.
### DIY Gliding Baskets
You do not need custom cabinetry to enjoy the benefits of pull-out drawers. Many affordable aftermarket kits screw directly into the base of your existing cabinet. These are perfect for storing heavy items like slow cookers, stand mixers, or collections of pots that would otherwise be buried in the dark.
### Rolling Lazy Susans
For corner cabinets or narrow spaces, a circular or D-shaped lazy susan is the gold standard. Instead of digging to the back of the shelf, you simply spin the platform. This is perfect for oils, vinegars, and spices that you frequently rotate during your cooking sessions.
## Tackling Under-Sink Chaos
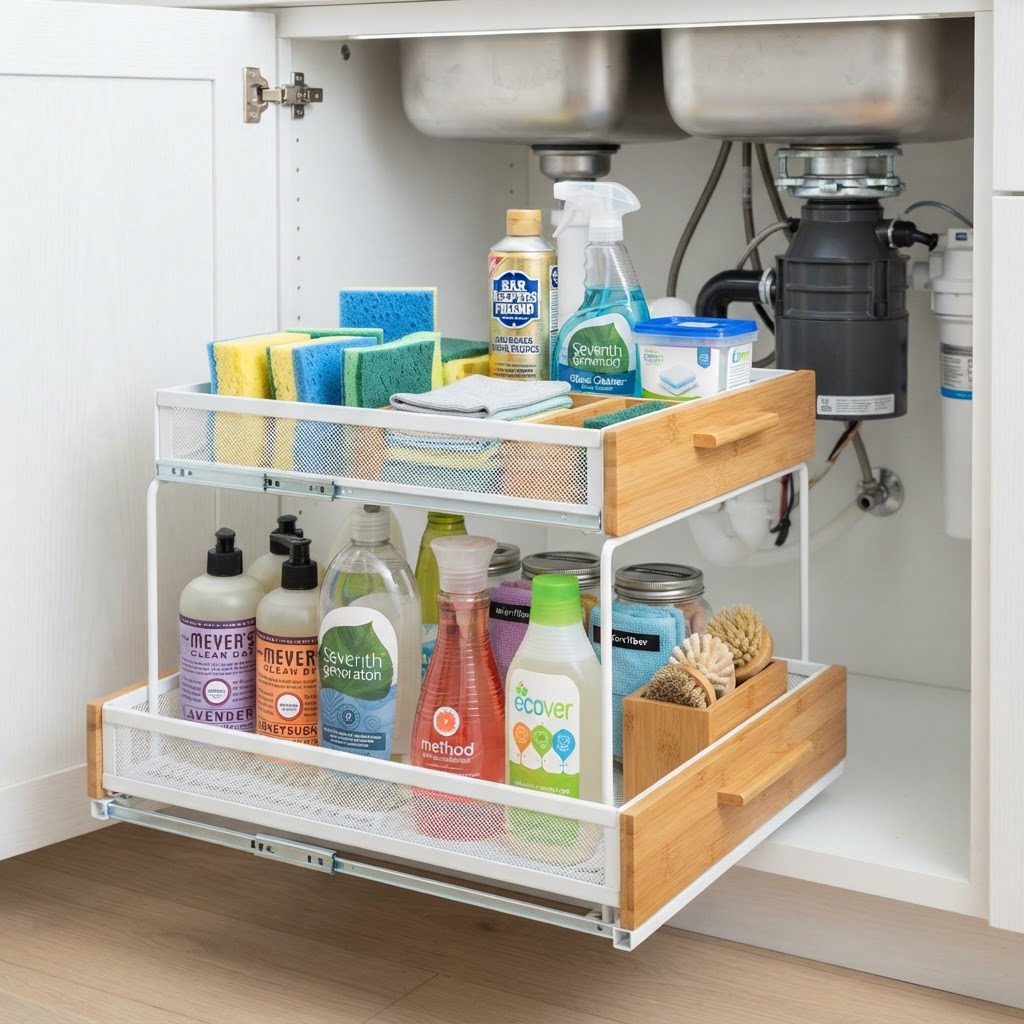
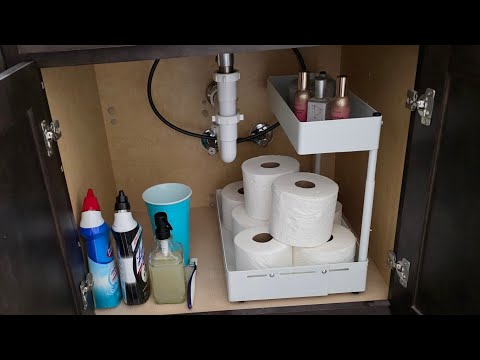
The under-sink area is often a graveyard of cleaning supplies and half-used sponges. To maximize kitchen cabinet space here, you must account for the plumbing pipes that usually obstruct the view. Choose U-shaped organizers that fit around the drain or modular systems that can be customized to your specific pipe layout.
### Sliding Under-Sink Bins
Dual-tier sliding bins are ideal for cleaning products. By keeping heavier items on the bottom and lighter sponges or scrub brushes on the top, you maintain a balanced system that is easy to manage. Labeling each bin also ensures that everyone in the household knows where items belong, which is key to maintaining a decluttered environment.
## Specialized Organizers for Dinnerware
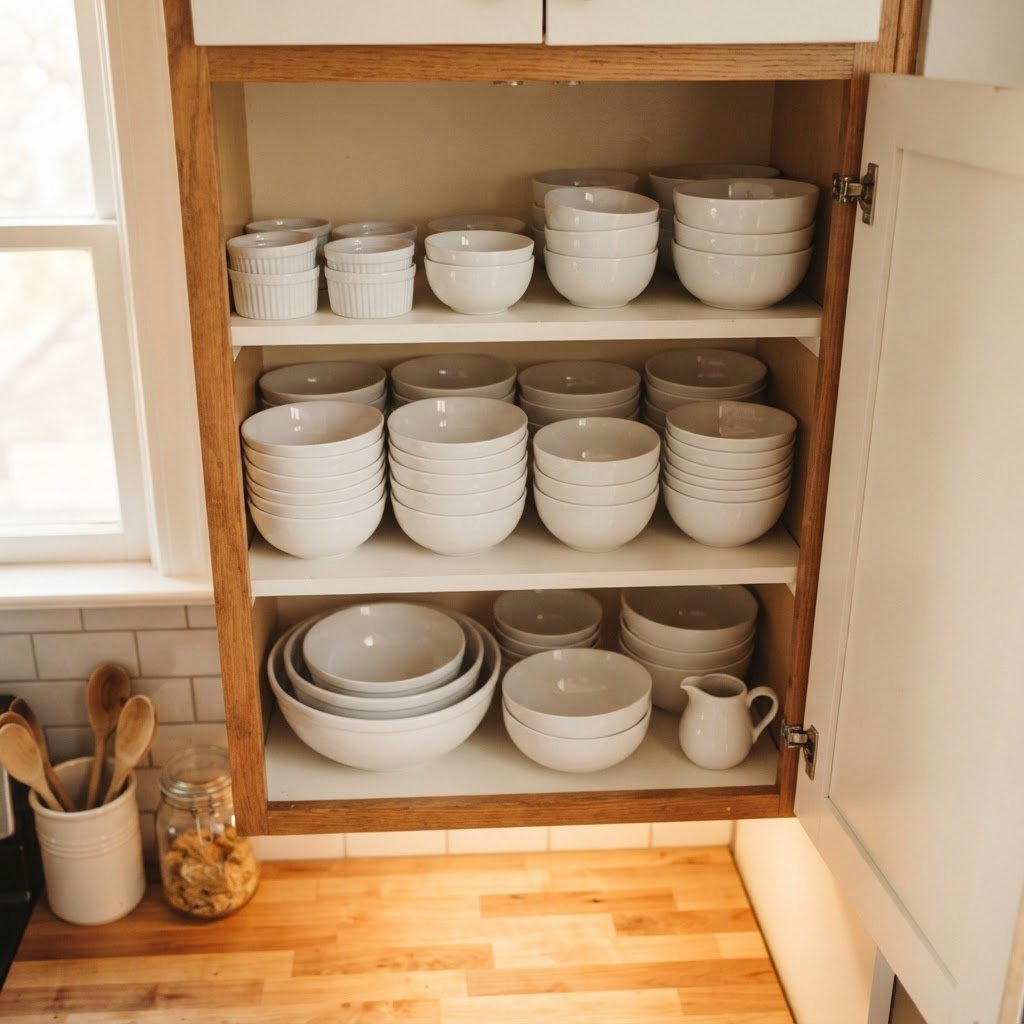
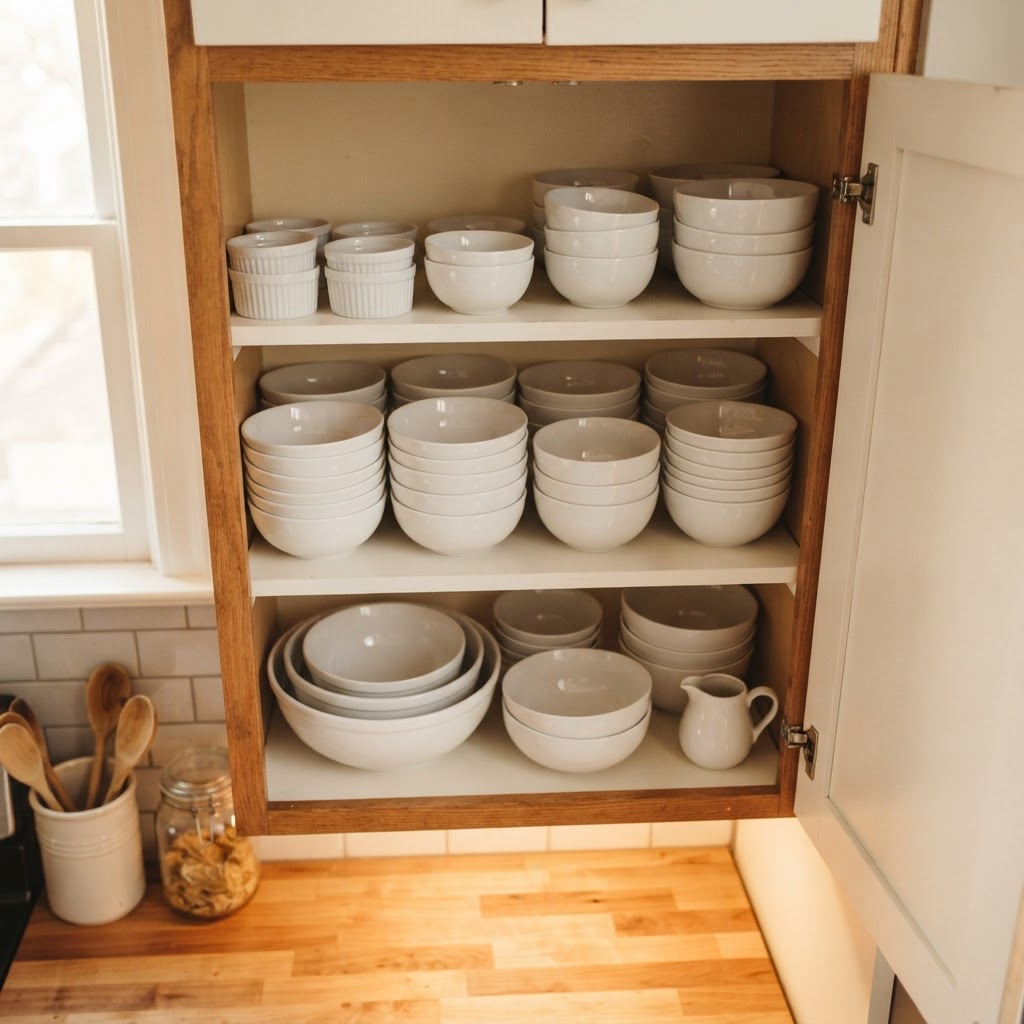
If you have a large collection of plates but limited cabinet space, heavy-duty vertical plate racks are essential. They allow you to stack plates vertically rather than horizontally, which prevents chipping and makes it much easier to pull out one plate without lifting a tower of ceramic.
### Mug Trees and Hooks
Mugs are awkward to stack and eat up massive amounts of shelf space. Installing a mug tree inside a cabinet or using under-shelf mug hooks can save significant room. This simple change allows you to hang your favorite mugs securely, leaving the shelf below free for smaller items like saucers or spice jars.
## Maintenance and Long-Term Organization
Organizing your kitchen is not a one-time project; it requires a commitment to maintenance. Every six months, perform a “kitchen audit” to remove expired food, broken tools, or items you haven’t touched in a year. Being ruthless with your decluttering efforts will ensure that your space-saving kitchen cabinet organizers remain effective.
### The “One-In, One-Out” Rule
To prevent your newly organized kitchen from becoming cluttered again, adopt a strict “one-in, one-out” policy. If you buy a new piece of cookware, you must donate or recycle an old one. This keeps your inventory lean and ensures that your storage solutions are never overwhelmed by excess belongings.
### Digital Inventory Tracking
For those who love data, keeping a simple spreadsheet or using a mobile app to track what is in your pantry can prevent you from overbuying at the grocery store. When you know exactly what is in your cabinet, you avoid the “storage overflow” problem that ruins the best organizational systems.
## Conclusion
Reclaiming your kitchen in a small apartment is entirely possible when you focus on the right strategies and tools. By utilizing vertical space, door storage, and pull-out systems, you can maximize your available area and create a kitchen that feels twice as large. Remember, the goal is to create a space that supports your lifestyle rather than hindering it. Start small—pick one cabinet to reorganize this weekend—and watch how quickly your kitchen transforms into a model of efficiency. Ready to get started? Grab a tape measure, browse your local hardware store, and take the first step toward a clutter-free home today!
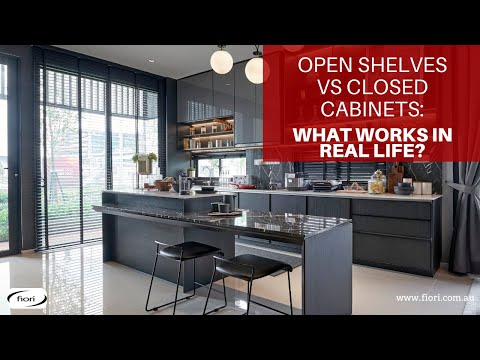
Designing a compact cooking space is a balancing act of aesthetics and utility. When planning your layout, the age-old debate of open shelving vs closed cabinets often becomes the central point of contention for homeowners looking to maximize every square inch. A tiny kitchen requires precision, as there is little room for error when it comes to storage logistics and visual clutter. Whether you are aiming for a minimalist look or traditional charm, understanding how these two storage solutions impact your daily workflow is essential for creating a functional home.
## The Aesthetic Appeal of Open Shelving
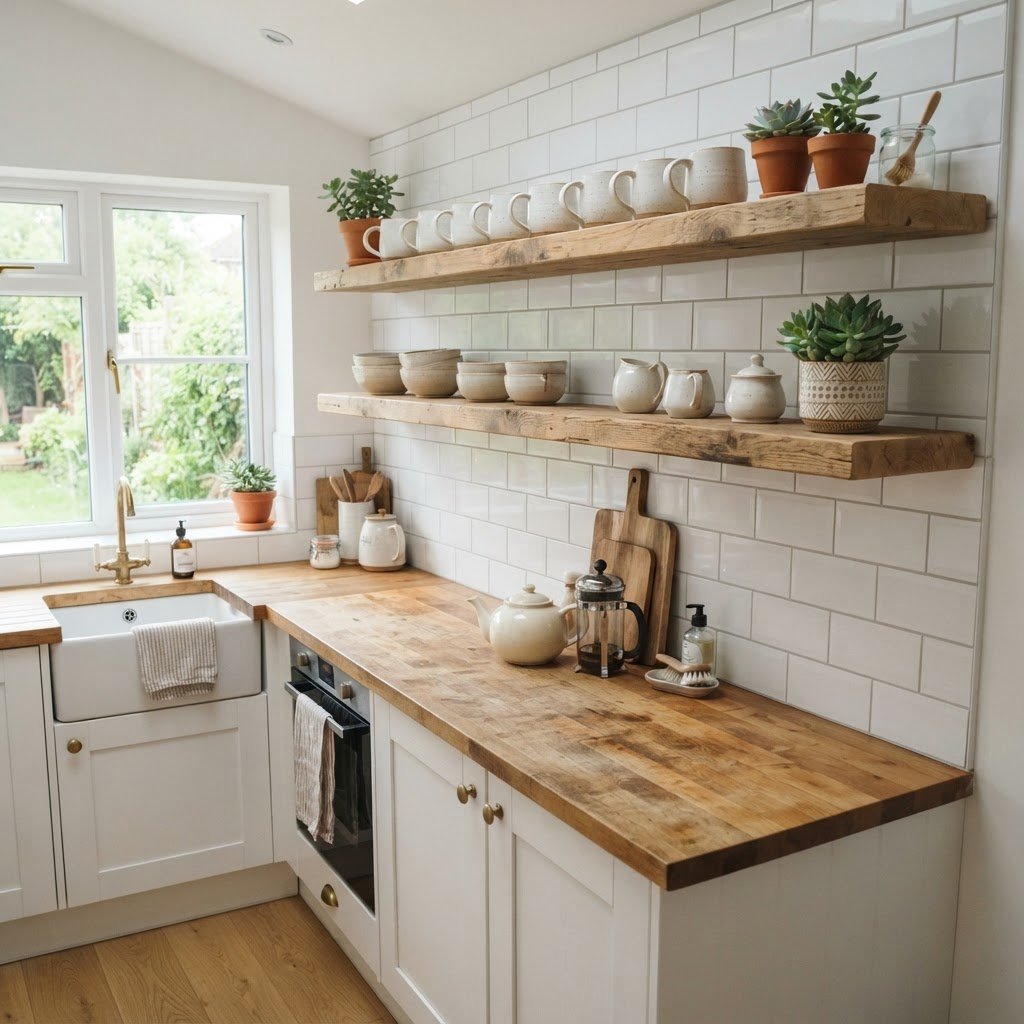
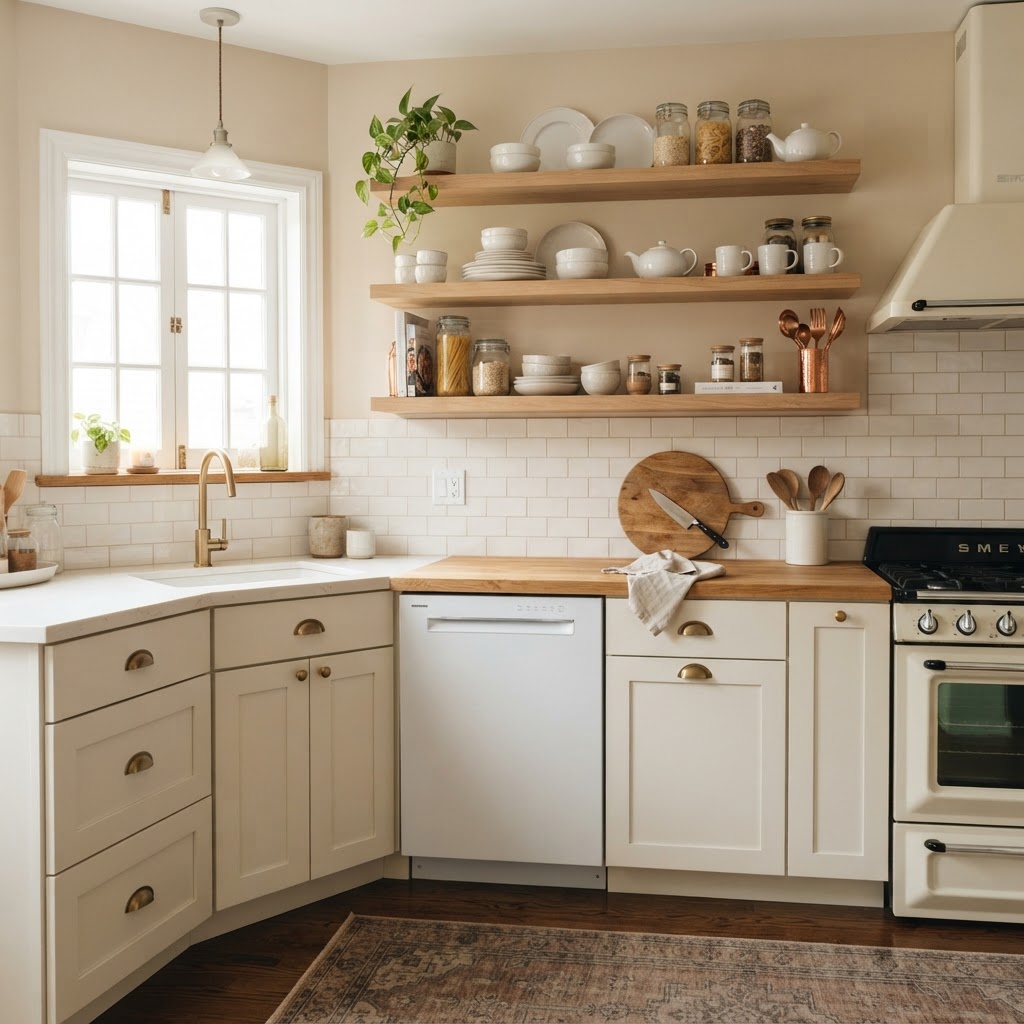
Open shelving has surged in popularity, largely due to the airy, open-concept designs favored by modern interior designers. In a tiny kitchen, open shelves can prevent the space from feeling boxed in by heavy, wall-mounted units. By removing the visual weight of cabinet doors, you allow the eye to travel further, which creates the illusion of a larger, more expansive room. This approach is particularly effective if you have beautiful dishware or curated pantry items that deserve to be seen rather than hidden behind solid panels.
### Benefits of Going Open
Choosing open shelving allows for easy accessibility to your everyday items. When your plates, mugs, and bowls are within reach, the rhythm of preparing meals becomes significantly more efficient. This setup also encourages better organization, as you are naturally motivated to keep your items neatly arranged when they are always on display. For those living in smaller apartments, this is a prime opportunity to integrate decorative elements like small plants or vintage jars, turning functional storage into a design focal point.
## The Practicality of Closed Cabinets
While open shelves offer a beautiful display, closed cabinets provide the ultimate security for your kitchen inventory. In a tiny kitchen, dust can be a silent enemy, and closed cabinets keep your dinnerware, glassware, and dry goods protected from grease and airborne particles. This is a significant advantage for those who do not want to clean their dishes before every use. Beyond choosing between open or closed styles, you should look for ways to maximize your cabinet space in a small kitchen to ensure every item has a proper home. Furthermore, closed storage acts as a ‘visual reset’ button, allowing you to hide the inevitable mess of a busy kitchen behind clean, uniform doors.
### Managing Clutter with Doors
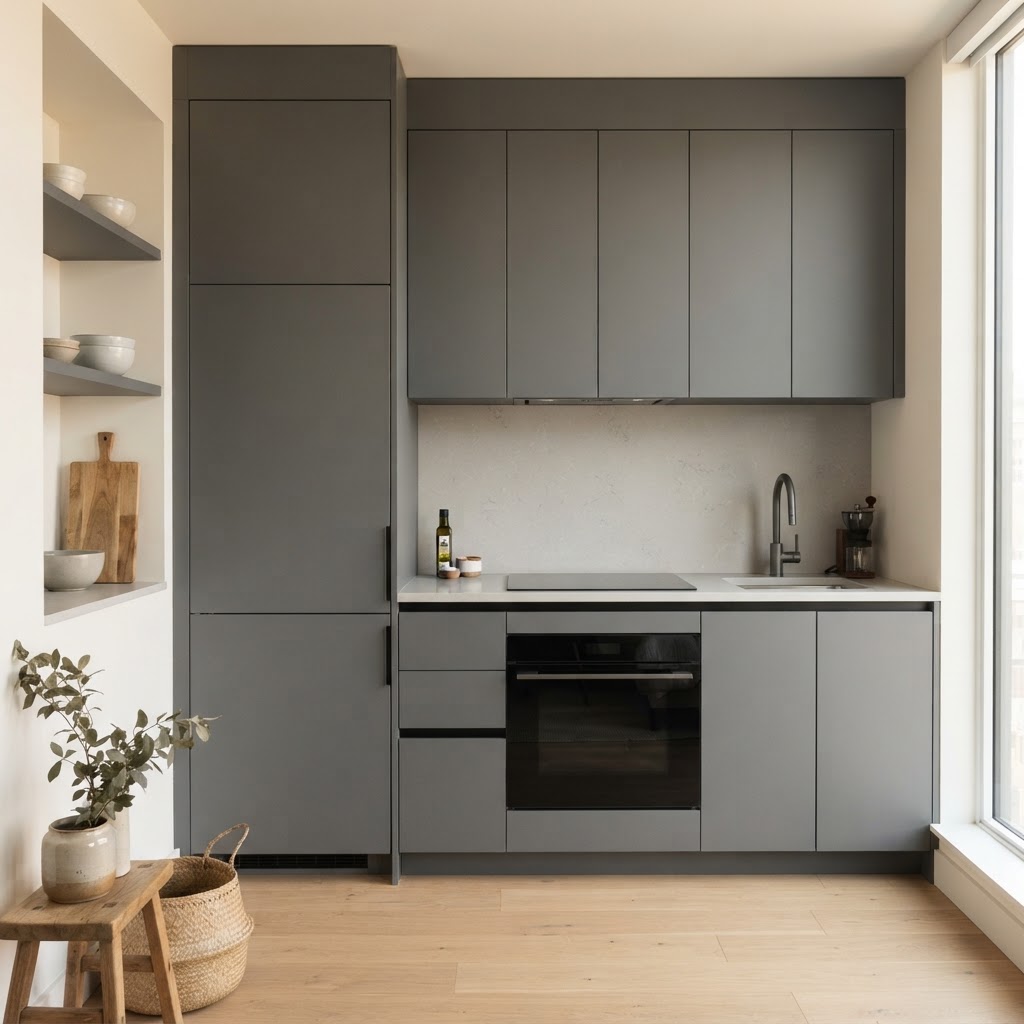
Closed cabinets are the unsung heroes of kitchen organization. If your collection of pots, pans, and mismatched containers is less than ‘Pinterest-perfect,’ closed cabinets ensure that your kitchen remains looking clean and streamlined regardless of what is happening inside. By choosing light-colored cabinet finishes or glass-fronted doors, you can maintain the sense of order without making the room feel closed off. It provides a sanctuary for the utilitarian side of cooking that doesn’t necessarily need to be part of your home decor.
## Comparing Workflow Efficiency
When evaluating open shelving vs closed cabinets, you must consider your own personality and cooking habits. Do you enjoy having a ‘ready-to-grab’ system, or do you prefer a clean slate? The efficiency of a kitchen often depends on how far you have to reach or how many steps you take to complete a task. In a small kitchen, every movement counts. A well-placed open shelf can reduce the ‘open-door-and-search’ time, but it may increase the frequency of dusting. Conversely, closed cabinets might require an extra motion to open a door, but they simplify the process of storing items that you don’t use every single day.
### Factors to Consider for Your Layout
1. Maintenance: Are you willing to wipe down shelves weekly? If not, closed cabinets win.
2. Visual Space: Does your kitchen feel claustrophobic? Try open shelving to ‘open’ the room.
3. Storage Density: How many items do you own? Closed cabinets hold more without looking messy.
4. Lighting: Open shelves can benefit from under-cabinet LED strips, brightening dark corners.
## Hybrid Solutions for Small Kitchens
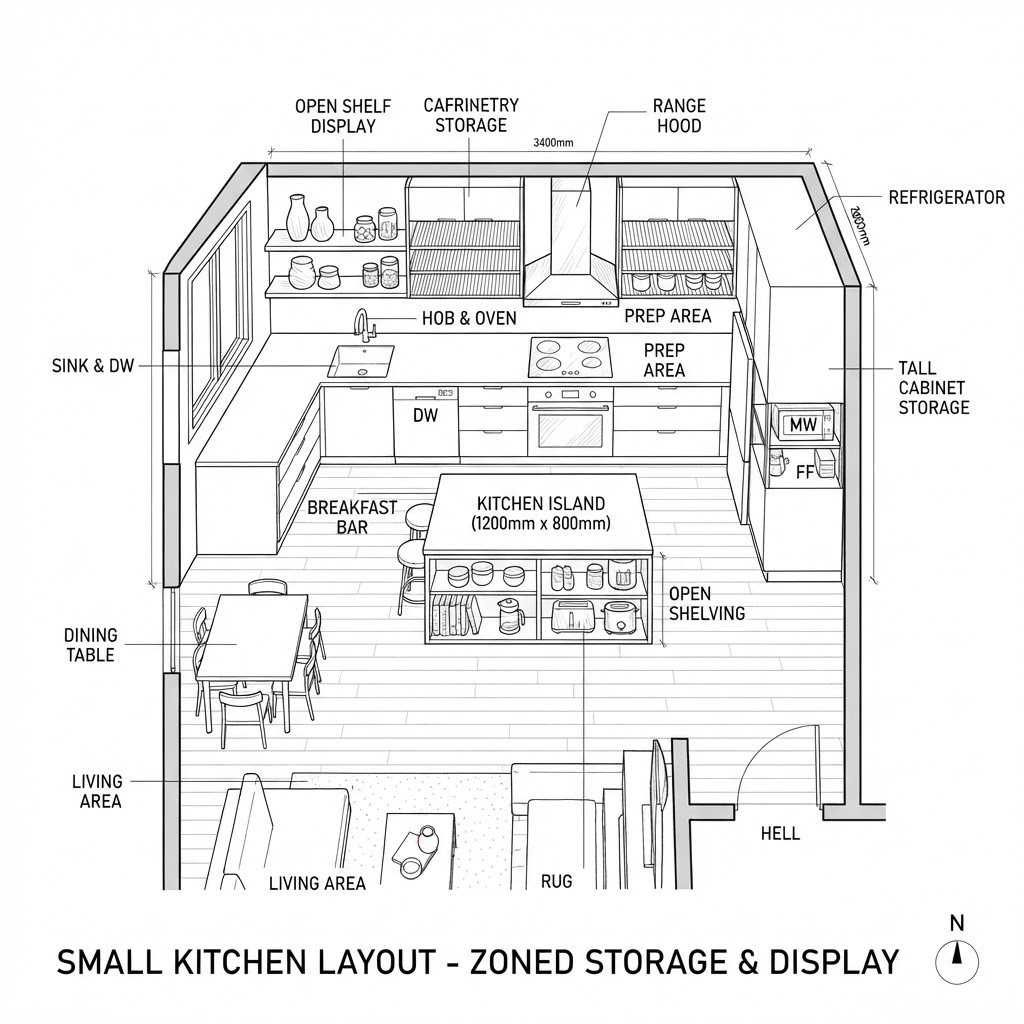
Why settle for one when you can have both? Many of the most successful tiny kitchen designs utilize a hybrid approach. This often involves keeping upper cabinetry closed for bulkier or less attractive items and dedicating a specific corner or a single wall to open shelves for your most-used items. This strategy balances the need for hidden storage with the airy aesthetic of modern shelving. It allows you to display a small, curated set of items that add personality to your kitchen while keeping the rest of your inventory safely tucked away.
## Maintenance and Care Requirements
Living with open shelving requires a shift in mindset. Because your items are exposed, they are subject to the oils and debris that naturally occur in a kitchen environment. If you do significant daily frying or sautéing, you might find that open shelves require a regular maintenance schedule. Closed cabinets, however, offer a buffer. Maintaining a clean kitchen is much simpler when your storage units are sealed. If you choose open shelving, consider mounting them away from the stove or near a window with good ventilation to mitigate the buildup of kitchen grime.
## Budget and Installation Considerations
From a budget perspective, open shelving is generally the more affordable option. It involves buying brackets and boards rather than custom cabinetry or doors. However, this depends entirely on the material quality and the installation method. Installing high-end, solid wood floating shelves can sometimes rival the cost of mid-range cabinets. For tight budgets, open shelving is a great way to save money while creating a custom, bespoke look. Closed cabinets are an investment, but they often offer better resale value and structural integrity over time.
## Maximizing Your Tiny Kitchen Strategy
Ultimately, the choice between open shelving and closed cabinets comes down to your personal lifestyle and the layout of your tiny kitchen. If you love the idea of a minimalist, gallery-style space, lean into open shelves. If you prefer a seamless, clean-lined look that hides all the ‘behind-the-scenes’ chaos, stick with closed cabinets. Don’t be afraid to experiment; you can start by removing the doors on a single cabinet to see how you like the look before committing to a full renovation. Remember that lighting, paint color, and hardware choices also play a massive role in how these storage solutions impact your perception of space.
## Conclusion
Deciding between open shelving and closed cabinets is a vital step in optimizing your tiny kitchen. By assessing your storage needs, cleaning habits, and aesthetic goals, you can create a layout that feels both spacious and highly functional. Whether you choose the openness of shelves or the sleekness of doors, the best kitchen is one that simplifies your life and brings you joy. Are you ready to redesign your space? Start by assessing your inventory today and choose the storage solution that best supports your daily culinary adventures.
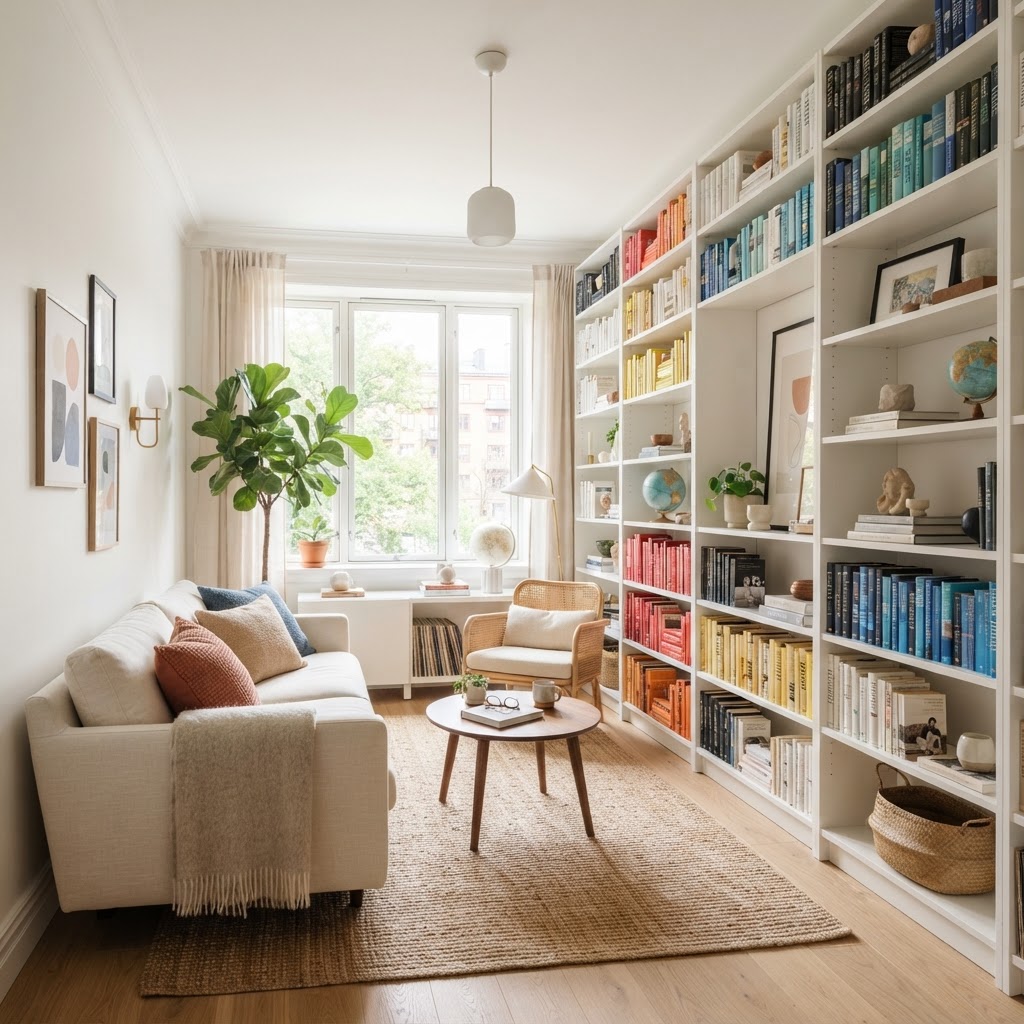
Designing a space with limited square footage often feels like an impossible puzzle, but implementing the right cozy small living room ideas can turn a cramped area into a serene sanctuary. Many homeowners struggle with the balance between functionality and aesthetic appeal, often resulting in rooms that feel cluttered or unfinished. By focusing on intentional choices, you can create a layout that feels airy, inviting, and entirely your own. Whether you are living in a studio apartment or a modest starter home, these strategies will help you redefine your environment without sacrificing comfort.
## The Power of Strategic Furniture Selection
Selecting furniture for a compact area requires a shift in mindset; instead of choosing pieces based solely on comfort, you must prioritize scale and versatility. Large, bulky sectionals can quickly consume a room, leaving no space for circulation or decorative accents. Instead, look for low-profile sofas with exposed legs, which create a sense of openness by allowing your eye to travel under the piece.
### Prioritizing Multi-Functional Pieces
When every square inch counts, your furniture should perform double duty. A storage ottoman can serve as a footrest, a coffee table, or even additional seating for guests when needed. Consider nesting tables that can be tucked away when not in use, or sleeper sofas that provide a guest bed without requiring an extra bedroom. By choosing items that serve multiple purposes, you minimize the need for surplus furniture, which is the fastest way to make a room feel cramped.
## Utilizing Vertical Space for Storage
One of the most effective cozy small living room ideas is to stop looking at the floor and start looking at the walls. Many people neglect the upper third of their living room, leaving valuable storage or decorative space completely unused. By installing floor-to-ceiling shelving, you draw the eye upward, which gives the illusion of higher ceilings and adds significant storage capacity for books, plants, and art.
Consider adding wall-mounted sconces instead of bulky floor lamps to keep floor space clear and clean. Tall, slender bookshelves or floating shelves can hold your essentials while keeping the footprint of the room light. When you move items off the floor, the room instantly feels larger, less cluttered, and much more intentional, especially when you incorporate these clever living room storage ideas.
## Mastering the Art of Lighting
Lighting is perhaps the most important element in small-space design, yet it is often the most overlooked. A single overhead light can create harsh shadows that shrink a room, while a layered lighting plan can expand its boundaries. To achieve that desired cozy vibe, you need to incorporate at least three sources of light at different levels: eye-level floor lamps, table lamps on side tables, and warm-toned accent lighting.
Layering light allows you to customize the mood throughout the day. Soft, warm bulbs create an intimate atmosphere in the evening, while bright, natural-light-mimicking bulbs can energize the space in the morning. Use mirrors strategically near these light sources to reflect glow deeper into the room, creating an expansive effect that makes the space feel twice its size.
## Creating Visual Flow with Color and Texture
While the “light colors make a room look bigger” rule is a classic for a reason, you do not have to commit to an all-white aesthetic to achieve a cozy atmosphere. The secret lies in monochromatic or tone-on-tone color palettes. By using variations of the same hue, you prevent the eyes from jumping between starkly different colors, which can make a space feel choppy.
Instead of color, focus on texture to bring warmth to the room. A chunky knit throw, a linen sofa, a velvet pillow, and a jute rug create depth and interest without adding visual clutter. The goal is to keep the room feeling unified so that it feels like a cohesive, well-thought-out environment rather than a collection of disparate pieces.
## Strategic Layouts for Better Flow
How you place your furniture determines how the room functions on a daily basis. Many people push all their furniture against the walls in an attempt to open up the center, but this often makes the room feel like a waiting room. Instead, try pulling your furniture a few inches away from the wall to create a floating effect that feels much more sophisticated.
If you have a narrow room, consider placing the sofa perpendicular to the longest wall. This can break up the space and even create a natural “zone” for a workspace or a reading nook behind the sofa. Remember that circulation paths should be at least 30 inches wide; if you have to squeeze past a piece of furniture, it is likely too big for your specific layout.
## Incorporating Personal Touches without Clutter
Minimalism is helpful in small spaces, but that does not mean you have to abandon your personality. To maintain a clean look while displaying items you love, use the “one in, one out” rule and focus on curated displays. A gallery wall, for example, can add a huge amount of character to a room without taking up a single square inch of floor space.
Choose a few meaningful pieces of art rather than dozens of tiny trinkets that create visual noise. Use decorative trays to corral smaller items on coffee tables, keeping surfaces looking intentional rather than messy. When you display items with purpose, you create a home that feels cozy and personalized rather than sparse and cold.
## Using Mirrors to Maximize Space
There is no better way to double your space visually than by using mirrors. A large floor mirror leaning against a wall or a decorative mirror hanging above a console table bounces light around the room and creates a “window” effect where there might otherwise be a solid wall. This is a classic designer trick that is essential for anyone interested in implementing cozy small living room ideas effectively.
For best results, place your mirror across from a window to pull the natural outdoor light into the center of the room. If your living room lacks a view, a mirror can help mimic that sense of depth, ensuring that you never feel boxed in or confined by your walls.
## Why Scale Matters in Every Choice
We often fall in love with furniture pieces in showrooms that are designed for massive open-concept houses, but bringing those pieces into a small home is a recipe for disaster. Before purchasing anything, map out your floor plan with painter’s tape. You might be surprised to see how much room a sofa actually takes up.
Focus on furniture that has “visual weight.” A glass coffee table, for example, has very little visual weight because you can see through it to the rug underneath, making it a perfect choice for tiny rooms. By being mindful of these proportions, you can ensure that every element supports the feeling of a cozy, comfortable, and well-designed home.
## Conclusion
Creating a comfortable home isn’t about how many square feet you have, but about how you utilize the space you’ve been given. By focusing on multi-functional furniture, smart lighting, and vertical storage, you can transform your home into a relaxing retreat. Remember that design is an evolution; start by decluttering, choose pieces that serve a clear purpose, and don’t be afraid to pull your furniture away from the walls. Which of these cozy small living room ideas are you going to try first? Share your favorite transformation tips in the comments below, or start by reorganizing your bookshelf today to see the difference it makes!
Designing a functional space in a small apartment requires more than just clever storage; it demands a focus on longevity. In the Canadian climate, where drastic seasonal changes affect indoor humidity levels, selecting the right moisture-friendly materials and durable finishes is essential. Whether you are living in a cozy Toronto condo or a compact Vancouver walk-up, your kitchen needs to withstand daily condensation, steam, and the accidental spill without showing signs of decay. Creating a resilient environment not only protects your investment but also ensures your space remains beautiful and hygienic for years to come. By prioritizing materials that resist warping and moisture absorption, you can build a small kitchen that balances style with high performance.
## The Challenge of Small Kitchens in Canada
Small kitchens, particularly those found in older apartment buildings or modern urban infills, are often prone to trapped humidity. Beyond just selecting moisture-resistant materials, you should also look for ways to maximize storage in your small kitchen to ensure your space remains functional and organized. Because these spaces lack the square footage of suburban homes, steam from cooking or a running dishwasher can quickly saturate surfaces if they are not properly sealed. Over time, poor material choices lead to peeling veneers, swollen particle board, and mold growth in hidden crevices.
When planning a renovation or simple update, you must consider the specific environmental conditions of your region. Canadian winters often involve dry indoor air while summers can be humid, and these fluctuations stress natural materials like wood. Choosing moisture-friendly materials that expand and contract minimally is the secret to avoiding structural failures in tight quarters.
## High-Performance Cabinetry Options
Cabinets are the most vulnerable element in any kitchen. Since they cover the most surface area, selecting durable kitchen finishes for your cabinetry is your first line of defense. Standard melamine is common in apartments, but for long-term durability, you should look toward high-pressure laminates (HPL) or specialized thermoplastic films that wrap around the edges to prevent moisture from entering the core.
### Why Solid Surfaces Win
Many designers now advocate for solid surface materials instead of traditional wood veneers for kitchen base units. These materials are non-porous, meaning they do not absorb moisture or cooking oils. By using high-quality acrylic resins, you ensure that your cabinetry remains stable even if a pipe leaks or a pot boils over on the stovetop.
### The Importance of Edge Banding
Even the best cabinetry can fail if the edge banding is weak. In a humid kitchen, the edges are where water ingress begins. Always opt for laser-applied edge banding or high-performance adhesives that create an almost invisible, moisture-proof seal. This small technical detail makes a massive difference in the lifespan of your small kitchen cabinets.
## Flooring Choices That Withstand Spills
Kitchen flooring takes the most abuse, especially in apartment living where the kitchen often bleeds directly into the living area. Hardwood is a beautiful choice, but it rarely survives the test of time in a high-moisture apartment environment. Instead, turn your attention to modern luxury vinyl plank (LVP) or large-format porcelain tiles.
These materials are engineered specifically to be waterproof. Luxury vinyl plank, for example, is excellent at mimicking the look of natural white oak while offering a 100% waterproof core. Porcelain tile, on the other hand, is arguably the most durable finish you can select. It is virtually immune to water damage and is incredibly easy to clean, making it a perfect match for the Canadian lifestyle.
## Countertops and Backsplash Resilience
In a small space, your countertops are your primary workspace. You need a surface that handles heavy duty work while remaining moisture-resistant. Quartz remains the gold standard in the industry for a reason. Unlike natural marble or granite, engineered quartz is non-porous and does not require sealing, which prevents bacteria from growing in the microscopic pores of the stone.
When considering your backsplash, avoid porous materials like subway tile with high-maintenance grout unless you are prepared to apply a heavy-duty sealant regularly. Glass, metal, or large-format slab backsplashes reduce the amount of grout lines. Fewer grout lines mean fewer places for water to sit and potentially cause degradation over time.
## Hardware and Fixture Durability
Do not overlook the hardware. In a humid kitchen, low-quality metal finishes will pit, tarnish, or rust. When selecting your cabinet pulls, faucets, and lighting, look for solid brass or stainless steel. These materials handle moisture exceptionally well.
#### Choosing the Right Finish
For fixtures, avoid “painted” or “plated” finishes that can chip or flake. PVD (Physical Vapor Deposition) finishes are incredibly popular in modern Canadian kitchens because they are bonded to the metal at an atomic level. This makes them highly resistant to scratching, corrosion, and the everyday humidity of a small apartment, ensuring your kitchen looks brand new for years.
## Ventilation and Climate Control
Even with the best materials, your kitchen needs a way to manage air quality. Proper ventilation is the most overlooked aspect of maintaining a moisture-friendly environment. In many apartments, the built-in range hood vents back into the room, which is a major contributor to moisture buildup.
If possible, install a high-CFM (cubic feet per minute) external venting range hood. If external venting is impossible due to apartment restrictions, use a recirculating hood with high-quality charcoal filters and ensure you are running it every time you cook. Additionally, keep your humidity levels between 30% and 50% year-round. This not only protects your kitchen materials but also improves your home’s air quality significantly.
## Maintenance Tips for Long-Lasting Beauty
Investing in quality is the first step, but maintenance preserves the value. Create a habit of wiping down surfaces after cooking. Even the most durable kitchen finishes can be compromised if they are left sitting in standing water for extended periods.
Check under your sink at least once every three months for hidden leaks. In small apartments, leaks often go unnoticed until they have already damaged the cabinet carcasses and flooring. By catching a slow drip early, you save yourself a massive repair bill and maintain the structural integrity of your moisture-friendly design.
## Conclusion
Designing a small Canadian kitchen doesn’t mean you have to sacrifice durability for aesthetics. By selecting moisture-friendly materials and ensuring your finishes are rated for the realities of modern apartment living, you create a space that is as resilient as it is beautiful. Focus on non-porous surfaces like quartz, waterproof LVP flooring, and high-quality PVD hardware to ensure your kitchen stands the test of time.
Are you ready to transform your apartment kitchen into a resilient masterpiece? Start by swapping out your most worn surfaces for these high-performance alternatives. For more tips on kitchen design, subscribe to our newsletter or leave a comment below with your biggest kitchen challenge!
Living in a compact urban dwelling often feels like a constant battle against clutter, where every square inch counts toward your sanity and comfort. When your floor space is limited, you must learn to look upward and outward, specifically focusing on the most neglected area of any room: the back of your doors. Implementing clever behind-the-door storage solutions for apartments is not just a trend; it is an essential strategy for anyone looking to maintain a tidy, functional, and peaceful home. By utilizing these often-ignored surfaces, you can effectively double your usable storage capacity without sacrificing a single inch of floor space.
## The Psychology of Vertical Storage
When we think of organization, we often immediately turn to floor-standing shelves or bulky cabinets. However, in small apartment living, these traditional pieces can make a room feel cramped and claustrophobic. Vertical storage is the secret weapon of professional organizers who specialize in small spaces. By moving items off the floor and onto the back of doors, you create a sense of openness that is crucial for mental clarity and aesthetic appeal.
### Why Door Space Matters
Every interior door in your home represents a blank canvas for productivity. Whether it is a bathroom, pantry, or bedroom door, these surfaces are sturdy, accessible, and perfectly positioned for frequent use. Utilizing this “dead space” allows you to group items by function or frequency of use, making your daily routines faster and more efficient.
## 1. Modular Over-the-Door Shelving Units
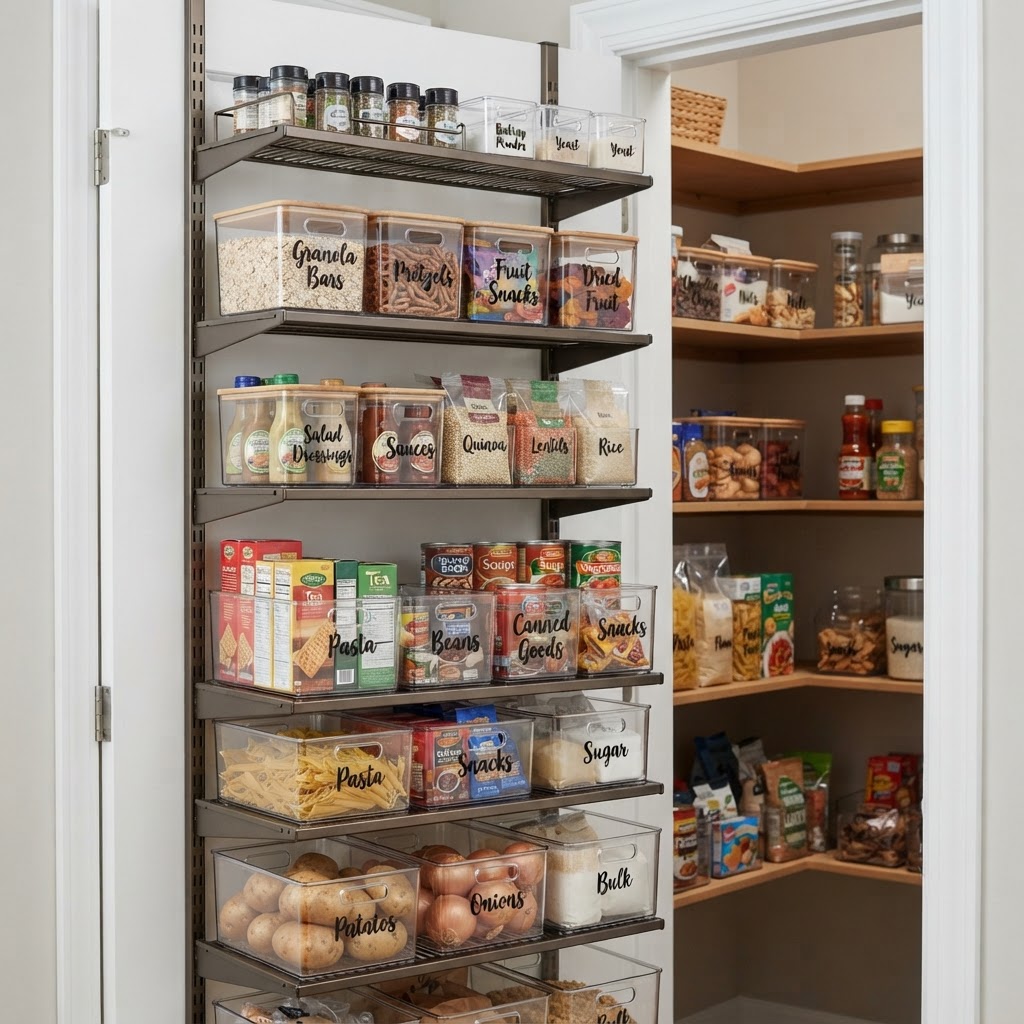
Modular shelving systems are the gold standard for behind-the-door storage solutions for apartments. Unlike fixed racks, modular systems allow you to adjust the height and width of shelves based on the specific items you need to store. This is particularly useful in pantries where spice jars, cereal boxes, and tall bottles of oil all require different vertical clearances.
By installing a customizable track system, you ensure that you are not wasting vertical space between shelves. If you have tall items, simply move the shelf down; if you have small items, tuck them into a tighter configuration. This level of precision is what separates an average organizer from a truly effective home management system.
## 2. Hanging Fabric Shoe Organizers for Miscellaneous Items
Do not let the name fool you—shoe organizers are some of the most versatile tools for home organization. While they were designed for footwear, their clear or mesh pockets are ideal for storing everything from cleaning supplies and hair tools to office cables and snacks. The key is to choose a high-quality, durable fabric that can withstand the weight of heavier items like liquid cleaners.
Because these organizers are transparent, you can see exactly what you have at a glance, eliminating the frustration of hunting for misplaced essentials. They work exceptionally well in narrow linen closets where shelving might be too deep or inaccessible for small accessories. Hanging these on the interior of your linen closet door keeps your bathroom essentials within arm’s reach yet entirely out of sight.
## 3. Magnetic Strips for Metal Tools and Accessories
If you have a home office or a craft area, you likely struggle with the proliferation of small metal tools. Scissors, tweezers, metal rulers, and sewing supplies often end up in “junk drawers” that become impossible to navigate. A magnetic strip mounted to the back of a door can hold these items securely while keeping them organized in a way that feels professional and accessible.
#### Creative Mounting Tips
To ensure your magnetic strips stay put, use heavy-duty adhesive strips or small screws if your door material allows for it. Consider grouping items by task—keep office tools on one door and makeup brushes or metal hair clips on another. This strategy ensures that when you need a specific tool, you know exactly which “door zone” to visit.
## 4. Tension Rods for Overflow Hanging
Sometimes, the best solutions are the simplest ones. Installing a tension rod horizontally across a door frame or inside a deep closet door allows you to hang spray bottles, lightweight towels, or even scarves. By using S-hooks, you can transform a simple tension rod into a hanging display for kitchen utensils or cleaning sprays.
This method is particularly effective for renters who cannot drill holes into walls or doors. Since tension rods rely on pressure, they leave no permanent marks, making them a perfect candidate for temporary apartment living. Plus, they are incredibly inexpensive and can be moved from one apartment to the next with minimal effort.
## 5. Wire Baskets with Over-the-Door Hooks
Wire baskets offer excellent visibility and airflow, which is critical for areas prone to humidity like bathrooms or laundry closets. By attaching wire baskets to over-the-door hooks, you create an instant storage hub for laundry detergents, dryer sheets, or bath towels. The open design prevents moisture buildup, keeping your items fresh and easy to access.
Another advantage of wire baskets is their structural integrity. They are less prone to sagging than fabric pockets, making them better for storing heavier items like bulk cleaning products or large shampoo bottles. Choose a matte black or white finish to complement your apartment’s decor and give the organization system a clean, cohesive look.
## 6. Pegboard Systems for Custom Organization
For those who love to customize, a pegboard mounted to the back of a door is a game-changer. Pegboards are the ultimate behind-the-door storage solutions for apartments because they are infinitely adaptable. You can use hooks, small shelves, and bins to hold virtually anything, from headphones and keys to jewelry and small potted plants.
To maximize the utility, map out your items before securing the board. Place items you use every day, such as your keys or transit pass, at eye level. Items used less frequently, like seasonal accessories, can go toward the top or bottom. This “zoned” approach keeps your most utilized items accessible while tucking away the rest.
## 7. Deep Pocket Wall Files for Documents
Paper clutter is the silent enemy of a productive apartment. Mail, bills, and school notices tend to pile up on countertops, creating visual chaos. Wall files, usually intended for office settings, can be hung on the back of your entryway or office door to act as a “landing zone” for incoming paperwork.
Assign one pocket for bills that need paying, one for school-related flyers, and one for coupons or takeout menus. By processing your mail at the door, you prevent the clutter from ever entering your living space. This habit alone can reduce the stress associated with managing household administrative tasks in a small apartment.
## 8. Mirror-Fronted Storage Cabinets
Beyond the specific ideas listed here, incorporating other effective over-the-door organizers can help you further reclaim every available square inch of your home.
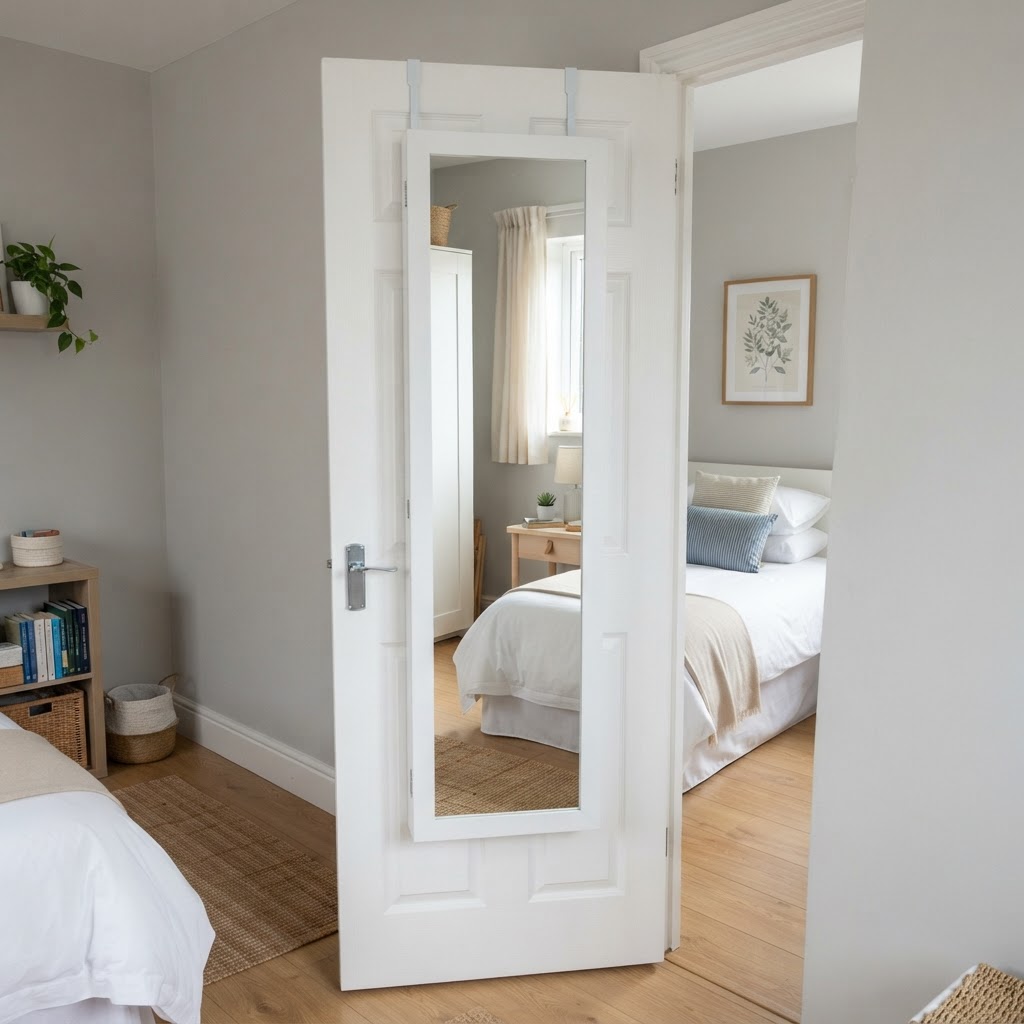
If you want your storage to be entirely invisible, consider an over-the-door mirror that hides a cabinet interior. This is a brilliant 2-in-1 solution. You get a functional full-length mirror, which helps small rooms feel larger and brighter, while the interior provides hidden shelves for medicine, jewelry, or skincare products.
This is perhaps the most elegant solution for small apartment storage. It removes the “cluttered look” of exposed organizers while providing ample space for the items that usually occupy limited counter space in a bathroom. It effectively turns a standard door into a high-utility piece of furniture.
## Conclusion
Small space living requires a shift in perspective. Instead of seeing your apartment as a finite box, start seeing it as a series of vertical surfaces waiting to be optimized. By investing in these behind-the-door storage solutions for apartments, you stop fighting against your lack of square footage and start working with the unique architecture of your home.
Whether you start with a simple tension rod or go all-in with a custom pegboard system, the key is to stay consistent and purge items that no longer serve you. Organization is a process, not a one-time event. Take the first step today by choosing one door in your home and reclaiming that space. Your future, clutter-free self will thank you. Which of these solutions will you try first? Let us know in the comments below!
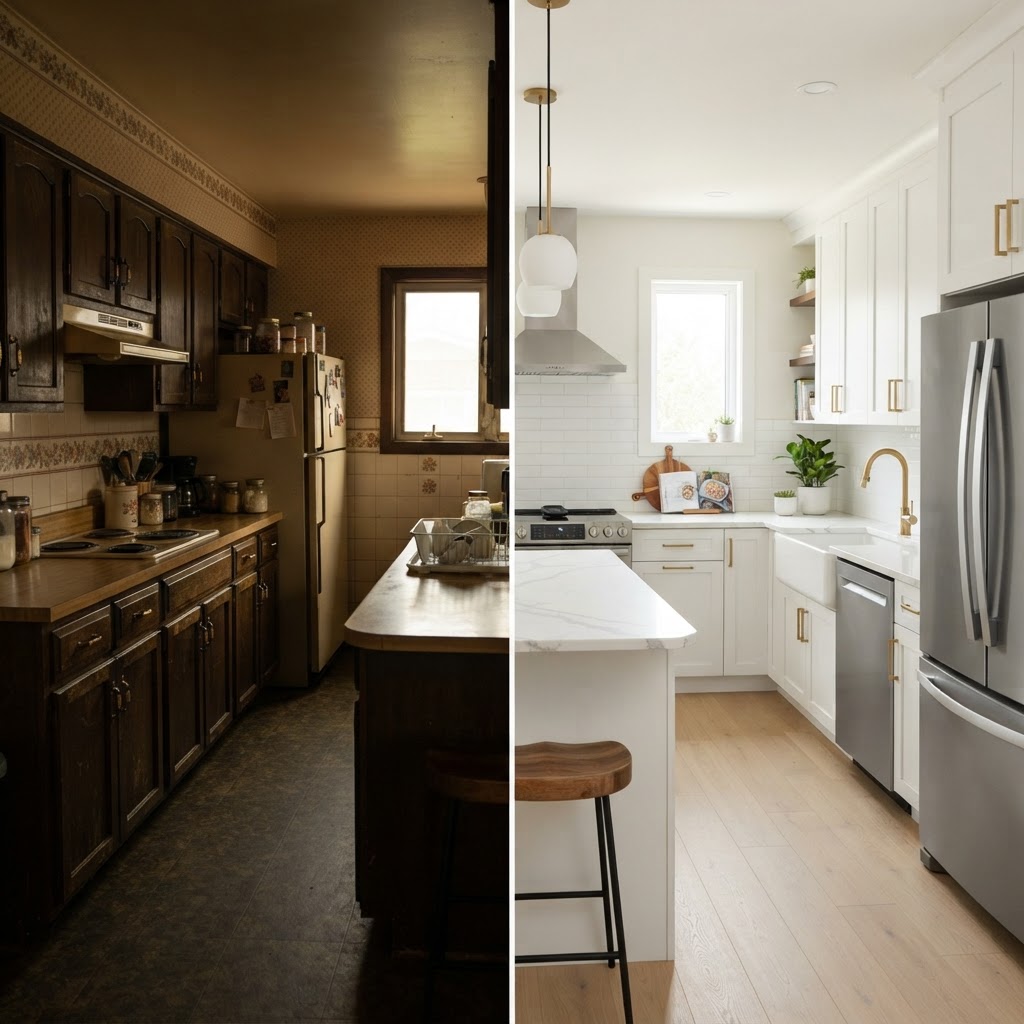
Is your kitchen feeling dated, cramped, or simply uninspiring? You are not alone. Many homeowners dream of sleek, magazine-worthy spaces but are held back by the fear of astronomical renovation costs. However, achieving successful small kitchen transformations on a real budget is entirely possible with a bit of creativity, patience, and a strategic plan. By focusing on high-impact, low-cost changes, you can completely reinvent the heart of your home without the need for a total gut job or a massive loan.
## Planning Your Budget-Friendly Renovation
Before you pick up a paintbrush or start scrolling through design inspiration, you must establish a clear scope for your project. The key to maintaining a realistic budget is prioritization. Ask yourself which elements are non-negotiable for safety or functionality, and which ones are purely aesthetic. When embarking on small kitchen transformations on a real budget, the biggest pitfall is “scope creep,” where small additions slowly balloon into thousands of dollars in extra costs.
### Creating a Detailed Spreadsheet
Start by listing every potential change and its associated costs, including materials, tools, and disposal fees for old items. Even if you plan on doing the work yourself, do not forget to factor in the price of unexpected repairs. A common rule of thumb is to allocate 15% of your total budget for contingencies. Having a clear, itemized list helps you see exactly where your money is going and allows you to make informed trade-offs.
## The Power of Paint and Refinishing
If you want the biggest “bang for your buck,” look no further than your kitchen cabinets. They occupy the most visual real estate in the room, so changing their appearance fundamentally shifts the vibe of the entire space. Instead of replacing expensive cabinetry, opt for a professional-grade paint job or high-quality cabinet refacing. Choosing a light, airy color can make a cramped, dark kitchen feel significantly more spacious and modern.
#### Choosing the Right Paint for Cabinets
Do not settle for standard wall paint. You need a durable, hard-wearing enamel specifically formulated for cabinetry. Investing in high-quality primer is equally critical to ensure adhesion and prevent premature peeling. If painting feels too daunting, consider swapping out cabinet hardware for a more modern finish, like matte black or brushed gold, which provides an instant aesthetic upgrade at a fraction of the cost.
## Smart Countertop and Backsplash Solutions
Replacing stone countertops can easily consume half of an entire kitchen budget. For small kitchen transformations on a real budget, consider alternatives like butcher block, high-definition laminate, or even specialized countertop paint kits. Butcher block is particularly great for smaller kitchens because it adds warmth and texture. It is also budget-friendly and relatively easy for a motivated DIY enthusiast to install with basic power tools.
### Affordable Backsplash Ideas
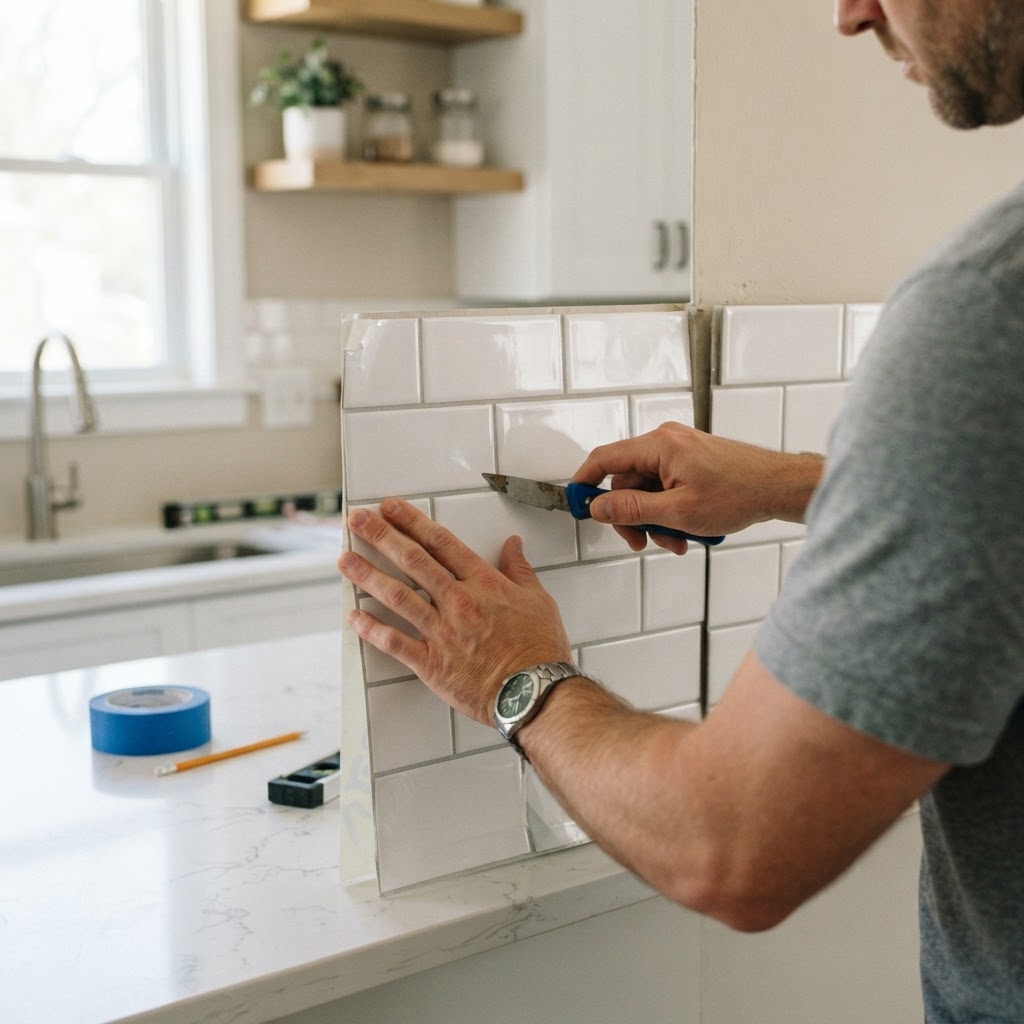
Similarly, a backsplash is a fantastic area to express your style without needing high-end tile labor. Peel-and-stick subway tiles have come a long way in quality and durability, offering a realistic look that can be installed in a single afternoon. If you prefer a more industrial or clean aesthetic, beadboard or even a coat of high-gloss, moisture-resistant paint can serve as a simple, elegant barrier against grease and splashes.
## Lighting and Hardware Upgrades
Lighting is the “jewelry” of the kitchen. A dated, central fluorescent light fixture can instantly make a kitchen feel like a hospital cafeteria. Replacing this with a modern flush mount, a series of pendants over an island, or even affordable LED under-cabinet lighting can revolutionize how you use the space. Adequate task lighting makes cooking safer and more enjoyable, while layered ambient lighting adds depth and luxury to the overall design.
#### The Impact of Small Details
Never underestimate the transformative power of the smallest details. Swapping out old hinges, drawer pulls, and even the faucet can make a room feel brand new. Stick to a cohesive metal finish across these items to create a designer look. When working on small kitchen transformations on a real budget, these tactile updates provide the high-end feel that guests notice first, even if the bones of the kitchen remain the same.
## Maximizing Storage in Tight Quarters
In a small kitchen, organization is just as important as aesthetics. To truly get the most out of your renovation, you should learn how to maximize storage in a small apartment kitchen to ensure your new aesthetic remains clutter-free. If your cabinets are overflowing, your kitchen will never feel “transformed,” no matter how pretty it looks. Use vertical space by installing open shelving or wall-mounted pot racks. This removes the visual heaviness of upper cabinets and keeps frequently used items within easy reach, giving the illusion of a larger, more professional kitchen environment.
### Creative Storage Hacks
Inside the cabinets, use drawer dividers, lazy Susans, and pull-out trays to maximize every square inch. A well-organized, minimalist kitchen often feels larger than a cluttered, high-end one. Focus on decluttering first; if you haven’t used a small kitchen appliance in two years, sell it or donate it to free up valuable counter and shelf space.
## Appliances and Efficient Updates
Replacing appliances is often the most expensive part of a remodel. However, you don’t always need to buy brand new. Check local online marketplaces for “open box” deals or lightly used, high-end appliances that others are selling during their own renovations. If your current appliances function well but look dated, consider stainless steel contact paper or magnetic covers, which can provide a sleek, updated facade.
## Incorporating Textures and Decor
Once the heavy lifting is done, introduce personality through textiles and accessories. A stylish runner rug can add warmth to a cold tile floor and protect against spills. Incorporating a few potted herbs or a statement piece of artwork can bring life to the space. Remember, a “transformed” kitchen is one that reflects your personal taste while serving your daily needs effectively and comfortably.
## Conclusion
Executing small kitchen transformations on a real budget is all about smart choices and prioritizing where you invest your limited funds. By focusing on paint, lighting, hardware, and organization, you can achieve a look that feels high-end without the high-end price tag. Don’t be afraid to take on small DIY projects that build your confidence, and remember that even the smallest change can have a massive impact. Ready to start your own transformation? Pick one area of your kitchen to focus on this weekend, and take that first step toward the beautiful, functional space you deserve!
Small Space Living Room Ideas: Stylish Apartment Hacks
To maximize a small living room, focus on high-legged furniture, multifunctional storage, and vertical design elements that draw the eye upward. By combining these, you create an intentional, curated layout that increases perceived square footage and prevents the feeling of being cramped or cluttered.
The Psychology of Scale and Proportion
When dealing with limited floor area, the most effective strategy is to avoid small, scattered furniture that makes a room look like a dollhouse. Instead, anchor the space with fewer, larger statement pieces that provide visual weight without crowding the layout. Selecting a singular, high-quality sofa creates a cleaner focal point than multiple mismatched chairs, which interrupt the room’s flow and impede movement. High-legged furniture is a critical design tool; by elevating pieces off the floor, you expose more of the ground surface area, which tricks the brain into perceiving a larger, more airy environment.
Research in interior ergonomics suggests that leaving at least 30% of your floor space visible significantly improves the subjective feeling of openness in rooms under 150 square feet. Furthermore, incorporating mirrors is a professional staple; placing a large mirror opposite a window can increase natural light reflection by up to 40%, effectively doubling the visual depth of the room. By keeping your window areas clear of heavy drapes, you allow maximum natural light to penetrate the space. Using floor-to-ceiling sheer curtains rather than dark treatments further elongates the walls, creating an illusion of higher ceilings. These choices turn a compact, static room into a dynamic, spacious sanctuary.
Playing with Sightlines
Strategy
Benefit for Small Spaces
Impact Level
High-Legged Furniture
Increases visible floor area
High
Floor-to-Ceiling Drapes
Creates vertical elongation
Medium
Mirror Placement
Doubles visual light/depth
High
Monochromatic Palette
Reduces visual clutter
High
Multi-Functional Furniture Is Your Best Friend
In a small living room, every square inch must provide utility, making multifunctional furniture the gold standard for efficient apartment living. Investing in dual-purpose items, such as ottomans with interior storage compartments or side tables that double as bookshelves, allows you to maintain a clean aesthetic while keeping essentials within reach. To effectively keep surfaces clear and maintain that sense of order, you should incorporate clever living room storage ideas that blend seamlessly with your existing decor. By offloading items into hidden storage, you reclaim valuable living space that would otherwise be consumed by piles of books, blankets, or media gear.
The Power of Hidden Storage
Clutter is the primary enemy of the small room, so prioritize closed-storage solutions that hide everyday items from view. Media consoles with solid doors, wall-mounted floating shelves, and modular cabinet systems are excellent for organizing cables, electronics, and books while keeping the floor plane unobstructed. When horizontal surfaces like coffee tables and TV stands are free of excess items, the room feels larger and more intentional. Studies show that a de-cluttered environment reduces cortisol levels, making your home not just stylish, but also a more relaxing place to spend your time. Focus on pieces that offer at least 2 to 3 cubic feet of hidden storage to maximize the functionality of your floor plan.
Mastering the Layout for Flow
Strategic furniture arrangement defines how you experience your home, and the most common mistake is pushing all furniture against the walls to create an empty, ‘waiting room’ center. Instead, try pulling your sofa or armchairs 3 to 6 inches away from the wall; this minor shift creates a sense of depth and prevents the furniture from feeling “trapped” against the perimeter. When grouping pieces, establish a clear conversation area that anchors the room, effectively separating the living zone from other areas of an open-plan studio or apartment. This creates a distinct functional zone that makes the entire room feel more organized.
Zoning with Rugs and Lighting
Using an area rug acts as a visual “anchor” to designate the living room as a distinct entity from a nearby dining area or office. Choose an appropriately sized rug—typically one that fits the front two legs of your furniture—to solidify the zone. Complement this with a layered lighting strategy rather than relying on a single, flat overhead light, which casts harsh, minimizing shadows. Aim for at least three sources of light: an overhead fixture, a task lamp for reading, and an ambient floor lamp in a corner to push shadows away and brighten the room’s edges. This layering adds a sense of warmth and dimension, making even the smallest apartment feel cozy and expansive.
Decorating to Expand the Space
Decorating in a tight spot requires an edited, minimalist eye to avoid the visual noise that characterizes overcrowded rooms. To expand the visual boundaries of your home, utilize a cohesive color palette, as painting your walls, trim, and large furniture pieces in a similar tonal family creates a seamless transition that makes room edges seem to recede. While a maximalist style might overwhelm a small space, a refined, neutral palette allows for a higher volume of texture—such as linen, wood, and velvet—which adds depth and sophistication without the need for bright, clashing colors that fragment the visual space.
Implementing Vertical Decor
Because your horizontal floor space is constrained, you must utilize your walls to draw the viewer’s eye upward toward the ceiling. Install floating shelves or a floor-to-ceiling art gallery to emphasize height, which effectively shifts the focus from the room’s limited width to its vertical potential. Adding a tall, sculptural floor plant, such as a Fiddle Leaf Fig or Snake Plant, acts as a living column that draws the gaze toward the ceiling while introducing a natural element that softens hard architectural lines. This vertical approach makes the room feel taller and more expansive than its physical footprint suggests.
High-Impact Visual Hacks
Bold choices, when used sparingly, can distract from a room’s size and make the area feel like a high-end designer space. A single, dramatic, oversized piece of wall art serves as an effective focal point that signals a confident design choice, forcing the eye to focus on the art rather than the walls. If you want to use bold color or patterned wallpaper, apply it to a single accent wall to add depth without overwhelming the senses. The key to this success is ensuring your bold focal point is offset by neutral furniture and clean surfaces, maintaining a balance between drama and utility.
Creating a Seamless Palette
Texture is the secret weapon for making a neutral-colored small space feel expensive. By layering varied materials—such as raw jute rugs, boucle fabric throw pillows, and polished wood side tables—you provide visual interest that isn’t dependent on heavy color schemes. A monochromatic palette (using varying shades of the same color) creates a “quiet” room that feels intentional and well-designed. In a small apartment, aim for a 60-30-10 ratio: 60% of your color should be a light, neutral base, 30% a secondary tone, and 10% a bold accent.
Troubleshooting Common Small-Room Pitfalls
Even experienced designers encounter issues with small-room styling, but these can be corrected with simple adjustments. A common error is the use of numerous, small decorative items, which creates visual ‘noise’ and clutter; instead, group small objects onto a single tray or shelf to create a unified focal point. Additionally, poor lighting is a frequent culprit; a room with dark corners feels physically smaller than it is. Ensure you have light sources in every corner to push the boundaries of the room outward. Finally, establish a ten-minute daily ‘reset’ ritual—folding blankets and clearing magazines—to ensure your space remains a relaxing, clutter-free haven.
FAQ
Q: What is the best furniture layout for a very small living room?
Focus on a ‘floating’ layout where furniture is pulled away from the walls by several inches. This simple movement creates a sense of depth and airiness, preventing the room from feeling like a static, enclosed box.
Q: Should I use light or dark colors in a small apartment?
Light, neutral colors are generally better for small spaces as they reflect more natural light and make walls feel as though they are receding. However, using darker, moody tones on a single accent wall can add depth and a sophisticated focal point.
Q: How can I store things without making the room look cluttered?
Invest in multifunctional furniture such as storage ottomans, media consoles with doors, and wall-mounted shelving. Keeping items behind closed doors or lifted off the floor keeps the floor area clear, which makes a room feel larger.
Q: How do I choose the right size rug for a small living room?
Choose a rug that is large enough for the front two legs of your sofa and chairs to sit on. This defines the living zone as a distinct ‘island’ within the room, which organizes the space and makes it appear more intentional.
Q: Does high-legged furniture actually make a room look bigger?
Yes, high-legged furniture allows more of the floor to be visible, which increases the perceived sense of space. By seeing the floor extend underneath your sofa, your eyes perceive a larger floor area, making the room feel open and airy.
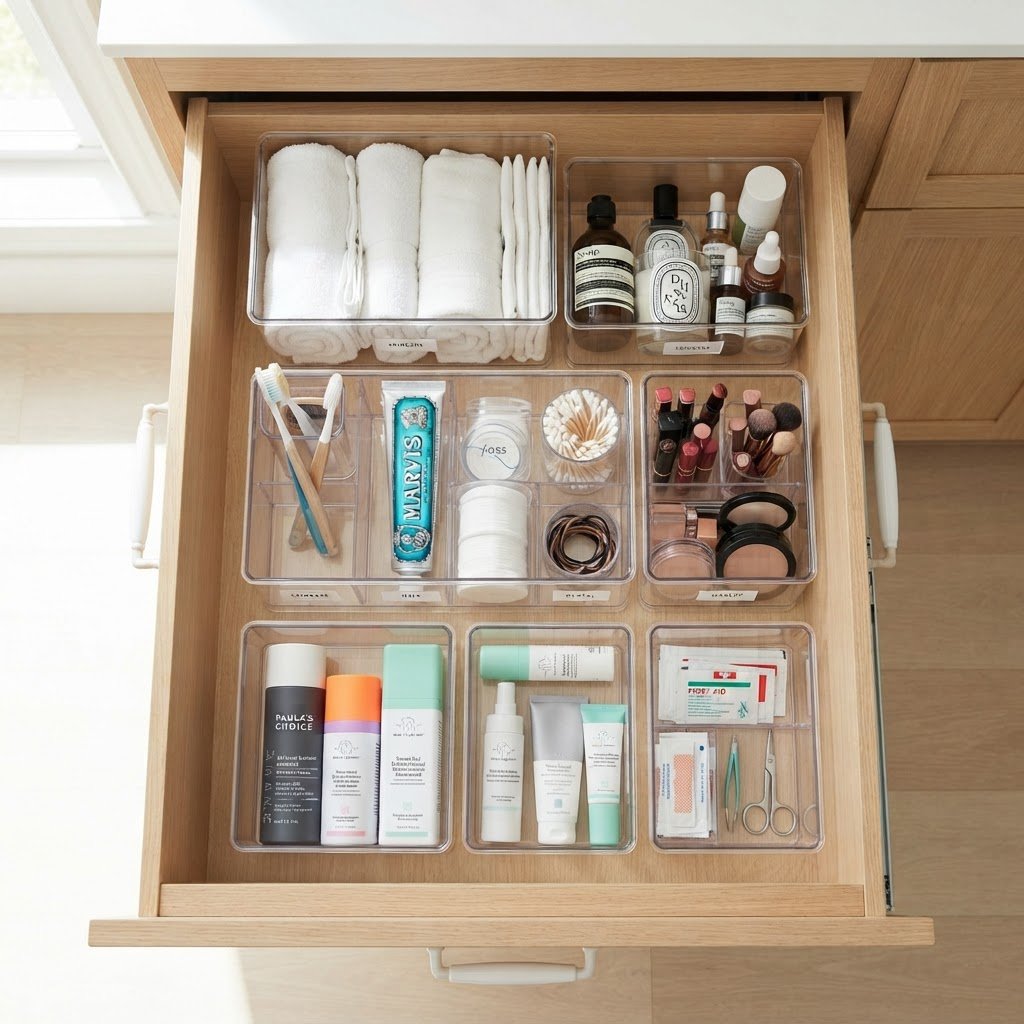
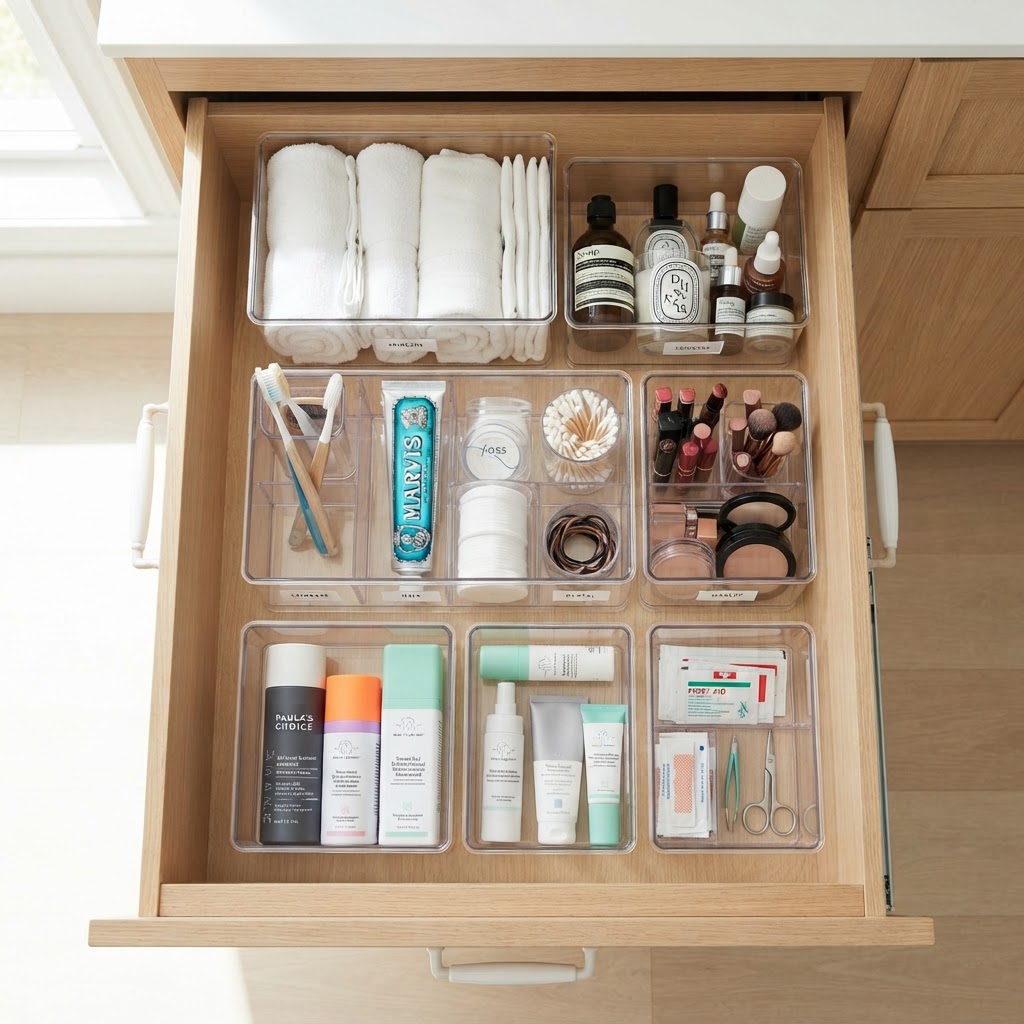
Transforming a cramped under-sink area into an efficient storage hub requires utilizing vertical space with stackable acrylic bins, installing sliding pull-out organizers, and leveraging cabinet doors for hanging storage. By applying these strategic organization methods, you can reclaim lost square footage and maintain a clutter-free, accessible bathroom vanity regardless of cabinet size.
The Psychology of Bathroom Clutter
Clutter in a small bathroom acts as a visual stressor, significantly increasing your daily mental load and creating a chaotic environment. When items are shoved into a cabinet without a defined system, you inevitably purchase duplicates, often spending an average of 15-20% more on vanity supplies than necessary. The psychological benefit of an organized under-sink space is profound, moving your routine from a frantic search to a streamlined experience. Reclaiming your vanity requires a shift in perspective, moving from a “stuff it in” mentality to a “design it out” strategy. By treating the space under your sink as a curated, intentional storage unit rather than a junk drawer, you create a sense of calm that ripples through your entire living space. Using organizational systems reduces decision fatigue, ensuring you start your day with efficiency rather than disorder. When everything has a “home,” you save approximately 5 minutes of search time every single morning. This transformation applies the same principles used to <a href=”https://smallapartmentdecorating.com/small-bathroom-smart-storage/”>make a small bathroom feel bigger</a>, proving that order and aesthetics are directly linked to your overall home satisfaction. Maintaining this order keeps the space functional and ensures that your bathroom remains a true sanctuary for self-care.
Utilizing Vertical Space with Stackable Bins
Maximizing the full height of your vanity cabinet is the single most effective way to triple your available storage surface area. Most bathroom cabinets leave 12 to 18 inches of empty air beneath the sink basin, which serves as a magnet for loose, misplaced items. By integrating stackable, clear acrylic bins, you reclaim this vertical gap, transforming “dead air” into organized shelving. These bins should be selected based on your specific cabinet height; standard acrylic containers typically range from 4 to 10 inches in height, allowing for custom stacking configurations. Transparent containers are crucial because they maintain visual inventory control, ensuring you see exactly how much toothpaste or soap you have remaining. This visual cue acts as a natural deterrent against over-buying, which is a key tenet of efficient small apartment storage. By grouping items by frequency of use—placing daily essentials in top-tier bins and overflow supplies at the base—you create a logical workflow. Using clear plastic also allows light to pass through the cabinet, making the space feel less claustrophobic and dark. For optimal results, measure the interior width and depth of your cabinet before purchasing, as 80% of organization failures result from bins that are either too tall for the P-trap or too wide to allow door closure.
Storage Material Comparison
Material
Best For
Moisture Resistance
Price Range
Acrylic
Visibility
Excellent
High
Plastic
Heavy duty
Good
Low
Stainless Steel
Durability
Superior
Medium-High
Bamboo/Wood
Aesthetics
Poor
High
Rolling Carts for Deep Vanities
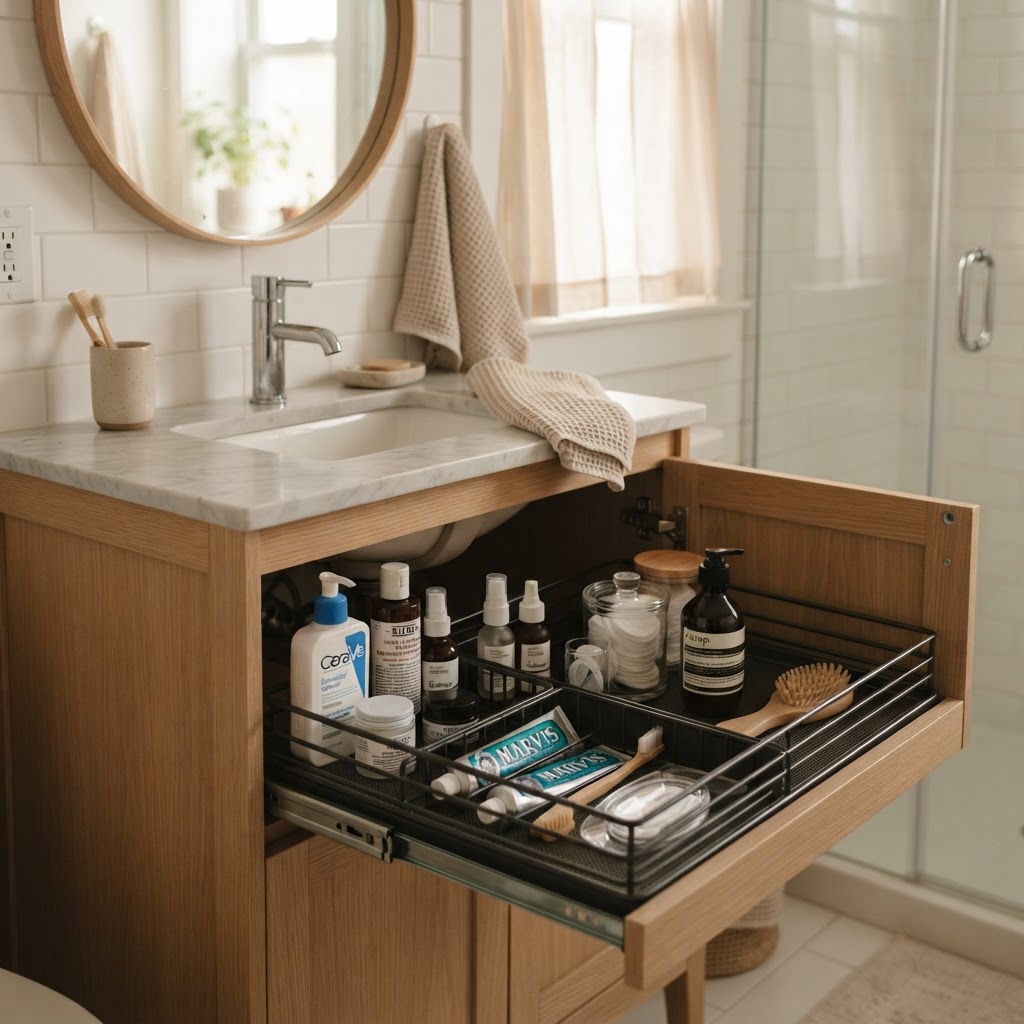
Deep vanities often become “product graveyards” where items tucked into the far corners remain untouched for years. A sliding or rolling pull-out organizer effectively brings the back of the cabinet to your fingertips, eliminating the need to crouch and rummage. These metal or plastic tracks allow the entire unit to glide out into the light, providing instant accessibility to hair dryers, cleaning sprays, and bulky bulk-buy bottles. Most commercial under-sink sliders are adjustable, fitting cabinets ranging from 12 to 24 inches deep. To maximize this, assign one drawer exclusively to cleaning agents and another to hair styling tools. By ensuring that your most frequently used items are on top-sliding tracks, you decrease the physical effort required for your daily routine. Additionally, these organizers prevent bottles from tipping over, which is a common source of leaks and spills in small bathrooms. Investing in a quality dual-tier pull-out organizer typically costs between $30 and $60, but it pays for itself by preventing the loss of expired products hidden in the dark. Always measure the clearance around your P-trap and supply lines, as 50% of deep cabinet organizers require a specific offset to clear plumbing. Utilizing these sliding solutions turns a deep, unreachable void into a functional inventory system that keeps your supplies neatly organized and always visible.
Maximizing the Cabinet Doors
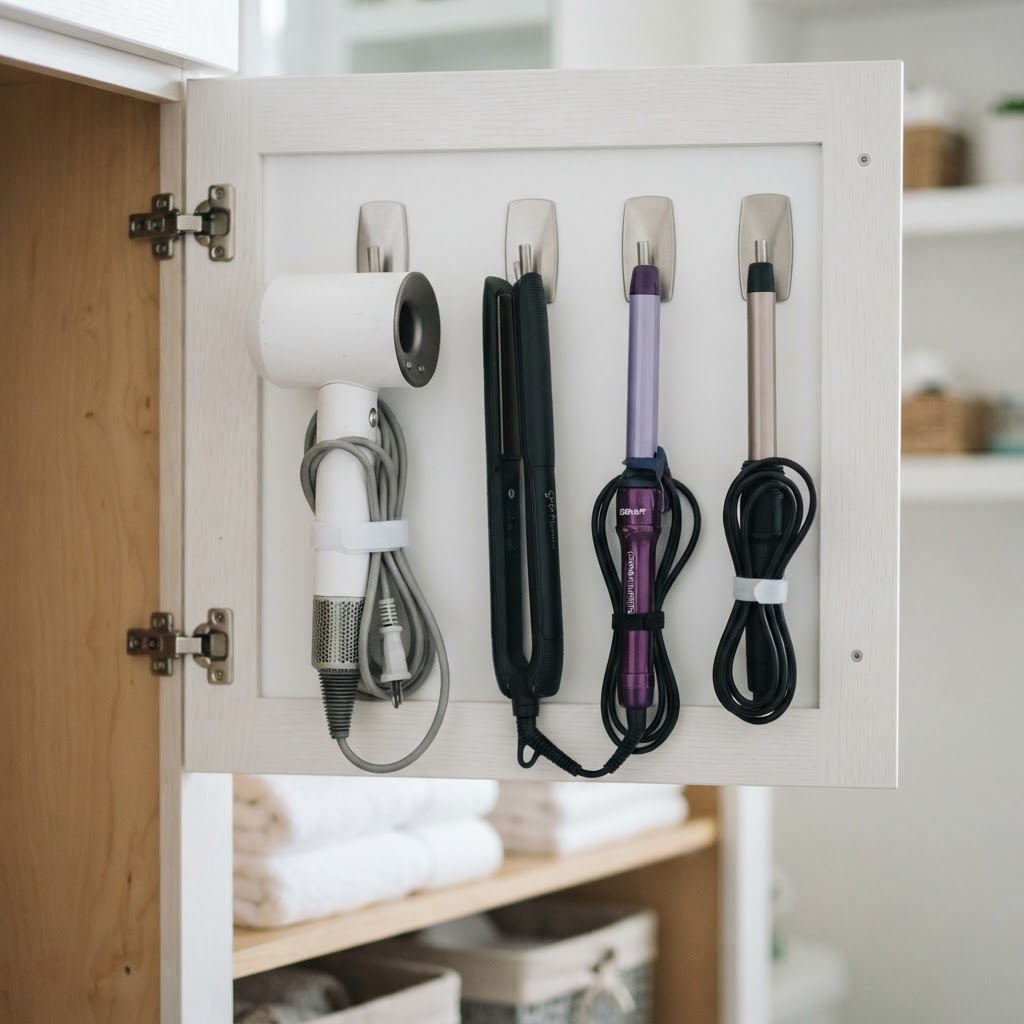
The interior of your cabinet doors represents prime real estate that is almost universally ignored in bathroom design. By installing adhesive hooks, magnetic strips, or over-the-door pockets, you can store frequently grabbed items without sacrificing precious shelf space. This area is the perfect home for hot styling tools like straighteners or curling irons, which can be stored in heat-resistant, door-mounted holsters to keep them safely away from water and cluttering your countertop. Magnetic strips are particularly effective for small metal items like tweezers, nail clippers, or bobby pins, preventing them from disappearing into the depths of a drawer. For larger items, use adhesive-backed bins or mesh pockets that can accommodate items up to 2 pounds securely. Installing these features takes less than 10 minutes and requires only basic adhesive strips, meaning no tools or damage to your cabinets. This strategy is essential for tiny bathrooms because it effectively turns 100% of your cabinet interior into storage space. By moving items off the base of the cabinet and onto the doors, you open up the floor space for larger containers. If you are renting, look for damage-free, heavy-duty Command hooks that hold up well in humid bathroom environments without failing. Ultimately, the doors function as your “quick access” zone for high-frequency tools and grooming accessories, leaving your main shelves free for long-term supply storage.
Managing Plumbing Obstructions
Under-sink areas are rarely simple, empty boxes; they are usually filled with bulky P-traps, water lines, and supply valves. Instead of fighting these obstructions, work around them with flexible shelving solutions designed to accommodate irregular plumbing. Look for adjustable shelves that feature split-panel designs, which allow you to move specific shelf segments to avoid hitting those pesky pipes. Customizing your fit does not require a carpenter; modular tension-rod shelving can be adjusted to fit almost any width between 15 and 30 inches. By utilizing tension rods, you can also create a clever hanging rail for spray bottles, allowing them to hang mid-air and leaving the floor of the cabinet free for larger storage bins or bulk items. Another effective strategy is to use small, stackable units that sit on either side of the drain pipe, effectively using the “lost” space beneath the sink basin. Avoid trying to force oversized containers into tight spaces, as this can press against pipes and cause long-term vibration damage. Instead, use several smaller, modular organizers that can be arranged in a puzzle-like configuration around the central plumbing. This flexible approach maximizes your storage volume by roughly 30-40% compared to using a single, large stationary shelf. By embracing the unique geometry of your plumbing, you create a tailored system that maximizes every square inch while keeping your essential pipes and valves safely accessible for maintenance. When you work with the layout rather than against it, you ensure the long-term integrity of your vanity while maintaining a high level of organizational efficiency.
Categorizing Your Supplies
Effective bathroom organization relies on strict, logical grouping of similar items to eliminate the frustration of hunting for products. If you store your makeup, cleaning supplies, and hair care items in one jumbled pile, you are creating a recipe for daily stress. Dedicate specific zones within your under-sink space for different tasks. One zone should be for daily hygiene, one for hair care, and a third for cleaning products. By assigning “homes” to specific categories, you reduce the time required for cleaning and restocking by up to 50%. This method allows you to pull out one singular “cleaning caddy” when you need to wipe down the shower, rather than searching through your vanity. Use label makers or simple tag systems to ensure every family member knows where items belong. This categorization is especially helpful in small shared bathrooms where multiple people may be accessing the same cabinet. According to professional organizers, keeping items within their dedicated categories prevents over-buying because you can clearly see the status of each zone at a glance. Even in a tiny 20-inch wide vanity, you can achieve this by using narrow divider bins that act as physical borders for your supplies. Keeping these zones maintained prevents “inventory creep,” where one category begins to overflow into another. When your items are strictly categorized, you gain a sense of control over your environment, transforming the vanity from a chaotic space into a highly efficient part of your daily routine.
Creating a Spa-Like Experience
Even in a tiny bathroom, you can inject a bit of luxury by focusing on visual cohesion and intention. Use matching baskets or woven bins to hide miscellaneous items like extra towels, toilet paper, or bulk soaps. When the storage looks intentional and aesthetically unified, the entire room feels larger and significantly less cluttered. It is the visual equivalent of a breath of fresh air. Choose a consistent color palette—such as neutral creams, whites, or soft textures—to make the small space feel high-end rather than cramped. Avoiding mismatched plastic containers creates a clean, calm aesthetic that mimics the environment of a luxury hotel. Even if the inside of your cabinet isn’t visible to guests, the act of creating a cohesive storage system helps you feel more relaxed in your own home. Using natural materials like seagrass or bamboo for towels, paired with clear acrylic for liquids, creates a pleasing contrast that feels sophisticated. This visual organization also prevents “clutter blindness,” where you stop noticing that a space is messy over time. A spa-like experience is as much about how your things are contained as it is about the products themselves. By upgrading your storage aesthetics, you make the maintenance of your small bathroom feel like a treat rather than a chore. Keep the surfaces around the sink clear, and use your under-sink storage to hide the “work” of the bathroom, leaving only the essentials on display.
Maintaining Your New System
The biggest challenge with any storage strategy is keeping it up, as even the best systems can collapse within 3-6 months without a maintenance plan. Every three months, schedule a fifteen-minute “vanity audit” where you pull everything out, wipe down the cabinet floor with a mild disinfectant, and discard any expired products or empty bottles. This maintenance routine ensures that your under-sink storage remains functional and does not revert to its previous chaotic state. Adopt the “one-in, one-out” rule: every time you bring a new product into your bathroom, one old or finished item must leave. This keeps your inventory lean and prevents your storage solutions from working overtime to hold unnecessary items. On average, people hold onto 30% more beauty products than they actually use, many of which are past their expiration date. An audit is the perfect time to check expiration dates on skincare products, which typically last 6 to 12 months. By keeping your inventory current, you free up space for items you truly love. If you find yourself consistently over-buying, keep a small inventory list on the inside of the cabinet door to track what you already have. This simple habit prevents the double-purchasing that leads to cabinet overflow. Maintaining the system is not about perfection; it is about consistency. By treating your vanity like a professional inventory, you ensure your space stays functional for years.
Addressing the Pedestal Sink Challenge
If you have a pedestal sink without a cabinet, you are likely feeling the pain of zero hidden storage, but this does not mean you are without options. Utilize a small, narrow rolling cart that fits right next to the pedestal, providing 3-4 levels of storage that can be tucked away when not in use. Alternatively, consider a “pedestal vanity” sleeve that wraps around the base, offering a small shelf or bin without obstructing the plumbing lines. Another creative solution is to install a “sink skirt” using tension rods and fabric, which hides small crates or baskets placed directly on the floor beneath the basin. This can effectively provide 2-3 square feet of hidden storage that was previously unavailable. For a more modern look, look for wall-mounted “over-the-sink” organizers or slim floating shelves that can be positioned on the wall adjacent to the sink. By utilizing these perimeter solutions, you can store everything from hand towels to toiletries without needing a cabinet at all. The key to pedestal sink organization is to verticalize your storage in the surrounding wall space. Many people successfully use magnetic wall mounts for metal grooming tools, which clears off the sink rim entirely. Despite the lack of built-in space, a pedestal sink area can be just as efficient as a large vanity if you utilize the floor, the walls, and specialized slim furniture to maximize your storage capacity.
Choosing the Right Materials
When selecting bins and organizers, prioritize materials that are easy to clean and resistant to the high-humidity environment of a bathroom. Bathrooms are damp by nature, and spills are inevitable; therefore, acrylic, plastic, and stainless steel are superior to wood or fabric, which can trap moisture and harbor mold in the damp under-sink environment. Acrylic is the gold standard for visibility, while high-density polyethylene (HDPE) plastic is ideal for heavier items because it is resistant to cracking and easy to wipe down. If you prefer the look of woven materials, choose synthetic “resin wicker” instead of real grass or rattan, as it mimics the aesthetic but is completely waterproof. Stainless steel or powder-coated metal organizers are excellent for durability, especially for holding heavy liquid soaps or cleaning sprays that could stress plastic shelves. Avoid corrugated cardboard or untreated fiberboard, as these will warp within weeks due to the moisture typical of under-sink plumbing areas. By selecting the right materials, you ensure your storage system survives for years without requiring replacement. Investing in moisture-resistant materials is a one-time cost that prevents the need for constant updates and repairs.
Comparison Table: Organizer Materials
Material
Moisture Resistance
Longevity
Best Use Case
Acrylic
Excellent
Long
Small toiletries/makeup
Stainless Steel
High
Very Long
Cleaning sprays/tools
Resin Wicker
Good
Medium
Towels/toilet paper
Wood/Fabric
Poor
Short
Dry storage only
FAQ
Q: What is the most efficient way to organize under a sink with pipes?
Use adjustable, split-panel shelf organizers that allow you to customize the layout around your specific P-trap and supply lines. These modular systems permit you to maximize storage volume by working around the plumbing instead of being blocked by it.
Q: How can I prevent clutter from returning to my vanity?
Implement a quarterly “vanity audit” to clear out expired products and adhere to the “one-in, one-out” rule. Taking 15 minutes every three months to discard empties ensures your storage system remains functional and lean.
Q: Which materials are best for bathroom storage containers?
Choose moisture-resistant materials like acrylic, plastic, or powder-coated metal to avoid mold and warping. Avoid wood or natural fiber materials, which absorb humidity and are difficult to sanitize in a damp bathroom environment.
Q: How do I store items if I have a pedestal sink?
Utilize vertical space by installing slim floating shelves on the walls or by adding a narrow rolling cart that slides beside the sink base. You can also use a custom-made sink skirt or a pedestal vanity sleeve to create hidden storage for baskets.
Q: What should I do with hot styling tools?
Install heat-resistant, door-mounted holsters on the inside of your cabinet doors to store tools safely and save counter space. This keeps your straighteners and curling irons accessible while ensuring they are properly ventilated after use.
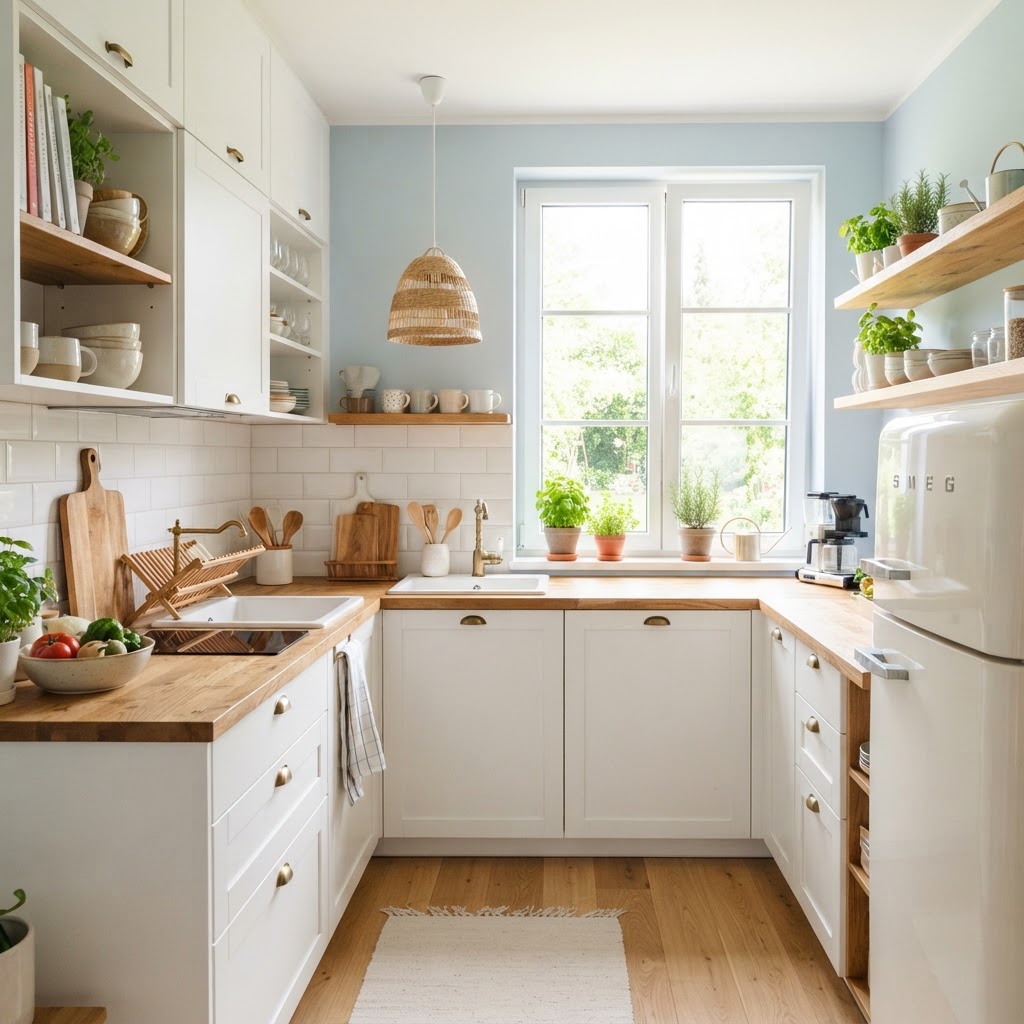 At the core of interior design lies the relationship between light reflection and color. Dark colors absorb light, which can cause a small room to feel claustrophobic and cave-like. Conversely, lighter shades reflect light, bouncing it around the room and creating an airy, open atmosphere. Understanding this simple physics-based principle is the foundation for visual expansion. Beyond simple reflection, color psychology impacts how we feel in a space. Light blues and soft greens are known to have a calming effect, while crisp whites feel clean and clinical. When you use these colors in a small kitchen, you aren’t just changing the decor; you are influencing the user experience. You can also maximize storage in a small apartment kitchen to help minimize the visual weight of cabinets and appliances, making the room feel like it has more “breathing room.”
  ## The Power of Monochromatic Schemes
 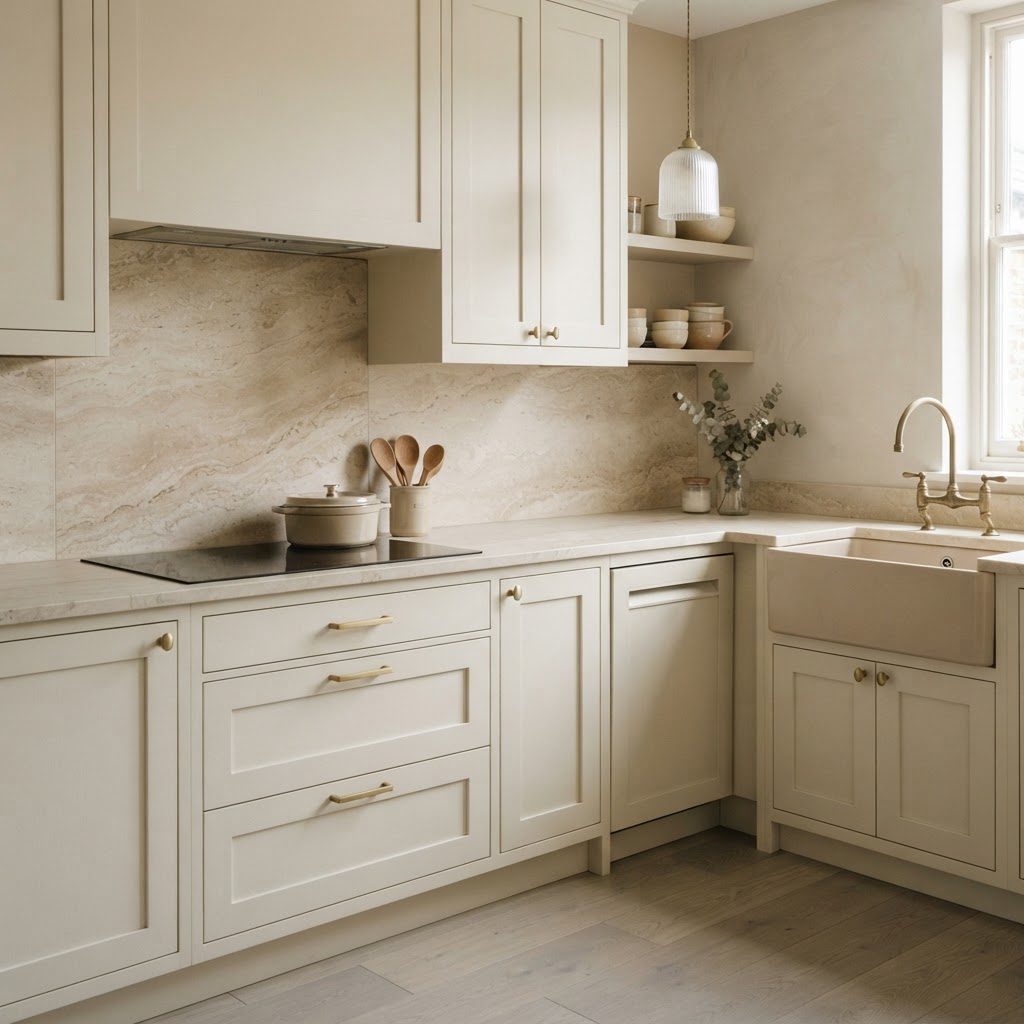 One of the most effective color psychology tricks for tight spaces is the use of a monochromatic color scheme. By painting your walls, cabinets, and even trims in variations of the same color, you eliminate the visual boundaries that usually chop up a room. When the eye doesn’t have to pause at contrasting lines, it perceives the space as a continuous, uninterrupted surface. ### Achieving the Seamless Look To make this work effectively, you need to play with texture and tone rather than distinct colors. Start with a light base, such as soft pearl or antique white. Use a flat finish for walls and a satin or semi-gloss finish for your cabinetry. This slight difference in sheen adds depth without creating the harsh contrast that makes small kitchens feel segmented and cramped. ## Strategic Use of Cool Tones
 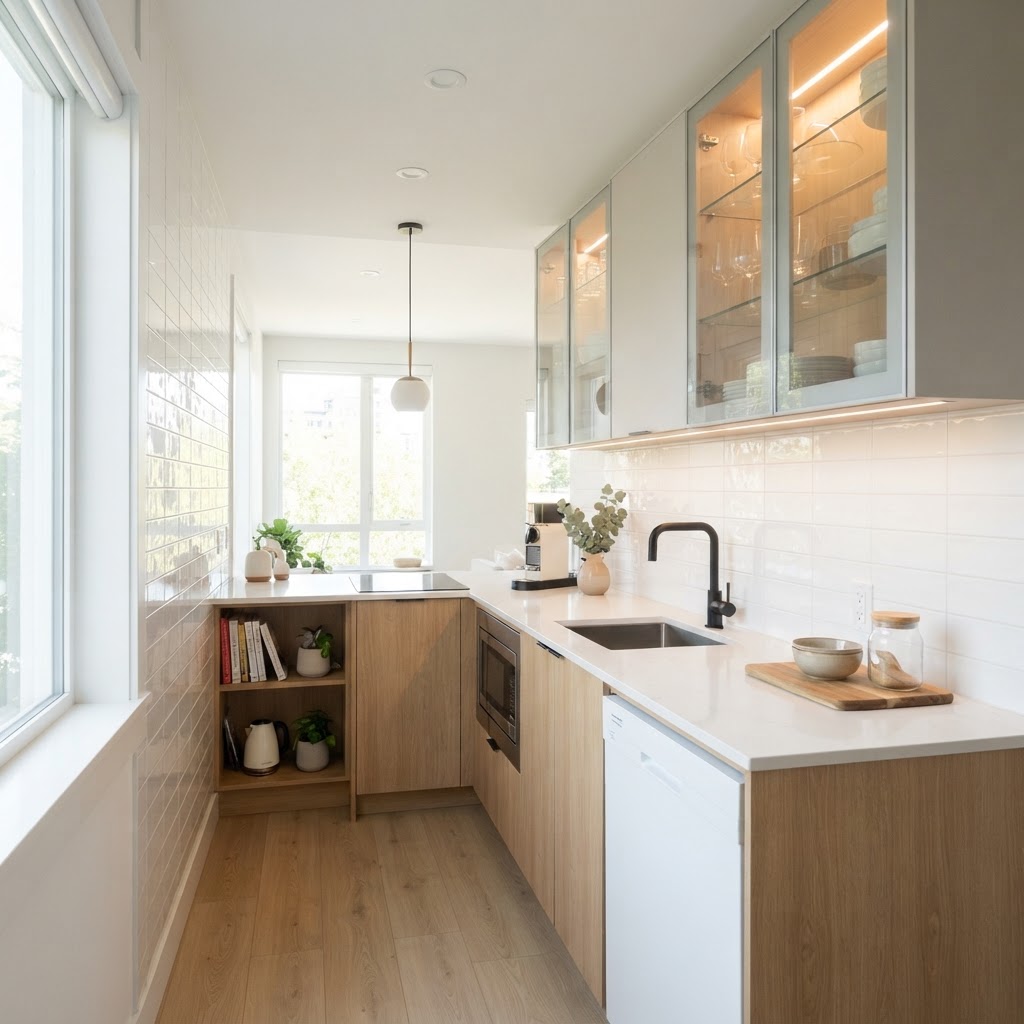 Cool colors, such as light blues, teals, and soft grays, have a unique property: they appear to recede away from the viewer. While warm colors like red or orange seem to advance toward you, cool tones create an optical illusion of depth. This makes them perfect for small kitchens where you want the walls to feel further away than they actually are. Consider using a pale, icy blue on your walls. This color is associated with the sky and water, which naturally evokes feelings of openness and peace. When paired with bright, reflective hardware, the kitchen instantly feels more expansive. Avoid heavily saturated cool tones, however, as too much intensity can have the opposite effect by overwhelming the senses. ## Creating Focal Points with Accents
 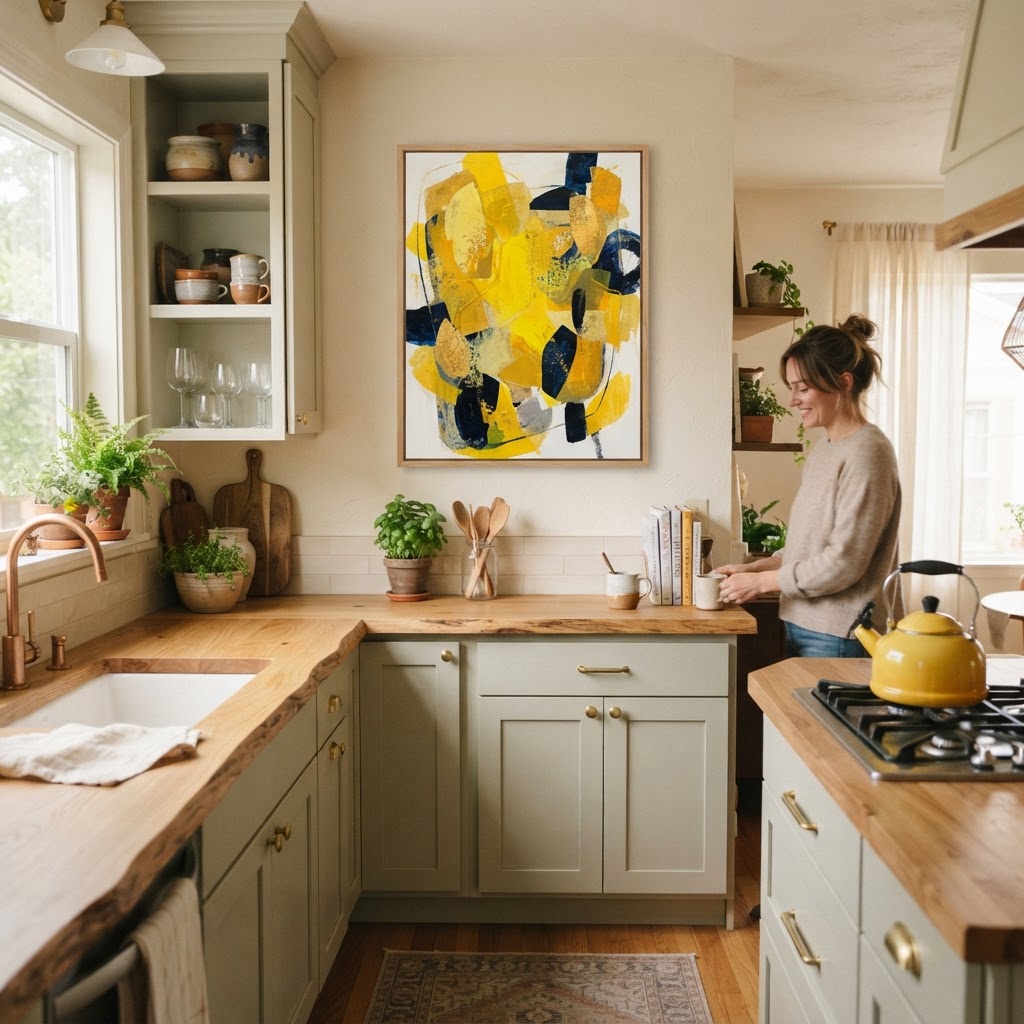 Just because you want a kitchen to feel big doesn’t mean you have to avoid color entirely. A completely stark space can feel uninspired and cold. The trick is to use “pop” colors strategically to draw the eye to specific areas, creating a focal point that distracts from the actual lack of floor space.
  #### Where to Place Your Accents Think about adding a single piece of vibrant wall art, a collection of colorful ceramics, or even a brightly painted window frame. By concentrating color in one specific spot, you control the gaze. When the eyes are occupied by a beautiful accent, they pay less attention to the narrow footprint of the room. Keep these accents limited to ensure you don’t clutter the visual field, as too many points of interest will counteract your efforts to make the kitchen feel larger. ## The Role of Reflective Surfaces While color is the hero, reflective surfaces are the sidekick that makes the magic happen. Light colors need something to bounce off of. Incorporating glass cabinet doors, polished stone countertops, or even metallic backsplashes amplifies the effect of your chosen color palette. These materials effectively double the light in your room, making even the smallest corners feel luminous. ### Maximizing Natural Light Always ensure that your light-colored walls are not obstructed by heavy window treatments. If you need privacy, opt for light-filtering roller shades rather than dark, heavy drapes. The more natural light you can invite into the space, the more effective your lighter wall colors will become, as they will capture that sunlight and brighten the entire kitchen. ## Color Zoning for Functionality Even in a tiny kitchen, you can create the feeling of distinct “zones” through color, which adds to the perceived complexity and size of the room. Using a slightly darker shade on the floor and a very light shade on the ceiling tricks the brain into thinking the room is taller and more expansive. This vertical gradient is a powerful tool in any small room design strategy. When zoning, keep the transitions between colors subtle. A sharp break in color can highlight the limits of the room, whereas a soft fade or a deliberate choice of colors that sit next to each other on the color wheel creates a harmonious, flowing transition that keeps the room feeling cohesive and large. ## Common Mistakes to Avoid Many homeowners fall into the trap of thinking that “brightening” means strictly using stark white everywhere. While white is a great tool, too much of it can result in a sterile environment. It is essential to mix in warm textures—like wood grain or woven baskets—to add humanity to the room. Without these elements, a small, all-white kitchen can feel cold and uninviting, which arguably makes it feel smaller because you want to spend less time in it. Another mistake is neglecting the power of lighting fixtures. You can paint a kitchen the perfect shade of sky blue, but if the lighting is yellow or dim, the color will look muddy. Invest in high-CRI (Color Rendering Index) LED bulbs that mimic natural daylight. This will ensure that the color psychology tricks you have implemented remain effective throughout the evening, not just during the peak daylight hours. ## Conclusion Making a small kitchen feel larger is entirely possible when you leverage the right design strategies. By utilizing cool-toned palettes, embracing monochromatic designs, and maximizing the reflection of light, you can turn a cramped galley or corner kitchen into an airy, welcoming hub of the home. Remember, the goal is to create a space that feels intentional and bright, allowing you to focus on the joy of cooking rather than the limitation of the floor plan. Ready to transform your home? Start by picking one of these color psychology tricks today—perhaps a simple paint refresh or a change in your cabinet hardware—and watch how quickly your small kitchen begins to feel like a spacious oasis. For more design inspiration and daily tips, subscribe to our newsletter and join our community of home improvement enthusiasts!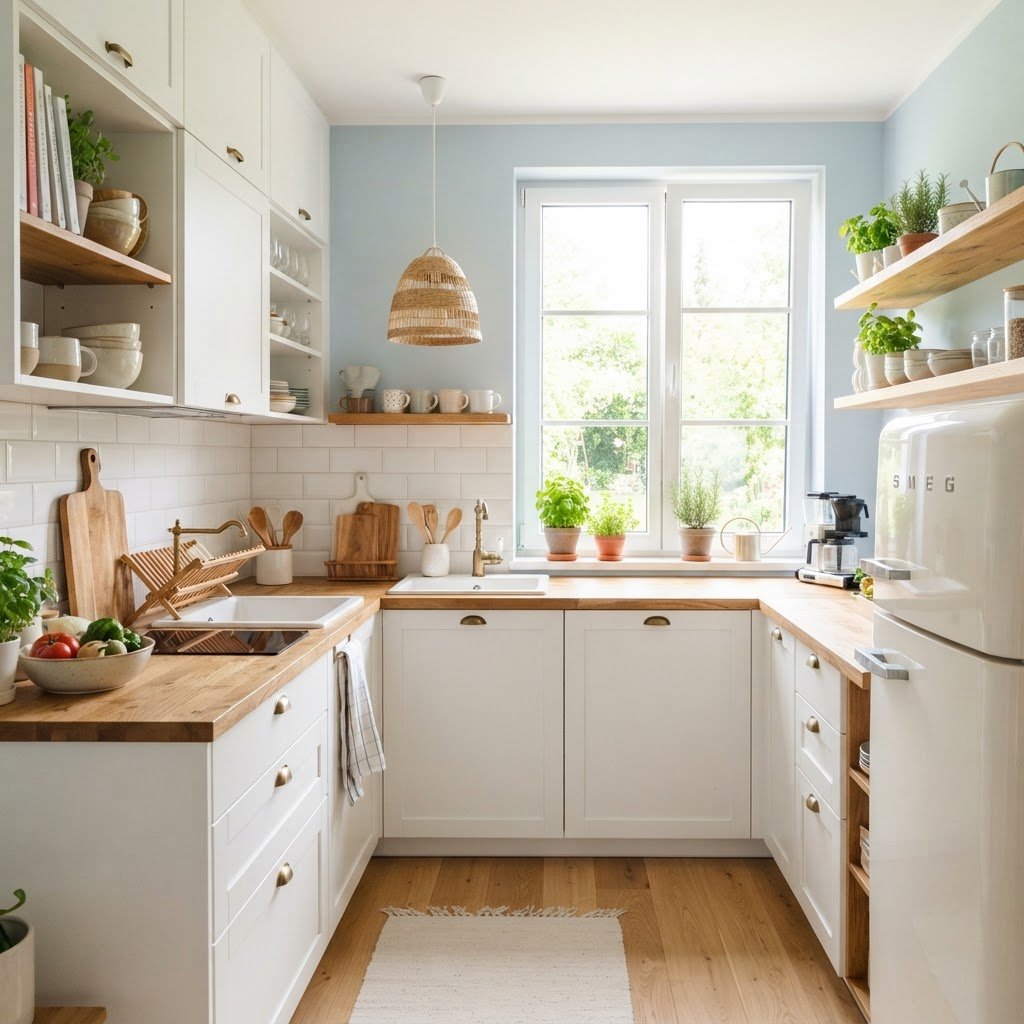
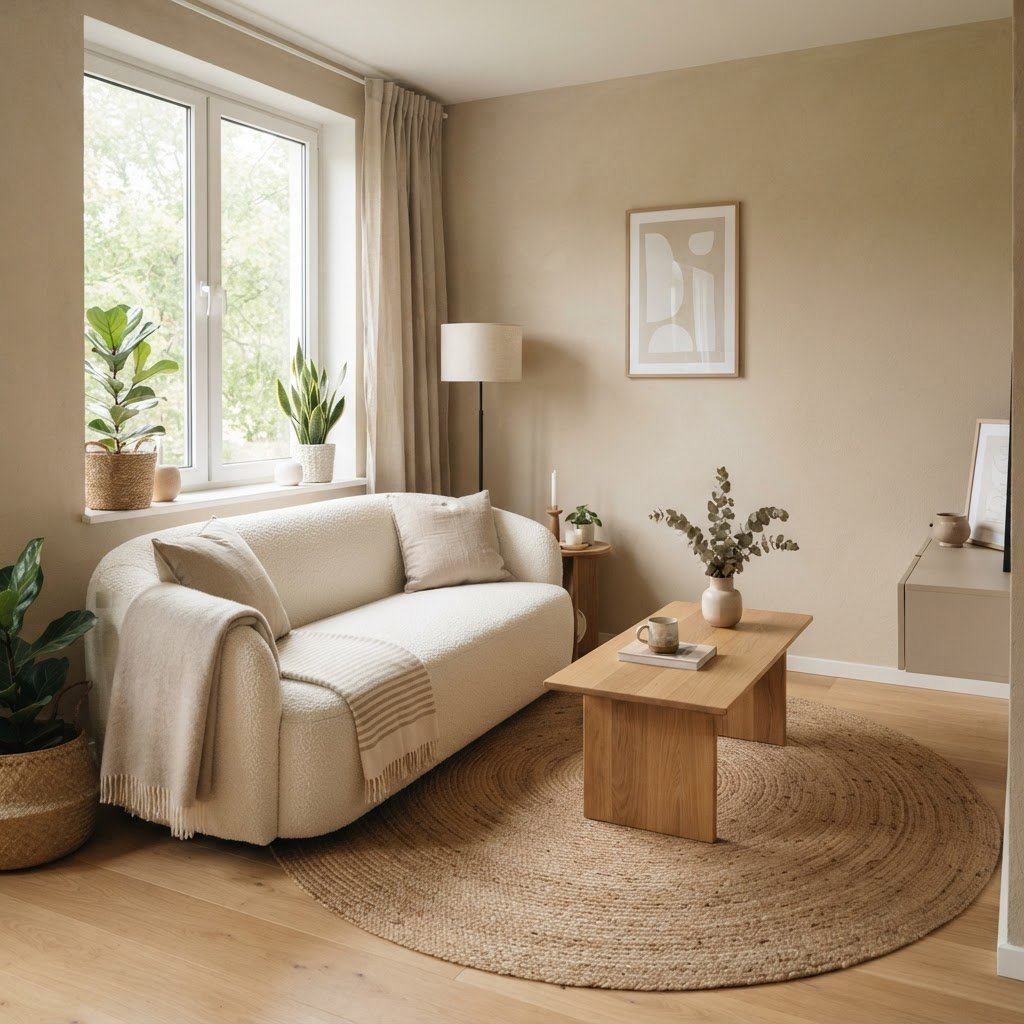
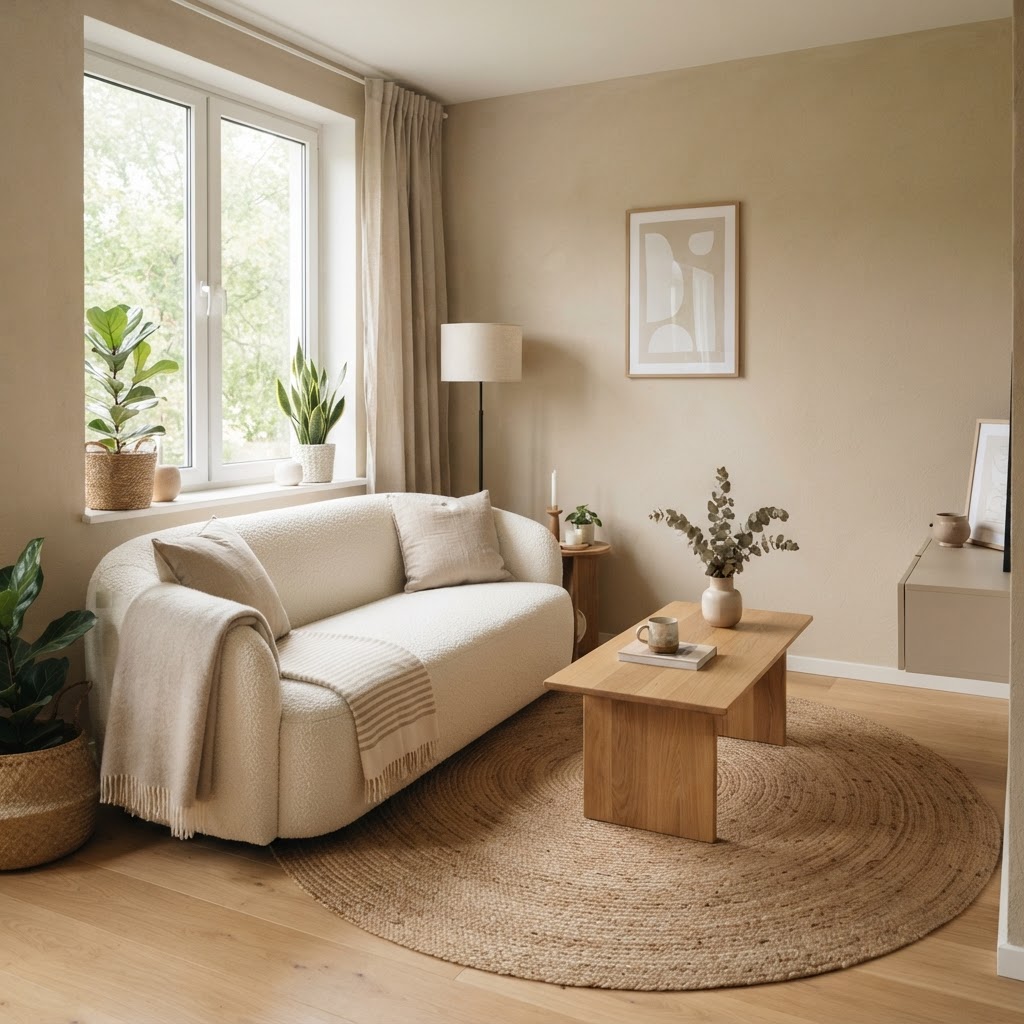 Why do designers consistently turn to beige when tackling small areas? It boils down to the way light interacts with neutral surfaces. Unlike darker tones that absorb light and make walls feel closer, beige reflects light, effectively pushing the boundaries of your room and making it appear larger. Beyond its light-reflecting properties, beige offers an unparalleled sense of calm. In a world of constant stimulation, a neutral living space provides a much-needed visual reprieve. It serves as the perfect backdrop for personal expression, whether you lean toward Scandinavian minimalism or modern organic farmhouse styles. ### Creating Depth Through Texture One of the most important aspects of using a single color family is avoiding flatness. To keep your living room from feeling sterile, you must incorporate a variety of textures. Think chunky knit throw blankets, velvet accent pillows, bouclé armchairs, and natural fiber rugs like jute or sisal. Mixing these materials adds sensory interest without needing to introduce bold, distracting colors. A smooth leather sofa paired with a soft sheepskin rug instantly elevates the tactile experience of the room, creating that essential cozy factor that everyone craves.
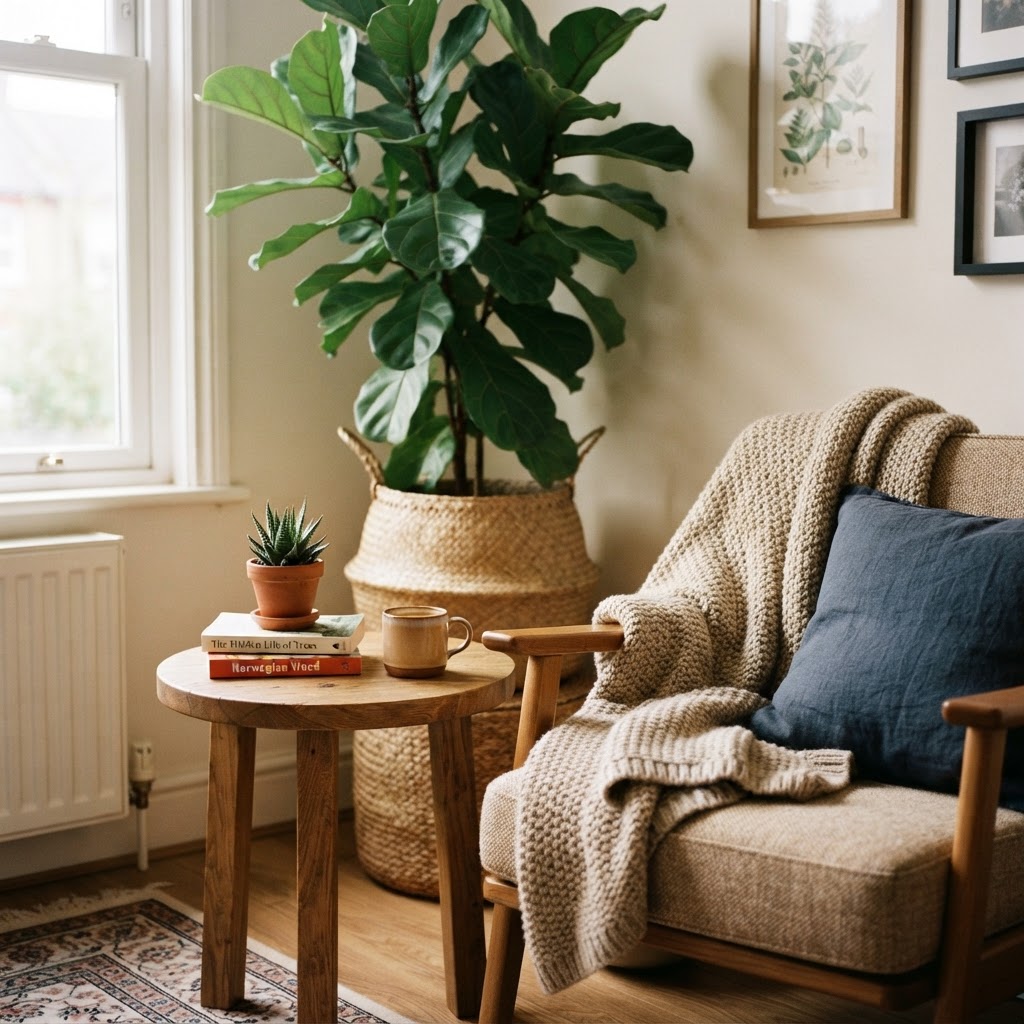 When choosing furniture for a small space, scale is everything. Avoid oversized, bulky sofas that take up the entire footprint of the room. Instead, look for pieces with “legs” or lifted bases, as seeing the floor underneath the furniture tricks the eye into perceiving more available space. To keep these spaces functional, explore these
 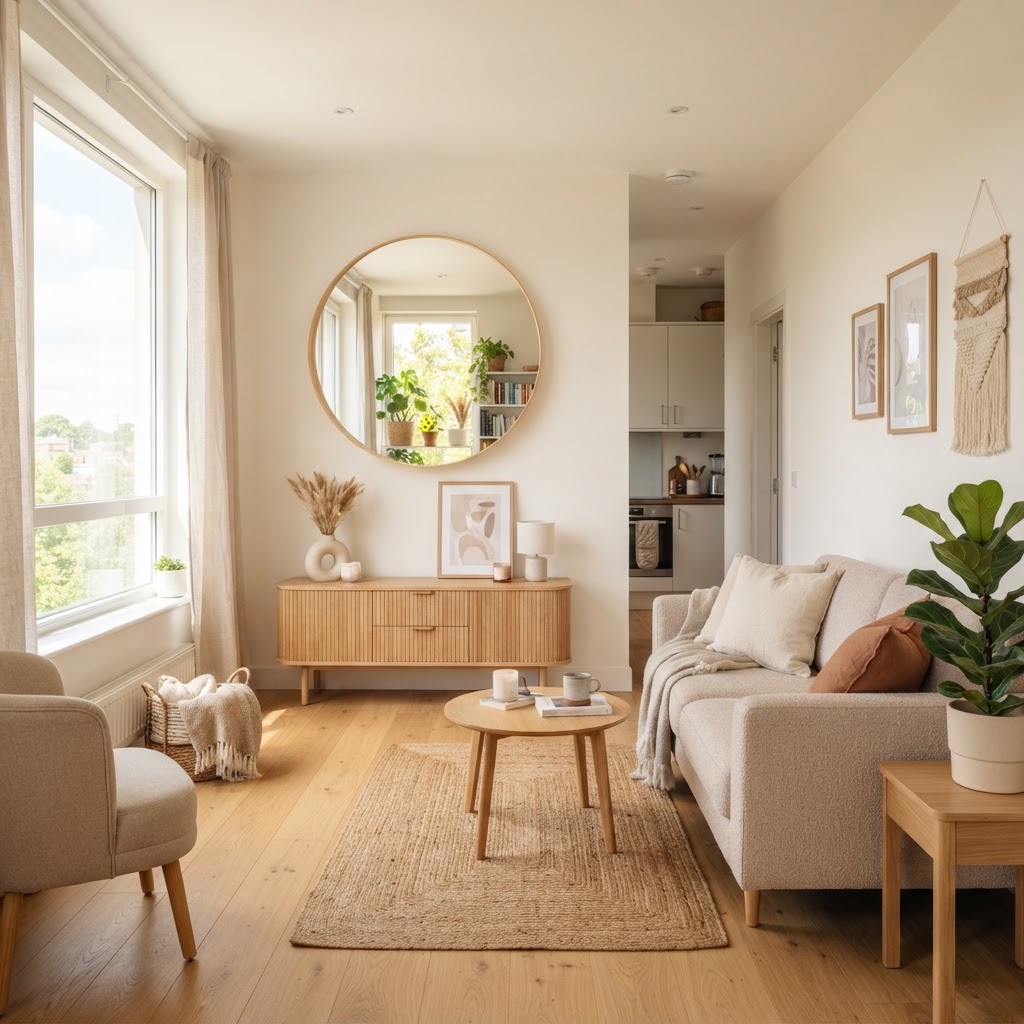 Lighting is the secret weapon of any successful interior design project. In small rooms, rely on a layered lighting approach rather than a single harsh overhead light. Use floor lamps, table lamps, and wall sconces to create pools of light that brighten dark corners and define different zones within your living area. Vertical space is often an overlooked asset. By mounting curtains high above the window frame and choosing tall, slim bookshelves, you draw the eye upward. This simple trick adds height to the room and makes the ceiling feel significantly higher than it actually is. ### Mirrors as Design Tools Never underestimate the transformative power of a well-placed mirror. A large floor mirror or a collection of smaller wall mirrors can amplify natural light, effectively doubling the visual depth of your living room. Position them opposite a window to capture the view and push it back into the heart of the home.