Archives 2026

6 Peel-and-Stick Ideas That Instantly Upgrade a Rental Kitchen

6 Peel-and-Stick Ideas That Instantly Upgrade a Rental Kitchen

You can transform a rental kitchen using peel-and-stick upgrades like vinyl backsplash tiles, contact paper for cabinets, adhesive countertop laminate, appliance skins, peel-and-stick wallpaper, and durable floor decals. These non-permanent solutions allow you to customize your space for under $200 without damaging surfaces or risking your security deposit.

Refreshing Your Backsplash with Peel-and-Stick Tiles
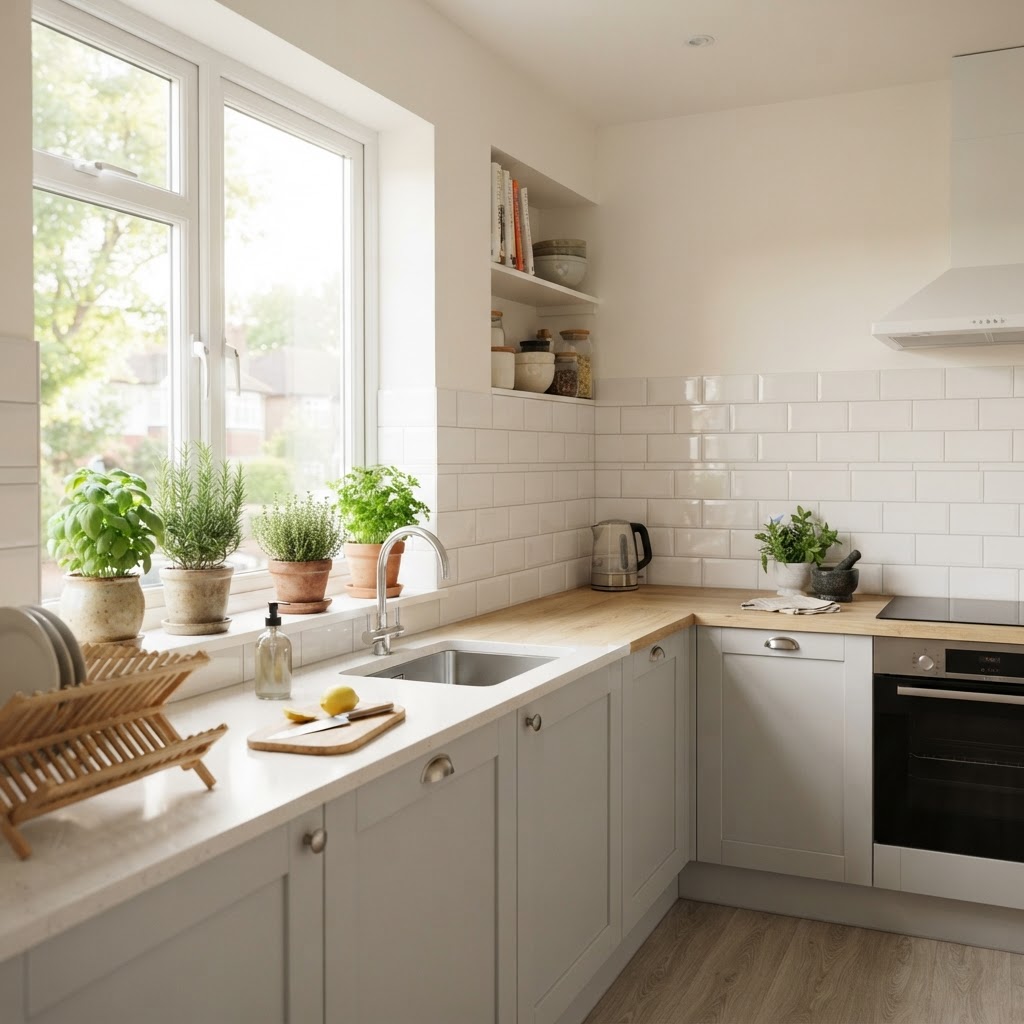
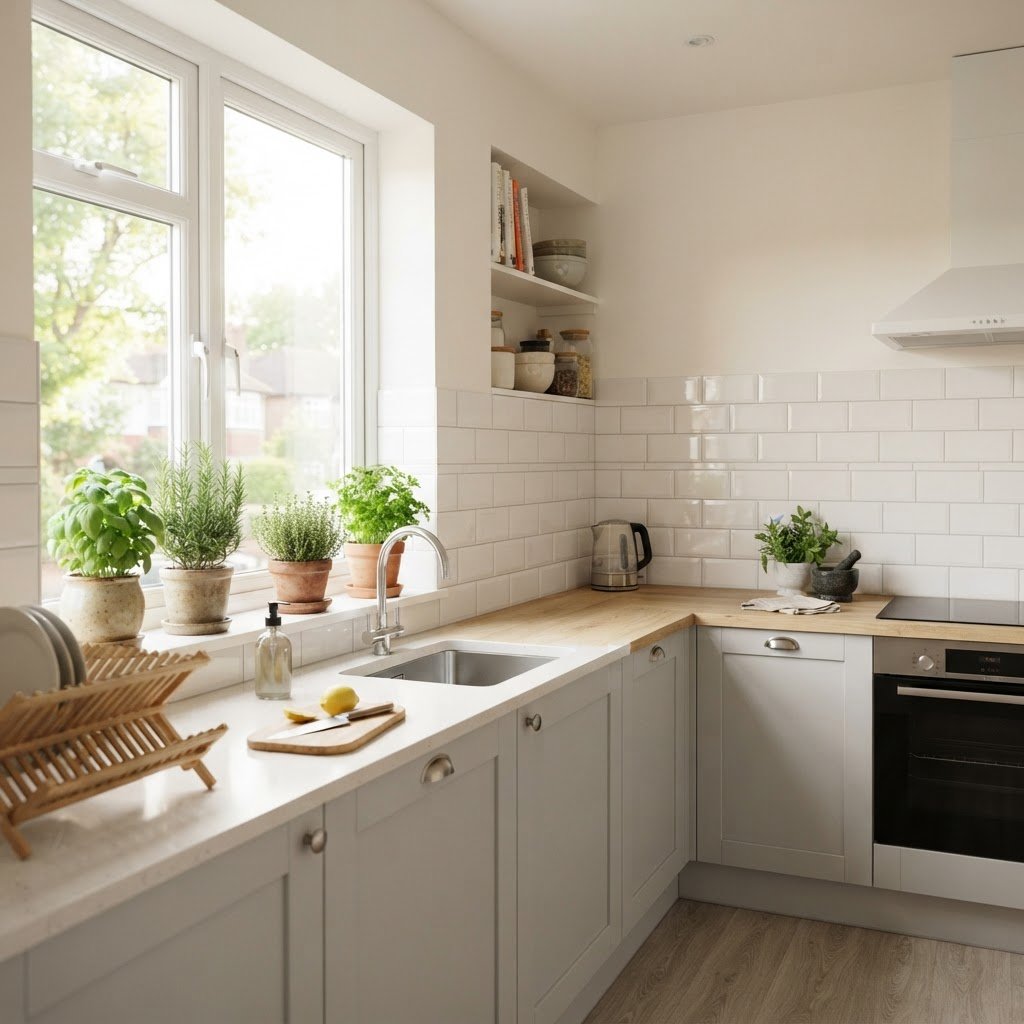
Upgrade your backsplash instantly with renter-friendly subway tile stickers.

Peel-and-stick vinyl tiles provide the high-end look of ceramic or glass backsplashes at a fraction of the cost, usually ranging from $5 to $15 per square foot. These adhesive sheets are engineered to bond to flat, clean surfaces, allowing you to cover outdated textures or boring drywall without the mess of grout, saws, or specialized labor. Because they are thin and flexible, they are ideal for DIYers looking to achieve a custom look in a single weekend.

Choosing the Right Adhesive Tiles

When selecting tiles, prioritize products explicitly labeled as “heat-resistant” (up to 150°F) and “water-resistant” for safety near stoves and sinks. Opt for thicker, textured vinyl over paper-thin varieties to ensure they don’t look cheap or plastic-like. Thorough preparation is the secret to success; scrub your walls with a heavy-duty degreaser, as residual cooking oils from previous tenants will cause adhesive failure within weeks. Use a sharp utility knife and a metal straight edge to score tiles for precision cuts around electrical outlets. Investing time in accurate measurements and dry-fitting your layout before peeling the backing will yield professional, seamless results that mimic traditional subway or Moroccan tile work.

Feature Peel-and-Stick Tiles Ceramic/Glass Tile
Installation DIY (1-2 hours) Professional (1-2 days)
Cost $5-$15/sq. ft $20-$50+/sq. ft
Removability Easy/No Damage Difficult/Permanent
Maintenance Mild soap/water Scrubbing grout

Transforming Cabinet Doors with Contact Paper
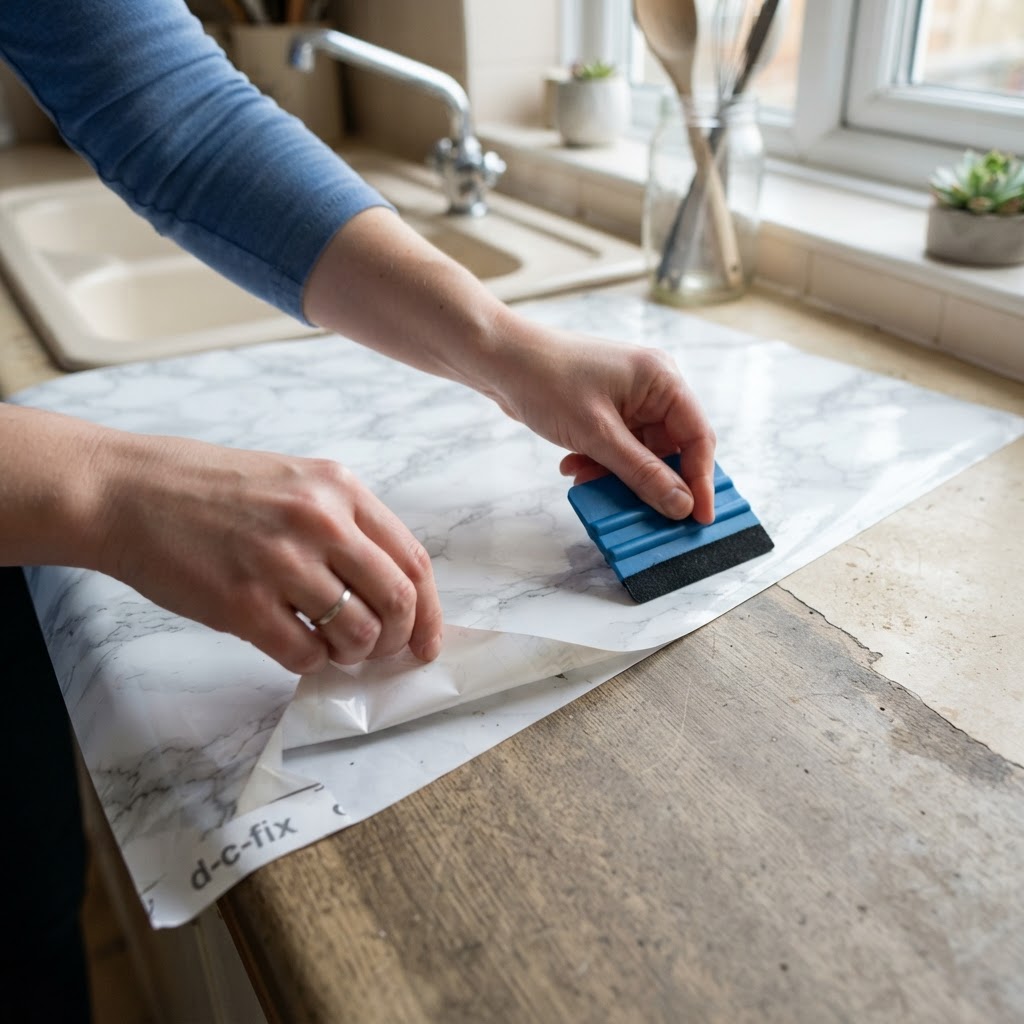
Give your countertops a fresh, marble look using easy-to-apply adhesive film.

Applying high-quality adhesive contact paper to existing kitchen cabinets is the most effective way to modernize a dated room without permanent painting. Whether your goal is a contemporary matte finish or a warm wood-grain texture, this process covers old, yellowed, or damaged finishes while providing a durable, wipeable surface. The process is fully reversible, making it perfectly compliant with even the strictest lease agreements.

To achieve a factory-finish look, always remove the cabinet doors and hardware before application rather than trying to wrap them in place. Thoroughly clean the wood or laminate surfaces with isopropyl alcohol to ensure proper adhesion. Apply the paper slowly, using a plastic squeegee or felt-edged tool to eliminate air bubbles as you move from the center outward. For edges, use a hairdryer on a low heat setting to gently soften the vinyl, allowing it to stretch and fold around corners for a seamless, professional wrap. When you move out, the material peels away cleanly, leaving the original surface preserved exactly as you found it.

Enhancing Countertops with Adhesive Laminate
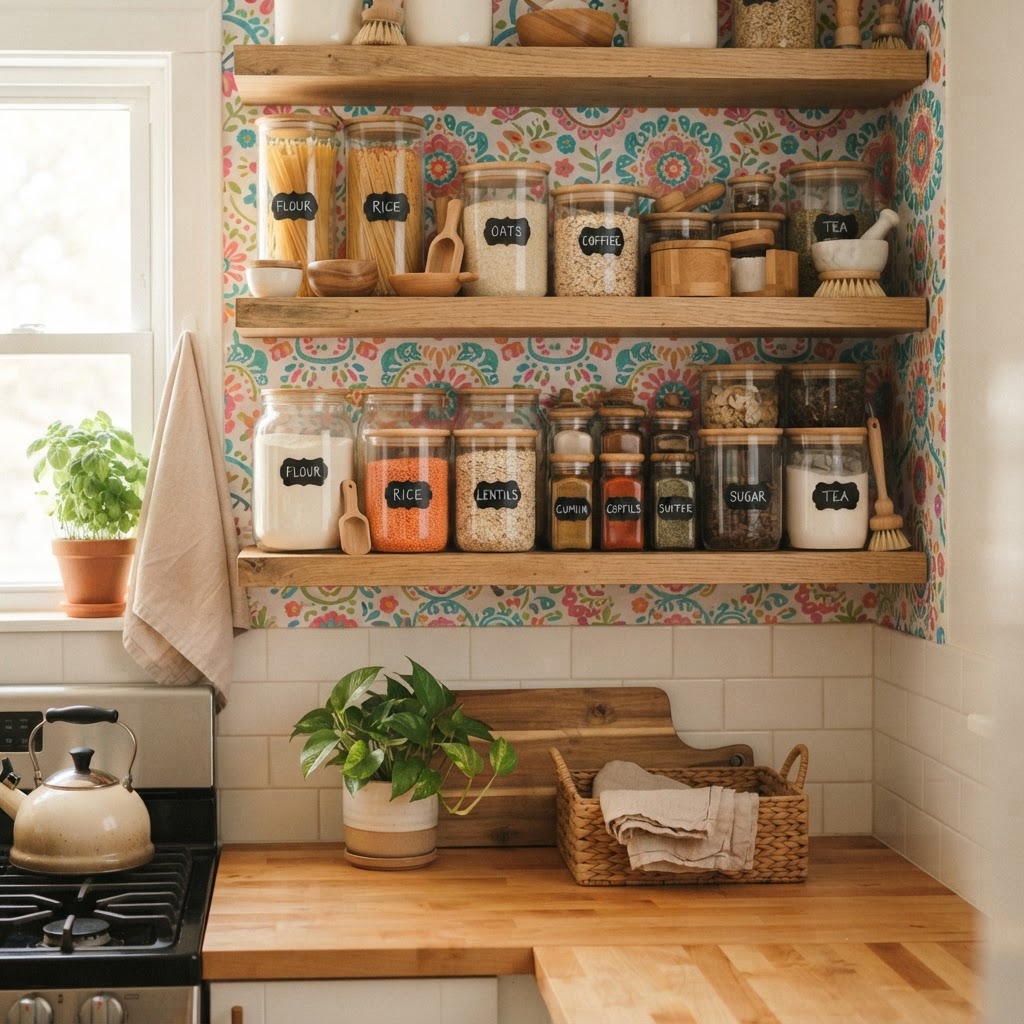
Add personality to your kitchen cabinets with decorative removable wallpaper.

Adhesive laminate films, specifically designed for high-traffic countertops, offer a budget-friendly way to hide surface scratches, heat stains, or dated patterns. Look for “heavy-duty” or “thick-gauge” films, which typically measure at least 0.2mm in thickness, as these are engineered to withstand the daily friction of cutting boards and wet dishes. Because countertops are focal points, choosing a realistic stone or marble print can instantly increase the perceived value of your rental kitchen for a minimal financial investment.

Preparation for countertops must be meticulous, as any crumb or debris trapped under the film will create a permanent bump. After cleaning the counter, use a hairdryer to heat the laminate before wrapping it over edges, which prevents the material from cracking or creating wrinkles. It is important to note that while these films are water-resistant, they are not heat-proof; always use a trivet under hot pans to avoid melting the vinyl. With proper care, these films can last the duration of a standard 12-month lease without peeling or bubbling.

Updating Appliances with Magnetic or Adhesive Skins
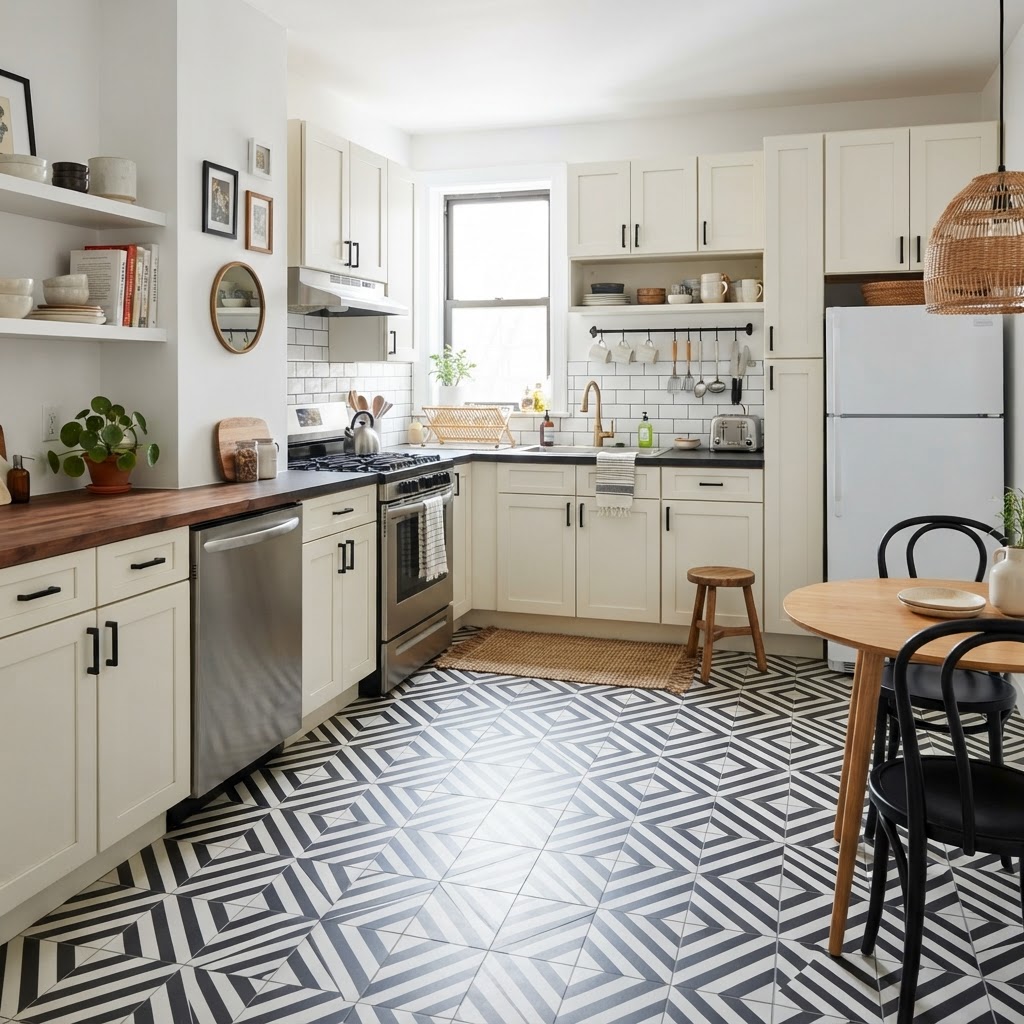
Transform dated rental flooring with durable peel-and-stick floor decals.

Appliance skins provide an instant aesthetic update to outdated, scratched, or mismatched refrigerators and stoves by completely masking the original exterior face. These coverings come in various styles, including brushed stainless steel, matte black, and custom graphic patterns, allowing you to create a cohesive designer look. They are usually composed of heavy-duty magnetic sheets or low-tack adhesive vinyl that can be easily trimmed with scissors to fit any brand or model.

Using magnetic skins is the preferred method for renters, as they require absolutely no adhesive, eliminating any risk of residue or cleanup. If using adhesive skins, look for “bubble-free” vinyl technology which includes microscopic channels in the adhesive to allow trapped air to escape during installation. By unifying your appliances into one color palette, you effectively camouflage the age of the equipment. Always confirm your appliance surface is metal (for magnets) or smooth plastic (for adhesive) before purchasing; textured or high-gloss curved surfaces may require different application techniques or specific adhesive strengths to ensure the skin remains flat and secure.

Adding Accents with Removable Wallpaper

Removable wallpaper transforms sterile kitchen walls or open shelving into vibrant design elements with minimal commitment. Because modern peel-and-stick wallpaper is designed for easy removal, you can experiment with bold prints, botanical motifs, or geometric patterns that would be far too risky to commit to with paint. This is an ideal solution for small sections of wall above the counter or to add depth inside open-front cabinets, creating an unexpected pop of style that highlights your glassware and decor.

To ensure success, check the manufacturer’s instruction for “breathability” to ensure the paper won’t cause mold if moisture is present. Start at the top of the wall and use a level to ensure the first strip is perfectly vertical, as even a minor tilt will become obvious once you add subsequent panels. The forgiving nature of the repositionable adhesive allows you to adjust the alignment several times before the bond sets. When cleaning near wallpapered areas, use a slightly damp cloth rather than aggressive chemical sprays to keep the print vibrant and free from fading over time.

Customizing Floors with Vinyl Floor Stickers

Peel-and-stick floor decals offer a clever solution for covering unsightly linoleum or damaged ceramic tile without the high cost of renovation. These floor-rated stickers are significantly more durable than wall-based vinyl, featuring a protective top layer that resists scuffs, household cleaners, and high-foot-traffic areas. By applying a classic pattern like black-and-white checkers or a vintage-inspired encaustic print, you can completely redirect the visual focus of your kitchen, effectively turning an ugly floor into an interior design feature.

For the best results, start from the exact center of the room and work outward toward the baseboards to ensure the pattern remains symmetrical. You must ensure the floor is perfectly level and free of any wax or oils; using a primer-like floor cleaner will maximize the adhesive bond. If you have a small galley-style kitchen, these decals are highly efficient and cost-effective, typically requiring less than 50 square feet of material to complete the entire floor area. Keep in mind that while these decals are water-resistant, it is wise to avoid using excessive amounts of water during mopping to prevent seepage at the seams.

Tips for Long-Term Success and Easy Removal

Maintaining the integrity of your rental kitchen requires balancing style with proactive preservation techniques. Always retain the manufacturer’s product packaging or specific instructions, as they contain the recommended heat-removal techniques for the adhesive. If you encounter sticky residue after removing decals, use a small amount of citrus-based adhesive remover or standard rubbing alcohol on a microfiber cloth to gently dissolve the remaining glue without damaging the original wall or floor finish beneath.

Checklist for a Renter-Friendly Renovation

  1. Check your lease agreement for specific restrictions on alterations.
  1. Clean all surfaces with a heavy-duty degreaser before application.
  1. Order 10-15% extra material to account for trimming and future repairs.
  1. Use a sharp utility knife for precise cutting around edges.
  1. Keep all original hardware in a labeled bag for easy reinstallation.

FAQ

Can peel-and-stick tiles withstand kitchen heat?

Yes, provided you purchase products specifically labeled as heat-resistant. These tiles are typically tested to handle temperatures up to 150°F, making them safe for installation behind a stove as long as they are at least 6 to 10 inches away from direct open flames or high-heat burners.

Will contact paper damage my rental cabinets?

High-quality, removable contact paper will not damage cabinets when applied to finished surfaces. To remove, use a hairdryer to warm the vinyl, which softens the adhesive and allows you to peel the film away in one piece without leaving any residue on the underlying wood or laminate.

Are floor decals safe for all types of kitchen flooring?

Floor decals are generally safe for smooth surfaces like linoleum, vinyl, or ceramic tile. They should not be used on porous surfaces like unfinished wood or natural stone, as the adhesive could penetrate the surface or strip the finish during removal.

How long does a peel-and-stick kitchen upgrade last?

With proper surface preparation, these upgrades are designed to last for the duration of a standard 12-month lease. If applied to clean, non-porous, and dry surfaces, many high-quality vinyl products can remain looking fresh and intact for up to 3 years before showing signs of wear.

Can I use wallpaper in high-moisture kitchen areas?

It is generally recommended to avoid using standard peel-and-stick wallpaper in areas prone to splashing, such as directly behind the kitchen sink. For areas with high moisture, opt for vinyl-coated peel-and-stick wallpaper or moisture-resistant adhesive tiles instead to prevent the paper from absorbing water and losing its adhesive bond.
The Best Storage Cart to Organize Your Small Apartment

The Best Storage Cart to Organize Your Small Apartment

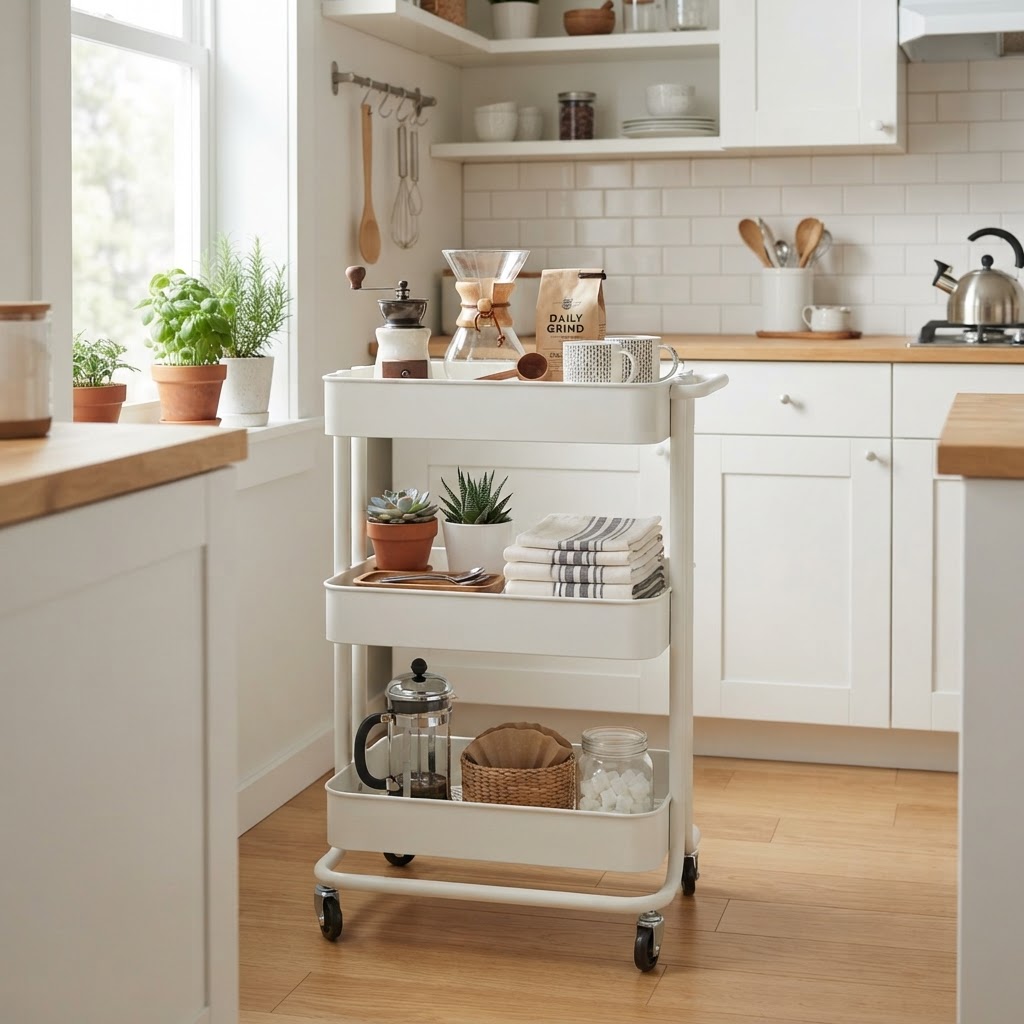
The best storage cart for a small apartment is a three-tier rolling metal utility cart, such as the IKEA RÅSKOG or similar slim-profile models. These units are highly effective because they provide vertical storage, maneuverable mobility with locking casters, and open-air accessibility, making them the most versatile solution for under-$50 apartment organization.

The Anatomy of a Versatile Storage Cart

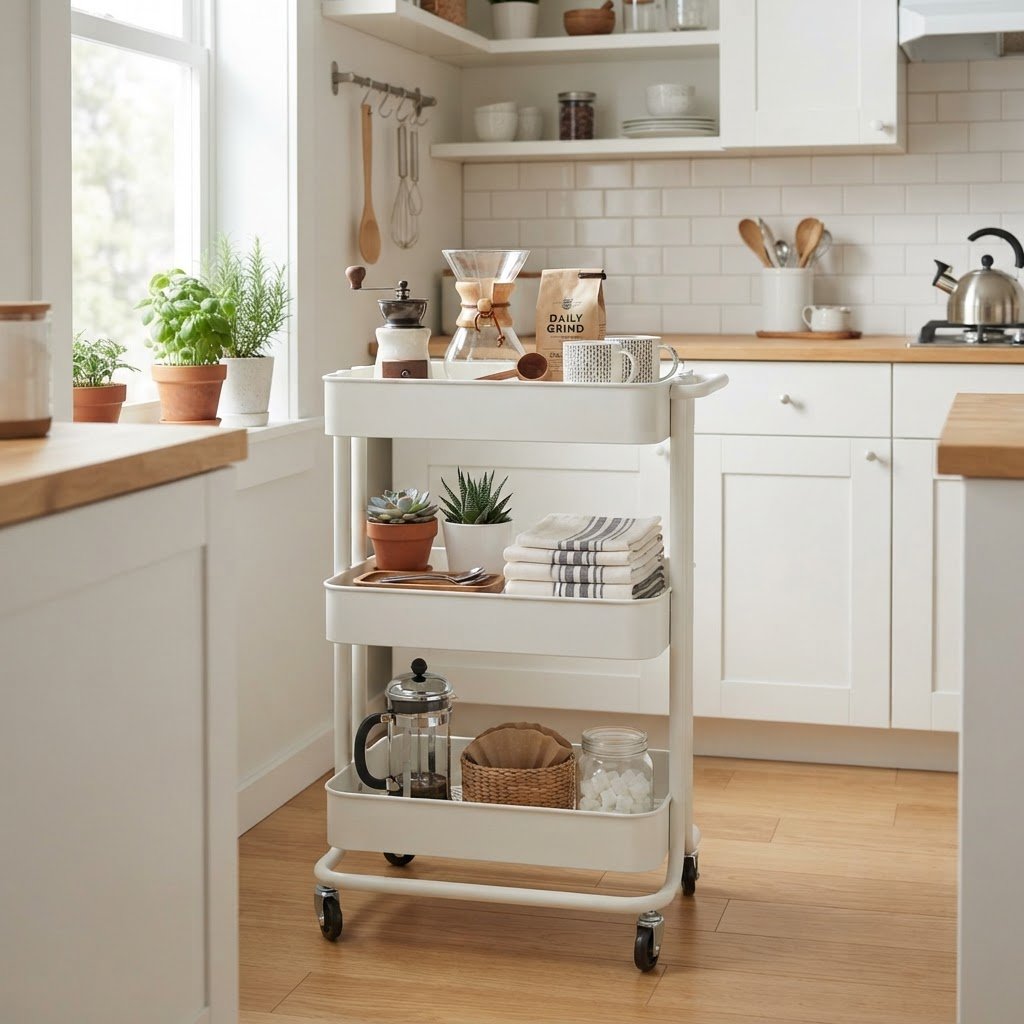
A rolling storage cart can act as a mobile coffee station in a small kitchen.

What makes this specific type of organizer so effective is its inherent design, specifically its ability to maximize vertical floor space in units measuring roughly 17 by 12 inches. Unlike built-in shelving or heavy dressers, a rolling storage cart is defined by its portability, modularity, and vertical height. Most high-quality carts feature three deep tiers, allowing you to maximize floor space by building upward rather than outward, typically adding three feet of storage height while occupying less than 1.5 square feet of floor space. The open-air metal or plastic baskets ensure that items remain visible, which prevents the ‘out of sight, out of mind’ syndrome that leads to forgotten items collecting dust. By choosing a model with high-grade carbon steel, you can support up to 20-30 pounds per shelf, ensuring long-term durability for heavy items like cookbooks or canned goods.

Why Mobility Matters

In a tiny living space, flexibility is everything, and the ability to reposition your furniture is a game-changer for layout efficiency. Because these carts are equipped with smooth-rolling 360-degree casters, you can move them from room to room as your needs change in under five seconds. You might keep it in the pantry during the week, but roll it out to the living room when you have guests and need extra surface space for snacks or drinks. This adaptability is the secret sauce for apartment dwellers who need furniture that works as hard as they do, preventing the need for fixed, static furniture that limits your room’s potential layout.

Feature Metal Rolling Cart Plastic/Composite Cart
Durability High (Heavy Duty) Moderate (Lightweight)
Weight Limit 20-30 lbs per shelf 5-10 lbs per shelf
Cleaning Wipe with damp cloth Dishwasher safe/washable
Price Point $30 – $80 $15 – $40

Transforming Your Kitchen Storage

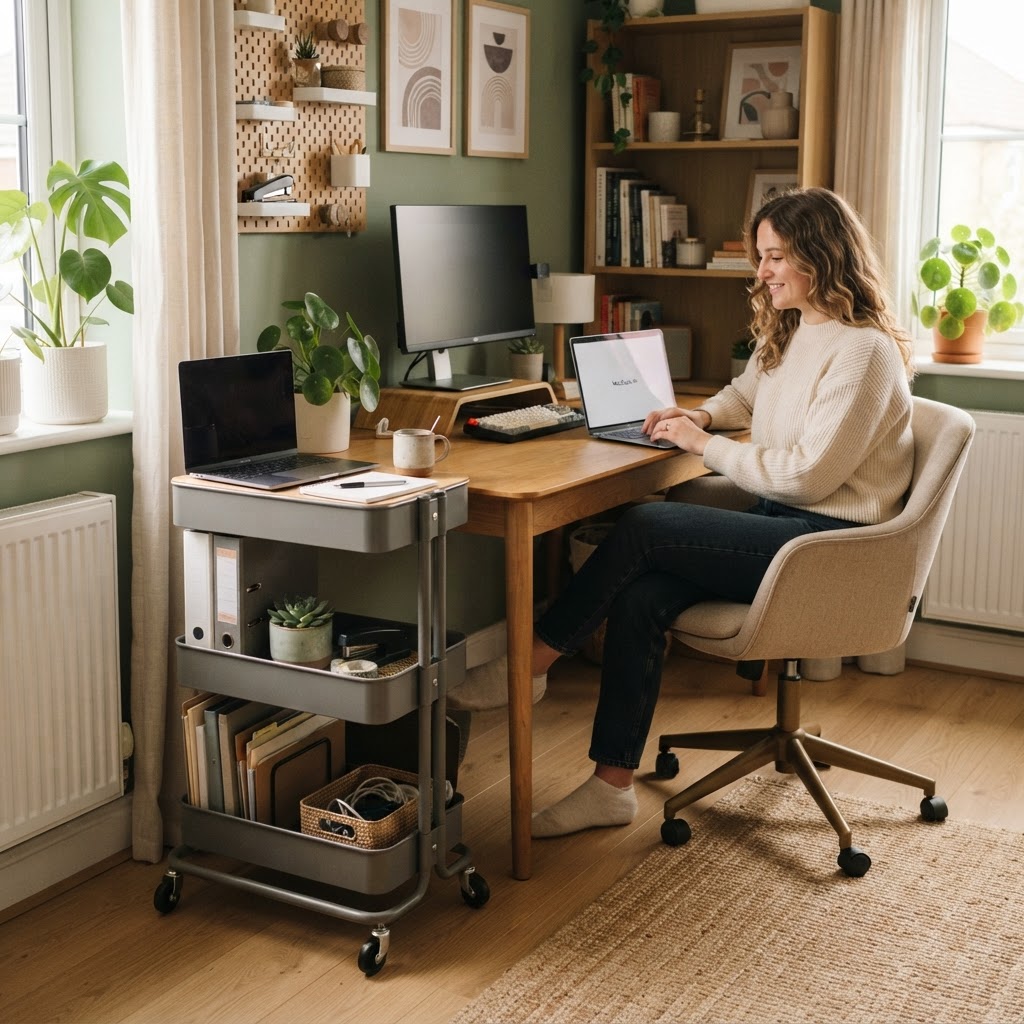
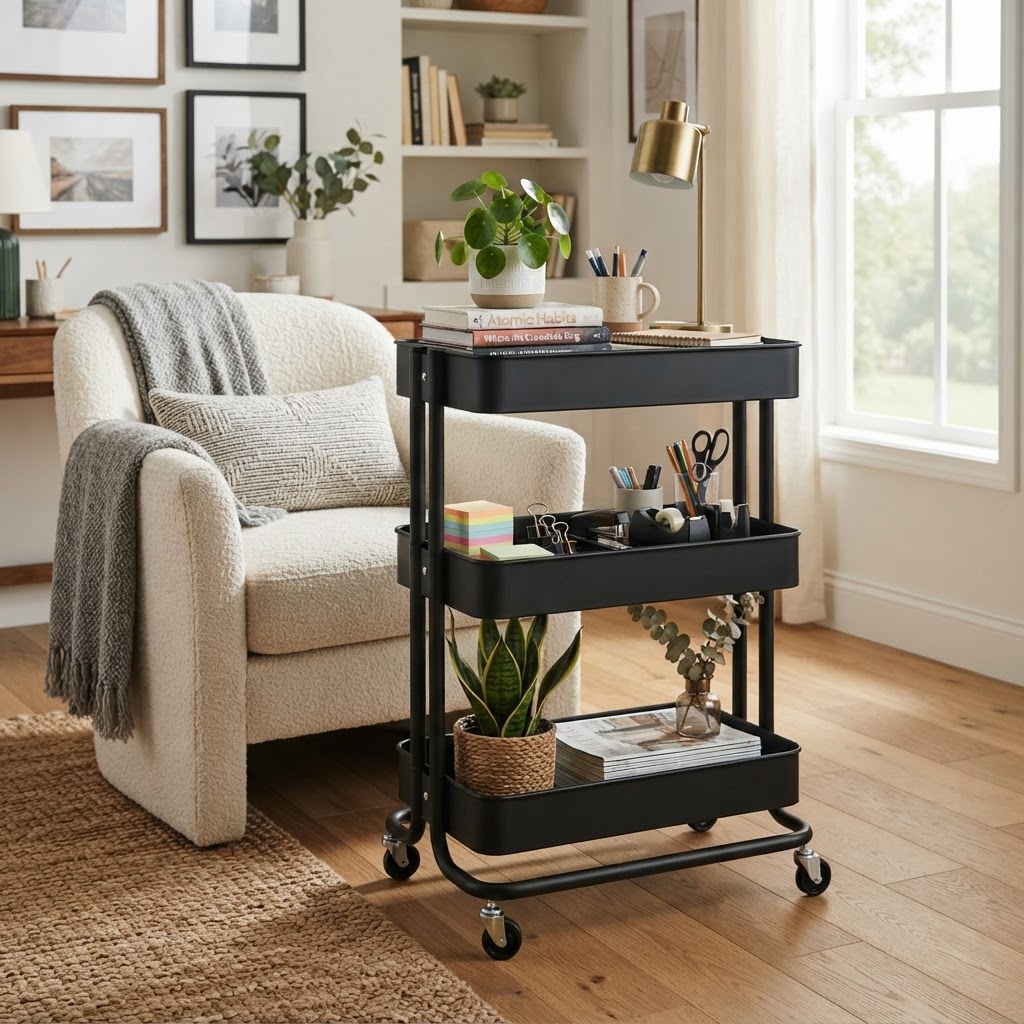
Use a storage cart to keep your home office essentials mobile and tidy.

The kitchen is often the first place where clutter accumulates in an apartment, especially if your counter space is non-existent, and a cart serves as the perfect mobile kitchen island. By utilizing a cart, you gain an immediate 4-6 square feet of functional “floating” counter space that can be moved to accommodate your current cooking needs. You can use the bottom tier for heavy canned goods, the middle for frequently used spices or oils, and the top tier for dish towels or a fruit bowl. By relocating these items to the cart, you instantly regain valuable food preparation space that was previously buried under miscellaneous kitchen items. Data shows that clearing kitchen counters increases cooking efficiency by up to 25% due to reduced physical obstacles.
Creative Kitchen Uses

  • Coffee Station: Keep your kettle, mugs, coffee beans, and sugar in one place.
  • Produce Rack: Storing onions, potatoes, and garlic in ventilated baskets helps them stay fresh.
  • Cleaning Supplies: Store your dish soap, sponges, and microfiber cloths for easy access under the sink or in a corner.

Elevating Your Home Office Workflow

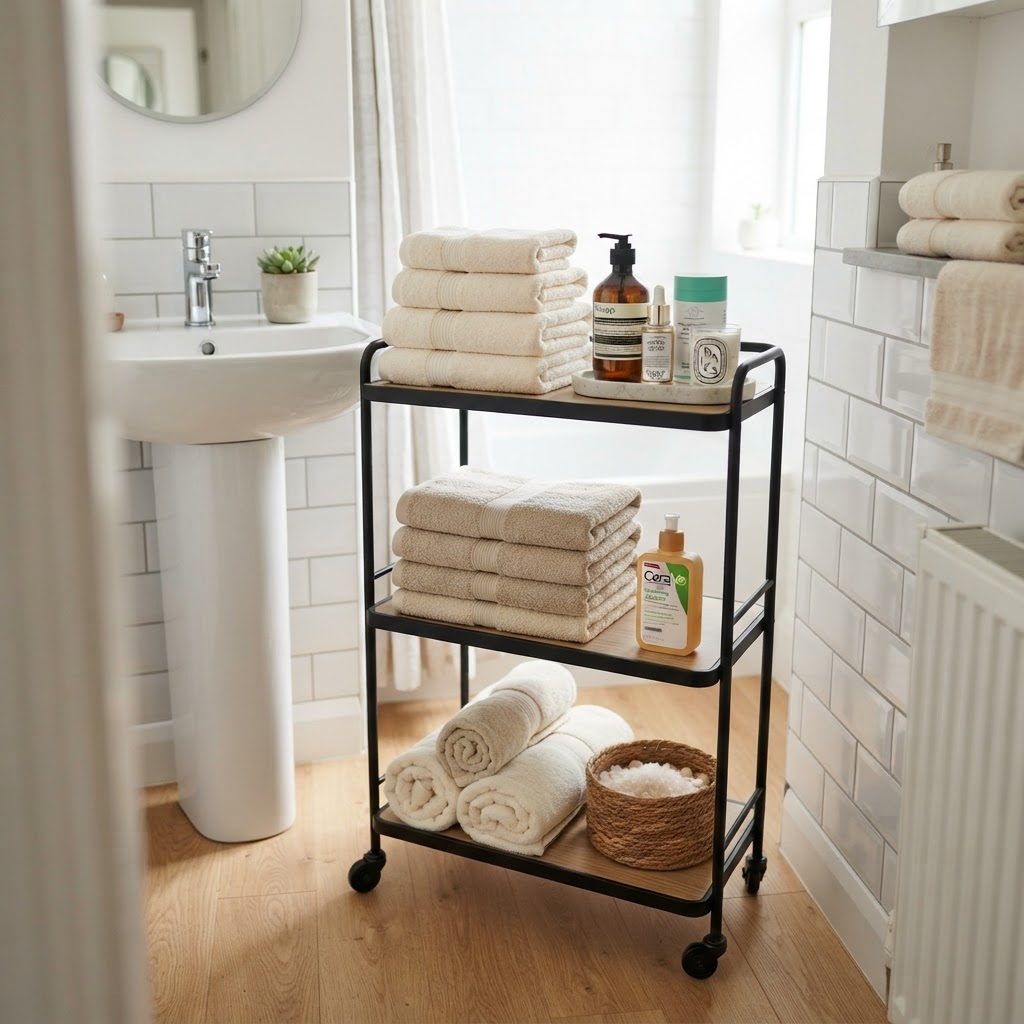
Maximize tiny bathroom space with a sleek, tiered storage cart.

With remote work becoming the new normal, a storage cart provides the essential structure needed to partition a bedroom or kitchen table into a dedicated home office. A storage cart is the perfect companion for a minimalist home office setup because it provides designated zones for office hardware, documents, and stationary. You can store your laptop, notepad, pens, and chargers on the cart, allowing you to ‘close up shop’ at the end of the day by rolling the unit into a closet. This simple action helps create a psychological boundary between work and relaxation, which is crucial for mental well-being in small living environments where your work area is also your bedroom or living room.

Bathroom Organization Made Simple

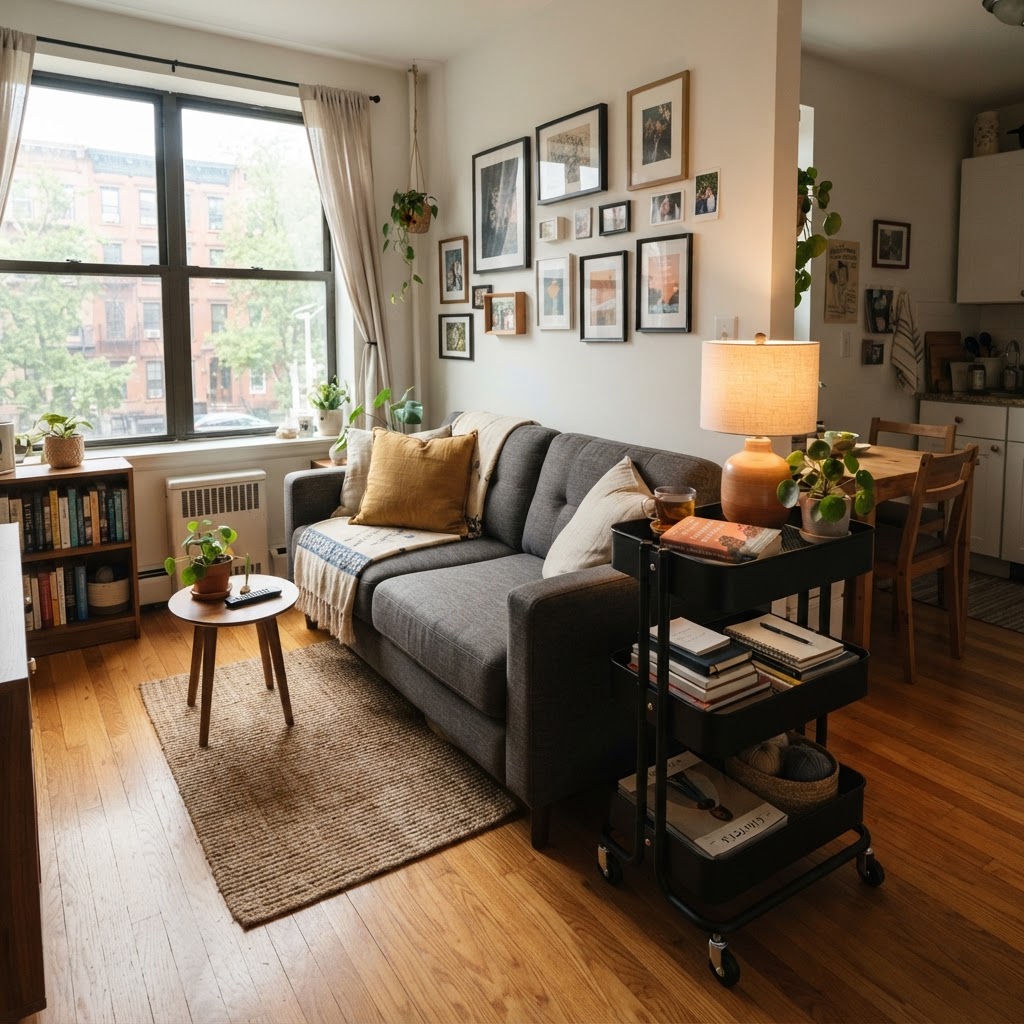
A rolling utility cart provides extra storage that doubles as a side table.

Small bathrooms notoriously lack counter space and storage cabinetry, but a slim-profile storage cart acts as a secondary vanity to house your essential toiletries. By introducing a slim storage cart—ideally one under 10 inches wide—you can neatly arrange your skincare routines, brushes, and extra towels in a vertical footprint that fits between the toilet and sink. Since the cart is mobile, you can easily pull it toward the mirror when getting ready in the morning and tuck it back against the wall when finished, keeping your floor area clear for cleaning. Using a cart in a high-humidity environment like a bathroom requires selecting one with a powder-coated finish to prevent rust buildup.

Maximizing Closet and Bedroom Potential

If your apartment closet is overflowing, a storage cart acts as an effective nightstand alternative that provides significantly more surface area than traditional bedside furniture. You can place your book, phone, water bottle, and lamp on the top tier, while using the lower tiers for extra blankets, pajamas, or hobby items. The aesthetic appeal of a modern metal cart also adds an “industrial chic” design element that breaks up the monotony of standard bedroom furniture. When used as a nightstand, ensure your cart height is within 2-3 inches of your mattress height to maintain ergonomic comfort for accessing items while lying in bed.
Styling Your Storage

Don’t just hide your cart away; style it! Using matching bins or small containers within the baskets can make the cart look like a deliberate design choice rather than an organizational afterthought. Choose a color that complements your apartment walls or go for a neutral matte black or white for a timeless look that blends seamlessly into any room.
Maintenance and Cleaning Tips

To ensure your storage cart stays a useful tool rather than a collector of junk, follow a monthly refresh routine that takes less than ten minutes. Take the time to wipe down the tiers with a disinfectant, remove expired items, and reorganize categories. Because the cart is open-access, it is very easy to spot when items are piling up. Regularly clearing the clutter from your cart—specifically removing non-essential items that have migrated there over 30 days—will keep your apartment feeling airy and intentional rather than stuffed to the brim.

Comparing Materials and Durability

When shopping for the perfect cart, you will encounter various materials, and your choice should depend on the total weight of the items you intend to store. Metal frames are generally sturdier and can handle heavier items like appliances or books, supporting loads up to 60 pounds total. Plastic or composite carts are often lighter, which is better if you have fragile flooring or need to move the unit frequently. Consider the weight of your stored items; if you plan to keep a coffee machine on the top, opt for steel frames to avoid shelf bowing, which can occur with low-density plastics.

FAQ

Q: How much weight can a standard rolling storage cart hold?

A: Most standard steel rolling storage carts can hold between 20 to 30 pounds per shelf, totaling up to 60-90 pounds for the entire unit. Plastic models typically have a lower capacity, usually limited to 5 to 10 pounds per tier to prevent structural bending.

Q: Can a rolling cart be used as a permanent nightstand?

A: Yes, a rolling cart is an excellent space-saving alternative to a traditional nightstand because it provides three tiers of storage in a vertical footprint. Ensure the top tier is roughly 24 to 28 inches from the floor to keep your essentials within comfortable reach while in bed.

Q: How do I prevent a rolling cart from rusting in a bathroom?

A: Choose a cart with a powder-coated finish or stainless steel construction, which are resistant to humidity and water splashes. Avoid raw or thin-coated metals, and wipe the tiers dry with a microfiber cloth once a week to prevent mineral buildup.

Q: What is the best way to style a storage cart so it doesn’t look messy?

A: Use coordinated storage bins, small containers, or uniform labels on each tier to contain smaller items like pens or toiletries. Limiting each shelf to one specific category of items—such as ‘coffee gear’ or ‘skincare’—prevents visual clutter and keeps the cart looking like a design piece.

Q: Are rolling carts easy to assemble?

A: Most rolling storage carts are designed for DIY assembly and can be built in approximately 15 to 20 minutes with a single hex key or screwdriver. The assembly typically involves attaching the four legs to the base and snapping or screwing the shelves into place.

10 Stylish Renter-Friendly Decor Ideas You Can Do This Weekend

10 Stylish Renter-Friendly Decor Ideas You Can Do This Weekend

To transform a rental apartment without losing your security deposit, focus on reversible modifications like peel-and-stick wallpaper, swap-out hardware, and non-damaging adhesive wall decor. These projects typically cost between $20 and $150 and can be completed in under four hours, allowing you to personalize your space while adhering to standard lease agreements.

The Philosophy of Temporary Design

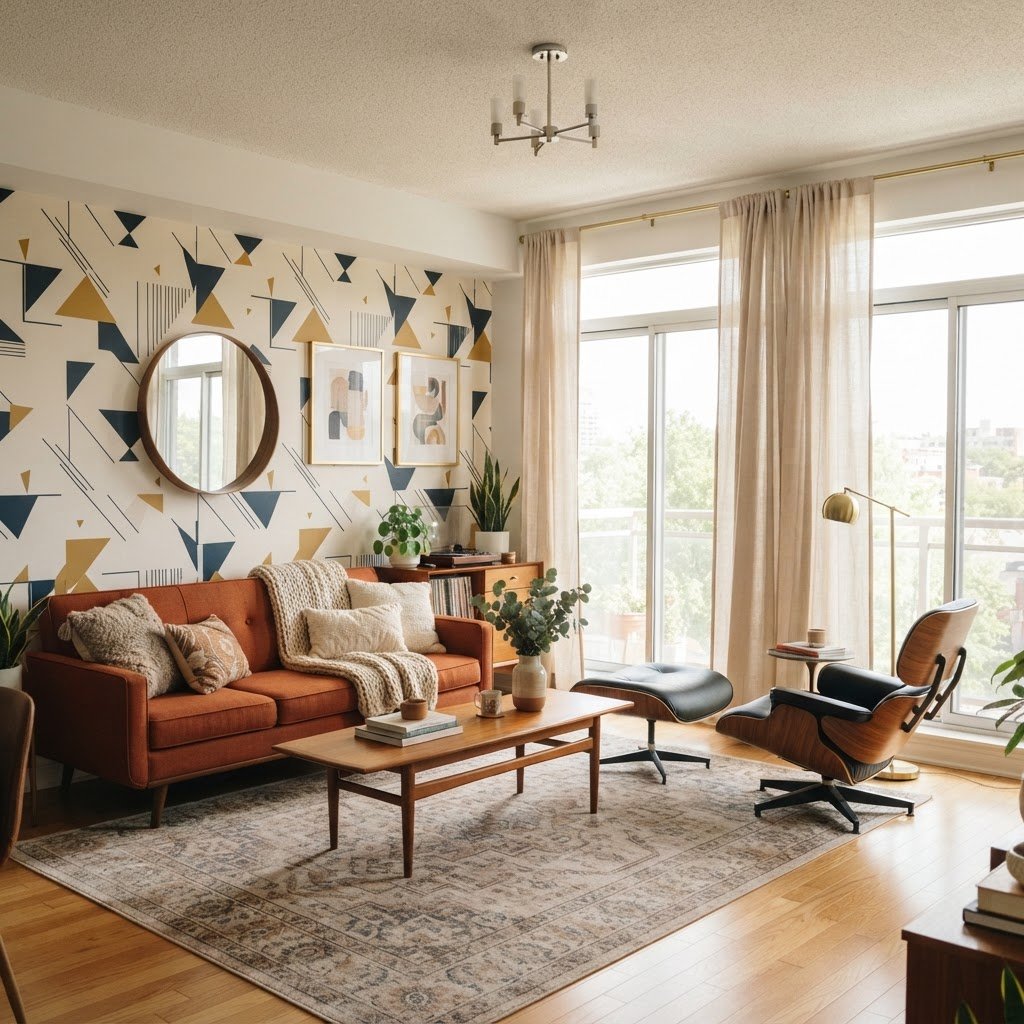
Transform plain walls with peel-and-stick wallpaper for an instant style upgrade.

When you rent, your home is essentially a blank canvas that belongs to someone else. The secret to success lies in choosing solutions that provide visual impact without permanent modifications. Before you start hammering nails or painting cabinets, always check your lease or chat with your landlord. Most landlords are perfectly fine with upgrades as long as they are reversible. The goal is to leave the apartment in the same condition you found it. By focusing on surface-level changes—like lighting, textiles, and wall treatments—you can achieve a high-end look without any structural work. A good rule of thumb is the “Swap-Back Rule”: if you cannot remove the item and restore the original condition within 30 minutes before moving out, skip it. Consider the cost-benefit analysis of your changes:

Modification Type Typical Cost Reversibility Installation Time
Peel-and-Stick Wallpaper $50 – $150 High 3 – 5 Hours
Cabinet Hardware Swap $20 – $60 Very High 30 – 60 Minutes
Plug-in Wall Sconces $30 – $100 Very High 15 Minutes

1. Transform Walls with Peel-and-Stick Wallpaper

Swapping hardware is an easy, reversible way to modernize your kitchen.

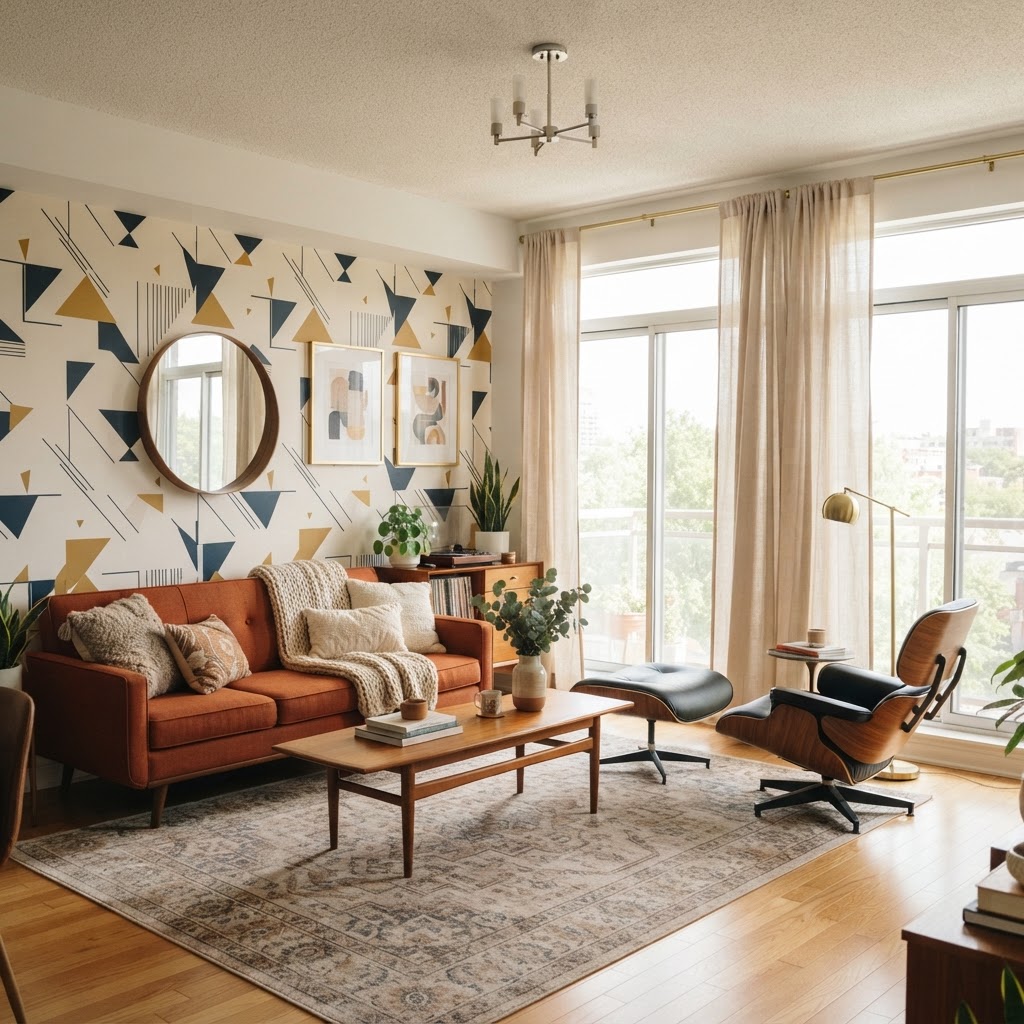
Peel-and-stick wallpaper is the most effective way to change a room’s aesthetic, providing a professional finish that can be removed by simply pulling the edge at a 45-degree angle. Unlike traditional wallpaper that requires messy adhesives, these modern options are essentially giant, removable stickers. You can create a stunning accent wall in a single afternoon, instantly adding depth and character to a plain living room. When selecting a print, consider the scale of your room; bold, oversized patterns can make a large space feel intimate, while smaller, repetitive prints are better for tiny nooks. If you are a beginner, stick to geometric patterns that are easy to align at the seams. To ensure success, always clean the wall with a mild degreaser before application to ensure the adhesive bond holds for the duration of your lease. Avoid applying to textured walls, as the adhesive may not stick correctly and could bubble.

2. Upgrade Your Lighting Fixtures

Use mirrors and plants to open up small spaces and add character.

Most rental apartments are plagued by uninspiring ‘boob lights’ or basic ceiling fans that can be easily replaced by swapping the existing fixture. Replacing these is easier than you think, but you must prioritize safety: always turn off the power at the circuit breaker and use a voltage tester before touching wires. Save the original hardware in a clearly labeled box inside your utility closet to ensure you can reinstall it during your move-out inspection. If you aren’t comfortable with electrical work, look for plug-in sconces that mount with adhesive strips or small picture-hanging nails. These offer a 50% increase in ambient lighting quality compared to harsh overhead bulbs and add a layer of sophistication to any hallway. By using 2700K (warm white) LED bulbs, you can further enhance the cozy atmosphere while saving on electricity costs over the term of your lease.

3. Refresh Your Floors with Area Rugs

Create a custom gallery wall without putting a single nail in the wall.

Flooring is often the most neglected surface in a rental, and layering oversized area rugs is the quickest way to hide scratched laminate or dated carpet. A large area rug acts as a visual anchor for your furniture, helping to define zones in an open-concept studio apartment. Don’t be afraid to experiment with texture; for instance, a jute rug layered under a plush, patterned rug creates a trendy, high-design look that feels intentional and cozy. This simple swap significantly reduces the impact of ugly flooring without damaging the subfloor. When shopping, ensure you measure your space accurately—a rug that is too small for the room will make the space look smaller. Aim for a rug size that allows at least the front legs of all major furniture pieces to sit on top of the carpet for a cohesive, designer appearance.

4. Install Command Strip Gallery Walls

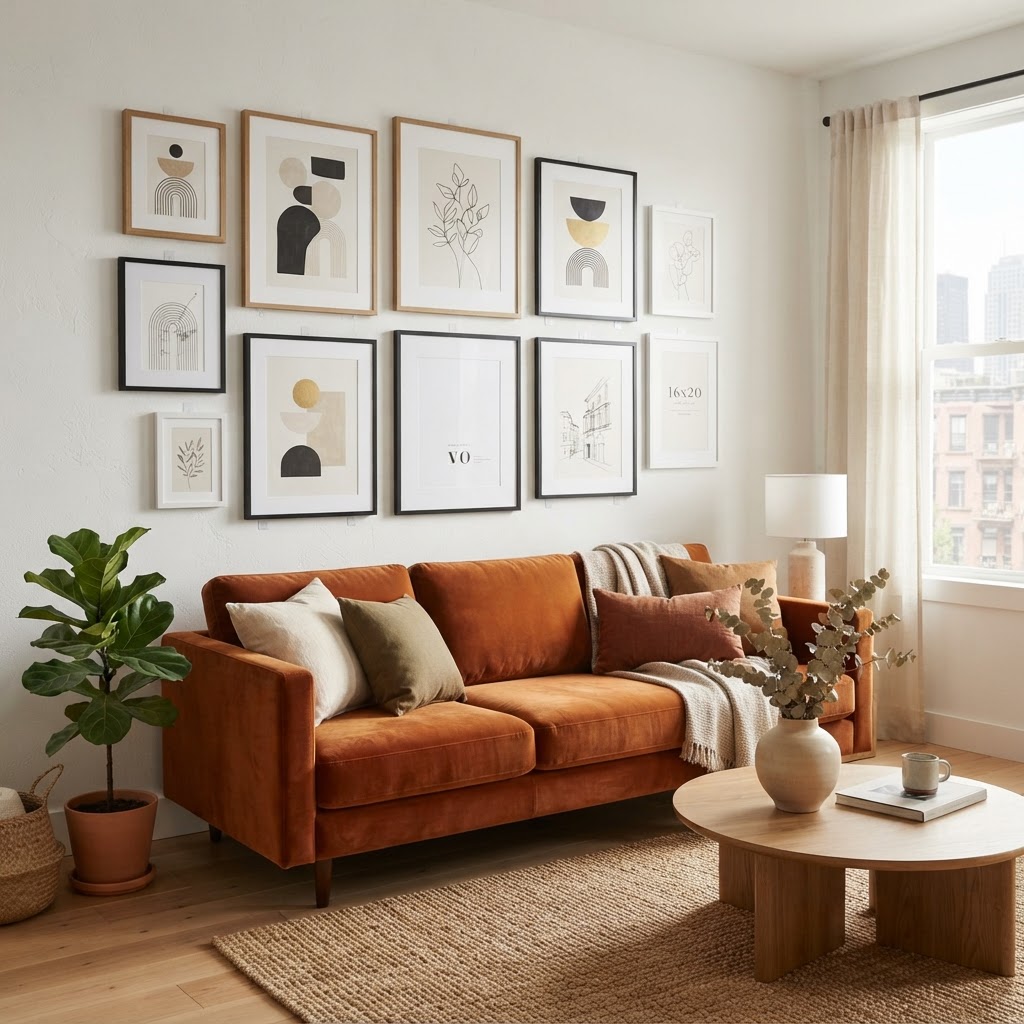
Decorating your walls with art is the fastest way to make a house feel like a home, and using damage-free adhesive strips allows you to achieve this without violating lease clauses against wall holes. Since many leases prohibit large holes, rely heavily on these high-strength adhesive systems which are rated to hold up to 16 pounds per pair. You can create a cohesive gallery wall by mixing different frame sizes and art styles, which draws the eye away from bland, rental-grade finishes. Before you commit to the wall, lay your frames out on the floor in front of the wall to finalize your arrangement. Rearrange them until you are happy with the layout, then take a photo for reference. This saves time and minimizes the number of times you have to pull the adhesive strips off the wall, preserving the integrity of the paint surface.

5. Add Greenery and Statement Planters

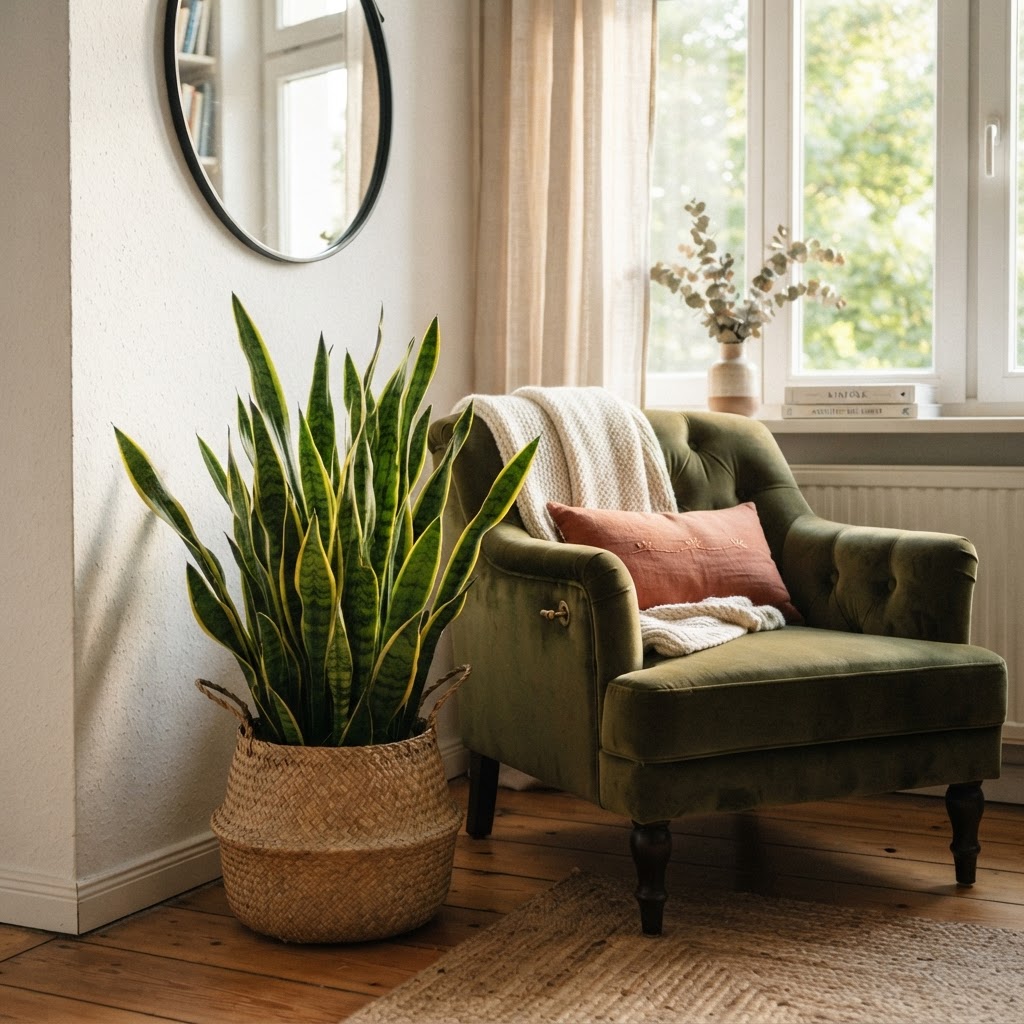
Plants bring life and organic texture into any space, acting as natural decor that is entirely portable when your lease ends. Because you cannot change the structural elements of your walls or floors, let your greenery do the heavy lifting by using vertical height to your advantage. Tall plants like the Fiddle Leaf Fig or Snake Plant can draw the eye upward and disguise awkward, empty corners. Invest in stylish ceramic pots or woven baskets to house your plants; matching these throughout the home creates a cohesive look that masks the mismatched nature of many rental properties. Plus, plants improve indoor air quality by filtering volatile organic compounds. If you struggle with maintenance, choose ‘low-light’ varieties like ZZ plants or Pothos, which require watering only once every 10–14 days, making them perfect for busy renters.

6. Swap Out Cabinet Hardware

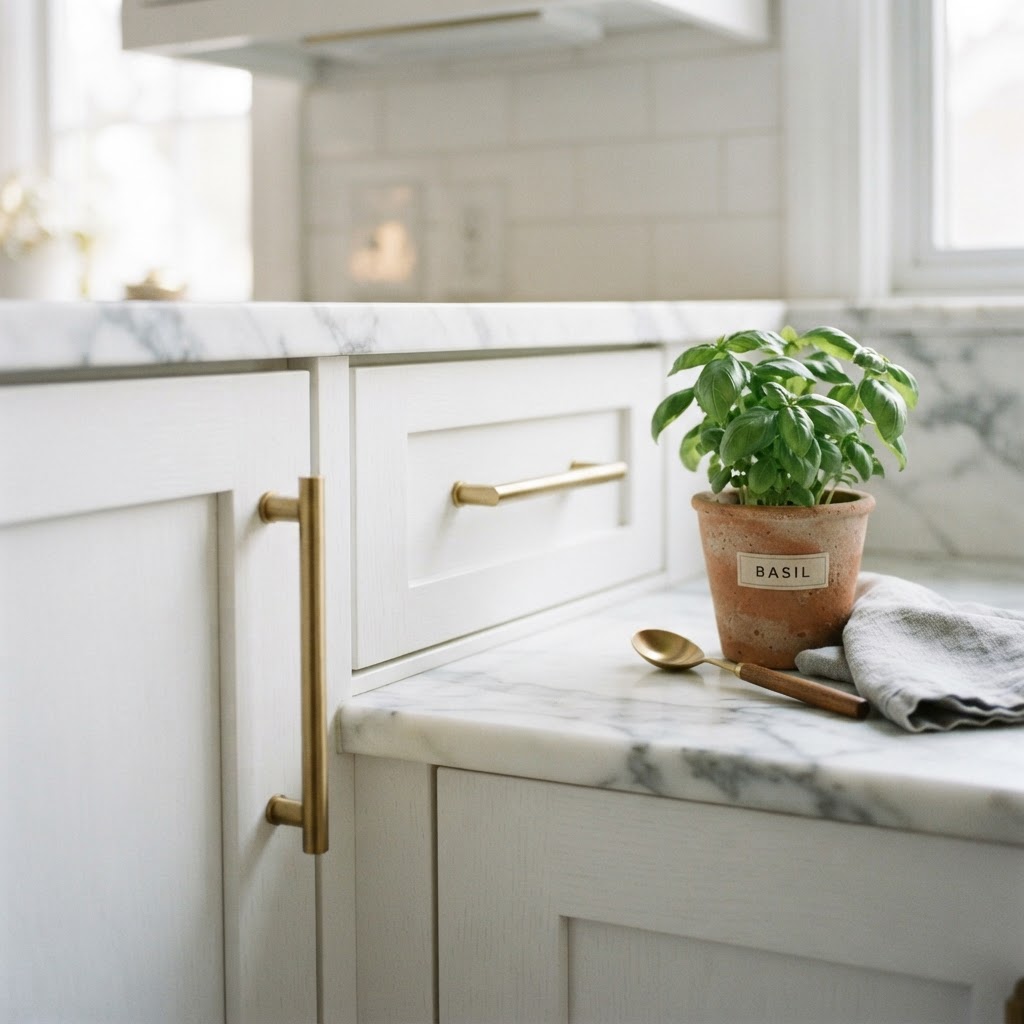
If your kitchen cabinets look dated, you don’t need to paint them to get a fresh look; simply unscrewing the old knobs or pulls and replacing them with modern matte black or brushed brass hardware changes the entire vibe of the kitchen. Keep the original handles in a storage baggie so you can swap them back when it’s time to move. This small change is incredibly cost-effective—typically costing under $5 per handle—and can be done in under an hour. It is amazing how much a simple set of quality pulls can elevate a generic, white builder-grade kitchen into something that feels custom and bespoke. Ensure you measure the ‘center-to-center’ distance (the distance between the screw holes) before purchasing new hardware to ensure a perfect fit for your existing cabinet doors and drawers.

7. Use Floor-to-Ceiling Curtains

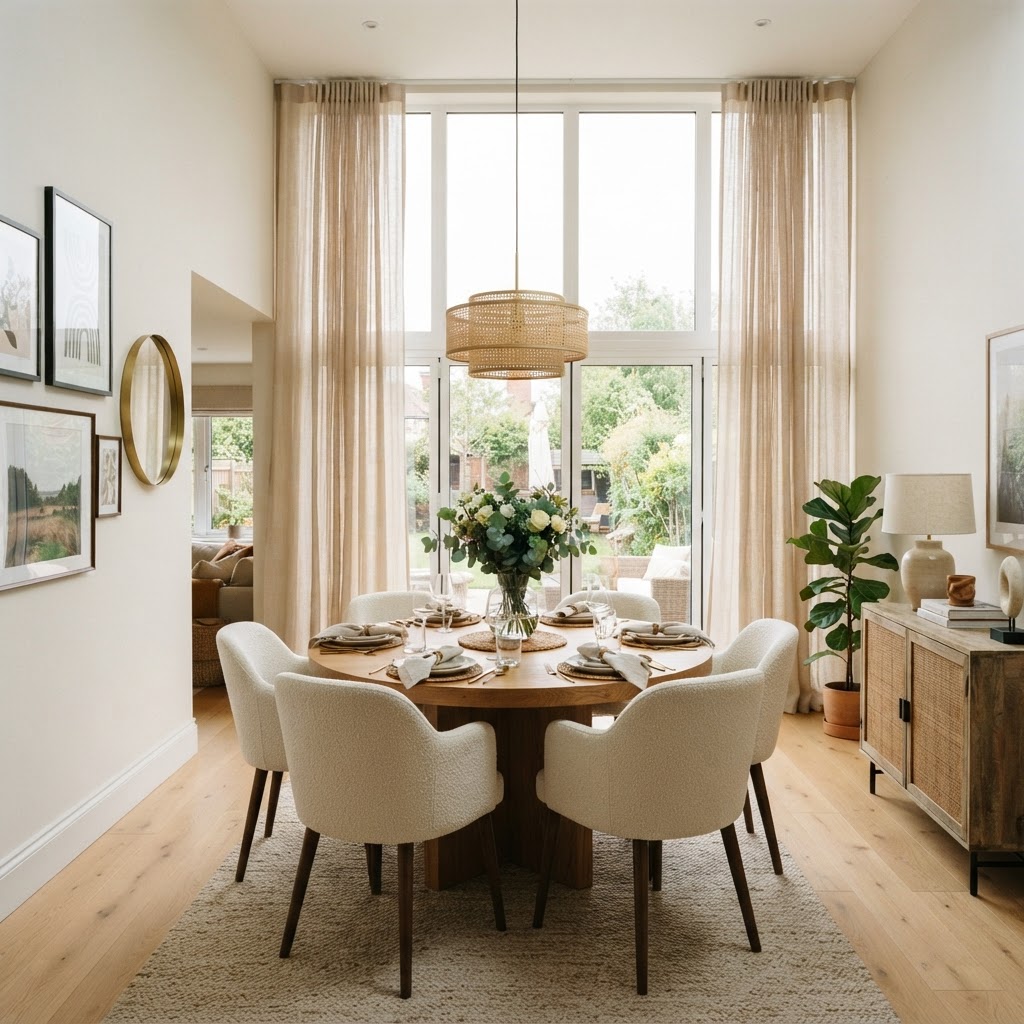
Standard rental blinds are often eyesores, but you can hide them easily with floor-to-ceiling curtains that provide instant architectural interest. Use a tension rod or a drill-free curtain rod bracket to install your drapes, ensuring you don’t puncture the window frames. When hung from the ceiling rather than just above the window frame, they create the illusion of higher ceilings and larger windows. Choose light-filtering fabrics to maximize natural light or heavy velvet for a more luxurious, cozy atmosphere. Curtains also provide much-needed sound dampening in apartments with thin walls, which can reduce external noise levels by as much as 10-15 decibels. This simple addition creates a serene, hotel-like environment that makes your rental feel like a sanctuary rather than a temporary living situation.

8. Create a Temporary Breakfast Nook

If you lack a formal dining space, you can create a dedicated ‘zone’ for eating using a small bistro table and two chairs. You can anchor this area with a small, circular rug to define the space, separating it visually from your living room or office area. This functional layout prevents your furniture from floating aimlessly in the room. By adding a small, low-profile pendant light or a table lamp, you can further delineate this as an intentional dining spot. This is especially helpful for studio apartments where floor space is at a premium. The key is to keep the table size under 30 inches in diameter to ensure you maintain easy flow through the apartment. Adding a piece of wall art directly above the table ties the entire nook together as a cohesive design element.

9. Utilize Decorative Mirrors to Expand Space

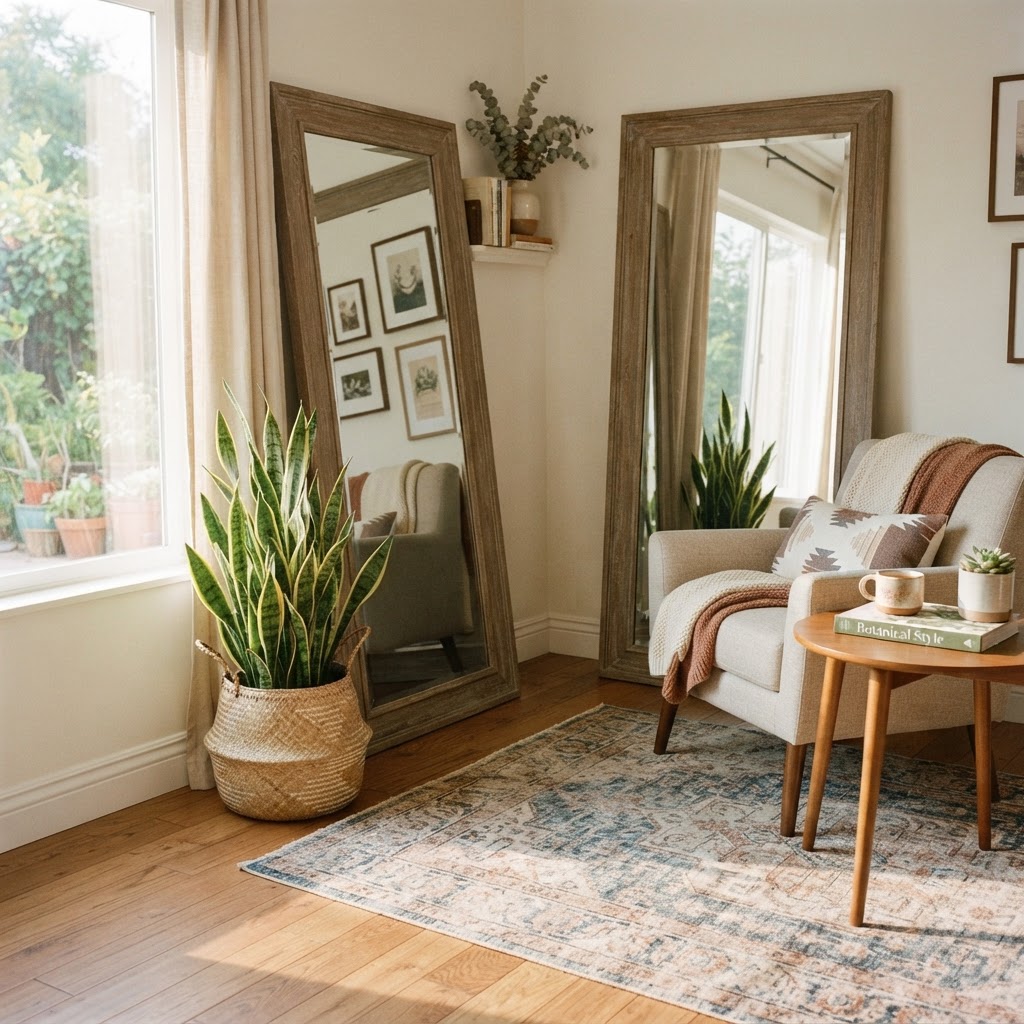
Mirrors are the oldest trick in the design book for making small spaces feel twice as large by bouncing light around the room. A large, leaning floor mirror adds architectural interest and reflects light throughout the room. If you are worried about weight, opt for a lightweight, framed mirror that can be easily moved or secured with heavy-duty adhesive strips. Place your mirror directly across from a window to maximize the amount of natural light circulating in your room. This simple addition creates a bright, airy environment that masks the limitations of a small, windowless rental room. In dark hallways, a mirror can effectively double the perception of space. Choose a mirror with a thin, metallic frame to keep the look modern and minimalist, which complements most interior design styles without clashing with existing features.

10. Update Your Bathroom with Soft Textiles

Rental bathrooms are often sterile, cold, and uninspired, but you can warm them up instantly by focusing on high-quality soft textiles. Replace the basic, thin shower curtain with a premium fabric one that reaches the floor, which creates a more custom, boutique-hotel aesthetic. Add a plush, memory foam bath mat, a set of high-GSM (grams per square meter) hand towels, and a piece of framed, moisture-resistant art to complete the look. Remember to swap out the generic towel bars if they are loose or rusty, but ensure you store the originals carefully in a safe place. Adding a small, bamboo wooden bath tray over the tub also adds a spa-like touch that requires absolutely no installation or tools. These small, low-effort changes make a significant impact on your daily routine without risking your security deposit.

FAQ

Q: Can I paint my rental walls a different color?

Most standard leases prohibit painting walls without written landlord permission. If you get approval, you are usually required to paint the walls back to the original white before moving out; always get this agreement in writing to avoid disputes over your security deposit.

Q: How do I remove peel-and-stick wallpaper without damaging paint?

To safely remove peel-and-stick wallpaper, use a hairdryer on a low-heat setting to warm the adhesive for about 10-15 seconds. Once the adhesive is pliable, slowly pull the wallpaper off at a sharp angle to ensure the underlying paint remains intact and free of residue.

Q: Is it safe to replace light fixtures in a rental?

Yes, it is safe to replace fixtures provided you turn off the electricity at the main breaker before starting. You must save the original fixtures to reinstall them before your lease ends, as landlords typically require the property to be returned in its original electrical configuration.

Q: What is the best way to hang heavy art without nails?

Use heavy-duty adhesive strips specifically designed for decor, such as Command Large Picture Hanging Strips. These are rated for various weights; always clean the wall with isopropyl alcohol first to remove dust and oils, which ensures the adhesive achieves a maximum bond with the surface.

Q: Do area rugs really make a small apartment look bigger?

Yes, using a large area rug in a small room anchors your furniture and creates a clear visual boundary that makes the space feel more intentional and organized. By choosing a light-colored rug, you can further enhance the perception of light and openness in a small, cramped apartment.

7 Damage-Free Storage Ideas That Maximize Small Spaces

7 Damage-Free Storage Ideas That Maximize Small Spaces

Maximize your small space without risking your security deposit by utilizing vertical storage solutions, modular furniture, and adhesive-based organizers. These damage-free methods, such as over-the-door systems, tension rods, and rolling carts, allow you to increase usable storage capacity without requiring any wall drilling, permanent mounting, or professional renovation work.

The Philosophy of Non-Permanent Organization

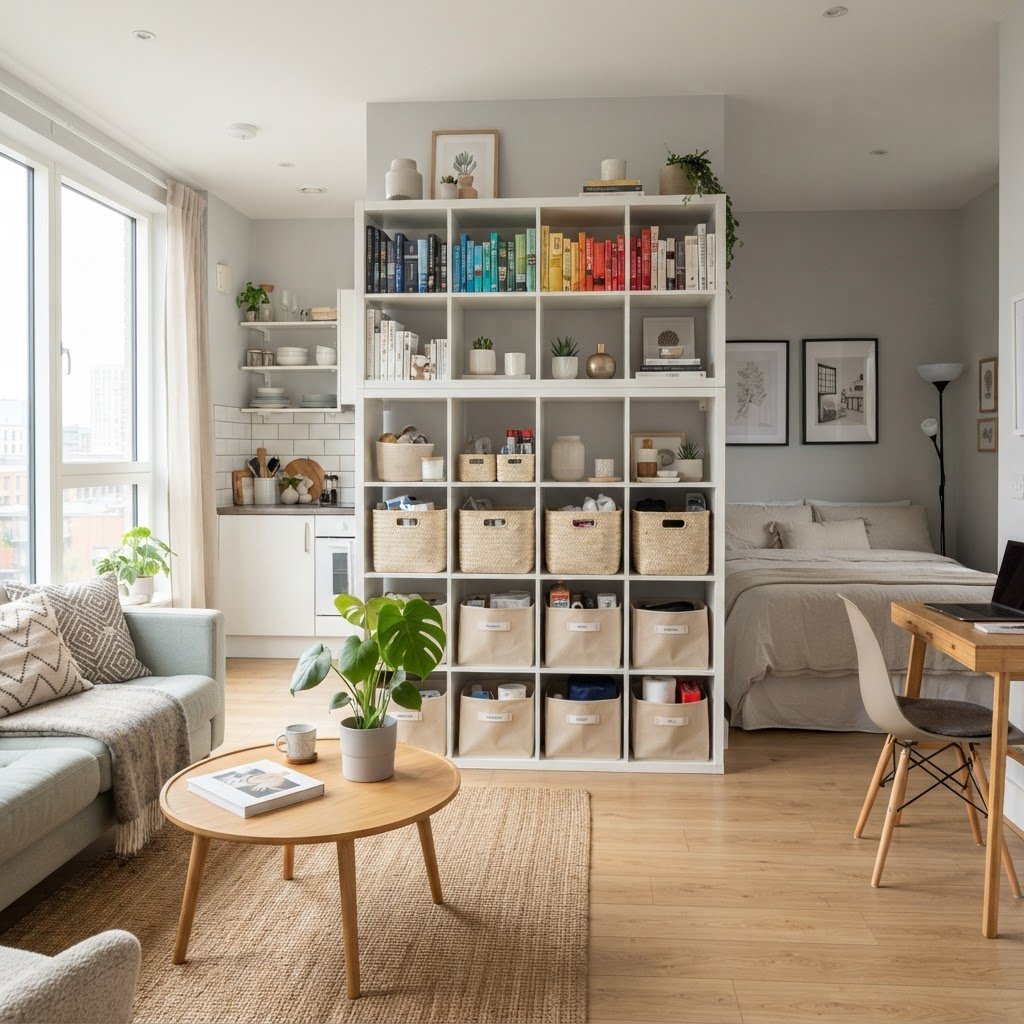
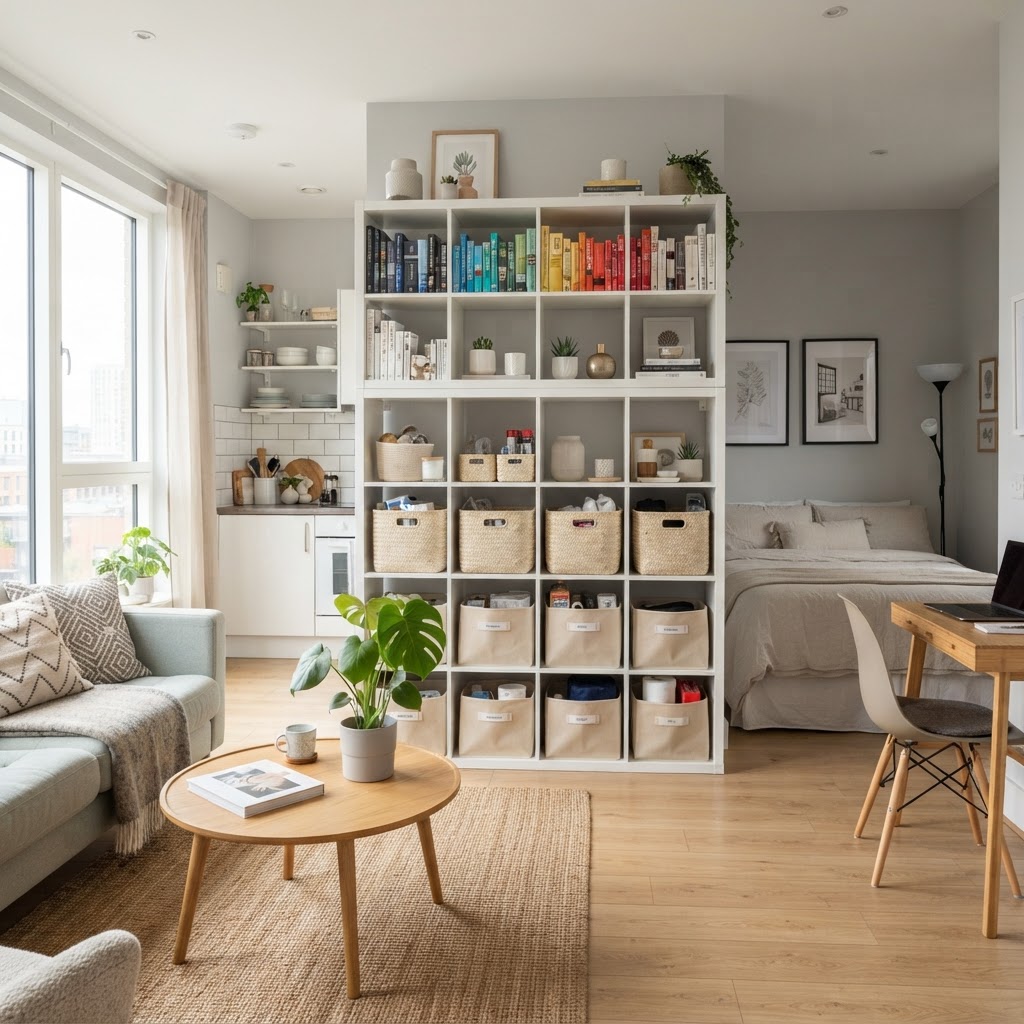
Modular shelving is an excellent way to add vertical storage without damaging walls.

Effective non-permanent organization relies on the principle of verticality and multi-functional design to reclaim square footage. Rather than viewing a small apartment as a limitation, treat it as a puzzle where every piece of furniture must serve at least two purposes. By focusing on freestanding units and temporary adhesives, you maintain the flexibility to reconfigure your layout whenever your living situation changes. This approach is not only renter-friendly but also highly mobile, ensuring that your investment in storage units pays off across multiple future residences. A key strategy is to utilize the “dead space” in your home—the areas above eye level, behind doors, and inside cabinet frames—where storage density can be increased by up to 40% without compromising your floor space.

Why Damage-Free Matters for Renters

Damage-free organization prevents the loss of security deposits, which often cost renters between $500 and $2,000 depending on the unit size. Beyond the financial impact, these methods provide the freedom to iterate on your home design. If you need to pivot your workspace or reorganize your bedroom for better flow, you can do so in minutes without the need for drywall patching, sanding, or matching paint colors. This agility allows renters to maintain a high-end, “custom-built” aesthetic that remains fully compliant with strict landlord policies.

Feature Permanent Storage Damage-Free Storage
Installation Drilling/Anchors Adhesives/Gravity
Security Deposit Risk High None
Reusability Low High
Cost Efficiency Low (Fixed) High (Portable)

1. Utilize Over-the-Door Hanging Systems

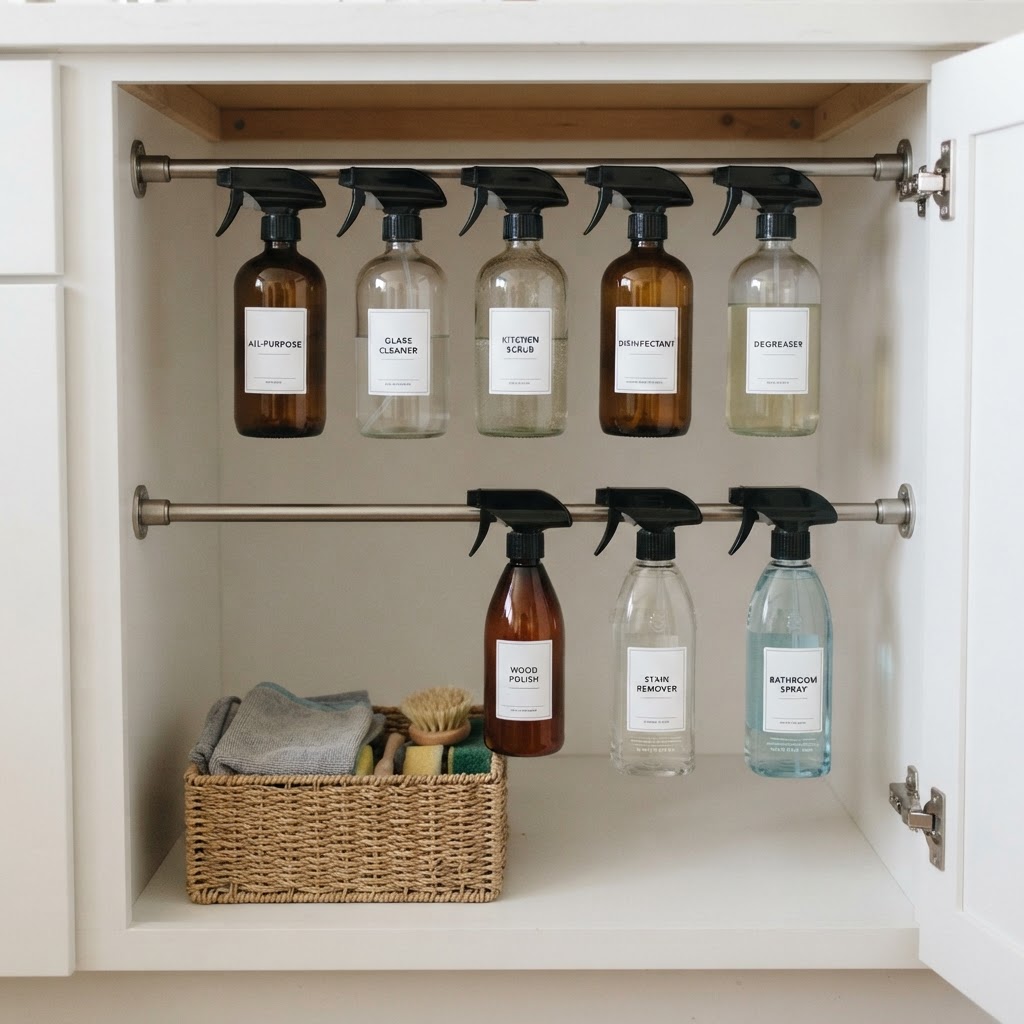
Tension rods are a renter's secret weapon for organizing deep cabinets.

The back of a door represents the most underutilized real estate in any small home, offering a vertical surface that can instantly double your storage for accessories, toiletries, or kitchen tools. By installing high-quality over-the-door organizers that hook securely over the frame, you bypass the need for hardware while maintaining a stable, sturdy platform. Choose organizers with varying pocket depths to accommodate items ranging from bulky cleaning sprays to slim belts and scarves. For a cohesive look, opt for matte-black or white metal frames; these materials resist rust and moisture better than fabric alternatives, especially in humid bathroom environments. When choosing these systems, verify that your door clearance—the gap between the door and the frame—is at least 3mm to ensure the brackets do not prevent the door from latching closed properly.

2. Leverage Heavy-Duty Command Hooks and Adhesive Strips

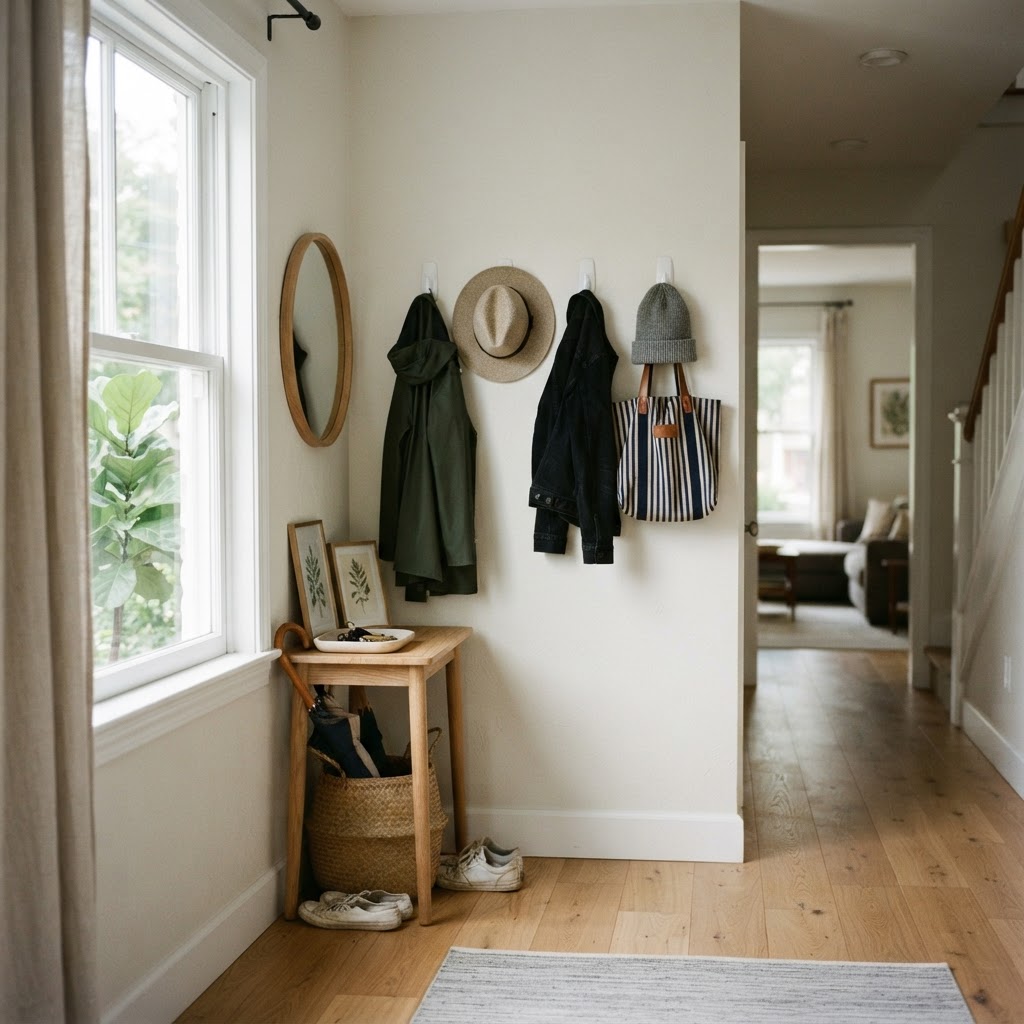
Using adhesive hooks creates a clean and functional drop zone for your entryway.

Heavy-duty adhesive strips serve as the foundational tool for creating wall-mounted storage that supports up to 15 pounds per hook, provided the surface is prepped correctly. To maximize the effectiveness of these products, always clean the wall surface with isopropyl alcohol before application to remove dust and oil, which ensures a 100% bond strength. Create a gallery-style drop zone near your entryway to store keys, umbrellas, and coats, effectively clearing your floor of clutter. For heavier items like coats or bags, use a strip-to-hook ratio of 2:1 to distribute the weight load evenly. This system is particularly effective for renters who want a “mudroom” feel without the installation of permanent coat racks. Always follow the manufacturer’s recommendation to wait at least 60 minutes after applying the strips before hanging any weight on the hooks to allow the adhesive to set.

3. Invest in Multi-Functional Furniture

A rolling utility cart provides flexible, mobile storage that can move with you.

Multi-functional furniture is the most effective way to integrate storage into your home without adding a single extra piece of hardware or surface clutter. Focus on pieces that offer hidden, “in plain sight” storage, such as ottomans with internal hollow spaces for seasonal linens or platform bed frames that utilize hydraulic lifts for deep under-bed storage. When shopping, prioritize solid wood or metal over particle board, as these materials handle the constant wear of opening and closing compartments more gracefully over time. A dual-purpose piece, such as a nightstand that features a deep drawer rather than an open shelf, increases your storage capacity by roughly 50% compared to standard open-air designs. By consolidating your storage needs into your primary furniture pieces, you maintain a minimalist aesthetic while keeping your daily essentials within arm’s reach and completely out of view.

4. Tension Rods for Custom Dividers

Creating custom organization within deep cabinets or closets is best achieved through the use of tension rods, which lock into place using spring-loaded pressure. Place a rod horizontally inside a kitchen cabinet to store cleaning supplies by their triggers; this keeps the floor of the cabinet free for bins or bulk items. For deep closets, install a tension rod vertically or horizontally to act as a divider for handbags, shoes, or stacks of sweaters, preventing items from collapsing into a disorganized pile. Because these rods are adjustable, they can typically cover spans from 12 to 72 inches, making them versatile for everything from a tiny bathroom cabinet to a large walk-in closet. No drilling is required, and removal takes less than five seconds, leaving the paint and drywall completely untouched.

5. Modular Open Shelving Units

Modular shelving offers a scalable storage solution that grows with your specific spatial requirements and can be fully disassembled when you move to a new property. Unlike built-in wall shelves, modular cubes can be stacked to reach the ceiling, utilizing vertical space that is otherwise wasted in small apartments. When arranging these, place the heaviest items in the bottom cubes to maintain a low center of gravity and prevent tipping. You can customize the look by using different bins—canvas for soft items, plastic for liquids, or woven baskets for a natural aesthetic—which makes it easy to hide “clutter-prone” items. This system is ideal for renters because it can be reconfigured; for example, you might use a 4×4 setup in a living room and then break it into two 2×4 units for a bedroom later. This inherent flexibility ensures your furniture remains useful regardless of your square footage.

6. Magnetic Strips for Kitchen and Craft Supplies

Installing magnetic strips provides an instant, space-saving wall display for metal items that would otherwise occupy valuable drawer or countertop space. In a kitchen, a high-strength magnetic knife bar can hold stainless steel utensils, whisks, and measuring cups, keeping them ready for use. To protect your landlord’s paint, apply a strip of blue painter’s tape to the wall first, then mount the magnetic strip onto the tape using heavy-duty double-sided tape. In office or craft settings, magnetic strips are perfect for storing metal tins holding paperclips, pens, or sewing needles. This method keeps your desk or workspace surfaces clear, which is proven to increase productivity by reducing visual noise. Ensure the strip is mounted at a height that is ergonomic for your reach, typically 40 to 45 inches above the floor in a kitchen setting.

7. Rolling Carts for Mobile Organization

Rolling utility carts provide a high-mobility storage solution that allows you to shift your supplies from room to room as your activities change. These three- or four-tier carts are ideal for “task-based” organization: keep a dedicated coffee cart for your mornings, a beauty cart for your nighttime routine, or an office supply cart for your work hours. Because the carts are typically only 15 to 18 inches wide, they can fit into awkward gaps between appliances or beside desks, reclaiming “dead” inches of floor space. The wheels allow you to pull the storage to you rather than having to walk to a cupboard every time you need a tool. Most steel carts can hold up to 20 pounds per shelf, making them sturdy enough for books, small appliances, or heavy plant collections while remaining 100% portable for your next move.

FAQ

Can I use adhesive hooks on textured walls?

Adhesive hooks often struggle on textured walls because the uneven surface prevents a full seal for the adhesive. For textured surfaces, consider using tension-mounted shelves or furniture that doesn’t require wall contact to ensure security and prevent the hooks from falling.

How much weight can a tension rod hold safely?

A standard heavy-duty tension rod can typically support between 10 and 20 pounds when fully extended, depending on the rod’s diameter and the surface texture of the walls. Always check the manufacturer’s weight rating on the packaging, as rods designed for curtains are usually not intended for heavy storage loads.

What is the best way to remove adhesive strips without damaging paint?

The best way to remove adhesive strips is to pull the tab slowly and steadily in a downward direction, parallel to the wall, to stretch the adhesive. Avoid pulling outward or snapping the tab, as this increases the likelihood of peeling the paint or drywall paper along with the strip.

Can I stack modular shelving units safely?

You can safely stack modular shelving units up to three or four tiers high if they are anchored to each other with manufacturer-provided connectors. For units taller than 4 feet, it is highly recommended to use a non-damaging furniture strap to secure the unit to the wall to prevent tipping.

How do I maximize small pantry storage without drilling?

Maximize small pantries by using over-the-door pocket organizers for snacks and tension rods to create shelf dividers for trays or baking sheets. You can also use clear, stackable plastic bins on existing shelves to create vertical organization layers that double your functional pantry storage space.

How to Create a Cozy Reading Nook in a Small Apartment

To create a cozy reading nook in a small apartment, carve out a dedicated corner by choosing a space-saving chair, installing vertical shelving, and incorporating layered lighting. Focus on using underutilized areas like window sills or corners to establish a psychological “focus zone” that signals your brain it is time to relax and read.

Assessing Your Available Floor Space

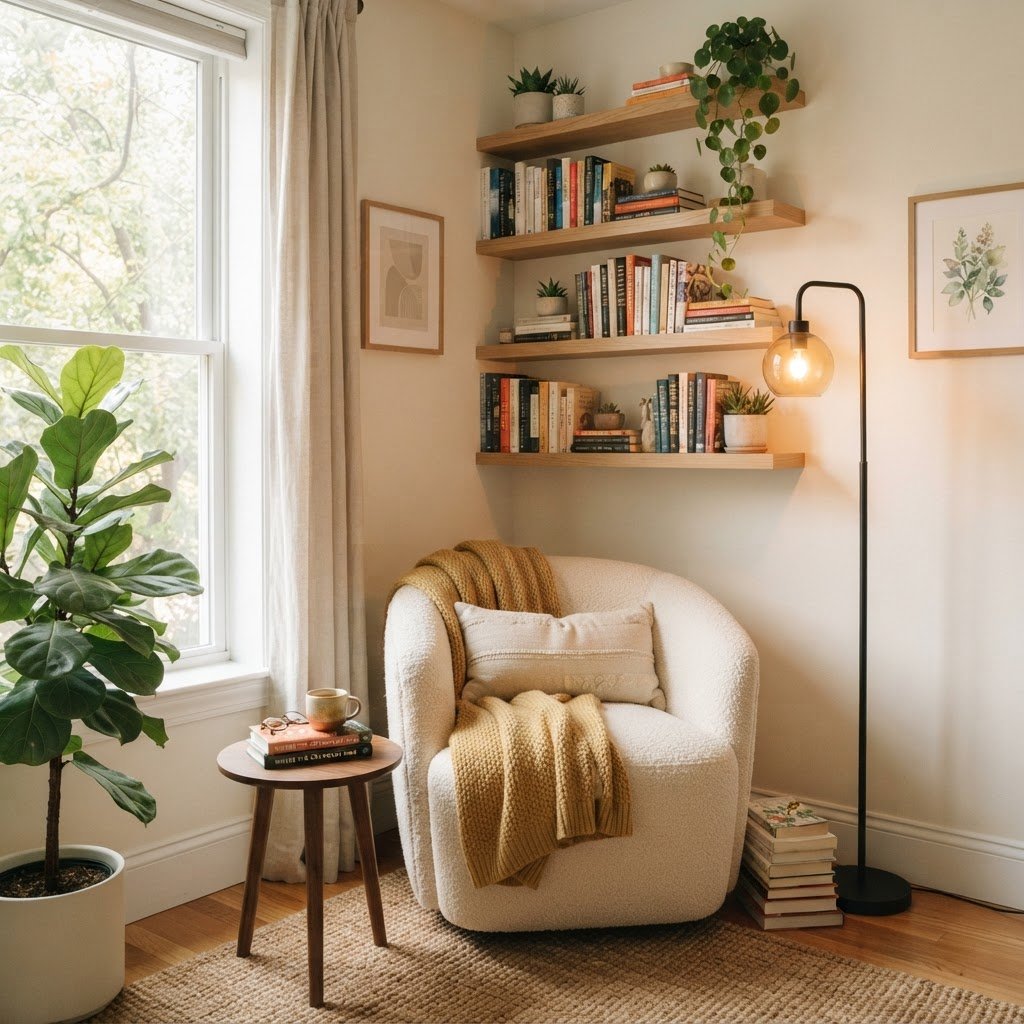
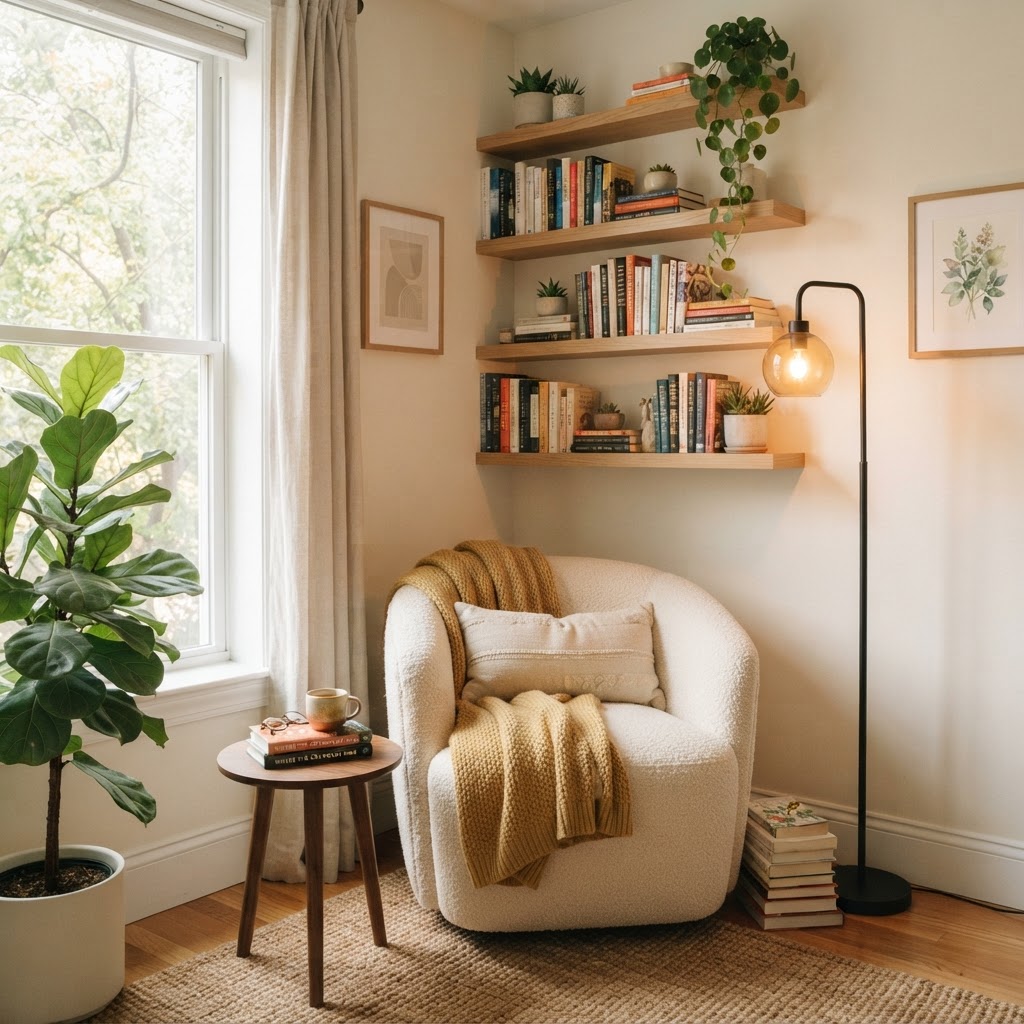
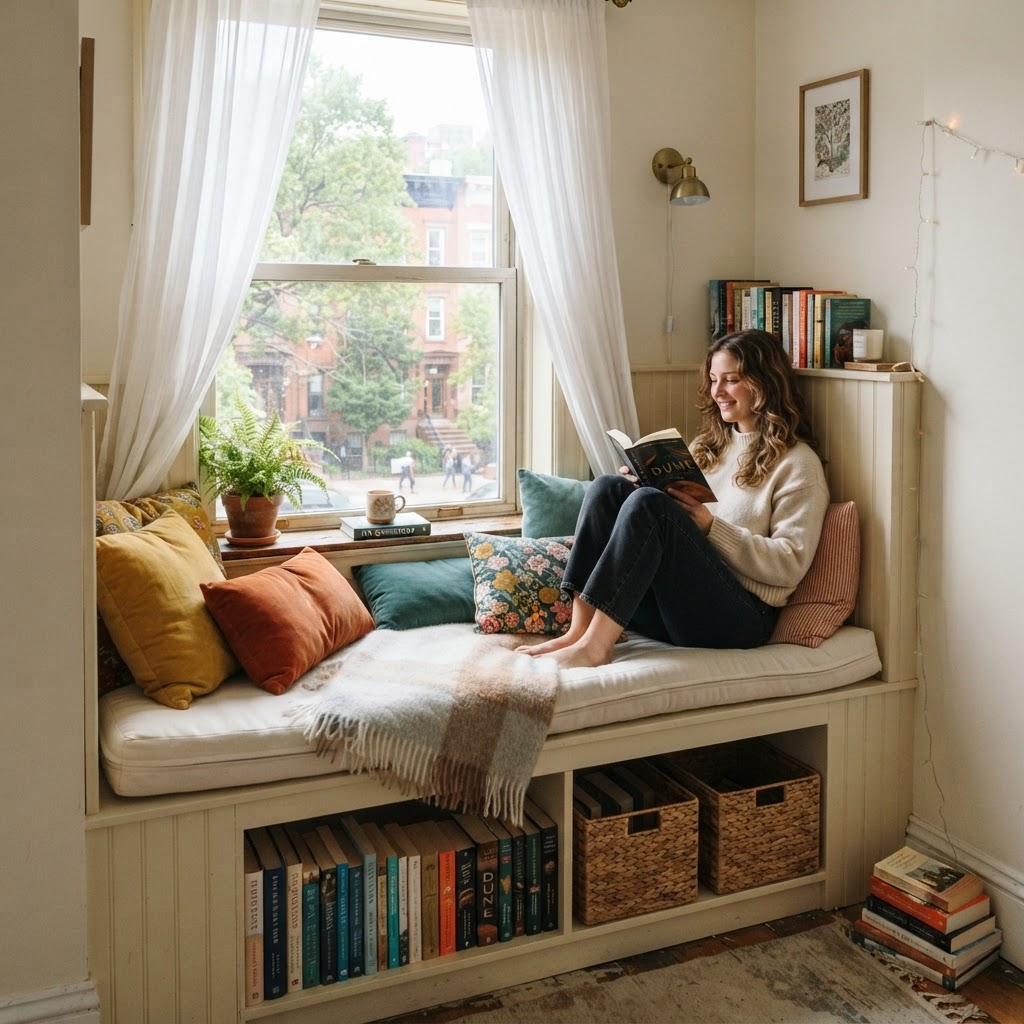
A perfect corner sanctuary featuring vertical storage.

Finding a suitable nook requires identifying “dead space” that isn’t currently serving a functional purpose. You can transform an area as small as 3 feet by 3 feet into a high-value reading zone. Look for corners behind doors, spaces between a bookshelf and a wall, or the ends of hallways. When you measure your space, ensure there is at least 30 inches of clearance for comfortable entry and exit, which prevents the area from feeling claustrophobic. If your apartment has a radiator, you can place a floating shelf above it to create a custom bench seat, provided you maintain a 4-inch gap for heat circulation. By treating even the narrowest gap as a potential sanctuary, you maximize the utility of your square footage without needing a sprawling library.

Identifying Your Nook’s Purpose

Before you buy furniture, determine if your nook is for deep study or casual relaxation. For focused reading, you need ergonomic support that keeps your spine aligned, such as a high-back chair. For casual browsing, a lower, softer option like a bean bag or floor cushion works well. Assessing your needs prevents you from purchasing expensive items that don’t serve your specific reading style.

Mastering the Art of Vertical Storage

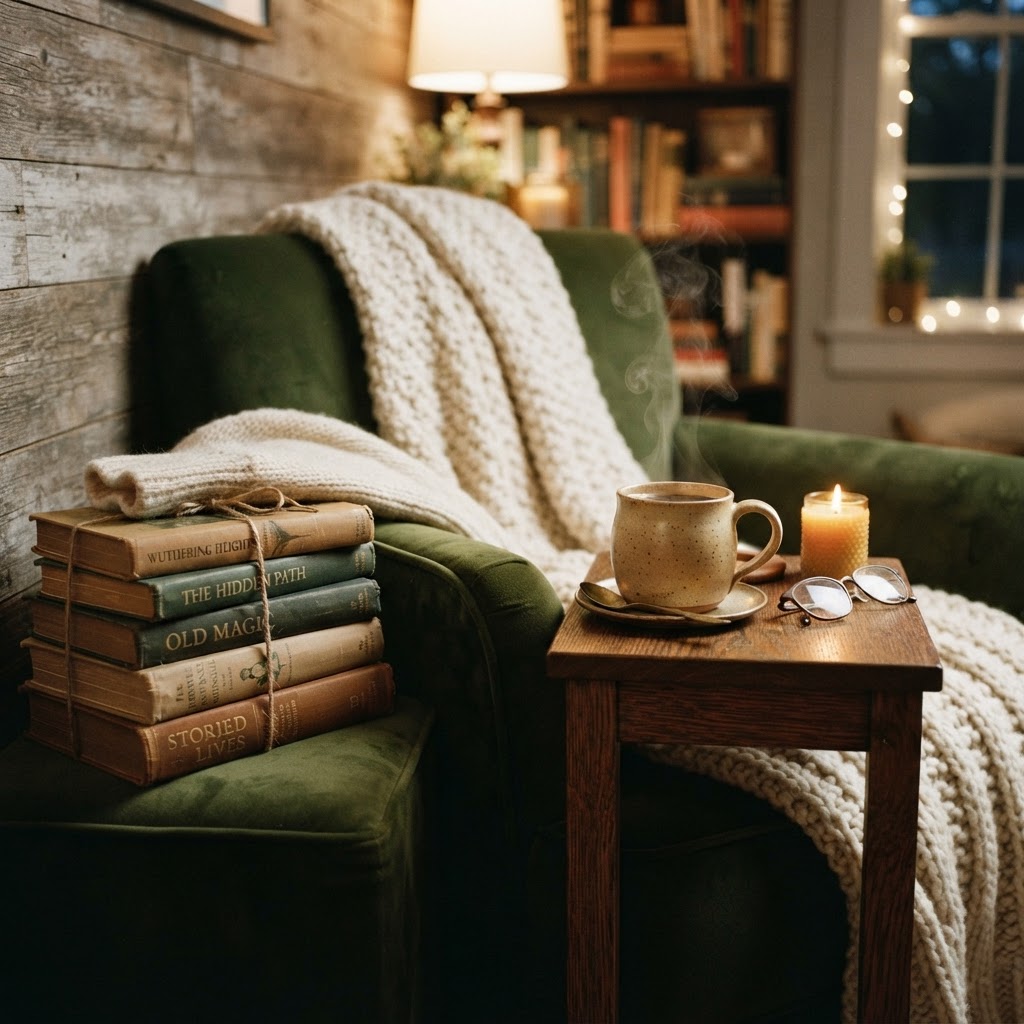
Small details that make a space feel like home.

Vertical storage is the most effective strategy for small apartment design because it utilizes unused wall space rather than floor space. By installing shelves that extend to the ceiling, you draw the eye upward, which visually expands the height of a room. For example, a 6-foot tall ladder shelf typically requires only 18 inches of floor width while providing 5-6 levels of storage. Floating shelves are particularly useful in tight spots; they can be mounted at varying heights to store books, plants, and reading lights without creating a “closed-in” feeling. To ensure structural integrity, always use wall anchors capable of supporting at least 25 pounds per shelf. By keeping your collection vertical, you preserve your limited floor area for essential seating, ensuring the space remains a functional sanctuary rather than a storage closet.

Storage Type Best Use Case Space Efficiency
Floating Ledges Displaying book covers High
Ladder Shelves Compact corner storage Medium
Modular Cubes Growing collections Low

Creative Book Display Ideas

Consider installing wall-mounted ledges to display your favorite covers. This acts as both storage and art. You can also utilize modular cube storage that grows with your collection over time. By keeping your books organized and accessible, you ensure that your cozy reading nook remains a relaxing destination rather than a cluttered pile of paper.

Selecting the Perfect Seating

Using rugs to define your reading zone.

Choosing the right seat requires balancing comfort with a slim physical footprint to ensure the room remains breathable. Chairs with exposed legs are superior for small apartments because they reveal the floor underneath, which reduces the perceived “heaviness” of the furniture. When shopping, prioritize chairs with a seat depth of 20-22 inches, which is the industry standard for comfortable adult seating without excessive bulk. A swivel chair is a smart investment; it allows you to rotate toward the window during the day or toward your living area at night, providing two seating functions in one footprint. If space is truly at a premium, look for chairs with arms less than 3 inches wide, which saves precious inches in tight corners compared to traditional upholstered club chairs. Always test the seat’s firmness; foam densities of 1.8 lbs or higher will hold their shape longer, maintaining your nook’s polished look.

Feature Benefit for Small Spaces
Exposed Legs Creates visual flow and openness
Swivel Base Allows for multi-purpose room usage
Built-in Storage Maximizes footprint efficiency
Slim Arms Saves precious inches in tight spots

Mastering Layered Lighting

Maximizing window space for a bright reading spot.

Layered lighting is essential for preventing eye strain and maintaining a cozy atmosphere in your reading nook. A successful setup uses three layers: ambient light for general room illumination, task light for reading, and accent light for ambiance. For task lighting, use a floor lamp with a swing arm, which allows you to position the light source 12-18 inches from the book, providing direct illumination without needing a side table. Avoid cool-toned lighting, as bulbs exceeding 4000K can make a small space feel like an office rather than a sanctuary. Instead, choose LED bulbs at 2700K to 3000K to provide a warm, inviting glow that complements wood tones and textiles. Integrating a smart bulb allows you to adjust brightness levels; for reading, aim for 800 lumens, while for relaxing, you can dim the light to 300 lumens to set the mood.

The Importance of Warm Tones

Ensure your bulbs have a warm color temperature, typically between 2700K and 3000K. Warm light creates a sense of intimacy and calm, whereas cool, blue-toned light can feel clinical and energetic. Adding a small table lamp with a textured shade can also diffuse the light beautifully, casting soft shadows that make your nook feel like a secret burrow.

Adding Personality Through Textiles

Using soft textiles for comfort.

Textiles are the most cost-effective way to transform an ordinary corner into a high-end reading retreat. Start by placing a 3×5 foot area rug beneath your chair to create a physical boundary between your reading space and the rest of your apartment. Rugs act as an acoustic buffer, absorbing sound and making the nook feel more intimate. When selecting throw blankets, look for natural fibers like wool or cotton, which offer better breathability and texture than synthetics. Layering textiles, such as adding a knitted throw over a silk-covered lumbar pillow, provides visual depth that makes a space look professionally styled. For added functionality, use a storage ottoman as a secondary seat or footrest; these items typically cost between $50 and $150 and provide a hidden compartment for your current “to-read” stack, effectively reducing visual clutter while adding comfort to your sanctuary.

Essential Comfort Elements

  • Throw blankets: Choose wool or chunky knits for extra texture.
  • Decorative pillows: Provide lumbar support and aesthetic flair.
  • Curtains: Use sheer curtains to soften daylight or heavy drapes for privacy.
  • Floor cushions: Add a layer of casual, flexible seating for guests.

Managing Clutter and Maintaining Serenity

Organizing your reading materials.

Clutter is the primary reason small reading nooks fail to function as retreats, as visual noise prevents the brain from entering a state of deep focus. Implement a “one-in, one-out” policy for your reading materials to ensure your collection never exceeds the capacity of your shelves. Dedicate 5 minutes at the end of each week to clear off surfaces, return loose books to their designated shelves, and shake out textiles. If you struggle with maintaining the space, use a decorative basket to corral small items like glasses, charging cables, or bookmarks, preventing them from scattering across the room. A clean, curated space signals to your brain that you are in a place of leisure rather than productivity. By keeping the area free of non-reading related items like mail or laundry, you protect the nook’s status as a quiet zone in your busy city apartment.

The Psychology of the Reading Retreat

Mental focus in your reading nook.

Creating a designated space for reading triggers a psychological response known as “associative learning,” where your environment cues your brain to perform a specific task. By using this spot exclusively for literature, you train your mind to drop into a focus mode within seconds of sitting down, which is a powerful tool for overcoming procrastination. To deepen this connection, consider a multi-sensory approach: use a specific scent, like cedarwood or vanilla, that you only activate during reading time. This olfactory trigger helps the nervous system transition from the stress of a workday into a calm, receptive state. Even if your nook is confined to a chair in the corner of your bedroom, keeping it strictly for reading—and never for checking emails or scrolling social media—ensures the spot retains its psychological value as a peaceful bubble for your intellect and growth.

FAQ

Q: What is the best chair for a small apartment reading nook?

An accent chair with exposed legs and a slim profile is the best choice for small apartments. These designs allow light and air to pass beneath the seat, creating an illusion of more floor space while maintaining essential comfort for long-term reading sessions.

Q: How can I create a reading nook if I don’t have an extra room?

You can create a reading nook by reclaiming a small 3-foot square corner in your bedroom or living area. Utilize vertical storage like floating shelves and a corner-fit chair to define the space as a distinct, dedicated zone without requiring a full room.

Q: Does lighting actually affect my reading focus?

Yes, proper lighting is crucial for both eye health and cognitive focus. Use a 2700K-3000K warm-toned light source positioned near your chair to provide adequate task lighting, which reduces eye strain and helps maintain a focused, calm mental state for reading.

Q: How do I keep a small nook from looking cluttered?

Prevent clutter by using a “one-in, one-out” rule for your books and implementing vertical storage solutions like wall-mounted ledges. Keeping floor surfaces clear and using a dedicated basket for miscellaneous items helps preserve the sanctuary vibe.

Q: Can a window sill be used as a reading nook?

A window sill can function as a perfect reading nook if it is at least 15 inches deep and reinforced to support weight. Add a custom-fit cushion and a nearby wall-mounted lamp to transform a standard window area into a comfortable, light-filled seat.

8 Easy Ways to Add Warmth to a Cold Rental Without Painting

8 Easy Ways to Add Warmth to a Cold Rental Without Painting

To add warmth to a cold rental without painting, focus on layering high-texture textiles like rugs and throws, installing warm-spectrum LED lighting, and using damage-free decorative elements like peel-and-stick wallpaper. These strategies physically and visually insulate sterile rooms, transforming a temporary space into a cozy, personal home.

Rethink Your Lighting Strategy

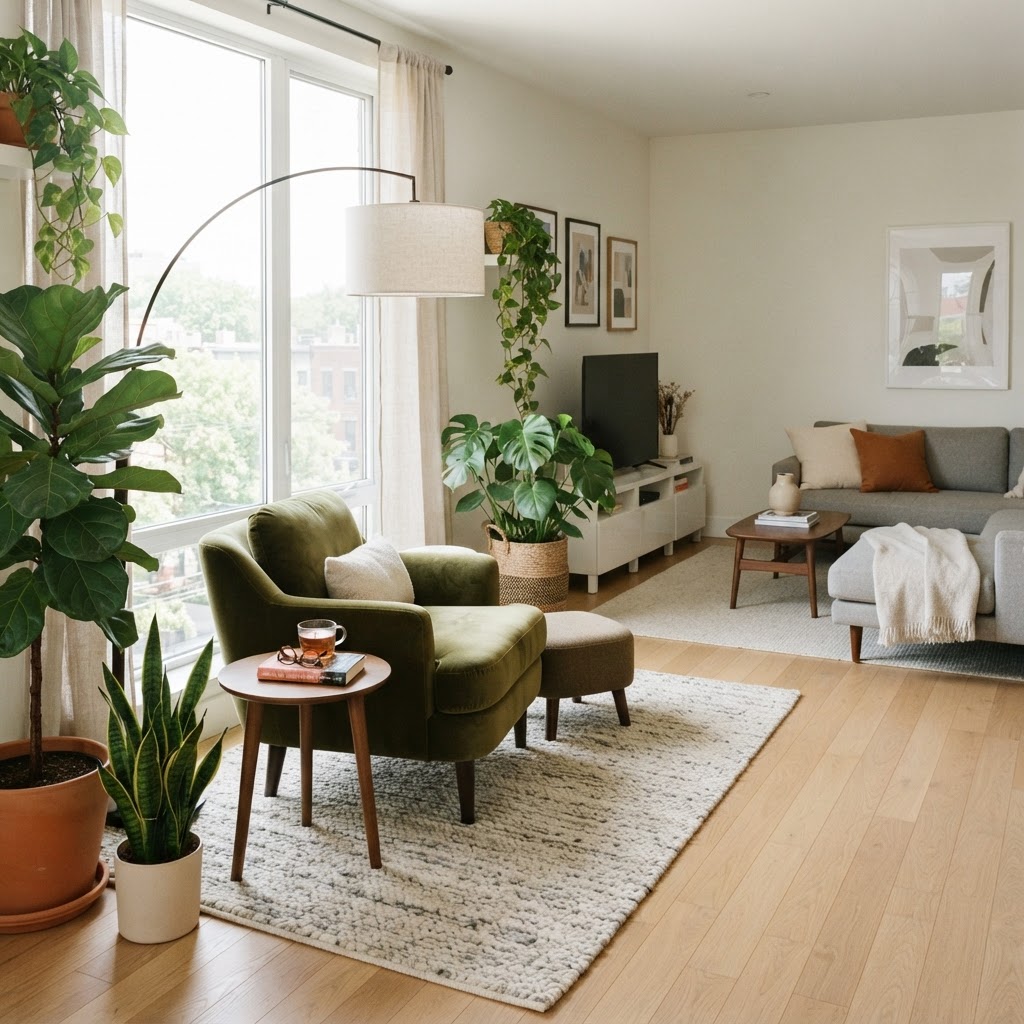
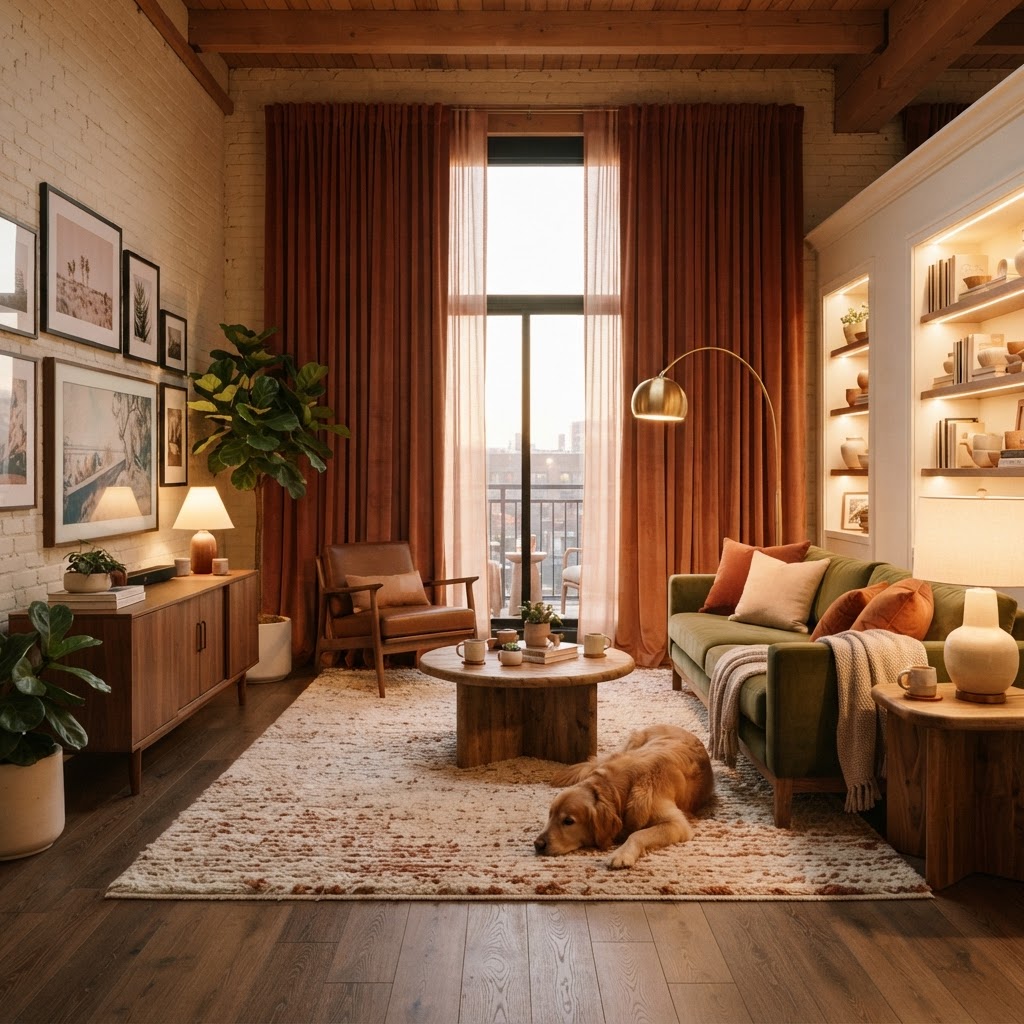
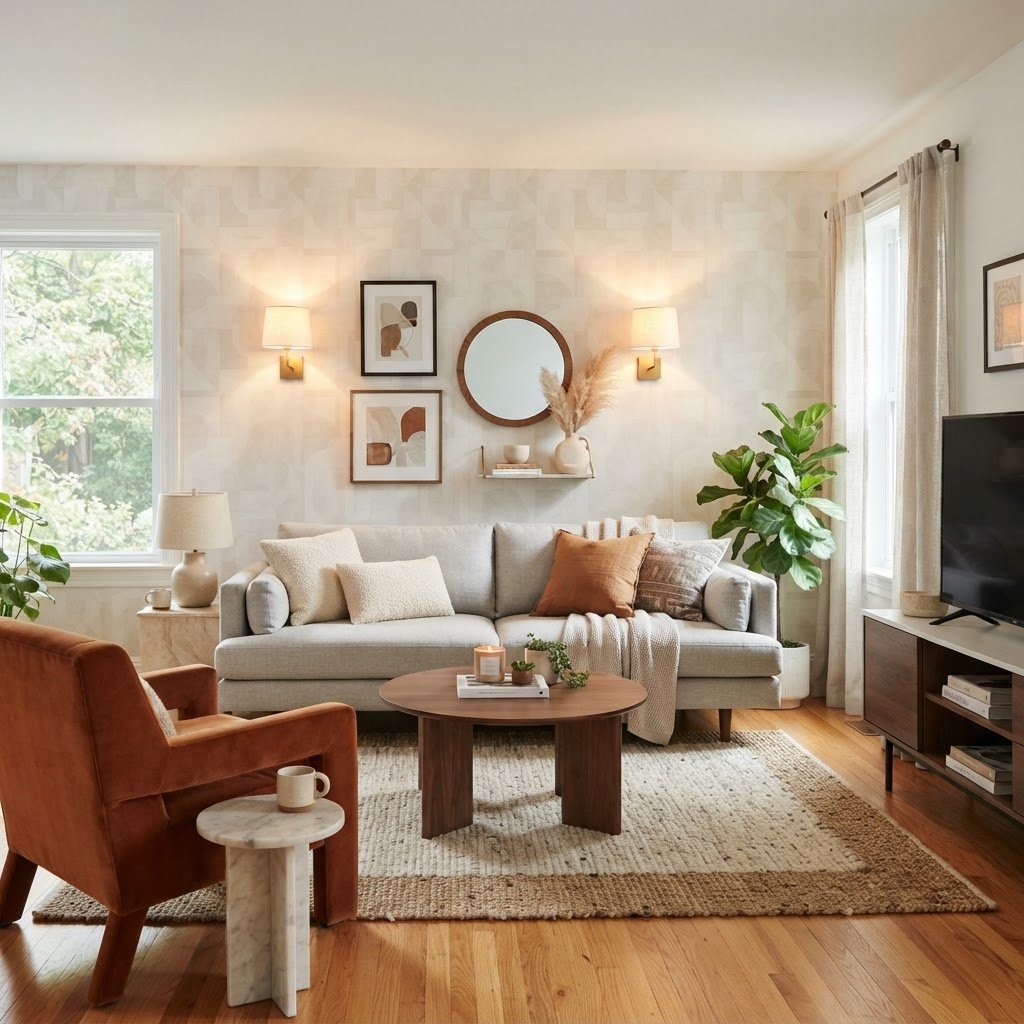
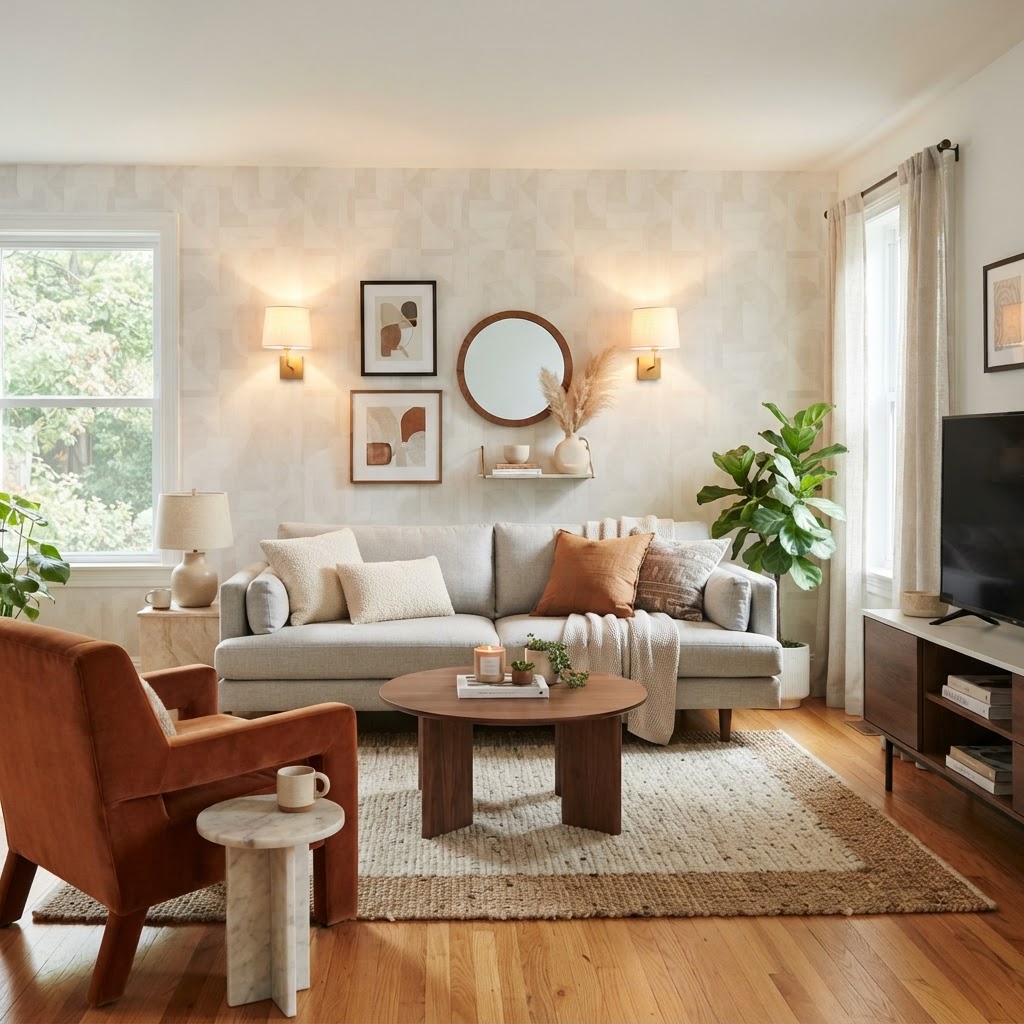
Layering textures like rugs and lamps can immediately warm up a sterile rental.

Lighting is the most effective tool to shift an apartment from a sterile white box to an inviting sanctuary, as overhead fluorescent fixtures often cast harsh, cold shadows. Most standard rental fixtures emit a color temperature of 4000K to 5000K, which is scientifically proven to increase alertness rather than relaxation. By replacing these with multiple sources of ambient light—such as floor lamps and table lamps—you create depth and warmth.

Incorporating Table and Floor Lamps

Avoid using your overhead ceiling lights entirely. Instead, invest in a collection of table and floor lamps that allow you to control the mood of the room. Look for lamps with warm-toned shades or fabric textures that diffuse light gently.

The Importance of Bulb Temperature

Even a cheap floor lamp can look high-end if you use the right bulb. Swap out those “cool white” or “daylight” bulbs for “warm white” (2700K to 3000K) LED bulbs. These produce a golden, honey-hued glow that instantly makes any room feel more comfortable.

Bulb Type Color Temp Best Used For
Soft White 2700K Bedrooms & Living Rooms
Warm White 3000K Kitchens & Reading Areas
Daylight 5000K Task Lighting/Garages

Layering Textiles for Instant Comfort

Plants bring life and organic color to cold, white spaces.

Layering textiles provides both psychological and physical warmth, acting as an acoustic and thermal insulator in homes with hard, cold surfaces. Start with the floor: covering 60-70% of an open floor area with rugs made of wool or high-pile synthetic fibers can reduce heat loss through uninsulated flooring by up to 10%.

Add depth to your seating areas by piling on pillows with various textures. Combine velvet, chunky knits, bouclé, and linen to create a rich, inviting tactile experience. When you layer materials, you trick the brain into feeling warmth through visual cues alone. Drape a high-quality faux-fur throw over the back of an armchair or the corner of your sofa to make the space feel lived-in and luxurious. A variety of textures creates visual “interest,” which makes a room feel curated rather than empty.

Utilizing Removable Wallpaper and Decals

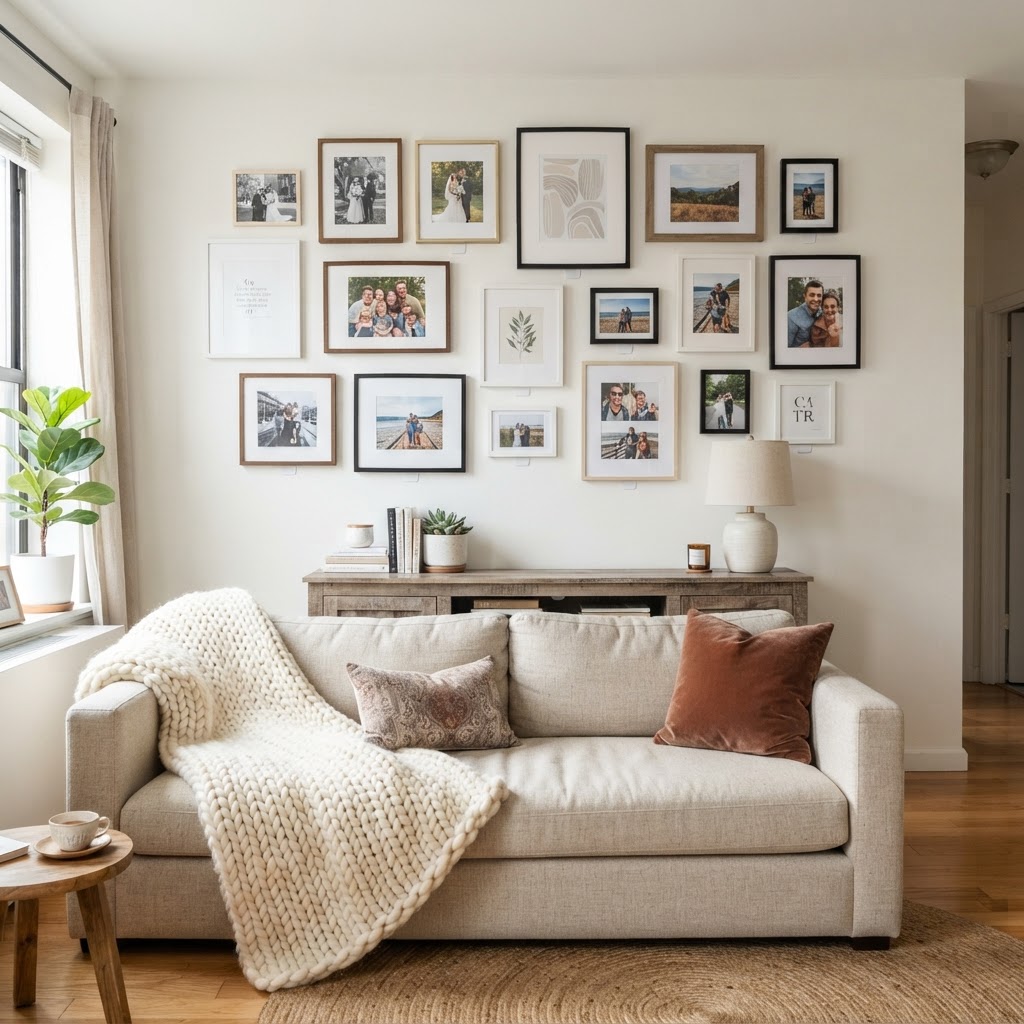
Personalized gallery walls make a rented house feel like a home.

If you are absolutely desperate to change the color of your walls, you have a secret weapon: peel-and-stick wallpaper, which typically costs between $30 and $60 per roll. This product has revolutionized the renter-friendly design industry, providing a non-damaging, high-impact aesthetic change that is easy to remove upon move-out.

Choose patterns that reflect your personal style—perhaps a muted botanical print or a textured grasscloth look that mimics natural material. By focusing on a single accent wall, you can transform the entire focus of the room. The added color or texture instantly breaks up the starkness of a white rental, providing that much-needed warmth without violating your lease terms. Ensure you prime the wall with a simple wipe-down to remove dust before application to ensure the adhesive lasts.

Soften Window Treatments

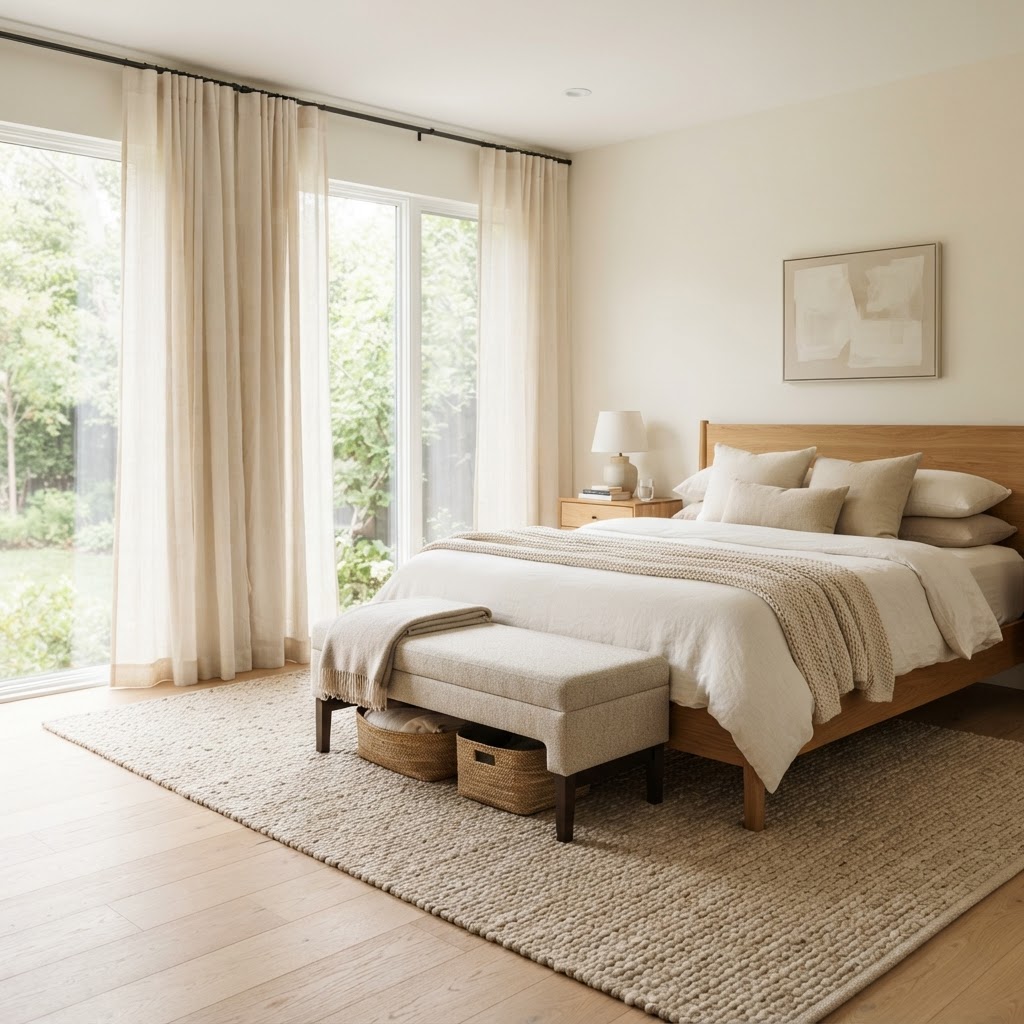
Floor-to-ceiling curtains add both elegance and physical warmth to a room.

Windows are often the culprits behind a cold-looking space, as standard plastic blinds or cheap vertical shutters are functional but lack any sense of personality or warmth. To upgrade your windows, hang floor-to-ceiling curtains that extend beyond the window frame on both sides to increase the perceived height of your ceilings.

This simple architectural trick makes your windows look larger and your ceilings feel higher. Choose heavy, light-blocking fabrics like velvet or linen blends. Not only do these curtains provide privacy, but they also act as a physical layer between you and the cold window glass, helping to insulate the room. When the curtains are drawn at night, the fabric adds a softness to the room that hard, plastic blinds can never achieve. Installing a tension rod inside the window frame allows you to hang these without drilling holes, keeping your security deposit safe.

Incorporating Natural Elements and Greenery

Nature is the ultimate antidote to sterile indoor environments. Adding life to your space is one of the most effective ways to add warmth to a cold rental without painting. Plants bring a vibrant green energy that softens the sharp edges of modern furniture and white walls.

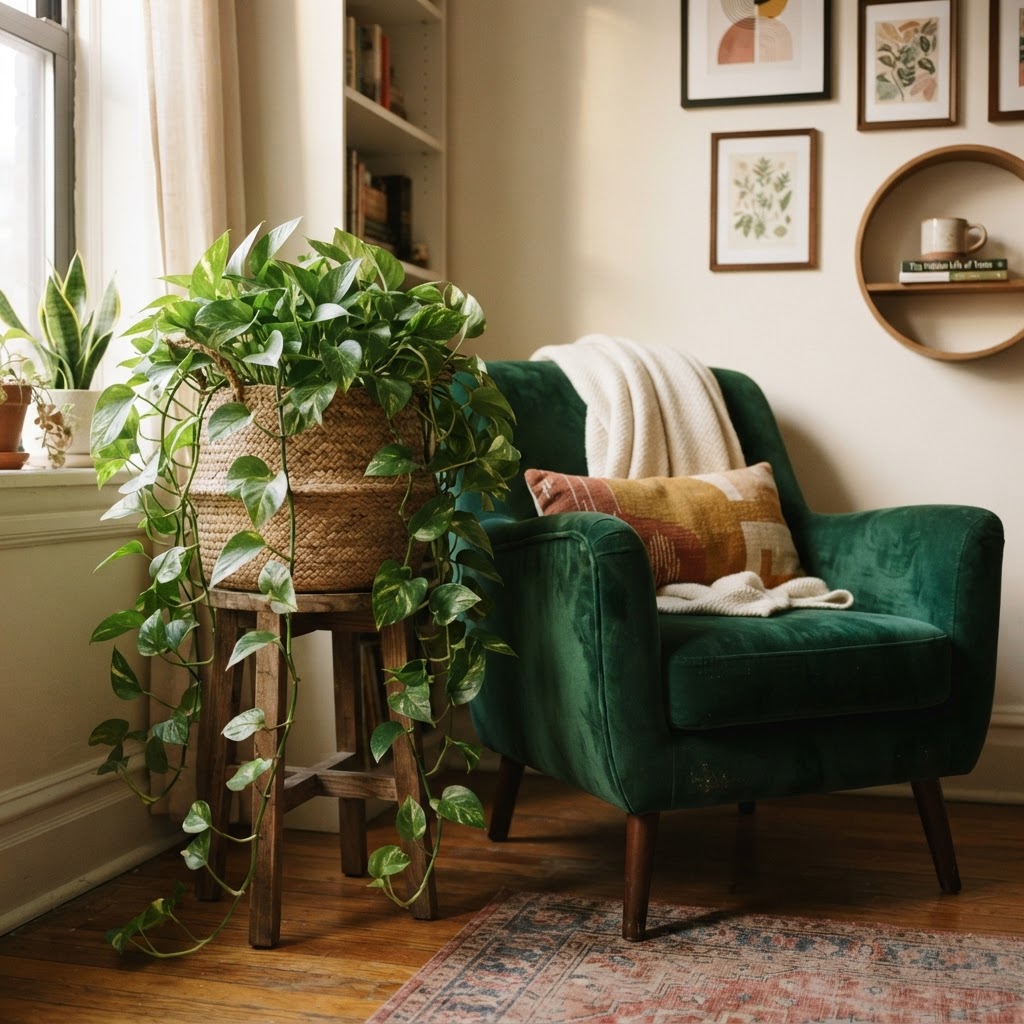
If you do not have a green thumb, start with low-maintenance options like snake plants, pothos, or zz plants, which thrive in low-light rental conditions. Display them in textured baskets or ceramic pots that complement your color scheme. You can even use wooden plant stands to add varying heights, which makes a room feel more dynamic and designed. Beyond living plants, incorporate wood tones into your furniture and decor. A wooden coffee table, woven seagrass storage bins, or even a simple wooden picture frame can introduce organic warmth into a room. These natural materials contrast beautifully with cold metal or plastic fixtures, creating a balanced and inviting environment that feels grounded.

Creating Cozy Nooks and Seating Arrangements

Sometimes, a room feels cold because it lacks purpose or “clutter” in a good way. Large, open spaces in a rental can feel hollow, but you can define zones by pulling your furniture away from the walls and arranging it in a conversational grouping.

Add a small side table next to a comfortable chair, a reading light, and a stack of books to create a dedicated reading nook. Use a small rug to anchor this space, effectively “defining” the area as its own room within a room. This approach makes your home feel more intimate and intentional, which naturally radiates warmth.

Introducing Personal Wall Art

Staring at empty walls is a quick way to feel like you are in a temporary space. While you cannot paint, you can certainly cover the walls with art using command strips or other damage-free hanging solutions to display gallery walls of family photos, vintage prints, or large-scale tapestries.

Tapestries are particularly great because they are lightweight and provide a massive amount of visual warmth. A large textile hanging on the wall serves a dual purpose: it adds color and pattern while also absorbing sound, making your room feel quieter and more private. When choosing art, stick to warm palettes—think earth tones, deep terracottas, warm yellows, or soft neutrals—to maintain that cozy vibe throughout your home. Aim to hang art at eye level, roughly 57 inches from the center to the floor, to make the room feel balanced.

Organizing and Minimizing Visual Noise

Sometimes, the “coldness” of a rental is actually a feeling of disorder. When a space is messy, it feels chaotic. When you clear the clutter and introduce dedicated storage solutions, you create a sense of calm. Use stylish storage like woven baskets, closed cabinets, or decorative boxes to tuck away everyday items.

When your home is organized, it is much easier to focus on the decorative elements that bring you joy. A clean, organized space feels more “finished” and, consequently, more like a permanent residence. Invest in furniture that serves double-duty, such as an ottoman with interior storage or a bed frame with drawers, to keep your floor clear and your mind at ease. By reducing visual “noise,” you allow your cozy textures and lighting to stand out, making the space feel more intentional and less like a temporary stop.

FAQ

Can I hang curtains in a rental without drilling holes?

Yes, you can use tension rods that fit inside the window casing, or heavy-duty adhesive hooks to mount curtains above the frame. This method ensures you avoid damage to the walls and keep your security deposit intact while adding floor-to-ceiling warmth.

How does bulb color temperature change a room’s feel?

Bulb color temperature is measured in Kelvin (K). Using bulbs between 2700K and 3000K provides a warm, yellow-hued glow that softens harsh white rental walls, whereas 4000K-plus bulbs feel clinical and stark. Always check the packaging for “soft white” or “warm white” labels.

Are area rugs effective for warming up a rental?

Area rugs serve as both thermal and sound insulation, especially in apartments with laminate or tile flooring. By covering cold, hard surfaces with plush, thick materials like wool or jute, you create a physical barrier that helps trap heat and makes the space feel more comfortable.

Is peel-and-stick wallpaper easy to remove?

Most high-quality peel-and-stick wallpapers are designed specifically for renters and can be removed without damaging paint or leaving residue. When removing, peel slowly at a 45-degree angle to ensure the wall surface remains in original condition for your move-out inspection.

Transform Your Space Overnight with Warm Mood Lighting

Have you ever walked into a room and felt an instant wave of relaxation, only to realize the secret wasn’t the furniture, but the soft, golden glow illuminating the corners? If you are looking to transform your space overnight with warm mood lighting, you are already on your way to creating a home that feels like a sanctuary. Lighting is often the most overlooked element of interior design, yet it holds the most power to alter our perception and mood. By swapping harsh, clinical light for layers of warmth, you can instantly turn a sterile box into a cozy retreat.

The Power of Color Temperature in Your Home

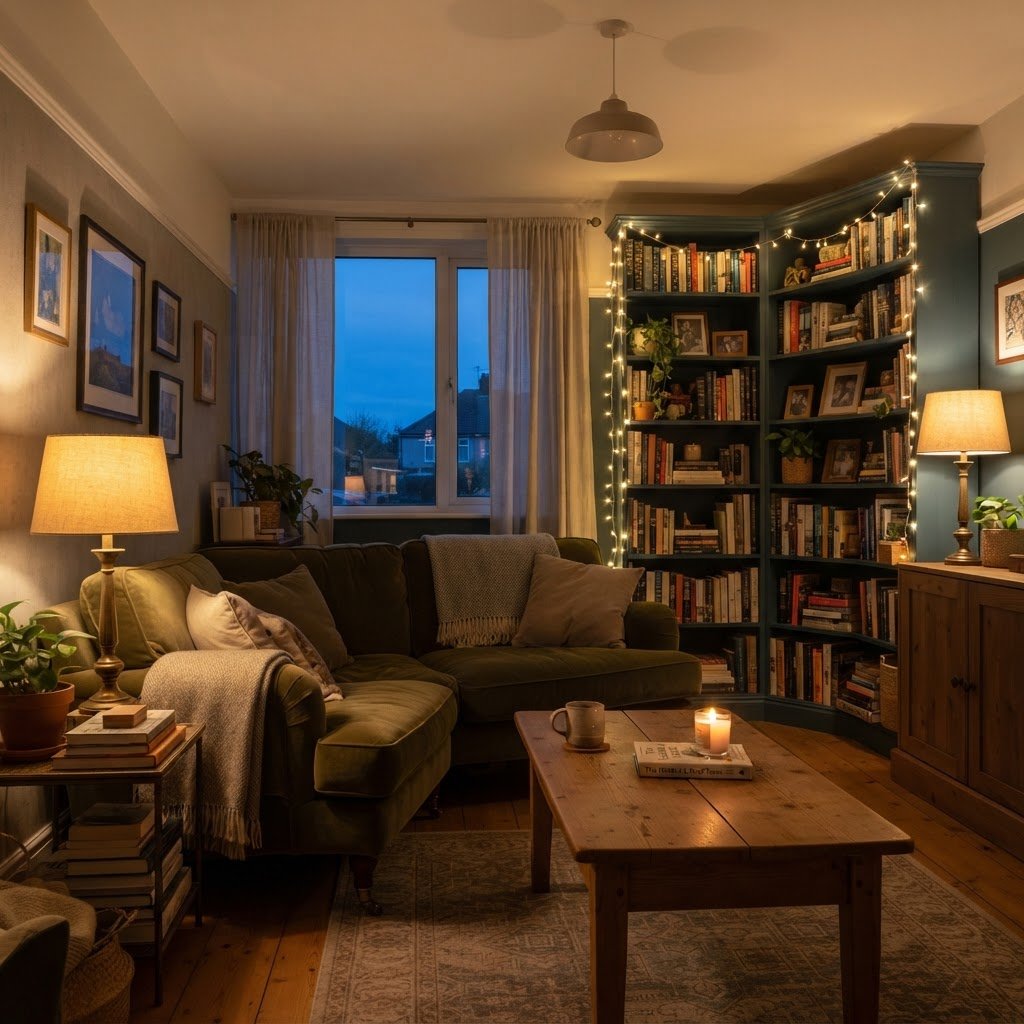
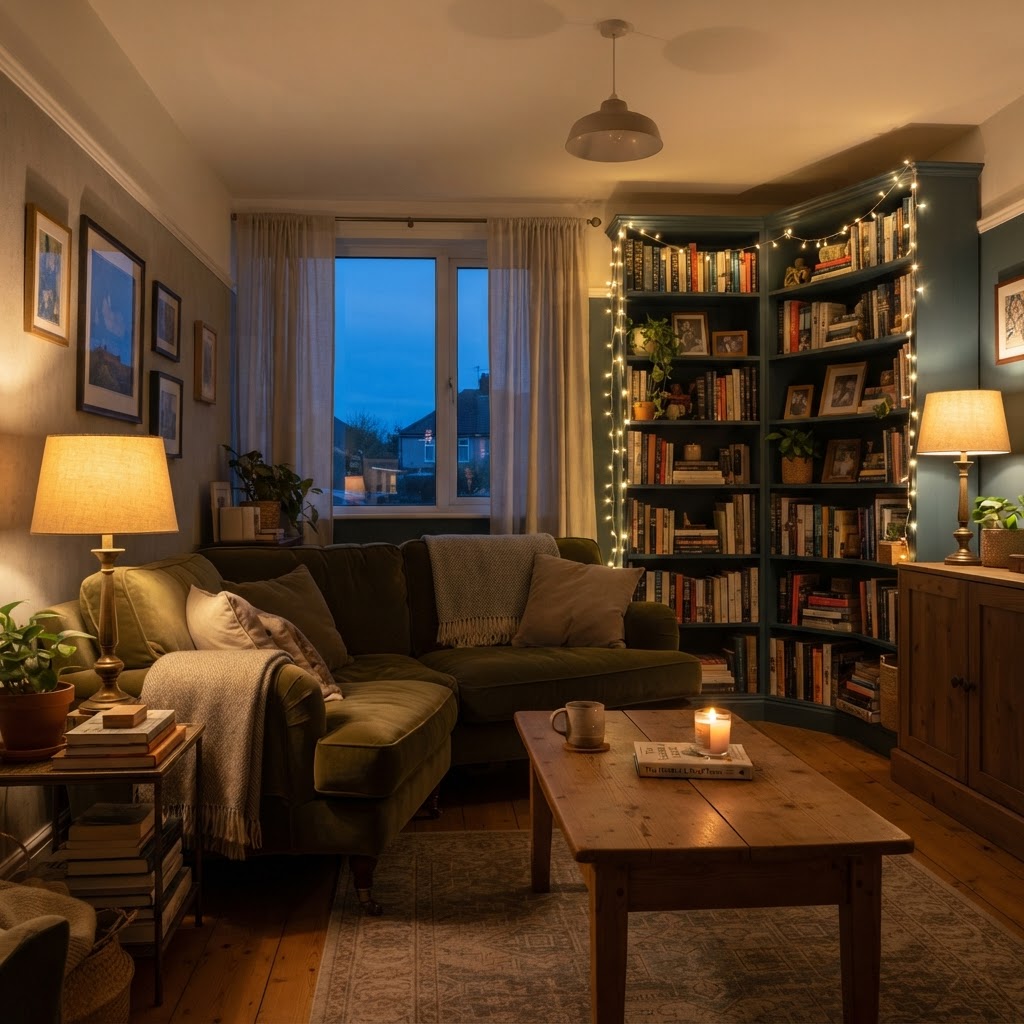
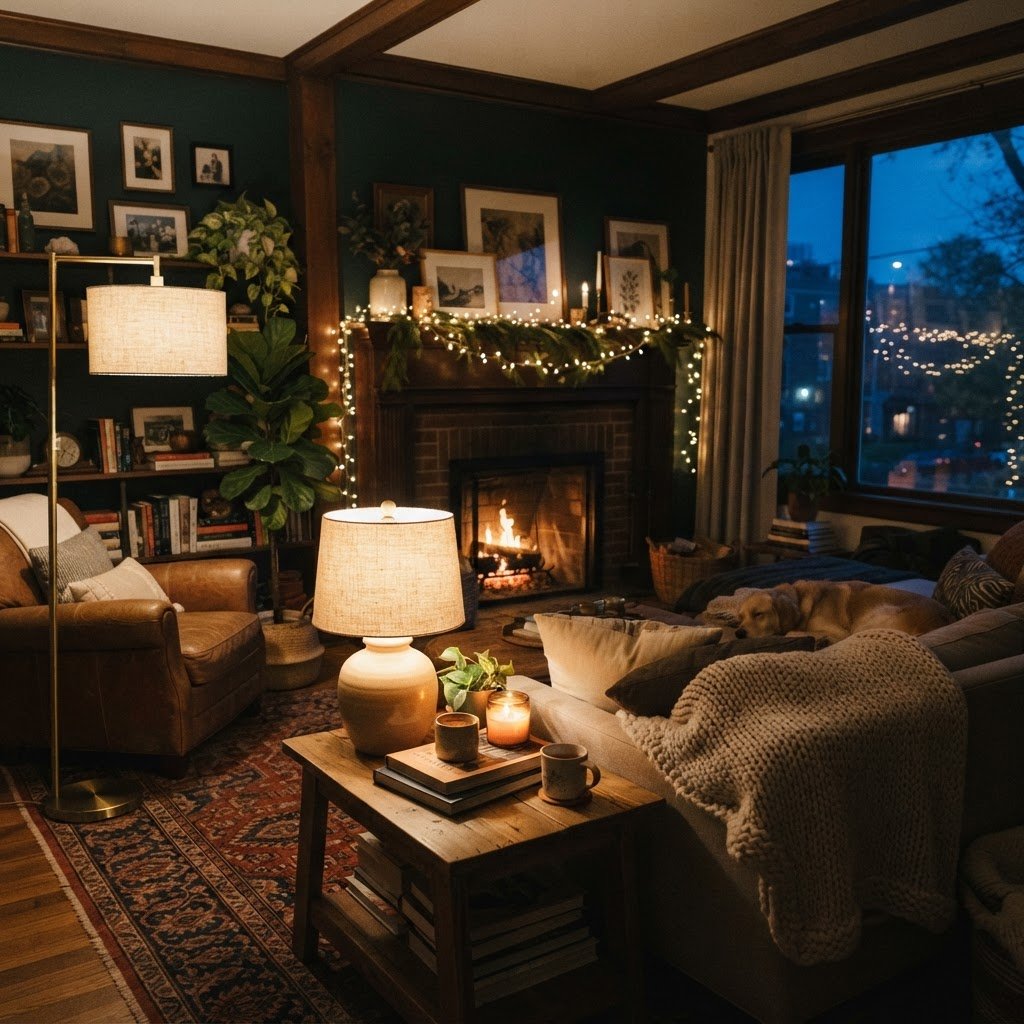
Strategic use of lamps and fairy lights creates a warm, layered atmosphere.

The fundamental secret to achieving that coveted warm glow lies in color temperature, measured in Kelvins (K). For a cozy, inviting feel, you should focus on “warm white” bulbs, which typically fall between 2200K and 3000K. These bulbs emit a soft, amber-toned light that mimics the natural flickering of candles or a sunset, which helps our bodies relax and signals that it is time to unwind.

Why Warm Light Matters

When we use cool-toned lights—usually anything above 4000K—our brains are kept alert, which is perfect for offices but detrimental to a living room or bedroom. Warm mood lighting creates a psychological sense of security and intimacy. It softens sharp edges, hides minor imperfections in wall paint, and makes textures like velvet, wood, and linen appear richer and more tactile.

Layering Your Light for Maximum Impact

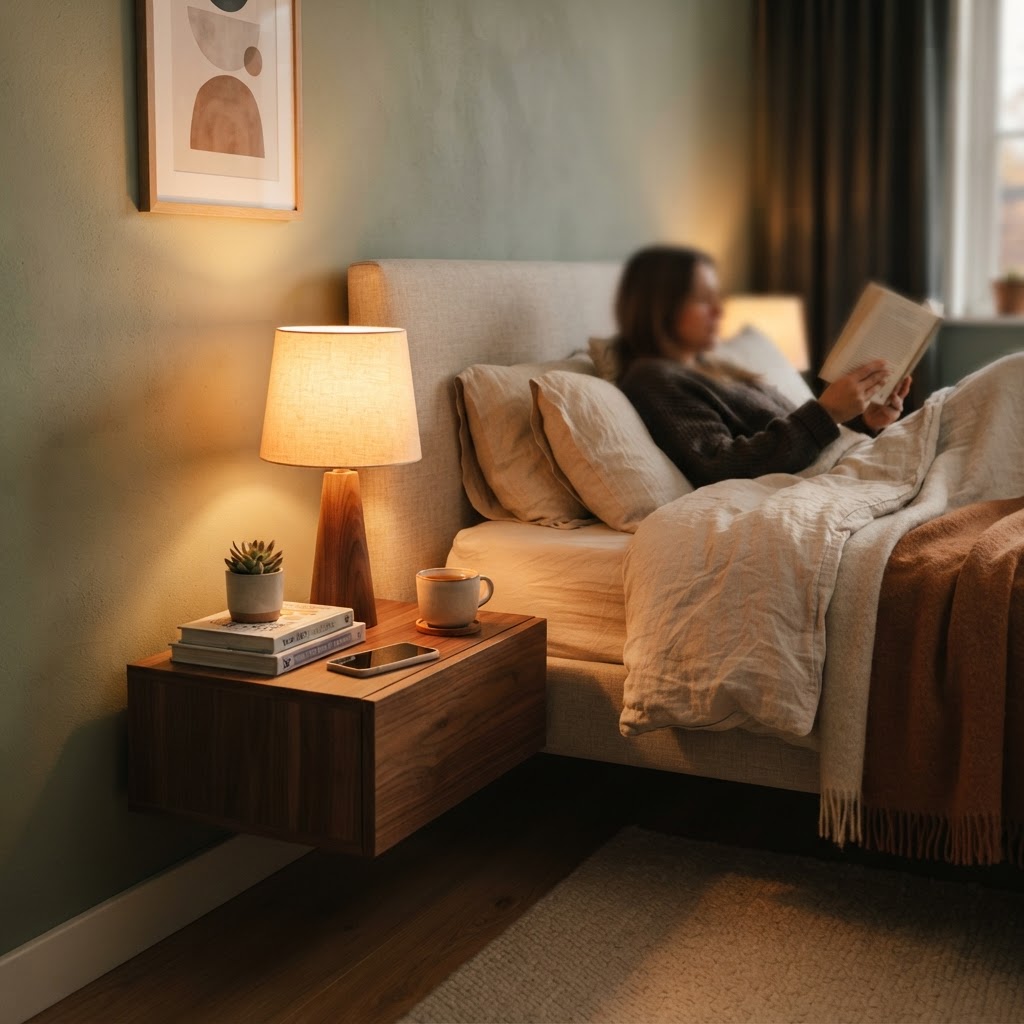
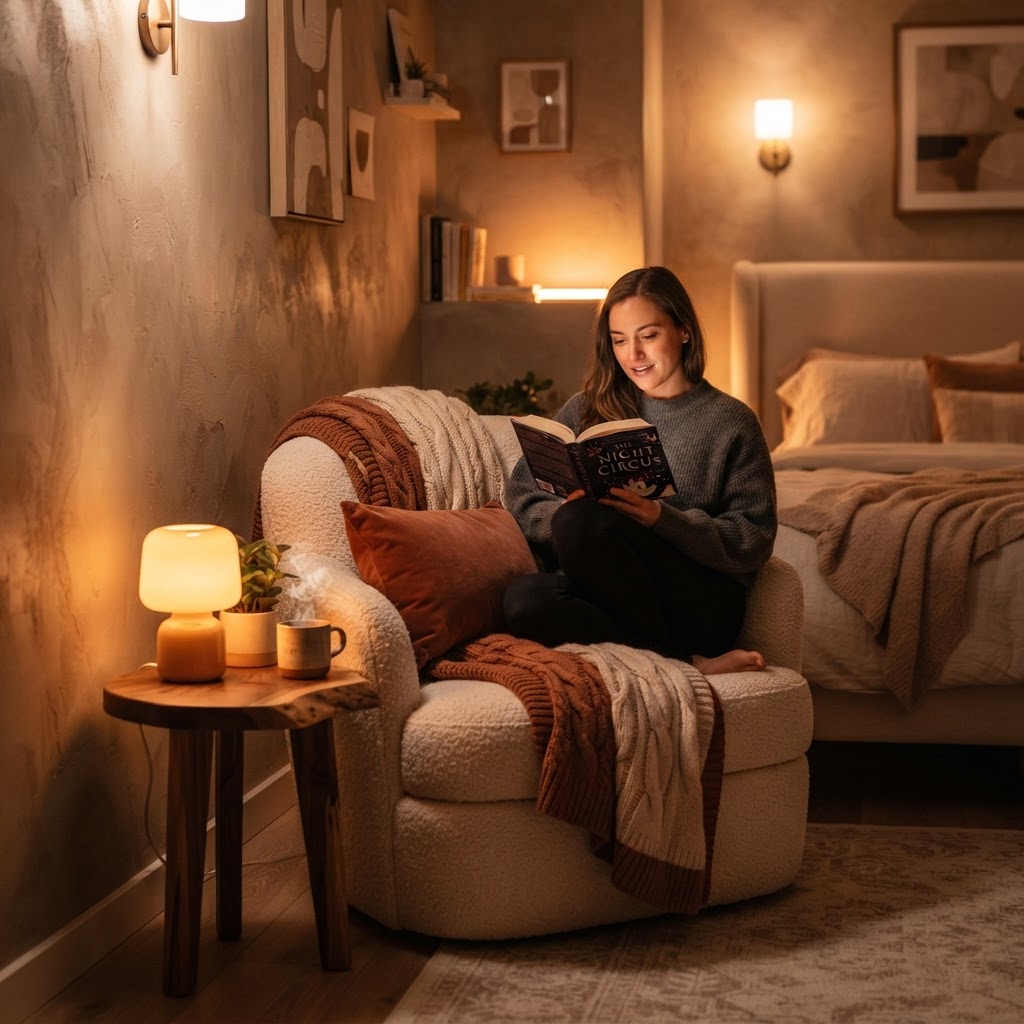
Amber-toned lighting is the secret to a perfect, relaxing bedroom retreat.

Never rely on a single overhead light fixture to brighten your space. A well-designed room uses a layered approach, combining three distinct types of illumination: ambient, task, and accent lighting. To transform your space overnight, focus specifically on how you can add secondary and tertiary layers to your existing layout.

Ambient Lighting

This is your base layer, often provided by your main ceiling light or a large pendant. To keep it warm, use a dimmer switch. Dimming your primary light is one of the most effective and affordable ways to shift the mood of an entire floor plan within seconds.

Task and Accent Lighting

Task lighting is directional, used for activities like reading or cooking, while accent lighting highlights specific features like art or bookshelves. By placing small lamps on side tables or using LED strips behind a television, you create “pools of light” that make a room feel larger and more sophisticated.

Using Lamps to Create Intimate Zones

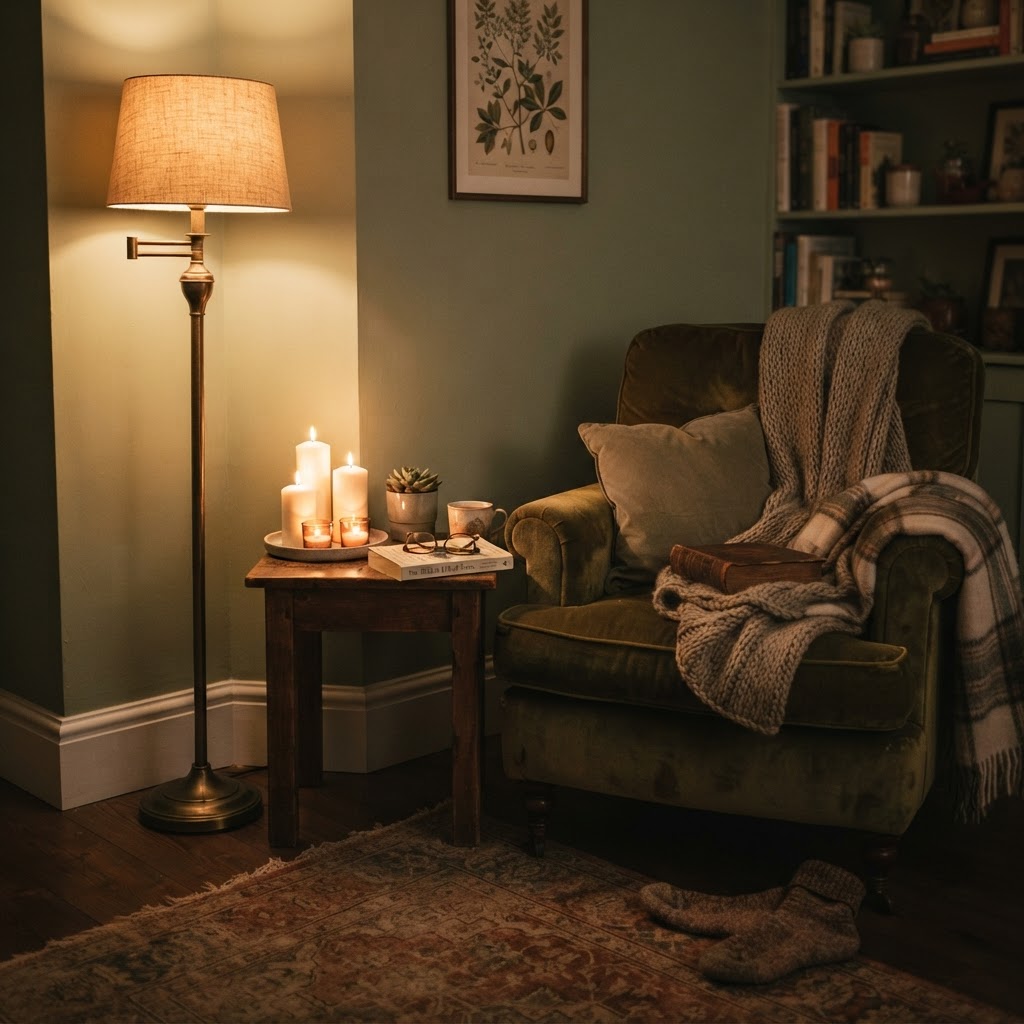
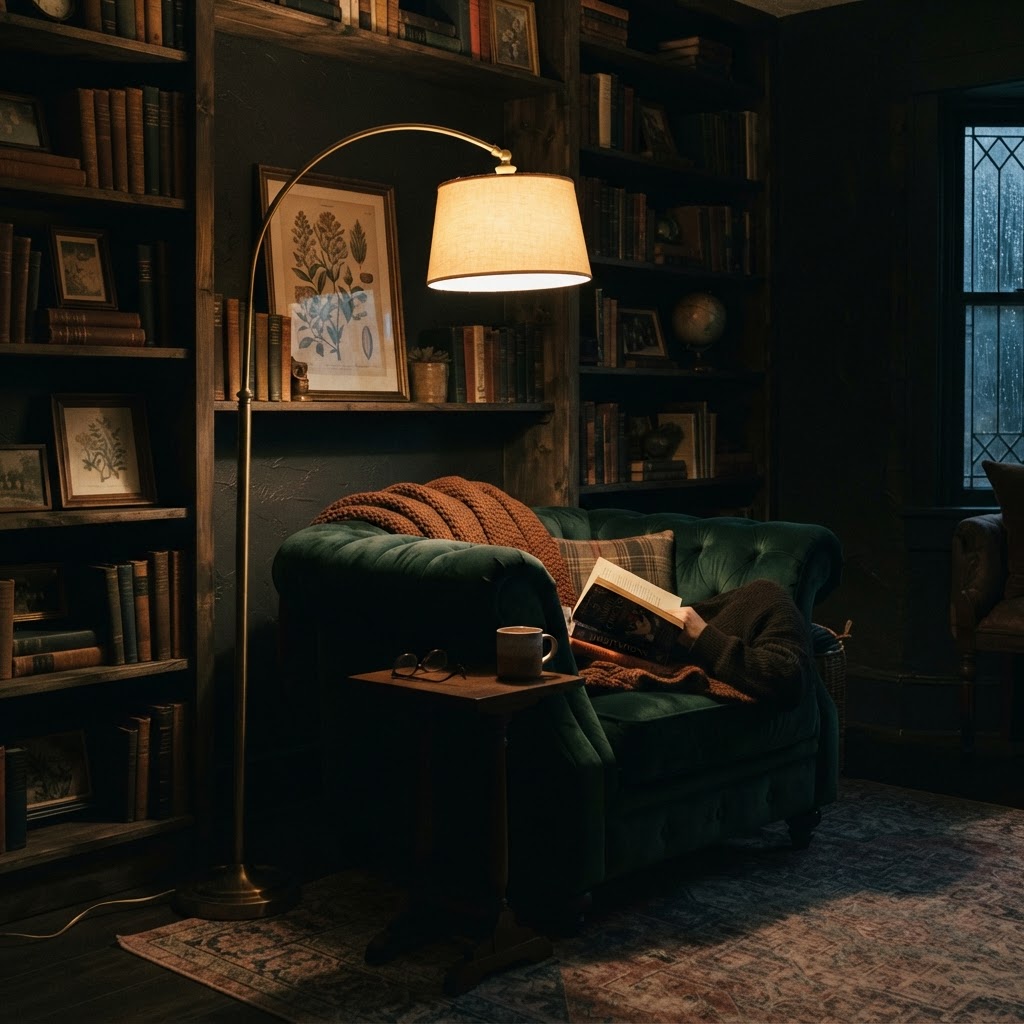
A dedicated reading nook illuminated by a single, warm-toned floor lamp.

If you have a large living room that feels cavernous, strategically placed lamps are your best friend. Instead of lighting the entire room at once, try turning off the overheads and switching on two or three table lamps placed at different heights. This technique creates “pockets” of warmth, drawing the eye to cozy seating areas rather than the empty spaces between them.

Choosing the Right Lampshades

Your choice of lampshade is just as critical as the bulb itself. Thick, fabric shades in cream, beige, or warm earth tones will diffuse light beautifully, casting a soft glow across the room. Avoid stark white or plastic shades if your goal is warmth, as these can create a clinical effect even if the bulb inside is warm-toned.

The Magic of Candlelight and Fairy Lights

For a truly transformative overnight fix, you do not always need to rewire your house. Candles and string lights are the ultimate tools for instant ambiance. They provide a low-level, flicker-filled glow that is impossible to replicate with standard electrical lighting. Grouping candles of varying heights on a tray serves as an excellent focal point for a coffee table.

Incorporating Fairy Lights

Do not save fairy lights only for the holidays. Tucking a string of warm, copper-wire LED lights into a clear glass vase, draping them over a headboard, or winding them around a tall indoor plant can add a magical, dream-like quality to your bedroom. The best part is that these are often battery-operated, meaning you can place them anywhere without worrying about electrical outlets.

Smart Lighting Solutions for Any Budget

Technology has made it easier than ever to manage your home’s ambiance. Smart bulbs are perhaps the best investment you can make for mood lighting because they allow you to change the color temperature and brightness via a smartphone app or voice command. You can set a “Movie Night” scene that automatically dims your living room lights to 20% warmth when you start your favorite film.

Scheduling Your Atmosphere

Another benefit of smart lighting is automation. You can schedule your lights to gradually dim as the sun sets, helping you transition mentally from the stresses of the workday to the peace of the evening. This consistent rhythm is essential for maintaining a calm, warm environment throughout your living space.

Common Mistakes to Avoid

As you experiment with these warm mood lighting ideas, be careful not to fall into common design traps. One major mistake is mixing color temperatures in the same field of vision. If you have a warm table lamp right next to a bright, daylight-colored floor lamp, the contrast will feel jarring and chaotic. Stick to a consistent Kelvin range throughout the room to ensure a cohesive look.

Over-Illumination

Another issue is simply using too much light. We often think that more light equals a better room, but in reality, shadows are necessary for depth. Embrace the darker corners of your room; they add mystery and comfort that bright, wall-to-wall lighting simply cannot provide.

DIY Tips for an Instant Refresh

If you are on a tight budget, there are several “quick wins” to transform your space overnight. Consider these simple DIY lighting hacks:

  1. Replace high-wattage bulbs with lower wattage options to reduce glare.
  2. Wrap a thin piece of warm-colored fabric or paper around a clear glass lampshade to test a softer effect.
  3. Move a floor lamp from a corner to a spot behind an armchair to create an instant reading nook.
  4. Use mirrors to reflect your warm light sources, effectively doubling the glow without buying extra fixtures.

Conclusion

Transforming your home into a haven of warmth does not require a massive renovation or an expensive interior designer. By focusing on color temperature, layering your light sources, and utilizing clever additions like candles and smart bulbs, you can redefine the personality of any room in your house overnight. Start small by dimming your main lights tonight and adding one warm-toned table lamp to your favorite corner. You will be amazed at how such a simple shift in illumination can completely change the way you live, relax, and enjoy your home. Why wait? Start curating your own cozy, well-lit sanctuary today!

The Ultimate List of Renter-Friendly Amazon Home Finds

Living in a rental property often feels like a balancing act between expressing your unique design aesthetic and respecting strict lease agreements. Many tenants hesitate to customize their living environment for fear of losing their security deposit, but the marketplace has shifted significantly to accommodate temporary residents. With the right selection of renter-friendly Amazon home finds, you can transform a bland, cookie-cutter apartment into a cozy sanctuary that reflects your personal style without picking up a drill or a paintbrush.

Temporary Wall Treatments for Visual Impact

Transform blank walls with ease using peel-and-stick wallpaper.

One of the most effective ways to change the mood of a room is by altering the walls. Paint is rarely allowed, but peel-and-stick wallpaper has revolutionized the industry. These temporary wall coverings are designed to adhere securely to smooth surfaces while remaining easy to remove without stripping the underlying paint or drywall.

Choosing the Right Peel-and-Stick Material

When shopping for wallpaper, look for high-quality vinyl options that offer a matte finish for a realistic look. Many Amazon brands now offer textured patterns that mimic grasscloth or linen, adding depth to your space that flat paper simply cannot achieve. Before purchasing, always order a sample to test the adhesion in a discreet spot to ensure it works with your specific wall texture.

Installation Tips for Renters

  • Ensure the wall surface is clean and dry before application.
  • Use a plastic smoother to remove air bubbles as you work from top to bottom.
  • When moving out, use a hairdryer to gently warm the adhesive, which makes removal effortless.

Elevating Lighting Without Electrical Work

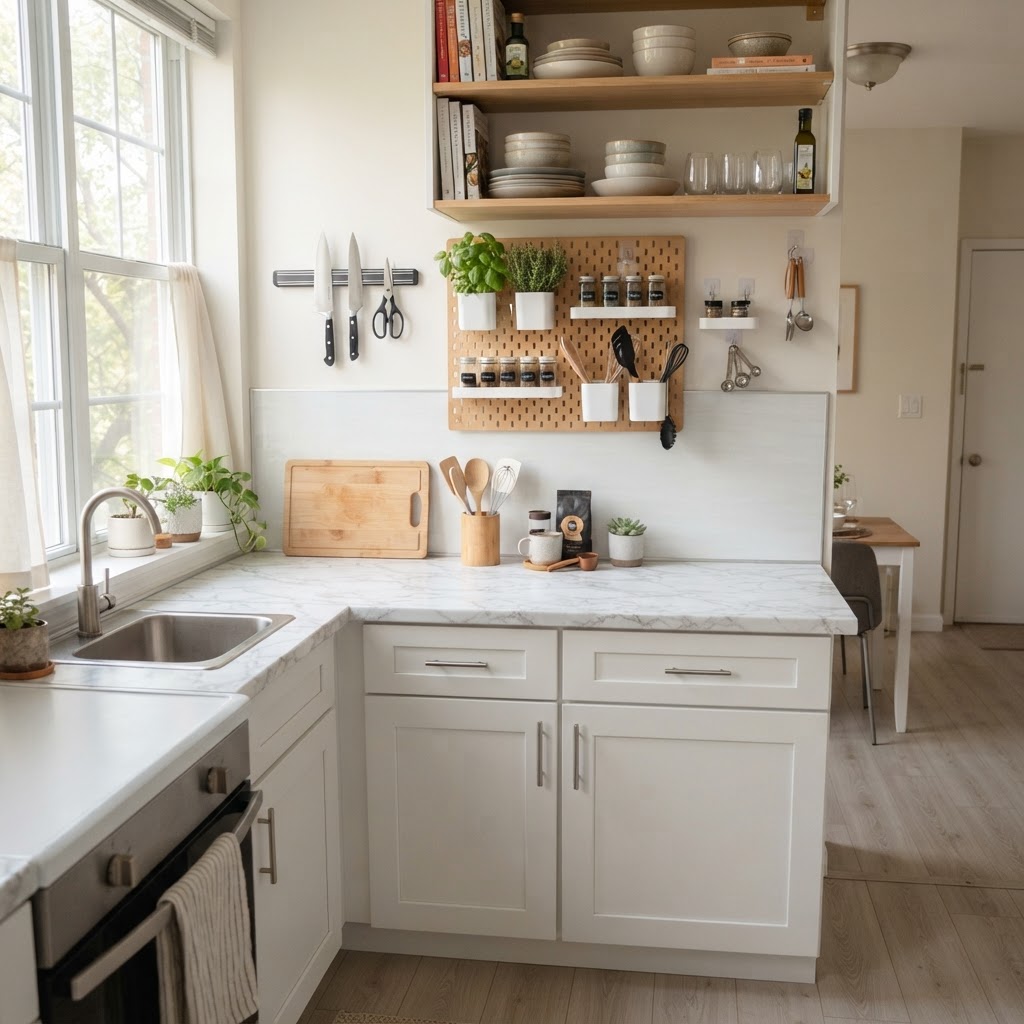
Optimize your kitchen storage with damage-free solutions.

Most rental apartments suffer from “boob lights” or stark, unflattering overhead fixtures that leave rooms feeling clinical. Replacing a hardwired fixture can be a hassle, especially if you lack basic electrical knowledge. Fortunately, plug-in sconces and clever lighting hacks can instantly upgrade your ambiance without needing to touch existing wiring.

The Magic of Plug-In Sconces

Plug-in sconces are the gold standard for renter-friendly Amazon home finds. By using cord covers that match your wall color, you can create the illusion of custom hardwired lighting. These fixtures provide focused task lighting or ambient warmth exactly where you need it, such as flanking a bed or positioned over a reading nook.

Damage-Free Storage and Organization Solutions

Use tension rods and curtains to elevate your window space.

Clutter is the enemy of a peaceful apartment, yet storage space is often at a premium in rentals. To maximize your square footage, rely on temporary organization systems that utilize vertical space. From over-the-door hooks to modular shelving units, Amazon provides an array of tools that require zero hardware installation.

Utilizing Over-the-Door Potential

Don’t let the back of your doors go to waste. Use heavy-duty, over-the-door organizers to store everything from shoes and cleaning supplies to pantry items. These units hook over the top of the door, requiring absolutely no screws, making them perfect for those living in units with strict “no hole” policies.

Transforming Flooring and Surface Areas

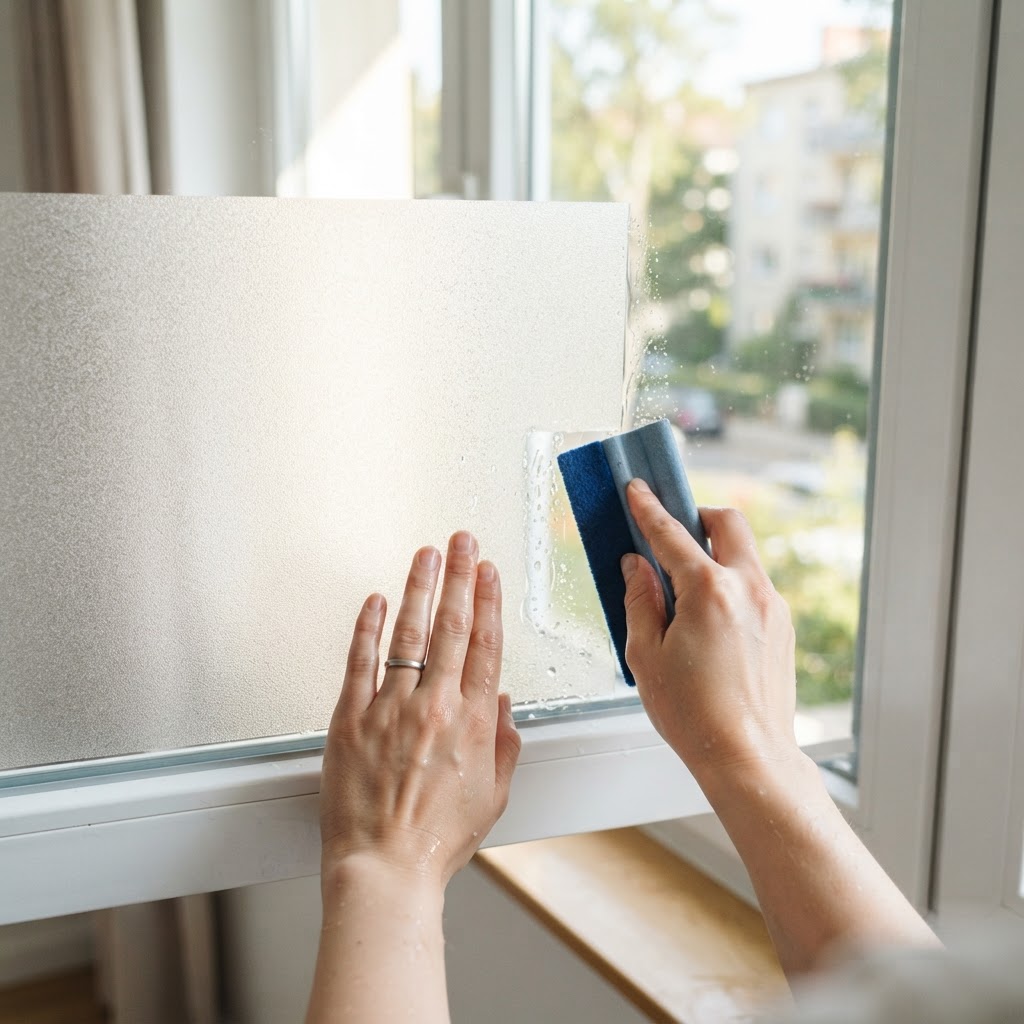
Create instant privacy with static-cling window films.

If you are stuck with outdated linoleum or scratched hardwood, an area rug is your best friend. A large-scale area rug not only adds comfort and sound insulation but also acts as a visual anchor that hides unsightly floors. Additionally, contact paper can be used to cover ugly laminate countertops or dated cabinetry surfaces to give your kitchen a modern, custom look.

Kitchen Upgrades with Contact Paper

Contact paper is not just for craft projects; it is a durable tool for upgrading surfaces. Use high-quality marble-look or matte black contact paper to cover kitchen countertops. It is waterproof, easy to clean, and provides a significant aesthetic lift that completely changes the character of your cooking space.

Creating Privacy and Curb Appeal

Window treatments often define the character of a room. Standard rental blinds are usually plastic and uninspired. Replacing them with floor-to-ceiling curtain panels can make your ceilings feel higher and your windows look larger. Use tension rods to secure heavy curtains without needing to mount traditional brackets into your window frames.

Privacy Films for Ground-Floor Units

If you live on a ground floor or in a building where windows face neighbors, privacy window film is an essential find. These static-cling films come in various patterns, such as frosted glass, stained glass, or geometric designs. They allow natural light to filter through while obscuring the view from the outside.

Smart Furniture Choices for Flexibility

When buying furniture for a rental, think modular and multi-functional. Pieces that can be easily disassembled or serve dual purposes are vital for renters who move frequently. Look for lightweight items that do not require heavy assembly or permanent wall anchoring that could cause damage during transport or installation.

Multi-Functional Ottoman and Bench Storage

Investing in an ottoman with internal storage or a bench with built-in cubbies allows you to hide blankets, books, or seasonal gear. These pieces double as extra seating when you host guests, making them incredibly practical for smaller apartment layouts. By choosing pieces with clean lines and neutral tones, you ensure they will fit into any future living space you might inhabit.

Maintaining Rental Integrity While Decorating

While we love these upgrades, the most important aspect of being a renter is returning the space in its original condition. Always keep the original hardware, light fixtures, and blinds in a storage bin. When you prepare to move, swap your rented upgrades back to the original items. Taking photos of how the apartment looked when you moved in serves as an excellent reference point for your final inspection.

Conclusion

Personalizing a rental doesn’t have to be a stressful or permanent endeavor. By utilizing these renter-friendly Amazon home finds, you can create a space that feels like a true home while respecting your landlord’s rules. From temporary wall treatments to genius storage solutions, there are endless ways to make your mark. Start with one room today and see how these small changes create a massive impact on your daily quality of life. What is the first project you plan to tackle in your apartment? Let us know in the comments below and start transforming your rental into your dream home!

The Coziest Warm Lighting Setups Pinterest Can’t Stop Saving

There is a specific kind of magic that happens when the sun dips below the horizon and you flip the switch on your favorite lamp, filling your home with an inviting glow. The coziest warm lighting setups Pinterest can’t stop saving are more than just a trend; they are a direct response to our collective need for spaces that feel like a sanctuary from the hectic pace of modern life. By prioritizing soft, golden hues over harsh, sterile brightness, these design styles foster an environment of relaxation and comfort that instantly eases the mind after a long day.

The Psychology of Warm Lighting

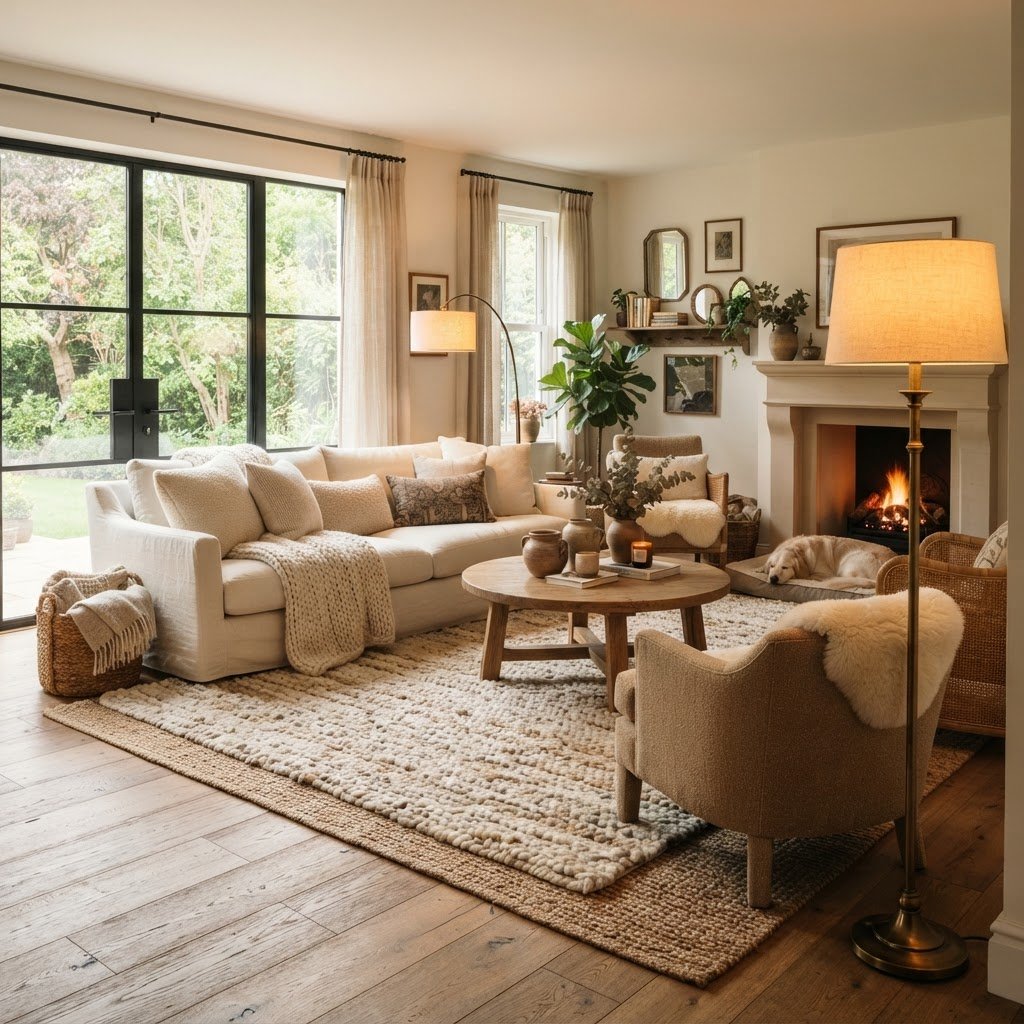
Soft ambient layers create a tranquil living space.

Why are we so obsessed with warm light? It comes down to our biology and the way our brains interpret color temperatures. Warm light—typically in the range of 2000K to 3000K—mimics the natural light of a sunset, which signals to the body that it is time to wind down and prepare for rest. When your home is bathed in these gentle tones, your cortisol levels drop and your parasympathetic nervous system begins to engage, allowing for genuine relaxation.

Understanding Color Temperature

To master your home lighting, you must first understand the Kelvin scale. Cool, blue-tinted light is great for focus and productivity, but it is the enemy of coziness. By consistently choosing “warm white” or “soft white” bulbs, you create a cohesive, comfortable atmosphere that makes every room feel more intimate.

Layering for Maximum Ambiance

Smart lighting turns a bedroom into a dreamy sanctuary.

One of the biggest mistakes in interior design is relying on a single overhead light source. Instead, the most successful designs on Pinterest rely on a technique called “lighting layering.” This approach involves using multiple light sources at different heights to create depth, interest, and shadows that make a room feel lived-in and luxurious.

The Three Essential Layers

  1. Ambient Lighting: This serves as your general illumination. Think recessed dimmable lights or a soft flush mount fixture.
  2. Task Lighting: This is directional light for specific activities, like reading lamps next to an armchair or under-cabinet strips in the kitchen.
  3. Accent Lighting: This is the “jewelry” of the room. Think LED strips behind a television, small spotlights on artwork, or decorative table lamps.

Table Lamps and Soft Fabric Shades

A pendant light creates a focal point for intimate dining.

Table lamps are the bread and butter of warm lighting setups. The secret to the “Pinterest look” is not just the lamp base, but the shade. Fabric shades, particularly those made of linen or textured paper, act as diffusers, turning a sharp point of light into a gentle, soft-focus glow that makes skin look radiant and furniture look high-end.

The Rise of Decorative Floor Lamps

Golden light makes the perfect reading nook.

When we look at the most saved images on social media, statement floor lamps often anchor the corners of cozy living rooms. These aren’t just functional; they are sculptural elements that define the mood of a space. Look for arched floor lamps that hang over a reading chair or tripod lamps that add a mid-century modern flair to an empty corner. Adding a smart plug or a dimmer switch to these floor lamps allows you to dial in the exact level of warmth needed for a movie night versus a dinner party.

String Lights and Fairy Lights Beyond the Holidays

Many people think of string lights as seasonal decor, but interior designers have long known that they are year-round tools for creating wonder. When draped over a headboard or tucked into a large glass vase, fairy lights create a starlit effect that feels whimsical and incredibly cozy. This is an affordable way to test out the warm lighting aesthetic without making major structural changes to your electrical system.

Smart Lighting and Dimmer Integration

Technology has made it easier than ever to achieve the perfect glow. With the rise of smart bulbs, you can adjust the warmth of your lights via your smartphone or voice assistant. You can even set “scenes” that automatically shift your lighting from a bright “work mode” during the day to a dim, amber-toned “evening mode” as soon as the sun goes down.

Benefits of Dimmers

  • Allows for instant mood adjustments.
  • Prolongs the lifespan of your light bulbs.
  • Reduces energy consumption during the evening hours.
  • Creates a high-end feel in any room.

Lighting for Specific Rooms

Different spaces in your home serve different functions, and your lighting should reflect that. For the bedroom, you want lighting that promotes sleep hygiene, which means avoiding any blue light emission. In the living room, focus on varying the heights of your lamps to draw the eye around the space. For dining rooms, a low-hanging pendant light that focuses light on the table surface creates an intimate environment where conversation can flow freely.

Conclusion

Achieving the coziest warm lighting setups is less about purchasing expensive fixtures and more about intentional design. By layering your light, embracing textured shades, and utilizing dimmers, you can transform any room into a warm, inviting retreat that feels straight out of a Pinterest board. Start small by replacing your current “daylight” bulbs with warm white versions and watch how your mood changes. What is one corner of your home you are planning to brighten this weekend? Share your progress or tag us in your “before and after” photos to show off your new, cozy sanctuary!

5 Quick Ways to Make Your Rental Feel Less Temporary

Moving into a new place often brings a mix of excitement and apprehension, especially when you are staring at blank, white walls and clinical-looking flooring. Many people struggle with the feeling that they are just passing through, but you do not need to settle for a sterile environment. Learning how to make your rental feel less temporary is the secret to feeling at home, even if you are on a short-term lease. By focusing on personal touches and non-permanent design solutions, you can create a sanctuary that reflects your unique personality and brings warmth to every room.

Rethink Your Lighting Strategy

Warm lighting and area rugs instantly make a rental feel like a home.

Lighting is perhaps the single most impactful factor in changing the mood of an interior, yet it is the most overlooked element in rental apartments. Most rentals come with standard “boob lights” or harsh overhead fluorescent fixtures that create an uninviting, cold atmosphere. To make your rental feel less temporary, you need to layer your light to create warmth and depth.

Incorporate Table and Floor Lamps

The easiest way to bypass landlord restrictions regarding hardwired fixtures is to rely entirely on plug-in lamps. By placing lamps at different heights throughout your living room and bedroom, you can eliminate the reliance on the primary overhead light. Look for statement floor lamps that serve as decor pieces themselves, adding architectural interest to empty corners while providing a soft, ambient glow.

Why Warm Bulbs Matter

Never underestimate the power of the light bulb itself. Swap out standard “cool” white bulbs for “warm” or “soft white” LED bulbs in the 2700K to 3000K range. This simple, affordable switch instantly softens the appearance of your space, making the white walls feel cozy rather than stark.

Invest in Textural Textiles

Bringing in indoor plants adds life and color to any rental space.

When you cannot paint the walls or change the flooring, textiles become your best friend. Texture is the visual language of comfort. By adding a variety of fabrics through rugs, curtains, and pillows, you can easily camouflage dated finishes and introduce your personal style into the architecture of the space.

The Power of Area Rugs

Most rental units feature cheap, neutral carpeting or cold laminate wood floors. An area rug is the perfect tool to define specific zones within an open-concept layout. Don’t be afraid to go big; a rug that is too small can make a room feel cramped, whereas a large rug that anchors the sofa and chairs will make the entire room feel larger, more intentional, and grounded.

Create a Gallery Wall of Memories

Floor-to-ceiling curtains can make any room feel taller and more luxurious.

Blank walls are the biggest culprits in making a space feel temporary. While you might be restricted from painting, most landlords are perfectly fine with you putting up a few nails for art. A gallery wall is an excellent way to cover a large span of empty wall space while infusing the room with your personal story.

Planning Your Layout

Before you start hammering nails, lay your art out on the floor. Group your frames to create a cohesive shape—like a rectangle or a loose organic cluster. If you are worried about nail holes, utilize adhesive wall strips or leaning art against the wall on top of a console table for a casual, layered look.

Introduce Life with Greenery

Plants breathe literal and figurative life into a space. They offer organic shapes, vibrant colors, and a sense of movement that artificial decor cannot replicate. Whether you are a master gardener or struggle to keep a cactus alive, incorporating greenery is one of the most effective strategies to make your rental feel less temporary.

Low Maintenance Options

If you are worried about your track record with plants, stick to resilient varieties like Snake Plants, Pothos, or ZZ plants. These thrive in various lighting conditions and require very little fuss. Place them in decorative pots that elevate the aesthetic; a beautiful ceramic or woven basket can transform a basic plant into a high-end design element.

Personalize with Modular Furniture

When living in a rental, your furniture should be as versatile as your lifestyle. Instead of buying pieces specifically for one room layout, choose modular furniture that can adapt to future homes. This approach ensures you are investing in items that will grow with you, rather than feeling like “throwaway” furniture that you will eventually leave behind.

Think About Multi-functionality

A storage ottoman that doubles as a coffee table or a desk that can function as a console table are great examples of pieces that offer longevity. By curating your space with items that feel like an investment, you shift your mindset from “temporarily residing” to “curating a home.” It changes the way you interact with your environment, giving you a sense of pride and ownership even when the deed to the property isn’t in your name.

Maximize Vertical Storage and Display

Often, renters feel constrained by a lack of square footage, which makes the home feel cluttered and temporary. To solve this, think vertically. Using the height of your walls for shelving, art, or mirrors draws the eye upward, making ceilings appear higher and the overall space feel much more significant.

Using Removable Shelving

Consider tension-rod shelving or over-the-door organizers that require no drilling. These clever storage solutions keep your floor clear and help maintain a minimalist, curated aesthetic. Keeping your home organized reduces the stress that often comes with small rental spaces, allowing you to focus on the “homey” elements rather than the clutter.

Add Custom Window Treatments

Standard rental blinds are functional but rarely stylish. Replacing them with elegant curtains can make a world of difference. To keep it renter-friendly, look for tension rods that fit inside the window frame, or mount a sturdy curtain rod just above the window trim.

The Illusion of Height

Mount your curtain rod as close to the ceiling as possible rather than right above the window frame. This simple trick draws the eye up and makes the windows—and the entire room—feel taller and more luxurious. Selecting floor-length drapes in a neutral, textured fabric will add immediate elegance to any living room or bedroom.

Conclusion

Transforming a rental into a personal haven is not about expensive renovations or major changes; it is about intentional, thoughtful styling. By layering lighting, using textiles to add warmth, and incorporating personal decor, you can successfully make your rental feel less temporary. Remember, your home should be a reflection of your journey and your personality, regardless of how long you plan to stay. Start with one of these tips today and watch how quickly your space transforms from a mere apartment into a true, welcoming home. What is the first change you plan to make to your space? Let us know in the comments below and start creating your sanctuary today!