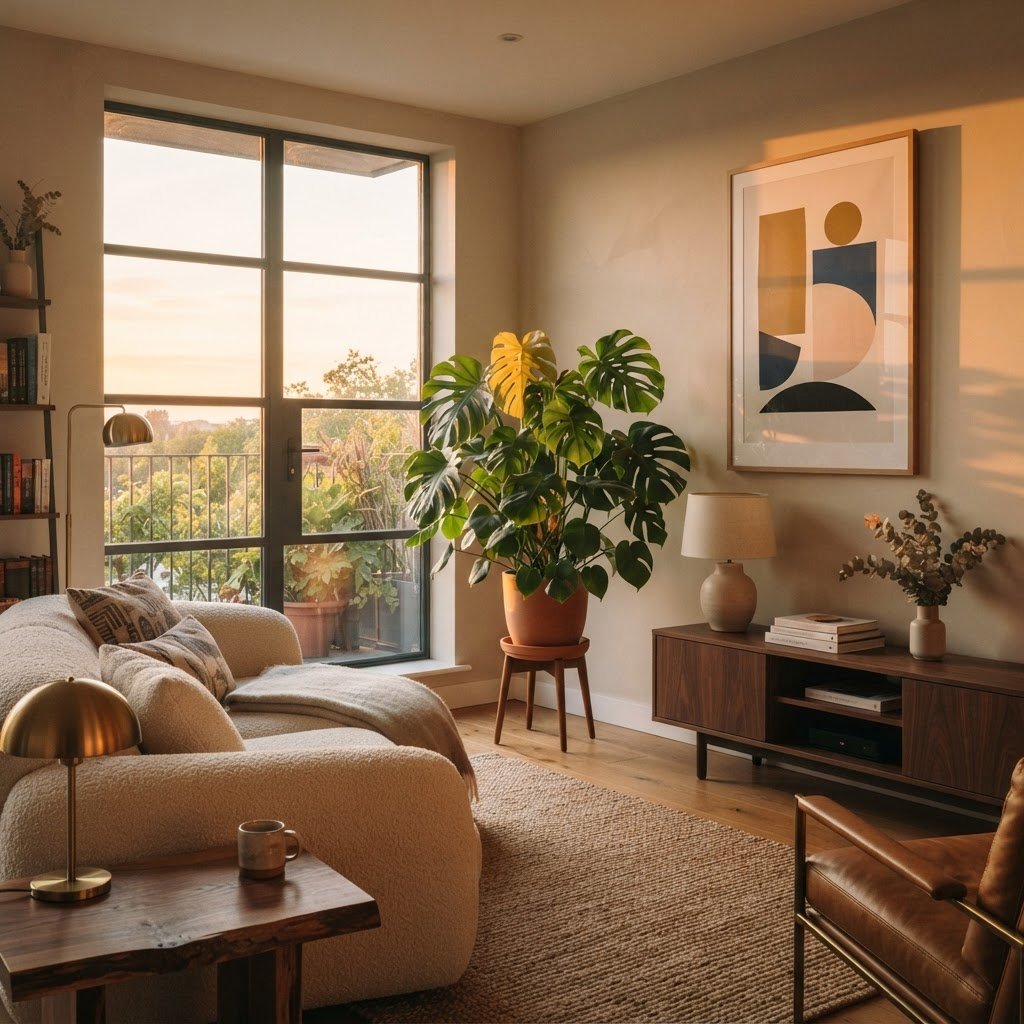
Archives 2026

How to Style Warm Lights with Plants and Art

Creating a home that feels like a sanctuary is an art form, and the secret often lies in the trinity of atmosphere: lighting, nature, and personal expression. If you have been wondering how to style warm lights with plants and art for maximum vibe, you are on the path to creating a space that is not only visually stunning but also emotionally restorative. Warm lighting serves as the foundation, setting the tone for relaxation, while plants inject life, and art provides the narrative. When these three elements are carefully curated, they work in harmony to elevate your living space from mundane to magical.

The Power of Warm Lighting Foundations
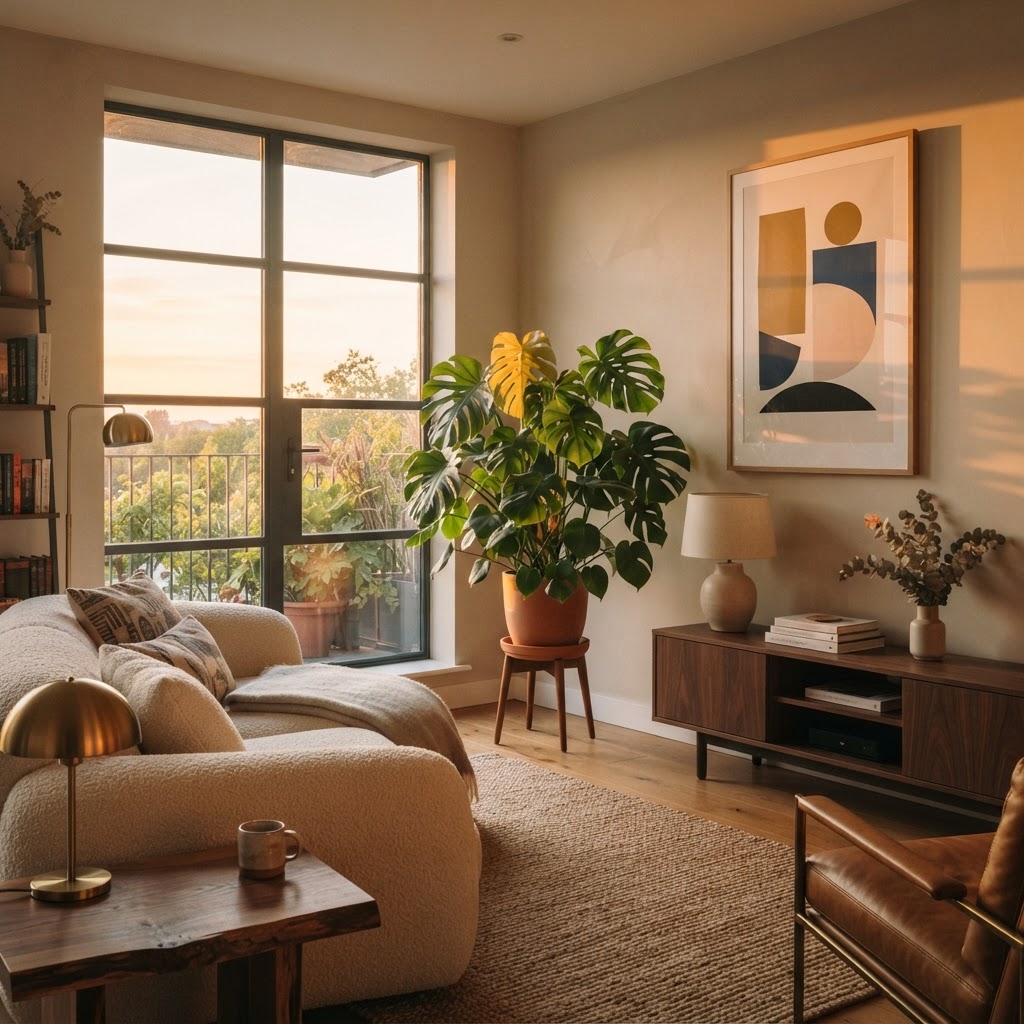
Warm lighting turns greenery into sculptural art.

Before you hang a single frame or pot a plant, you must address the glow of your room. Warm light, typically measured between 2000K and 3000K, mimics the golden hour of sunset. It softens harsh corners, hides imperfections, and creates an immediate sense of intimacy that cool-toned bulbs simply cannot replicate. When you combine warm lights with plants and art, the light acts as a unifying agent, pulling the disparate elements of your room into a cohesive scene.

Why Color Temperature Matters

To achieve the perfect atmosphere, avoid mixing color temperatures. If your main overhead light is a clinical, cool white, it will clash with the soft, amber glow of your accent lamps. Swap out your bulbs for “warm white” or “soft white” versions. This simple change is the most cost-effective way to transform the mood of a room. Once you have established this baseline of warm illumination, your foliage will look richer, and your art will feel more inviting.

Strategic Layering of Light Sources
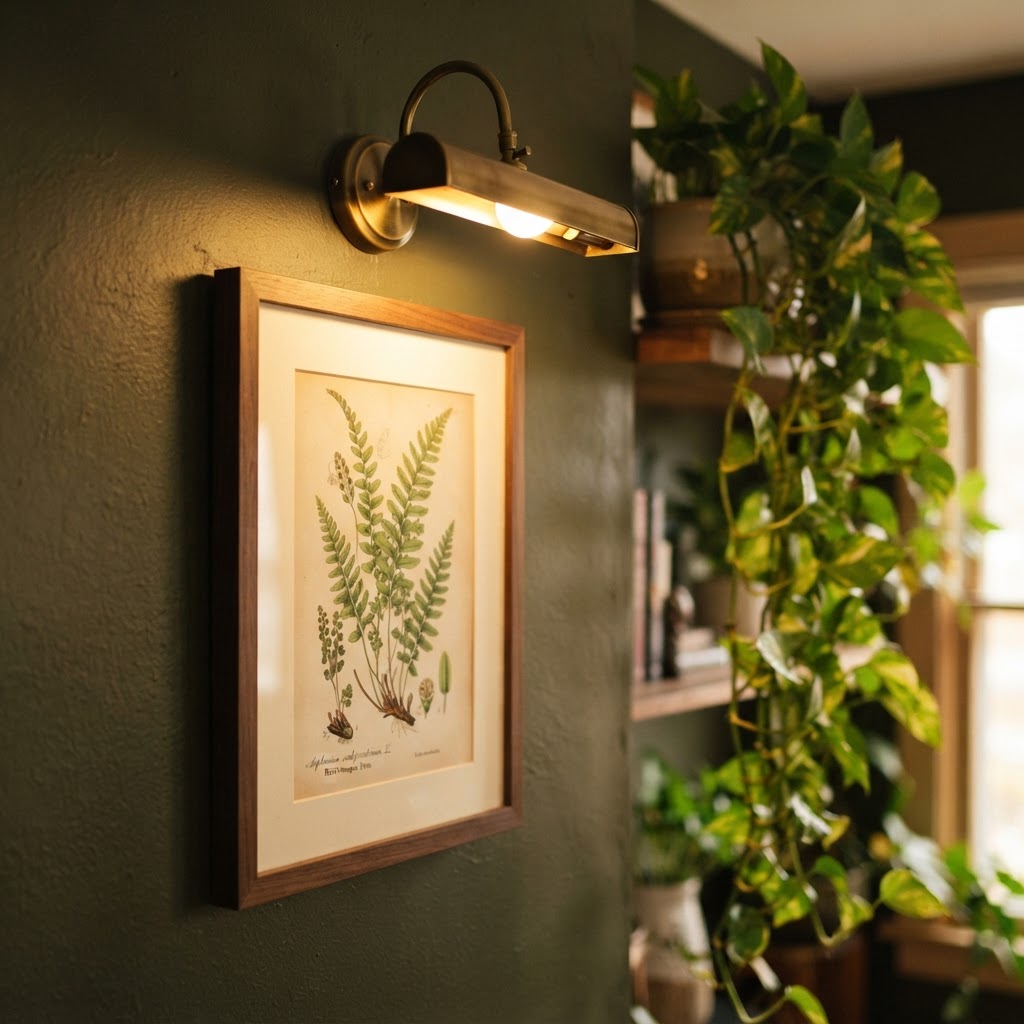
Dedicated lighting brings your art collection to life.

Never rely solely on a single overhead light. To achieve a professional aesthetic, you need layers. A high-vibe room typically features at least three points of light at different heights: floor level, eye level, and surface level. Think of floor lamps tucked near tall fiddle leaf figs, table lamps resting on sideboards, and wall-mounted picture lights casting a gentle glow over your favorite prints.

Creating Light Cascades

Place your floor lamps behind a large potted plant, such as a Monstera, to create dramatic shadows on the wall. This technique, known as “silhouetting,” adds depth and mystery. The light filters through the leaves, projecting intricate patterns that dance across your wall art, effectively turning your plants into living light diffusers. This creates a dynamic, ever-changing backdrop that feels sophisticated and organic.

Incorporating Plants as Decorative Sculptures
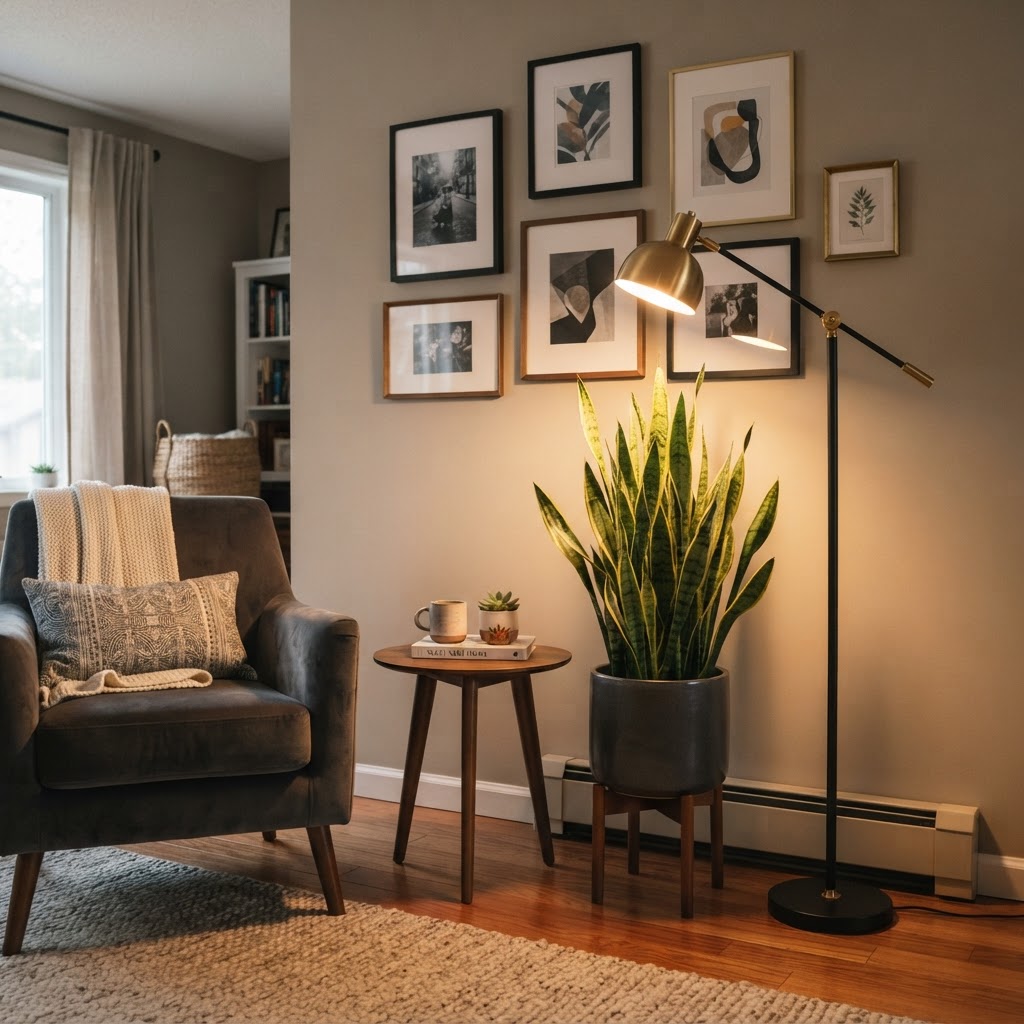
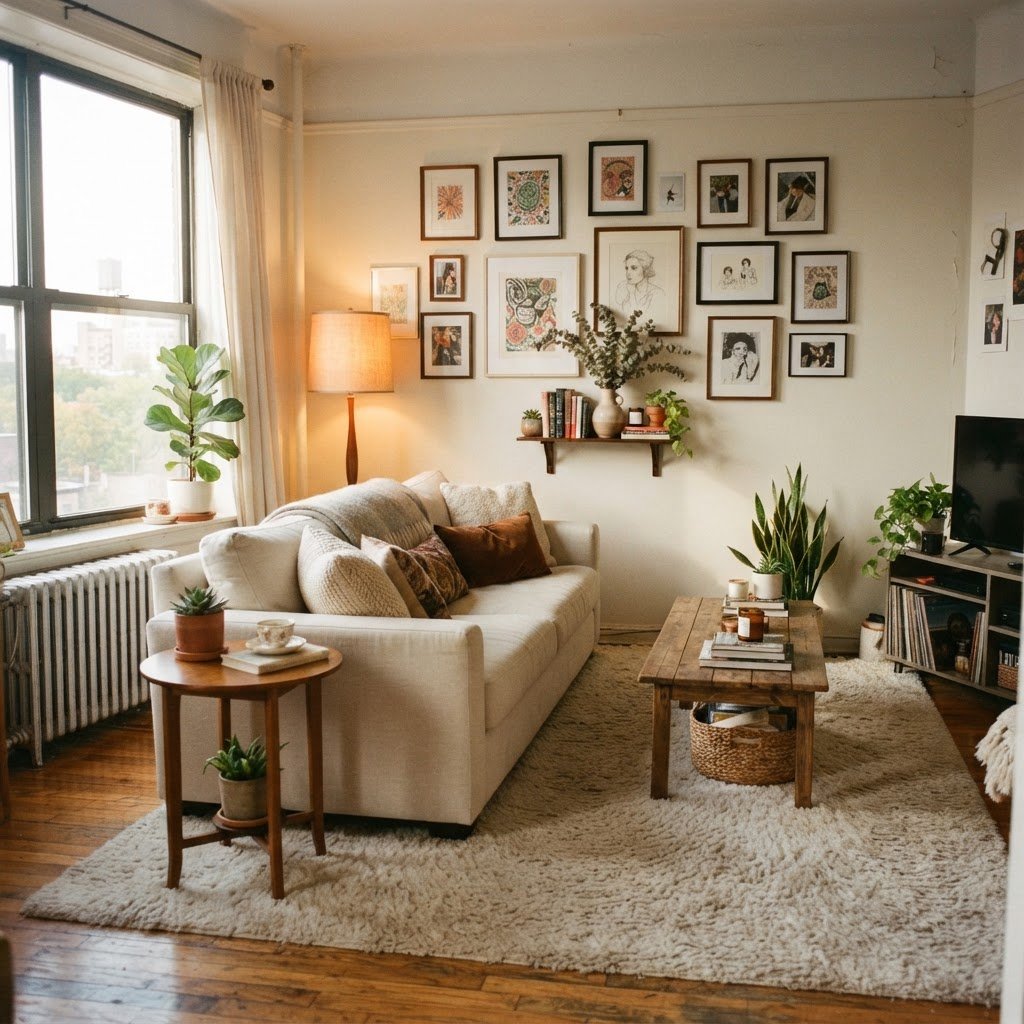
Layering floor lamps and plants creates a cozy, high-vibe corner.

Plants are not just fillers; they are organic sculptures. When you style warm lights with plants and art, you should treat your greenery as three-dimensional art pieces. Consider the shape, texture, and scale of your plants. A trailing Pothos looks best on a bookshelf where it can drape naturally, while a structural Snake Plant makes a bold statement in a corner, especially when accented by a directional warm-toned spotlight.

Matching Foliage to Lighting Needs

While aesthetic is important, plant health is paramount. Use the light from your lamps to highlight your plants, but ensure the plant is getting the natural light it needs to thrive. Use small grow-light bulbs in your decorative lamps if you are placing them in darker corners. This ensures that you can style warm lights with plants and art without sacrificing the health of your botanical companions. A wilting plant, no matter how well-lit, will never contribute to a high-vibe aesthetic.

Curating Art for Ambient Glow

Wall art acts as the focal point, but it often needs help to shine. The mistake most people make is hanging art in shadows. By using dedicated picture lights or strategically aiming nearby floor lamps, you can draw the eye to your collection. Warm light makes colors like deep blues, earthy greens, and terracotta look much more vibrant, which is exactly why it is the perfect complement to nature-inspired art.

The Rule of Proportional Balance

When hanging art near plants, balance is key. If you have a massive, leafy plant, avoid placing a busy, oversized gallery wall directly behind it; it will feel cluttered. Instead, pair a single, minimalist print with a large, statement plant, or use a series of smaller pieces alongside more delicate, wispy greenery. This balance ensures that your eyes have a place to rest, preventing sensory overload while still maintaining that warm, “maximum vibe” aesthetic.

Practical Tips for Small Spaces

Living in a small apartment doesn’t mean you have to skip the decor. In fact, compact spaces are perfect for this trio. Use vertical space: hanging planters and wall-mounted shelves allow you to incorporate nature without sacrificing floor space. When you style warm lights with plants and art in a small room, use mirrors to bounce that warm glow around, making the space feel larger and more luminous.

Multi-Functional Decor Items

Look for pieces that serve double duty. An arched floor lamp can hang over a small reading chair where you also keep a side table with a trailing plant and a small stack of art books. This creates a concentrated “vibe zone” that feels intentional and cozy. The warm lamp provides the light to read by, the plant adds oxygen and life, and the art books provide a tactile, curated feel that invites guests to linger.

Avoiding Common Decor Mistakes

Even with the best intentions, it is easy to veer into “clutter territory.” To keep your space looking editorial rather than chaotic, follow these rules:

  1. Avoid over-decorating: Leave some negative space so the eye can breathe.
  2. Watch the cords: Visible wires ruin the vibe, so use cable management clips to keep them hidden.
  3. Stick to a theme: If your art is mid-century modern, keep your plant pots in terracotta or ceramic that matches that era.
  4. Prioritize warmth: If you notice a “cold” feeling, add another light source or change a bulb.

Maximizing the Cozy Aesthetic Year-Round

This styling method is timeless because it focuses on organic elements and soft illumination. During the winter, the warm light combats the gloom of early sunsets, while the plants provide a constant reminder of growth and life. During the summer, you can swap out heavier art for lighter, botanical-themed prints to keep the space feeling airy. The core principles of styling warm lights with plants and art remain the same, regardless of the season, providing you with a foundation that is easy to refresh.

By layering textures—the smooth glass of a lightbulb, the porous terracotta of a pot, the tactile canvas of a painting—you create an environment that feels rich and lived-in. It is not about buying expensive items, but about curating what you love in a way that respects the interplay of light and shadow. Take the time to experiment with the positioning of your lamps and the placement of your frames. You will be surprised by how much of a difference an inch of movement can make in the way light hits your favorite leaves or colors.

Conclusion

Mastering how to style warm lights with plants and art is a journey of trial and error, but the reward is a home that feels uniquely yours. By prioritizing the warmth of your lighting, the health and placement of your plants, and the narrative of your art, you create a space that breathes. Start today by dimming your main lights, turning on your accent lamps, and looking at your room with fresh eyes. What area needs a bit more life? What corner is begging for a warm glow? Choose one space to start and watch how your home transforms into the sanctuary you deserve. Remember to tag us in your progress photos on social media; we would love to see how you are styling your own high-vibe haven!
9 No-Damage Accent Wall Ideas That Look High-End

Transforming a room often starts with one dramatic focal point, but permanent changes aren’t always an option. If you are living in a rental or simply want the freedom to update your aesthetic without the commitment of paint or nails, these 9 no-damage accent wall ideas that look high-end will provide the perfect solution. Achieving a luxury interior design look does not require a contractor or a massive renovation budget. By leveraging smart, reversible materials, you can create a sophisticated sanctuary that expresses your personal style while keeping your security deposit perfectly intact.

The Power of Peel-and-Stick Wallpaper

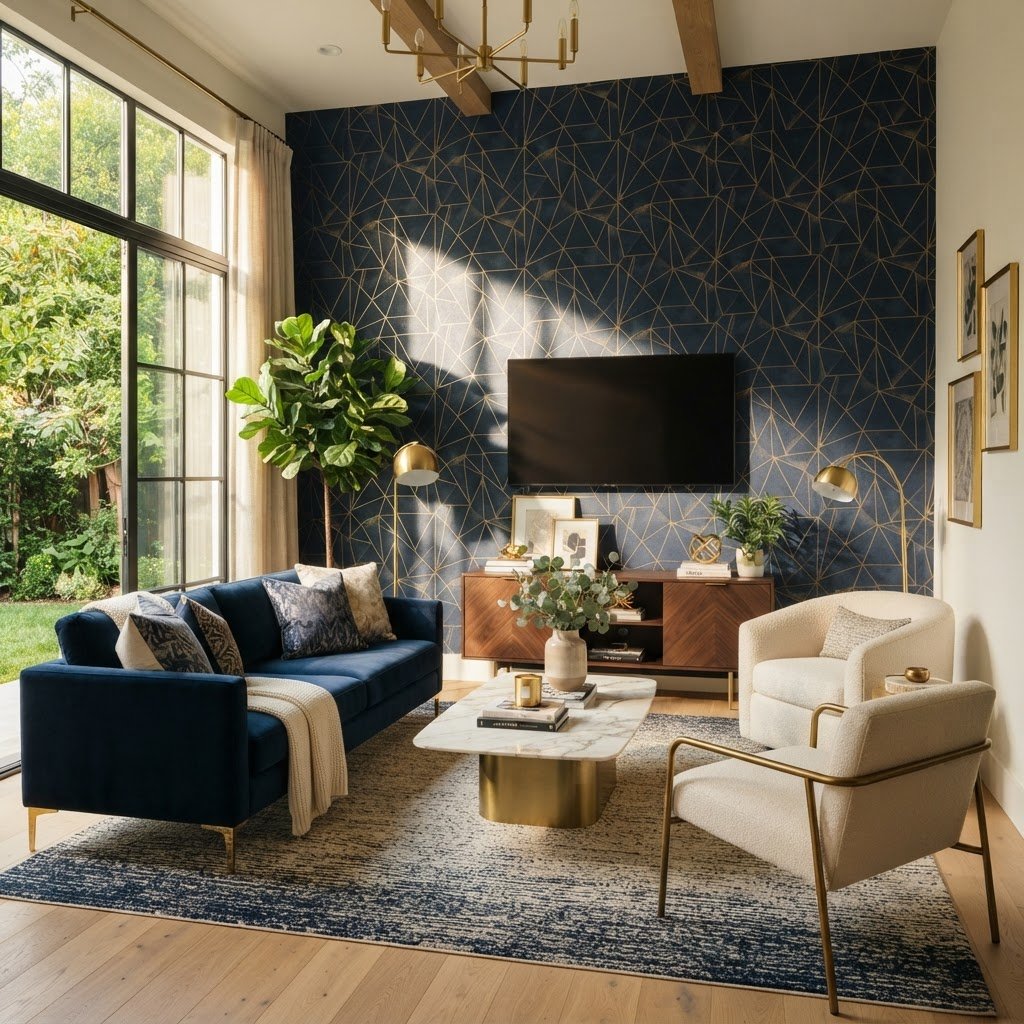
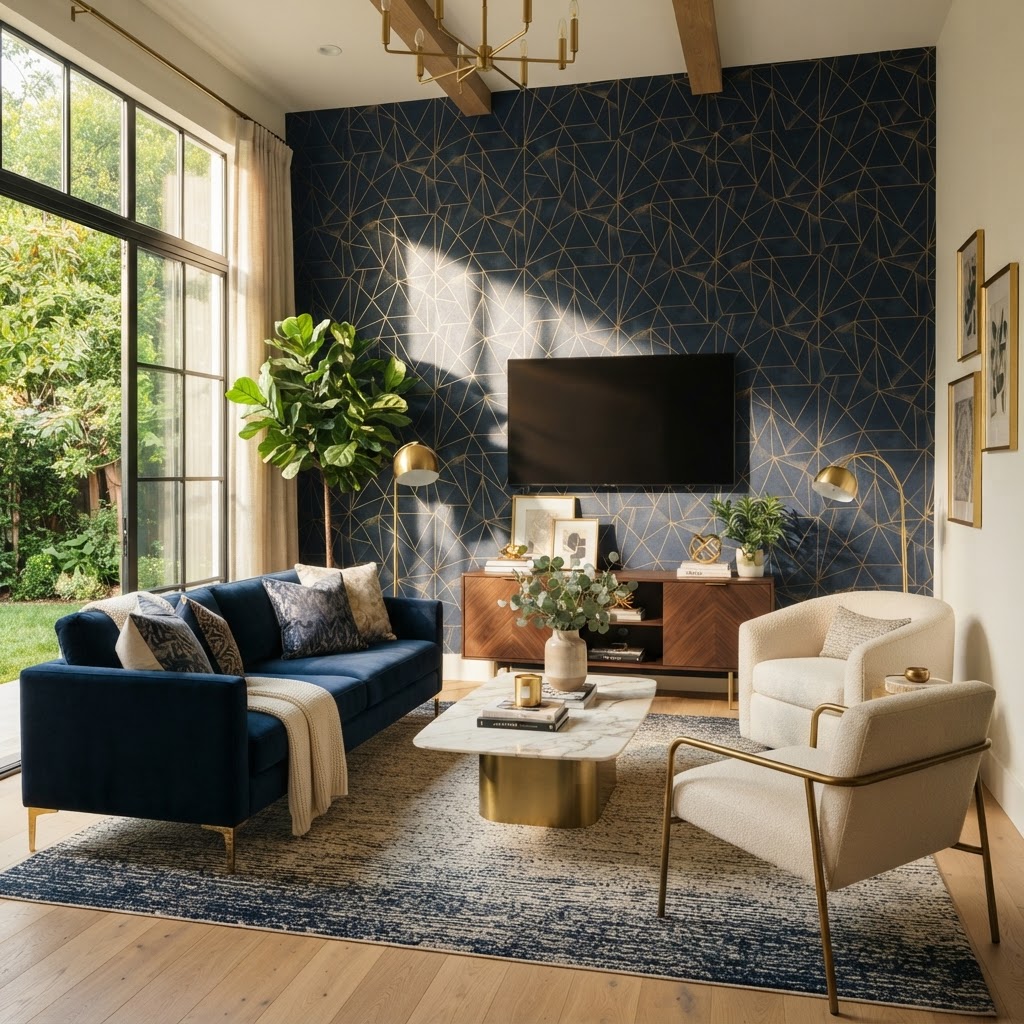
Peel-and-stick wallpaper in a geometric pattern creates a sophisticated focal point.

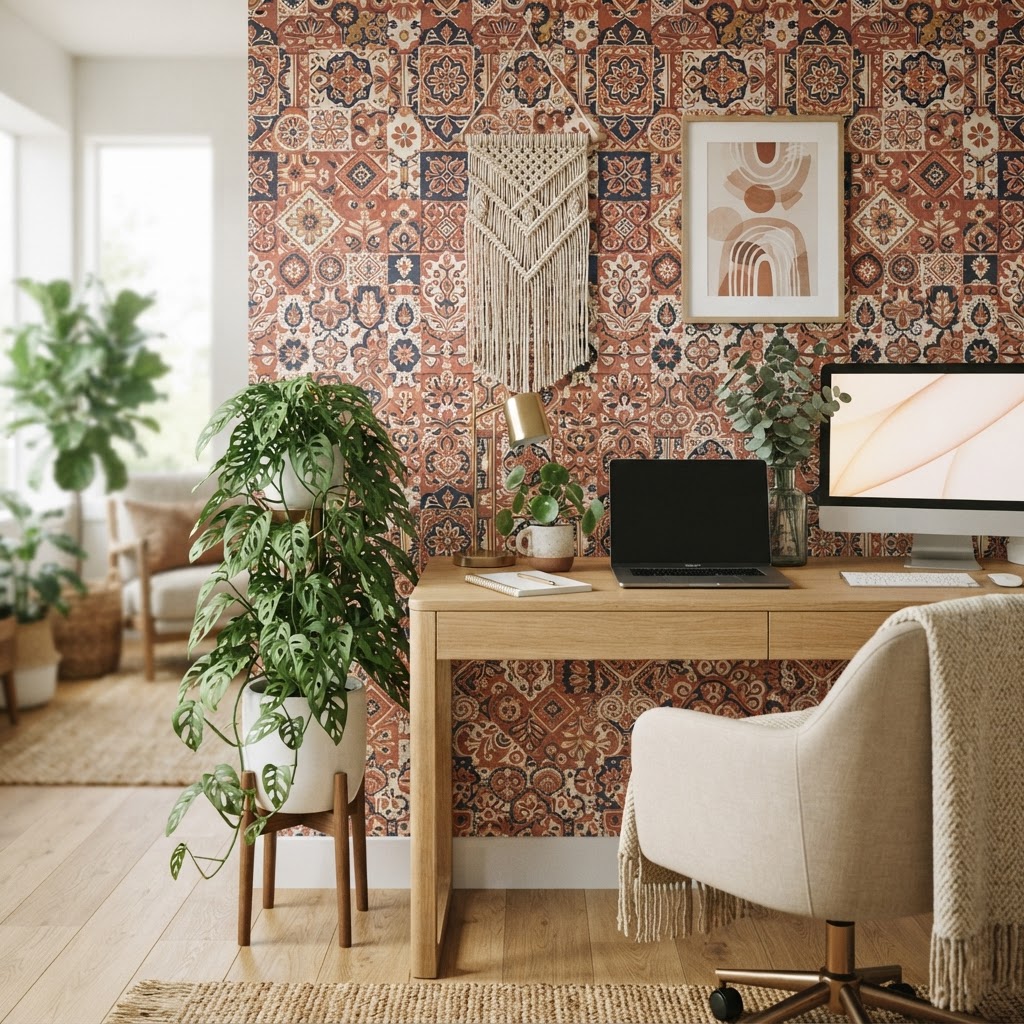
Peel-and-stick wallpaper has revolutionized the world of interior design, making it one of the most effective no-damage accent wall ideas that look high-end. Unlike traditional wallpaper that requires messy adhesives, modern self-adhesive versions are designed to be applied and removed with ease. Many high-quality brands now offer textures like linen, grasscloth, or even metallic finishes that mimic expensive wall coverings.

Choosing the Right Pattern for Impact

When selecting wallpaper, consider the mood you want to evoke. Large-scale botanical prints add drama and a touch of organic luxury, while subtle geometric patterns provide a modern, clean look. For a high-end feel, opt for matte finishes rather than glossy ones, as they reflect light more naturally and look more like traditional high-end decor.

Fabric Wall Hangings as Art

Adhesive-backed wood slats provide a high-end architectural finish.

Textiles add warmth and sound absorption to any space, making them a fantastic choice for those seeking depth without paint. A large-scale tapestry or a high-quality fabric panel can serve as a stunning focal point. Use heavy-duty command strips or a simple wooden rail system to hang your fabric piece, ensuring the weight is distributed evenly across the wall surface.

To achieve a bespoke, curated aesthetic, look for vintage textiles, woven wool pieces, or even panels of velvet. The trick to making fabric look expensive is ensuring it is taut and well-placed. You want the fabric to act like a permanent architectural element rather than a casual blanket thrown against the wall.

Creating Texture with Adhesive Wood Slats

A picture ledge is a perfect way to create a gallery wall without drilling holes.

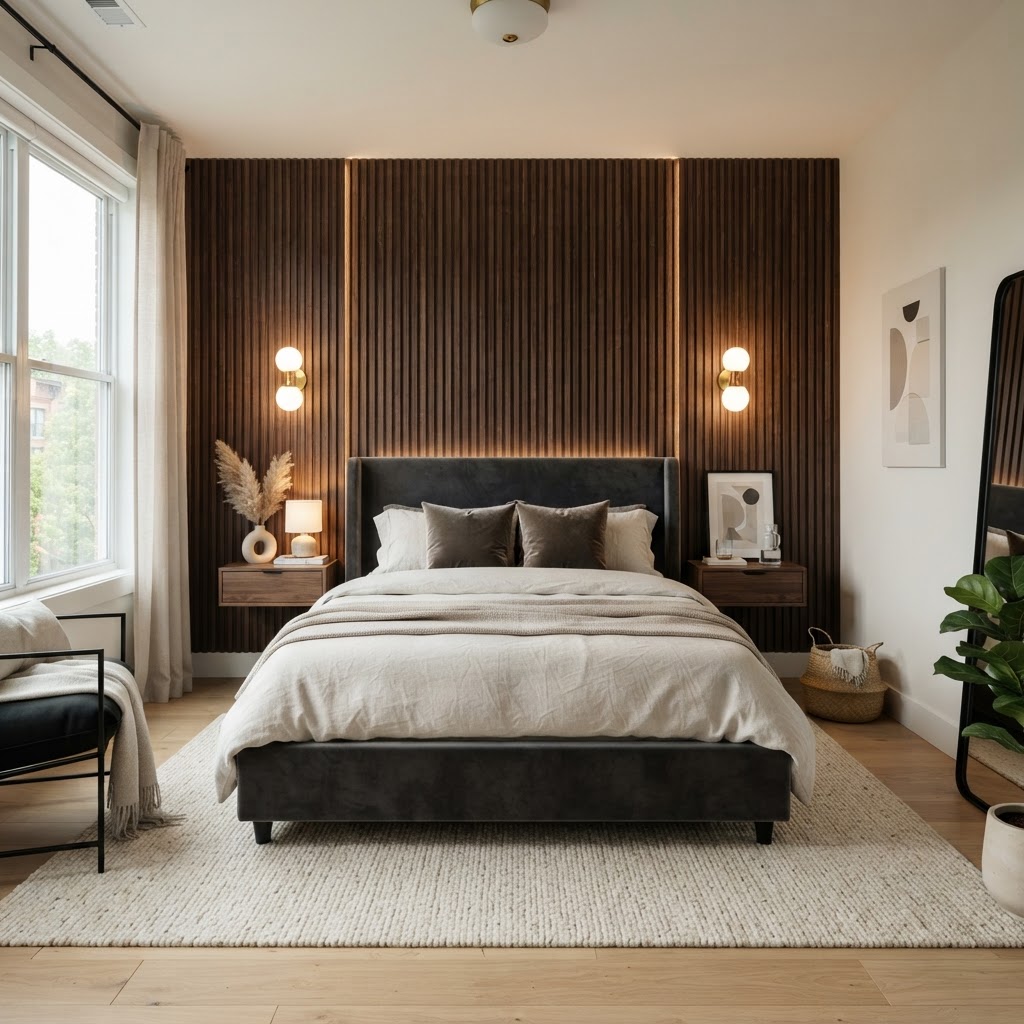
Wood slat walls are incredibly trendy, providing a sculptural element that adds architectural interest. While traditional slat walls require nails or glue, many manufacturers now offer lightweight, adhesive-backed wood slat panels. These panels come in finished wood tones, providing an immediate upgrade to any bedroom or living room.

Installation Tips for Success

When installing adhesive slats, ensure the wall surface is clean and free of dust. Use a laser level to keep your lines perfectly straight, as crooked slats will immediately signal a “DIY” aesthetic rather than a professional one. Focus on a single wall to create a feature that feels purposeful and intentional.

Using Washi Tape for Geometric Murals

Bring life to your walls with trailing plants and temporary decor elements.

If you are on a tight budget, high-quality Japanese Washi tape is an underrated tool for creating wall art. Washi tape is essentially masking tape with a sophisticated finish, designed to be removed without leaving any residue behind. You can create intricate geometric patterns, faux molding, or even minimalist wall murals.

To make this look expensive, stick to a limited color palette. A charcoal grey tape against a white wall creates a sharp, modern, and high-contrast look that feels very intentional. Avoid “crafty” designs and stick to clean, architectural lines that mimic the look of custom wall paneling or abstract gallery art.

Removable Wall Decals for Sophisticated Minimalism

Wall decals have come a long way from the cheesy designs of the past. Today, you can find high-end, matte-finish decals that mimic the look of hand-painted murals or custom artistic accents. Whether it is a series of gold-leaf-inspired geometric shapes or large-scale monochromatic silhouettes, these decals offer a clean finish.

For a truly high-end appearance, look for decals that feature irregular shapes or watercolor textures. These feel less like “stickers” and more like professional interior art. Applying these in an organic, asymmetrical arrangement can make your room feel like a curated gallery space.

Floating Gallery Walls Without Nails

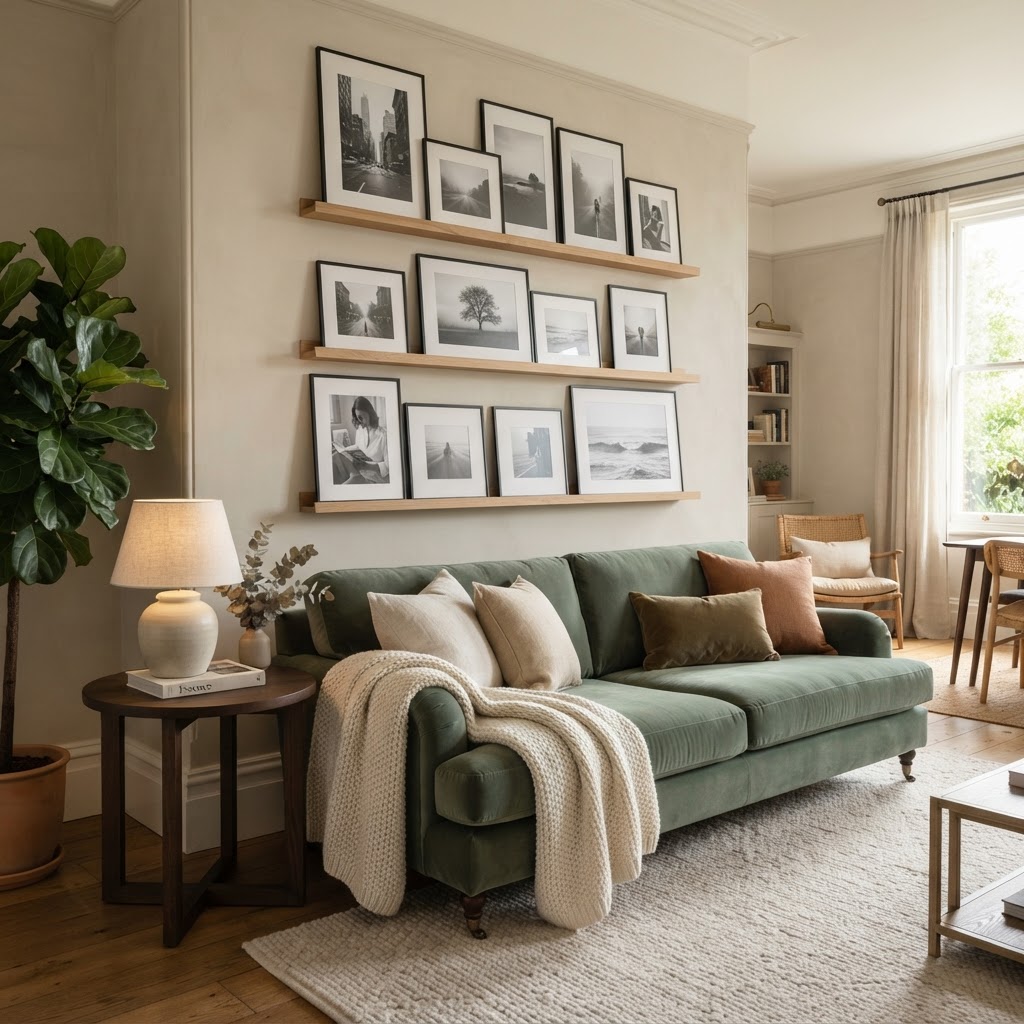
A gallery wall is a classic way to add personality, but hammering dozens of nails is rarely a renter-friendly option. By using heavy-duty adhesive hooks or a picture ledge, you can curate a stunning collection of art without damaging your walls. A picture ledge is particularly effective because it allows you to swap art as often as you like.

When curating your gallery, ensure there is a cohesive theme. Stick to matching frames—either all wood, all black, or all gold—to create a professional, unified aesthetic. Leave consistent spacing between pieces, and keep the center of your gallery at eye level to ensure it feels balanced within the room.

Curated Bookshelf Backings

If you have a bookshelf against a large wall, why not treat the back of the shelf as your accent wall? By applying a patterned peel-and-stick wallpaper or a vibrant paint color to the back panel of a bookcase, you create a “window” of color. This is one of the easiest no-damage accent wall ideas that look high-end because it contains the design element within a specific, framed structure.

Choose a bold pattern that you might be afraid to use on an entire wall. Because it is limited to the back of the shelf, it serves as a beautiful frame for your books and decor items without overwhelming the entire space.

Integrating Vertical Greenery

Bringing nature indoors is a staple of high-end design. A wall-mounted trellis or a series of hanging planters can turn a blank wall into a vertical garden. Use command hooks to support lightweight planters, or opt for a wall-mounted grid system that relies on gravity rather than hardware to stay in place.

To keep the look clean and sophisticated, use matching planters and a variety of trailing plants. The greenery itself adds texture and life, acting as a living accent wall. This approach is not only visually pleasing but also improves the indoor air quality, contributing to a healthier home environment.

Strategic Use of Mirrors

Mirrors are the oldest trick in the designer’s handbook for adding depth and luxury. Instead of one large mirror, use a collection of lightweight, adhesive-backed mirror tiles to create a large-scale feature wall. These are widely available and come in various shapes, from classic squares to hexagons.

When arranged carefully, mirror tiles can make a small room feel twice as large and reflect light into darker corners of the home. This provides a sleek, modern, and expensive look that feels very contemporary while remaining entirely removable and damage-free.

Conclusion

Your home should be a reflection of your personality, regardless of whether you own your property or are currently renting. By exploring these 9 no-damage accent wall ideas that look high-end, you can achieve a designer aesthetic without the stress of permanent renovations. Whether you choose the bold impact of peel-and-stick wallpaper, the architectural interest of wood slats, or the artistic flair of a curated gallery, remember that consistency and quality are key.

Start small, measure twice, and choose materials that align with your overall decor style. Don’t be afraid to experiment—that is the beauty of no-damage design. Which of these ideas are you planning to try first? Share your projects with us and transform your space into a high-end retreat today!

Small Apartment Lighting Ideas for Spacious & Warm Vibes

Living in a compact space shouldn’t mean sacrificing style or atmosphere. Many residents struggle with dark corners and cramped feelings, but the secret to transforming your home often lies in strategic small apartment lighting ideas. By layering light sources and choosing the right fixtures, you can visually expand your square footage while creating a cozy, sanctuary-like environment. Good lighting is not just about visibility; it is the fundamental tool for setting the mood and defining the function of every room in your apartment.

The Power of Layering Your Light

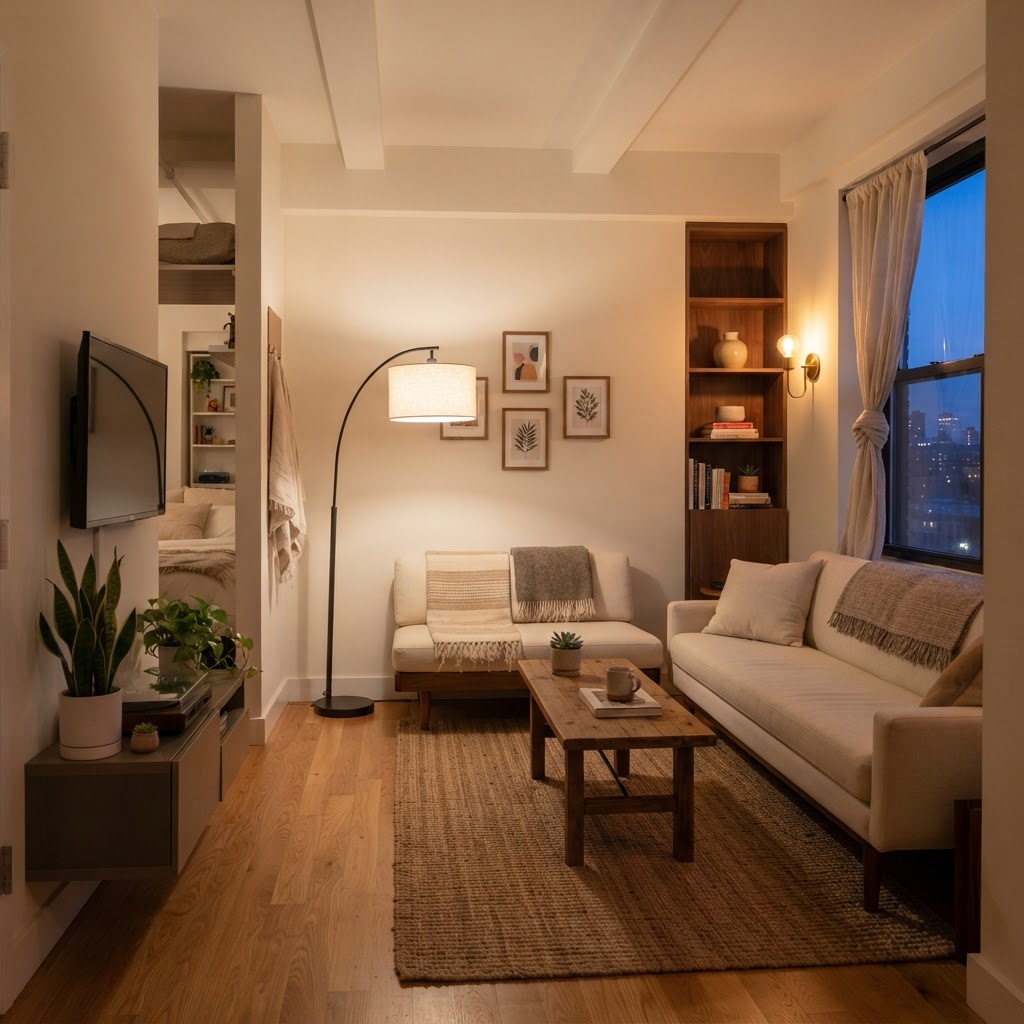
Layered lighting creates a welcoming atmosphere in compact studios.

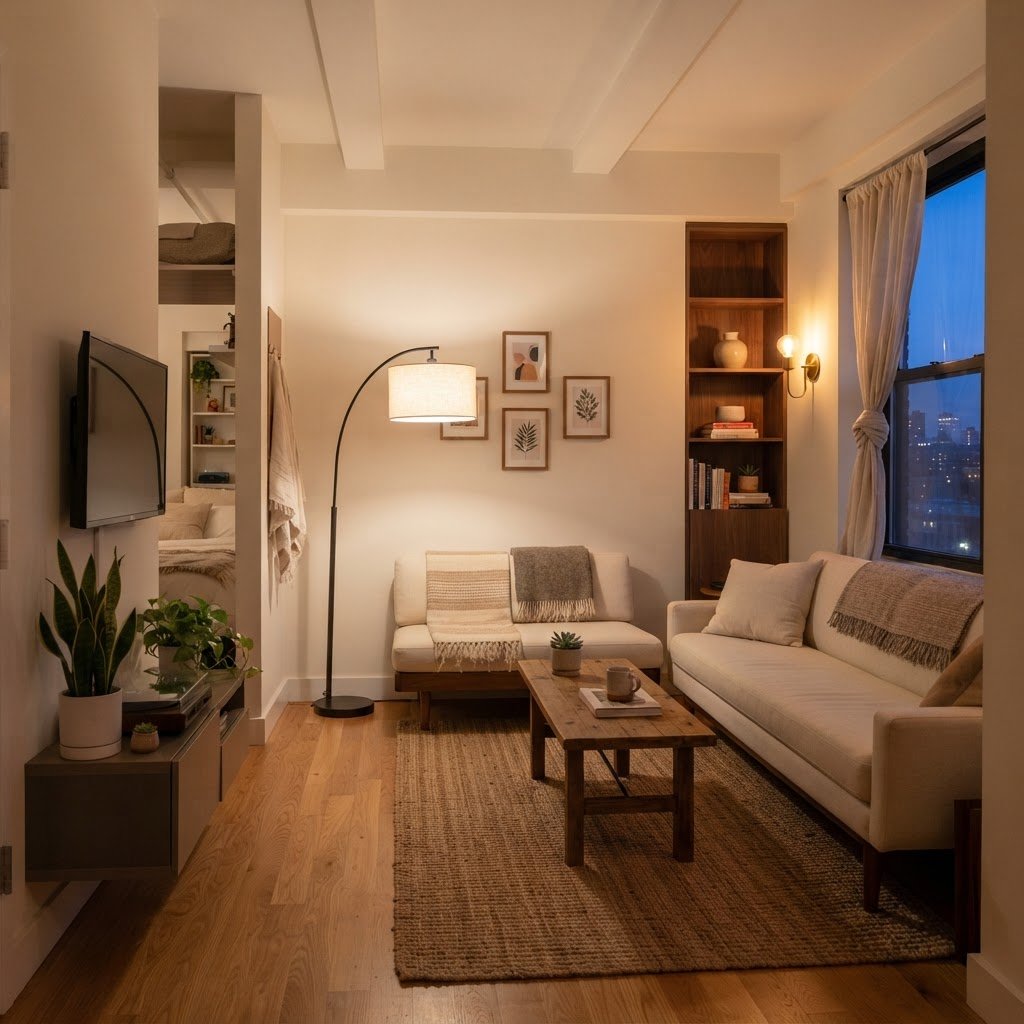
When thinking about how to light a small apartment, the biggest mistake is relying solely on a single overhead source. A solitary ceiling light often casts harsh shadows in the corners, which makes a room feel even smaller than it is. Instead, think in layers: ambient, task, and accent lighting. Ambient light provides the overall glow, task lighting assists with specific chores like cooking or reading, and accent lighting highlights your favorite decor pieces.

By distributing these layers throughout your space, you force the eye to move around the room. When your eyes scan from a table lamp to a wall sconce and then to an floor lamp, the brain perceives depth. This trick of the eye is essential for making a tiny studio or one-bedroom apartment feel like a much more expansive living area. Always aim for at least three light sources per room to create a balanced, professional look.

Choosing the Right Color Temperature

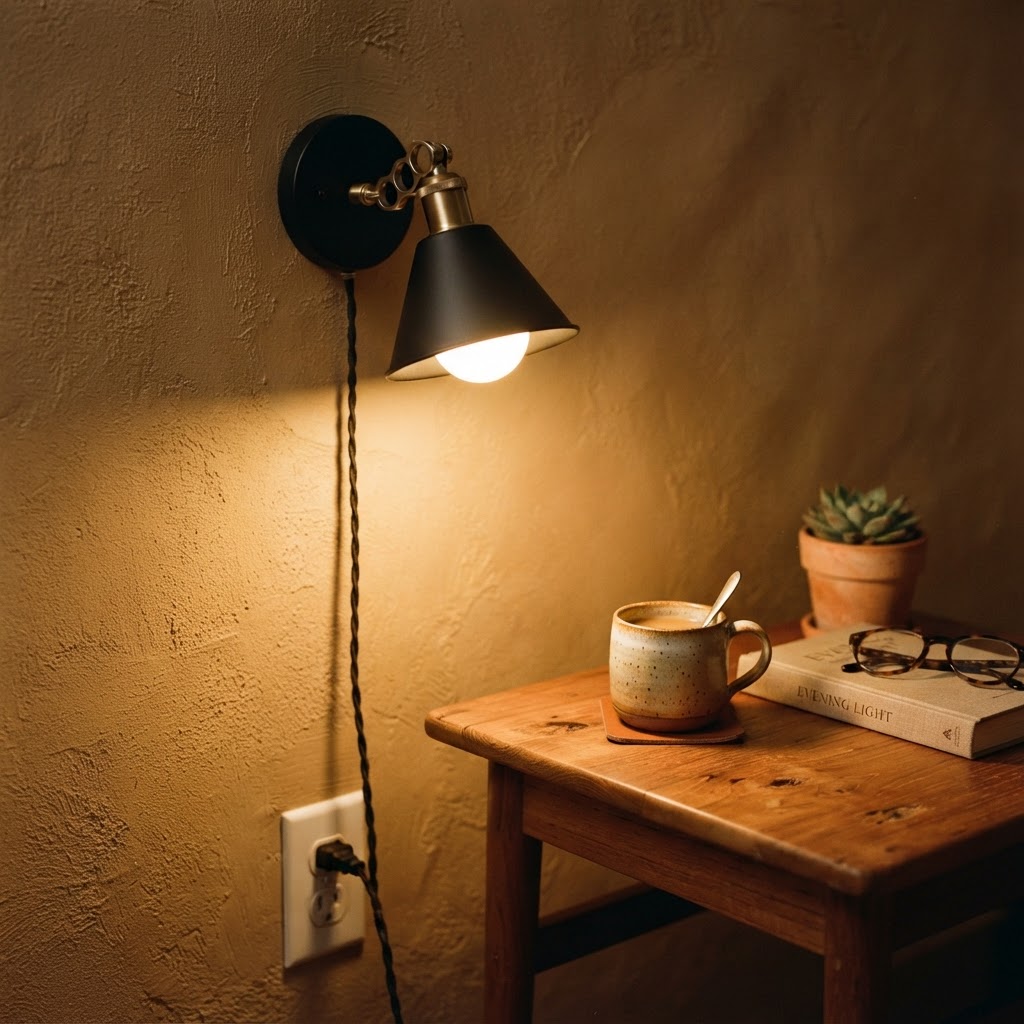
Plug-in sconces are perfect for renters needing more surface space.

One of the most important aspects of warm lighting for apartments is color temperature, measured in Kelvins (K). For a cozy, inviting feel, you should aim for ‘warm white’ bulbs, which generally fall between 2700K and 3000K. These bulbs emit a soft, yellowish glow that mimics the comfort of sunset light, which helps your home feel more intimate and relaxing.

Why Temperature Matters for Space

Cooler, blue-tinted lights (above 4000K) can feel clinical and harsh, which often makes a small room feel like a sterile waiting room. While cool light can make a room feel slightly larger, it often sacrifices the ‘warm’ factor that makes a house a home. The best compromise for small apartments is to select bulbs in the 3000K range. This provides enough clarity to see your tasks while maintaining a golden undertone that warms up white walls and neutral furniture.

Utilizing Vertical Space and Wall Lighting

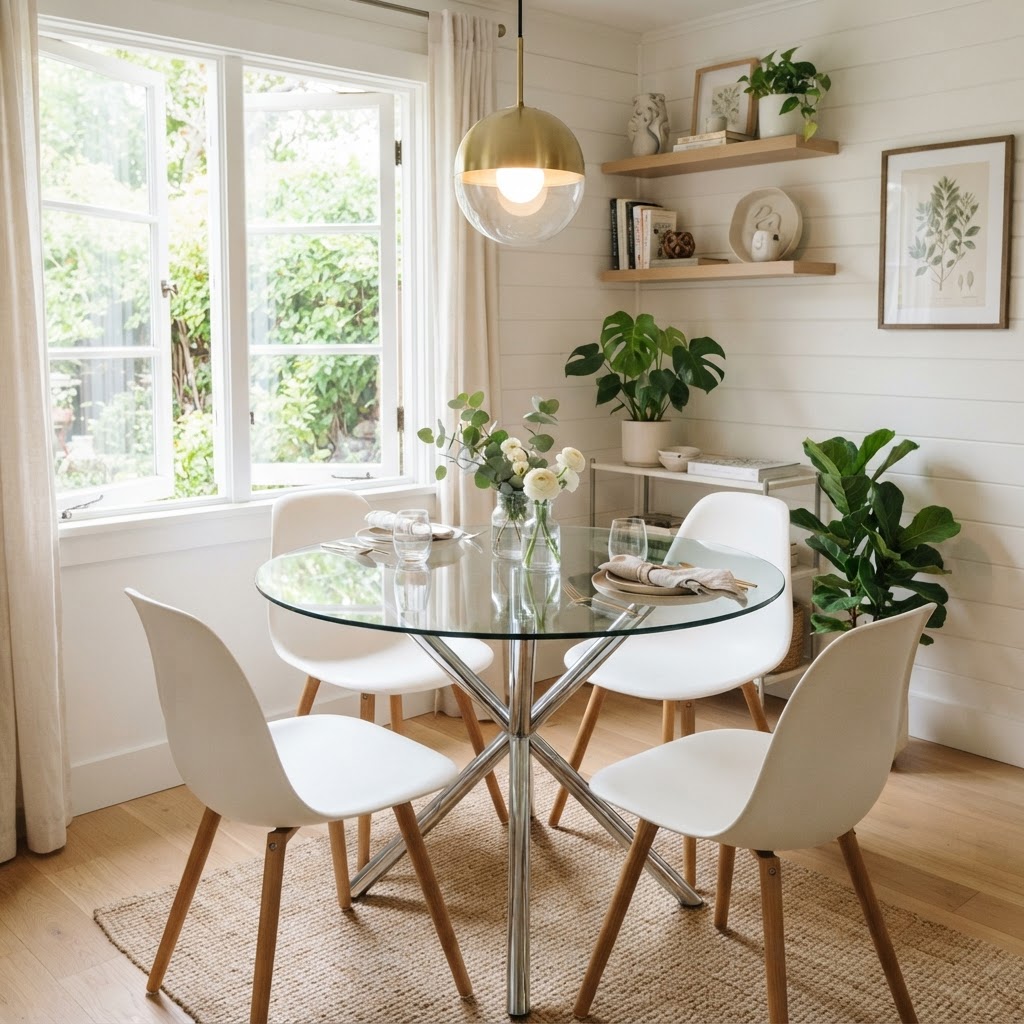
Glass tables and pendant lights help reflect light and open up tight corners.

Floor space is often at a premium in smaller homes, so taking advantage of your walls is a clever strategy. Wall sconces are fantastic small apartment lighting ideas because they don’t occupy any surface space on your side tables or consoles. Hardwired options are great if you own your unit, but plug-in sconces offer a renter-friendly solution that allows you to add high-end lighting design without damaging the walls.

Consider installing adjustable swing-arm sconces next to your bed or sofa. They provide targeted task lighting for reading while keeping your nightstand or side table clear for a glass of water or a book. If you have low ceilings, using wall-mounted fixtures that point light upward can also make the ceiling feel higher, drawing the eye vertically and increasing the perception of space in the room.

Reflecting Light with Mirrors and Surfaces

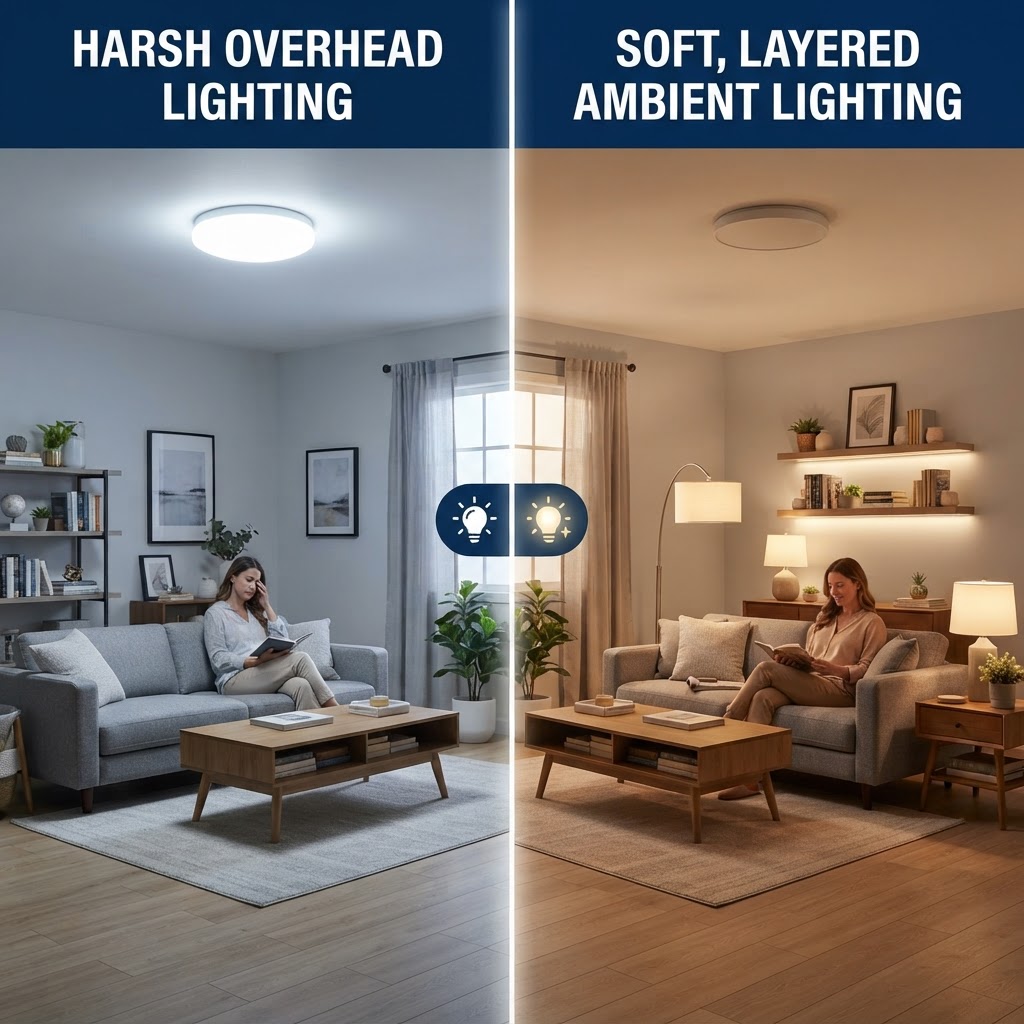
The difference between harsh, flat lighting and warm, layered light is transformative.

If you want to maximize your current setup, mirrors are your best friend. Placing a lamp near a mirror allows the light to bounce off the reflective surface, effectively doubling the light output in the room. This is one of the oldest interior design tricks for making small spaces feel larger and airier. Placing a tall floor lamp in a corner near a large floor-length mirror can brighten a dark void instantly.

Strategic Placement Tips

  • Place a table lamp in front of a mirror to double the light spread.
  • Use metallic finishes on fixtures to reflect ambient light throughout the day.
  • Keep windows clear of heavy curtains to let natural light work with your lamps.
  • Use glass or acrylic furniture to allow light to pass through rather than block it.

Dimmers: The Ultimate Small Space Hack

If you take away only one piece of advice, let it be this: install dimmers on every possible light source. Dimmers are game-changers for small apartments because they allow you to transition a space from a bright, functional workspace during the day to a soft, moody retreat in the evening. Most smart bulbs or plug-in dimmer switches are easy to install and require no electrical work, making them perfect for renters.

Being able to control the intensity of your light means you can eliminate the ‘all-or-nothing’ effect of standard light switches. When entertaining, dimming your lights creates an instant sense of warmth and luxury. When you need to fold laundry or work from home, simply brighten the room to full capacity. This flexibility makes your limited space work much harder for you without needing extra floor area.

Selecting Furniture-Integrated Lighting

In tiny apartments, every piece of furniture should ideally be multitasking. Many modern bookshelves, bed frames, and vanity units now come with built-in LED strips or integrated spotlights. This is a smart way to light a small apartment because it solves the problem of lighting without adding bulky lamps or extra cords.

Look for pieces that feature under-shelf lighting for bookshelves or headboards that have reading lights attached. These features are not only practical but also add a custom-designed, high-end feel to your interior. They hide the ‘mechanics’ of the light, leaving you with clean lines and a clutter-free aesthetic that is essential for a spacious feeling.

Conclusion

Creating a warm, spacious environment is entirely achievable with the right approach to lighting. By layering your sources, choosing the correct color temperature, and utilizing vertical wall space, you can significantly alter the look and feel of your home. Remember that the goal of these small apartment lighting ideas is to create a home that feels open, inviting, and uniquely yours. Start by adding one or two new light sources this weekend and see the difference a little glow makes in your living space. What change will you make first to brighten up your home today?

How to Style an Apartment Entryway on a Tight Budget

First impressions matter, and your home’s entrance sets the tone for your entire living space. If you are struggling to figure out how to style an apartment entryway on a tight budget, you are not alone. Many renters face the challenge of awkward, tiny, or dark foyers that lack character. The good news is that you don’t need a massive renovation or a luxury interior designer to create a functional and stylish landing pad. By focusing on smart organization and aesthetic touches, you can turn a cluttered corner into a welcoming transition zone that reflects your personal style.

Planning Your Entryway Layout

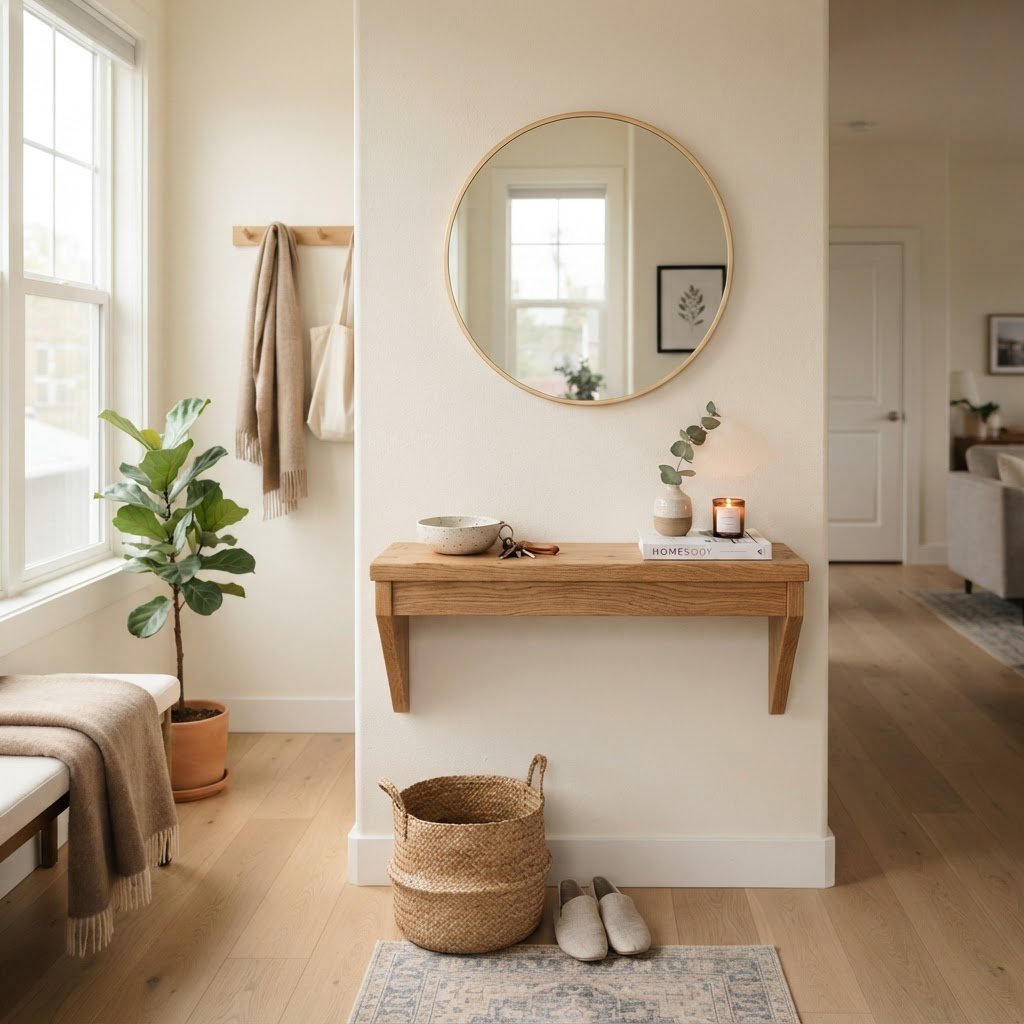
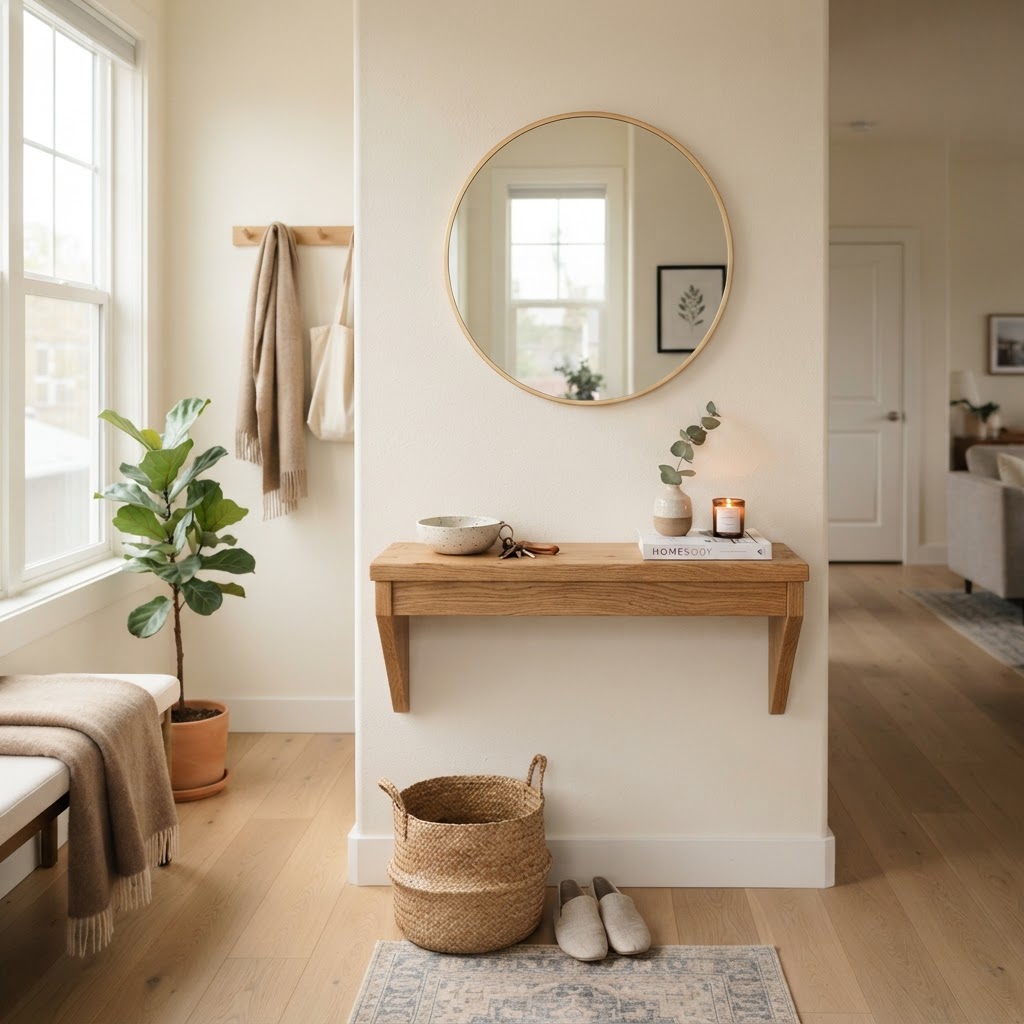
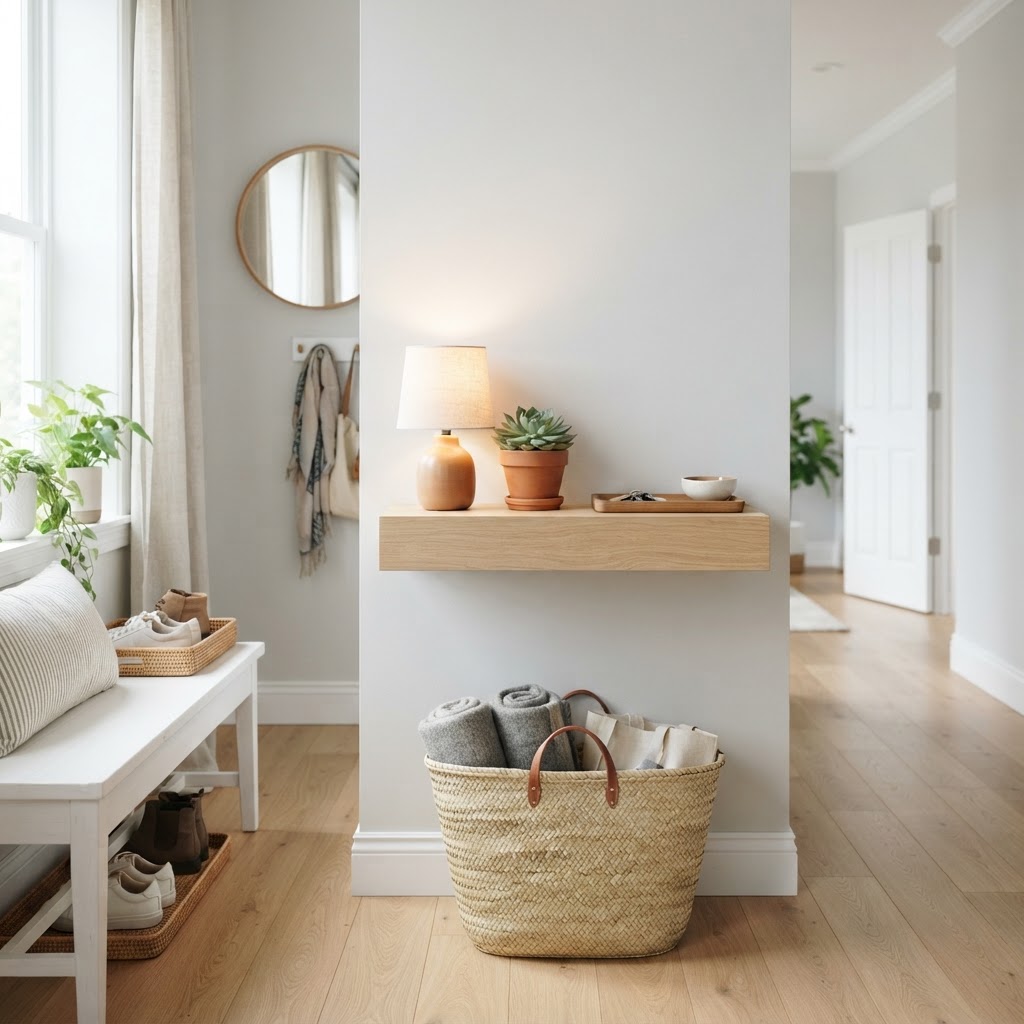
A well-styled, narrow console table makes a perfect landing pad.

Before you spend a dime, you must understand your space. Even the smallest nook can be optimized if you know how to work with the footprint. Start by clearing out everything currently occupying the area. You need a blank canvas to visualize what belongs there. Is your entryway a hallway, or is it just a wall directly inside your door? Defining this will dictate your furniture choices.

Take measurements of the width and depth of your space. It is incredibly easy to buy furniture online that ends up feeling too bulky in a small apartment. A narrow console table or a floating shelf is often better than a standard-sized sideboard. Think about the flow of traffic as well. You want to ensure you have enough room to open the door completely without hitting your new furniture pieces.

Choosing Functional Furniture for Less

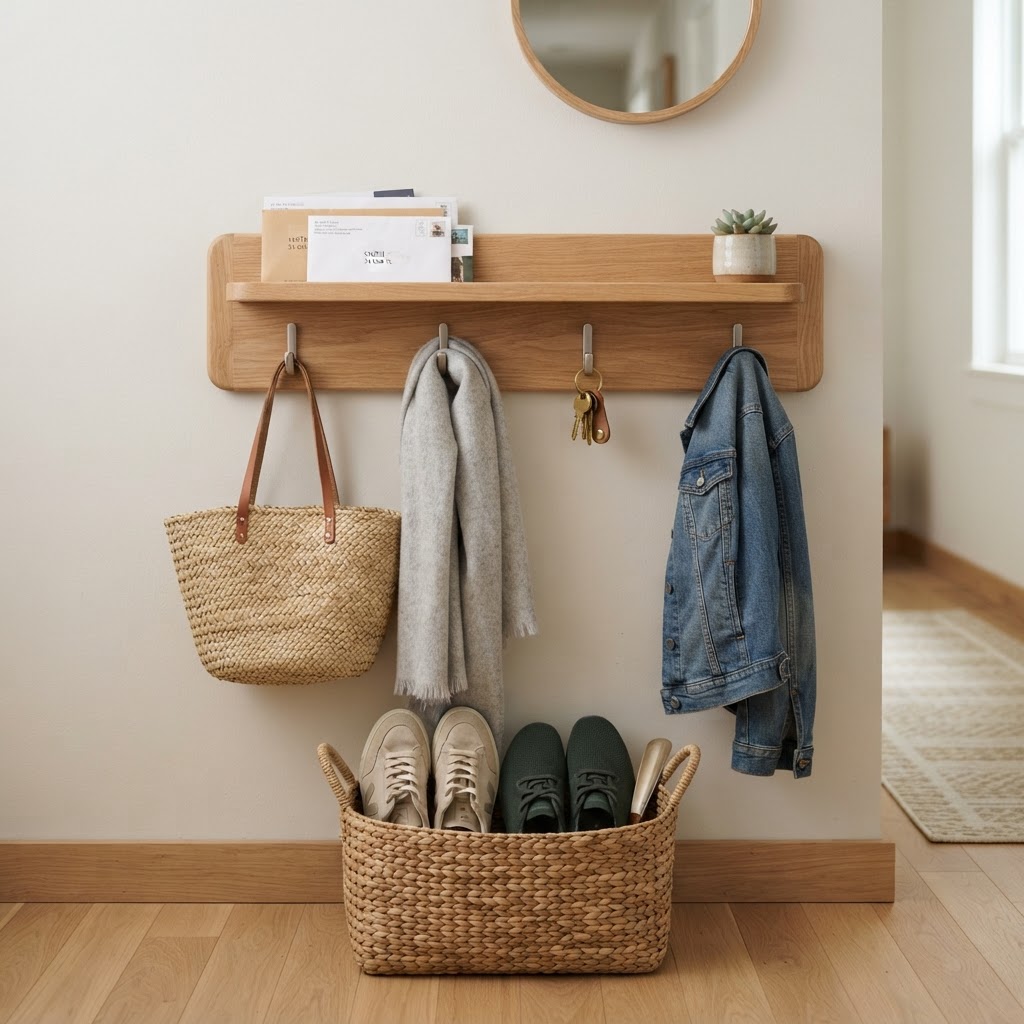
Vertical storage solutions keep your entryway floor clutter-free.

When you are looking to style an apartment entryway on a tight budget, versatility is key. You don’t need high-end designer pieces to make a statement. Thrift stores, Facebook Marketplace, and even big-box discount retailers offer plenty of affordable options. Look for pieces that serve two purposes, such as an ottoman with storage inside or a bench that holds shoes underneath.

Maximizing Vertical Storage

If floor space is limited, go up. Wall-mounted shelves and coat hooks are your best friends in a cramped apartment. You can install a series of decorative hooks at different heights, which provides a designated place for coats, bags, and umbrellas. This keeps the floor clear, which instantly makes the space feel larger and cleaner.

Repurposing Existing Pieces

Don’t overlook what you might already own. A small bookshelf from another room can be repurposed as a shoe rack if you turn it sideways or remove a shelf. Paint can also work wonders on dated furniture. A simple coat of matte black or warm wood stain can make a $10 thrifted table look like a high-end boutique find.

Creating Visual Interest with Decor

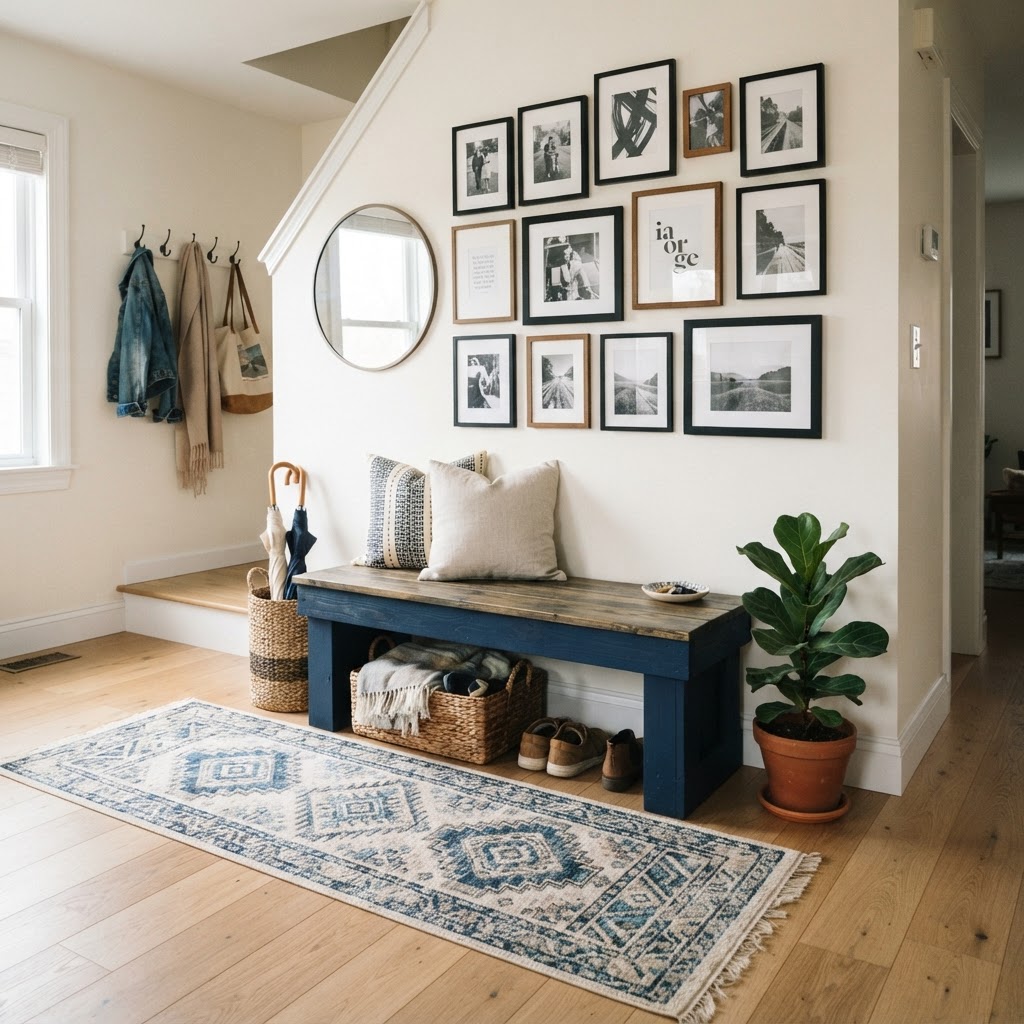
A DIY painted bench adds character and extra storage to your entry.

Once you have your furniture, it is time to add personality. This is where your apartment entryway truly comes to life. A mirror is the oldest trick in the book for a reason—it bounces light around the room and creates the illusion of more space. Look for a mirror with an interesting frame to add texture to the wall.

Wall art is another essential element. You don’t need expensive paintings to dress up your entry. Consider printing out your own photography or finding printable art online. Frame them in consistent, simple frames to create a cohesive gallery wall look. This approach is highly cost-effective and allows you to change the art whenever you feel like a refresh.

The Role of Lighting and Textiles

Simple decor touches can make your apartment entryway look professional.

Lighting can make or break a small space. Many apartments come with harsh, unappealing overhead lighting that does little for an entryway. If you cannot change the fixture, consider adding a portable table lamp or a battery-operated wall sconce. These smaller light sources provide a softer, more inviting glow that transforms the entryway into a cozy nook rather than a cold utility zone.

Adding Texture with Rugs

Textiles are often overlooked in entryways because people worry about durability. However, a durable, low-pile runner can protect your floors and define the space as its own “room.” Choose a rug that can withstand high traffic and is easy to clean. If you are on a very strict budget, look for outdoor-indoor rugs, as they are often cheaper, highly durable, and come in beautiful, modern patterns.

Organization Hacks for Busy Entryways

Clutter is the enemy of a small apartment. To effectively learn how to style an apartment entryway on a tight budget, you must master the art of hidden storage. Use decorative baskets to contain items like gloves, scarves, and mail. If a basket is on your console table, it instantly looks like part of the decor rather than a pile of junk.

Create a designated drop zone for your keys. A small bowl or a decorative tray is a classic solution that ensures you never spend ten minutes looking for your keys before leaving the house. This minor addition adds a layer of sophistication to your entryway while keeping you organized throughout the week.

DIY Upgrades for a Custom Look

If you are feeling creative, DIY projects are a fantastic way to save money and get a high-end look. Consider updating the hardware on your storage furniture. Replacing basic cabinet knobs with brass or matte black hardware can make a significant difference in how the piece is perceived. It is a small investment that offers a high visual return.

Another option is creating a DIY bench or console. If you are handy, building a simple console out of pine wood is significantly cheaper than buying something finished. You can stain it to match your existing home decor. These small custom touches ensure that your entryway doesn’t look like it was pulled straight from a catalog, but rather curated with intention.

Common Mistakes to Avoid

Even with the best intentions, it is easy to make mistakes in a small entryway. The biggest culprit is overcrowding. Adding too much furniture or decor will make a small space feel even smaller. If you feel like your entryway is cluttered, remove one item. The rule of ‘less is more’ is essential when dealing with limited square footage.

Another mistake is choosing the wrong scale. A massive mirror might look great on a large wall, but in a tight hallway, it can overwhelm the space. Always prioritize scale and proportionality. If you are unsure, use blue painter’s tape on the wall to outline the size of a piece of furniture before you buy it to see how it fits in your real-life environment.

| Item | Function | Style Tip |

| :— | :— | :— |

| Mirror | Reflects light | Choose a round mirror to soften hard edges |

| Hooks | Coat/Bag storage | Install at alternating heights for a playful look |

| Tray/Bowl | Key catch-all | Use a tray with a pop of color to highlight the area |

| Bench | Seating/Storage | Look for hidden storage inside the seat |

Conclusion

Learning how to style an apartment entryway on a tight budget is a journey of creativity, resourcefulness, and smart planning. By focusing on vertical storage, multifunctional furniture, and carefully curated decor, you can transform even the smallest entrance into a beautiful and functional space. Remember, your home should be a reflection of your personality, no matter your budget. Start by choosing one of the tips from this guide, apply it to your entryway, and watch how it elevates your entire home. Do you have a favorite budget-friendly decorating tip? Share your experience in the comments below and start your entryway transformation today!

Statement Glow Lamps: Tips for Bold Yet Cozy Living Rooms

Creating the perfect atmosphere in your living room often comes down to the delicate balance between form and function. While furniture and color palettes set the stage, it is the lighting that truly dictates the mood. Incorporating statement glow lamps into your living room is one of the most effective ways to bridge the gap between bold, high-impact design and an inviting, cozy environment. A well-chosen lamp can act as a sculptural centerpiece while providing the soft, ambient diffusion necessary for relaxation.

Lighting is rarely just about visibility; it is about architecture and emotional connection. When you choose a bold lamp, you are not just adding an appliance to your room; you are adding a piece of art. The secret lies in selecting pieces that reflect your personality while ensuring the light output remains warm and diffused. This guide will walk you through the process of choosing and styling these luminous accents to create a space that feels both dramatic and comfortable.

The Psychology of Ambient Glow

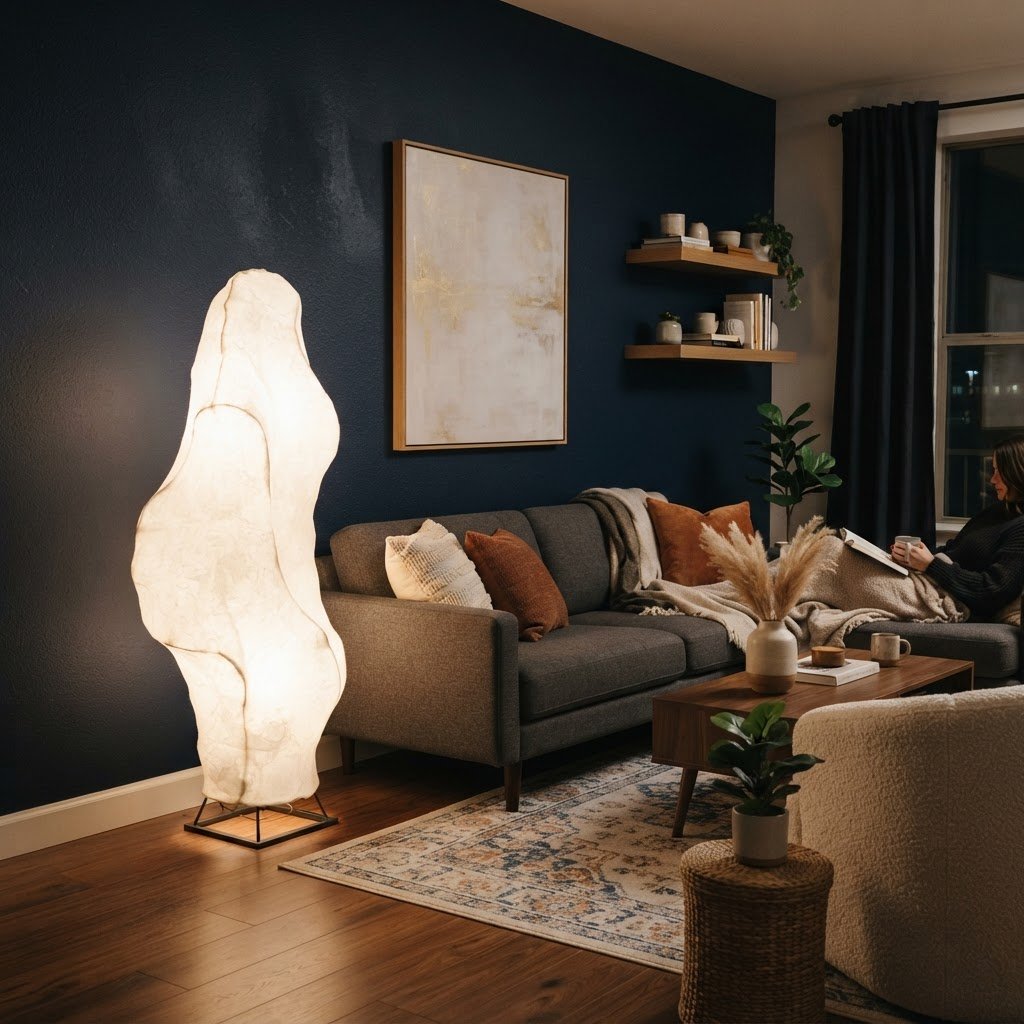
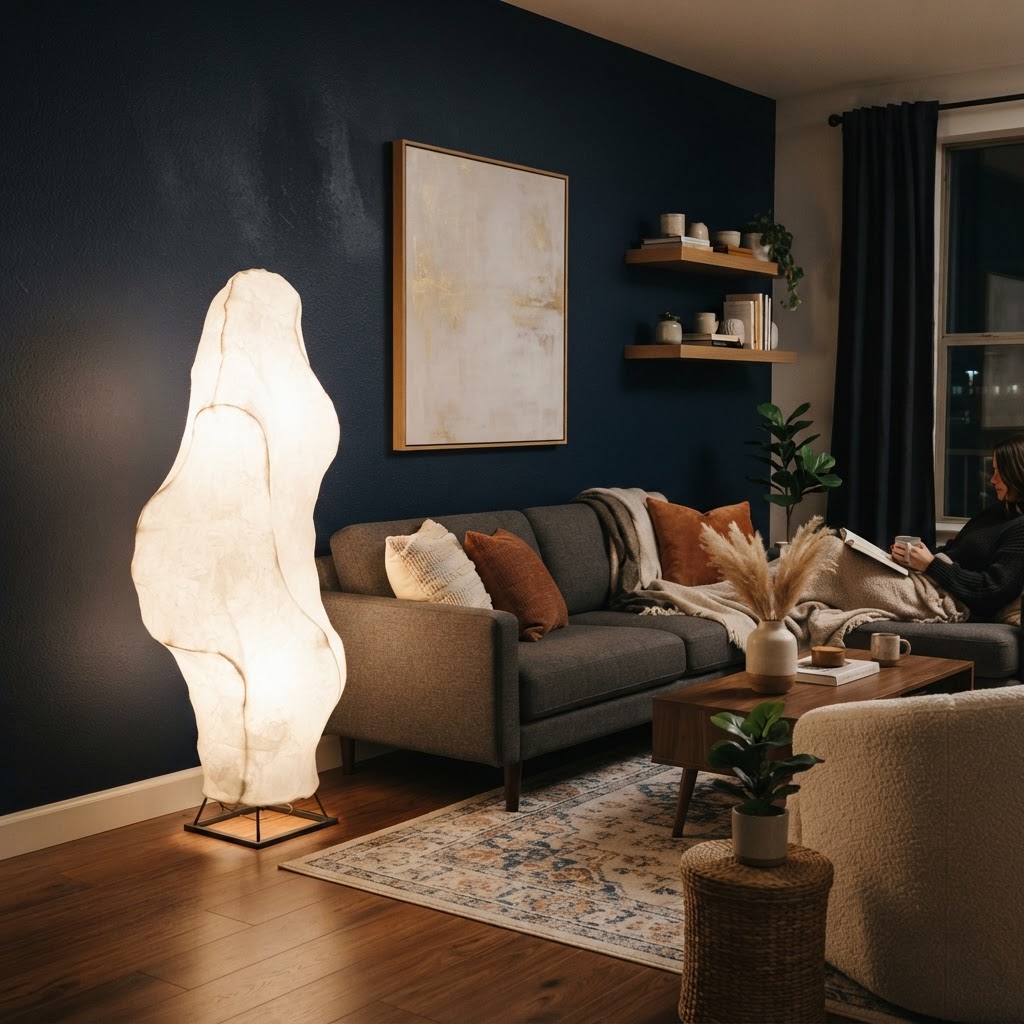
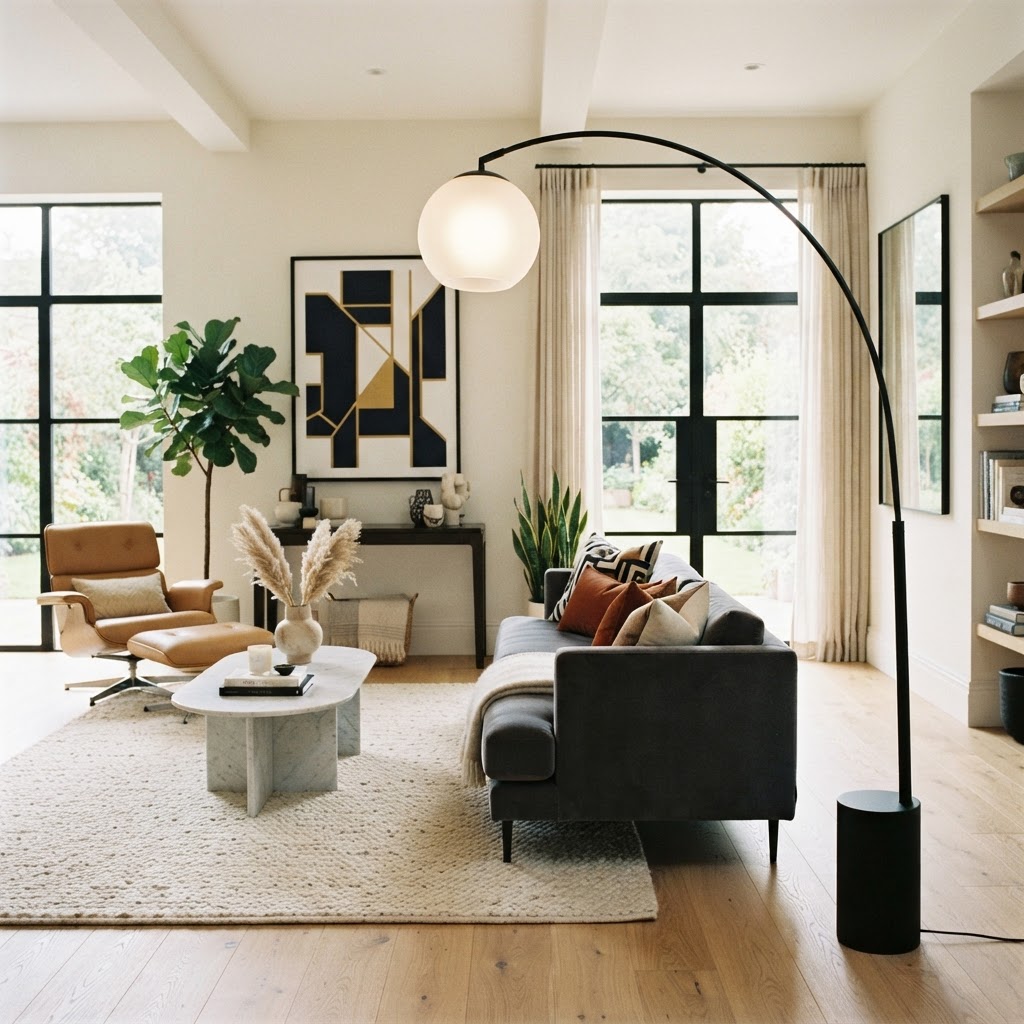
Sculptural floor lamps add dramatic focal points.

To understand why statement glow lamps are so transformative, we must first look at how light affects our nervous system. Harsh, direct overhead lighting creates sharp shadows and can make a room feel clinical or sterile. In contrast, soft, indirect light mimics the warmth of a sunset or a fire, signaling to our brains that it is time to wind down. By using lamps that feature frosted glass, fabric shades, or sculptural materials, you can soften the edges of your room.

Why Soft Light Matters

Soft light is essential for the concept of ‘hygge’ or coziness. When the light source is hidden behind an interesting material—like rice paper, opalescent glass, or linen—the light scatters rather than hitting surfaces directly. This creates a welcoming aura that makes bold design choices, like dark walls or oversized velvet furniture, feel less imposing and more intimate.

Selecting Your Statement Piece

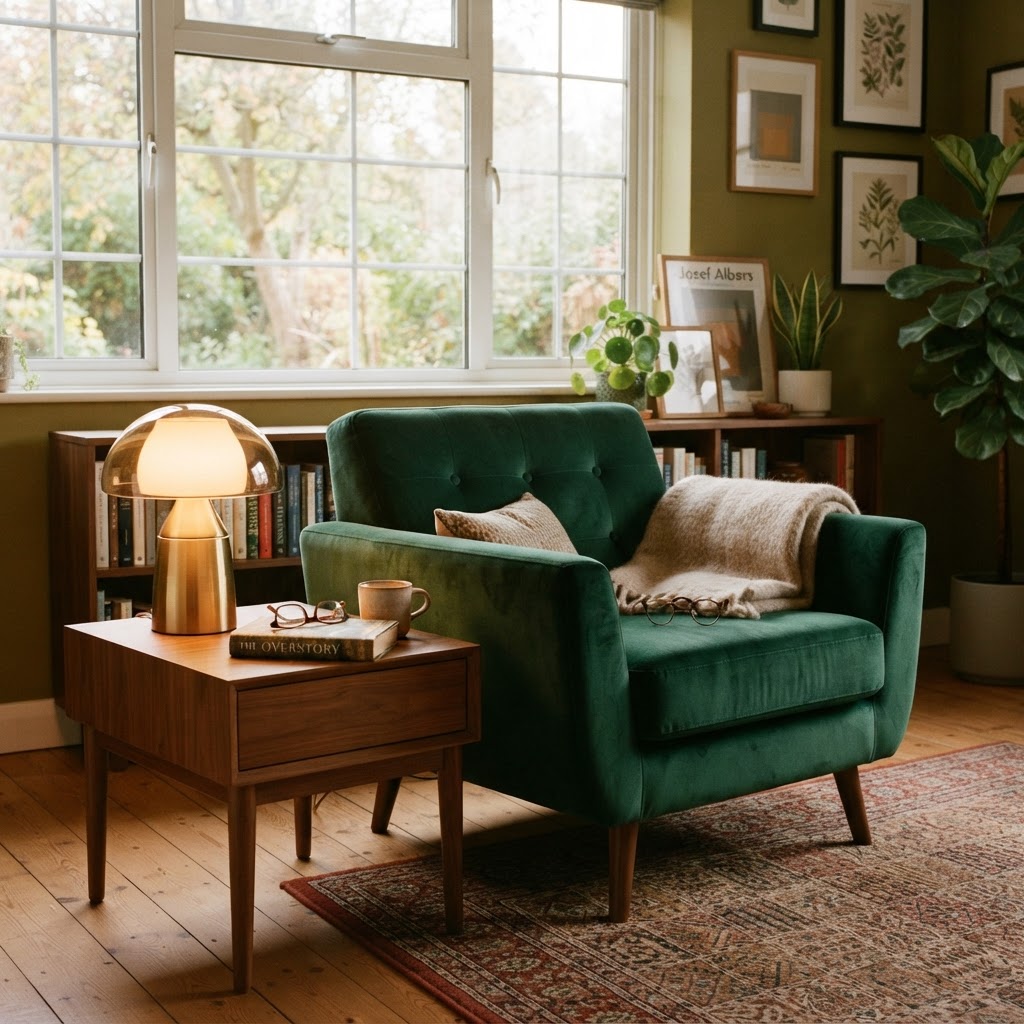
Warm glow lamps enhance cozy reading nooks.

When shopping for a statement lamp, the first rule is to consider the scale of your room. A tiny table lamp in a massive living room will get lost, while a towering arc lamp might overpower a compact apartment. Think of your lamp as a focal point, similar to a fireplace or a large piece of wall art. Look for shapes that defy standard expectations: consider geometric spheres, organic, liquid-like forms, or oversized mushroom silhouettes.

Material Matters

The material of the lamp shade or housing significantly dictates the quality of the glow. Glass is a popular choice for statement pieces because it can be molded into dramatic shapes. However, ensure the glass is either etched or tinted to prevent glare. If you prefer a more tactile experience, textured ceramics or woven materials add a sense of artisan craftsmanship that grounds the room’s bold aesthetic.

Strategic Placement for Maximum Impact

Arc floor lamps combine bold height with soft illumination.

Even the most stunning lamp will lose its power if placed incorrectly. The goal of a statement glow lamp is to draw the eye and create pockets of light that guide movement throughout the space. Avoid placing your lamp in the middle of a wall; instead, use it to highlight a specific zone, such as a reading nook or the corner of a sectional sofa.

The Rule of Three

In interior design, the rule of three is a classic for a reason. Try to place your statement lamp in a corner, paired with a small side table and a piece of art or a tall indoor plant. This creates a vignette that feels intentionally styled. By grouping items, you prevent your bold lamp from looking like an afterthought, allowing it to become a cohesive part of the room’s architecture.

Balancing Boldness with Comfort

If you have chosen an extremely bold lamp—perhaps one with a high-contrast color or a very jagged silhouette—you must ensure the rest of the room provides a visual ‘breather.’ If your lighting is the main event, keep your wall colors neutral and your furniture textures layered but relatively simple. This allows the lamp to take center stage without the room feeling cluttered.

Layering Lighting Types

Remember that a statement lamp should not be the only light source in your living room. You need to layer your lighting. This means combining your statement piece with secondary sources like floor lamps, picture lights, or even subtle LED strips behind a television. By having layers, you maintain the ‘glow’ as your primary aesthetic while having the flexibility to increase brightness when you need to read or host guests.

Trending Shapes and Styles

Design trends currently favor organic shapes and sustainable materials. We are seeing a major surge in ‘blob’ lamps—sculptural, amorphous shapes that look like they could be made of wax or glass. These pieces are inherently bold because they look like art installations, but because they are usually made of soft, translucent materials, they emit a beautiful, diffused glow that creates an instant cozy vibe.

Retro-Modern Fusion

Another trend is the revival of the mid-century modern aesthetic, specifically the mushroom lamp. These lamps provide a wide, soft base of light that illuminates the floor and nearby surfaces, making them perfect for creating a cozy atmosphere. Their iconic shape is instantly recognizable, providing that touch of drama while staying firmly rooted in a timeless design language.

Maintenance and Care for Your Lighting

To keep your statement lamps performing their best, regular maintenance is required. Dusting is crucial, especially for fabric shades or intricate sculptural bases, as dust can trap light and alter the color temperature. Be sure to check the wattage of your bulbs as well. Using a ‘warm white’ bulb (between 2700K and 3000K) is essential for achieving that inviting glow. If you find a lamp is too bright, swap the bulb for a lower lumen version rather than sacrificing the lamp’s beauty.

Creating Cozy Zones: A Quick Guide

To help you visualize how to arrange your living space, here is a breakdown of how to zone your room using light:

  • The Reading Nook: Pair a sleek, tall floor lamp with a comfortable lounge chair and a side table.
  • The Conversation Area: Use mid-height table lamps on sideboards or console tables to create a circular glow.
  • The Focal Wall: Place two matching lamps on either side of a console table to frame artwork and add height.
  • The Relaxation Corner: Use a single, large-scale sculptural lamp in the darkest corner of the room to pull the space together.

Conclusion

Statement glow lamps are more than just functional tools; they are the jewelry of a room. By choosing pieces that reflect your style and placing them with intention, you can transform your living room into a sanctuary that feels both high-fashion and incredibly cozy. Start small if you feel intimidated by ‘bold’ designs, or go big with a sculptural floor lamp that changes the entire look of your home. Lighting is the most affordable way to redefine your space. Why not start today? Browse our collection of modern, ambient lighting and find the perfect glow to elevate your living room decor.

6 Smart Ways to Use Tension Rods in a Rental Apartment

Living in a rental apartment often comes with a strict set of rules regarding home modifications. When your lease forbids drilling holes in walls or making permanent structural changes, finding creative solutions for storage and decor can feel daunting. However, one of the most versatile and affordable tools at your disposal is the simple tension rod. Learning 6 smart ways to use tension rods in a rental apartment can help you maximize your space, hide unsightly areas, and personalize your home without risking your security deposit. These spring-loaded wonders require no tools, no nails, and absolutely no stress. Whether you are dealing with a tiny kitchen or an awkward closet, tension rods are the ultimate secret weapon for renters who want a functional, stylish living environment.

Rethink Your Cabinet and Closet Storage

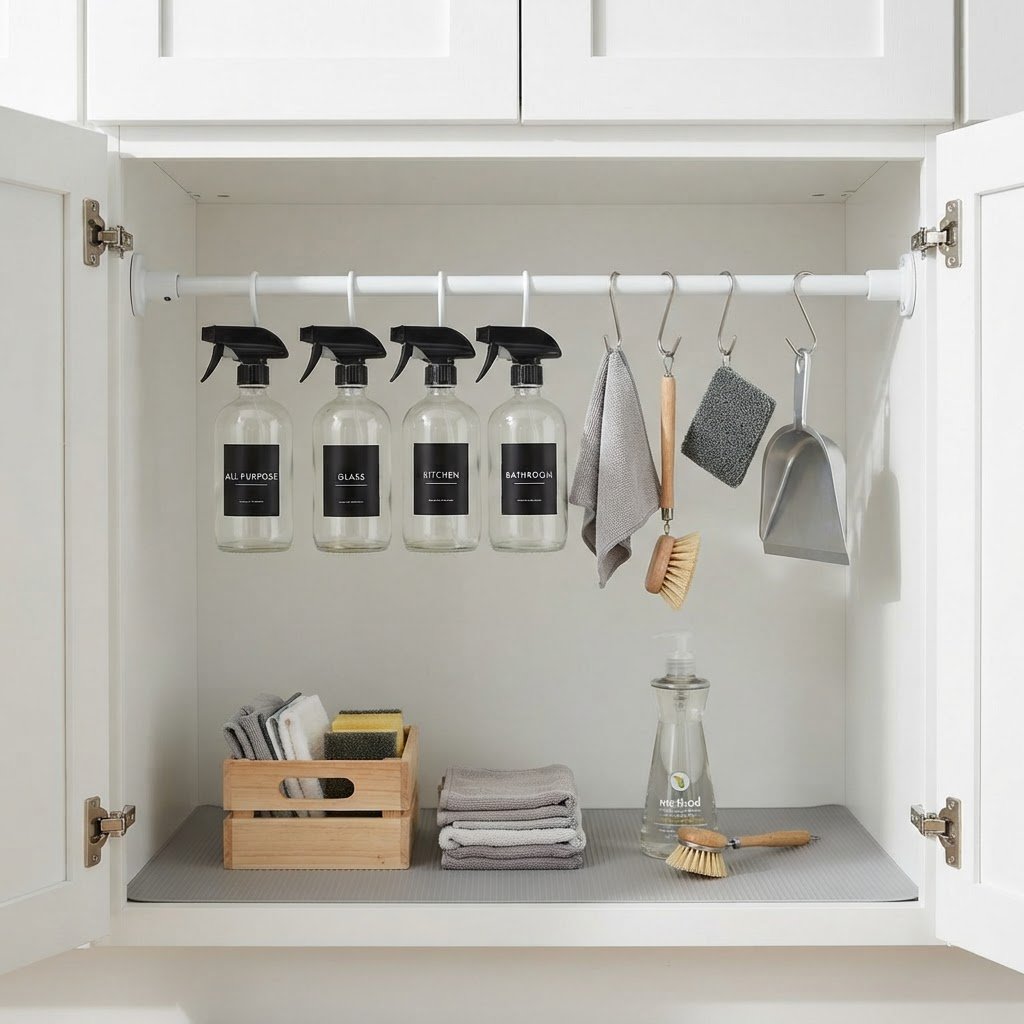
Maximize your under-sink storage with a simple tension rod hack.

One of the most effective ways to utilize tension rods is by installing them inside your kitchen cabinets or under the sink. By placing a rod horizontally across the cabinet space, you create an instant hanger for spray bottles, cleaning supplies, and kitchen tools. This vertical storage approach frees up valuable floor and shelf space, making your cleaning supplies easy to see and access. You can even use tension rods to organize plastic wrap, aluminum foil, and baking parchment boxes by hanging them directly from the rod with binder clips.

Maximize Closet Efficiency

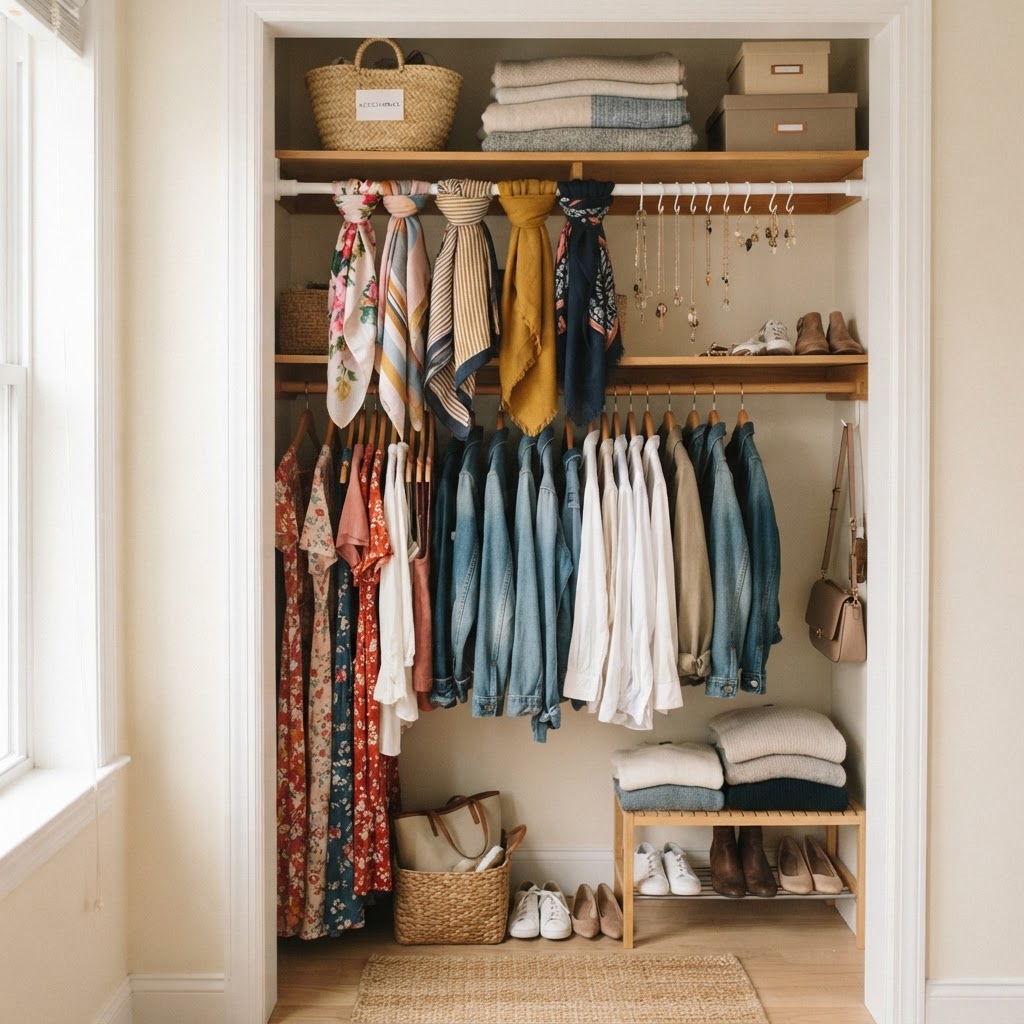
Inside your bedroom or hallway closets, tension rods can act as supplemental organizers. Use them to hang scarves, belts, or hats on the back of the door or in unused corners of the closet. If your closet has deep, hard-to-reach areas, a tension rod can act as a divider to help you organize seasonal clothing or shoes, ensuring that you don’t lose items in the back. By grouping your items strategically, you can create a customized storage system that fits your specific needs without modifying the existing closet rods.

Create Temporary Privacy Screens

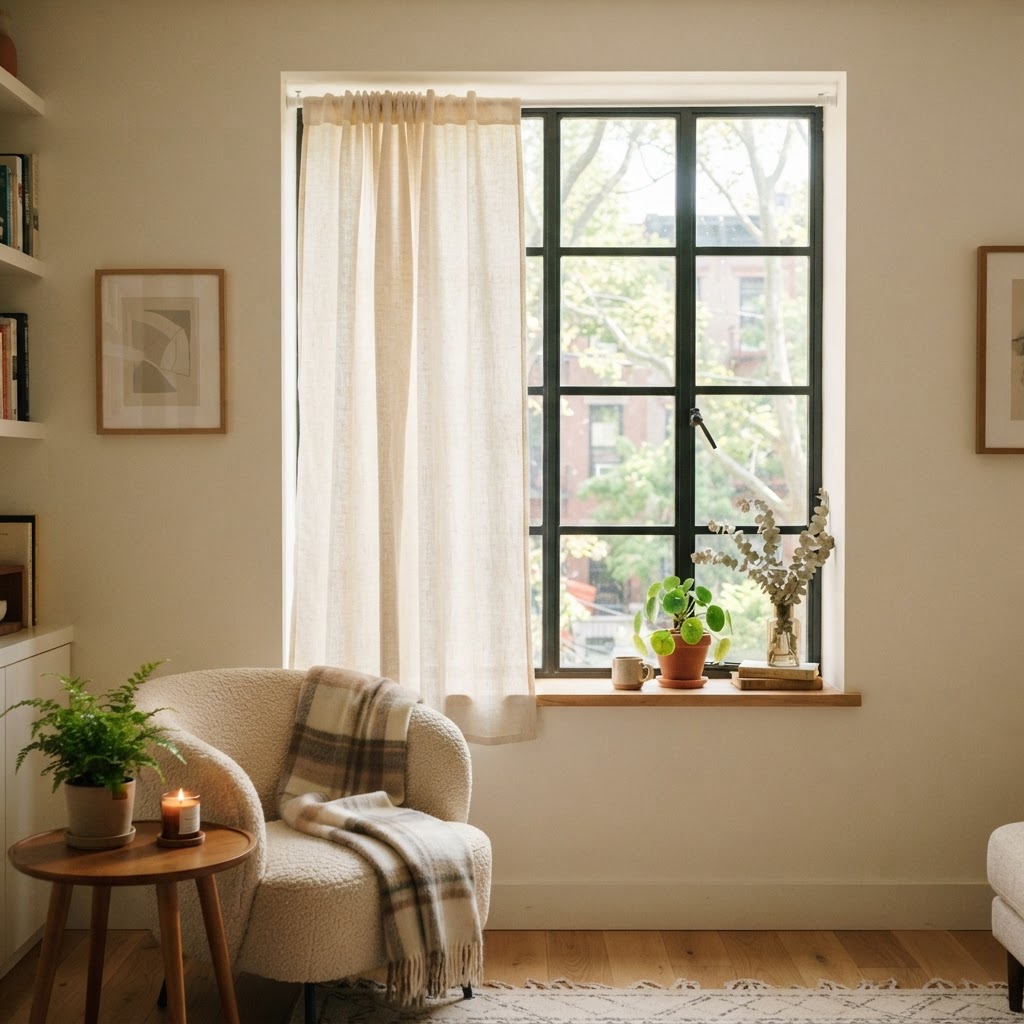
Achieve privacy in minutes with a tension rod and curtain.

Rental apartments often suffer from poor layout choices, such as windows that look directly into a neighbor’s unit or glass doors that lack privacy. Instead of committing to permanent blinds or drilling into expensive door frames, use a tension rod to hang a fabric curtain. By choosing a tension rod sized for the interior frame of the window or door, you can create a soft, light-filtering privacy screen that can be removed in seconds. This method is particularly effective for glass-paneled kitchen doors or laundry area nooks.

Choosing the Right Fabric

When creating privacy screens, consider the weight of your fabric. Sheer curtains are excellent for light filtration while providing basic privacy, whereas heavy-duty blackout curtains are better for bedroom windows. Ensure your tension rod is rated for the weight of the material to prevent sagging over time. Installing the rod at the top of a door frame can also disguise an unattractive utility closet or a cluttered open shelving unit, keeping your home looking tidy and cohesive.

Upgrade Your Kitchen Organization

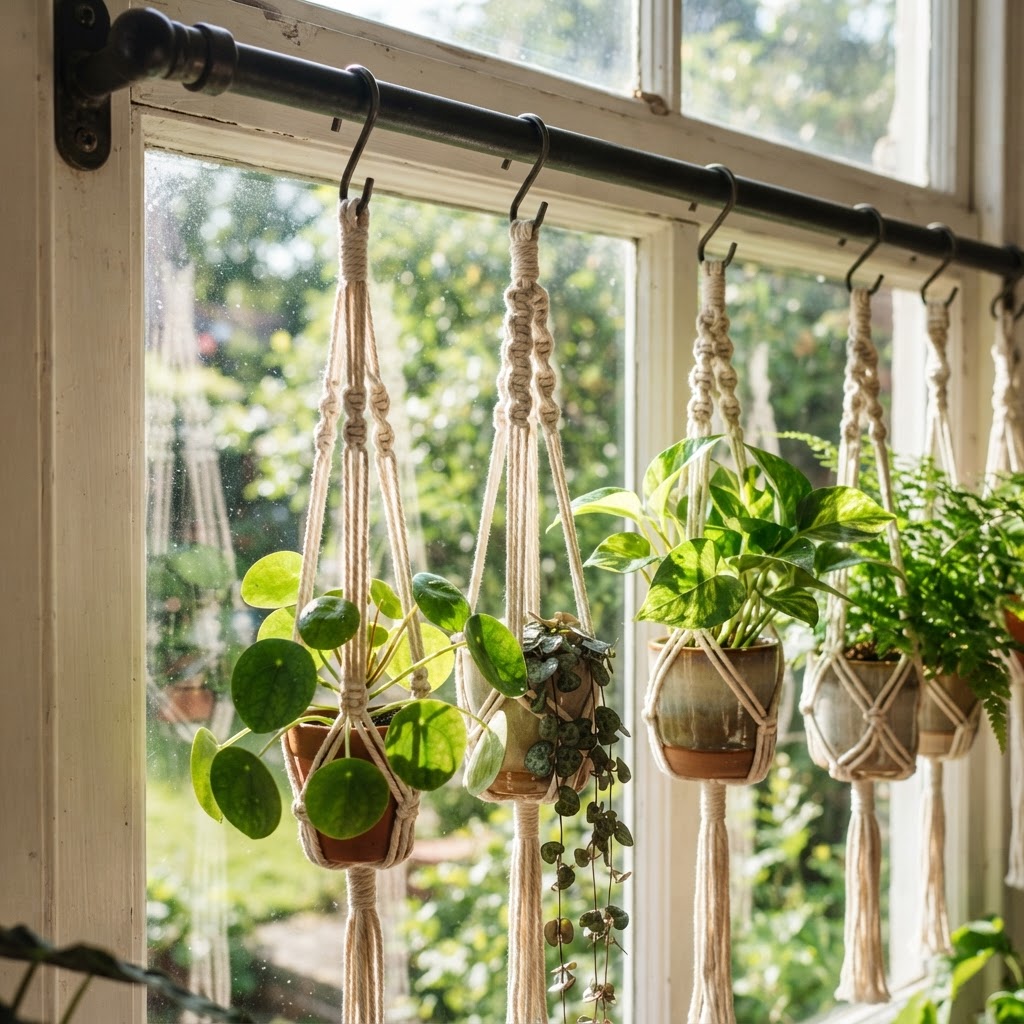
Create a vertical indoor garden using a window-mounted tension rod.

Kitchens are notoriously small in rental units, often lacking enough drawer space for all your utensils. Tension rods can be mounted inside a drawer or against a wall to act as a tension-based rack for pot lids. By standing your pot lids upright against a tension rod in a cabinet drawer, you save massive amounts of space and eliminate the clutter of stacking them. You can also mount a tension rod under a wall-mounted cabinet to hang measuring cups or lightweight spatulas using S-hooks.

Elevate Your Decor with Hanging Plants

Keep your accessories neat and visible with this clever closet trick.

Plants add life to any space, but finding surface space to display them can be difficult. A heavy-duty tension rod installed inside a window frame can serve as a perfect mount for a hanging garden. Use macrame plant hangers to suspend small trailing plants, creating a beautiful green backdrop that doesn’t damage your walls or window casings. This trick works best in kitchen windows where plants can thrive in natural light while keeping your counter surfaces clear for meal preparation.

Transform Your Laundry Area

Laundry nooks in rental apartments are frequently cramped and unorganized. A well-placed tension rod can serve as a drying rack for delicate items that cannot go in the machine. By installing the rod high up between two walls, you create a dedicated drying station that keeps clothes out of the way of foot traffic. Once the laundry is finished, the rod can be easily removed or left in place if it does not obstruct the utility of the room, making it one of the most practical rental apartment hacks available.

Sorting and Folding Solutions

Beyond drying, tension rods can help divide your laundry room storage. Use them to keep laundry baskets upright or to support shelving units that aren’t quite sturdy enough on their own. For those who store laundry supplies in a small closet, adding a rod allows you to store hampers or ironing boards vertically. This keeps your laundry day items organized, reducing the chaos typically associated with shared living spaces or compact laundry setups.

Secure Items in Moving Vehicles

While this isn’t strictly for apartment living, it is a brilliant hack for anyone who uses tension rods in their home. If you are moving out, use tension rods as stabilizers in your boxes or in the back of your car or moving van. By placing them between items, you can prevent things from sliding around and breaking during transport. It is a dual-purpose tool that proves how useful tension rods are for renters who move frequently. Once you have moved into your new place, you can immediately repurpose them to organize your new space.

Conclusion

Learning 6 smart ways to use tension rods in a rental apartment gives you the freedom to customize your home without breaking your lease agreement. From increasing your kitchen storage to creating privacy and vertical garden displays, these versatile rods are essential for any renter looking to maximize their square footage. By thinking outside the box, you can turn a rigid rental space into a highly functional home that reflects your personal style. Start experimenting with these ideas today and see how much more efficient your daily routine can become. If you found these tips helpful, try implementing just one in your apartment this weekend and notice the immediate difference in your organization levels!

Small Bedroom Transformation Ideas: Create Your Dream Oasis

Living in a smaller home often means facing the challenge of a tiny sleeping space, but small bedroom transformation ideas can help you reclaim your sanctuary without needing an actual room addition. Many people mistakenly believe that limited square footage prevents them from having a stylish or luxurious bedroom, yet the reality is that clever design choices can trick the eye and improve functionality significantly. By focusing on smart storage, light optimization, and intentional decor, you can turn any cramped area into a serene retreat that feels open and airy.

The Philosophy of Space Perception

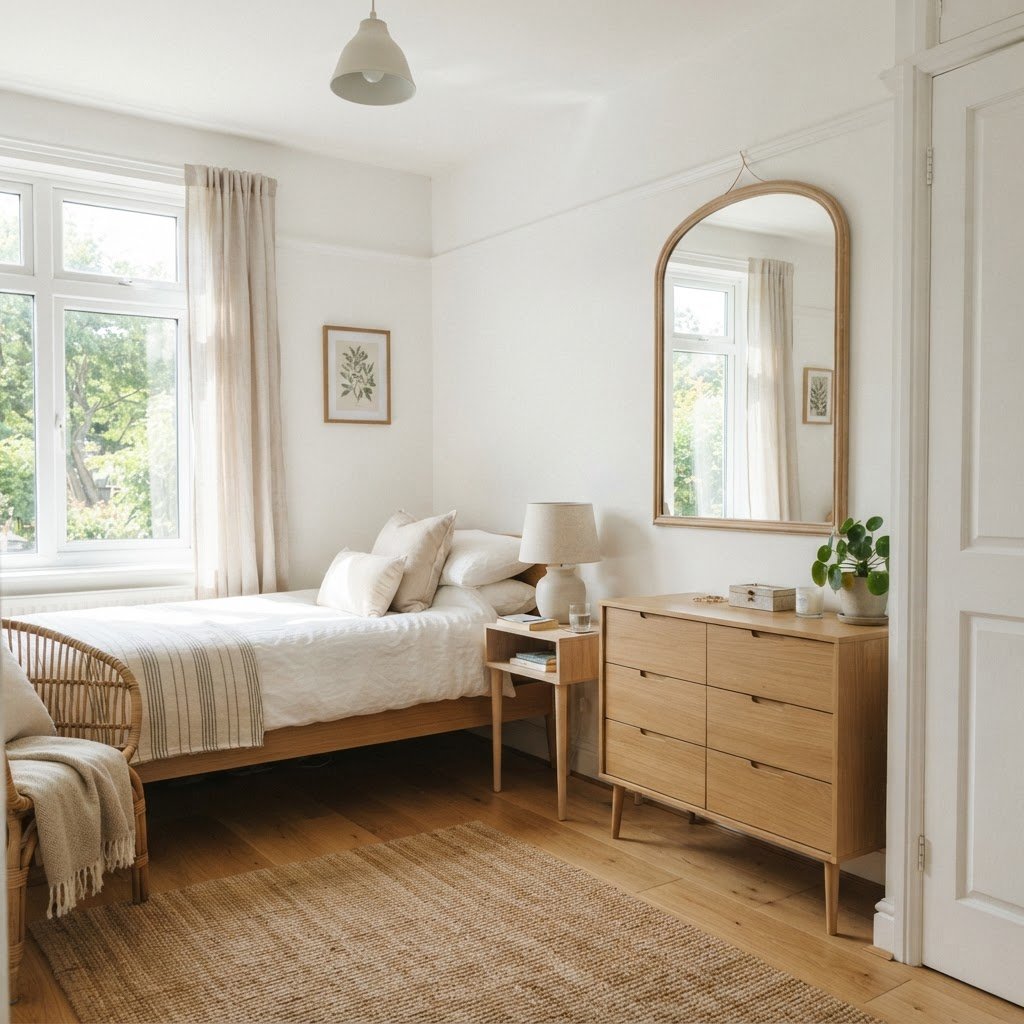
Using light colors and mirrors creates an instant illusion of extra space.

To understand how to make a small bedroom look bigger, you must first master the art of visual weight. Heavy furniture, dark colors, and excessive clutter weigh down a room, making it feel suffocating rather than cozy. Instead, focus on creating a sense of flow and openness that allows your eyes to travel freely around the space.

Playing with Light and Color

Light is your greatest ally when working with limited dimensions. Painting your walls in crisp white, soft beige, or cool light blue helps reflect natural light, effectively pushing back the walls to create a sense of expansion. Avoid dark, moody colors if your primary goal is to make the room feel larger, as these shades tend to absorb light and draw surfaces inward.

Mirrors as Design Tools

Mirrors are the oldest trick in the designer’s handbook for a reason. By placing a large floor mirror or installing mirrored wardrobe doors, you can double the perceived depth of your bedroom. Position your mirrors so they reflect windows or lighter areas of the room to amplify the brightness and sense of open space.

Rethinking Furniture Placement

Wall-mounted fixtures help keep floor space open and clutter-free.

Your choice of furniture and its placement is the most critical element of any small bedroom transformation. Large, bulky pieces like queen-sized headboards or heavy nightstands often consume valuable floor area that you simply cannot afford to lose. The goal is to select pieces that offer functionality without dominating the room’s visual landscape.

The Power of Floating Furniture

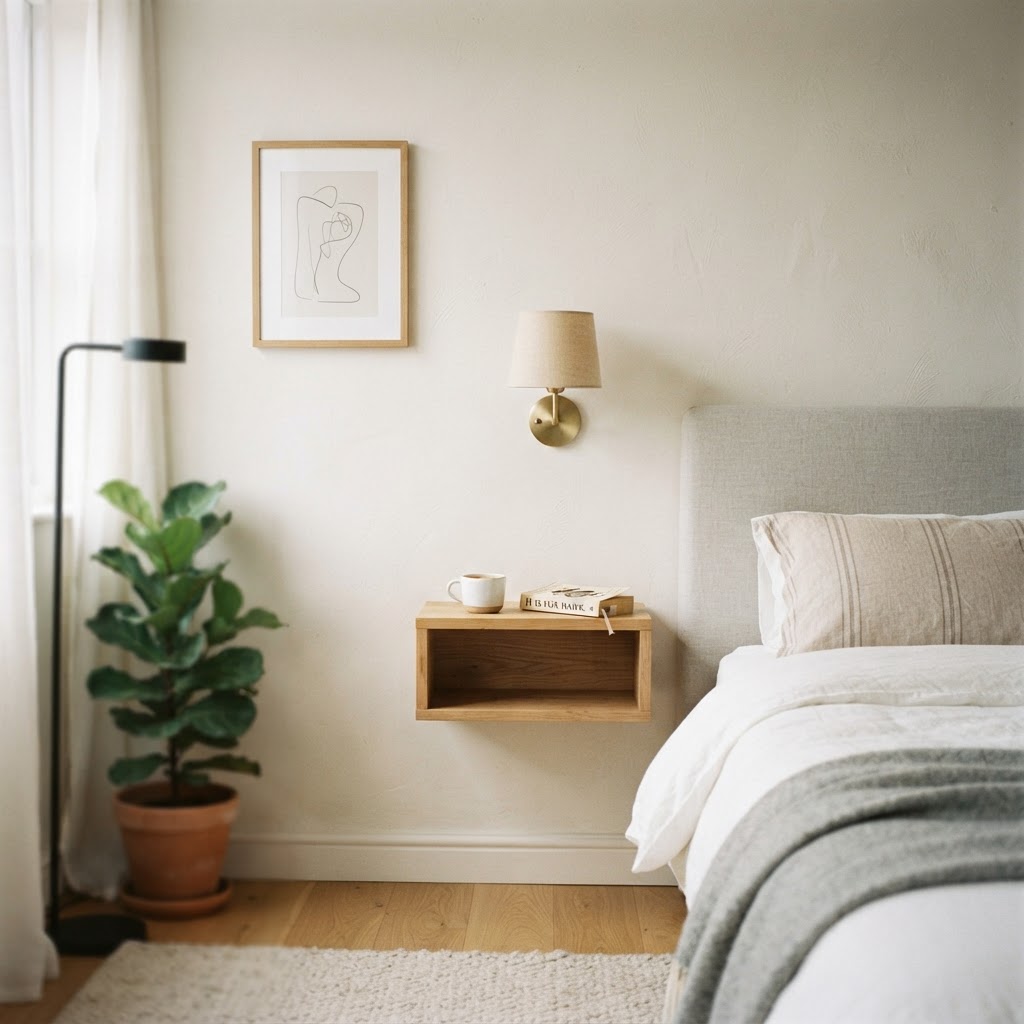
Floating shelves and wall-mounted bedside tables are game-changers. By lifting your storage off the floor, you expose more square footage beneath, which creates an illusion of a larger, lighter footprint. This technique allows you to utilize vertical wall space effectively without sacrificing the necessary storage for your nighttime essentials.

The Right Bed Frame

Avoid bed frames with deep, floor-touching storage boxes if they feel visually heavy. Opt for an elevated frame with slender legs that allows light to pass underneath. This small detail prevents the room from feeling blocked or partitioned, helping you maintain an airy, cohesive environment.

Maximizing Vertical Storage Solutions

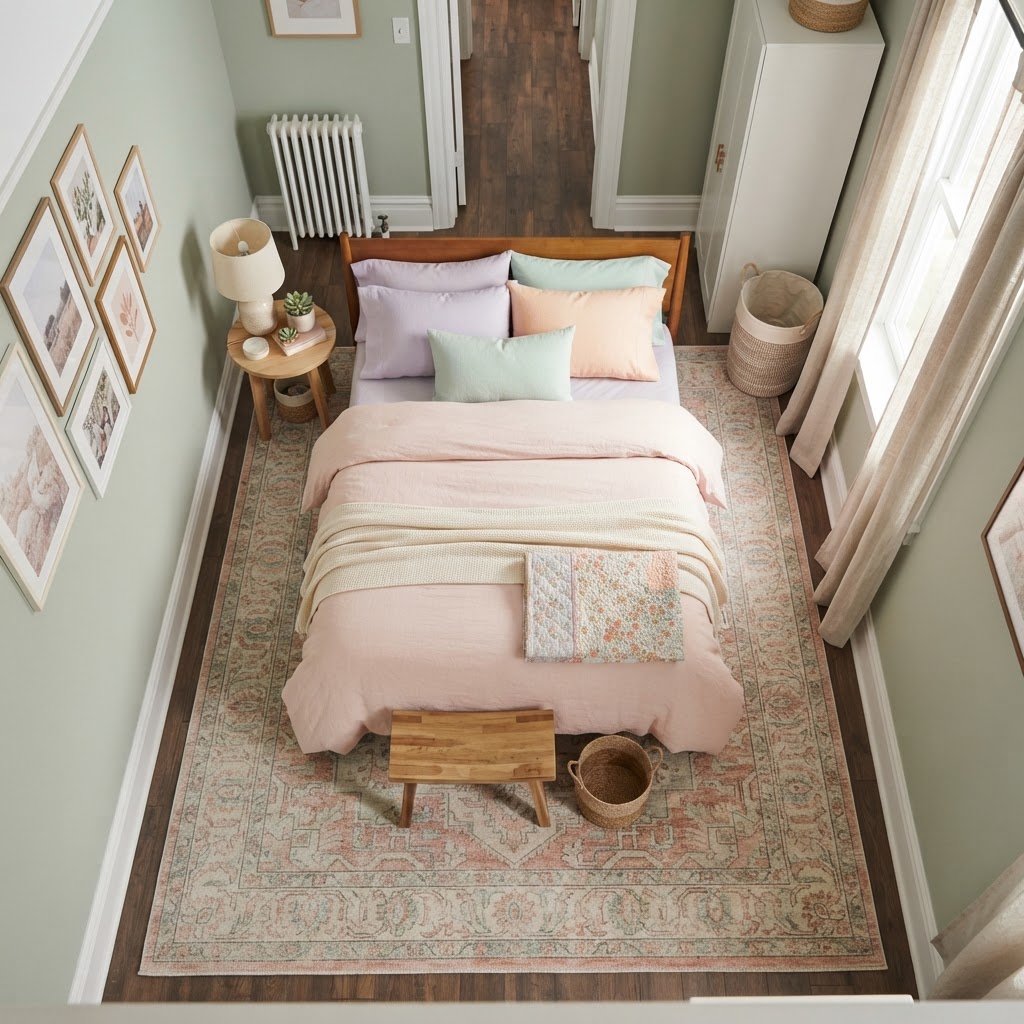
A large rug unifies the room and makes the floor area feel larger.

When you cannot grow outward, you must grow upward. Utilizing your vertical space is essential for keeping the room clutter-free. Clutter is the primary enemy of calm, and in a small room, even a few stray items can make the environment feel chaotic and stressful.

Layered Lighting Options

Use wall-mounted sconces on either side of the bed to free up table space and provide task lighting. Add a floor lamp in a corner for ambient mood lighting. By distributing light sources throughout different levels, you eliminate dark corners and create a warm, inviting glow that makes the room feel much larger than its actual dimensions.

Multifunctional Furniture Pieces

Investing in pieces that perform double duty is one of the most effective small bedroom transformation ideas. Whether it is an ottoman that doubles as storage or a desk that folds into the wall, multifunctional design allows you to live large in a tiny footprint.

Hidden Storage Opportunities

Look for ottomans with removable tops for blanket storage or bed frames with integrated hydraulic lifts. These hidden storage solutions keep your essentials out of sight while maintaining a clean, minimalist aesthetic. When your room stays organized, it stays calm, which is the ultimate goal of any bedroom design project.

Conclusion

Transforming your bedroom into a spacious-looking haven is entirely achievable with the right strategy. By prioritizing light, embracing vertical storage, and choosing furniture that values floor space, you can create a sanctuary that feels both open and deeply personal. Remember that the goal is not to have more, but to have a space that truly serves your need for rest and relaxation. Start small by decluttering your nightstand today, and see how much lighter your room feels! If you are ready to begin, pick one area of your bedroom to optimize this weekend and watch how your mood shifts with your surroundings.

10 Best Budget-Friendly Cozy Home Ideas for Renters

10 Best Budget-Friendly Cozy Home Ideas for Renters

To make a rental feel cozy on a budget, prioritize layering warm lighting, incorporating tactile textiles, and using non-permanent decor solutions like peel-and-stick wallpaper and command-strip art. These high-impact, low-cost modifications allow you to personalize your living space without violating lease terms or risking your security deposit.

The Power of Layered Lighting

Transform a sterile apartment into a warm sanctuary with layered lighting and wall decor.

One of the most effective ways to change the mood of a room is by manipulating the lighting through a layered approach. Rental apartments often come with harsh, overhead fixtures that provide cold, clinical light, but adding floor lamps, table lamps, and string lights allows you to create a warm, inviting ambiance. By placing light sources at varying heights—floor level, eye level, and table height—you eliminate dark corners and create a cohesive, cozy glow that makes a room feel more intimate and expensive.

Choosing the Right Bulbs

Never underestimate the impact of a warm-toned lightbulb. Swap out standard “daylight” or “cool white” bulbs (5000K+) for those labeled “soft white” or “warm white” (typically 2700K to 3000K). This small switch, usually costing less than $10 for a pack, significantly boosts comfort levels in your living room and bedroom by mimicking the golden hues of sunset rather than the sterile glare of an office.

Lighting Type Temperature Best Use Case
Soft White 2700K Bedroom/Living Room
Bright White 3500K Kitchen/Work Space
Daylight 5000K Task Lighting/Reading

Furniture Choices That Maximize Utility

In a smaller rental, your furniture needs to serve dual purposes to keep your space functional and clutter-free. Look for ottomans with internal storage or coffee tables that offer hidden shelving units to minimize visual chaos. By keeping clutter hidden, you create a sense of calm and order that is essential for a cozy atmosphere; a clear surface is often perceived as more luxurious than one crowded with excess items.

The Importance of Scaling

Always measure your floor space with a tape measure before purchasing larger pieces; a common mistake is over-furnishing, which makes a room feel cramped rather than cozy. Focus on pieces that have “legs” or raised bases. Visible floor space underneath your sofa or accent chairs helps create an airy, open feel that makes a small room appear significantly larger to the human eye.

Bringing Nature Indoors

Plants are one of the most cost-effective ways to bring life and vitality into a rental, often costing as little as $15–$25 per plant. They improve air quality and provide a calming, organic aesthetic that fits any decor style. If you are not a natural green thumb, start with low-maintenance varieties like Pothos (which can trail down shelves), Snake Plants (which thrive in low light), or ZZ plants (which require minimal watering).

Creative Display Ideas

Use hanging planters to save valuable floor space, or group plants of varying heights on a tiered shelf to create a “mini-jungle” effect. Using mismatched ceramic pots in a similar color palette (such as whites, creams, or earthy terra cotta) can unify the look and keep your plant collection feeling like a cohesive, intentional design choice rather than a random assortment.

Why Lower Kelvin Wins for Comfort

When aiming for comfort, you want to focus on the 2700K to 3000K range. This “warm white” light is soft and welcoming, making it the industry standard for residential spaces. Using this temperature helps soften shadows and highlights the textures of fabrics like velvet, linen, and wool, which inherently makes your rooms feel more inviting.

Key Differences at a Glance

  • 2200K-2700K: Extra warm, like candlelight. Perfect for bedside lamps.
  • 3000K: Warm white, similar to incandescent bulbs. Great for kitchens and bathrooms.
  • 4000K-5000K: Cool white or daylight. Best for workshops, garages, or home offices.

Matching Temperatures to Room Functions

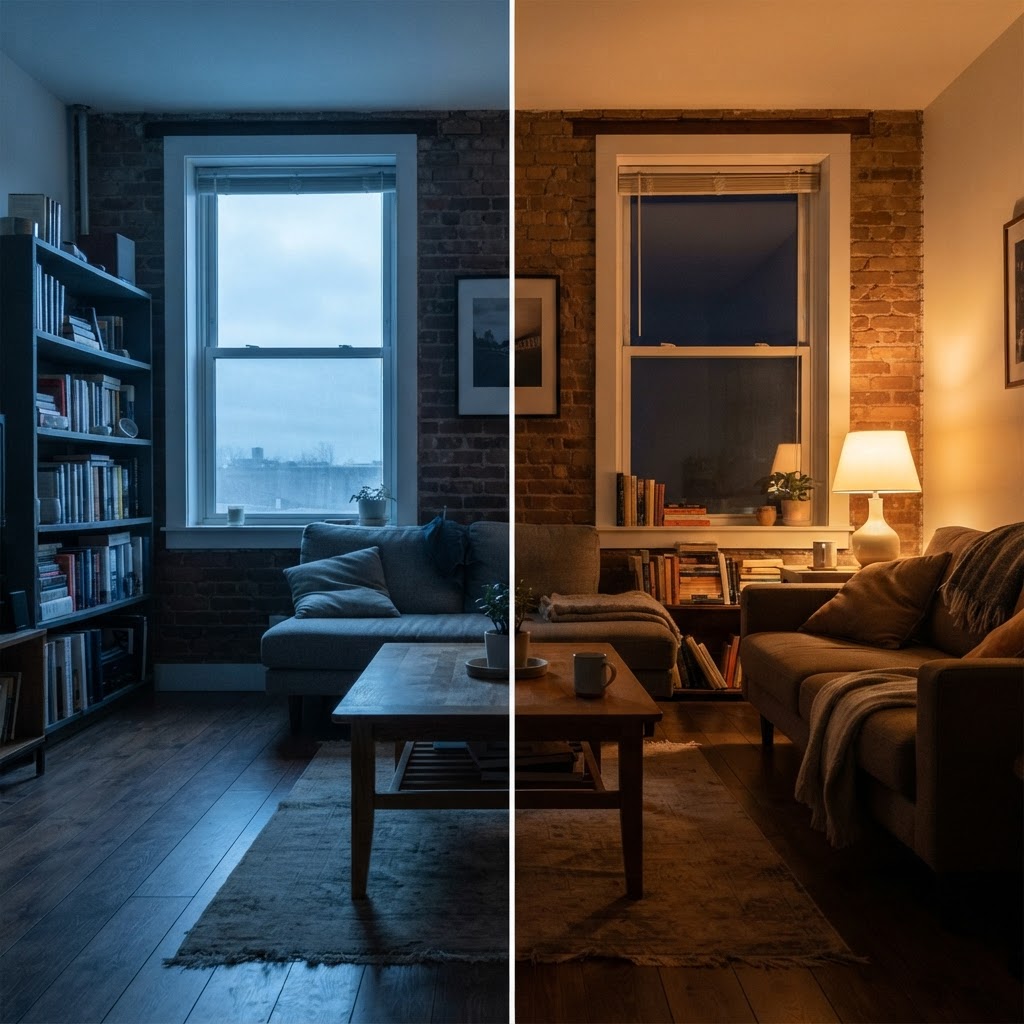
The visible difference between cool, harsh light and warm, comforting light.

Successful lighting strategies require matching the Kelvin temperature to the specific tasks performed in a room to maintain both utility and comfort. A kitchen functions best with 3000K lighting, providing enough clarity for food preparation without the sterile glare of 5000K bulbs. Conversely, bedrooms benefit from the lower 2700K range to promote melatonin production and better sleep quality. Mixing temperatures—such as a 3000K overhead light paired with a 5000K floor lamp—creates “visual noise” that makes a space feel cluttered and poorly designed. Designers recommend keeping your entire home within a specific range, usually 2700K or 3000K, to ensure that as you transition from room to room, the lighting feels continuous and professional. By adhering to a consistent color temperature, you create a harmonious environment that allows furniture and decor to serve as the focal point rather than the lighting clash.

How Light Changes Your Decor

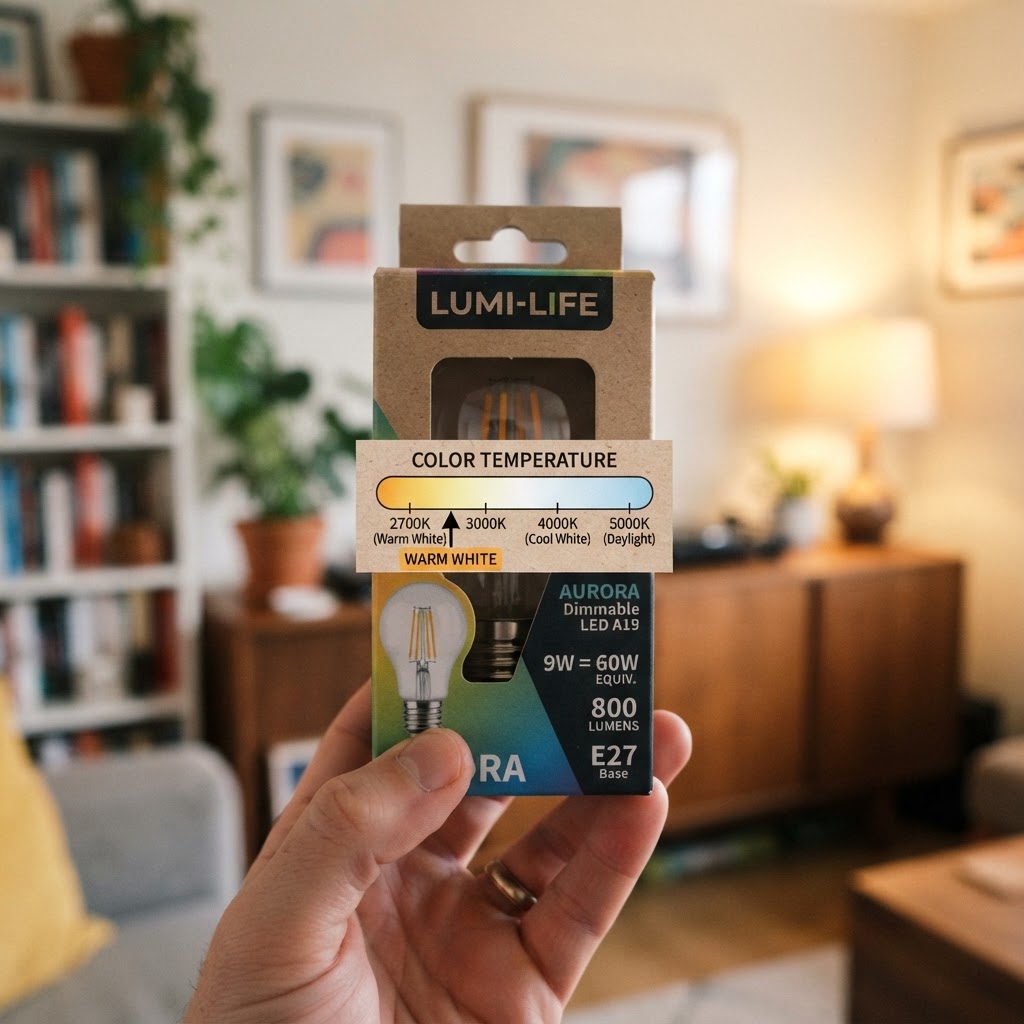
Always check the Kelvin rating on the package to ensure you get the right warm glow.

Light interaction determines how paint, wood, and fabrics appear, as different Kelvin levels reflect color differently off various surface materials. Cool lighting at 4000K or higher often interacts with neutral wall colors by adding a green or blue undertone, potentially making a clean beige room look dingy or muddy. In contrast, 2700K warm lighting enhances the natural red and yellow undertones of wood grains, bringing out the depth in mahogany or oak surfaces. When evaluating how light affects your decor, always consider the color rendering index (CRI) of the bulb alongside the Kelvin rating; a high-CRI bulb (90+) paired with a 3000K temperature will make your decor colors appear vibrant and true to life. To achieve this, test samples of both 2700K and 3000K bulbs at night when sunlight cannot interfere, then observe how these bulbs change the saturation of your furniture and textiles. Small shifts in Kelvin can significantly alter the perceived luxury and richness of your home.

Testing Your Samples

Before you commit to a full-house lighting overhaul, test your bulb temperature against your current decor. Purchase two bulbs: one at 2700K and one at 3000K. Place them in your main living area at night to see which one makes your wall paint and textiles “pop” in the most pleasing way. This simple experiment prevents costly mistakes and ensures you love the final outcome.

Layering for a Cozy Atmosphere

Layering lighting with floor lamps and table lamps creates depth.

Layering lighting is the professional method for avoiding the flat, clinical look created by single overhead fixtures. By diversifying your light sources into ambient, task, and accent lighting, you draw the eye around the room and create depth that makes a space feel larger and more intentional. Ambient lighting (overhead) should be complemented by floor lamps at 60 inches tall or table lamps at 24 to 30 inches tall to bring the glow down to human eye level. Utilizing different Kelvin ratings for these layers—such as a 3000K ceiling light for general navigation and 2700K accent lamps for reading or relaxing—allows you to create “light pockets” that serve distinct moods within the same room. Avoid relying on high-wattage ceiling lights that create harsh shadows under eyes and noses; instead, focus on indirect lighting where the bulb is shielded by a shade, directing the light toward walls or floors to create a softer, bouncing effect that mimics the warmth of a sunset.

The Role of Dimmers in Lighting Design

Installing dimmer switches allows you to manipulate the perceived intensity of your lighting, effectively granting you control over the atmosphere of any room at any hour. Dimmers are particularly effective with LED bulbs, as they can reduce the lumen output to create a calming, low-light environment without needing to change fixtures or bulbs. When you dim a 3000K bulb to 20% or 30%, it naturally feels warmer to the human eye, providing a cozy “golden hour” effect. Smart lighting systems take this further, offering “tunable white” technology where you can control the Kelvin temperature itself via a mobile app. These systems allow for “circadian lighting” automation—shifting from a cool 4000K during the productive afternoon hours to a relaxing 2200K during the evening. Investing in a smart bridge or smart bulbs often costs between $15 and $50 per bulb, but the flexibility to adjust your home’s ambiance without manual changes makes them a high-value utility for modern homeowners seeking comfort.

Smart Lighting Solutions

Modern technology has introduced smart bulbs that allow you to change the color temperature via your smartphone. While these are an investment, they offer unparalleled flexibility. You can set your lights to be a crisp, productive white in the morning while you clean, and automatically shift to a warm, sunset-hued amber in the evening as you wind down for the night.

Avoiding Common Lighting Pitfalls

Preventing lighting mistakes requires paying close attention to both the Kelvin rating on packaging and the physical construction of your lamp shades. A frequent error is purchasing “Daylight” bulbs without reading the box, which introduces an icy blue tone that instantly diminishes the warmth of hardwood floors and soft textiles. Additionally, your lamp shade acts as a filter; a dark, gold-lined shade will add warmth to any bulb, while a thin, white linen shade will let more blue-white light pass through, essentially “cooling down” a 3000K bulb. Always factor in the density and color of your lamp shade when selecting your light source. If you have thick, dark shades, you may need a slightly higher lumen count to compensate for the light absorption, ensuring your room remains functional while still achieving that desired cozy, warm aesthetic. Avoid mixing brands of bulbs within the same multi-bulb chandelier or fixture, as even two bulbs marked “3000K” can appear slightly different across different manufacturers.

FAQ

Q: What color temperature is best for a relaxing living room?

For a relaxing living room, aim for 2700K to 3000K. This temperature range provides a warm, golden-white light that promotes comfort and makes textiles and wood furniture appear richer, mimicking the cozy atmosphere of traditional incandescent bulbs.

Q: Can I mix different Kelvin temperatures in the same room?

It is generally recommended to avoid mixing Kelvin temperatures in the same room to prevent a disjointed, cluttered appearance. Keeping all bulbs at a consistent temperature creates a professional, cohesive environment where the lighting feels intentional and balanced.

Q: Why do my rooms look cold even with warm-colored paint?

Rooms often look cold despite warm paint colors because the light source is likely in the “Cool White” (4000K-5000K) range. These cooler bulbs cast blue light that washes out warm paint tones, making them appear gray or greenish; swapping to 2700K bulbs will restore the intended warmth.

Q: Do dimmer switches work with all light bulbs?

Dimmer switches do not work with all bulbs; you must ensure your bulbs are labeled as “dimmable” to avoid flickering or damage. Using a non-dimmable LED with a dimmer switch can cause the bulb to fail prematurely or produce an audible buzzing sound.

Q: Is 5000K light good for home lighting?

5000K light is generally too harsh for residential living areas and is better suited for workspaces like garages, workshops, or utility rooms. It mimics daylight and can suppress sleep hormones, making it a poor choice for bedrooms or living rooms where relaxation is the goal.

Clever Built-In and Platform Storage Ideas for Small Bedrooms

Clever Built-In and Platform Storage Ideas for Small Bedrooms

Maximize a small bedroom by utilizing vertical wall space with floor-to-ceiling built-ins and replacing traditional bed frames with platform storage systems. These structural modifications turn dead space into functional, hidden storage, effectively clearing floor area and creating the illusion of a larger, more organized living environment.

The Philosophy of Vertical Thinking

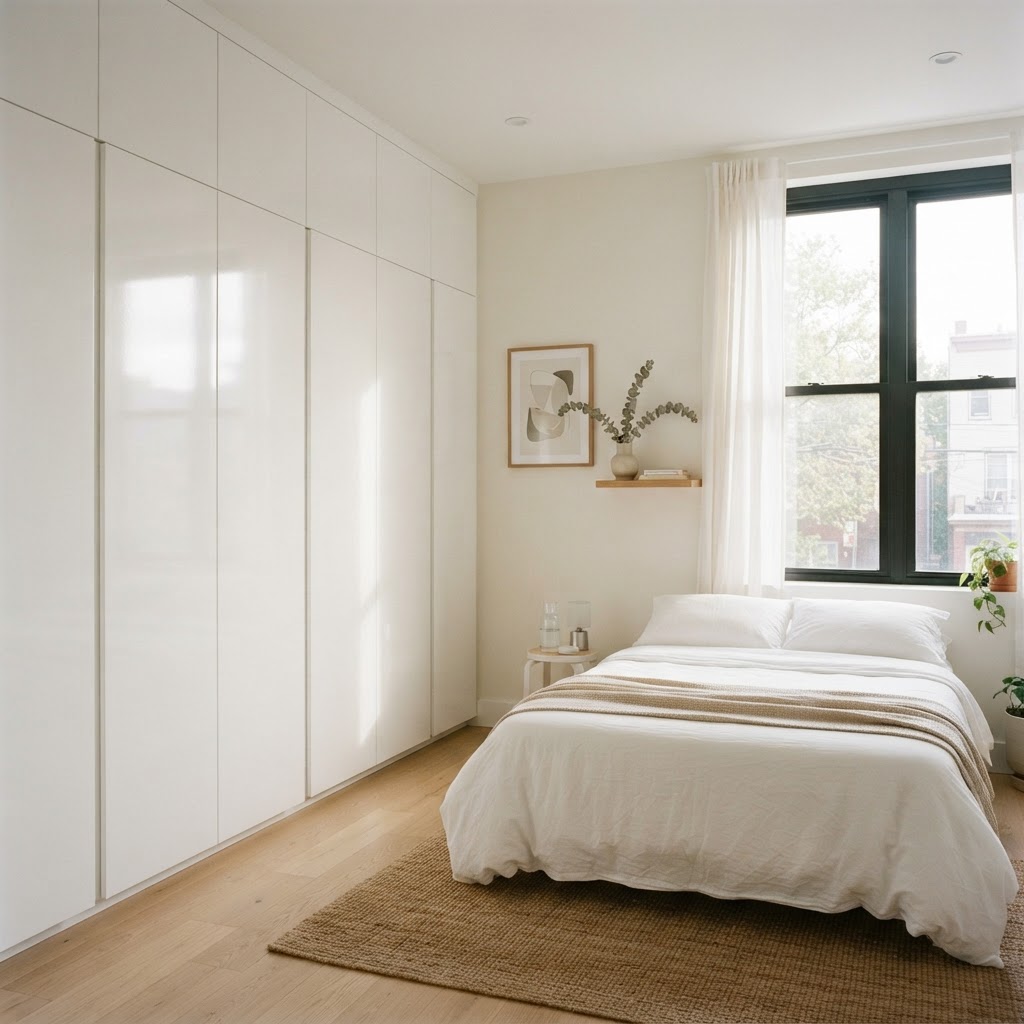
Floor-to-ceiling built-ins maximize vertical space while maintaining a clean, modern aesthetic.

When your square footage is limited, the only way to increase storage without sacrificing floor area is to extend your footprint vertically to the ceiling. Many homeowners ignore the upper 3-4 feet of wall space, yet floor-to-ceiling built-ins can increase total bedroom storage capacity by up to 40%. By extending cabinetry or shelving to the ceiling, you draw the eye upward, which creates an architectural illusion of height that makes the room feel airy. Integrating these units directly into the wall allows you to remove standalone dressers, which typically consume 6-10 square feet of floor space each.

Customizing Your Vertical Storage

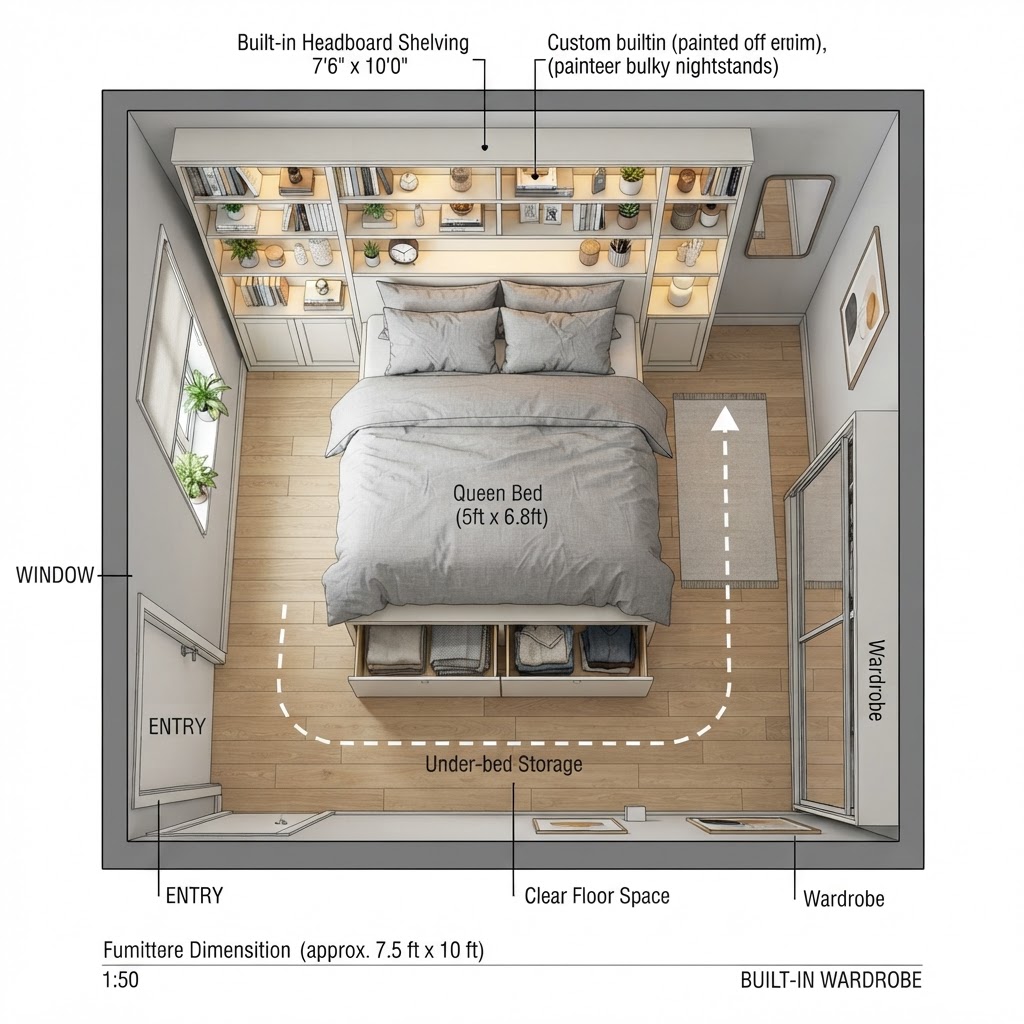
Custom built-in storage solutions can be tailored to the exact quirks of your bedroom architecture, such as sloped ceilings or narrow alcoves. If you have an awkward alcove, custom carpentry ensures that not a single inch is wasted, often turning a “dead” corner into a storage unit with 20% more efficiency than standard furniture. Consider a wrap-around bookshelf that frames the headboard, turning your bed into the central feature of a library-inspired storage wall. This approach provides accessible space for books and decorative items while keeping the nightstands clear for essentials only. By using custom-cut shelves, you can accommodate items up to 24 inches deep, which is ideal for storing larger bins that standard store-bought bookshelves cannot fit.

Mastering Platform Bed Storage

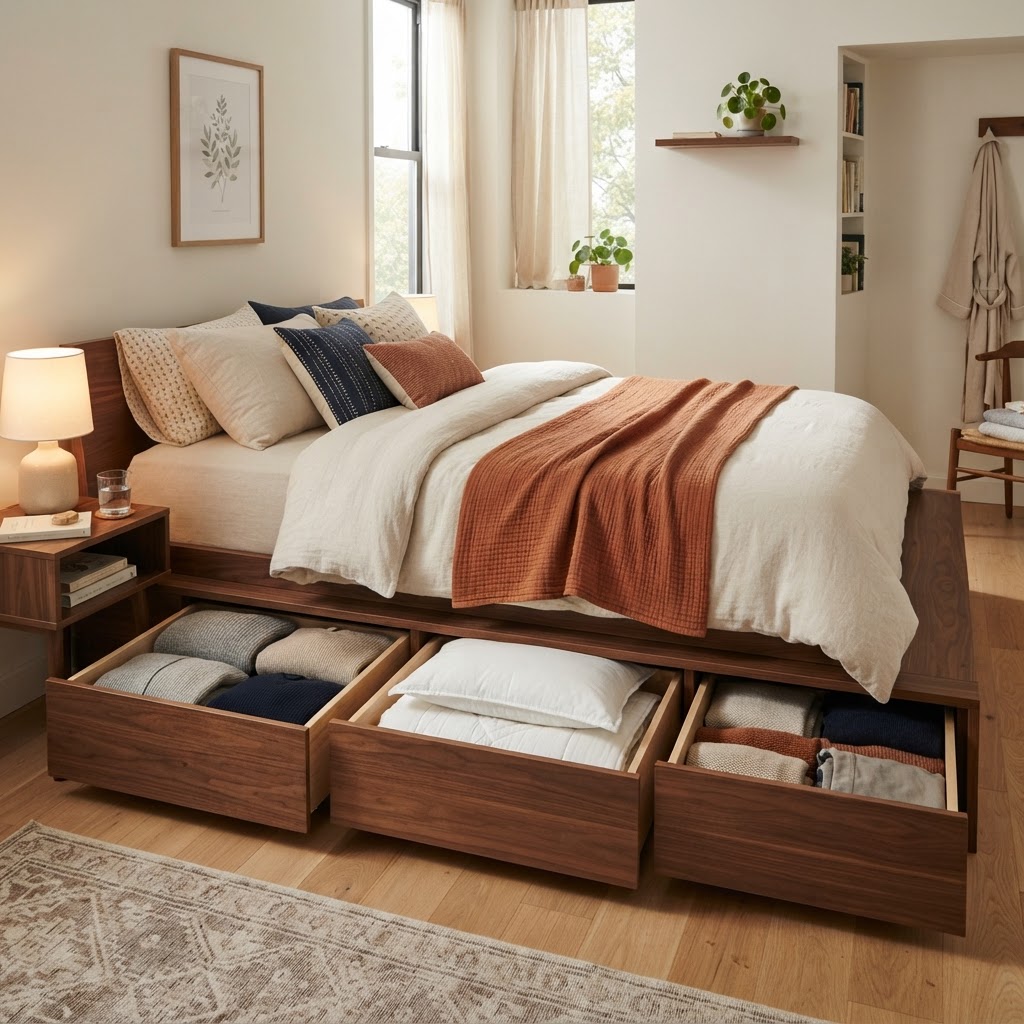
Platform beds with integrated drawers provide hidden, organized storage for seasonal items.

Your bed is the largest piece of furniture in the room, and a well-designed platform bed converts the typically empty void beneath the mattress into a highly functional storage system. Traditional frames leave roughly 15-20 cubic feet of unusable space; however, a platform bed with drawers or hydraulic lift mechanisms allows you to reclaim this for bulky seasonal items, linens, or overflow clothing. Most hydraulic lift frames are rated to support mattresses weighing up to 150 pounds, ensuring you can access your storage easily even with a heavy memory foam or hybrid mattress.

Comparison: Platform Bed Storage Types

Feature Drawer-Based Systems Hydraulic Lift Systems
Access Speed Immediate access to specific items Full-compartment access
Capacity Segmented, organized sections Large, open storage space
Best For Daily items, socks, t-shirts Large bins, seasonal bedding, suitcases
Complexity Lower, easier to build/install Higher, requires mechanical hinges

Why Drawer Systems Excel

Drawers are superior to simple open-box storage because they prevent dust accumulation and keep your belongings categorized. By segmenting the base of your bed into deep drawers (typically 12-18 inches deep), you can organize items by frequency of use. Place daily items in the top drawers and seasonal items toward the back, ensuring your room remains functional throughout the year. This transition helps in keeping surface clutter to a minimum, which is vital for maintaining a peaceful bedroom environment.

Architectural Integration for Hidden Utility

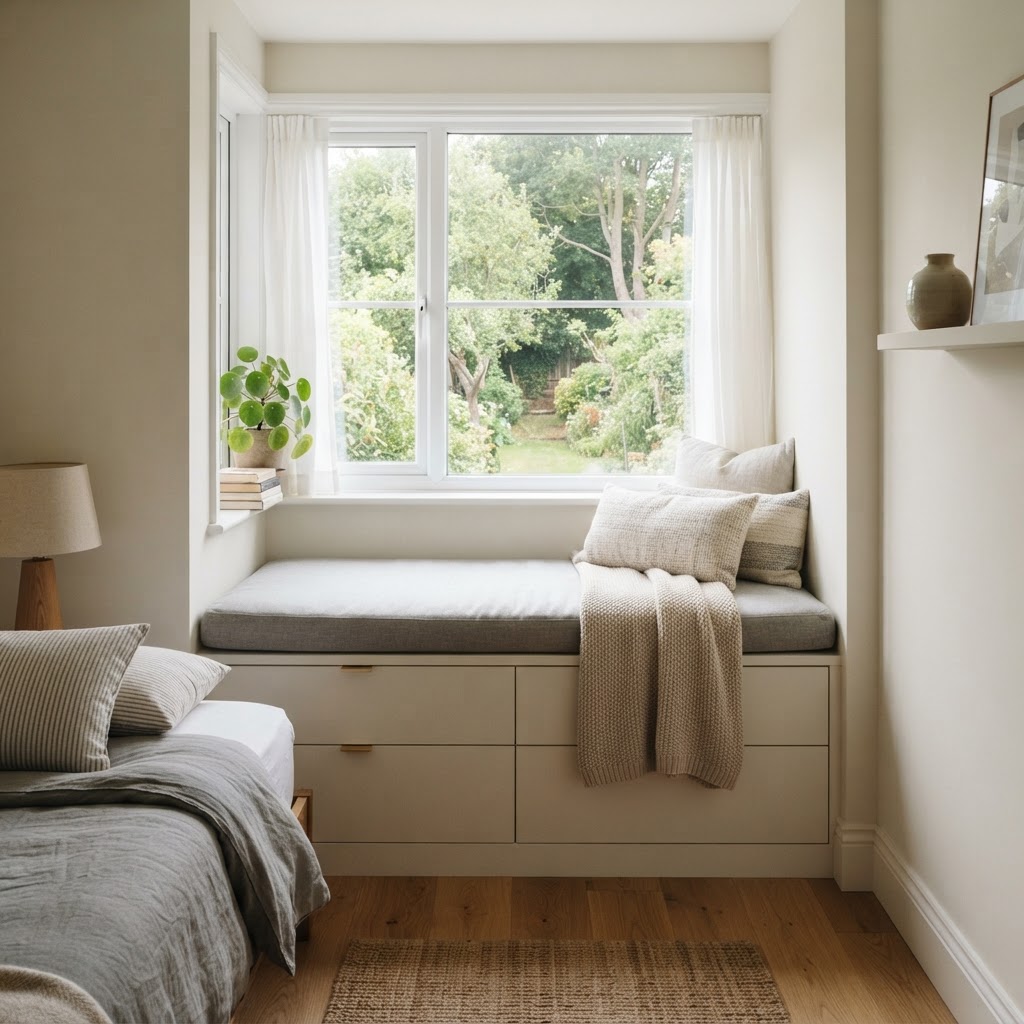
Transforming a window into a storage bench adds functionality to underutilized architectural nooks.

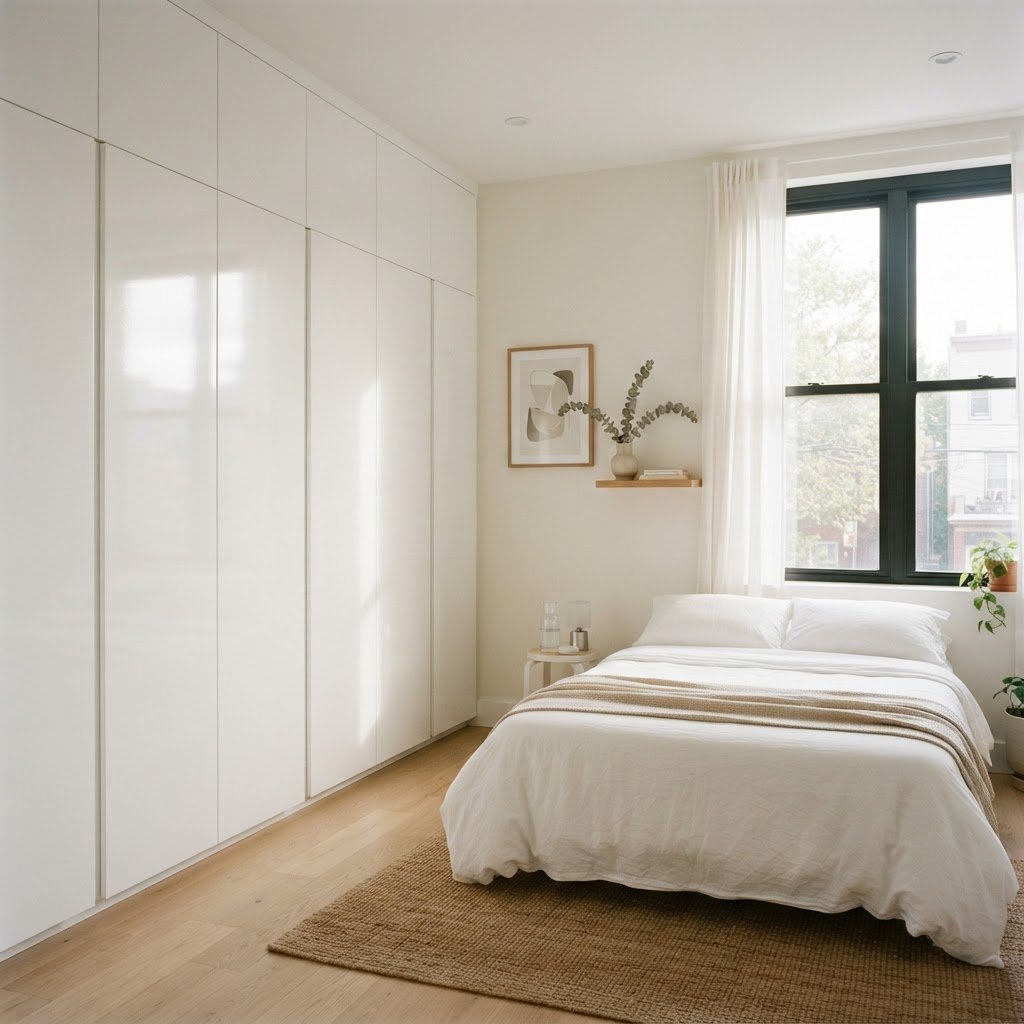
Architectural integration is the gold standard for small bedrooms because it mimics wall colors and textures to make storage units feel invisible. By building wardrobes that match the wall color and using touch-latch hardware, you eliminate the visual “noise” of handles, which can make a room feel cramped. This method of “camouflaging” your storage can reduce the perceived visual clutter by up to 50%, significantly calming the aesthetic of a small room. When the storage blends into the room, it reduces the complexity of the space, which is essential for making a tiny room feel larger and more serene.

The Power of Multi-Functional Headboards

A deep, wide headboard can serve as a hidden shelf or a series of small, recessed cubbies, effectively replacing the need for bulky side tables. By installing a custom headboard 8-10 inches deep, you gain a dedicated zone for charging stations, glasses, or nighttime reading materials. This integrated approach saves roughly 4 square feet of floor space per side of the bed. When you build the headboard into the wall structure, you gain a sense of cohesion that defines the sleeping zone while providing utility that standard standalone nightstands cannot match.

Optimizing Closets with Smart Inserts

Smart layouts turn small footprints into highly efficient, clutter-free sleeping quarters.

If you cannot build outward, you must build inward by converting a standard reach-in closet into a high-efficiency modular system. Standard closets often suffer from poor spatial design, utilizing only 60% of the potential vertical wall volume; by installing double-hang rods and pull-out shelves, you can increase your usable hanging capacity by nearly 100%. Aim to set your upper rods at 80 inches from the floor to accommodate long garments, while the lower rod sits at 40 inches to create two distinct tiers for shirts, pants, and skirts.

The Benefits of Modular Systems

Modular closet inserts allow you to adjust the height of shelves as your needs change, often featuring shelf brackets with 1-inch increment holes. If you purchase a new set of long boots or need more space for folded sweaters, you can simply move the shelf brackets without needing tools. This flexibility ensures your storage remains useful for years, accommodating changing lifestyles and inventory without requiring a full renovation or new construction.

Creating Functional Nooks and Alcoves

Every small room has dead corners that can be reclaimed using window seats, corner shelving, or floating desks. A window seat is particularly brilliant because it offers both a comfortable place to sit and a deep internal bin for storing heavy items like blankets or winter coats. When constructing a window seat, ensure the depth is at least 18 to 24 inches for proper seating ergonomics. By adding a lid on soft-close hinges, you can protect the floor and ensure the storage remains accessible and safe to use daily.

Decluttering to Make Space for Storage

Storage solutions work best when they aren’t filled with items you no longer use, making a purge necessary before installation. Apply the “one-in, one-out” rule, where every new item brought into the room necessitates the donation or disposal of an old one. Choose light colors for your storage finishes—white or light oak can reflect up to 70% of natural light—to prevent the room from feeling closed in by the new cabinetry. For a high-end finish, add internal LED motion-sensor lighting to your units; this typically costs less than $50 to install but adds significant luxury and ease of access to deep shelves.

FAQ

Q: What is the best way to maximize vertical storage in a small bedroom?

Install floor-to-ceiling built-ins that match your wall color to draw the eye upward and utilize the entire vertical surface. This approach maximizes storage capacity while maintaining a clean, minimalist aesthetic that makes the room feel physically larger.

Q: How much space does a platform bed save?

A platform bed with integrated storage saves approximately 15-20 cubic feet of floor space that would otherwise be wasted under a traditional frame. This allows you to remove bulky dressers and reclaim valuable floor area in tight rooms.

Q: How deep should a window seat be for storage and comfort?

A window seat should be between 18 and 24 inches deep to ensure it is comfortable for sitting while providing enough internal volume for storing bulky items. Always use heavy-duty hinges to support the weight of the lid and its contents.

Q: Are modular closet systems worth the cost?

Yes, modular systems are highly cost-effective because they allow you to customize your storage layout based on your specific inventory, such as adding pull-out racks or adjustable shelving. This prevents the need for future renovations as your storage needs evolve over time.

Q: How do I make built-in storage look less bulky?

Paint your built-in storage the same color as the surrounding walls and use touch-latch doors instead of hardware to create a seamless, invisible look. This reduces visual noise and prevents the room from feeling cluttered or overwhelmed by the furniture.