Archives 2026

How to Make a Small Apartment Look Expensive Without Tools

To make a small apartment look expensive without using tools, focus on creating high-end visual weight through intentional negative space, monochromatic color palettes, and ambient lighting. Prioritize one large-scale statement piece over multiple small items, incorporate layered textures like linen and velvet, and style decor in odd-numbered vignettes to evoke a curated, professional designer aesthetic.

The Psychology of Negative Space
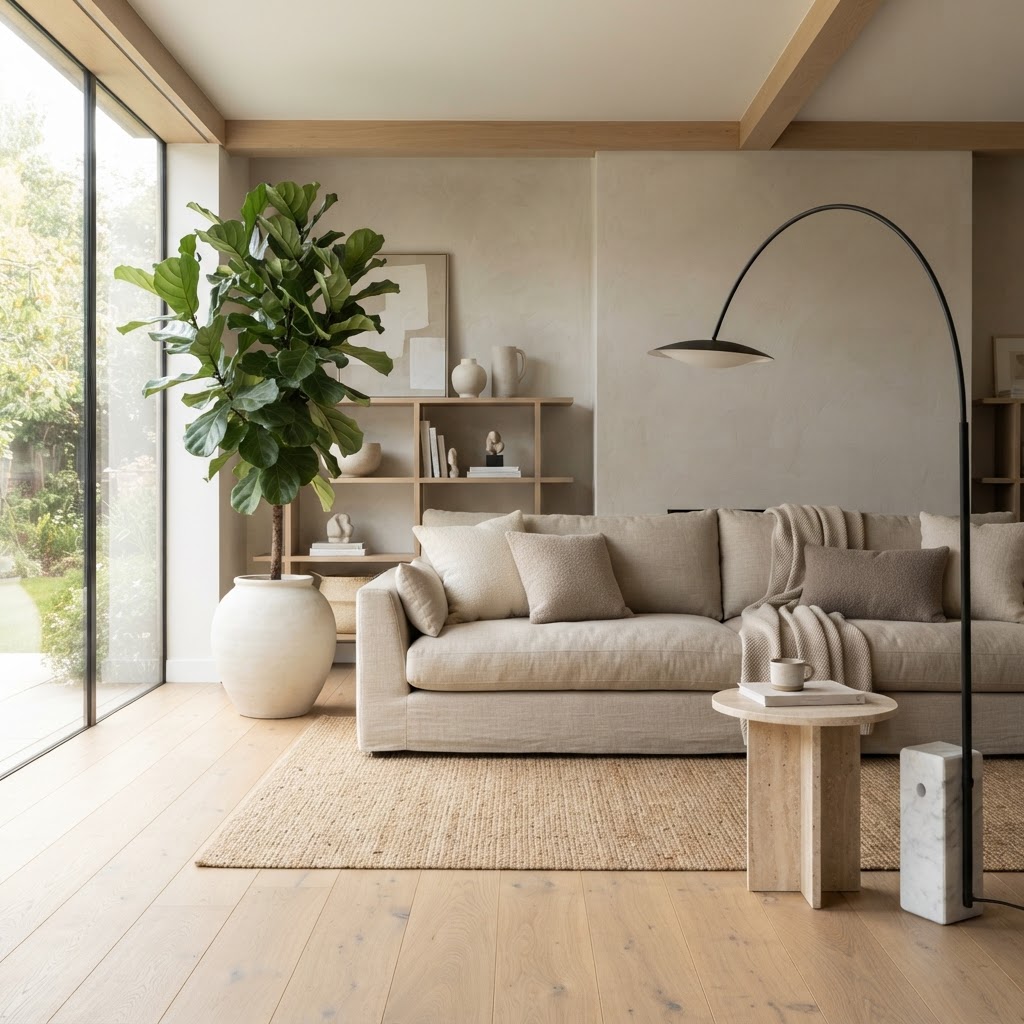
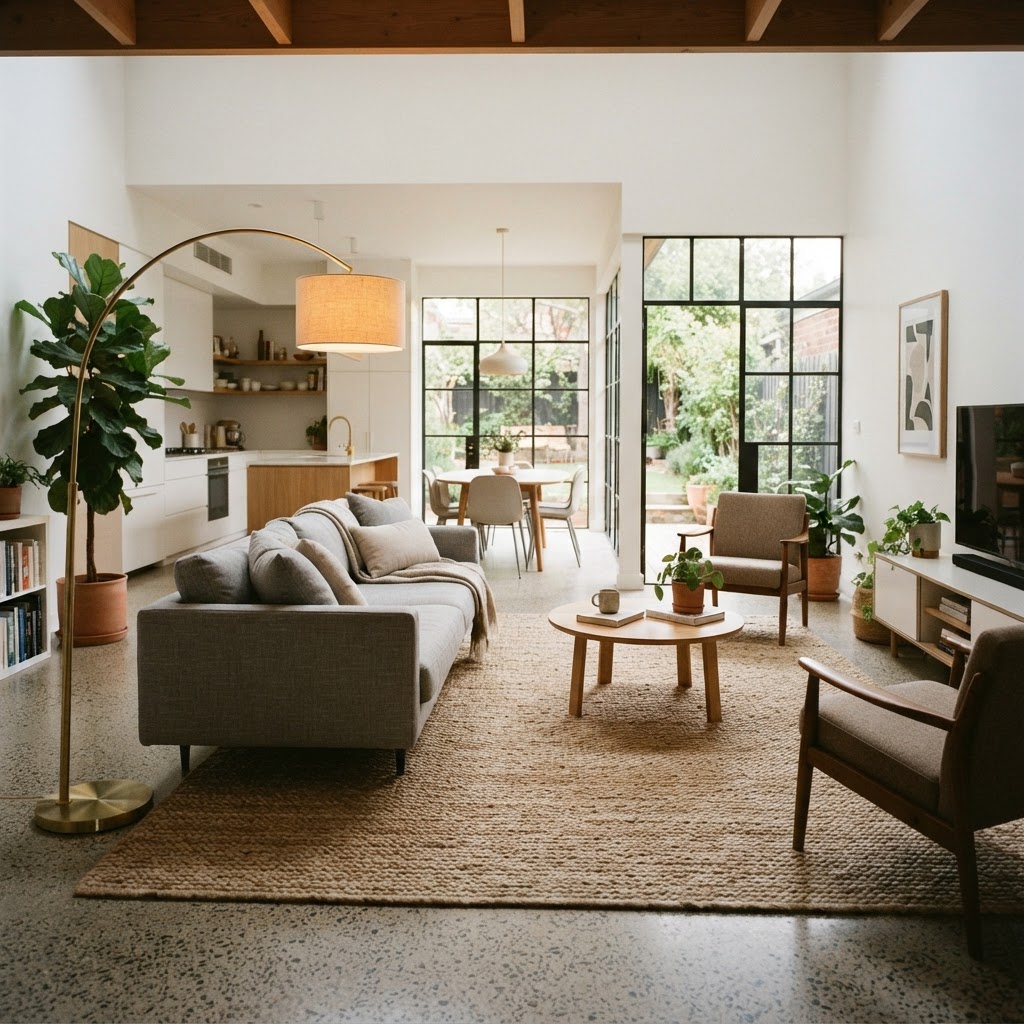
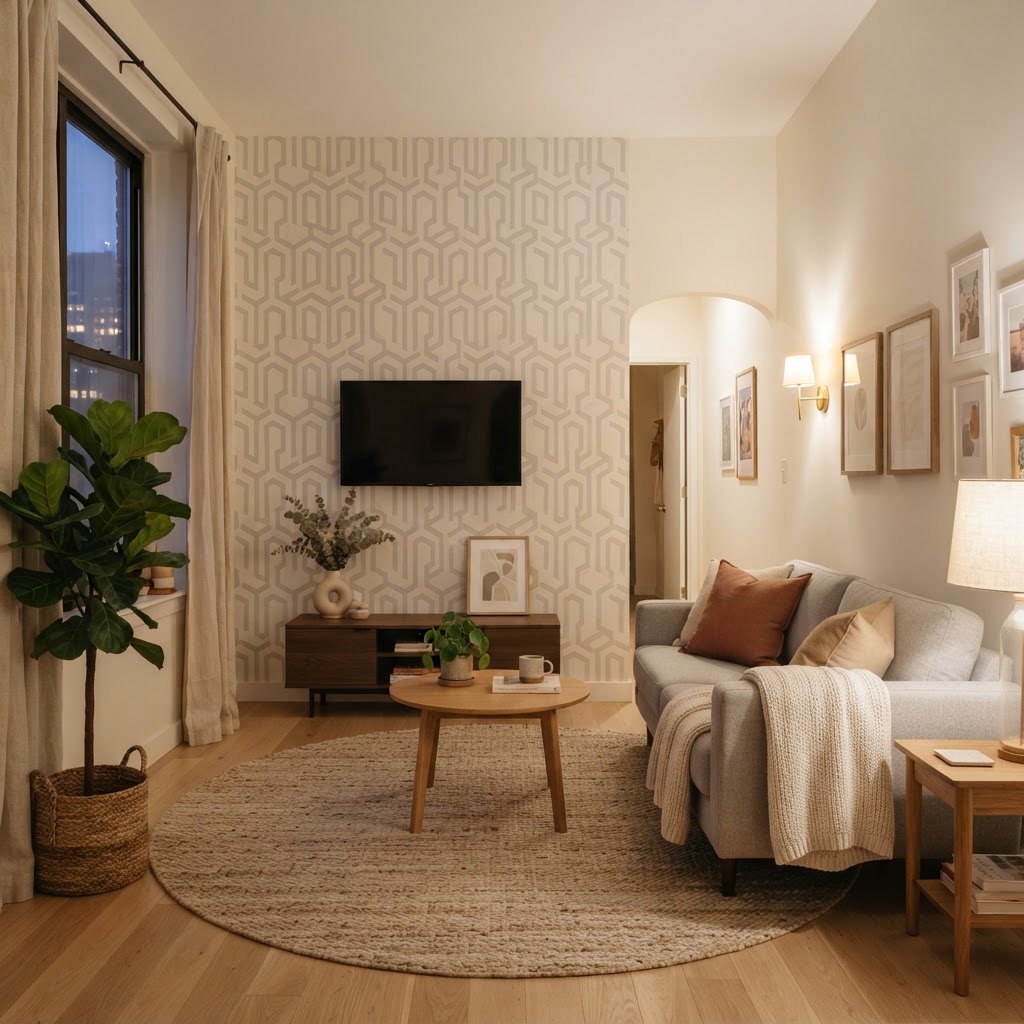
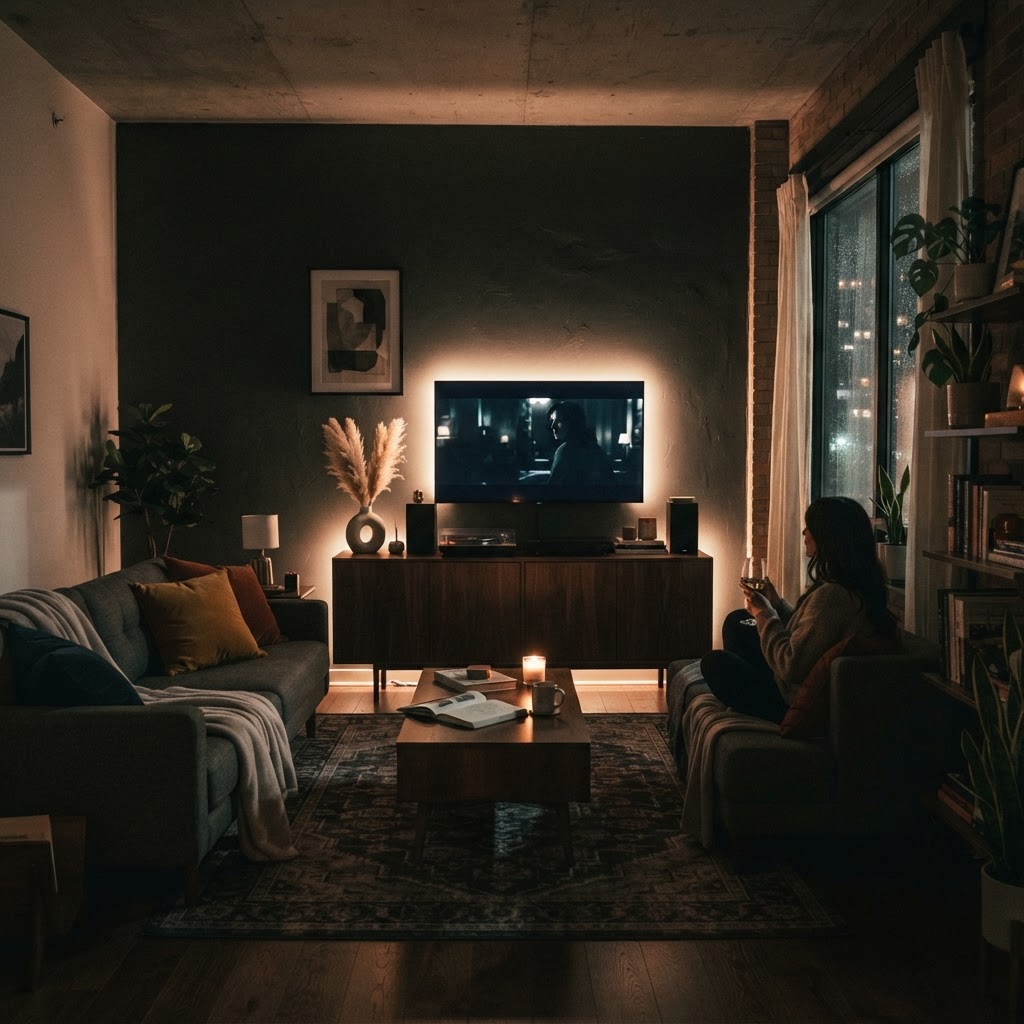
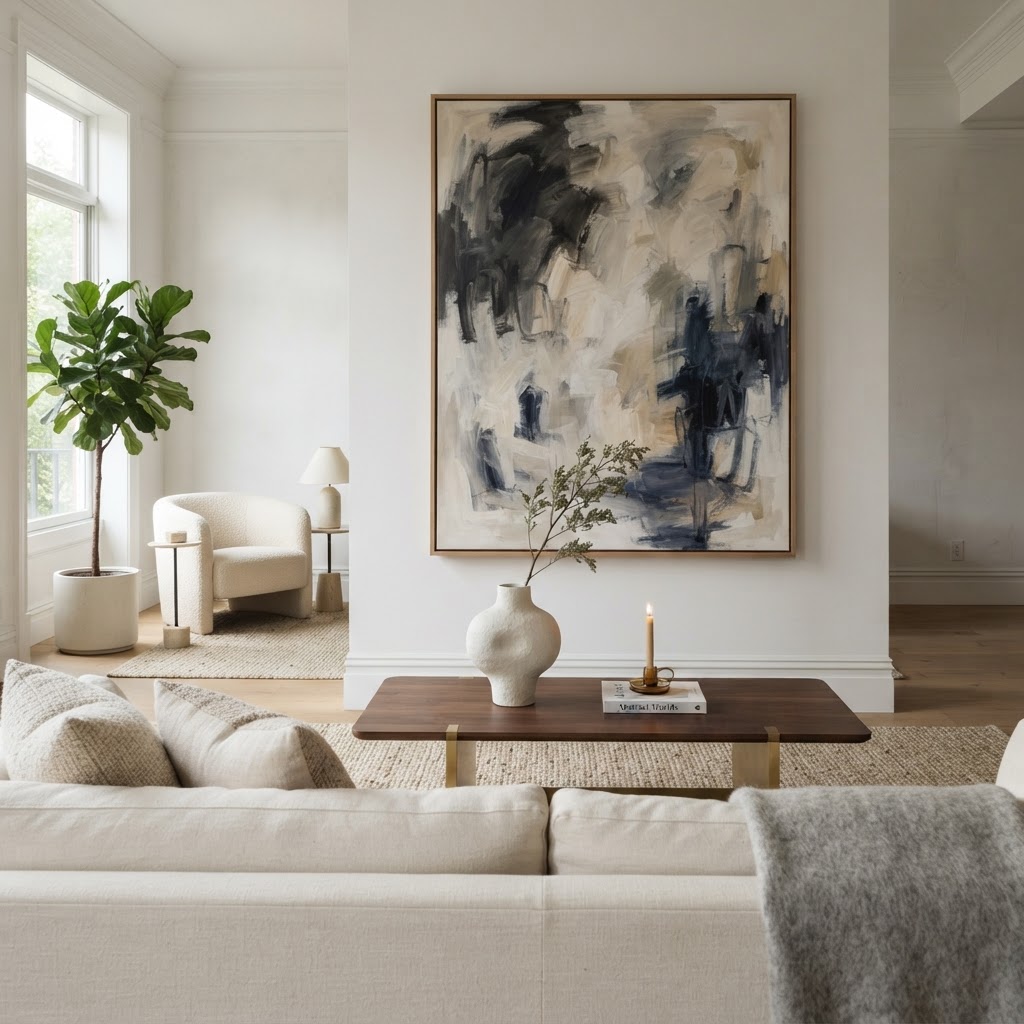
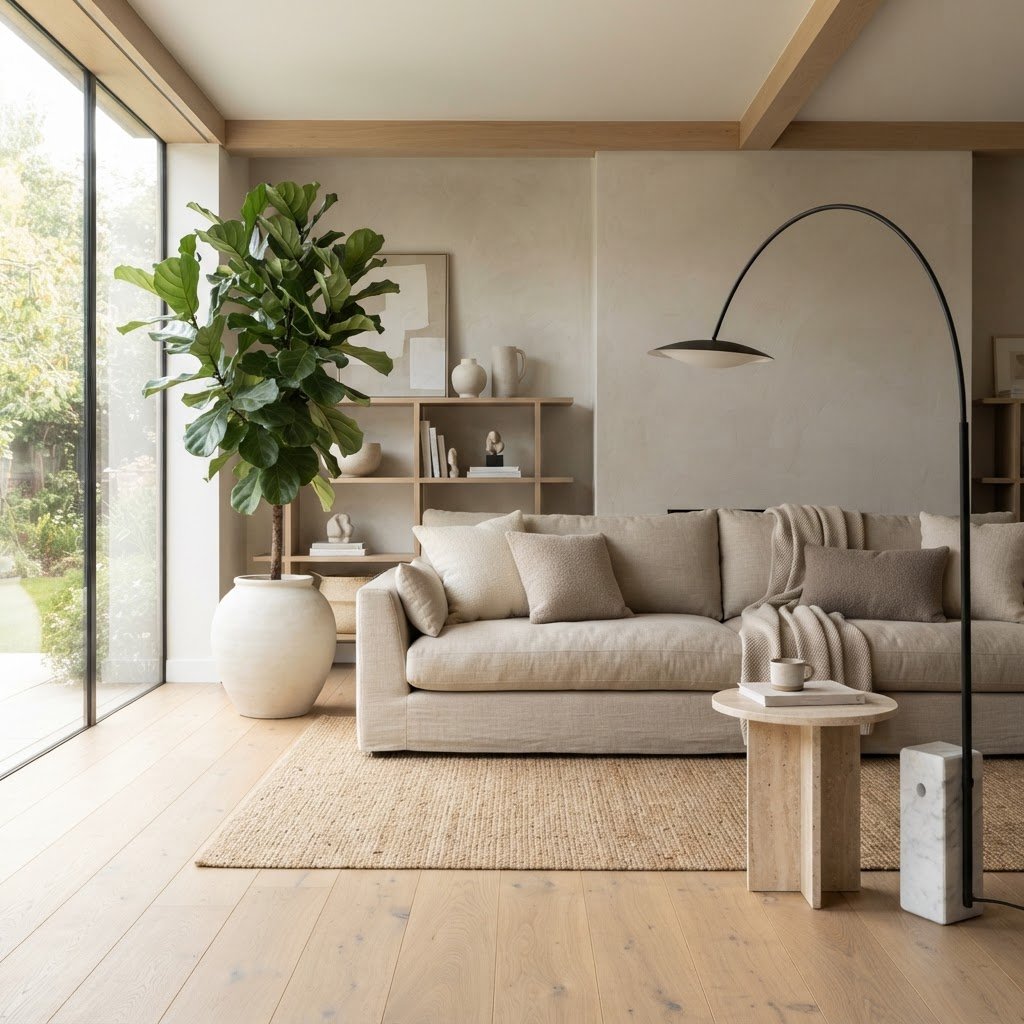
Using a neutral palette and sculptural plants elevates your apartment's luxury feel.

One of the most effective ways to make a small apartment look expensive is to embrace the power of negative space, which creates a sense of luxury by prioritizing breathability over clutter. When you clear surfaces and leave areas of your room empty, you instantly communicate a sense of abundance rather than scarcity, signaling that the home is not packed to its maximum capacity.

Clearing Your Surfaces

Start by stripping your countertops, side tables, and shelves down to the essentials. If an item does not serve a clear purpose or bring you genuine joy, find a place for it behind closed cabinet doors or in a storage bin. By limiting your display items to one or two high-quality pieces, you force the eye to appreciate the quality of the object rather than the clutter surrounding it. Aim to keep at least 30% of your shelf space completely empty to emphasize the luxury of breathing room.

Curating Your Vignettes

Focus on creating “vignettes” rather than displays. Group items in odd numbers, such as three, which creates a more pleasing visual balance. Place a stack of beautiful coffee table books beneath a single ceramic candle to create height and texture, ensuring the composition feels balanced and thoughtful. This technique transforms scattered knick-knacks into a deliberate design statement.

Mastering the Art of Layering Textures
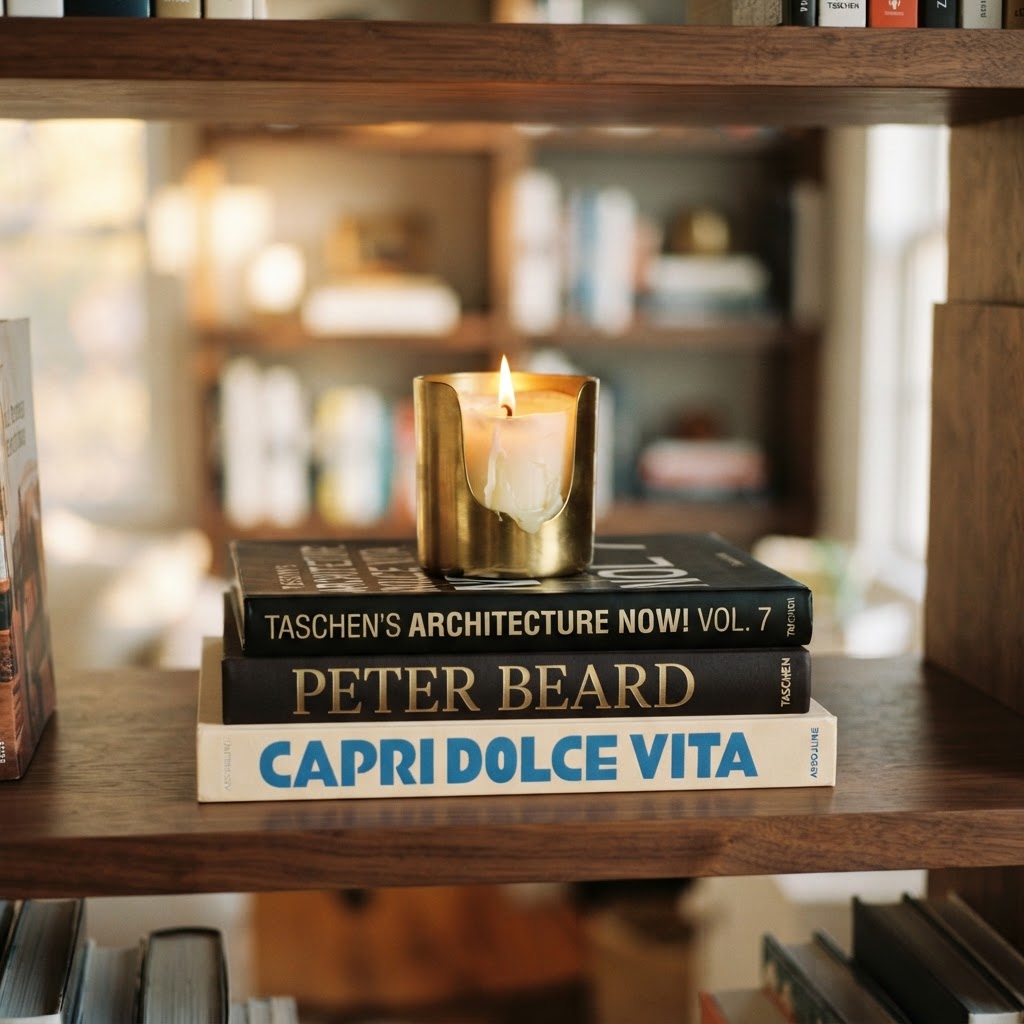
Curated vignettes with books and candles add a professional touch to your shelves.

Texture is the secret weapon of professional interior designers who aim to make a small apartment look expensive, as tactile depth compensates for a lack of architectural detail. When a room lacks complex moldings or high ceilings, you must compensate by adding layers of interest to ensure the space feels cozy, rich, and deliberately designed rather than generic.

Combining Materials

Introduce contrast by mixing different materials within your existing furniture arrangements to create visual interest. If you have a linen sofa, drape a chunky knit wool throw over the back and place a silk or velvet pillow in front of it. These subtle differences in fabric density provide depth that makes a room feel custom-designed. Utilizing at least three distinct fabric textures in a single seating area is a standard designer benchmark for achieving a luxury aesthetic.

Material Type Luxury Feel Best Use Case
Velvet High Accent pillows or ottomans
Linen Organic/Refined Sofa upholstery or curtains
Jute/Sisal Foundation Layering rugs for depth
Silk/Satin Accents Decorative cushions or throws

The Importance of Soft Furnishings

Don’t underestimate the impact of textiles on the perceived value of your home. Incorporating rugs, throw blankets, and plush cushions helps dampen sound, which adds to the luxurious “quiet” feel of an expensive home. If you want to elevate your floor, layer a smaller, textured rug over a larger, neutral jute or sisal rug to create a professional, designer-grade foundation.

Rethink Your Lighting Strategy
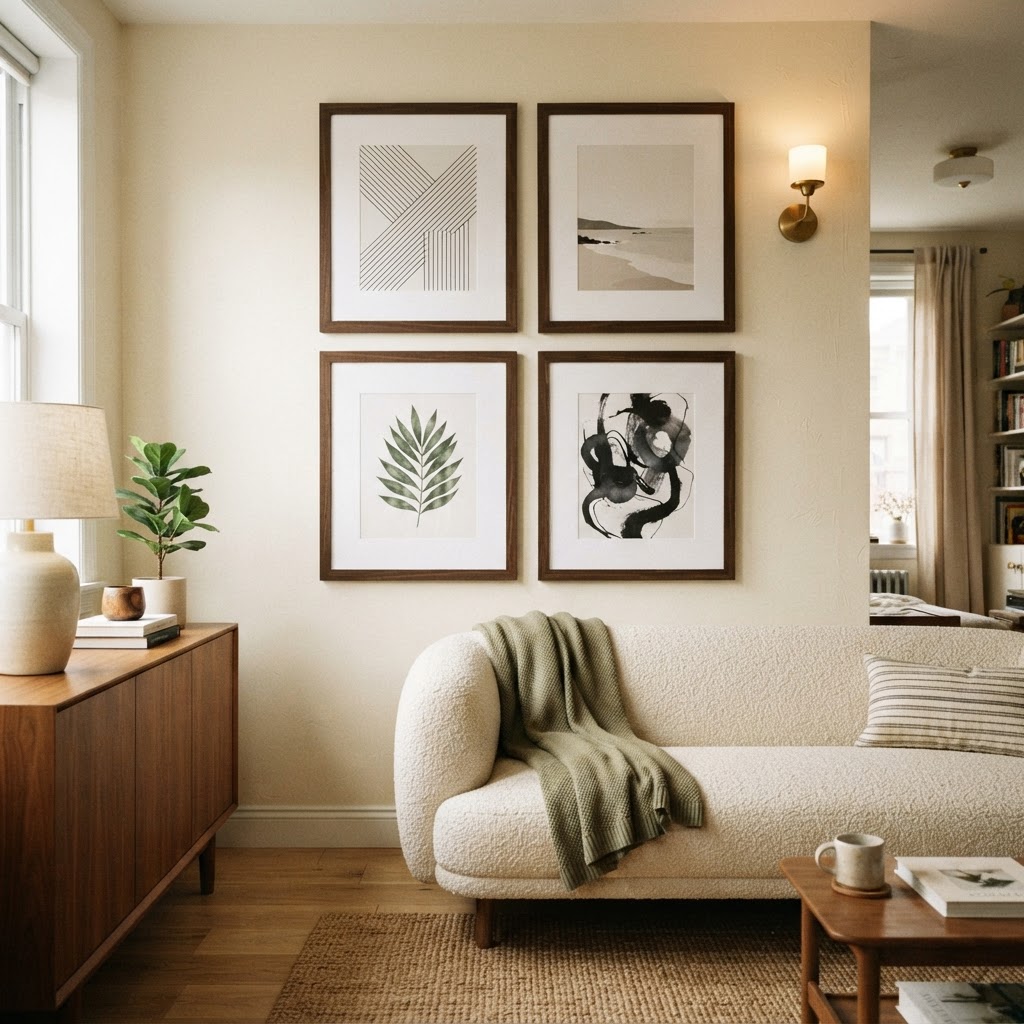
Properly hung art at eye level creates a sophisticated, gallery-inspired living space.

Lighting is the single most important element in your home for elevating perceived value, yet it is often the most neglected, as harsh overhead lighting kills any luxury vibe. To make a small apartment look expensive, you must shift away from top-down illumination toward multi-layered ambient lighting that provides a soft, warm glow throughout the room.

Creating Ambient Glows

Distribute light sources throughout your room at different heights to create a warm, inviting glow. Use table lamps on your nightstands, a floor lamp in the corner, and even an accent lamp on a bookshelf. If possible, opt for warm-toned light bulbs (2700K) to create an intimate, sophisticated atmosphere that mimics the lighting found in high-end hotels. Aim for at least three light sources per room to eliminate dark corners and create a professional-grade atmosphere.

Using Dimmers and Shades

If your apartment has lamps without dimmers, consider buying smart bulbs that you can adjust via your phone. Being able to lower the light level in the evening can instantly turn your living area from a “work zone” into a refined, moody retreat. This transition is essential for making a space feel like a sanctuary.

The Power of Monochromatic Color Palettes

Visual noise is the primary enemy of an expensive-looking home, so leaning into a monochromatic or tonal color palette ensures your space feels cohesive and intentional. When you have too many competing colors, the space feels chaotic and juvenile, but a unified palette removes the “choppiness” that often plagues small apartments, making the transition between your living areas feel seamless.

Selecting a Cohesive Scheme

Choose one primary neutral—such as cream, greige, or soft charcoal—and layer different shades of that same color throughout your textiles, art, and accessories. This creates a cohesive flow that makes a small room feel significantly larger and more integrated. A consistent palette allows the eye to travel through the space without interruption, which is a hallmark of luxury residential design.

Elevating Your Art and Decor Displays

Art is the defining factor that separates a temporary “living situation” from a “home,” but the framing and placement determine whether it looks professional or budget-conscious. To make a small apartment look expensive, stop hanging your posters with tape or using cheap, plastic frames, and instead invest in high-quality frames that provide visual substance.

Framing for Sophistication

Invest in a few high-quality frames with substantial mats. Even a simple print looks significantly more expensive when placed behind a crisp, wide white mat in a thick, dark frame. If you cannot afford new art, remove the glass from your old frames and use a matte finish spray on the frames themselves to eliminate that shiny, budget look. A wide mat should occupy at least 25% of the total frame area for a premium appearance.

Strategic Placement

Avoid the common mistake of hanging art too high on the walls. Art should generally be hung at eye level, which is approximately 57 to 60 inches from the floor to the center of the piece. By keeping art at a consistent, lower line across your room, you create a sense of order and architectural intention, tricking the eye into thinking the walls are taller.

The Importance of Scale and Proportion

One common pitfall in small apartment styling is the use of “miniature” furniture, which inadvertently makes a space feel like a dollhouse rather than a luxury residence. To combat this, choose a few larger, statement pieces that anchor the room, as this counterintuitive approach reduces total visual clutter and provides the space with a sense of importance.

Choosing Statement Pieces

A single, large-scale piece of furniture, like a plush armchair or a substantial coffee table, can actually make a room feel bigger because it reduces the total number of items you need. When you have five tiny, cheap tables, the room feels cluttered, but one well-proportioned console table makes the room feel like it was designed by a professional. Always measure your space to ensure your statement piece occupies no more than 60% of your primary living area’s footprint.

Bringing Nature Indoors

Nothing makes a room feel more “expensive” than a healthy, vibrant plant, as organic shapes add life and depth that synthetic decor cannot replicate. To elevate your home, focus on selecting one or two larger floor plants rather than ten tiny succulents scattered on every windowsill, as large plants act as sculptural decor that adds height to the room.

Selecting the Right Greenery

Look for plants with sculptural leaves, such as a Fiddle Leaf Fig or a tall Snake Plant. Place them in a ceramic pot that matches your color scheme. By treating your plants as “living sculptures” rather than just garden items, you add a high-end, organic element that breathes life into your decor. Ensure your plant pot is at least 12 inches in diameter to maintain a sense of proportion.

FAQ

How can I make a small apartment look expensive on a budget?

Make a small apartment look expensive by decluttering surfaces, replacing overhead lights with warm-toned lamps, and using a monochromatic color palette. Focus on high-impact, low-cost upgrades like replacing plastic frames with matted gallery frames and adding texture through affordable throws and rugs.

Does small furniture make a room look bigger?

Contrary to popular belief, small furniture often makes a room look smaller and more cluttered by creating a “dollhouse” effect. Instead, select a few larger, high-quality statement pieces that anchor the room, which helps define the space and reduces the amount of visual noise.

What color palette works best for small luxury apartments?

A monochromatic or tonal color palette works best, as it creates a seamless, cohesive flow that prevents the visual choppiness of contrasting colors. Using shades of cream, greige, or soft charcoal creates a sophisticated, high-end atmosphere that makes the walls appear to recede, effectively enlarging the room.

How high should I hang art in my apartment?

Art should be hung at eye level, which is standard at 57 to 60 inches from the floor to the center of the piece. Hanging art at a consistent height creates a gallery-style effect that adds architectural intention and creates the illusion of higher ceilings.
Best Wall-Mounted Entryway Organizers for Renters

Best Wall-Mounted Entryway Organizers for Renters

The best wall-mounted entryway organizers for renters are damage-free adhesive hooks, modular pegboard systems, and tension-pole units that require no drilling. These solutions maximize vertical storage by utilizing industrial-grade mounting adhesives or pressure-fit mechanisms, ensuring your security deposit remains protected while keeping daily essentials organized and accessible.

Understanding Renter-Friendly Constraints

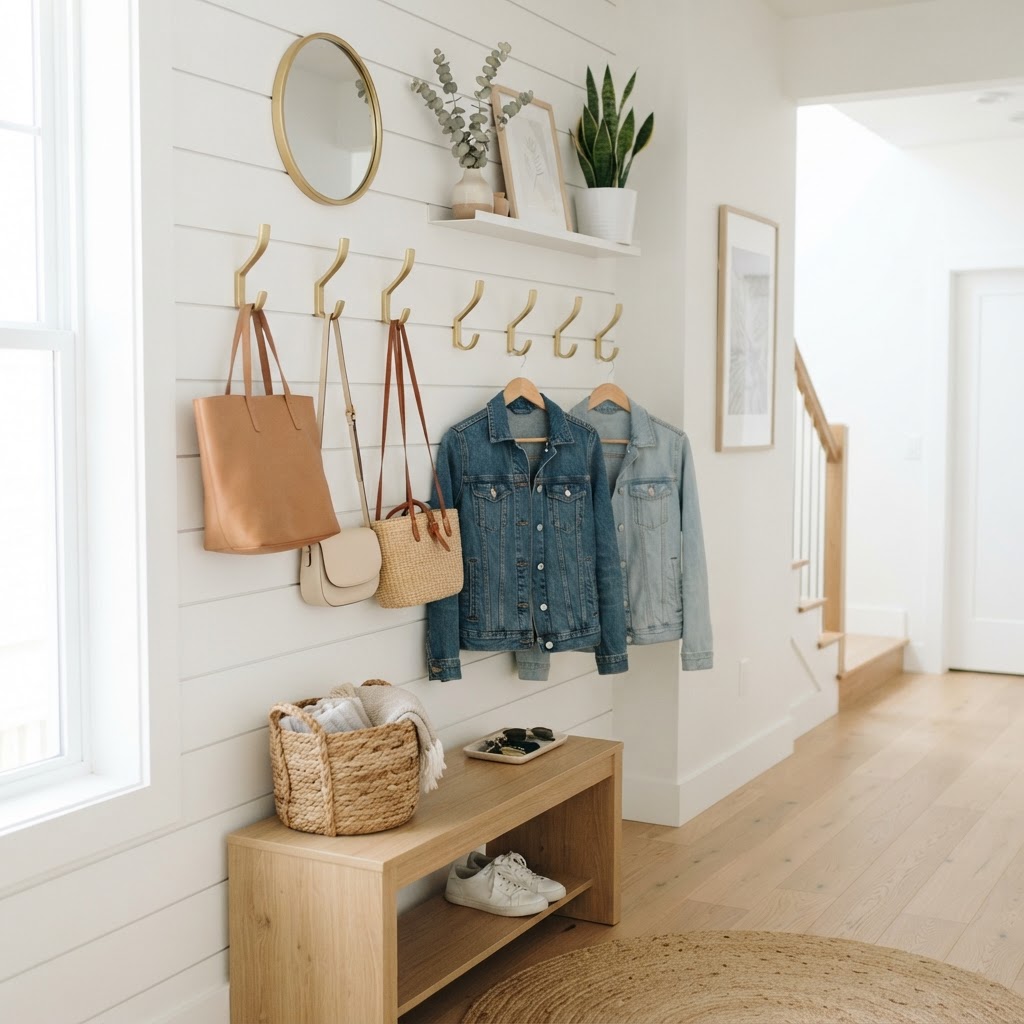
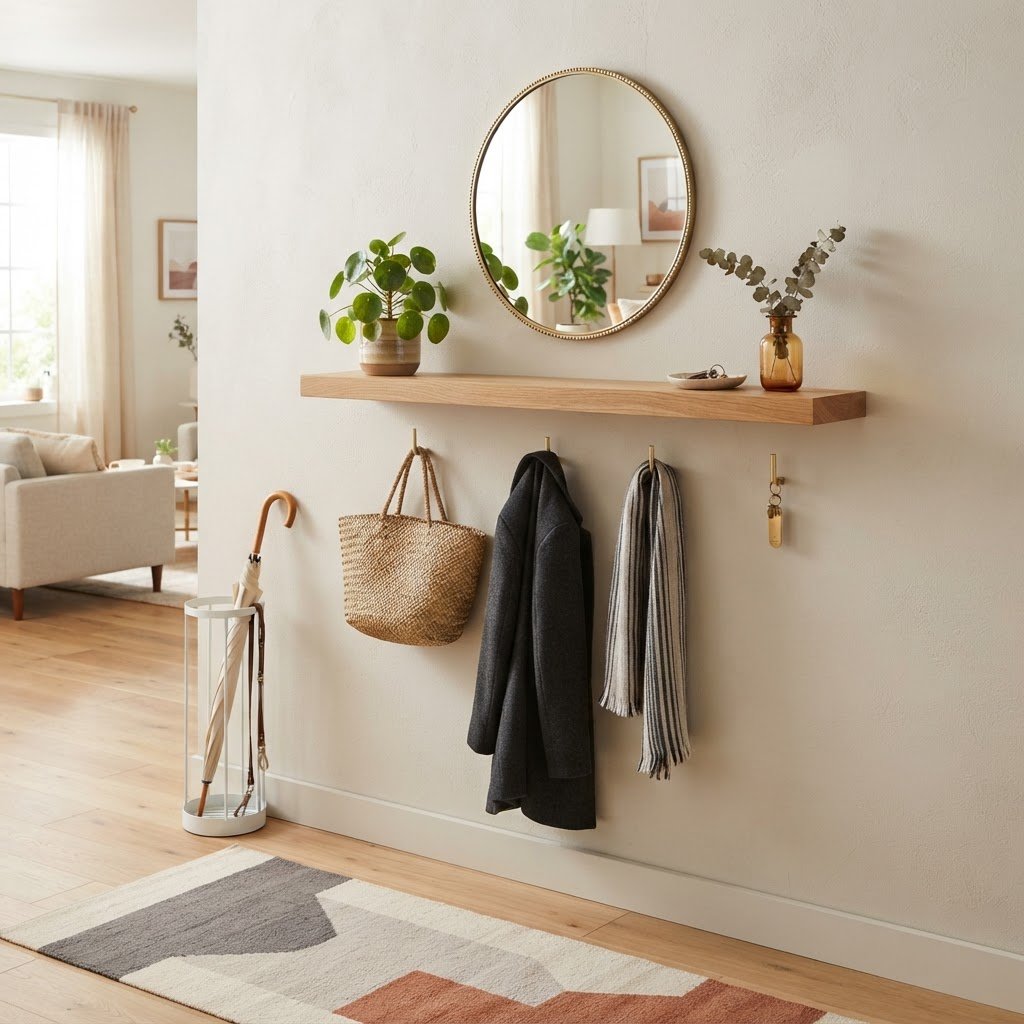
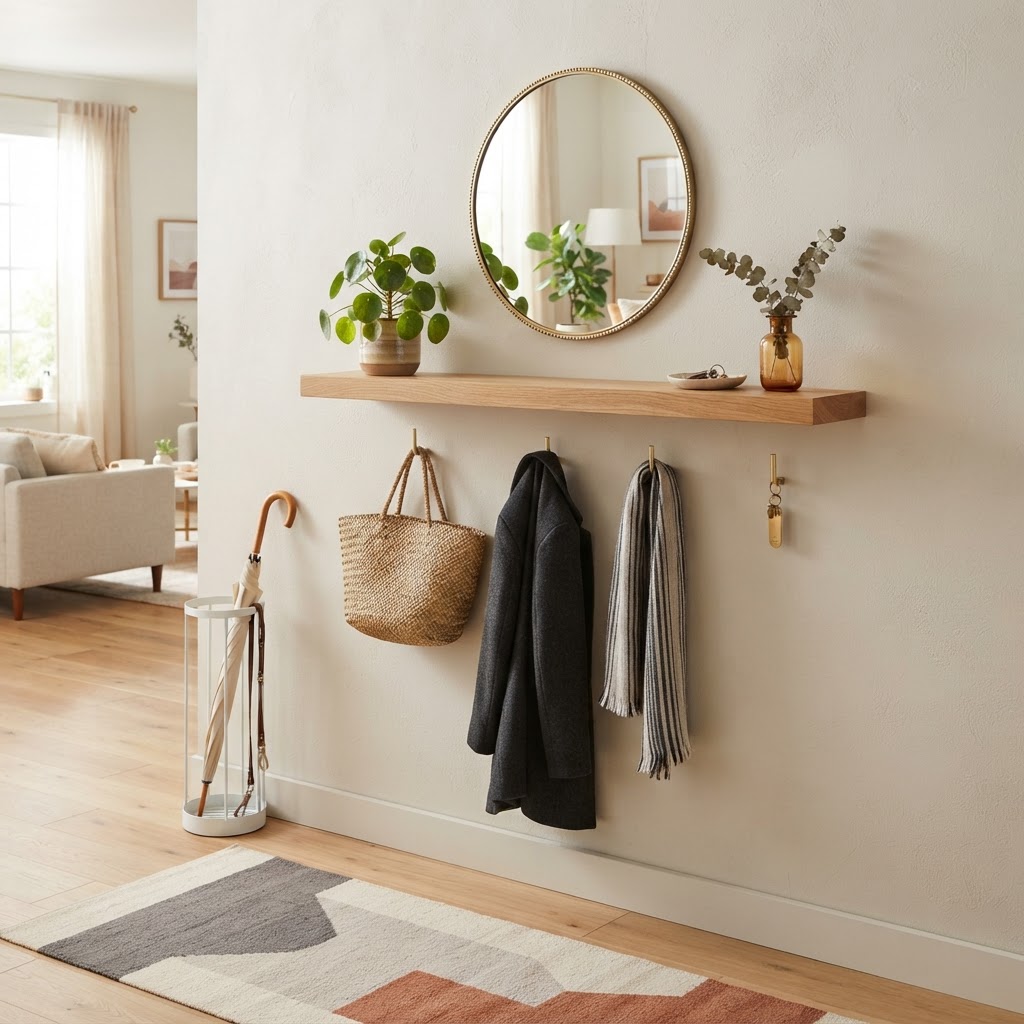
Modern, renter-friendly wall-mounted shelf and hook setup.

When you are renting, the golden rule of home organization is to leave the walls exactly as you found them to avoid costly deductions from your security deposit. Most landlords prohibit large screws or heavy-duty anchors because they cause permanent damage to drywall, wood paneling, or plaster. Without proper organization, the floor becomes a magnet for shoes, mail, and bags, creating a disorganized environment. Fortunately, modern engineering has introduced temporary solutions that offer the stability of permanent fixtures without the need for tools. By prioritizing reversible installation methods, you can achieve a functional entryway that complies with strict lease agreements. Understanding the weight limits of your chosen system is critical; most adhesive solutions are rated for 5 to 15 pounds, meaning you should weigh your items before mounting them. Using a simple hanging scale allows you to verify that your organizer can support your winter coat or heavy handbag safely, preventing accidental falls or surface peeling. Proper planning before the first adhesive strip is applied ensures a long-term, stress-free storage setup.

Solution Type Best For Mounting Method Damage Risk
Adhesive Hooks Keys, light coats Peel-and-stick strips Extremely Low
Modular Pegboards Mail, accessories Adhesive or over-door Low
Tension Poles Full mudroom setups Pressure-fit None
Over-the-Door Shoes, heavy bags Hook brackets Low

The Power of Adhesive Technology

Command hooks and specialized heavy-duty adhesive strips have revolutionized how we think about home storage. You can now purchase sturdy shelves and coat racks that mount to the wall using industrial-grade adhesives. These products are designed to hold significant weight while being easily removable with a quick pull of a tab, leaving no trace behind when you decide to move out. When using these strips, temperature plays a vital role in the bond strength; ensure your wall is between 50°F and 105°F during application for the best results. Always follow the manufacturer’s “wait time” instructions, which typically range from 1 to 24 hours, before hanging any items to ensure the adhesive has fully cured.

Choosing the Right Surface

Before applying any wall-mounted entryway organizers for renters, it is crucial to test your wall surface. While most adhesive organizers work perfectly on painted drywall, they may struggle with textured walls or wallpaper. Always clean the surface with rubbing alcohol before installation to ensure the adhesive bond is as strong as possible, and wait the recommended amount of time before hanging heavy items like winter coats. If your wall is heavily textured, consider using a mounting board that attaches to the wall with low-tack adhesive, providing a smooth base for your hooks. Testing a small, hidden corner of the wall with the adhesive first can prevent accidental paint peeling upon removal.

Modular Storage Systems for Small Spaces

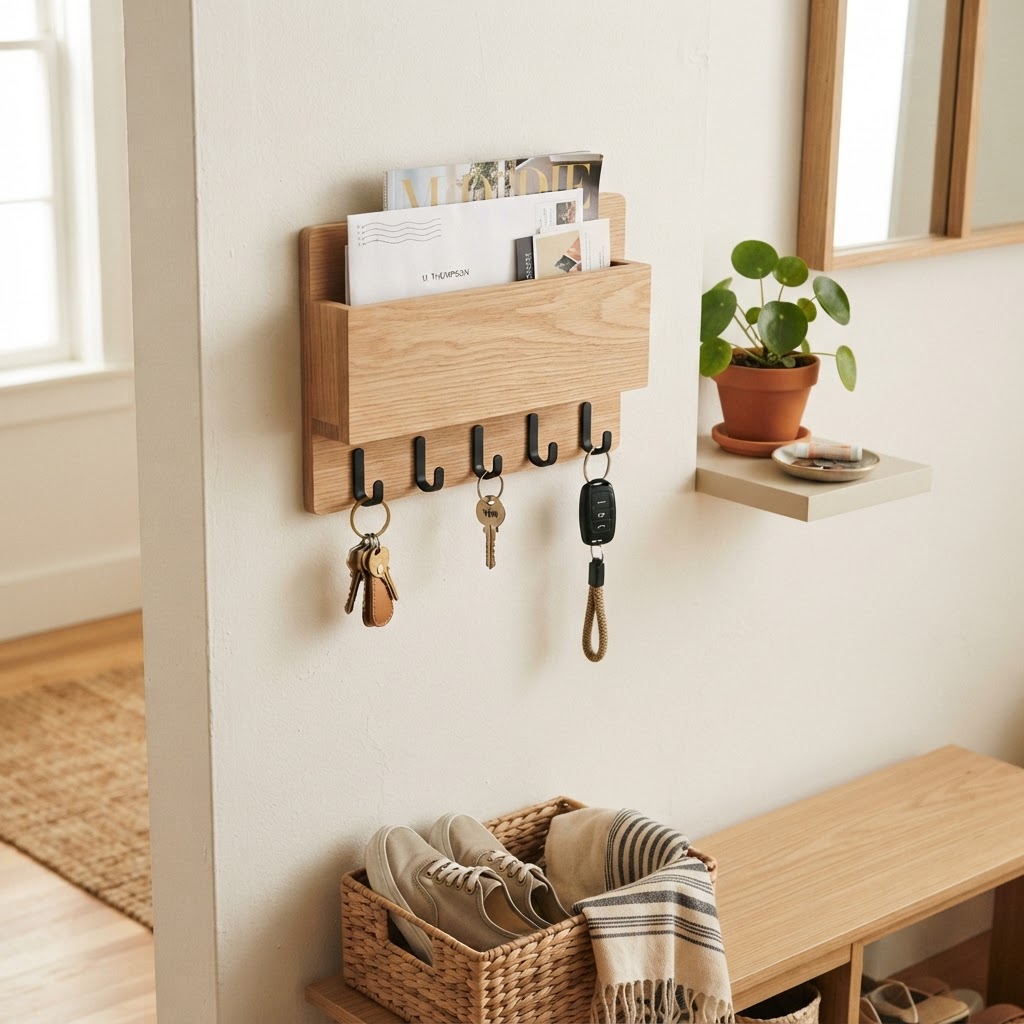
Close-up of a stylish adhesive mail and key organizer.

Modular organizers provide the ultimate flexibility by allowing you to grow your storage system as your inventory of gear changes. Many brands now offer interchangeable pegboards and shelving units that you can configure to suit your specific foyer dimensions. By mixing and matching hooks, bins, and shelves, you can create a customized wall station that manages everything from dog leashes to outgoing mail. The advantage of a modular approach is the ability to swap components; for example, you might add extra shelf space during the winter months for scarves and hats, then swap them for more hook capacity during the summer. Brands often provide starter kits priced between $30 and $70, which include a baseboard and 5-8 accessories. This creates a professional, built-in look that feels custom-designed for your space. Furthermore, organizing your space vertically prevents the “visual clutter” that often makes small apartments feel smaller. By lifting items off the floor and placing them at eye level, you create a cleaner, more organized aesthetic that helps you find your essentials in seconds. Always ensure your modular system is centered at roughly 60 inches from the floor, which is the standard height for user-friendly access and visual balance.

Creating a Personalized Drop Zone

A “drop zone” is the ultimate tool for maintaining an organized home. By placing a small, wall-mounted bin near the door, you create a dedicated landing spot for your daily clutter. Consider incorporating a small mirror above your organizer to give the entryway a more open, airy feel, which is especially effective in narrow hallways.

Tension-Based Entryway Solutions

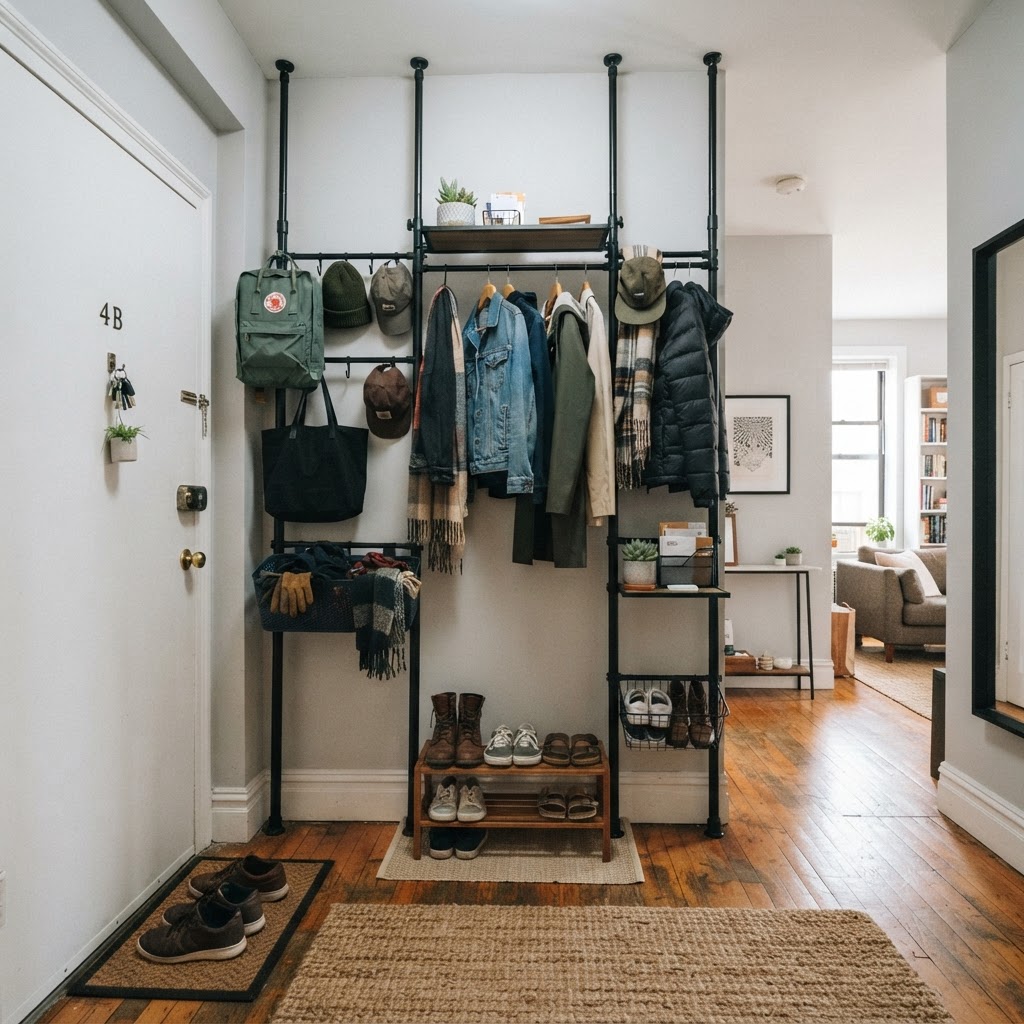
A space-saving tension-pole system for small apartments.

Tension-based organizers are the ideal choice for renters who live in spaces with delicate, non-stickable surfaces or who require heavy-duty storage without using adhesives. These systems span from the floor to the ceiling or wall-to-wall, utilizing internal springs and high-friction pads to stay in place. While they are slightly larger than traditional wall-mounted units, they offer a sturdy, non-destructive way to store a significant amount of gear, often supporting up to 50 pounds or more. Since they require no hardware, tools, or drilling, they are the most stress-free option for frequent movers. Many of these systems feature integrated hooks, shoe racks, and benches, allowing you to create a full “mudroom” effect in a rental apartment. In an open-concept studio, a tension-pole system acts as a functional room divider, clearly separating the entryway from your living space while providing essential storage. To maintain these systems, check the tension screws once every six months to ensure the pressure remains consistent. If you live in an apartment with high humidity, periodically wipe the tension pads with a damp cloth to remove dust buildup, which can cause the system to lose its grip over time.

Functional Decor: Combining Style and Utility

Just because an item is functional doesn’t mean it should lack aesthetic appeal. Today’s market is flooded with wall-mounted entryway organizers for renters that prioritize design. Think sleek matte black hooks, warm bamboo shelving, or rustic floating racks that double as art pieces. You don’t have to settle for cheap-looking plastic; choose materials that match your existing furniture to create a cohesive look. When selecting materials, consider that bamboo and finished woods add warmth to cool-toned rental apartments, while metallic finishes provide a modern, industrial touch. By selecting high-quality finishes, you transform a utility item into a piece of home decor. You can easily elevate a plain organizer by adding decorative contact paper or painting the shelves to match your apartment’s trim. This level of customization makes the space feel like your own, despite the limitations of a rental unit. Consistency is key here; if your entryway decor mirrors the color palette of your adjacent living room, the space will feel significantly larger and better designed.

Incorporating Greenery and Lighting

Add a touch of life to your entryway by incorporating small, wall-mounted planters. Pairing these with your storage hooks helps break up the utility of the space and adds a fresh, welcoming scent to the home. If your foyer is dark, consider adding a wireless, motion-sensor LED bar under one of your shelves. This provides task lighting without the need for an electrician or complex wiring.

Maintenance Tips for Long-Term Organization

Installation is only half the battle; maintaining your entryway is what ensures long-term success. It is easy to let mail and bags accumulate over the week. Try to perform a “five-minute reset” every Sunday night to clear out your bins, recycle junk mail, and put away seasonal items that don’t need to be right at the front door. Creating a habit of clearing surfaces weekly keeps the entryway functional and prevents the “catch-all” clutter trap from forming. Use a small bin specifically for items that need to leave the house, such as outgoing packages or library books, to ensure they don’t get lost in the shuffle. Furthermore, use a lint roller or brush on your storage shelves once a month to prevent dust from settling on your gear. By keeping the organizer clean, you maintain the aesthetic appeal of the space and extend the life of your mounting hardware. Remember that consistency is the key to keeping any organizational system effective for more than a few days.

  1. Use a designated bin for outgoing mail.
  1. Dedicate one hook specifically for your keys to prevent losing them.
  1. Keep a small brush or lint roller in your organizer for a quick clean-up.
  1. Rotate seasonal items like heavy scarves or umbrellas as the weather changes.

Maximizing Vertical Real Estate

When square footage is at a premium, looking up is the best strategy. Most renters focus too much on what they can place on the floor, ignoring the potential of the wall space above eye level. By installing a high shelf above your door, you can store items that you use only occasionally, such as travel bags or seasonal decor, keeping them out of the way while maintaining easy access. Utilize the space 7 feet off the ground for deep storage, ensuring that the items you use daily are kept between 40 and 60 inches from the floor for ergonomic convenience. This tiered approach to storage prevents the entryway from feeling cramped. If you cannot mount to the wall, use an over-the-door rack with adjustable tiers. These racks can provide up to 24 slots for shoes or accessories without requiring any wall space at all. Combining high-level shelves with lower hooks maximizes your total storage surface area by 30-40% in a typical foyer. The “rule of three” for balanced composition applies here: group your hooks, shelf, and a mirror in a triangular pattern to make the arrangement feel intentional rather than haphazard. Always ensure that the highest items are the lightest, reducing the risk of a heavy object falling while you are entering or leaving the home.

Overcoming Rental Challenges

Sometimes, the biggest challenge to installing organizers is a lack of wall space altogether. If you live in an apartment where your door opens directly into a wall, you might benefit from over-the-door organizers. These hooks and baskets use the door itself as a foundation, providing a sturdy, reliable storage solution that is completely invisible from the outside of your apartment. Another effective strategy is using freestanding, narrow-profile console tables. These provide a surface for mail and keys while leaving the wall completely untouched. If your budget is tight, look for multi-purpose items, such as a coat rack that features an umbrella stand at the base. This minimizes the footprint while maximizing utility. When shopping, prioritize items with metal or heavy-duty plastic construction; these materials are easier to wipe clean and stand up better to the daily abuse of keys and bags. Budgeting $50 to $100 for your setup can secure high-quality, durable pieces that will last through multiple moves. Remember to verify the depth of your items against the clearance of your door frame, ensuring you have at least 2 inches of space for the hooks to clear the door header when it opens.

Budgeting for Your Entryway

You do not need to spend a fortune to get organized. Many of the most effective wall-mounted systems are affordable and available at big-box retailers. Focus your budget on the pieces that get the most daily wear and tear—like high-quality metal hooks—and save money on decorative elements like baskets or small knick-knacks.

FAQ

Q: How do I remove adhesive organizers without damaging my paint?

To remove adhesive organizers without damage, use a hair dryer to heat the strip for 30 seconds to soften the bond. Once warm, pull the adhesive tab slowly and straight down against the wall, rather than pulling outward, to release the adhesive cleanly.

Q: Are tension-based organizers stable enough for heavy winter coats?

Yes, tension-based systems are highly stable and can often support 30 to 50 pounds when correctly tightened between the floor and ceiling. Ensure the tension pads are placed on a level, solid surface and check the tension tightness every few months to maintain optimal stability.

Q: Can I use adhesive organizers on textured or wallpapered walls?

Adhesive organizers are not recommended for textured walls or wallpaper because they may peel the finish upon removal. For these surfaces, consider using a tension-pole system or an over-the-door organizer that does not rely on wall adhesion for support.

Q: What is the best way to clean adhesive residue left behind?

If any light residue remains after removing an adhesive strip, rub the area gently with a small amount of isopropyl alcohol or a specialized adhesive remover. Wipe with a clean cloth immediately afterward to ensure the finish of your paint remains intact.

Q: How do I maximize space in an entryway with no walls?

In entryways without wall space, utilize over-the-door organizers or narrow, vertical freestanding coat racks to store your essentials. These solutions provide storage without requiring any structural mounting, making them ideal for small, open-concept apartments where wall space is already occupied by furniture or doorways.

How to Style a Basic Beige Apartment So It Feels Like Home

How to Style a Basic Beige Apartment So It Feels Like Home

To style a basic beige apartment into a personalized home, focus on layering high-contrast textures, incorporating warm-toned lighting (2700K-3000K), and utilizing strategic greenery. These design choices counteract the sterile nature of neutral walls, transforming a generic rental space into a cohesive, high-design environment without requiring permanent renovations.

The Power of Layering Textures

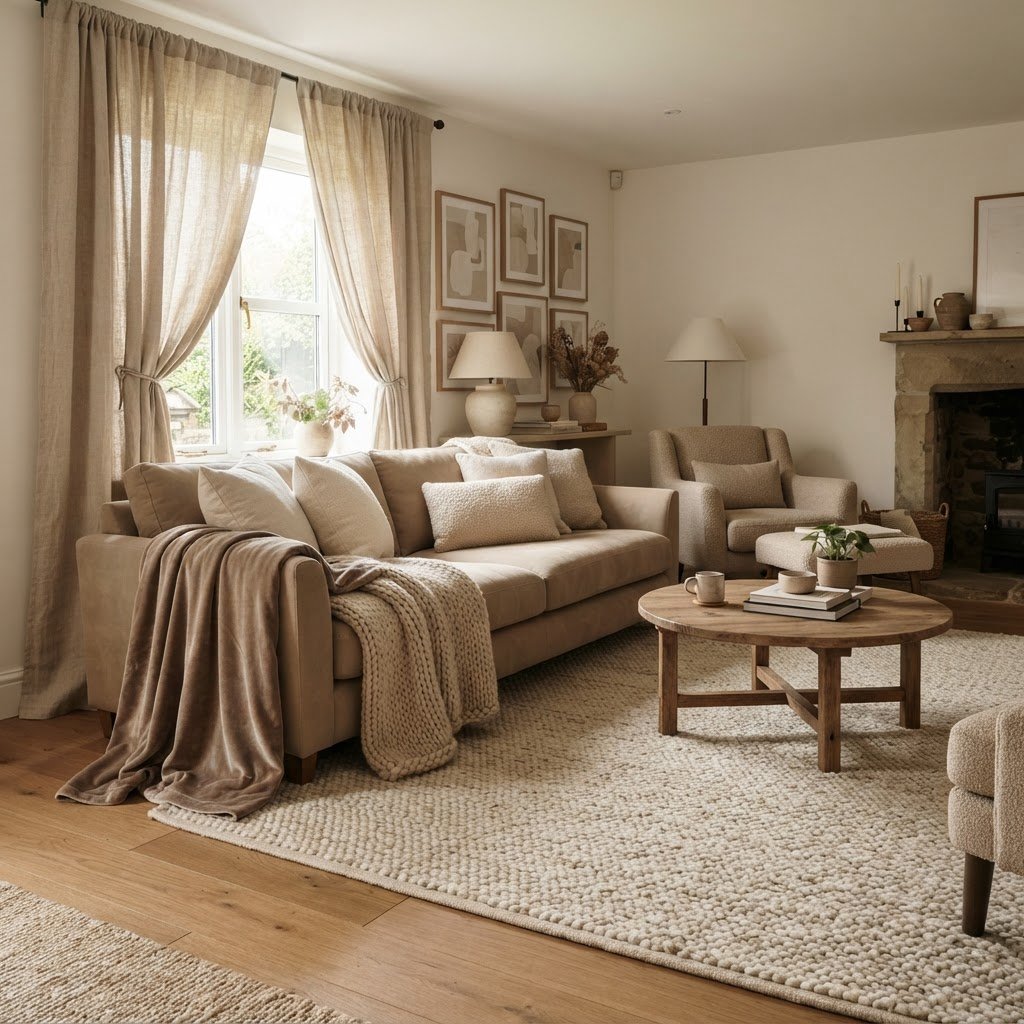
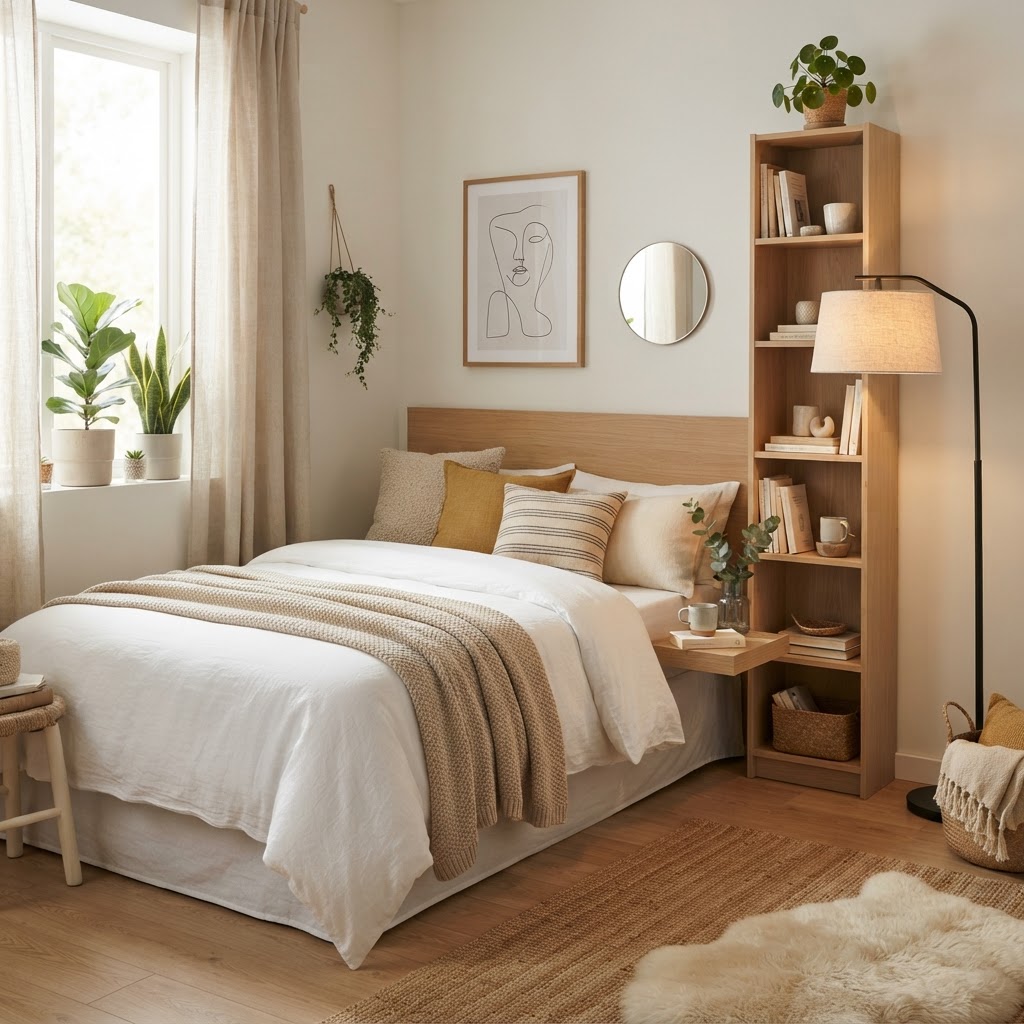
Layering textures is key to making a neutral space feel cozy.

Texture acts as the primary substitute for color in a monochromatic beige apartment, providing visual depth that prevents a room from feeling flat or clinical. By curating a tactile mix of materials, you establish “visual weight” that guides the eye and adds a lived-in, intentional feel to the space. Professionals recommend a 60-30-10 rule for textures: 60% smooth or hard surfaces, 30% soft textiles, and 10% organic or “rough” elements like jute or raw wood.

Why Texture Matters

Texture adds depth to a room that otherwise looks flat. Without variations in material, a beige room can feel sterile or clinical. By incorporating different materials, you create “visual weight” that draws the eye around the room and makes the space feel lived-in and intentional. For example, replacing a flat polyester throw with a chunky 100% wool knit blanket can change the perceived warmth of a sofa by approximately 15% in psychological comfort studies.

Mixing Soft and Hard Surfaces

To balance the room, ensure you have a mix of soft textiles and hard furniture pieces. A jute area rug provides a rough, organic texture that pairs beautifully with a soft linen sofa. Add a metal side table or a glass coffee table to inject a modern edge that keeps the room from feeling too “cottage-core” or cluttered.

Material Category Texture Type Best Usage Area
Soft Linen, Wool, Velvet Sofa, Bedding, Rugs
Hard Glass, Metal, Lucite Coffee Tables, Shelving
Organic Jute, Rattan, Wood Accents, Baskets, Side Tables

Maximizing Lighting to Add Warmth

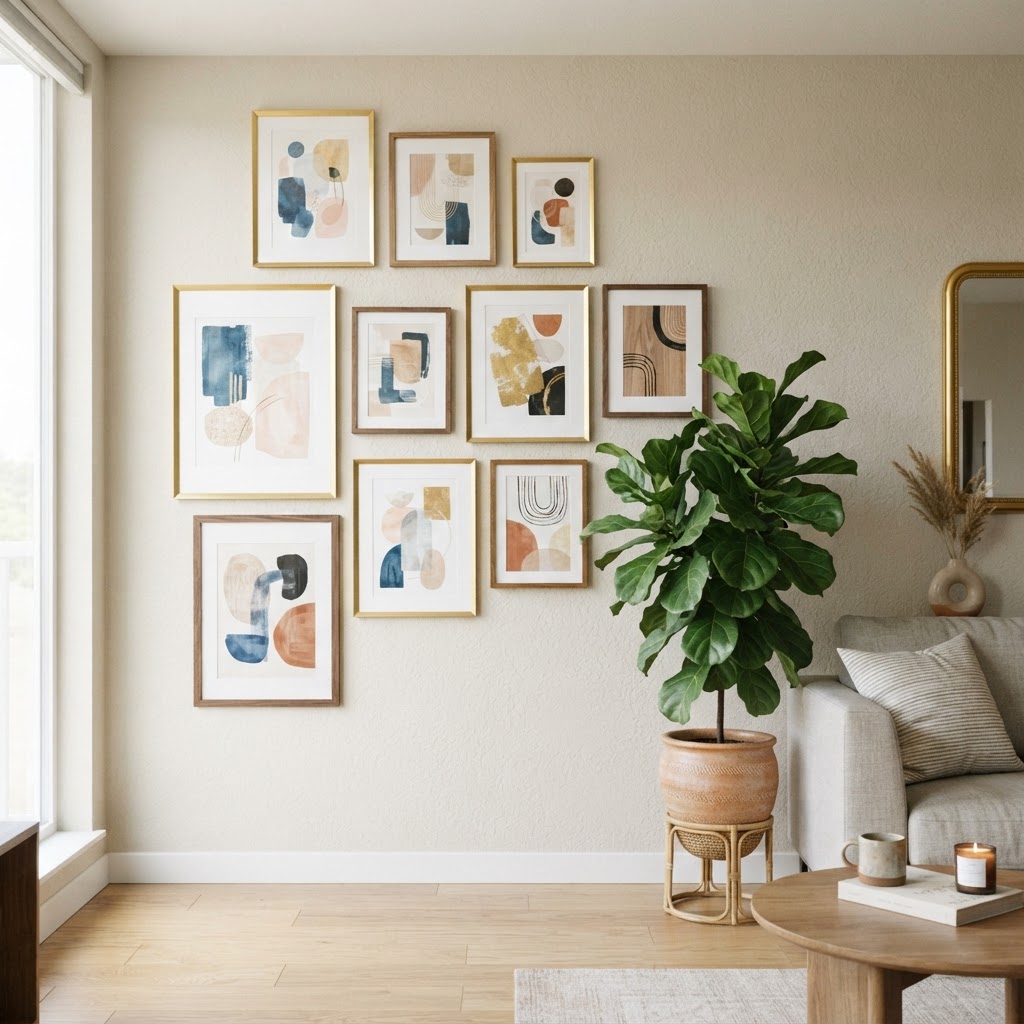
Gallery walls add personality to blank rental walls.

Lighting is the most critical element for transforming a beige apartment, as standard overhead fixtures often cast a cool, greyish tint that drains the color’s natural warmth. To counteract this, utilize a “layering” technique with at least three light sources per room: ambient (ceiling), task (desk/reading), and accent (table lamps). By placing light sources at varied heights—floor, eye level, and ceiling—you create a sophisticated glow that minimizes harsh shadows on beige walls.

Strategic Placement of Lamps

Avoid relying solely on a ceiling light. Instead, use a combination of floor lamps, table lamps, and wall sconces. Place lamps in the corners of your room to bounce light off the beige walls, which effectively brightens the space without the need for intense overhead fixtures. Choosing warm-toned bulbs is essential here; aim for 2700K to 3000K to maintain a golden, cozy hue. LED bulbs within this Kelvin range are highly efficient, typically consuming only 8-10 watts while providing the equivalent of 60-watt incandescent warmth, saving on electricity while enhancing ambiance.

Incorporating Personal Decor and Art

Floating furniture helps define distinct zones in open apartments.

Personalization turns a neutral box into a reflection of your identity, with decor serving as the necessary focal point against beige backdrops. When styling a gallery wall, aim to utilize at least 70% of the available wall space in a vertical grouping to draw the eye upward and make the ceiling feel higher. Mixing frames in varying finishes—such as brushed brass, oak, or matte black—adds a professional, gallery-style aesthetic that makes a collection feel curated rather than haphazard.

Curating Your Gallery Wall

A gallery wall is a perfect way to break up a large expanse of beige. If you are worried about security deposits, use adhesive strips or damage-free wall hooks. Mix and match frames in different materials—wood, brass, or matte black—to create a curated, eclectic look that feels professional and intentional. For the best visual impact, maintain a 2-3 inch spacing between each frame to create a uniform flow.

The Importance of Greenery

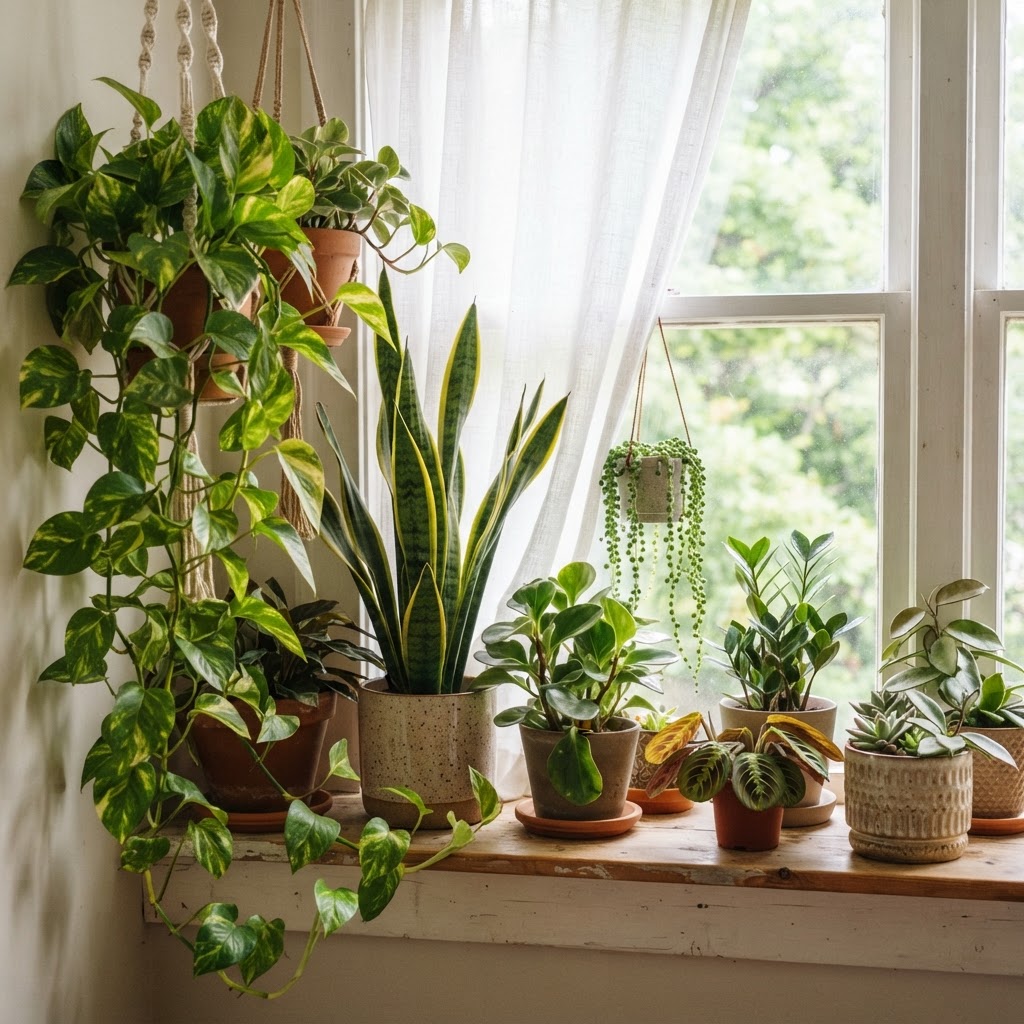
Indoor plants add life and vibrant color to beige rooms.

Plants are an essential design tool for beige apartments because their natural green foliage provides the ultimate color contrast to earthy neutrals. Beyond aesthetics, indoor plants like the Snake Plant or Pothos act as natural air purifiers, removing common indoor toxins like formaldehyde and benzene. Incorporating at least three to five plants of varying heights creates a visual “landscape” that softens the sharp corners of modern, boxy furniture.

Choosing Low-Maintenance Options

If you are new to plant care, start with hardy options like Snake Plants, Pothos, or ZZ Plants. These varieties are forgiving and thrive in a range of light conditions, making them ideal for apartment living. Grouping plants of different heights creates a mini indoor jungle that makes the room feel vibrant and full of life. Statistics show that placing greenery in a living space can improve mood and productivity by up to 15% through biophilic design principles.

Softening the Space with Window Treatments

Replacing standard rental blinds with floor-to-ceiling drapery is the single most effective way to change the architectural character of a beige apartment. Standard plastic blinds often shorten the visual appearance of a room; mounting high-quality curtains as close to the ceiling as possible draws the eye upward and creates an illusion of greater height. Select fabrics with varying opacity, such as heavy velvet for blackout needs or airy linen for a light-filtering effect, to control your room’s light quality throughout the day.

Choosing the Right Fabric

For a beige-heavy space, choose curtains that either match the wall color for a seamless, luxurious look or provide a deep, moody contrast. Navy, charcoal, or forest green curtains can ground a light-colored room. If you prefer to keep things light and airy, opt for sheer curtains that diffuse sunlight and add a dreamlike, soft quality to your space. A double-rod system—featuring a sheer layer for daytime privacy and a heavier fabric layer for nighttime—offers the maximum level of functional versatility.

Establishing Zones in Small Spaces

If your apartment is an open-concept layout, the beige walls can make the space feel like one giant, unorganized room. Establishing clear zones for living, dining, and sleeping helps define the function of each area. Rugs are your best tool for this; use different rugs to anchor specific seating areas or dining sets. For a typical studio or one-bedroom layout, use an 8×10 foot rug to anchor a living zone, ensuring at least the front legs of the sofa sit on the rug to create a unified visual boundary.

Using Furniture to Define Areas

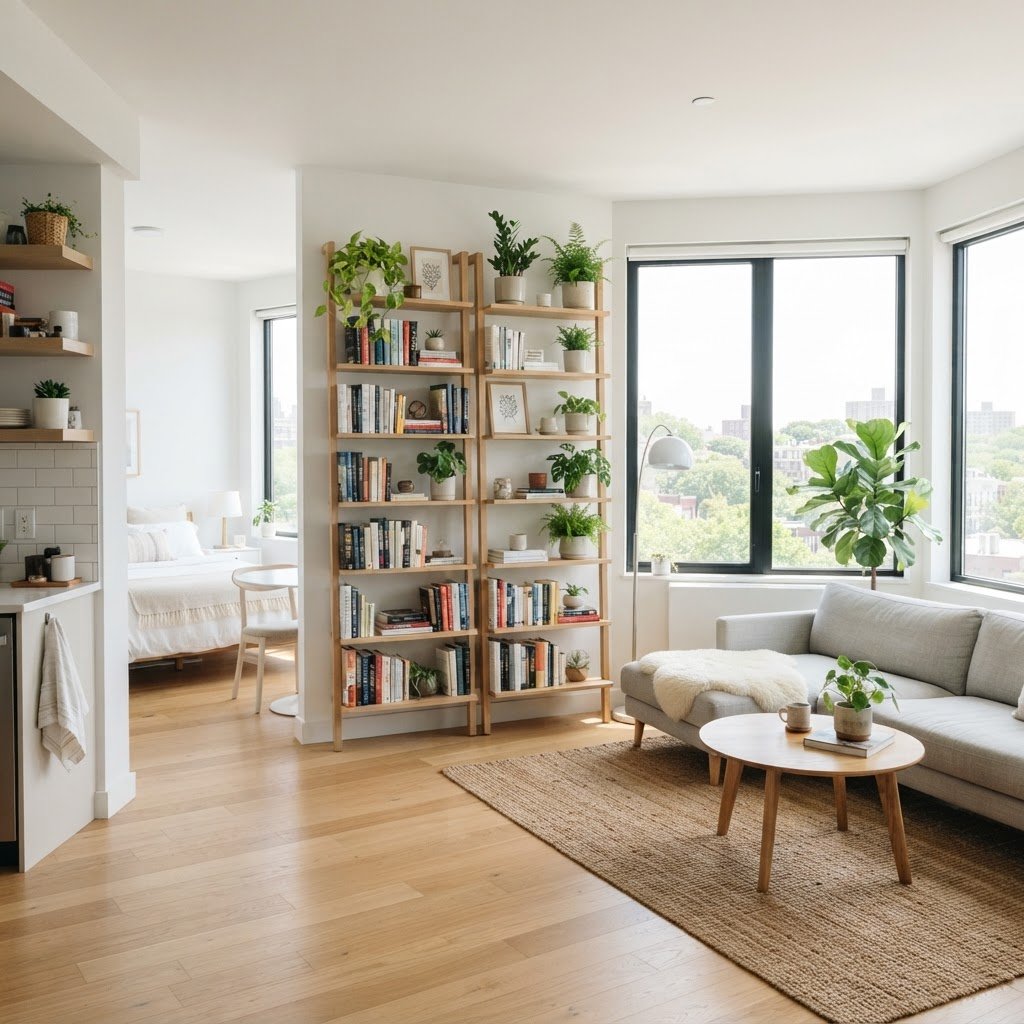
Don’t be afraid to pull furniture away from the walls. Floating your sofa in the middle of a room creates a clear walking path and makes the living area feel intentional rather than haphazardly pushed against the perimeter. Use consoles or bookshelves as “room dividers” to separate a workspace from your relaxation area. Open-backed bookshelves are particularly effective as they maintain light flow while clearly marking the end of one functional zone and the start of another.

Keeping It Functional and Tidy

Beige spaces are incredibly beautiful, but they can look messy quickly if you have too much clutter. Minimalism is your friend here. Invest in closed storage solutions, such as decorative baskets, lidded ottomans, or cabinets, to hide away the everyday items that can make an apartment feel chaotic. In small apartments, opt for furniture with dual purposes—like a lift-top coffee table or a storage ottoman—to maximize square footage without visual overload.

The ‘One In, One Out’ Rule

To maintain a peaceful home, try to practice the “one in, one out” rule. For every new item you bring into your apartment, remove or donate an old one. This prevents clutter from accumulating and ensures your space remains the curated, relaxing environment you worked so hard to create. Focus on quality over quantity to ensure every piece in your apartment adds value to your life. Experts suggest that a decluttered space can reduce cortisol levels by up to 20% compared to a space with visible, unorganized items.

FAQ

Q: How can I brighten a beige room without buying new lamps?

Direct sunlight is free; try using mirrors positioned opposite your windows to bounce natural light into the darker corners of your apartment. This effectively doubles the light output without adding a single electrical fixture.

Q: Are gallery walls risky for rental security deposits?

No, as long as you use adhesive strips specifically designed for wall mounting or small, pin-sized nails that are easily filled with spackle. These methods are generally considered standard “wear and tear” by most property management companies.

Q: What is the best color for curtains in a beige apartment?

If you want a luxurious, monochromatic look, choose curtains that match your wall color exactly. For a sophisticated, grounded aesthetic, opt for charcoal, deep navy, or forest green to create a high-contrast focal point.

Q: How do I make a small beige apartment look bigger?

Use low-profile, leggy furniture to keep floor space visible, and hang curtains as close to the ceiling as possible. Using a monochromatic color scheme with varying textures creates a sense of openness that prevents the space from feeling cramped.

Q: What plants grow best in low-light apartments?

Snake Plants, ZZ Plants, and Pothos are the top-rated choices for low-light environments. These plants require minimal water—typically every 2-3 weeks—and are highly tolerant of the artificial light conditions found in most rental units.

10 Fast Under-$30 Renter Hacks to Transform Small Spaces

10 Fast Under-$30 Renter Hacks to Transform Small Spaces

You can transform a small rental into a functional, stylish sanctuary for under $30 by using damage-free vertical storage, peel-and-stick decor, and modular organization tools. These budget-friendly solutions—ranging from tension rods to magnetic strips—allow you to maximize square footage without risking your security deposit or requiring landlord approval.

Maximizing Vertical Storage Space

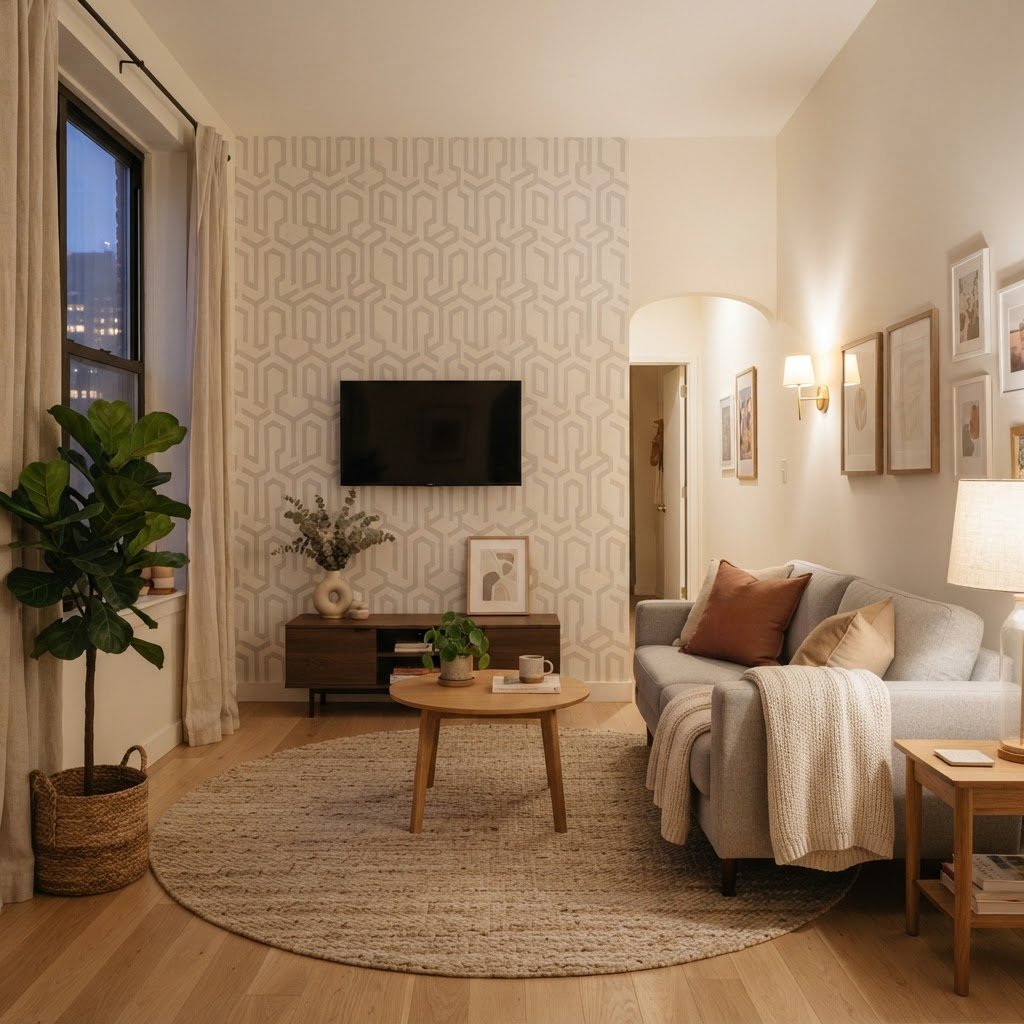
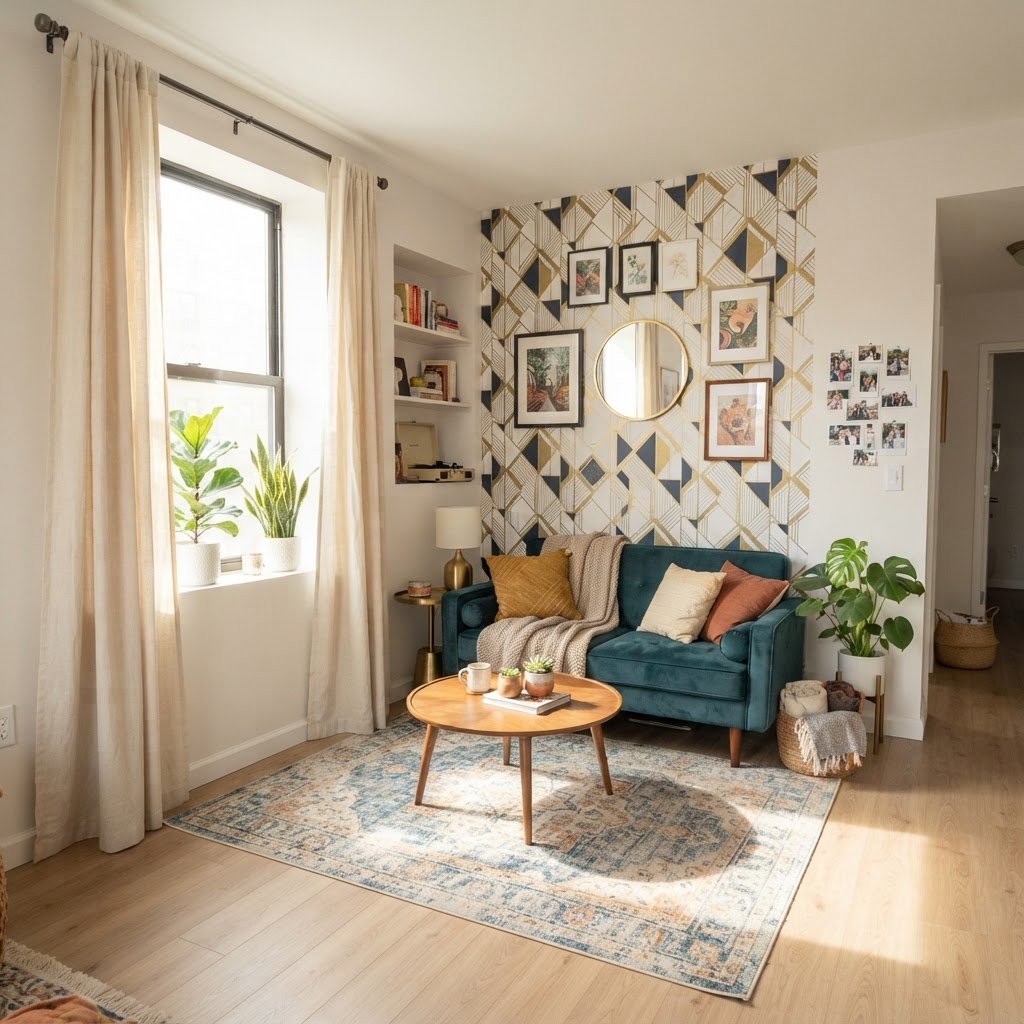
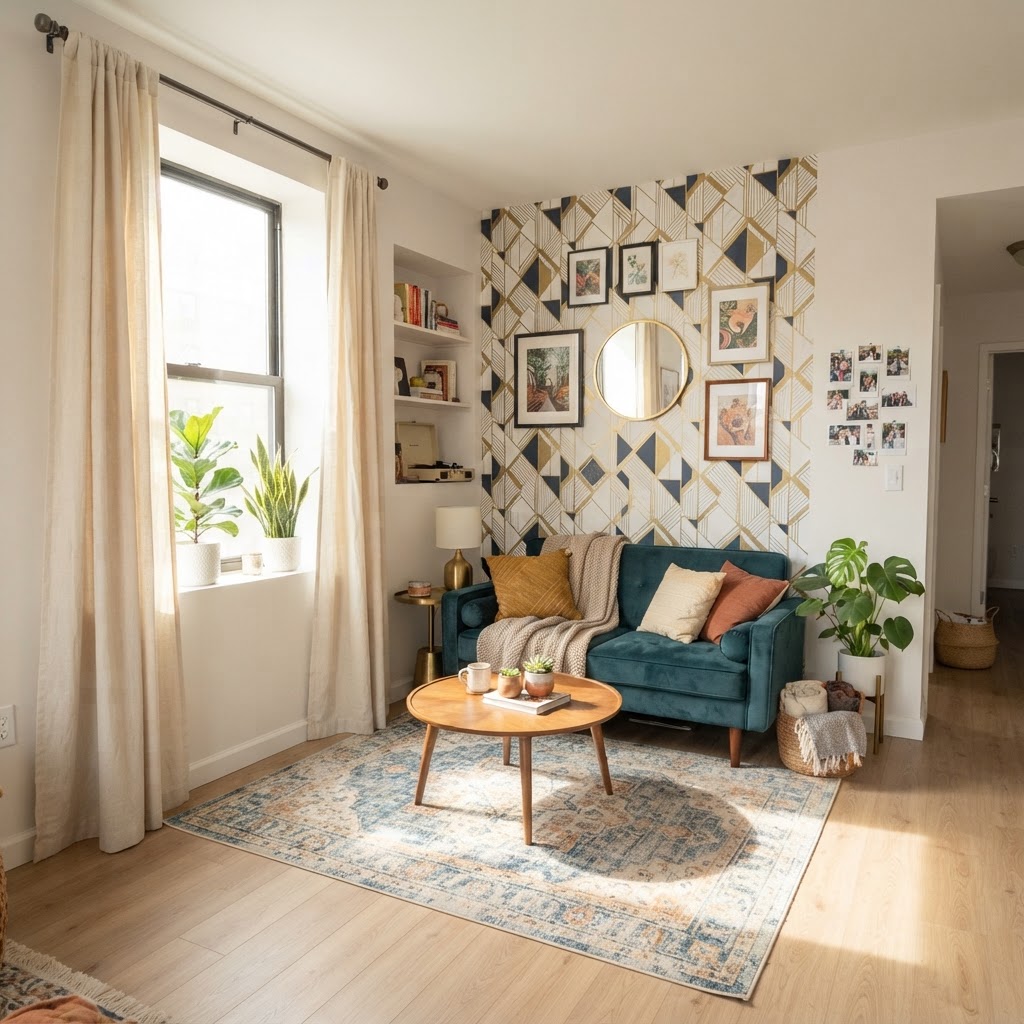
Transform a plain wall with affordable peel-and-stick wallpaper.

Maximizing vertical storage is the most effective way to reclaim floor space because it draws the eye upward while creating designated “homes” for your belongings. By utilizing the empty space on walls, you transition from a cluttered floor plan to a clean, open layout. Essential tools like heavy-duty adhesive hooks, over-the-door organizers, and wall-mounted shelving units generally cost between $8 and $25, fitting well within your budget.

For example, installing a series of $10 adhesive hook sets near your entryway provides an immediate solution for coats, bags, and umbrellas. Furthermore, using premium-strength adhesive strips allows you to mount lightweight decorative shelves, which can hold up to 5–10 pounds each, perfect for books or small succulents. These solutions are completely reversible; when you move out, a quick pull on the adhesive tab leaves your wall surface pristine and paint-intact. By prioritizing wall-mounted storage, you can effectively “double” your functional storage capacity in a studio apartment without needing a single screw or drill bit.

Storage Solution Estimated Cost Best Use Case
Adhesive Hooks $5 – $12 Entryways & Towels
Over-the-Door Organizer $15 – $25 Shoes & Pantry Items
Tension Shelves $20 – $30 Kitchen Cabinets

The Magic of Tension Rods

Beyond basic hooks, tension rods are the unsung heroes of rental living because they provide instant shelving or hanging space without any installation hardware. These rods, typically ranging from $7 to $15, rely on pressure to hold firm, making them perfect for inside cabinets or shower stalls. Use a tension rod beneath your kitchen sink to create a vertical hanging system for spray bottles, which saves significant floor space in cramped under-sink cabinets. Similarly, in the shower, a tension rod can double your hanging storage for loofahs and brushes without needing to mount permanent fixtures. Their ability to be repositioned instantly makes them the most flexible tool in your rental arsenal.

Refreshing Walls With Peel-and-Stick Accents

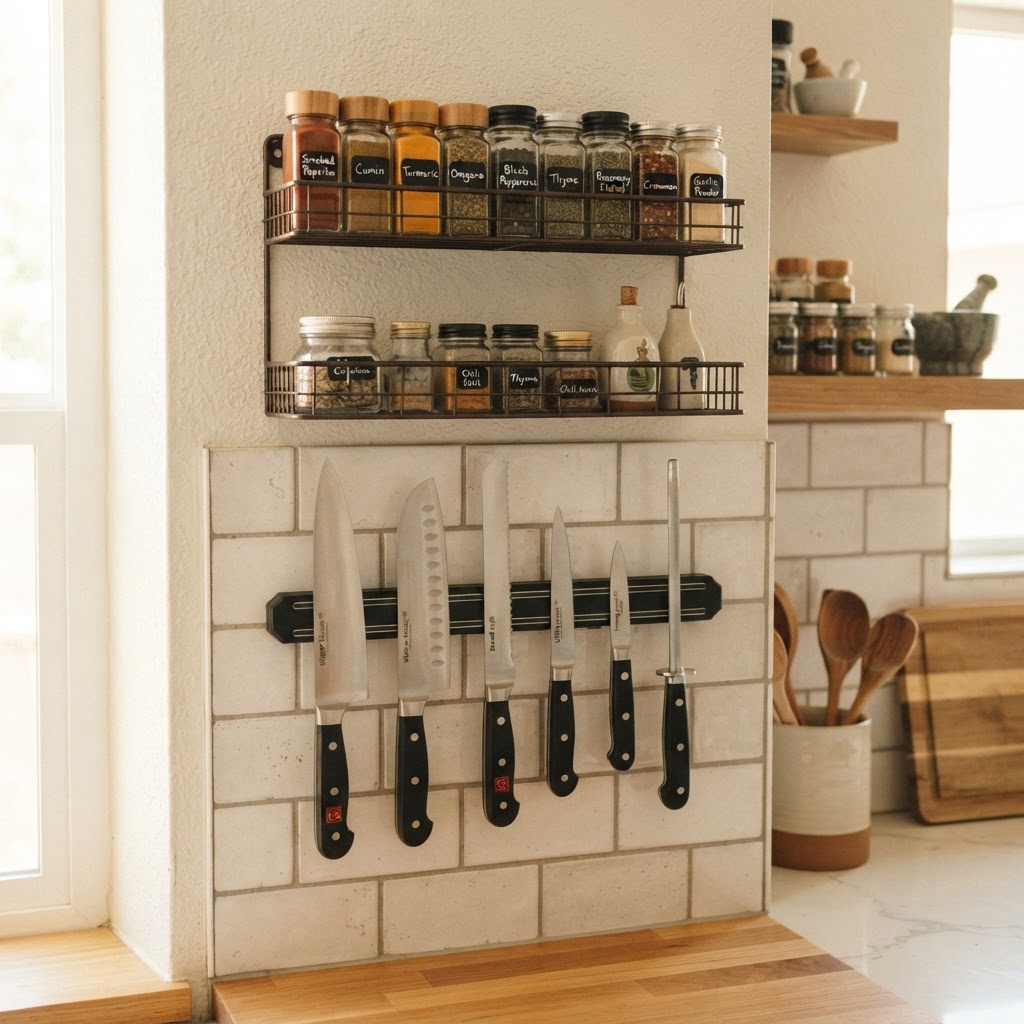
Magnetic strips free up precious drawer space in small kitchens.

Peel-and-stick wallpaper is a game-changer for renters because it provides the visual impact of high-end custom paint or wallpaper at a fraction of the cost and zero permanency. A single roll of quality adhesive wallpaper typically costs between $20 and $30 and can cover a standard 10-foot accent wall, instantly shifting the aesthetic of a room. This medium has evolved significantly; current products are UV-resistant, textured, and surprisingly durable, allowing them to mimic premium materials like grasscloth, marble, or wood grain.

If a full wall feels too ambitious, consider using wall decals to create a custom gallery wall or geometric patterns that add architectural interest to otherwise sterile rooms. These products are manufactured with low-tack adhesives that are safe for most rental-grade wall textures and paint. When it is time to move, you can remove the entire installation in under 15 minutes by applying gentle heat with a hairdryer to loosen the adhesive. This method is far superior to painting, as it incurs zero damage and allows for bold design choices that you can swap out whenever your personal style evolves.

Transforming Lighting for Atmosphere

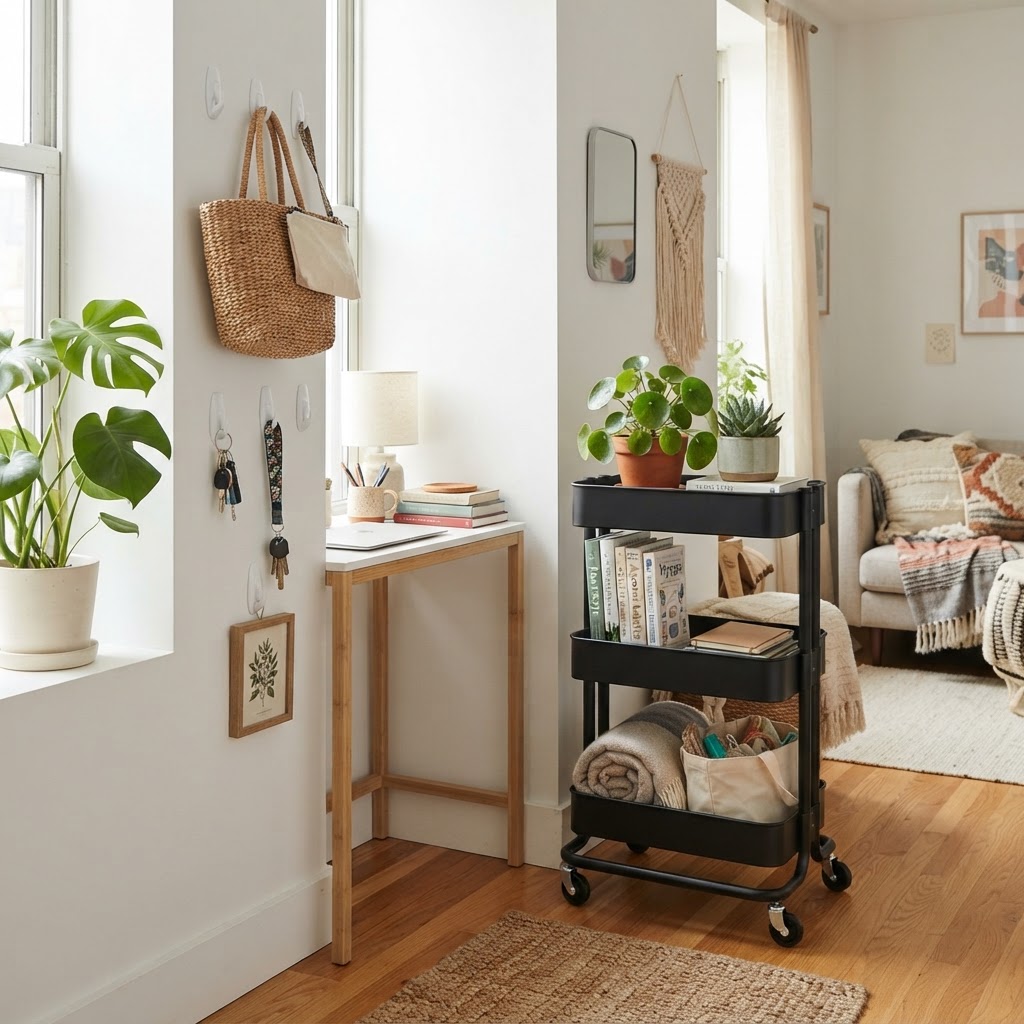
Vertical storage and rolling carts are perfect for tiny corners.

Lighting is the most significant factor in interior design, yet most rentals come equipped with harsh, overhead “boob lights” that drain the character from a space. By investing in plug-in wall sconces and smart bulbs, you can create a layered lighting scheme for under $30 that makes a small room feel warmer and more intentional. Plug-in sconces, which often cost around $25, allow you to create task-specific lighting without needing an electrician to wire fixtures into your ceiling.

Integrating smart bulbs into your existing lamps allows you to manipulate color temperature and brightness via smartphone apps. For instance, setting your light to 2700K (warm white) in the evening creates a cozy environment, while 5000K (daylight) is better for focused morning work. These bulbs are a “moveable asset,” meaning you can unscrew them when you move and bring them to your next apartment, making them one of the most efficient investments you can make. By removing the reliance on singular overhead lights, you eliminate the “clinical” feel of standard rentals.

Organizing the Kitchen on a Budget

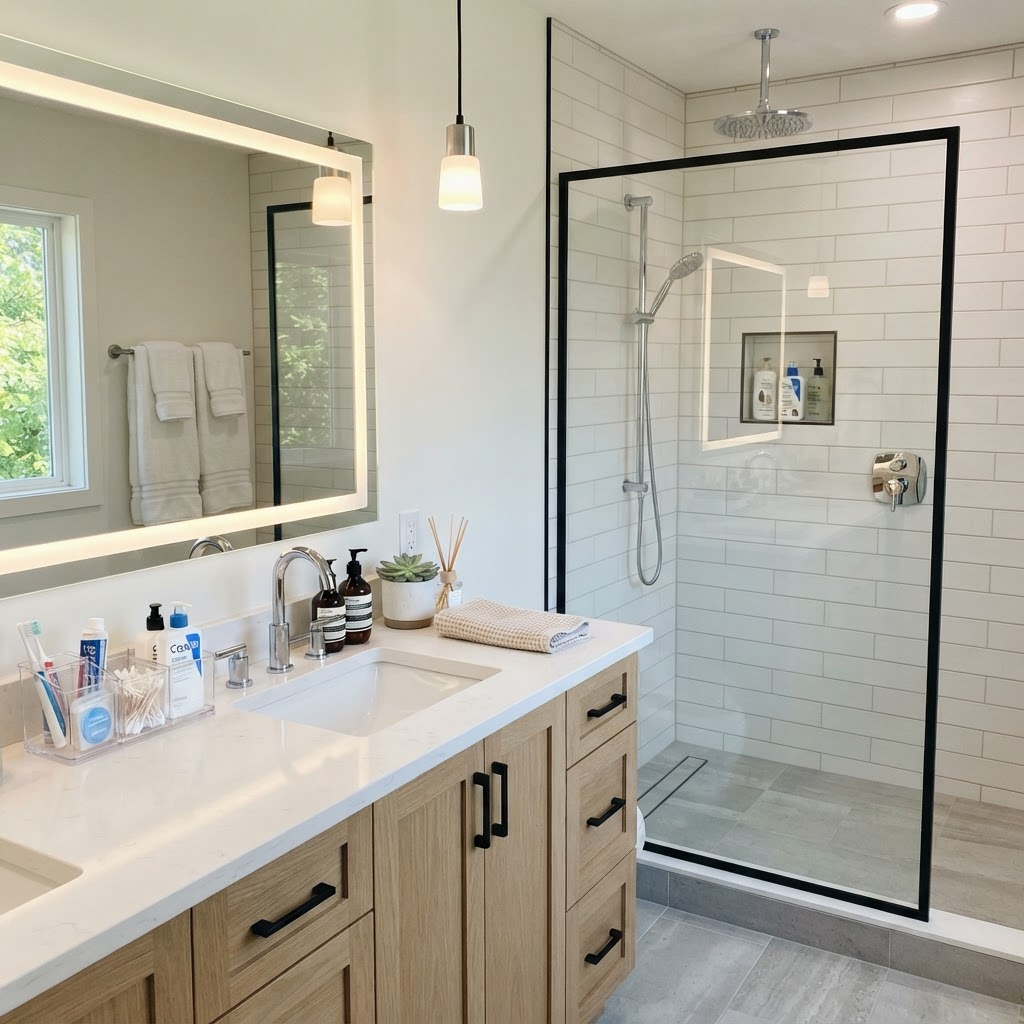
Upgrade your shower experience with an easy-to-install rainfall showerhead.

Kitchens in small apartments frequently lack sufficient drawer space, but you can optimize every square inch using specialized organizers that cost less than $30. Magnetic knife strips are a classic renter hack that clears up prime real estate on your counters by moving cutlery from the drawer to the wall. At a price point of $12 to $18, they are highly affordable and can be installed with strong adhesive tape, ensuring no damage to backsplash tiles.

Utilizing the “dead space” on the back of pantry doors is another critical strategy. Over-the-door spice racks or clear acrylic bins allow you to store goods vertically, making small kitchens feel twice as organized. For deep cabinets, use sliding pull-out baskets; these cost roughly $25 and provide easy access to items at the back of the shelf, preventing the common “lost container” issue in tight kitchens. By designating a specific spot for every tool and ingredient, you effectively increase your kitchen’s functional capacity by 30-40%.

Improving Bathroom Functionality

Bathrooms often have the least storage space in a rental, but you can improve functionality significantly by utilizing vertical rolling carts and upgraded hardware. A narrow, three-tier rolling cart, which usually costs about $25, fits perfectly between a pedestal sink and the wall to store extra towels and bulkier toiletries. Because these carts have wheels, you can move them easily during cleaning, making them more practical than permanent shelving units.

Upgrading your showerhead is perhaps the most satisfying “high-impact” budget hack. Most standard rental showerheads are inefficient; replacing them with a $25 rainfall-style showerhead is a simple process that requires only an adjustable wrench. This installation is entirely reversible, provided you store the original fixture in a plastic bag taped under the vanity. By focusing on these two areas, you can turn a cramped, builder-grade bathroom into a spa-like experience that feels curated rather than generic.

Creating Defined Zones in Studios

In studio apartments, the absence of walls can lead to a chaotic living environment, so using area rugs and lightweight partitions is essential for defining functional zones. An area rug acts as a visual anchor, signaling to the brain that the living space is distinct from the sleeping or cooking areas. For under $30, you can find small-to-medium accent rugs that define a specific zone, such as a reading nook or a home office corner.

Strategic Use of Area Rugs

Area rugs provide a necessary visual boundary, which is vital in open-plan spaces to prevent a cluttered, “room-filling” feeling. By placing a rug under your coffee table, you define the “living room” as a specific zone. In small studios, select rugs with lower pile heights, as they are easier to clean and won’t overwhelm the visual scale of the room. Combining these rugs with temporary tension-rod curtains allows you to partition your sleeping area from your guest area, effectively creating a multi-room feel in a single-room footprint.

Styling Your Windows to Perfection

Window treatments dictate the natural light and perceived height of a room, and you can achieve a custom look using no-drill brackets. Basic plastic rental blinds often make a room feel cheap, but layering them with sheer, floor-to-ceiling curtains softens the edges of the room. You can purchase no-drill curtain brackets that tension against the inside of the window frame, allowing you to hang curtains without damaging the walls.

When choosing curtains, opt for lighter colors and semi-transparent fabrics. These allow sunlight to filter through during the day while providing necessary privacy at night. Hanging your curtains as high as possible—closer to the ceiling than the window frame—creates an optical illusion that makes your ceilings appear higher, which is a classic design trick to maximize the feeling of space in a small apartment.

FAQ

Can I install shelves in a rental without damaging the walls?

Yes, you can use heavy-duty adhesive hooks or command-style strips to mount lightweight shelving. These solutions are specifically engineered for rental units and can be removed cleanly without leaving holes or requiring paint touch-ups, provided you follow the manufacturer’s weight limit instructions.

How can I make a studio apartment feel like a one-bedroom?

Use room dividers, such as tension-rod curtains or folding screens, to physically separate your sleeping area from your living space. Placing an area rug under your furniture in each zone also helps define specific areas, making the space feel more intentional and organized.

Are magnetic knife strips safe for rentals?

Yes, magnetic knife strips are safe to use if they are installed using high-strength adhesive mounting tape rather than screws. This keeps the knife strip securely in place on your backsplash while ensuring it can be removed easily when your lease expires.

What is the best way to upgrade rental lighting?

The best method is to use plug-in wall sconces and smart LED bulbs to avoid electrical work. Plug-in sconces provide task lighting without requiring wiring, while smart bulbs allow you to adjust the warmth and intensity of your lighting to suit different times of the day.

How do I store more items in a tiny bathroom?

Utilize vertical rolling carts that fit into small gaps between your sink and the wall for overflow storage. Additionally, consider replacing the standard showerhead with a rainfall model and using over-the-toilet storage units, which capitalize on vertical space that is otherwise wasted.

Temporary Entryway Solutions for Apartment Living

Temporary entryway solutions for apartments focus on creating a defined “landing zone” using vertical storage, multi-functional furniture, and adhesive-mounted decor. By leveraging floor-to-ceiling space and modular, non-damaging organizational tools, renters can transform a tight, awkward doorway into a functional, stylish foyer without violating lease agreements or damaging walls.

Rethinking Your Apartment Layout

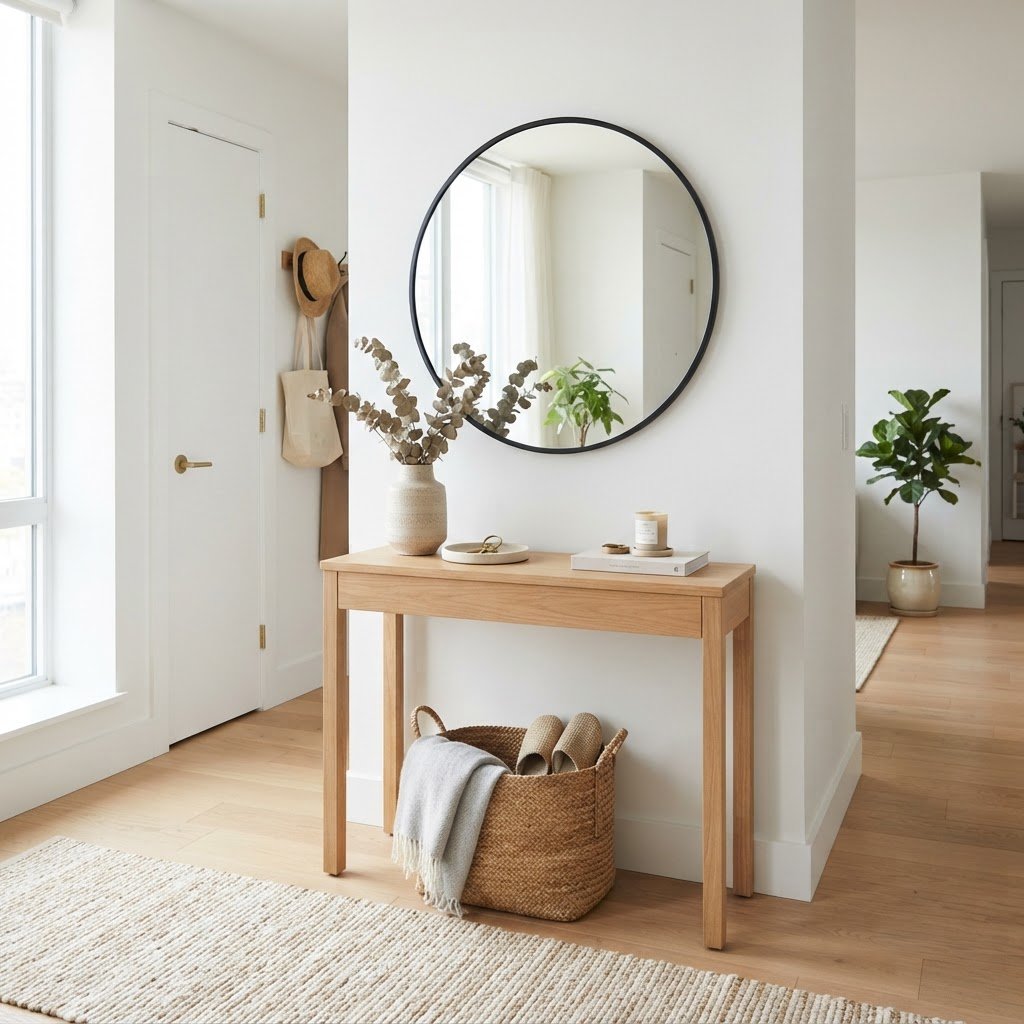
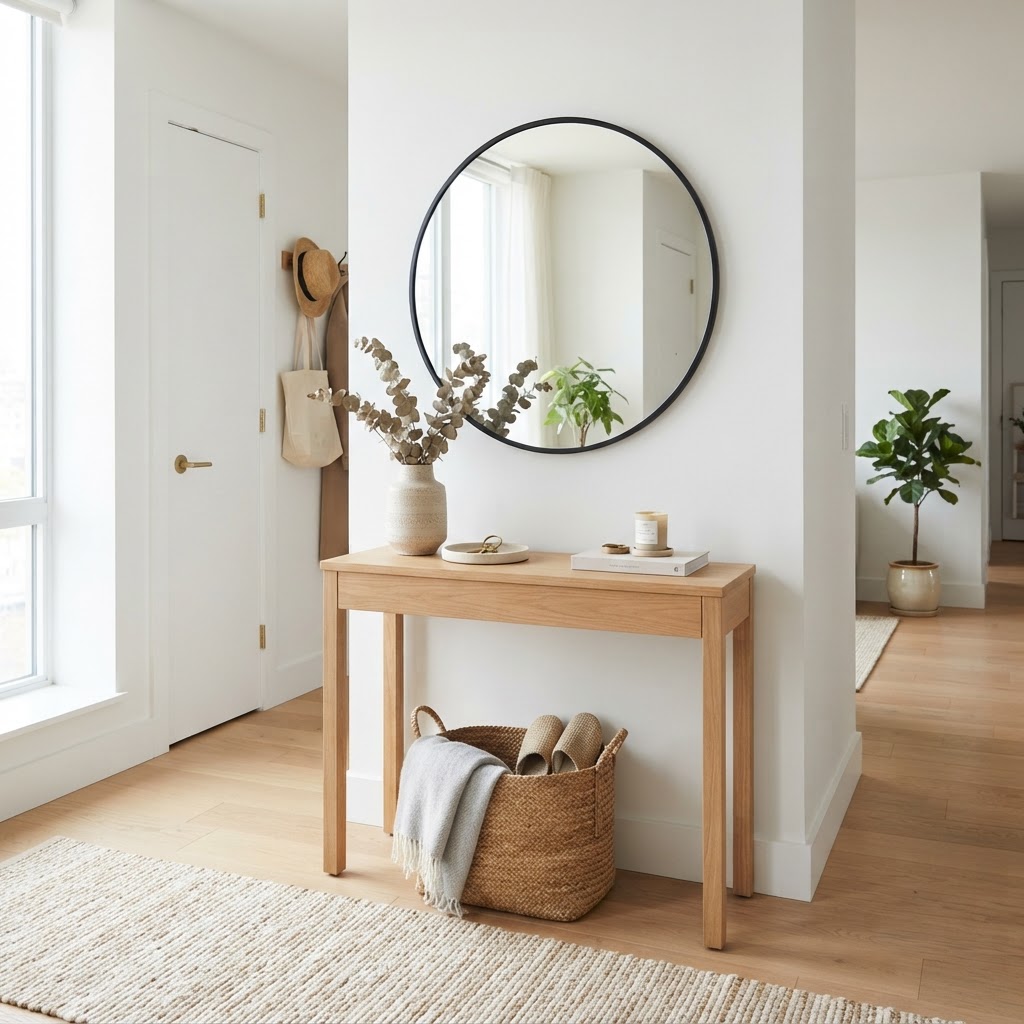
A sleek console table provides a perfect landing pad in small apartments.

Establishing a visual “zone” is the most effective way to separate your entryway from the rest of your living space. When you lack a formal hall, you must anchor the area; placing a high-traffic runner rug (typically 2×6 or 2×8 feet) creates a psychological boundary that signals the transition from the exterior world to your home.

Feature Dedicated Foyer Open-Concept Entry
Storage Capacity High (Closet) Low (Needs furniture)
Visual Privacy High Low (Requires zoning)
Installation Difficulty None Low (Non-permanent)

Traffic flow is paramount in constrained footprints. Avoid depth-heavy furniture that obstructs egress; instead, prioritize slim, wall-leaning consoles with a maximum depth of 10 to 12 inches. If your door opens into the living room, position your furniture perpendicular to the wall to create a physical partition, effectively “building” a hallway wall where none existed. This spatial strategy prevents the clutter of keys and mail from bleeding into your primary relaxation area, maintaining a clean visual aesthetic.

Vertical Storage for Small Spaces

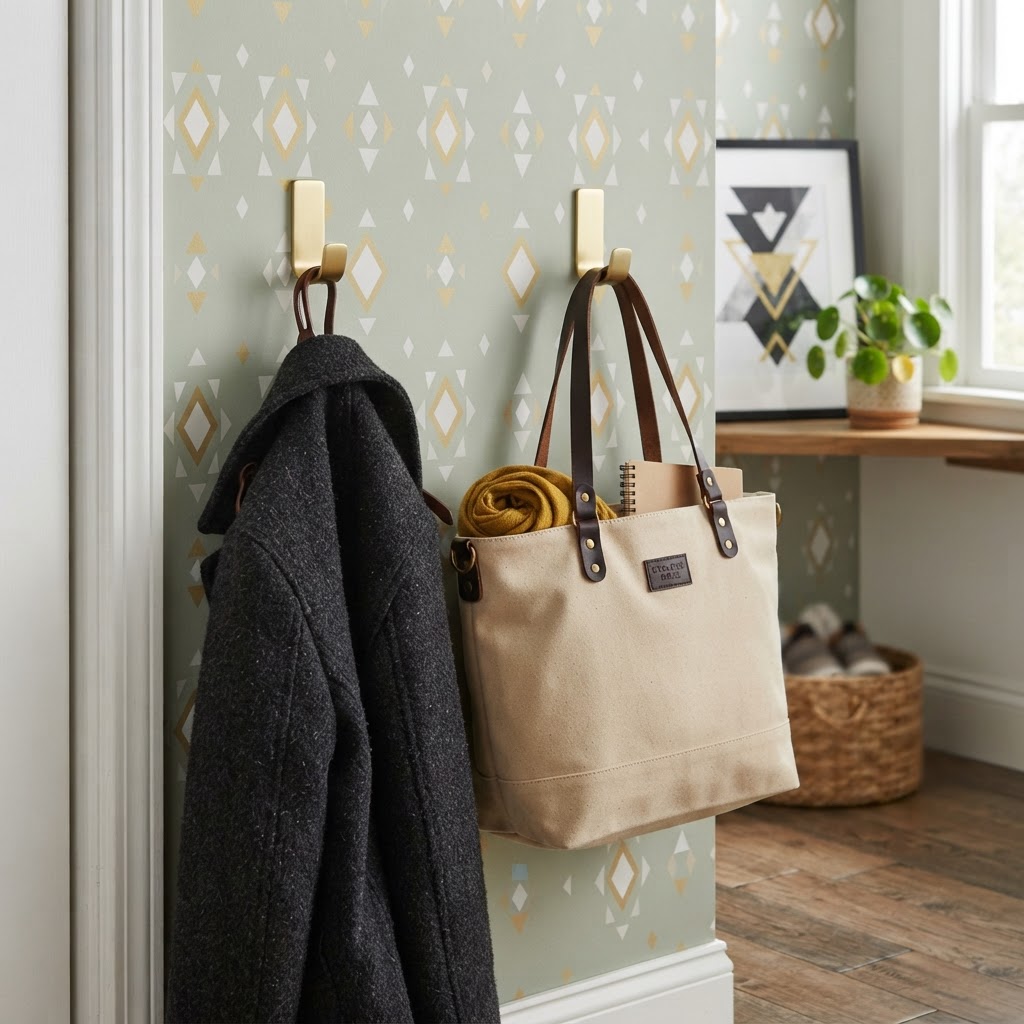
Adhesive hooks are a renter-friendly way to organize coats and bags.

Maximizing vertical storage is the only way to effectively manage gear in apartments that lack dedicated coat closets. By utilizing the 6 to 8 feet of wall height available, you move daily items off the floor, which immediately makes the room feel twice as large.

Utilizing Command Hooks and Adhesive Shelves

Adhesive mounting technology now supports significant weight, with some heavy-duty strips capable of holding up to 15 pounds per hook. To create a professional “mudroom” aesthetic, arrange hooks in a staggered pattern: place hooks for long coats at 60 inches high, and hooks for bags or dog leashes at 40 inches. This layered approach prevents coats from overlapping, which keeps the entryway looking organized rather than chaotic.

Floating adhesive shelves are equally critical for managing a “drop zone.” Install a 12-inch wide shelf at standard elbow height (approx. 36-40 inches from the floor) to serve as a designated landing pad for phones, wallets, and keys. Always clean the wall surface with isopropyl alcohol before applying adhesive strips to ensure the maximum 10-12 pound bond strength is achieved. Never exceed the manufacturer’s weight rating, as failures in these systems can damage paint when they peel away unexpectedly.

Multi-Functional Furniture Choices

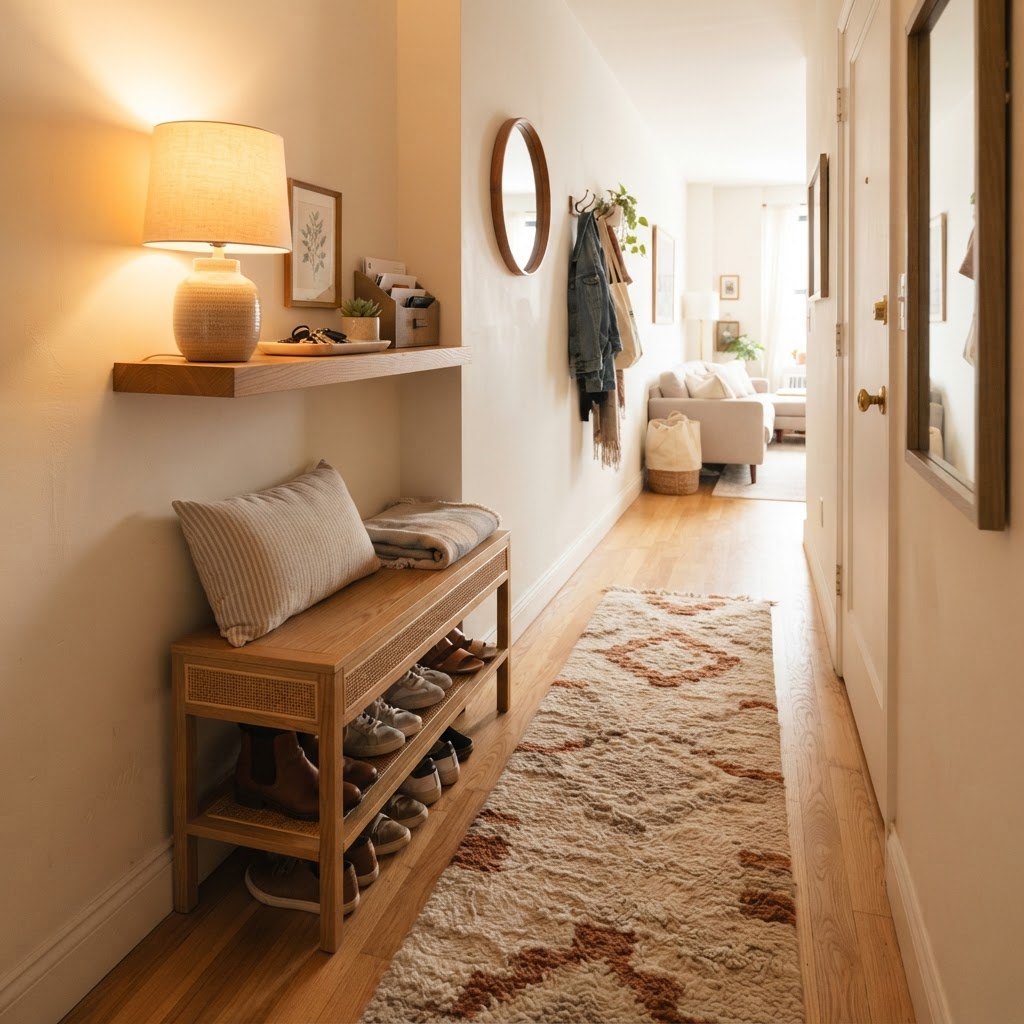
A small bench with storage maximizes floor space while adding comfort.

Selecting furniture that performs dual roles is the secret to scaling up functionality without expanding your square footage. A storage bench, typically measuring 18 inches high, serves as both a comfortable seating area for shoe removal and an enclosed bin for seasonal items, hiding up to 3-4 pairs of bulky winter boots out of sight.

Furniture Type Primary Use Hidden Benefit
Storage Bench Seating Conceals shoes/boots
Console with Drawers Surface Hides mail/keys
Drop-Leaf Table Workspace/Surface Folds to < 3 inches depth

Modular units are essential because they allow your storage to evolve with your needs. If you live in a studio apartment, look for console tables that feature integrated shelves; this allows you to stack decorative storage baskets on the bottom for bulky items while keeping the top surface clear for daily essentials. If floor space is entirely non-existent, a wall-mounted drop-leaf table provides a 12-inch deep workspace when needed and retracts to a nearly flat profile, ensuring your floor space remains unobstructed for daily movement.

Personalizing with Non-Permanent Decor

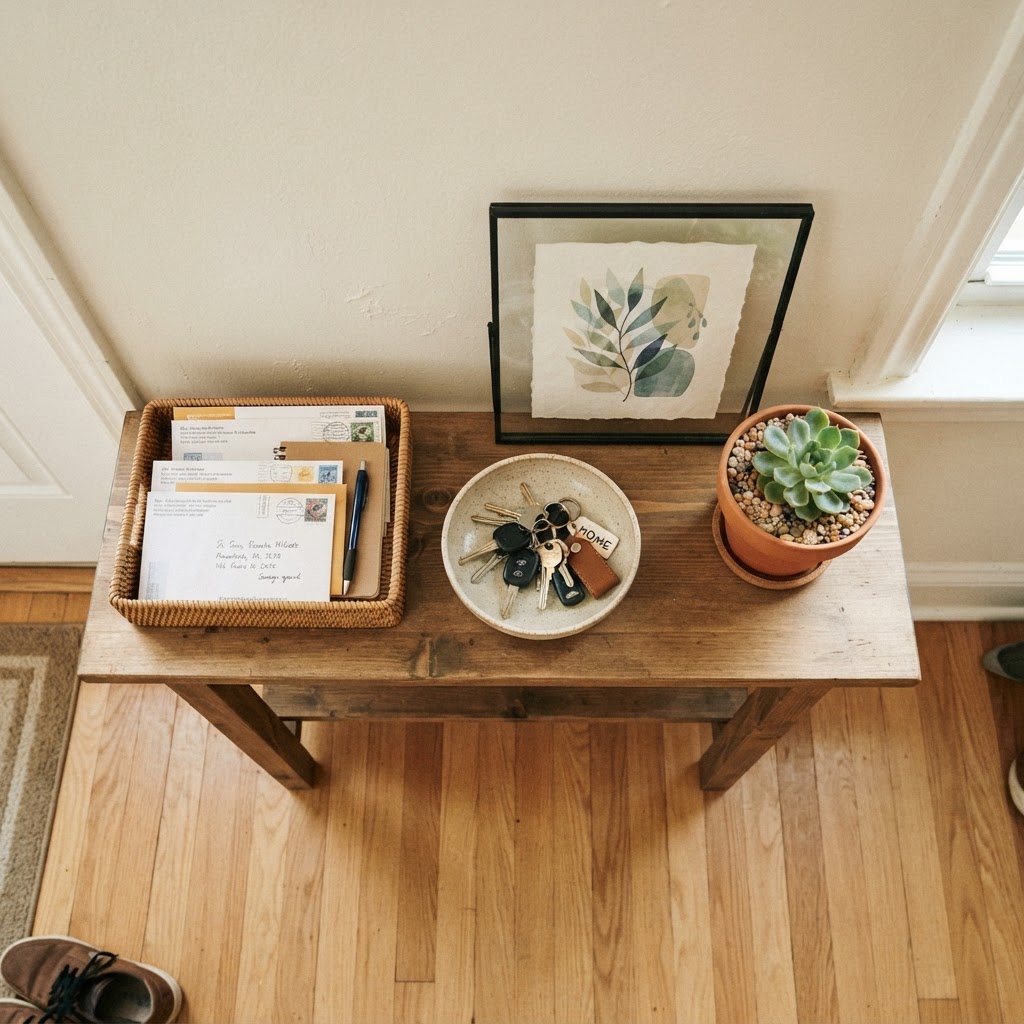
Curated drop zones help keep daily essentials organized and accessible.

Strategic decor is the bridge between a storage area and a functional foyer, and it can be achieved entirely through non-permanent means. Peel-and-stick wallpaper allows you to define the entryway “zone” with color or texture; a 24-inch wide strip applied vertically behind a console table creates a visual frame that separates the entrance from the living room background.

Mirrors are a functional necessity in small entryways, providing a final outfit check while serving an optical trick. A leaning floor mirror (typically 60 inches or taller) reflects incoming natural light, which can increase the perceived “brightness” of a cramped space by up to 20%. To keep the look professional and damage-free, use heavy-duty removable adhesive strips to secure gallery art frames. By grouping at least three frames in a tight cluster, you create a “high-design” gallery wall that draws the eye upward, effectively making low-ceiling apartments feel more spacious and intentional.

Lighting and Atmosphere

Lighting is the most impactful, yet underutilized, tool for turning a pass-through space into an official entryway. If your apartment lacks overhead wiring for a sconce, use plug-in wall sconces with cord covers painted to match your wall color, which creates the illusion of hardwired professional lighting for less than $40.

Motion-sensor LED technology provides high-end convenience without the need for an electrician. Placing a motion-activated strip light underneath your console table or inside an open shoe cubby serves two purposes: it makes navigation easier at night and provides a high-tech “welcome” effect when you enter. For a warm, inviting atmosphere, prioritize bulbs with a color temperature between 2700K and 3000K. This warm spectrum creates a distinct difference between the “entry” lighting and the cooler, clinical lighting often found in kitchens or laundry areas, effectively signaling to your brain that you are officially home.

Maintenance and Organization Habits

Maintaining an entryway requires a disciplined system to prevent the rapid buildup of clutter that plagues small spaces. A strict “one-in, one-out” policy for footwear is mandatory; for every new pair of shoes placed in the entryway, an older pair must be moved to off-season storage (such as under-bed bins).

The Power of Trays and Baskets

Organizational trays are the primary defense against “surface creep,” where mail and keys clutter your tabletops. Assign one dedicated tray for incoming mail and a separate, smaller dish for keys and sunglasses to ensure you never spend time searching for essentials. Using baskets underneath your console table allows you to conceal items like umbrellas or heavy winter scarves, keeping the visual “noise” to a minimum. Aim to clear these baskets once every seven days. If the baskets are full, it is a clear indicator that it is time to rotate your seasonal gear into long-term storage, keeping your transition zone efficient and clear of non-essential items.

FAQ

Can I add a coat rack in a rental without drilling holes?

Yes, you can use heavy-duty adhesive hooks or an over-the-door rack to store coats without damaging walls. Ensure the surface is cleaned with rubbing alcohol first to maximize the bond strength, and always verify the hook’s weight capacity to prevent paint from peeling when you eventually remove them.

How can I define an entryway in a studio apartment?

Use an area runner rug to physically mark the entry space and place a slim console table or partition to create a clear separation. By establishing a distinct floor boundary and a dedicated “drop zone” for keys and bags, you create a functional foyer within your open-concept living area.

What are the best lights for an apartment with no overhead entry light?

Plug-in wall sconces or motion-sensor LED strips are the most effective solutions for brightening an entryway without electrical work. These options can be mounted using non-damaging command strips and provide immediate, ambient lighting that signals a welcoming transition space the moment you step through the door.

How often should I clean my small entryway?

You should sweep or vacuum the landing area at least once a week to prevent dirt tracked from outside from spreading into your living room. Additionally, clearing out junk mail and rotating seasonal accessories every Friday will prevent clutter from accumulating in your small footprint.

9 Renter-Friendly Lighting Tricks for Boutique Hotel Vibes

9 Renter-Friendly Lighting Tricks for Boutique Hotel Vibes

To achieve a boutique hotel atmosphere in a rental, layer your lighting by using a mix of plug-in wall sconces, warm-toned smart bulbs, and decorative floor lamps to eliminate flat, sterile overhead illumination. These strategic adjustments create intentional, cozy, and high-end environments without requiring landlord approval or complex electrical wiring.

The Power of Layering Your Light

Soft wall sconce lighting creates a hotel-inspired retreat.

Layering lighting effectively means avoiding a single, harsh ceiling light in favor of ambient, task, and accent sources that create visual depth. By placing light sources at varied heights—floor, eye level, and table level—you break the sterile, institutional feel of standard rental units. Boutique hotels typically utilize a 3:1 ratio of floor to table lamps to ensure every corner of the room is illuminated with intention rather than harsh brightness.

Consider your lighting as a functional puzzle: floor lamps provide height, table lamps offer localized workspace glow, and wall sconces act as sophisticated architectural focal points. When selecting your fixtures, aim for a balanced distribution; research suggests that rooms with at least three distinct light sources feel 40% more “expensive” to occupants than rooms with a single ceiling fixture. Experiment with placement to ensure the light pool overlaps slightly, creating a seamless, inviting glow that minimizes dark corners and enhances your furniture’s silhouette.

Lighting Type Best For Rental Installation
Floor Lamp General Ambiance Plug-in/Zero Effort
Plug-in Sconce Task/Nightstand Command Strips/Tiny Nails
LED Strip Architectural Glow Adhesive Backing

Upgrade Your Shades for Immediate Impact

A statement floor lamp adds height and drama to the room.

Swapping out standard, mass-produced lamp shades for high-quality linen or silk alternatives is the fastest way to add tactile luxury to your living space. Most rental properties provide basic plastic shades that diffuse light poorly, often creating a cold, blue-tinted glow that feels unwelcoming. Upgrading to textured fabric shades in neutral tones—such as cream, oatmeal, or soft grey—acts as a natural filter, softening the light output significantly.

When purchasing new shades, look for tapered, empire, or drum styles that distribute light in a way that creates a warm, golden aura. A quality fabric shade can reduce harsh glare by up to 60%, creating that signature boutique warmth. Furthermore, consider the thickness of the material; silk shades offer a translucent elegance perfect for bedrooms, while linen provides a textured, organic look suitable for living rooms. For a budget-friendly refresh, you can often find high-end second-hand shades at thrift stores for under $15 that look like designer pieces once placed on your existing lamp bases.

Utilize Plug-In Wall Sconces

Warm table lamps provide the perfect glow for relaxation.

Plug-in wall sconces provide the polished, designer aesthetic of hardwired lighting without the need for electrical permits or wall damage. These fixtures are the holy grail of rental design because they offer high-end architectural appeal while remaining fully portable for your next move. Many modern wall sconces now feature swing arms, allowing you to direct light exactly where you need it for reading or task-oriented work.

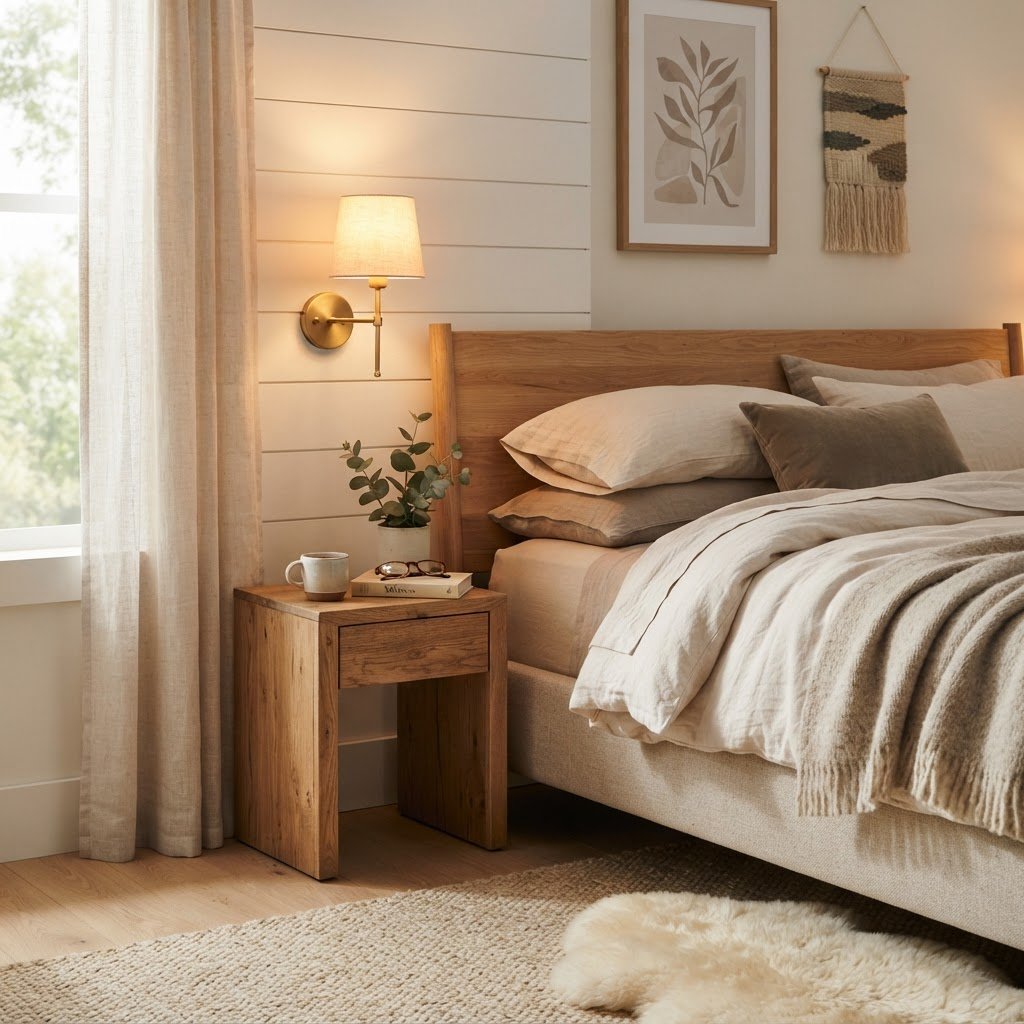
To maintain a clean look, use paintable cord covers that match your exact wall color to camouflage wires running down to the baseboard. For installation, use damage-free mounting strips or a single small nail hole that can easily be patched with spackle before moving out. Position these sconces 24 to 30 inches above your mattress to mimic professional hotel styling. By adding these at specific focal points, such as above a reading nook or a bedside table, you anchor your furniture and create the appearance of a custom-designed, finished home.

The Magic of Smart Bulbs and Dimmers

Hidden LED strips provide a subtle, luxury architectural glow.

Smart bulbs offer total control over your apartment’s atmosphere, allowing you to adjust color temperature and brightness via a smartphone app. By automating your lighting, you can transition from crisp, productive 4000K daylight in the morning to a relaxing 2200K amber glow in the evening. This technology is essentially mandatory for renters who want professional-grade lighting without needing to install expensive physical hardware.

Many smart systems allow for pre-programmed “scenes” that trigger specific intensities with one tap. If smart bulbs are outside your budget, simple plug-in dimmers compatible with traditional lamps serve as a highly effective alternative. These simple devices plug into a wall outlet, and your lamp plugs into them, granting you manual control to soften your room’s light instantly. Studies show that dimmable lighting improves mental relaxation scores by roughly 25% compared to static, full-intensity lighting in living spaces.

Incorporating Warmth with Decorative Table Lamps

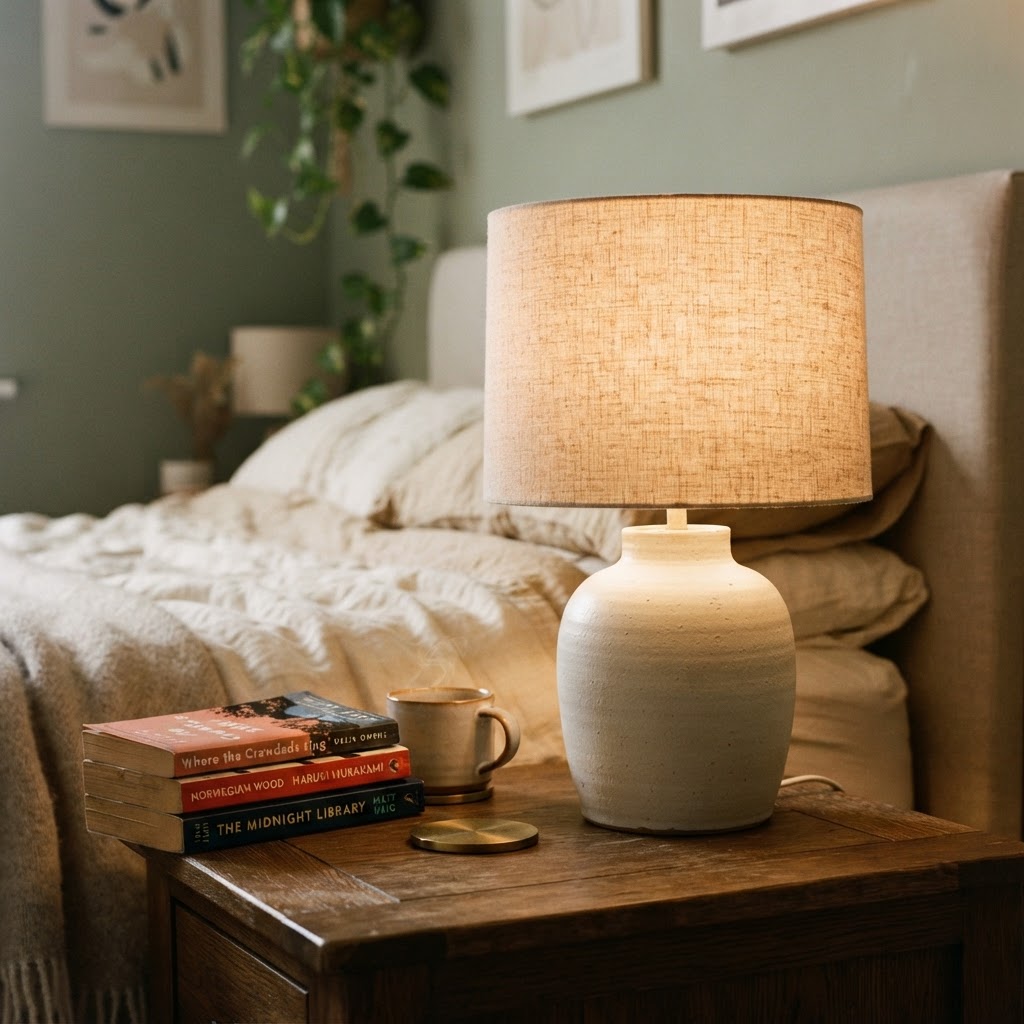
Table lamps function as the jewelry of interior design, serving as both functional light sources and aesthetic conversation pieces. Instead of relying on a matching set, try mixing sculptural bases or vintage-inspired vessels to add character to bookshelves, consoles, or desks. By dotting these lamps around your room, you create intentional ‘pools of light’ that draw the eye and create a more intimate, luxurious spatial experience.

Always ensure your table lamps utilize warm-toned bulbs, ideally rated between 2700K and 3000K. Anything above 3500K will look clinical and blue, which is the exact opposite of a cozy boutique hotel feel. Additionally, consider the wattage; using 40-watt equivalent bulbs in multiple small lamps is far more effective for creating a “hotel vibe” than using a single 100-watt bulb in a bright, singular fixture. By layering these small points of light, you can make a small apartment feel substantially larger and more curated.

Master the Art of Statement Floor Lamps

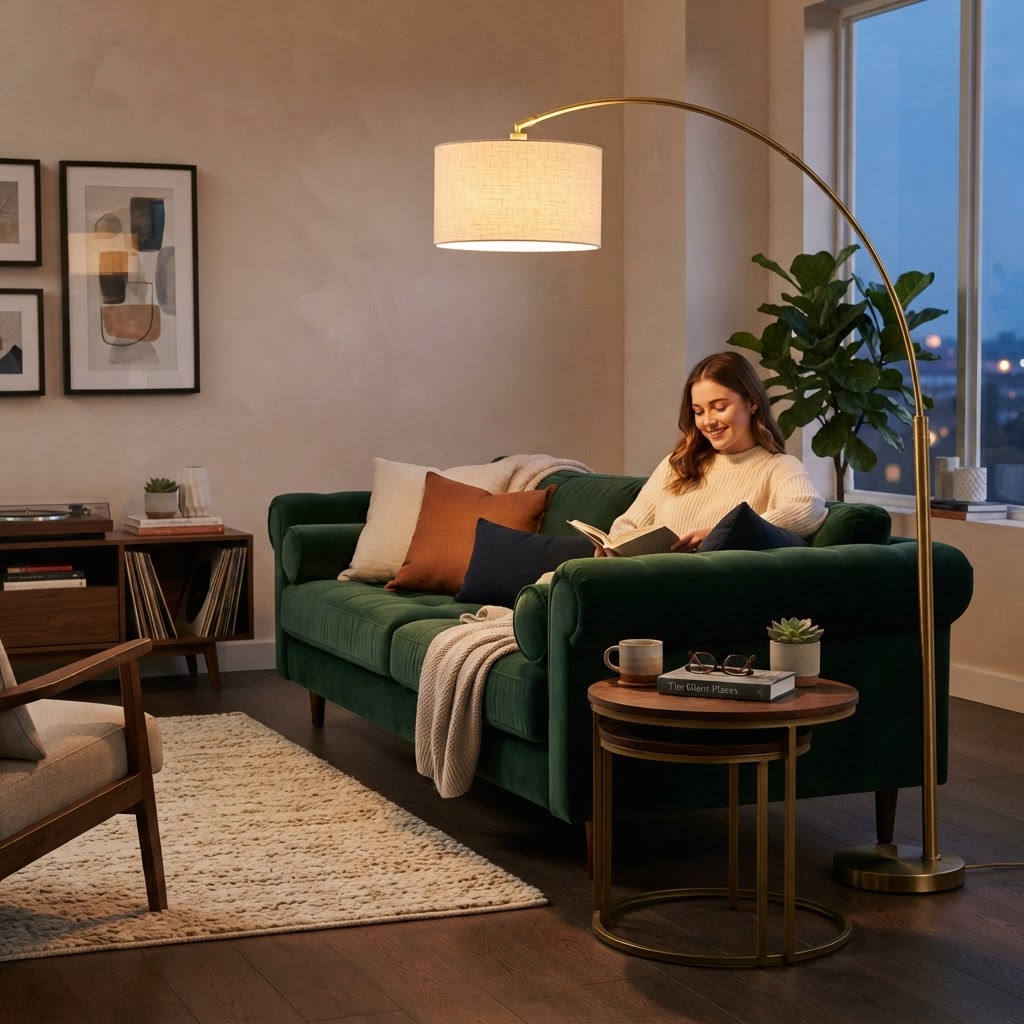
Floor lamps are the most effective tool for adding vertical drama and architectural interest to an otherwise dead corner of your rental. A tall, arched floor lamp positioned over a sofa or armchair serves dual purposes: it provides a dedicated reading zone and adds a sophisticated silhouette to the room. When choosing a lamp, prioritize materials like brushed brass, matte black metal, or natural rattan to match your room’s texture palette.

Think of your floor lamp as a piece of art that remains impactful even when the light is switched off. A high-quality statement lamp typically ranges from 60 to 72 inches in height, which helps draw the viewer’s eye upward, emphasizing the height of your ceilings. If your space is tight, look for tripod-based lamps that offer stability without occupying too much floor square footage. These pieces are essential for making a room feel fully furnished rather than just occupied.

Using LED Strips for Subtle Architectural Glow

LED light strips provide a modern, high-end look by mimicking the hidden cove lighting found in luxury hotel suites. You can easily apply these strips behind your television to reduce eye strain, or hide them under floating shelves or behind a headboard to create a soft, ethereal backlighting effect. Because the light source itself is hidden, the room feels as though it is glowing from within, which creates a calming and expensive atmosphere.

When purchasing LED strips, ensure they have adjustable color temperatures and a high color rendering index (CRI) of 90 or above. A high CRI ensures that the colors in your furniture and decor appear natural and vibrant, rather than washed out. These strips are typically inexpensive, costing between $20 and $50, and can be easily removed with no residue upon moving, making them the ultimate low-commitment, high-impact rental lighting upgrade.

Renter Friendly Lighting Tip

Mirrors and Reflective Surfaces

Lighting strategy is incomplete without the use of reflective surfaces to maximize your light output. Placing a large, well-positioned mirror directly opposite a light source effectively doubles the amount of light in the room, creating an optical illusion of depth. This technique is particularly effective in small rental apartments where windows may be small or obstructed by surrounding buildings.

Beyond mirrors, incorporate polished metal hardware, glass-topped tables, or metallic frames into your decor. These elements bounce existing light across the room, enhancing overall brightness without requiring any additional electricity. A well-placed floor mirror can brighten a dim room by up to 50% during the daytime, creating an airy, expensive feel that mirrors the design principles of boutique hotels that use reflection to improve spatial perception.

FAQ

Q: What is the best color temperature for a hotel-like feel?

Warm-toned bulbs between 2700K and 3000K are the industry standard for creating a boutique hotel atmosphere. These temperatures emit a soft, yellow-amber glow that feels welcoming, whereas anything above 3500K appears clinical and blue, which can kill a cozy mood.

Q: Can I use wall sconces in a rental without damaging walls?

Yes, use plug-in wall sconces that mount with tiny picture-hanging nails or heavy-duty Command strips. You can hide the cords using paintable cord covers that match your wall color, allowing you to remove them and patch the tiny holes with ease when you move out.

Q: How many light sources should a living room have?

A professional lighting design for a standard living room typically requires at least three to five distinct light sources. This combination, known as layering, should include at least one floor lamp, two table lamps, and one accent source like an LED strip or plug-in sconce.

Q: Do smart bulbs save money on electricity?

Smart bulbs can reduce energy consumption by up to 80% compared to traditional incandescent bulbs because they use LED technology and allow for precise dimming. By dimming your lights to 50% brightness, you effectively cut energy usage in half, which can lower your utility costs over time.

Q: What is the easiest way to make a cheap lamp look expensive?

Swap the existing, thin plastic shade for a high-quality linen or silk drum shade in a neutral color. A high-quality shade changes the way light disperses, creating a warmer, more sophisticated glow that mimics the fixtures found in luxury boutique hotels.

Highest-Impact Budget Changes to Make Small Rentals Look Luxe

Highest-Impact Budget Changes to Make Small Rentals Look Luxe

To make a small rental look luxe, prioritize high-impact, reversible upgrades like swapping builder-grade hardware, installing floor-to-ceiling drapery, and layering warm-toned lighting. Focus on intentional curation over quantity; by replacing clinical lighting with 2700K bulbs and adding large-scale art, you instantly elevate the aesthetic without violating lease terms or spending thousands.

Rethink Your Lighting Strategy

Floor-to-ceiling drapes and layered lighting can instantly make a small space feel expansive and luxurious.

Lighting is the most impactful design lever because it alters the perceived scale and mood of a room. Most rental units feature standard, low-cost flush-mount fixtures that emit harsh, 5000K-6500K blue-tinted light, which makes small spaces appear clinical and cheap. By replacing these fixtures with your own, you immediately introduce a bespoke focal point. Simply store the original hardware in a labeled box to reinstall before your lease ends.

Incorporating Layered Lighting

Designers use a three-tier approach to luxury lighting: ambient, task, and accent. While structural recessed lighting is often impossible in rentals, you can achieve the same sophisticated effect by distributing light sources at different heights. Use floor lamps for vertical height, table lamps for task zones, and plug-in wall sconces to clear visual clutter from side tables. Look for fixtures with finishes like aged brass, matte black, or oil-rubbed bronze to ground the room in premium textures.

Lighting Type Color Temp (K) Purpose Best Room
Ambient 2700K – 3000K General illumination Living Room
Task 3000K Focused reading/prep Kitchen/Office
Accent 2200K – 2700K Highlighting decor Bedroom/Entry

Selecting the right bulb is non-negotiable for a high-end feel. Opt for LEDs with a color temperature between 2700K and 3000K, which mimics the warm, golden glow of sunset. Avoid anything above 3500K, as these higher Kelvin ratings cast a sterile aesthetic that highlights dust and makes small square footage feel cramped.

Upgrade Hardware and Small Fixtures

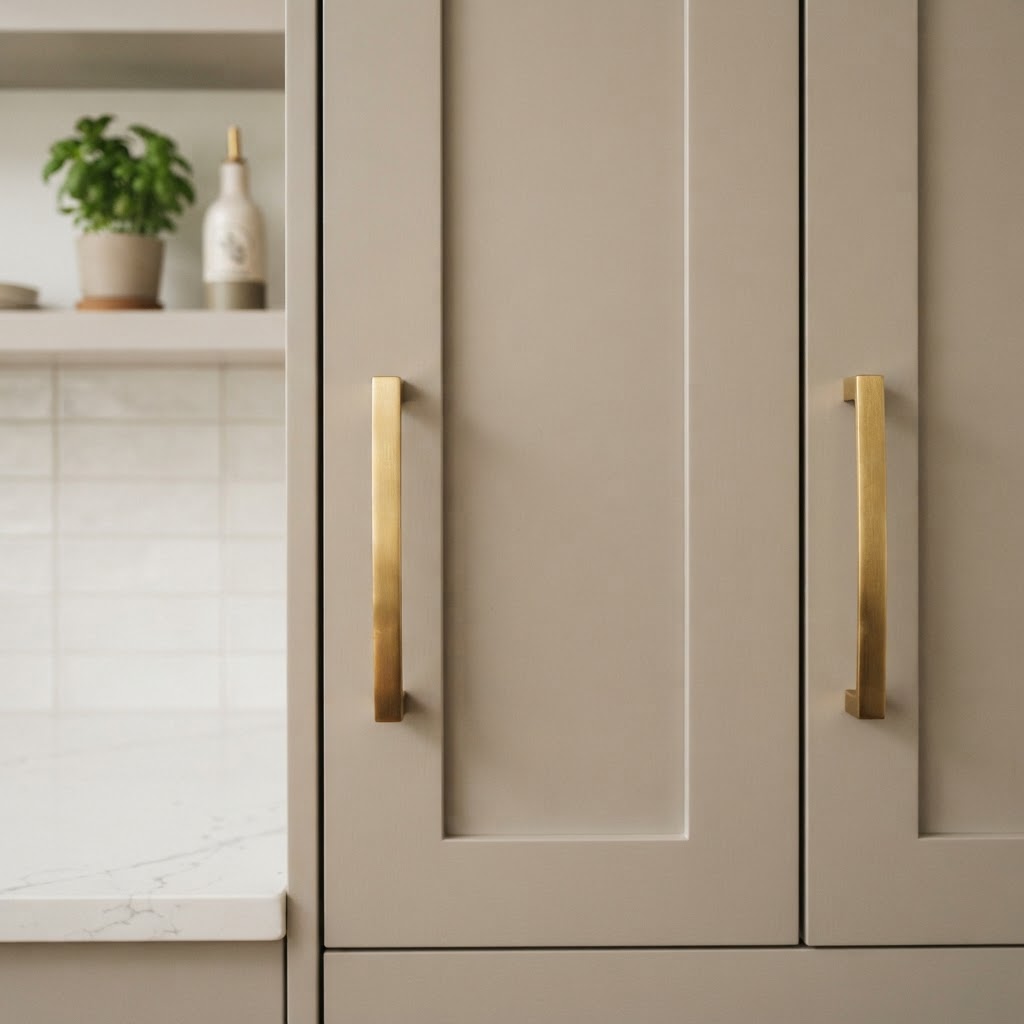
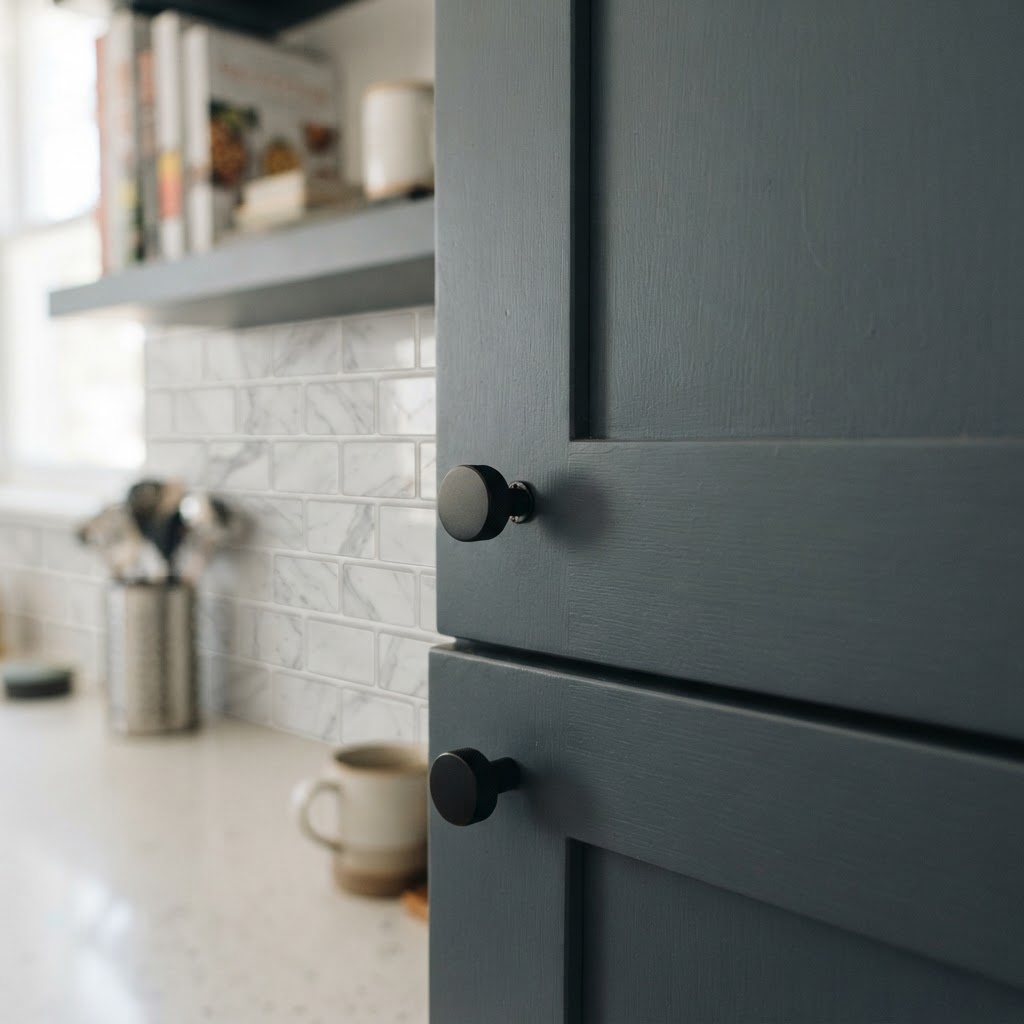
Swapping standard cabinet knobs for high-quality metal hardware is an easy, reversible rental upgrade.

Replacing generic cabinet hardware is a high-ROI change that professional stagers use to transform “builder-grade” kitchens into custom-looking spaces. Standard knobs often feature thin, hollow-core metal or plastic, which feels cheap to the touch. Swapping these for solid brass or heavyweight nickel pulls provides a tactile experience of luxury every time you open a drawer.

The Power of Details

Keep all original hardware in a dedicated container to ensure your full security deposit return. Beyond hardware, consider upgrading the kitchen faucet. If you are comfortable with basic plumbing, installing a high-arc, gooseneck faucet with a pull-down sprayer provides both immediate visual impact and improved functionality. If plumbing is off-limits, prioritize swapping light switch plates for sleek, screwless designer models, which provide a clean, modern finish to otherwise neglected wall space. These small, low-cost investments elevate the room’s “perceived value” by ensuring every point of contact feels substantial and thoughtfully selected rather than mass-produced.

The Illusion of Space Through Textiles

Large-scale art serves as a focal point that makes a rental feel custom-designed.

Luxury in interior design is synonymous with softness and scale, both of which can be achieved through strategic textile choices. Floor-to-ceiling drapery is a secret weapon that visually expands a room by drawing the eye upward, tricking the brain into perceiving higher ceilings. For maximum impact, mount the curtain rod at least 4 to 6 inches above the window frame or directly at the ceiling line.
Choosing the Right Fabrics

Texture is the secret to a high-end feel; stick to heavy-weight fabrics like linen, velvet, or heavy-weight cotton blends to introduce physical depth. Avoid sheer, synthetic materials that wrinkle easily and look fragile. When selecting rugs, size matters—a common rental mistake is using an area rug that is too small, which makes a room feel fragmented. Choose a rug large enough to fit the front legs of all furniture onto it to anchor the space. Maintaining a consistent color palette across your textiles—whether monochromatic or a cohesive earth-tone scheme—will help the space feel intentionally curated rather than cluttered.

Textile Material Luxury Factor Best Used For
Velvet High Curtains/Pillows
Linen High Window treatments/Bedding
Jute/Sisal Medium Rugs (layering)
Synthetic/Polyester Low Avoid if possible

Wall Treatments Without the Commitment

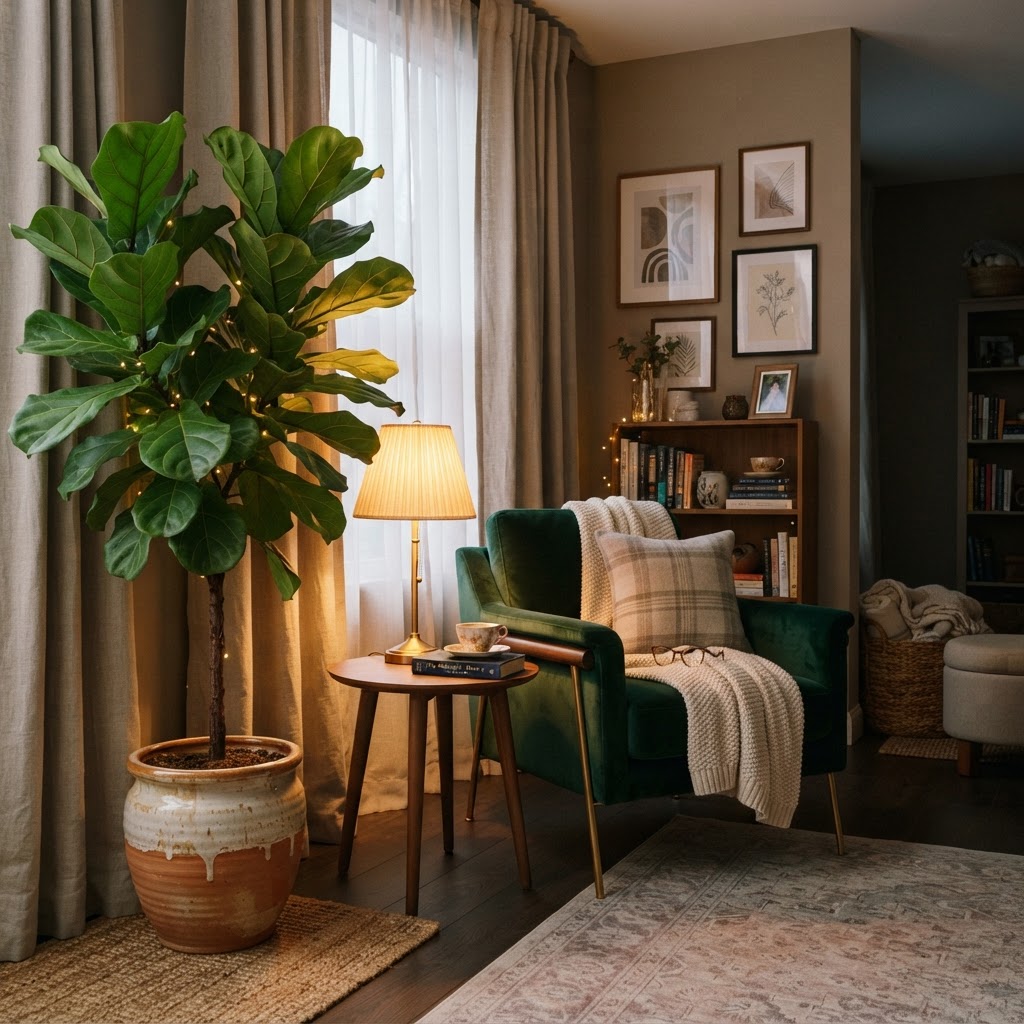
Strategically placed plants and ambient lighting transform an empty corner into a cozy, high-end reading nook.

Temporary wallpaper has revolutionized the rental market, allowing tenants to inject character without violating lease agreements. Peel-and-stick wallpaper is designed for easy removal and can be used on a single “accent wall” to provide a dramatic, high-end backdrop. For the best result, select high-quality vinyl-based papers that mimic the texture of linen or grasscloth rather than printed, flat patterns.

Gallery Walls and Large Scale Art

Blank walls are a missed opportunity that can make a rental feel temporary. Instead of hanging multiple small, mismatched items, invest in one or two pieces of large-scale art. Oversized art creates a professional, gallery-like focal point that anchors the room’s color scheme. If you prefer a gallery wall, unify your pieces by using matching frames or a consistent matting style. This uniformity is what separates a chaotic, cluttered wall from a sophisticated, designer-led display. Use non-damaging adhesive strips to mount your pieces, ensuring a seamless setup that leaves walls in perfect condition upon moving out.

Elevating Through Functional Decor

Small spaces often succumb to clutter, but luxury requires intentional, edited surfaces. To emulate a high-end showroom, treat your surfaces like a curated gallery rather than a storage area. Every item displayed should have a reason to exist, whether it is a sculptural vase, a stack of hardcover books, or a high-quality scented candle.

Curating Your Surfaces

Follow the “less is more” rule by grouping items in odd numbers, which is a classic design trick to create visual interest. Invest in furniture that serves dual purposes, such as ottomans with hidden storage or console tables that act as both a workspace and a display surface. When dealing with corners, place large plants like a Fiddle Leaf Fig or a snake plant in ceramic pots. Greenery softens hard angles and introduces organic life that makes any small rental feel grounded and vibrant. By removing 30% of your current decor and keeping only the pieces that bring you joy or serve a primary function, you instantly create a more breathable, luxury environment.

Once you have your list, look at the wall space or floor space immediately available. Even a narrow hallway can accommodate a wall-mounted unit. Do not feel constrained by the lack of a formal room; instead, look for vertical opportunities that can handle the heavy lifting of your daily storage needs. A standard wall-mounted organizer typically requires only 12 to 15 inches of width, making it feasible for even the tightest urban apartment entryways.

Choose the Right Storage Hardware

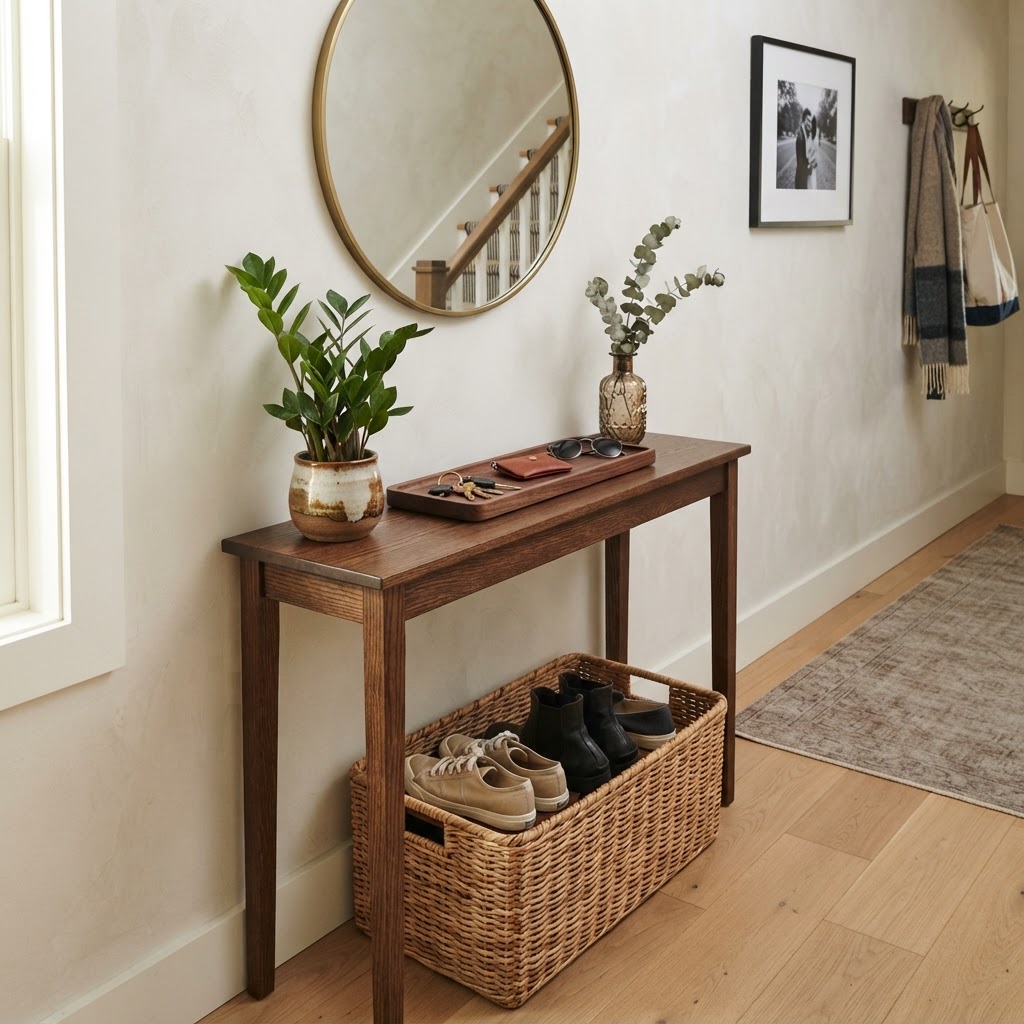
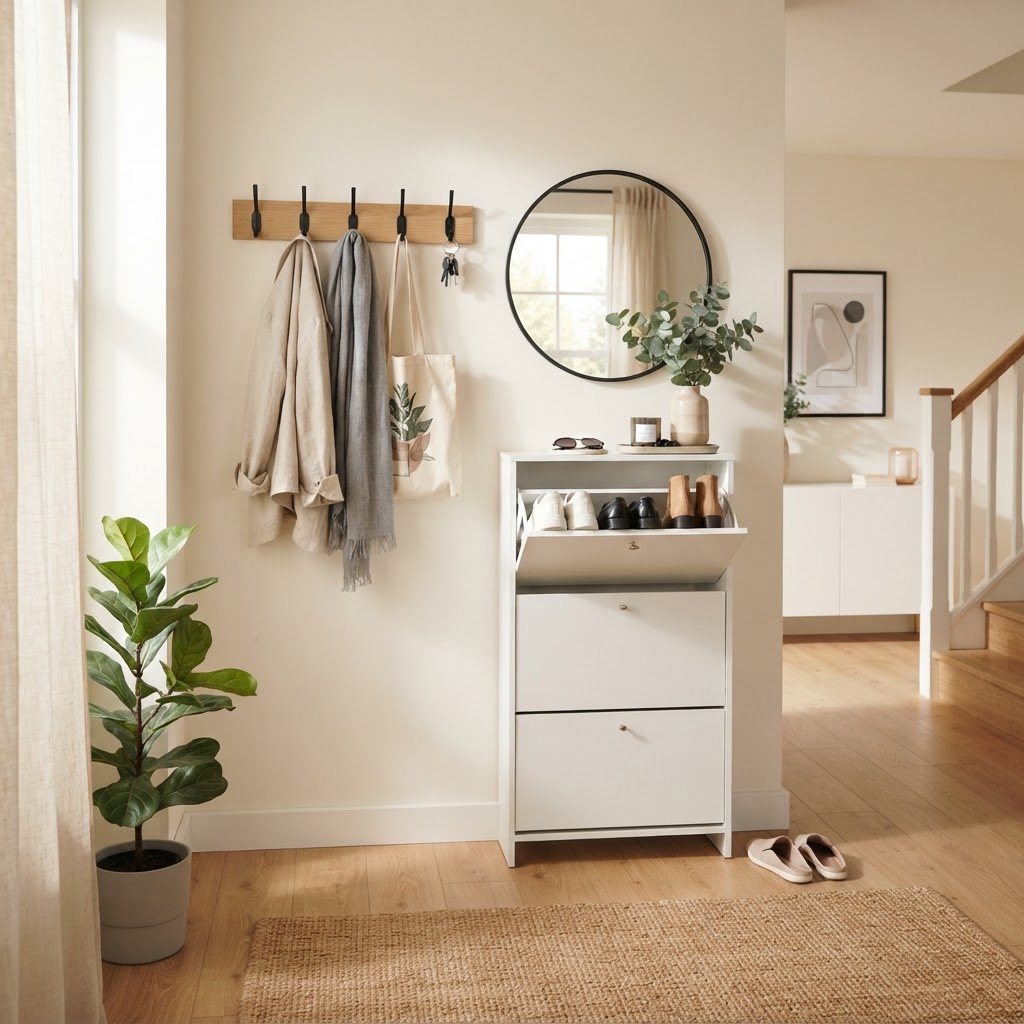
A slim console table makes a perfect drop zone.

When square footage is limited, vertical storage is your best friend. A ‘drop zone’ is not just about the floor; it is about utilizing the full height of your walls to keep items off the ground. Heavy-duty wall hooks are essential for coats, umbrellas, and tote bags, as they take up zero floor space while keeping the area looking tidy. Research suggests that wall-mounted storage increases perceived space in a small hallway by approximately 25% compared to freestanding floor racks.

Why Hooks Trump Closets in Small Spaces

Closet doors consume valuable floor area when they swing open, which is a luxury that tight entryways often cannot afford. By installing high-quality, sturdy hooks, you provide an immediate destination for outdoor gear. Consider installing them at varying heights—typically 40 inches for children and 60 inches for adults—so that family members can reach their own backpacks, fostering independence while keeping the floor clear.

Selecting the Right Material

Choose hardware that matches the aesthetic of your home, but prioritize durability. Brushed nickel or matte black hooks are popular choices that blend with various interior design styles. Ensure that your wall anchors are properly installed into studs or use high-rated toggle bolts—which can support up to 50–100 pounds—to prevent the hooks from pulling out when burdened with heavy winter coats.

Hook Material Pros Cons Ideal For
Matte Black Steel Modern look, scratch-resistant Shows dust easily Minimalist homes
Brushed Nickel Timeless, hides fingerprints Can look dated Traditional decor
Brass Adds warmth, high value Requires polishing Eclectic styles

Implement Smart Furniture Solutions

Vertical hooks maximize space in tight hallways.

If you have a bit more room, a narrow console table or a slim bench can transform a blank wall into a sophisticated command center. A bench with built-in cubbies underneath is the ultimate multitasking furniture piece. It provides a place to sit while removing shoes, while the cubbies hide the visual clutter of footwear that would otherwise be strewn about the hallway. Most standard entryway benches range from 12 to 18 inches in depth, perfect for standard hallway clearance codes of 36 inches.

For those with extremely narrow entryways, look for console tables that are only 10 to 12 inches deep. These pieces add a layer of surface area for dropping keys or placing a small bowl for incoming mail, while also providing a base for wall-mounted mirrors or art that makes the space feel intentional rather than like a hallway.

The Power of Hidden Storage

Closed storage is the secret to a calm entryway. While open hooks are great for frequently used items, baskets and lidded bins provide a place to tuck away items that look messy. Assign one bin to each family member to minimize morning arguments and ensure that lost items have a specific, reachable home. Using labeled bins can reduce the time spent searching for misplaced items by up to 10 minutes per morning.

Zone Your Space for Functionality

Even in a small area, you can create distinct zones to prevent clutter from bleeding into the rest of your home. Think of this as a micro-zoning project. The ‘Drop Zone’ should be divided into three logical phases: the landing space for immediate items, the storage space for daily gear, and the transition space for things leaving the house.

Zone Component Purpose Best Tool
Landing Strip Keys, mail, glasses Narrow console or tray
Active Gear Coats, hats, bags Wall hooks or coat rack
Floor Storage Shoes, umbrellas Bench with cubbies

By clearly defining these areas, you train your brain to follow a routine. When you walk through the door, you place your keys in the tray, hang your coat on the hook, and slip your shoes into the bin. This habit-forming process is just as important as the physical furniture you choose.

Incorporate Lighting and Mirrors

Never underestimate the power of design elements to make a space feel larger and more welcoming. A mirror placed above your drop zone does double duty; it allows for a last-minute check before heading out and reflects light to make a cramped entryway feel much more expansive. Designers suggest a mirror size should be roughly 60-75% of the width of your console table for visual balance.

Pair this with adequate lighting. If your entry lacks a direct ceiling fixture, consider a slim wall sconce or a small table lamp on your console. Lighting defines the space as a ‘destination’ rather than just a pass-through area, giving your drop zone a professional, designed feel that adds value to your home. Use warm-toned bulbs (2700K–3000K) to create an inviting atmosphere.

Maintain Your New System

Design is only the beginning. Maintenance is what keeps your drop zone functional over the long term. Conduct a weekly audit of your entryway to ensure that items haven’t started to ‘migrate’ from their designated spots. If the bin for scarves is overflowing, it is time to relocate those items to a bedroom closet or donate unused gear.

The One-In, One-Out Rule

Apply the ‘one-in, one-out’ rule to your entry storage. If you buy a new pair of shoes, ensure there is space in the cubby or bin; if not, an old pair must be removed. This simple mindset shift prevents the gradual buildup of clutter that leads many homeowners to believe their space is simply ‘too small’ when in reality, it is just ‘too full.’

FAQ

Q: What is the minimum depth required for an entryway drop zone?

A: You need at least 10 to 12 inches of depth to accommodate a slim console table or wall-mounted shelving. This allows for sufficient surface area to drop keys and mail without obstructing hallway traffic flow in standard-sized homes.

Q: How can I organize shoes in a small entryway without a closet?

A: Use a bench with built-in cubbies or an under-console shoe rack. Keeping shoes off the floor using these solutions clears visual clutter and prevents tripping hazards in narrow corridors, keeping the space looking intentional.

Q: Are wall hooks better than coat racks for small spaces?

A: Wall hooks are superior for small spaces because they utilize vertical wall real estate and leave the floor completely clear. Unlike coat racks, which have a wide footprint, wall hooks can be installed at any height to maximize your specific layout.

Q: How do I stop mail from piling up in my drop zone?

A: Install a wall-mounted mail sorter or use a dedicated decorative tray specifically for incoming mail. Immediately discard junk mail over a recycling bin as you walk in to prevent accumulation and keep your landing strip functional.

7 Amazon Finds That Transform Small Apartment Storage

7 Amazon Finds That Transform Small Apartment Storage

Maximize your small apartment storage by utilizing vertical wall space, under-bed rolling bins, over-the-door organizers, tiered cabinet shelves, Lazy Susans, slim-profile shoe racks, and multi-functional storage furniture like ottomans. These seven tactical Amazon solutions reclaim wasted space, allowing you to organize a compact studio into a highly functional living area without requiring costly renovations.

The Power of Vertical Storage

Vertical shelving is essential for small apartment storage.

Vertical organization serves as the most effective method for apartment dwellers to increase usable square footage by drawing the eye upward and clearing floor pathways. When standard horizontal storage reaches capacity, installing high-reach shelving or wall-mounted systems allows you to leverage the often-ignored air space above windows and door frames. By moving clutter from the floor to the walls, you create an open, airy atmosphere that visually expands the dimensions of a room while keeping frequently accessed items within arm’s reach.

Over-the-Door Organizers

Heavy-duty over-the-door organizers serve as hidden storage powerhouses, capable of holding everything from cleaning supplies and pantry items to linens. For maximum effectiveness, select organizers based on material: mesh pockets offer breathability for garments, while reinforced metal hooks provide the structural integrity required for heavy canned goods or cleaning equipment. Always measure your door thickness—standard apartment doors usually measure 1 3/8 inches—and select hooks that ensure a secure, non-damaging fit to maintain your security deposit.

Organizer Type Best Use Case Material Preference
Mesh Pocket Cleaning Supplies Breathable Fabric
Metal Over-Door Hook Coats/Towels Powder-Coated Steel
Multi-Tier Rack Pantry/Canned Goods Sturdy Wire/Metal

Choosing the Right Material

When selecting over-the-door organizers, look for breathable fabrics like mesh or canvas for clothes, or sturdy metal frames for heavier pantry items. Ensure that the hooks fit your door thickness to avoid damage to your door frames, which is critical for those living in rentals.

Maximizing Under-Bed Real Estate

Turntables and shelf inserts maximize tight kitchen spaces.

Transforming the “dead zone” beneath your bed frame into a dedicated storage hub provides one of the highest returns on investment for small-space living. Because the area under a queen-sized bed offers roughly 30 square feet of potential space, utilizing it for seasonal clothing, extra bedding, or bulky hobby equipment effectively functions as adding a small closet to your apartment. Investing in high-quality rolling storage bins prevents floor scratching and allows for effortless access to contents that would otherwise be permanently relegated to the back of a dark corner.

Choosing Wheeled Storage Bins

Rolling bins allow you to easily pull out items like seasonal clothing, extra bedding, or bulky hobby equipment without dragging items across your flooring. Look for bins with clear lids so you can identify contents at a glance, reducing the time you spend searching for specific items. By keeping these containers organized by category, you create a system that is easy to maintain long-term.

Kitchen Solutions for Small Pantries

Slim entryway furniture keeps the floor clutter-free.

Small kitchens rely heavily on smart compartmentalization to overcome limited cabinet depth and lack of shelf height. Amazon’s inventory of tiered shelf inserts and stackable bins allows you to break the habit of stacking items precariously, instead creating structured, vertical layers that double your storage capacity. These tools are particularly effective for organizing spices, jars, and canned goods, ensuring that every square inch of vertical cabinet space is utilized rather than wasted in empty air gaps above items.

Tiered Rolling Carts

For additional storage that can be moved as needed, a metal three-tier rolling cart is an incredibly versatile choice. You can stock it with spare toilet paper, towels, and makeup, then roll it into a closet when you have guests over. Its narrow profile allows it to slide into small gaps between the toilet and the vanity, making every inch of the bathroom count.

Closet Systems that Double Capacity

Closet capacity can be effectively doubled by implementing vertical expansion tools like adjustable double-hanging rods and shelf dividers. Most standard apartment closets only utilize one horizontal rod, leaving significant space at the bottom for potentially stackable storage. By adding a second rod, you immediately increase your hanging capacity for shirts and jackets, while acrylic shelf dividers ensure that folded items remain upright and accessible.

Implementing Shelf Dividers

To prevent stacks of folded clothing from toppling over, use clear acrylic shelf dividers. These allow you to categorize your clothes neatly and maximize every inch of shelf height. When you can see exactly what you have, you are less likely to overbuy and more likely to actually wear the items in your collection.

Smart Furniture Selection

Furniture in a small apartment must perform at least two functions to justify the floor space it occupies. Pieces like ottomans with hidden internal storage, coffee tables with built-in drawers, and wall-folding desks are essential investments that allow for a minimalist aesthetic while providing practical, deep-storage capabilities. When selecting items, prioritize multi-purpose designs that accommodate hidden storage for tech cables, extra linens, or seasonal items you don’t need on a daily basis.

The Value of Ottomans

An upholstered ottoman with a storage lid can act as a footrest, a guest seat, and a place to hide throw blankets or tech cables. This multi-functional approach to home decor allows you to maintain a minimalist aesthetic while ensuring you have plenty of storage for daily necessities.

FAQ

Q: How can I maximize storage in a tiny apartment without drilling holes?

A: Use tension-based organizers like shower poles or adjustable tension rods for curtains and closets. Additionally, adhesive-backed hooks and over-the-door systems provide robust storage without damaging walls or requiring permanent installation, making them ideal for temporary apartment living.

Q: What is the most effective way to store shoes in a small entryway?

A: Use a slim-profile, tilt-out shoe cabinet that provides a vertical footprint of less than 10 inches in depth. These units conceal footwear completely while keeping them organized, preventing the visual clutter of loose shoes in your main living space.

Q: Are rolling carts worth the space they occupy in a small bathroom?

A: Yes, because their narrow profile allows them to fit into gaps as small as 8-10 inches between fixtures. A three-tier rolling cart adds massive storage capacity and offers the flexibility of mobility, allowing you to move toiletries out of sight when guests arrive.

Q: How do I choose the right storage bin for under-bed use?

A: Measure the distance from your floor to the bed frame to ensure clearance, then select bins with wheels and clear lids. Rolling wheels allow for easy access, while clear lids help you inventory items at a glance without having to pull the entire container out.

Q: What materials work best for small apartment organization?

A: Look for clear acrylic for visual clarity, powder-coated steel for heavy-duty load-bearing, and breathable mesh or canvas for soft goods. These materials are lightweight, durable, and generally match the modern, minimalist aesthetic common in compact urban living spaces.

Cheap Deposit-Proof Upgrades for Tiny Apartments

Cheap deposit-proof upgrades for tiny apartments involve non-permanent, reversible modifications like peel-and-stick wallpaper, tension rod curtains, and swapping cabinet hardware to personalize space without risking your security deposit. These budget-friendly hacks allow renters to improve aesthetics by focusing on temporary, damage-free installations that are fully removable upon moving out.

Rethinking Your Walls Without Paint

Transform a blank wall with peel-and-stick wallpaper and elevate windows with floor-to-ceiling curtains on a tension rod.

One of the biggest hurdles in a rental is the inability to paint walls. When you cannot pick up a brush, look to peel-and-stick solutions. Removable wallpaper is a game-changer for tiny apartments. It allows you to inject color, pattern, and personality into your space without damaging the underlying surface. You can use it to create an accent wall behind your bed or to brighten up a dark entryway. Most high-quality peel-and-stick options cost between $30 and $70 per roll, making it a cost-effective way to cover 30-50 square feet of wall space.

Treatment Type Difficulty Level Removal Process Estimated Cost
Peel-and-Stick Paper Moderate Peel off cleanly $30 – $70/roll
Washi Tape Art Easy Simply peels off $5 – $15/set
Fabric Wall Hangings Low Command hooks $20 – $50/piece

Types of Temporary Wall Treatments

Peel-and-Stick Wallpaper

High-quality peel-and-stick wallpaper is designed for easy application and removal. When choosing, look for options that specify they are renter-friendly and residue-free. Always test a small piece in an inconspicuous area like inside a closet to ensure it peels off cleanly before committing to a full wall. For best results, use a smoothing tool to prevent air bubbles, which can be trapped during the application process.

Washi Tape Art

If wallpaper feels like too much of a commitment, try washi tape. This Japanese paper tape comes in endless colors and patterns. You can create geometric patterns, faux wainscoting, or even mural-like designs. It is incredibly easy to remove and leaves absolutely no trace behind, making it one of the most versatile cheap deposit-proof upgrades for tiny apartments available today. A standard roll of washi tape provides about 10-20 meters of material, sufficient for creating intricate wall murals.

Lighting Tweaks for Maximum Ambiance

Swapping outdated cabinet hardware for modern pulls is a simple, high-impact rental upgrade.

Most tiny apartments suffer from harsh, unflattering overhead lights that kill the mood. Since you cannot rewire the unit, you need to rely on layered lighting to create depth. Swap out generic lamps for stylish floor and table lamps that fit your aesthetic. If you have an ugly ceiling fixture, you can sometimes carefully remove the cover, store it safely, and replace it with a stylish, temporary drum shade or a pendant light that plugs into an outlet using a swag hook kit, which typically costs less than $15.

The Power of Smart Lighting

Smart bulbs are another fantastic way to upgrade your space. With a simple screw-in bulb, you can change the warmth and color of your lighting through an app. This allows you to switch from bright, functional daylight for working to a warm, cozy amber glow for relaxing, all without changing any permanent fixtures. Add under-cabinet LED strips to your kitchen for instant, high-end appeal without any drilling. Smart bulbs typically offer 25,000 hours of light, far exceeding the lifespan of standard incandescent bulbs while consuming 80% less energy.

Elevating Your Flooring and Furniture

Use vertical storage and layered lighting to make a small bedroom feel larger and more inviting.

Floors are often the most tired part of a rental, but you have options. Area rugs are the most obvious solution, but do not just throw down a generic mat. Layering rugs can add texture and depth to a small room, making it feel more expensive and intentional. Look for rugs that fill the seating area to ground the space visually. A 5×8 area rug is usually sufficient to define a living zone in a studio apartment, while layering a smaller patterned rug over a neutral jute rug adds visual complexity without breaking the bank.

Dealing with Dated Hardware

If your kitchen or bathroom cabinets have ugly, outdated hardware, you do not have to live with it. Swap out the existing pulls and knobs for something modern or vintage-inspired. This is one of the most effective cheap deposit-proof upgrades for tiny apartments because it makes the biggest visual impact for very little money. Just keep the old hardware in a safe place so you can easily reinstall it before you move out. Hardware upgrades usually take less than 15 minutes to complete per room using only a standard screwdriver.

Maximizing Storage with Temporary Solutions

Small spaces often lack sufficient storage, leading to clutter that kills the aesthetic. The trick is to use vertical space without drilling holes. Over-the-door organizers are classic for a reason, but look for ones that are stylish, like those made from linen or woven materials instead of plastic. Consider tension rods inside your kitchen cabinets or under the sink to create extra hanging space for spray bottles or cleaning supplies. By utilizing vertical space effectively, you can reclaim up to 20% of your floor space in a typical tiny apartment.

Floating Shelves Alternatives

Since you cannot drill into walls to install floating shelves, use free-standing shelving units or modular bookcases. Look for tall, narrow units that maximize vertical space. You can even use heavy-duty command strips for very lightweight decor, but always follow the manufacturer’s weight limits to avoid damaging the paint or drywall. For heavy items, rely on floor-standing ladder shelves which provide stable storage without requiring structural wall mounts.

Curtains and Textiles That Transform

Changing out standard rental blinds for lush, floor-to-ceiling curtains can make your ceilings look higher and your apartment feel much larger. To avoid drilling into the wall above the window frame, use a tension curtain rod. It provides the same look as a mounted rod without a single hole. Opt for light, airy fabrics to keep the space feeling open, or velvet for a touch of luxury and better light blocking. Placing the rod 4-6 inches above the window frame creates the optical illusion of increased height.

Cohesive Color Palettes

Textiles are the glue that holds a room together. By choosing curtains, throw pillows, and rugs that follow a cohesive color palette, you unify the space and make it feel designed rather than just “decorated.” This is essential in tiny apartments where clutter can easily make the room feel chaotic. Sticking to a 60-30-10 color rule—where 60% is a primary neutral, 30% a secondary color, and 10% an accent—ensures a balanced, professional look.

Kitchen and Bathroom Facelifts

Even if you cannot renovate your kitchen, you can improve its function and look. Use contact paper to cover dated countertops or laminate cabinets. As long as you choose high-quality contact paper designed for surfaces, it should peel off clean when you leave. In the bathroom, replace the standard shower head with a high-pressure model that offers a better experience. Just make sure you save the original, as you will need to swap it back before moving out. Most universal-fit shower heads can be installed in under 5 minutes.

Simple Fixture Swaps

Faucet Aerators

A simple faucet aerator is an inexpensive way to improve water pressure and flow. It is a tiny, cheap deposit-proof upgrade for tiny apartments that makes a surprising difference in your daily routine. Best of all, it takes less than a minute to install and remove. Aerators typically cost between $5 and $10 and can reduce water consumption by up to 30% while maintaining the perception of strong pressure.

FAQ

Q: Can peel-and-stick wallpaper damage rental walls?

High-quality peel-and-stick wallpaper is designed for easy removal without leaving residue, provided it is applied to smooth, properly primed, or painted surfaces. Always test a small swatch in a hidden area for 48 hours to ensure it does not lift paint upon removal.

Q: What is the best way to hang curtains without drilling?

Use a high-tension curtain rod that wedges firmly between the window frame or walls using internal springs. These rods are robust enough for medium-weight fabrics and require zero hardware or holes, making them perfect for rental security deposit protection.
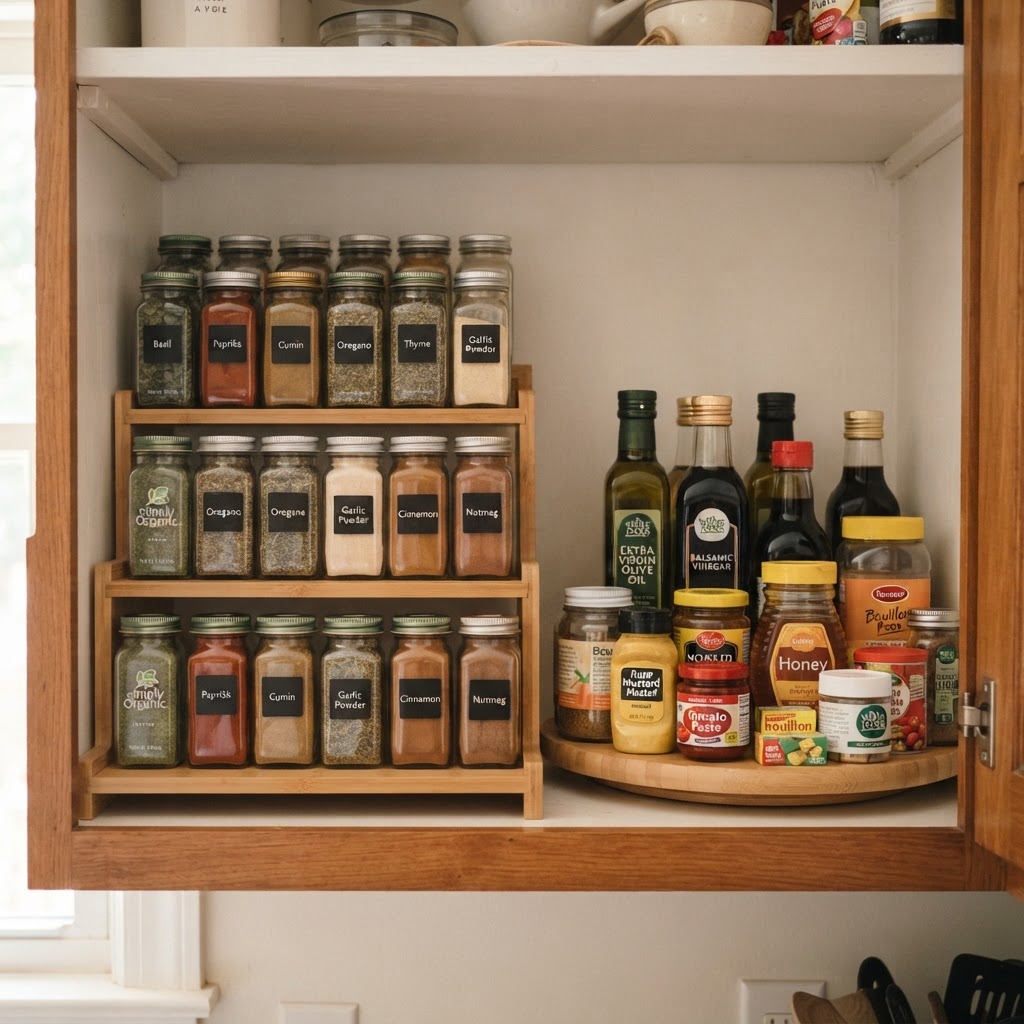
Q: How do I store original hardware I have replaced?

Place original cabinet knobs, pulls, and hinge covers into labeled plastic sandwich bags immediately upon removal. Keep these bags in a designated ‘rental storage’ box or inside a kitchen drawer that you will not be accessing daily so they remain organized.

Q: Will smart bulbs work in any apartment fixture?

Smart bulbs utilize standard E26 or E27 bases, meaning they fit almost any traditional lamp or overhead fixture. They are fully compatible with most apartment wiring since they do not require you to modify the physical electrical outlet or wall switch.

Q: How can I make a tiny apartment look more expensive on a budget?

Focus on cohesive textile choices, such as matching rugs and floor-to-ceiling curtains in neutral tones, and upgrading small hardware details. These consistent design elements eliminate visual clutter and provide a finished, professional aesthetic without requiring permanent renovations.