10 Affordable Renter Hacks to Make Small Spaces Look Expensive
To make a small rental space look expensive on a budget, prioritize high-impact, non-permanent upgrades like swapping builder-grade hardware, installing floor-to-ceiling curtains, and utilizing oversized mirrors to create depth. These strategic changes manipulate scale and light, tricking the eye into perceiving a more curated, luxurious, and spacious environment.
Lighting Tweaks for Instant Elegance
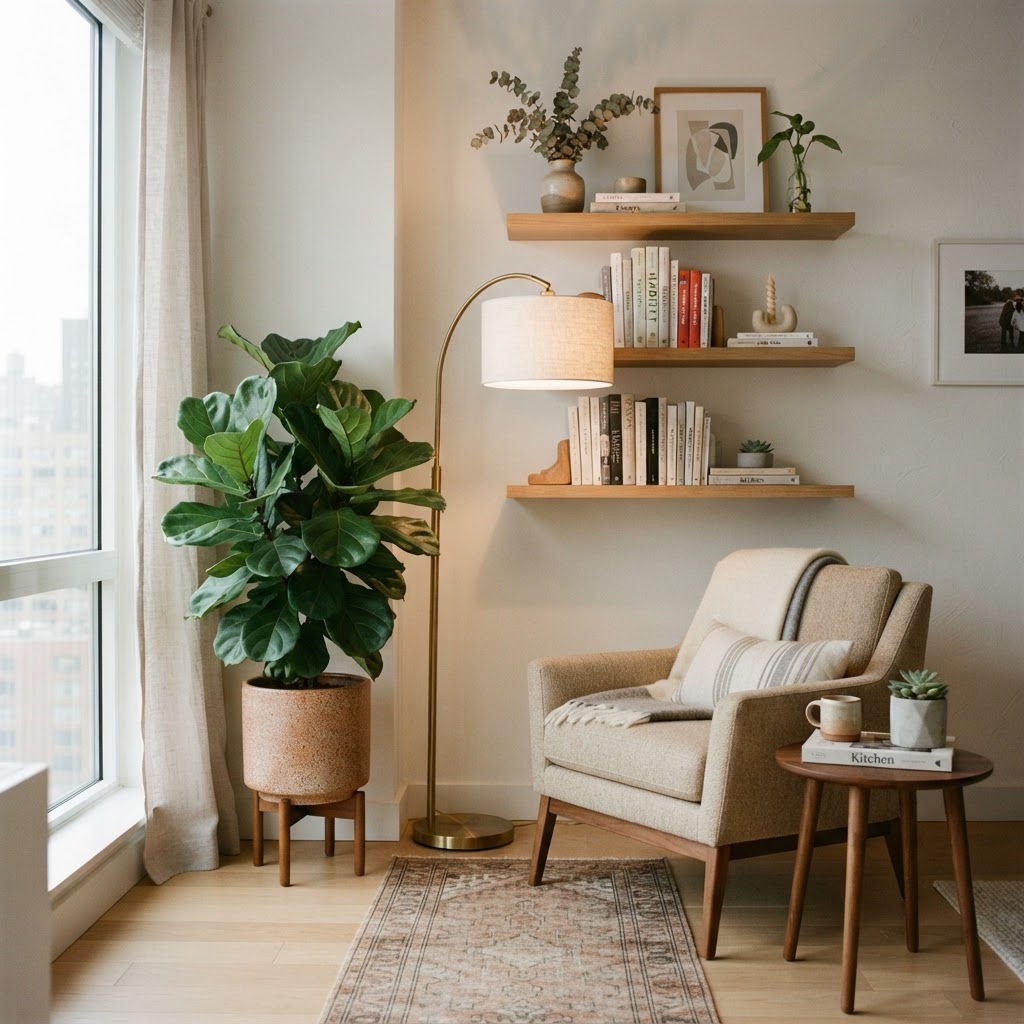
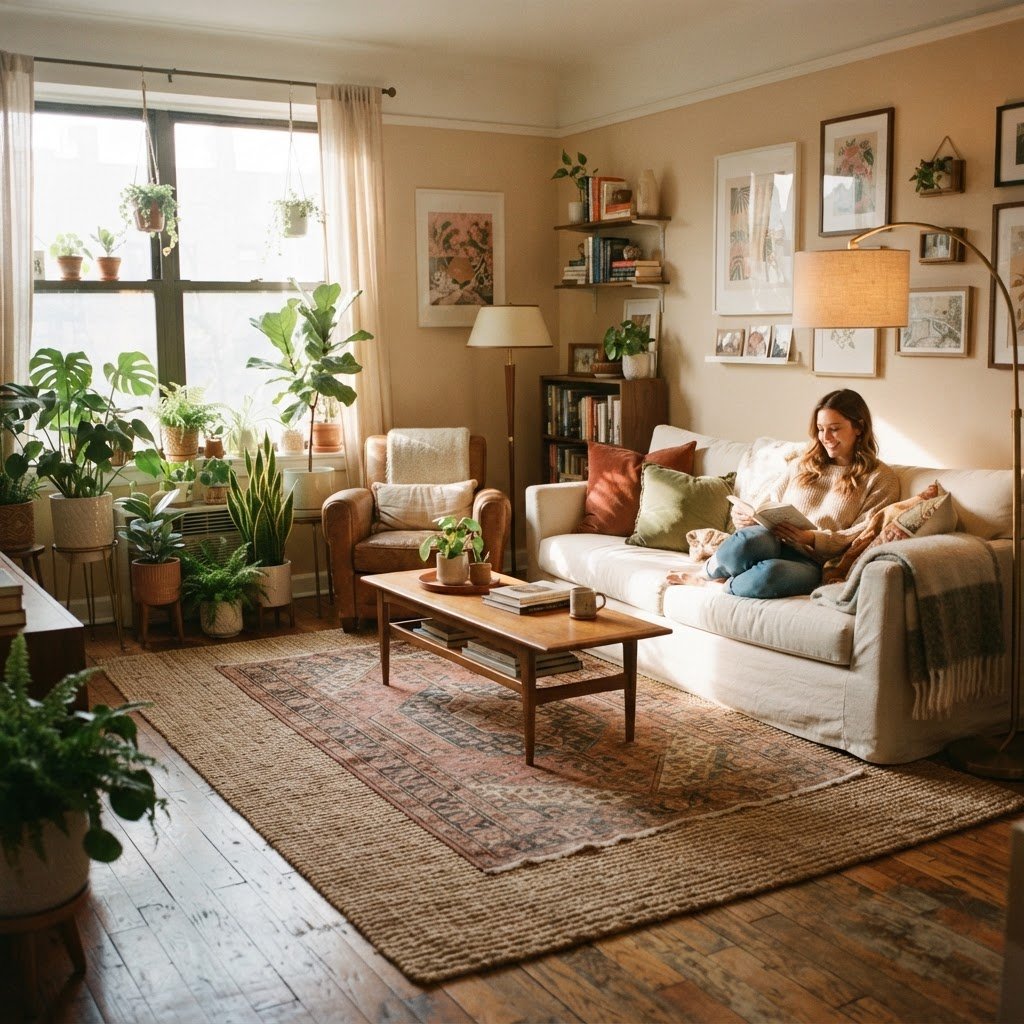
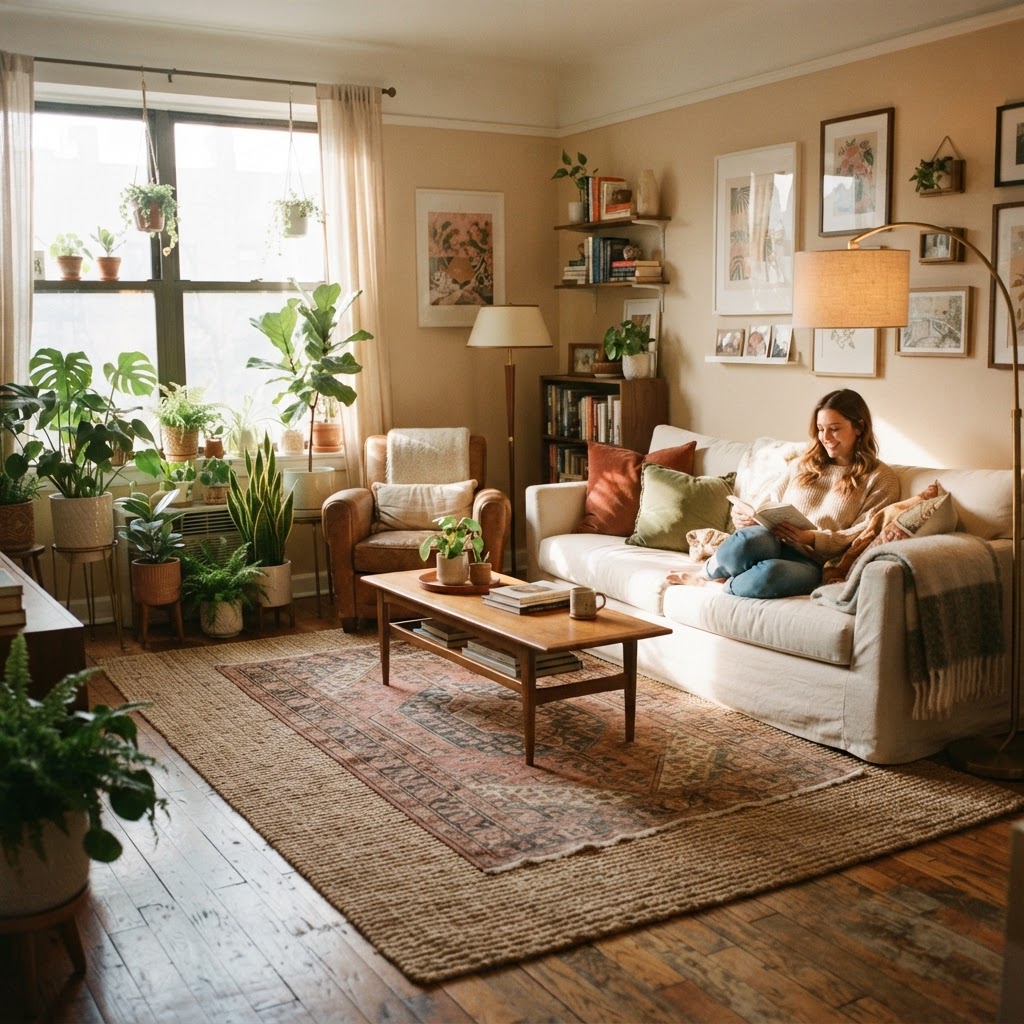
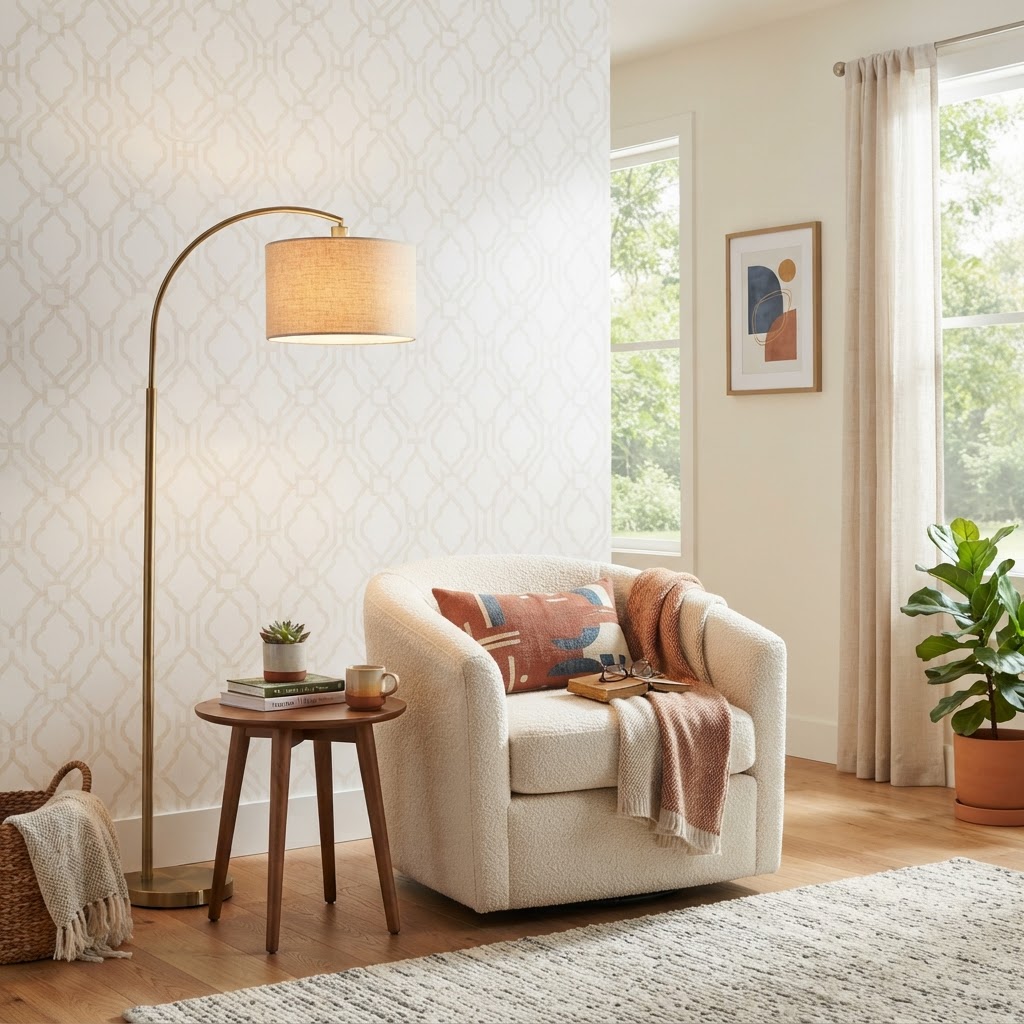
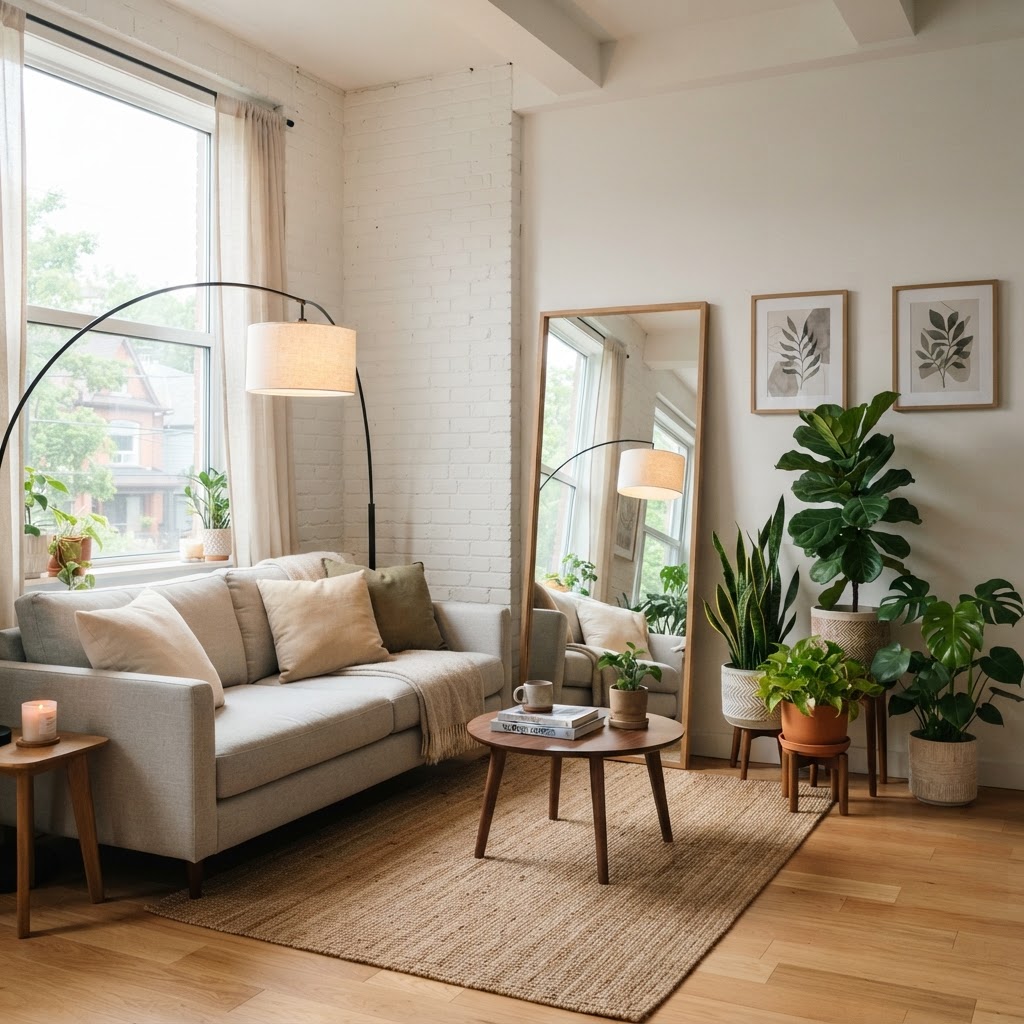
Replacing standard, builder-grade overhead lighting is the single most effective way to eliminate the clinical, flat glow common in rental properties. If your lease prohibits changing permanent fixtures, use architectural statement lamps to define the room’s character; a high-quality brass or matte black floor lamp serves as both a light source and a sculptural art piece.
Layering Your Light Sources
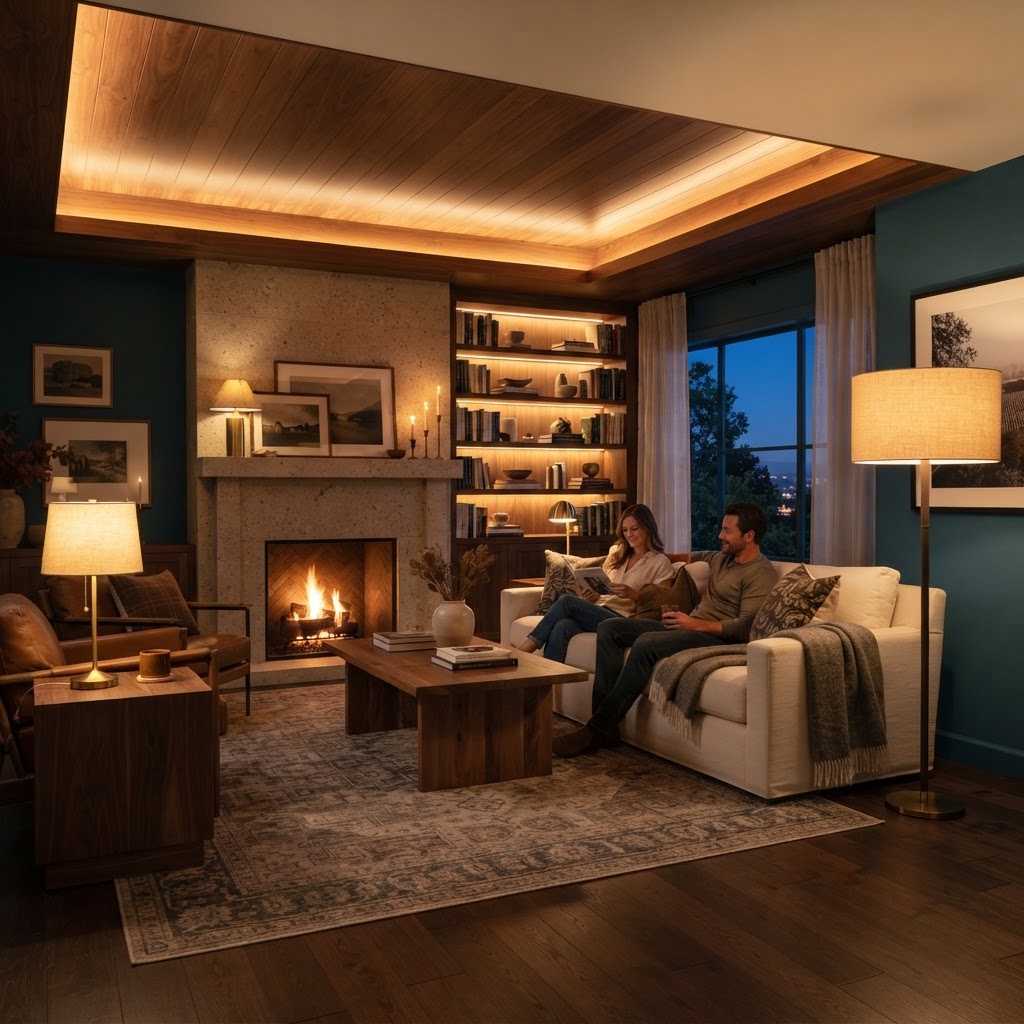
Layering lighting is the secret to high-end design, and in a 500-square-foot apartment, you should aim for at least three distinct light sources per room. By mixing floor lamps for ambient light, table lamps for task lighting, and wall-mounted sconces for mood, you eliminate harsh shadows and create the depth found in luxury hotel suites. Avoid harsh blue-toned bulbs; opt for warm white LED bulbs between 2700K and 3000K to create a cozy, premium atmosphere.
Lighting Type
Best For
Benefit
Floor Lamps
Anchoring Corners
Adds height & luxury
Table Lamps
Task Areas
Creates intimate pools of light
Smart Bulbs
Mood Transitions
Allows for adjustable color temp
High-End Window Treatments
Swapping cheap plastic mini-blinds for floor-to-ceiling curtains is a high-leverage hack that instantly increases the perceived ceiling height and architectural sophistication of any room. When installing curtains, mount the rod 4 to 6 inches above the window frame or directly against the ceiling; this trick draws the eye upward, making standard 8-foot ceilings appear much taller.
Select heavy, high-quality fabrics like linen blends, cotton velvet, or weighted polyester-silk to achieve a professional finish. Using a double curtain rod—placing sheer panels closest to the window and heavy, opaque drapes on the outside—allows you to control privacy while maintaining a lush, layered look. Ensure the fabric width is at least 2 to 2.5 times the width of the window to ensure the drapes look full and expensive, rather than thin and stretched.
Upgrading Hardware and Fixtures
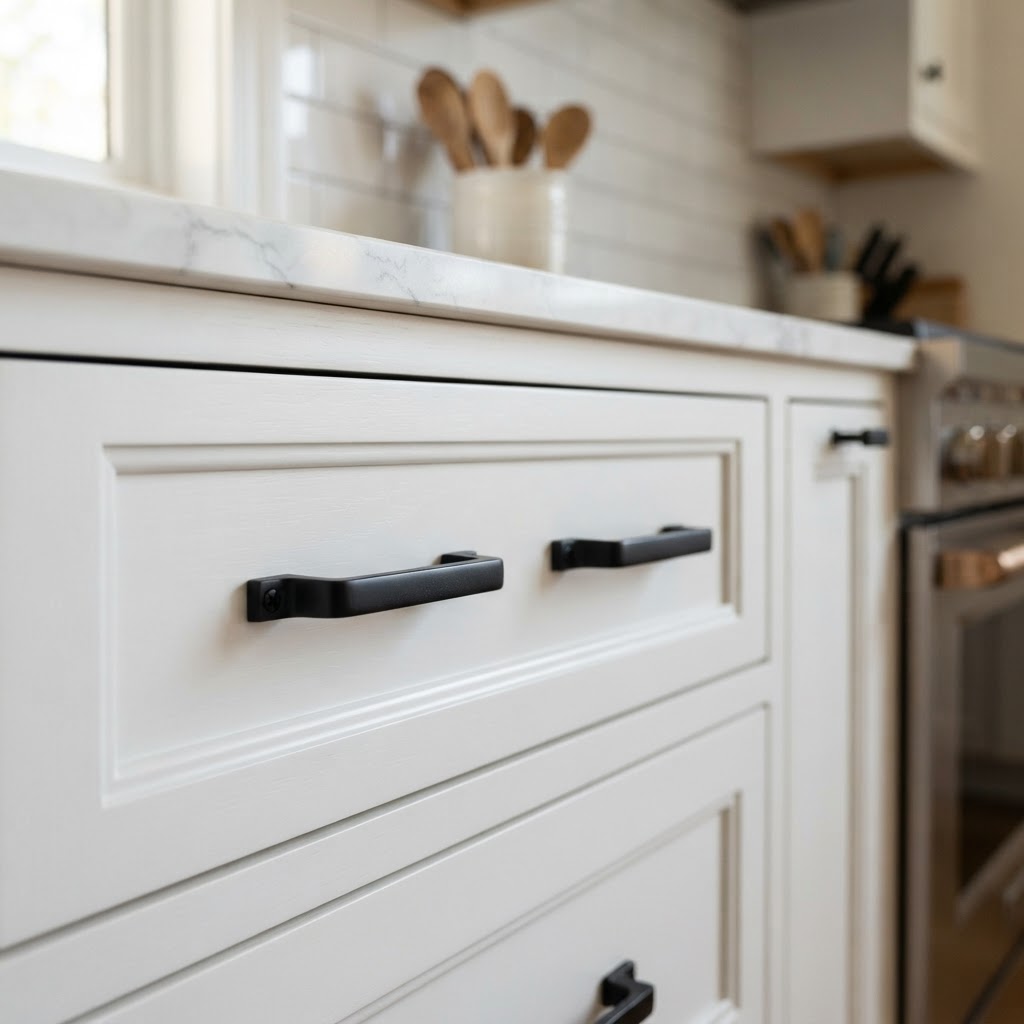
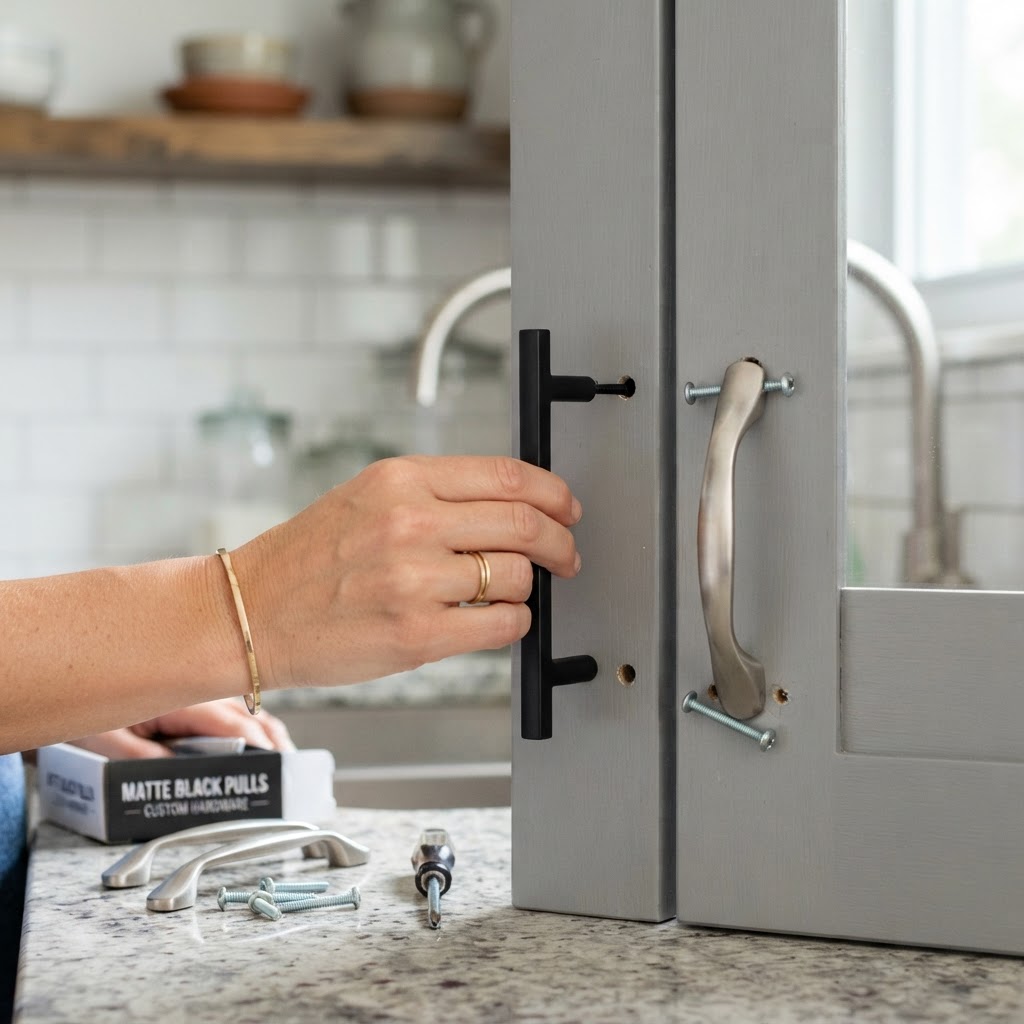
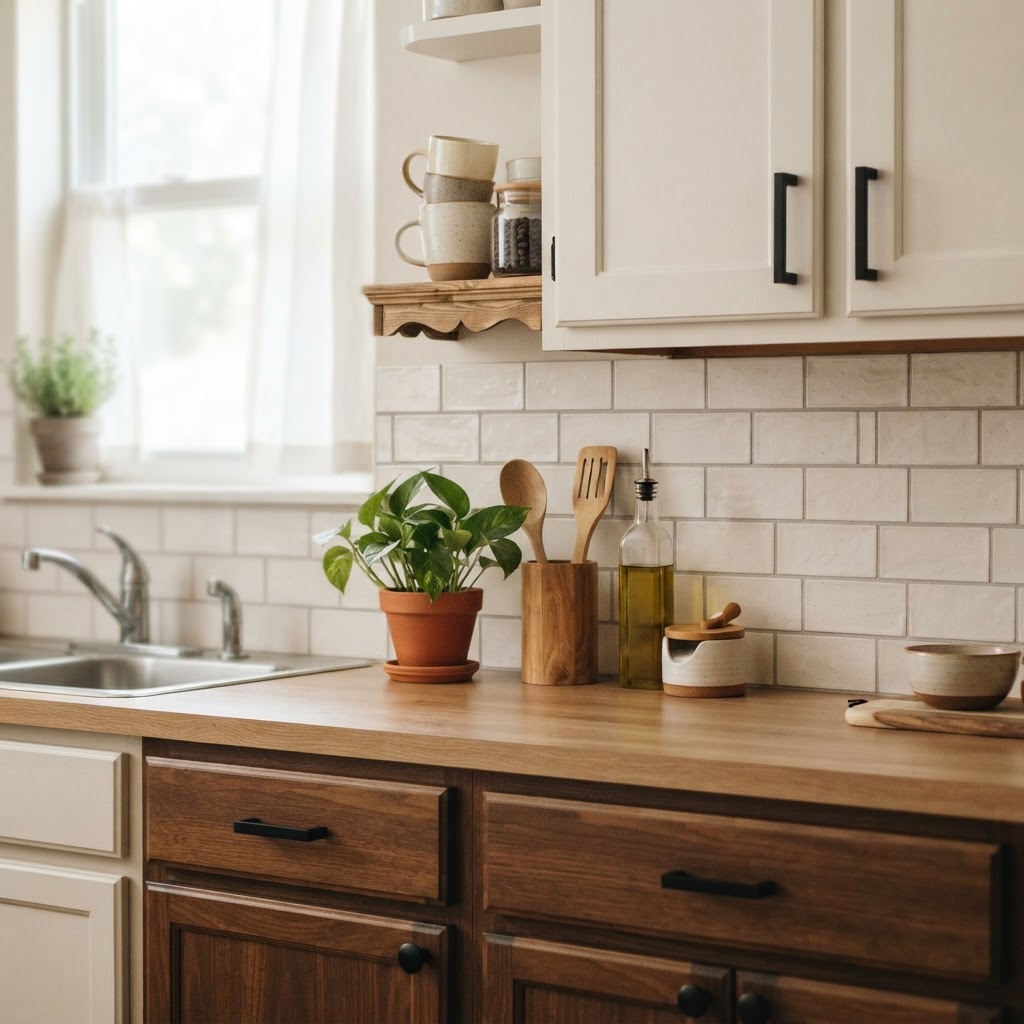
Kitchen and bathroom hardware in rentals is usually basic, but you can swap these for high-quality alternatives in minutes using only a screwdriver. Replacing standard chrome pulls with brushed gold, matte black, or oil-rubbed bronze hardware provides an immediate visual upgrade that makes cabinets appear custom-built. Always store the original pieces in a Ziploc bag taped inside the vanity to ensure your full security deposit return.
Consider upgrading to a pull-down kitchen faucet or a high-arc bathroom faucet. Modern models are often available for under $100 and can be installed without professional plumbing help in many cases, provided you keep the original unit. These tactile, high-touch points are what guests notice first when entering your kitchen or bathroom, and they contribute significantly to the perceived “quality” of the entire unit.
Curating Your Furniture Layout
Furniture arrangement determines the flow of a room; in small spaces, floating your furniture away from the walls is the hallmark of sophisticated, intentional design. Most renters push furniture against the perimeter, which creates an empty “dead zone” in the center that feels like a waiting room. Pulling the sofa forward, even just 6 inches, adds airiness and allows for better traffic flow.
Anchor your living area with a large, appropriately sized area rug; a common mistake is using a rug that is too small, which visually shrinks the room. Aim for at least an 8×10 rug in a standard living space so the front legs of all furniture pieces can sit on it. When choosing furniture, prioritize pieces with exposed legs. By allowing the floor to be seen beneath the furniture, you reduce the “visual weight” of the items, making the floor area appear larger than it actually is.
Utilizing Vertical Space and Mirrors
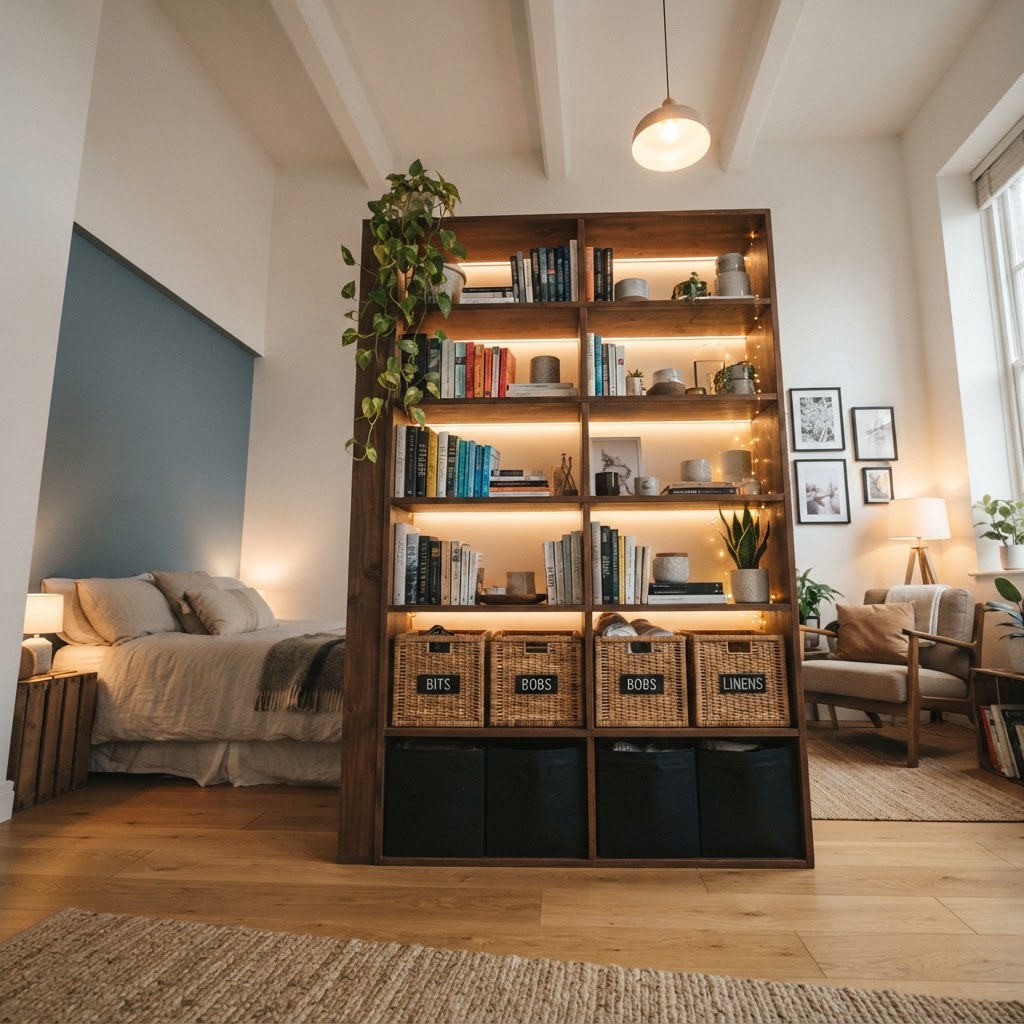
When square footage is limited, look up and utilize your vertical surfaces to draw the eye away from the narrow floor footprint. Floating shelves offer a clean way to display curated decor without sacrificing square footage, but be sure to keep them organized—over-cluttering leads to a messy aesthetic rather than a luxurious one. Aim to leave 20% of shelf space empty for a “breathable” look.
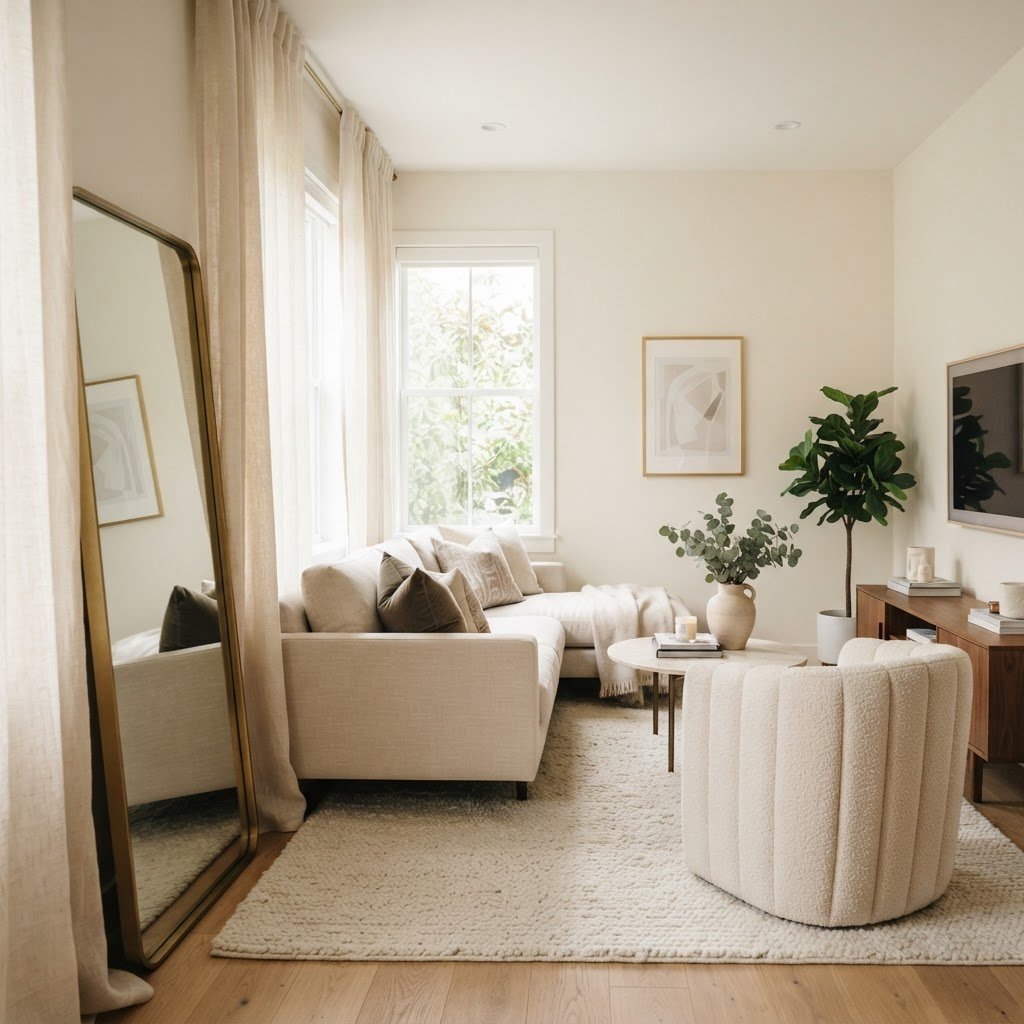
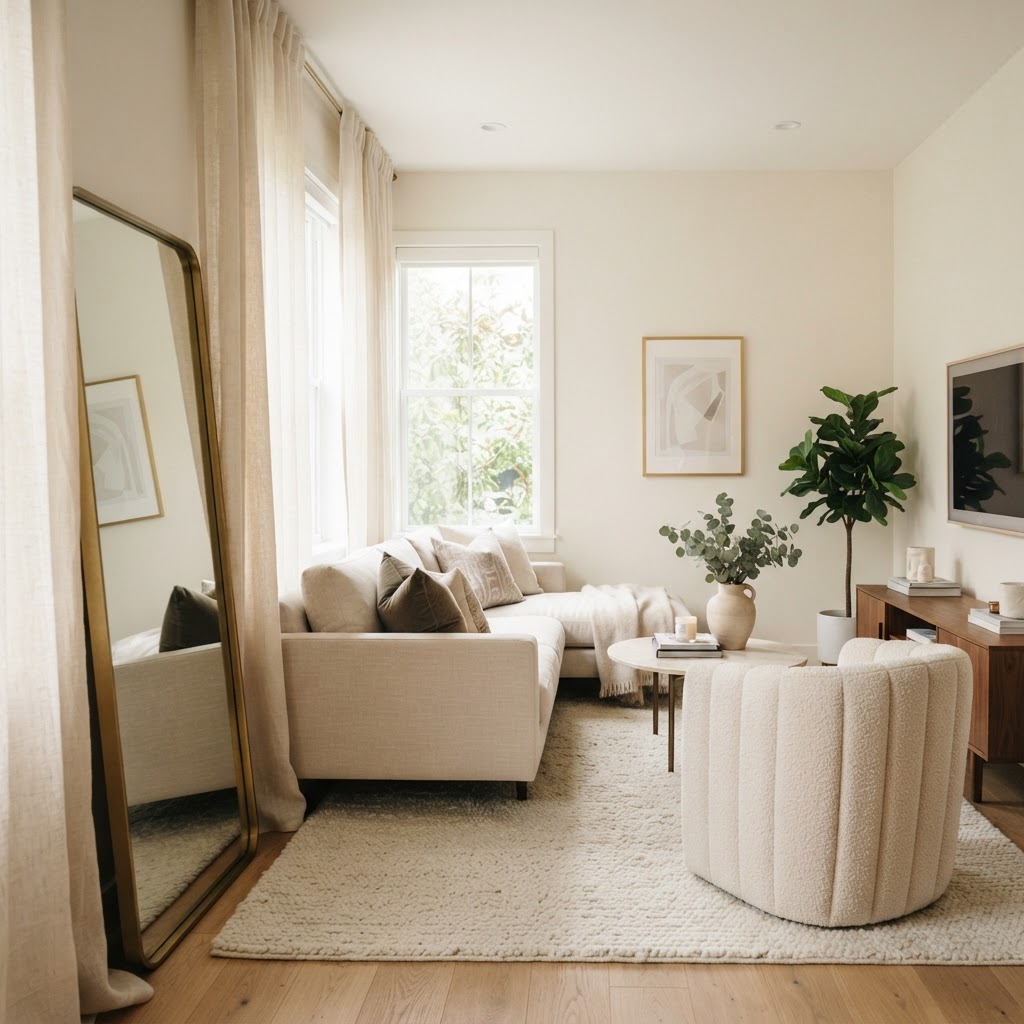
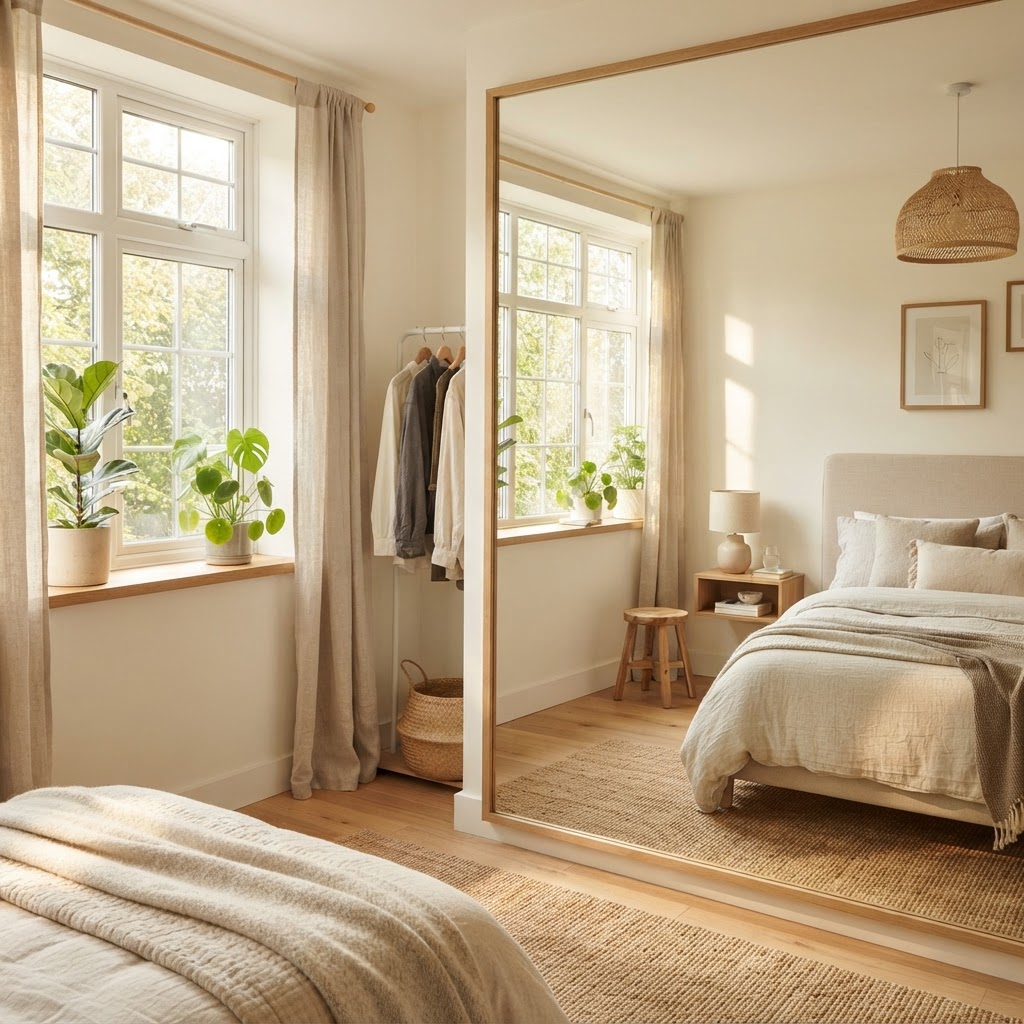
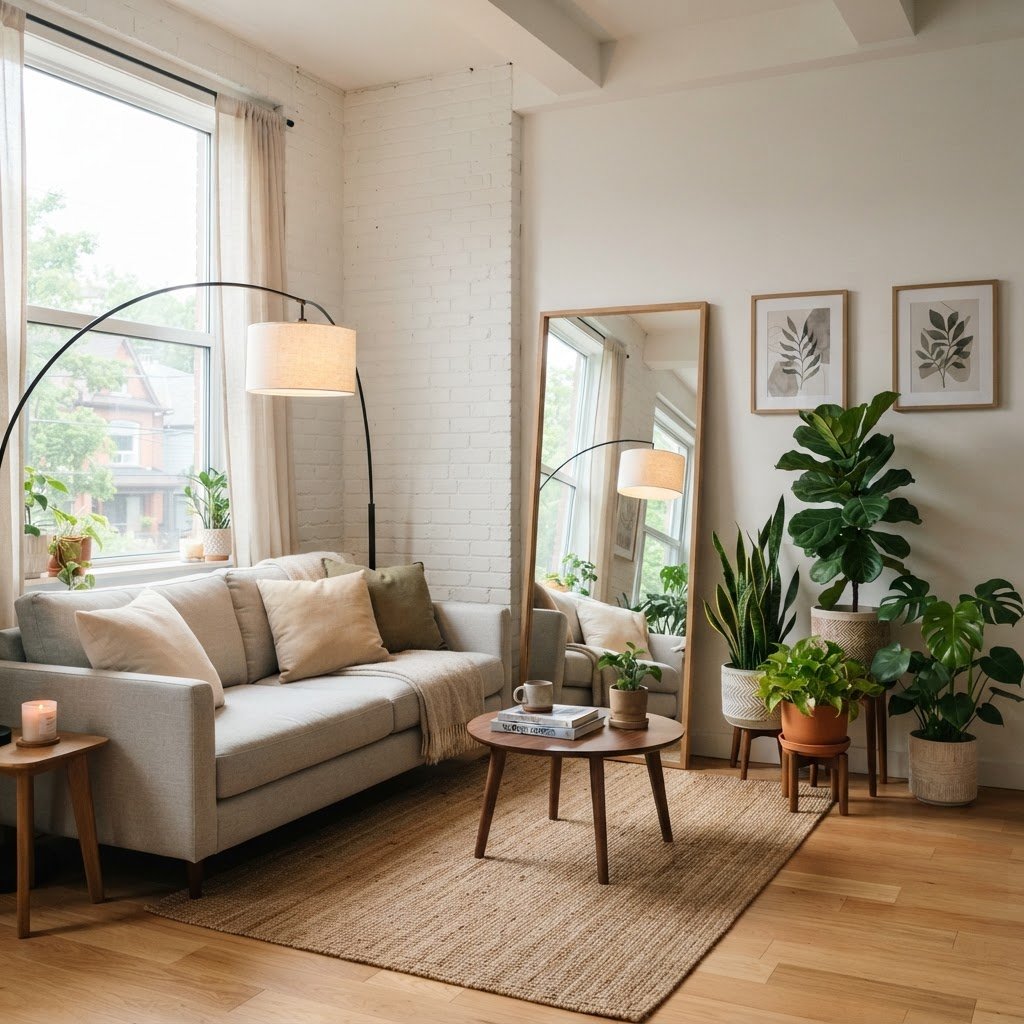
Mirrors are the oldest trick in the book for expanding space, but the secret is in the placement. Hang a large-scale mirror opposite a window to capture and bounce natural light throughout the room, effectively doubling the brightness. For a high-end look, avoid frameless mirrors and opt for oversized pieces with metallic or architectural frames that anchor the room as a true focal point.
Incorporating Textures and Art
Monochromatic rooms look expensive only when they utilize a variety of textures; without texture, a room feels flat and uninspired. Combine high-contrast materials such as a jute rug beneath a soft velvet sofa, or wool throw pillows paired with silk curtains. This layering creates depth and tactile interest that signals a professional, intentional design approach.
Art placement should follow the 57-inch rule: the center of your artwork should be roughly 57 inches from the floor, which is the standard eye-level for museum galleries. Avoid scattered, small pieces, which can make a wall look cluttered. Instead, commit to one large-scale oversized print or a cohesive gallery wall with uniform frames, which gives the space a sense of permanence and intentionality.
Adding Life and Greenery
Plants are a cost-effective way to add organic life to a sterile rental environment. Choose “architectural” plants like a fiddle leaf fig, snake plant, or bird of paradise, which grow vertically and serve as living sculptures. The container is just as important as the plant itself; replace basic plastic nursery pots with heavy ceramic, terracotta, or woven baskets to elevate the look from “temporary” to “designed.”
Plant Type
Care Level
Best Location
Snake Plant
Low
Low light corners
Fiddle Leaf Fig
High
Near bright windows
Pothos
Low
Hanging/Shelves
Affordable Renter Hacks Checklist
Replace generic hardware in the kitchen and bath with modern metals.
Hang floor-to-ceiling curtains 4-6 inches above the window frame.
Invest in an 8×10 or larger area rug to anchor furniture.
Swap overhead lighting for statement floor lamps.
Add floor-length mirrors to reflect natural light.
Style bookshelves with 20% negative space.
Use large-leafed plants in heavy ceramic pots.
FAQ
Can I make a rental look expensive without permanent renovations?
Yes, you can significantly elevate your rental’s aesthetic by focusing on non-permanent, “swappable” upgrades like changing cabinet pulls, adding floor-to-ceiling curtains, and incorporating strategic layered lighting. These items can be easily removed and packed up when you move out, ensuring you keep your full security deposit while upgrading the space.
How do I make a small room feel larger?
To make a small room feel larger, prioritize furniture that shows the floor, such as pieces with raised legs, and use a large area rug to define the space rather than several small ones. Additionally, hanging large mirrors and using light, neutral colors will help bounce light around, creating an airy, open feel.
What is the best way to handle rental lighting?
The best approach for rental lighting is to avoid the standard “big light” and instead layer your space with at least three smaller light sources, such as floor lamps, table lamps, and sconces. Using warm-toned bulbs (2700K-3000K) is critical for creating a luxurious, comfortable atmosphere instead of a clinical one.
Where should I hang my curtain rods?
Always hang your curtain rods as high as possible—ideally 4 to 6 inches above the window frame or directly touching the ceiling. This draws the eye upward and creates an illusion of higher ceilings, which is a classic interior design technique used to make rooms feel more grand and custom.
How many plants are too many for a small space?
In a small space, prioritize quality over quantity by selecting one or two large, sculptural plants rather than dozens of tiny ones. This prevents the room from feeling cluttered and allows the greenery to serve as a high-end focal point that enhances the room’s overall architecture.
6 Easy Renter Hacks That Instantly Make a Space Feel Warm
To make a rental apartment feel warm and inviting without losing your security deposit, prioritize layered lighting with warm-toned bulbs, add plush area rugs, and swap out builder-grade hardware. These six renter-friendly hacks transform sterile, temporary units into cozy, personalized homes by focusing on reversible, high-impact design improvements.
Utilize Layered Lighting for Instant Ambiance
One of the most common issues in rental properties is the harsh, overhead fluorescent lighting provided by landlords, which often measures in a sterile 4000K-5000K color temperature range. To combat this, you should prioritize layered lighting by incorporating floor lamps, table lamps, and wall sconces to create depth and eliminate the cold “shadow pockets” that often plague rental living rooms.
By choosing warm-toned LED bulbs—specifically those labeled as 2700K or 3000K—you shift the room’s ambiance from clinical to welcoming instantly. Scientific studies suggest that light temperature significantly impacts mood; while cooler, blue-toned light promotes alertness, warmer yellow-toned light stimulates melatonin production, which encourages relaxation and comfort after a long day. Aim for at least three light sources per room at varying heights to create a professional, interior-designed look. Lamps act as decor pieces that anchor a room’s aesthetic while providing functional, cozy light that makes a space feel larger and more intentional. Always keep the original ceiling fixtures in a labeled bin to ensure you can reinstall them before your final move-out inspection.
Why Warm Light Matters
Bulb Type
Color Temp
Ideal Use
Soft White
2700K
Bedrooms & Living Areas
Warm White
3000K
Kitchens & Workspaces
Daylight
5000K
Task Lighting Only
Incorporate Textiles to Soften Hard Surfaces
Rentals often feature “safe” flooring choices like light gray carpet or beige linoleum, which are durable but lack character and often feel cold against the skin. Adding rugs is one of the most effective renter hacks to change the vibe of a room immediately because they provide a visual anchor for your furniture and physically insulate the space from drafts.
Do not be afraid to layer rugs, even if your apartment is already carpeted. A plush, high-pile wool or synthetic shag rug adds significant texture and warmth underfoot, while also muffling noise in echo-prone units. For a sophisticated look, follow the rule of thirds: use a large, neutral-toned base rug (like jute or sisal) and layer a smaller, patterned rug on top to define your seating area. Combining different textures—such as jute, wool, or faux fur—creates a sophisticated, lived-in look that feels incredibly cozy. Consider investing in a high-quality rug pad; it adds a layer of cushioning that makes even inexpensive rugs feel luxurious and prevents slipping. This simple addition can transform a cold, echoing room into a soft, quiet sanctuary within minutes.
Use Removable Wallpaper for Statement Walls
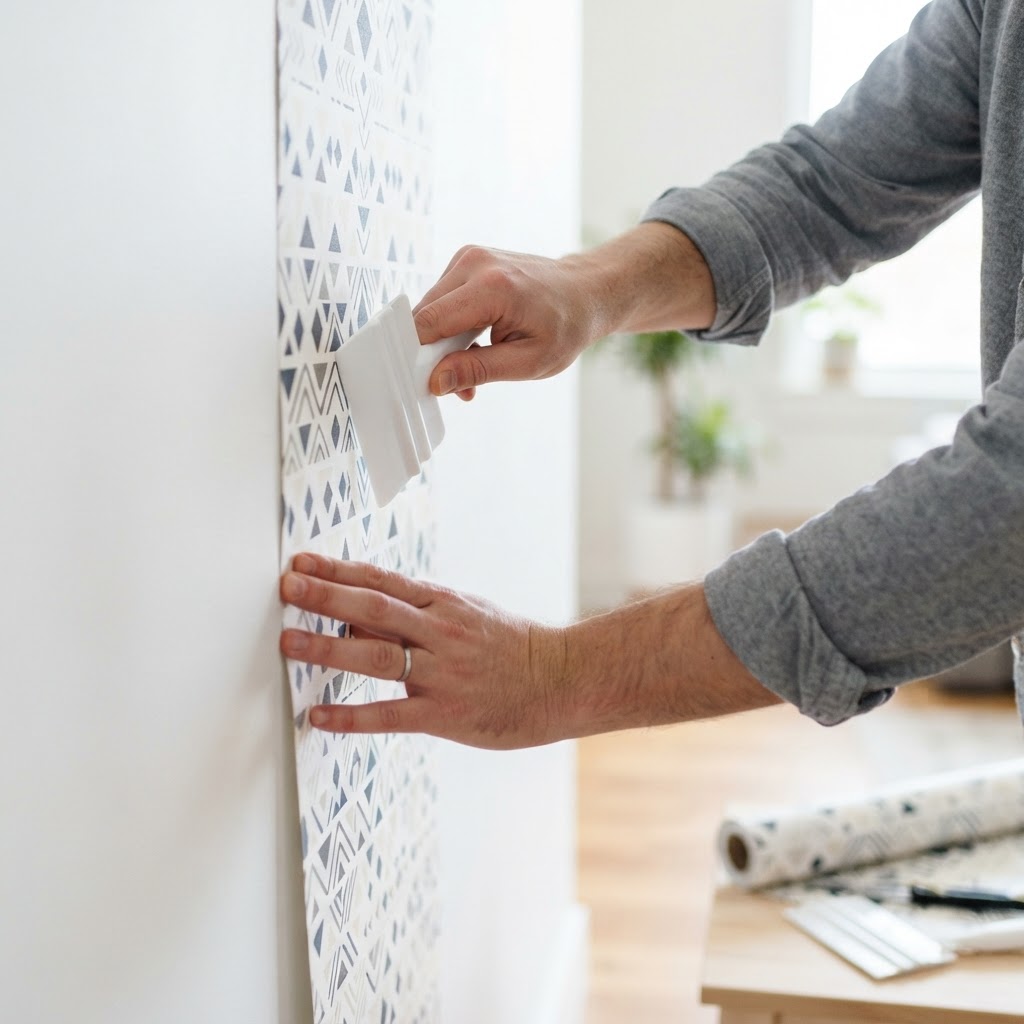
Wallpaper is no longer a permanent commitment, as modern peel-and-stick options have revolutionized renter-friendly design by allowing for damage-free expression. Whether you choose a bold botanical print or a subtle textured linen finish, removable wallpaper allows you to introduce personality without damaging the paint, provided you follow the manufacturer’s instructions for clean wall preparation.
When selecting wallpaper, consider the scale of your room to ensure the pattern doesn’t overwhelm the space. Smaller rooms generally benefit from light, airy prints with white space, while larger, high-ceilinged spaces can handle dramatic, moody patterns. Apply the wallpaper to just one “accent wall” to create a focal point that makes the room feel intentionally designed rather than temporary. Before applying, use a microfiber cloth to ensure the wall is free of dust and grease, which helps the adhesive grip properly. Most quality peel-and-stick papers are rated for 3-5 years of use, making them a perfect semi-permanent solution for a lease. When it is time to move, simply peel the paper away at a 45-degree angle to reveal the original, undamaged paint underneath.
Bring Nature Indoors with Lush Greenery
Plants are essential when you want to make a rental feel like home, as they add vibrant color, improve indoor air quality, and provide a sense of life to sterile, empty corners. If you are worried about maintenance, start with hardy, low-light tolerant varieties like Snake Plants (Sansevieria), ZZ plants (Zamioculcas zamiifolia), or Pothos, all of which thrive in typical apartment lighting conditions.
Use decorative pots and stands to elevate your plants and vary their visual heights throughout the room. Placing a large fiddle leaf fig or a Bird of Paradise in a corner can instantly fill a void that would otherwise require heavy furniture, while small succulents add charm to your windowsills. Natural greenery is the ultimate balancer for industrial rental aesthetics, softening straight lines and cold metallic finishes. To maximize the effect, group plants in odd numbers—groups of three or five often feel more natural to the eye than even numbers. Remember to use saucers or protective mats under your pots to prevent water damage to your landlord’s floors or windowsills, which protects your security deposit while you enjoy your living decor.
Personalize Your Walls with Damage-Free Art
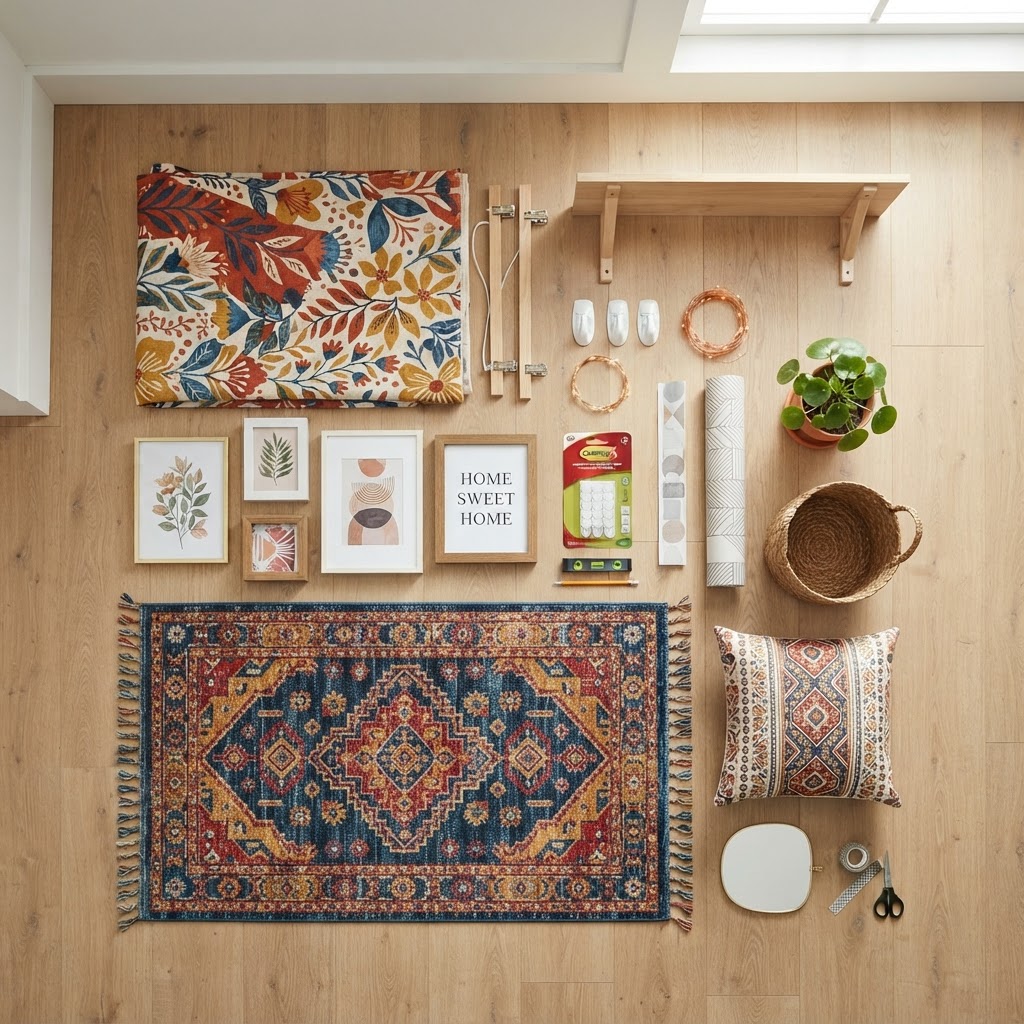
Blank walls are the primary reason a space feels cold, but you do not need nails to display your favorite art. Command hooks and high-quality adhesive strips are essential tools for renters, allowing you to swap out frames frequently without leaving holes or needing to spackle on move-out day.
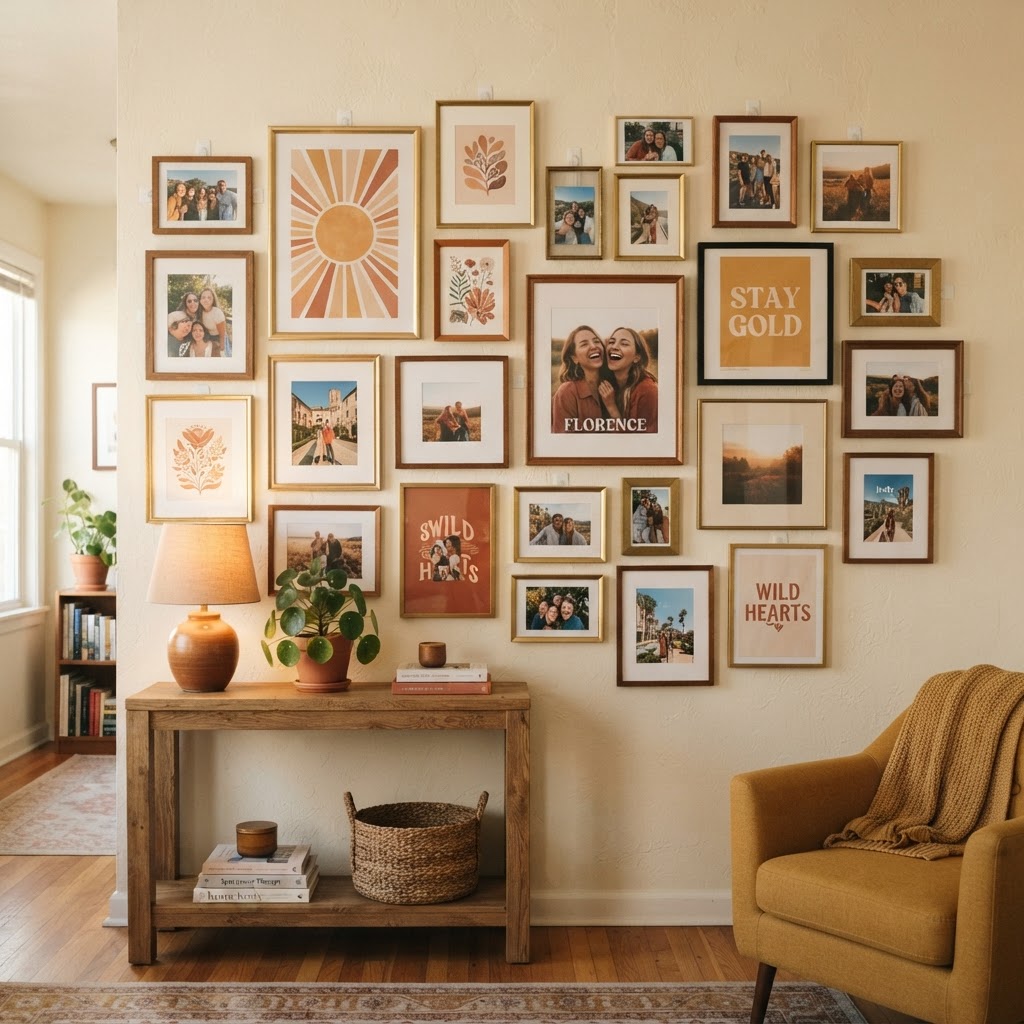
Create a gallery wall that features a mix of personal photographs, framed prints, and even textural items like woven wall hangings or wooden carvings. A well-executed gallery wall draws the eye upward, making the space feel finished, curated, and intentionally designed. To maintain a polished, warm look, keep your frames cohesive in color (such as all gold or all natural wood) or consistent in style, such as a black-and-white theme. Use a paper template on the floor to plan your layout before applying adhesive to the wall to ensure even spacing. If you are worried about heavy frames, look for lightweight acrylic glass replacements which offer the same aesthetic impact as traditional glass with a fraction of the weight, making them much safer for adhesive mounting systems.
Upgrade Your Hardware for a Custom Feel
Many kitchens and bathrooms in rental units feature standard, builder-grade cabinet pulls and faucets that feel dated and mass-produced. While you cannot typically replace the faucet without professional help, you can easily swap out the cabinet hardware, which is one of the most high-impact renter hacks for achieving a high-end, custom look on a budget.
Simply unscrew the existing knobs or pulls, keep them in a labeled baggie, and store them away until your lease ends. Choosing matte black, brushed brass, or oil-rubbed bronze hardware adds an immediate touch of luxury. It is a small detail that feels expensive and intentional, elevating the room’s overall aesthetic far beyond its original state. For most standard units, a simple screwdriver is the only tool you will need. Ensure you measure the hole-to-hole distance of your existing pulls (common sizes are 3-inch or 3.75-inch centers) before purchasing new hardware to ensure a perfect fit without having to drill new holes. This is one of the most overlooked but impactful ways to make a generic kitchen feel like a high-end designer space.
FAQ
How do I hang curtains in a rental without damaging walls?
Use tension rods inside the window frame to hang curtains without drilling. If you must use brackets, use heavy-duty adhesive hooks or consider “no-drill” curtain rod brackets that clamp onto the existing window molding for a secure, damage-free hold that mimics traditional hardware.
Will peel-and-stick wallpaper ruin my rental walls?
No, high-quality peel-and-stick wallpaper is designed to be removable without damaging standard latex paint. Always perform a patch test in an inconspicuous area, such as inside a closet, to ensure the wall surface is compatible and the adhesive does not lift the existing paint upon removal.
What is the best way to hide ugly rental floors?
Cover ugly flooring with large area rugs or interlocking foam tiles designed for home decor. These provide a temporary, cushioned surface that protects the existing floor while adding texture, warmth, and color to the room without requiring any permanent adhesives or installations.
Can I paint my apartment walls to make it warmer?
Most landlords allow painting if you get written permission first and agree to return the walls to the original color before moving out. Always keep a record of the paint brand, finish, and color code to ensure you can perfectly match the original hue later.
How to Arrange a Bed in a Small Room for Maximum Space
To arrange a bed in a small room for maximum space, center it on the most prominent wall to balance the layout, utilize under-bed storage containers for bulky items, and install wall-mounted lighting to free up surface area. Prioritizing these vertical and floor-level optimizations creates flow and minimizes the feeling of confinement.
The Psychology of Furniture Placement in Small Spaces
Understanding the psychology of furniture placement helps transform a cramped bedroom into an open, inviting sanctuary. The core principle is maintaining “flow,” which refers to the ease of movement and visual paths within a room. When you walk into your bedroom, your eyes should be able to travel around the space without hitting a ‘dead end’ created by a bulky headboard or an awkwardly placed footboard. Proper furniture arrangement is not just about fitting pieces into a grid; it is about creating a sense of psychological openness.
One common mistake is pushing the bed into a corner to save floor area, which often makes a room feel like a college dorm. To achieve a more grown-up, balanced look, pull the bed away from the walls by at least 6 to 12 inches. If you can maintain even a few inches of clearance on either side, it makes the room feel intentional and well-designed rather than haphazard. By leaving space to navigate, you reduce the visual weight of the bed and allow the eye to perceive more floor surface area, which is the key factor in how we psychologically measure the size of a room.
Center Stage: Floating the Bed
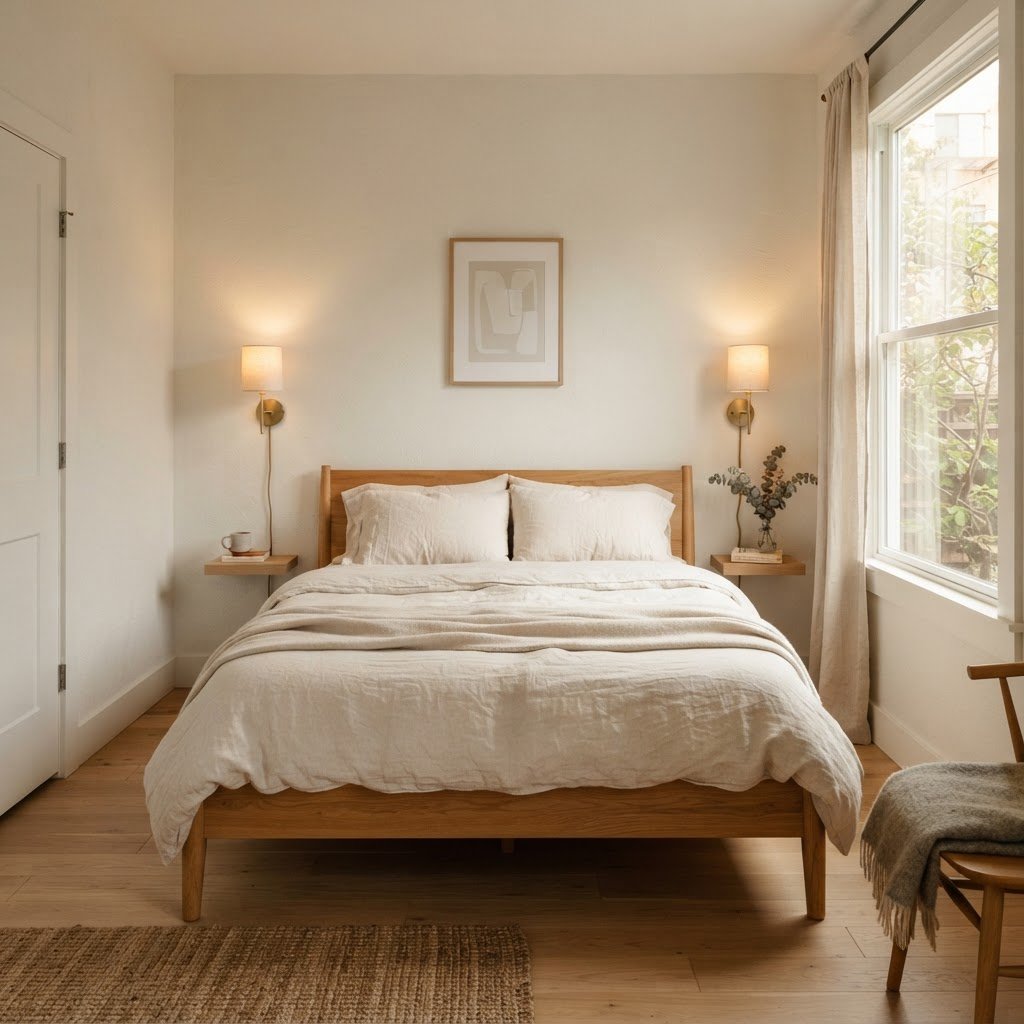
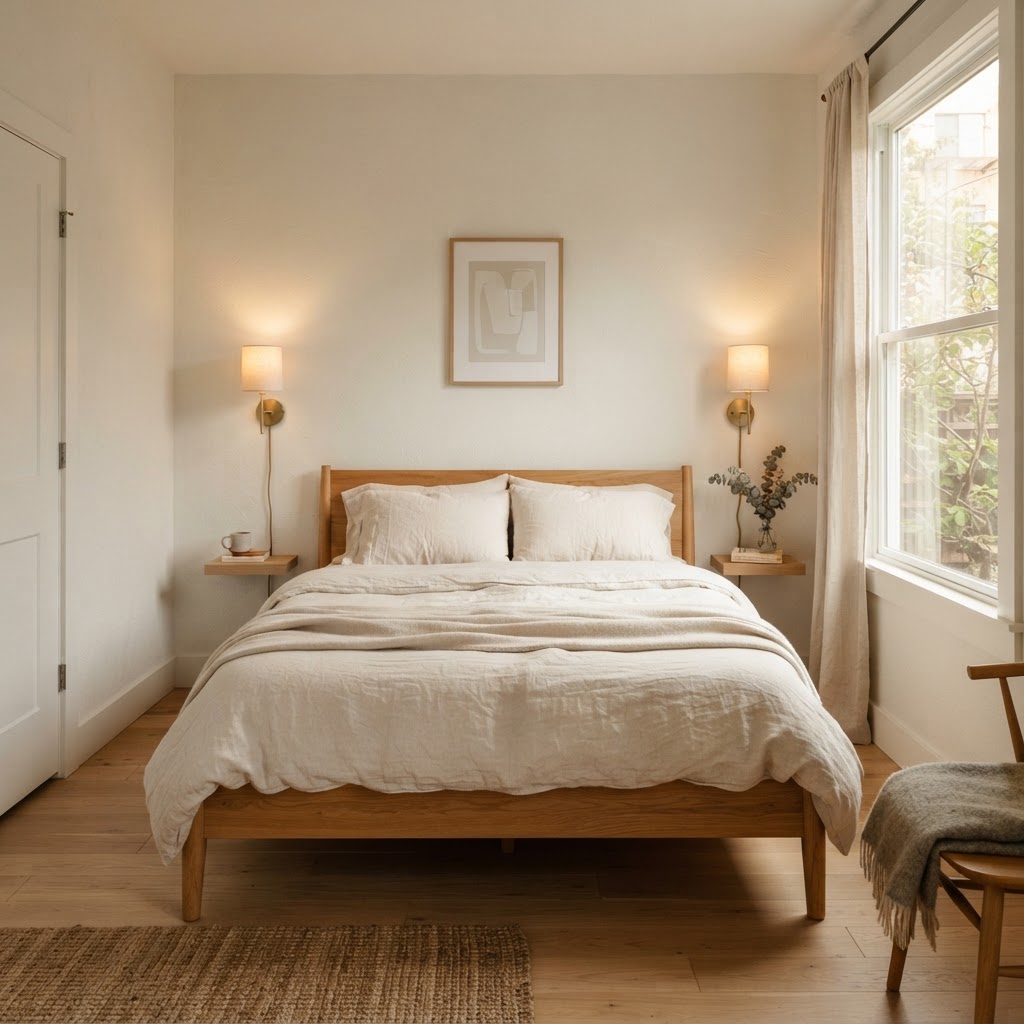
“Floating” the bed—placing it against a wall but centered—often provides the most symmetrical and aesthetically pleasing results in a small room. By centering the bed, you create two distinct, equal-sized areas on either side, which serve as perfect symmetrical points for lighting or small nightstands. This layout creates a natural focal point, drawing the eye toward the headboard and bedding while shifting focus away from the limited floor dimensions.
This technique is particularly effective if you have an off-center window. You can use floor-to-ceiling curtains spanning the width of the wall behind the bed to trick the eye into thinking the window is centered, creating a luxury hotel vibe. Below is a comparison of common bed placement strategies:
Placement Strategy
Pros
Cons
Corner Placement
Maximizes floor space
Creates an unbalanced, dorm-like aesthetic
Centered (Floating)
Improves flow and symmetry
Slightly limits bedroom floor area
Against Long Wall
Allows for better walking paths
May restrict other furniture placement
Utilizing the Space Underneath the Bed
If you want to know how to arrange a bed in a small room effectively, you must master the art of under-bed storage. In small bedrooms, the area underneath the bed is prime real estate that is often wasted. Instead of leaving this space empty or letting it become a graveyard for dust bunnies, use it as a hidden, functional closet.
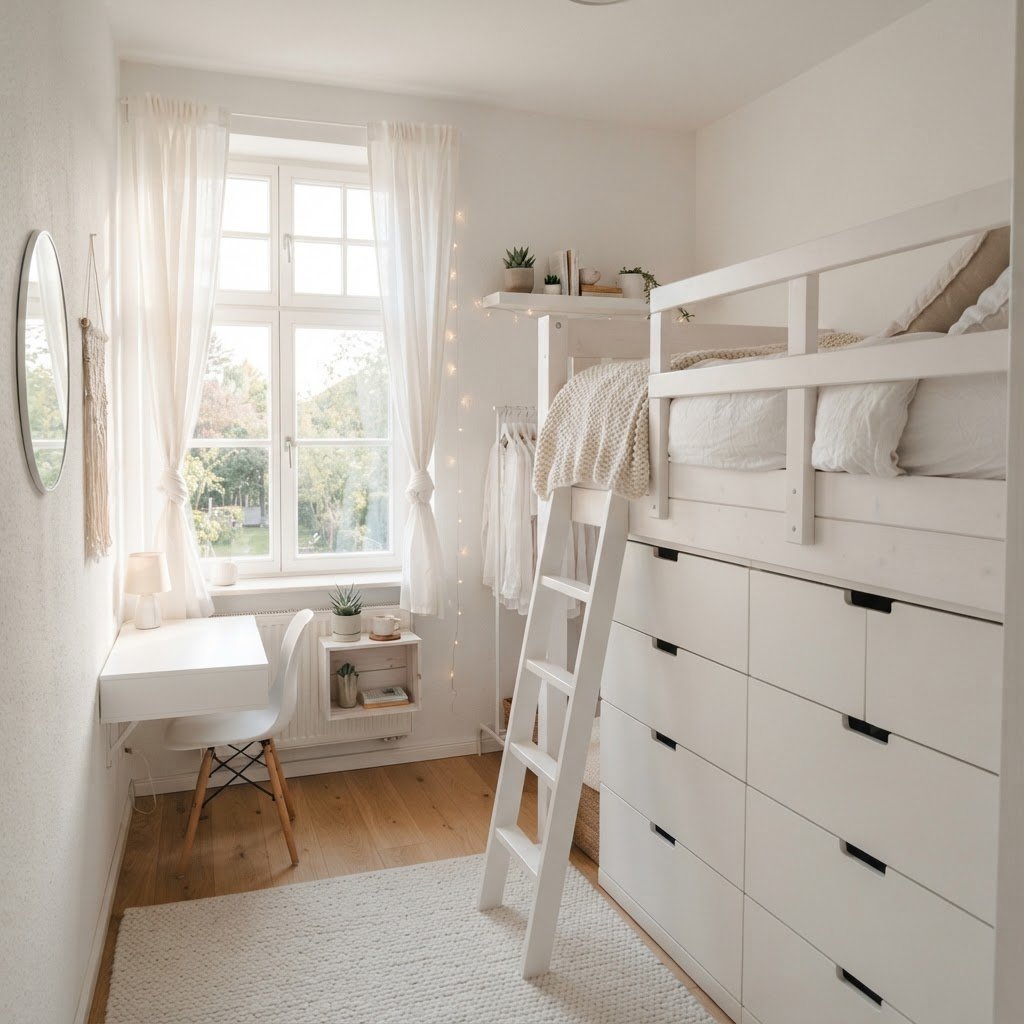
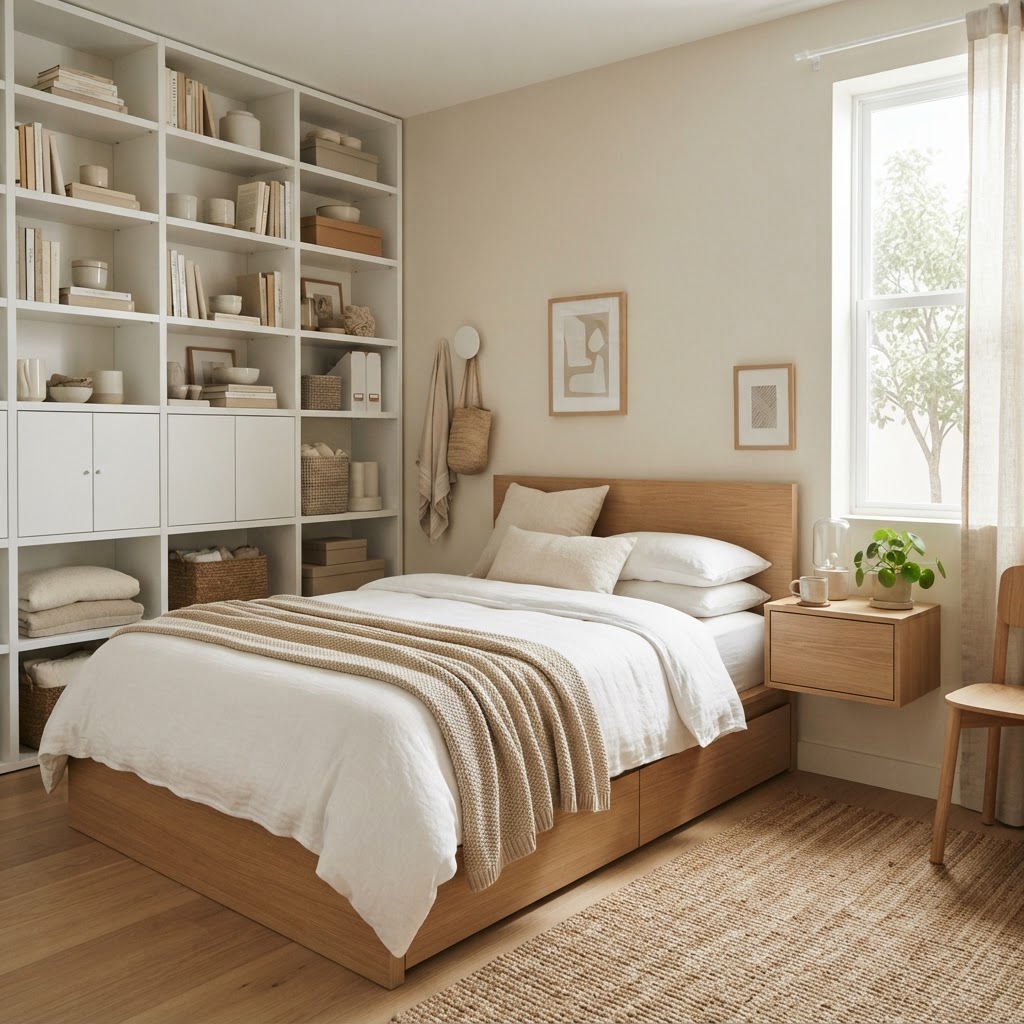
Look for bed frames with built-in drawers. These provide a clean, integrated look that keeps your belongings organized and out of sight. If your current frame doesn’t have built-in storage, invest in slim rolling bins that measure approximately 6 to 8 inches in height to slide easily under standard frames. Use this space for seasonal clothes, extra linens, or items you don’t need to access on a daily basis. By maximizing this hidden volume, you can potentially remove a bulky dresser from your room, opening up 4 to 6 square feet of floor space. This “hidden storage” method is the single most effective way to declutter a bedroom without sacrificing the items you need for your daily lifestyle.
Vertical Thinking and Wall-Mounted Solutions
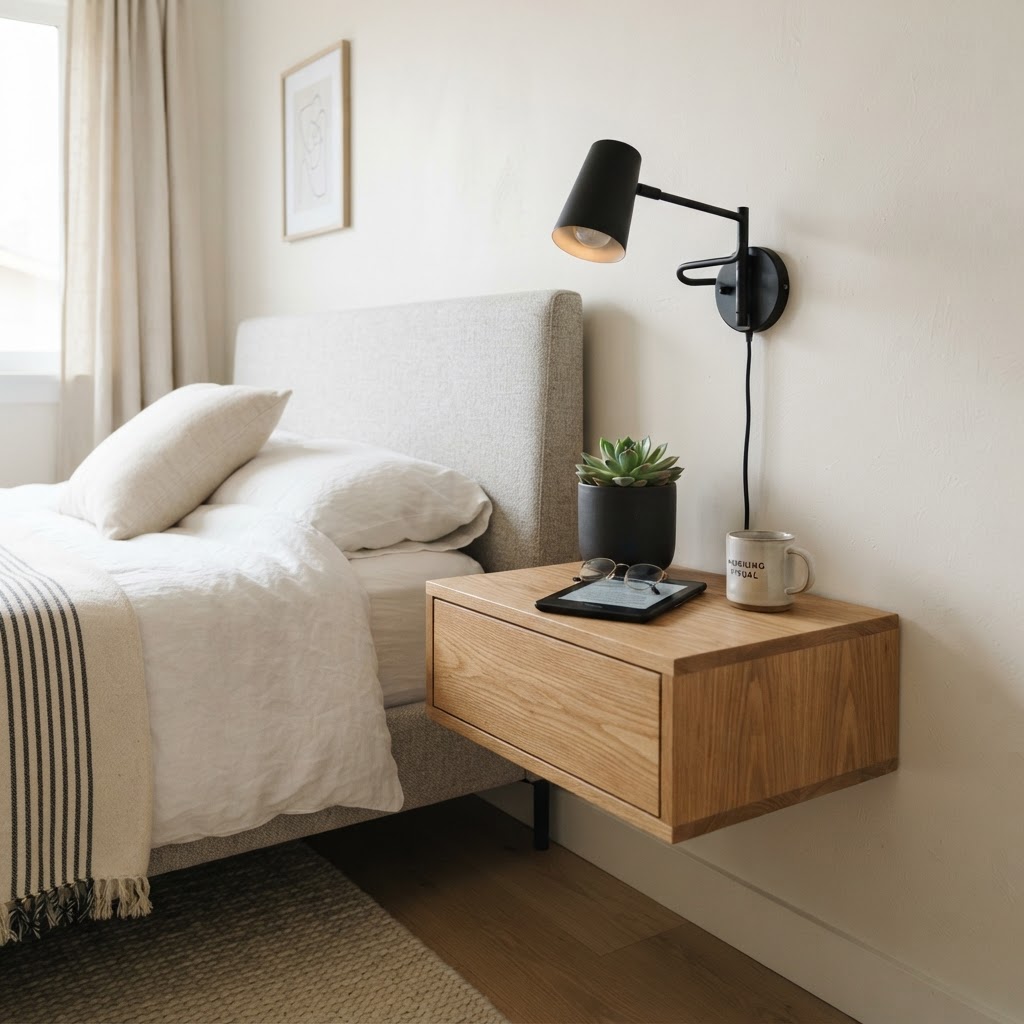
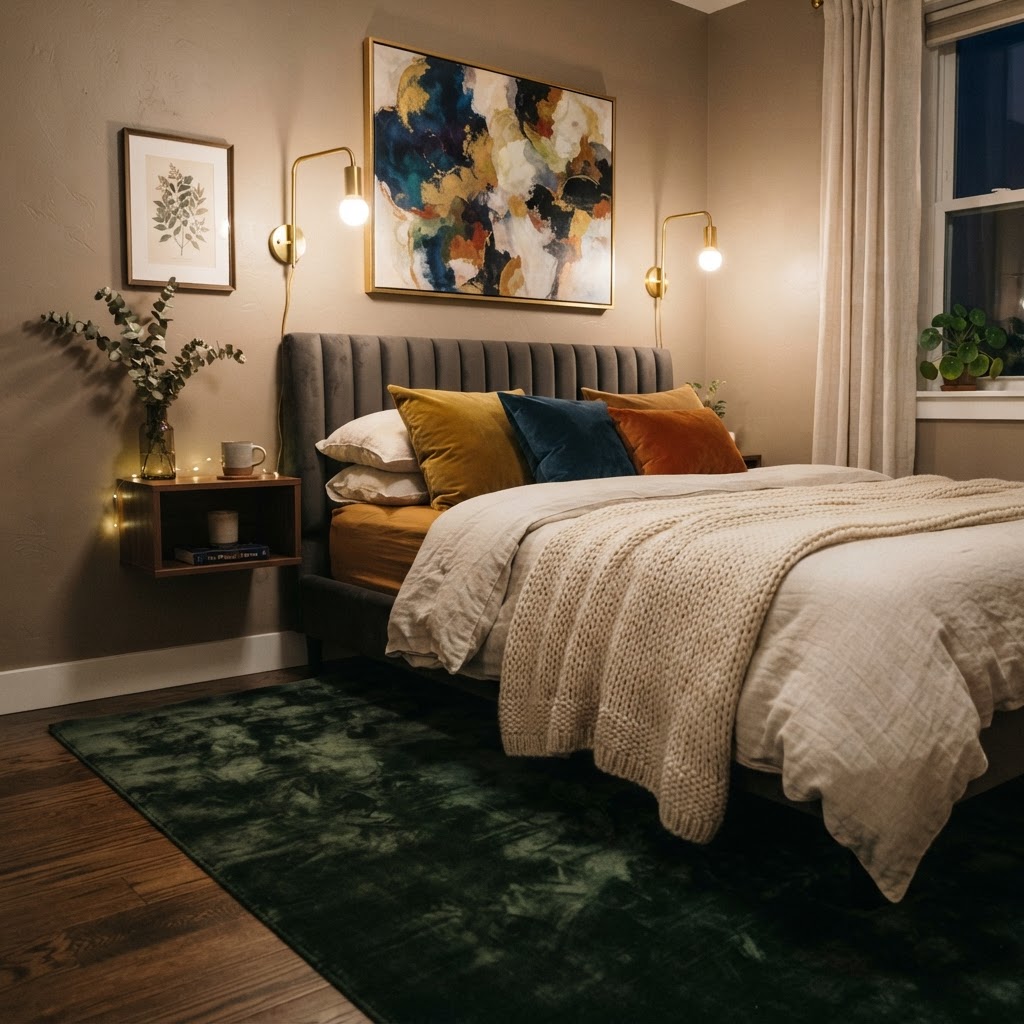
When floor space is at an absolute premium, look up because walls are your best friend for creating “visual breathing room.” By moving items off the floor and onto the walls, you trick the brain into perceiving a larger room dimension. Start with your lighting; instead of bulky table lamps that consume the entirety of your nightstand surface, install wall-mounted sconces on either side of the bed. This simple change is one of the most effective ways to maximize bedroom space without sacrificing the utility of your bedside lighting.
Floating Shelves vs. Traditional Nightstands
Another way to manipulate your layout is by replacing traditional nightstands with floating shelves. A floating shelf mounted at the same height as a standard nightstand provides necessary utility without the visual weight of legs or bulky cabinets. By keeping the floor beneath the table visible, the room feels more expansive. To choose between these options, consider that floating shelves provide a modern, minimalist look that is ideal for rooms under 100 square feet, whereas traditional nightstands are better if you require closed storage like drawers for personal items.
The Power of Mirrors and Reflective Surfaces
Mirrors are a classic interior designer trick, but they are particularly powerful in a small bedroom for bouncing natural light throughout the room. If you place a large mirror on the wall opposite a window, it creates the illusion of a second window, which can make even a dark, cave-like room feel bright and airy. The goal is to maximize the “bounce factor” of the light within your available square footage.
Consider adding a floor mirror in a corner, or hanging a decorative mirror above the headboard. When using mirrors, always ensure they are reflecting something beautiful, such as a light fixture, a piece of art, or a clear view of the outdoors. You should avoid placing a mirror where it reflects a cluttered closet or a pile of laundry, as this will simply double the visual mess. High-quality silver-backed mirrors are best for brightness, providing approximately 20-30% more reflectivity than lower-cost alternatives, effectively brightening corners that overhead lighting often misses.
Multifunctional Furniture for Tiny Bedrooms
When learning how to arrange a bed in a small room, you need to be ruthless about the furniture you choose. Every single item in your bedroom should ideally serve more than one purpose to optimize your limited square footage. If you have a small space, a chair should be more than just a place to sit; it could double as a storage bin or a fold-up desk.
Look for ottomans that open to reveal storage, or a bench at the foot of the bed that keeps extra blankets tucked away. If you have enough room for a desk, look for a wall-mounted drop-leaf desk that can be folded down when you are finished working. The key to successful small-room design is ensuring that your furniture is working as hard as you are. By swapping one single-purpose piece, such as a traditional ottoman, for a storage-enabled piece, you can reclaim up to 2 cubic feet of internal storage space.
Lighting and Color Palette Secrets
Sometimes, the best way to handle a small room is through visual trickery rather than physical reconfiguration. A light and cohesive color palette can make a tiny space feel endless. If you paint your walls, baseboards, and ceiling in the same light tone (such as off-white, light gray, or soft beige), you blur the lines where the wall ends and the ceiling begins. This removes the ‘box’ feeling that often plagues small bedrooms.
In addition to paint, lighting plays a crucial role in how we perceive volume. A single overhead light will create harsh shadows, making the corners look smaller and darker. Instead, use a layered lighting approach. Incorporate wall sconces, a small bedside lamp, and even a strip of warm-spectrum (2700K to 3000K) LED lighting behind the headboard to create a soft, ambient glow. This multi-source lighting makes the room feel cozy, intimate, and warm, rather than tiny and claustrophobic. By layering light, you essentially “push” the walls outward visually, making the room feel larger than it actually is.
FAQ
Q: What is the best position for a bed in a small bedroom?
A: The best position is centering the bed on the most prominent wall, ideally opposite the door. This creates a balanced focal point and improves room flow, making the space feel more intentional and larger.
Q: How much space should I leave between the bed and the wall?
A: Aim for at least 18 to 24 inches of clearance on either side of the bed if possible. If space is severely limited, even a gap of 6 to 12 inches helps the room feel less cramped and improves accessibility.
Q: Are floating shelves better than nightstands in small rooms?
A: Yes, floating shelves are generally better because they leave the floor space visible. This clear floor area tricks the brain into perceiving a larger room dimension while providing the necessary surface for a lamp or phone.
Q: Can a large bed fit in a small room?
A: You can fit a large bed if you prioritize storage-integrated frames and vertical wall space. By removing other bulky items like dressers and using wall-mounted lighting, you can keep the bed as the centerpiece without sacrificing functionality.
Q: What colors make a small bedroom look bigger?
A: Light, neutral colors such as white, cream, or light grey make a small bedroom look bigger. Painting your walls, baseboards, and ceiling the same color blurs the edges of the room, effectively eliminating the “box” feeling.
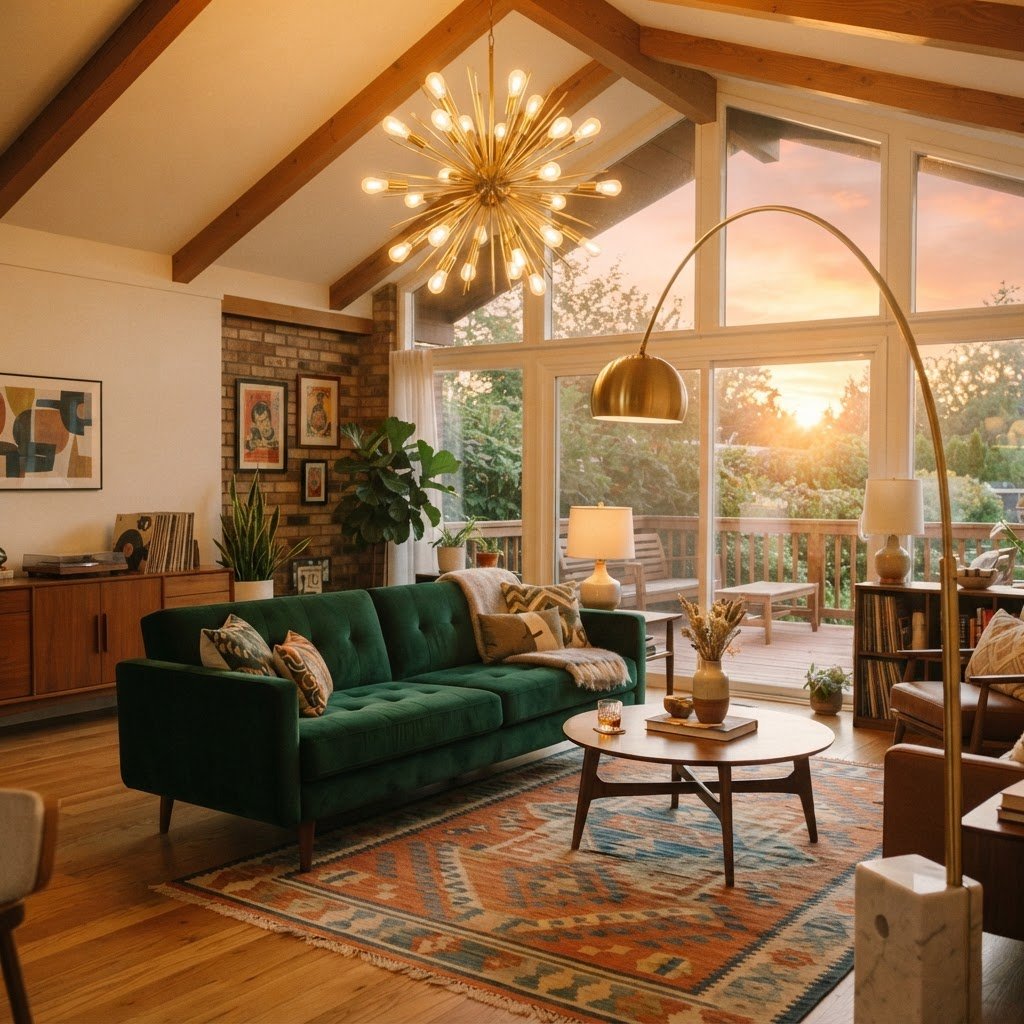
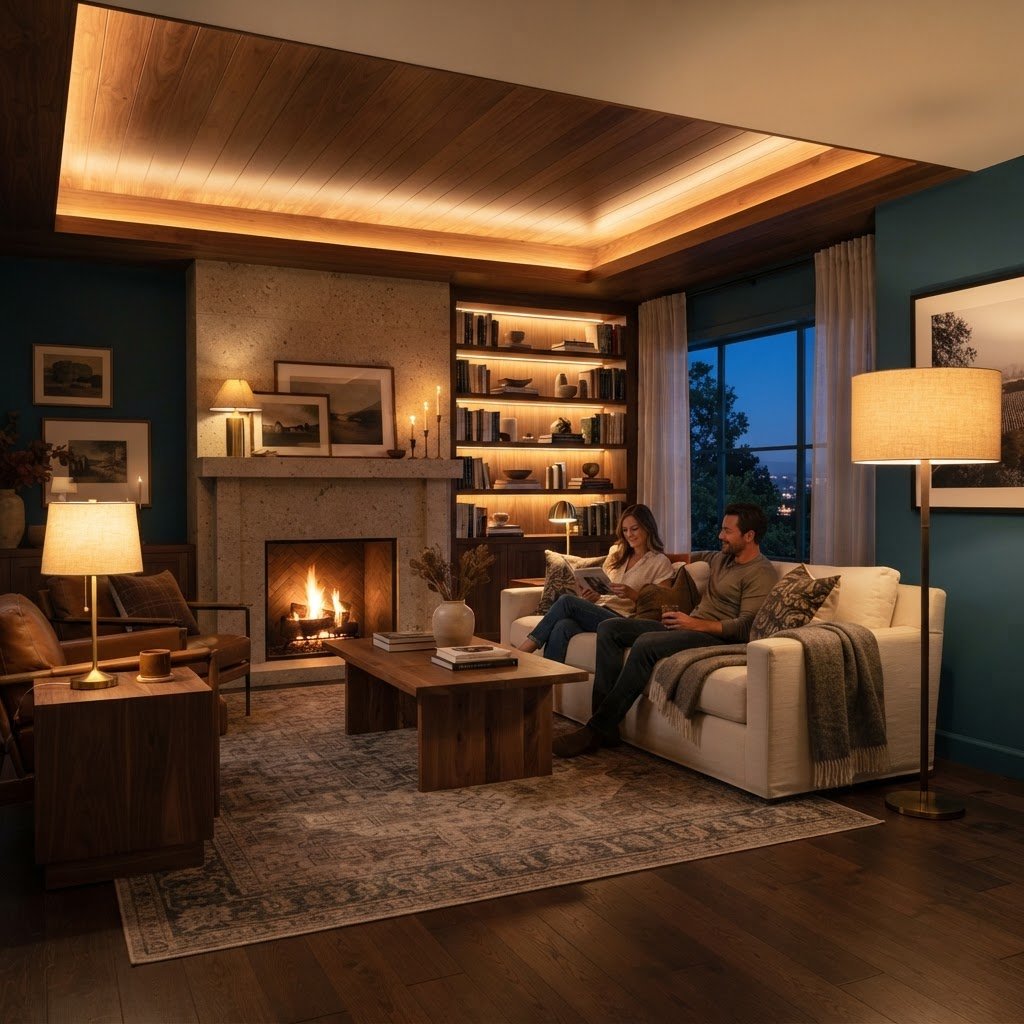
Creating the perfect atmosphere in your home often comes down to one crucial element: the light. When you are looking to embrace a classic, nostalgic aesthetic, incorporating Mid-Century Modern living room lighting ideas is the most effective way to infuse your space with a warm, retro glow. The mid-20th century was a golden age of industrial design, where function met art in ways that still influence modern interior trends today. By understanding the core principles of this era’s lighting—focusing on geometric shapes, organic curves, and brass or matte finishes—you can elevate your living room from ordinary to extraordinary.
The Essence of Mid-Century Modern Lighting
Mid-Century Modern (MCM) design is characterized by its clean lines, organic silhouettes, and a deep appreciation for high-quality materials. Lighting during this era was not just meant to illuminate a room; it was meant to act as a centerpiece. Designers like George Nelson and Isamu Noguchi pioneered styles that prioritized sculptural presence, which is why these pieces remain so desirable in modern homes today.
To achieve an authentic look, you must move away from generic flush mounts and embrace fixtures that tell a story. Whether you choose a classic Sputnik chandelier or a sleek arc floor lamp, each piece should contribute to the overall balance of your room. The goal is to avoid clutter while ensuring that the lighting layers effectively provide both task and ambient illumination.
Key Elements of MCM Lighting Design
When you are hunting for fixtures, keep a few specific design elements in mind. Most authentic MCM pieces feature metallic finishes, particularly polished brass, antique bronze, or matte black. You will also notice a heavy reliance on glass shades, which help soften the light, creating that signature retro glow that makes a room feel instantly cozy.
Geometric shapes, such as spheres, cones, and starbursts, are staples of the style. These shapes were a reaction against the overly ornate designs of the past, representing the optimism and futurism of the post-war era. Choosing a fixture that utilizes these shapes will provide a structural anchor for your living room’s design scheme.
Choosing the Right Statement Fixture
Every great Mid-Century Modern living room needs a ‘wow’ factor. This is where your overhead lighting comes in. A large, dramatic chandelier can set the tone for the entire floor plan. If your living room is spacious, a multi-arm Sputnik chandelier is perhaps the most iconic choice you could make.
When selecting a statement piece, consider the ceiling height and the scale of your furniture. If you have low ceilings, you might want to opt for a semi-flush mount fixture with retro styling rather than a hanging pendant, which could disrupt the visual flow of the room. Always balance the boldness of the chandelier with more understated pieces in the rest of the space.
Where to Place Your Statement Piece
The center of the room is the classic location for an overhead fixture, but it is not your only option. Consider placing a striking light above a coffee table or a designated seating area to draw the eye toward the center of your conversation zone. This placement emphasizes the ‘living’ aspect of the living room, making the light feel purposeful rather than incidental.
Integrating Floor Lamps for Ambient Depth
Floor lamps are the unsung heroes of Mid-Century Modern living room lighting ideas. They provide the necessary height variation in a room and allow for flexible lighting arrangements. An arc floor lamp, with its sweeping arm and heavy base, is the quintessential MCM accessory, offering a soft, directed light that is perfect for reading corners.
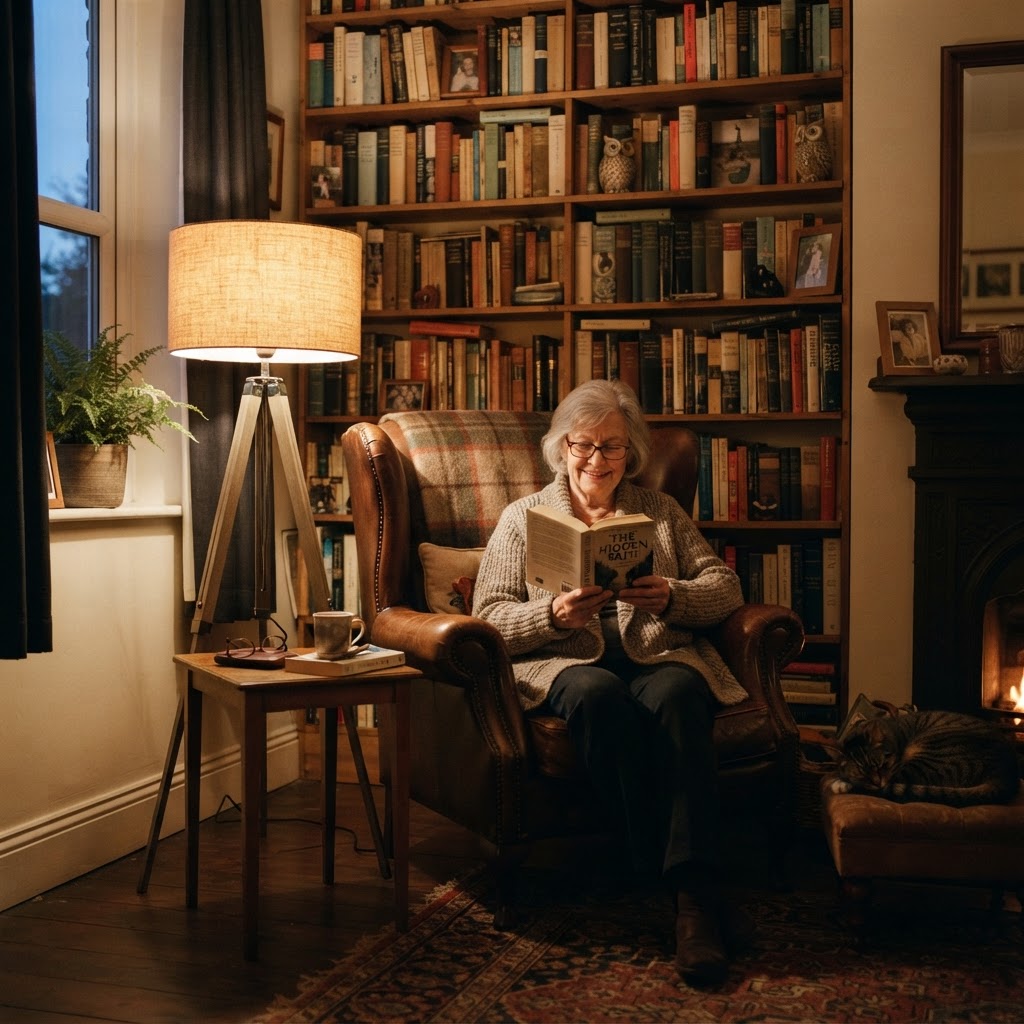
Tripod floor lamps are another excellent choice for this aesthetic. These pieces often feature wooden legs paired with fabric shades, bringing a touch of organic texture into the room. By strategically placing floor lamps in the corners or behind a sofa, you can create a layered lighting effect that eliminates harsh shadows and creates a welcoming environment.
Table Lamps as Functional Art
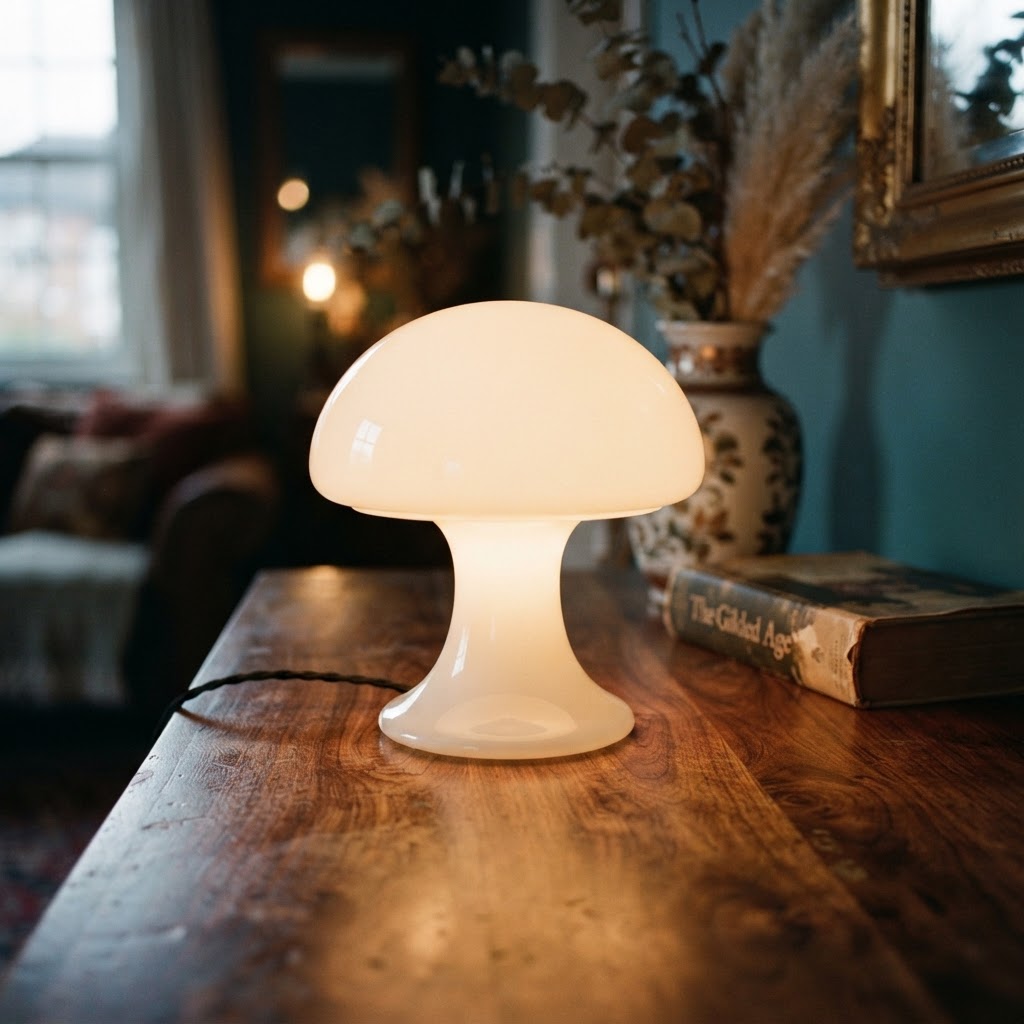
Table lamps are the perfect way to add character to your bookshelves, end tables, and consoles. In the mid-century era, these items were often treated as pieces of sculpture. Look for lamps with unique silhouettes, such as mushroom-shaped glass lamps or ones with colorful ceramic bases.
When selecting table lamps, think about the interaction between the light and the surface it rests on. A warm-toned shade can enhance the richness of walnut wood furniture, which is a common material in MCM homes. By using several smaller light sources at different heights, you create a soft, inviting ‘glow’ that makes the room feel lived-in and comfortable.
Tips for Selecting Retro Table Lamps
Look for ‘mushroom’ style lamps in opal glass to diffuse light evenly.
Seek out brass-accented bases for a classic, sophisticated touch.
Prioritize warm-spectrum LED bulbs to mimic the incandescent bulbs of the 1950s.
Don’t be afraid of color; muted yellows, teals, and burnt oranges fit the period perfectly.
Mastering Light Layering
The secret to achieving a professional-looking space lies in the concept of layering. You should never rely on a single light source. Instead, combine overhead lighting, floor lamps, and table lamps to create a versatile environment that can transition from morning coffee to evening entertaining.
Start with ambient lighting to fill the room, then add task lighting for reading or hobby areas, and finish with accent lighting to highlight artwork or architectural features. By dimming your overhead lights and keeping your table lamps on, you can achieve that sought-after retro glow that feels intimate and relaxed. Dimmers are your best friend here; they provide control over the mood and allow you to tweak the lighting intensity to suit the time of day.
The Role of Color Temperature and Bulbs
Lighting is not just about the fixture; it is also about the quality of the light itself. To capture the authentic feeling of the mid-century era, stick to warm white light. Avoid cool, blue-toned bulbs at all costs, as they will wash out the warm wood tones and vibrant textiles that define your decor.
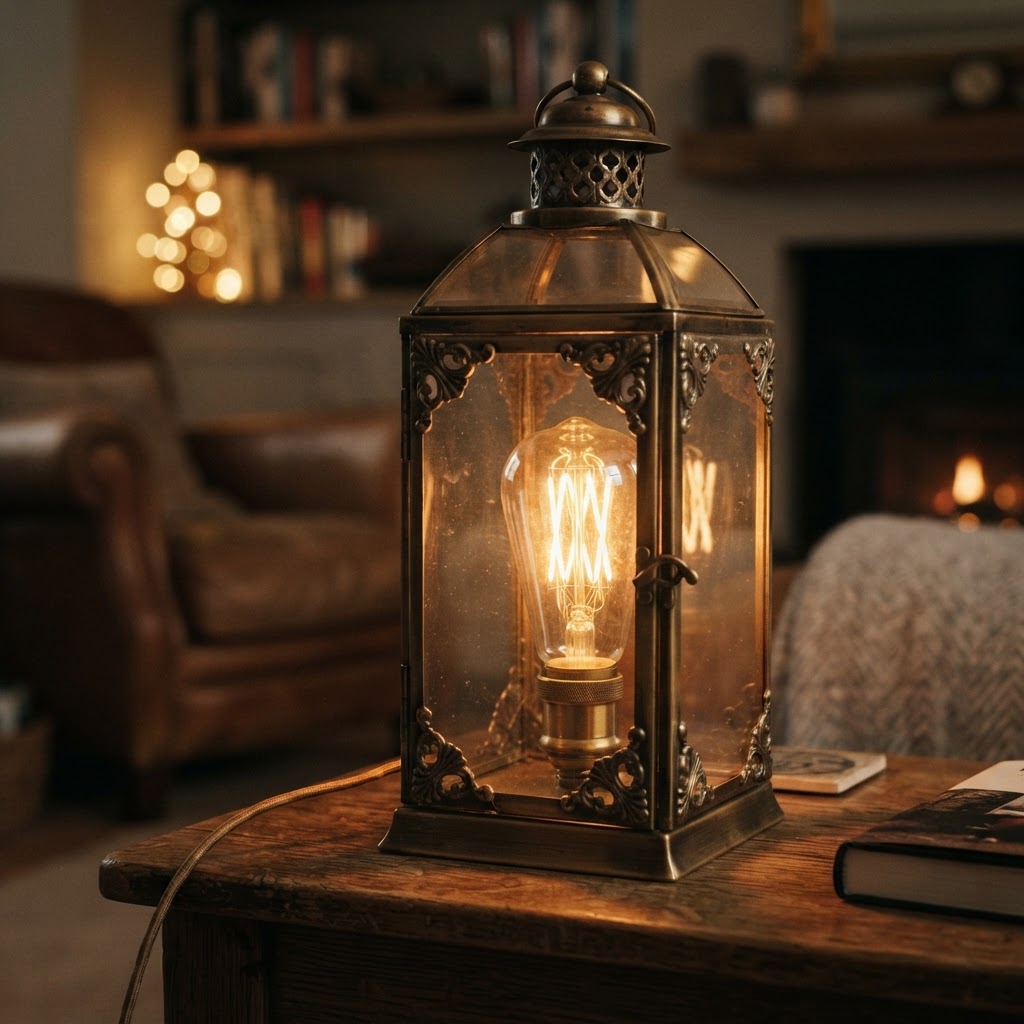
Look for bulbs with a color temperature between 2700K and 3000K. These provide a soft, golden hue that brings out the best in brass, wood, and leather materials. Additionally, consider using Edison-style LED bulbs if your fixtures have exposed filaments, as they add an extra layer of vintage authenticity to the overall look.
Creating Visual Interest with Wall Sconces
If you have limited floor space, wall sconces are a brilliant solution. MCM design frequently utilized adjustable or swing-arm sconces, which provided direct light for reading or ambiance without taking up valuable surface space. These fixtures look particularly striking when mounted on either side of a piece of artwork or a fireplace mantle.
Sconces can also be used to draw attention to specific textures in the room, such as exposed brick walls or wooden wall paneling. By choosing a style that matches your other metallic accents, you can ensure a cohesive look that feels intentional and well-designed.
Conclusion
Mid-Century Modern living room lighting ideas are all about balancing form and function. By selecting iconic silhouettes, embracing warm materials, and carefully layering your light sources, you can create a space that feels both nostalgic and refreshingly modern. Whether you choose a dramatic Sputnik chandelier or a modest glass table lamp, remember that your choices should always prioritize the warmth and comfort of your home.
Are you ready to transform your space? Start by assessing your current layout and identifying one area that could benefit from a new light source. Whether it is a dark corner waiting for an arc lamp or an entryway missing its star fixture, bringing a touch of retro glow into your home is a rewarding design project that pays off every time you flip the switch. Start your search for your perfect MCM piece today and watch your living room shine.
28 Entryway Looks That Make the Most of a Little Space
To maximize a small entryway, use vertical wall storage like floating shelves, multi-functional furniture such as storage benches, and strategic lighting to create the illusion of space. These 28 design-focused strategies transform cramped transition zones into functional, stylish foyers that maintain organization while leaving a lasting first impression.
The Power of Vertical Storage
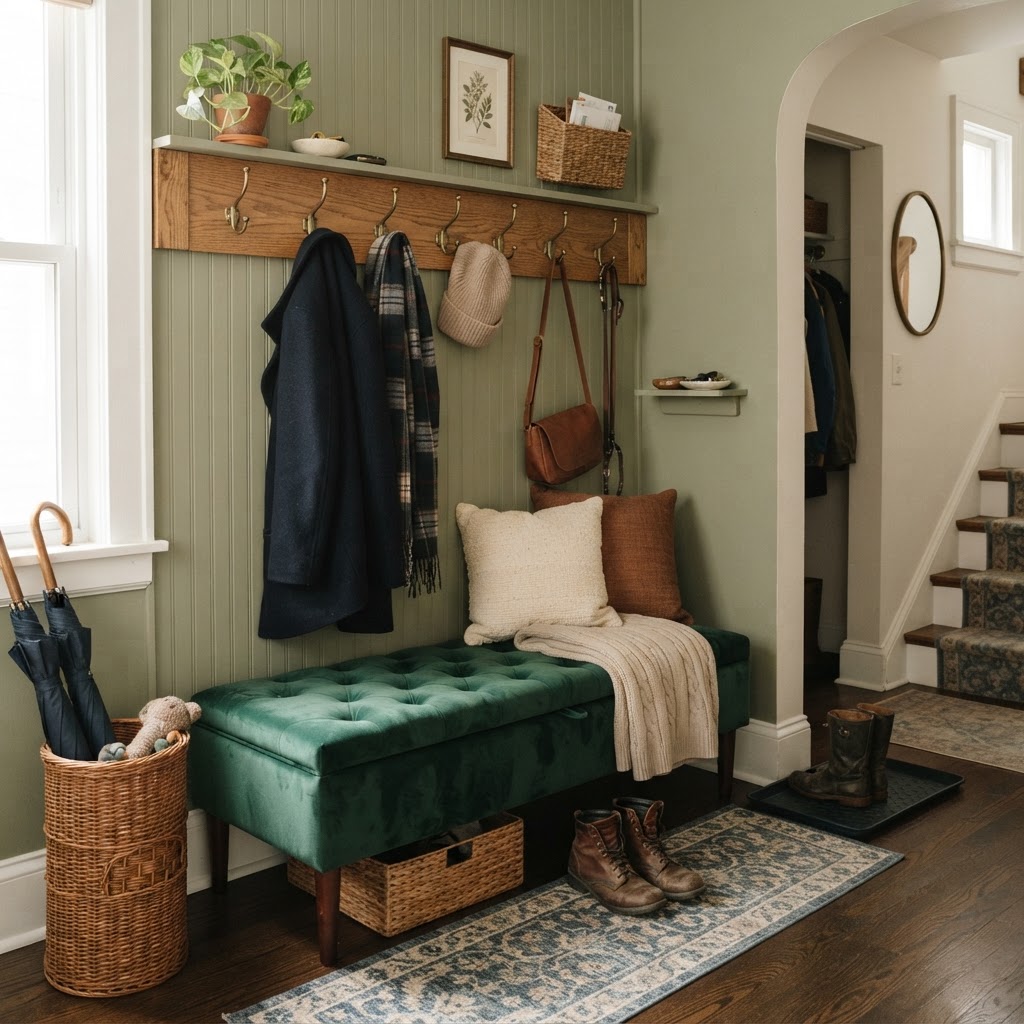
When floor space is at a premium, the only way to gain square footage is to move upward. Utilizing wall space is the most effective method for keeping clutter off the ground and creating a clear walkway. By installing wall-mounted coat racks, floating shelves, or tall, narrow bookcases, you create the optical illusion of height while providing essential storage for keys, mail, and outerwear. This approach allows you to maintain floor clearance, which is critical in entryways measuring less than 15 square feet.
Installing Floating Shelves
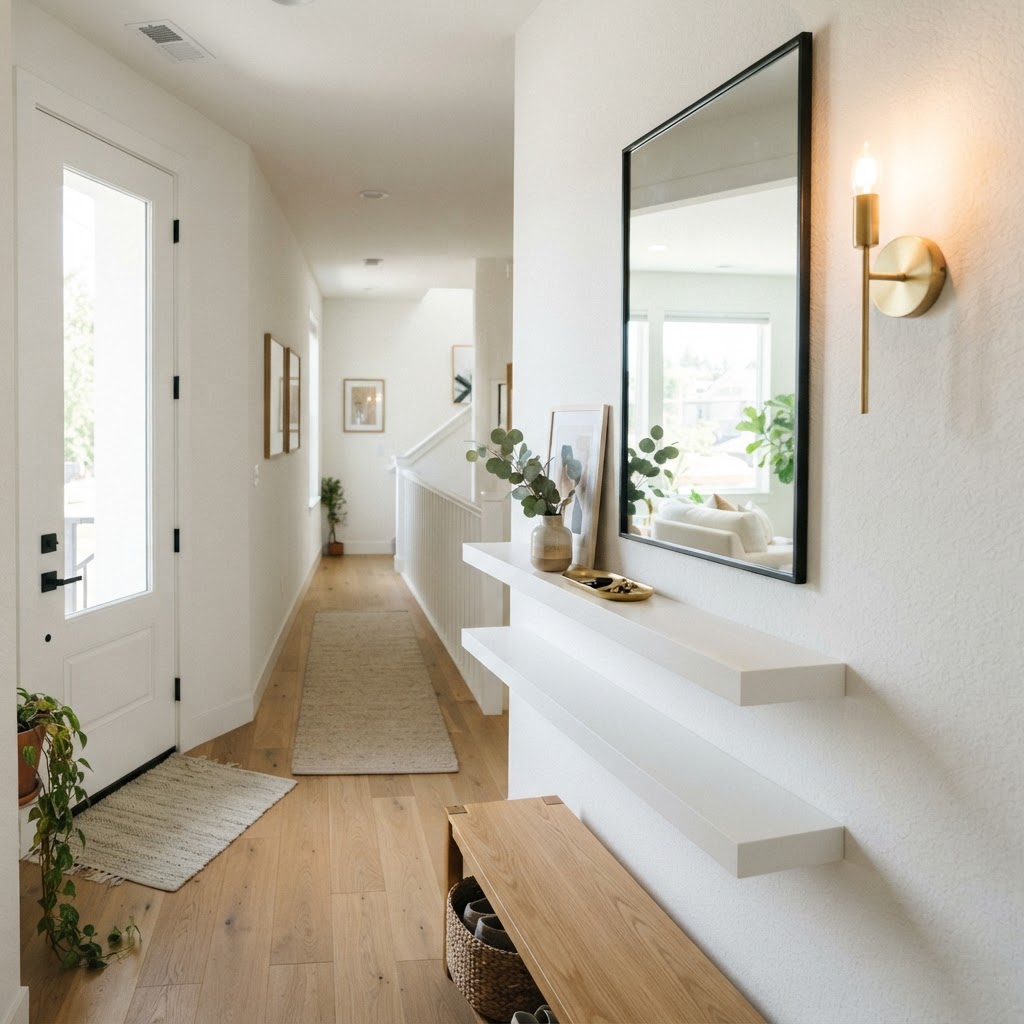
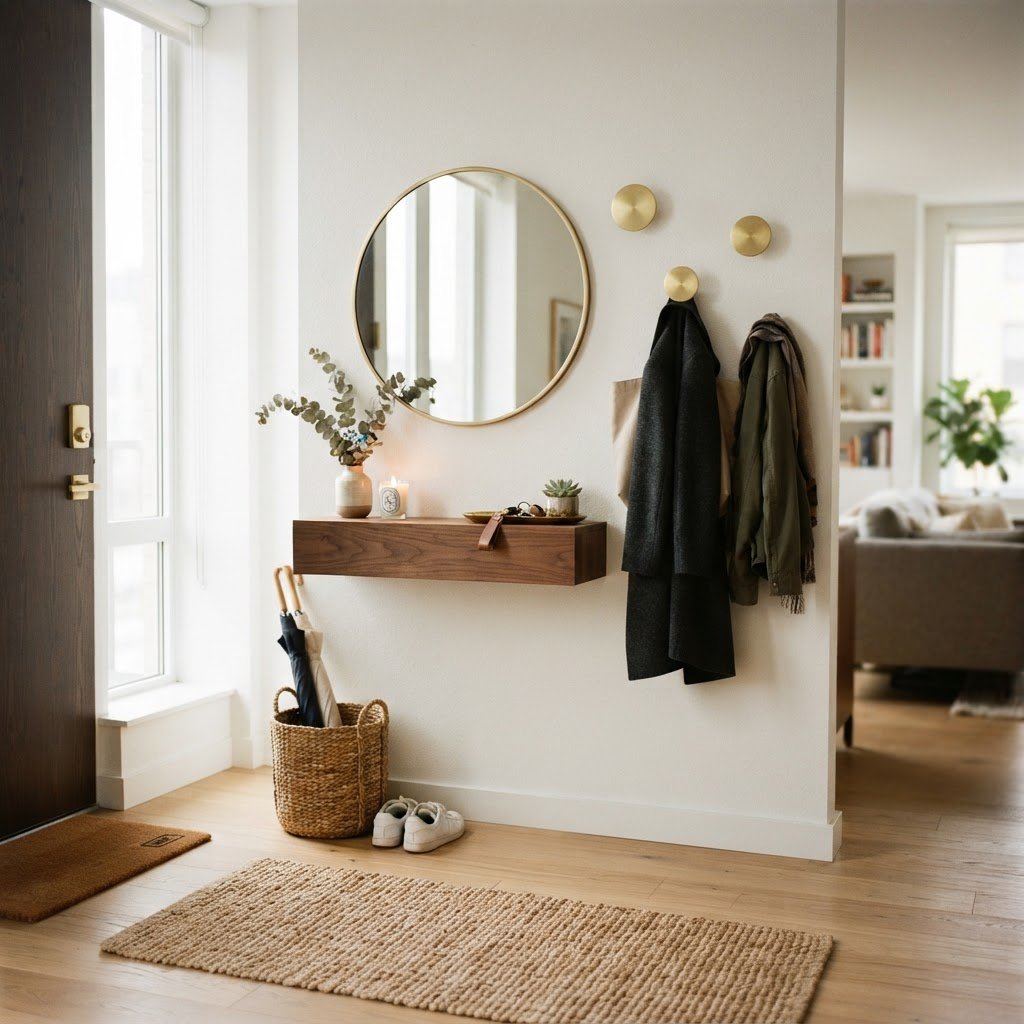
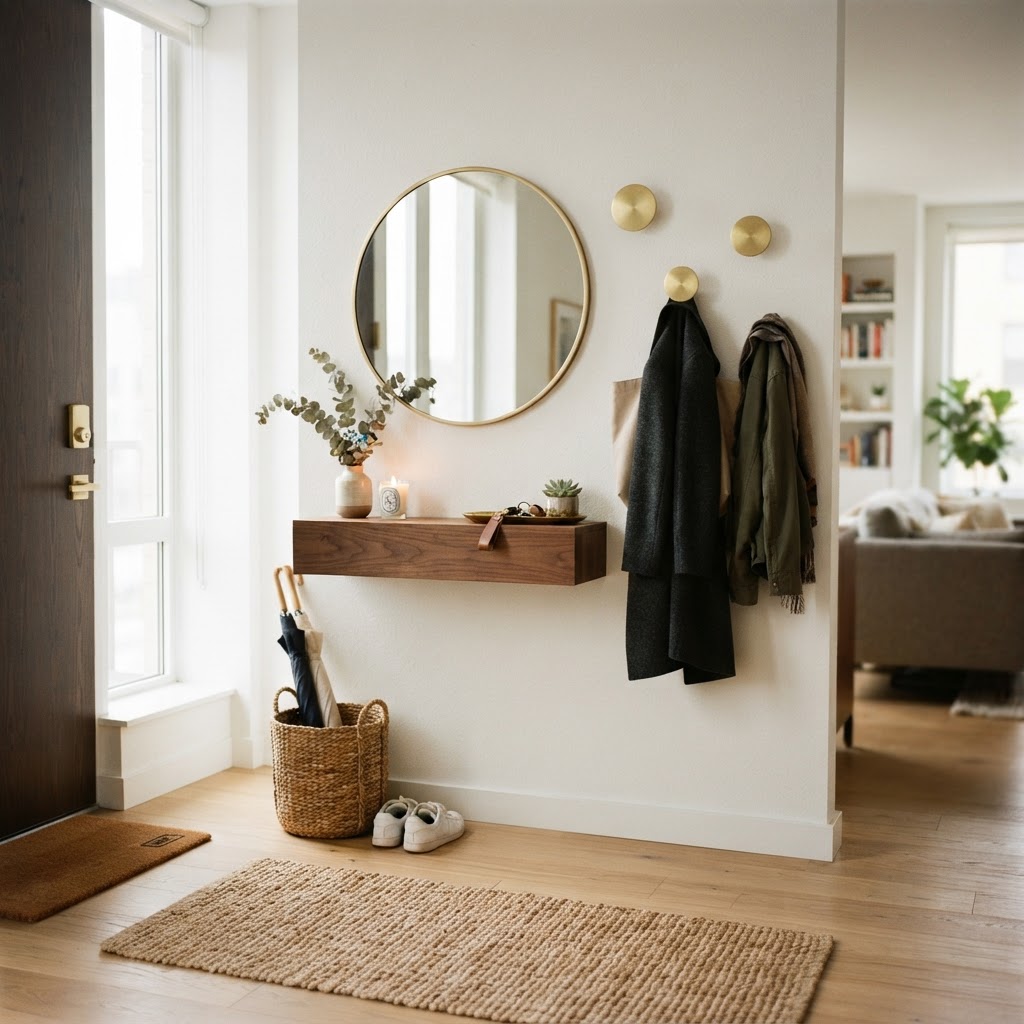
Floating shelves are a game-changer for narrow corridors, offering a place to display decorative accents, plants, or small baskets for daily necessities without the 15-20 inch depth requirement of a traditional console table. To maximize the effect, mount a mirror above your shelf; this technique doubles visual depth and distributes ambient light throughout the room.
Why Verticality Works
Vertical storage draws the eye upward, making the room feel taller and more expansive. When you clear the floor of shoes and bags, you create a cleaner, more organized aesthetic. Professional designers recommend keeping heavy items no higher than 5 feet to maintain accessibility while ensuring the upper visual space remains uncluttered.
Storage Method
Space Required
Best For
Weight Capacity
Floating Shelves
6-10 inches deep
Decor/Keys
Low (10-20 lbs)
Wall-Mounted Hook
2-4 inches deep
Coats/Bags
Medium (30 lbs)
Slim Bookcase
10-12 inches deep
Storage/Books
High (50+ lbs)
Multi-Functional Furniture Choices
Furniture in a tiny foyer must serve multiple purposes to justify its footprint. Prioritize items like lift-top ottomans or storage benches, which provide a dedicated seating area for putting on shoes while hiding seasonal clutter inside. For optimal flow, look for pieces with a maximum depth of 14 inches to avoid encroaching on hallway walkability.
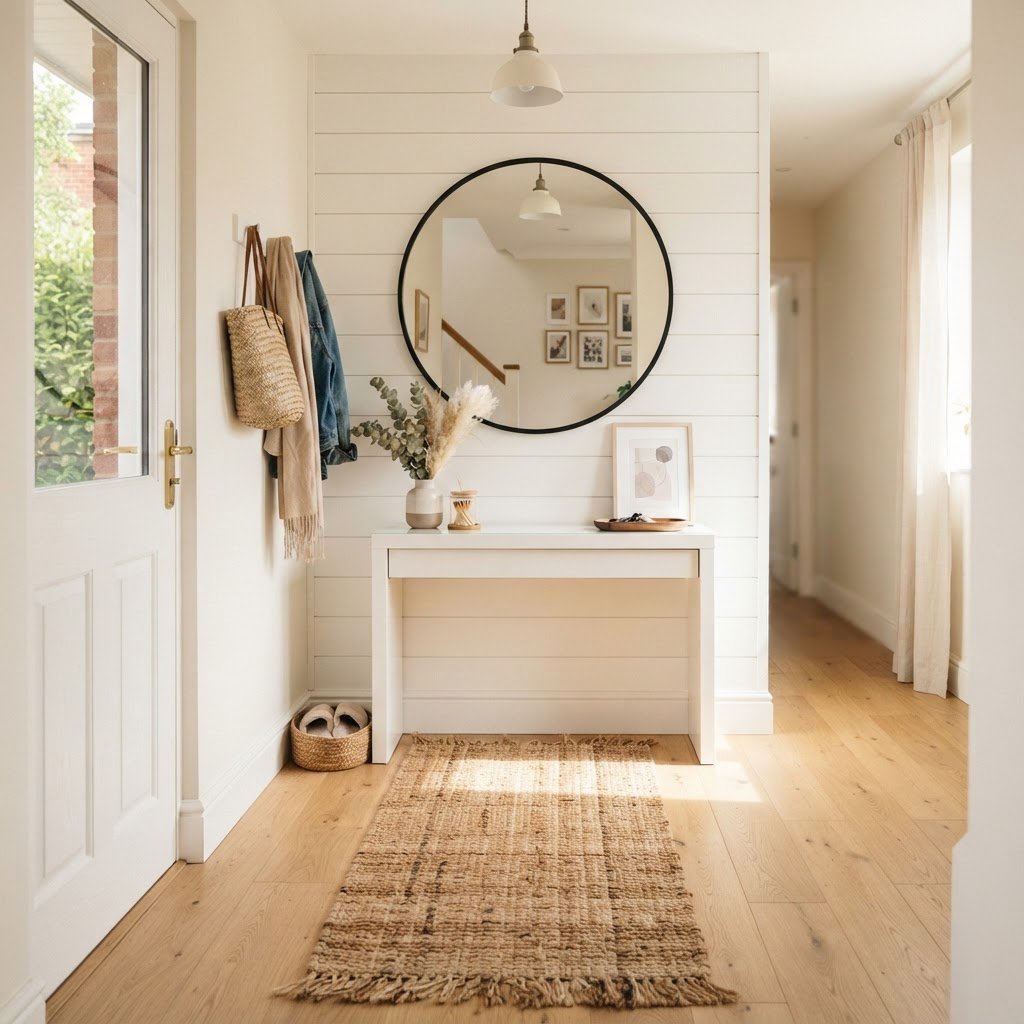
Selecting a slim-profile console table is another expert strategy. Opt for models featuring integrated drawers or bottom shelves. You can easily tuck a 12-inch woven basket under a console table to hold umbrellas, scarves, or slippers, keeping everything neatly concealed while maintaining quick accessibility for your daily departure.
Defining the Zone with Decor
Even if your entryway is just a sliver of wall near the door, you can define it as a separate ‘room’ through creative decor. Use a runner rug to anchor the space and create a visual path; a standard 2×6 or 2×8 foot runner can transform a sterile hallway into a welcoming passage.
Color perception is essential in small-space design. Using light, neutral wall colors creates an expansive feel, while a bold accent wall or patterned wallpaper provides intentionality, signaling to the brain that the entryway is a distinct destination rather than just a hallway passage. Treating the zone as a specific room helps anchor the layout of your entire home.
Optimizing Lighting and Mirrors
Lighting is the most critical variable when dealing with limited square footage. A dark, cramped entry feels claustrophobic, but a well-lit space feels open and inviting. If natural light is unavailable, install a statement sconce or a semi-flush mount fixture with a warm color temperature (approx. 2700K-3000K) to provide illumination without overwhelming the ceiling.
Mirrors remain the most effective tool for increasing visual volume. By placing a large, framed mirror opposite the door, you create the optical illusion of depth. This placement reflects incoming light back into the space and tricks the eye into perceiving additional depth behind the wall. Always aim for a mirror width that occupies at least 50% of the wall space to achieve a noticeable design impact.
Practical Organization Strategies
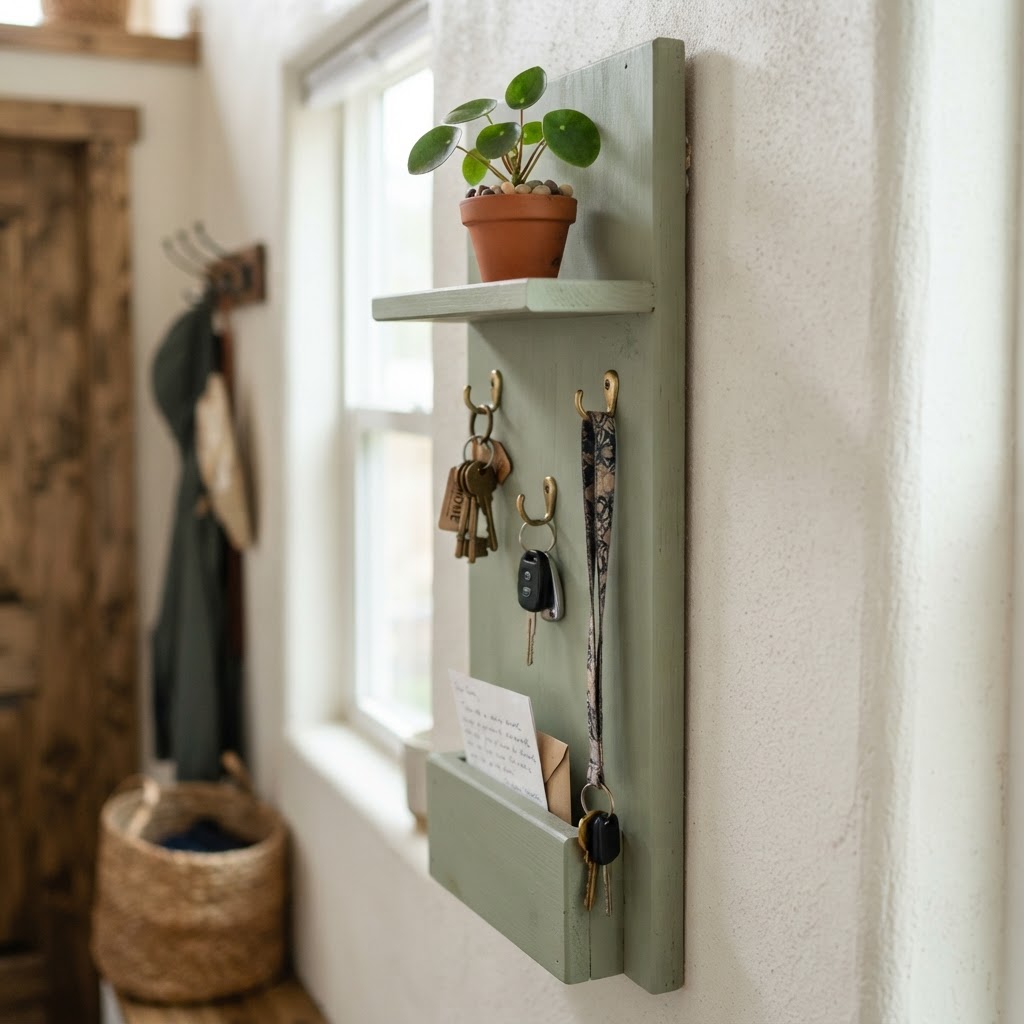
Maintaining a tiny entryway requires a disciplined system to avoid the ‘drop-and-go’ syndrome. Implement a strict ‘one-in, one-out’ policy for all footwear to ensure your storage capacity is never overwhelmed. Invest in a wall-mounted mail sorter to ensure bills and letters never accumulate on your surfaces, which is the primary cause of a cluttered look.
Using clear acrylic hooks or high-quality brass hardware can make a significant difference in how the space feels. When hardware is designed like jewelry, it serves as an aesthetic feature rather than a utilitarian eyesore. Keep seasonal items stored away in bins in a closet or under-bed storage to ensure your daily rotation remains lean and manageable throughout the year.
Item
Storage Location
Frequency of Use
Car Keys
Wall Hook
Daily
Seasonal Coats
Closet/Wall Rack
Daily
Extra Shoes
Storage Bench
Weekly
Out-of-Season Gear
Under-bed Bin
Seasonal
Creative Small-Space Hacks
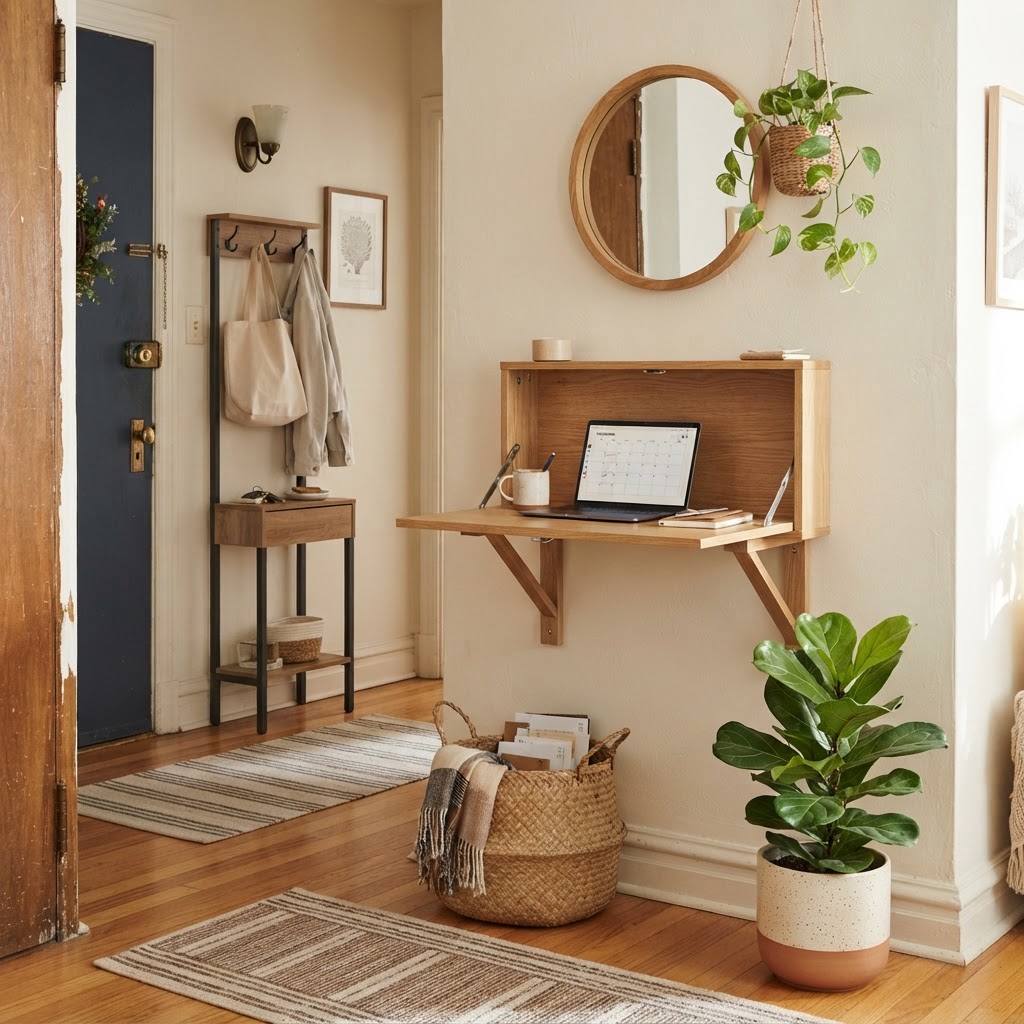
Sometimes, you have to get creative with unconventional spots and foldable furniture. If you lack space for a console table, consider a slim, wall-mounted drop-leaf desk that acts as a surface for your phone and wallet before folding flat against the wall.
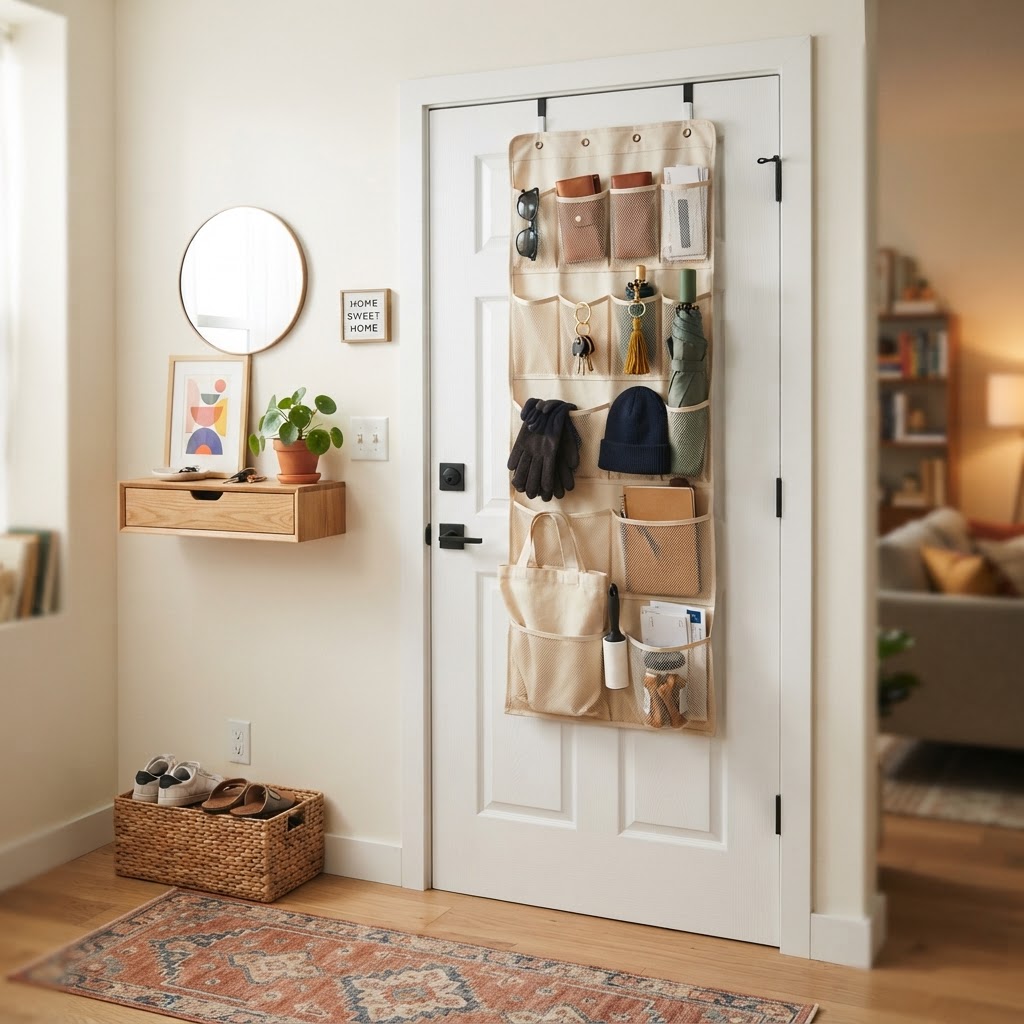
Think about the door functionality as a prime storage real estate. While over-the-door organizers are often associated with dorms, choosing high-end versions made of leather, felt, or heavy-duty matte metal can provide a sophisticated look. Utilizing the back of the front door for scarves, hats, or lightweight jackets frees up significant physical space inside your primary hallway closets.
Maintaining a Clutter-Free Foyer
Consistency is the secret to a high-end look. Spend exactly two minutes at the end of every day performing a ‘foyer reset.’ Hang coats, place shoes in their designated bins, and clear the surface of your console table. This proactive daily habit prevents the accumulation of clutter and ensures your home makes a great first impression every single morning.
FAQ
How do I make a tiny entryway look bigger?
To make a small entryway look larger, install a large mirror to reflect light and increase perceived depth. Additionally, keep the floor clear of clutter by utilizing vertical wall storage and choosing light-colored wall paint to brighten the area and eliminate shadows.
What is the best furniture for a narrow hallway?
Use furniture with a depth of 14 inches or less, such as slim-profile console tables or wall-mounted drop-leaf desks. Storage benches are also excellent, as they provide seating and hidden internal organization while occupying minimal horizontal space.
How can I hide clutter in my entryway?
Use multi-functional furniture like ottomans with lift-tops or storage benches with interior compartments to hide shoes and bags. For smaller items like mail, use wall-mounted organizers or baskets that fit neatly onto shelves to keep counters clear.
Should I put a rug in a small entryway?
Yes, a runner rug is highly recommended because it anchors the space and defines the foyer as its own distinct zone. A runner also protects your flooring and adds texture, making the transition area feel like an intentional part of the home design.
You can transform a tiny apartment without drilling by utilizing heavy-duty adhesive hooks, tension rods, peel-and-stick vinyl tiles, and multi-functional modular furniture. These reversible, damage-free upgrades effectively maximize square footage, inject personal style, and ensure your full security deposit return while creating a highly functional and aesthetically pleasing living environment.
Rethinking Your Lighting Strategy
Properly layering light sources is the most effective way to eliminate the ‘sterile’ feel of standard rental overhead lighting and expand the perception of space. By replacing harsh, singular bulbs with a mix of ambient, task, and accent lighting, you can visually push back the walls of a cramped room. For instance, placing a floor lamp in a dark corner removes deep shadows that shrink a room’s footprint. If you lack floor space, plug-in wall sconces mounted with 16-pound capacity adhesive hooks provide hotel-quality lighting without a single nail. Research indicates that using warm-toned bulbs (2700K to 3000K) makes small spaces feel more inviting compared to clinical cool-white bulbs. Aim for at least three distinct light sources per room—a floor lamp, a table lamp, and an accent light—to create depth. This method transforms your apartment from a static ‘box’ into a dynamic, multi-dimensional living area, effectively tricking the brain into perceiving more open square footage than actually exists. Always prioritize LED bulbs to keep energy costs under $2 per month while gaining high-output illumination.
Creating Depth Through Texture
When you cannot renovate, you must decorate with layers. Use floor lamps to highlight corners or dark nooks to push the boundaries of the room visually. By ensuring that every corner of your apartment has a dedicated light source, you effectively erase the shadows that make small areas feel claustrophobic.
Lighting Type
Best For
Rental Installation
Floor Lamp
General Ambiance
Zero impact
Plug-in Sconce
Task/Reading
Command Strips
LED Strip Lights
Cabinet/Shelf
Adhesive Backing
Transforming Walls Without Paint
Peel-and-stick wallpaper and heavy-duty adhesive gallery systems offer a high-impact, temporary solution to the ‘builder-grade’ wall problem found in most rentals. High-quality vinyl wallpaper, which typically costs between $1 and $4 per square foot, allows renters to create a custom focal wall that can be removed in under 30 minutes without leaving residue. Unlike standard wallpaper, modern peel-and-stick products are designed to withstand humidity, making them suitable for bathrooms and kitchens. To maximize visual interest, avoid patterns that are too busy, as they can make a small room feel crowded; instead, opt for geometric shapes or textures that add character without overwhelming the eye. For artwork, utilizing ‘picture hanging’ adhesive strips rated for up to 12 pounds ensures you can display large-scale pieces safely. Research shows that focusing decor on one ‘anchor wall’ behind a sofa or bed provides a psychological sense of permanence. Always test a small patch of wallpaper in an inconspicuous area (like behind a closet door) for 48 hours to ensure the adhesive does not react poorly with the existing paint. This commitment-free approach allows you to experiment with current design trends, such as bold botanical prints or serene textural grasscloth, without violating your lease agreement or losing your deposit.
Elevating Kitchens with Removable Accents
Swapping out standard cabinet hardware and installing temporary backsplash tiles are the fastest ways to modernize a kitchen, providing a custom look that takes less than one hour to complete. By replacing generic, mass-produced knobs with high-quality brass or matte black pulls, you elevate the tactile experience of your kitchen while keeping the original hardware safe in a labeled baggie for move-out. Peel-and-stick backsplash tiles offer an even more significant visual transformation, covering outdated tile or stained walls for roughly $15 per linear foot. These vinyl solutions are heat-resistant up to 140°F, making them durable enough to handle standard stovetop cooking. Furthermore, utilizing magnetic strips held in place with double-sided mounting tape keeps frequently used metal tools and knives off your limited counter space, adding approximately 2 square feet of usable prep area. When choosing kitchen hardware, measure your existing center-to-center hole spacing—standard sizes are typically 3-inch, 3.75-inch, or 5-inch—to ensure the new pieces fit perfectly without needing to create new holes. These minor, reversible upgrades turn a generic rental kitchen into a personalized culinary station.
Strategic Storage Solutions
In a tiny apartment, clutter is the enemy of style. Utilizing vertical storage is essential, but it must be done without drills. Over-the-door organizers are perfect for pantries or bedroom closets, while tension rods can be installed inside cabinets to hang cleaning supplies or lightweight kitchen tools.
Managing Clutter with Modular Furniture
Modular, multi-purpose furniture that sits on legs is the secret to maintaining a sense of openness in a small floor plan. Furniture with exposed legs—often referred to as ‘leggy’ furniture—allows the eye to travel across the floor to the base of the wall, which makes a room feel larger than it would if you used pieces that sit flush to the ground. When selecting items, prioritize pieces that serve dual functions, such as an ottoman with internal storage that can act as a coffee table or a desk that folds into a wall-mounted console. Modular storage systems, like cube organizers or stackable shelves, allow you to adapt your layout to fit specific wall configurations as your storage needs change. Research into spatial design confirms that keeping the floor 30% visible significantly reduces the feeling of ‘overcrowding.’ Aim for pieces that share a similar color palette to your walls; this visual uniformity helps the furniture ‘blend in,’ reducing the visual weight of the room. Always check that your furniture dimensions allow for a minimum 24-inch walking path to ensure your small space remains functional and easy to navigate on a daily basis.
Bringing Nature Indoors
Plants are the ultimate no-drill upgrade because they add height, texture, and life to any corner without needing a single screw. Use plant stands of varying heights to create a lush, layered look. Hanging plants can be placed on top of tall bookshelves or secured using tension-mount rods installed between window frames. Not only do plants purify the air, but they also soften the hard lines of standard apartment architecture. If your apartment lacks natural light, there are plenty of low-light varieties like snake plants or ZZ plants that thrive even in the darkest city apartments. Pair them with decorative pots to introduce color and style to your space.
The Power of Mirrors
Mirrors are the oldest trick in the design book, but they remain the most effective for tiny apartment dwellers. A large, floor-length mirror leaning against a wall can instantly double the perceived size of a room. It reflects light, draws the eye upward, and creates a sense of luxury that elevates the entire living experience. When selecting a mirror, choose one with a frame that complements your overall aesthetic. A metallic frame adds a touch of glam, while a wood frame provides warmth and grounding. Place your mirror opposite a window to maximize the amount of natural light that flows into your apartment, making it feel bright, airy, and open throughout the day.
Organization for Renter-Friendly Living
Living in a tiny apartment requires ruthless organization. Utilize the back of doors for hooks, or add magnetic strips to walls using heavy-duty command tape to hold spice jars or small metal tools. By keeping surfaces clear, you maintain a sense of calm and order that makes a small room feel like a deliberate choice rather than a limitation. Use clear acrylic bins to organize small items inside drawers or on shelves. This keeps your belongings visible yet contained, preventing the visual chaos that often makes small spaces feel messy. Remember that in a tiny home, everything should have a place, and every place should be utilized to its maximum potential.
Trending Patterns and Textures for 2026
This year is all about biophilic design and retro-modern patterns that add character to sterile rental boxes. We are seeing a massive surge in popularity for large-scale botanical prints, geometric shapes with matte finishes, and subtle, tone-on-tone textures that provide depth without overwhelming a room. Choosing the right scale is essential for renters; larger, more spaced-out patterns can often make a small room feel much more expansive and open. Design experts are moving toward “maximalist minimalism,” where one wall features a bold 1970s-inspired burnt orange or sage green pattern, while surrounding walls remain neutral. This trend accounts for nearly 40% of rental renovation searches this year. Unlike the chaotic patterns of the past, 2026 designs focus on “micro-textures”—subtle, raised patterns that feel like grasscloth or linen when touched. By opting for these deeper, organic textures, you can hide minor imperfections in aging rental walls that flat, thin papers would only highlight. Remember to purchase 15% more than your wall surface area requires to account for pattern matching, as 2026 trends favor complex repeats that require precise alignment to look truly professional.
Popular Aesthetics to Consider
Soft earth tones paired with organic line work.
Metallic accents that catch the light in windowless rooms.
Art-deco inspired motifs for a sophisticated living area.
Matte-finish grasscloth textures for a warm, cozy feel.
How to Measure and Prep Like a Pro
Before you dive into your first installation, accurate measurement is the most critical step. Most removable wallpaper rolls come in standard widths, but checking the vertical repeat of the pattern is vital to ensure your seams disappear. If you miscalculate the repeat, you might find yourself with disjointed patterns that break the visual flow of your wall, turning a designer feature into a source of constant frustration. The industry standard for a roll in 2026 is 20.5 inches wide by 18 feet long, covering approximately 30 square feet per roll. To calculate your needs, multiply your wall width by height and divide by 25 to factor in a 20% waste allowance for pattern matching. Beyond math, surface preparation is the difference between a rental-safe project and a forfeited deposit. Walls must be completely free of dust and household grease; even a thin layer of cooking oil from the kitchen will cause adhesive failure within 48 hours. Using a 50/50 mixture of water and vinegar to wipe down the surface 24 hours before application remains the gold-standard “pro-tip” for ensuring maximum bond without damaging the base paint finish.
Surface Preparation Checklist
Clean the wall surface with a mild soap solution and allow it to dry completely.
Test a small, inconspicuous area first to ensure the paint doesn’t peel with the adhesive.
Remove switch plates and outlet covers for a seamless, professional edge.
Use a spirit level to ensure your first strip is perfectly vertical.
Creating Focal Points in Small Spaces
One of the most effective strategies for using temporary wallpaper is to avoid covering every inch of your apartment. Instead, choose a single “feature wall” to anchor your furniture or delineate different functional zones in an open-concept studio. By applying the paper behind your bed frame or in your dining nook, you create a dedicated space that feels intentional and curated. This method also minimizes the cost of your project while maximizing the visual impact. In 2026, the “zones” strategy is replacing full-room coverage, with designers suggesting that accent walls should consume no more than 15-20% of your total living space. This keeps the room feeling airy while providing the necessary visual “pop” required to make a white-box rental feel customized. If you are decorating a studio apartment, use the wallpaper to define a “desk zone” or “entryway zone,” effectively tricking the eye into seeing separate rooms within a single footprint. Budget-wise, a single feature wall typically requires 2 to 3 rolls, keeping the total cost under $200 for a transformative upgrade that requires less than 4 hours of labor to install.
Creative Installations Beyond Walls
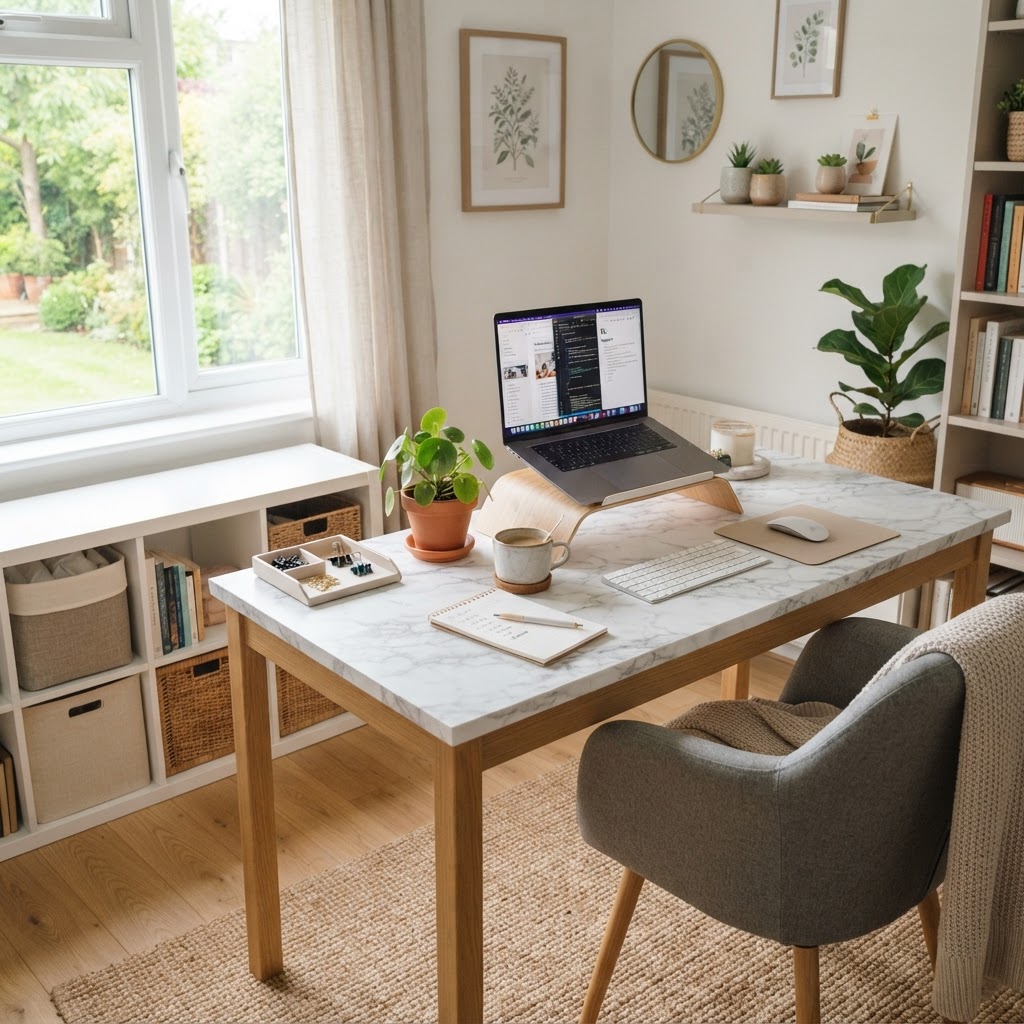
Don’t let the name limit your imagination. Some of the most creative removable wallpaper ideas for renters in 2026 involve applying these patterns to unexpected surfaces. You can use leftover remnants to line the inside of bookshelves, refresh the top of a boring laminate desk, or even apply them to the risers of a staircase. Because the material is so forgiving, these mini-projects are a fantastic way to tie your room’s color palette together without needing a massive budget. For instance, applying a geometric pattern to the back of a glass-door cabinet can make inexpensive furniture look like a high-end designer piece. Stair risers are another high-impact area; using four or five different patterns on alternating risers creates a “custom mosaic” look that is entirely reversible. When applying to furniture, ensure you use a squeegee to remove air bubbles, as laminate surfaces can hold onto air much tighter than painted drywall. This versatility is why peel-and-stick is now the primary tool for “rental staging” on social media platforms.
Troubleshooting Common Installation Issues
Even with the best materials, air bubbles and misalignments can happen. To fix a trapped air bubble, use a small pin to gently prick the surface and smooth the air out with a plastic squeegee. If you find your paper is slightly crooked, don’t panic; simply peel it back gently and reset. Because of the sophisticated adhesive technology used today, you can typically reposition these strips several times before the tackiness begins to diminish. If edges begin to lift after a few weeks, it is usually due to temperature fluctuations rather than product quality; applying a small amount of heat from a hair dryer can reactivate the adhesive and allow you to press it back into place firmly. Should you encounter a seam gap, do not overlap the paper; instead, use a specialized wallpaper seam roller to gently nudge the material into place. Advanced installers in 2026 also recommend a “double-cut” method—overlapping the paper by one inch and slicing through both layers with a fresh razor blade—to ensure that every seam is invisible, even when looking at the wall from an angle.
Maintaining Your Temporary Wallpaper
Once installed, treat your wallpaper with the same care as traditional wall coverings. Keep moisture away from the edges to prevent lifting, and avoid using harsh chemical cleaners. A soft, slightly damp cloth is usually sufficient for dusting and light cleaning. By maintaining your wallpaper regularly, it will remain in excellent condition for the duration of your lease, ensuring your home remains stylish and pristine. Avoid using abrasive sponges or magic erasers on fabric-based wallpapers, as these can snag the weave and cause permanent fraying. In bathrooms, wipe down the surface with a dry microfiber cloth after every shower to prevent long-term moisture buildup behind the adhesive backing. If you live in a climate with extreme humidity, consider applying a thin bead of clear silicone caulk along the top edge of the wallpaper to create a moisture-proof seal that is still easy to remove with a utility knife when your lease ends.
FAQ
Does removable wallpaper damage rental walls upon removal?
High-quality, fabric-based peel-and-stick wallpaper is designed to leave no residue or damage when removed correctly. Ensure the wall was cleaned properly before installation and peel the paper back at a slow 45-degree angle to maintain the integrity of the underlying paint.
How many rolls do I need for an average accent wall?
An average accent wall requires 3 to 4 rolls, assuming a standard 8-foot ceiling and an 8 to 10-foot wide wall. Always measure the height and width, multiply them to get square footage, and add 20% to account for pattern repeats and trimming.
Can I apply peel-and-stick wallpaper in a bathroom?
Yes, you can use wallpaper in a bathroom if you choose a woven, moisture-resistant fabric material. Ensure the bathroom is well-ventilated and avoid placing the paper in areas with direct water contact, such as inside a shower stall or directly behind a sink faucet.
What is the best way to hide seams between wallpaper strips?
Use the double-cut method to ensure perfect seam alignment by overlapping two strips and cutting through both simultaneously with a sharp utility knife. Once the excess is removed, use a plastic seam roller to press the edges firmly into the wall for a seamless, invisible finish.
How long does temporary wallpaper typically last?
When installed correctly on a clean, primed surface, modern removable wallpaper can last 3 to 5 years without peeling or fading. Durability depends on room conditions, with humidity and direct sunlight being the primary factors that shorten the lifespan of the adhesive.
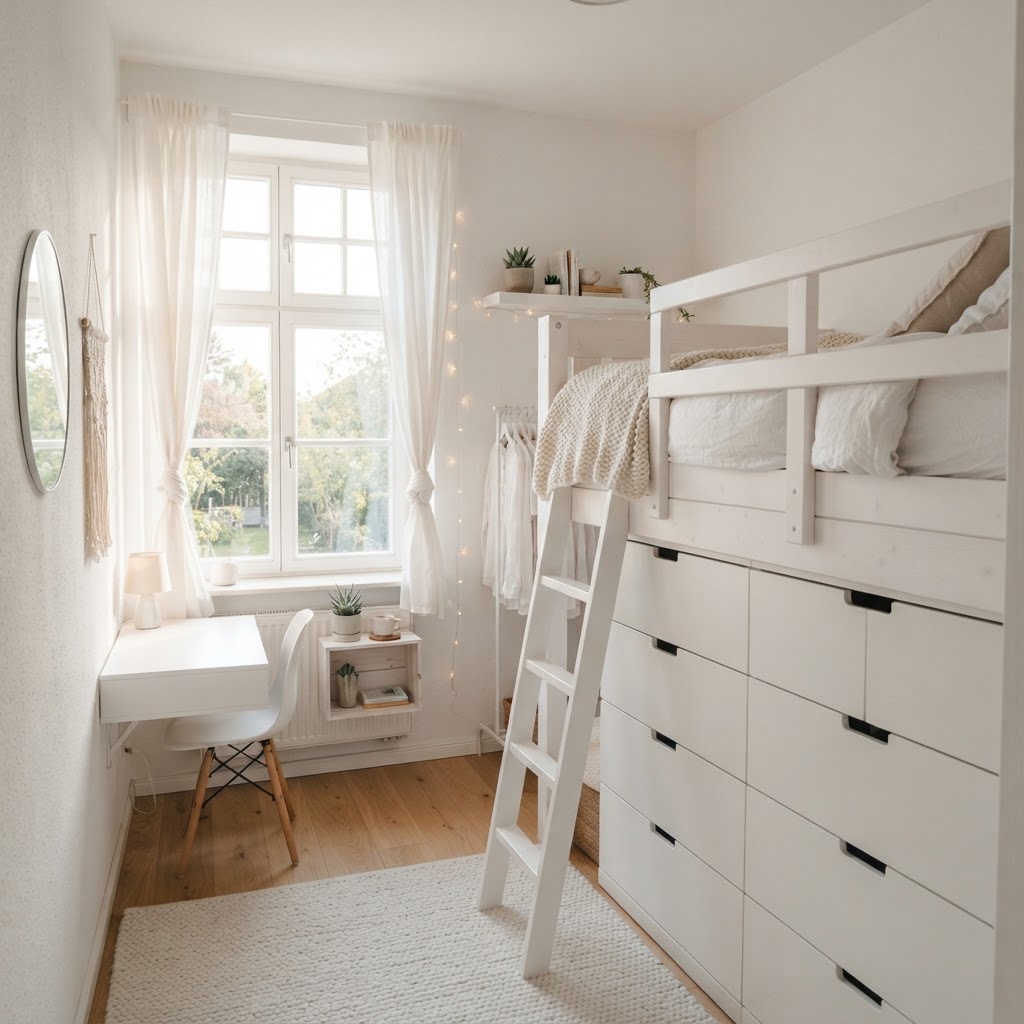
To make a tiny bedroom feel larger and more stylish, prioritize multifunctional furniture, maximize vertical storage, and utilize reflective surfaces like mirrors to double perceived light. By clearing floor space and layering ambient lighting, you can transform a cramped, 80-to-100-square-foot nook into a luxurious, airy sanctuary.
Rethinking Your Layout for Maximum Flow
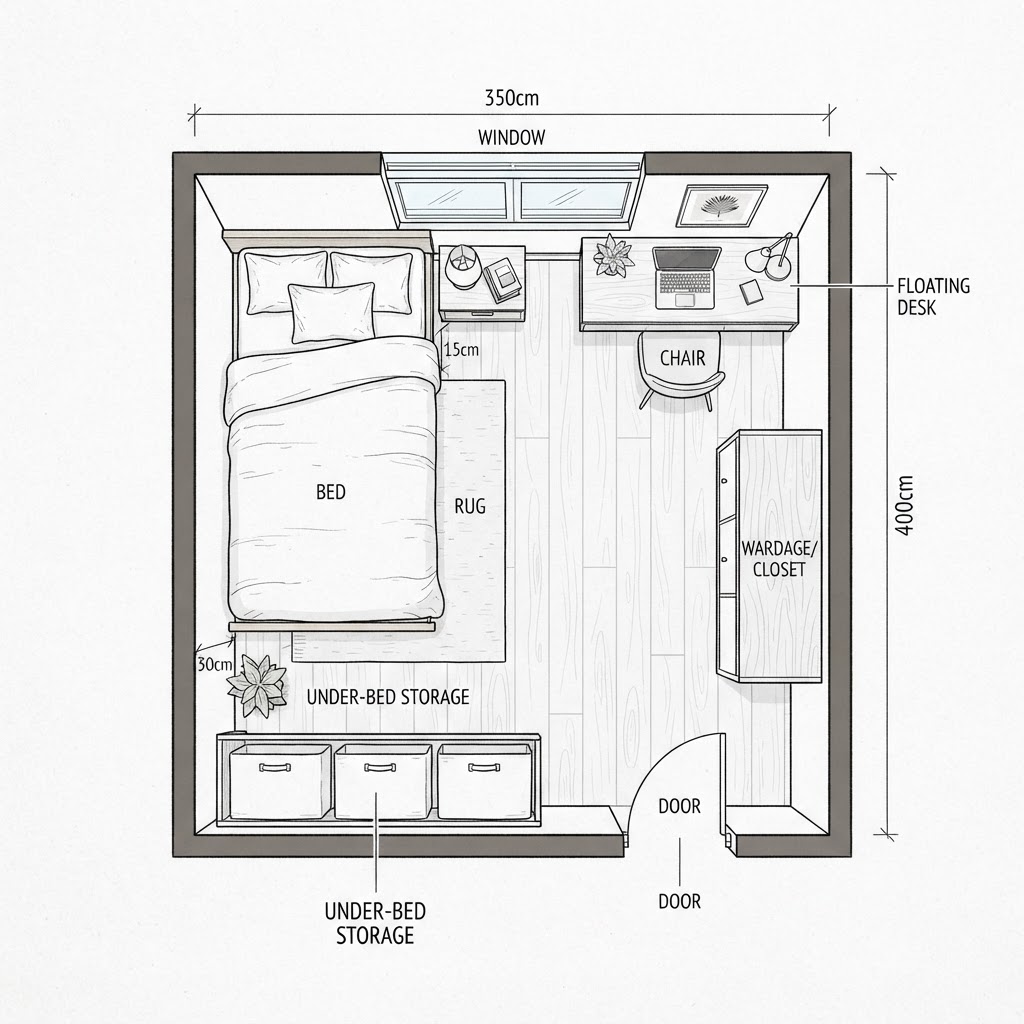
Optimizing your bedroom floor plan requires strategic placement to ensure the flow of the room remains unhindered. In rooms under 120 square feet, every square inch represents an opportunity to improve movement; pushing your bed into a corner or against a feature wall is often the most effective layout for gaining usable floor area. By placing the bed strategically, you eliminate awkward, unusable gaps that serve no purpose, effectively turning a cramped walking path into a dedicated dressing or reading zone.
The Art of Multipurpose Furniture
When floor space is at a premium, every piece of furniture must earn its keep by providing at least two distinct functions. You should prioritize investment pieces such as hydraulic-lift storage beds that provide 20+ cubic feet of concealed storage, or drop-leaf desks that remain flush against the wall when not in use. By selecting pieces that perform double duty, you eliminate the need for extra bulky items, keeping the room feeling airy and uncluttered.
Furniture Type
Space-Saving Benefit
Ideal Usage
Platform Storage Bed
Replaces bulky dressers
Seasonal items/Linens
Floating Nightstand
Frees floor area
Bedside essentials
Murphy/Foldable Desk
Retractable workspace
Remote work setups
Choosing Vertical Over Horizontal
If you cannot spread out, go up to redirect the viewer’s gaze toward your ceiling height. Tall shelving units draw the eye upward, emphasizing verticality rather than narrow floor width. Installing floor-to-ceiling curtains also adds height and creates a sense of drama that makes the room feel grander. Avoid low, chunky furniture that cuts through the visual line of the room; instead, opt for leggy pieces that allow you to see the floor underneath, which creates an illusion of more open space.
Lighting Strategies to Expand Your Space
Layered lighting is the most effective method for eradicating shadows that make a small room feel boxed in or dark. A single overhead light source creates harsh contrast; instead, use a combination of warm-toned wall-mounted sconces, task-oriented reading lamps, and dimmable LEDs to create soft, ambient depth. By placing floor lamps in corners to brighten dark spots, you push back the visual boundaries of the room, creating an expansive effect that standard overhead bulbs fail to achieve.
Natural light is your greatest asset in small bedroom design. Keep window treatments light and breezy to allow sunlight to pour in, effectively connecting the room to the outside world. If your room lacks sufficient windows, strategically place mirrors to reflect existing light and visually double the perceived square footage of the space. Reflective glass surfaces on closet doors can serve the same purpose while keeping bulky wardrobes hidden.
The Power of Color and Texture
A cohesive, monochromatic color palette is the most efficient way to make a room feel expansive and serene. By painting walls, trim, and ceilings the same shade, you eliminate visual breaks, which causes the wall boundaries to recede from the eye. If you prefer color, use a darker, moody hue on a single accent wall to add depth and sophistication; this can actually make that specific wall appear to move further away, effectively lengthening the room’s footprint.
Playing with Mirrors and Reflection
Mirrors are a critical tool in small bedroom design for creating an optical illusion of depth. Placing a large mirror on a closet door or a floor-to-ceiling feature wall effectively mirrors the room, creating an impression of double the space. This trick is especially effective when placed opposite a window to catch and distribute natural light throughout the room, eliminating dark, cramped pockets.
Embracing Minimalism for Comfort
Minimalism is about intentionality—keeping only what you love—rather than having nothing at all. In a tiny bedroom, excess trinkets lead to visual noise, which can make the space feel stressful and claustrophobic. Decluttering is the fastest way to make a room feel larger. Keep your surfaces clear, utilize under-bed storage bins for seasonal items, and choose a few high-quality decor pieces rather than a dozen small, busy items that compete for attention.
Innovative Storage Solutions
Storage is the ultimate challenge in small spaces, requiring a transition from surface-level clutter to concealed, vertical organization. The goal is to keep as much as possible out of sight while ensuring that the items you need remain accessible. Consider installing floating shelves above your headboard or using the space under your bed for long-term storage needs. Vertical storage is your best friend; floor-to-ceiling closets or open shelving units can hold clothes, books, and decor without sacrificing footprint.
Storage Solution
Capacity Gain
Space Impact
Floating Shelves
High
Minimal floor space
Behind-Door Hooks
Medium
Uses otherwise dead space
Under-Bed Drawers
Very High
Zero additional footprint
Consider installing hooks on the back of doors for robes or accessories to free up your primary wardrobe space for larger items. By moving items off the floor, you create a sense of order that makes a room feel larger and more intentional. Use clear bins within closets to track inventory, ensuring that you are only storing what you actually need to keep your bedroom organized.
Creating Visual Interest Without Clutter
Just because a room is small doesn’t mean it should be boring or devoid of personality. You can introduce personality through textiles, artwork, and unique textures while maintaining an airy feel. A bold rug can define the space and ground the room, while a single, large-scale piece of art on the wall makes a more significant, curated impact than a cluster of smaller, busy frames that visually clutter a wall.
The Importance of Scale
Scale is everything in compact design; an oversized, massive bed will naturally overpower the room, leaving no space for movement. Choosing furniture that is appropriately scaled to your specific room size ensures the space feels curated rather than crowded. Always measure your dimensions before purchasing, and consider the “sightlines”—ensure there is a clear path to the window or primary entrance so the room feels accessible and inviting.
Utilizing Hidden Nooks
Every room possesses ‘dead space’—the corners, the area behind a door, or even the space above a window. Look for ways to turn these neglected areas into functional storage or display zones. Custom built-ins are a worthwhile investment in small spaces because they are the most effective way to utilize every square inch of a challenging floor plan without creating visual clutter.
Essential Checklist for Small Bedroom Success
To help you organize your renovation, here is a quick summary of the most impactful changes you can make today:
Declutter relentlessly: If it hasn’t been used in a year, get rid of it.
Use mirrors: Reflective surfaces are the best visual trick.
Choose multi-functional furniture: Think storage beds and desks.
Prioritize lighting: Use layers, not just one overhead fixture.
Keep wall art simple: Go for one large statement piece over many small ones.
Use vertical space: Install shelves all the way to the ceiling.
FAQ
Q: What is the best way to make a tiny bedroom look bigger?
A: You can make a small bedroom look bigger by using a light, monochromatic color palette and incorporating large-scale mirrors. Painting walls and ceilings in similar tones eliminates harsh visual lines, while mirrors reflect light to create the illusion of extra depth.
Q: Should I put a bed in the corner of a small room?
A: Placing a bed in the corner is highly effective for maximizing floor space in rooms under 100 square feet. This layout frees up the center of the room, creating a larger walkway and allowing for additional furniture like a desk or storage unit.
Q: How can I add storage to a room with no closet?
A: If your room lacks a closet, utilize vertical wall space with floor-to-ceiling shelving or install a high-capacity platform storage bed. Additionally, use the space behind doors with over-the-door hooks for robes, bags, and accessories to keep the floor clear.
Q: Does dark paint make a small room look smaller?
A: Contrary to popular belief, dark paint can make a room feel larger by blurring the boundaries of the walls. When walls and corners are bathed in a deep, moody hue, the lack of defined edges causes the walls to recede, adding depth and sophistication.
To style warm lighting for a cozy home sanctuary, prioritize using bulbs rated between 2200K and 2700K to mimic the golden glow of sunset. Achieve a professional, layered look by combining ambient, task, and accent light sources, ensuring all bulbs in a single room remain within 300K of each other for visual harmony.
The Science and Psychology of Warmth
Color temperature is the primary driver of domestic comfort, measured in Kelvins (K) to define how ‘warm’ or ‘cool’ light appears to the human eye. Warm light, generally defined between 2000K and 3000K, supports the body’s natural circadian rhythm by signaling the brain to release melatonin, the sleep hormone. Conversely, cool lighting above 4000K mimics blue-heavy daylight, which suppresses melatonin and increases alertness, making it unsuitable for relaxation. By selecting bulbs in the lower Kelvin range, you physically lower the cortisol levels in your environment, creating a physiological trigger for safety and rest.
Why Kelvins Matter
When shopping for bulbs, always look at the Kelvin rating on the packaging. For a space that feels like a hug, stick to the 2200K to 2700K range. Anything higher starts to look clinical and stark. This simple shift in bulb temperature is the foundation of creating a space that feels permanent, safe, and deeply relaxing.
Light Type
Kelvin Range
Best Application
Candlelight
1800K – 2000K
Dining, intimate settings
Warm White
2200K – 2700K
Bedrooms, living rooms
Neutral White
3000K – 3500K
Bathrooms, workspaces
Daylight
4000K – 5000K
Garages, utility areas
Establishing the Three Layers of Light
Professional interior designers utilize a ‘tri-layer’ lighting strategy to eliminate flat, sterile environments and replace them with depth and character. The core concept relies on distributing light sources across three distinct categories: ambient, task, and accent. Ambient lighting provides the overall floor-to-ceiling illumination, ideally through dimmable sconces or cove lights that wash surfaces in soft glows. Task lighting serves functional needs, such as reading lamps or under-cabinet strips, while accent lighting acts as the room’s jewelry, drawing the eye toward specific textures, art, or architectural features. By balancing these three, you ensure that no single corner remains dark or overly harsh, creating a cohesive visual flow that mimics the complexity of natural light.
Ambient Lighting
Ambient light is your base layer, providing overall illumination. In a warm-styled room, this should be dimmable and soft. Consider using wall sconces or cove lighting rather than harsh recessed ceiling lights. If you must have overhead lights, ensure they are on a dimmer switch so you can dial back the intensity whenever you desire a more intimate setting.
Task Lighting
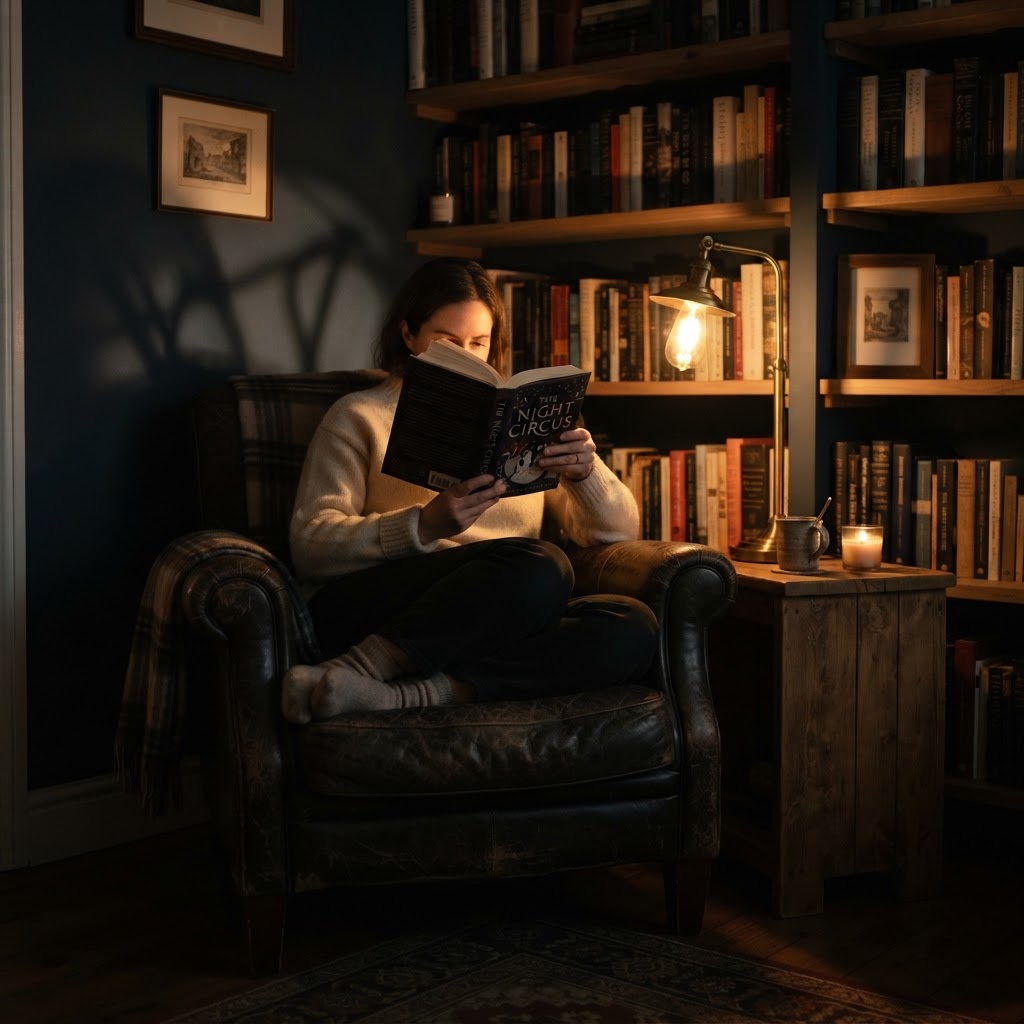
Task lighting is functional but must maintain the aesthetic. This includes reading lamps, desk lights, or under-cabinet kitchen lighting. The key here is to keep the light source focused on the work area while maintaining the warm color temperature. Using a brass-toned reading lamp with a warm-hued bulb is a perfect example of merging function and mood.
Accent Lighting
This is where the “never want to leave” feeling truly happens. Accent lighting highlights architectural details, artwork, or your favorite decorative pieces. Think of picture lights above a painting or LED strips hidden behind a television or bookshelf. These small touches add dimension and visual interest without overwhelming the senses.
Choosing the Right Fixtures for Your Style
Selecting the correct fixture hardware is essential because materials act as a secondary filter, modifying how light is dispersed and perceived within your sanctuary. Brass, gold, and antique bronze finishes are superior for warmth, as they contain high-copper content which naturally reflects light in a honeyed, golden spectrum compared to cool-toned chrome or nickel. When choosing shades, opt for textured linen or heavy cotton in cream, oatmeal, or terracotta hues to dampen the raw intensity of LED bulbs. Additionally, glass globe fixtures in amber or ‘smoked’ finishes can physically filter out blue light wavelengths, ensuring that the light reaching your eyes remains soft, diffused, and comfortable for extended evening use.
Material Considerations
Fabric Shades: These are excellent for diffusing harsh light into a soft glow. Linen or cotton shades in cream or beige tones further enhance the warm effect.
Glass Globes: Opt for amber or frosted glass to prevent the bulb from being too piercing.
Wood and Rattan: These materials naturally impart a warm, organic feel that complements the golden quality of warm bulbs.
The Impact of Dimmer Switches
Dimmer switches are the single most important utility for achieving a flexible sanctuary because they allow for real-time adjustments to your room’s mood and biological impact. Most modern LED dimmers work by ‘chopping’ the electrical wave, which not only lowers intensity but, in ‘warm-dim’ technologies, can shift the color temperature further toward an orange, candle-like glow. Without a dimmer, a 2700K bulb may feel too energetic during late-night relaxation; with one, you can reduce the lumen output by up to 90%, creating a gentle, twilight atmosphere. Integrating smart dimmers also allows for automation, enabling your home to transition from a productive cool-morning setting to a restorative, warm-evening glow without you ever touching a switch.
Incorporating Candles and Decorative Light
Warm lighting does not always have to be electric. In fact, some of the best lighting for a cozy home is flickering, organic, and imperfect. Candles provide a level of intimacy that no electronic device can replicate.
Scatter pillar candles on coffee tables or use tapers in the dining room to ground your space. The dancing flame creates movement and shadows, which are essential for visual interest. If you prefer a safer alternative, there are now high-quality LED candles that mimic the color and movement of real flames almost perfectly. Combine these with your fixed lighting for a multi-sensory experience.
Troubleshooting Common Lighting Mistakes
Many homeowners struggle because they mix too many color temperatures in a single room. A common mistake is having a warm floor lamp next to a stark, cool-white overhead bulb. This conflict creates visual discord and makes the room feel chaotic.
Check Your Consistency
The 300-Kelvin Rule: Try to keep all bulbs within the same room within 300K of each other. If your lamp is 2700K, your overhead light should be between 2400K and 3000K.
Avoid the Hospital Look: If your room feels uninviting, check for any “Daylight” or “Cool White” bulbs (4000K+). Swapping these for “Warm White” or “Soft White” (2700K) is often the only change needed to fix a cold-feeling space.
Balance the Shadows: Don’t let your corners go dark. Use a small corner lamp to push light into hidden spaces, which prevents the room from feeling closed in or cave-like.
Problem
Typical Cause
Quick Fix
Room feels sterile
Bulbs above 4000K
Replace with 2700K warm white bulbs
Shadows are too harsh
Single light source
Add floor lamps at eye level
Lighting feels ‘chaotic’
Mixed color temperatures
Standardize all room bulbs within 300K
Creating Your Personal Lighting Sanctuary
To really nail how to style warm lighting, take a “light walk” through your home at night. Turn off every light, then turn them on one by one. Where do you feel the urge to sit? Where do you feel exposed or cold? Adjust the placement of your lamps until the light flows naturally from one zone to the next, like a gentle stream.
Remember that lighting is about the experience of living, not just seeing. It is about how the light hits your coffee mug in the morning and how it reflects off your walls as you prepare for bed. When you treat lighting as a design element rather than a utility, your home transforms.
FAQ
Q: What is the best Kelvin rating for a cozy bedroom?
For a cozy bedroom, choose bulbs rated between 2200K and 2700K. This range produces a soft, amber-toned light that mimics sunset, helping to trigger the body’s natural melatonin production for better sleep quality.
Q: Can I mix warm and cool light bulbs in the same room?
It is generally recommended to avoid mixing warm and cool bulbs in the same room to prevent visual discord. A 300K variance is the maximum acceptable difference to keep the room’s atmosphere feeling cohesive and intentional.
Q: Why do my overhead lights make my room feel clinical?
Overhead lights often feel clinical because they are likely ‘Daylight’ bulbs (4000K-6500K) which contain high amounts of blue light. Replacing these with 2700K ‘Warm White’ bulbs will instantly soften the space and eliminate that harsh, institutional appearance.
Q: Are dimmer switches compatible with all light bulbs?
Not all light bulbs are compatible with dimmer switches. You must specifically purchase ‘Dimmable’ LED bulbs, as standard LEDs will flicker or fail if used with a traditional dimmer switch, potentially damaging the bulb’s internal circuitry.
Q: How many light sources should I have in a living room?
A well-lit living room should feature at least three to five light sources at different heights. This typically includes a primary ambient fixture, one or two task lamps for reading, and subtle accent lighting to highlight decor.
6 Ways to Create an Entryway With Zero Floor Space
You can create a functional entryway with zero floor space by utilizing vertical wall zones, floating furniture, and over-the-door storage systems. By shifting your organizational focus from the ground to walls, doors, and eye-level surfaces, you can establish a dedicated drop zone that keeps your essentials tidy without sacrificing square footage.
The Power of Vertical Wall Hooks
When you lack the physical space for a console table or a bulky coat rack, your walls become your most valuable asset. Wall hooks are the quintessential solution for those trying to create an entryway with zero floor space because they occupy depth rather than square footage. Rather than opting for a standard row of hooks, consider installing them at varying heights to create a dynamic visual display that acts as both storage and art. A standard wall hook only projects 2 to 3 inches from a wall, making it 90% more space-efficient than a traditional freestanding coat stand, which typically requires a 15-inch diameter footprint.
Maximizing Your Hook Placement
To make this work, divide your vertical space into zones. The higher hooks, ideally placed at 60 to 65 inches from the floor, can house seasonal items or backpacks, while lower hooks at 36 to 42 inches are perfect for keys, umbrellas, and dog leashes. If you have a particularly tight corner, vertical wall-mounted strips can hold heavy winter coats securely without creating the bulk of a traditional standing unit. Using a tiered arrangement allows you to categorize items by weight and frequency of use, ensuring your “drop zone” remains organized during high-traffic morning periods.
Installing Floating Console Shelves
Floor-mounted tables take up precious traffic paths, but floating console shelves are an architectural miracle for tight quarters. By mounting a narrow shelf at waist height, typically 30 to 34 inches from the floor, you instantly provide a “landing strip” for your mail, wallet, and sunglasses. Because there are no legs involved, the visual weight of the furniture is minimized, keeping your small room feeling open and airy. Floating shelves also increase the perceived value of an apartment by showcasing architectural hardware and clean lines.
Choosing the Right Depth
Look for shelving units that are between 8 and 10 inches deep. This is wide enough to hold a standard 6-inch tray for your keys and a small plant, but shallow enough that you won’t bump into it when moving through the entrance. A floating shelf with a built-in drawer can add hidden storage for items you don’t want on display, keeping your home looking curated rather than cluttered.
Feature
Floating Console Shelf
Traditional Entry Table
Floor Space Used
0 Square Inches
2-4 Square Feet
Installation
Wall Anchors Required
None
Storage Type
Surface + Optional Drawer
Surface + Bottom Shelf
Visual Impact
Airy/Open
Can feel bulky
Using Over-the-Door Storage Solutions
If you have a front door that opens inward, you have an entire vertical plane of untapped potential. Over-the-door organizers are often overlooked, yet they are one of the most effective ways to create an entryway with zero floor space. These systems allow you to hang shoe racks, accessory bags, or coat hooks directly onto the door itself. Over-the-door units typically support up to 20 pounds of weight, allowing you to hang heavy winter jackets without concern for wall integrity.
Entryways almost always need a mirror for that final look-in-the-eye check before leaving, so why not make that mirror perform double duty? A wall-mounted medicine cabinet or a custom shadow box with a mirrored door acts as a sleek entryway storage solution. By placing it at eye level—generally 57 to 60 inches from the floor—you create a focal point that reflects light and makes the room appear larger. A mirror can effectively double the perceived depth of a narrow entryway, creating a psychological sense of more space.
The Benefits of Hidden Storage
Inside these mirrored cabinets, you can install tiny shelves for your daily essentials. This keeps your space looking minimalist while providing a secret stash for lip balm, hand sanitizer, and spare keys. It is the perfect marriage of form and function for a space-challenged home. Using hidden storage behind a mirror maintains a clean visual field, which is essential in small urban studios where cluttered surfaces can increase perceived stress levels.
Incorporating Magnetic Backsplashes or Boards
If you want to keep your entryway looking ultra-modern and minimalist, consider using magnetic surfaces. A magnetic board or a painted magnetic backsplash on the wall next to your door can hold your keys, shopping lists, and reminders using decorative magnets. This eliminates the need for bulky bins or bowls that occupy tabletop space. You can purchase magnetic paint for under $30, allowing you to transform an entire section of wall into a functional bulletin board without requiring hardware or mounting brackets.
Why Magnetism Matters in Small Spaces
Magnets provide a flat, non-intrusive way to manage the small items that usually contribute to clutter. By assigning a specific magnetic spot for your keys, you save yourself the stress of morning searches. This strategy proves that you don’t need a formal entryway to have a highly organized and efficient home flow. For the best results, use high-strength neodymium magnets which are small enough to be unobtrusive but powerful enough to hold several sets of keys securely.
Defining the Zone With Visual Cues
Even if you don’t have physical space, you can create a psychological boundary to define your “entryway.” Using a different color of paint to frame the wall section where your coats hang or adding a piece of circular wall art above your hooks creates a visual anchor. This tricks the eye into perceiving a distinct zone, which makes the lack of floor space feel intentional rather than accidental. Visual zoning is a common technique used in interior design to delineate areas in open-concept floor plans.
Lighting as a Marker
Consider adding a battery-operated wall sconce above your floating shelf or hook zone. Good lighting distinguishes the entry area from the rest of the living room, signaling to guests that this is where they should drop their belongings. It adds a sophisticated layer to your decor while serving a practical purpose for finding items in low light. Studies suggest that dedicated task lighting in entry zones can reduce the time taken to locate daily essentials by up to 15%.
FAQ
How can I create an entryway if I have no room?
You can create an entryway by utilizing vertical space on walls and the backs of doors. By installing floating shelves, wall hooks at various heights, and over-the-door organizers, you create a dedicated drop zone without using any floor space.
What is the best height for wall hooks?
Wall hooks should be placed between 36 and 42 inches for keys and small bags, and 60 to 65 inches for coats and backpacks. This tiered approach allows you to organize items by height for better accessibility.
Are floating shelves sturdy enough for heavy items?
Floating shelves are highly durable if installed correctly using wall anchors or mounted directly into wall studs. They are designed to hold lightweight everyday items like mail, wallets, and keys, typically supporting 10 to 20 pounds depending on the mounting hardware.
How can I make a small entryway look bigger?
Use a large mirror or a mirrored cabinet to reflect light and create the illusion of extra space. Keeping the floor clear of items and using vertical storage instead of furniture with legs will also help the area feel airy and open.
Can renters use these entryway storage tips?
Yes, renters can use command-strip wall hooks, over-the-door storage systems, and magnetic strips that require no drilling. These options are fully removable, making them perfect for temporary or leased living spaces.