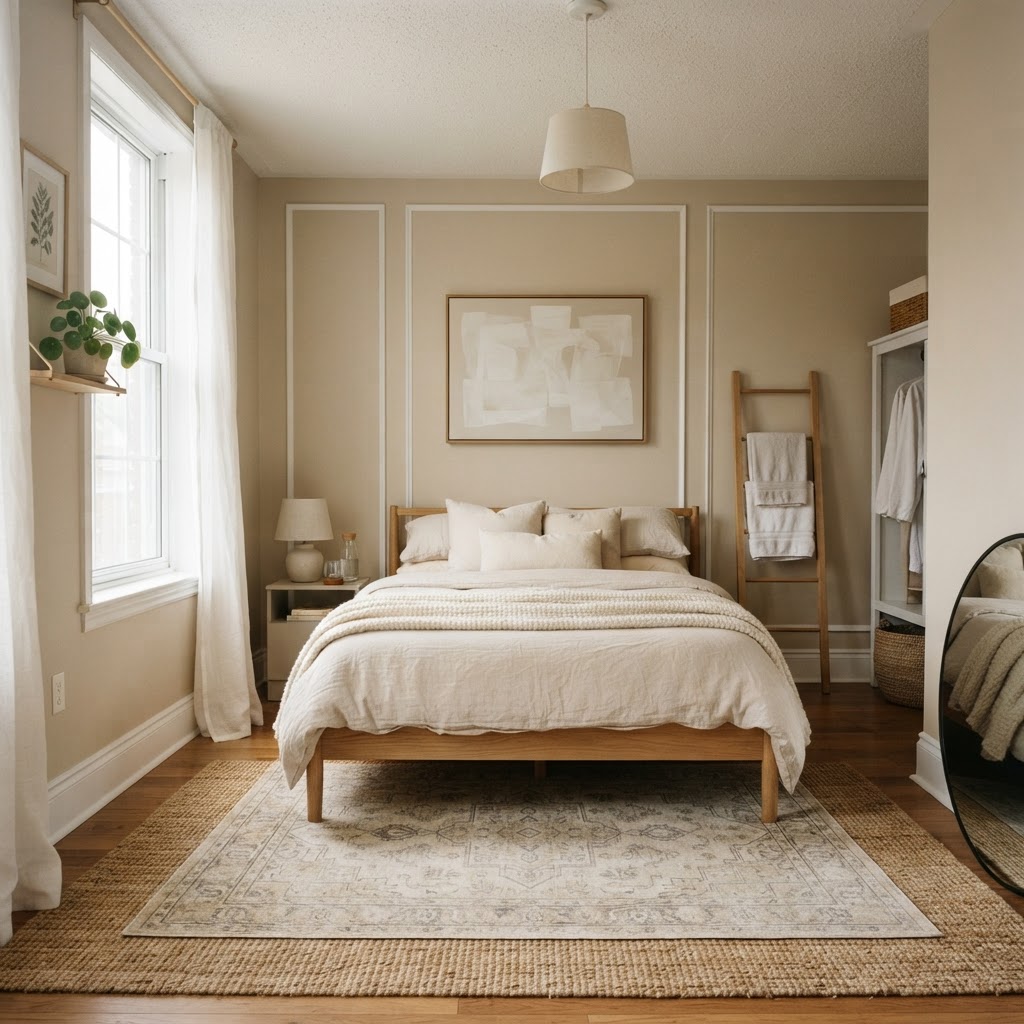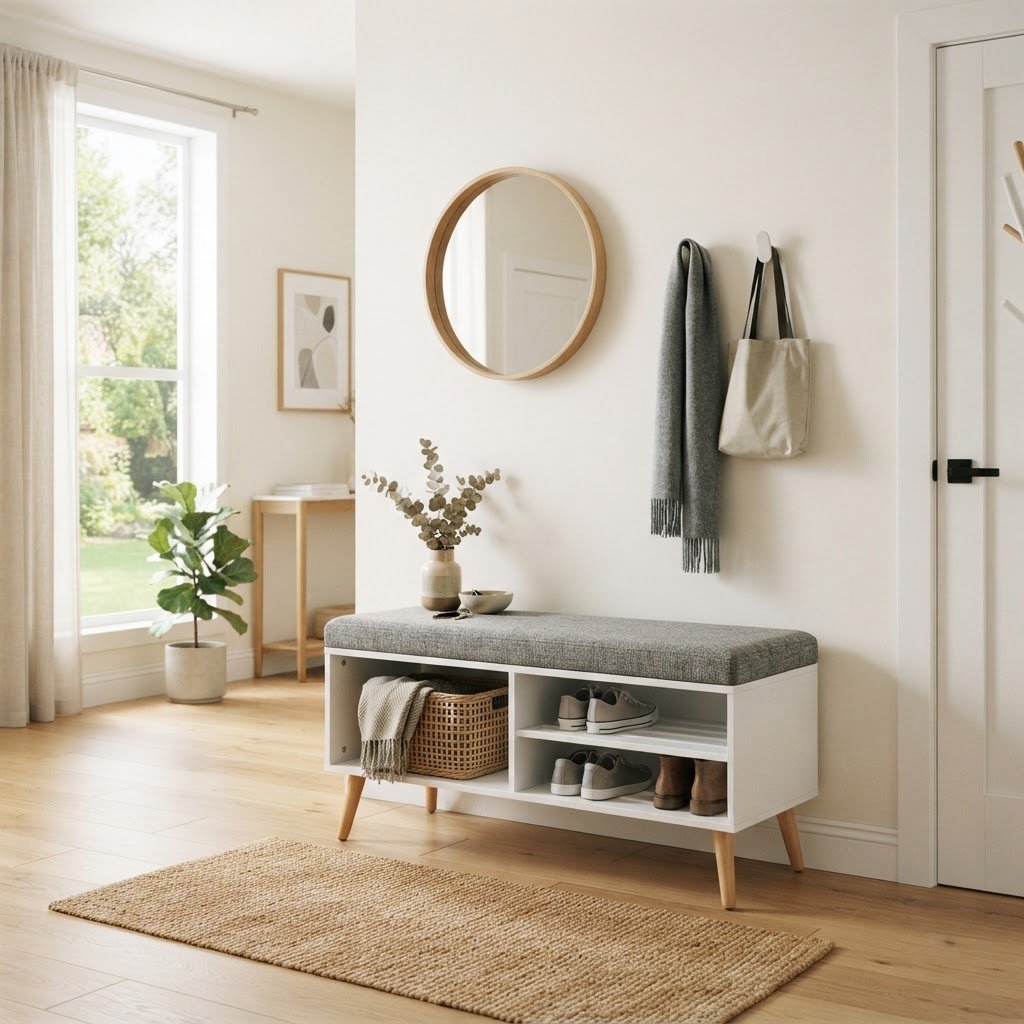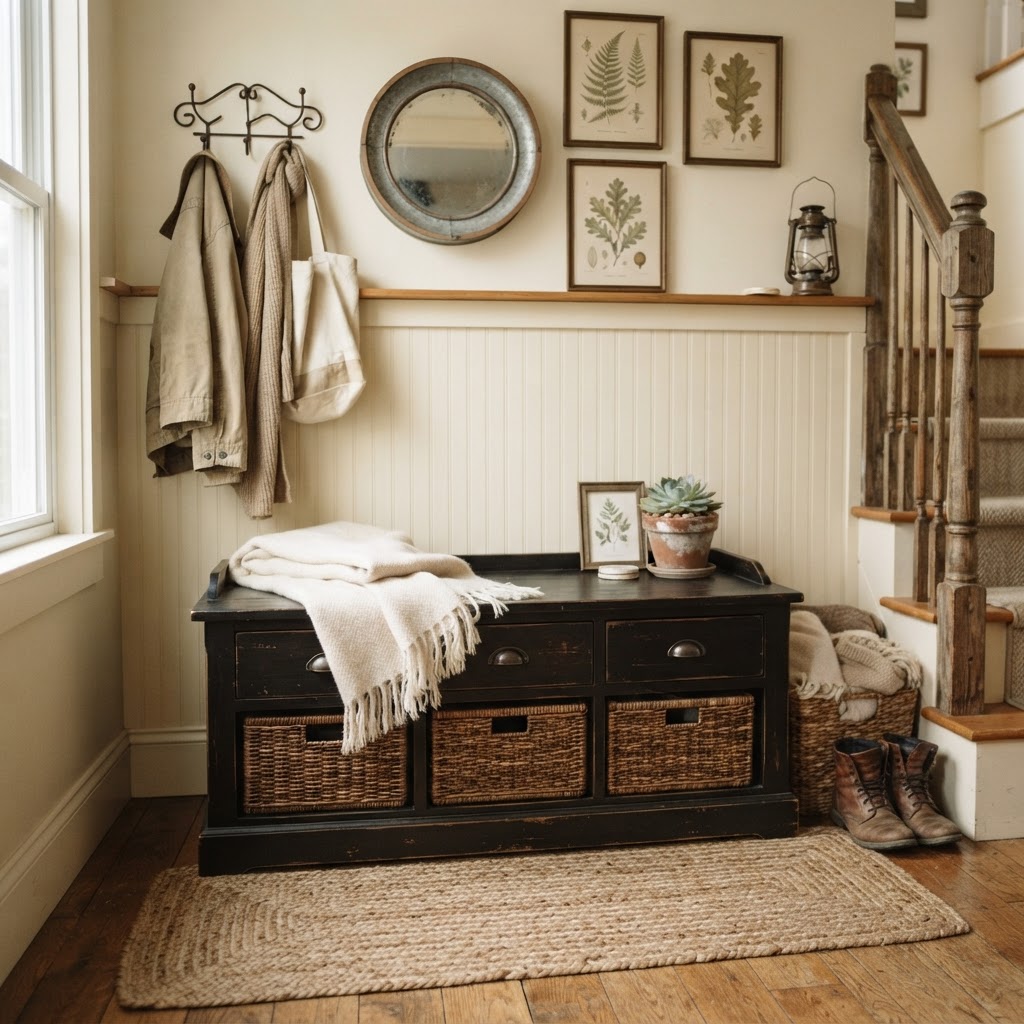
Archives August 2026

Peel-and-Stick Backsplash Ideas for a Custom Rental Kitchen

Peel-and-stick backsplashes provide an affordable, reversible way to upgrade a rental kitchen by applying high-quality, adhesive-backed tiles directly over existing surfaces. By choosing 3D gel-coated materials, thoroughly degreasing your walls, and adding 15% extra material for cuts, you can achieve a professional, custom look that peels off easily without damaging the original drywall when your lease ends.

Why Peel-and-Stick Backsplashes Are Perfect for Renters
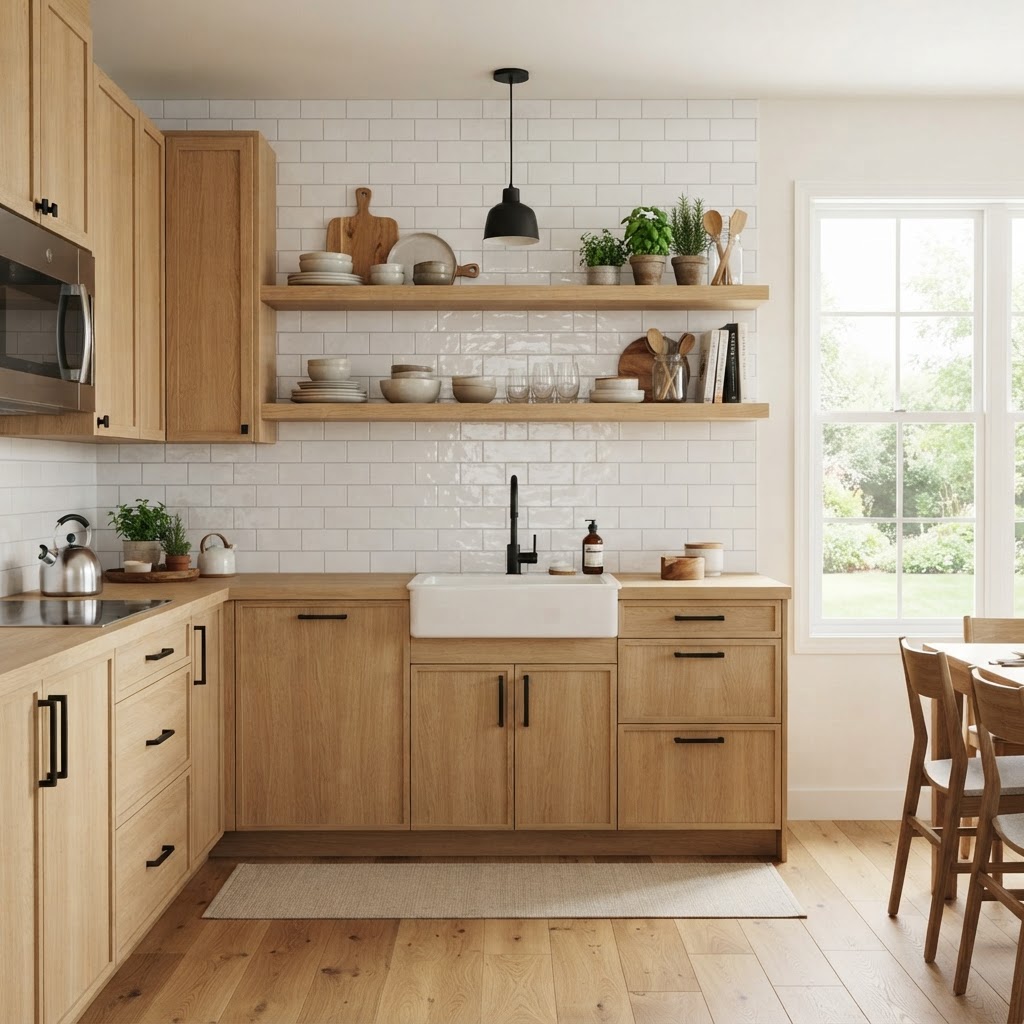
A clean, classic subway tile look elevates this small kitchen.

Peel-and-stick backsplashes serve as the ideal renter-friendly renovation because they eliminate the need for mortar, grout, or heavy construction tools. Unlike permanent tile installations that cost upwards of $15–$50 per square foot for materials and professional labor, adhesive tiles typically range from $5 to $12 per square foot and require only basic hand tools like a utility knife and a level. These products are engineered to adhere to smooth, sealed surfaces including painted drywall, glass, or existing laminate backsplashes, providing a high-impact visual update that can be completed in a single afternoon. Because these tiles are lightweight and thin, they do not add significant bulk to your wall depth, ensuring they fit seamlessly behind existing outlet covers and light switches without needing to extend electrical boxes.

Feature Traditional Tile Peel-and-Stick Tile
Installation Time 2–4 Days 3–6 Hours
Total Cost (Avg) $500–$1,500+ $100–$300
Skill Level Pro / Experienced DIY Beginner
Reversibility None (Permanent) High (Heat-removable)

For many renters, the kitchen is often the least inspired room in the home, featuring outdated linoleum or plain white walls that lack character. The primary advantage is the low barrier to entry. You do not need a saw, a wet tile cutter, or a professional contractor to get started. Most renters find that they can complete an entire kitchen wall in just one weekend. Furthermore, because these products are thin and lightweight, they don’t compromise the existing structure, making them the gold standard for temporary kitchen upgrades that don’t look temporary.

Choosing the Right Style for Your Kitchen Aesthetic
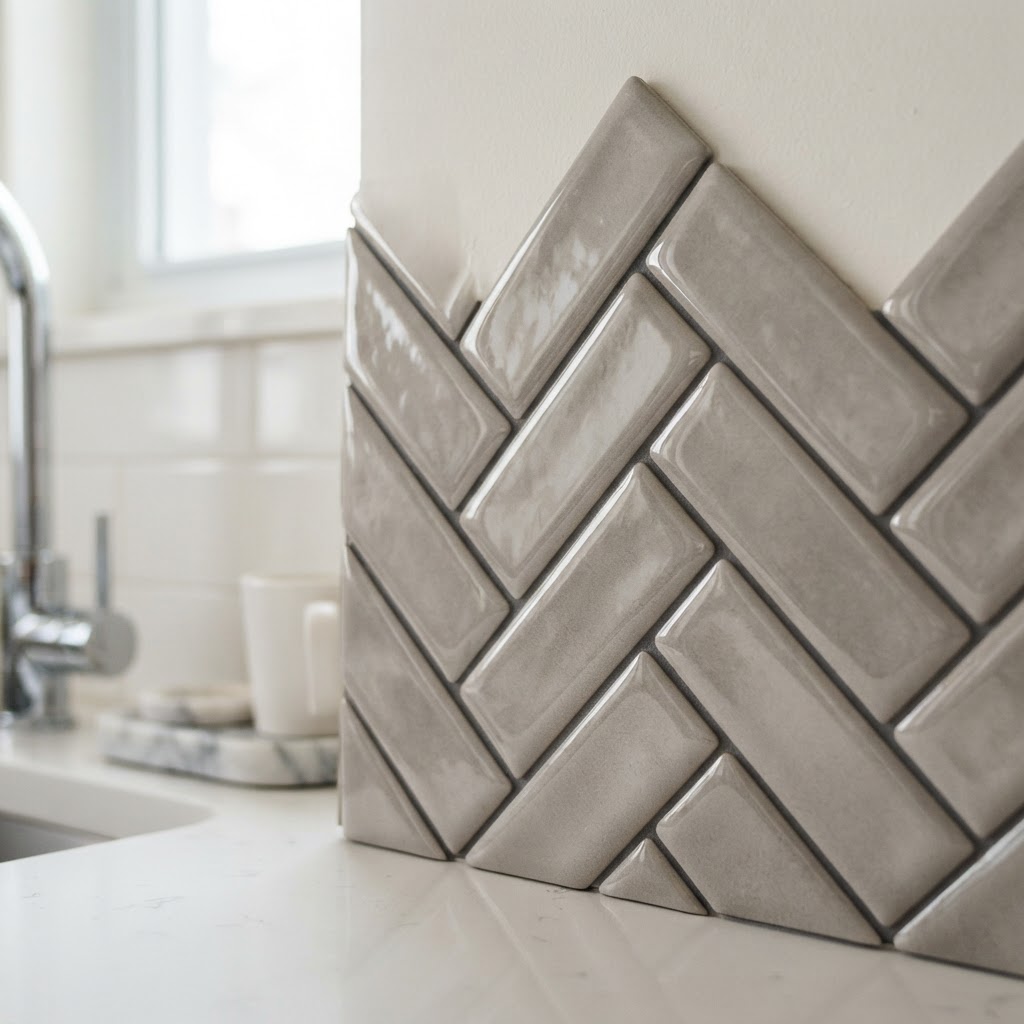
Textured 3D tiles create a realistic, custom appearance.

Selecting the right style requires balancing your personal design preferences with the existing constraints of your rental kitchen’s countertops and cabinetry. To avoid a “cheap” plastic appearance, prioritize tiles with a matte or satin finish, as high-gloss vinyl often reflects light in a way that exposes the synthetic nature of the material. When selecting a pattern, consider the scale of your kitchen; large-format subway tiles can make a compact galley kitchen appear more spacious, while intricate geometric patterns act as a bold focal point in larger, neutral-colored kitchens. By opting for products that feature realistic grout lines and depth, you ensure the backsplash acts as a bridge that ties your kitchen elements together rather than looking like an added sticker.

Popular Trends in Adhesive Decor

Subway tile remains a classic choice for a reason. It is timeless, clean, and pairs well with almost every design style from industrial to farmhouse. If you want something more modern, consider geometric patterns or herringbone layouts. For a moody, high-end feel, matte black or deep navy tiles can turn a generic rental kitchen into a sophisticated culinary space that feels professionally designed.

The Importance of Texture

Texture is the difference between a “cheap-looking sticker” and a “custom tile job.” When shopping, search for 3D gel-coated tiles rather than flat 2D wallpaper prints. The gel coating adds physical depth, allowing light to hit the surface naturally, which tricks the eye into thinking you have installed real glass or ceramic tiles.

Preparing Your Surface for Success
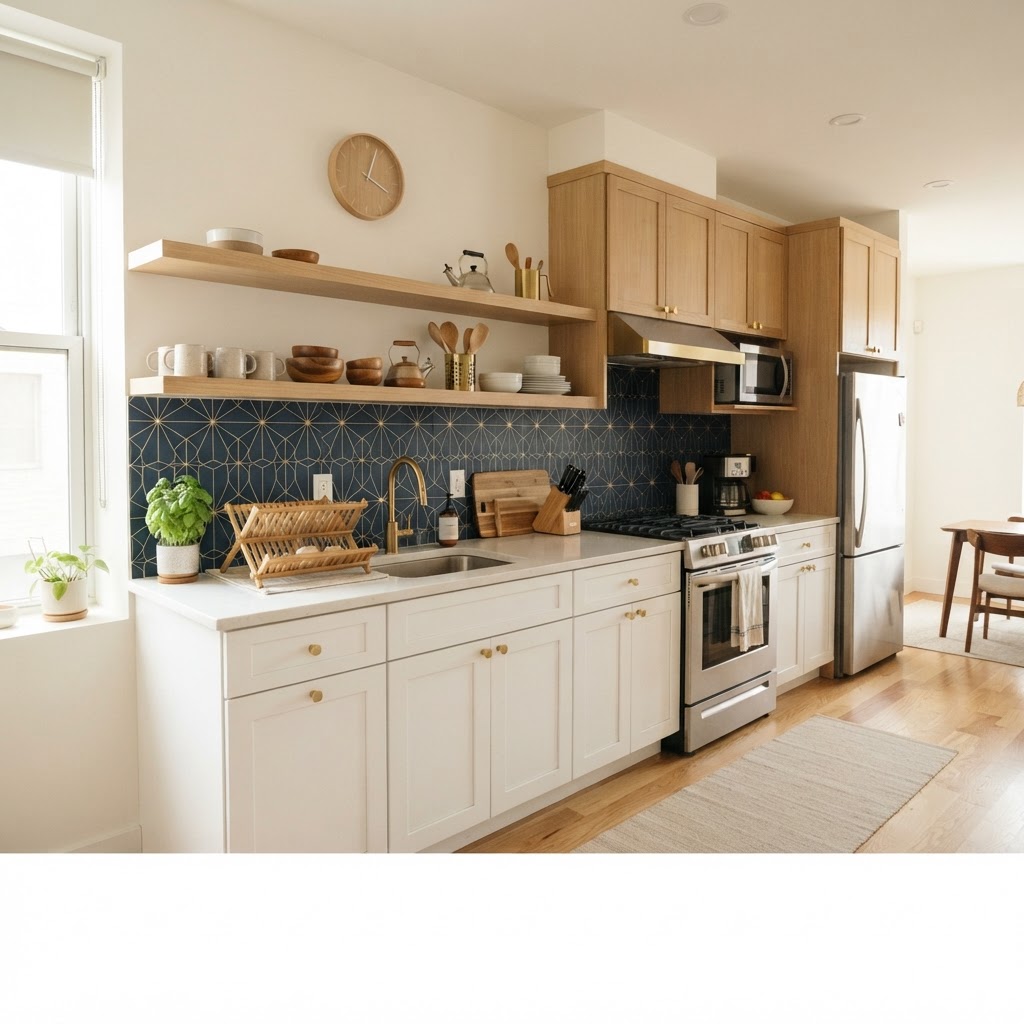
Bold patterns make a small kitchen feel like a high-end design project.

Surface preparation is the single most critical factor in preventing premature peeling, edge curling, or sagging in high-humidity kitchen environments. Because kitchen walls accumulate microscopic layers of grease from cooking, a standard dusting is insufficient; you must use a heavy-duty degreaser such as TSP (Trisodium Phosphate) or a concentrated vinegar-and-dish-soap solution to ensure the substrate is completely sterile. Once cleaned, allow the wall to dry for a minimum of 12 to 24 hours to ensure no moisture remains trapped in the pores of the paint, as trapped humidity can break the bond of the pressure-sensitive adhesive. If your walls are porous or heavily textured, consider applying a thin layer of primer first to create a smooth surface that allows for a permanent grip during your lease term.

The Cleaning Protocol

Use a degreasing cleaner to wipe down your walls thoroughly. Kitchens are prone to microscopic grease splatters that are invisible to the naked eye but catastrophic for adhesives. After degreasing, wipe the wall with a damp cloth to remove any soap residue and let the surface dry completely. This step is critical; moisture trapped behind the adhesive can lead to mold or structural failure of the bond.

Measuring and Planning Your Layout
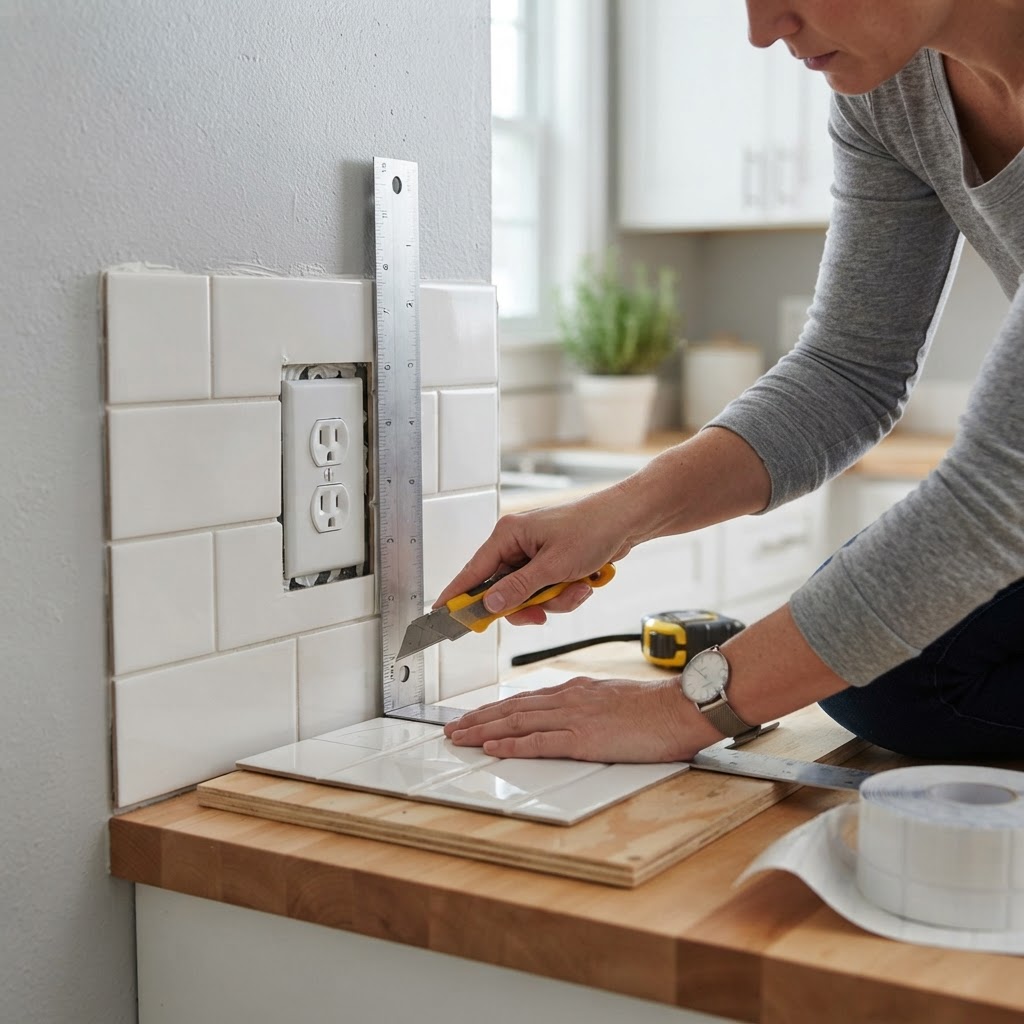
Precision is key when cutting around outlets for a built-in finish.

Accuracy in your initial measurement phase prevents the common error of running out of tiles from the same “dye lot,” where color variations between manufacturing batches can create visible seams in your project. To calculate your needs, measure the width and height of the wall space to be covered, multiply them to get total square footage, and then add a 15% buffer to account for awkward corners, outlet cutouts, and edge trimming. When planning the layout, start your first tile in a prominent, eye-level location or centered above the stove to ensure the pattern looks balanced, working outward toward the edges of the cabinets. Always check the manufacturer’s batch number on each package; installing tiles from different lots is the most common cause of mismatched aesthetic results in DIY projects.

Tips for Precision Cutting

Use a sharp utility knife and a metal straight edge to make your cuts. Peel-and-stick sheets are relatively easy to trim, but take your time around outlets and switches. For the best result, remove your outlet covers before starting and replace them once the tile is installed to ensure a seamless, built-in appearance that hides all your edges perfectly.

Styling Your New Kitchen for a Custom Look

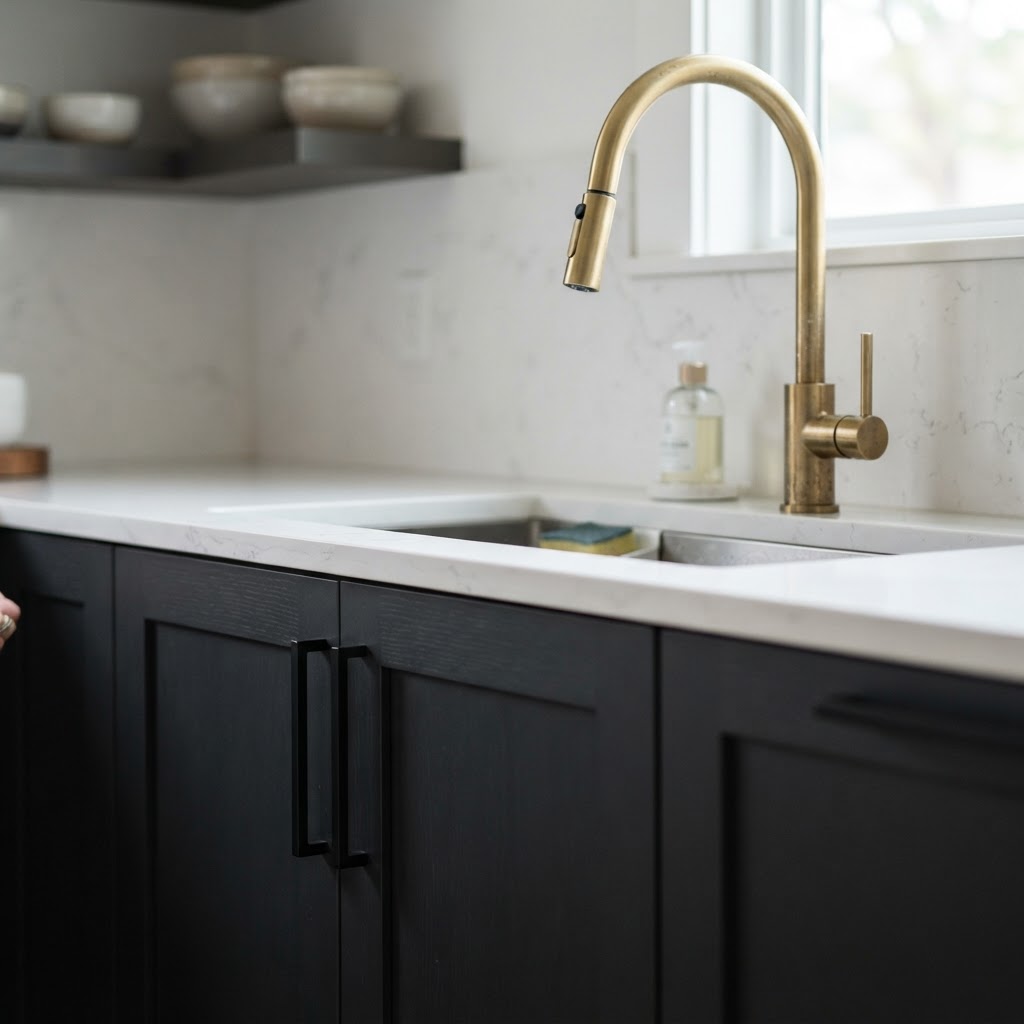
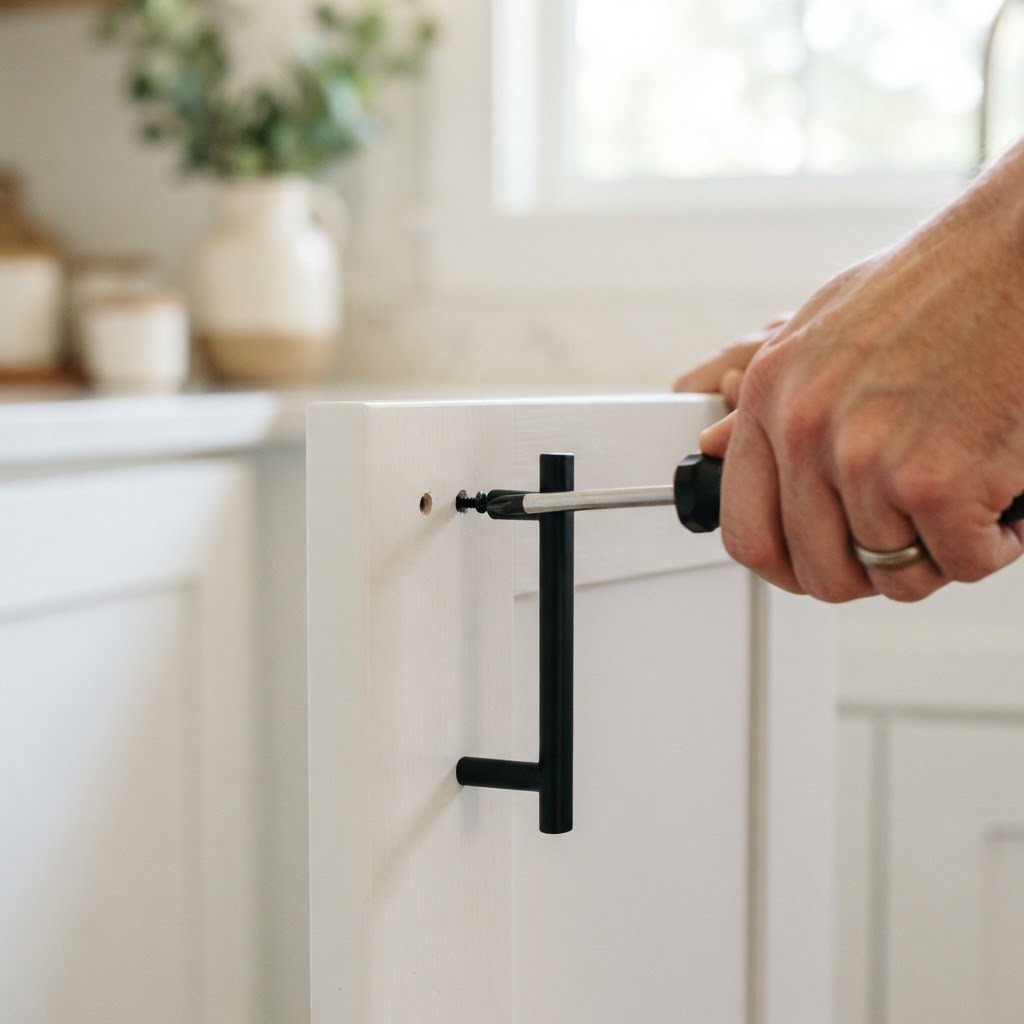
Once your new backsplash is installed, the rest of the kitchen needs to harmonize with it. A new backsplash is a focal point, but it should be supported by your accessories. Consider swapping out cheap, builder-grade cabinet hardware for something more substantial in a finish that matches your new tile aesthetic, such as brushed brass or matte black pulls. By upgrading hardware (which can be swapped back before moving out), you amplify the high-end feel of the new tile work.

Balancing Function and Design

Display a few curated items on your counters, such as a wooden cutting board, a marble fruit bowl, or high-quality glass storage jars. By limiting the clutter on your counters, you allow the beautiful texture of your new backsplash to take center stage. Remember, the goal of a custom kitchen is intentionality; every item on your counter should look like it was placed there for a specific reason.

Maintenance and Removal Tips

Maintaining the longevity of your peel-and-stick backsplash involves daily habits that prevent adhesive degradation, primarily by keeping the surface away from direct, high-heat sources like open flames. If the backsplash is behind a gas range, ensure there is at least 15 inches of clearance between the burner and the tile to prevent the adhesive from melting or the edges from lifting over time. When it is time to move, the removal process is straightforward: use a hair dryer on a medium-heat setting to warm the tiles, which softens the adhesive and allows them to be pulled away gently. If any sticky residue remains on the wall, a simple citrus-based adhesive remover will clear the surface, leaving it in its original condition so you can secure your full rental deposit return.

FAQ

Q: Do peel-and-stick tiles damage rental walls?

High-quality peel-and-stick tiles are designed to be removable and typically do not damage standard painted drywall if removed correctly. By using a hair dryer to heat the adhesive before peeling, you soften the bond, which prevents the tile from pulling off pieces of the underlying paint or plaster.

Q: Can I put peel-and-stick tiles over existing backsplash tiles?

Yes, you can install peel-and-stick tiles over existing smooth ceramic tiles provided the surface is clean, dry, and flat. However, you must fill the existing grout lines with a thin layer of spackle or a leveling compound first; otherwise, the grout indentations will show through the adhesive tiles.

Q: How long do peel-and-stick backsplashes typically last?

With proper preparation and cleaning, most quality adhesive backsplashes can last between 3 to 5 years in a kitchen environment. Factors such as proximity to intense heat sources and exposure to moisture will determine if the tiles maintain their bond over the long term.

Q: Can these tiles be installed behind a gas stove?

Most manufacturers recommend at least 15 inches of clearance between a gas range and the adhesive tile to prevent heat damage. Always check the specific heat-resistance rating provided by the manufacturer, as some premium gel-tiles are specifically fire-rated for closer proximity to cooktops.

Q: How much extra material should I buy for a project?

You should purchase at least 10–15% more material than your measured square footage to account for trimming errors and complex cutouts around outlets. Buying the extra material in the same order ensures that all tiles come from the same production lot, preventing noticeable color shifts in your final layout.
15 Small Cozy Bedroom Ideas Perfect for Tiny Spaces

15 Small Cozy Bedroom Ideas Perfect for Tiny Spaces

To make a small bedroom feel cozy and spacious, prioritize vertical storage, use multifunctional furniture like storage beds, and implement a light, monochromatic color palette to reflect light. These targeted design strategies transform cramped quarters into functional, stylish sanctuaries by maximizing every square inch of your limited floor plan.

Maximizing Vertical Space for Storage

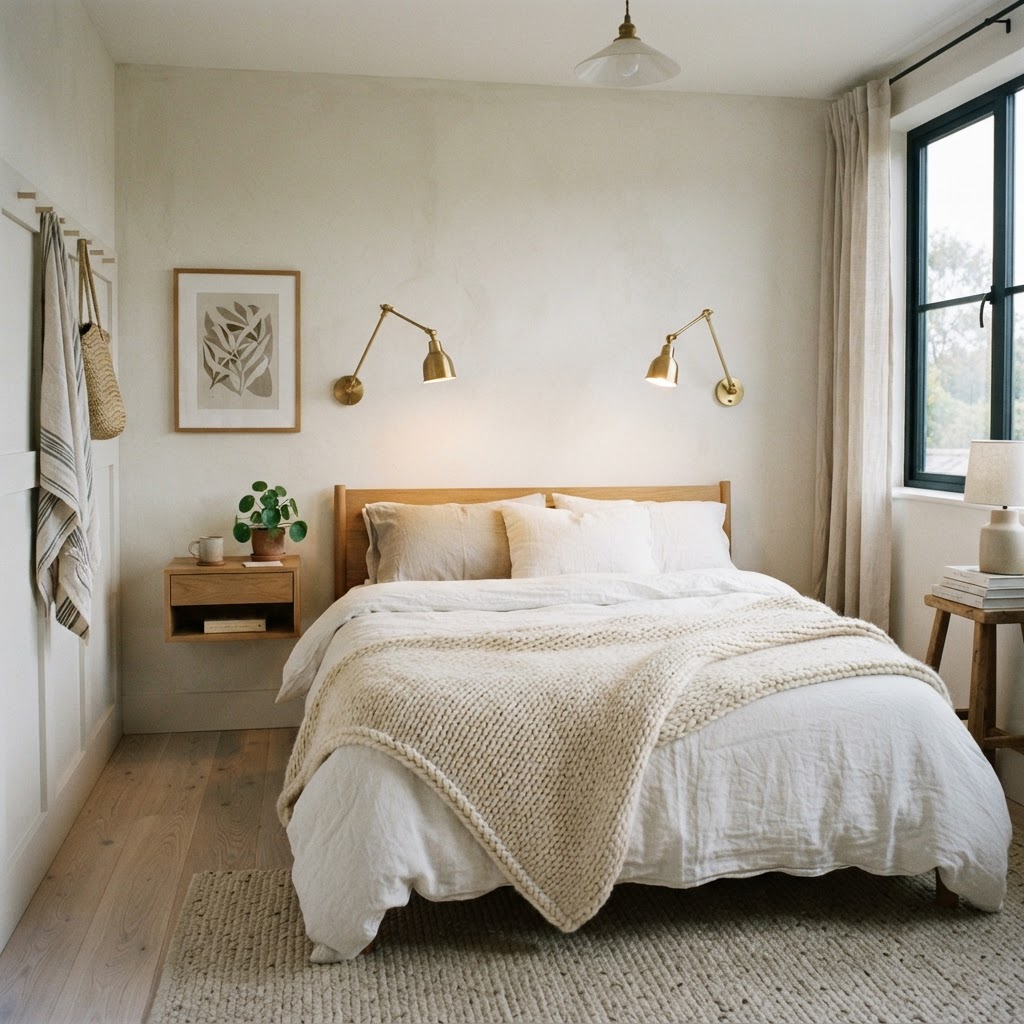
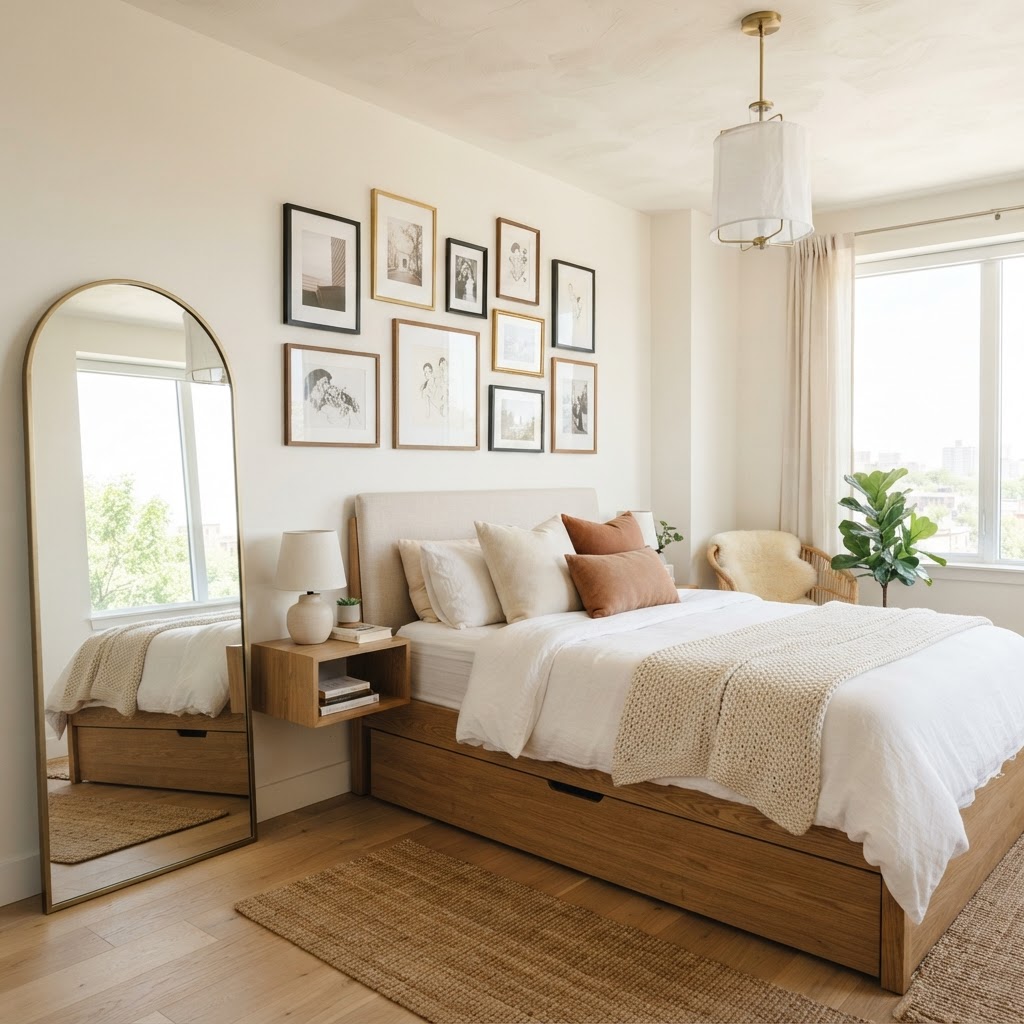
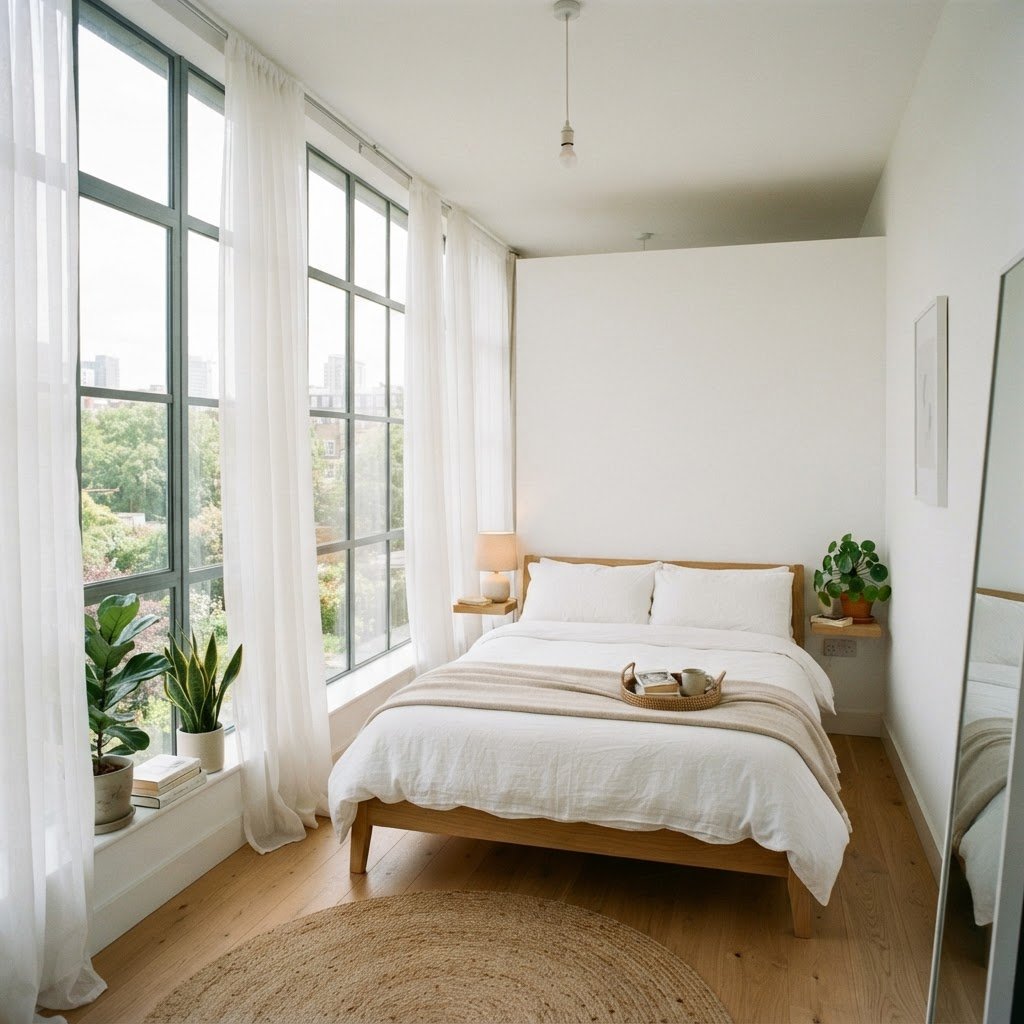
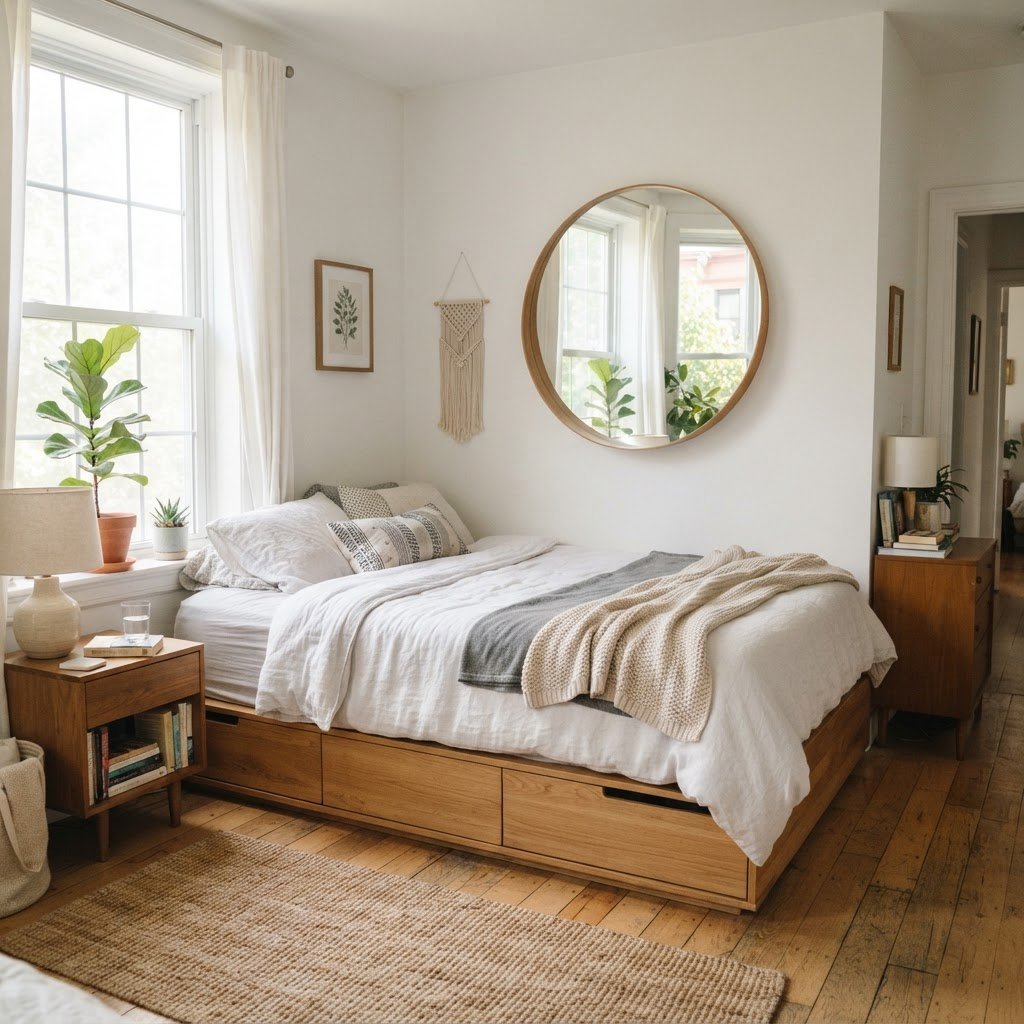
Bright, minimalist bedroom layout using mirrors and light tones to maximize space.

In a tiny bedroom, your greatest asset is the wall space that often goes overlooked, allowing you to reclaim floor area for better flow. Installing floating shelves exactly 12 to 18 inches above your headboard or desk creates essential storage for books and bedside necessities without encroaching on your walking path. Floor-to-ceiling wardrobes, which typically offer 30% more storage than standard units, draw the eye upward, giving the illusion of a taller room while providing ample space to hide clutter. Consider custom cabinetry that utilizes the full height of your walls, often up to 9 or 10 feet, to effectively store seasonal items that would otherwise occupy precious closet floor space.

Storage Solution Benefit Best For
Floating Shelves Adds surface area without footprint Books, plants, decor
Vertical Wardrobes Maximizes ceiling height Clothing, linens
Under-Bed Drawers Hidden storage utility Shoes, seasonal items

The Power of Wall-Mounted Furniture

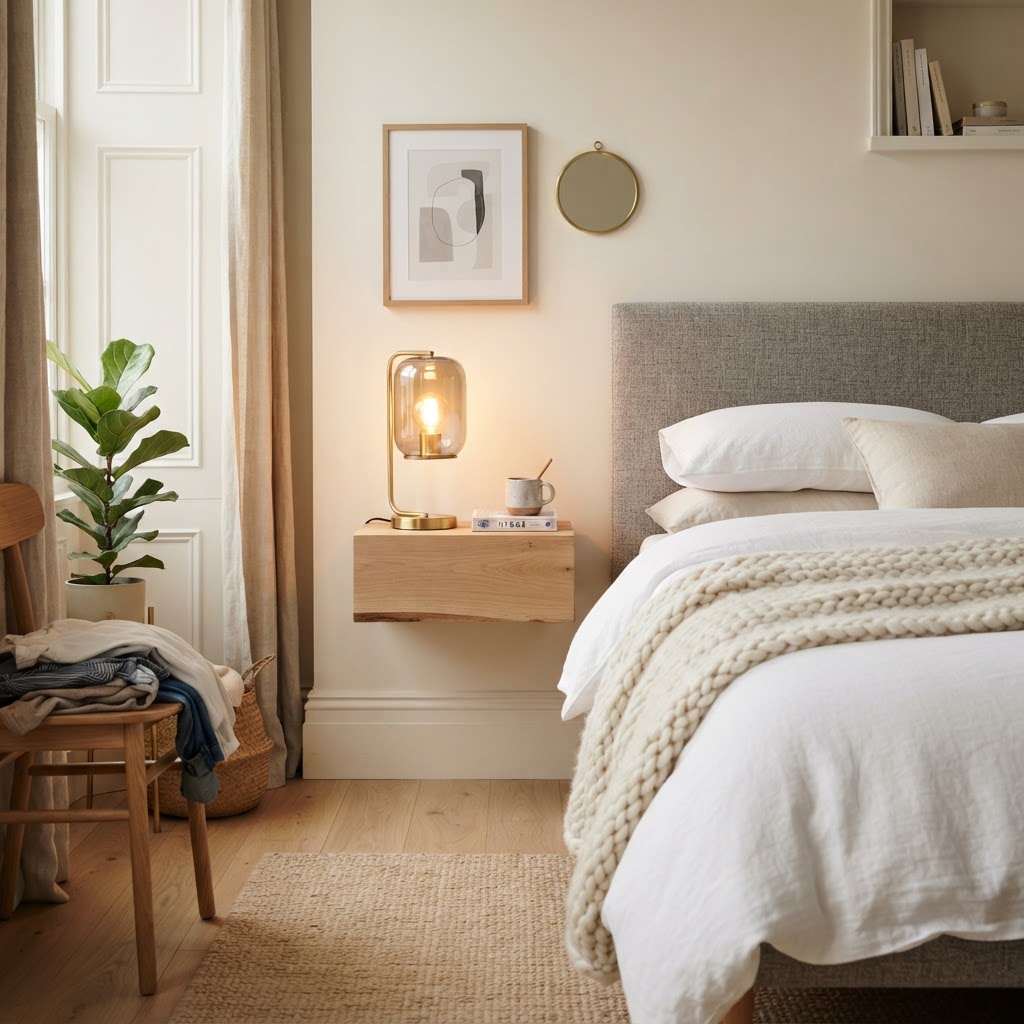
Wall-mounted bedside tables are a game changer because they open up floor sightlines, which psychologically makes a room feel larger. By removing the bulky legs of traditional nightstands, you reclaim roughly 2 to 4 square feet of floor space, which creates a cleaner, more spacious look. Integrate multi-functional pieces like a drop-leaf desk that folds flush against the wall when not in use; this flexibility is vital for multi-purpose rooms where your sleeping area must also serve as a professional home office. Studies suggest that reducing furniture “ground contact” increases the perception of space by up to 15% in compact environments.

Selecting the Perfect Color Palette

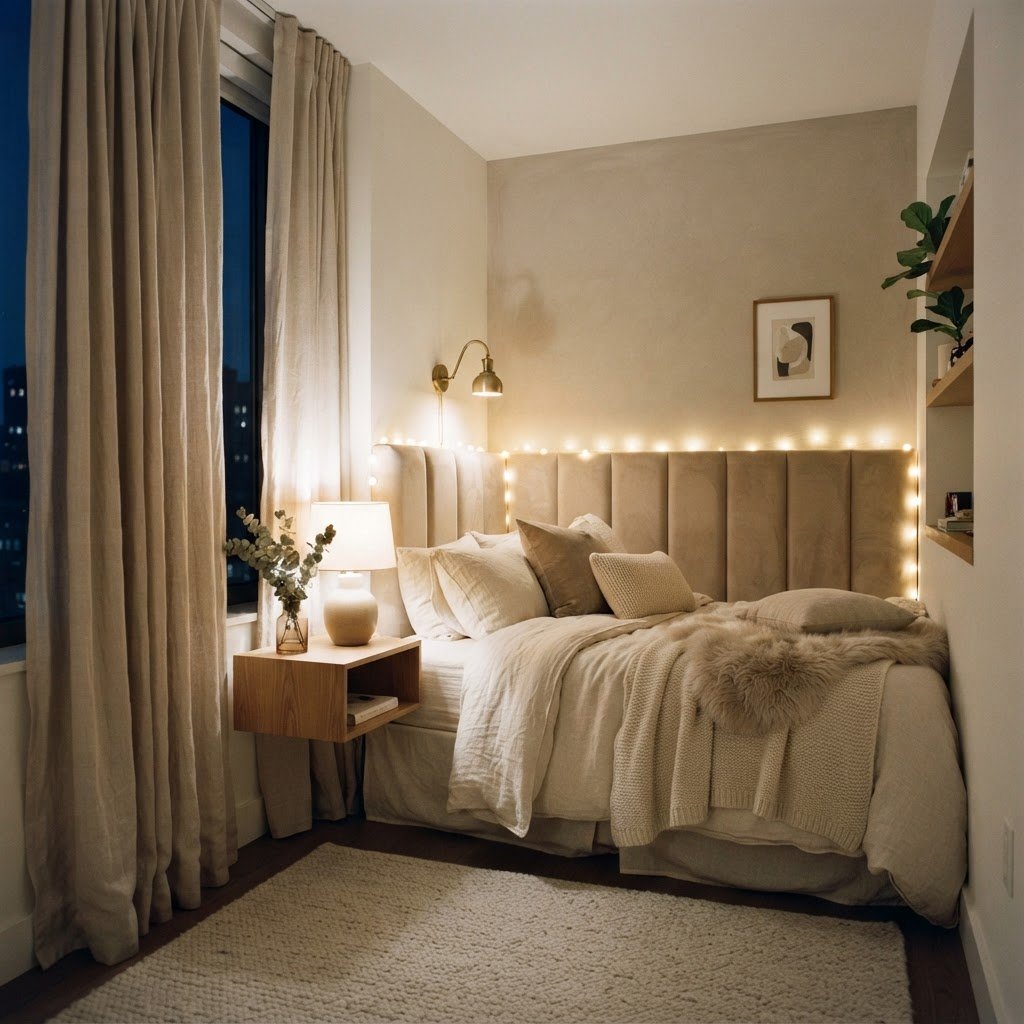
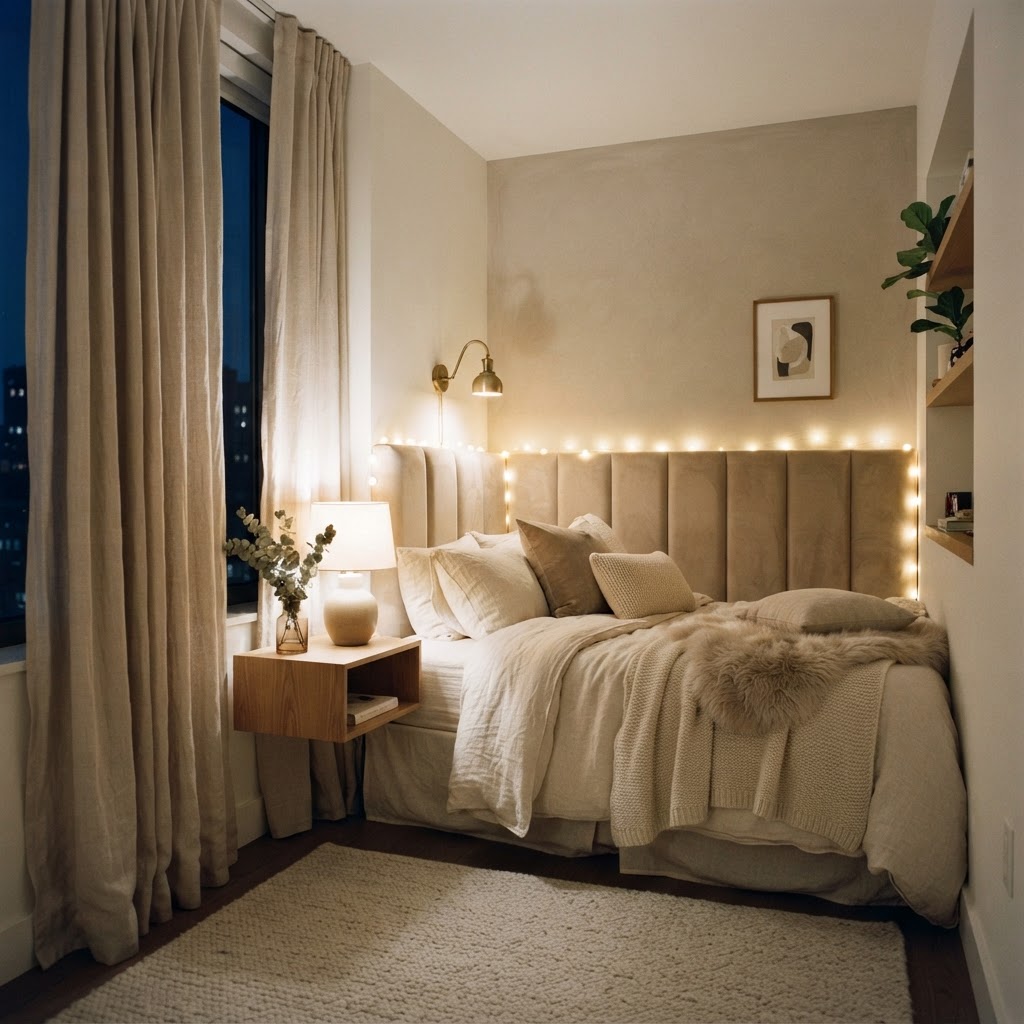
Using wall-mounted fixtures and textures to create a cozy, high-end feel.

Light colors serve as the primary tool in interior design for reflecting natural light and expanding the perceived dimensions of a room. White, cream, soft greys, and light pastels provide a high Light Reflectance Value (LRV), which helps bounce sunlight into darker corners, making your room feel significantly more open. However, small cozy bedroom ideas are not limited to stark whites. You can introduce sophistication by using a monochromatic color scheme or by painting a single accent wall in a warmer, darker hue; this creates a sense of cocoon-like intimacy that feels intentional rather than cramped. Research shows that keeping a 60-30-10 color ratio (dominant, secondary, and accent colors) prevents visual clutter in rooms under 100 square feet.

Creating Illusion with Mirrors

Strategic mirror placement is essential for tricking the eye into seeing more depth. A floor-length mirror leaning against a wall or a large mirror mounted above a dresser can bounce ambient light around the room, effectively doubling the perceived illumination. When a mirror reflects an outside window or an open doorway, it provides an illusion of a “second room,” making the space feel less like a box. For the best impact, position mirrors perpendicular to windows rather than directly across to prevent harsh glares while maximizing natural light dispersion throughout the day.

Clever Bedding and Furniture Choices

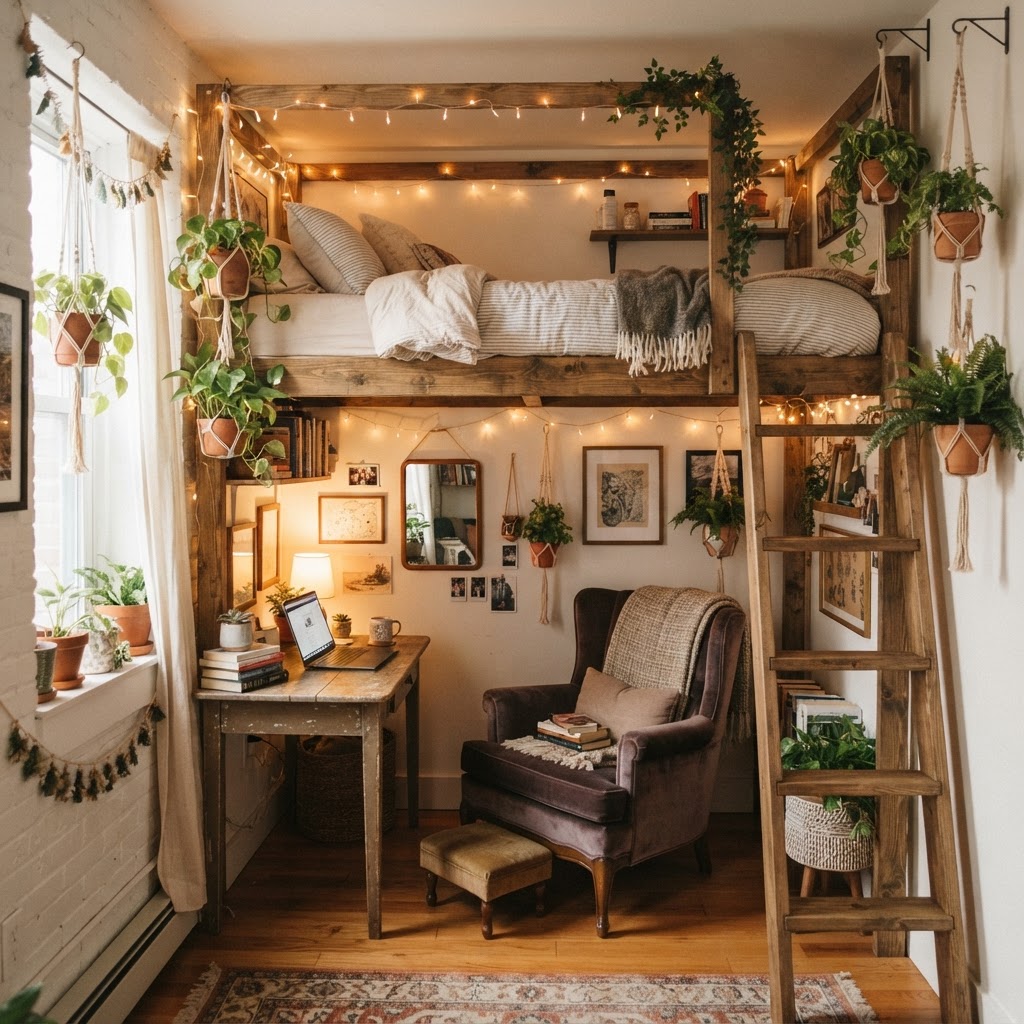
A functional loft setup that utilizes vertical height to create a multi-purpose room.

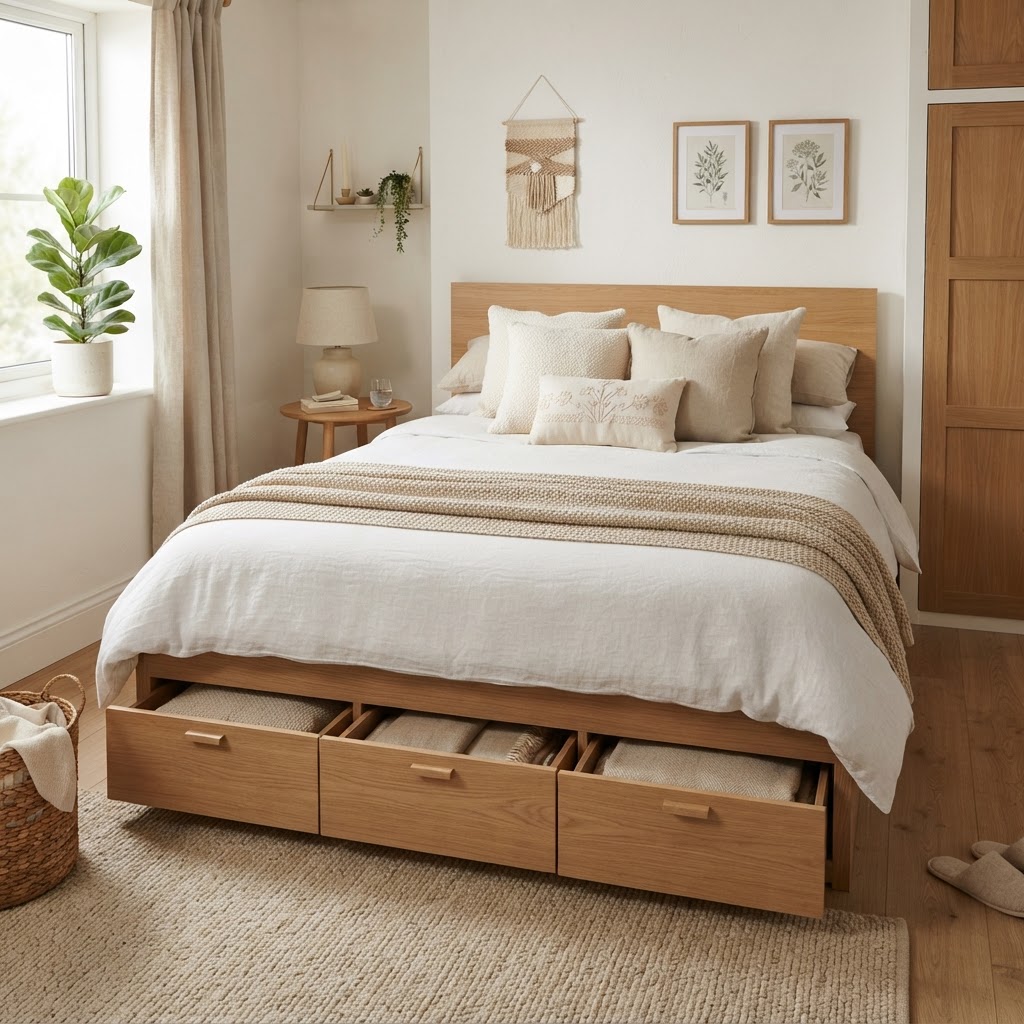
Your bed is typically the largest object in your room, so it must be selected with extreme intention to preserve your square footage. A platform bed with built-in storage drawers beneath the mattress eliminates the need for bulky dressers, often saving an entire footprint of 6 to 8 square feet. If you are starting from scratch, consider a daybed or a loft bed—provided your ceiling height exceeds 8 feet—which opens up the entire floor underneath for a dedicated reading nook or a productive workstation. Keeping your bedframe streamlined ensures that the room maintains a sense of flow rather than feeling packed with heavy, oversized headboards or ornate frames.

Incorporating Smart Lighting Solutions

Lighting plays a pivotal role in setting the atmosphere and masking the limitations of small rooms. In a compact bedroom, avoid relying solely on a single overhead light, which can create harsh shadows in corners and make the space feel significantly smaller. Instead, layer your lighting: use wall sconces on either side of the bed to save surface space, or utilize clip-on lamps for a modern, functional approach. Warm bulbs, typically rated between 2700K and 3000K, enhance the cozy factor, making the environment feel more like an upscale hotel suite. Properly layered lighting can trick the brain into ignoring room boundaries, focusing instead on the highlighted zones of the bedroom.

The Importance of Dimmable Switches

Installing dimmers allows you to adjust the room’s mood instantly and serves as a low-cost, high-impact upgrade. Whether you are reading, getting ready for the day, or winding down for sleep, being able to lower the light intensity helps signal your body that it is time to rest. This small upgrade costs under $30 for a standard switch and significantly increases the utility and luxury feel of your bedroom without requiring major structural renovations.

Texture and Layers for Coziness

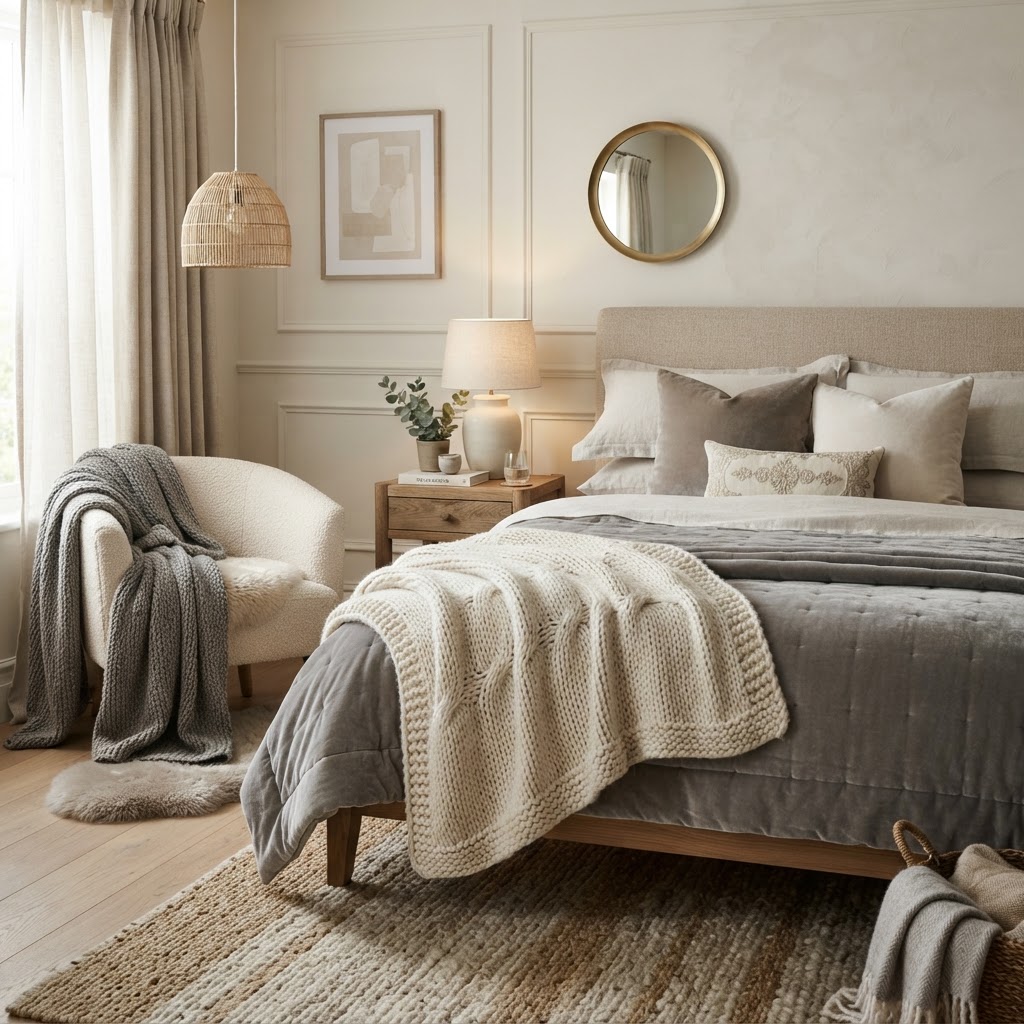
Even when you lack space for excess furniture, you can make a bedroom feel rich and layered by focusing on tactile textures. A small cozy bedroom relies on these layers to provide character, such as chunky knit throw blankets, velvet pillows, and high-pile rugs. When the room lacks space for decorative figurines or large art, the materials you use for your bedding and window treatments become the primary focal point of the design. Stick to a cohesive, monochromatic color palette to ensure these layered elements provide depth and comfort without creating visual chaos, which is essential for maintaining a restful environment in tight quarters.

Essential Organization Strategies

Clutter is the primary enemy of a small bedroom, and maintaining clear surfaces is the fastest way to make a room appear twice its size. Use under-bed storage containers to organize seasonal clothing, shoes, or extra bedding, which keeps the floor surface visible and uncluttered. Inside your closet, maximize space with double-hanging rods and vertical organizers; this can increase your hanging capacity by up to 50% compared to a single rod. If you lack a traditional closet, consider a stylish garment rack that displays your curated wardrobe, turning your everyday clothes into a functional decor element that adds personality to the room.

5 Pro Tips for Tiny Bedroom Layouts

  • Keep your walkway clear to maintain an easy flow throughout the room, ideally leaving at least 24 inches of clearance.
  • Use oversized art pieces rather than a cluster of small pictures to avoid a cluttered look and anchor the room.
  • Choose furniture with exposed legs to show more floor and increase the perception of space by revealing the ground beneath.
  • Utilize the back of your bedroom door for hanging robes, bags, or jewelry using over-the-door storage hooks.
  • Maintain a strictly curated collection of items; use the “one-in, one-out” rule for every new item you bring into your space.

FAQ

How can I make a tiny bedroom look bigger?

To make a tiny bedroom look bigger, use light-reflecting colors like white or soft pastels and position large mirrors to bounce natural light. Additionally, keeping the floor clear by using wall-mounted furniture and vertical storage creates an airy, open atmosphere that expands the visual footprint of the room.

What is the best bed for a small bedroom?

A platform bed with built-in storage drawers or a loft bed is the best choice for small bedrooms. These options eliminate the need for bulky dressers and utilize the space beneath the mattress, providing maximum storage without adding physical clutter to your limited floor space.

How do you organize a bedroom with no closet?

If you have no closet, use a stylish garment rack to display clothes as decor and install wall-mounted hooks for bags or accessories. Incorporating under-bed storage bins and vertical shelving units allows you to hide essentials out of sight while keeping your room looking organized and intentional.

How many light sources should a small bedroom have?

A small bedroom should have at least three light sources to create a layered, cozy environment. Use a combination of ambient overhead lighting, wall sconces for reading, and subtle accent lighting to eliminate harsh shadows and create the illusion of a larger, more sophisticated space.

Is it okay to use dark colors in a small bedroom?

Yes, it is perfectly fine to use dark colors in a small bedroom, especially on a single accent wall. While light colors expand space, a rich, dark hue can create a sense of cocoon-like depth and intimacy that makes a tiny bedroom feel intentional and purposeful rather than just small.

Quick Budget Upgrades That Make Small Apartments Look Premium

Living in a cozy footprint doesn’t mean you have to sacrifice elegance or style. Many people believe that creating a high-end atmosphere requires a massive renovation budget, but that is far from the truth. With the right selection of quick budget upgrades that make small apartments look premium, you can transform a basic rental into a sophisticated sanctuary that feels intentionally curated and expensive.

Lighting: The Secret to Instant Sophistication

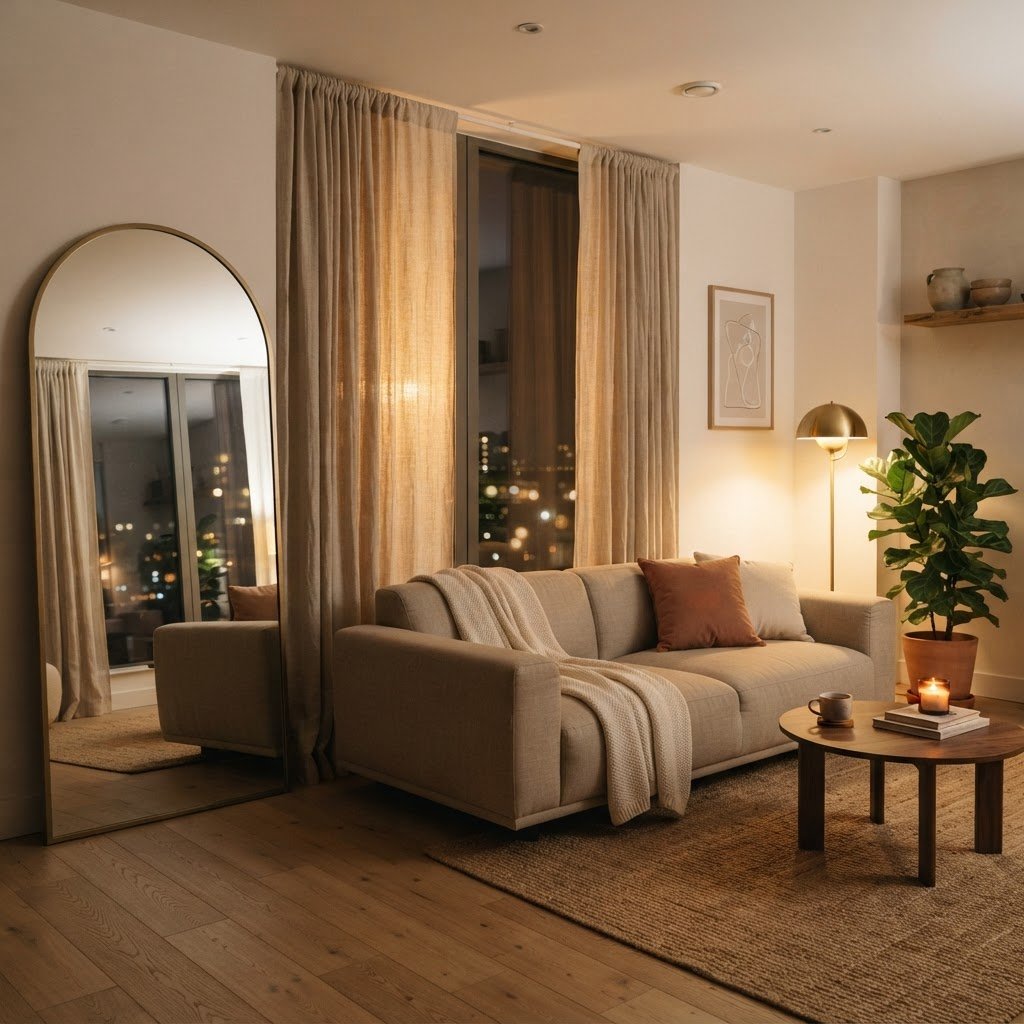
Use curtains and mirrors to maximize light and height.

Lighting is perhaps the most neglected element in apartment design. Most rental units come with harsh, builder-grade “boob lights” that cast unflattering shadows across the room. Replacing these fixtures with statement lighting is one of the most effective ways to change the mood of an entire space.

Why Ambient Lighting Matters

When you layer your lighting, you create depth and dimension. Instead of relying solely on the overhead light, incorporate floor lamps with warm-toned bulbs and table lamps on side tables. This creates a soft glow that makes even the smallest corner feel cozy and high-end.

If you cannot replace permanent fixtures due to lease restrictions, opt for plug-in wall sconces. These mimic the look of hardwired fixtures and can be installed with simple command strips or small nails. By choosing fixtures with brass, matte black, or geometric details, you elevate the aesthetic immediately.

Textile Magic and Layered Textures

Replacing cabinet hardware creates an instant high-end feel.

Textiles are the soft power of interior design. When a room feels flat, it is often because there is a lack of tactile variety. To achieve a luxury look, focus on mixing materials like linen, velvet, wool, and leather within your soft furnishings.

Curtains are a prime example of a small investment yielding massive results. Swap out cheap plastic blinds or flimsy curtains for long, heavy, floor-to-ceiling drapery. Installing the rod as close to the ceiling as possible draws the eye upward, giving the illusion of higher ceilings and larger windows.

Consider adding oversized throw pillows to your sofa. Don’t settle for the standard square cushions that come with the couch. Investing in feather-filled inserts and high-quality covers—especially those with textured fabrics like bouclé or heavy-weight linen—will make your furniture appear significantly more expensive than it is.

The Power of Strategic Mirrors

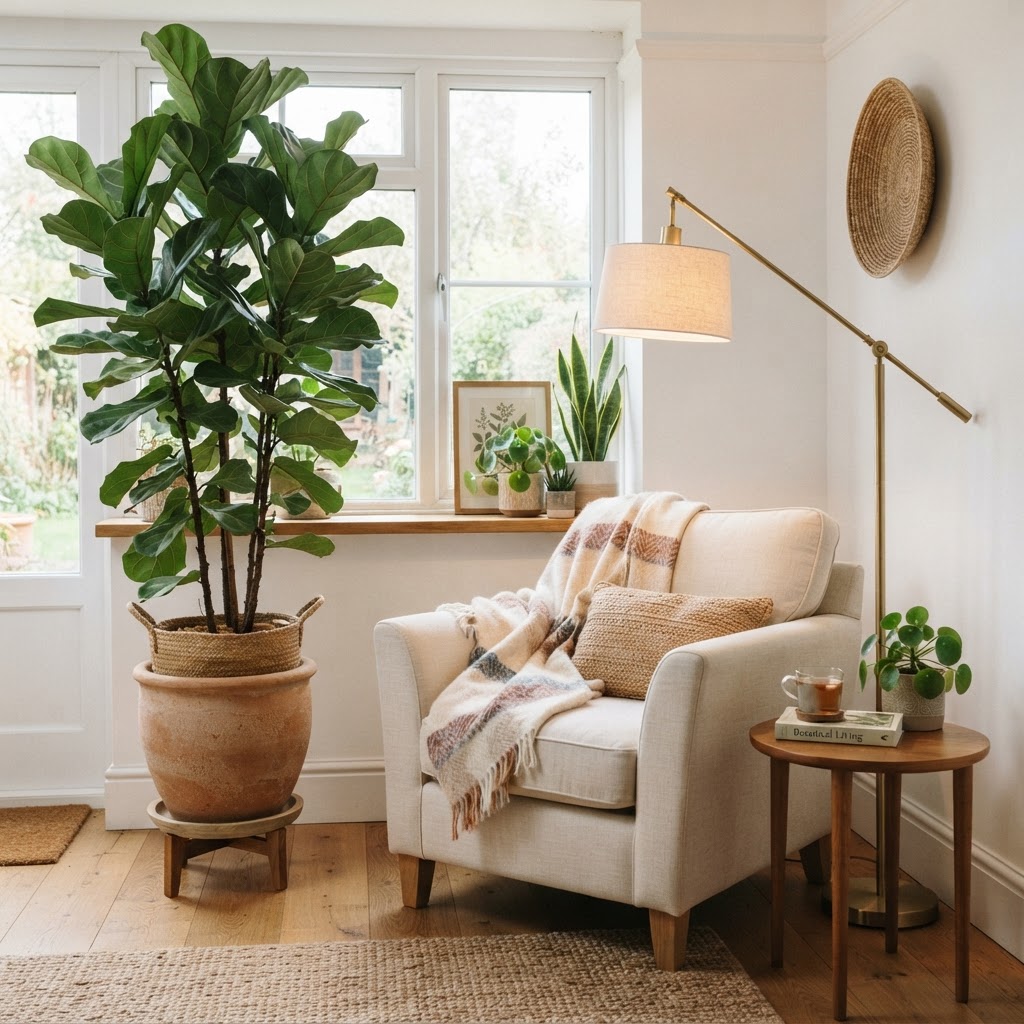
Large plants add life and texture to small spaces.

Mirrors are the oldest trick in the small-space handbook, but they are often utilized incorrectly. A tiny mirror hanging on a wall does very little to improve the overall flow of a room. To make a space look premium, you need to think about scale.

Opt for a massive floor-length mirror leaning against a wall or a very large wall-mounted piece that covers significant surface area. When you reflect natural light from a window back into the room, you effectively double the visual depth.

Choose mirrors with decorative frames—think antique gold, arched designs, or minimal thin black borders. These act as architectural features rather than just functional tools. In a small apartment, the reflection can create the illusion of a doorway or an extension of the room, making it feel much less claustrophobic.

Elevated Hardware and Fixtures

Layered textiles make a small bedroom feel like a boutique hotel.

If you are looking for budget upgrades that make small apartments look premium, never underestimate the power of your kitchen and bathroom hardware. Most landlords provide very basic, generic silver or chrome knobs and pulls.

The Swap Technique

Removing the existing hardware and replacing it with higher-end pulls is a simple DIY project that costs very little. Keep the old hardware in a safe place to reinstall when you move out. Whether you choose brushed gold, matte black, or polished nickel, cohesive hardware acts like jewelry for your cabinets.
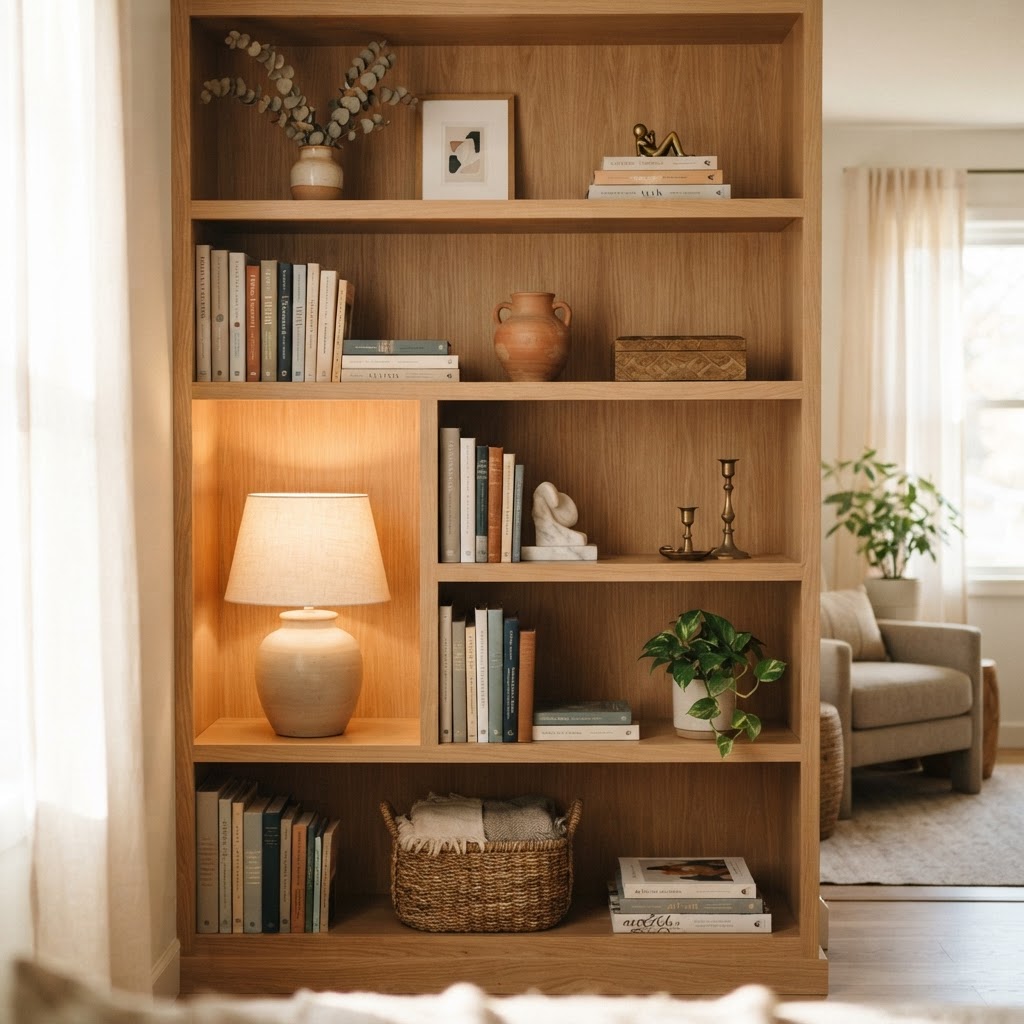
Beyond knobs, consider adding a new faucet if your lease allows, or simply using a high-quality shower curtain with extra-long rings to make the bathroom look finished. Small details like a matching soap dispenser and tray set go a long way in making a utilitarian space feel like a spa.

Curating Your Decor Through Editing

“Less is more” is a tired mantra, but in a small apartment, it is the absolute truth. Clutter is the enemy of a premium aesthetic. When every surface is covered with items, the eye has nowhere to rest, and the room feels chaotic rather than high-end.

Instead of buying many small, cheap decor items, focus on acquiring one or two statement pieces that hold weight. This could be a large piece of abstract wall art, a substantial sculptural vase, or a high-quality rug. A large, well-placed rug can define a living area and make it feel like a distinct, purposeful room.
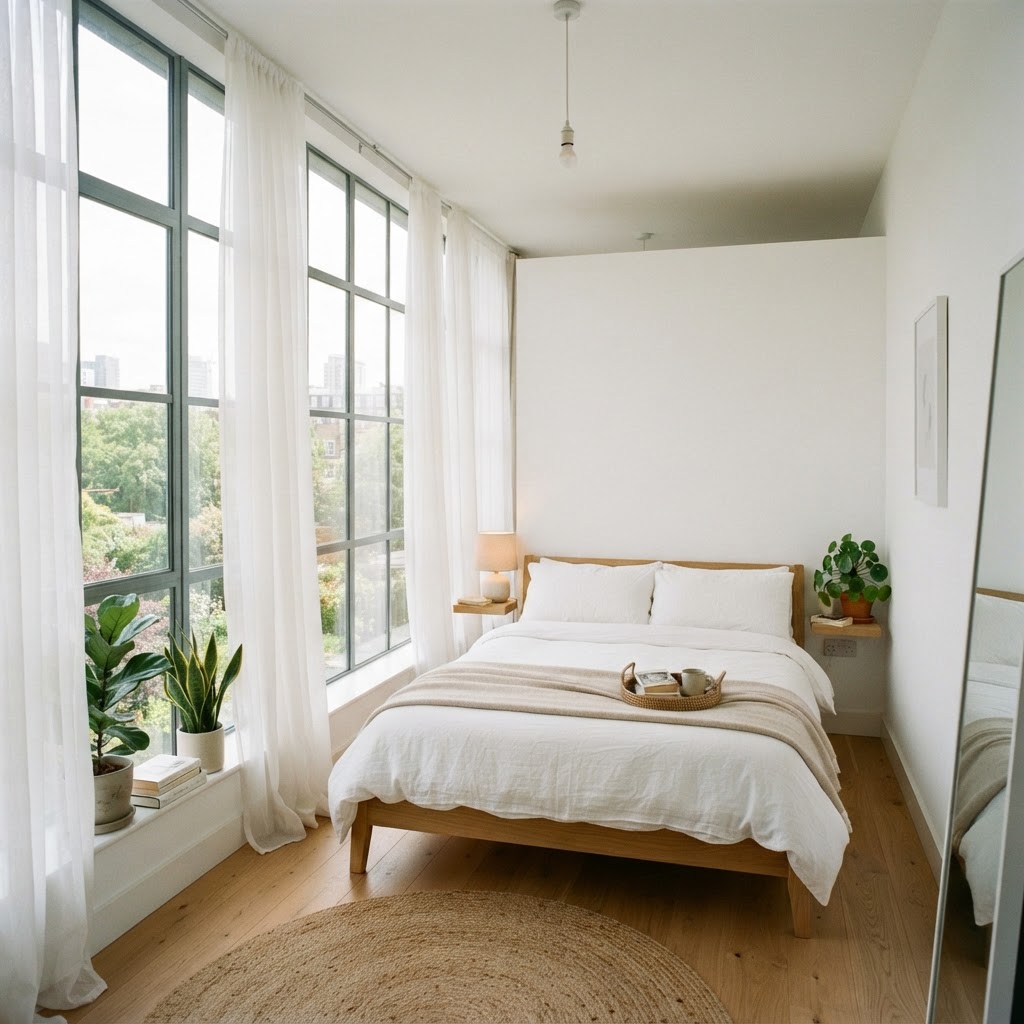
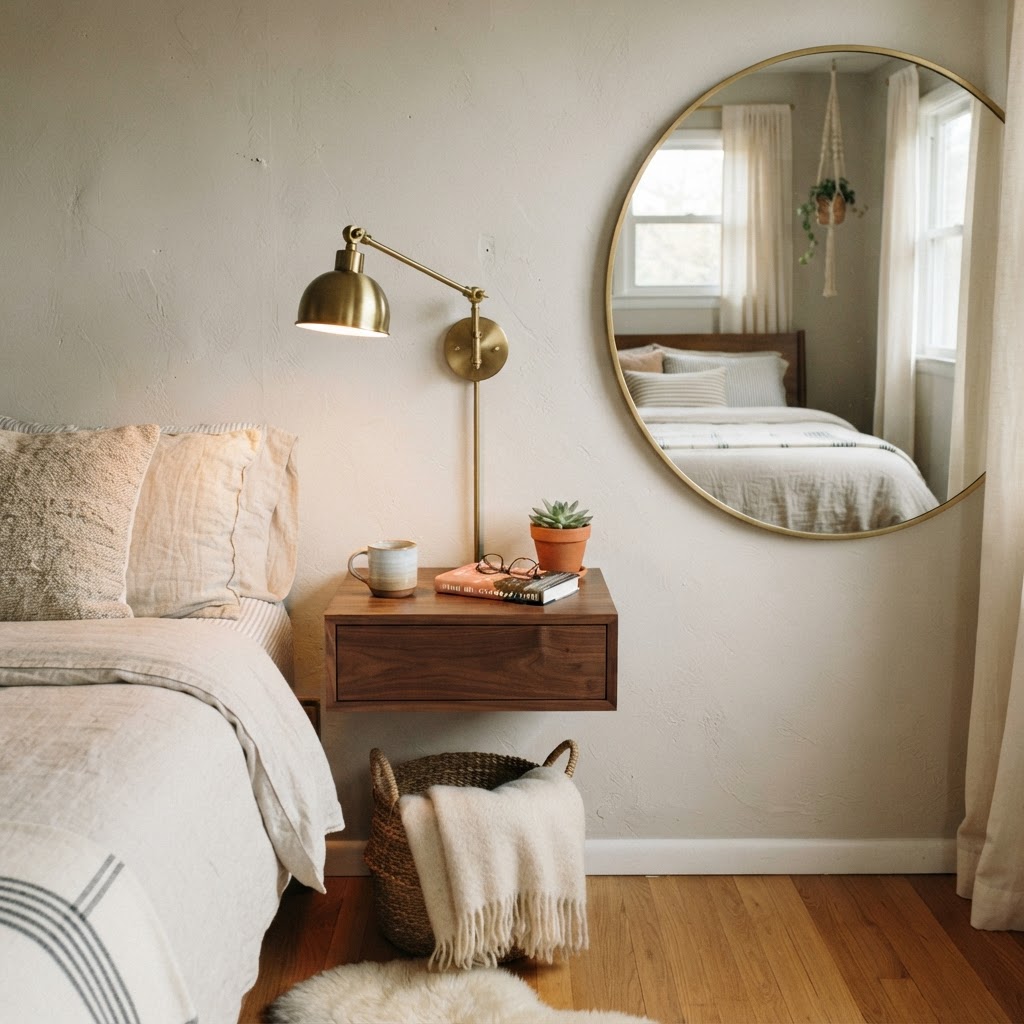
Establish a color palette and stick to it. Neutral bases with subtle metallic or wood accents tend to look more expensive and timeless. When your home has a unified color story, the entire apartment feels larger and more cohesive.

Incorporating Greenery and Life

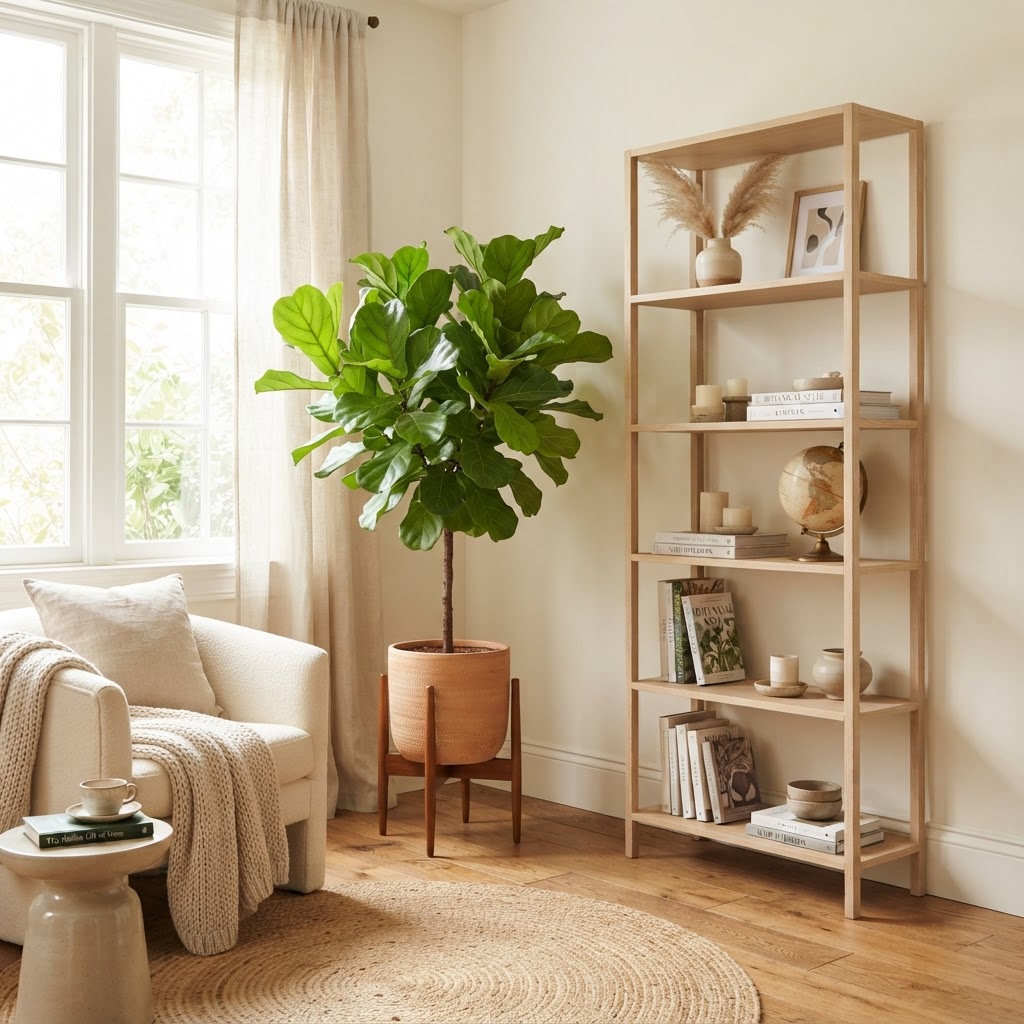
Plants are essential for softening the sharp lines of modern apartment architecture. A large-scale plant, such as a Fiddle Leaf Fig or a Bird of Paradise, can act as a piece of furniture, filling an awkward corner or drawing attention away from unsightly vents or radiators.

If you lack natural light, don’t be afraid to use high-quality artificial plants. Modern faux greenery has come a long way. The key is to select plants with realistic-looking leaves and to house them in high-quality ceramic or stone planters rather than plastic nursery pots.

Placing plants at varying heights—some on the floor, some on stands, and some on bookshelves—creates a lush, layered look that brings a sense of life and vibrancy to your home.

The Value of Custom-Looking Storage

Storage is the biggest challenge in small-space living. When your belongings are visible, the “premium” feel evaporates. The goal is to make your storage look like built-ins rather than just plastic bins.

Use baskets made of natural materials like seagrass or rattan to conceal items on open shelving. Install floating shelves that match the paint color of your walls; this “disappears” the shelf into the wall, creating a clean, high-end look where your decor appears to be floating.

Consider utilizing under-bed storage with attractive covers to maximize every square inch. When everything has a “home” and that home is visually pleasing, you successfully eliminate the visual noise that prevents small apartments from looking their best.

Conclusion

Elevating your home doesn’t require a down payment-sized budget. By focusing on lighting, textiles, mirrors, and curated storage, you can achieve a professional, premium aesthetic that makes your apartment feel like a sanctuary. Remember, the key is consistency and intentionality in every item you bring into your space.

Start small. Pick one room or one area—perhaps a boring entryway or a cluttered living room—and apply these principles today. You will be amazed at how quickly these budget-friendly changes shift the energy of your home. Take the first step this weekend and start curating the premium look you deserve.

Slim Console Tables and Benches for Narrow Entryways

Slim Console Tables and Benches for Narrow Entryways

To optimize a narrow entryway, select furniture with a depth of 12 inches or less to ensure unobstructed flow while maximizing storage. Slim console tables provide a functional landing strip for daily essentials, while benches offer dual-purpose seating and hidden shoe storage, transforming cramped hallways into organized, space-efficient zones.

The Art of Selecting Space-Saving Furniture

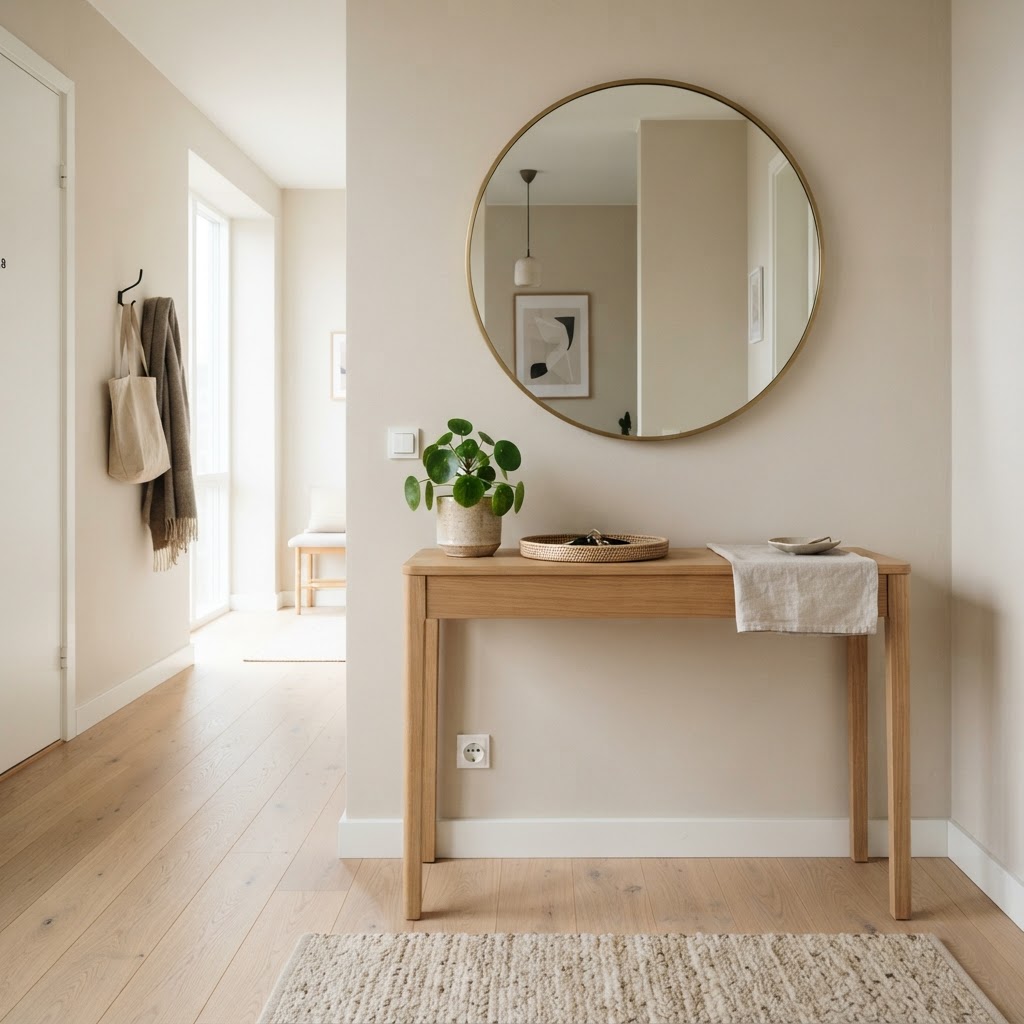
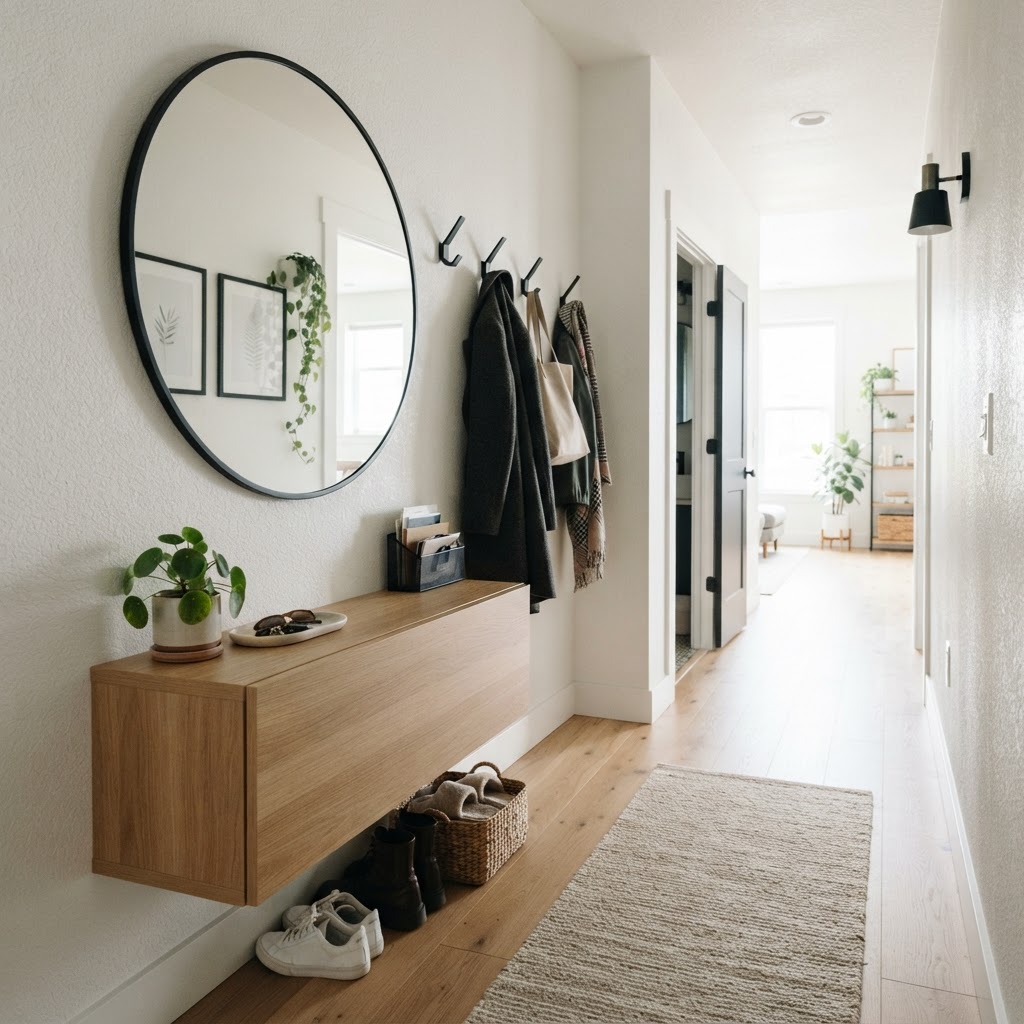
Minimalist console table setup.

The primary challenge when shopping for furniture for tight spaces is depth, which dictates the functionality and comfort of your entryway. Standard furniture pieces often span 16 to 20 inches in depth, which can swallow your limited walking path and make a small apartment feel significantly more constricted. When you begin searching for pieces, prioritize furniture that features a depth of 12 inches or less. This specific dimension ensures you maintain at least 30 inches of clearance for comfortable walking while still providing a surface to drop your keys, mail, or a decorative plant.

Why Depth Matters More Than Width

While width impacts how many items you can place along a wall, depth is the enemy of functionality in a narrow apartment. If a table sticks out too far, it creates a physical bottleneck at your front door. To combat this, look for “floating” wall-mounted designs or consoles with thin, metallic legs. These styles minimize visual weight by keeping the floor visible beneath the furniture, which tricks the brain into perceiving the space as larger. By prioritizing a shallow profile (8 to 10 inches), you effectively bridge the gap between design and daily utility without impeding egress.

Feature Standard Console Slim Console (12″ or less)
Depth 16″ – 20″ 8″ – 12″
Visual Impact Heavy/Solid Airy/Open
Best For Large Foyers Narrow Apartments

Benefits of Using Slim Console Tables

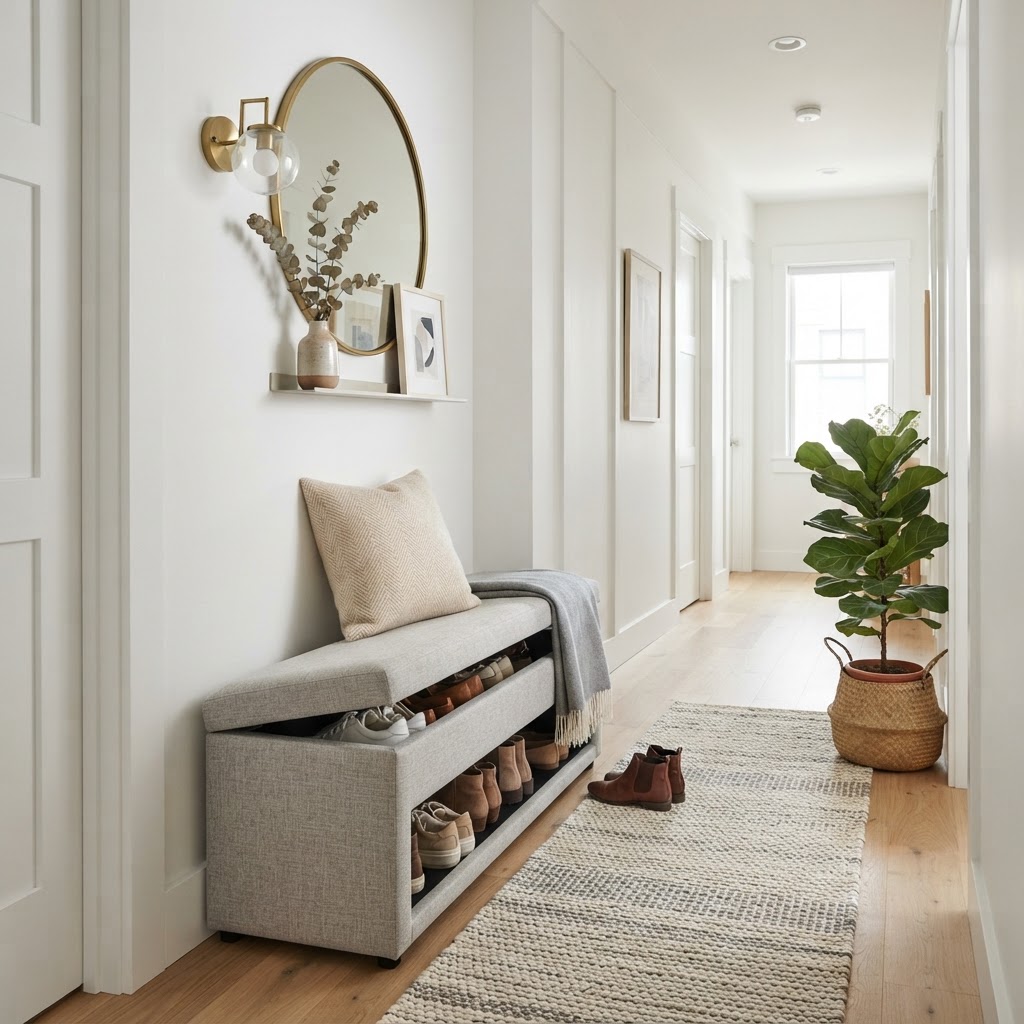
Space-saving storage bench.

Slim console tables serve as the backbone of a well-organized entryway by providing a designated “landing strip” that prevents clutter from spreading into the living area. Research indicates that items like keys and mail typically accumulate in the first 3 feet of a home; a console table centralizes these items, saving you an average of 5 minutes during the daily scramble before leaving. By keeping your wallet, sunglasses, and mail in one place, you significantly reduce the mental load associated with morning routines.

Aesthetic Versatility in Small Spaces

Modern console tables come in a variety of materials, from rustic wood to industrial steel, allowing for total aesthetic customization. If your apartment has a minimalist aesthetic, choose a glass-topped console with a slim brass or chrome frame. This choice allows light to pass through the piece, preserving the airy feel of your entrance. Conversely, if you need extra storage, look for models that include a single narrow shelf underneath, perfect for storing a pair of decorative baskets that can house umbrellas, scarves, or seasonal gear, hidden from plain sight.

Why Benches Are Perfect for Apartment Entrances

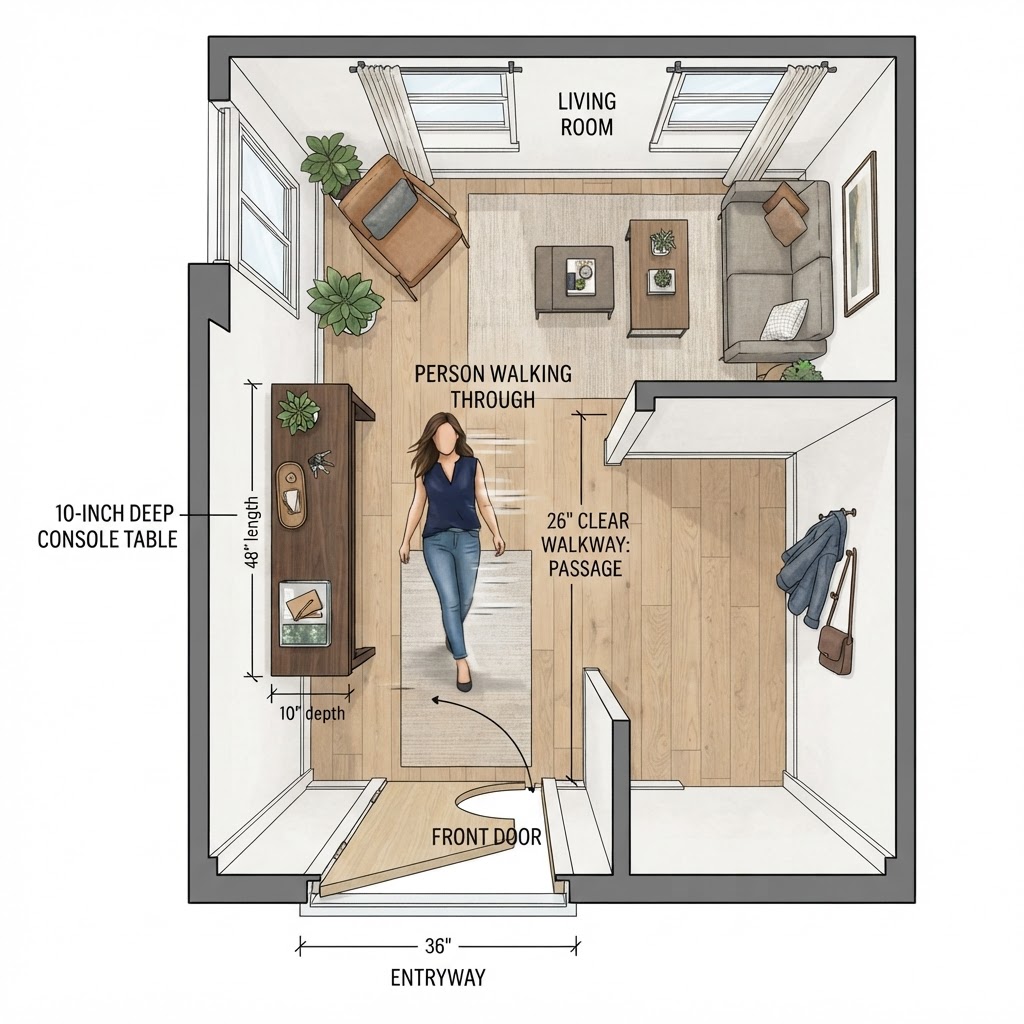
Floor plan visualization.

If you find yourself constantly struggling to remove shoes or put them on, an entryway bench is a lifesaver that provides both comfort and organization. Unlike a simple table, a bench offers dual-purpose utility: a reliable place to sit and a designated zone for storing footwear. In narrow spaces, specifically look for “slim-profile” benches that feature integrated cubbies or drawers hidden beneath the seat, which help maintain a clean, uncluttered aesthetic in your home’s first impression.

Maximizing Storage with Hidden Compartments

Many narrow apartment entryways suffer from “shoe clutter,” which can make a space feel chaotic. A sleek bench with flip-down cabinets keeps your footwear out of sight while providing a sturdy surface for sitting, usually rated for 200 to 300 pounds. When choosing a bench, ensure the height matches your comfort level, typically around 18 inches, to ensure it remains practical for daily use. This ergonomic standard aligns with most dining chairs and provides the necessary leverage for putting on shoes without back strain.

Bench Type Storage Style Best For
Open Shelf Accessible Daily Wear Shoes
Flip-Down Door Concealed Seasonal Boots
Drawer Bench Organized Small Accessories

Creative Storage Solutions for Tiny Hallways

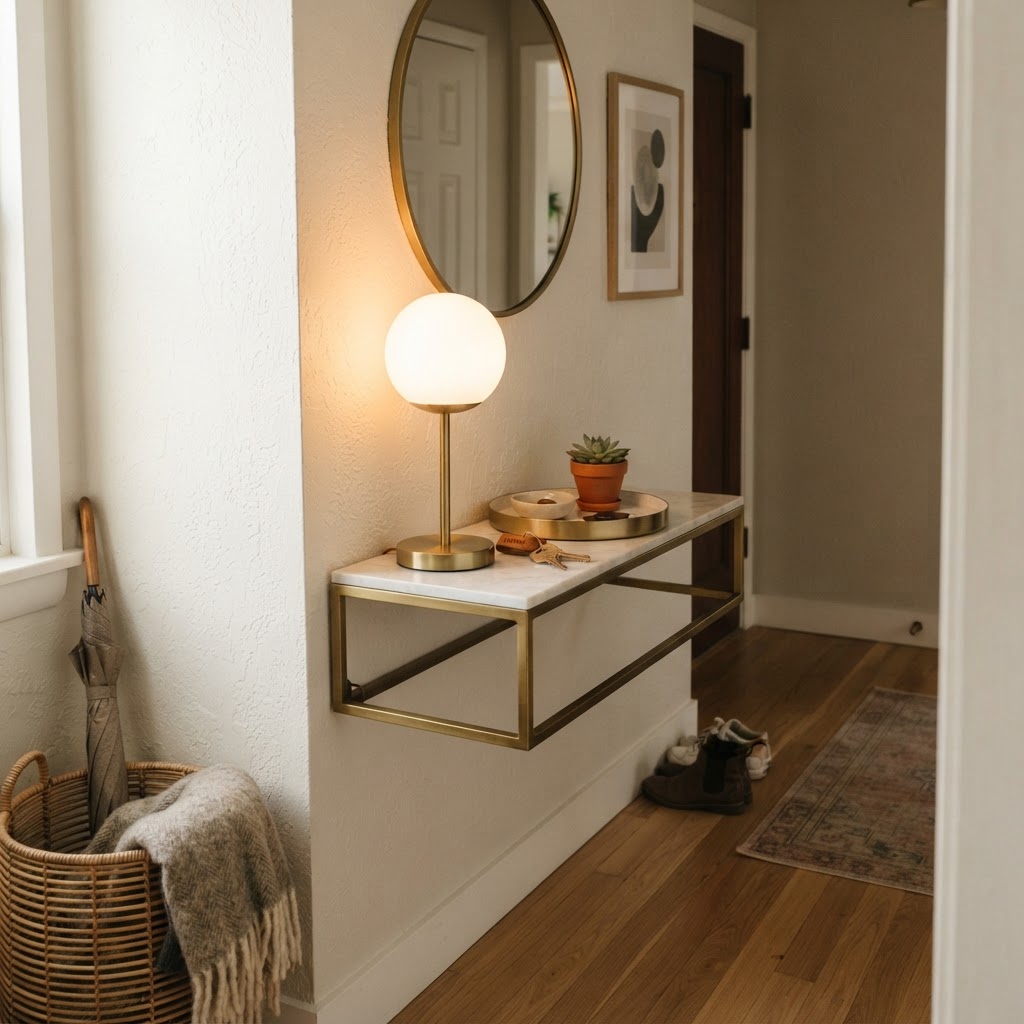
Modern floating console style.

When floor space is at an absolute premium, you must pivot toward vertical storage solutions that occupy zero square footage. If even a 10-inch deep console table is too much, consider wall-mounted shelves or “half-moon” consoles that can be anchored securely to the wall studs. These pieces provide the same aesthetic appeal as a console table without claiming any of your precious floor space, allowing you to maintain a clear walking path even in a hallway that is only 36 inches wide.

Using Vertical Space Effectively

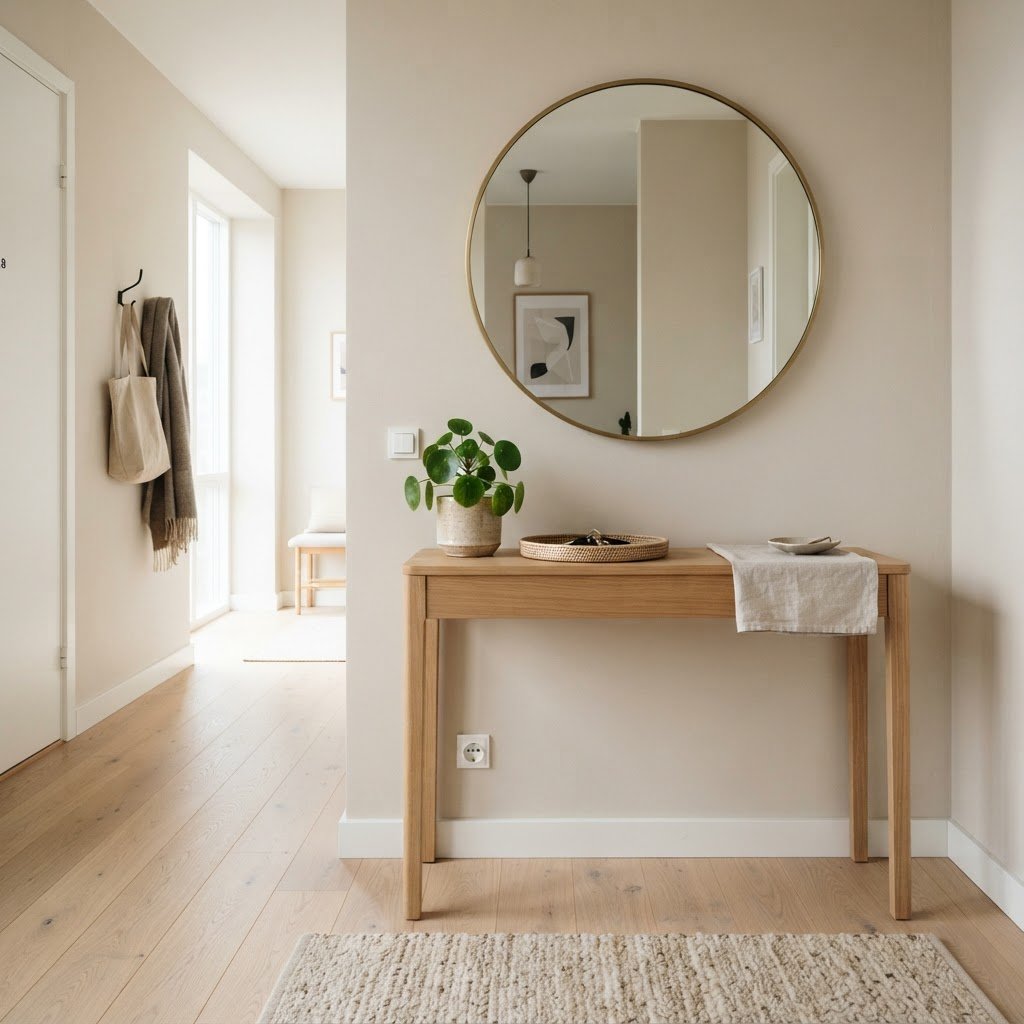
Don’t forget to look at the wall space above your console table or bench, which is often neglected in small-space planning. Installing a mirror is a classic design trick that serves two purposes: it allows for a quick appearance check before leaving, and it reflects light to make your hallway feel twice as deep. Pair this with a few high-mounted coat hooks placed at 60 inches from the floor, and you have created a fully functional mudroom in a tiny footprint that handles jackets and bags with ease.

How to Style Your Entryway for Maximum Impact

Styling a narrow space requires significant restraint to avoid creating a sense of visual noise or overwhelm. Avoid cluttering your console table with too many knick-knacks, as this makes the area look messy. Instead, focus on a “rule of three”: a lamp for ambiance, a small catch-all bowl for essentials, and one piece of art or a decorative plant. This balanced approach ensures your entryway stays organized, inviting, and highly functional, keeping the visual energy focused and calm.

Choosing the Right Lighting

Lighting is often overlooked in apartment entryways, yet it is essential for setting the mood and ensuring visibility. If you don’t have an outlet on your entryway wall, opt for a battery-operated LED lamp or a rechargeable motion-sensor light. Placing a soft-glow light (aim for 2700K to 3000K color temperature) on your console table instantly elevates the space and makes the entrance feel intentional and sophisticated, rather than like an afterthought.

Common Mistakes to Avoid

One of the biggest mistakes in small-space design is choosing furniture that is “chunky” or heavy in color. Avoid dark, solid wood pieces that lack legs, as these tend to look like they are “eating” the space. Another major mistake is ignoring the clearance required for your door to swing open. Always measure your door’s arc before finalizing your furniture purchase to avoid scratches or the common, annoying problem of a blocked entryway.

Measuring Tips for Narrow Spaces

Before you buy, use painter’s tape to mark the dimensions of the potential console table on your floor. Live with the tape for 24 hours to see how it affects your movement patterns in high-traffic moments. This simple step saves you from the hassle of returning heavy furniture and ensures that your chosen piece fits perfectly within the physical constraints of your home, keeping your daily transit paths clear.

FAQ

Q: What is the ideal depth for a narrow entryway table?

The ideal depth for a narrow entryway table is 12 inches or less. This depth provides a usable surface for essentials like keys and mail while ensuring that the furniture does not create a bottleneck in high-traffic hallway areas.

Q: How can I make a tiny hallway look bigger?

You can make a tiny hallway appear larger by installing a wall-mounted mirror and choosing furniture with legs to expose more floor space. Mirrors reflect light and create the illusion of depth, while exposed flooring reduces the overall visual weight of the area.

Q: Should I choose a bench or a console table for my entryway?

Choose a bench if you prioritize footwear storage and seating, or a console table if you need a surface for dropping mail and decor. Many modern pieces offer a “slim-profile” hybrid design that combines both functions into one narrow unit.

Q: How do I store shoes in a small apartment entrance?

Store shoes in a slim bench with flip-down drawers or an under-console storage basket to keep them out of sight. This hidden storage method removes visual clutter from your entryway floor and prevents tripping hazards in tight hallways.

Q: How do I light an entryway without an outlet?

Use battery-operated LED lamps or rechargeable motion-sensor lights to illuminate an entryway lacking an electrical outlet. These portable lighting solutions provide instant ambiance and safety without requiring any professional electrical wiring or expensive, permanent installation work.

8 Small-Space Organization Hacks Every Renter Needs

8 Small-Space Organization Hacks Every Renter Needs

To organize a small rental apartment effectively without damaging property, prioritize vertical storage solutions, invest in multi-functional furniture, and implement regular decluttering routines. These strategies maximize your square footage by utilizing non-permanent, renter-friendly tools like tension rods, adhesive hooks, and tiered organizers to create a highly efficient, serene living environment.

Rethinking Vertical Storage Potential

Using vertical storage like ladder shelves creates an illusion of height in small spaces.

Maximizing vertical wall space is the most effective way to gain storage without drilling into rental walls. When floor space is limited, shifting your focus upward allows you to store items without shrinking the visual footprint of the room. By using tension-rod shelving units and over-the-door organizers, you can create storage that remains entirely temporary and damage-free.

Storage Solution Installation Type Best Use Case
Tension Shelves Pressure-fit Books & Decor
Over-the-door Hooks Hanging Coats & Towels
Adhesive Strips Removable Lightweight Art

Utilizing Over-the-Door Solutions

Over-the-door hooks and racks are absolute essentials for any renter. Use them for coats in the entryway, towels in the bathroom, or cleaning supplies in the kitchen pantry. Because these organizers hang over the top of the door frame, they cause no damage to the wood or paint, making them perfectly compliant with typical lease agreements. These tools effectively turn “dead space” behind doors into a highly functional storage zone for frequently used items.

Creating Custom Shelving Without Nails

If you want more display space, look into free-standing ladder shelves or adhesive wall strips designed for heavy-duty use. These allow you to store books, plants, and decorative items without leaving a single mark on the drywall. By creating vertical layers, you prevent clutter from building up on your flat surfaces. Using weight-rated adhesive hooks can hold up to 15 pounds, providing a robust solution for floating decor.

The Magic of Multi-Functional Furniture

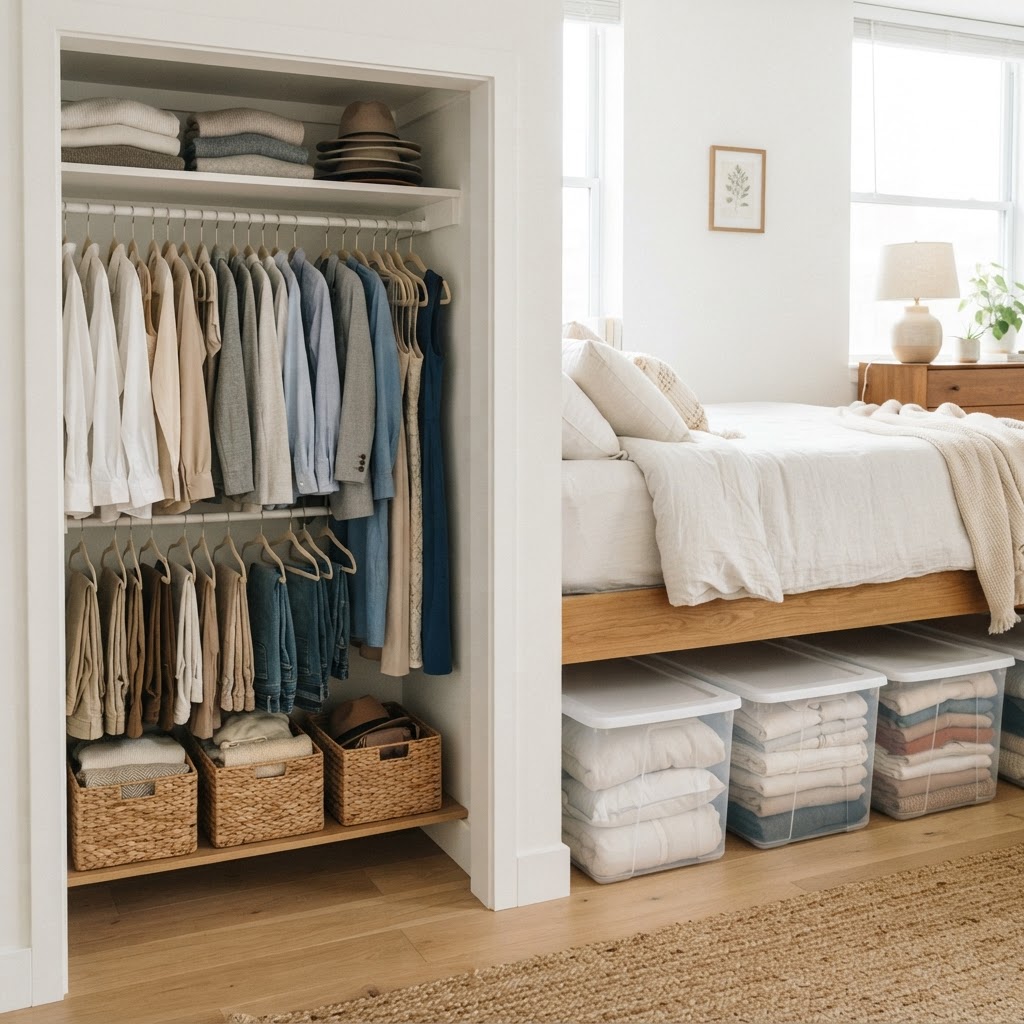
Maximizing your closet with slim hangers and under-bed storage is essential for renters.

In a small space, every piece of furniture must perform multiple roles to justify its presence. Investing in multi-functional pieces, such as an ottoman with a hidden compartment or a coffee table with built-in drawers, can consolidate your storage needs and reduce the overall item count. These items hide extra blankets, board games, or seasonal clothing, which helps maintain a clean, open floor plan that makes a room appear larger than it is.

Furniture Feature Benefit for Small Spaces
Visible Legs Creates an illusion of floor space
Hidden Storage Removes visual clutter from sight
Foldable/Collapsible Frees up square footage when idle

When choosing furniture, look for pieces with legs that expose the floor. Seeing the floor underneath a sofa or a nightstand creates an illusion of openness, which keeps a small room from feeling crowded. Furthermore, consider furniture that can be folded or tucked away when not in use, such as wall-mounted drop-leaf tables that disappear into a sleek surface when the meal is over. This “hidden when idle” approach is vital for studio apartments where one room serves as a living, dining, and sleeping space.

Maximizing Closet Efficiency

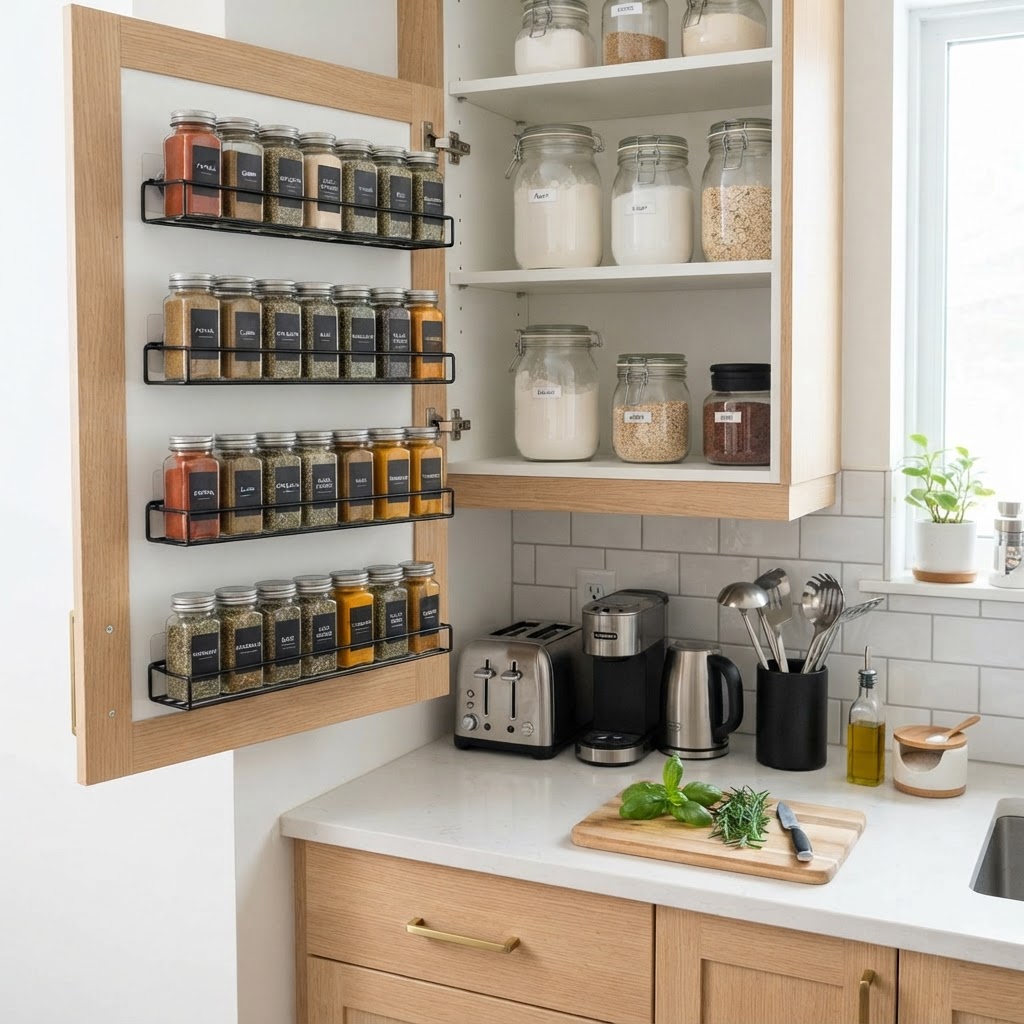
Cabinet door storage is one of the most effective small-space organization hacks for the kitchen.

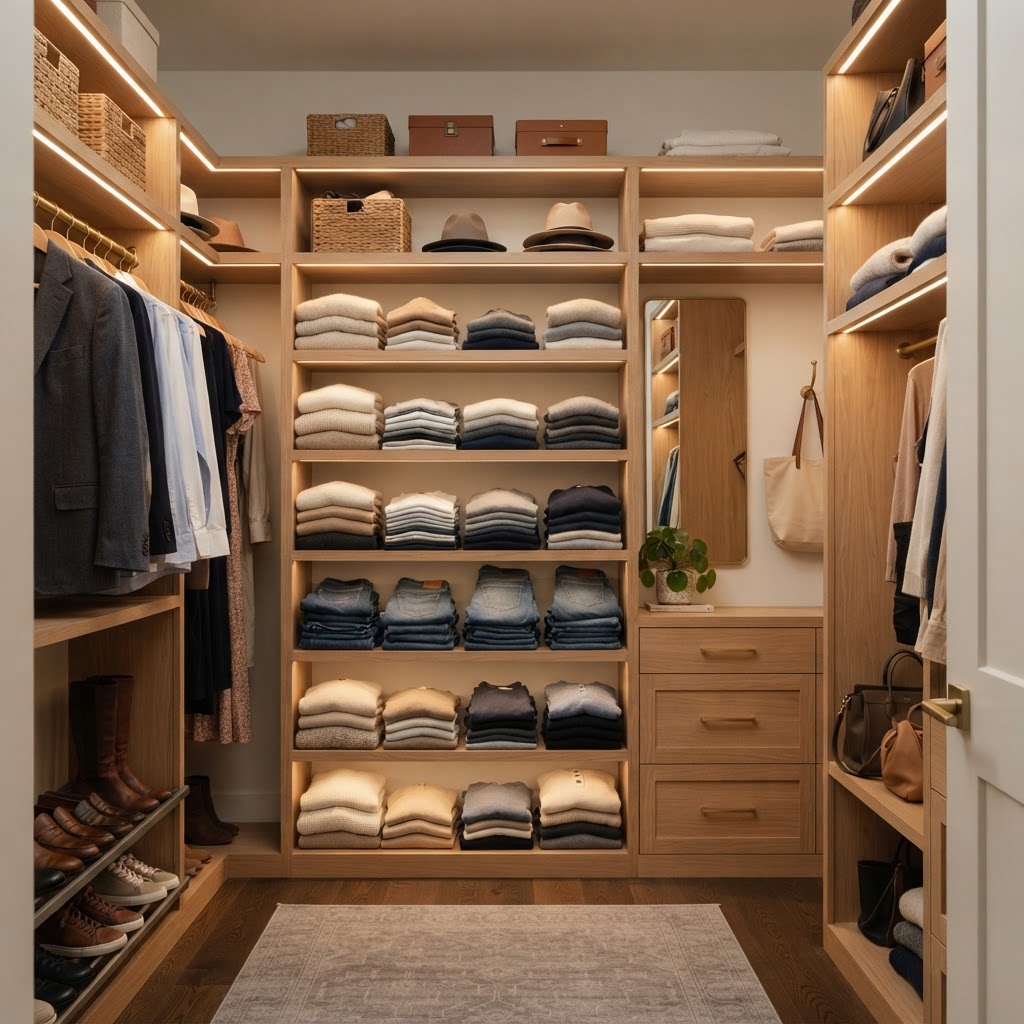
Closet space is often the most restricted area in an apartment, necessitating a strict edit of your wardrobe. Start by using velvet slim-profile hangers, which take up roughly 50% less space than standard wooden hangers, potentially increasing your hanging capacity by 20% to 30%. Implementing this simple swap is the fastest way to gain breathing room for your clothes while keeping your closet organized and uniform.

Implementing Tiered Hangers

Tiered hangers are a game changer for items like scarves, belts, or multiple pairs of trousers. By stacking these items vertically on one hanger, you save precious linear space on the closet rod. It is also wise to utilize the back of the closet door with an over-the-door shoe organizer. Even if you store shoes elsewhere, these pockets are perfect for small accessories like umbrellas, clutches, or lint rollers, which often clutter shelf space.

Seasonal Rotation Systems

Under-bed storage is crucial for the items you do not use every day. Use low-profile plastic bins with wheels to stash off-season clothing or bulky winter sweaters. Keeping these items out of sight in your bedroom leaves your main closet free for the clothes you actually wear, making your morning routine significantly smoother. Aim for bins under 6 inches in height to ensure they fit under standard bed frames.

Kitchen Cabinet Optimization

Kitchens in rentals are notoriously low on cabinet space, but adding internal shelf inserts can effectively double your usable surface area. These inserts allow you to stack plates and bowls without the danger of them toppling over, and they make it much easier to reach items at the back of the shelf. By creating vertical levels within a standard cupboard, you utilize space that would otherwise be empty air.

Don’t forget the inside of your cabinet doors. Adhesive spice racks or hooks for measuring spoons can free up a substantial amount of drawer space. When every inch is accounted for, the kitchen feels less chaotic, and you can focus on cooking rather than digging through a mess to find the right tool. If you have deep cabinets, use slide-out baskets to ensure you can access items in the back without needing to remove everything in the front.

Streamlining the Bathroom

Bathrooms are usually the smallest rooms in an apartment, so efficient storage is required to keep them functional. Use a tiered rolling cart to hold your toiletries, which can be moved to wherever you need it and tucked away in a corner when finished. It is a fantastic way to store bulky items like hair dryers and bottles without relying on limited medicine cabinet space or permanent shelving installations.

Using Magnetic Strips

If your bathroom medicine cabinet is overflowing, consider installing a damage-free adhesive magnetic strip on the inside of a cabinet door or on the wall. You can store tweezers, nail clippers, and small hair clips directly on the strip. It is a brilliant way to keep tiny, easily lost items organized and within arm’s reach. This method prevents “junk drawer” syndrome in your vanity, keeping surfaces clear for daily grooming routines.

Creative Cable and Tech Management

Nothing makes a room look smaller or more cluttered than a tangle of cords. Take control of your home office or entertainment area by using cable management sleeves and adhesive clips. Routing your cords neatly behind your furniture hides the visual noise that often makes a space feel chaotic. Using cable boxes to hide power strips can consolidate 5+ wires into a single clean-looking enclosure.

The Power of Regular Decluttering

No amount of storage solutions can compensate for having too much stuff, making regular decluttering your most effective organization tool. Set a quarterly schedule to evaluate your belongings; if you have not used an item in 12 months, it is likely time to donate or discard it. Living with less creates a luxury sanctuary in your rental and makes cleaning significantly faster.

FAQ

Q: What is the best way to add shelving to a rental without drilling?

Use tension-rod shelving or free-standing ladder shelves. These items rely on pressure or gravity, meaning they require no hardware, leave zero marks on walls, and can be easily moved when you decide to relocate to a new apartment.

Q: How much space can slim hangers really save?

Velvet slim-profile hangers can increase your closet’s hanging capacity by 20% to 30%. Because they are thinner than traditional plastic or wood hangers, they allow you to fit more garments into the same length of closet rod while preventing clothes from slipping off.

Q: How can I hide ugly cords in a small apartment?

Use adhesive cable clips to run cords along the edges of furniture or baseboards, and place power strips inside dedicated cable management boxes. This hides the visual clutter of tangled wires, making a small room look cleaner and more intentional.

Q: What is the “visible floor” rule for furniture?

Choosing furniture with exposed legs makes a floor look larger by increasing the amount of visible floor area. By avoiding bulky, skirted furniture that touches the ground completely, you allow the eye to perceive the full width and depth of a room, which prevents the space from feeling cramped.

25+ Cozy Tiny Bedroom Aesthetic Ideas That Feel Luxe

25+ Cozy Tiny Bedroom Aesthetic Ideas That Feel Luxe

A cozy tiny bedroom aesthetic achieves a luxe, hotel-inspired feel by prioritizing vertical storage, layered ambient lighting, and high-quality tactile textures over excess floor furniture. By clearing 80% of floor-level clutter and utilizing wall-mounted fixtures, you can transform even a 100-square-foot space into a serene, high-end sanctuary.

The Psychology of Small Space Design

A sophisticated, monochrome color scheme creates a serene and luxe atmosphere.

Designing a small room requires a psychological shift from viewing limits as obstacles to embracing intimacy through a “cocoon effect” design strategy. When you minimize visual noise, you trigger a sense of calm that is essential for a luxury aesthetic. Data shows that maintaining a clear floor path of at least 24 inches creates a subconscious feeling of spaciousness, even in rooms under 120 square feet. To achieve this, adopt the “one-in, one-out” rule for decor items to prevent the accumulation of visual clutter that makes a room feel cramped rather than curated. Focus on high-impact focal points, such as a single piece of statement art or a premium headboard, rather than a collection of small trinkets that draw the eye toward every corner. This disciplined approach ensures that every square inch contributes to a cohesive, high-end narrative.

Maximizing Vertical Space for Elegance

Floating furniture keeps the floor space clear and adds a modern touch.

When floor space is at a premium, your walls become your most valuable real estate for both storage and aesthetic elevation. Installing floor-to-ceiling drapery panels approximately 2 to 4 inches below the ceiling line creates a vertical illusion that makes standard 8-foot ceilings appear significantly taller.

Creative Shelving Solutions

Instead of bulky dressers, consider floating shelves finished in a warm wood tone or painted to match your wall color. This keeps the floor clear and provides a spot for curated decor pieces. For a luxe touch, add a strip of LED lighting beneath these shelves to provide a warm, ambient glow that highlights your favorite books or art. Incorporating shelves at eye level creates a visual “gallery” that distracts from the room’s actual perimeter dimensions.

The Power of Wall-Mounted Nightstands

Traditional nightstands often consume floor space and make a room feel boxy. Swapping them for wall-mounted floating drawers instantly opens up the perimeter of the bed. This simple change allows more of the floor to be seen, which tricks the brain into perceiving the room as larger. Utilizing wall-mounted options also allows for easy cleaning, maintaining that crisp, hotel-like aesthetic.

Storage Strategy Comparison

Feature Traditional Furniture Vertical/Wall-Mounted Impact on Space
Floor Visibility Obstructed Clear High Increase
Visual Weight Heavy Light Maximized
Storage Capacity Moderate Optimized High Efficiency

Lighting Strategies for a Luxe Atmosphere

Strategically placed mirrors can make any tiny bedroom feel double in size.

Lighting is the single most important factor in making a tiny room feel luxe, as poor overhead lighting can flatten the room and make it feel clinical. Aim for a layered lighting scheme that incorporates at least three distinct sources: ambient, task, and accent. Experts recommend using bulbs with a color temperature between 2700K and 3000K to achieve a warm, inviting glow that mimics the hospitality industry’s standard for luxury suites. Dimmers are a non-negotiable addition for a luxurious feel, as they allow you to transition the room from a workspace to a soft, intimate retreat. By placing light sources at varying heights—such as a floor lamp in a corner, wall sconces at head height, and a bedside lamp—you create depth that prevents the eyes from focusing on the room’s actual walls.

Selecting a Luxe Color Palette

Color choices dramatically impact the perception of scale. While white is the classic choice for small rooms, a ‘luxe’ aesthetic often benefits from deeper, moodier tones that add dimension. If you prefer light colors, stick to a monochrome palette—using various shades and textures of cream, beige, or taupe prevents the space from feeling flat while keeping it airy. If you prefer darker tones, consider a navy blue or forest green accent wall behind your bed. This creates a focal point that adds depth and sophistication. When paired with high-quality linens and metallic accents, these darker shades make a tiny bedroom feel like a hidden, high-end jewel box. Research indicates that using a uniform color for baseboards, walls, and trim can visually push the boundaries of a small room outward by up to 10%.

Furniture Choices That Save Space

Furniture in a small bedroom should be multifunctional or visually light to maintain an airy atmosphere. A heavy, dark wood bed frame will overwhelm a small room, so look for beds with slender metal frames, upholstered headboards, or built-in hydraulic storage underneath. Utilizing the space under your bed is a classic trick for small-space living, but ensure you use attractive bins or custom drawers to keep it looking polished. Choose pieces with visible legs rather than solid bases, as the ability to see the floor underneath furniture increases the perception of open space.

Multifunctional Pieces

If your room serves multiple purposes, such as a bedroom and home office, use furniture that bridges the gap. A desk that doubles as a vanity with a mirror above it saves precious floor space while maintaining a high-end look. By selecting pieces that serve two functions, you reduce the total furniture count by 30%, which directly correlates to a more luxe, uncluttered aesthetic.

Textures and Fabrics: The Key to Comfort

To achieve a cozy tiny bedroom aesthetic that feels expensive, invest heavily in high-thread-count textiles to create a “cloud-like” effect. Start with 400+ thread count cotton or bamboo sheets, add a plush duvet, and finish with an array of pillows and a weighted throw blanket. Mixing textures is essential for depth; combine smooth silk or satin pillowcases with a chunky knit throw or velvet cushions. These varying textures add tactile interest to the room without requiring extra furniture or physical objects. In a small space, textiles are your primary tool for adding personality without sacrificing the clean, open look of the room. Aim for at least four different fabric types—such as linen, velvet, silk, and wool—to create a professional, layered interior design look.

Mirrors and Reflective Surfaces

It is the oldest trick in the book, but for a good reason: mirrors expand space. A large floor-to-ceiling mirror or a series of framed mirrors can double the visual size of a room. Position them across from a window to capture natural light and bounce it throughout the space, brightening up even the darkest corners. Consider mirrored closet doors if your room has built-in storage. This prevents the closet from feeling like a ‘solid’ wall, making the room feel like it continues beyond the physical walls. The reflections also add a layer of glamour and sparkle that fits perfectly into a luxe design scheme. When placing mirrors, ensure they reflect the most beautiful part of your room to amplify that specific aesthetic feature.

Organization as a Design Feature

In a tiny bedroom, organization isn’t just about utility; it’s part of the aesthetic. If your things are out, they should be beautiful. Use matching hangers in your closet, decant daily essentials into glass or ceramic jars, and keep surfaces clear of clutter. Hidden storage solutions like ottomans with lift-off lids or bedside tables with deep drawers are your best friends. Remember, a small space highlights everything. When every item has a dedicated place, the room naturally stays cleaner. This maintenance is what keeps the ‘luxe’ feeling alive, as clutter is the fastest way to diminish the quality of your interior design. Investing in drawer dividers and closet organizers can increase your functional storage capacity by 50% without adding a single piece of furniture to the room footprint.

Summary of Luxe Small Bedroom Tips

  1. Use floor-to-ceiling curtains to draw the eye up.
  2. Opt for wall-mounted lighting to save bedside space.
  3. Keep the floor clear of excess furniture or decor.
  4. Incorporate a monochrome or moody color palette for depth.
  5. Layer high-quality textures like velvet, silk, and wool.
  6. Use mirrors to bounce light and expand the room.
  7. Choose furniture with thin legs to maintain a sense of lightness.

FAQ

Q: What is the best color for a small, luxurious bedroom?

A: Monochrome palettes, such as creams and taupes, provide an airy feel, while moody, deep tones like navy or forest green add sophisticated dimension. Use a single color for walls, baseboards, and trim to maximize the appearance of square footage.

Q: How can I make a tiny bedroom look like a hotel room?

A: Focus on high-quality textures, such as velvet and silk, and implement a layered lighting scheme with dimmable fixtures. Clearing all floor clutter and using wall-mounted storage to keep surfaces empty are the quickest ways to achieve a professional hotel-suite aesthetic.

Q: Does painting a small bedroom dark make it look smaller?

A: Not necessarily; painting a room a dark, moody color can actually blur the corners and create an intimate, “jewel box” effect. When paired with metallic accents and warm lighting, dark colors often enhance the perceived luxury of a small space.

Q: What is the most effective way to store clothes in a tiny room?

A: Utilize vertical wall-mounted shelving and under-bed storage containers to free up floor space. Decanting items into uniform, labeled bins and using slim, matching velvet hangers will make the storage feel intentional rather than chaotic.

Q: How much space should I keep clear on the floor?

A: Try to keep at least 24 inches of clear walking path around the bed to maintain an open, uncluttered feeling. Minimizing the number of items touching the floor is the primary design secret for making a small room feel significantly larger.

Genius Deposit-Safe Finds for Designer Tiny Rentals

Genius Deposit-Safe Finds for Designer Tiny Rentals

You can transform a cramped rental into a high-end designer space by using non-permanent upgrades like peel-and-stick wallpaper, cabinet hardware swaps, and layered plug-in lighting. These renter-friendly, damage-free modifications prioritize temporary impact over structural changes, allowing you to elevate your home aesthetic while ensuring a full security deposit return.

The Art of Temporary Transformation

Transform blank rental walls with high-quality peel-and-stick wallpaper.

Designing a tiny rental requires a strategic approach that prioritizes impact over permanence, focusing on items that can be installed and removed in under 30 minutes. When choosing your decor, prioritize modularity and reversibility; for example, using Command strips with a weight capacity of at least 5-10 pounds or selecting freestanding furniture eliminates the need for wall anchors. By selecting items that leave no trace, you protect your bank account while gaining the creative freedom to define your environment. Professionals suggest maintaining a ‘renter-ready’ kit in a storage bin, including the original screws for hinges or the original cabinet knobs, which ensures you are prepared for a move-out inspection without scrambling for parts. This systematic approach to temporary design bridges the gap between a generic unit and a curated home, providing the mental clarity and comfort that comes from living in a space that truly reflects your personal style.

Upgrade Strategy Ease of Removal Estimated Time Cost Range
Peel-and-Stick Wallpaper High 2-4 Hours $50-$200
Hardware Replacement High 30 Minutes $20-$80
Adhesive Trim/Molding Medium 1-2 Hours $30-$100
Plug-in Wall Sconces High 15 Minutes $40-$150

Why Deposit-Safe Decor Matters

Beyond just getting your money back at the end of your lease, there is a mental benefit to living in a space that feels like ‘yours.’ When you can customize your environment—even in temporary ways—your home becomes a more effective retreat. It is about creating a sense of permanence in a transient lifestyle. These small adjustments help bridge the gap between a generic rental unit and a personalized designer home.

Walls That Wow Without the Holes

Swapping cabinet hardware is an easy, reversible way to elevate a kitchen.

The most common frustration for renters is the inability to paint or hang heavy art on the walls, yet modern market solutions now offer high-end alternatives that bypass landlord restrictions entirely. Peel-and-stick wallpaper has become the gold standard for adding depth and texture to a room, with top-tier brands now offering vinyl-coated options that resist moisture and humidity—making them suitable even for bathroom accents. Modern versions are incredibly realistic, with textures and finishes that mimic natural stone, grasscloth, or architectural molding. For the best result, purchase a 6-inch by 6-inch sample first to test the adhesive strength against your specific wall texture; orange-peel walls often require a stronger adhesive backing than smooth, high-gloss painted surfaces. Another brilliant, deposit-safe find is adhesive crown molding or trim made of lightweight EVA foam, which can be applied with heavy-duty double-sided mounting tape. These details create architectural interest that instantly suggests high-end construction rather than a basic rental unit, significantly elevating the perceived value of your apartment.

Strategic Use of Adhesive Decor

When applying temporary wallpaper or wall decals, the secret is in the prep work. Ensure your walls are clean and dry before starting, and always order a sample first to test the adhesion on your specific wall surface. Another brilliant, deposit-safe find is adhesive crown molding or trim. Yes, it exists! These lightweight foam options can be applied with double-sided tape, giving your room an architectural detail that instantly suggests high-end construction rather than a basic rental unit.

Elevating Lighting Beyond the Basic Ceiling Fan

Layered lighting and acrylic furniture make small spaces feel bigger.

Nothing kills a designer aesthetic faster than the dreaded ‘boob light’ or a basic, dim ceiling fan, yet you can bypass the need for professional electrical work by layering ambient and task lighting strategically. Since changing out permanent light fixtures usually requires a professional electrician and landlord permission, focus on creative workarounds like cord-concealing plug-in wall sconces. To maintain a sleek, clean look that mimics hardwired installation, utilize paintable cord covers that match your wall color, effectively hiding the wires from view. In a tiny space, lighting is everything; avoid relying solely on one central overhead source, which often creates unflattering shadows in the corners of the room. Instead, aim to have at least three light sources at varying heights—table lamps on end tables, a floor lamp near a seating area, and wall-mounted sconces. Using smart bulbs with adjustable color temperatures allows you to shift from cool, energizing light for work hours to warm, ambient light (around 2700K) for evening relaxation. This simple, inexpensive strategy makes a tiny rental feel much more expansive and intentional, turning a generic room into a curated designer sanctuary.

Creating Ambiance with Layered Lighting

In a tiny space, lighting is everything. Avoid relying solely on one central overhead source. Instead, group smaller lamps on side tables and utilize floor lamps with dimmable bulbs to change the mood throughout the day. This simple strategy makes a tiny rental feel much more expansive and intentional.

Furniture That Multiplies Your Square Footage

Use textiles and temporary wall details to add luxury to your bedroom.

In small apartments, every inch of floor space is premium real estate, requiring you to invest in furniture that maintains a light visual footprint or serves dual purposes. Transparent acrylic or glass furniture is a classic designer trick; these pieces provide necessary utility without occupying visual space, keeping the room feeling airy and open. Furthermore, seek out pieces with hidden storage, such as ottomans with lift-off tops or bed frames with integrated drawers, to keep clutter to a minimum. A critical mistake to avoid is using only small-scale furniture; ironically, incorporating one or two larger, statement pieces—like a bold sofa or an oversized area rug—can actually make a room feel bigger by reducing the “visual noise” of too many small objects. Aim for furniture that stands on legs rather than sitting directly on the floor; seeing the floor underneath the sofa or sideboard increases the perceived depth of the room. Always measure your space for clearance paths, ensuring a minimum of 30 inches for high-traffic areas, which promotes natural flow and prevents the room from feeling claustrophobic or cluttered.

Styling Your Shelving and Surfaces

Once the foundational elements are in place, the final layer is styling, which follows the 60/40 rule to maintain a sophisticated, non-cluttered look. Specifically, 60% of your shelf should contain items, while 40% should remain as “negative space” to allow the eye to rest. Incorporate plants in varying heights, ceramic vases, and curated art prints; always group these items in odd numbers, such as clusters of three or five, which creates a more natural and visually balanced display. Avoid over-stuffing shelves with books or small trinkets, as this quickly makes a room feel cramped and chaotic. Instead, treat your surfaces like a boutique hotel room, where only a few select pieces are displayed. This intentional restraint communicates confidence in your design choices and transforms a generic rental into a personal art gallery. By periodically rotating your accessories every 3-6 months, you can keep your space feeling fresh without needing to purchase new furniture or hardware.

Why Negative Space Matters

Negative space is a luxury in a tiny rental. By intentionally leaving areas empty, you communicate that you are confident in your design choices. It prevents the room from feeling claustrophobic and instead makes it feel like an art gallery or a high-end boutique hotel room, where space is valued above all else.

FAQ

Can I install peel-and-stick wallpaper on textured walls?

Yes, but it is challenging and often requires a specific heavy-duty adhesive or a thin layer of primer first. Test a small area for 48 hours to ensure the wallpaper doesn’t peel or leave residue before committing to a full wall application.

Will Command strips damage my rental paint?

Command strips are generally safe when removed correctly by pulling the tab straight down slowly, parallel to the wall. To avoid damage, always use the correct weight capacity and ensure the wall surface is clean and free of dust before initial application.

How can I make my rental kitchen look custom without permanent changes?

Swapping out standard cabinet pulls for high-end hardware like brass or matte black handles instantly elevates the kitchen’s look. Additionally, applying a peel-and-stick subway tile backsplash adds a finished, professional aesthetic that is completely removable at the end of your lease.

Does hanging curtains high really make a room look bigger?

Yes, hanging curtains as close to the ceiling as possible draws the eye upward, which visually elongates the walls. This trick tricks the eye into perceiving higher ceilings, making a tiny apartment feel much more spacious and airy.

What is the 60/40 rule for shelving?

The 60/40 rule suggests that 60% of a shelf should be filled with curated decor, while 40% remains empty negative space. This balance prevents visual clutter and makes your small apartment look intentional and high-end rather than crowded.

Best Multifunction Storage Benches for Tiny Entryways

The best multifunction storage benches for tiny entryways are compact models featuring integrated pull-out drawers or slim hinged lids that maximize vertical storage while maintaining a shallow depth of under 14 inches. These dual-purpose pieces eliminate hallway clutter by combining seating with hidden organization for shoes, bags, and daily essentials in one footprint.

Why Multifunction Storage Benches Change the Game

A minimalist white bench brings brightness and order to a tight foyer space.

Storage benches are the most efficient furniture choice for small foyers because they combine seating and hidden compartments, effectively reclaiming floor space otherwise lost to bulky furniture. In homes under 1,000 square feet, every square inch of the entryway must serve a dual purpose to prevent the “dumping ground” effect of shoes and bags. A quality bench provides a stable surface to sit while putting on footwear, while the internal cavity acts as a command center for seasonal items. By transitioning from open racks to closed storage, you create a cleaner, more welcoming aesthetic that instantly signals order to guests.

Feature Traditional Chair Multifunction Storage Bench
Floor Footprint 2 sq ft 3-4 sq ft
Hidden Storage None 2-4 cubic feet
Ideal Usage Seating Only Seating + Shoe/Bag Storage
Entryway Impact Clutter remains visible Clutter is concealed

Maximizing Vertical and Horizontal Space

In small homes, every square inch counts, and multifunction storage benches maximize both vertical and horizontal planes. By utilizing the “dead zone” beneath seating, you keep items off the floor, which creates the illusion of more square footage—a critical psychological trick for making narrow hallways feel expansive. Additionally, many modern benches incorporate backrests with integrated coat hooks or top-mounted shelving units, allowing you to use wall space efficiently. This tiered storage approach ensures that high-frequency items, like keys or umbrellas, remain at arm’s reach while bulky gear stays tucked away out of sight.

Key Features to Look For in a Small Foyer Bench

Rustic wood storage benches provide warmth and hidden organization.

Selecting the right furniture for a tight foyer requires prioritizing high-durability materials and specific opening mechanisms that don’t impede movement. Because the entryway is a high-traffic area, prioritize powder-coated steel, solid wood, or heavy-duty composite materials that resist scuffs and moisture from wet footwear. Always measure the depth of your hallway; if the path is less than 36 inches wide, choose a bench with a depth of 12-14 inches to ensure a clear walkway. Evaluating the hinge mechanism is also vital for long-term satisfaction in confined spaces.

Opening Mechanisms and Access

How you access your stored items determines the long-term utility of the bench. Hinged lids are excellent for bulky winter boots or large sports bags, but they require clearance space in front of the unit, which can be problematic in narrow corridors. Conversely, pull-out drawers on smooth-glide ball-bearing tracks are superior for smaller items like scarves, mail, or dog leashes, as they allow access without requiring extra room in front of the bench. If you choose a drawer system, ensure the hardware is rated for at least 50 lbs to account for the weight of multiple pairs of shoes.

Top Styles for Modern and Traditional Homes

Floating storage benches are a clever solution for extremely narrow corridors.

Your entryway bench should align with your home’s existing architecture to maintain visual flow. Modern designs favor clean, monochromatic lines and integrated soft-close hinges to minimize visual clutter, while traditional styles often incorporate warm wood veneers, classic tufted cushions, or decorative iron hardware. The key to successful styling is balancing decorative charm with material durability. For high-moisture climates, opt for performance fabrics like solution-dyed acrylics which are moisture-resistant and prevent mold growth in enclosed shoe compartments.

Material Considerations for Durability

Entryway furniture is subjected to higher wear than living room pieces, necessitating specific material choices. Solid wood or engineered MDF with a high-grade melamine coating provides the best protection against water damage from wet boots and umbrellas. If you choose to add an upholstered seat, ensure the fabric features a Martindale rub count of at least 20,000 to 30,000 cycles, indicating it can withstand heavy daily contact. For metal benches, prioritize powder coating over paint to prevent oxidation and chipping in high-traffic, high-humidity entry zones.

Creative Ways to Style Your Storage Bench

Styling a bench elevates it from a utility item into a deliberate design focal point that enhances your home’s aesthetic. Consider placing a decorative, non-slip tray on the surface for mail or keys, and utilize the area beneath (if the design permits) with woven baskets for seasonal slippers or pet gear. By curating these small details, you prevent the entryway from becoming a collection of miscellaneous items, turning it into a polished transition space that reflects your personal interior design style.

The Importance of Wall Decor

Pairing a bench with deliberate wall decor maximizes the impact of your small space through light manipulation and vertical utility. A large, circular mirror hung 6-8 inches above the bench seat will reflect natural light, effectively doubling the perceived size of a tiny landing. Combine this with wall-mounted brass or matte-black hooks placed at a height of 60 inches to keep heavy coats off the bench seat, ensuring the entire area remains functional, organized, and visually appealing.

Budget-Friendly Entryway Solutions

High-quality organization does not require a luxury budget; many affordable, flat-pack options provide the same utility as expensive custom-built units. When shopping for value, look for particleboard benches with reinforced cam-lock fasteners, which are easy to assemble and transport while offering a sleek, modern finish. Alternatively, source vintage solid-wood benches from thrift stores for under $50, which can be sanded, repainted, and fitted with modern matte hardware for a high-end look at a fraction of the cost of new retail furniture.

Customizing Your Storage

Basic storage benches can be customized to function like premium units through minor, cost-effective modifications. Add inexpensive acrylic or wood dividers inside the compartment to organize shoes, preventing heels and soles from scratching each other. Furthermore, retrofitting standard hinges with pneumatic soft-close dampeners for less than $15 provides a quiet, premium feel to the unit, preventing the lid from slamming and extending the lifespan of the hinges.

Troubleshooting Common Small Space Problems

When a standard rectangular bench is physically too large for your floor plan, pivot to unconventional solutions that protect your square footage. Corner-specific benches leverage angles that are typically unusable, while “floating” wall-mounted benches eliminate floor legs, creating an open, airy feeling that prevents a narrow hallway from feeling obstructed. By physically separating the furniture from the floor, you create a clean visual line that makes a 3-foot wide hallway appear significantly larger.

Dealing with Clutter Overload

If your storage bench is consistently overflowing, the issue is often over-accumulation rather than a lack of space. Before adding more storage, conduct a biannual audit of your entry items; remove out-of-season footwear and worn-out bags. A storage bench should contain only items that are used at least 3-4 times per week. By limiting the inventory stored in the unit, you ensure the mechanism operates smoothly and that the bench remains a tool for organization rather than a “junk drawer” for items you rarely use.

FAQ

Q: How much clearance do I need for a storage bench?

Plan for at least 30 to 36 inches of clear floor space in front of the bench to allow comfortable movement. If your entryway is narrower, opt for a bench with sliding drawers rather than a flip-top lid to avoid obstructing the walkway.

Q: What is the best depth for an entryway bench in a tight space?

The ideal depth for a tiny entryway is 12 to 14 inches. This size is large enough to accommodate adult shoes comfortably while ensuring the piece does not feel intrusive in narrow corridors or apartment-style foyers where hallway flow is critical.

Q: Can I use a floating bench in a small apartment?

Yes, floating benches are highly recommended for small apartments because they keep the floor visible, which tricks the eye into perceiving more square footage. Ensure you mount the unit into wall studs using heavy-duty lag bolts to safely support the weight of multiple people.

Q: How do I keep my bench organized inside?

Use modular dividers, small fabric bins, or labeled shoe trays to segment the internal space. Categorizing items by user or season prevents the interior from becoming a “black hole” and ensures that you can locate specific items within seconds during your morning routine.

5 One-Afternoon Living Room Refreshes (Fully Reversible)

5 One-Afternoon Living Room Refreshes (Fully Reversible)

To refresh your living room in one afternoon without permanent changes, focus on strategic textile layering, updating wall art with adhesive strips, adjusting lighting color temperatures, introducing low-maintenance greenery, and rearranging furniture for improved traffic flow. These reversible design tactics allow for immediate, high-impact aesthetic changes that are ideal for renters or homeowners avoiding major renovations.

The Power of Strategic Textile Layering

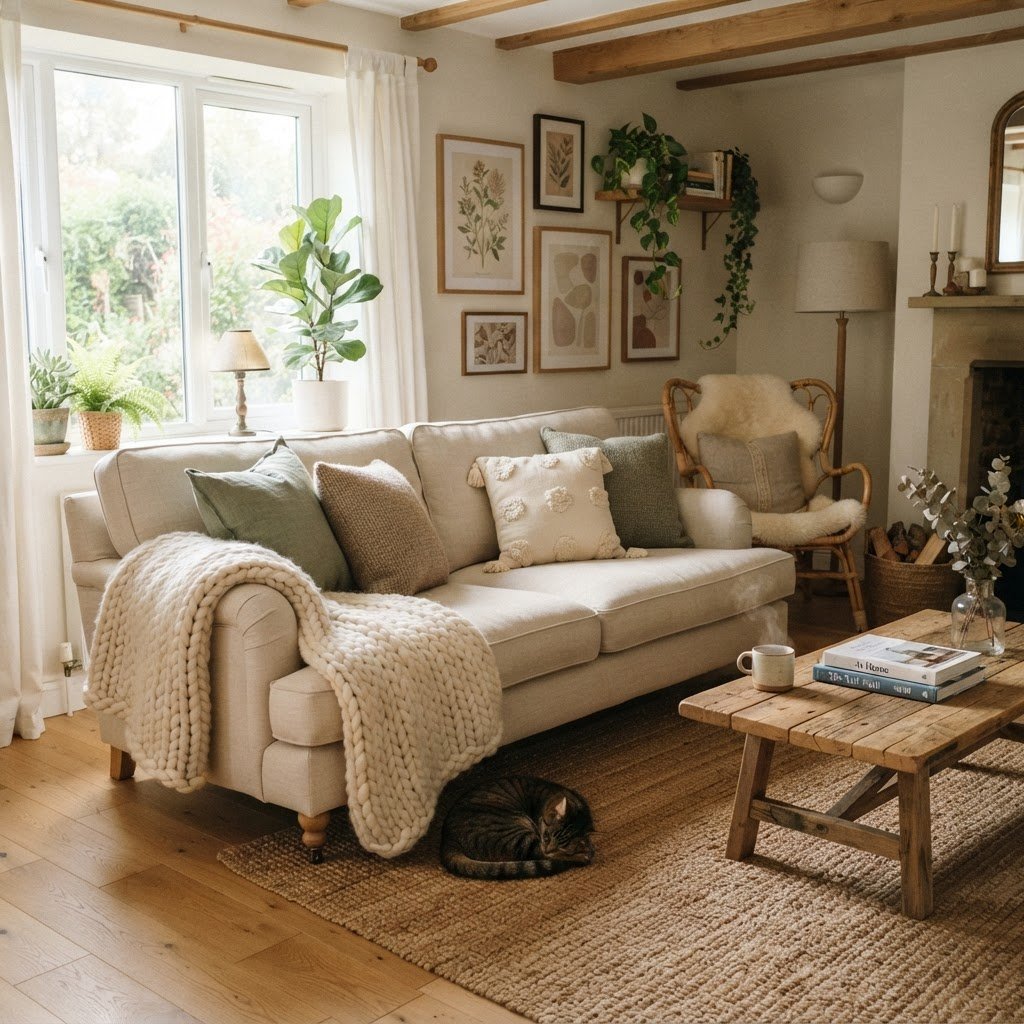
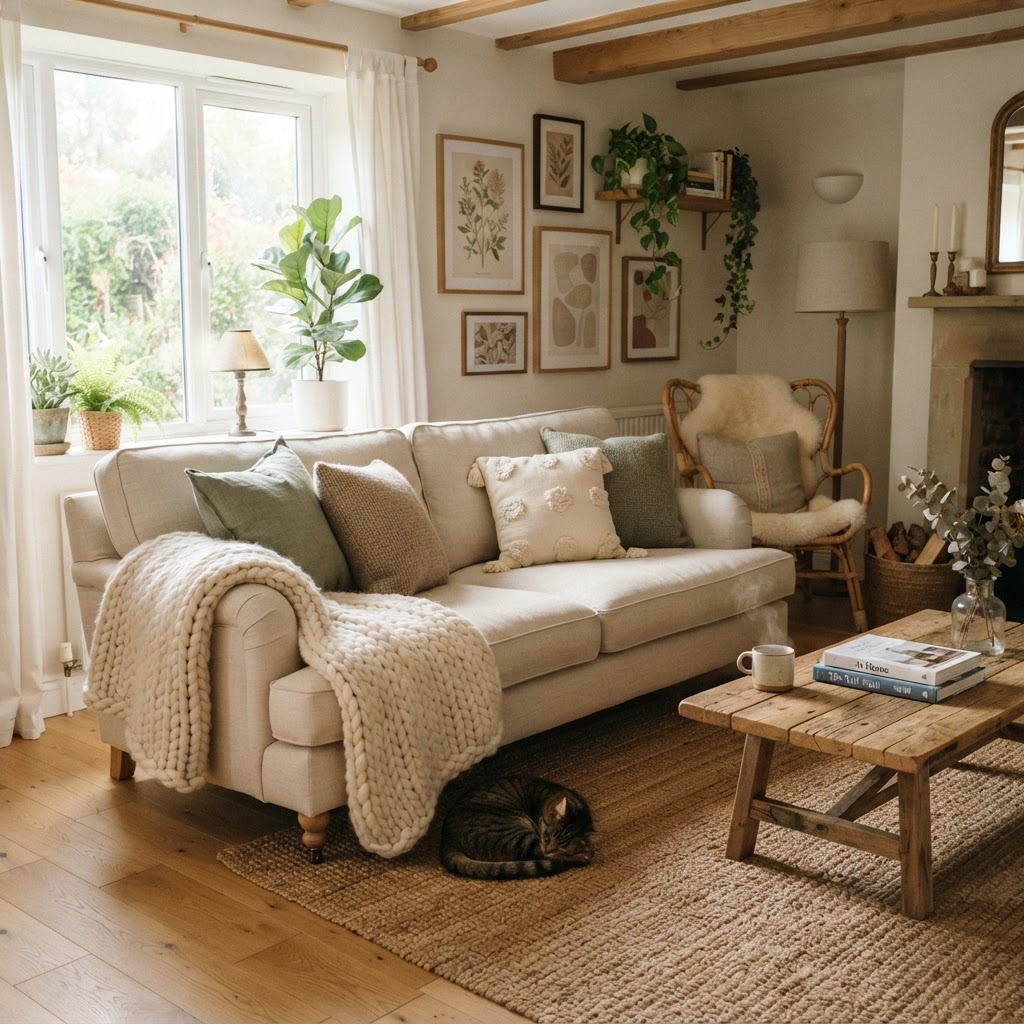
Textile layering adds instant warmth and comfort.

Textiles are the most impactful, low-stakes tool in your design arsenal to transform a room’s color palette in under 60 minutes. When aiming for quick refreshes, start by swapping throw pillows and blankets on neutral upholstery, which instantly pivots the room’s mood without requiring new furniture. By focusing on tactile fabrics like chunky knits, velvet, or linen, you introduce essential depth and visual interest that standard flat fabrics cannot achieve.

Why Textiles Make the Biggest Difference

Texture fundamentally impacts how we perceive space, effectively transforming cold, sterile environments into cozy, lived-in havens. To achieve a professional look, prioritize a consistent color story—perhaps deep navy and mustard yellow for a sophisticated feel, or soft terracotta and cream for an organic, airy aesthetic.

Textile Type Best Used For Vibe Created
Chunky Knits Winter/Autumn Cozy, Maximalist
Crisp Linen Summer/Spring Airy, Minimalist
Velvet Year-round Luxury, Dramatic

Layering is as much about scale as it is about color; mix patterns with solids, and vary your pillow sizes to create a dynamic arrangement. Because these items are small and modular, they are exceptionally easy to store or swap seasonally, allowing for constant aesthetic evolution without significant financial investment.

Rethink Your Wall Art and Gallery Walls

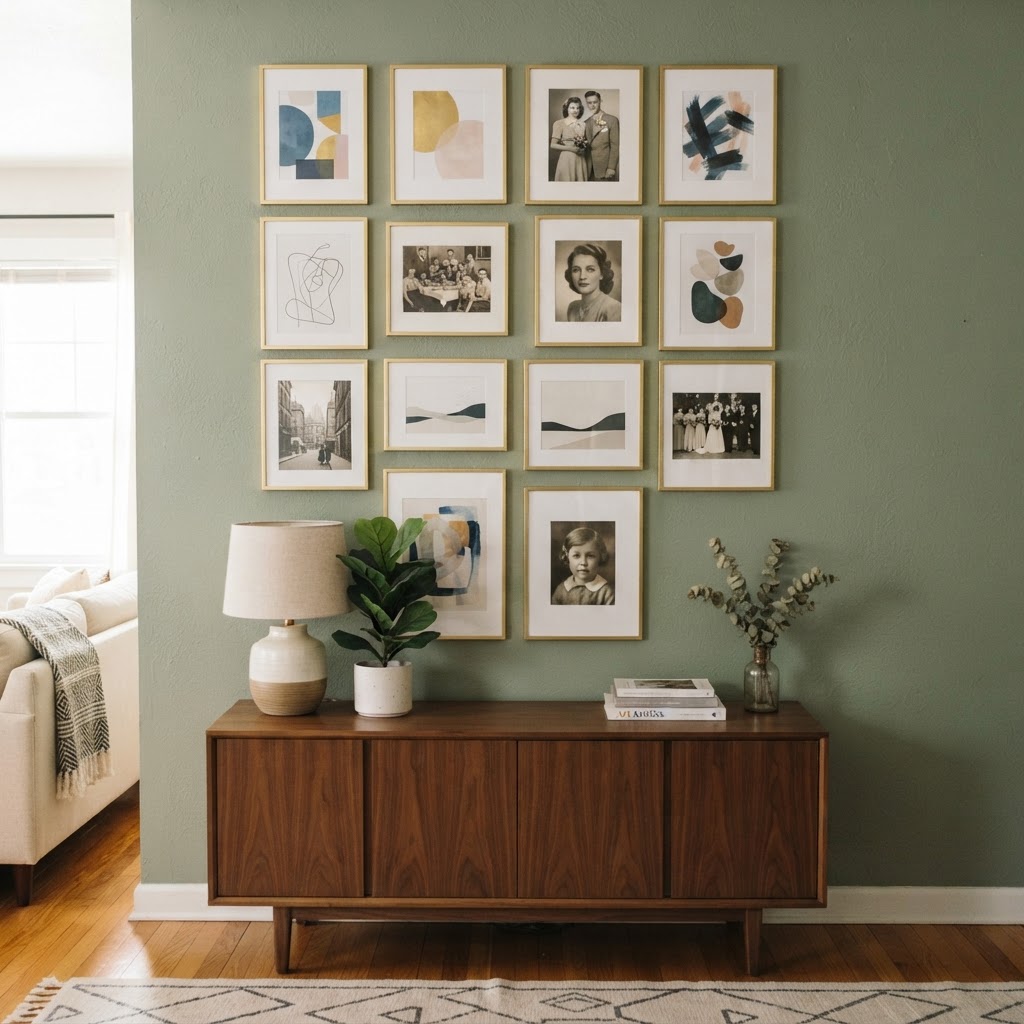
Gallery walls create a personalized focal point.

Blank walls are often missed design opportunities that can be transformed in an afternoon using damage-free adhesive strips, which allow for professional-grade gallery wall mounting without leaving holes in the drywall. If you are worried about paint damage, these adhesive solutions are rated to hold up to 16 pounds per strip, making them perfectly safe for standard frames and prints. By grouping art together, you create a dedicated focal point that draws the eye upward, immediately making a space feel larger and more intentional.

Creative Display Tips

  1. Use a picture ledge to display a rotating collection of art without needing more than two or three wall anchors.
  2. Curate a gallery wall using a mix of family photos, art prints, and mirrors to reflect natural light.
  3. Swap out existing art for a new theme like vintage botanical prints or abstract minimalist shapes.

If you prefer not to hang anything, lean large-scale prints against the wall on a bookshelf or console table. This “leaning” look is a modern interior design staple that provides the flexibility to rearrange your layout in seconds. This approach is highly effective for renters living in spaces where strict wall-mounting policies apply, ensuring you remain within the terms of your lease while still achieving a custom aesthetic.

Update Lighting to Shift the Mood

Plants bring nature and life into your living area.

Lighting dictates the atmosphere of a room more effectively than any single piece of furniture, and layering your sources is the fastest way to eliminate the “flat” feel caused by standard overhead ceiling fixtures. To achieve a high-end look, integrate at least three distinct light sources: a floor lamp for ambient glow, a table lamp for task-oriented lighting, and soft-toned LED strips tucked behind your TV or bookshelves.

Focus on color temperature, which is measured in Kelvin (K). Switching to “warm white” bulbs (ideally 2700K) instantly makes a space feel inviting and cozy, whereas standard “daylight” bulbs (5000K+) often create a sterile, clinical environment. You can also customize your aesthetic by replacing basic lamp shades with textured options like linen drums or pleated fabric, which diffuse light more elegantly.

Bulb Type Kelvin Temp Best Application
Warm White 2700K Cozy living/lounge
Cool White 4000K Task/reading corners
Daylight 5000K+ Utility/kitchen areas

Bring the Outdoors In with Greenery

Curated shelves make surfaces look polished and intentional.

Plants serve as the ultimate interior design accent, introducing organic color and softening the rigid architectural lines of a living room in one afternoon. If you are not a natural “green thumb,” prioritize high-survivability varieties like the Snake Plant (Sansevieria), which can go up to 3 weeks without water, or Pothos vines, which thrive in almost any light condition.

When styling, consider the vertical scale of your room. Position tall floor plants in empty corners to draw the eye up, while placing trailing plants on shelves to create a lush, cascading effect. If floor space is at a premium, utilize hanging planters or wall-mounted pots to add greenery without sacrificing square footage. Incorporating live plants has also been shown in numerous studies to improve indoor air quality and reduce psychological stress, providing a health benefit alongside the visual refresh.

Rearrange Furniture for Better Flow

Your furniture layout may be the primary culprit behind a stagnant room, and testing a new configuration is a zero-cost way to make a space feel brand new. By “floating” your sofa away from the wall, you create a more intimate conversation area that opens up the room for better traffic flow and utility. Take an afternoon to experiment with a new floor plan, potentially swapping the positions of your armchair and side table to improve functionality.

The “Shop Your Home” Method

Before purchasing new items, utilize the “Shop Your Home” method to rediscover forgotten treasures from other rooms. A side table from your bedroom may function perfectly as a plant stand, while a mirror from a hallway could be moved to the living room to visually double the space. This approach is the most budget-friendly way to achieve a professional refresh while clearing out clutter from other parts of your house.

Considerations for Furniture Placement:

  • Traffic flow: Maintain a 30-inch clearance zone between major furniture pieces for comfortable walking paths.
  • Focal points: Orient seating toward a fireplace, window view, or the TV rather than against a blank wall.
  • Balance: Distribute heavy or tall pieces across the room to prevent visual weight from pooling on one side.

Styling Your Shelves and Surfaces

Styling surfaces is an exercise in restraint where the goal is to make shelves look polished and intentional rather than cluttered. To properly style a shelf, remove all items, then curate them back in by grouping objects in odd numbers—such as sets of three—which is a designer trick that creates visual interest and natural balance. Combine books with small decorative objects like vases or candles, ensuring you leave approximately 30-40% of the shelf surface empty to allow the eye to rest.

On the coffee table, a decorative tray serves as an essential anchor, preventing remotes, coasters, and books from looking like a scattered mess. By establishing this foundational layer, you create a sophisticated center point that is easy to maintain. Consistently applying this “negative space” rule is the hallmark of a professional decorator and effectively prevents your living space from feeling overwhelmed by personal collections.

FAQ

How can I make a living room look expensive on a small budget?

Focus on high-quality textures like velvet pillows or linen throws, and remove all visual clutter. A curated, minimalist surface area combined with warm-toned lighting consistently creates a more premium, high-end appearance than expensive furniture alone.

Are adhesive strips safe for all types of paint?

Most damage-free adhesive strips are safe for cured paint on drywall, provided they are applied to clean surfaces. Always perform a patch test on an inconspicuous area and use the specific pull-tab instructions when removing them to ensure the drywall finish remains intact.

How do I choose the right plant for a low-light room?

Choose species like the Snake Plant, ZZ Plant, or Pothos, which are biologically adapted to survive in lower light levels. These plants require less frequent watering and are ideal for living rooms without direct sun exposure.

Does rearranging furniture actually change the feel of a room?

Yes, rearranging furniture fundamentally shifts the traffic flow and creates new focal points that change your perception of space. Moving a sofa away from the wall to create a floating layout is the single most effective way to make a small room feel significantly larger.

What is the best color temperature for living room lighting?

Warm white lighting, typically around 2700K, is widely considered the best choice for living rooms to create a relaxing atmosphere. Avoid “Daylight” bulbs (5000K) in social spaces, as their high blue-light output can feel overly clinical and harsh.

18 Clever Small Bedroom Ideas to Make Your Space Feel Huge

18 Clever Small Bedroom Ideas to Make Your Space Feel Huge

To make a small bedroom feel huge, focus on increasing floor visibility through leggy furniture, maximizing vertical storage, and utilizing light, neutral color palettes. These design strategies physically and visually expand the room, turning tight quarters into a functional, airy retreat without the need for structural renovations.

The Psychology of Light and Color

Bright, neutral colors and natural light make a small bedroom feel instantly more expansive.

One of the most effective ways to make a room appear larger is through the expert use of color, specifically light-reflecting palettes like soft whites, cream, or pale greys. These shades act as a canvas that bounces natural light, visually pushing walls outward. While dark, moody colors add depth, they often shrink a space, making them less ideal for tiny bedrooms where every square inch counts. To further enhance the illusion of space, paint your ceiling a shade or two lighter than your walls to draw the eye upward, creating an airy atmosphere that feels taller.

Reflective Surfaces as Design Tools

Mirrors are perhaps the oldest trick in the book, but they remain an essential component of clever small bedroom ideas. Placing a large floor-length mirror or a wall of mirrored wardrobe doors reflects the room back to itself, effectively doubling the visual depth. For the best effect, position mirrors opposite a window to bounce natural sunlight into every corner of the room, instantly eliminating dark shadows that make a space feel confined.

Feature Effect on Space Design Tip
Light Walls Expands visually Use semi-gloss trim to reflect light
Dark Walls Adds intimacy Use only on the accent wall behind the bed
Mirrors Doubles visual depth Place at 90-degree angles to windows

Rethinking Your Furniture Layout

Wall-mounted lighting and mirrors are essential tools for maximizing floor space.

When square footage is at a premium, every piece of furniture must earn its keep, and the biggest mistake homeowners make is buying bulky furniture that dominates the room. Opt for leggy furniture; pieces that sit on thin, tapered legs allow you to see the floor underneath, which creates a sense of openness. When your eyes can trace the perimeter of the floor, the brain perceives the room as being larger than it actually is. By lifting the weight of the furniture off the floor, you eliminate visual “heavy points” that contribute to a cramped aesthetic.

Choosing Multi-Functional Pieces

Prioritize items that serve double duty to reduce visual clutter. Consider a bed frame with built-in drawers, or a storage ottoman at the foot of your bed that holds extra linens or seasonal clothing. Nightstands with drawers or small shelving units are far superior to open tables, as they provide hidden storage for books, chargers, and skincare, keeping surfaces clear and uncluttered. For example, a bed with built-in hydraulics can provide up to 25 cubic feet of additional storage—effectively replacing a small dresser.

Smart Vertical Storage Solutions

Beds with built-in storage are a smart way to clear clutter from your floor.

If you cannot build out, build up, as many people ignore the vast amount of wall space available above their furniture. Installing floor-to-ceiling shelving units allows you to display books and decor items without consuming precious floor space. This draws the eye upward, highlighting the height of the room rather than its narrow width. For best results, ensure shelving is consistent with wall color to prevent visual fragmentation.

The Power of Wall-Mounted Fixtures

Wall-mounted bedside lamps are another essential in our list of small bedroom ideas. By removing lamps from your nightstand, you reclaim valuable surface area. This simple switch makes the room feel cleaner, more organized, and intentionally designed, providing a sleek hotel-like aesthetic that elevates the overall room design. Using hardwired sconces or plug-in wall lamps can save roughly 1 to 2 square feet of surface space per side of the bed.

The Art of Decluttering and Minimalism

Custom closet systems help keep your bedroom serene by providing ample hidden storage.

In a tiny bedroom, surface area is everything, and minimalism is a necessity for anyone looking to maximize small bedroom space. Start by editing your decor: only keep items on your dresser or nightstand that you use daily or that bring you genuine joy. Store everything else out of sight in bins or closet organizers. A rule of thumb is to keep surfaces at 20% capacity; if a dresser is covered in items, it creates visual chaos that makes a small room feel claustrophobic.

Clearing the Visual Path

Keep high-traffic areas clear of shoes, laundry baskets, and stray items. When the floor is clear, the room feels significantly larger. Use under-bed storage boxes for items you rarely need, keeping them tucked away securely while maintaining easy access whenever the time comes to swap out seasonal goods. Consider utilizing modular storage cubes that stack to exactly the width of your closet opening.

Textile and Window Treatments

How you dress your windows can define the scale of your bedroom, and heavy, dark curtains can act as a frame that makes a window—and by extension, the room—feel smaller. Instead, choose floor-to-ceiling curtains in a light, sheer fabric. Mounting the curtain rod high above the window frame creates the illusion of taller walls, making the room feel grander. Aim to hang rods at least 6 inches above the frame to maximize the vertical line.

Simplify Your Bedding

While we all love a pile of decorative pillows, too many can overwhelm a tiny bed. Opt for a sleek, streamlined duvet cover and one or two decorative pillows rather than a massive mountain of cushions. Using a monochromatic bedding set also helps to unify the bed with the rest of the room’s furniture, preventing the bed from looking like a bulky focal point that consumes the entire area. A single large throw blanket folded neatly at the foot can add texture without the visual weight of excessive pillows.

Strategic Use of Lighting

Layered lighting is critical, as relying on a single harsh overhead light can make a room feel boxy and flat. Use a combination of ambient, task, and accent lighting to create depth. Soft LED strips behind the headboard or under the bed frame can create a “floating” effect, which is one of the most effective small bedroom ideas to create an illusion of space. By separating the bed from the wall via light, you increase the perception of depth.

10 Genius Ways to Make a Small Bedroom Look MASSIVE!

Recessed Lighting and Pendants

If you have the budget, consider recessed lighting. It eliminates the need for bulky fixtures that hang down into your field of vision. For a more decorative touch, consider pendant lights hung on either side of the bed. They offer a stylish alternative to table lamps and free up space in a way that feels intentional and high-end. Aim for warm light (around 2700K to 3000K) to maintain a cozy, restful environment.

Customizing Your Closet Space

Closets are often the most underutilized areas in a bedroom. If you have a traditional door, consider removing it and replacing it with a stylish curtain, or switching to sliding bypass doors that don’t take up floor space when opened. Installing a custom closet system can also help you organize your belongings more efficiently, allowing you to remove bulky dressers from the main bedroom area entirely.

The “Dresser in the Closet” Hack

If your closet is deep enough, try placing a dresser or shelving unit inside. This clever storage solution clears up massive amounts of floor space, allowing you to use your bedroom solely as a place for rest rather than a combination of sleep and storage. By treating your closet as a functional extension of the room, you gain back valuable floor space, typically adding 4 to 6 square feet of usable room area.

FAQ

Q: What is the best color to paint a small bedroom to make it look bigger?

Light, neutral colors like soft whites, off-whites, and pale greys are the best for making small rooms look bigger. These shades reflect natural light, which minimizes shadows and creates an expansive, airy feel by visually pushing the walls away from the viewer.

Q: Does under-bed storage really save space?

Yes, utilizing under-bed storage allows you to reclaim floor area previously occupied by bulky furniture like dressers. By choosing a frame with integrated drawers or using low-profile storage bins, you can store seasonal clothing and linens, effectively doubling the storage capacity of a standard closet.

Q: Should I use floor-to-ceiling curtains in a small room?

Absolutely, as mounting floor-to-ceiling curtains draws the eye upward and emphasizes the height of the walls. Using light, sheer fabrics prevents the window treatment from feeling heavy, which helps maintain a sense of openness and verticality throughout the entire space.

Q: How do I arrange furniture in a tiny bedroom?

Focus on “leggy” furniture that allows you to see the floor underneath, as this increases the sense of space. Place larger pieces like the bed against the wall, keep high-traffic paths clear of clutter, and use vertical wall space for shelving instead of placing more furniture on the floor.

Q: What lighting is best for a small room?

Layered lighting is ideal, using a mix of recessed lights, wall sconces, and LED strips to create depth. Avoid large, low-hanging pendant lights that obstruct your line of sight, and try to install lighting that highlights corners to eliminate dark spots that shrink a room’s perceived size.