Category Entryway & Small Space Solutions

How to Fake an Entryway: Solutions for Small Homes

Walking through the front door directly into your living room can make your home feel exposed and disorganized. Many homeowners struggle with this architectural layout, wondering how to fake an entryway when there is no natural transition space. Without a dedicated foyer, your shoes, coats, and mail often end up cluttering the main living area, creating a chaotic first impression. The good news is that with a few strategic design adjustments, you can define a clear entry zone that separates your living space from the outside world.

Assess Your Existing Floor Plan
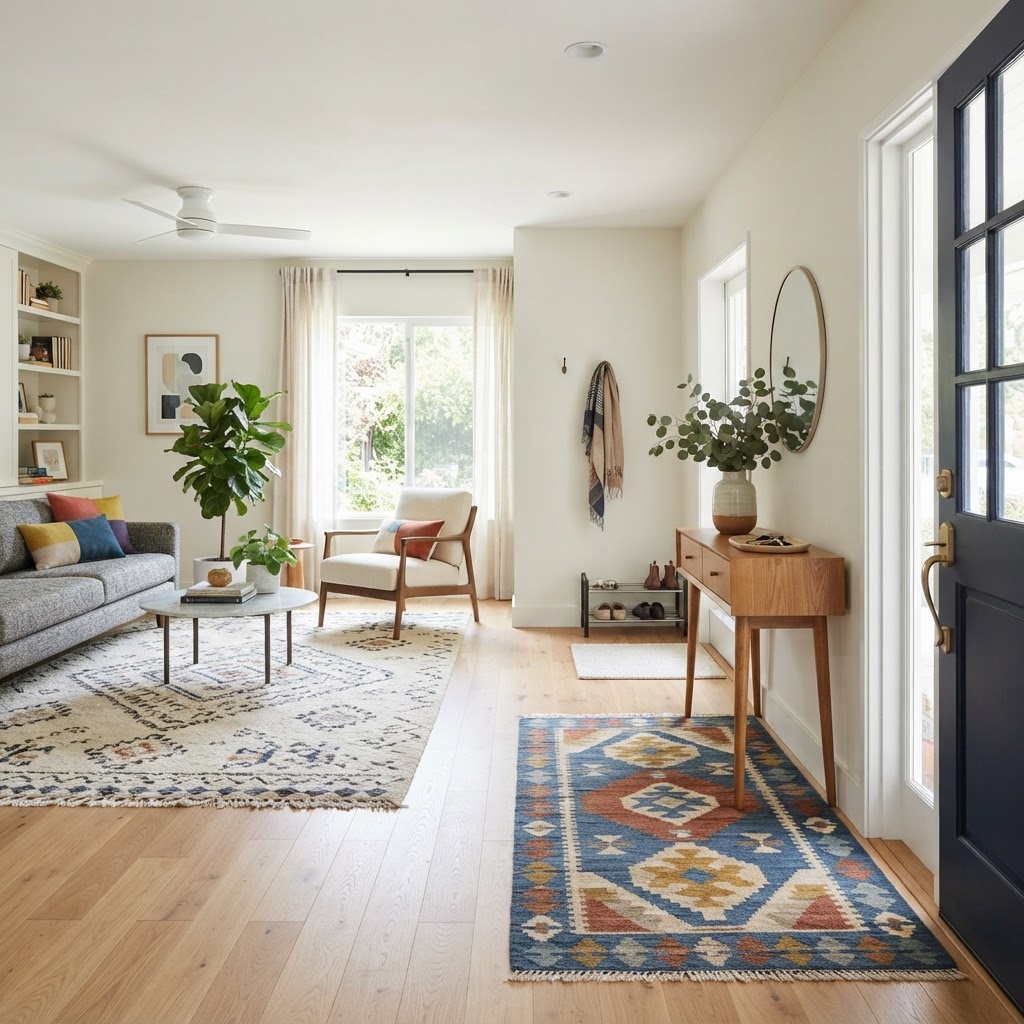
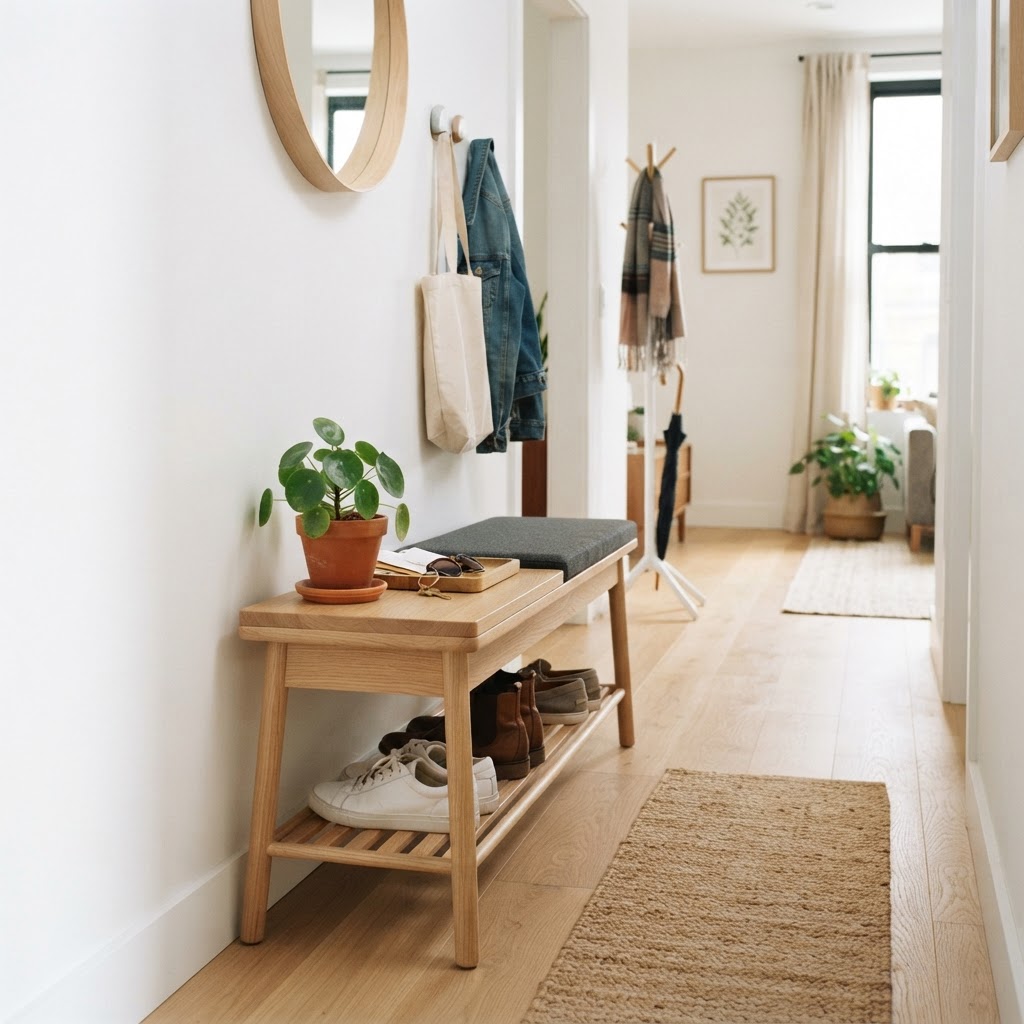
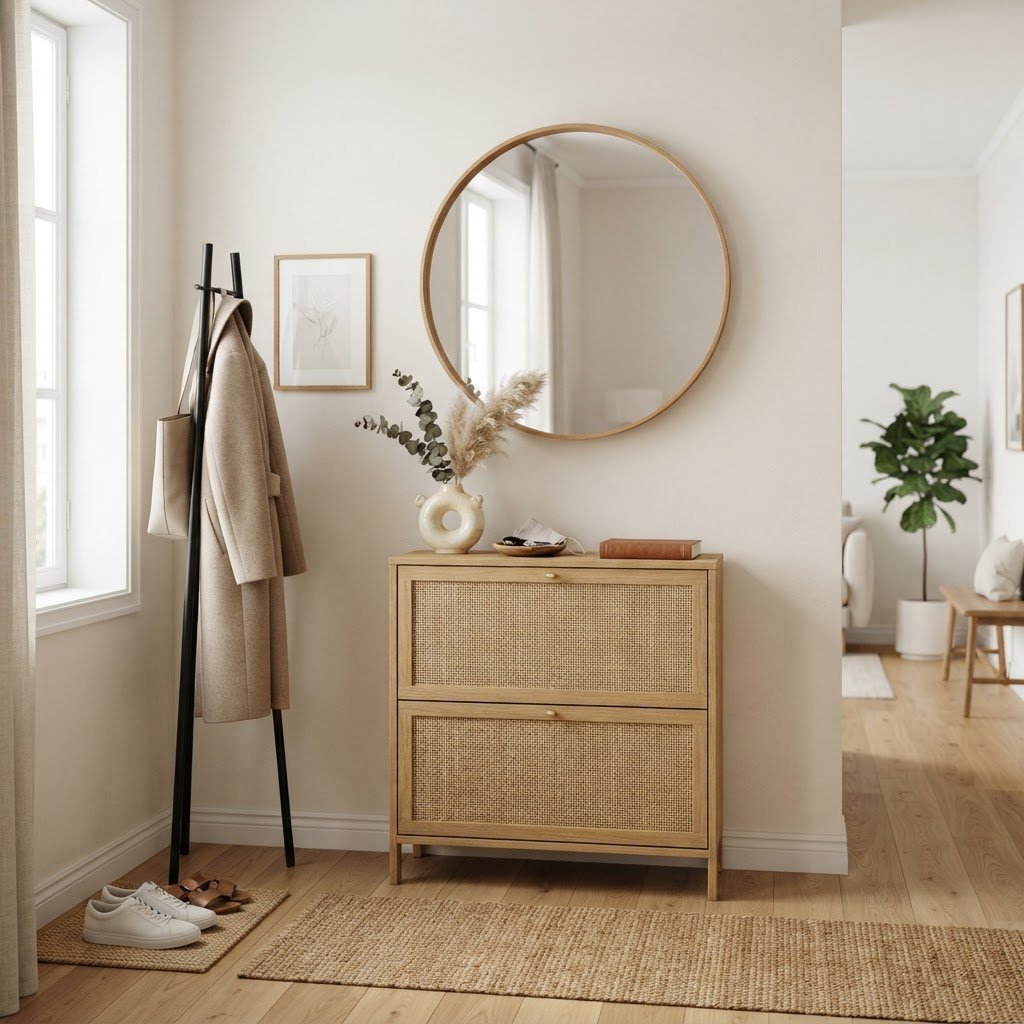
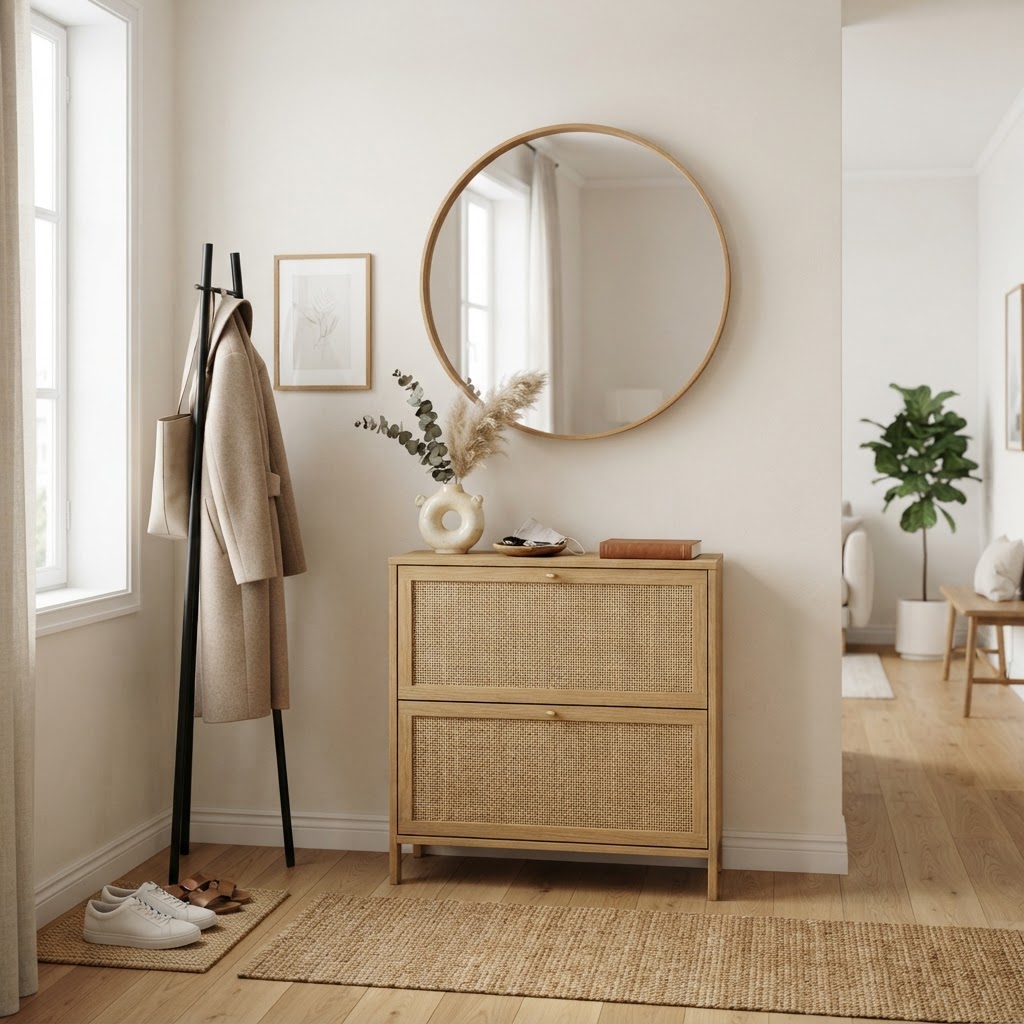
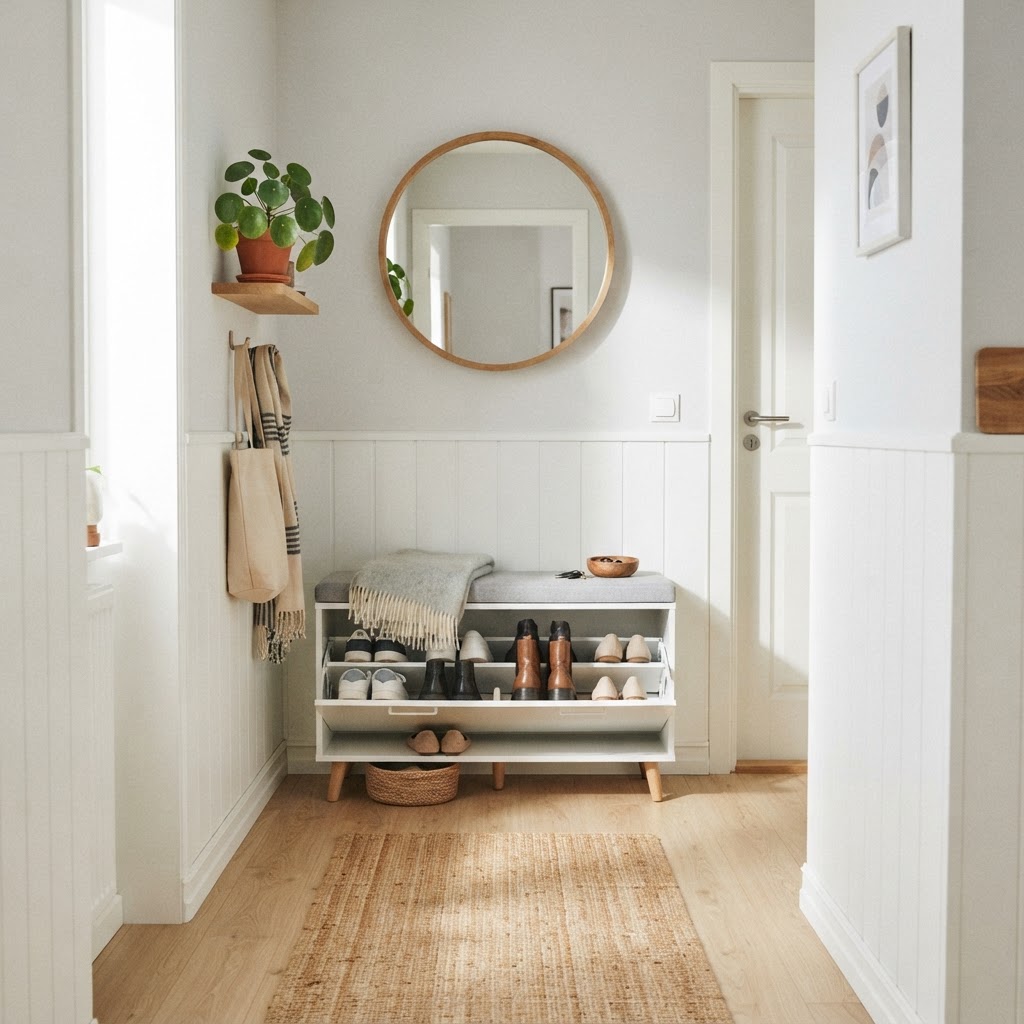
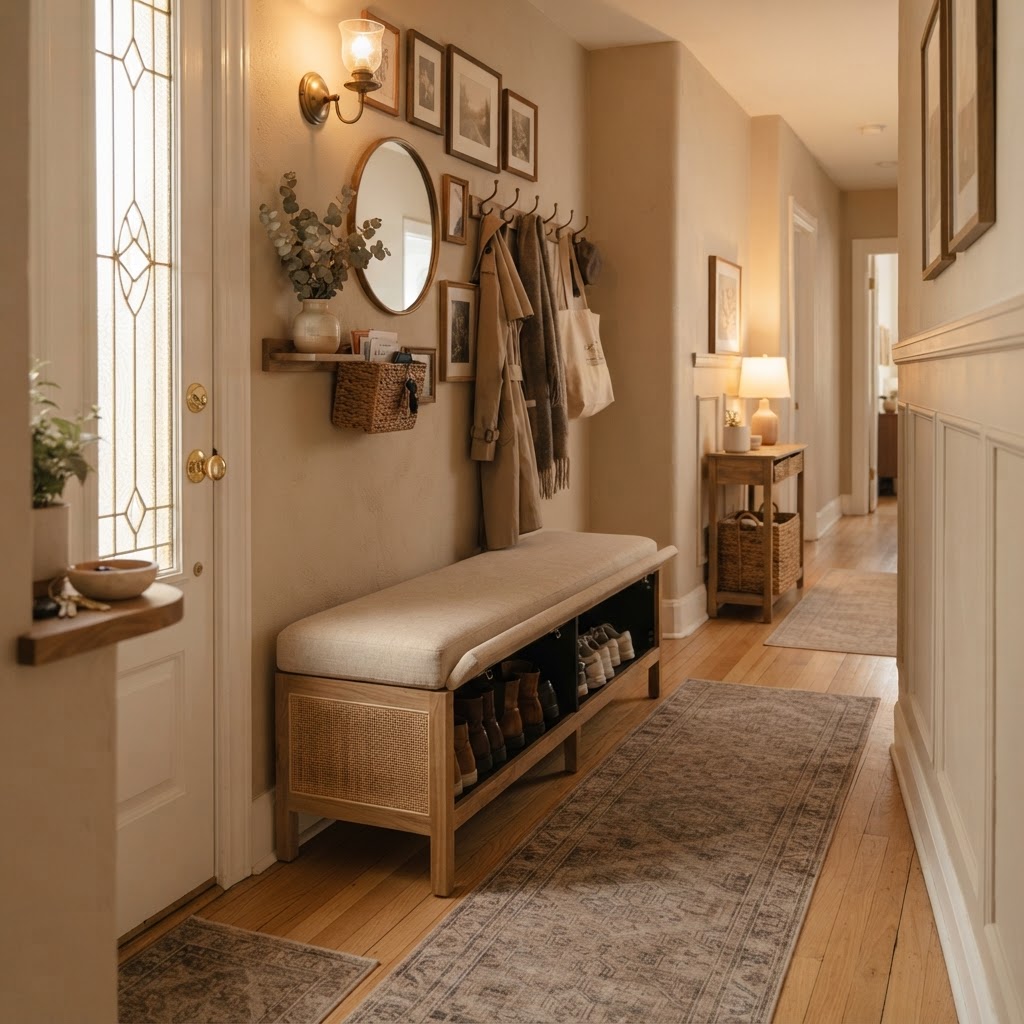
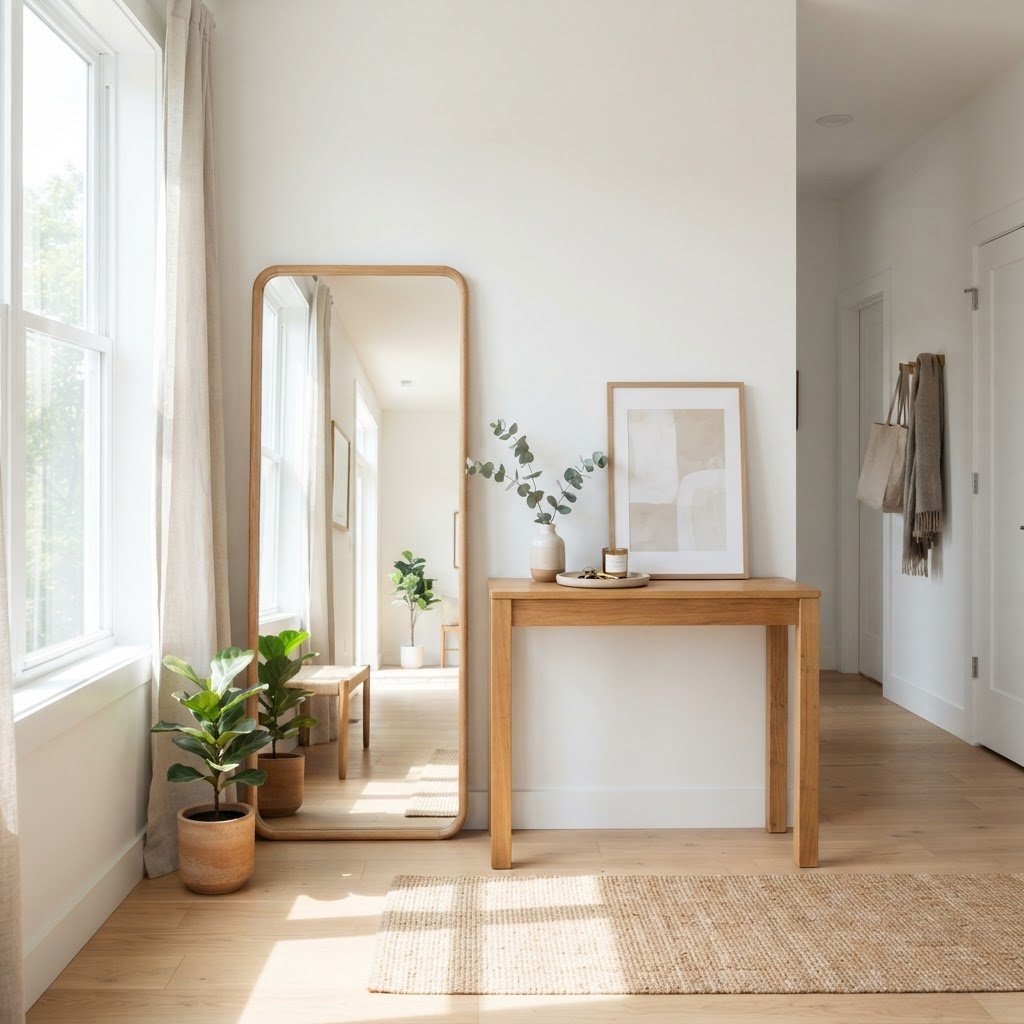
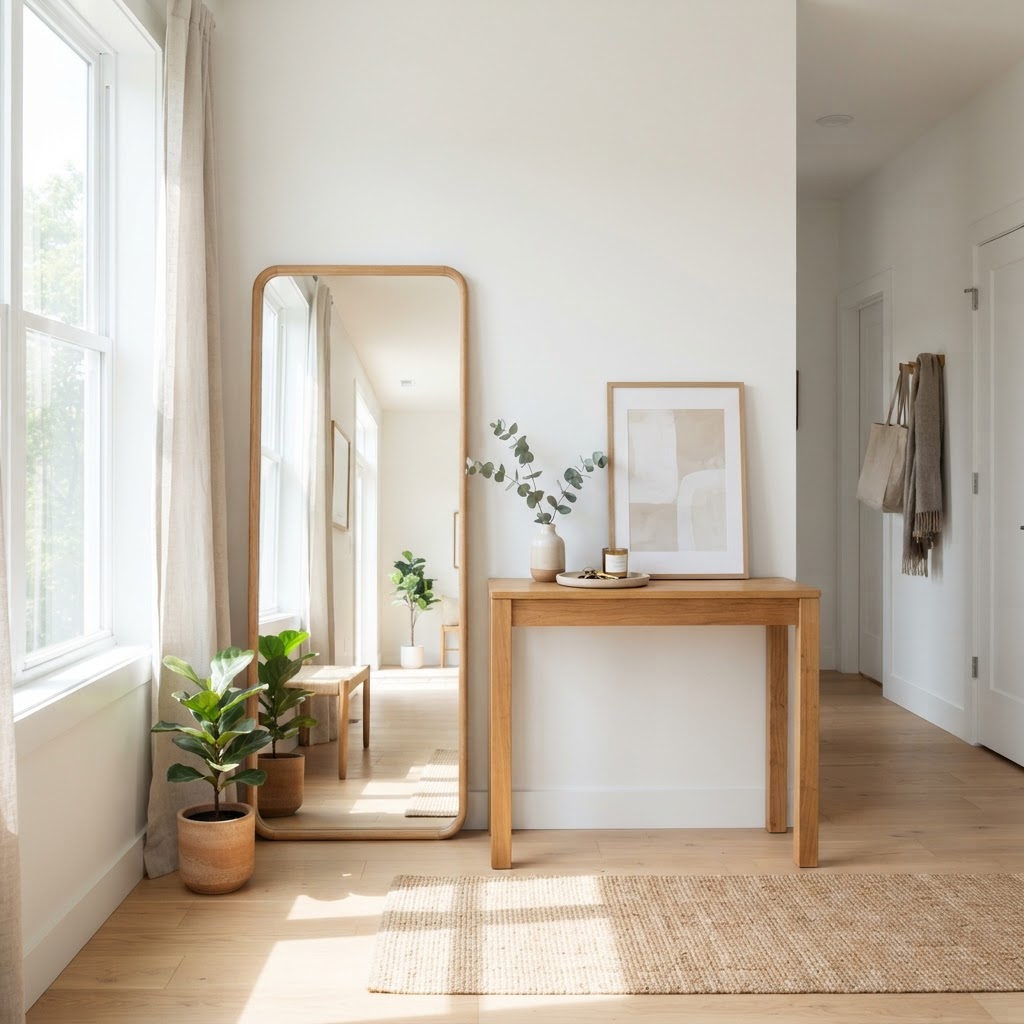
Use a rug to define your entryway zone.

Before you start buying furniture, take a close look at your floor plan. Even the smallest nook can be transformed into a functional landing pad if you approach it with the right perspective. Start by identifying the ‘landing zone’—the area immediately inside the door where you naturally drop your keys and bags. This is the footprint you will work with to create your faux entryway.

Think about the flow of traffic. You do not want to block the path to the kitchen or stairs. Observe where people naturally walk and avoid placing large, permanent pieces in those high-traffic lanes. Instead, focus on defining the space visually using rugs, lighting, or furniture placements that act as a psychological barrier, signaling to guests that they have arrived in a transition area.

Use Rugs to Define the Space
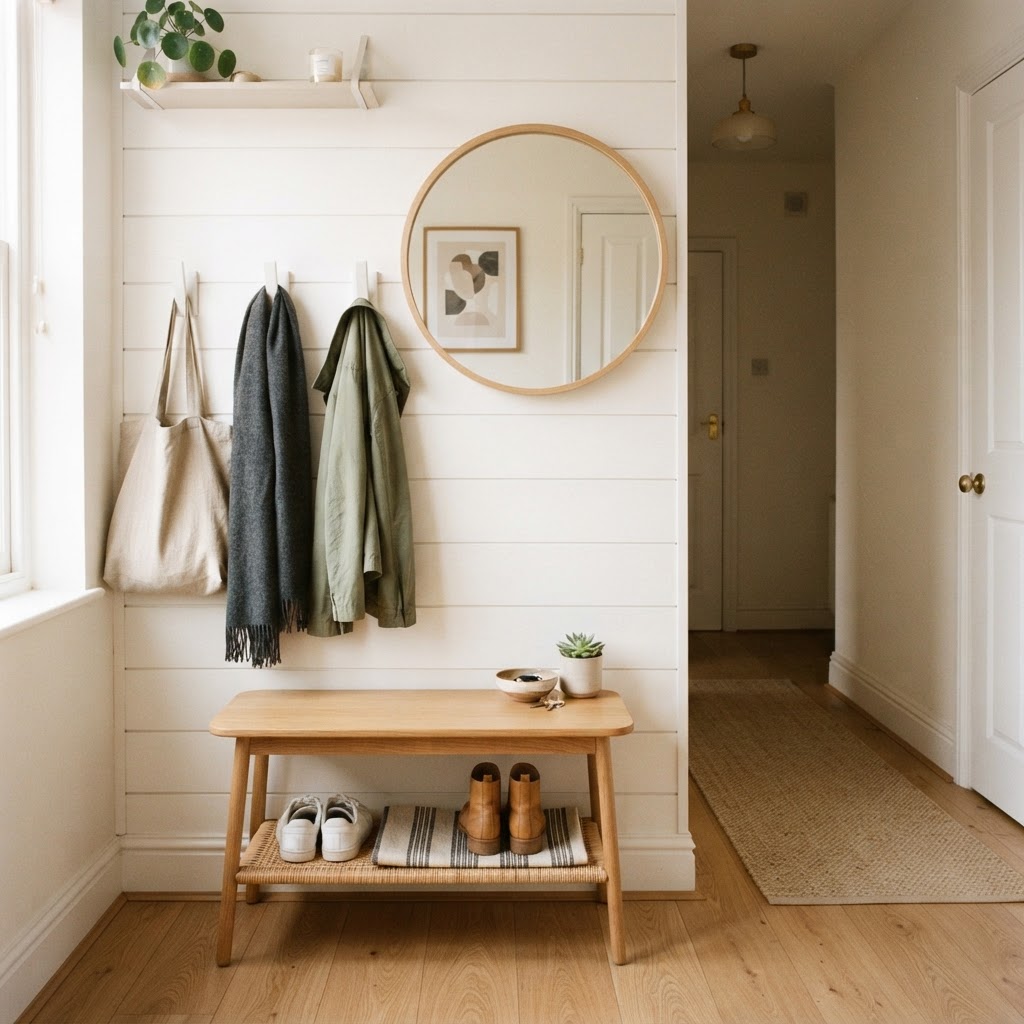
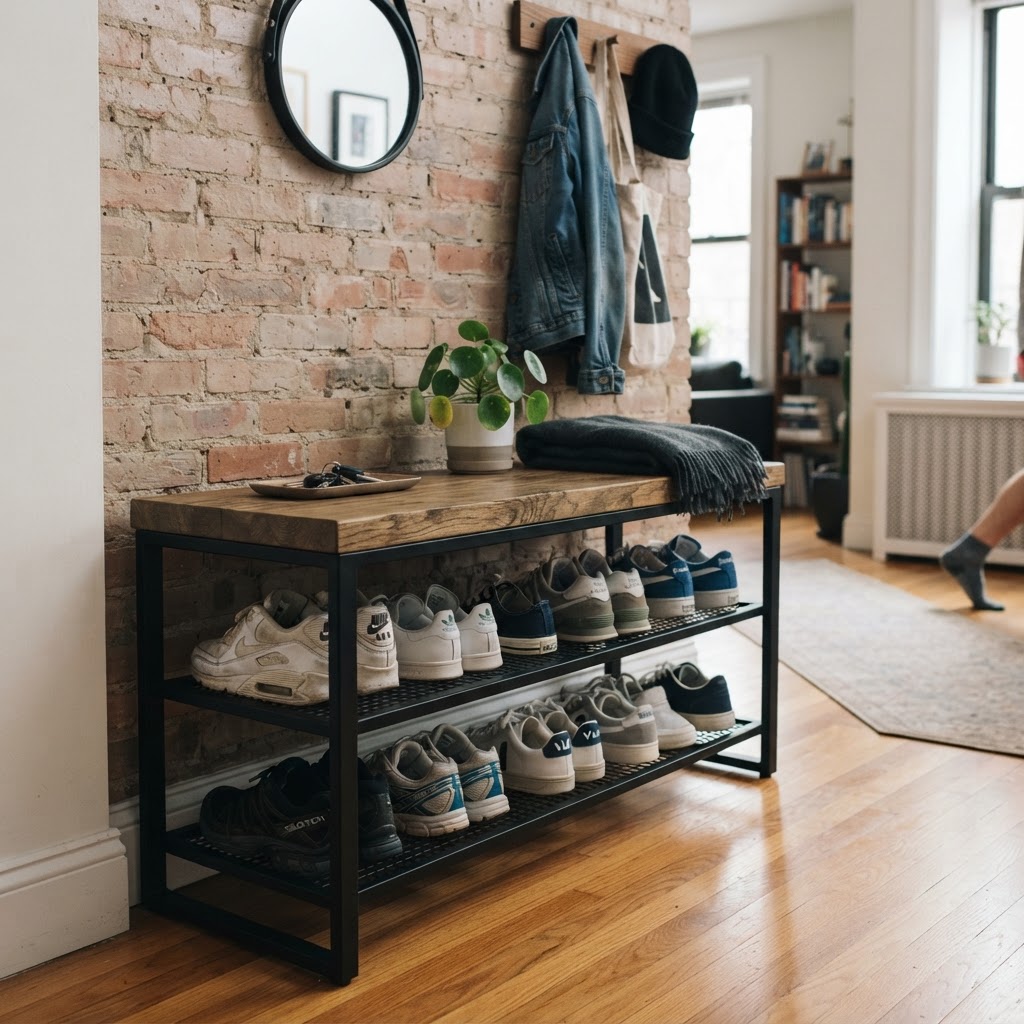
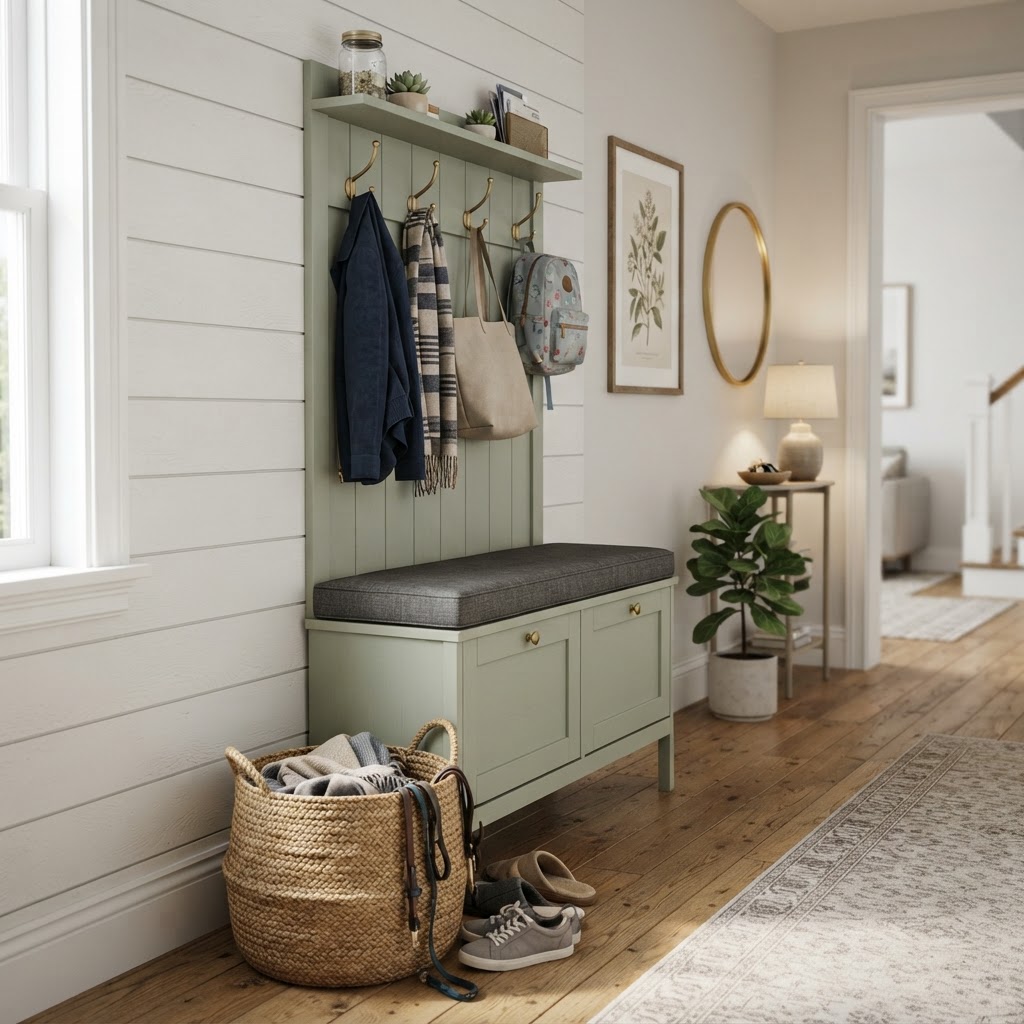
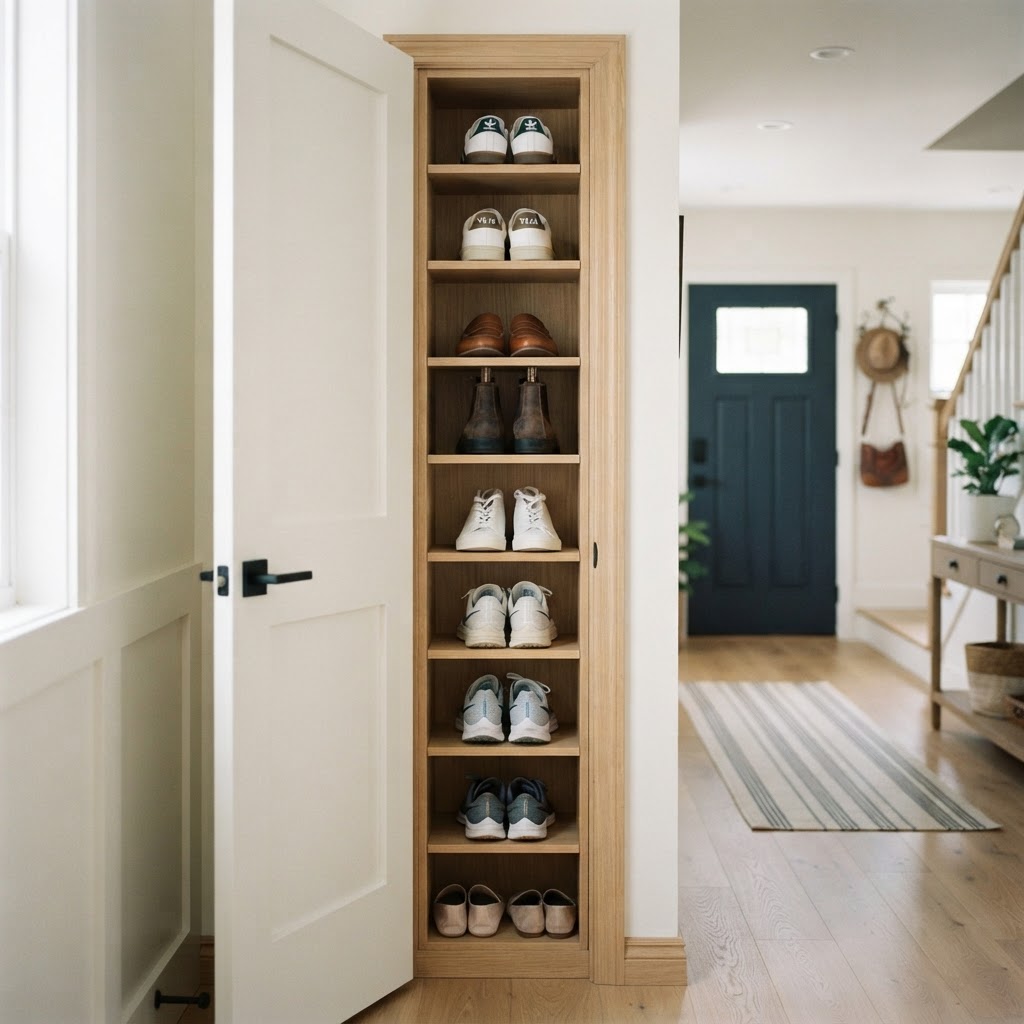
Vertical storage saves floor space.

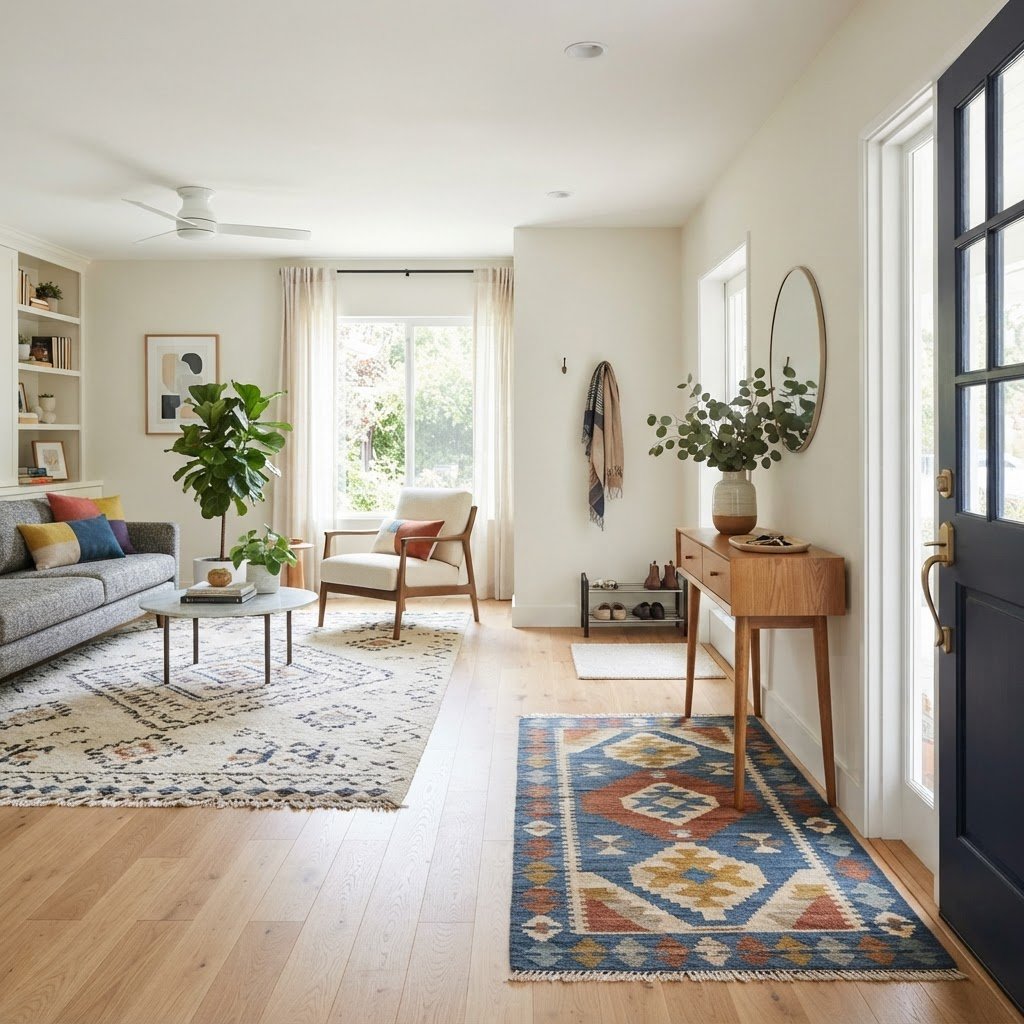
A high-quality rug is one of the most effective tools for creating a visual separation between your entryway and living room. By choosing a distinct rug for the area just inside the door, you create a dedicated ‘zone’ that feels separate from the rest of the flooring. This is a classic designer trick to tell the eye that the entryway is a different space than the living room.

Consider a durable, low-pile rug or a natural fiber runner. These materials handle foot traffic well and are easy to clean. If your living room features carpet, a rug on top can add texture and color. Choose a pattern or color that complements your living room furniture but stands on its own as a unique anchor point for the entrance.

Create a Functional Storage Wall
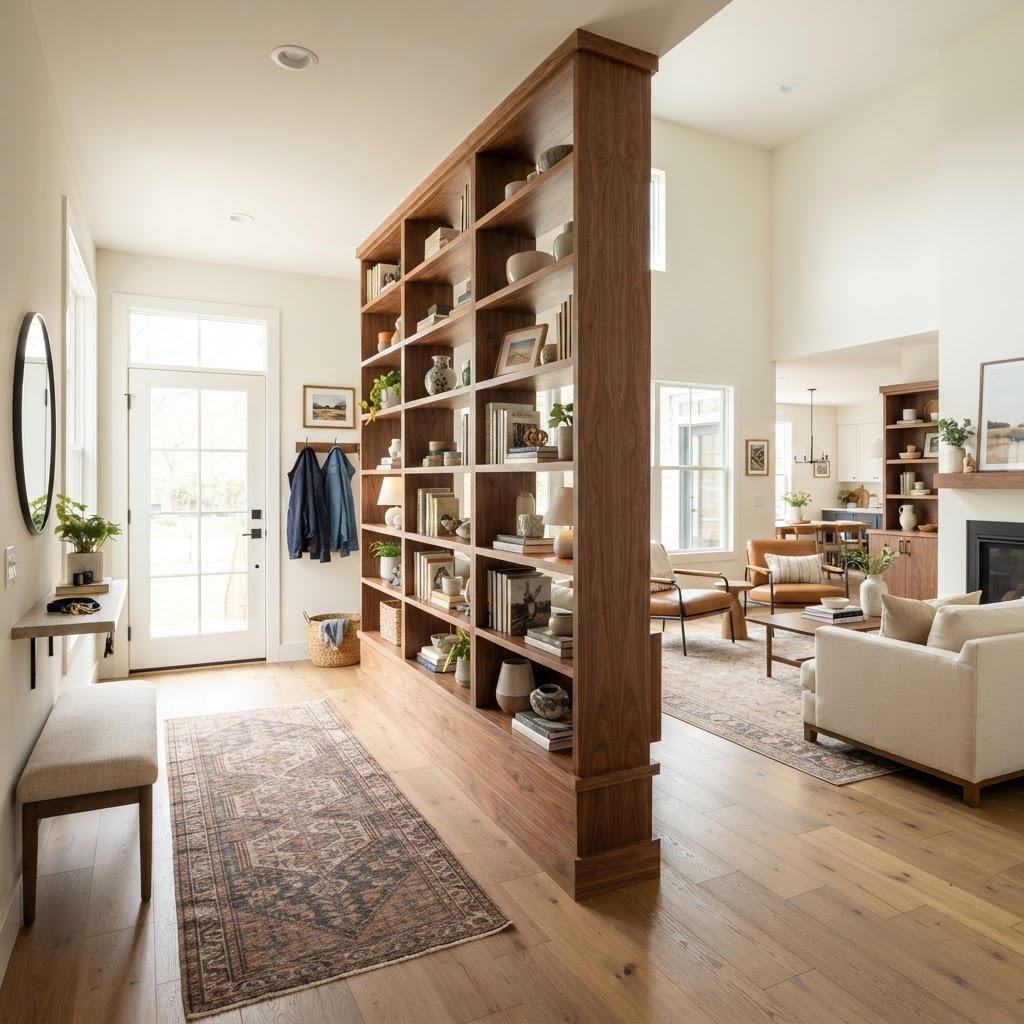
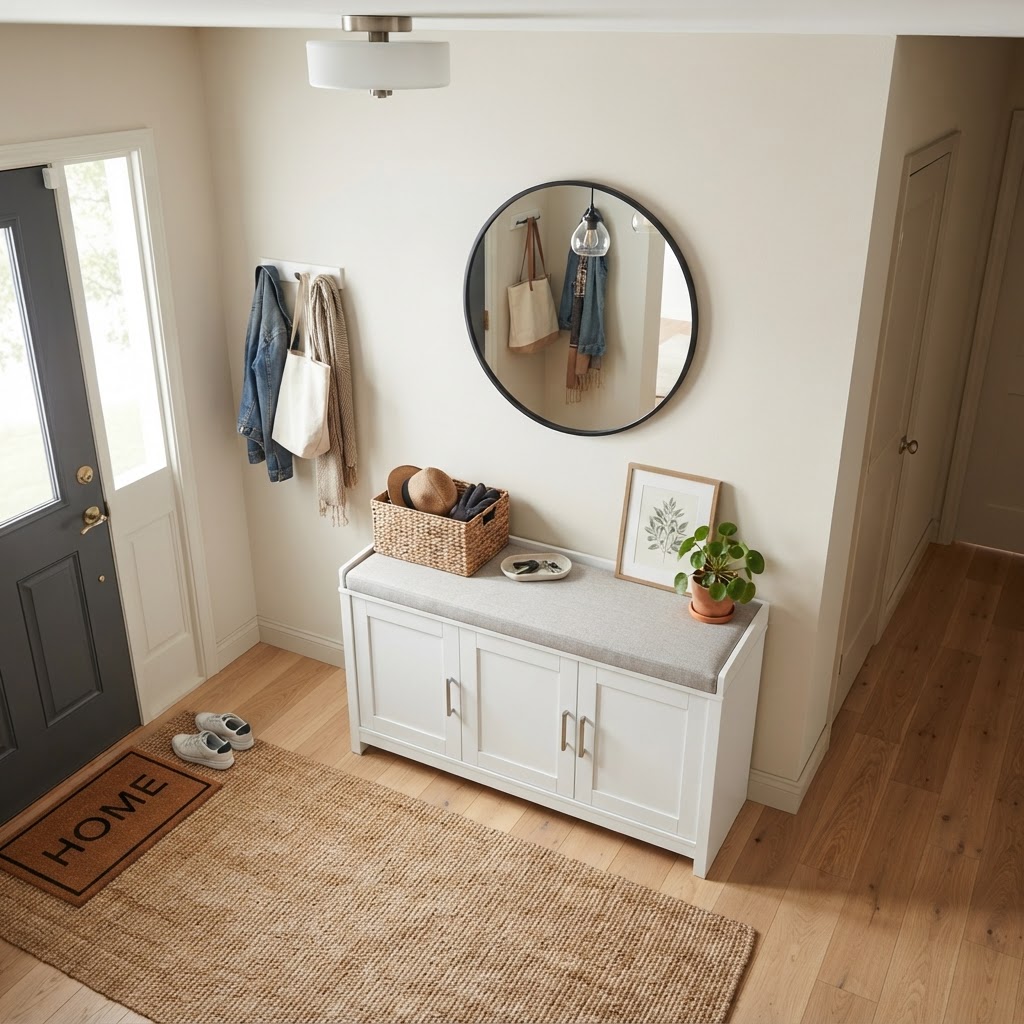
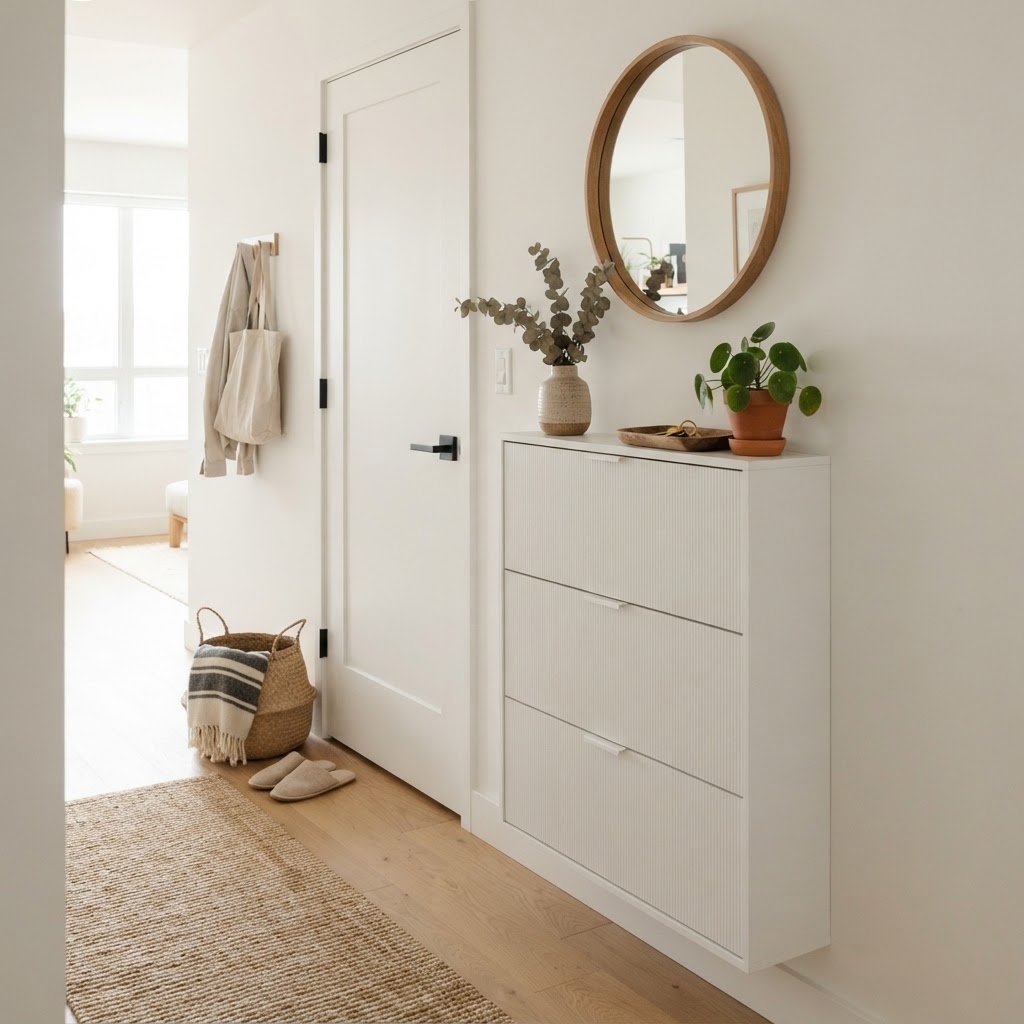
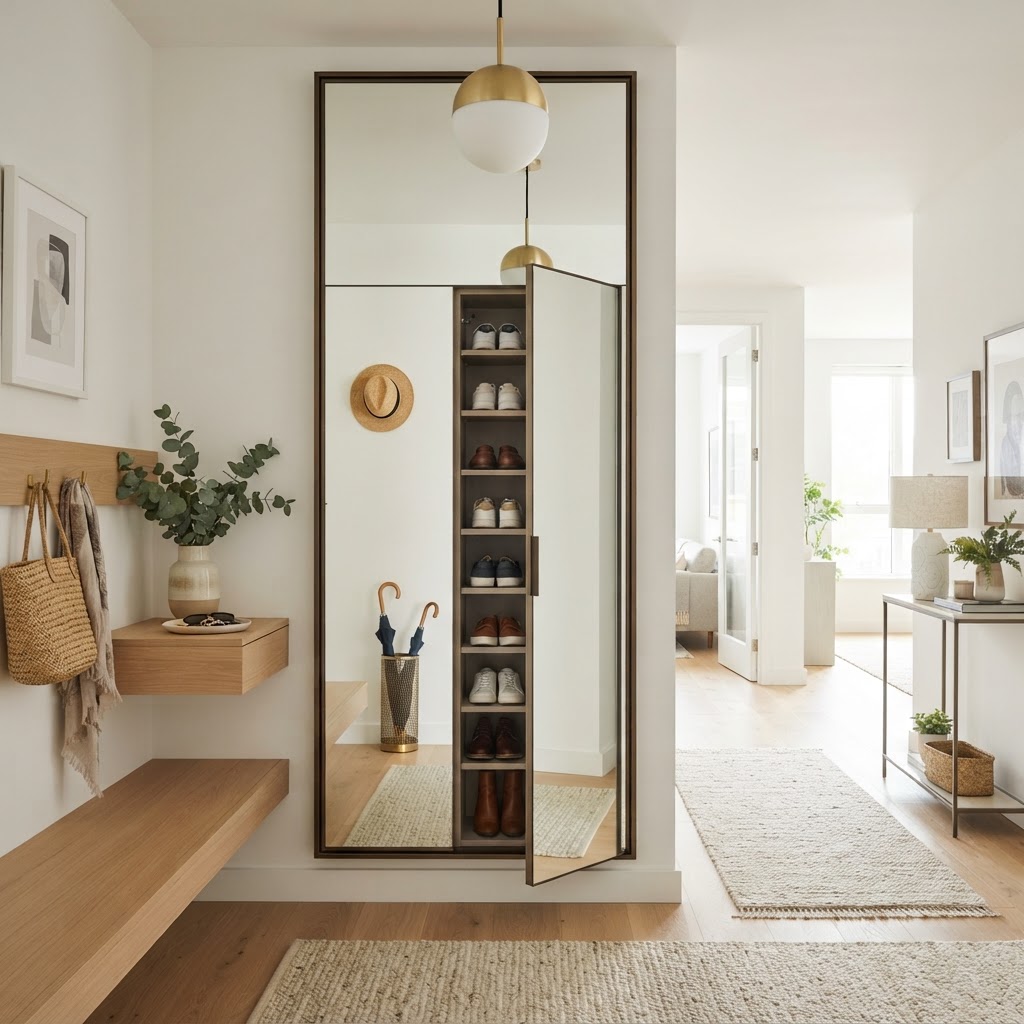
Use a bookshelf as a room divider.

When your front door opens into the living room, storage becomes your biggest challenge. You need a place for coats, shoes, and umbrellas, but you don’t want these items visible from your sofa. A storage wall is the perfect solution. By installing a series of hooks, a slim bench, or a wall-mounted console, you can turn a bare wall into a fully functional mudroom.

Focus on vertical storage. If your floor space is limited, look up. Wall-mounted coat racks and floating shelves take up zero floor space while providing plenty of utility. You can add a decorative basket on the floor beneath a shelf for shoe storage. This helps keep the ‘entry’ tidy and prevents clutter from migrating into the main living room area.

Benefits of Wall-Mounted Storage

  • Saves valuable square footage in tight layouts.
  • Keeps everyday items like keys and bags organized and accessible.
  • Allows you to customize the height for kids or adults.
  • Creates a visual focus that draws the eye toward the door.

Add a Room Divider or Screen
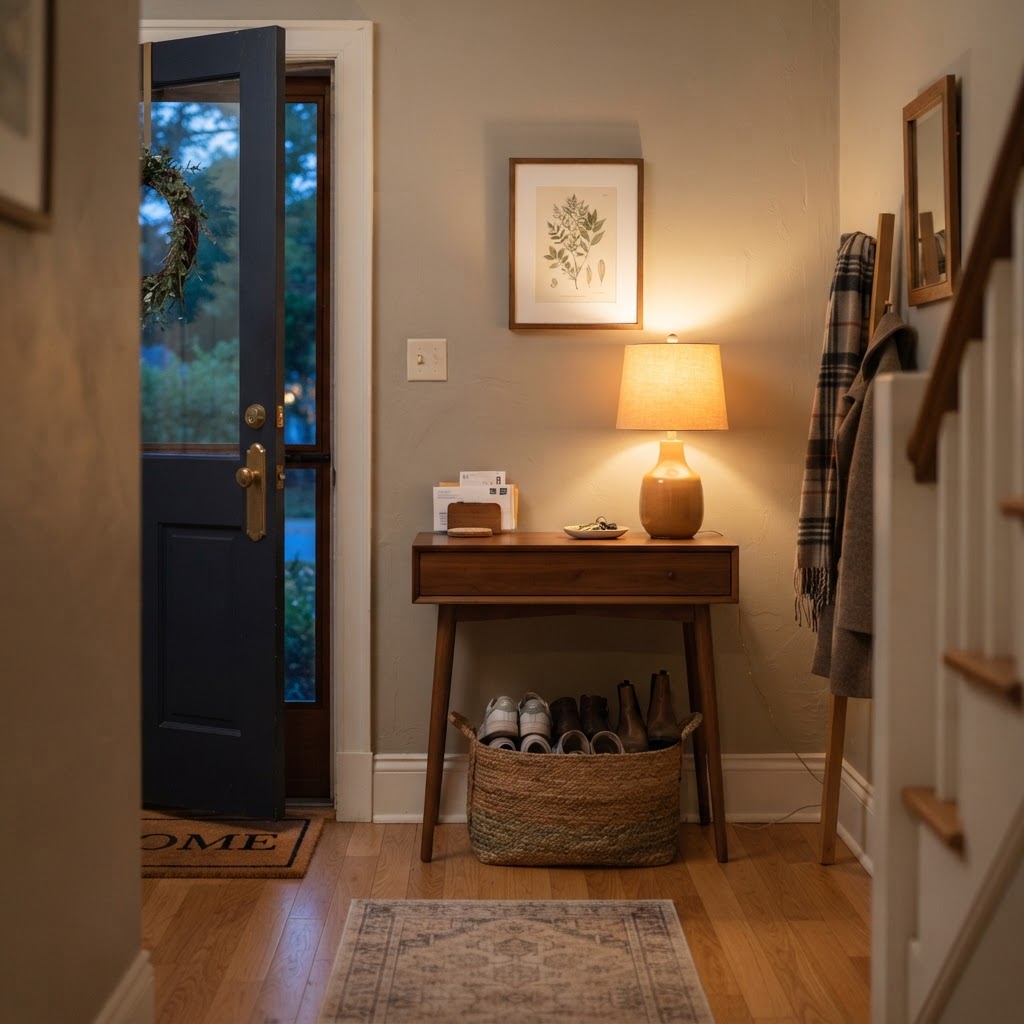
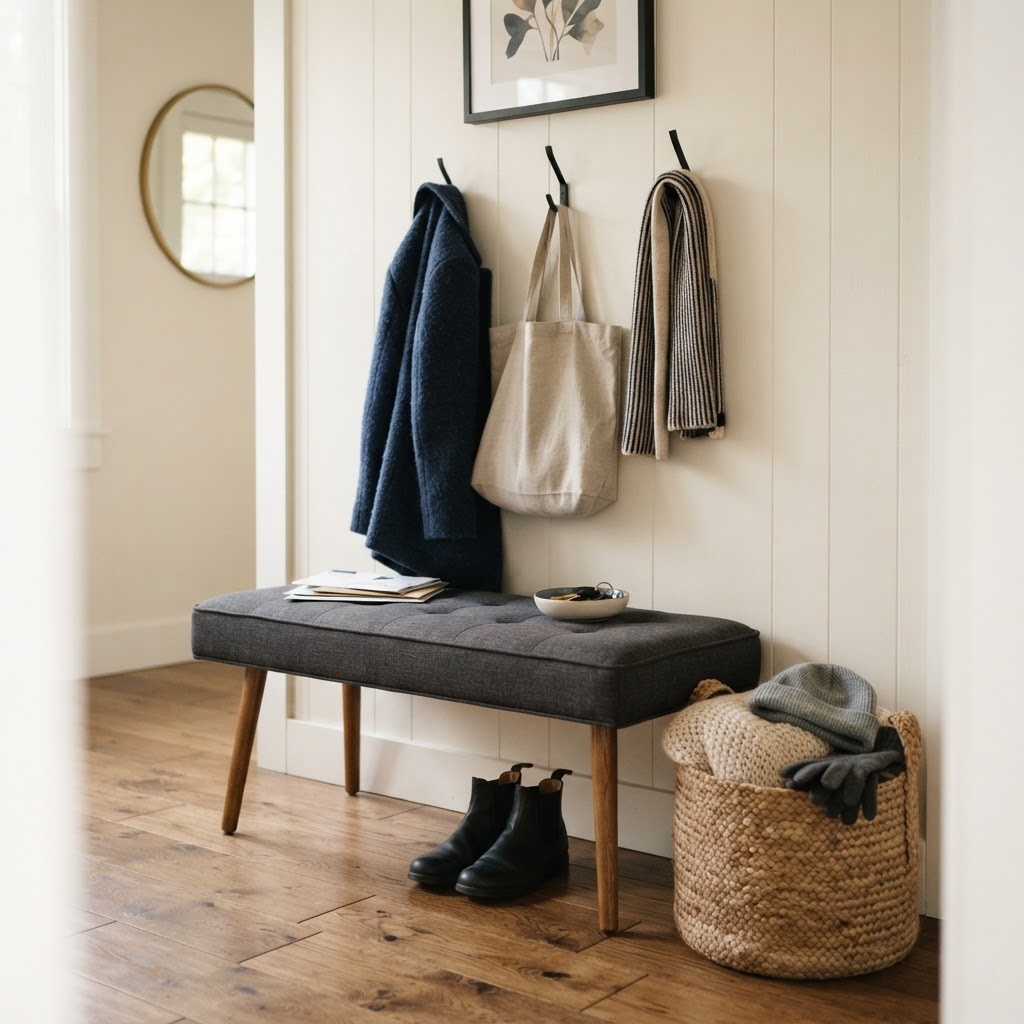
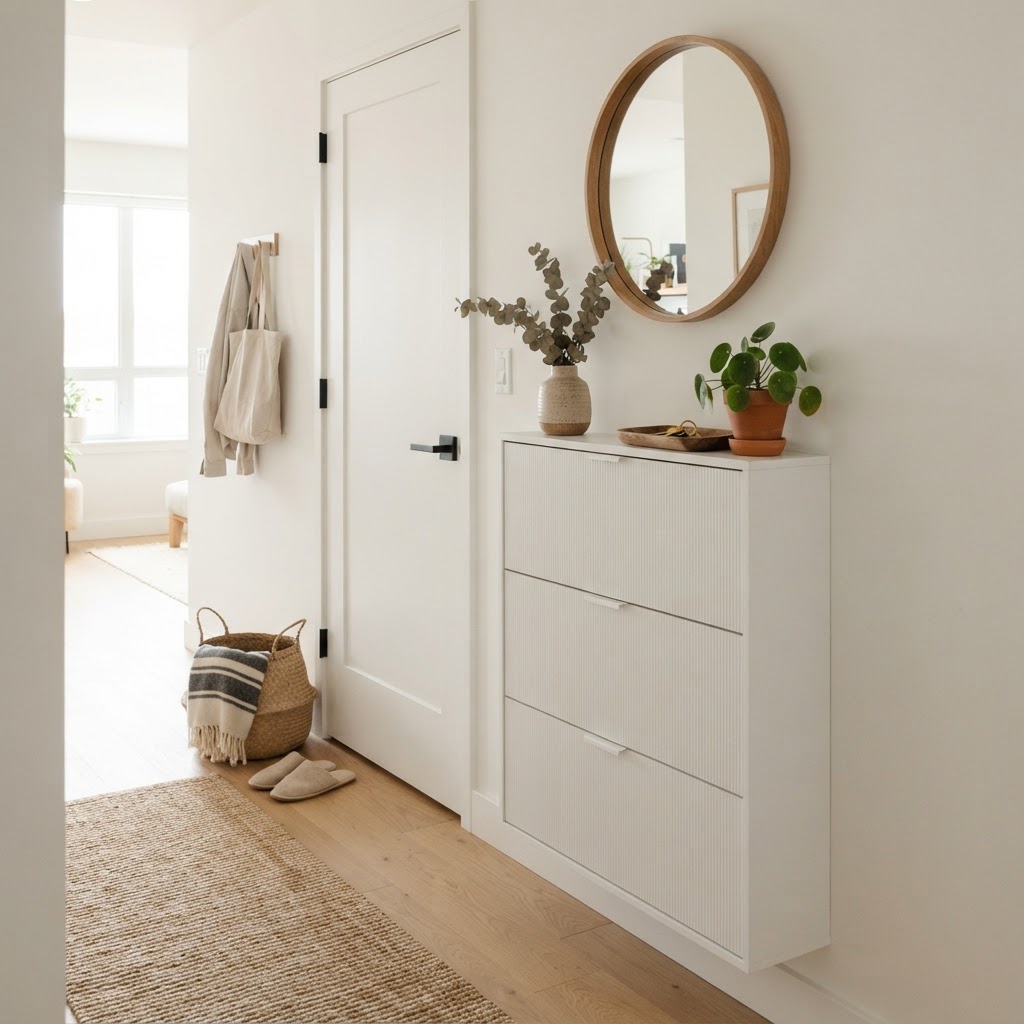
Add lighting to create a welcoming entry.

For a more dramatic transition, consider a physical barrier like a room divider or a folding screen. This is a brilliant way to fake an entryway because it creates an actual wall where none existed before. A decorative screen or a tall, open bookshelf can block the direct view of the sofa from the door, offering privacy to anyone sitting in the living room.

Adding Personal Touches and Decor

Finally, make your entryway feel like a deliberate design choice rather than an afterthought. Add decor that reflects your personality. This is the first thing guests see, so make it count. Place a small vase of flowers on the console, hang a piece of art that inspires you, or add a tray to collect daily essentials. These small details show that the space is well-loved and purposefully curated.

Don’t be afraid to experiment with color. Painting the ‘entry’ wall a different shade than the rest of the living room can effectively section off the space. You can also use wallpaper in the entry zone to define the area. Just ensure the colors and patterns complement the surrounding living room to maintain a cohesive flow throughout your home.

Conclusion

Learning how to fake an entryway when your front door opens into the living room is all about creating boundaries and maximizing functionality. By using rugs, strategic furniture placement, wall storage, and lighting, you can easily transform a problematic floor plan into a stylish and organized space. You don’t need a massive remodel to get the foyer you’ve always wanted. Start small with a single console table or a rug, and build your entryway as you discover what works best for your daily routine. Now that you have the tools to create a welcoming entrance, start by measuring your space today and see which of these ideas fits your home best!
10 Renter-Friendly Entryway Ideas (No Drilling Required)

10 Renter-Friendly Entryway Ideas (No Drilling Required)

You can create a stylish, functional entryway without drilling holes by utilizing vertical storage, adhesive-backed organizers, and portable lighting solutions. By focusing on freestanding furniture, over-the-door storage, and damage-free wall hooks, you can maximize small apartment footprints while staying fully compliant with your lease agreement.

The Power of Vertical Storage Solutions

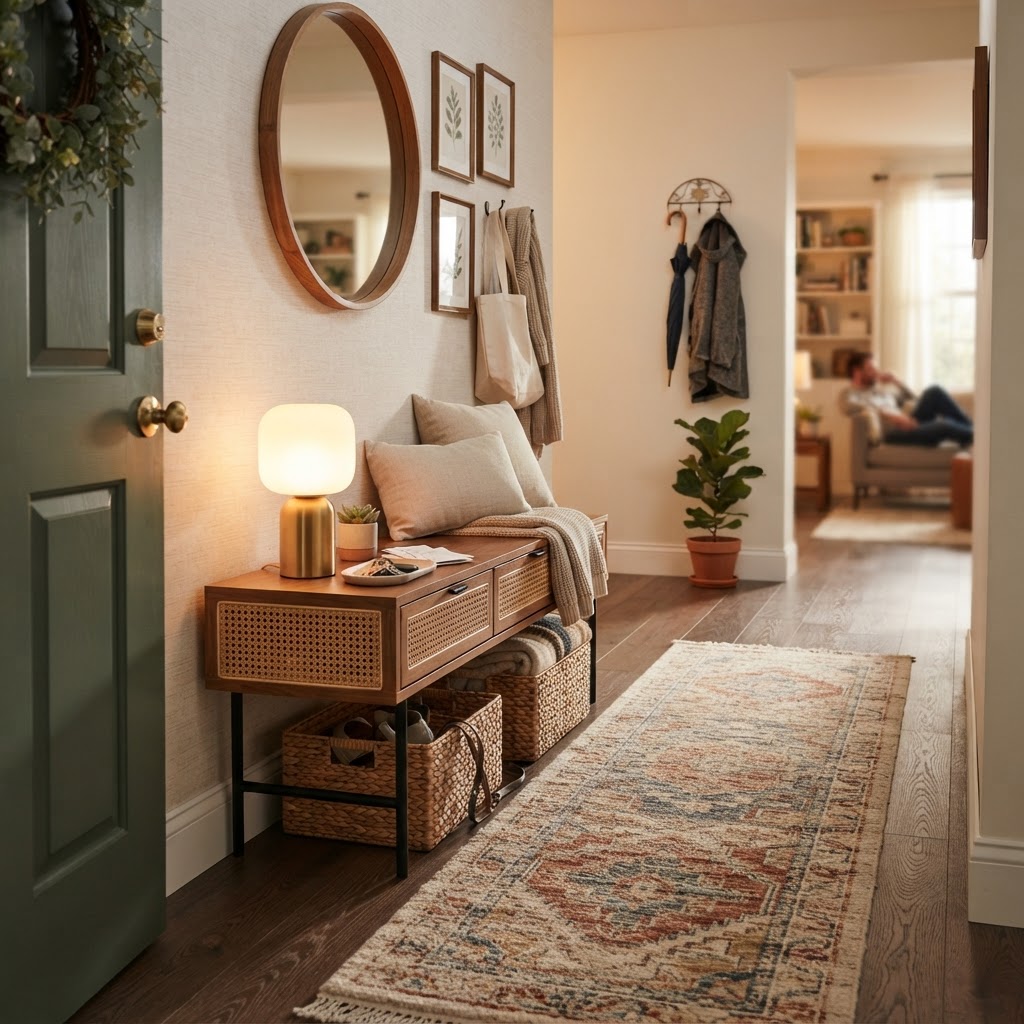
A functional, no-drill console setup that maximizes small apartment space.

Vertical storage is the most effective way to manage entryways when wall-mounted fixtures are prohibited, as it shifts the footprint upward rather than outward. Freestanding coat racks, for instance, utilize the “dead air” in corners, while over-the-door organizers turn the back of your entrance door into a high-capacity storage hub for up to 20-30 pounds of gear. These solutions are ideal for renters because they require zero hardware, preserve the condition of drywall, and can be moved instantly. To maximize effectiveness, choose vertical pieces with a footprint of less than 15 inches in depth to ensure high-traffic areas remain clear. For apartments with limited floor space, consider tension-rod shelving systems that wedge securely between the floor and ceiling without creating a single mounting hole.

Utilizing Over-the-Door Organizers

Over-the-door hooks and organizers are the gold standard for no-drill entryway storage, often featuring brushed metal or minimalist wood finishes that blend with modern decor. They allow you to hang heavy winter coats and bags without needing wall anchors. When shopping for these, look for options with padded contact points to prevent the metal from scratching the door finish over time.

Choosing the Right Height and Weight

Be mindful of the weight limit on your over-the-door rack, which typically ranges from 5 to 15 pounds per hook depending on construction. Ensure your door hinges are secure, as the extra weight can sometimes cause sagging over time if the door is older. Always measure the clearance of your door frame to ensure the organizer doesn’t prevent the door from closing properly; generally, you need at least 1/8th of an inch of clearance for standard brackets.

Furniture Choices That Maximize Space

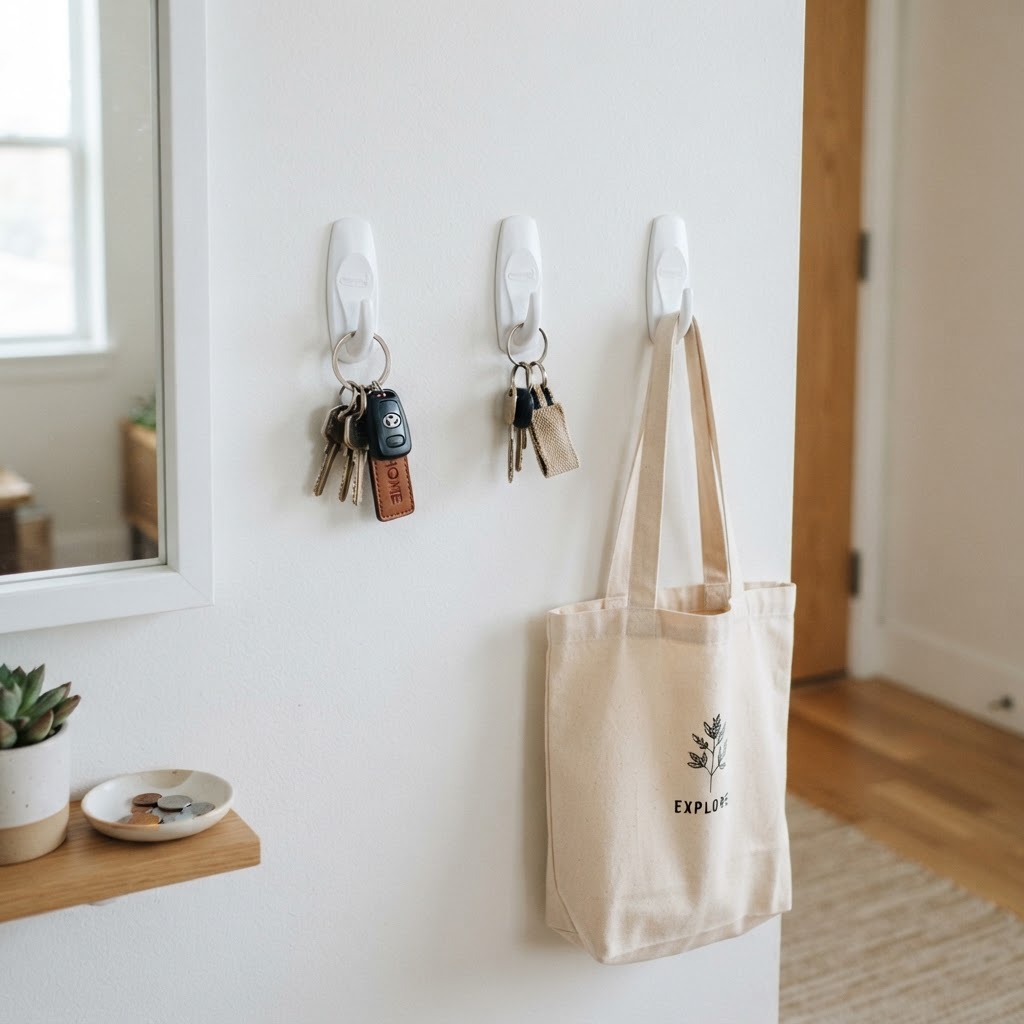
Adhesive hooks provide a versatile and damage-free way to organize entryway essentials.

Selecting the right furniture is critical when you cannot mount floating shelves, as your consoles and benches must perform heavy lifting while maintaining a compact profile. A slim console table (ideally 8-12 inches deep) provides a necessary “drop zone” for keys, mail, and wallets, while anchoring the visual interest of the room. You should prioritize pieces with built-in storage or open shelving to keep the entryway feeling airy rather than cluttered. When selecting pieces, look for materials like bamboo or powder-coated steel, which are durable enough to handle the daily abuse of outdoor gear but light enough to move during a move-out. Always measure your hallway width before purchasing; maintain a minimum 36-inch clearance path to comply with basic apartment safety standards.

Furniture Type Best Use Case Typical Depth Storage Potential
Slim Console Drop zone for keys 8-10 inches Low
Storage Bench Shoe storage/seating 12-16 inches High
Ladder Shelf Vertical decor/baskets 10-14 inches Medium

Multifunctional Benches

Storage benches serve double duty by offering both a place to sit while putting on shoes and a hidden compartment for seasonal gear. Look for benches with lift-up lids or cubbies underneath. By choosing a bench with a closed-front design, you keep the entryway looking tidy even when the storage inside is slightly chaotic.

Mastering Adhesive Technology

Textiles and lighting can instantly transform a generic apartment entryway into a warm home entrance.

Adhesive hooks are a renter’s best friend, specifically those using stretch-release technology which leaves zero residue on painted surfaces. Brands like Command have revolutionized the way we decorate, allowing us to hang artwork, calendars, and even lightweight mirrors without leaving a trace. The secret to success lies entirely in surface preparation: rubbing the wall with a 70% isopropyl alcohol solution removes microscopic oils and dust that prevent the adhesive from bonding fully. For best results, wait at least one hour after cleaning before applying the strip, and wait a full 24 hours before hanging any weight on the hook. When it comes time to move, pulling the tab slowly at a 45-degree angle parallel to the wall is the proven method to ensure the paint remains completely intact.

Adding Personality with Rugs and Runners

An entryway floor is often neglected, but a beautiful rug or runner can define the space and add a layer of warmth. Since rental apartments often have dated flooring, a stylish runner serves as a focal point that draws the eye downward. Choose a durable, low-pile rug that can withstand high foot traffic while protecting the existing flooring underneath. Aim for a material like wool or high-quality polypropylene, which resists stains and vacuuming damage. Always pair your runner with a rubberized rug pad to prevent slipping, which is particularly important in high-traffic transition zones like an entranceway.

Decorative Mirrors Without the Hardware

Mirrors are essential in small entryways to reflect light and create the illusion of extra space, but you must avoid drilling into the studs. Instead, consider leaning a large, floor-length mirror against the wall, which offers an effortless, high-end look. To ensure safety in rental homes, you can secure the mirror using specialized anti-tip furniture straps that anchor to the baseboard rather than the wall, or use heavy-duty command-style adhesives designed for frames. If you lean a mirror, ensure the base has a rubber grip to prevent sliding on hardwood floors. A mirror positioned directly opposite a window will double the natural light in your entry, significantly brightening dark, interior-facing apartments.

Leaning Mirrors for Dramatic Effect

Leaning a mirror adds a relaxed, boutique feel to an entryway. This approach is not only renter-friendly but also flexible; you can move the mirror to a different room whenever you get the urge to refresh your layout. Ensure the frame is sturdy and check that it doesn’t wobble on your flooring type.

Lighting Without Permanent Fixtures

Lighting can make or break the atmosphere of your entryway, and you can achieve a professional glow without replacing hardwired fixtures. If your apartment lacks a dedicated foyer light, use a slim table lamp on a console table or a floor lamp in the corner to create a warm, inviting focal point. For maximum impact, choose warm-toned bulbs (2700K-3000K) to enhance the comfort of the space. If your entrance lacks an outlet, modern rechargeable LED lamps are a major innovation, often providing up to 8-12 hours of light on a single charge.

Choosing Battery-Operated Options

If you don’t have an outlet near your entryway, look for modern, rechargeable LED lamps. Many of these designs look high-end and can provide hours of light on a single charge. This is a game-changer for dim entryways that lack electrical access.

Bringing in Texture and Greenery

No entryway is complete without a bit of life. Adding a houseplant or a decorative basket for scarves and hats adds texture and visual interest. A tall, floor-standing plant can act as a natural room divider, separating your entrance from the rest of your living area without needing any hardware. Snake plants or ZZ plants are excellent choices for entryways because they thrive in low-light conditions and require minimal maintenance.

FAQ

Q: Can I hang heavy items without drilling?

Yes, you can use over-the-door organizers or heavy-duty adhesive hooks designed for weights up to 15-20 pounds. For heavier items like large mirrors, leaning them against the wall and securing them with non-damaging anti-tip straps is the safest, renter-friendly alternative.

Q: What is the best way to clean walls before using adhesive hooks?

Always clean the surface with a lint-free cloth dampened with 70% isopropyl alcohol to remove dust and oils. Let the area dry completely before applying the adhesive, as any remaining moisture or residue will significantly weaken the bond and risk paint damage.

Q: How do I choose the right size rug for a small entryway?

Select a runner that is at least 24 to 36 inches wide to ensure it covers the high-traffic path comfortably. The length should ideally extend past the door swing, covering the primary zone where you stand to remove your shoes.

Q: Are rechargeable lamps bright enough for daily use?

Modern LED rechargeable lamps typically offer 300 to 500 lumens, which is more than enough to act as an effective accent or task light for an entryway. They eliminate the need for electrical proximity while providing a sophisticated, cordless aesthetic.

Q: Will over-the-door hooks damage my door frame?

Most over-the-door hooks are designed to fit standard 1 3/8-inch thick doors without causing damage. To prevent minor scuffs, apply a small piece of felt or thin foam tape to the underside of the bracket before hanging it over the top of the door.

10 Vertical Shoe Storage Ideas to Reclaim Floor Space

10 Vertical Shoe Storage Ideas to Reclaim Floor Space

To maximize floor space using vertical shoe storage, focus on utilizing wall height through slim cabinetry, over-the-door organizers, and wall-mounted shelving systems. By shifting storage from floor level to the vertical plane, you can increase your shoe capacity by up to 200% while keeping entryways clutter-free and highly functional.

Understanding the Potential of Vertical Space

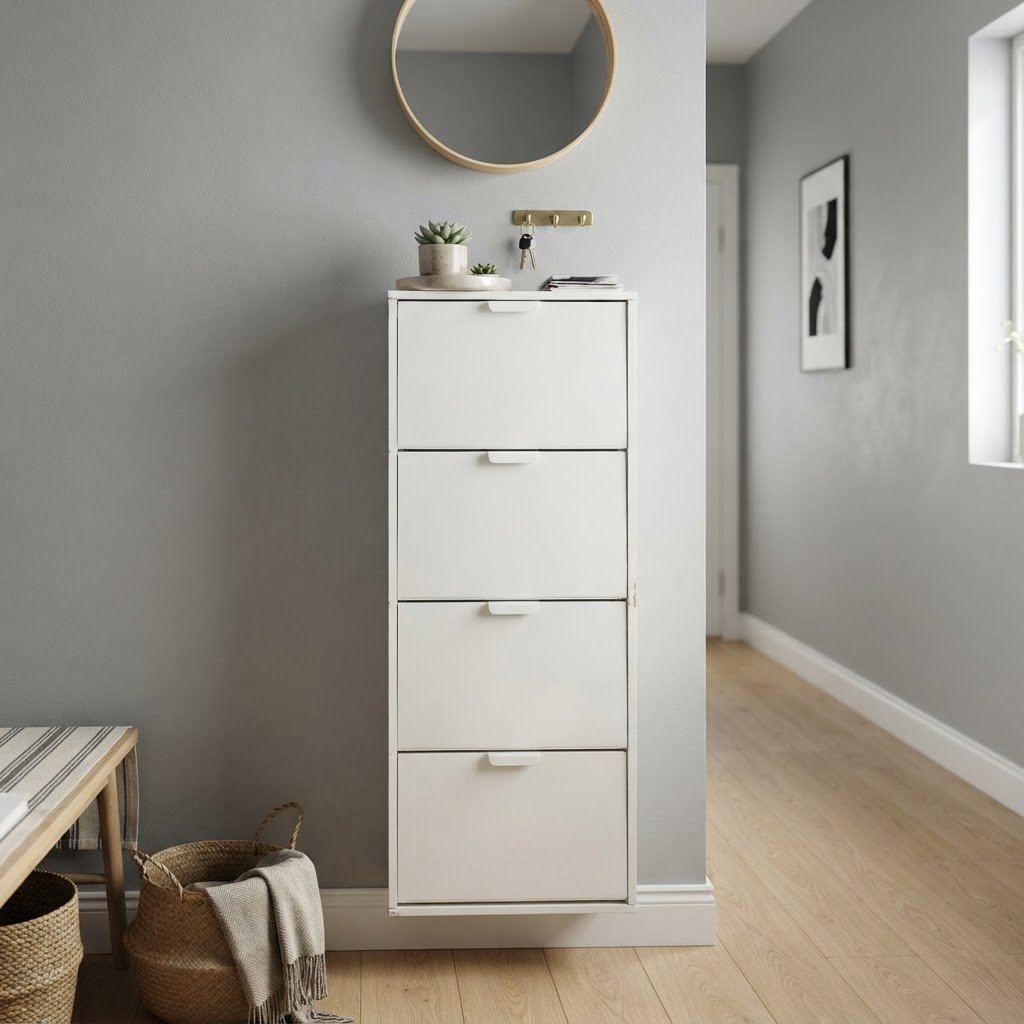
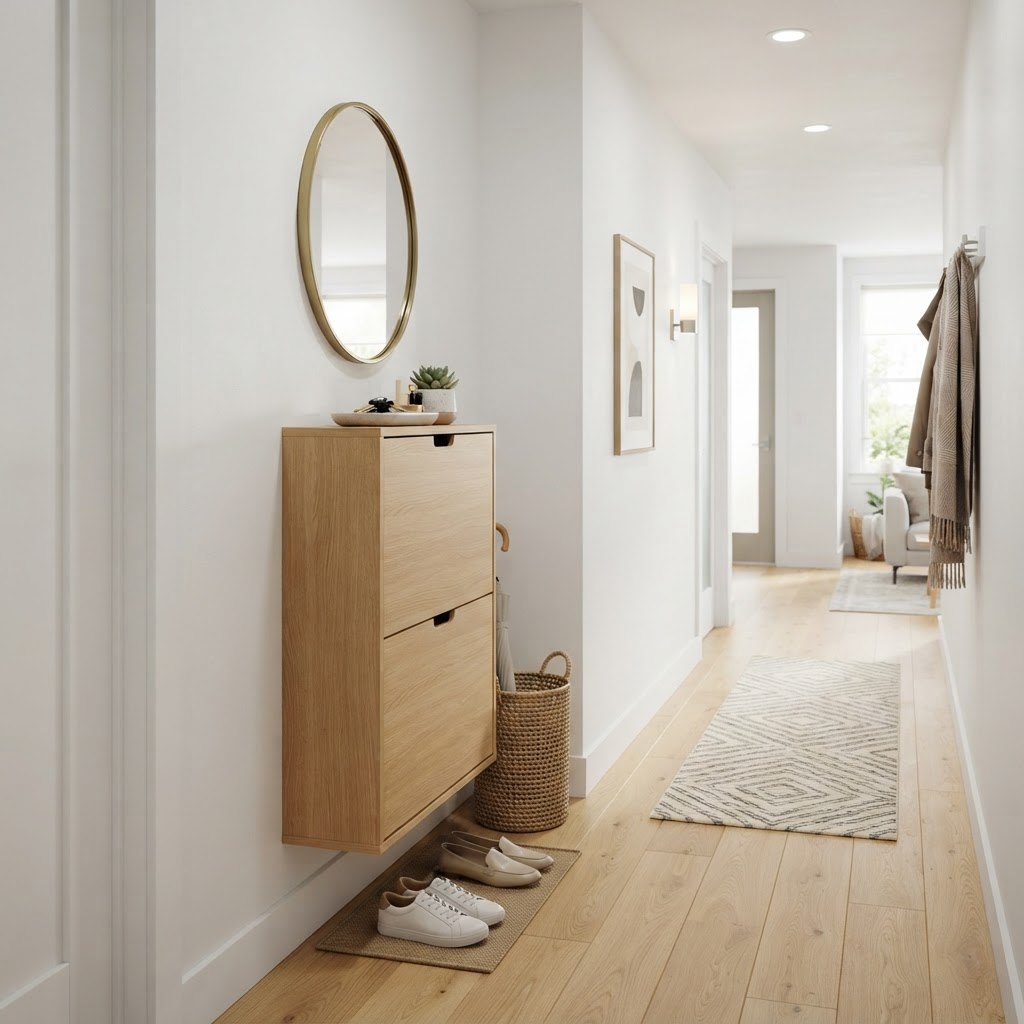
Slim wall-mounted cabinets offer a sleek way to hide shoes in narrow hallways.

Most people view storage only in terms of what fits on the floor, but your walls offer a massive, untapped resource. When you look at an empty wall, you should see potential shelving, hanging systems, or modular units that can accommodate your entire collection. Using vertical shoe storage ideas allows you to elevate your footwear, keeping it off the ground and making it easier to clean your floors. By mounting storage at eye level or above, you reclaim approximately 4 to 6 square feet of floor space in a typical apartment entryway, providing a cleaner aesthetic and better flow.

The Psychology of Clutter

Cluttered floors often translate to a cluttered mind. When your entryway is filled with shoes, it creates a sense of chaos before you even settle into your home. By organizing vertically, you create a visual sense of order that makes your space feel larger and more intentional. Studies in environmental psychology suggest that maintaining a clear floor path reduces morning stress and “decision fatigue” as you prepare for the day.

Over-the-Door Solutions for Immediate Relief

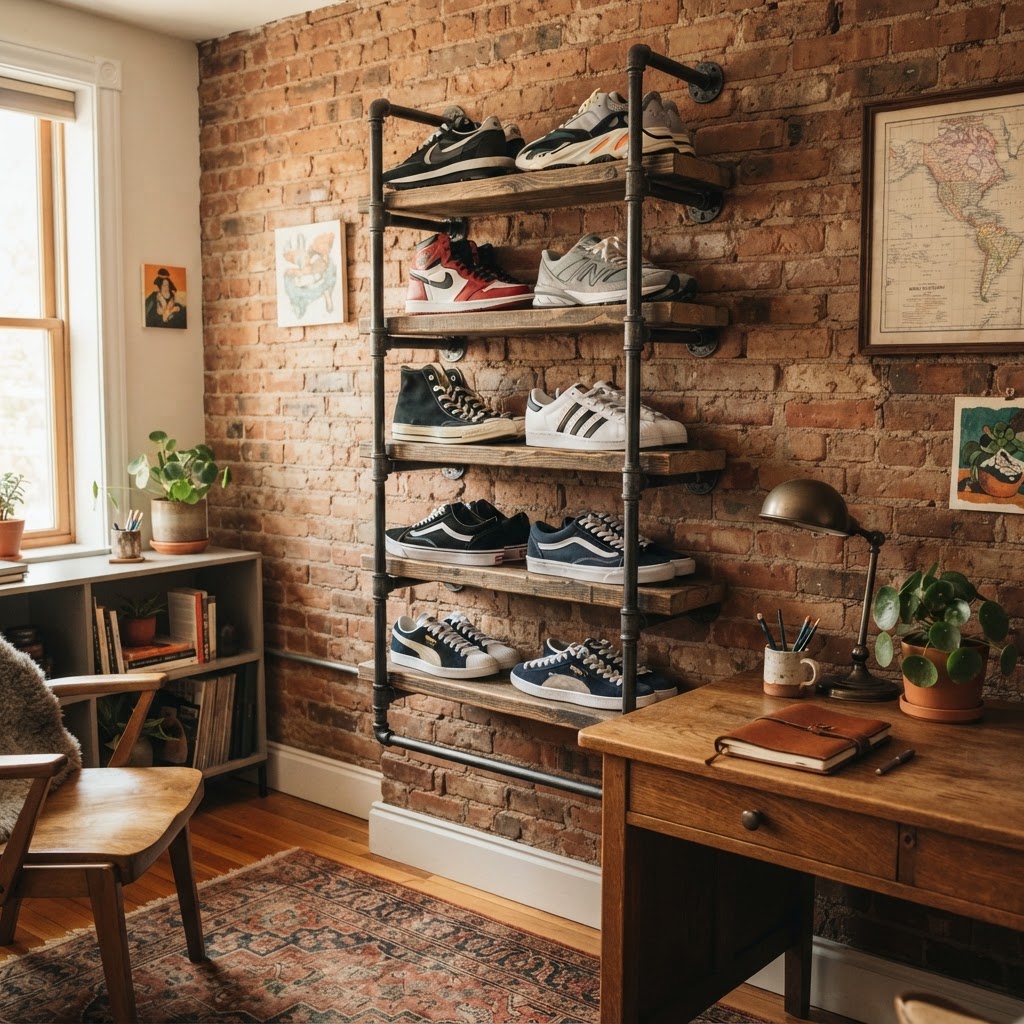
Industrial pipe racks add a rustic flair while keeping shoes off the floor.

Over-the-door organizers are the most efficient entry-level solution for small-space living, costing between $15 and $30 on average. These units utilize the “dead space” behind doors that would otherwise remain unused, effectively holding 12 to 24 pairs of shoes depending on the model. They are perfect for flats, sneakers, and sandals, keeping them neatly tucked away while remaining easily accessible without requiring any permanent wall damage.

Types of Hanging Organizers

Feature Clear Pocket Organizers Fabric Cubby Systems
Visibility High (Immediate identification) Low (Requires labels)
Aesthetic Functional/Utilitarian Polished/Hidden
Installation Over-the-door hooks Over-the-door or Closet rod
Best For Flats and Sandals Sneakers and Bulkier shoes

Installing Wall-Mounted Shelving Units

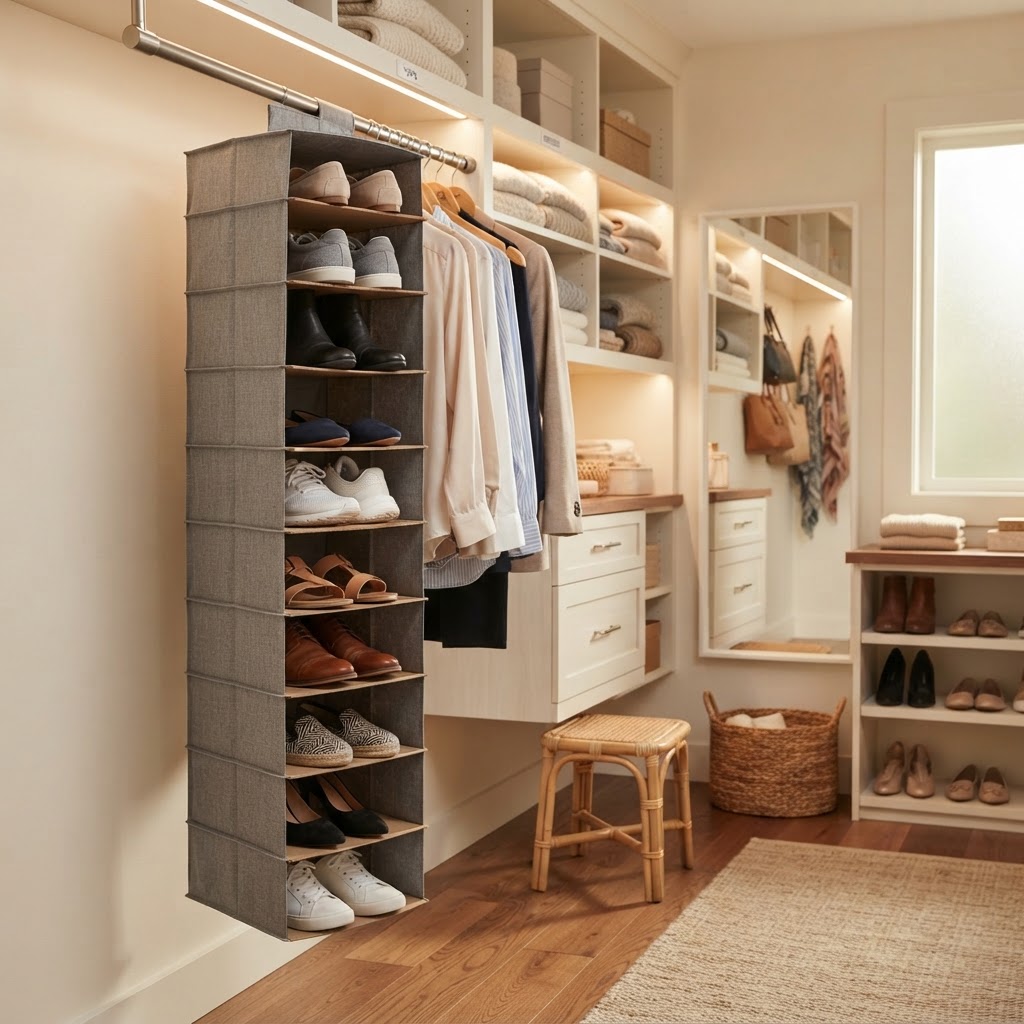
Hanging fabric organizers maximize closet height efficiently.

Wall-mounted shelves provide a permanent, structural solution that elevates footwear into a design feature. You can install floating shelves at various heights to create a custom display for your favorite sneakers or heels, often turning a collection into a focal point of your interior design. For optimal results, space shelves 7 to 9 inches apart, which accommodates most standard footwear profiles while minimizing wasted vertical gaps.

Customizing Your Shelving Height

When planning your shelving, consider the height of your different types of footwear. Boots generally require 15 to 18 inches of vertical clearance, while gym shoes can be stored closer together at 6-inch intervals. By measuring your footwear collection beforehand, you can ensure your wall-mounted system is optimized for every pair you own, potentially fitting 30% more shoes than generic pre-set systems.

Utilizing Slim Cabinetry for Entryways

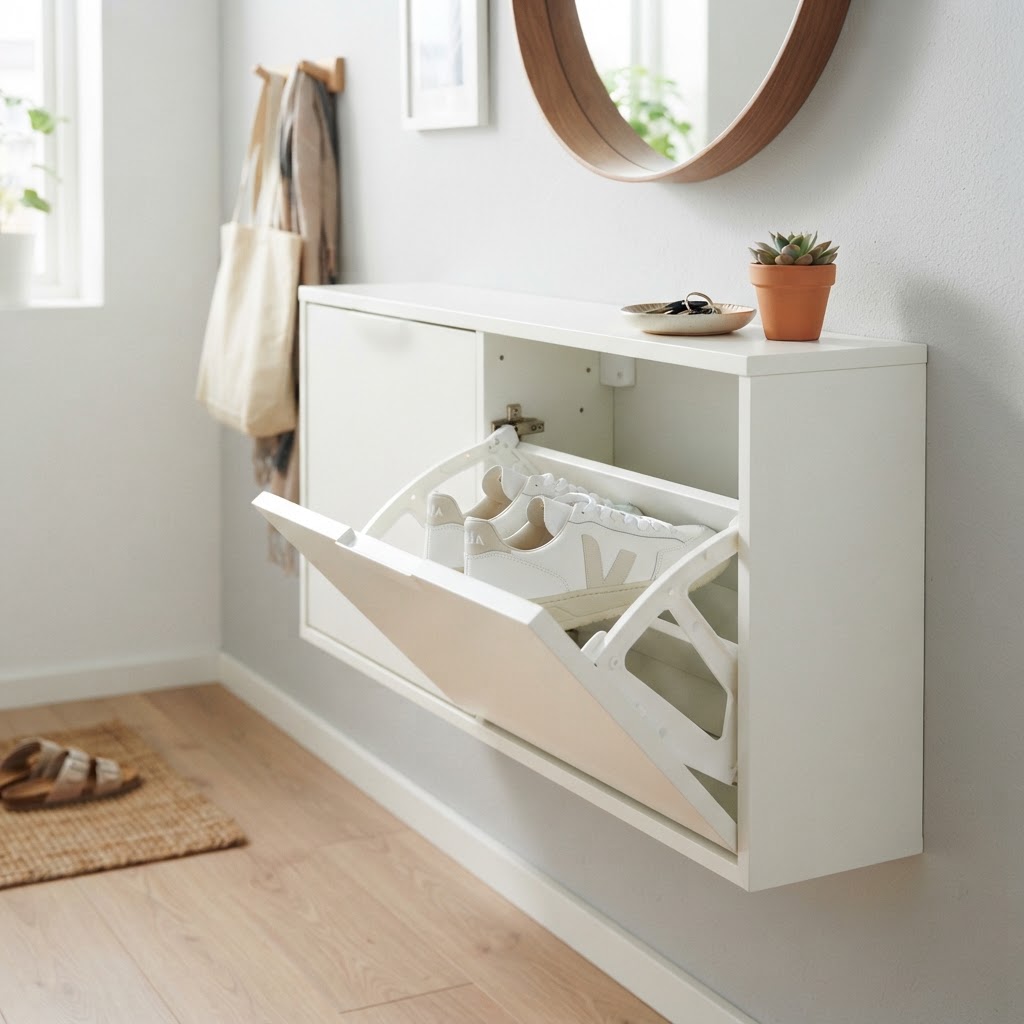
For those who prefer a hidden storage solution, slim, wall-mounted shoe cabinets are a game-changer. These units are designed to be shallow, often measuring between 6 to 10 inches in depth, meaning they don’t protrude far into your walkway, yet they store shoes vertically on tilting tracks. They are elegant, modern, and keep your footwear completely out of sight while you aren’t using it.

Benefits of Hidden Storage

Closed storage protects your shoes from dust, UV light damage, and pet interference, extending the lifespan of leather and fabric materials. By choosing a cabinet that matches your home’s decor, you turn a storage necessity into a piece of functional furniture. This is an ideal strategy for small apartments or narrow hallways where every inch matters, as it eliminates visual noise entirely.

Incorporating Industrial Pipe Racks

If your home has a rustic or industrial aesthetic, consider using metal piping to build custom vertical racks. You can mount these pipes into the wall at various intervals, creating a tiered system that is both sturdy and stylish. It is a fantastic DIY project that allows you to tailor the height and width to your specific wall dimensions, typically costing under $50 in materials from local hardware stores compared to $200+ for designer retail racks.

The Versatility of Pegboards

Pegboards are not just for tools; they are incredibly flexible for home organization. By mounting a large pegboard in a mudroom or closet, you can use specialized hooks and shelves to hang your shoes, allowing for a fully modular layout. This method is highly modular, meaning you can rearrange your storage as your collection changes over the seasons, making it one of the most future-proof systems available.

Creative Ways to Use Pegboards

Use your pegboard to hang boots by the heels or loop sneakers over customized pegs for a secure hold. It is a highly visual way to store shoes, making it easy to grab exactly what you need in the morning rush. Plus, it adds a unique textural element to the wall that feels very modern and intentional, serving as both a functional utility and a creative gallery wall.

Maximizing Closet Height with Vertical Hanging Units

Don’t forget that your existing closet is likely full of wasted vertical space. Adding a hanging closet organizer that attaches to the rod allows you to stack your shoes from eye level down to the base of the closet. This is one of the most effective vertical shoe storage ideas because it keeps your shoes hidden behind closed doors while organizing them by frequency of use.

Maintenance and Organization Tips

Once you have installed your vertical system, the key to success is maintenance and a disciplined organization strategy. Periodically declutter your collection to ensure you aren’t storing shoes you no longer wear; a good rule of thumb is to discard or donate pairs that have not been worn in 12 consecutive months. Using vertical space can encourage a larger collection, so perform a “one-in, one-out” audit every six months to keep your new system functioning perfectly.

Seasonal Rotation

Take advantage of your vertical space by rotating your shoes seasonally to optimize accessibility. Move your off-season footwear to higher, less accessible shelves, while keeping your current daily drivers at the most convenient height (between 30 and 50 inches from the floor). This simple shift ensures your storage remains efficient and focused on your current needs while preventing overcrowding in primary reach zones.

FAQ

Q: What is the best type of vertical shoe storage for small entryways?

Slim, wall-mounted tilting shoe cabinets are the best choice for small entryways because their shallow profile prevents them from blocking narrow walkways. These units provide a polished, hidden look while using vertical, space-saving technology to store shoes securely behind a closed front.

Q: How much weight can wall-mounted shoe shelves typically hold?

Most standard wall-mounted shelving systems can hold 20 to 40 pounds per shelf, provided they are anchored correctly into wall studs or using heavy-duty toggle bolts. Always check the manufacturer’s weight limit before storing heavy items like winter boots or work shoes to avoid structural failure.

Q: Are over-the-door organizers bad for shoes?

Over-the-door organizers are generally safe for lightweight shoes like flats and sneakers, but they can cause structural deformation in heavy leather shoes or boots if left for too long. If you use these, ensure they are made of breathable fabric to prevent moisture buildup and mold.

Q: How can I store tall boots vertically without damaging them?

Use boot trees or boot hangers that grasp the heel or top cuff to keep them upright and avoid creasing the leather. By hanging boots from a closet rod or pegboard, you preserve their shape significantly better than if they were left flopped over on a shelf or floor.

Ikea Trones Shoe Cabinet Hacks for Tiny Hallways

Ikea Trones Shoe Cabinet Hacks for Tiny Hallways

Ikea Trones cabinets solve tiny hallway storage by utilizing a slim 7-inch profile to store footwear vertically without crowding the floor. These modular units can be stacked, painted, or customized with hardware to create high-end, space-saving entryway furniture that fits into “dead space” where traditional cabinets cannot.

Why The Ikea Trones Is The Ultimate Small-Space Hero

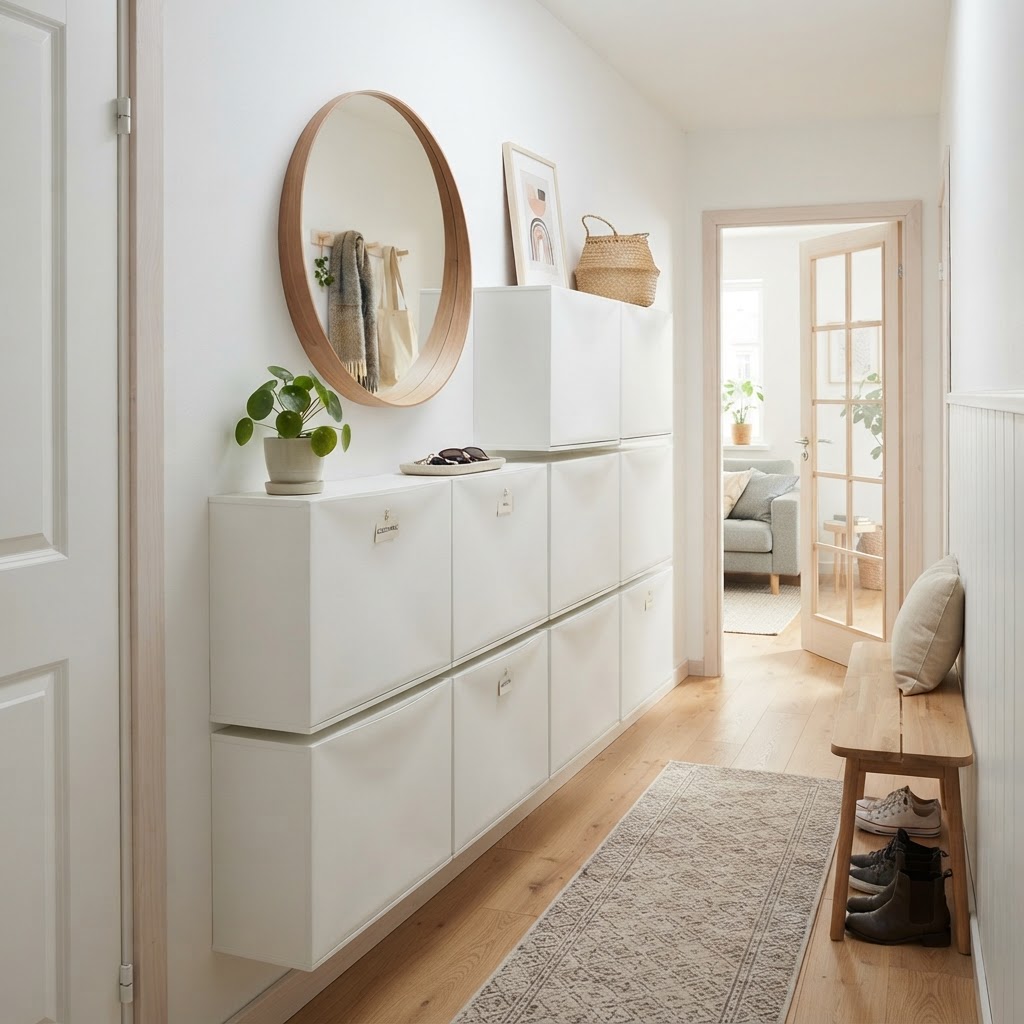
Vertical stacking maximizes wall space in narrow hallways.

The magic of the Trones unit lies in its compact engineering, measuring exactly 7 inches deep and 20.5 inches wide, which allows it to fit into tight corridors that traditional 15-inch deep furniture cannot accommodate. Because these units are designed for wall-mounting, they keep your floor visible, which is a fundamental interior design principle for creating an illusion of openness in cramped apartments. Beyond their footprint, Trones are constructed from lightweight polypropylene, making them safe for various wall types while offering enough structural integrity to hold up to 20 pounds of gear per bin. Because they are modular, you can start with a single unit and expand into a floor-to-ceiling system as your needs evolve, providing a scalable solution that grows with your living space.

Feature Ikea Trones Standard Shoe Cabinet
Depth 7 inches 12-16 inches
Weight Lightweight (Plastic) Heavy (Particle board)
Mounting Wall-mounted Freestanding
Price (Approx) $39.99 (per 2-pack) $150+

Benefits of Vertical Storage

When floor space is at a premium, looking upward is the smartest move you can make. By stacking multiple Trones units vertically, you can create a floor-to-ceiling storage wall that acts as both a shoe repository and an entryway console. This verticality draws the eye up, making your narrow hallway feel taller and more purposeful. To ensure stability for high-stacked units, always use the provided wall anchors and consider a secondary support rail if stacking more than three units high to prevent bowing over time.

Customizing Your Trones For A High-End Look

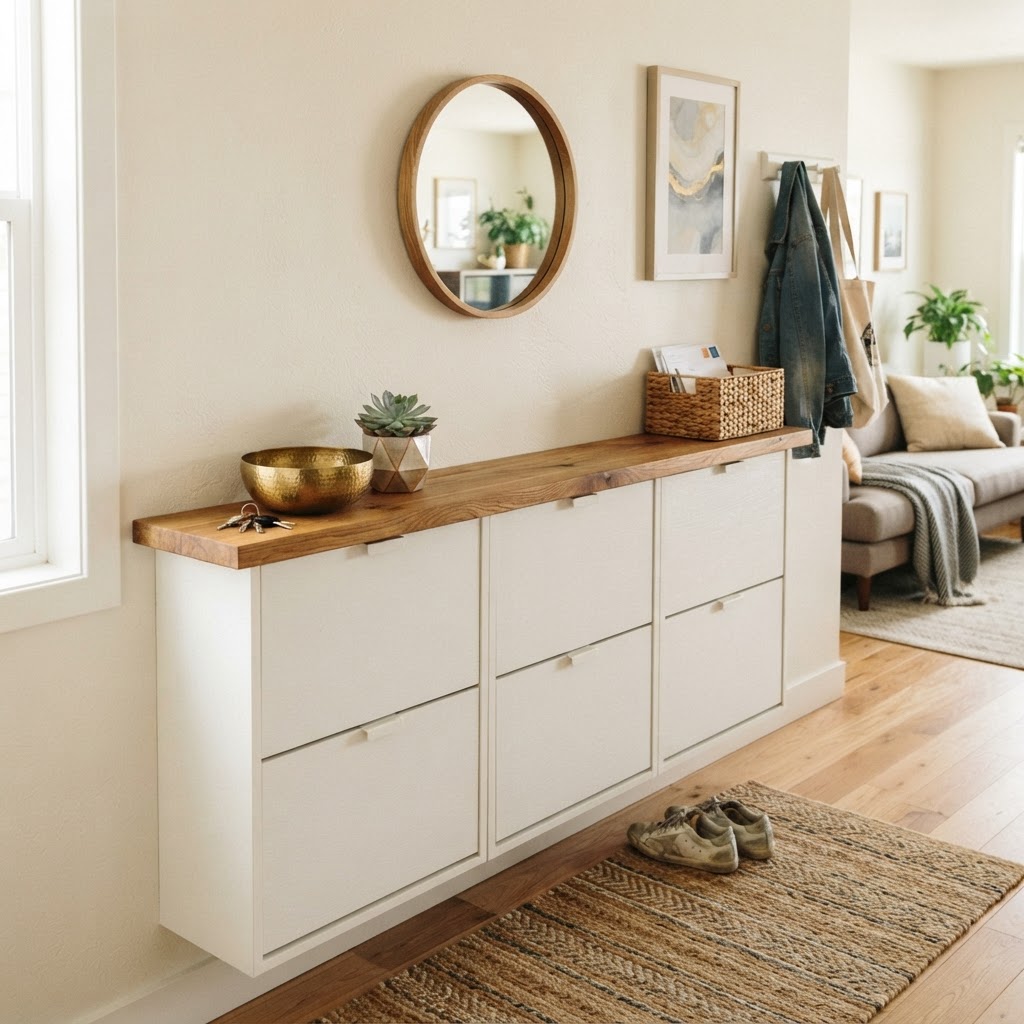
Adding a wood top creates a custom console look.

The raw, plastic look of the standard Trones unit can feel a bit clinical, but a simple 30-minute aesthetic upgrade can transform them into custom-looking millwork. Start by cleaning the surface with isopropyl alcohol to remove factory oils, then apply a plastic-bonding primer such as Rust-Oleum Painter’s Touch. Follow this with a matte metallic or bold color finish to bridge the gap between utility and luxury. Adding a custom wood top—either reclaimed oak or a marble-effect laminate—can turn a series of plastic bins into a high-end console that mimics expensive built-ins costing hundreds more. By unifying the units with a single surface material, you mask the gaps between individual bins, resulting in a cleaner, more expensive visual line.

Adding Hardware and Accents

One of the most popular Ikea Trones shoe cabinet hacks involves adding decorative hardware to replace or augment the integrated handle. By attaching brass, brushed nickel, or leather pulls to the front panels, you can create a sophisticated facade that hides the fact that these are budget-friendly storage bins. Ensure you use machine screws with washers on the interior to prevent the plastic from cracking under the stress of daily pulling. You can also add a floating wooden top piece to act as a shelf for keys, mail, or a small decorative vase, further blending the storage into your home decor while providing a functional landing spot for daily essentials.

Creating A Seamless Entryway Console

The 7-inch depth is perfect for hidden shoe storage.

If you have a slightly wider section of the wall, mounting three or four Trones units side-by-side creates a long, continuous console table effect that serves as a high-traffic “drop zone.” To achieve a seamless look, secure the units tightly together so the edges touch, then mount a single, custom-cut slab of wood, marble, or corkboard across the top of the entire row. This configuration provides a stable surface for decor while keeping bulky items like shoes hidden completely out of sight. A pro tip for this setup: use a template to ensure the units are perfectly level, as any minor skewing becomes glaringly obvious when you add a horizontal top shelf across the series.

Utilizing The Trones For Non-Shoe Storage

Creative layouts can turn storage into an art feature.

While the Trones was designed as a shoe cabinet, its versatile 7-inch depth makes it an ideal organizer for non-shoe items that typically clutter an entryway. Use these cabinets to house dog leashes, umbrellas, reusable shopping bags, and seasonal winter accessories like gloves and scarves. To maximize efficiency, label the inside of each lid with a label maker; this ensures that every household member knows exactly where their items are stored, preventing the “junk drawer” effect. Because the bins are easily removable, you can lift them off the wall-mounted rails to carry them to the laundry room, making the Trones a dynamic organizational system rather than just a static piece of furniture.

Strategic Placement For Maximum Flow

Placement is critical in tight entryways to ensure your home remains functional and safe for traffic. Avoid placing cabinets in spots that block doors or impede the standard “door swing” radius. Instead, look for “dead space,” such as the narrow wall segment next to a closet, the corner behind a swinging door, or the space directly under a light switch. By prioritizing these often-overlooked areas, you keep the primary walkway clear. If your wall segment is particularly narrow, a single vertical column of three Trones units only takes up 20.5 inches of width, providing enough storage for roughly 6 to 9 pairs of shoes without obstructing your path.

Maintaining And Organizing Your Trones System

Even the best storage solutions fail if you do not maintain them, and the slim profile of the Trones necessitates regular auditing of your stored items. Only keep the shoes you wear at least once a week in the cabinet to prevent overcrowding, which can damage the delicate plastic hinges. Store seasonal items in a closet or under-bed storage to prevent the cabinets from becoming overstuffed, which makes them difficult to open and close. Wipe the bins down with a damp cloth every few weeks, as the enclosed nature of the bins can trap moisture if you store wet shoes. If you live in a snowy climate, place a small plastic tray or absorbent mat at the bottom of the bin to protect the cabinet’s integrity.

Advanced DIY Hacks And Installations

For those who are handy with power tools, the possibilities for customization go far beyond basic painting. You can frame the units in birch plywood or MDF to give them a high-end, built-in appearance that looks like a custom closet system. If your baseboards interfere with a flush mount, carefully scribe and cut the plastic back of the unit to fit over the baseboard profile. Some advanced DIYers incorporate LED strip lighting with a motion-activated sensor beneath the units, which provides a soft, welcoming glow that guides visitors through the hallway at night without the need for bright overhead lighting.

Essential Tools You Will Need

To ensure a professional-looking installation, gather these specific tools before you begin your project:

  • Power drill and level: Essential for perfectly aligned wall mounting.
  • Painters tape (FrogTape): Necessary for clean, professional edges if you are spray painting the units.
  • Plastic-compatible spray paint: Use a product labeled for plastic or a dedicated plastic primer.
  • Stud finder: Crucial for identifying solid mounting points, as the weight of multiple pairs of shoes adds up quickly.
  • Sturdy wall anchors: Use toggle bolts for hollow drywall or masonry bits/anchors for concrete walls.

FAQ

How much weight can a single Ikea Trones unit hold?

Each individual Trones cabinet is designed to hold approximately 20 pounds, though this weight should be distributed evenly. For safety, always mount the units into studs or use heavy-duty wall anchors, especially if you are stacking multiple units vertically.

Can you put wet shoes in an Ikea Trones cabinet?

It is not recommended to store wet shoes in Trones cabinets because the enclosed plastic design lacks ventilation, which can lead to mold and odors. Always dry your shoes on an open rack or mat before placing them inside the bins.

How do I stop the Trones cabinet from smelling?

To prevent odors, place small charcoal bags or dryer sheets inside each bin to absorb moisture and smells. Additionally, clean the bins regularly with a mild soap solution and ensure shoes are completely dry before storing them.

Can you paint the Ikea Trones cabinet?

Yes, you can paint Trones cabinets, but you must use a high-quality plastic-bonding primer first to ensure the paint adheres. Without a primer, the paint will likely peel or chip off the slick polypropylene surface within a few weeks of use.

How deep is the Ikea Trones unit?

The Ikea Trones unit is exactly 7 inches deep. This narrow depth makes it an ideal storage solution for hallways and entryways where space is limited and traditional furniture would block traffic flow or obstruct doors.

Best Shoe Storage Benches for Small Apartment Entryways

Best Shoe Storage Benches for Small Apartment Entryways

To maximize a small apartment entryway, the best shoe storage benches feature a slim profile between 12 and 15 inches deep with integrated vertical storage. Choosing high-performance materials like moisture-resistant wood or powder-coated steel ensures your bench remains durable while keeping your transition space organized and clutter-free.

The Importance of Functional Entryway Furniture

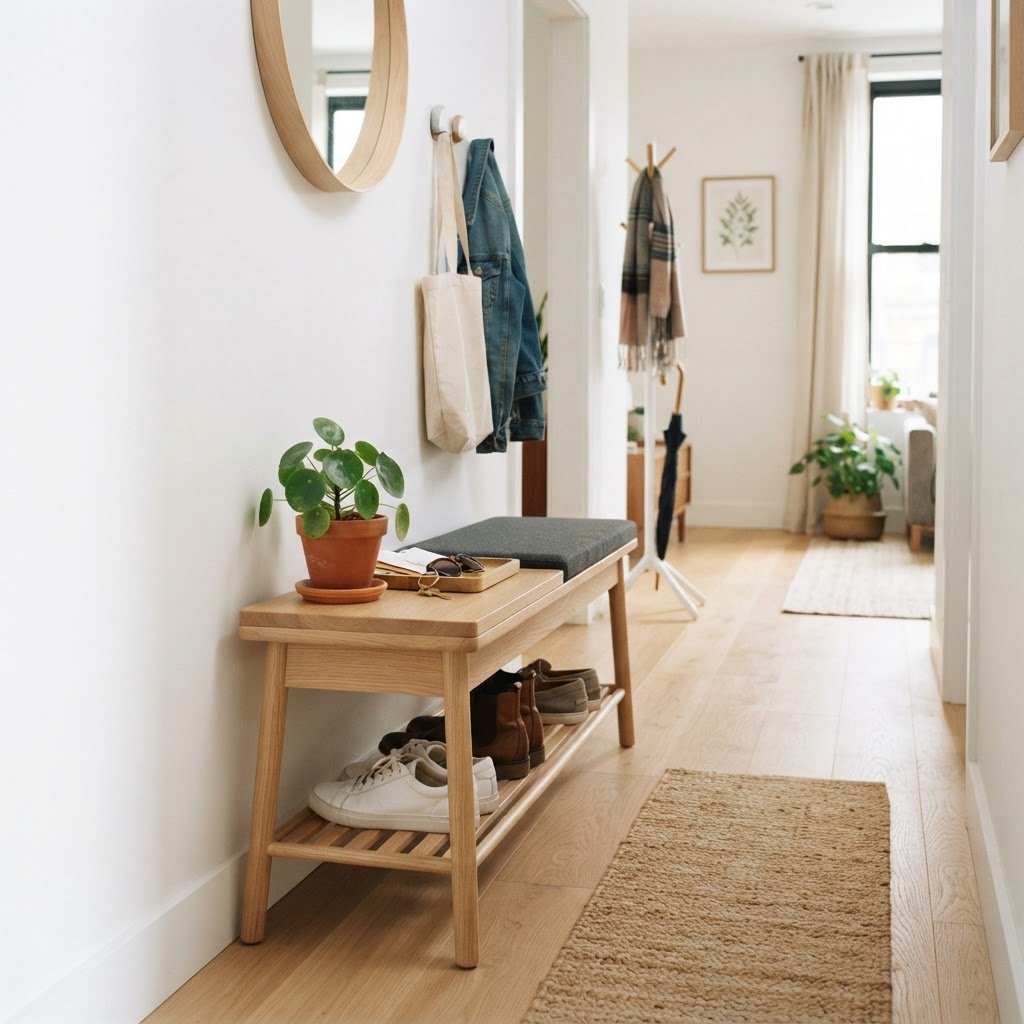
A minimalist wooden bench maximizes space in a small hallway.

Functional entryway furniture serves as the vital threshold between outdoor chaos and indoor serenity. By utilizing a dedicated storage bench, you effectively eliminate “trip hazards”—the piles of sneakers, boots, and heels that commonly occupy floor space in tight foyers. An organized entryway is not merely about aesthetics; it is an exercise in intentional living that optimizes limited square footage.

When your home lacks a dedicated mudroom, a multifunctional bench acts as a dual-purpose hero, offering a stable surface for seating and an efficient system for shoe management. Vertical thinking is essential here; by choosing furniture that maximizes height rather than floor depth, you maintain flow in high-traffic zones. Incorporating furniture with elevated legs creates a visual illusion of openness, making even the smallest 3×3 foot entryway feel significantly more spacious. Implementing these professional organization strategies ensures your landing pad remains a tranquil home-entry experience rather than a source of daily stress.

Key Features to Consider Before You Buy

Industrial benches offer great visibility and storage for active households.

Selecting the correct shoe storage bench requires measuring your entryway with precise dimensions to avoid obstructing doors or walkways. Start by confirming your available floor depth; standard doors usually require a clearance of at least 30 inches, meaning a 12-inch or 14-inch deep bench is the optimal “slim profile” choice to maintain code-compliant egress while providing ample internal storage capacity.

Feature Recommended Specification Impact on Space
Bench Depth 12 to 15 inches Prevents walkway blockage
Seat Height 17 to 20 inches Optimal comfort for sitting
Clearance 4+ inches off-floor Visual weight reduction
Material Treated wood/Metal High durability for moisture

Accessibility vs. capacity remains a critical design trade-off. If you live in an urban environment with frequent rain, prioritize benches with open slats, which facilitate air circulation, preventing odor buildup from damp footwear. Conversely, if you prefer a gallery-like appearance, enclosed cabinetry is the superior choice to conceal visual clutter. Look for features like soft-close hinges or modular cubbies, which allow you to customize the internal storage dimensions to fit everything from flat ballet slippers to bulky winter combat boots without wasting a single cubic inch.

Top Styles for Modern Apartment Living

Cabinet-style benches keep small entryways looking neat and tidy.

Selecting a style that harmonizes with your interior design is the final step in elevating a utility piece into a focal point. Mid-Century Modern designs, characterized by tapered walnut-stained legs and neutral upholstery, offer an airiness that prevents small rooms from feeling claustrophobic. These pieces often feature elevated frames, which expose floor space and enhance the “open” aesthetic favored by contemporary apartment dwellers.

Industrial styles, conversely, leverage powder-coated steel and reclaimed wood, providing extreme durability in high-traffic households. These benches often lack backing, which can be beneficial if your bench is positioned against a radiator or outlet, as the open design prevents overheating and maintains accessibility to wall fixtures. Regardless of the aesthetic, verify that your chosen bench supports a weight capacity of at least 250 pounds to ensure it serves safely as a seat for guests. Utilizing high-contrast materials—such as black metal frames against light oak wood—can also create a sophisticated visual depth, drawing the eye toward the bench and away from the small scale of the surrounding entryway walls.

Strategic Placement for Maximum Space

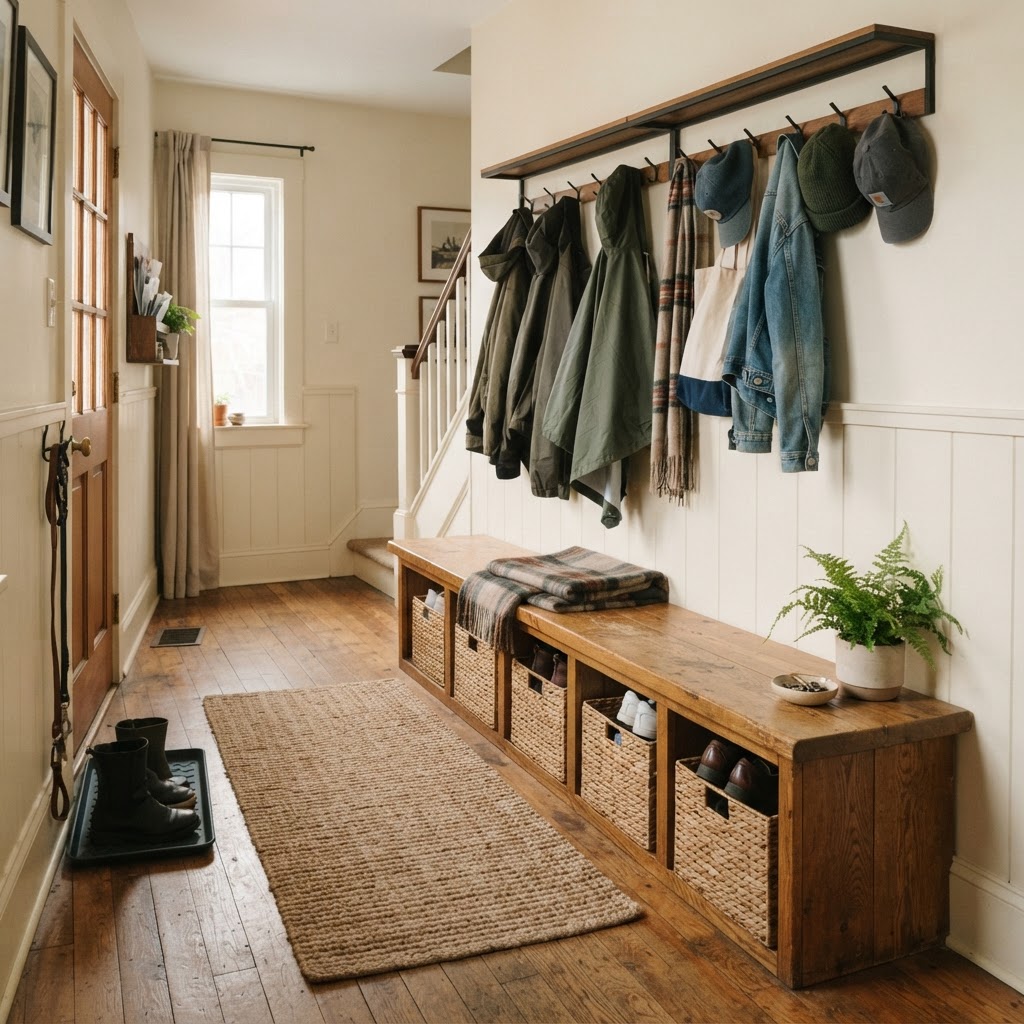
Combining a slim bench with wall hooks creates a perfect landing zone.

Strategic placement is the secret weapon for optimizing a landing zone, as the furniture must feel intentional rather than an obstacle. In narrow, elongated hallways, positioning the bench against the farthest wall acts as a “destination point,” successfully drawing the eye through the space and making the entire entryway appear more elongated and expansive.

If you have a square foyer, consider corner-tucking to define the zone without encroaching on the central walking path. Always aim for a 36-inch clearance around your primary entry door to maintain accessibility during emergency exits or when carrying heavy groceries. Integrating wall-mounted storage directly above your bench—such as brass hooks for bags or a floating shelf for mail—creates a vertical “landing strip” that keeps your floor entirely clear of bags and keys. This vertical stacking method consolidates your “clutter zone” into one compact, high-utility area, allowing the rest of your apartment to feel like a tranquil oasis rather than a drop-off center for outdoor gear. Always ensure your placement does not conflict with electrical outlet access or HVAC intake vents, as blocking these will impact your apartment’s energy efficiency and climate control.

Maintaining Order with Organization Habits

Organizational Strategy Frequency Expected Benefit
Seasonal Rotation Quarterly Eliminates overcrowding
Weekly Vacuuming Weekly Reduces allergens
Daily Purge Daily Prevents “pile-up” effect

Consistent maintenance is required to ensure that even the best storage bench doesn’t become a catch-all for clutter. Implementing a seasonal rotation system is the most effective way to maintain order; move off-season footwear to under-bed storage containers to ensure your daily-use bench only holds items currently in rotation.

Assigning specific cubbies or tiers to each family member prevents the “everything in the pile” scenario that plagues high-traffic apartments. For upholstery maintenance, stick to high-performance textiles like Crypton or faux leather, which can withstand the friction of shoe removal and are easily sanitized with a damp cloth. By treating the area under your bench with the same cleaning frequency as your main living room rug, you prevent the buildup of grit and street debris that tends to accumulate in entryways. Establishing a rule where no shoes stay on the floor overnight—they must be in a cubby, on a shelf, or in a closet—will transform your routine and maintain the clean, “model home” look that makes a small space feel remarkably well-appointed.

Maintenance and Cleaning Tips

Daily wear and tear on your shoe storage bench requires proactive cleaning, especially given its role as the transition point between the outdoors and indoors. If your bench features open shelving, utilize a handheld vacuum to remove dirt and pebble accumulation at least once a week; neglecting this leads to dust migration into your living areas.

For closed cabinets, periodically wipe down the interior hinges and tracks with a silicone-based lubricant to ensure they remain whisper-quiet and smooth-operating. If you have chosen an upholstered bench, apply a fabric protector spray every six months to repel liquids and dirt. This simple step is vital for furniture in the entryway, where rain-drenched boots and wet umbrellas often make contact. Leather-based benches are particularly resilient, requiring only an annual conditioning treatment to prevent cracking from temperature fluctuations caused by opening and closing the front door. By dedicating just ten minutes every Sunday to wiping down your storage furniture, you extend the lifespan of your investment and ensure your apartment always presents a polished, professional facade to visitors.

Comparing Bench Types

Understanding the nuanced differences between bench types allows you to select the best option for your specific daily lifestyle and available apartment space. Enclosed cabinet benches offer the cleanest visual aesthetic by completely hiding the “clutter” of footwear, which is ideal if your entryway shares an open-concept flow with your main living space.

Open-cubby benches prioritize rapid access and ventilation, making them the preferred choice for athletes or active households where gym sneakers need to dry quickly after heavy use. While open benches are often more affordable and easier to assemble, they do require a higher level of daily tidiness to keep the entrance looking organized. Consider your personal habits honestly: if you are a person who prefers to hide everything behind a closed door, the enclosed style is non-negotiable for your peace of mind. If you are a high-efficiency user who needs to grab shoes and dash out the door in under ten seconds, the open-cubby design will provide a much higher satisfaction rate in your daily workflow.

FAQ

Q: What is the ideal depth for a shoe storage bench in a small entryway?

An ideal depth for a small entryway shoe storage bench is 12 to 15 inches. This slim profile ensures the furniture provides adequate storage for standard-sized adult shoes without blocking high-traffic walking paths or preventing the front door from opening fully.

Q: How can I keep my entryway bench from smelling like shoes?

To prevent odors, prioritize benches with open-slat shelving to encourage natural airflow and prevent moisture buildup. You can also place activated charcoal bags or cedar shoe trees inside the storage areas to neutralize odors and absorb excess humidity from damp footwear.

Q: Are upholstered benches a good idea for entryways?

Upholstered benches are excellent for comfort but require specific fabric choices to remain durable. Opt for high-performance materials like faux leather, polyester blends, or stain-resistant linens that can be easily wiped clean with a damp cloth and withstand high-traffic, daily use.

Q: Should I choose a bench with open shelves or enclosed cabinets?

Choose enclosed cabinets if your entryway opens directly into your living room to keep the area looking tidy and minimal. Choose open shelves if you prefer quick access to your footwear and need maximum air circulation to dry wet or active-wear shoes daily.

Q: How much weight should an entryway bench support?

Always ensure your entryway bench supports at least 250 pounds of weight. This safety threshold guarantees the furniture is sturdy enough for adults to sit down comfortably while putting on or removing shoes without the risk of structural failure or wobbling.

How to Hide All Your Shoes in a Narrow Entryway

To hide all your shoes in a narrow entryway, utilize slim-profile tilt-out shoe cabinets less than 10 inches deep, install vertical wall-mounted racks to clear floor space, and implement a seasonal rotation system to limit the number of pairs stored in your hallway at any one time.

Assessing Your Entryway Constraints

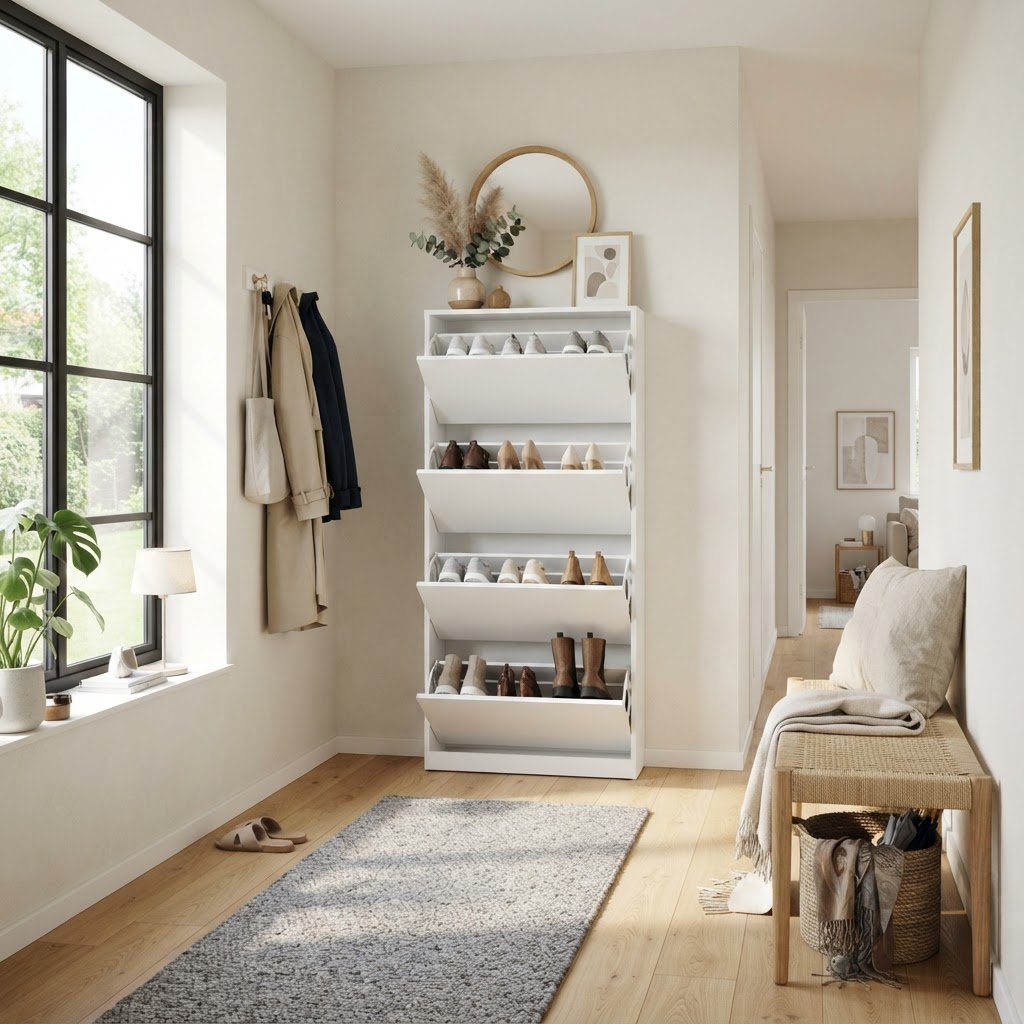
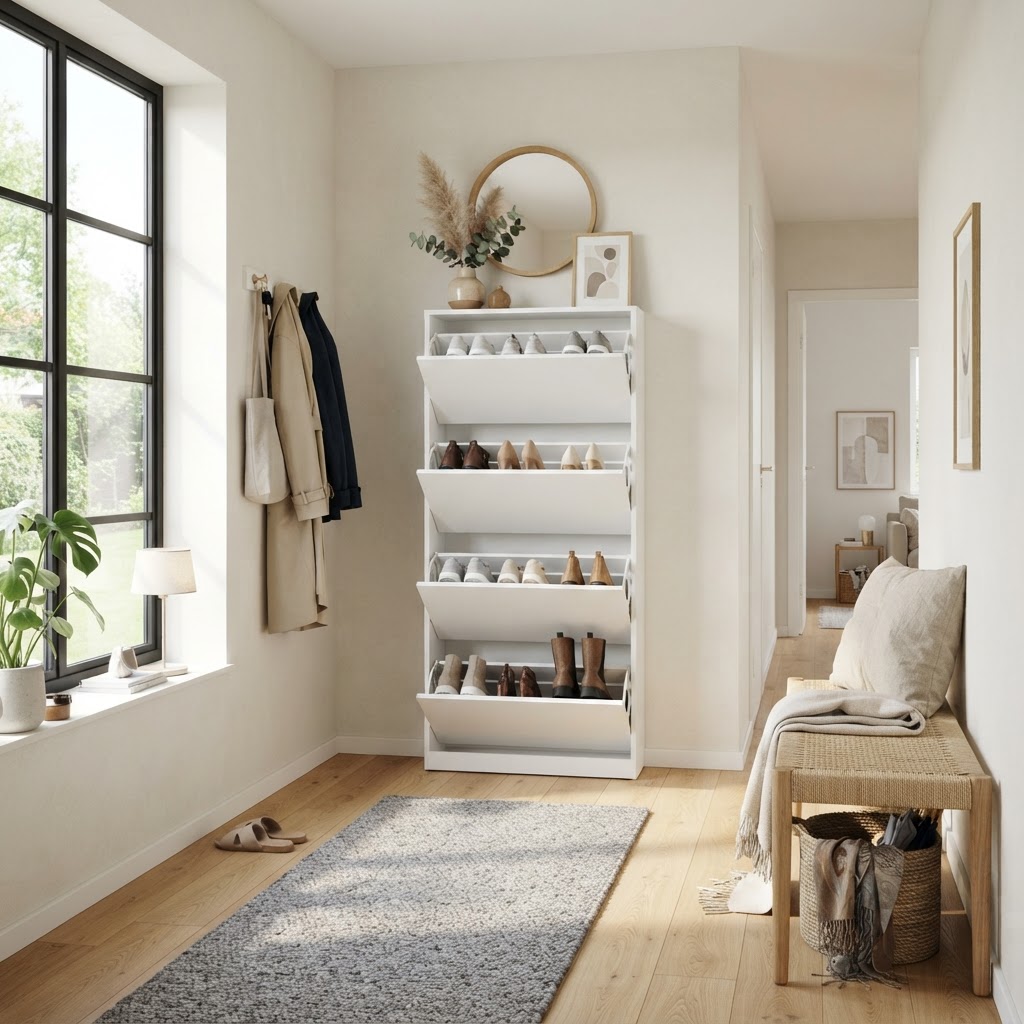
A slim tilt-out cabinet provides a sleek solution for narrow corridors.

The first step in mastering storage is understanding your specific limitations, as measuring your space accurately is essential before purchasing organizational tools. A hallway that is only 30 inches wide requires a very different approach than one that is 40 inches wide, and your success depends on clearing the area to take precise measurements of the floor space, wall height, and the distance from the wall to the door swing.

It is vital to ensure that any storage unit you introduce does not prevent the front door from opening fully, especially in corridors with limited clearance. Consider whether you have a recess in the wall or an awkward corner that is currently going unused. These small, often ignored architectural quirks—frequently measuring 12 to 18 inches in width—are often the secret to finding the perfect home for a slim piece of furniture. When planning, prioritize units that maintain at least 32 inches of walking clearance to ensure your entryway remains compliant with standard accessibility flow.

Choosing the Right Slim Furniture

Wall-mounted racks keep footwear off the floor to maximize small spaces.

When you are tight on space, standard shoe racks are rarely the best solution; instead, you should look for furniture specifically designed for vertical efficiency, such as slim shoe cabinets which are the gold standard for small spaces. These units typically feature tilt-out drawers that allow shoes to stand vertically, significantly reducing the depth required compared to traditional shelves, often taking up only 6 to 9 inches of floor space.

Storage Type Depth Range Capacity Estimate Best For
Tilt-Out Cabinet 6″ – 10″ 8-12 pairs Tight hallways
Wall-Mounted Rack 2″ – 5″ 3-6 pairs Minimalist decor
Storage Bench 12″ – 16″ 6-8 pairs Seating + Storage
Over-the-Door 4″ – 6″ 10-20 pairs Closet doors

When shopping for these units, look for models that are less than 10 inches deep. You can easily find options that mount to the wall, which keeps the floor clear and makes the room feel larger. By opting for a cabinet with a flat top, you also gain a surface area for keys, mail, and a small decorative bowl, effectively turning your storage solution into a functional console table that provides both utility and aesthetic value.

Benefits of Wall-Mounted Storage

Wall-mounted storage is a game-changer in narrow hallways because elevating your storage solutions off the ground increases visible floor space, which is a classic interior design trick to make a room appear wider than it actually is. Furthermore, cleaning becomes significantly easier when your storage does not have legs that accumulate dust and hair. By utilizing wall-mounted systems, you also protect your baseboards and flooring from scuffs caused by traditional heavy shoe racks.

Utilizing Vertical Wall Space

A functional storage bench offers seating while keeping shoes hidden.

If floor space is non-existent, it is time to look up, as your walls represent the most underutilized real estate in your home. By installing hooks, floating shelves, or wall-mounted cubbies, you can keep your most frequently worn pairs organized without sacrificing a single inch of floor depth, effectively managing vertical zones up to 7 feet high.

Consider installing a series of staggered wall hooks at varying heights. Not only does this look artistic, but it also allows you to stagger boots and flats so they do not crowd each other. Another excellent option is a slim, wall-mounted rack that folds flat when not in use. These are particularly useful for guests who may drop off their shoes during a visit but do not need permanent storage space. By utilizing wall space, you can often increase your storage capacity by 40% compared to floor-only solutions, keeping entryways clear and visually balanced.

Creative Hidden Storage Ideas

Sometimes the best way to hide all your shoes in a narrow entryway is to use furniture that serves a double purpose, such as benches that offer deep internal storage or ottomans that can slide completely under a wall-mounted console table. By choosing items that pull “double duty,” you reduce the total number of objects competing for your limited square footage, which is crucial in entryways smaller than 25 square feet.

Another clever trick is to place a shallow storage bench at the very end of your hallway if the layout allows. This acts as a visual anchor while providing a designated spot to sit down while putting on shoes. If your bench is long enough—typically 36 to 48 inches—you can even install dividers inside to keep shoes from becoming a jumbled pile. For those who are handy with DIY, consider building a shallow, custom “locker” system that blends into the wall color, making the storage practically disappear into the architecture.

Rotational Systems for Small Closets

If you have a coat closet in your entryway, do not ignore its potential, but instead implement a rotation system to prevent the bottleneck created by storing too many items in a limited space. Only keep the shoes you wear three to four times a week in the entryway; for all other pairs, use a “seasonal storage” bin in another part of the house—such as under your bed or in a bedroom closet—for shoes that do not match the current weather.

By thinning out the population of shoes in your entryway, you naturally make it easier to maintain an organized, clean look, effectively reducing daily clutter by up to 60%. Treat your entryway like a transition zone rather than a long-term storage facility. Essential tips include using over-the-door organizers for sandals, placing a small basket for errant socks, and purging shoes you have not worn in the last 6 months.

Dealing with Boots and Bulky Items

Boots are notoriously difficult to store in narrow spaces because they are tall and wide, and attempting to force them into a slim shoe cabinet usually results in damaged leather or bent shafts. For these, consider a dedicated corner spot with a vertical boot tray or a wall-mounted boot rack that hangs them upside down, which preserves the shape of the boot shaft and prevents creases.

If you must keep boots in the entryway, try to place them in the most hidden, darkest corner of the space. When you elevate boots off the floor using a small rack, they look less like clutter and more like a deliberate design choice. Keeping the floor clear of large, bulky items is the primary way to maintain the illusion of a spacious, organized home, especially in hallways where floor space is the most valuable commodity.

Maintaining a Clutter-Free Habit

Storage furniture is only one part of the equation, as to truly hide all your shoes in a narrow entryway, you must commit to a routine. It is all too easy to get home after a long day and kick your shoes off in the middle of the hallway; therefore, you must establish a strict rule where shoes are immediately placed into their designated spot.

Think of this as a ritual of arriving home. By taking the extra ten seconds to tuck your shoes into the cabinet, you ensure that you are greeted by an orderly, peaceful space the next morning. If you live with others, place a small basket in the hallway that can serve as a temporary landing pad for shoes that need to be put away later in the day, keeping the floor clean while allowing for a moment of flexibility in your busy schedule.

FAQ

Q: What is the best depth for a narrow shoe cabinet?

A: The best depth for a narrow shoe cabinet is between 6 and 10 inches. This profile allows for vertical tilt-out storage that accommodates most shoe sizes without obstructing the walking path of your hallway.

Q: How do I store tall boots in a small entryway?

A: Store tall boots using a vertical boot rack that hangs them upside down or place them on a shallow boot tray in a corner. Hanging them upside down prevents the shafts from slouching and saves precious floor space.

Q: Can I hide shoes in a hallway less than 30 inches wide?

A: Yes, you can hide shoes in a narrow hallway by utilizing wall-mounted floating shelves or slim hooks. These solutions require zero floor footprint and keep the walkway clear for easy movement.

Q: How many shoes should I keep in my entryway at once?

A: Limit your entryway to the shoes you wear 3 to 4 times per week to prevent clutter. Rotating your collection seasonally allows you to keep only relevant footwear at the door.

Stylish Rattan and Modern Shoe Cabinets for Small Spaces

Stylish Rattan and Modern Shoe Cabinets for Small Spaces

To organize a small entryway effectively, choose slim-profile rattan or modern shoe cabinets that offer at least 10 inches of depth and tip-out storage mechanisms. These furniture pieces maximize vertical wall space while providing breathable, closed storage that conceals footwear, eliminates visual clutter, and enhances the aesthetic of narrow apartment corridors.

The Rise of Rattan in Modern Interior Design

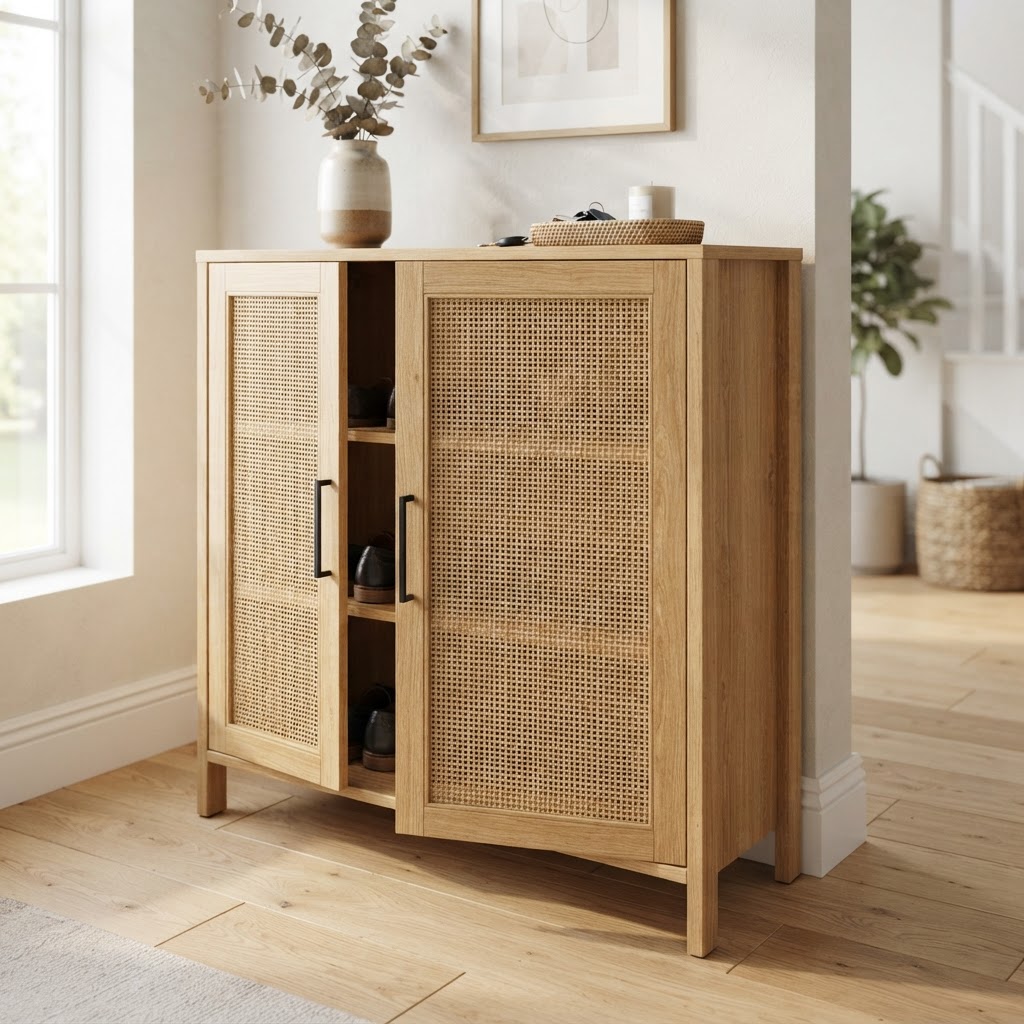
A beautiful rattan shoe cabinet provides a stylish focal point for a small entryway.

Rattan has transitioned from a bohemian trend to a permanent fixture in high-end modern interior design, primarily due to its ability to provide warmth without visual weight. Unlike solid wood or MDF cabinets which can feel heavy in a 50-square-foot foyer, rattan weaving allows for airflow, which is critical for preventing moisture buildup and odors in enclosed shoe storage. Contemporary designers favor rattan panels because they bridge the gap between organic textures and minimalist “Scandi-style” furniture. By using natural materials, you anchor a neutral entryway with a focal point that feels intentional rather than utilitarian. Integrating this texture effectively requires balancing the open weave with solid frames—typically metal or matte-finished wood—ensuring the piece complements existing door hardware or lighting fixtures. Data suggests that furniture with “breathable” elements lasts 30% longer than fully sealed cabinets, as reduced humidity prevents the degradation of leather and synthetic shoe linings. When shopping, prioritize sustainably harvested rattan, which features tight, uniform weaves that resist sagging over time, ensuring your storage solution remains a staple of your home decor for years to come.

Why Texture Matters in Small Spaces

In small entryways, texture is your best friend for creating visual interest without adding clutter. Solid, painted cabinets can sometimes feel heavy and imposing in a cramped hallway. Rattan panels, however, allow for breathability while concealing the contents, offering a lighter look that maintains a sense of openness. This material balance is crucial for achieving a designer look in a limited square footage environment.

Feature Solid Wood Cabinet Rattan-Front Cabinet
Breathability Low (Risk of Odor) High (Prevents Odor)
Visual Weight Heavy/Solid Airy/Light
Maintenance Easy Wipe-Down Vacuum/Soft Brush
Aesthetic Traditional/Minimalist Modern/Organic

Benefits of Dedicated Shoe Storage

Close-up detail showing the intricate texture of a modern rattan-fronted storage unit.

Investing in a dedicated shoe storage solution fundamentally alters your home’s hygiene and overall flow by creating a permanent “landing zone” for outdoor items. Statistics indicate that a significant percentage of household dust and allergens enter the home via footwear; keeping shoes contained in a cabinet reduces the need for frequent vacuuming by up to 25% in high-traffic entryways. Beyond cleanliness, these cabinets act as a psychological boundary. When you remove your shoes upon entry, it signals a mental shift from the stress of the outside world to the comfort of your living space. Modern units are designed to house between 8 to 24 pairs, depending on the orientation, allowing even the most extensive collections to stay organized in less than 3 square feet of floor space. Furthermore, organizing by frequency of use—keeping daily sneakers at waist level and seasonal items at the base—streamlines your morning routine. A well-organized shoe storage cabinet eliminates the 5-10 minutes often spent searching for matching footwear, providing a tangible boost to daily productivity and reducing household friction.

Enhancing Home Flow

Having a specific place for footwear encourages family members and guests to stow their shoes immediately upon entry. This simple habit keeps dirt contained to the mudroom area and creates a clear, unobstructed path through your home. Choosing a piece that fits perfectly against your wall means you won’t sacrifice precious floor space just to keep things orderly.

Selecting the Right Cabinet for Your Floor Plan

Vertical storage solutions help keep narrow hallways organized and spacious.

Before you purchase any piece of furniture, it is essential to measure your entryway accurately by calculating the “clearance zone” for both doors and foot traffic. A standard hallway requires at least 36 inches of clearance to walk comfortably; therefore, a cabinet with a depth of 9 to 12 inches is the “gold standard” for urban apartments. When measuring, account for baseboards, which often push the cabinet out by an extra inch, and ensure that wall-mounted units are anchored into studs to support the weight of heavy winter boots. Tip-out mechanisms are highly recommended for spaces under 4 feet wide, as they eliminate the need for clearance space required by traditional swing-out doors. If your hallway is unusually narrow, opt for a cabinet with a mirrored front to create the optical illusion of double the space. Prices for these specialized units range from $150 to $600; however, mid-range options (between $250-$400) typically offer the best balance of structural durability, such as reinforced hinges and humidity-resistant backing. Always verify the maximum shoe size accommodated by the unit, as standard tip-out drawers may struggle with men’s sizes 12 and above.

Features to Look For

  • Slim profile (under 12 inches deep)
  • Adjustable shelving to accommodate varying shoe heights
  • Breathable materials (like rattan) to prevent odors
  • Sturdy hardware that complements your existing door handles
  • Wall-mounting options to prevent tipping and increase floor visibility

Modern Design Aesthetics and Functionality

Modern shoe storage isn’t just about utility; it is about seamless integration. The best modern pieces feature hidden compartments, recessed handles, and matte or wood finishes that allow them to blend into your wall decor. By opting for a cabinet that features a minimalist design, you keep the focus on your curated entryway styling rather than on the furniture itself.

Pairing Styles for a Unified Look

Mixing a sleek metal-legged cabinet with rattan door accents bridges the gap between mid-century modern and coastal organic styles. This versatility ensures that even if you renovate other parts of your home, your shoe cabinet remains a relevant and stylish centerpiece. Always look for pieces that echo the finishes present in your lighting fixtures or mirror frames to create a cohesive narrative throughout the entry.

Organizing Your Shoe Collection Like a Pro

Once you have your cabinet, the next challenge is optimizing the interior. Use the vertical height to your advantage by installing extra shelves if possible, and store everyday shoes at waist height for easy access. Seasonal items, like winter boots or summer sandals, can be rotated to the bottom or top shelves to ensure your most-used items remain within arm’s reach.

Maintaining Your Storage Solution

Keep your cabinet looking new by vacuuming the interior shelves regularly and dusting the rattan panels. If you have open-weave rattan, it is worth occasionally wiping it down with a damp cloth to prevent dust buildup. By treating your shoe cabinet as a piece of furniture rather than just a rack, you ensure it stays a functional part of your home for years to come.

Small Space Hack: Vertical Storage Solutions

If you find yourself truly limited on floor space, think vertically. Tall, narrow cabinets are incredibly efficient for maximizing storage capacity without infringing on your walking path. Many modern vertical cabinets are designed to be wall-mounted, which helps keep the floor clear and makes the entryway appear significantly larger.

Incorporating Mirrors and Decor

Above your shoe cabinet, consider adding a mirror or a piece of wall art to draw the eye upward. A mirror is especially helpful in small entryways as it reflects light and creates the illusion of more space. Combined with a rattan shoe cabinet, a well-placed mirror can turn a tiny foyer into a grand, welcoming entrance that feels far larger than it actually is.

FAQ

Q: What is the ideal depth for a shoe cabinet in a small entryway?

An ideal shoe cabinet for a small space should be between 9 and 12 inches deep. This slim profile ensures the unit provides ample storage without obstructing narrow walkways or encroaching on high-traffic areas in your home.

Q: Why is rattan a good material for shoe storage?

Rattan is an excellent choice because it is a breathable, organic material that prevents moisture buildup and odors inside the cabinet. The open weave facilitates airflow, which is essential for maintaining the quality of leather and fabric footwear over long periods.

Q: How can I fit large shoe sizes into a tip-out cabinet?

To fit larger shoes (size 12+) into a tip-out cabinet, look for units with adjustable middle dividers or deeper drawer designs. You can also place larger shoes at an angle or diagonally within the tip-out bins to maximize the available interior depth.

Q: How do I clean and maintain rattan shoe cabinets?

Regularly dust the rattan panels with a soft-bristled brush or a vacuum attachment to prevent particulate buildup in the weave. For deeper cleans, wipe gently with a damp, lint-free cloth and immediately pat dry to prevent the natural fibers from warping.

Wall-Mounted Shoe Storage Solutions for Tiny Entryways

Wall-Mounted Shoe Storage Solutions for Tiny Entryways

Wall-mounted shoe storage is the most effective solution for tiny entryways, utilizing vertical space to eliminate floor clutter and increase usable square footage. Shallow tip-out cabinets, floating wall ledges, and modular wall-mount racks allow you to store footwear in high-traffic zones without obstructing movement or sacrificing your home’s aesthetic.

The Psychology of an Organized Foyer

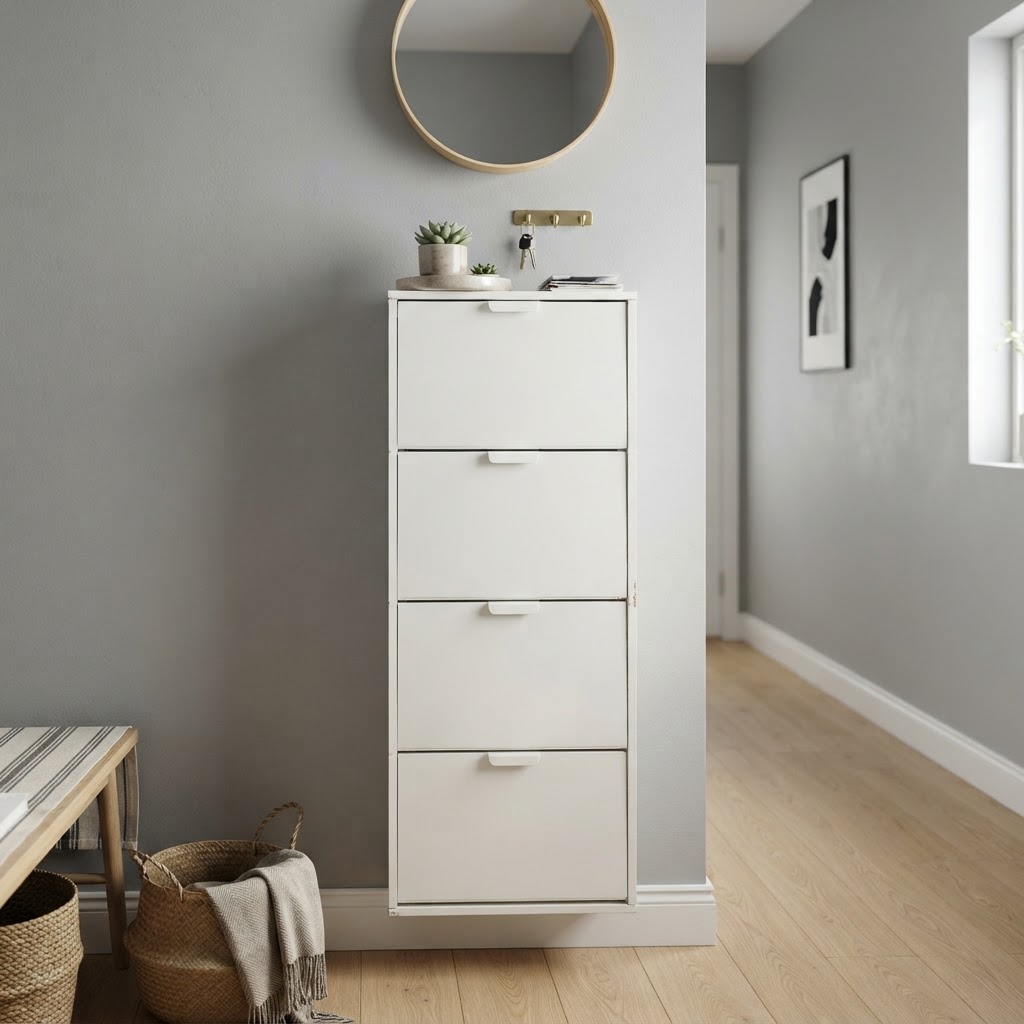
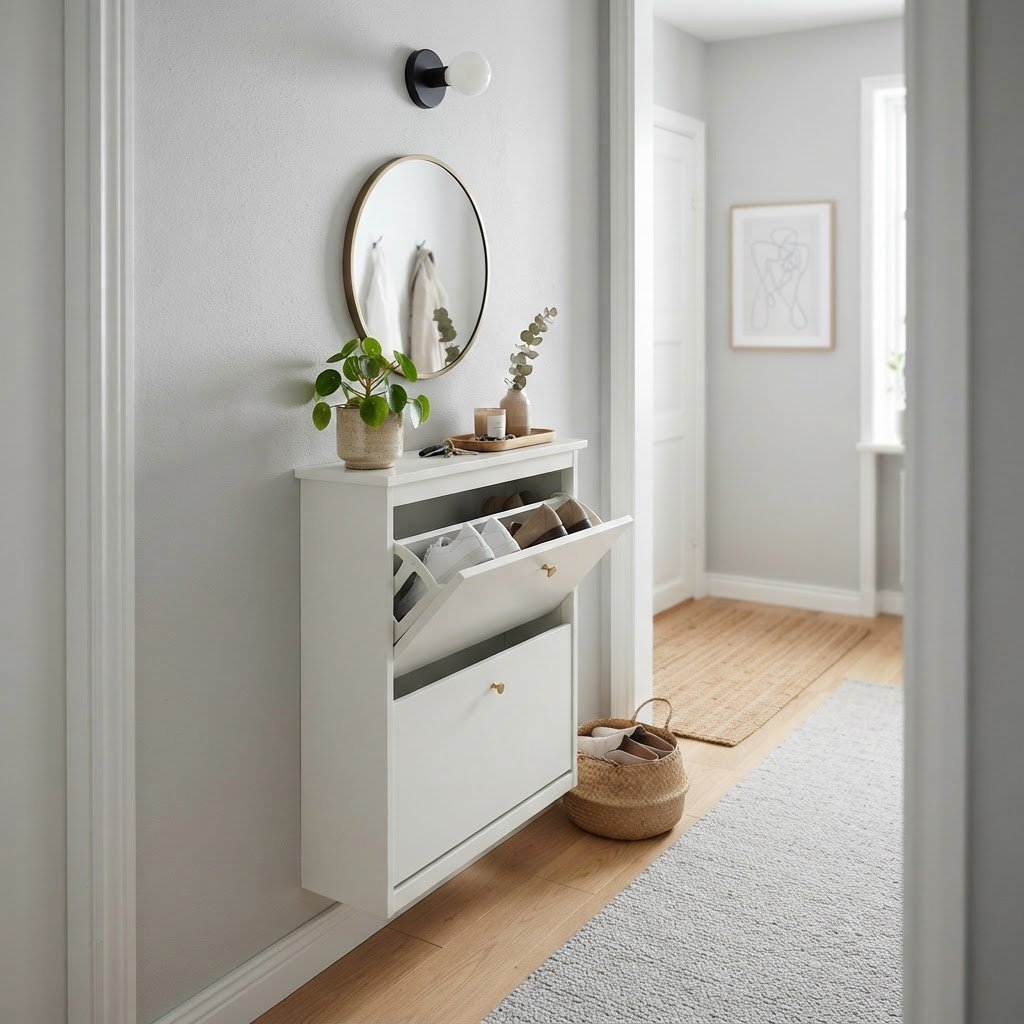
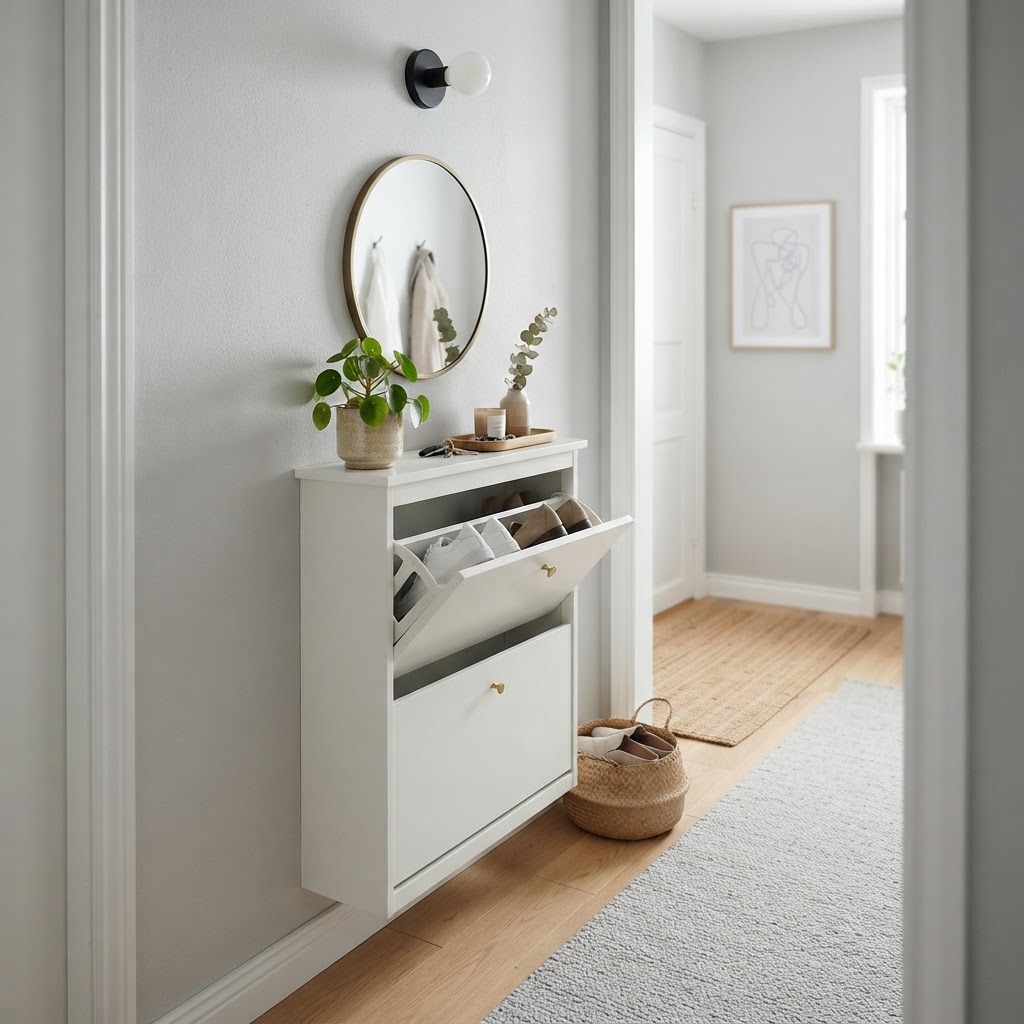
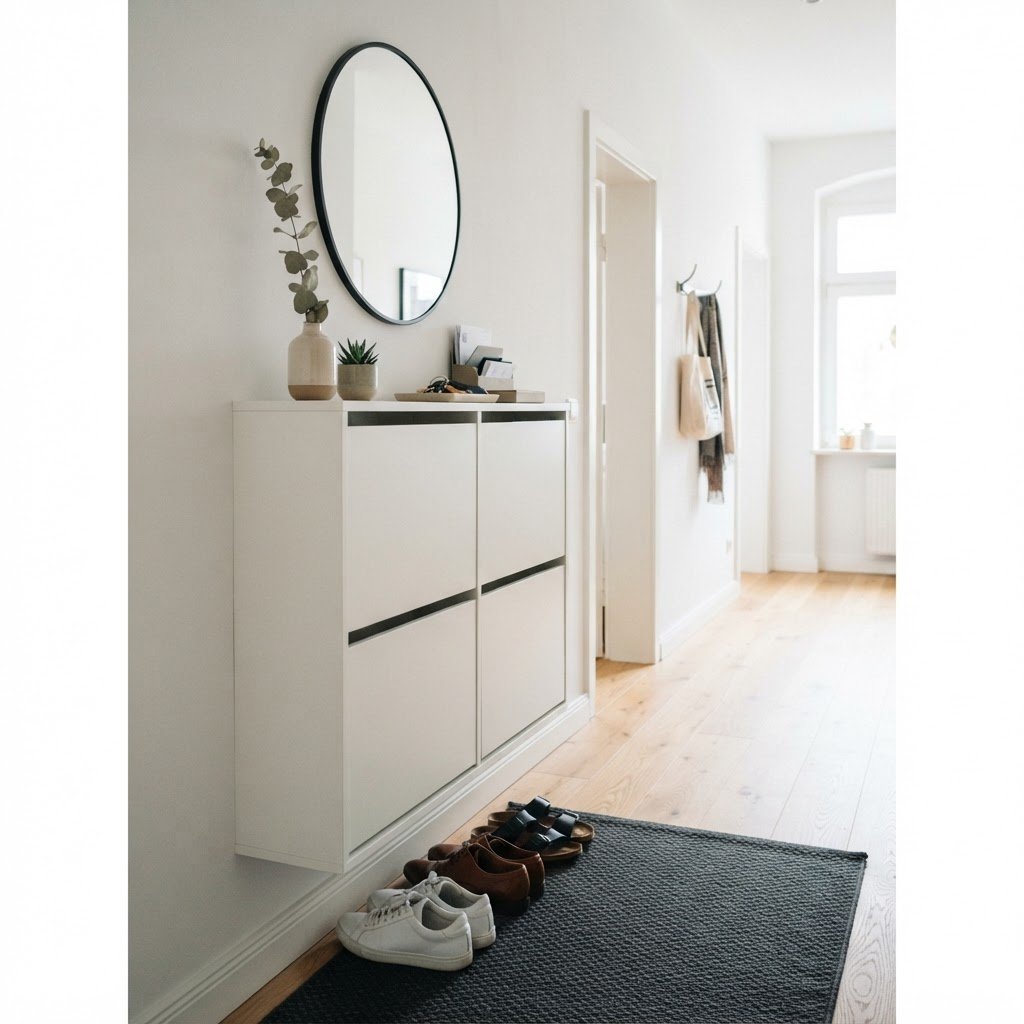
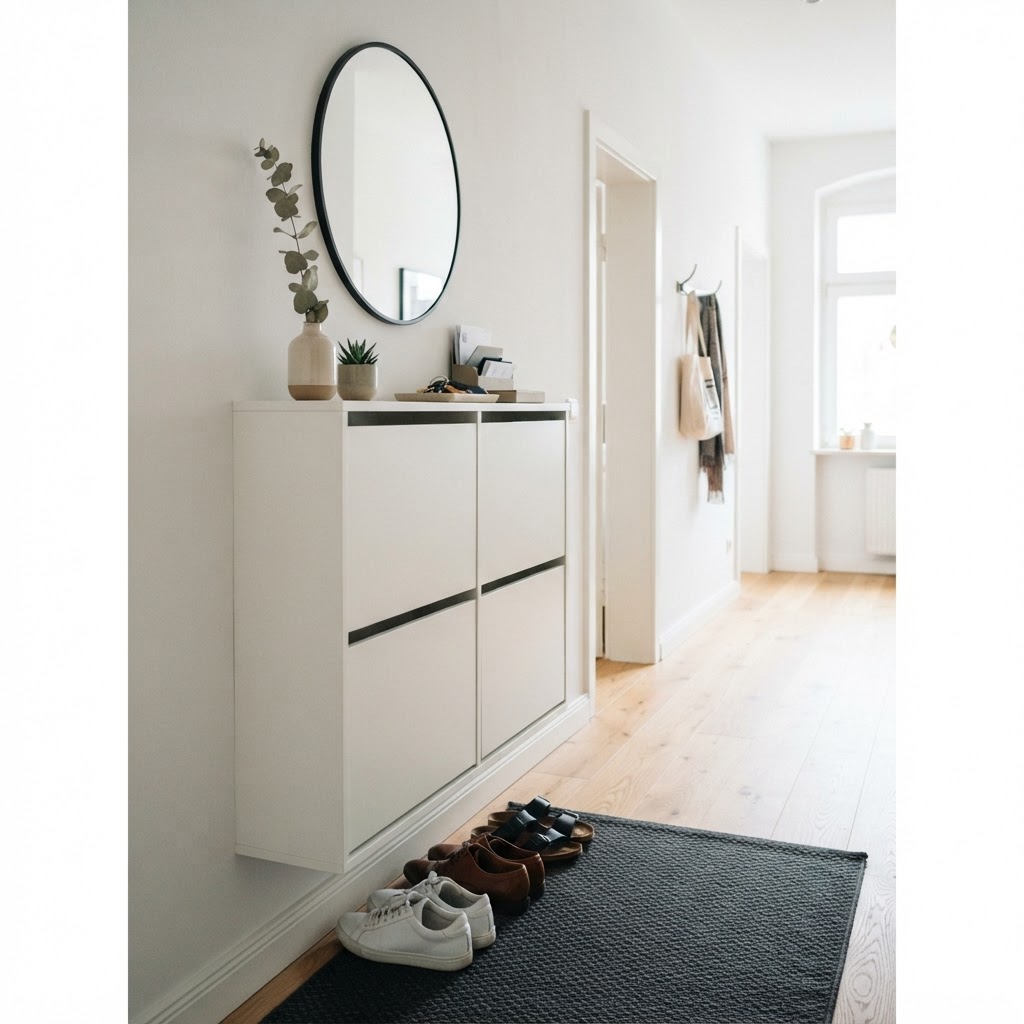
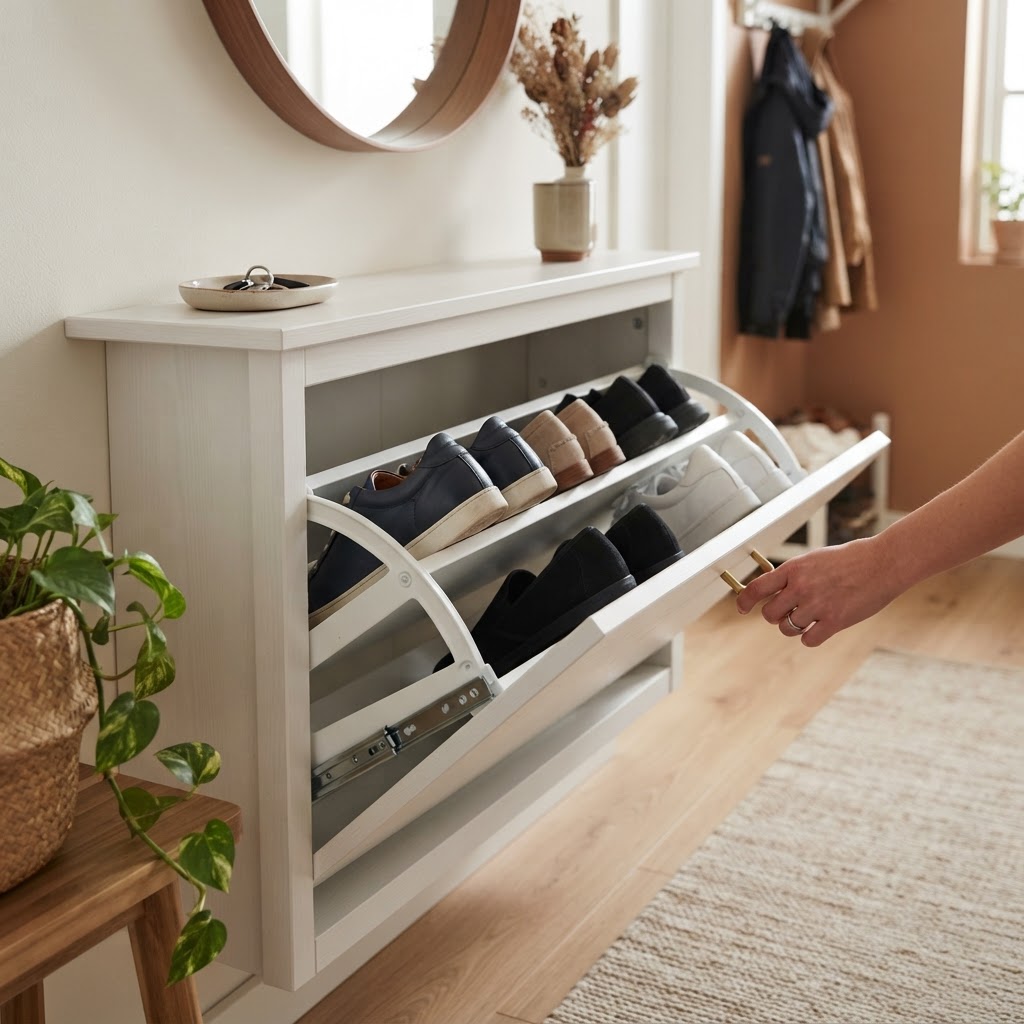
Sleek white tip-out cabinets disappear into this narrow hallway.

Your entryway acts as the psychological gateway to your home, where an organized space signals to your brain that it is time to transition from the stress of the outside world to the relaxation of your private sanctuary. When entryways remain cluttered with shoes, they create cognitive friction; studies suggest that visual clutter in the home increases cortisol levels and inhibits the brain’s ability to focus or relax. By shifting storage from the floor to the wall, you create a “drop zone” that serves as a mental reset point. This design choice doesn’t just improve physical flow; it significantly reduces the morning chaos of finding matching pairs. A clean entry transition, achieved through vertical organization, fosters a sense of accomplishment and order before you ever reach your living room. Implementing these systems turns an unutilized wall into a high-functioning organizational hub, effectively doubling your entryway’s usable footprint without sacrificing critical clearance space. The difference between a tripping hazard and a curated display is often just a six-inch-deep cabinet.

Why Wall Space Matters

When floor space is at a premium, looking upward is the smartest design decision you can make. Walls are often the most underutilized assets in home organization. By shifting your storage from the floor to the vertical plane, you effectively double your usable surface area without encroaching on your walking path. Choosing the right wall-mounted unit requires considering the depth of your entryway. Many modern wall-mounted cabinets have a slim profile, often protruding only six to eight inches from the wall, making them perfect for narrow hallways where every inch counts.

Feature Tip-Out Cabinets Floating Shelves Modular Racks
Depth Profile 6-8 inches 4-6 inches 3-5 inches
Capacity Moderate to High Low to Moderate High (Vertical)
Security Closed/Hidden Open/Exposed Open/Exposed
Best For Narrow Hallways Aesthetic Decor Growing Collections

Types of Wall-Mounted Shoe Storage

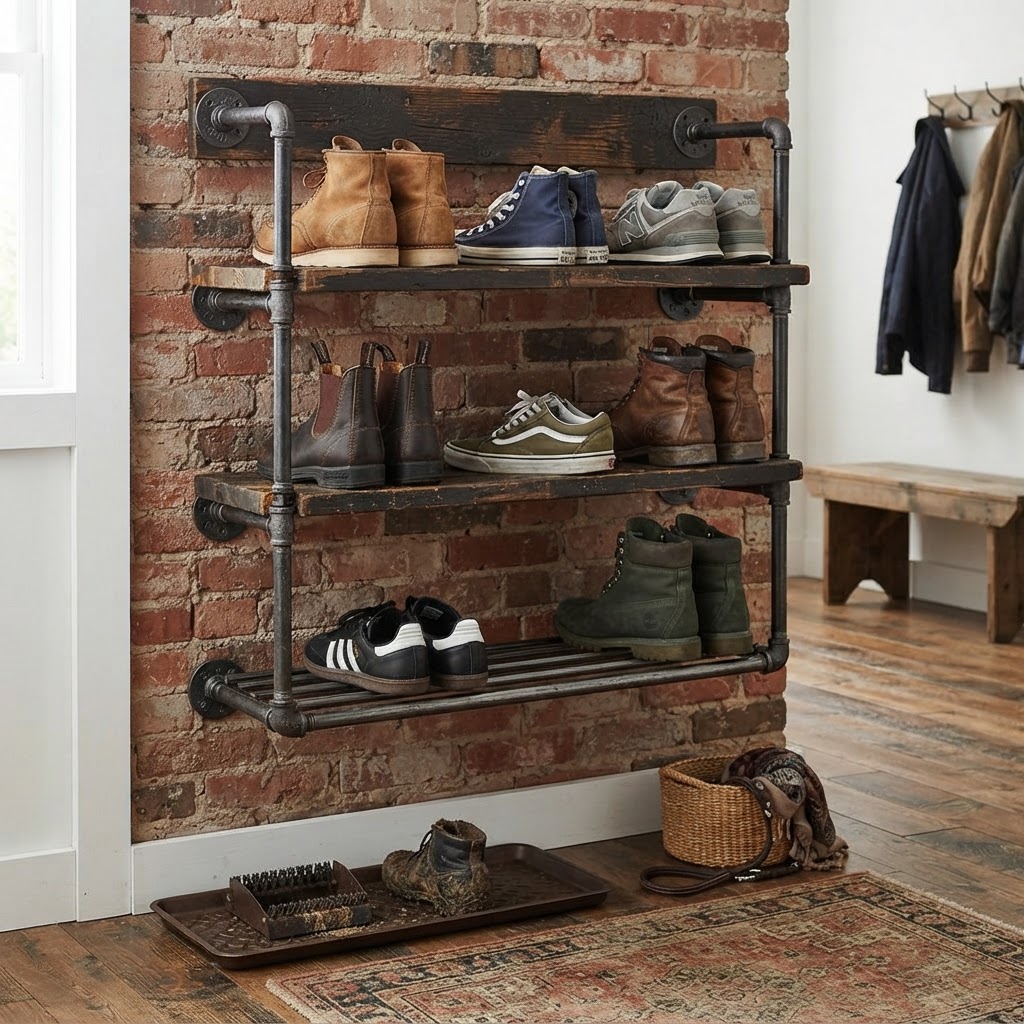
Industrial wall racks add character to small spaces.

Not all storage solutions are created equal, and the best choice depends on your specific layout and the volume of footwear you own. From sleek cabinets to industrial-style racks, there is a configuration to suit every interior design style, whether you prefer minimalist modern or rustic farmhouse. Selecting the right type depends on your specific storage requirements: tip-out cabinets provide the cleanest, most minimalist look by hiding shoes behind a sleek panel, while floating shelves turn your footwear collection into a curated visual display.

Tip-Out Cabinets

Tip-out cabinets are the gold standard for small-space living. They utilize a clever hinge mechanism that allows the front panel to tilt forward, revealing shoe racks hidden neatly behind the door. Because these units are typically shallow, they fit behind doors or in tight corners where a traditional shelf would never fit. They are ideal for high-traffic entryways because they prevent visual clutter by completely concealing the shoes from view, which is essential for maintaining a calm, orderly entrance.

Floating Shelves and Ledges

For a lighter, more airy feel, consider individual floating shelves. You can stagger these shelves at varying heights to accommodate different types of shoes, such as tall boots on the bottom and flats or loafers on the top. This approach is highly customizable and allows you to adapt the storage to your specific collection. Unlike bulky units, floating ledges provide a modern, minimalist aesthetic that works exceptionally well in apartments or homes with limited hallway width.

Maximizing Efficiency with Modular Systems

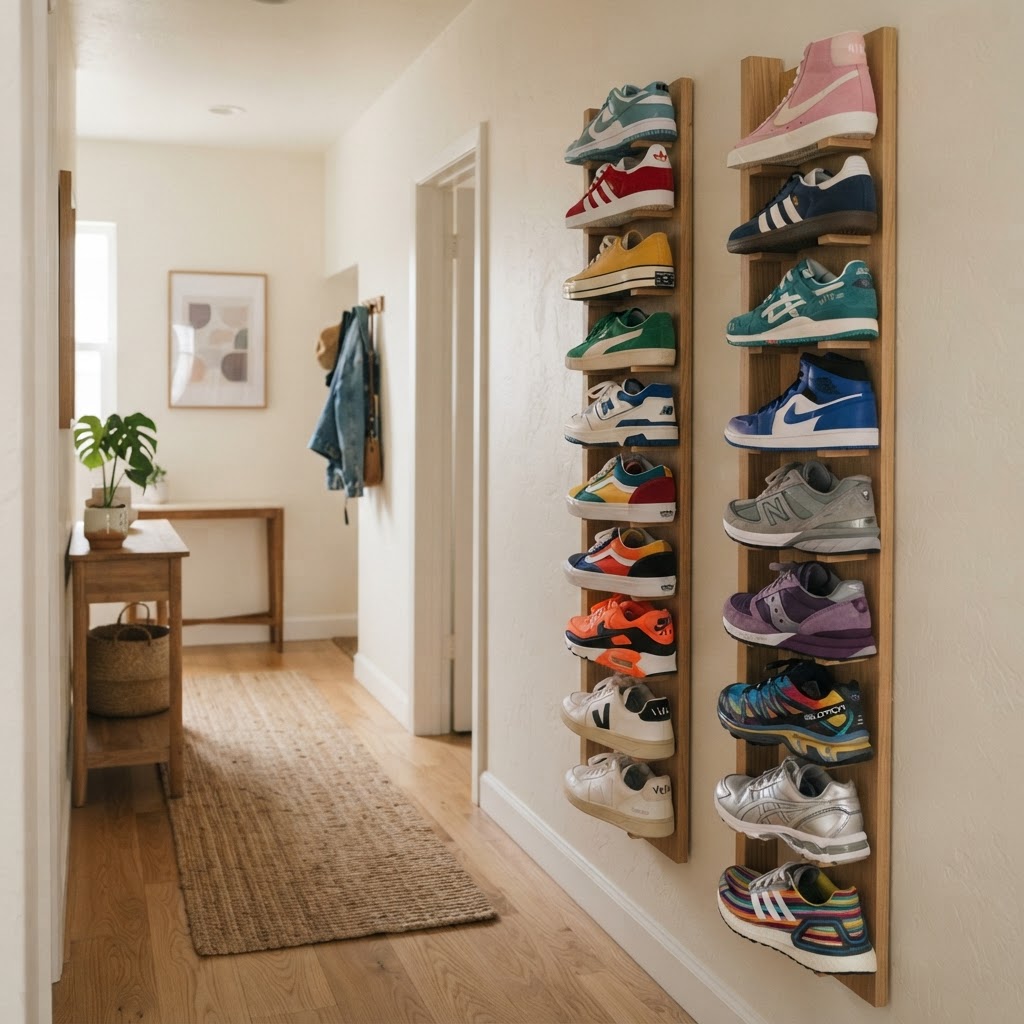
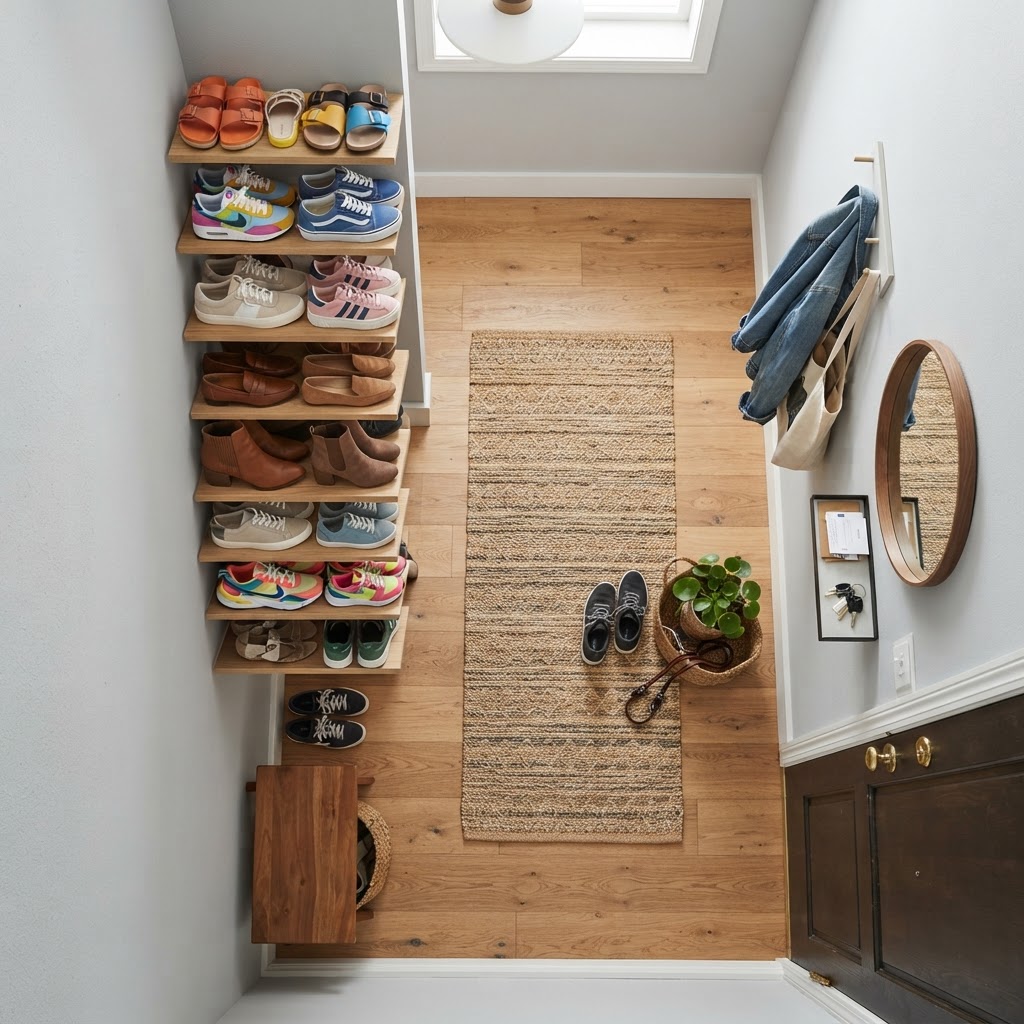
Vertical floating shelves turn shoe storage into a wall art feature.

Modular systems offer the greatest degree of flexibility for homeowners who need to grow their storage over time, allowing for a custom fit that evolves with your needs. You can start with a single unit and add more as your collection expands, or arrange them in a pattern that fits the unique dimensions of your wall. Strategic planning is crucial; when designing your layout, measure your entryway twice before buying any hardware. Ensure that even with your shoes loaded into the wall-mounted storage, there is still enough clearance for you to comfortably open the front door and walk through the entryway without bumping into furniture or footwear. A good rule of thumb is to maintain at least 32 to 36 inches of clear walking path. Modular systems are particularly useful for families because they allow you to designate specific vertical “zones” or tiers for each person’s footwear, preventing the shared-space pile-up. By staggering modular units, you can also optimize for vertical height, placing rarely-worn formal shoes at the top and daily-use sneakers at comfortable waist height for quick access.

Design Aesthetics and Materials

Soft-close tip-out drawers offer efficient, space-saving access.

Functionality doesn’t have to come at the expense of style. Today’s market offers a vast array of finishes, ranging from high-gloss white lacquers that reflect light to make a space feel bigger, to natural wood tones that add warmth to a home. If you want your storage to disappear into the wall, paint your unit the exact color of the wall to create a seamless, integrated look. When choosing materials, prioritize durability over temporary aesthetics; since these units will be used daily, the quality of your hardware is paramount. Look for soft-close hinges, sturdy wall anchors, and high-quality mounting brackets that can support the weight of heavy winter boots. Cheap plastic parts often fail under the weight of wet or muddy gear, so prioritize metal components whenever possible. For moisture-prone areas, opt for powder-coated steel or moisture-resistant MDF with a sealed finish to prevent warping over time. A professional-grade installation usually involves ensuring the unit is leveled with a spirit level to prevent drawers from drooping or shelves from tilting, ensuring long-term reliability and a clean, luxury appearance that enhances your home’s value.

Maintaining Your Organized Entryway

Once you have installed your wall-mounted shoe storage, the real work begins: maintaining the system. Establish a “one-in, one-out” rule if your storage space is strictly limited. Encourage family members to place shoes in their designated slots immediately upon entering to prevent the “pile-up” effect that ruins an organized space. To keep your entryway smelling fresh, consider incorporating small sachets of cedar or activated charcoal inside your cabinets. This prevents the buildup of odors and ensures that your storage solution remains a pleasant feature of your home rather than a functional necessity that you avoid opening. Whether you choose a DIY approach or professional installation, safety is paramount. Always use appropriate wall anchors for your specific wall type, whether it is drywall, plaster, or brick. A wall-mounted rack that pulls away from the wall is not only a damage risk to your home but a safety hazard to your family. Follow all manufacturer instructions regarding weight limits and hardware requirements explicitly.

FAQ

Q: How much depth do I need for wall-mounted shoe cabinets?

Most slim wall-mounted shoe cabinets require between 6 and 8 inches of depth to function properly. You should always measure your entryway floor plan to ensure there is at least 32 inches of clearance remaining for a comfortable walking path after the unit is installed.

Q: Are wall-mounted shoe racks safe for drywall?

Yes, wall-mounted shoe racks are safe for drywall if you use proper toggle bolts or heavy-duty anchors rated for the unit’s weight. For the best stability, always attempt to mount the rack directly into the wall studs using high-quality lag screws.

Q: What is the best way to keep wall-mounted shoe storage smelling fresh?

Place activated charcoal bags or cedar wood sachets inside the compartments to absorb moisture and neutralize odors. Keeping shoes clean of mud before storage also prevents the buildup of debris and unpleasant smells within the closed cabinet space.

Q: How can I hide my shoes in a tiny entryway?

Tip-out cabinets are the best solution for hiding shoes because they use a tilt-out mechanism that keeps footwear vertically aligned behind a door panel. These units effectively turn your shoe storage into a sleek, furniture-like feature that blends into your wall.

Slim Shoe Cabinet Ideas That Double as Entryway Benches

Slim Shoe Cabinet Ideas That Double as Entryway Benches

A slim shoe cabinet that doubles as an entryway bench is the ultimate space-saving solution for small foyers, combining hidden vertical shoe storage with a functional seating area. By choosing a unit with a 10-14 inch depth, homeowners can eliminate hallway clutter and create a dedicated, comfortable space for putting on shoes without sacrificing valuable floor space.

The Benefits of Dual-Purpose Entryway Furniture

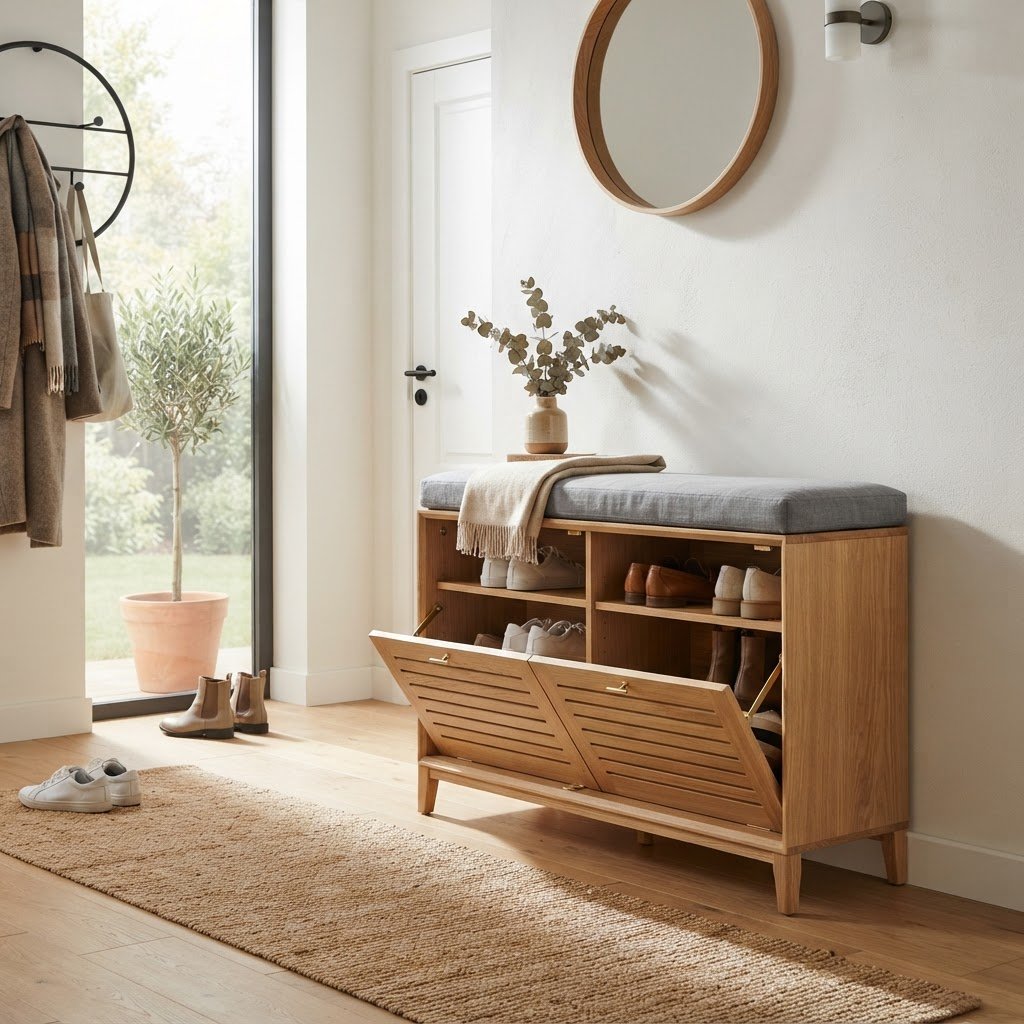
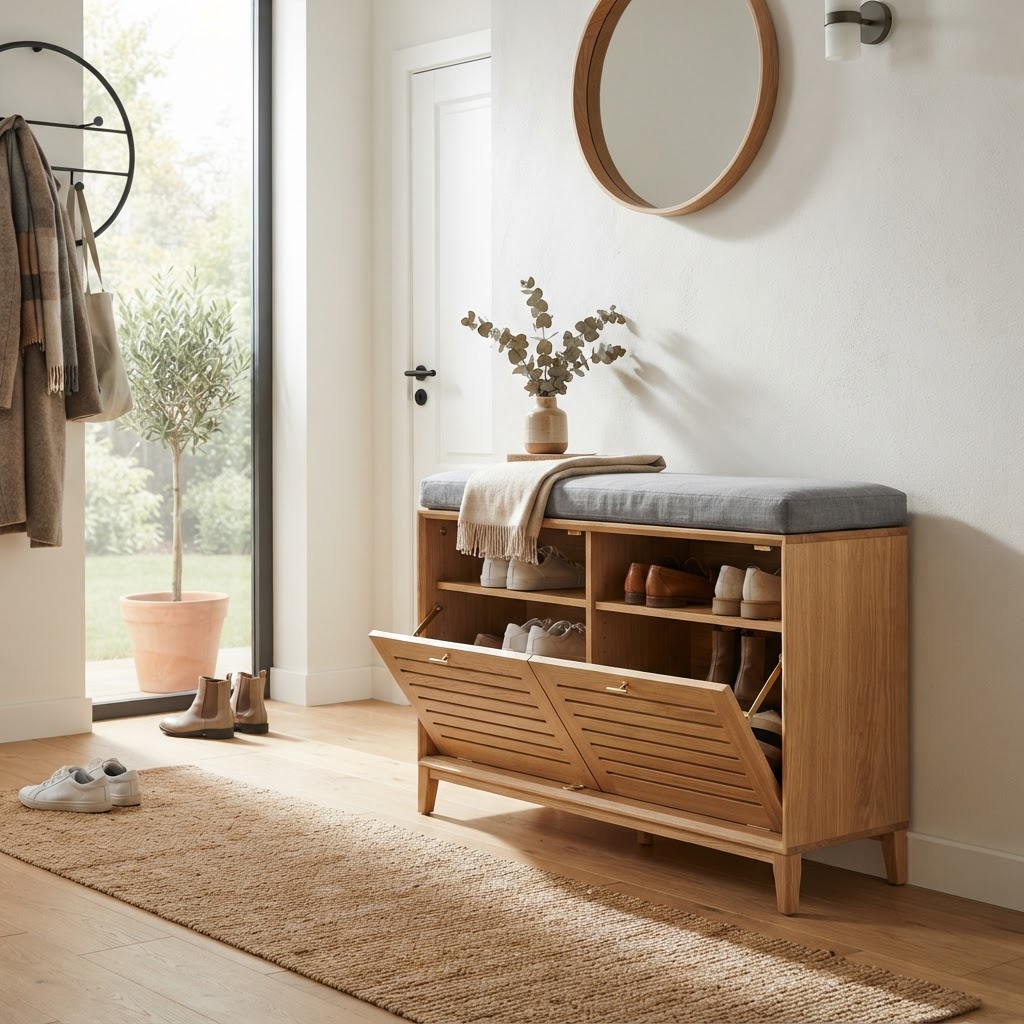
A modern, space-saving shoe cabinet with a bench seat.

Dual-purpose entryway furniture offers an immediate upgrade to home organization by optimizing limited square footage in narrow hallways and apartments. Traditional open shoe racks often lead to visual chaos, whereas enclosed cabinet-bench hybrids keep footwear hidden, maintaining a polished and minimalist aesthetic. Beyond the visual appeal, these units provide a “landing zone” essential for home transitions. Research indicates that having a dedicated seating area at the correct height—ideally 18 inches—significantly reduces fall risks for elderly residents and makes daily routines easier for families with young children. By integrating storage directly beneath the seat, you reclaim floor space that would otherwise be lost to scattered boots and sneakers. Furthermore, these units add architectural interest to entryways, transforming a transition space into a functional piece of furniture that serves multiple household members simultaneously.

Maximizing Vertical Space

When floor space is at a premium, vertical storage is the most efficient design strategy to employ. Rather than opting for wide, bulky racks, slim shoe cabinets leverage height, often reaching 30 to 40 inches tall while remaining shallow enough to keep hallways clear for traffic. By choosing a model that incorporates a bench top, you effectively turn a storage necessity into a multi-functional piece of seating furniture. This vertical approach ensures that your hallway remains open and airy rather than cluttered with piles of shoes. The following table highlights the efficiency gains of vertical vs. horizontal storage styles.

Storage Feature Vertical Cabinet (Slim) Horizontal Rack (Standard)
Depth Profile 10-14 Inches 18-24 Inches
Footwear Capacity 12-20 Pairs 8-12 Pairs
Visual Impact Clean/Minimalist Cluttered/Open
Seating Utility Integrated Bench Usually None

Selecting the Right Dimensions for Your Space

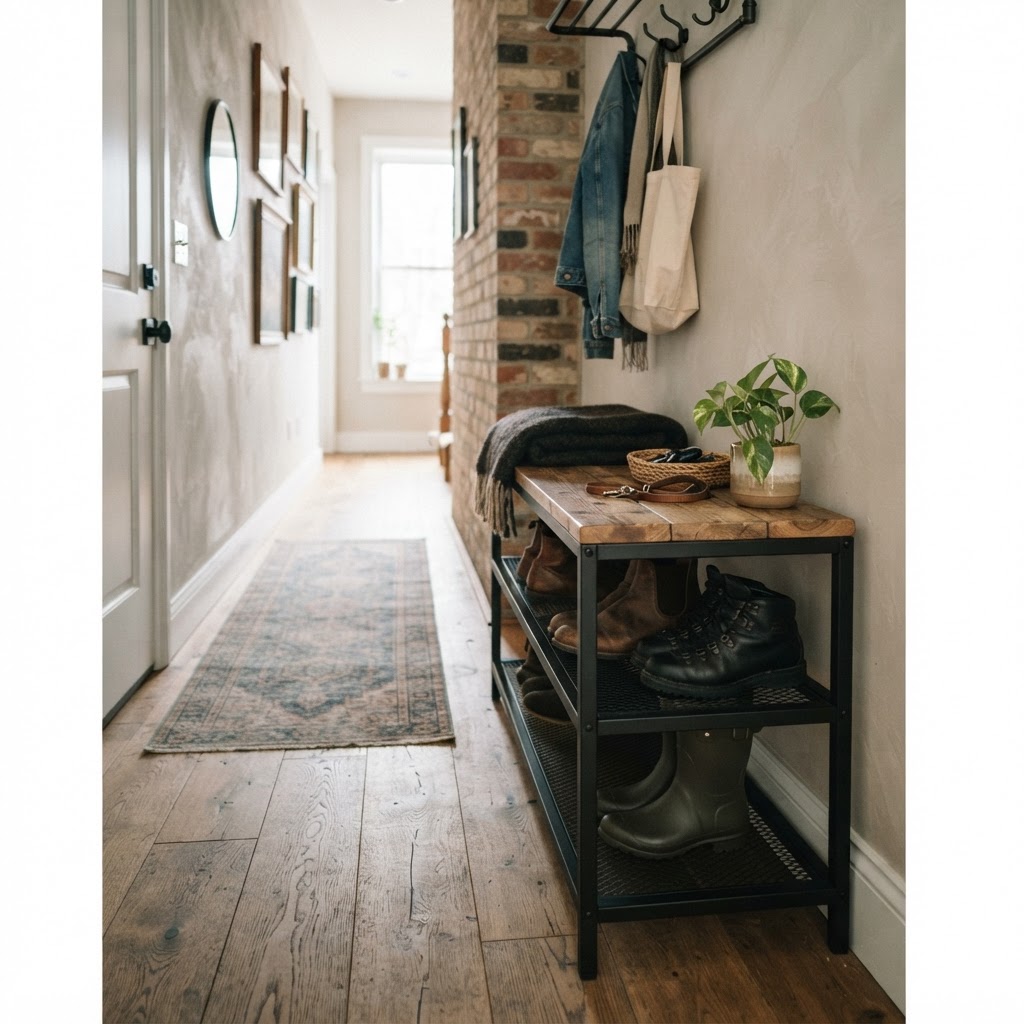
Industrial style storage bench for narrow hallways.

Accurate measurement is the most critical step before purchasing, as even a one-inch discrepancy can obstruct a door swing or walking path. A standard slim shoe cabinet typically ranges between 10 to 14 inches in depth, making it the gold standard for narrow urban entryways. When planning your layout, always account for human ergonomics; a person requires roughly 30 inches of width to sit comfortably and maneuver while putting on footwear. If your foyer is exceptionally tight, avoid bulky pedestals and opt for wall-mounted designs or cantilevered benches, which create a “floating” effect that makes floors appear larger by exposing the baseboard area. Before you buy, use painter’s tape on your floor to outline the cabinet’s footprint, allowing you to test the door swing clearance and traffic flow over a 24-hour period before committing to the purchase. This simple step prevents the regret of choosing a piece that interferes with your home’s natural circulation.

Material Choices and Interior Design Styles

Scandinavian design bench with efficient shoe storage.

Entryway furniture sets the visual tone for your entire home, requiring a careful balance between aesthetic appeal and high-traffic durability. For a Scandinavian-inspired home, prioritize light oak or birch finishes paired with neutral-toned performance fabrics like linen blends that resist pilling. If your interior follows an industrial design trend, select units constructed from powder-coated matte black steel and reclaimed wood planks, which offer high resistance to moisture and scratches common in high-traffic entryways. Regardless of style, always verify that the bench upholstery is rated for high-frequency use, preferably with a Martindale rub count of at least 20,000 to ensure longevity. Avoid delicate silks or light-colored velvets that will quickly show grime from shoe soles or wet rain boots. Creating a cohesive look involves matching hardware; updating stock drawer pulls to brass or brushed nickel to match existing door handles or mirror frames creates a custom, high-end appearance on a budget.

Matching Your Existing Decor

Don’t treat your shoe bench as a standalone island. Try to coordinate the hardware, such as knobs or drawer pulls, with the lighting fixtures or mirrors already present in your foyer. A cohesive look makes even the smallest entryways feel intentional and well-designed.

Clever Storage Features to Look For

Customized entryway bench with wall-mounted hooks.

Maximizing internal capacity requires selecting units with smart organizational features, such as adjustable dividers and tilt-out drawers. Adjustable shelves allow you to customize the internal height, accommodating everything from flat ballet slippers to bulky winter boots without wasting vertical inches. Tilt-out drawers are arguably the best feature for slim cabinets, as they utilize a rotating mechanism that stores shoes at an angle, significantly reducing the required depth of the unit. Look for models that incorporate a “hidden” upper drawer or a small cubby under the seat for utility items—this prevents the dreaded entryway “junk pile” of keys, wallets, and mail. When comparing units, also prioritize models with integrated ventilation, such as rear-panel slats or perforated base boards. Proper airflow is non-negotiable for longevity; it prevents the buildup of bacteria and odors inside an enclosed storage space, ensuring your entryway stays fresh throughout the changing seasons.

DIY Customizations and Upgrades

When retail options fail to meet your exact space requirements, a semi-custom DIY approach allows you to achieve a bespoke look while perfectly fitting your available square footage. Many homeowners start with a high-quality stock slim cabinet and attach a custom-cut solid wood top, finished with a stain that matches their home’s flooring or trim. This simple upgrade adds a professional, built-in appearance that far exceeds the look of standard particleboard furniture. Furthermore, installing wall-mounted hooks or a floating shelf directly above your bench creates a comprehensive “mudroom station.” By adding vertical storage for bags and coats, you leverage the space you have without performing expensive wall-knockout renovations. Whether you are adding custom upholstery to the bench seat or installing modern, ergonomic hardware, these modifications ensure that your entry storage is uniquely tailored to your lifestyle needs.

Maintaining Order in Your Entryway

Even the highest-quality furniture cannot combat clutter without a disciplined organization system. To keep your slim shoe cabinet functioning effectively, adopt a strict “one-in, one-out” policy, which prevents the internal shelves from becoming overcrowded with shoes you rarely wear. Every season, conduct a 15-minute audit of the cabinet; move out-of-season footwear—such as heavy winter boots in the summer or strappy sandals in the winter—to secondary storage bins kept in a closet or under the bed. This keeps the primary entryway storage dedicated solely to daily-use items, ensuring the mechanism remains easy to operate. When cleaning, use a damp cloth for wood surfaces and a vacuum attachment for the interior compartments to prevent debris buildup. Consistent maintenance ensures that your entryway remains a welcoming, clutter-free space that functions perfectly for every member of the household.

Common Mistakes to Avoid

One common error is purchasing a unit that is too long, which can overwhelm a small entryway and make the space feel cramped. Another mistake is ignoring the importance of ventilation. Since the cabinet is enclosed, ensure the design includes slats, vents, or gaps to allow airflow, which prevents odors from building up. Finally, avoid using the bench surface as a permanent storage shelf for miscellaneous items. The surface should remain clear to invite seating; if it becomes a “drop zone” for grocery bags or heavy boxes, you lose the primary benefit of the bench.

FAQ

How deep should a slim shoe cabinet be?

A slim shoe cabinet should ideally measure between 10 to 14 inches deep. This profile is narrow enough to keep hallways clear while providing sufficient depth to store standard-sized footwear using tilt-out drawer mechanisms or slanted shelving.

What is the ideal height for an entryway bench?

The ideal height for an entryway bench is between 17 and 19 inches. This range is considered ergonomically standard, allowing most adults to sit down and stand up comfortably when putting on or taking off shoes.

How do I prevent odors in an enclosed shoe cabinet?

You can prevent odors by ensuring your chosen cabinet has integrated ventilation, such as slats, louvers, or perforated back panels. Additionally, placing small activated charcoal bags or cedar wood blocks inside the cabinet helps absorb moisture and neutralize smells naturally.

Can a shoe cabinet be used in a very narrow hallway?

Yes, shoe cabinets can be used in narrow hallways if you select a wall-mounted or floating design. These models eliminate legs, making the floor space appear larger and maintaining a lightweight, unobtrusive look that prevents the area from feeling claustrophobic.

How do I organize shoes in a small cabinet?

Organize shoes by frequency of use, keeping your daily footwear on the most accessible shelves or drawers. For limited space, utilize vertical dividers and store pairs tip-to-heel to maximize shelf capacity without overcrowding the interior of the cabinet.

10 Clever Hidden Shoe Storage Ideas for Small Entryways

10 Clever Hidden Shoe Storage Ideas for Small Entryways

To effectively hide shoes in a small entryway, use vertical wall-mounted cabinets, tip-out drawers, or under-console baskets that match your interior decor. These solutions maximize minimal square footage while keeping high-traffic areas clear of clutter, creating a sophisticated and functional transition zone for your home.

The Psychology of a Cluttered Entryway

A slim tip-out cabinet maximizes space in this narrow foyer.

Your entryway acts as the psychological transition zone between the external world and your personal sanctuary, where visual order directly influences your stress levels. Research in environmental psychology suggests that ‘visual noise’—such as piles of footwear—can spike cortisol levels upon entry, whereas a clear floor promotes immediate relaxation. By utilizing hidden shoe storage ideas for small entryways, you eliminate the visual friction that often makes a small apartment feel claustrophobic. Professionals often recommend keeping the floor completely clear to trick the eye into perceiving more square footage, effectively expanding your space by 10% to 15% simply by removing clutter. Transforming this threshold into a clean, minimalist space doesn’t just improve aesthetics; it establishes a daily routine of order that carries over into the rest of your home. A clear entrance acts as a mental reset button, ensuring that your arrival home feels intentional and calm rather than chaotic.

The Importance of Vertical Thinking

When floor space reaches its limit, vertical storage is the most efficient way to reclaim utility in your home. Wall-mounted racks or slim vertical cabinets allow you to store up to 10-12 pairs of shoes in a footprint as small as 12 inches wide, making them ideal for urban apartments. Professional organizers frequently utilize the space behind the door or the upper third of a wall to keep everyday footwear out of sight. By elevating your storage, you capitalize on the often-neglected “dead space” above the floor level. This method is the secret weapon of professional organizers who specialize in urban living environments, where floor real estate can cost upwards of $1,000 per square foot in major cities. Implementing vertical solutions ensures that every inch of wall space contributes to your home’s organizational capacity.

Transforming Furniture into Secret Storage

An upholstered storage bench provides comfortable seating and hidden shoe storage.

Furniture that serves two purposes—like a storage bench with hidden compartments—is the gold standard for maximizing small-space efficiency. These benches typically offer internal dimensions of 30 to 40 inches in width, providing enough room for six to eight pairs of shoes while offering a dedicated spot to sit and tie laces. When choosing a bench, look for models with deep, internal dividers; these prevent shoes from becoming a disorganized pile, which can speed up your morning routine by ensuring you aren’t hunting for a missing match. A neutral-toned bench made of light oak or linen upholstery helps the piece blend into the existing decor, preventing the storage area from appearing like a bulky addition to your hallway. These pieces are often slim enough to fit in narrow hallways without obstructing traffic, ensuring that your furniture choice actively solves your space constraints rather than adding to them. By integrating storage directly into your seating, you create a streamlined look that feels intentional and high-end.

Choosing the Right Bench

Feature Recommendation
Internal Dividers Crucial for keeping pairs together
Depth 12-15 inches for narrow hallways
Material Breathable fabrics or wood for longevity
Weight Capacity Minimum 250 lbs for safe seating

Utilizing Dead Space Behind Doors

Custom shelving tucked behind the door keeps footwear perfectly concealed.

Every apartment contains “dead space” behind the entry door that remains unused, representing a prime opportunity to install discreet, vertical storage. While basic over-the-door fabric organizers are affordable, installing a custom, shallow shelving unit only 6 inches deep can store dozens of pairs of shoes and remain completely invisible when the door is open. For a more modern aesthetic, choose white shelving that matches your wall color to make the storage virtually disappear. If custom shelving is not an option, use a series of decorative hooks installed at staggered heights, which allows you to hang flats and sandals using clips. This approach is highly cost-effective, often requiring less than $50 in materials, and provides a customized solution that takes advantage of underutilized vertical surfaces. By utilizing this hidden area, you effectively increase your storage capacity without sacrificing any of your main living space.

Customizing Your Hidden Hooks

For a minimalist look, install hooks behind the door specifically designed to hold lightweight footwear like canvas sneakers or slides. Using S-hooks or specialty clips allows you to keep shoes off the floor and out of your visual path with minimal installation effort. This method is exceptionally cost-effective and requires only basic tools, making it a favorite for renters. Simply ensure the hooks are spaced at least 8 inches apart to prevent overcrowding. This technique turns the back of your door into a functional storage wall that requires no permanent construction.

Slimline Cabinetry for Narrow Hallways

A mirrored cabinet offers a functional and stylish storage solution.

Slimline tip-out cabinets are a revolutionary solution for extremely narrow entryways, as they are typically less than 10 inches deep. These units utilize a clever pivoting mechanism that stores shoes in a vertical orientation, allowing you to fit 12-18 pairs of shoes in a footprint that would normally only accommodate a small wall mirror. Because these cabinets are exceptionally thin, they fit flush against the wall, maintaining traffic flow in even the smallest apartment hallways. Mounting one of these near your front door creates a designated “landing zone” that disappears into your wall profile, keeping the hallway looking clean and uncluttered. If you have an exceptionally long wall, consider mounting multiple cabinets side-by-side to create a continuous, built-in look that maximizes your storage potential across the entire entryway wall.

Styling Your Tip-Out Cabinet

Since the top surface of a tip-out cabinet sits at waist height, it functions perfectly as a console table. Style this surface with a decorative tray to catch your keys, a sculptural vase, or a small lamp to create a warm, inviting entrance. Choosing a cabinet in a color that matches your walls helps the unit blend into the background, ensuring it serves as a storage workhorse while acting as a beautiful, subtle design element in your apartment.

Under-Console Baskets and Bins

If your entryway already features a console table, the space underneath is a hidden storage goldmine. By utilizing uniform, woven seagrass baskets or chic fabric bins, you can tuck away daily footwear in a way that looks intentional rather than chaotic. To achieve a professional, styled look, choose containers that fit within 1-2 inches of the table’s width and depth; this ensures the items look like part of a curated design. Using matching containers creates visual cohesion, masking your footwear behind structured, textured surfaces that add warmth to your entryway. This solution is ideal for those who want a flexible storage system, as the bins can be easily moved or swapped out as your footwear collection evolves throughout the seasons.

The Magic of Mirrored Storage

Combining functionality with visual expansion is the hallmark of effective small-space design. A floor-to-ceiling mirror with an integrated shoe cabinet behind it is a high-impact solution that makes a small, dark foyer feel twice as large by reflecting light. While a custom piece may require a higher investment (typically $300-$600), the return on value is significant because it serves three roles: a full-length mirror, a hidden storage unit, and a space-enlarger. Guests will never suspect that your sleek, reflective surface is hiding your entire shoe collection. This solution is particularly effective in windowless entryways where artificial light is scarce, as the reflective surface bounces light deeper into the room, creating an airy and sophisticated feeling even in the tightest of apartments.

Maintenance and Purging Strategies

Even with the best storage systems, small spaces quickly become overwhelmed if you do not actively manage your inventory. The “one-in, one-out” policy is the most effective way to prevent clutter, requiring that for every new pair of shoes purchased, one must be donated or recycled. Regularly assess your footwear collection every three months to ensure you are only storing items that are seasonally appropriate and frequently worn. This habit keeps your high-value storage areas reserved for your “daily drivers” rather than neglected items. By keeping only current-season footwear in the entryway, you maintain an organized and efficient environment. Keep off-season items in under-bed storage containers or high closet shelves to free up your entryway for the items you actually use.

Comparing Storage Solutions

Storage Type Ideal For Pros Cons
Tip-out Cabinets Ultra-narrow halls Extremely slim profile Limited to thinner shoes
Storage Benches Wide entryways Provides seating Takes up floor space
Over-door Shelves Hidden door space Maximizes unused area Can be visible when door closes
Mirrored Cabinets Small, dark foyers Multi-functional Higher installation cost

FAQ

Q: What is the best way to hide shoes in a tiny entryway?

A: The best approach is to use vertical storage solutions like wall-mounted tip-out cabinets or over-the-door shelving. These maximize your vertical real estate without taking up any precious floor space, which is essential for keeping a small entryway feeling open and inviting.

Q: Can I use furniture to hide shoes in a small apartment?

A: Yes, multi-functional furniture such as storage benches with hinged lids or console tables with matching under-table baskets are excellent options. They allow you to tuck shoes away while providing extra seating or a surface for keys and decor.

Q: How many pairs of shoes should I keep in my entryway?

A: Ideally, you should only keep your ‘daily drivers’ in your entryway—typically 3-5 pairs that you wear most frequently. Everything else should be stored in secondary locations like under-bed bins or high-shelf closet storage to maintain a clean environment.

Q: What are the most space-efficient shoe storage materials?

A: Woven seagrass baskets, slim metal racks, and wood-composite tip-out cabinets are the most space-efficient materials. They are durable, lightweight, and can be customized or selected to match your apartment’s specific interior design style.